Fought At Ruhr
2226 days 20 hours 11 minutes ago
A valiant loss is still a loss...
View Linked Report - CLICK HERE 100 POINTSOnce again, the mission setup called for me to place at least half my army in reserve, and face a full-strength soviet onslaught.
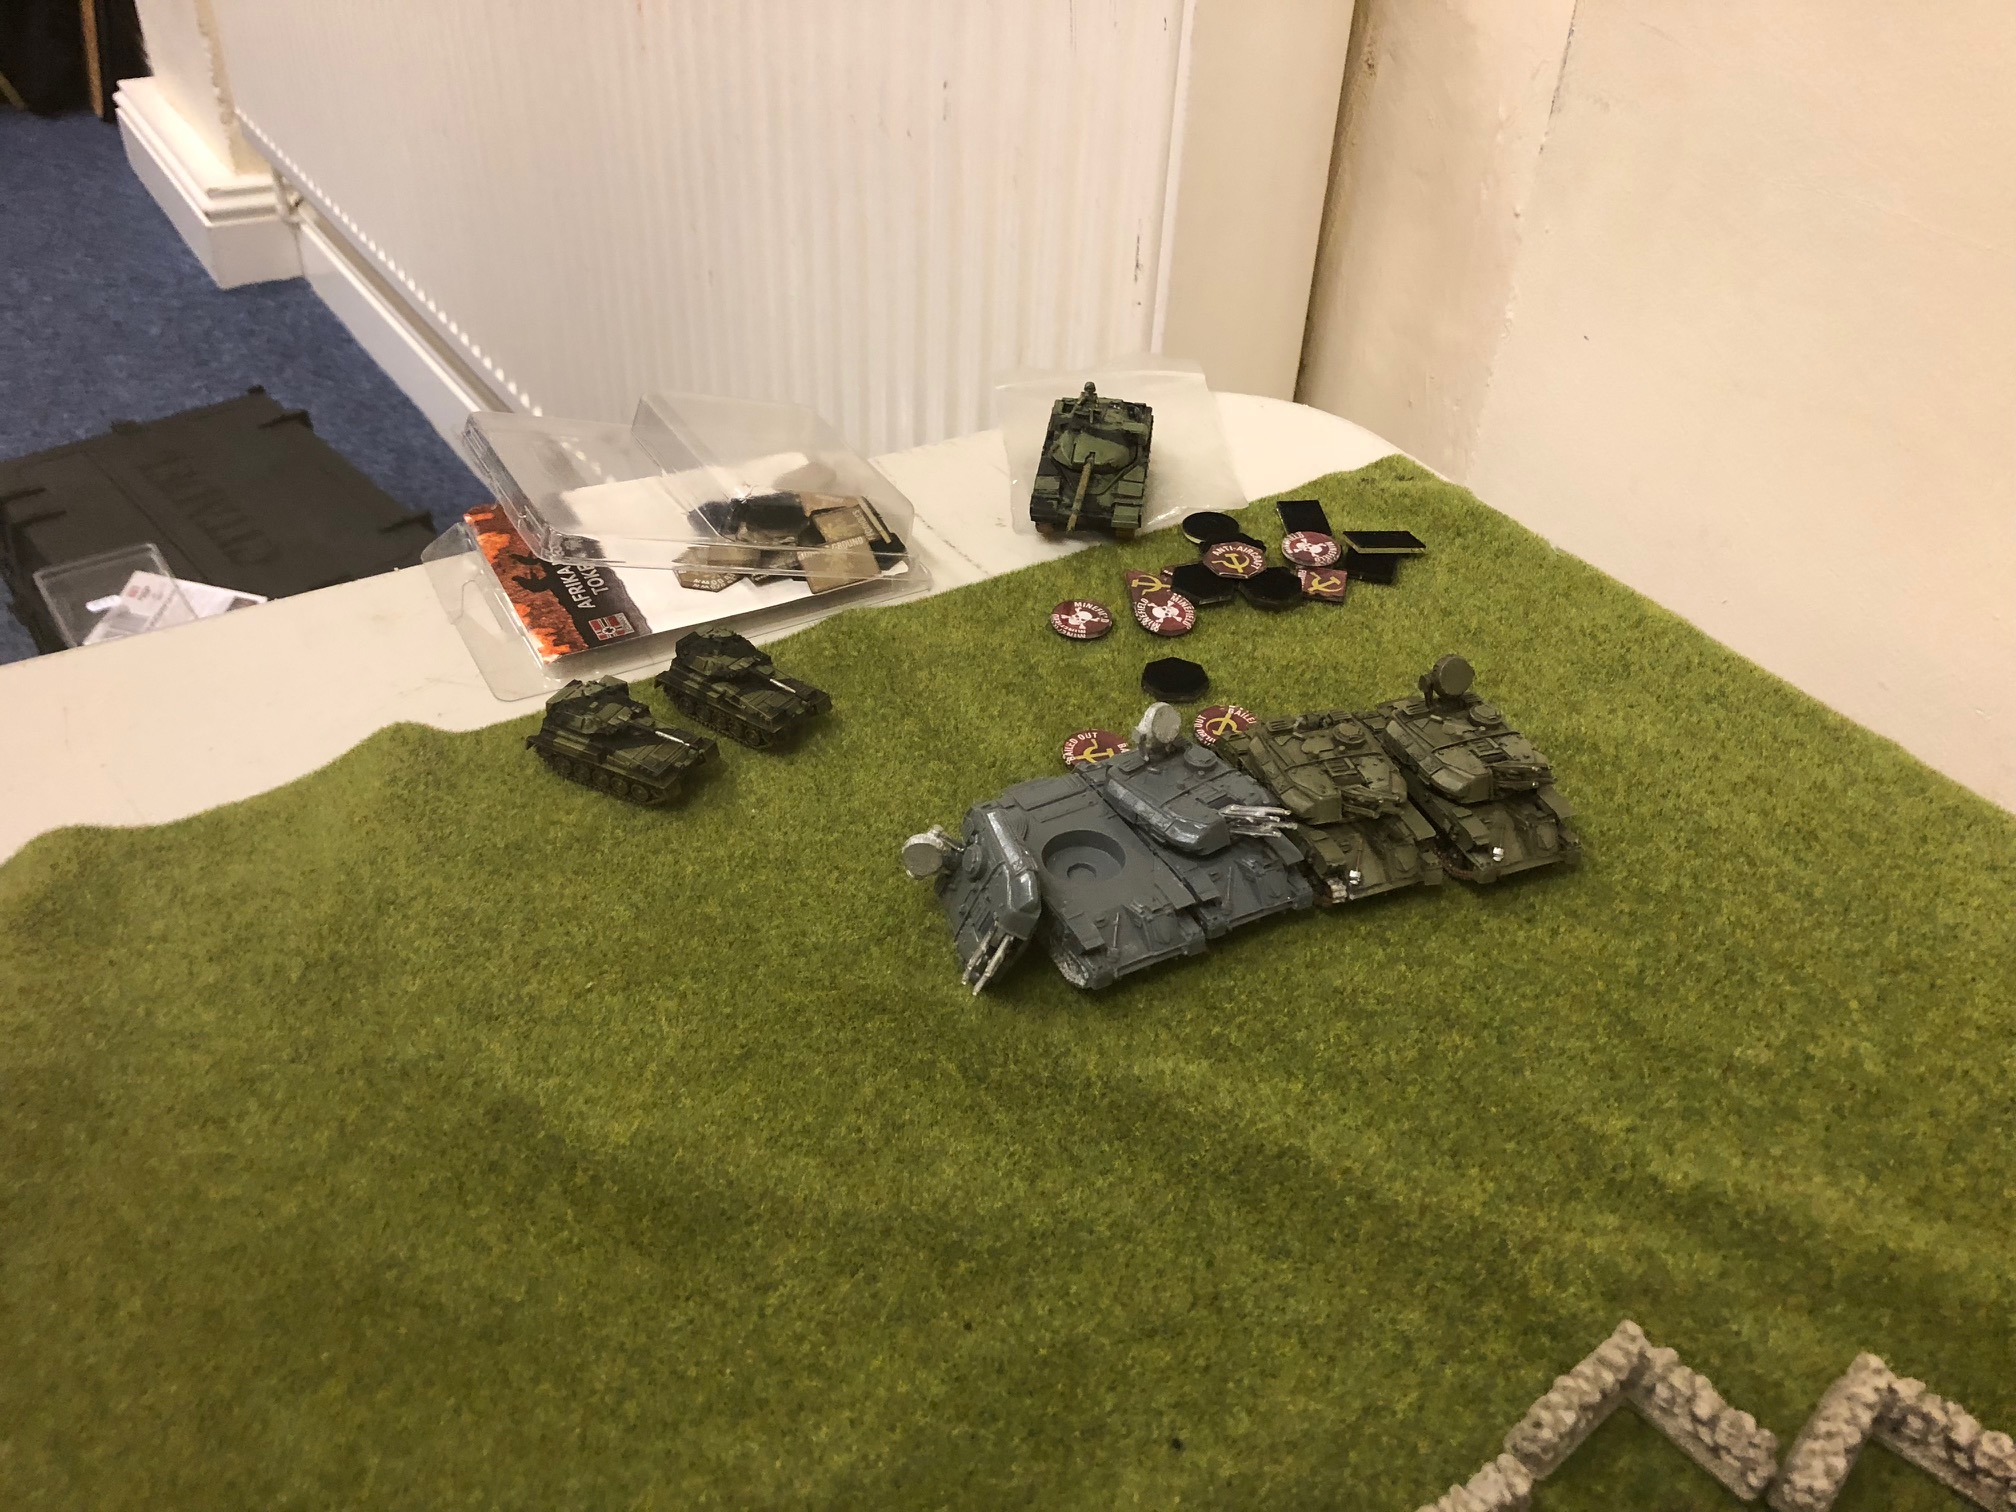
I could bring on 4 units, so I brought my chieftains, infantry and the unit of strikers. I forgot to bring on the Recce company HQ Spartans, which may have been a critical mistake (among many).
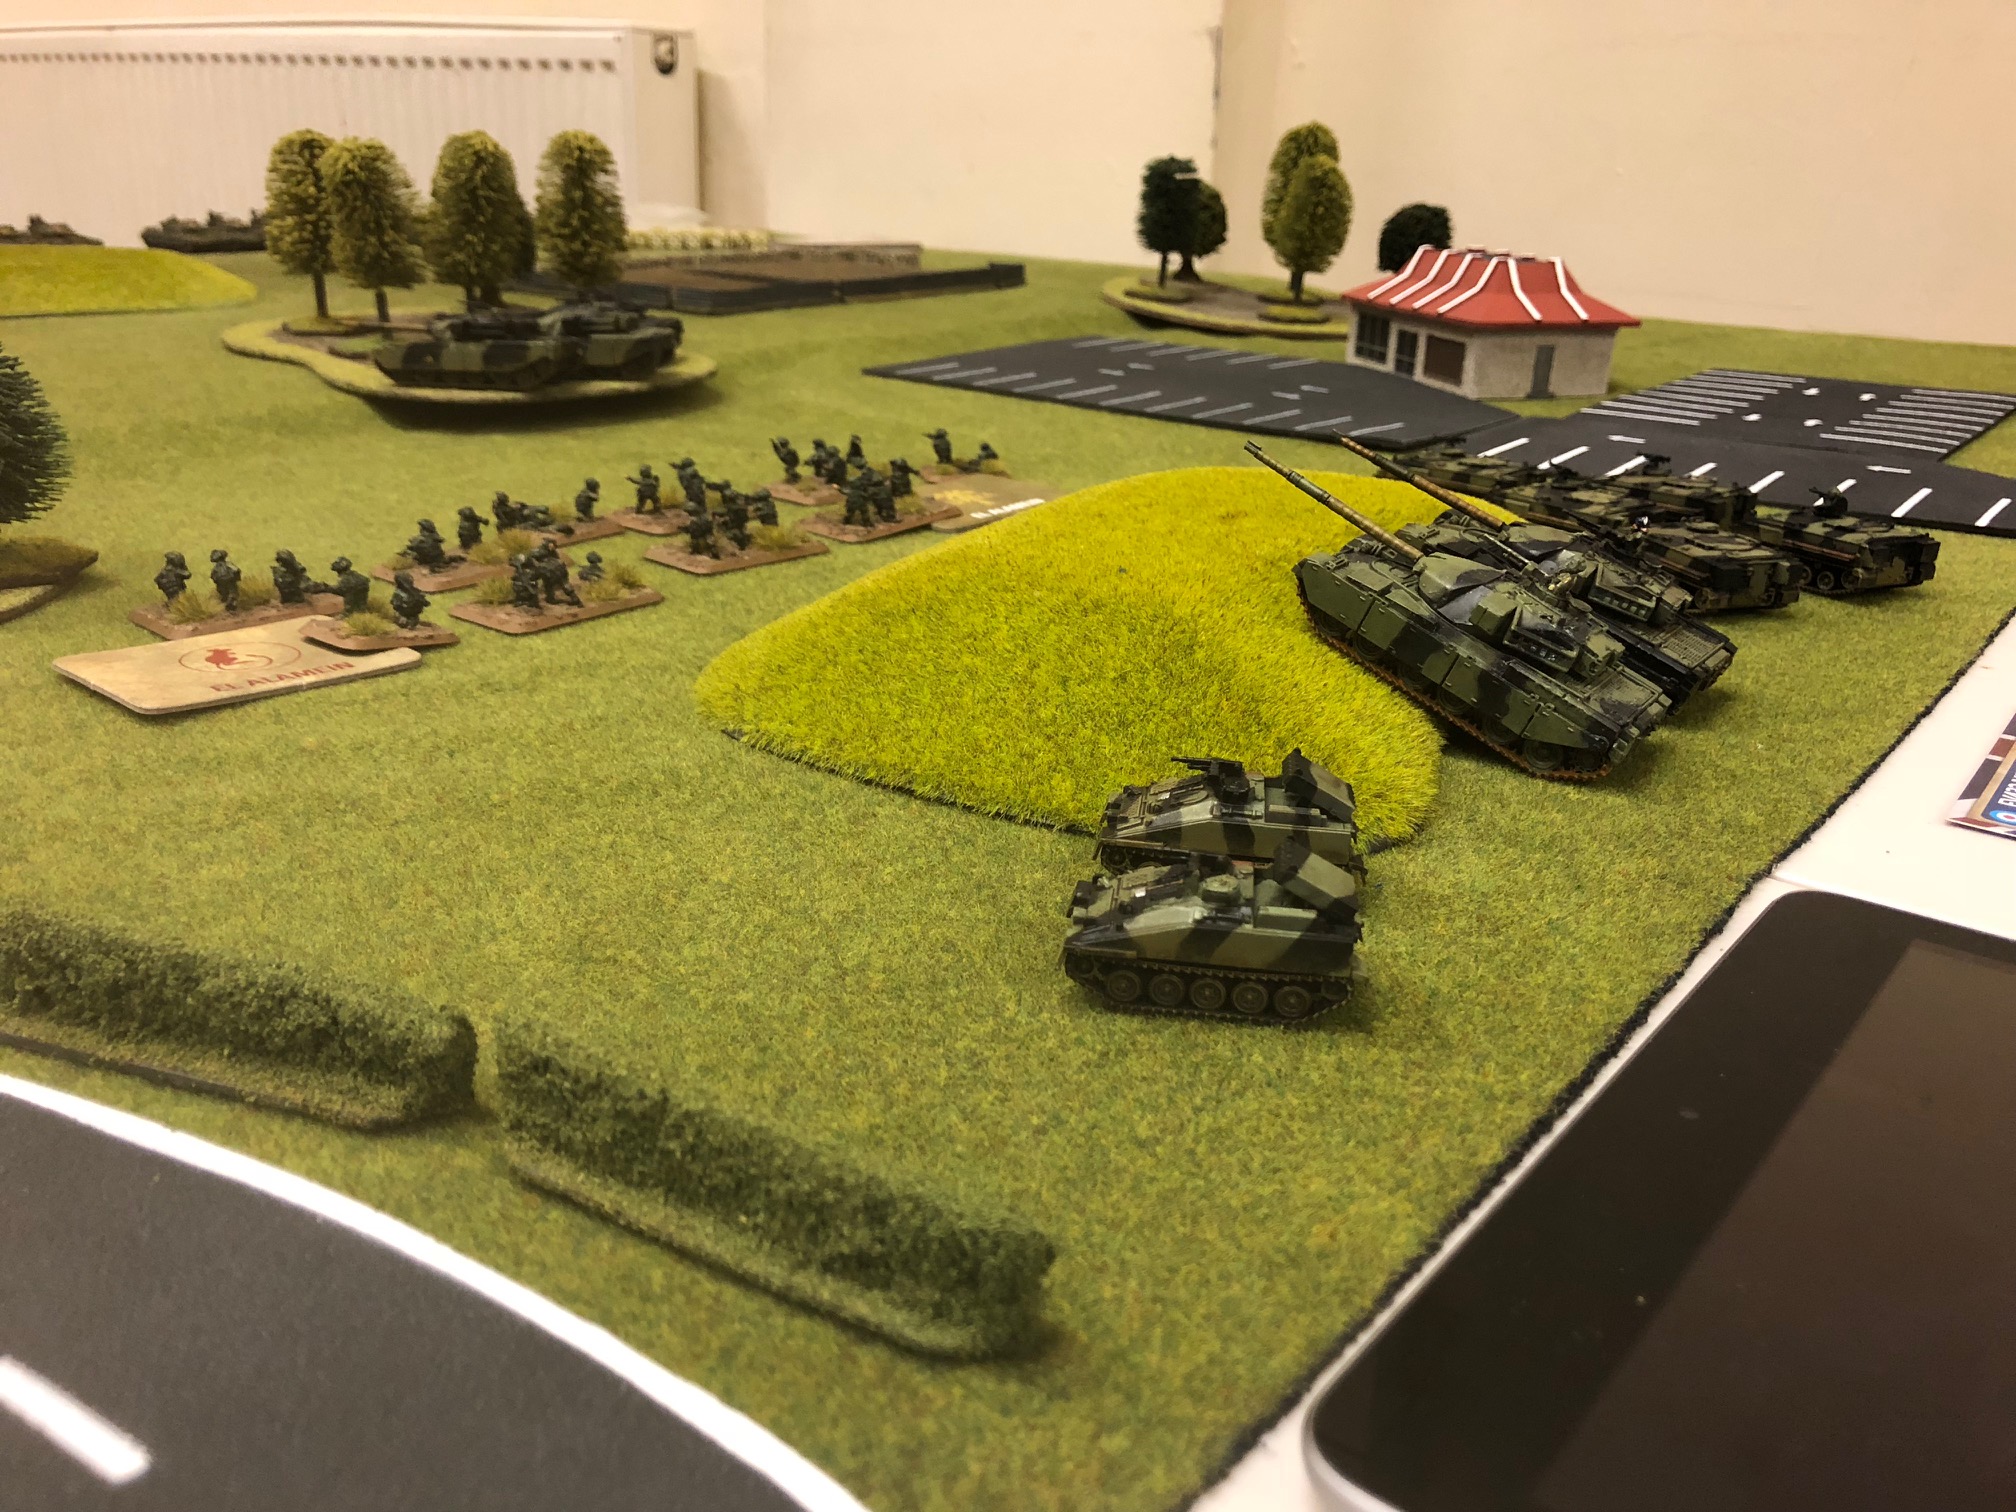
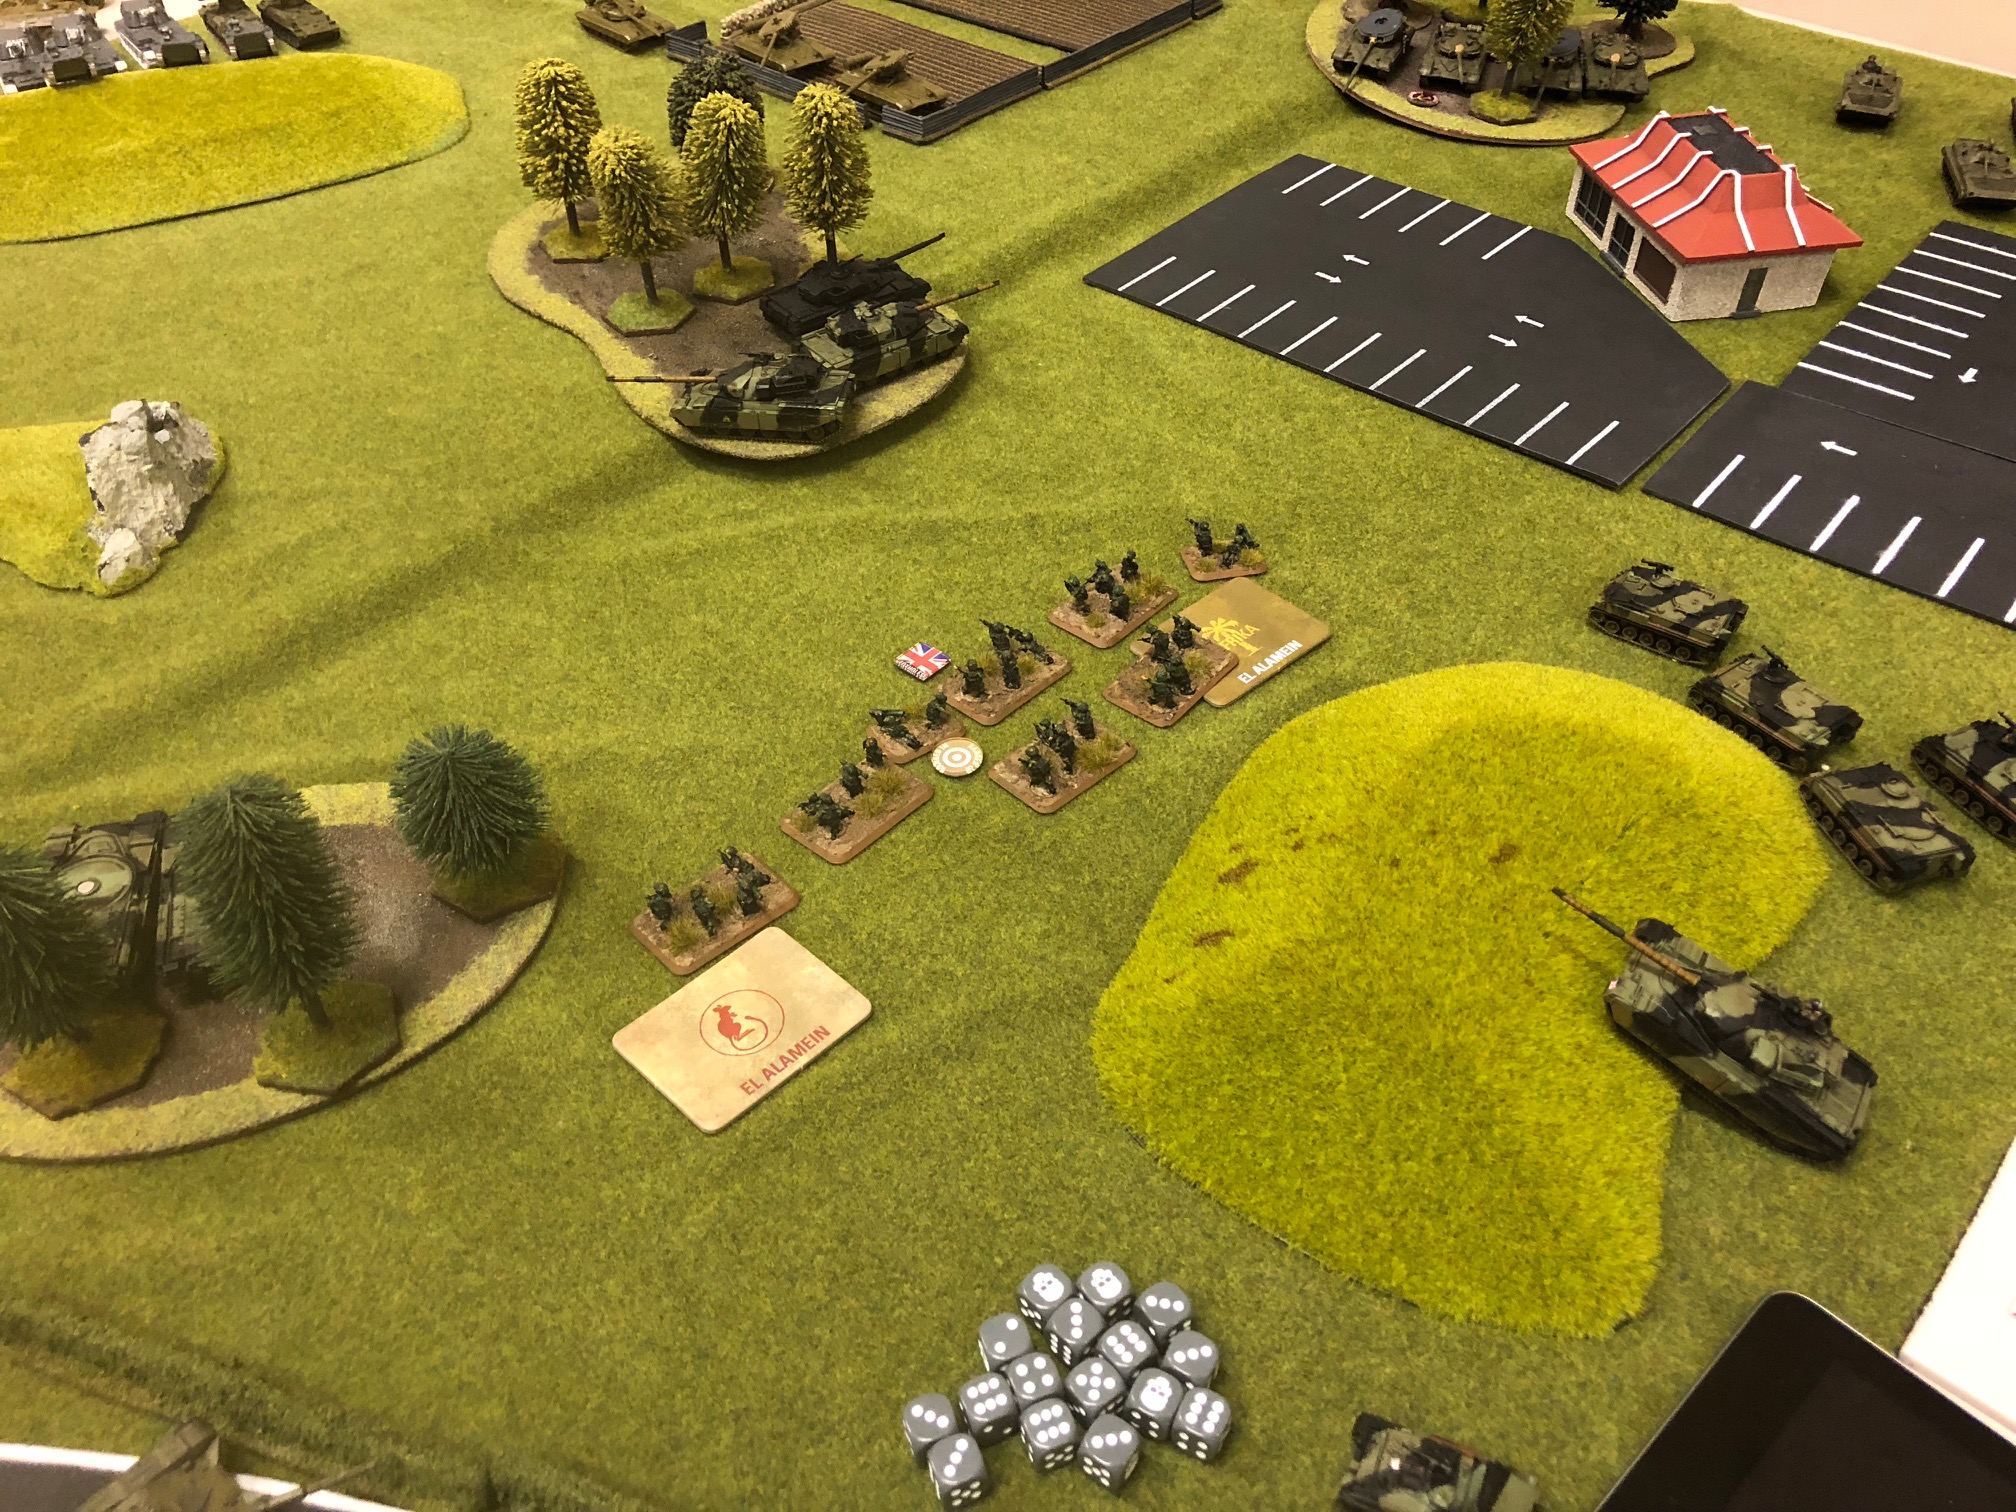
Infantry sat on the objectives, HQ Tanks at the back peeking over the hill, a unit of tanks tucked into each small wood and the strikers on the back line. The 432s formed a visual screen on the right-hand side of the HQ tanks.
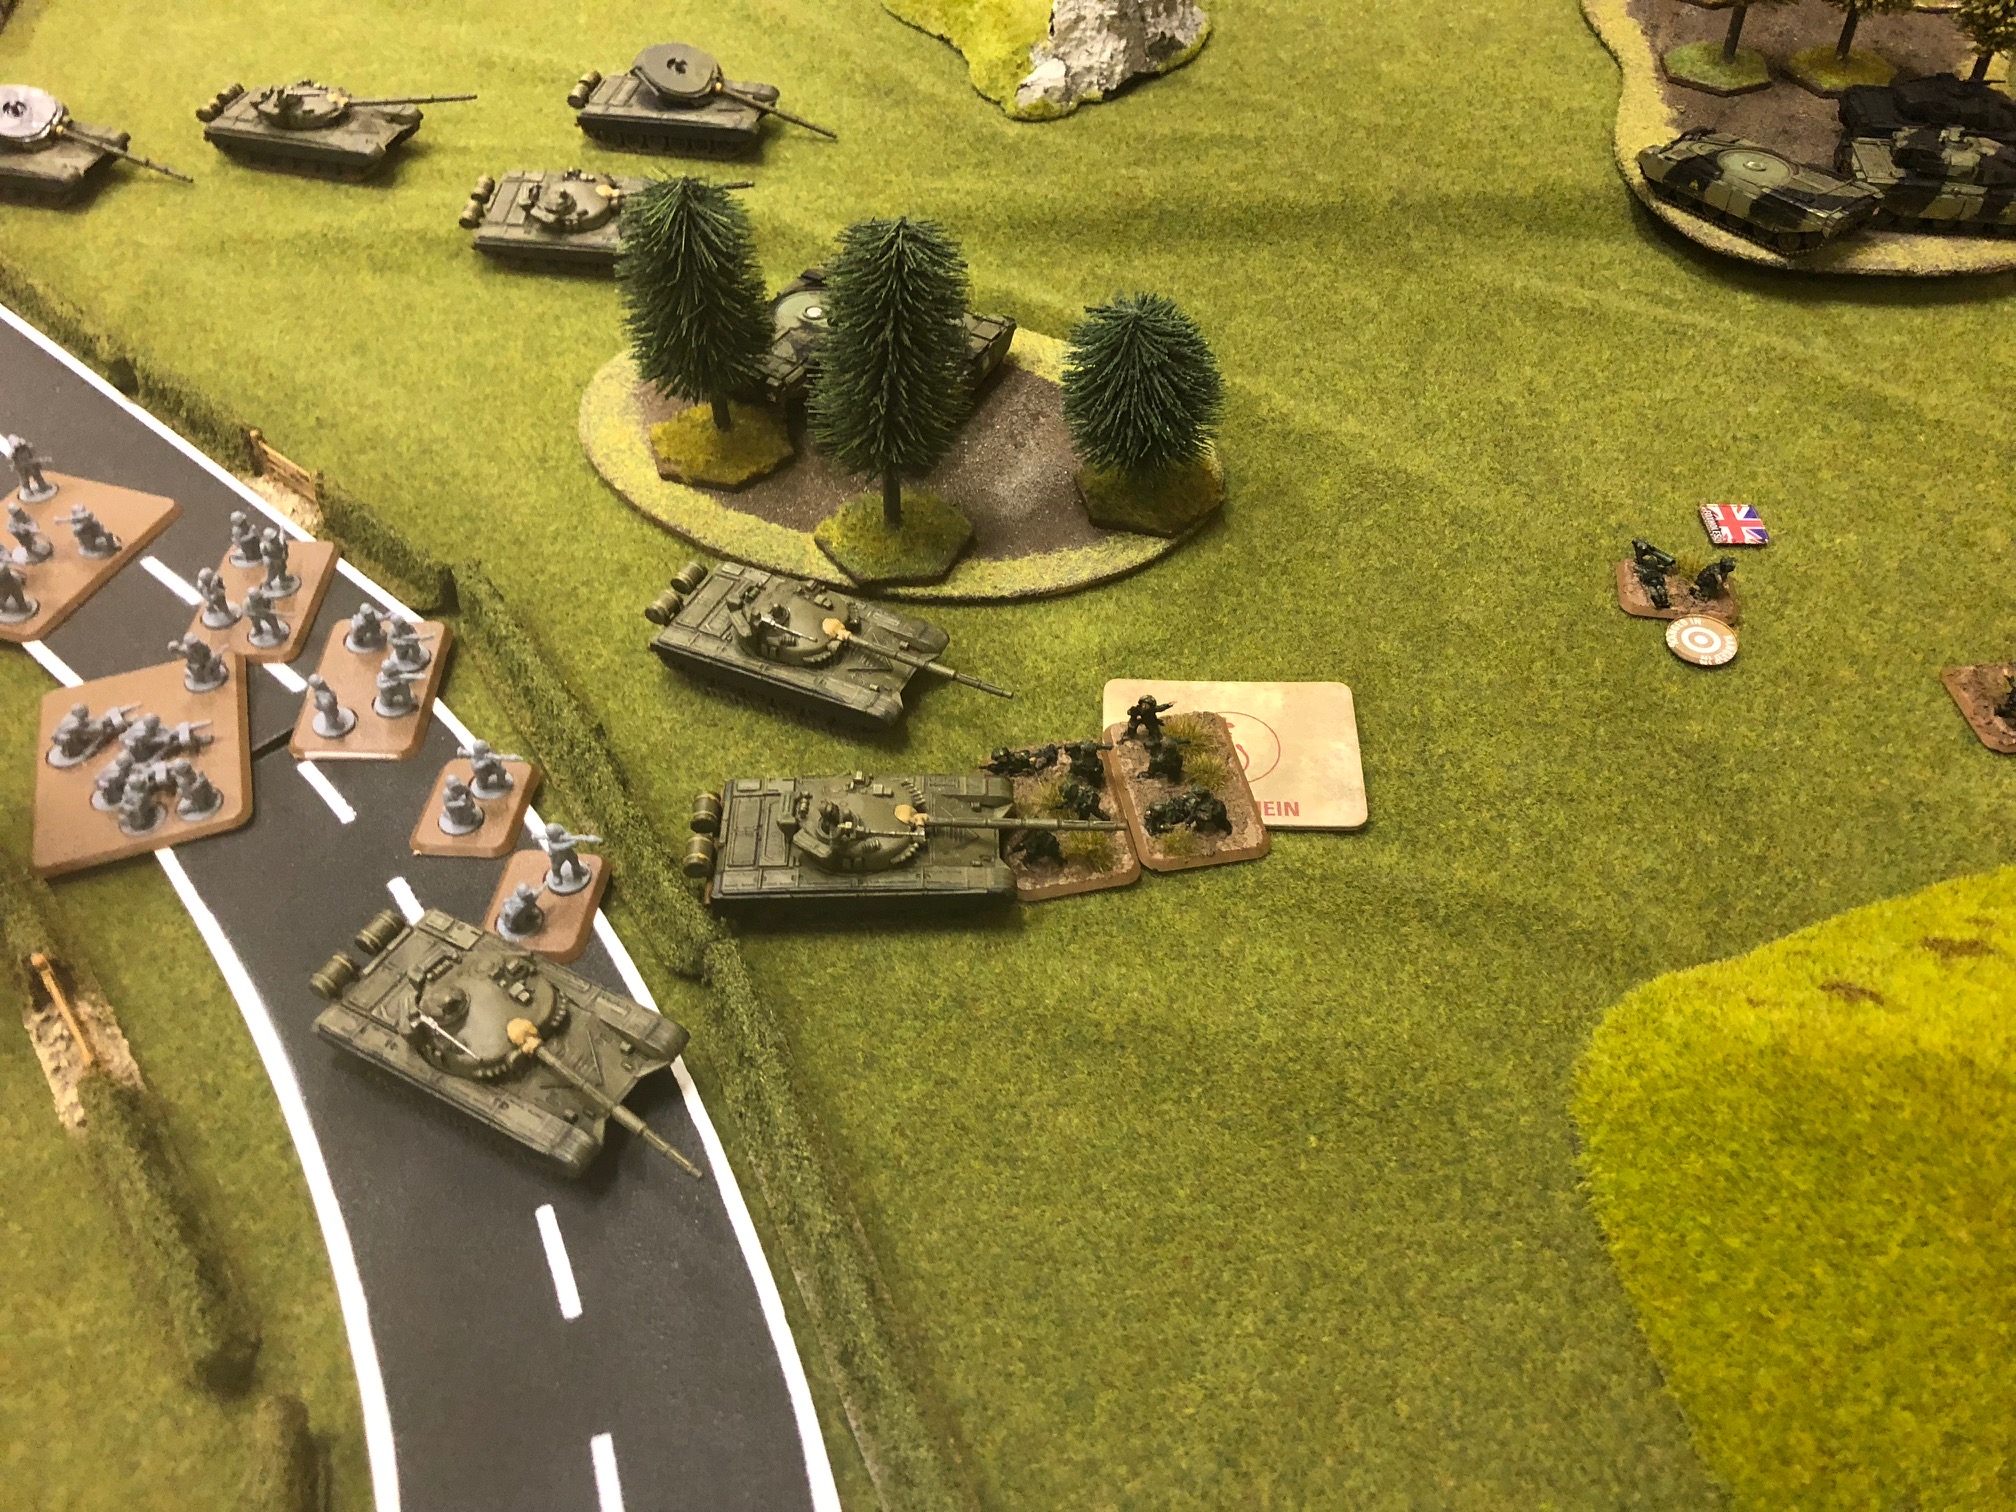
The soviets then proceeded to surround my forces on all sides with tanks& BMPs. A BTR motor rifle company set up on the road on my left flank. His shilkas hung back in the corner, awaiting to see what happened with my air units. A blob of gophers, artillery, and the Storms hid behind the hill on the soviet side.
My game plan was to hold ground, the probabilities were that I should get at least one reserve unit by Turn 2, which would be the large Scimitar group, and hopefully they would be able to eliminate the Shilkas or Gophers (depending on where they arrive), allowing me to bring on my air in subsequent turns.
Soviet turn 1 – they moved up, then started firing away. I lost a chieftain to a side armour shot, a 432 to the BMPs and the infantry lost a GPMG/LAW team to the artillery bombardment, but apart from that, we held up well.
British Turn 1 – roll for reserves, nothing. Well, the odds were against it. It wasn’t a bad turn, and the chieftains knocked out two or three of the Russian tanks – but there’s always more. The infantry tried to protect themselves with some smoke, but due to my misunderstanding a rule and the weapon I had, I couldn’t do what I wanted, which was drop some between them and the arty spotter. A Chieftain knocks out a couple of BTRs, killing its contents.
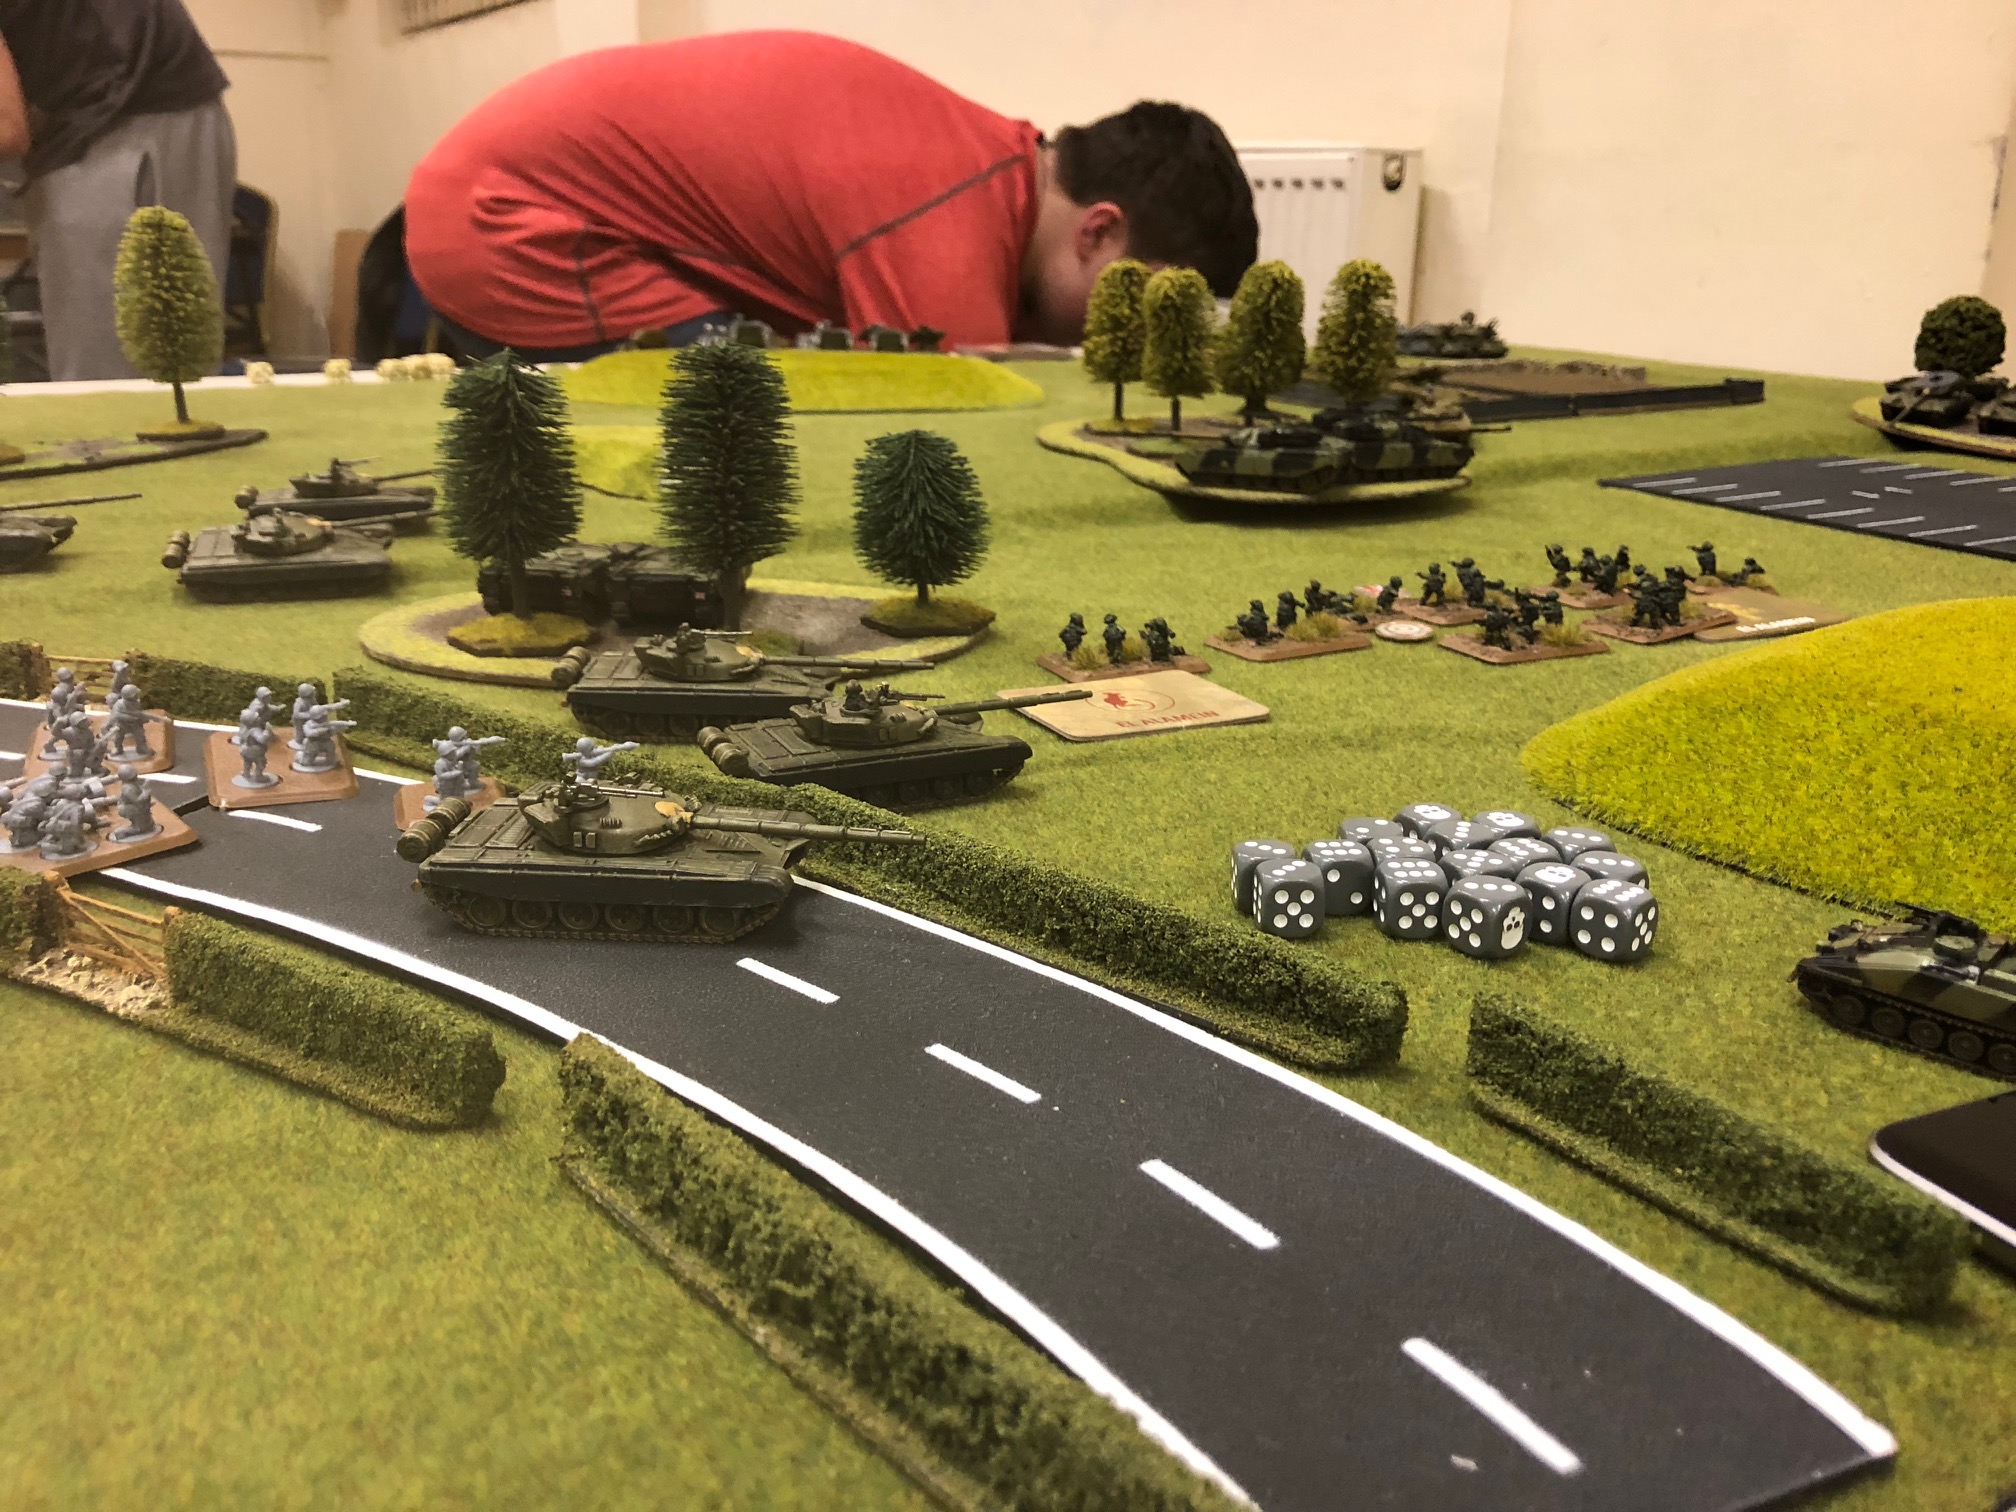
Soviet Turn 2 – the noose tightens around the British as the Russians close in. The Russian infantry get out, and move down the road. The Chieftain troop in the left-hand wood goes down, caught in the crossfire between T-72s and the Storms, with no good option for angling their armour. A striker goes pop, as the closest group of T-72s closes in. soviet artillery knocks out another infantry team, the mortar. One of the HQ chieftains dies to Spandrel fire.
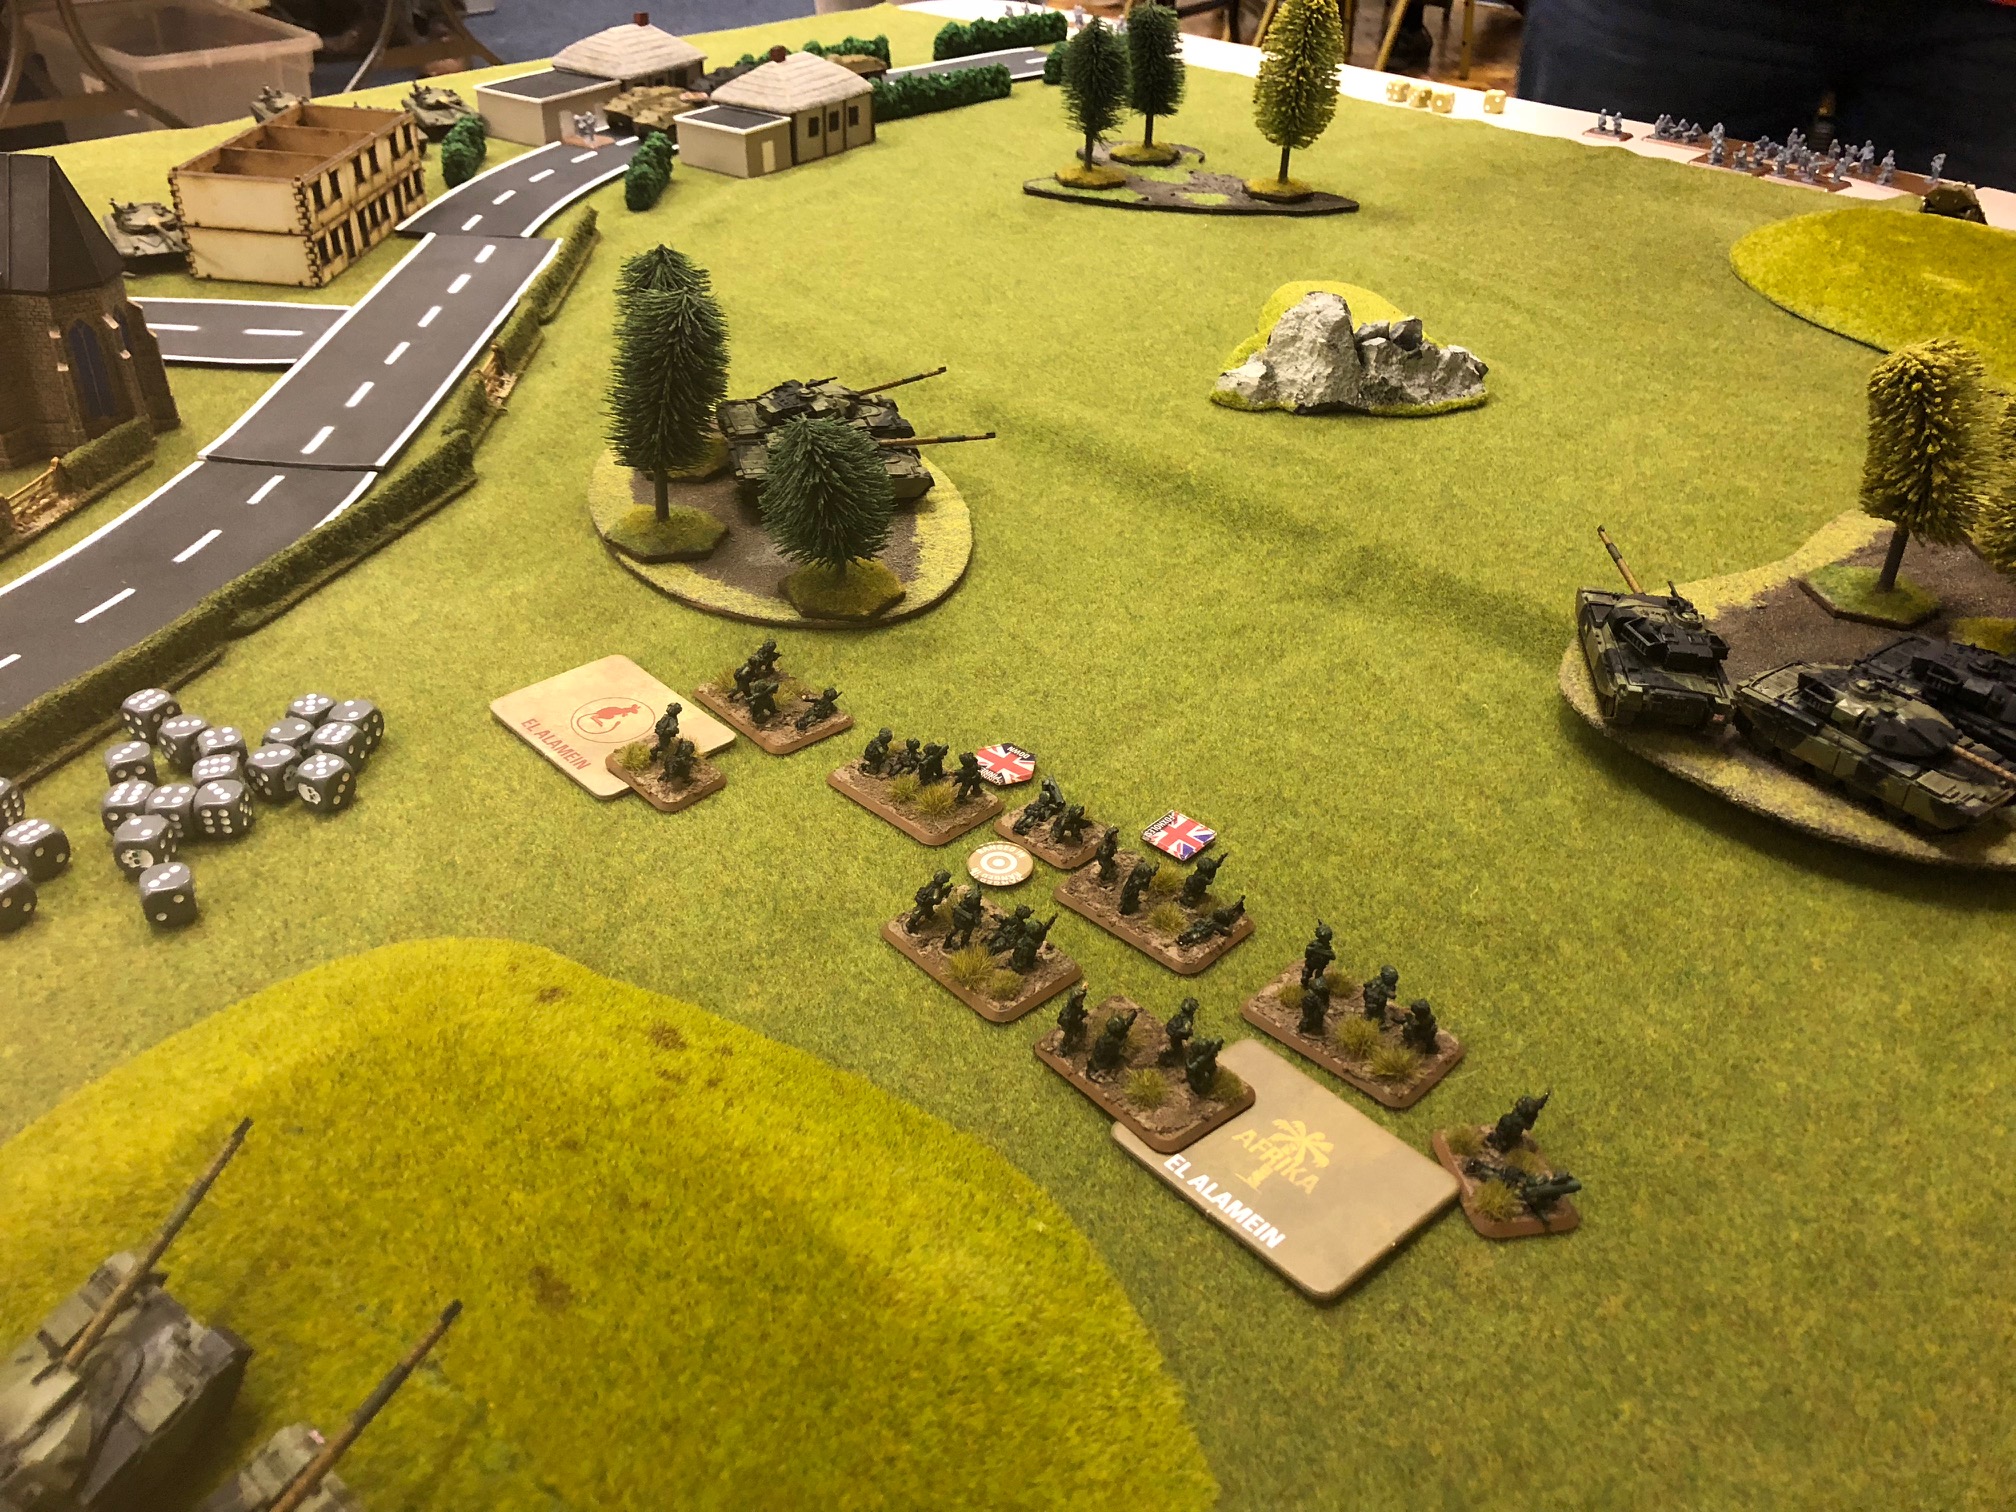
British Turn 2 – Roll for reserves, nothing. The remaining chieftain group do a decent job – destroying one T-64 in the ploughed field, and bailing another. The Milan teams in the infantry platoon now have targets in range, so fire at the T-72s near the restaurant, for one kill. The remaining HQ chieftain then kills the bailed T-64.
Soviet turn 3 – the remaining t-64 passes his morale check and closes on the chieftain troop in the woods. Things are static on the right flank, but the soviets break through the hedge by the church and now have a tank troop right on top of the left objective, followed by infantry and BTRs. The T-64 fails to kill a chieftain, though one of the troop goes down – I think it was to storm fire. The T072s by the objective unleash a merciless attack on the infantry and destroy 3 stands. The last HQ Chieftain and the remaining striker are destroyed.
British Turn 3. Things look desperate, but at least I’m guaranteed one reserve unit this turn. In the end, I get two, and elect to bring on my scimitars. The large troop of 4 arrive in the back-left corner, so I position them to attack the artillery blob. The group of two arrive on the back edge, so I position them directly behind the shilkas. With a lot of luck, I may be able to neutralise them, hold on for another turn, then hopefully the lynxes and harriers will turn up to save my bacon (though with the FAQ in force at the time, it would be two turns before they could do anything useful). I make a second critical error, not moving the 432s to park on the objective (and screen the remaining infantry). With movement done, the small scimitar group open up on the shilkas, and do really well – RARDEN fire blowing up one, and bailing two others – that’ll be a morale check… The larger scimitar group do less well, destroying the arty spotter and bailing an SPG. The Milans do well, destroying a couple more T-72s, but the T-64 near the wood survives two point-blank shots from a chieftain. The other shoots at the T-72s in the right flank and kills one. At this point, I’m desperate, so try charging the T-72 nearest the objective with two Carl Gustav teams. They miss, miserably, and are killed in return.
Soviet turn 4- the shilkas fail their check and run. A T-72 parks on an objective and then the remaining infantry is killed. More of my stuff dies and the turn ends with me losing. Score 5-2 to WARPAC.
You know what would be nice?
A mission where I get to use my whole army. That I’ve paid points and money, put hours into painting, and considered as a whole. These two games I’ve played for this campaign feel like having to fight with one hand tied behind my back while facing down a full-strength opponent, and combined with the campaign mechanics (where the result matters) it’s just stressful and not fun.
At least NATO command can take comfort from the fact that I won’t be playing again as part of this campaign. With my schedule, it’ll probably be late April before I play TY again. As an obvious liability, that’s probably a good thing.
Battle Report Author
Army Lists Used In This Battle
Recommend Commander For Commendation
Share this battle with friends
Jackhunter464Wins

Keep fighting and get the win next time.
RFT very good AAR, hang in there 2nd Lieutenant, this one is nearly unwinnable for the defender, with the reserve rules.
too bad on the loss, better luck next time
dammit, yeah those missions with reserves can suck, often seem to favour WARSAW pact
No problem RFT, even defeats can give you commendations!
Nice job, tovarische
You may want to change to a 60/40 split ca half the units. It’s a give and take, you can get more units, but most likely give up more points.
Our group has been doing this after remarks by Nisbet and a few other, It has changed the game!
Add that this is a very flawed scenario, You did well?
Under my rating system this report is a solid seven with commendation
Cheers
RFT, don’t be so hard on your self mate. That was an excellent report and as a fellow NATO played I feel your pain about starting a game with only half your force on the table. We seem to do it a lot. Mid you there are some missions where we all start on the table. Keep up the good fight fight mate and learn from every game.
Disappointing to lose, the dice know when it’s a critical roll. On to the next one
Every battle played and well reported is a victory My friend. Nice job. Keep playing if you can.
Bad roll of the dice there in the end. Thanks for posting. Great report.