Fought At Hanover
2233 days 5 hours 45 minutes ago
Hanover Counter Attack!
View Linked Report - CLICK HERE 80 POINTSToday’s battle saw a British armoured squadron of the 17th/21st lancers counter attacking the tenuous Soviet positions in the Hanover sector. Both sides brought powerful tank elements to the battle as both the British and Warsaw Pact player were fielding armoured companies and the result was as expected; heaps of flaming metal throughout the battlefield! (Most of it Soviet, thankfully.)
Soviet OOB:
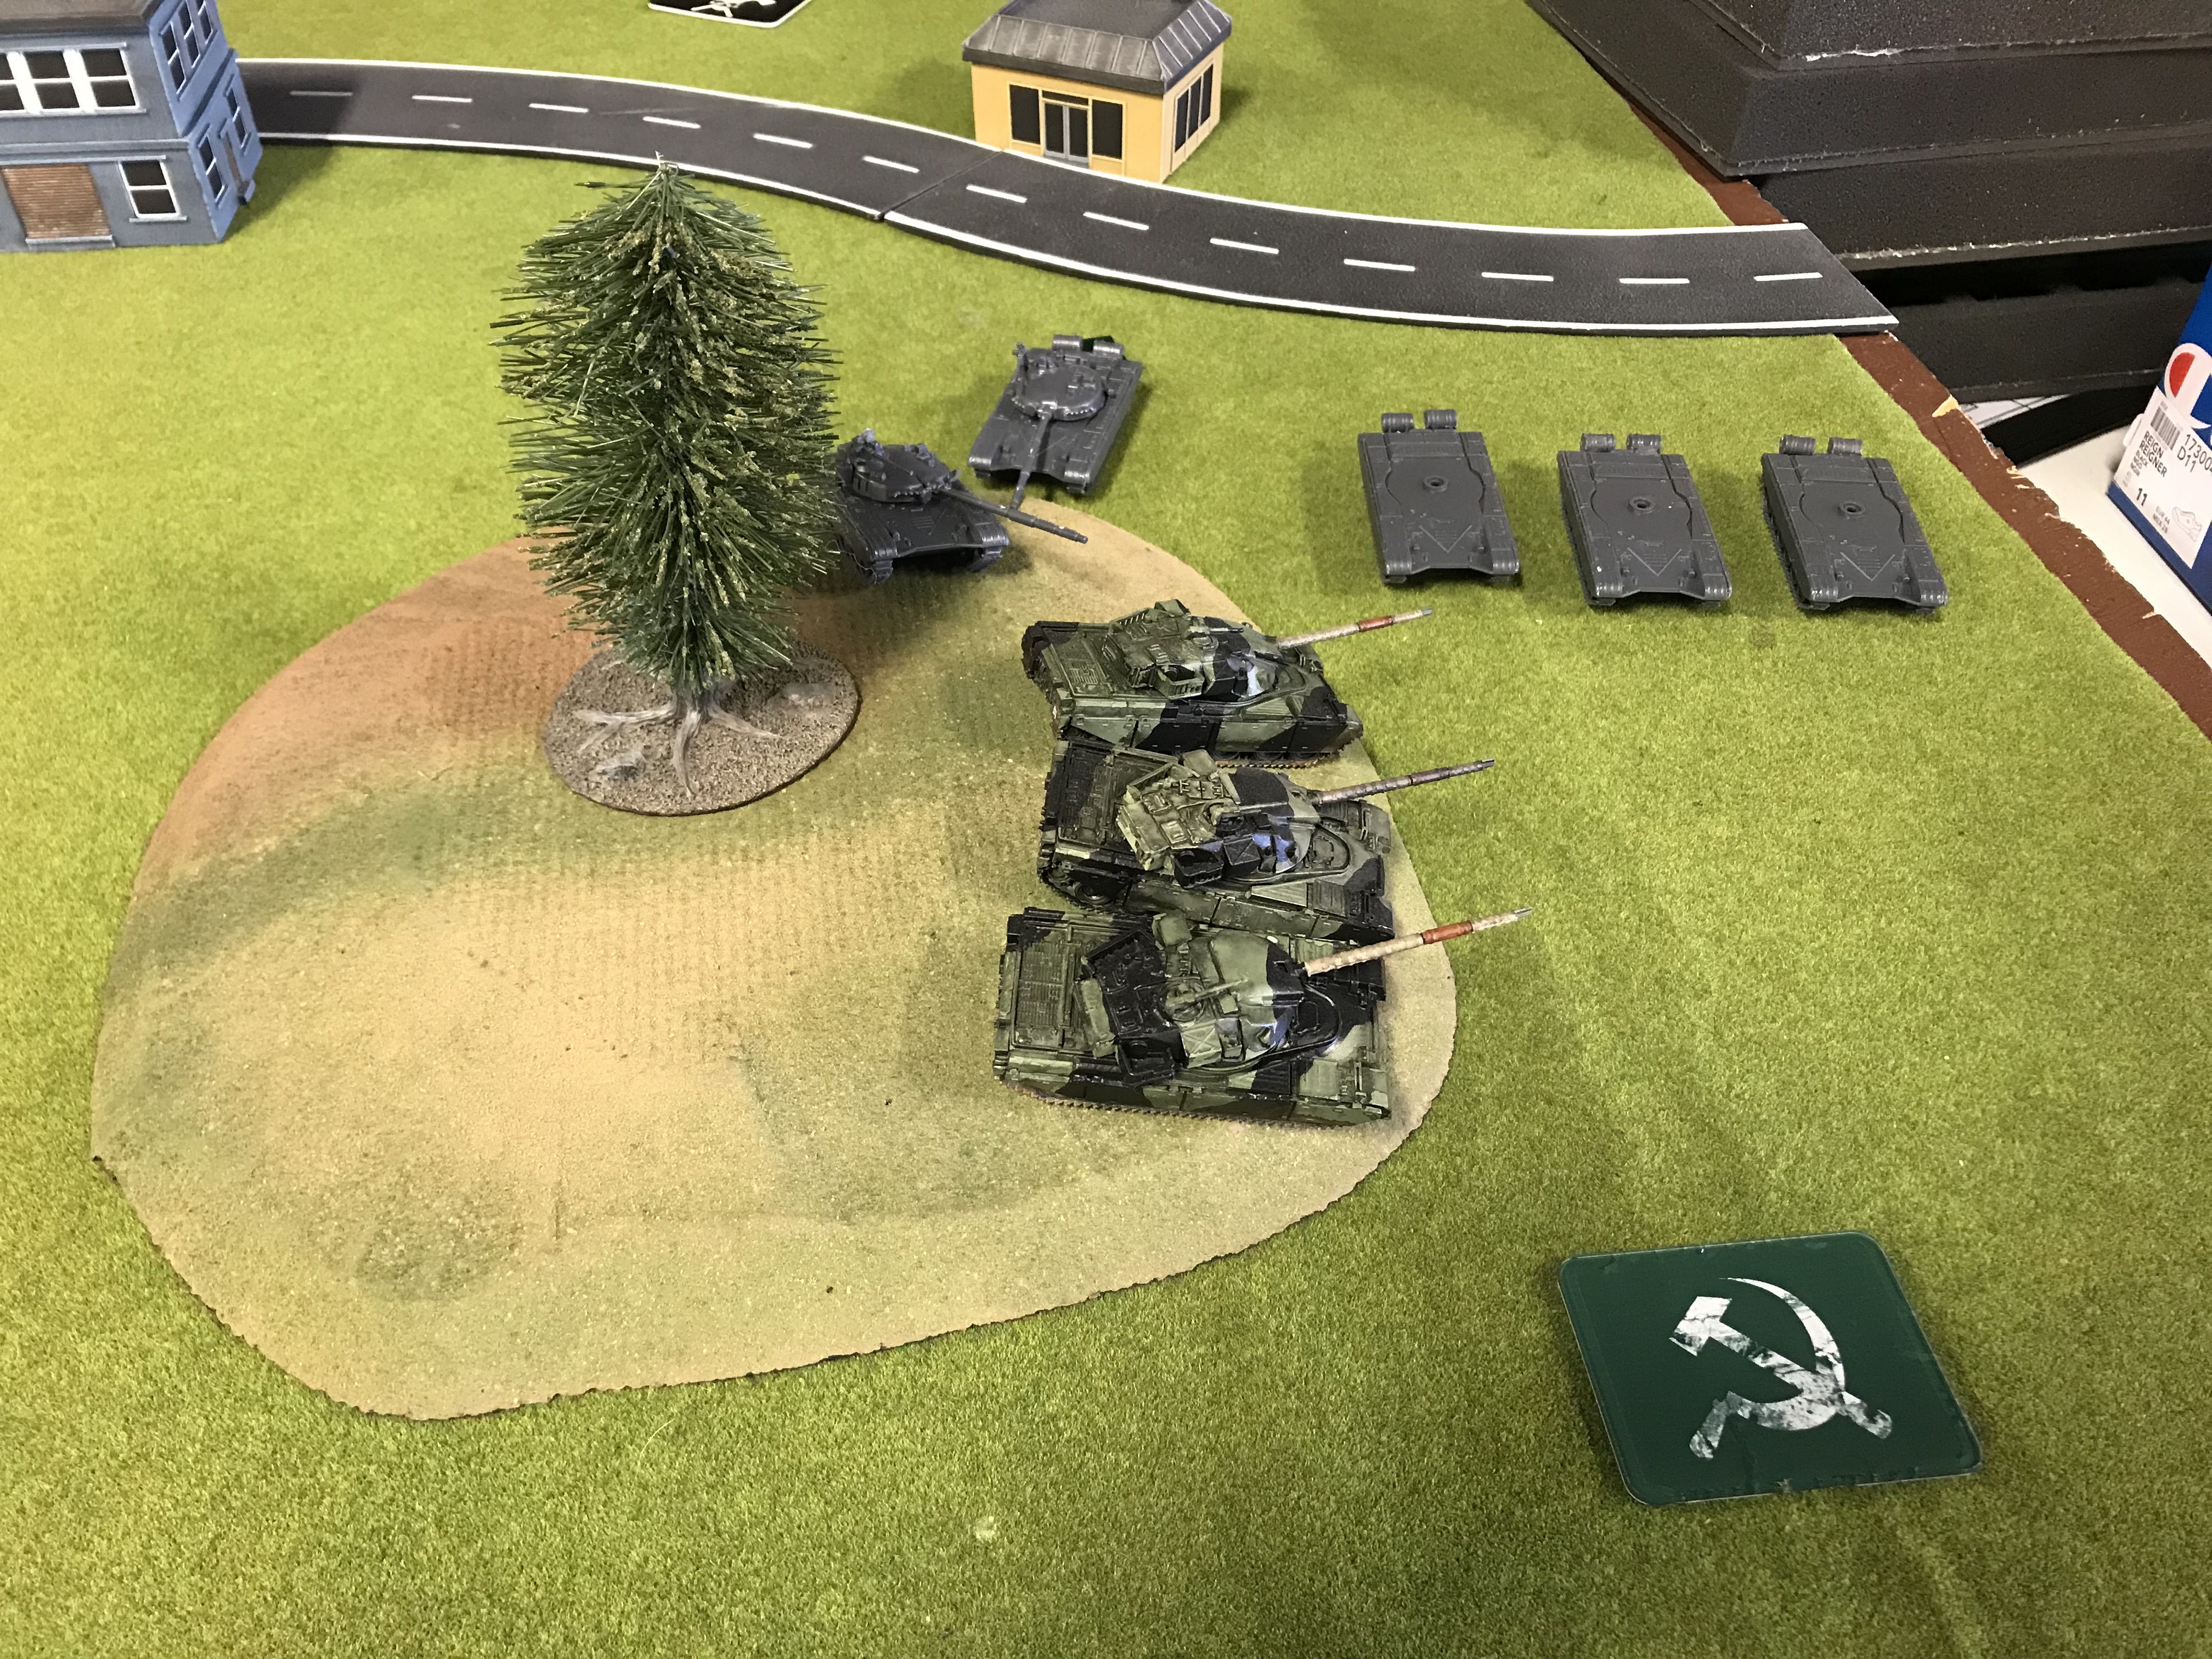
1 T72 Commander
3 T-72 platoons of 5 tanks each
1 BMP-2 Scout Platoon
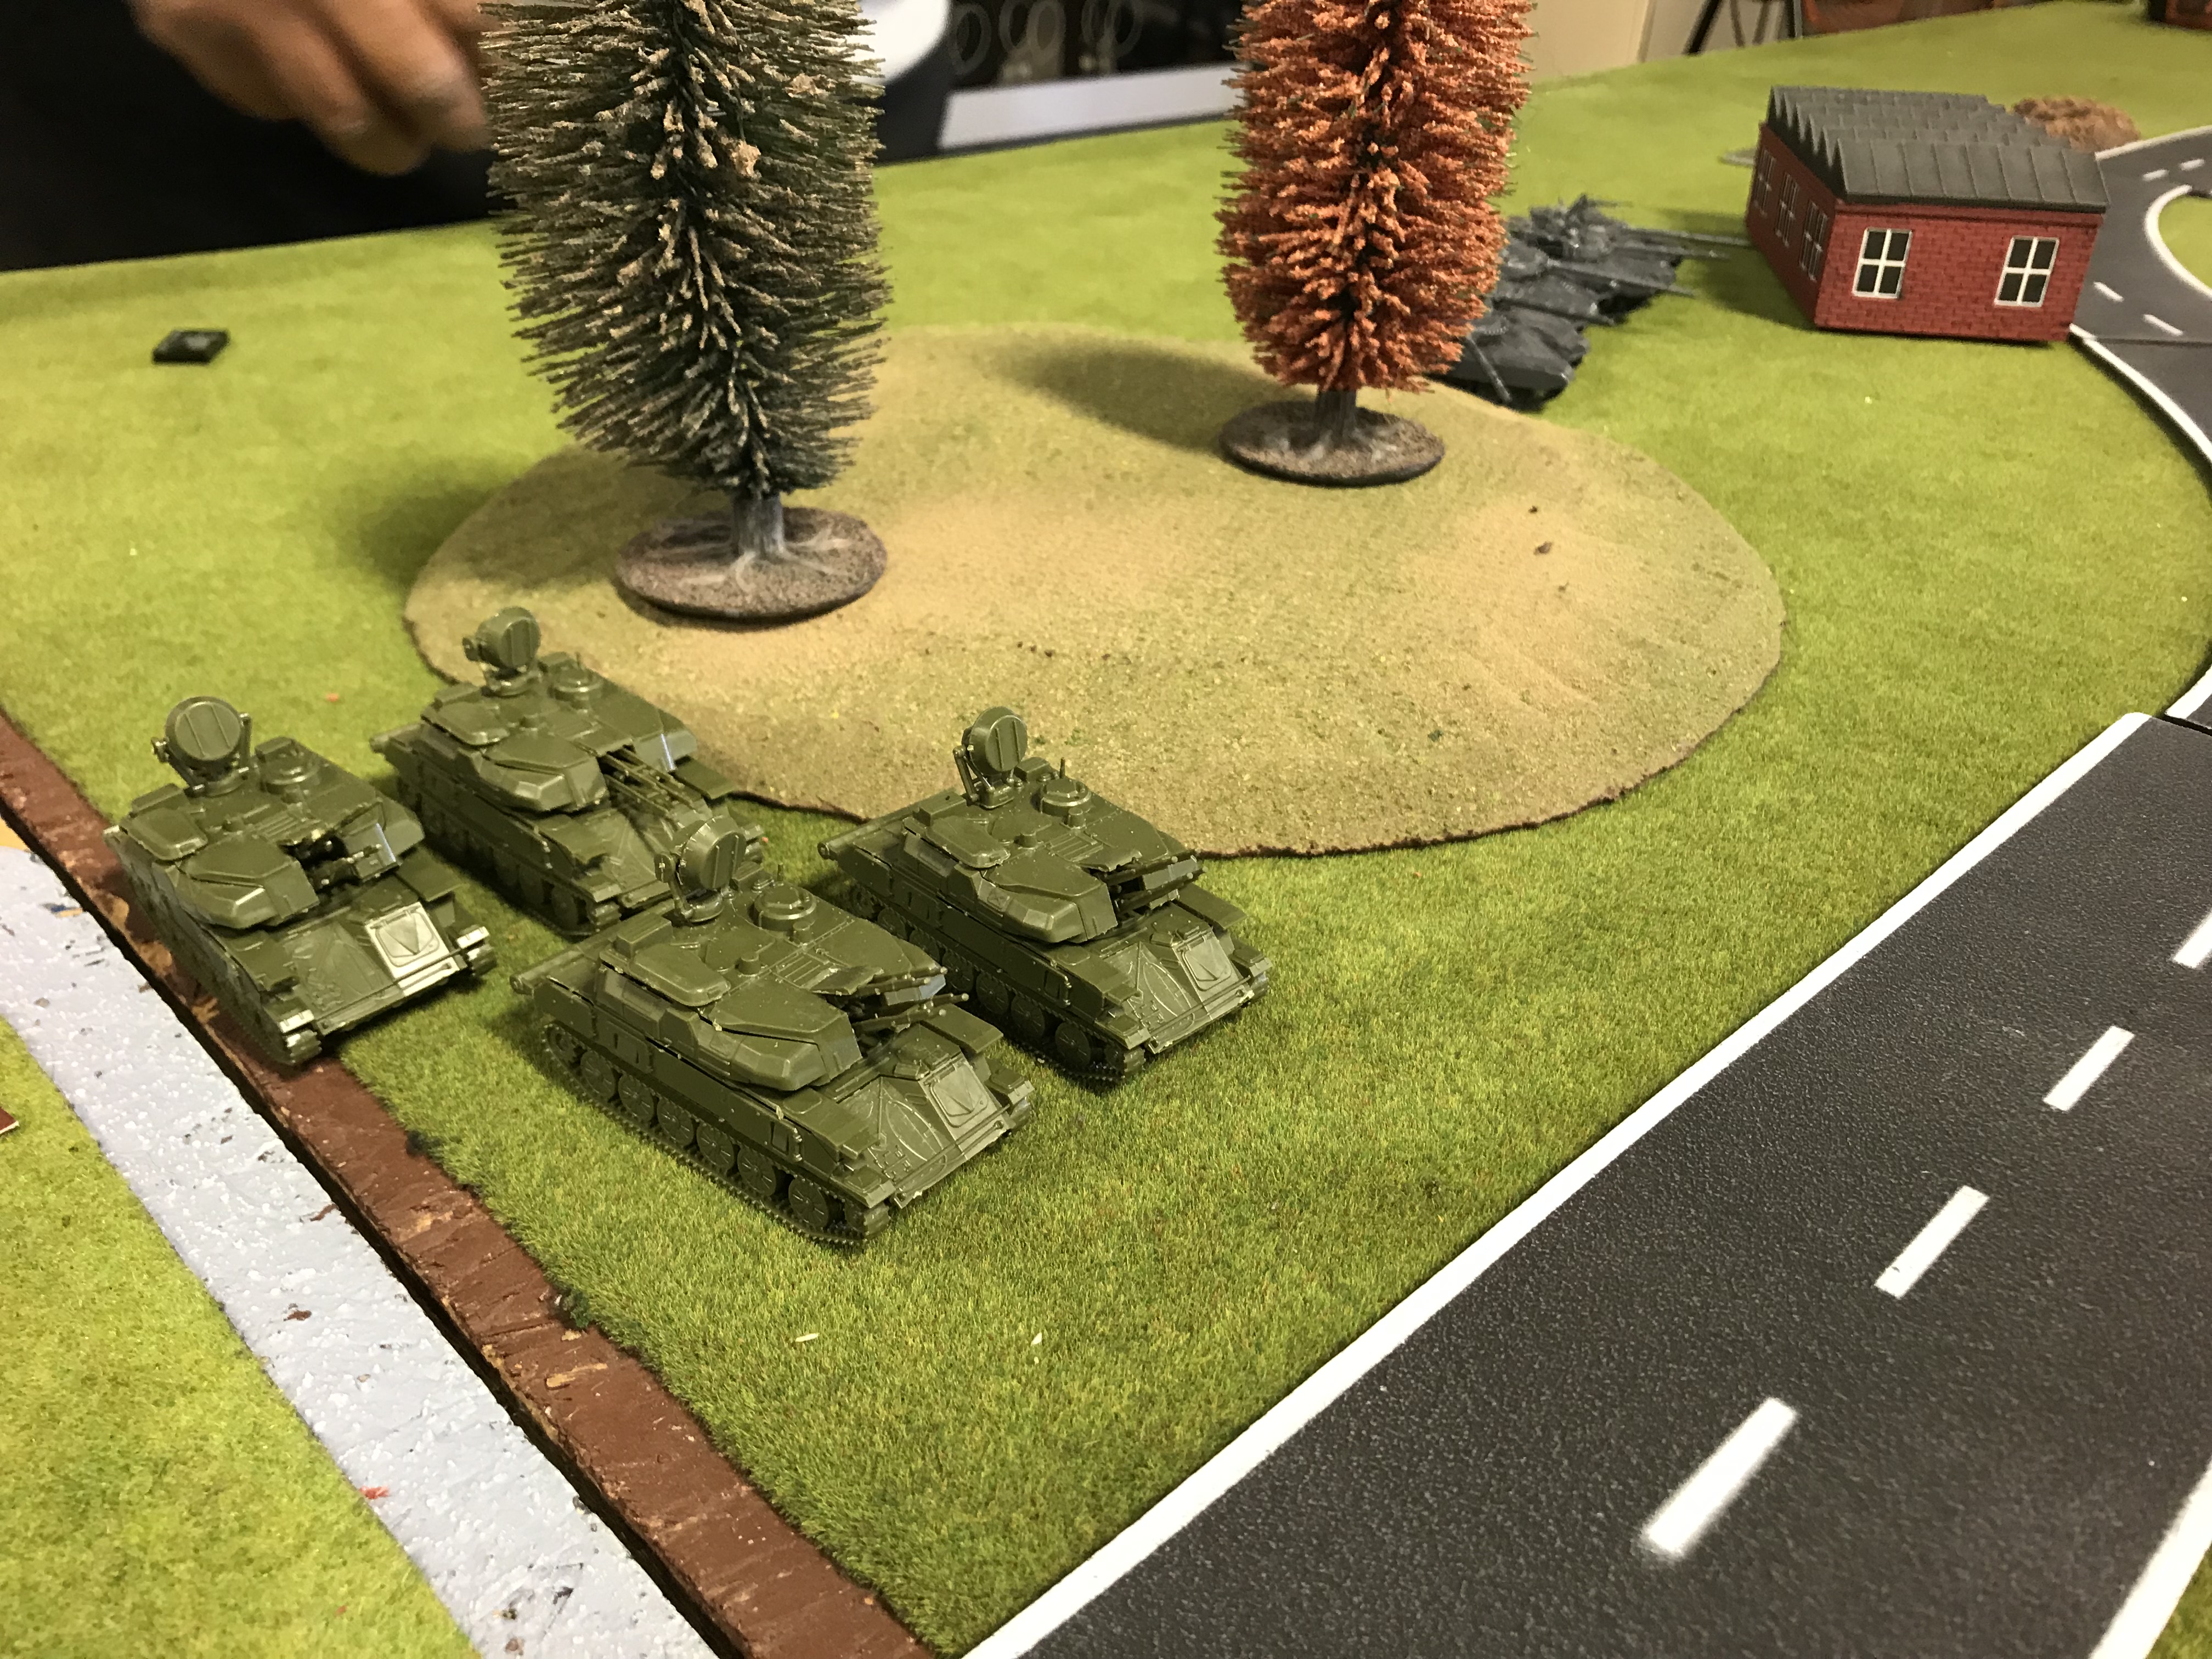
1 ZSU-32 platoon of 5
British OOB:
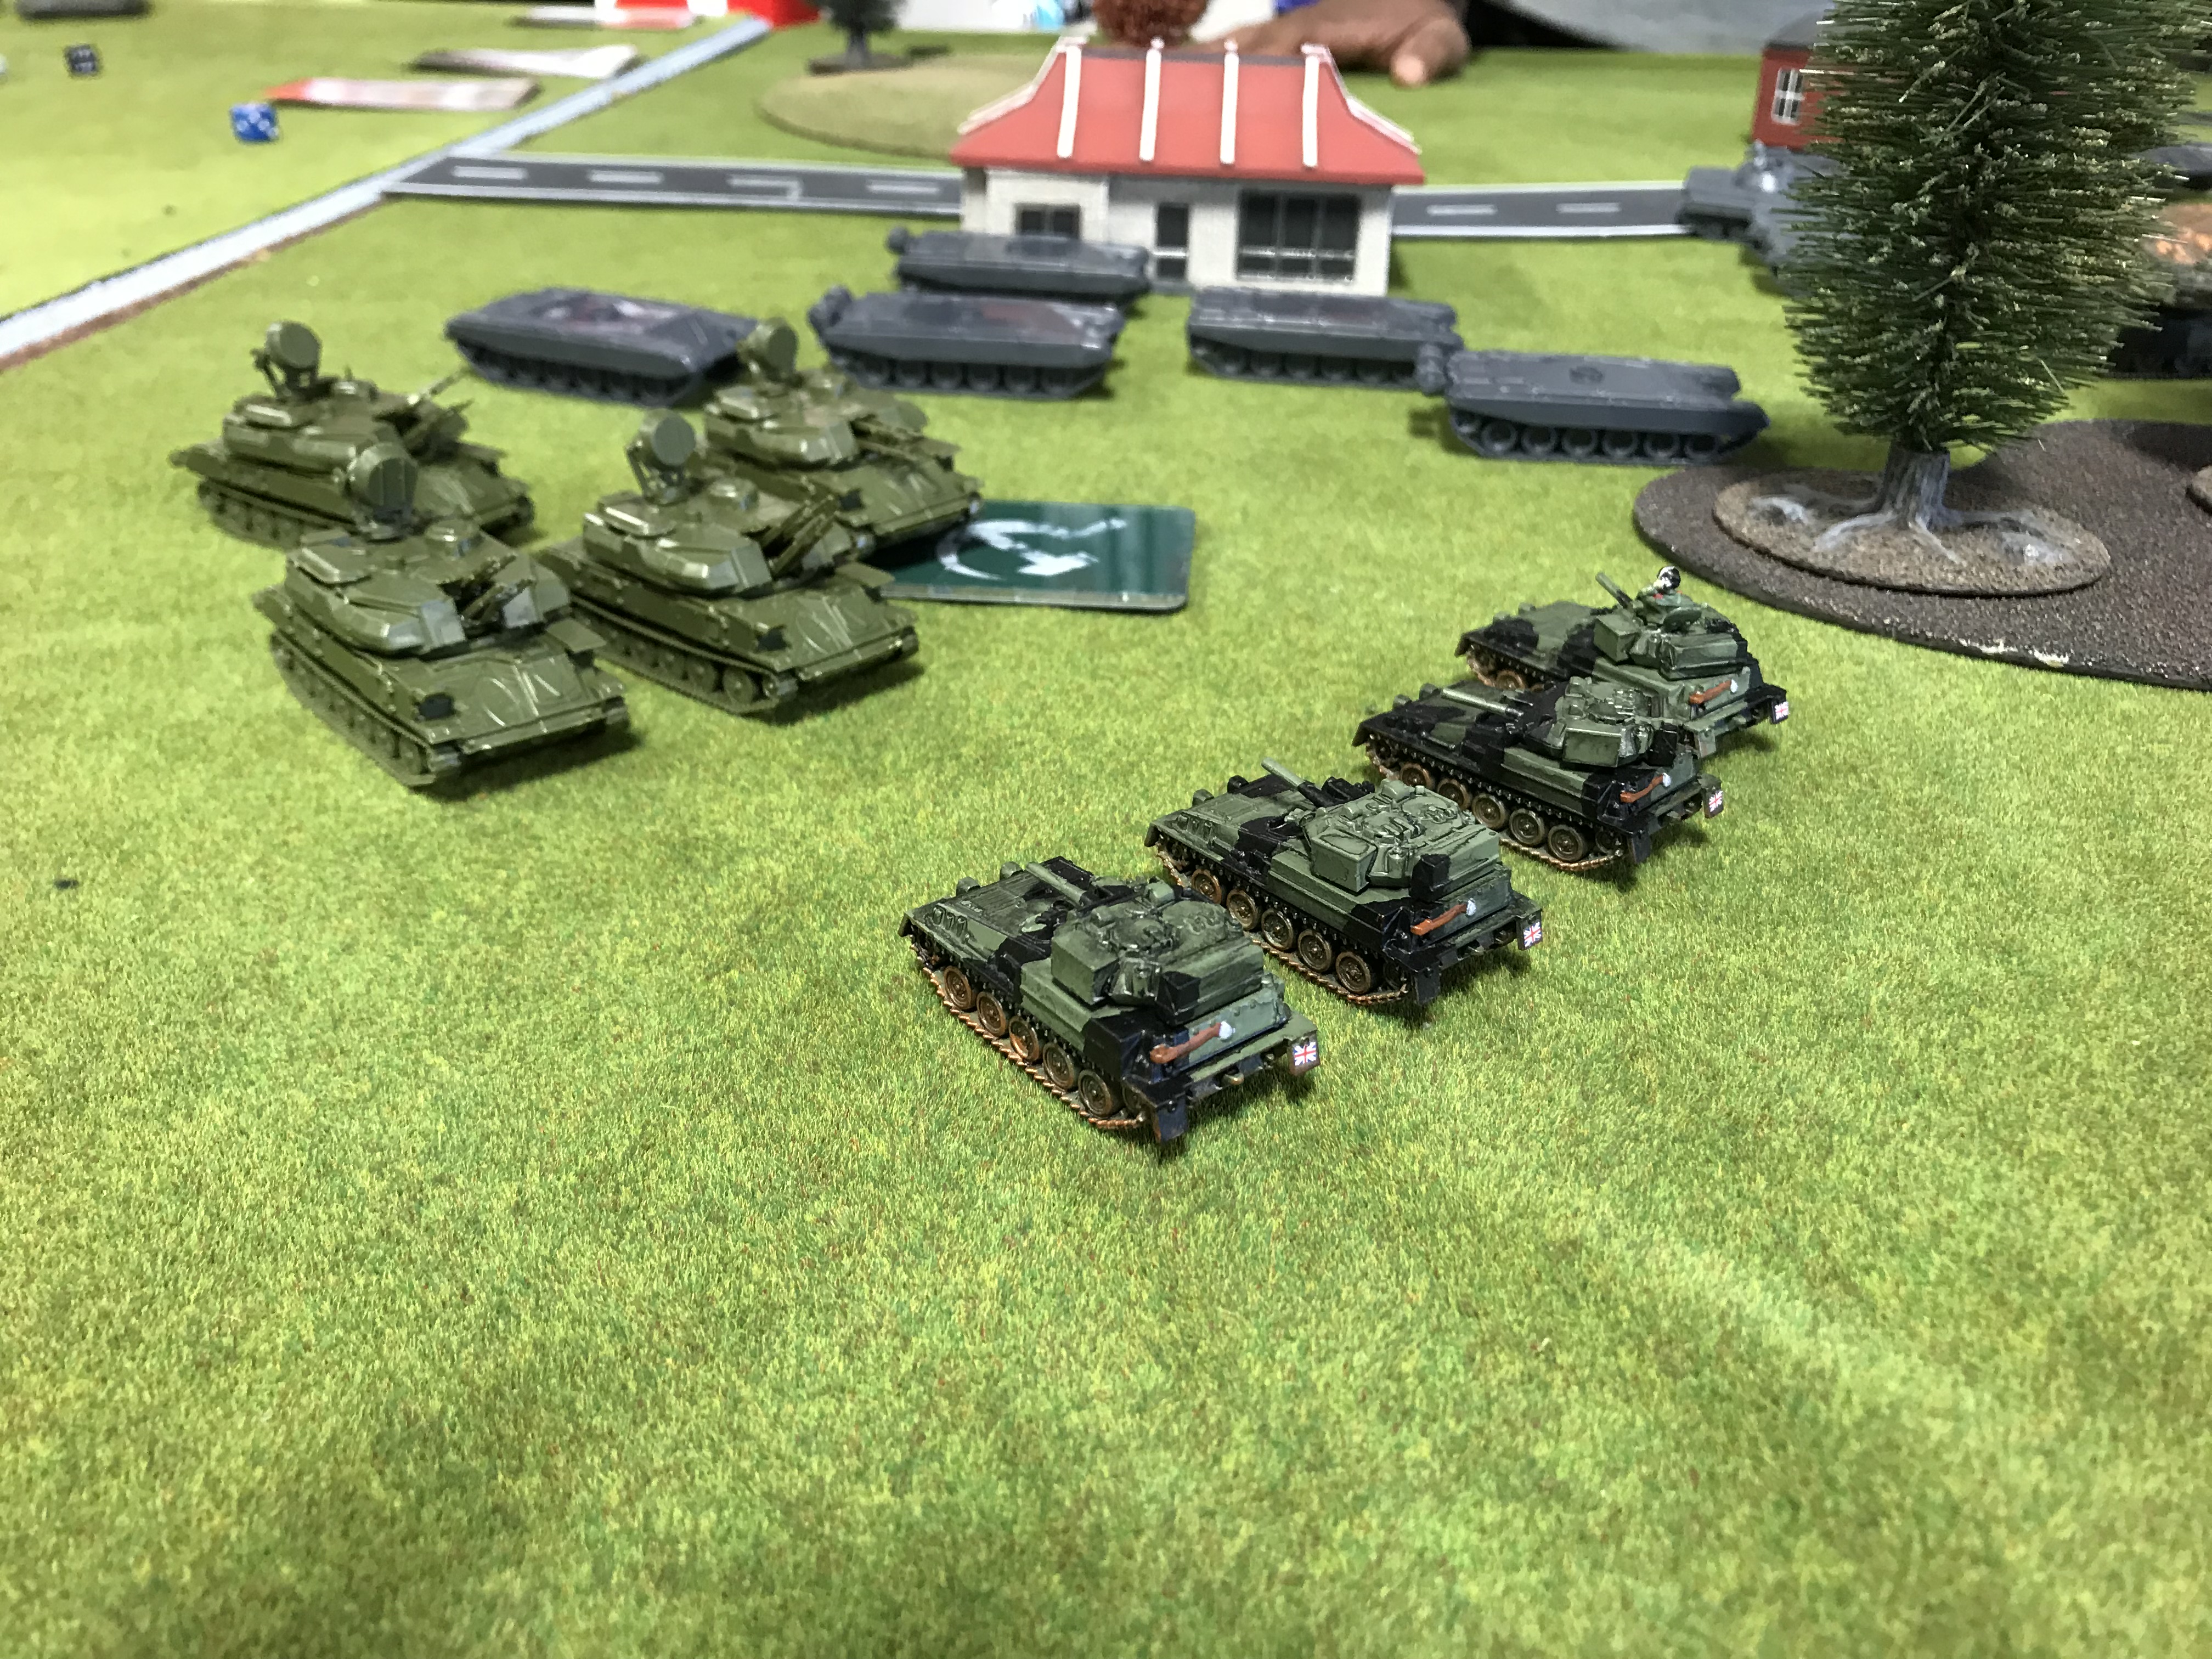
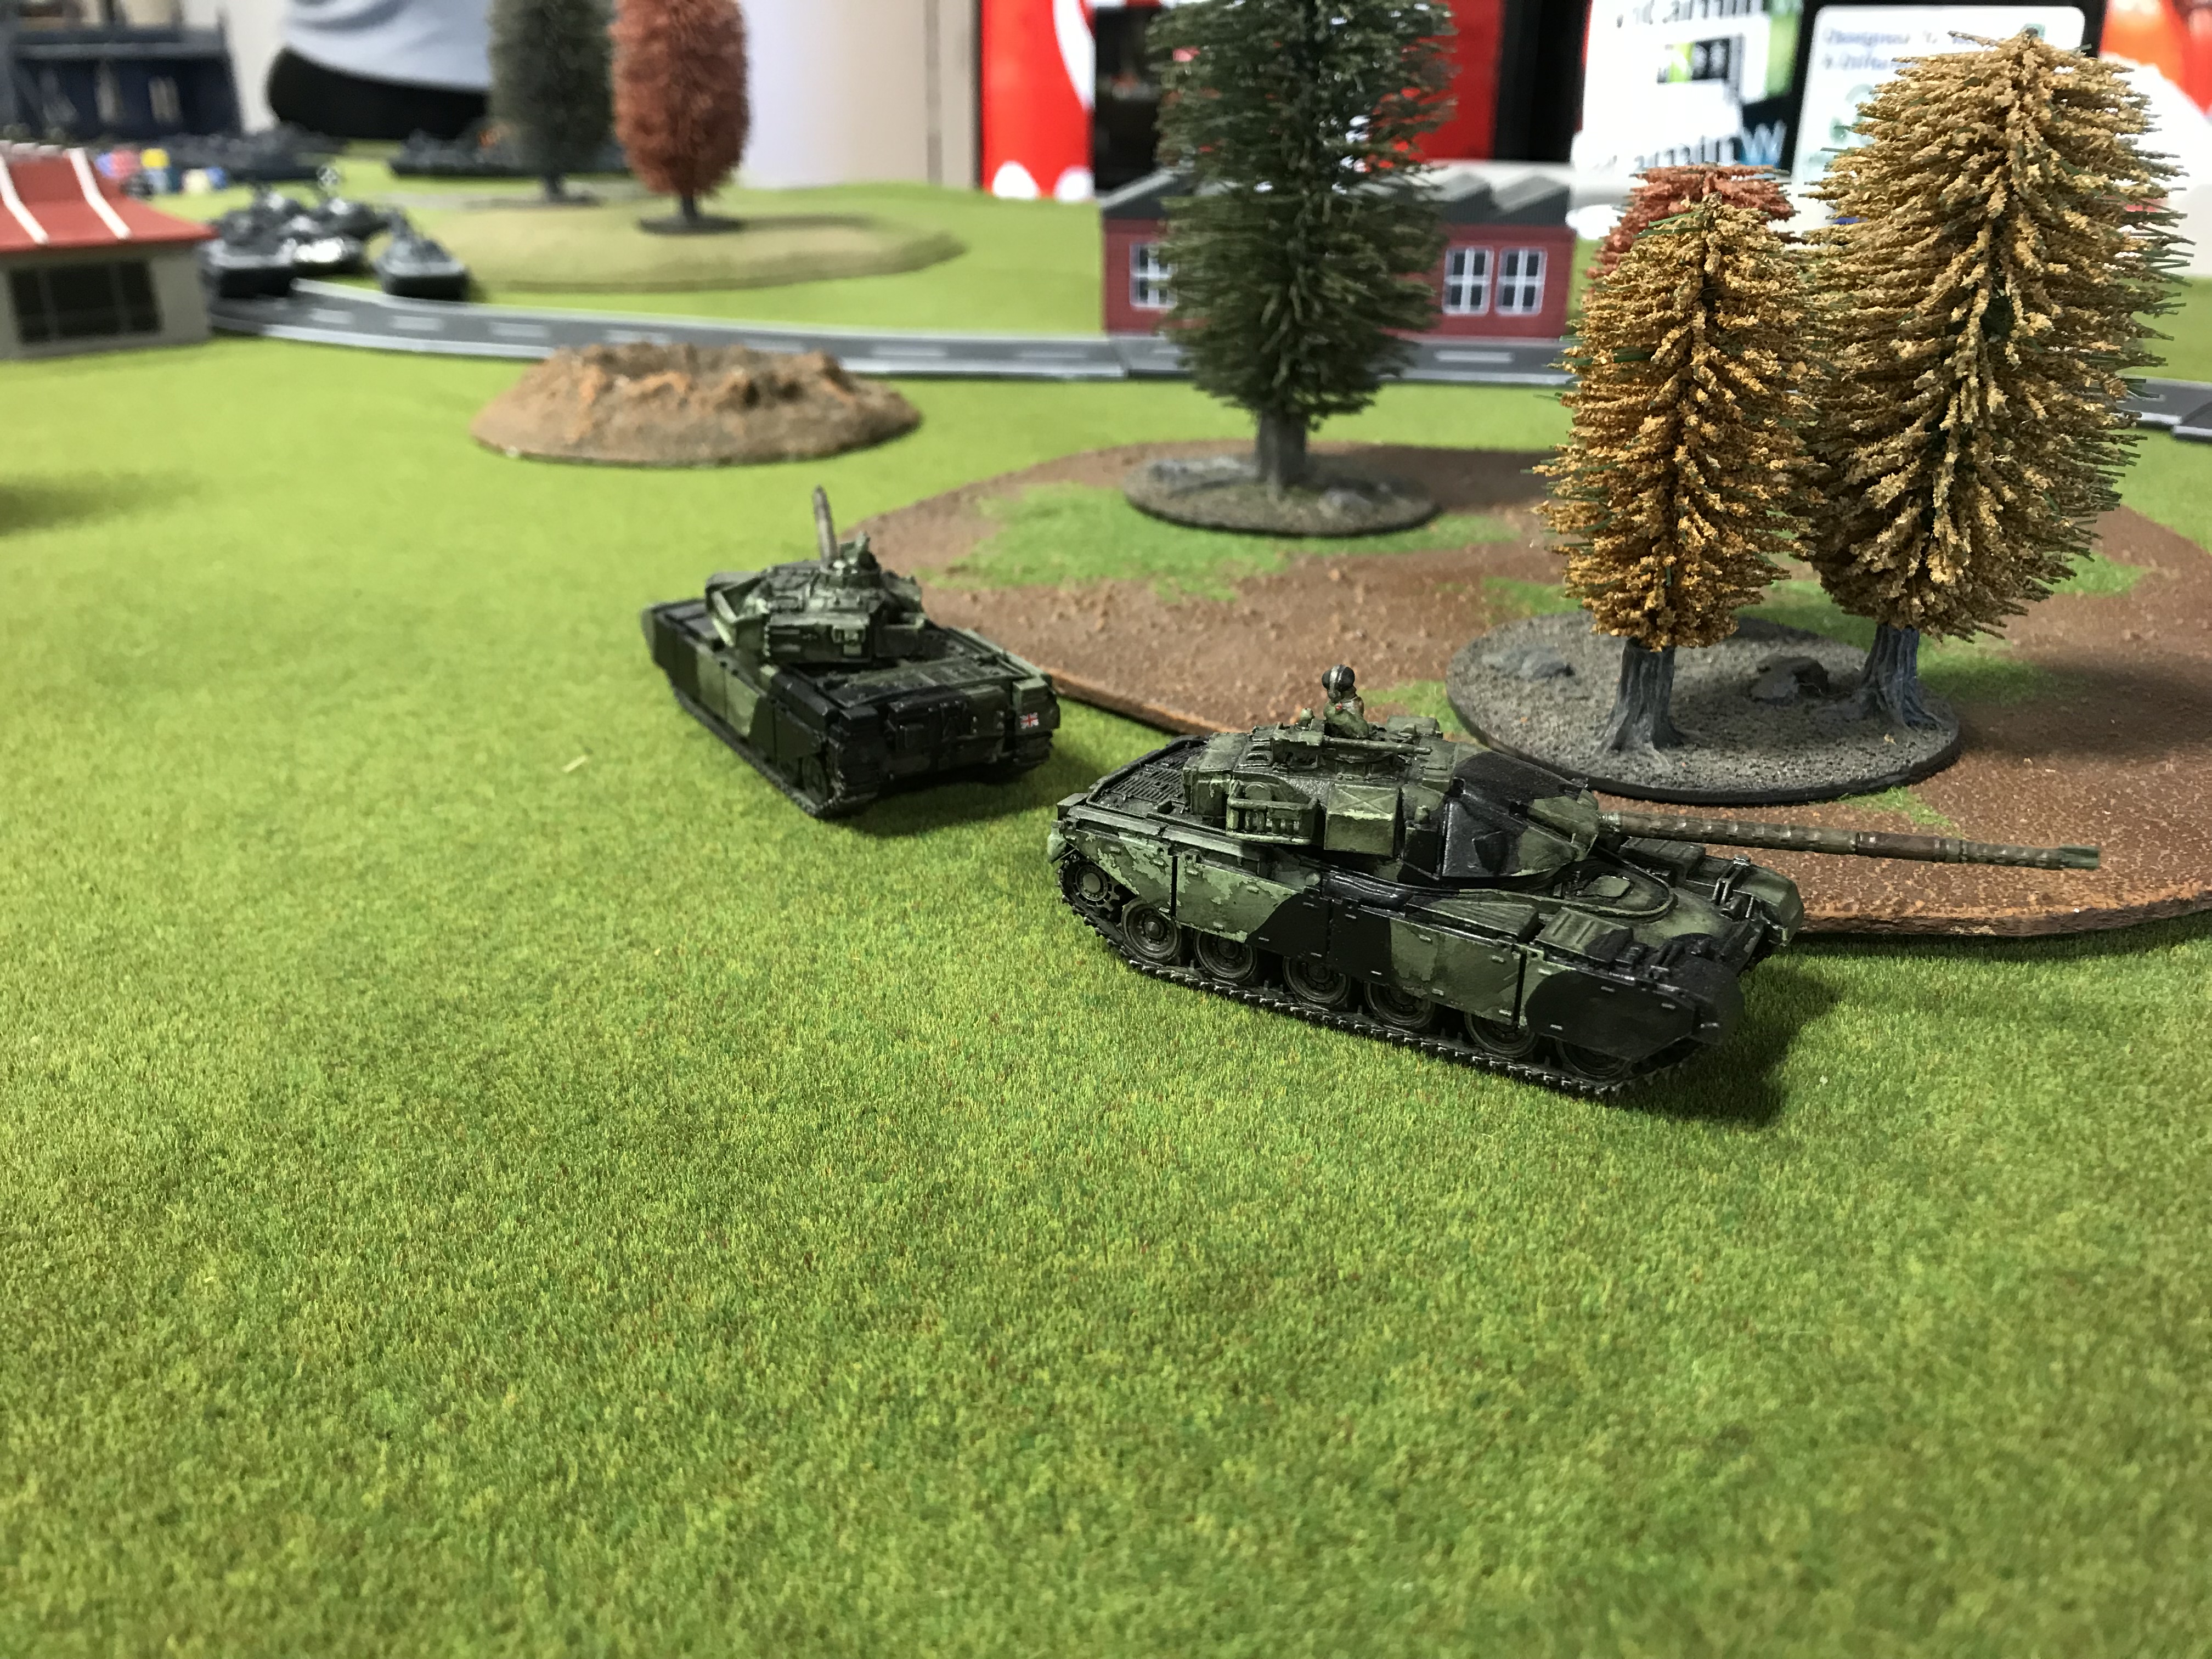
1 Chieftain command platoon of 2 Chieftains with Stillbrew
2 Chieftain platoons each of 3 tanks with Stillbrew
1 Scorpion Recon Squad with 4 Vehicles
1 Lynx TOW Platoon as divisional support with 2 Lynxs
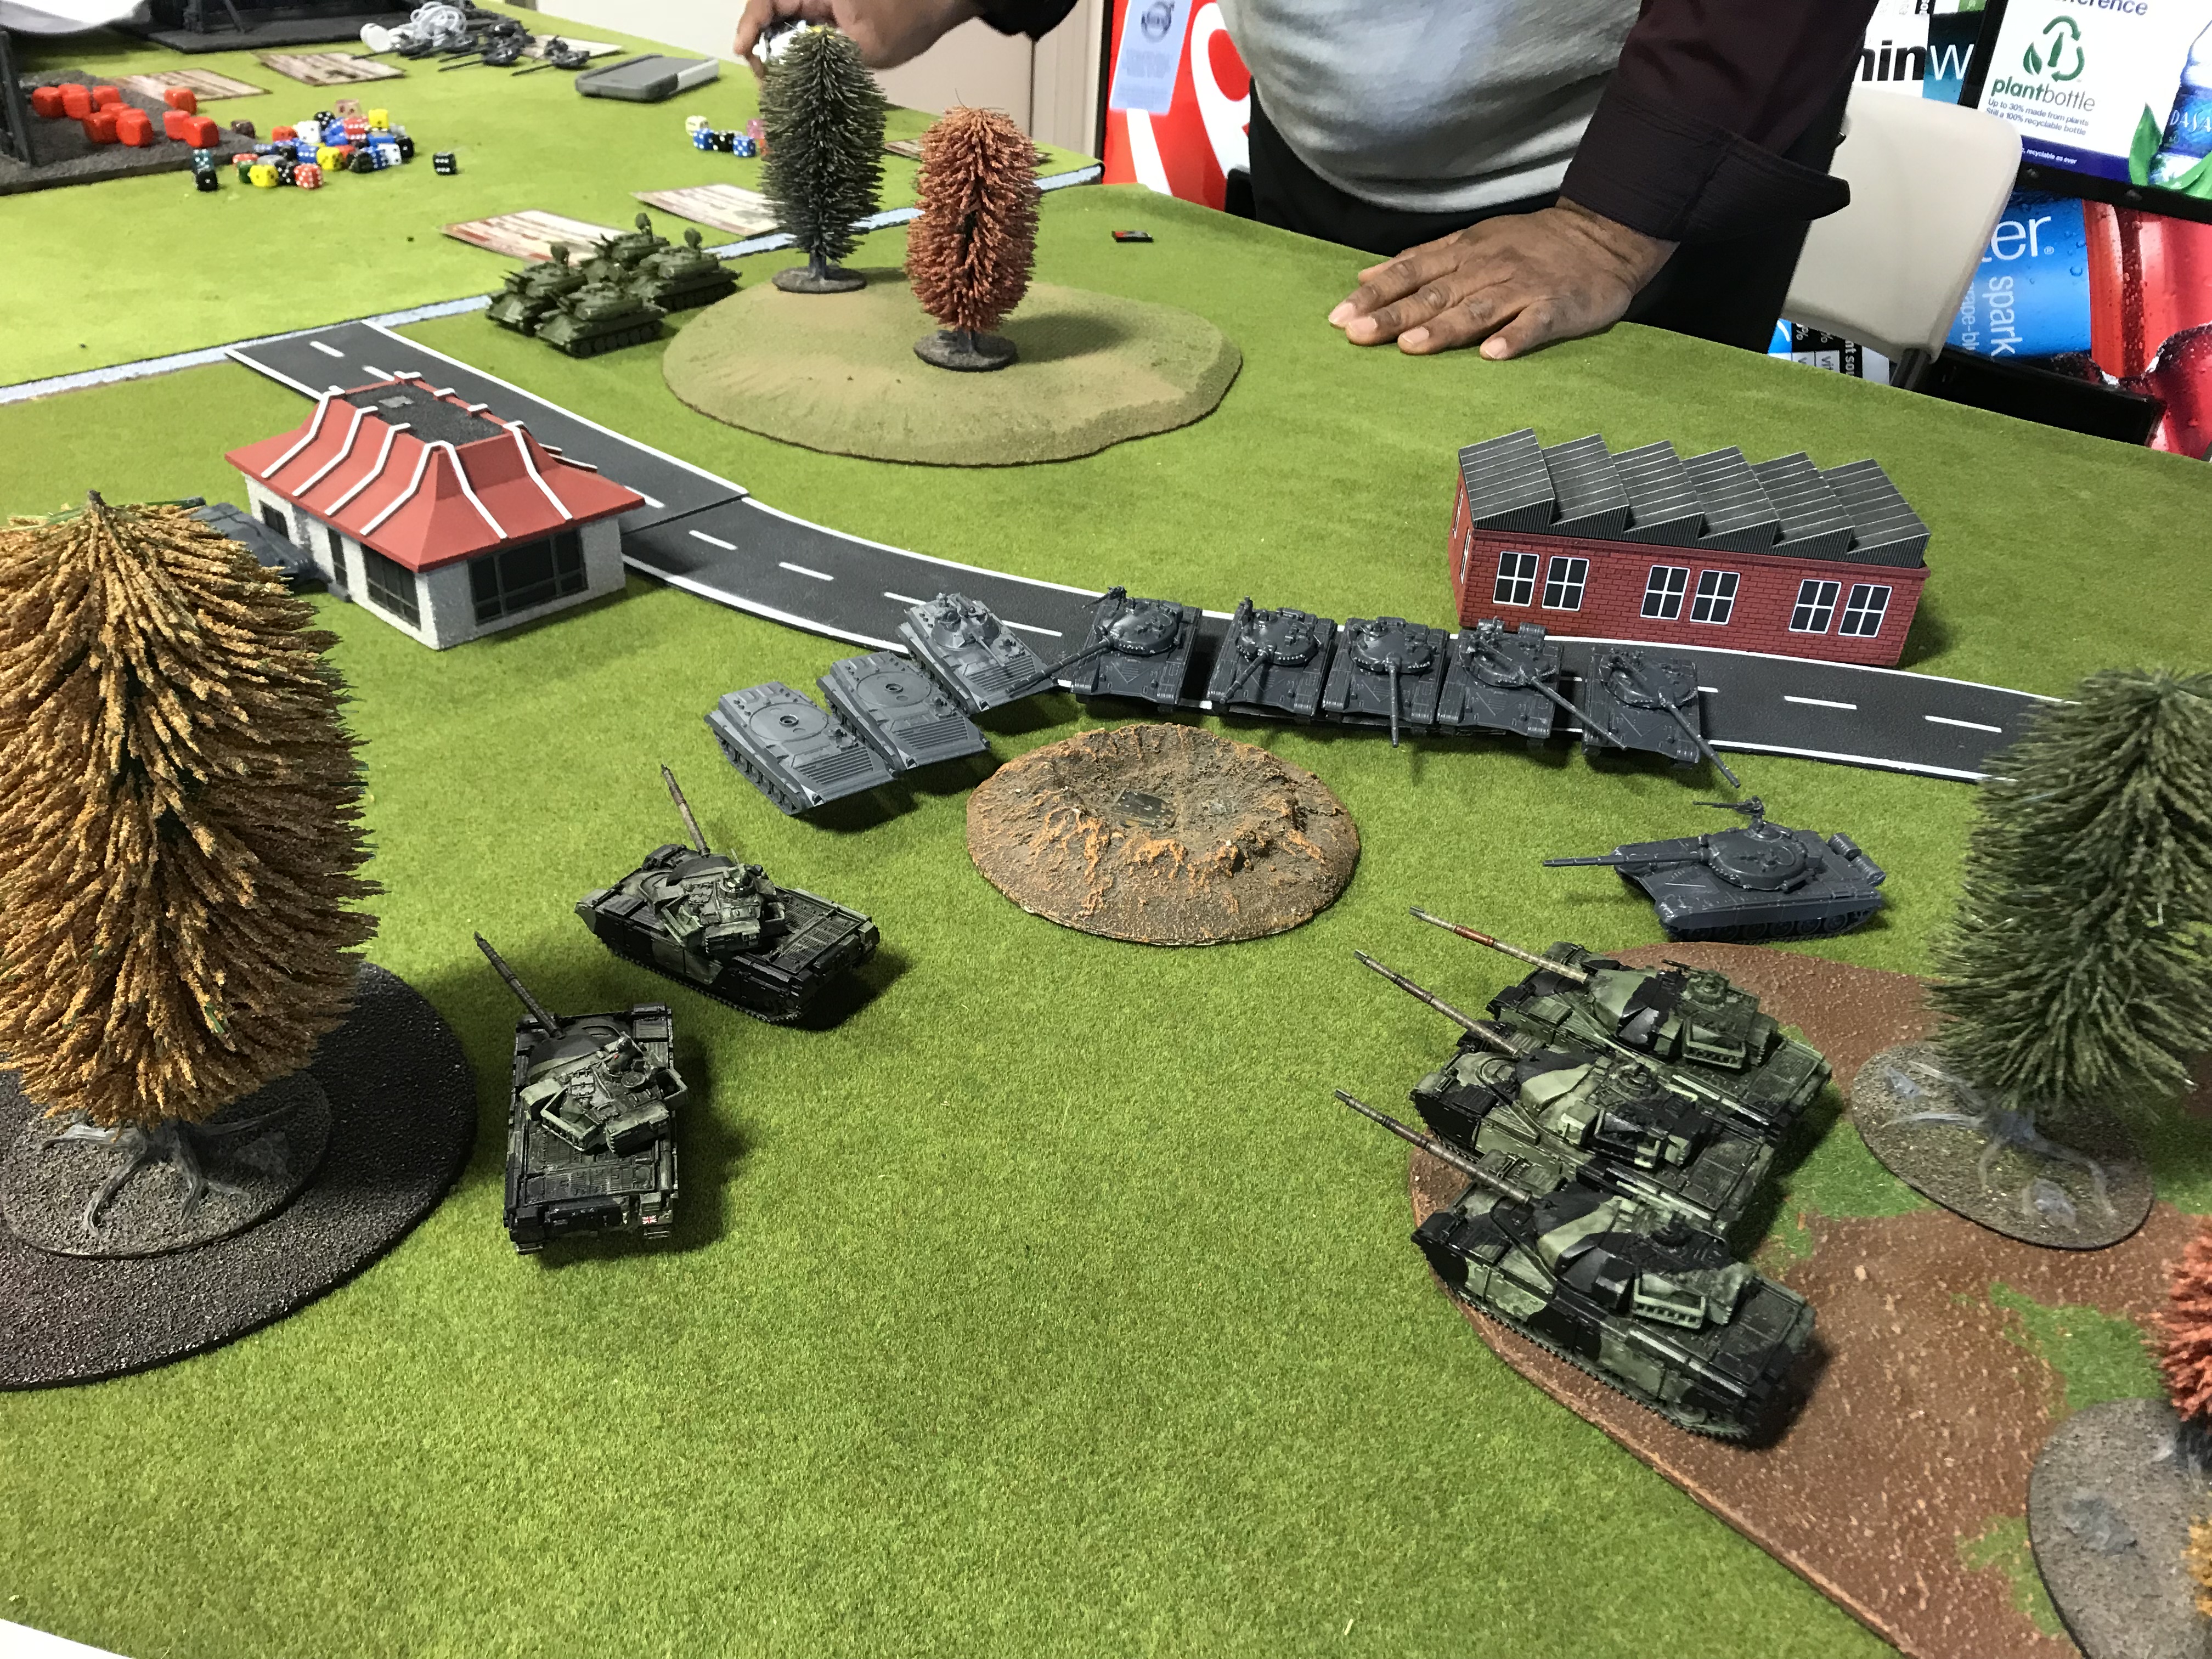
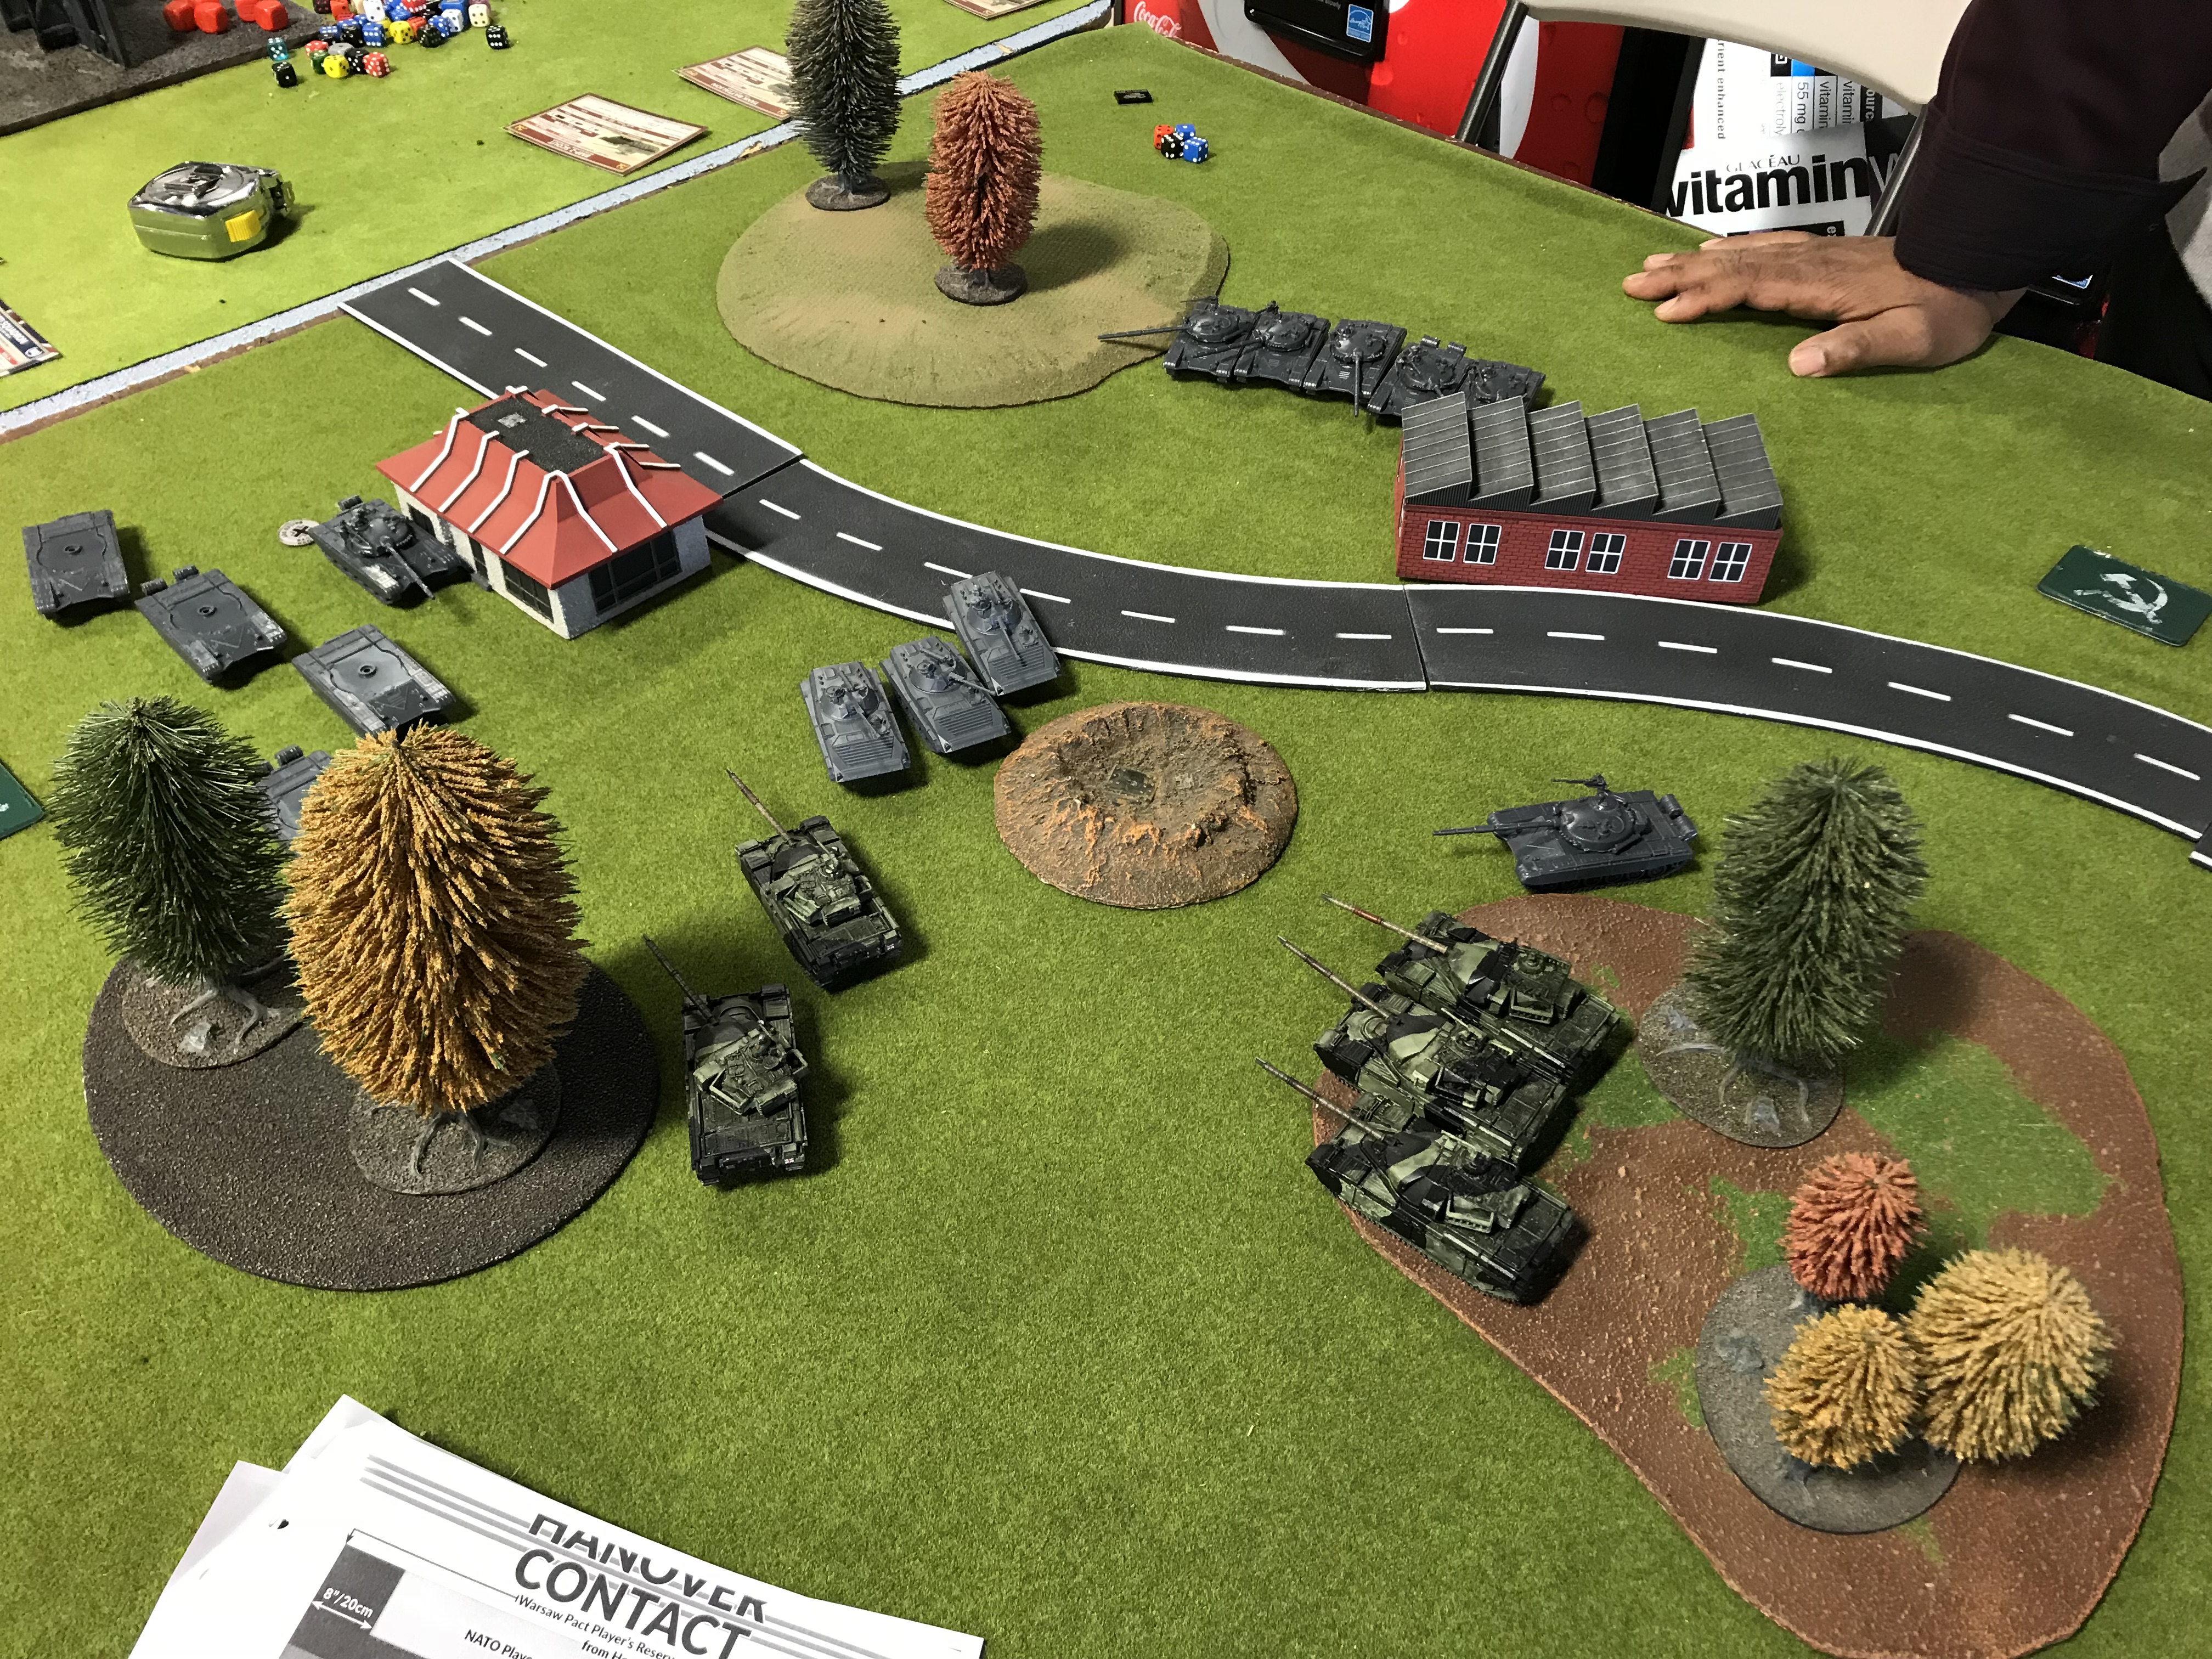
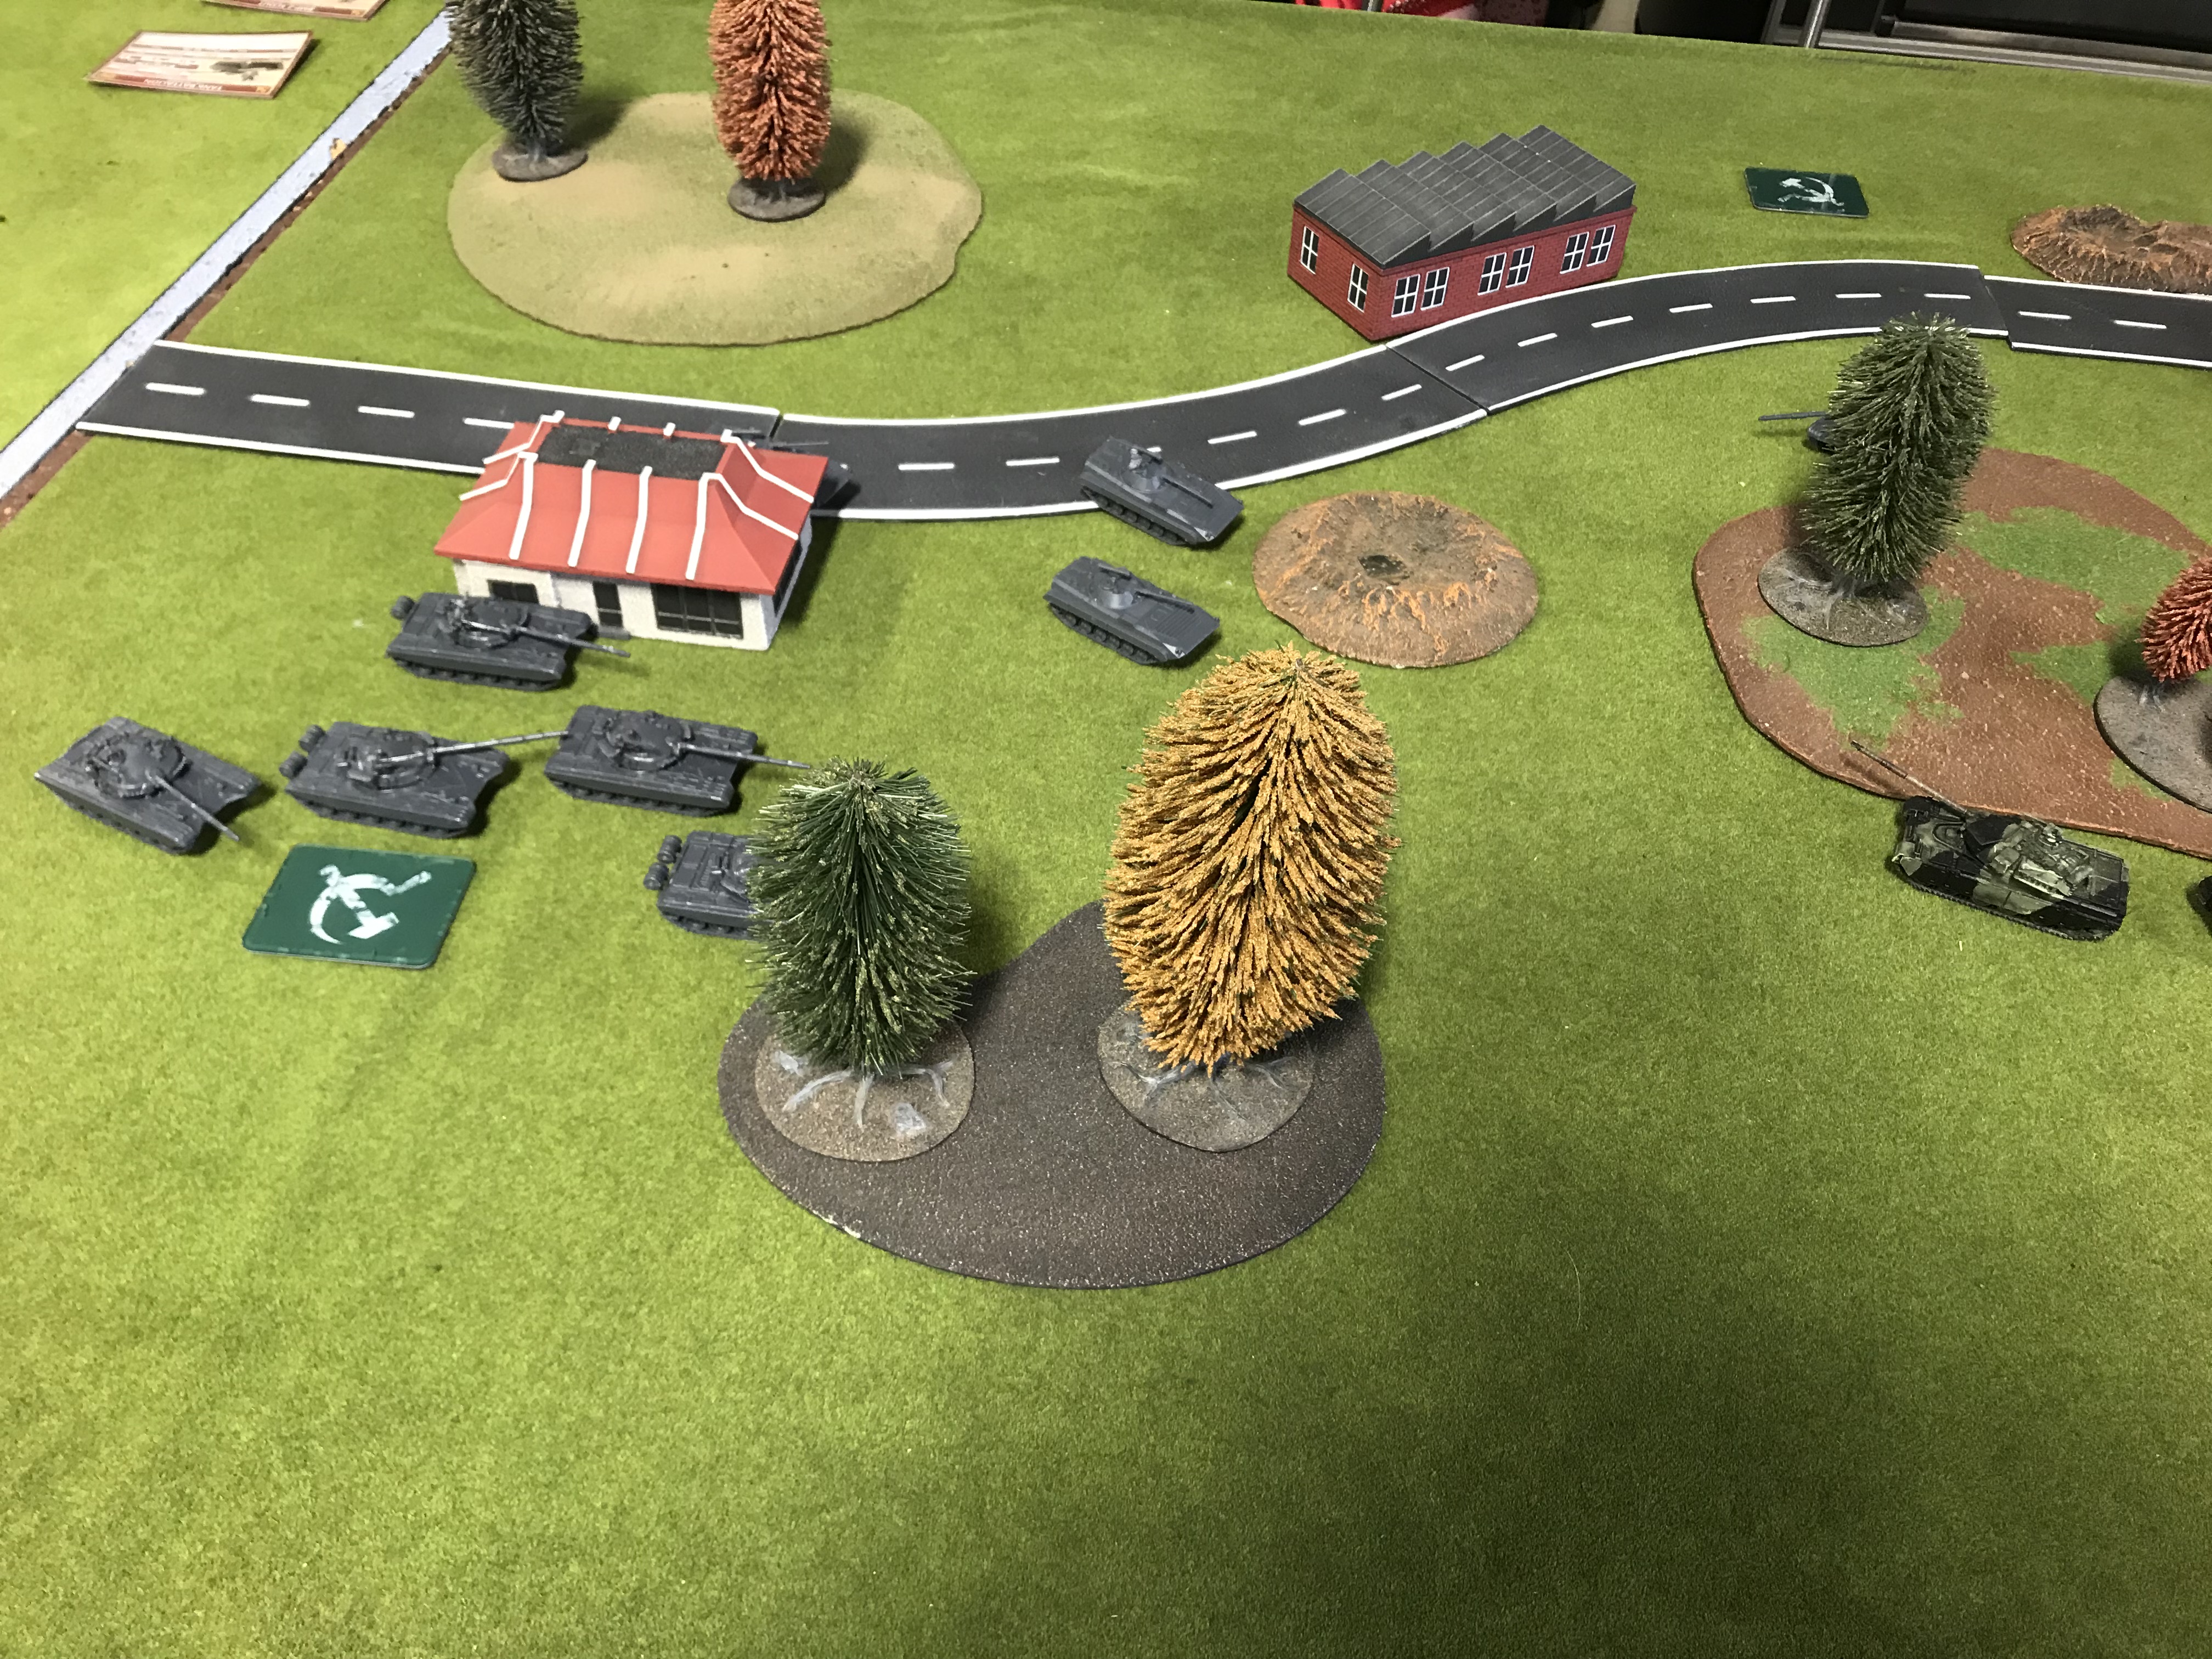
Predictably outnumbered by the Soviet forces arrayed against them, the defending British wisely decided to place ambushes at key zones in the area and deployed their command platoon (2 Chieftains) in a central position that was able to support either flank with firepower as needed. The game was to be fought under night fighting conditions and the objectives that the British needed to defend were at opposite ends of their deployment zone, so the lancers were spread out thin and the situation throughout the line was tense as the lads quietly/sternly prepared their positions and awaited the mayhem to come. Before too long, contact was reported from forward elements in the line and the game was on! The Warsaw Pact forces concentrated the bulk of their units against the left British objective. They player took advantage of their Immediate Reserves and promptly rolled a 5, bringing in an additional T-72 platoon on the British right flank to begin the push towards the right most objective. The thrust was rapid, and determined. By the end of his first turn (the Warsaw Pact went first in this scenario,) the Soviet player had an entire T-72 platoon contesting the left British objective after a tactical move of 14” and with BMP-2 support to their left. Using their stabilizers to improve accuracy during the rapid advance, they let off a volley on the British 2iC huddled behind the central wood. With the effects of darkness taking its toll, the T-72s failed to make out the lone target, and missed their shots. The T-72s to the British right made a general advance as well.
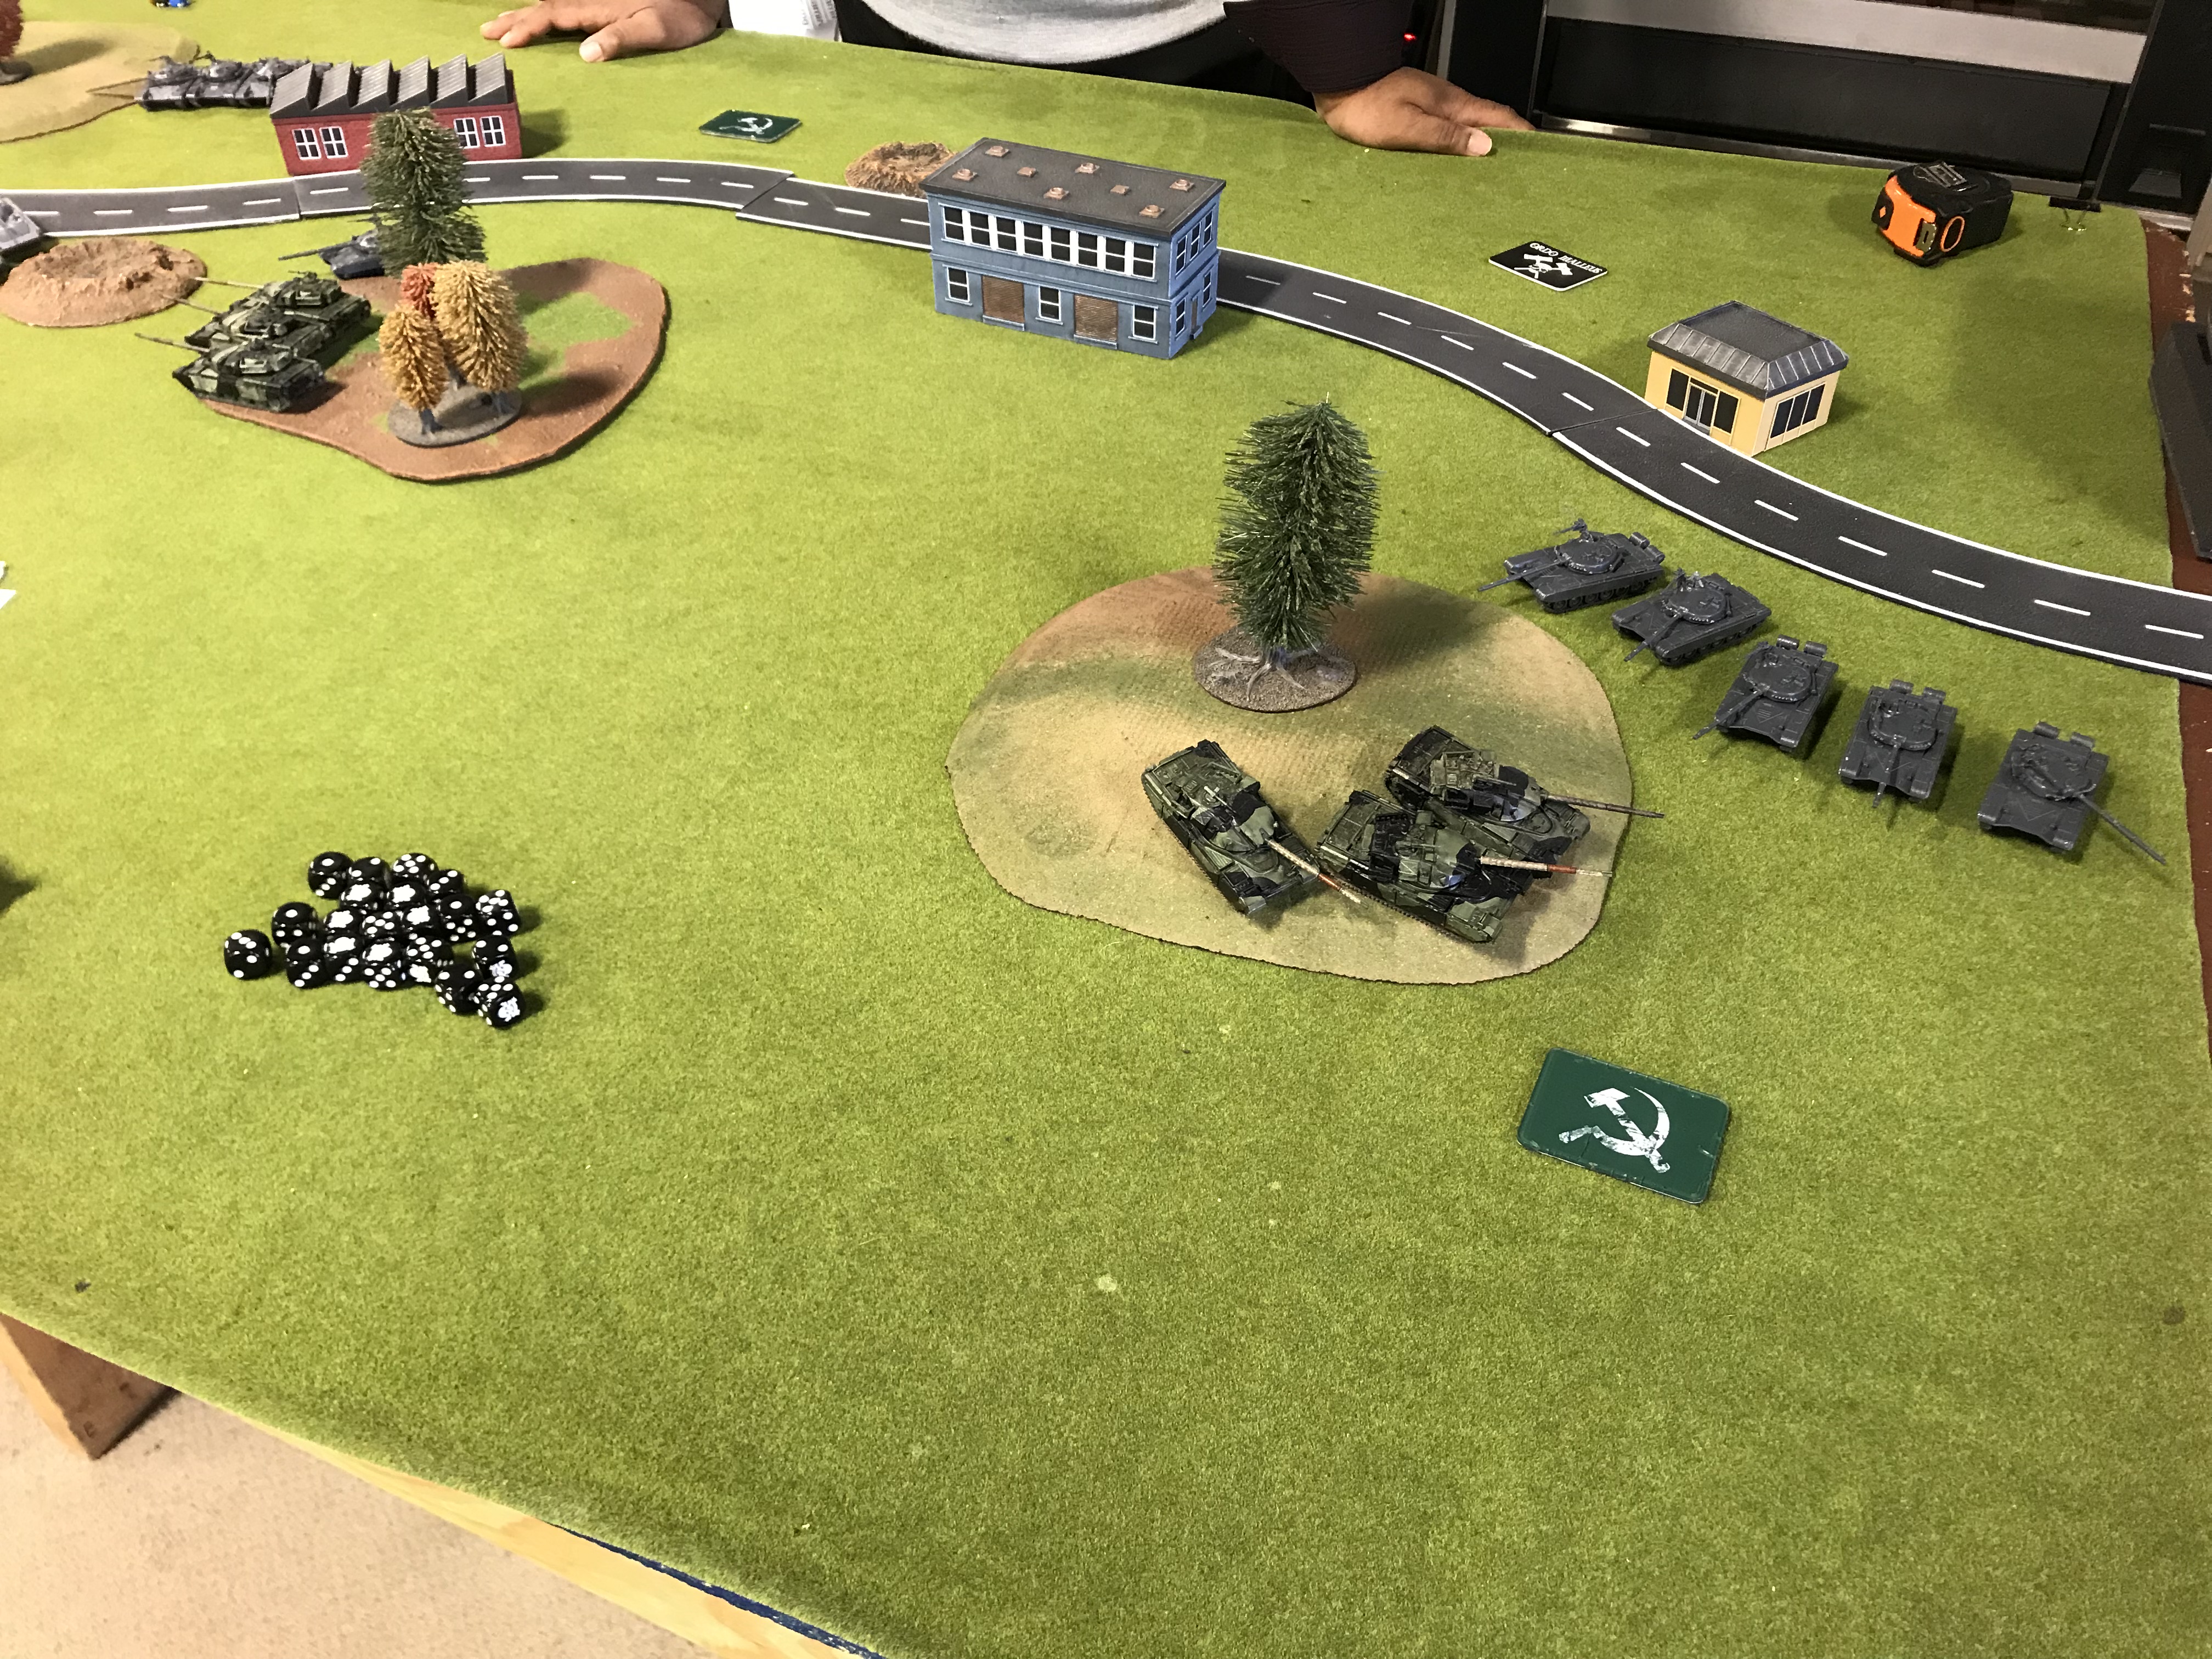
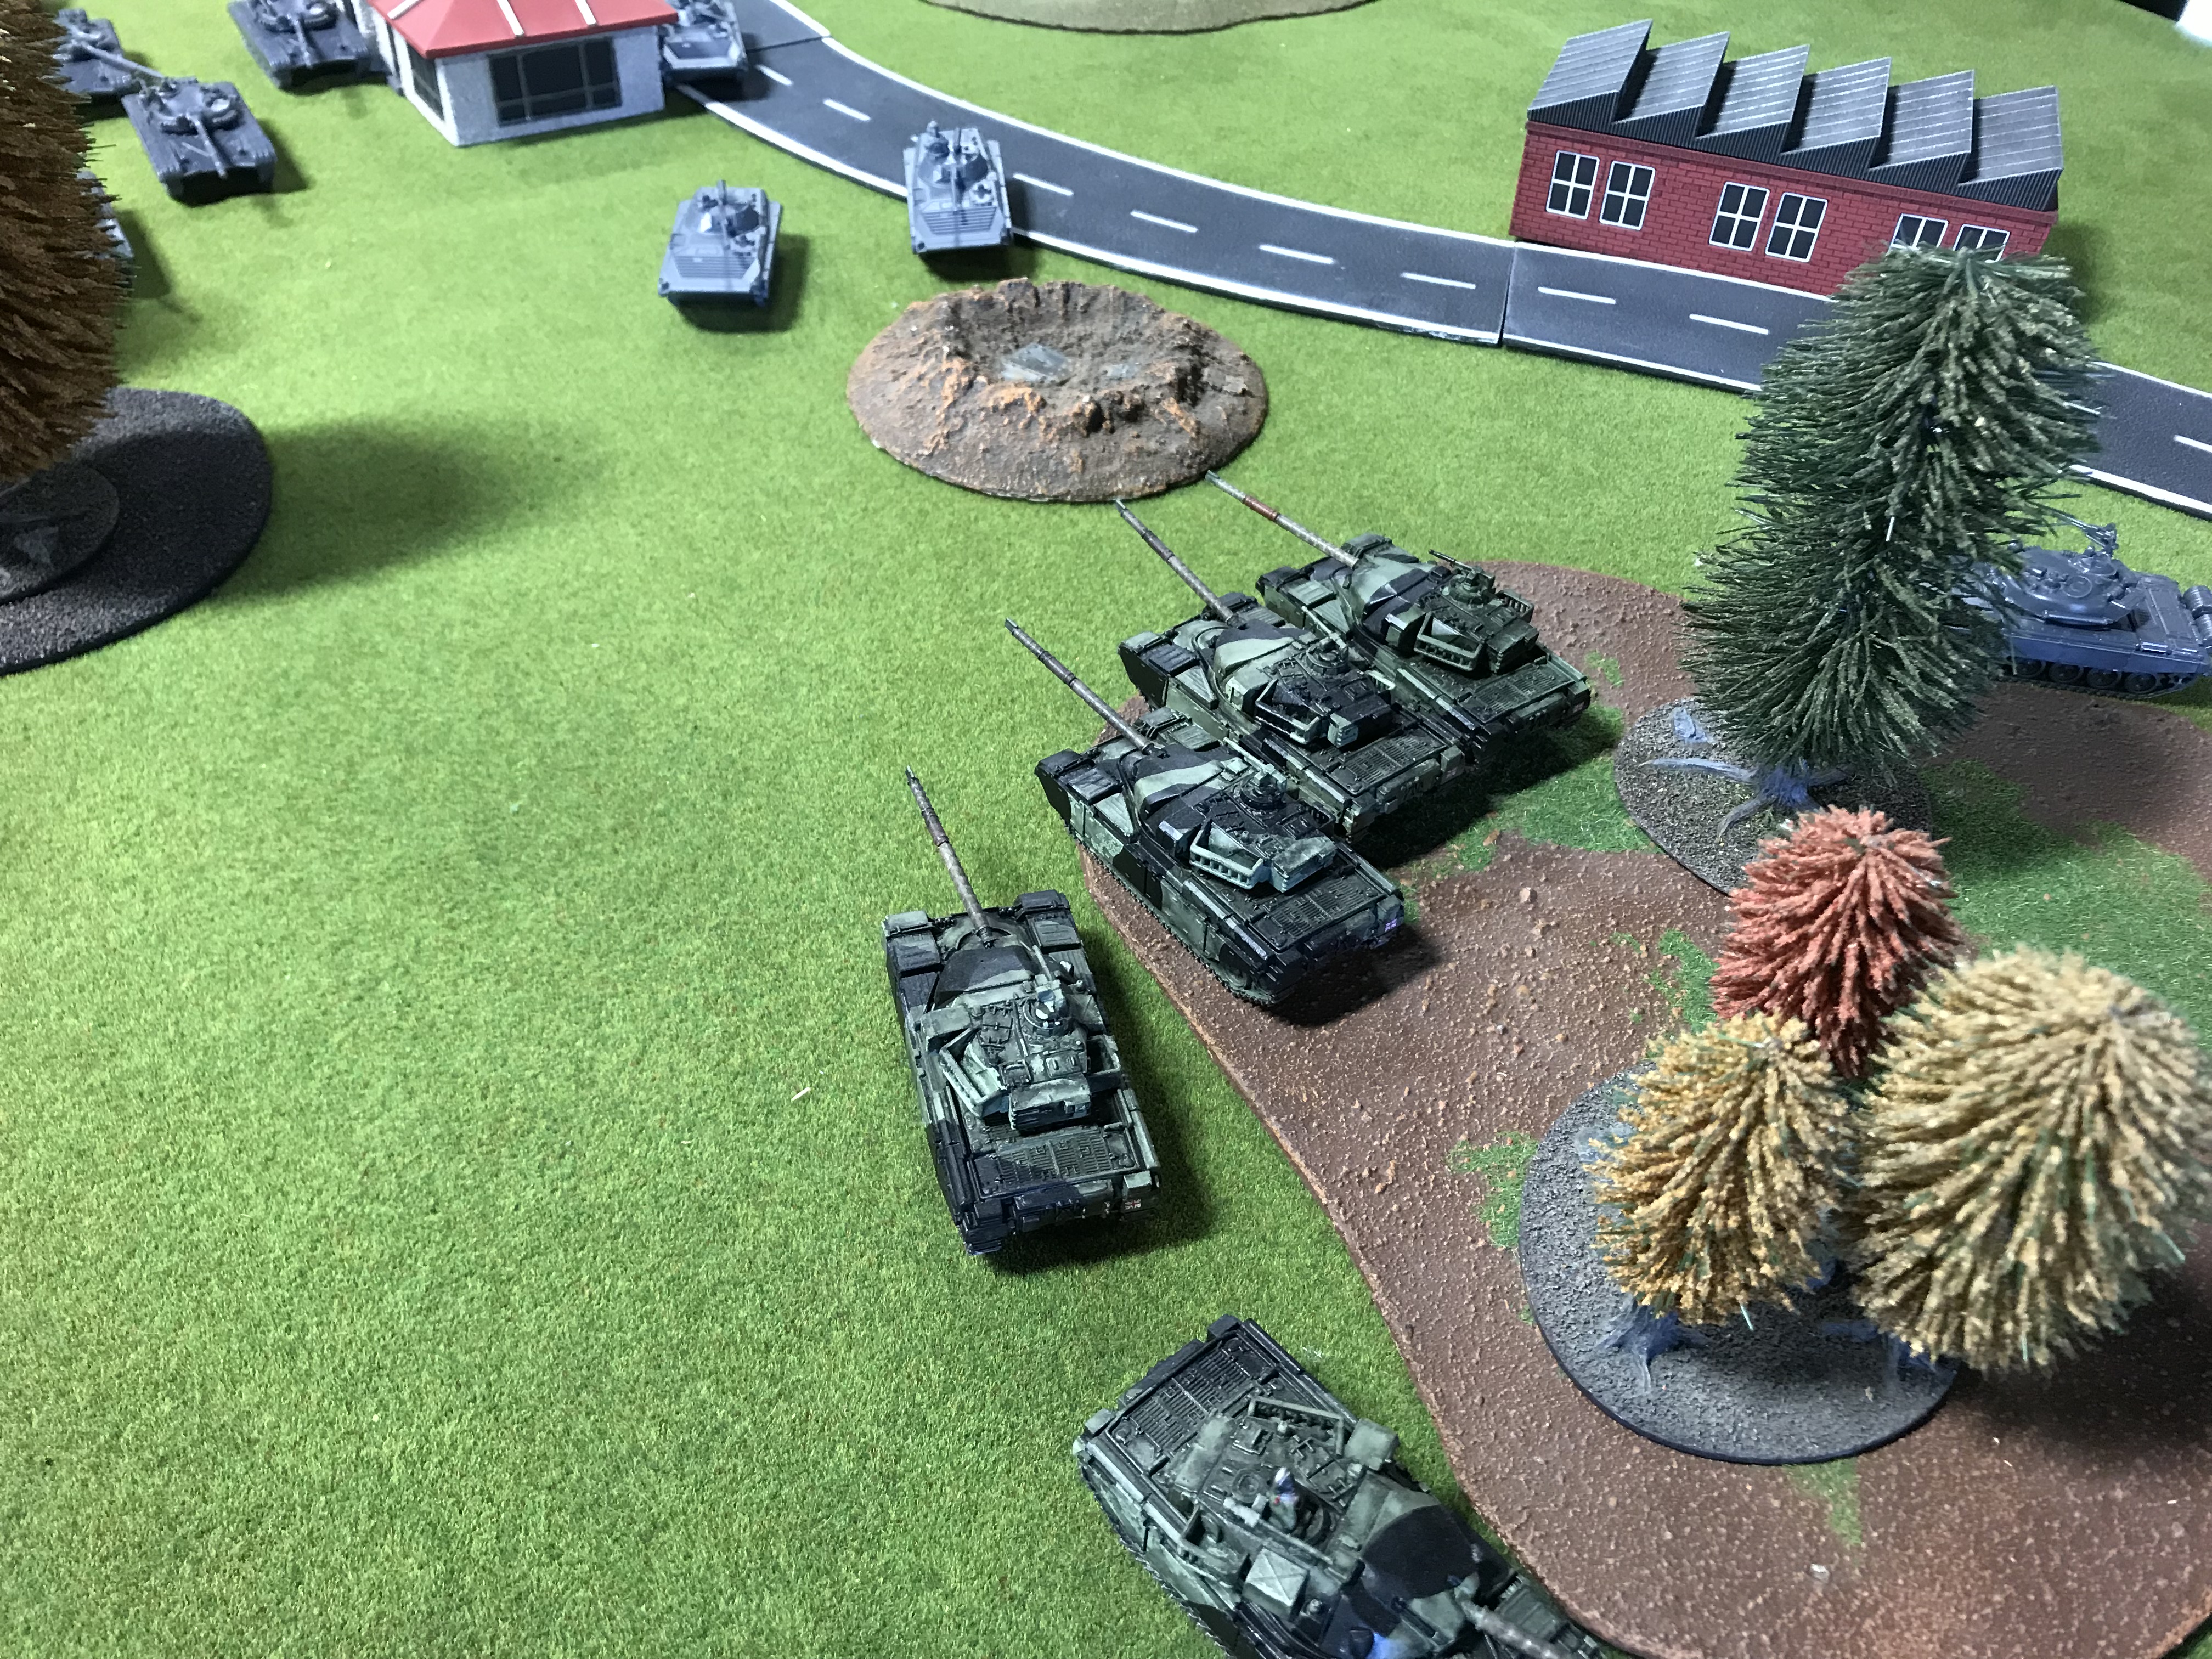
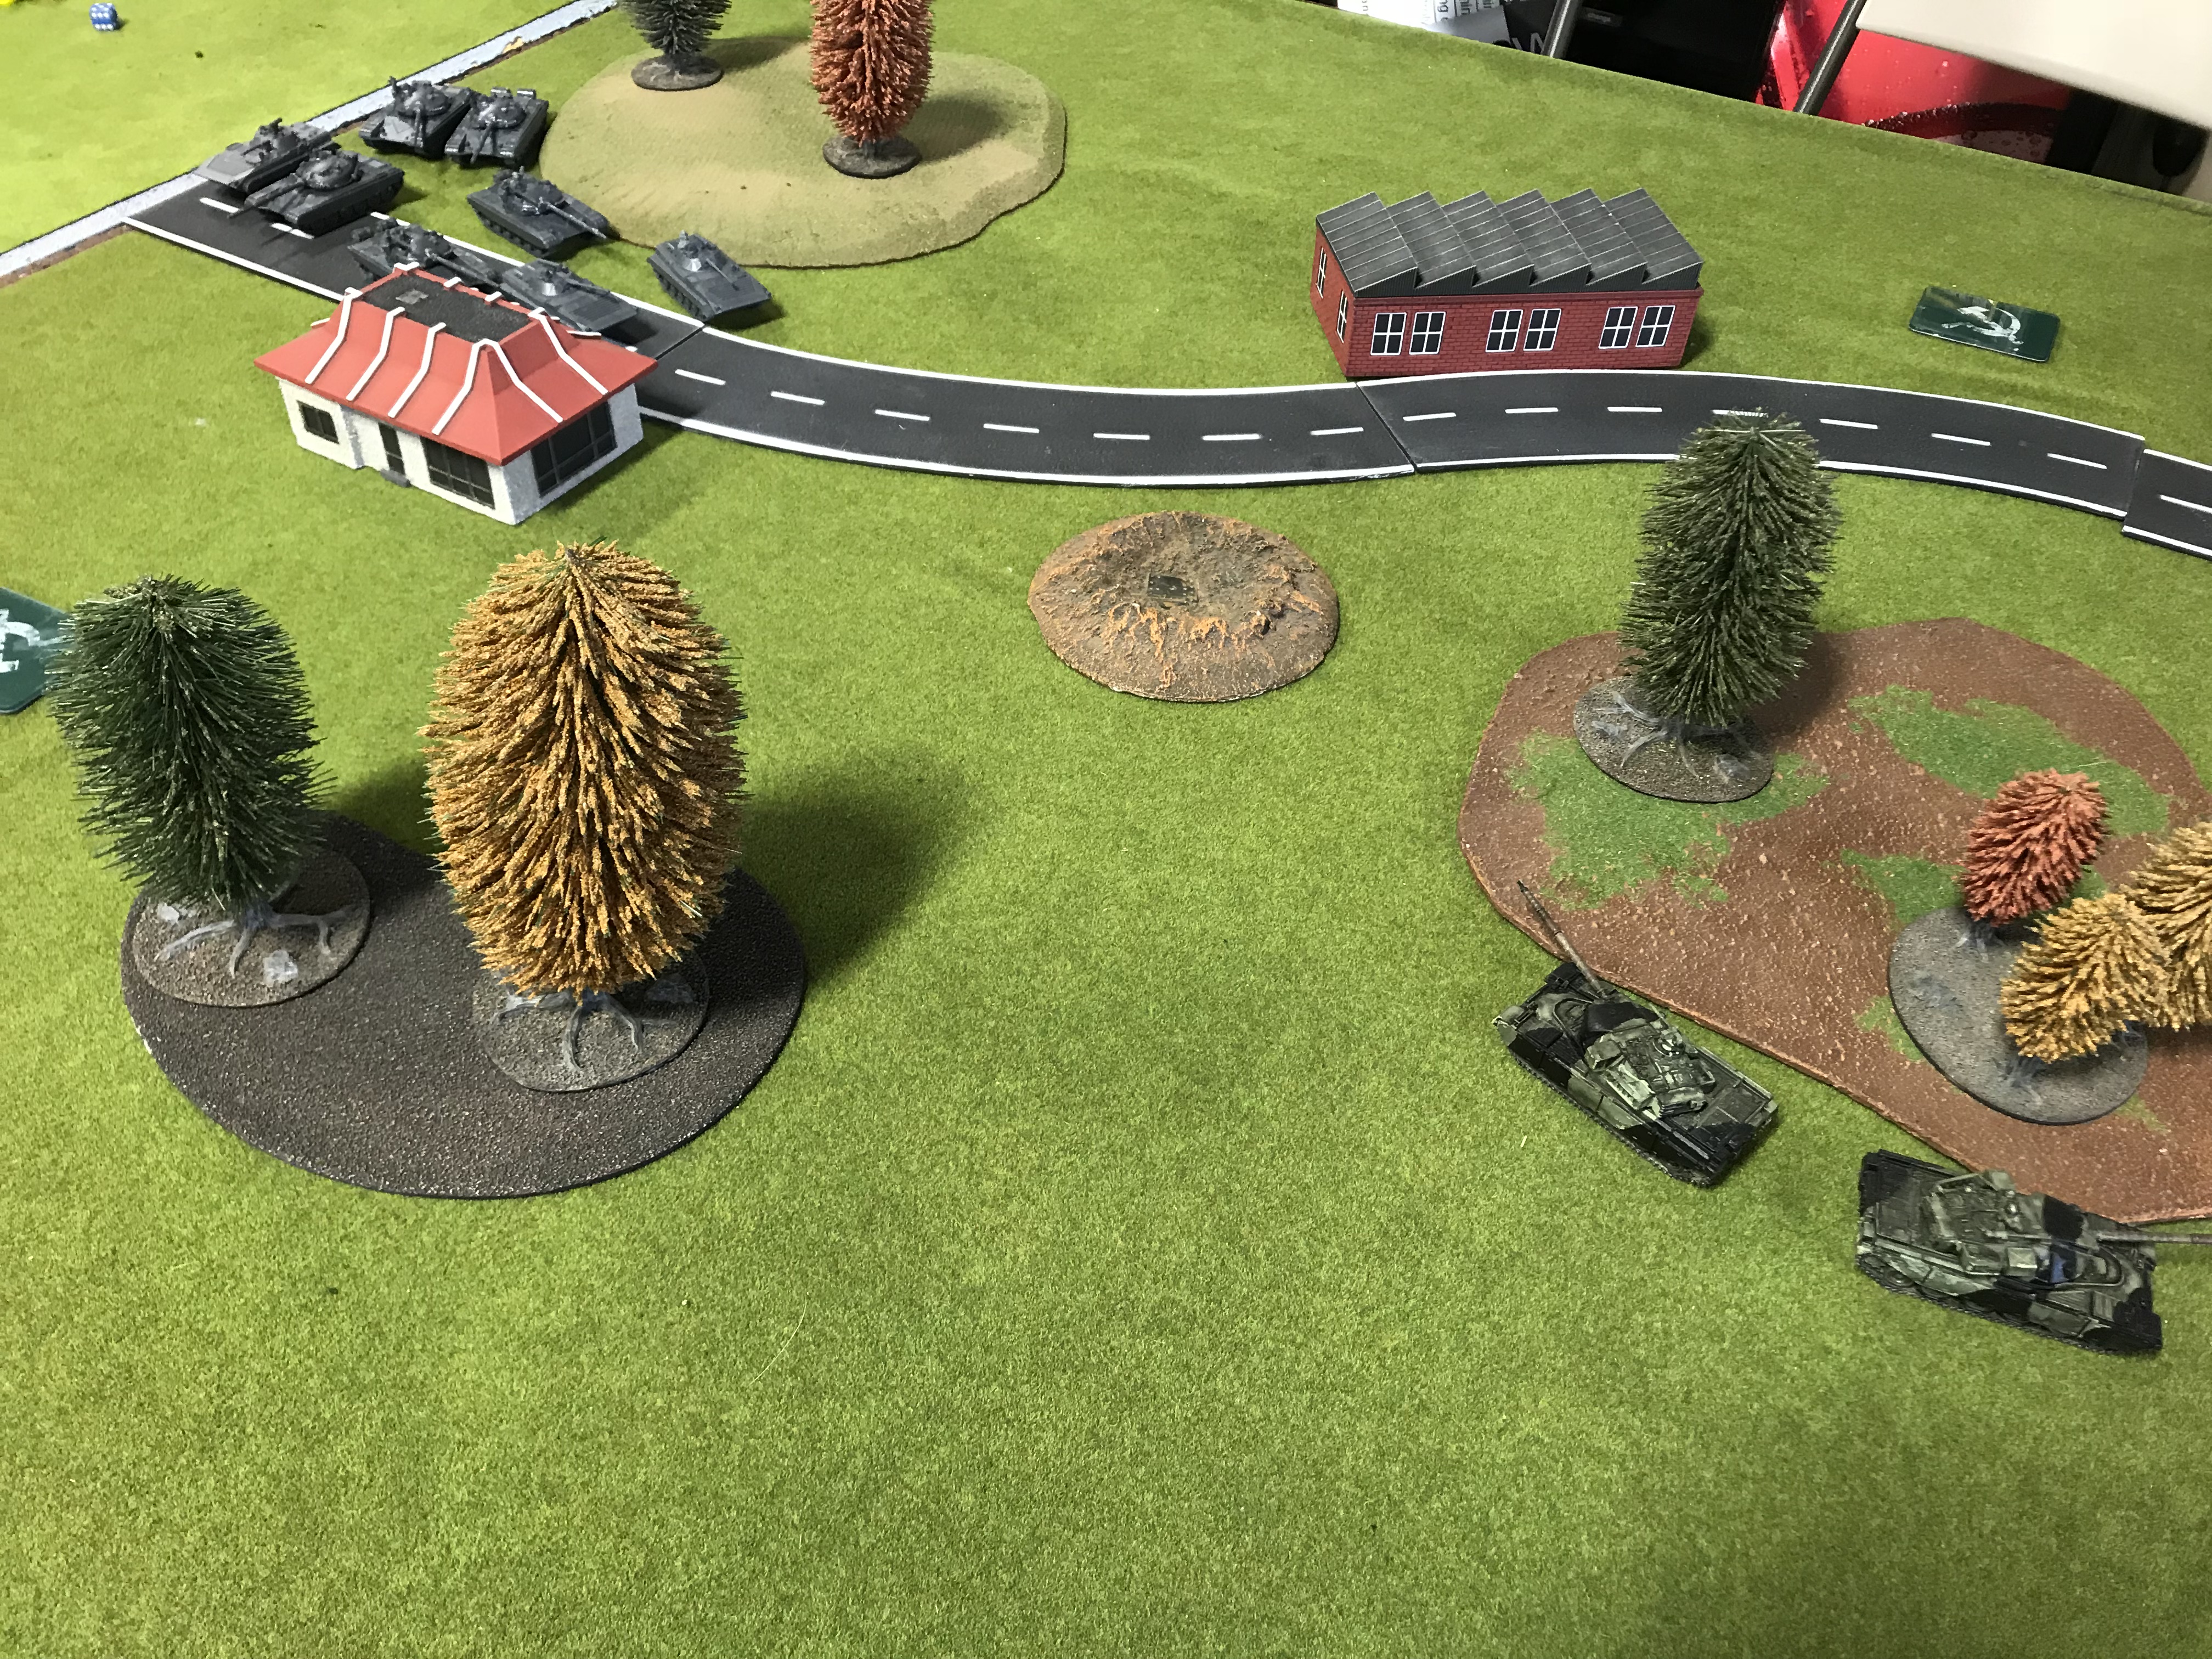
The Soviets were advancing quicker than expected, and the British sprung their ambushes on both the left and right in wooded areas obscuring them from the enemy. Luckily for the British, all Chieftains were able to spot their targets in the dark, and let loose with their brutal L11 main guns. All but the command tank of the left T-72 platoon were knocked out, with their turrets bursting out from the hull with a glistening flash of yellow, orange, blue, and red. British fire on the right was less effective, and only managed to destroy a single T-72. The Soviets did not sit idly as the British tanks were brought to bear. A concentrated T-72 and BMP-2 attack was made on the central wood out of which the Chieftains had sprung their ambush. However, with concealment, and darkness covering their positions, the Soviet fire was scattered and ineffective. Progress on the right was even slower, as the other T-72 tank platoon began to press the right British objective. Two T-72’s bogged in the rough going, and progress was slow.
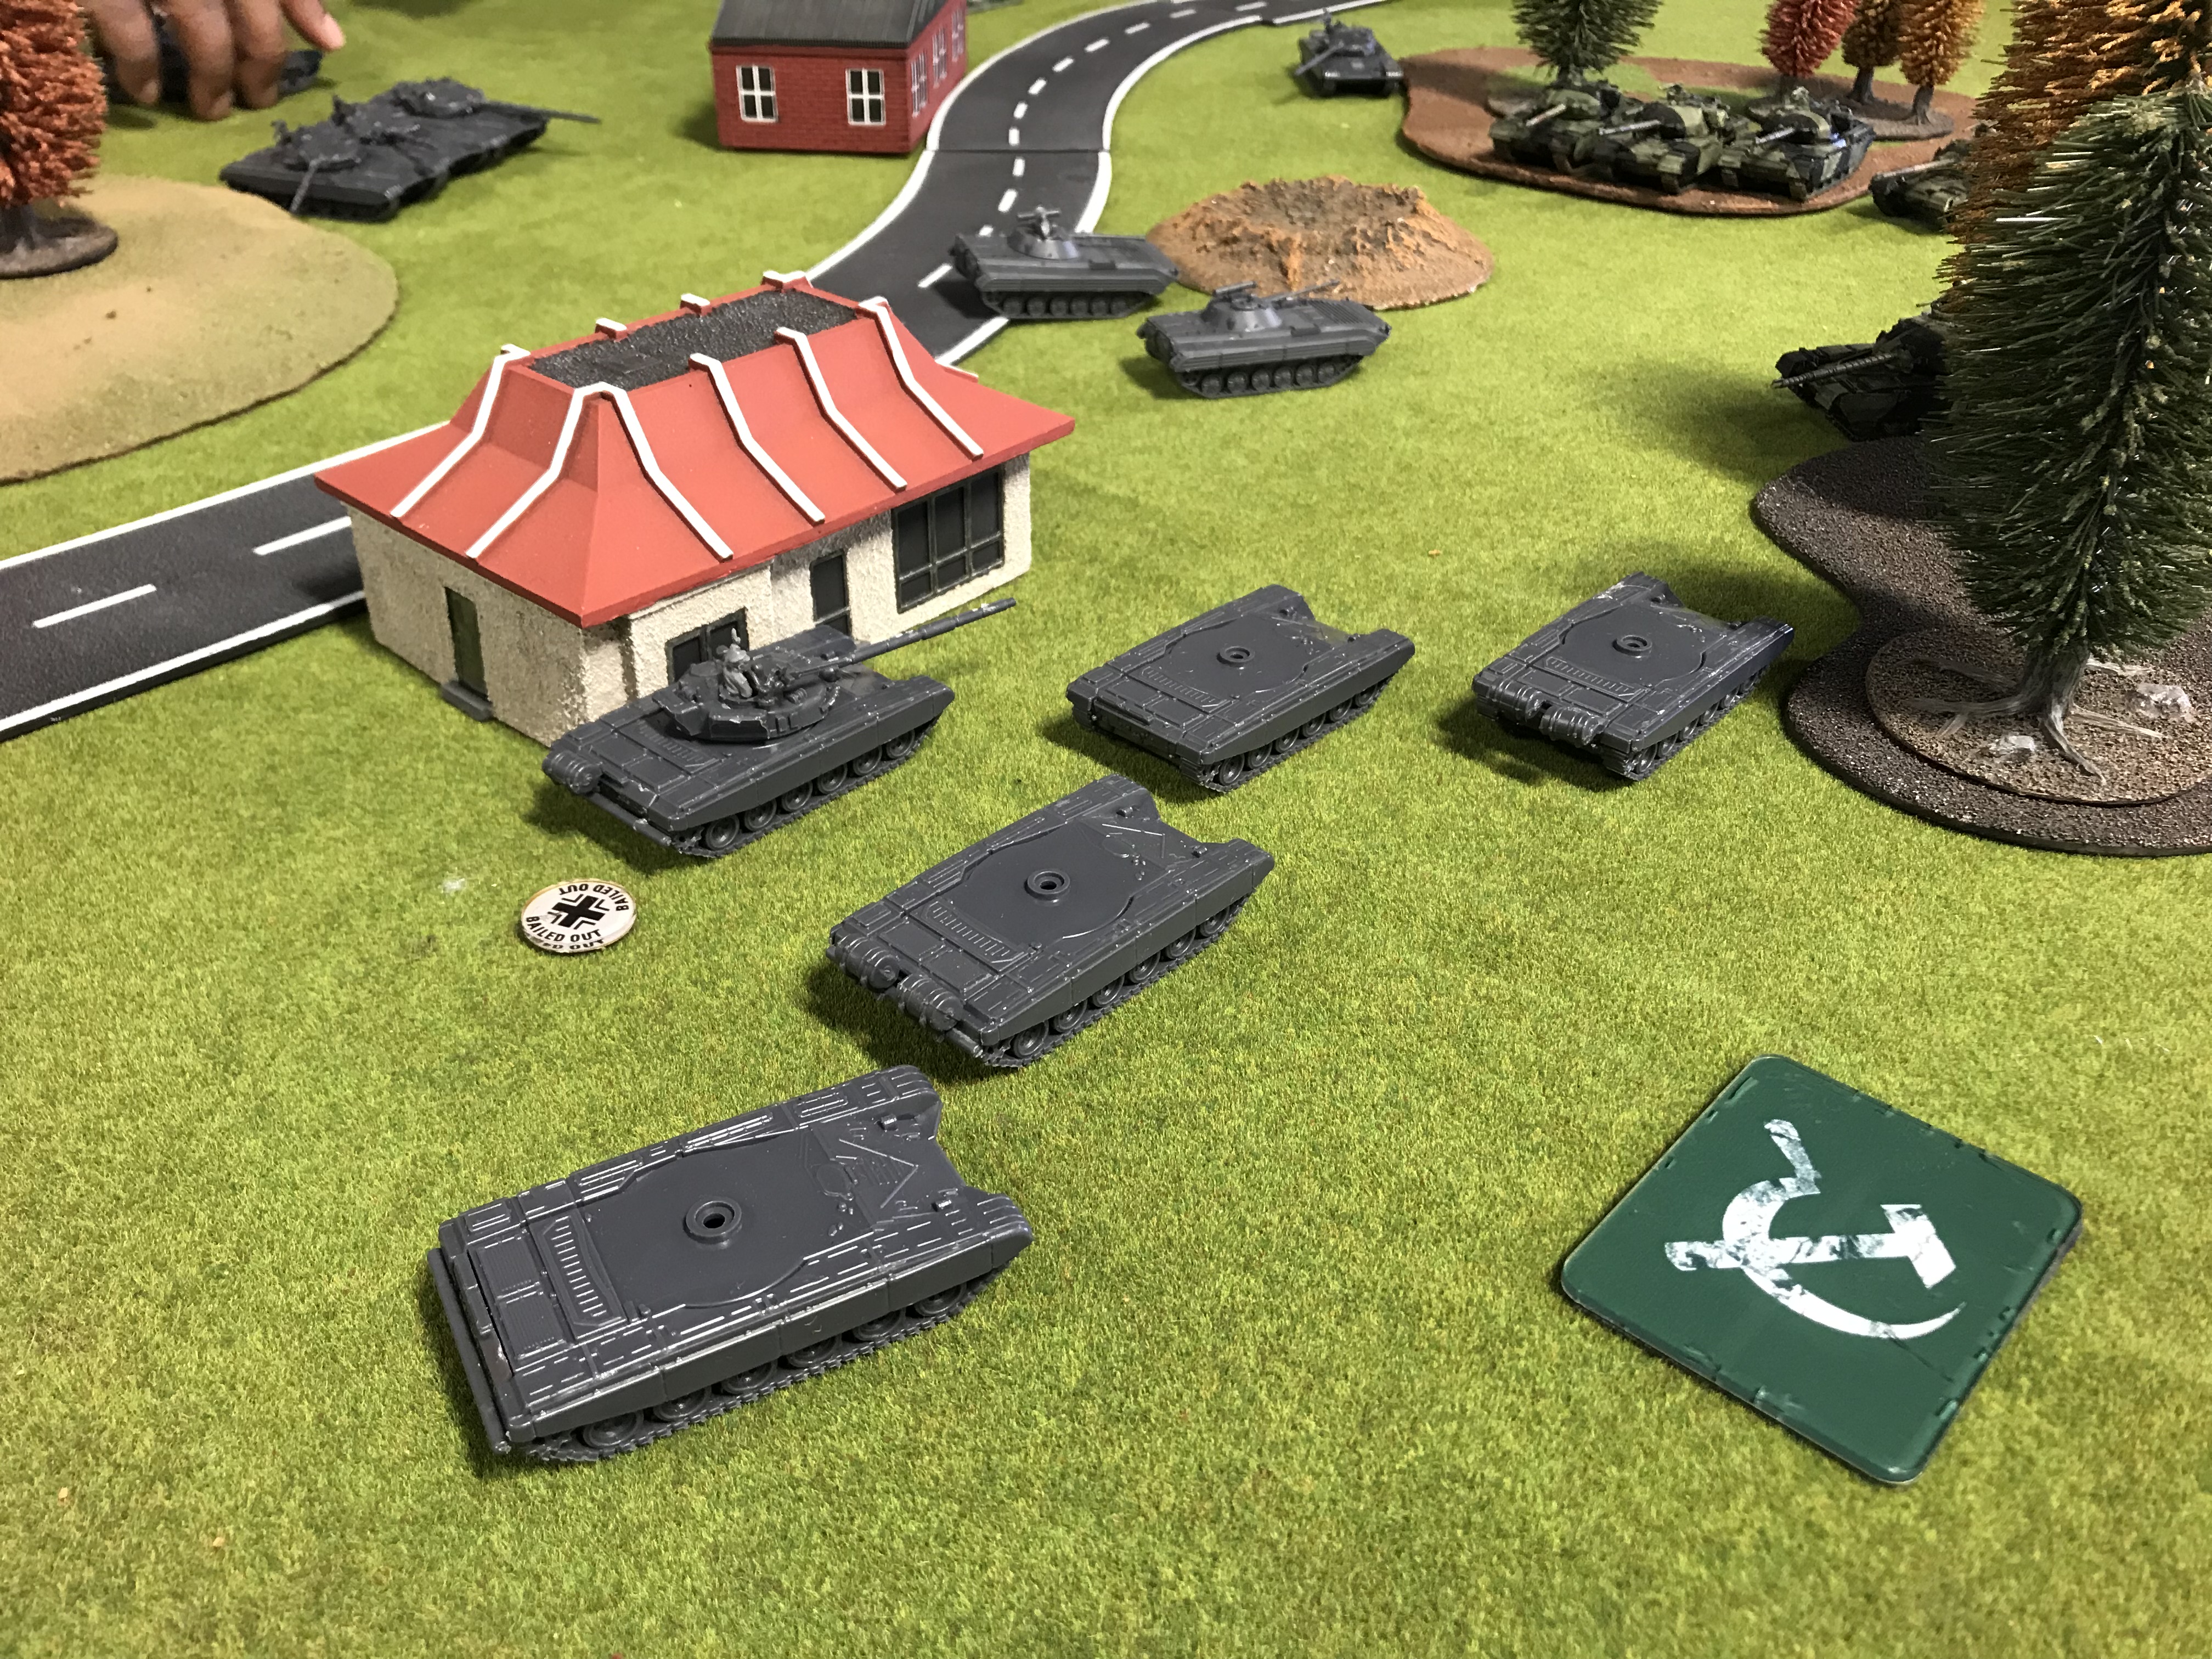
Turn 3 brought on additional reserves for both sides, and increasing losses among the T-72s by concealed Chieftains began to take its toll. The last tank of the left T-72 platoon was destroyed in a hail of well directed British tank fire. The BMP-2 scouts also began to suffer losses after several failed attempts to take out the Chieftains with their AT missiles. At this point, ZSU-23s which had come on from reserve began to renew pressure on the left most British objective, while in the center, an additional T-72 platoon which had come on from reserve failed to maneuver and were quickly dispatched of in due order. The British had also by now brought in their Scorpion Recon Platoon to contest their left objective from the ZSU’s, but their fire was ineffectual and failed to pierce the relatively light armor of the AA guns. Return fire from the Soviets took down 2 Scorpions and bailed another, but the last scout vehicle passed its platoon moral check, and stayed in the fight. Further to the right, British TOW Lynxs began an attack run on the exposed T-72 trying to dash for the safety of the wood, but the missiles failed to hit their marks. Heavy Soviet casualties along the line, including their 1iC eventually forced the Warsaw Pact forces to fall back, not having knocked out a single British platoon. The game ended at the end of Turn 4 with a British 6-1 win. I give a lot of credit to my opponent, who was a new player, and only a couple of games under my own belt, we were both feeling our way through a relatively new game. The Soviets accounted well for themselves during the engagement, and the British defenders were not without their losses. The 17th/21st’s line has held…for now….


Battle Report Author
Recommend Commander For Commendation
Share this battle with friends
MareNostrum189Wins

hmm nice, using the tanks well
Chieftains really do excel when sitting still in some concealment, good job making them work for you. Mix those pictures in with the text and the flow of your report will increase the quality of it.
Maybe it would help to split up the text and pictures
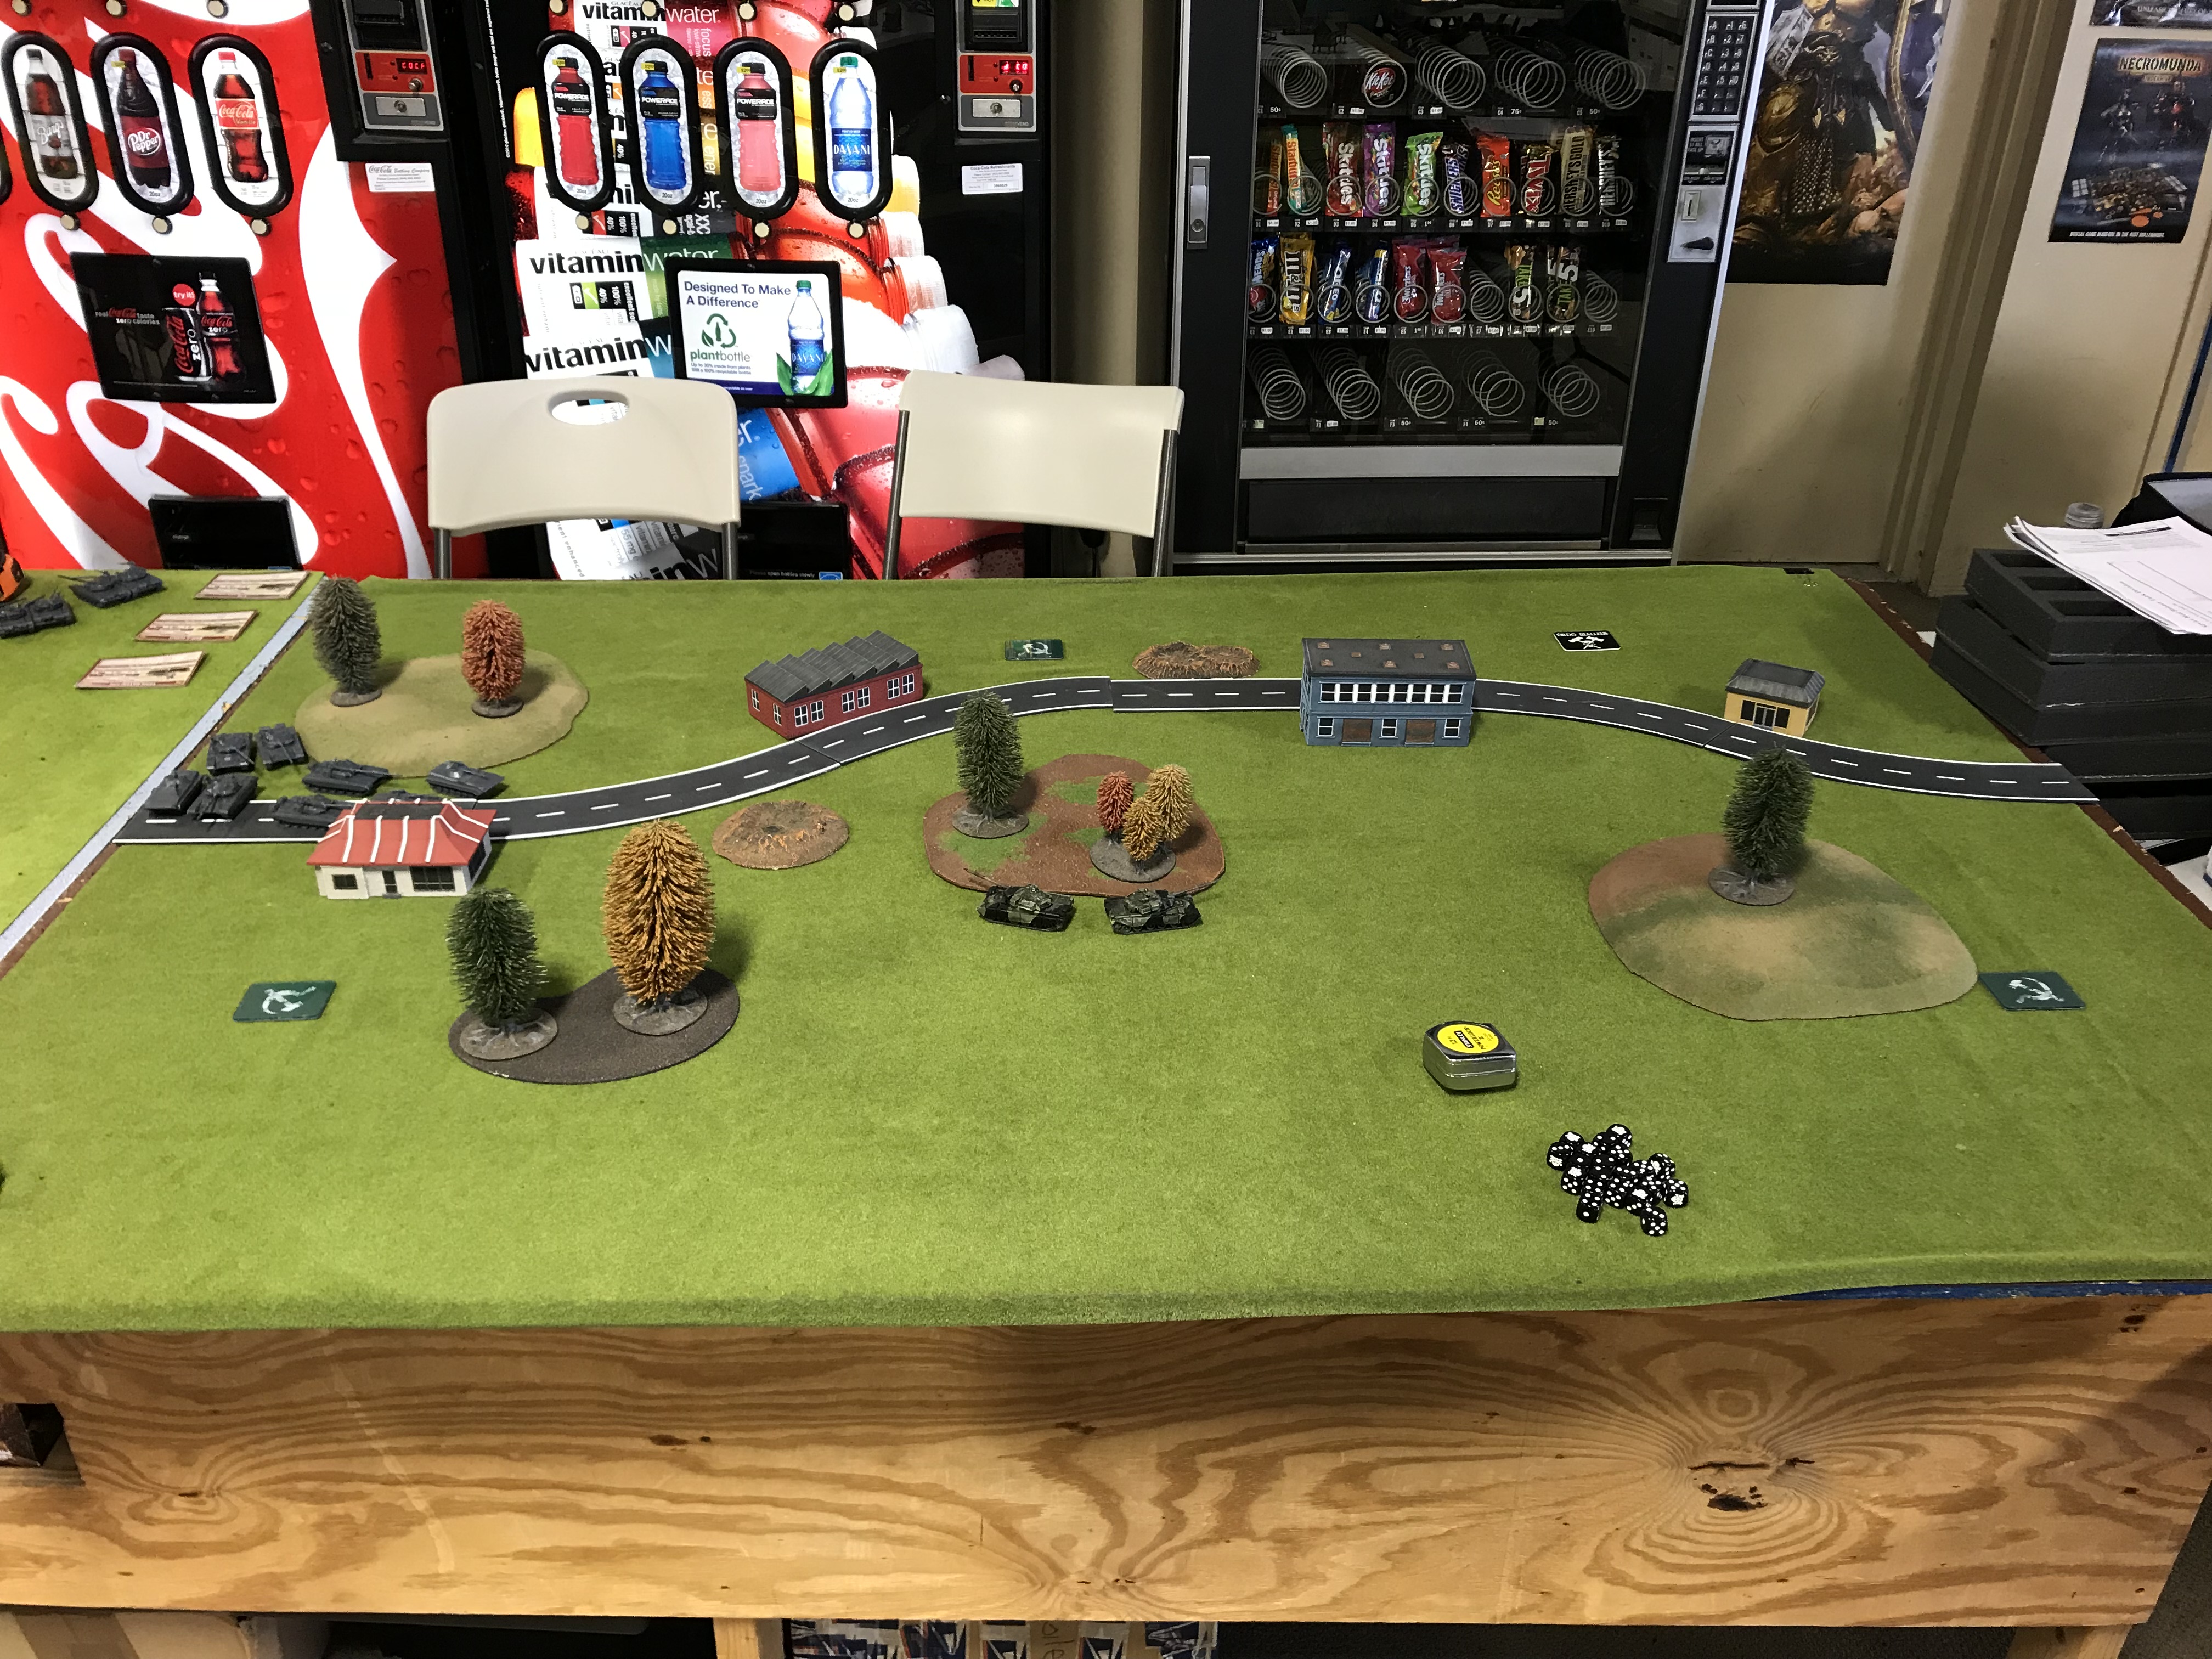
Great Table you have there Sergeant!
You’re getting there, keep Hanover safe!
brief & brutal AAR
thx for sharing!
Link the report you gain more experience
Good report
Good AAR.
Good work and even better outcome!
Great table and models
Beautiful battlefield! Never let the Red’s turn the glorious fast food establishment into a potato hut!
nice report
Commended for the good start!
Bravo Britannia! Prefer my reports and photos to alternate, but the victory is what matters!
The Chieftain armoured squadron is notoriously difficult to use effectively, so I commend you on being able to post a victory with it. Keep up the good work.