Fought At Frankfurt
2243 days 15 hours 12 minutes ago
Buchen u. Brunnen
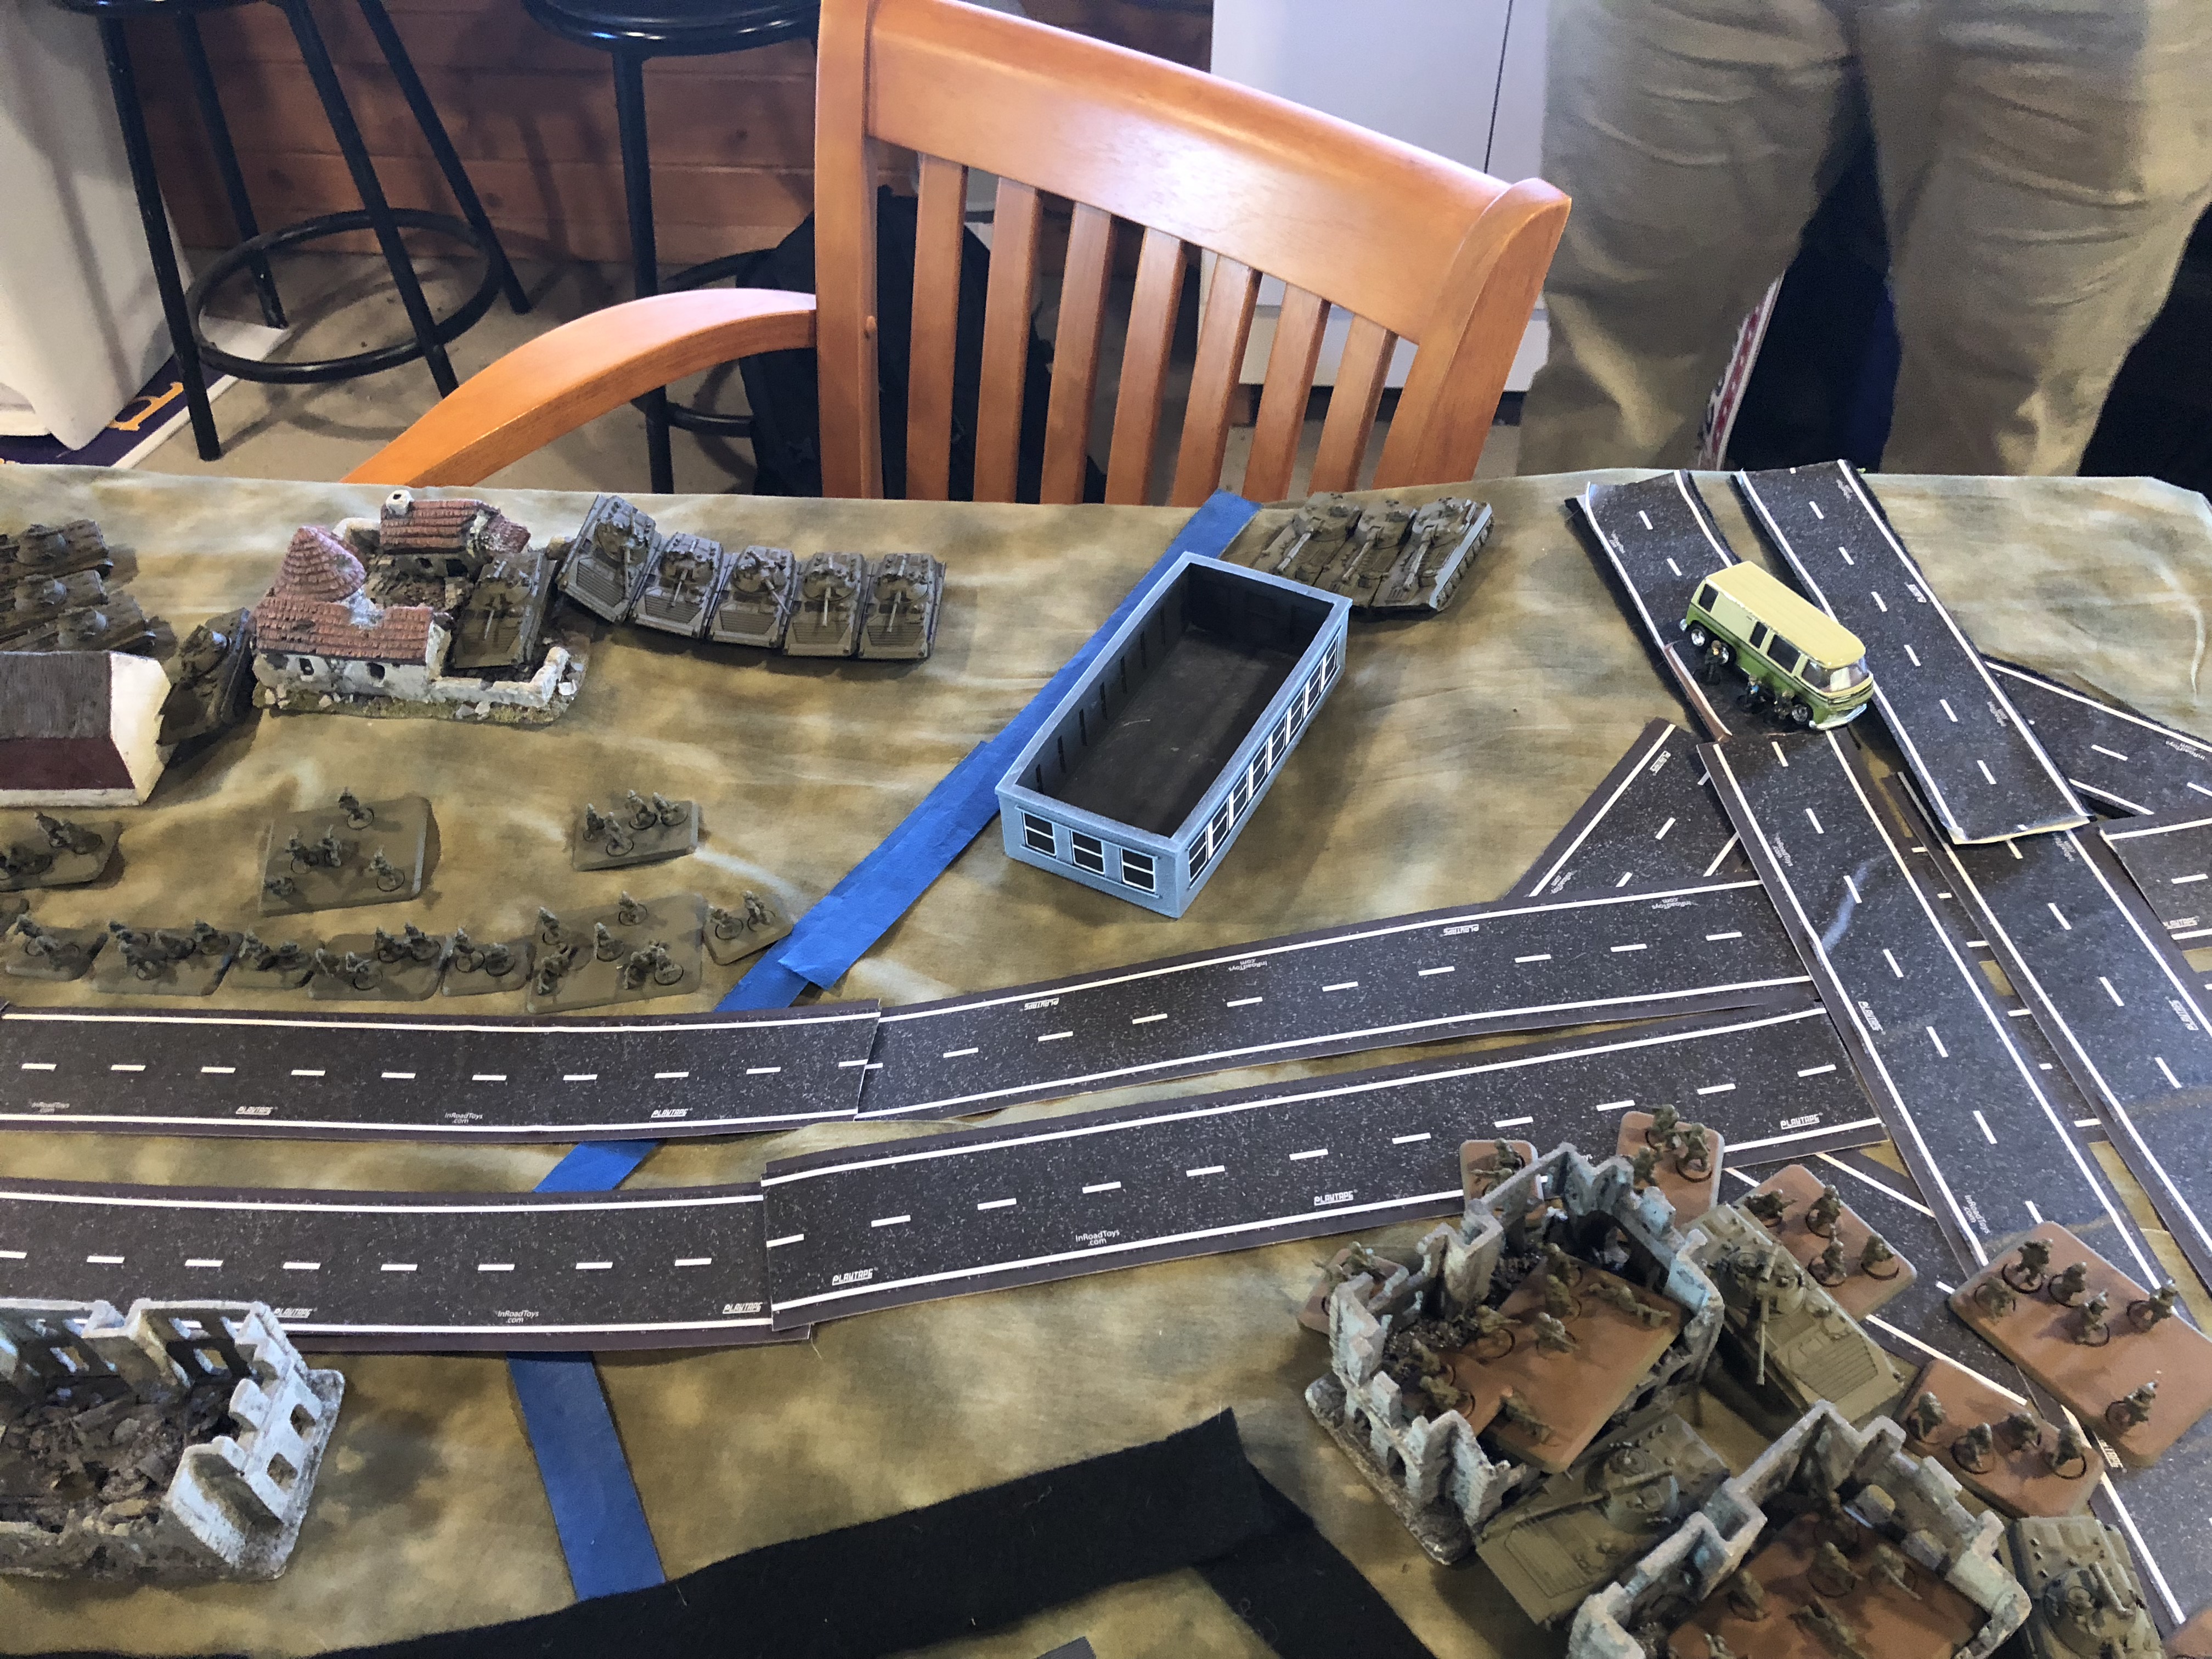
100 POINTS3-32nd Iron Dukes Armored Combat Team Bravo Captain Ted Whittier had expected to be in the tip of the Spearhead, as 3rd Armored had been in the last war. Instead, it was RED racing up the A45 intent on seizing the newly completed intersection that linked it to the A4. They’d blown his West Point classmate from 1-32nd away with their airpower at Nieder-Weisel, and so now, he was engaged in a delaying action at the specific request of the German Headquarters in Bonn, or so his superiors back at Division had told him. The intersection was key. It offered a direct route to the bridges at Köln, and the government in Bonn.
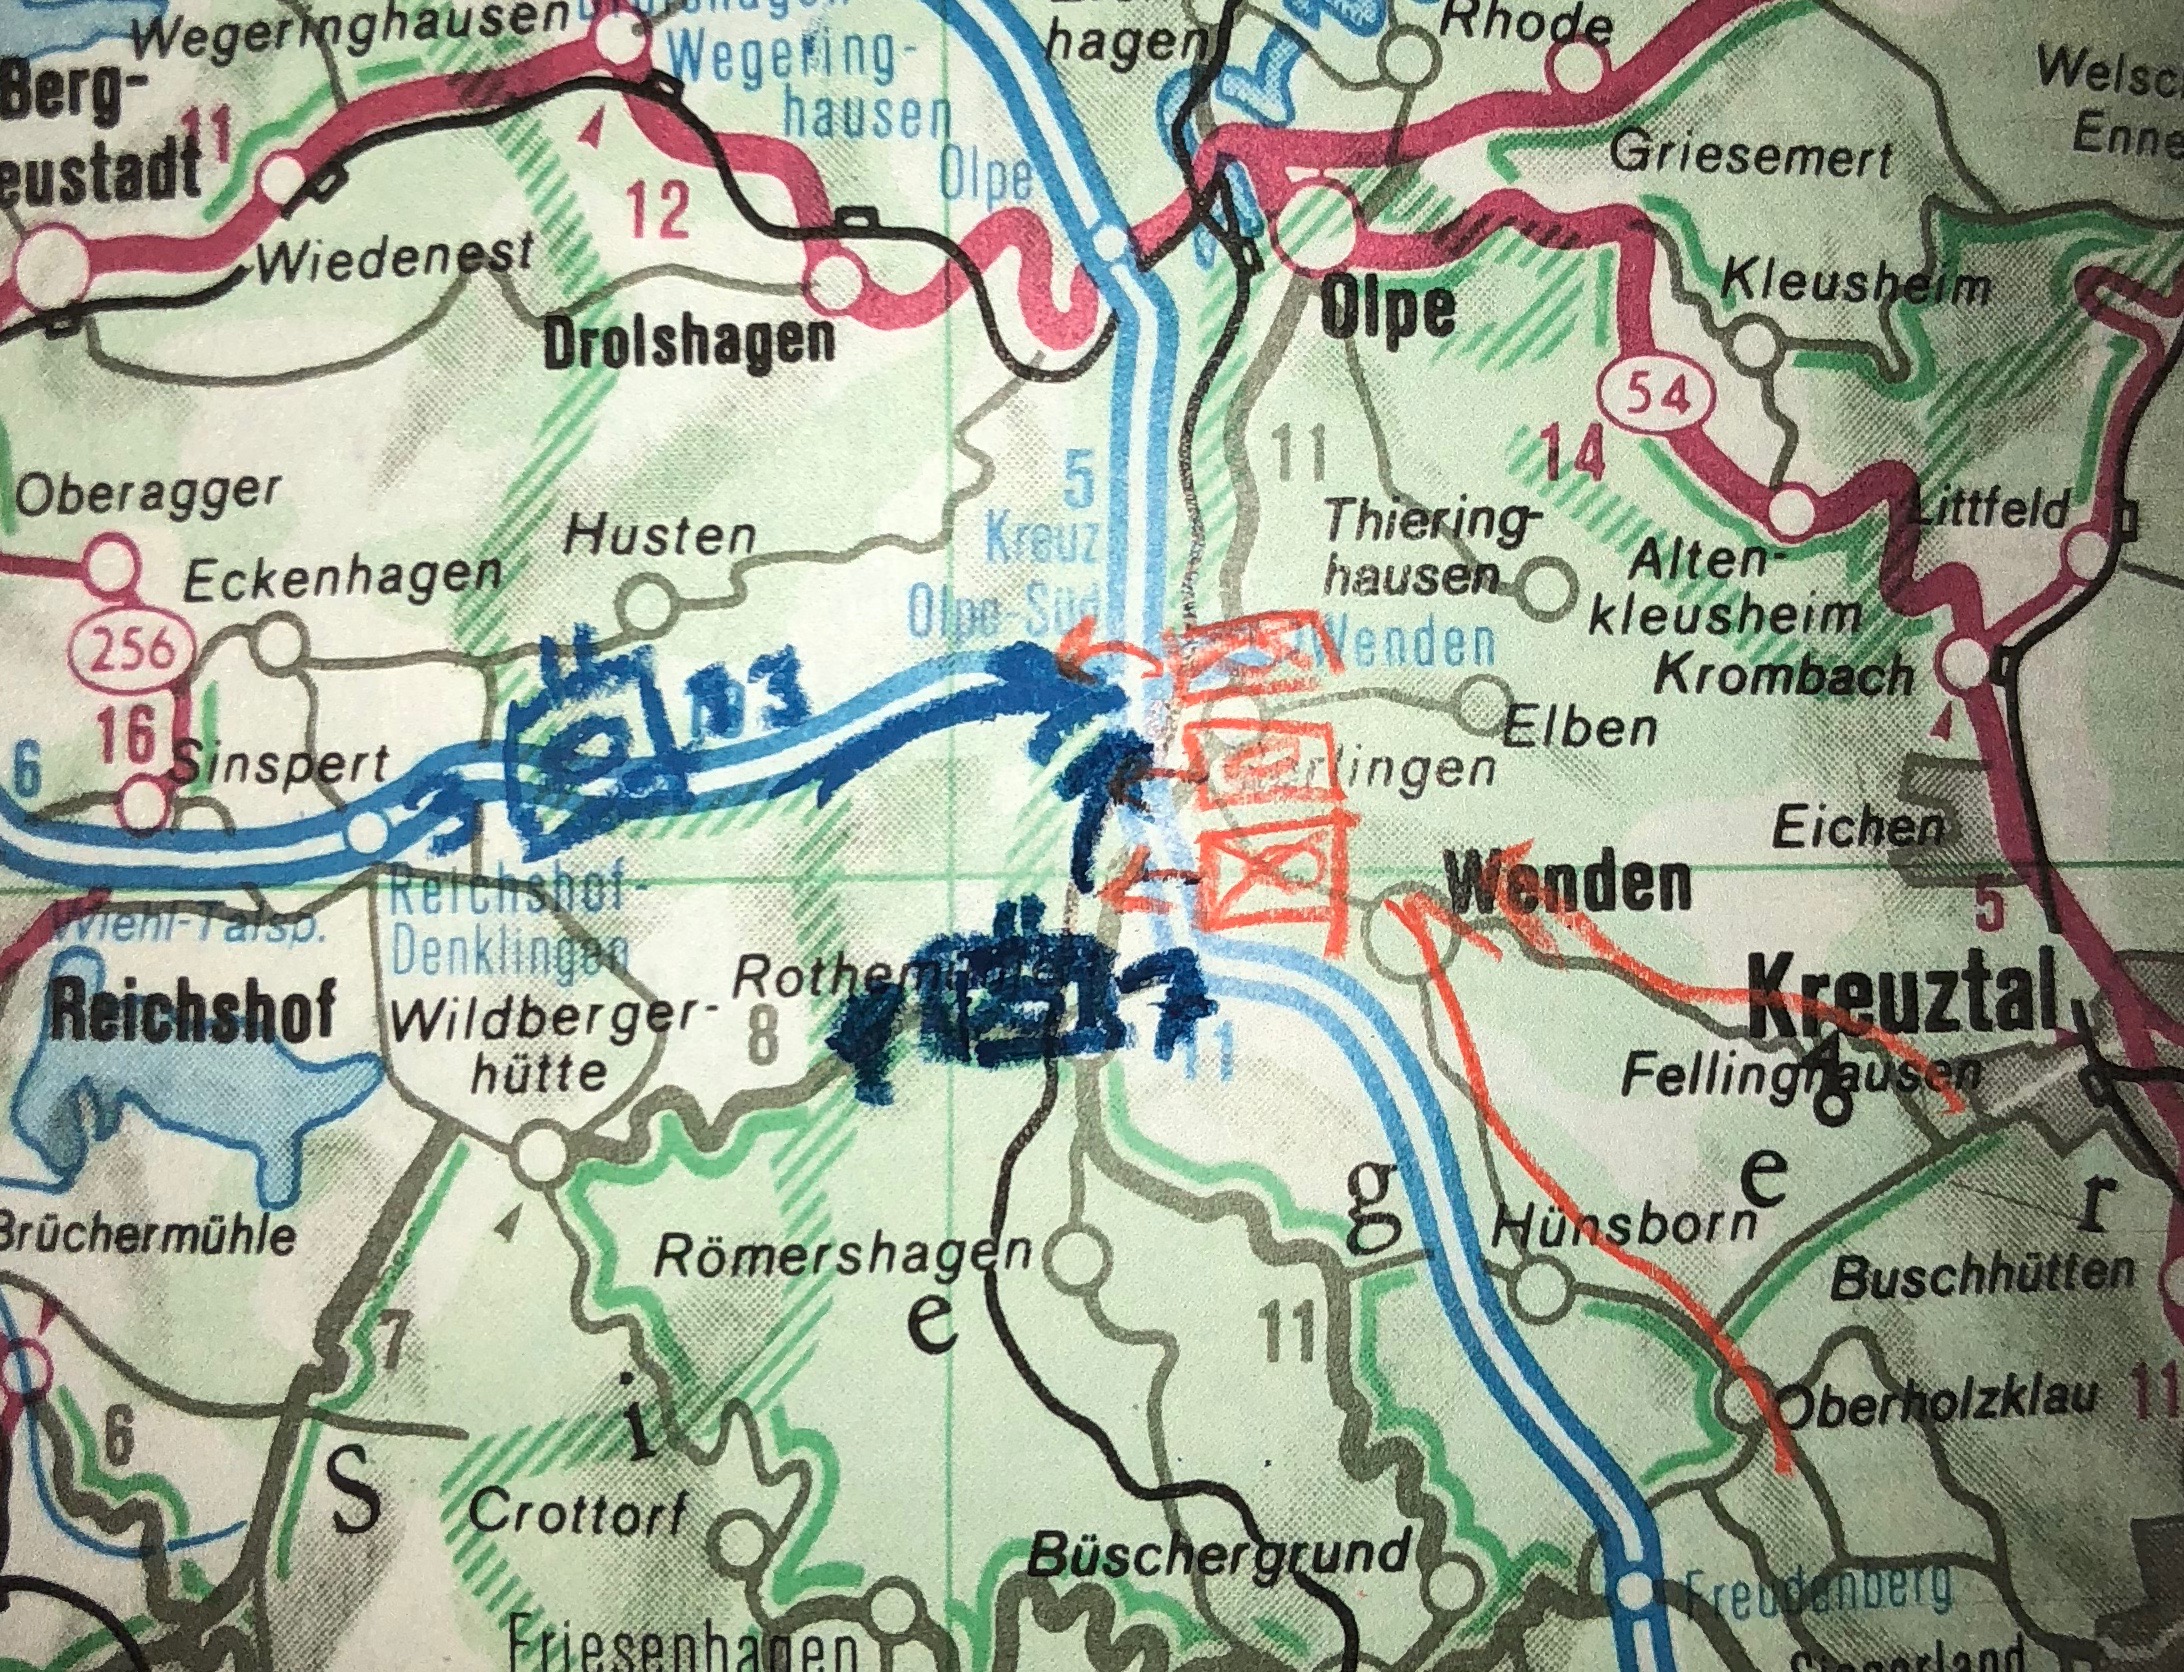
He wouldn’t be alone, they assured him. A hastily organized West German recon kampfgruppe composed of elements from the 2nd Aufklarer, reinforced by the last of the Rosawulfen (Pink Wolves) of Panzerbrigade 6 had supposedly scoped out the area, and identified good fields of fire for an ambush. The terrain was reported as “variable and dense,” but it was also a densely populated region before hostilities renewed. Oberleutnant Wolter, in charge of the kampfgruppe, assured him the towns were clear and ready for deployment.

The only question is whether the REDs would attempt to seize the interchange from the direct route, up the A45, or attempt a broad front attack in the gap between Olpe and Wenden. Either way, Wolter assured him his troops would be well hidden, and ready to support Whittier’s arrival. Whittier hoped his new ally’s combat skills were at least as good as his English!
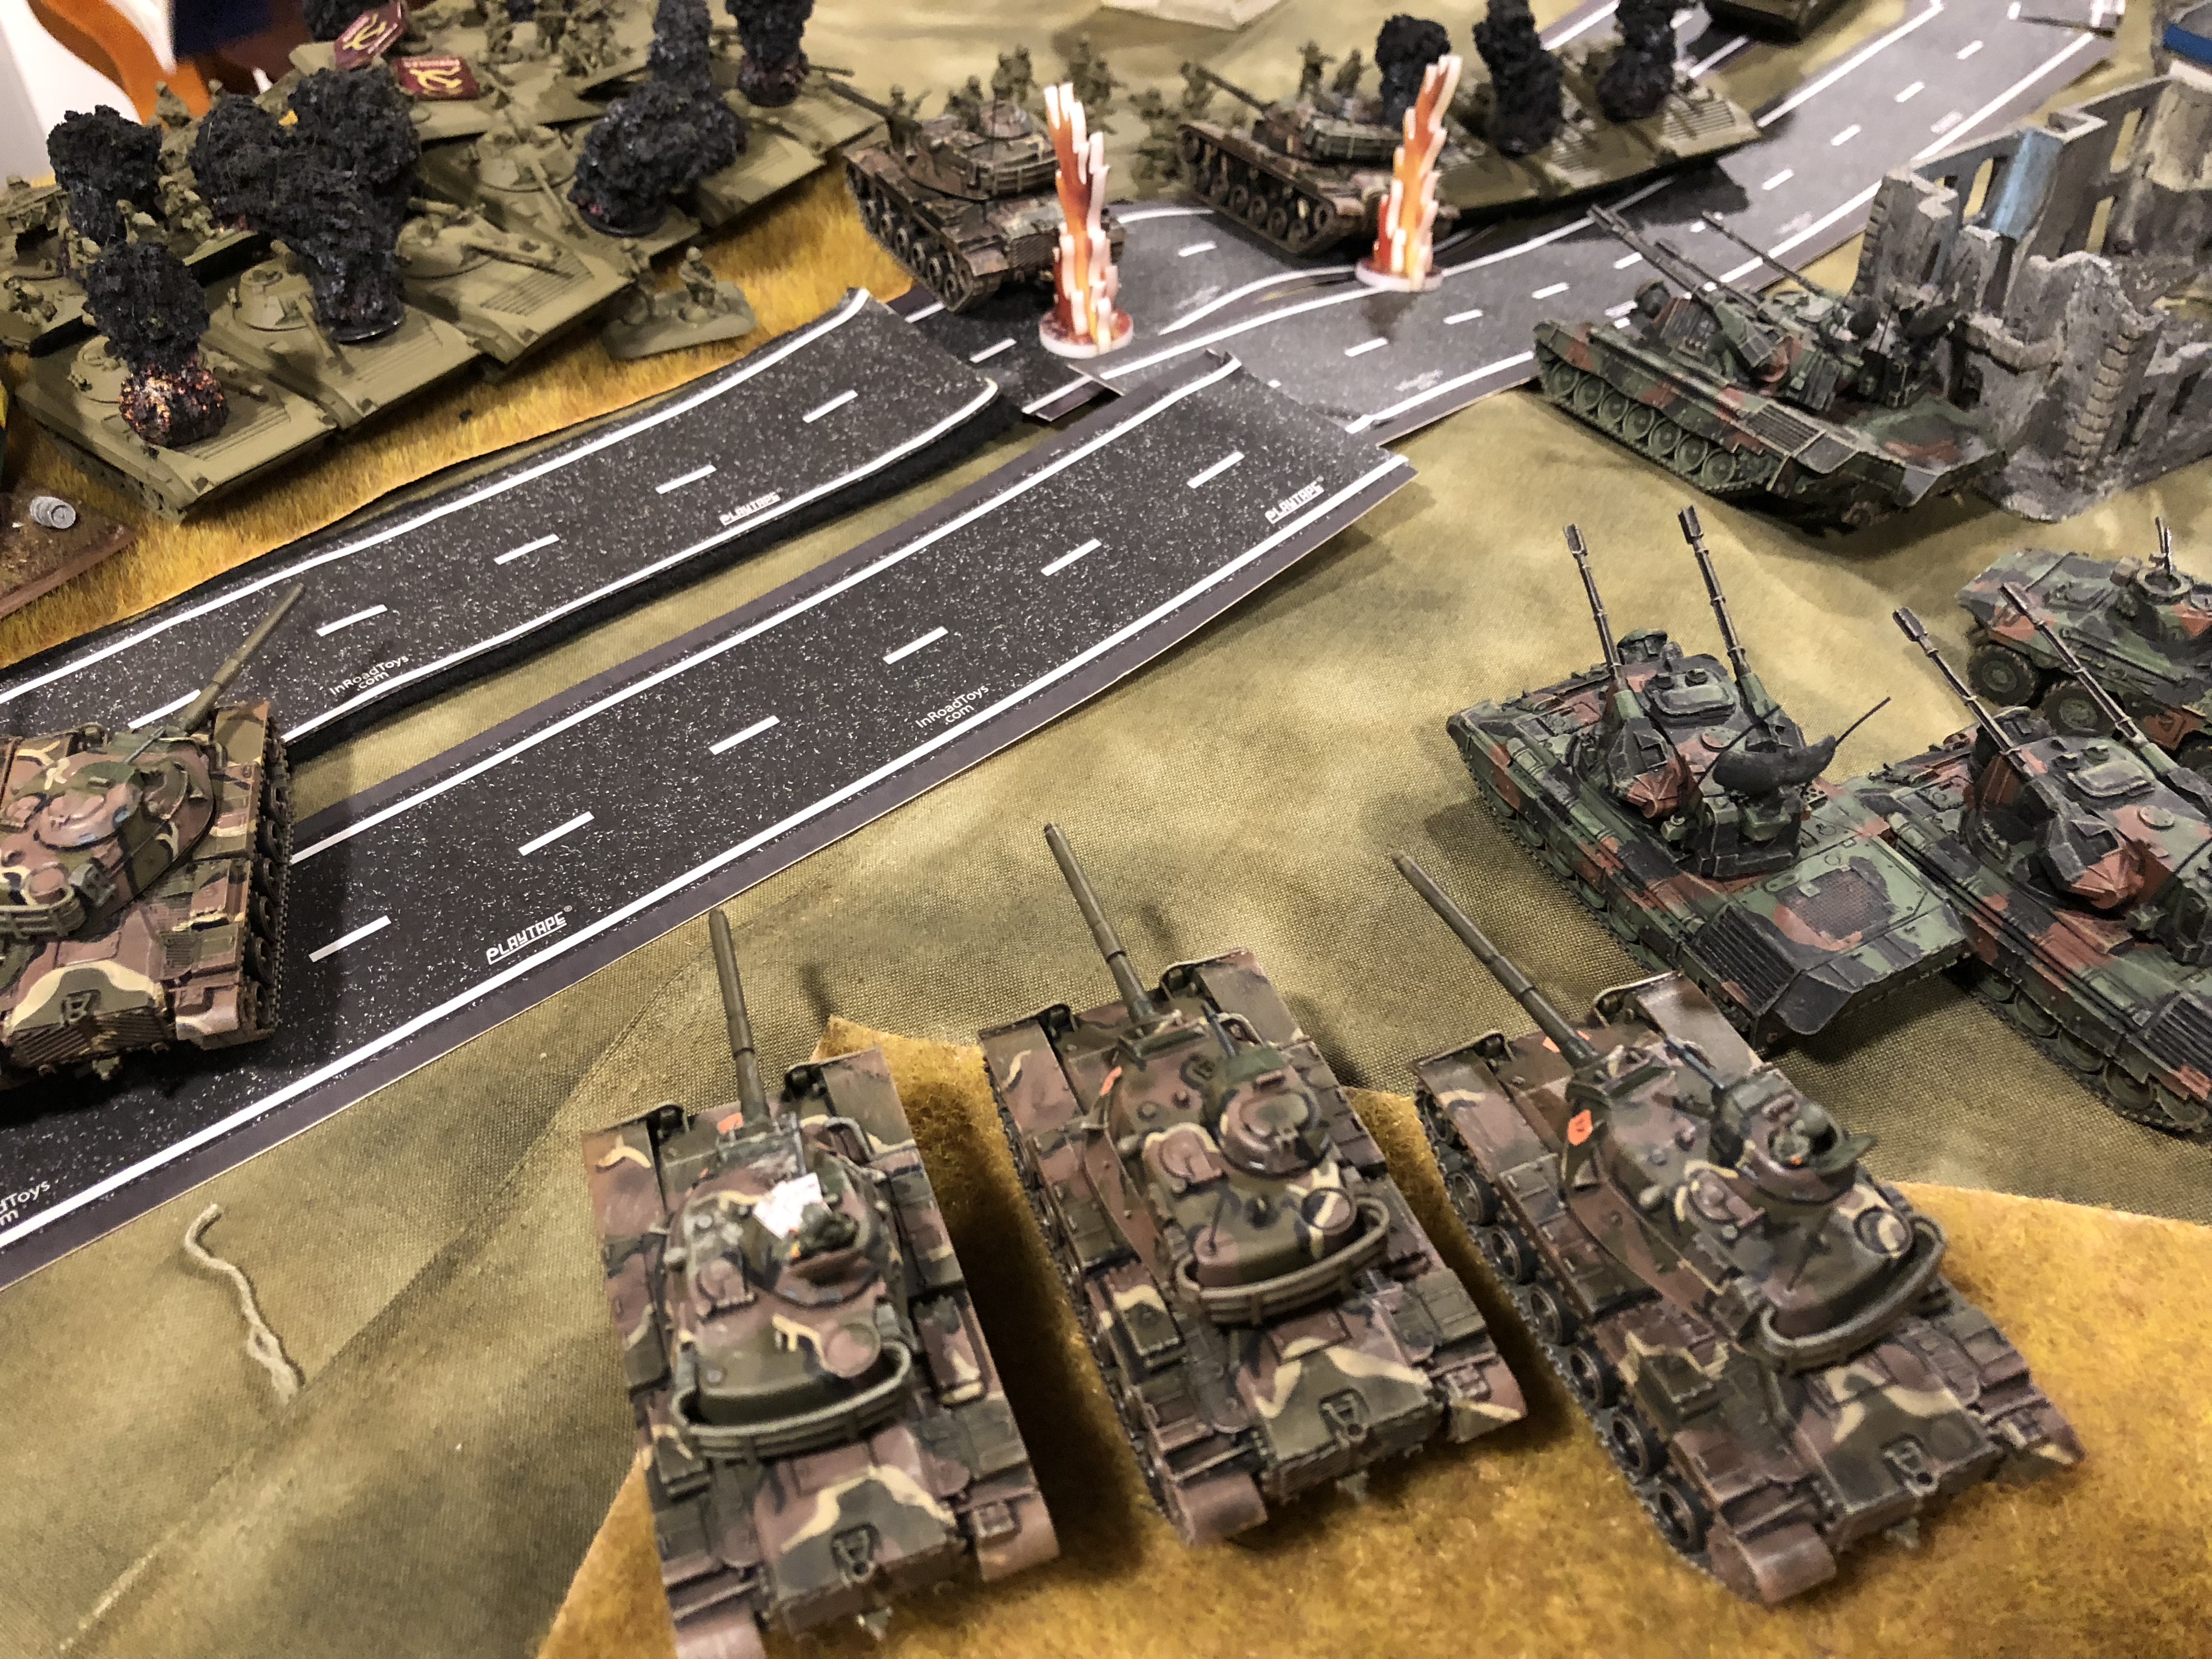
Arriving on the outskirts of Hillmicke before dawn, Whittier found that Wolter’s troops were indeed jockeying for position with the Soviets in what was a rapidly developing Meeting Engagement. West German Luchs patrols were seizing key points on the outskirts of Hillmicke, expanding deployment options for the West German’s heavier elements, and for Whittier’s armor arriving just south of the A4.
The Russians in turn deployed into the industrial district seizing the intersection right away, but not the southern spur of the A45. There was hope the Rosawulfen could stand them off while the Americans turned the flank.
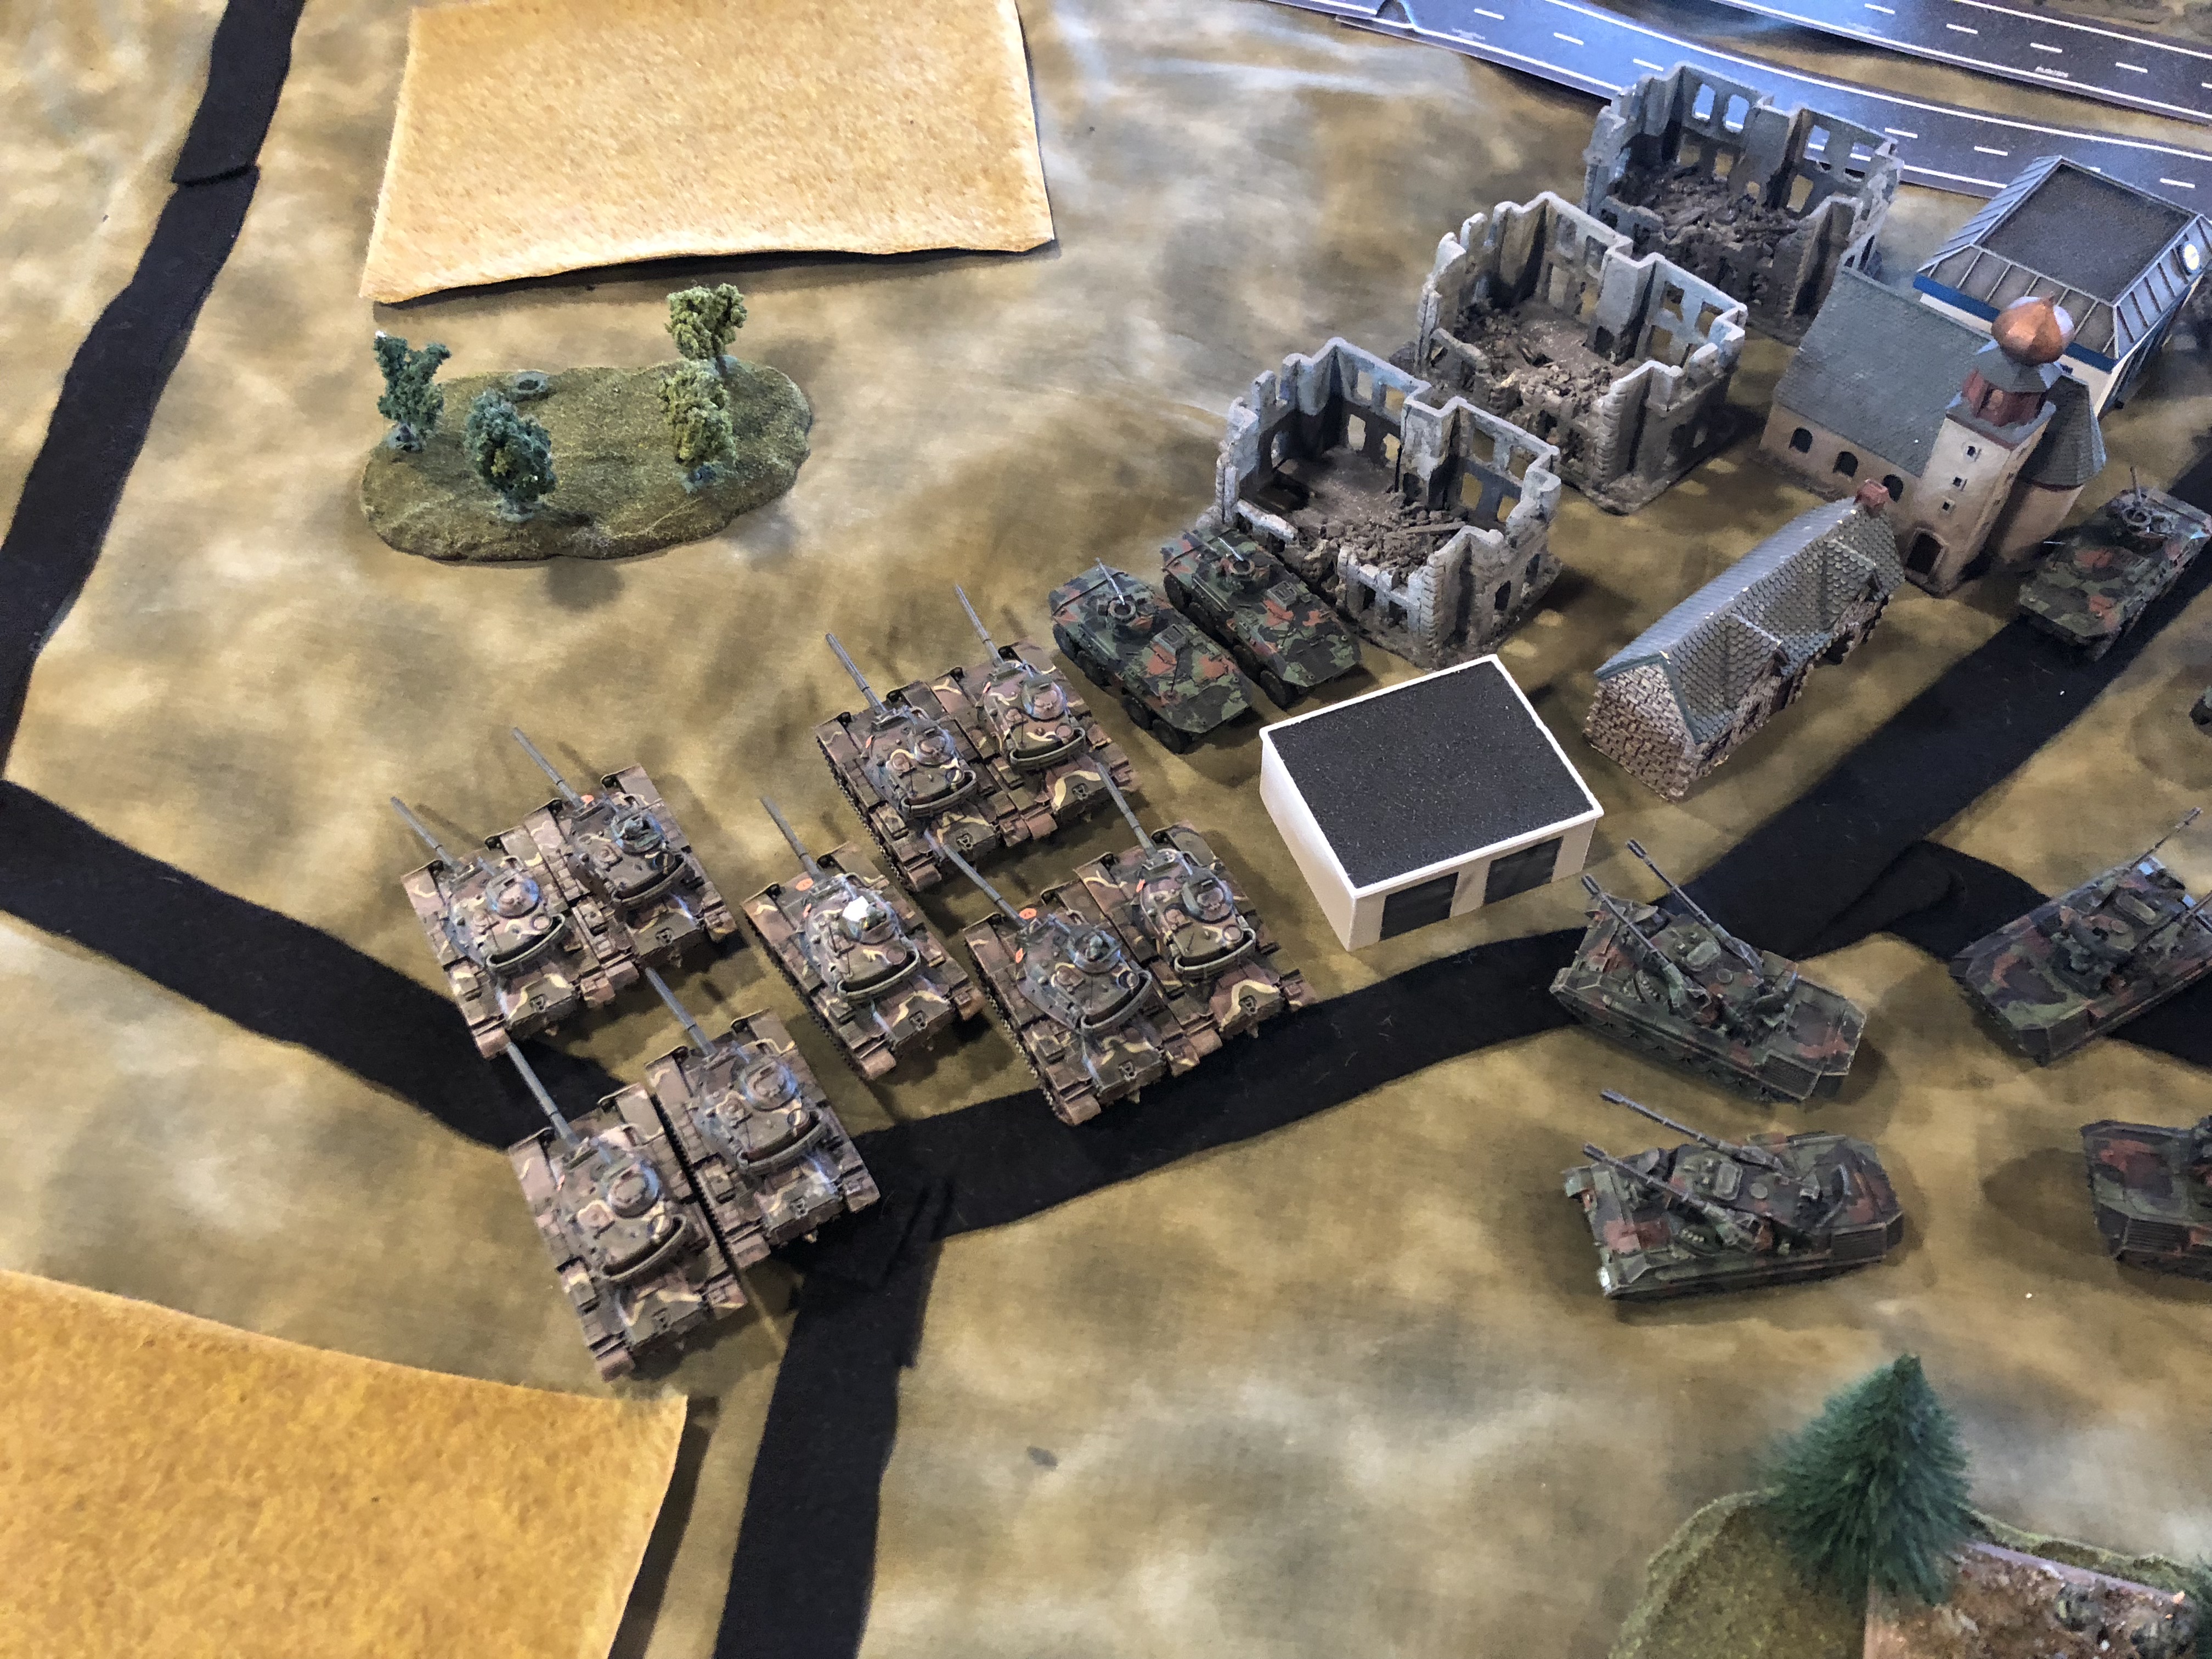
Whittier didn’t waste time, advancing out of a defilade south of the highway under cover of darkness, the Americans raced out on left flank and lit up an entire BMP transport platoon before they ever fired a shot. Some of Wolter’s Leopard Is joined him in the raced even faster to secure the road to Bonn and turned the flank of the Soviet position. The Russian right was in trouble, and so they dug in to hold their flank.
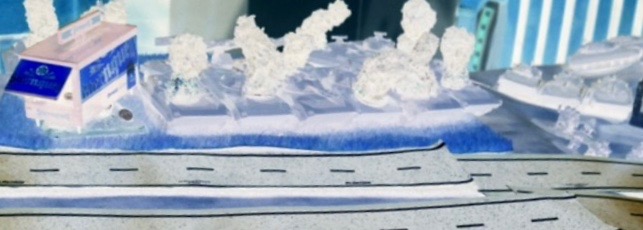
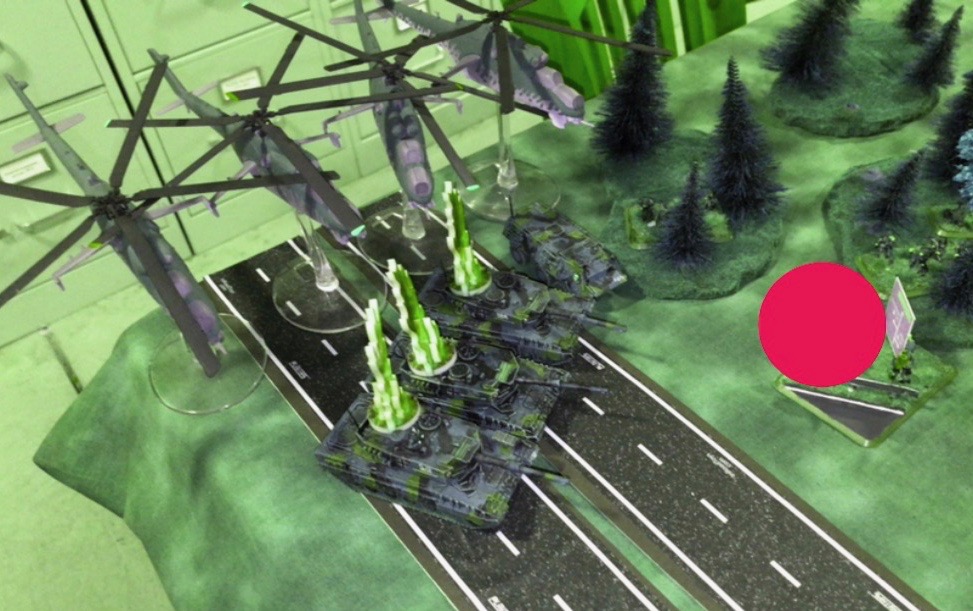
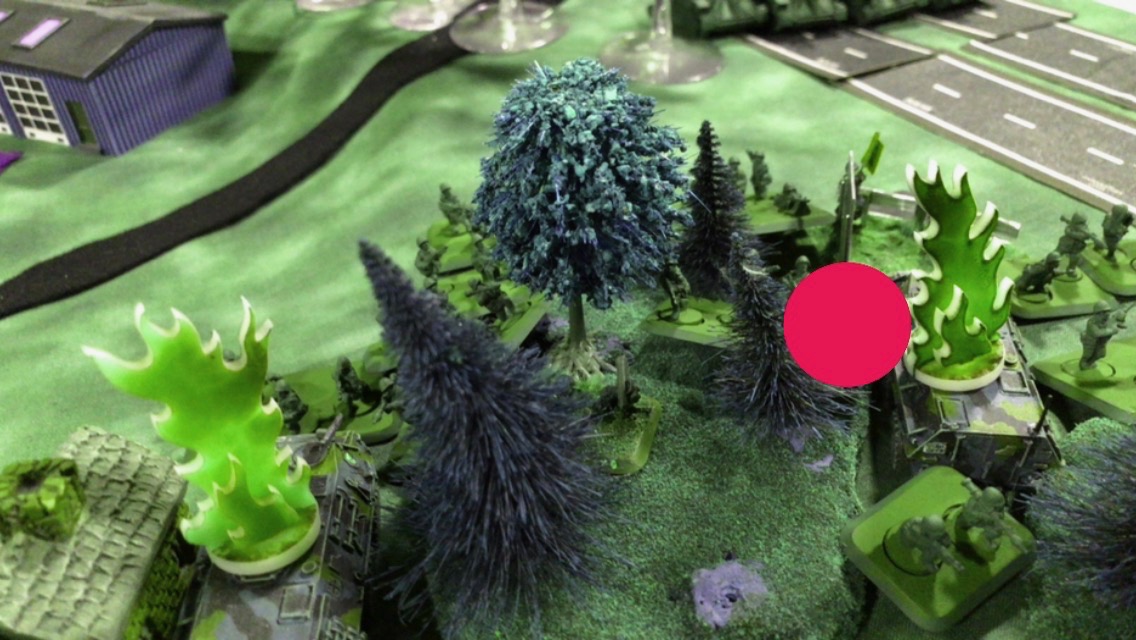
But the Russian left had an ace up their sleeve. Prowling along the highway in the dark, they found the Rosawulfe lurking just behind the wooded heights in which Wolter’s infantry had dug in. They hadn’t fired, and were far out of range of enemy ground forces, but the Hinds found away to post up behind the Leopard IIs and lit them up with devastating effect. The core of Wolter’s defense had been knocked out without firing a shot, and no only a few Panzeraufklarer were dug in to hold the A4 southbound against a mass of Russian infantry advancing on their position.
Whittier didn’t like what he was hearing from over by the highway, but he had Russian prey in his sights, and moved ahead with his plan. The Iron Dukes advanced on the poor infantry survivors of the BMP company with machine guns blazing, but couldn’t quite get close enough to assault. Even in their foxholes, the Russians suffered horribly losing several teams, and ending up pinned.

Over along the highway, Wolter’s Luchs and Fuchs likewise opened with every MG at their disposal on the Russians advancing on their right flank. The task was easier, and many Russians fell, either dead or pinned. The assault had been halted, for now.

But the Russians rallied right back, perhaps buoyed by the lingering Hinds and advancing Shilkas and T-64s in support of their attack. These units hit the German Luchs and Fuchs hard, yet only bailing them rather than killing any. Still, it was enough covering fire for the advancing Russian infantry who quickly engaged and dispatched the few Panzeraufklarer facing them in the woods.
Whittier couldn’t see exactly what was going down to his south, but he could certainly tell by the withdrawal of Wolter’s Luchs in that direction that it wasn’t good news. The Russians likely controlled the intersection of the A4 and A45, so his only hope was to stabilize the situation by doing enough damage that they couldn’t exploit their victory.
With the sun rising in the East, he rolled into the Russian position straddling the A4 with main guns blazing, while some of Wolter’s Leopard I’s joined in the attack to knock out Russian air defense. The Leopards scored a few kills, but not enough to drive the unit off. It wouldn’t be around much longer, so Whittier focused on rolling over the Russian infantry.
His first platoon went in, and took RPG rounds severe enough to repel the assault. He himself then led the second assault, and this had much more effect, driving the Russians out of their holes after inflicting many casualties.
On the surface, it was a draw if only because of the questionable pouncing of the Rosawulfen by the Hinds (rules check later confirmed an error here—but missed it in the heat of the moment. Word to the wise, study those OPFOR cards!). Whittier held the A4 without suffering many casualties, and Wolter was still in pretty good shape, losing only a Leopard I Zug and the Fuchs borne Panzeraufklarer to the Hinds. But there was nothing that could push the Russians back up the A45, and so Wolter turned tail to regroup. They’d lost this round, but a swift counter-attack might yet save the day.
Battle Report Author
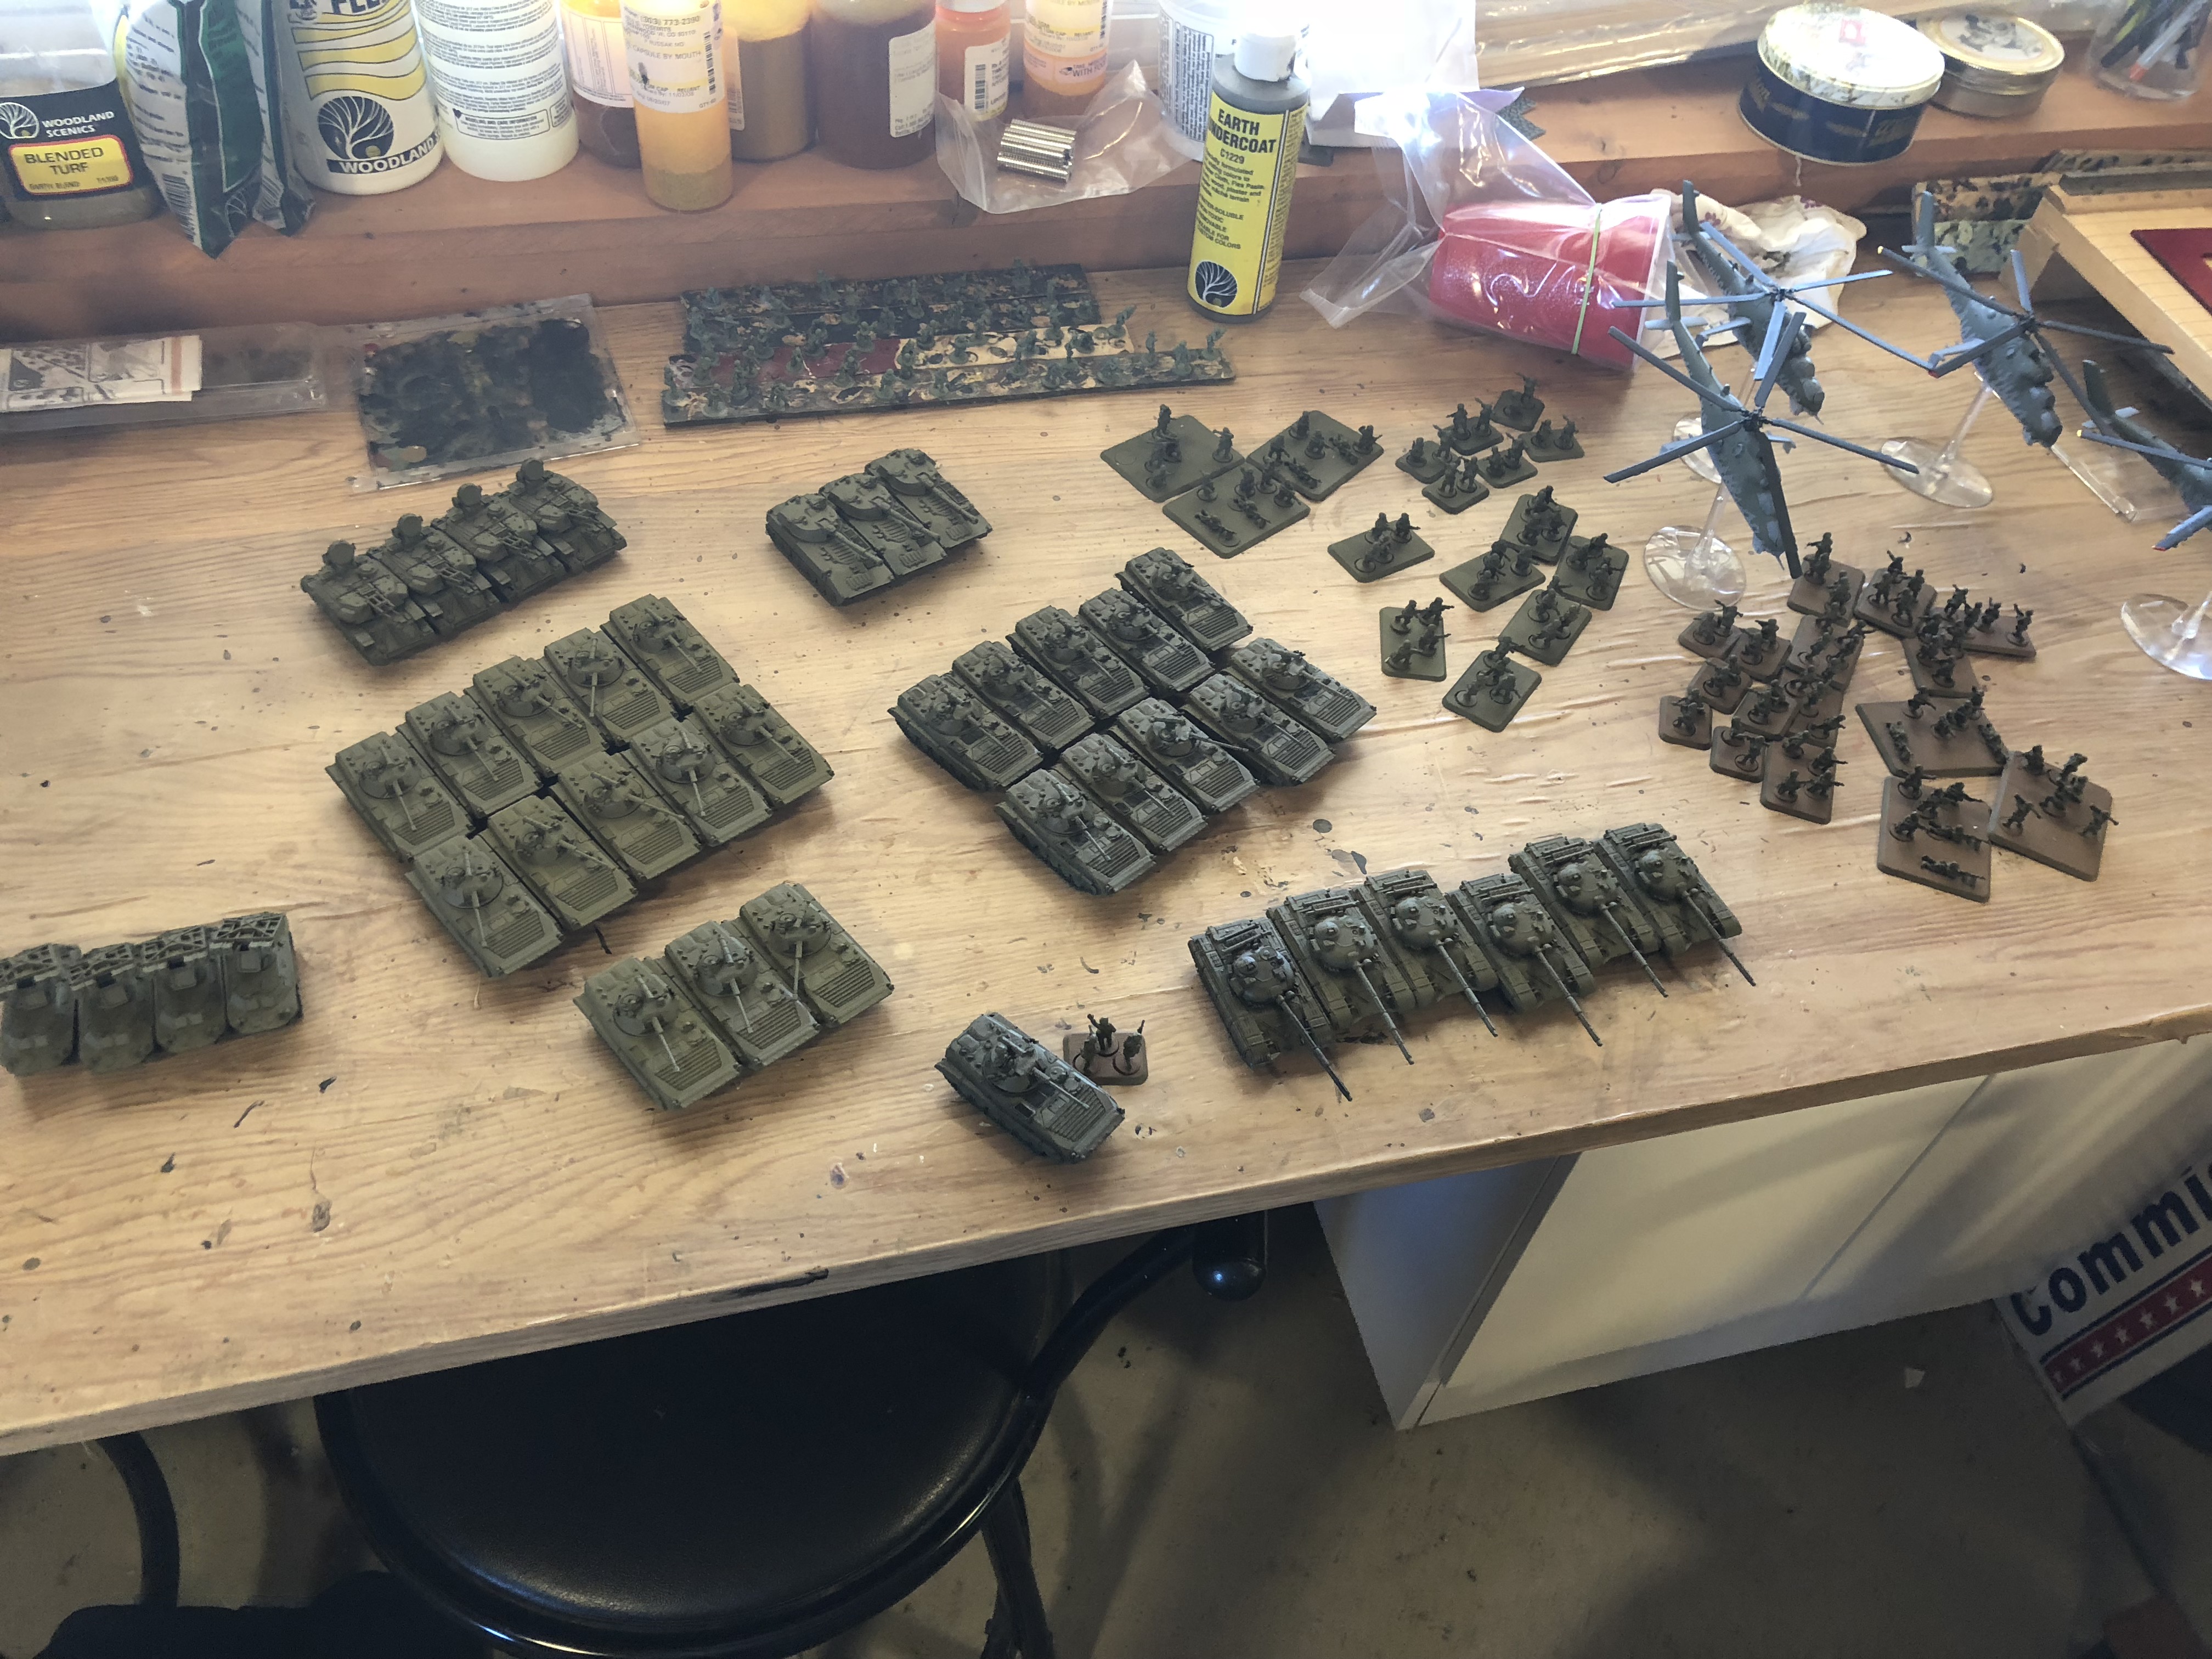
Army Lists Used In This Battle
Recommend Commander For Commendation
Share this battle with friends
Enoch RootWins

Excellent report and amazing photos. You put forth a great amount of effort into your AAR. Well done. GO NATO
Oberst—You’re right! I forgot to put out the other Redeye team. thanks for correction.
the issue with the Hinds was threefold:
1) They started the game loitering above table, and then came in on Turn 1 into a night fighting environment. Since they have “unlimited” movement, it would appear that they can basically appear anywhere on the table, making their Night LOS die roll seemingly irrelevant. No enemy ground unit had Night LOS to my Leo IIs, yet the Hinds could “find” them exploiting unlimited movement?
2) In a Night game, it is unclear to me whether Night trumps Radar or Radar trumps Night. We went with the latter because we could find nothing that said that the Gepards’ radar ignores night vision rules. We both thought it should, just couldn’t find a rule.
2) Assuming I couldn’t be seen, I put my Leo IIs out in position that would allow them to move down the highway with a blitz next turn. This left 2-3 inches of table behind them. My opponent (with whom I’ve gamed for years) chose to put the Hinds in that little space. They fit, so I allowed it. That said, when later looking at the Hind Card, it’s clear the Hinds have a minimum ATGM range of 8”, which means the Hinds would not have been allowed to exploit that little gap and would have had to roll at least a “2” for night vision. Not sure it would have really mattered, but important lessons to learn.
Welcome anyone who can clarify point 1 or 2 above.
Another Excellent report. again I really like the use of the map.
Awesome report Kubik! I really love you models and the table was beautiful. Too bad on the loss but hey, you can’t win’em all!
Interesting mix!
A pity we couldn’t contain this one! But Congratulations for another excellent and Well supported AAR
auf gehts
keep it herr General
An unfortunate loss. We all have off days
nice work great table and figures maybe some more long distance photos would have been nice.
What was the error with the Hinds? What on the card is the key to what should not have happened? Please tell us.
A tough fought battle that went bad for you. Tanks without AAA/ADA cover are toast. Next time. I saw one Flieger team, where was the other one? They have to come in sets of two.
Nice report. Tough break-I am sure you have just begun!!!! Keep em fighting
Nice battle nice report
Very nicely painted! hard fought, better luck next time, Damn hinds!!!
A well written batrep! Worthy of commendation!
Excellent report. Love the addition of the map and mil symbols.
+++
Excellent report, earned you a commendation and a 9/10.
I for one liked the additions at the start. Top notch!
Spasibo Enoch Root for a much needed win. I will be looking forward to your report!