Fought At Frankfurt
2206 days 20 hours 3 minutes ago
Red Space Invaders
100 POINTSSince my Soviet army is still unpainted it didn't look right to use it for a report but I still wanted to get one more game so I devised something unusual.
How many waves of different vehicles could my British withstand before being finally overrun?
The Soviet forces would be able to recycle their units ad infinitum while my casualties would stick. Thre British force would be reinforced by bigger and better units every now and then because if I started with everything on the board the amount of damage they could unleash would make short work of any Soviet wave that I might come up with!

Since my stuff was a LOT better than what I had available for Warpac, the best stuff would go in reserve. I would have all of my light vehicles and a single tank unit from the start, while the other units would arrive randomly after every turn.
Every time a Warpac unit was destroyed, the Soviet player would be able to reuse them the next. If a unit was badly damaged, he could withdraw them to have them available the following turn.
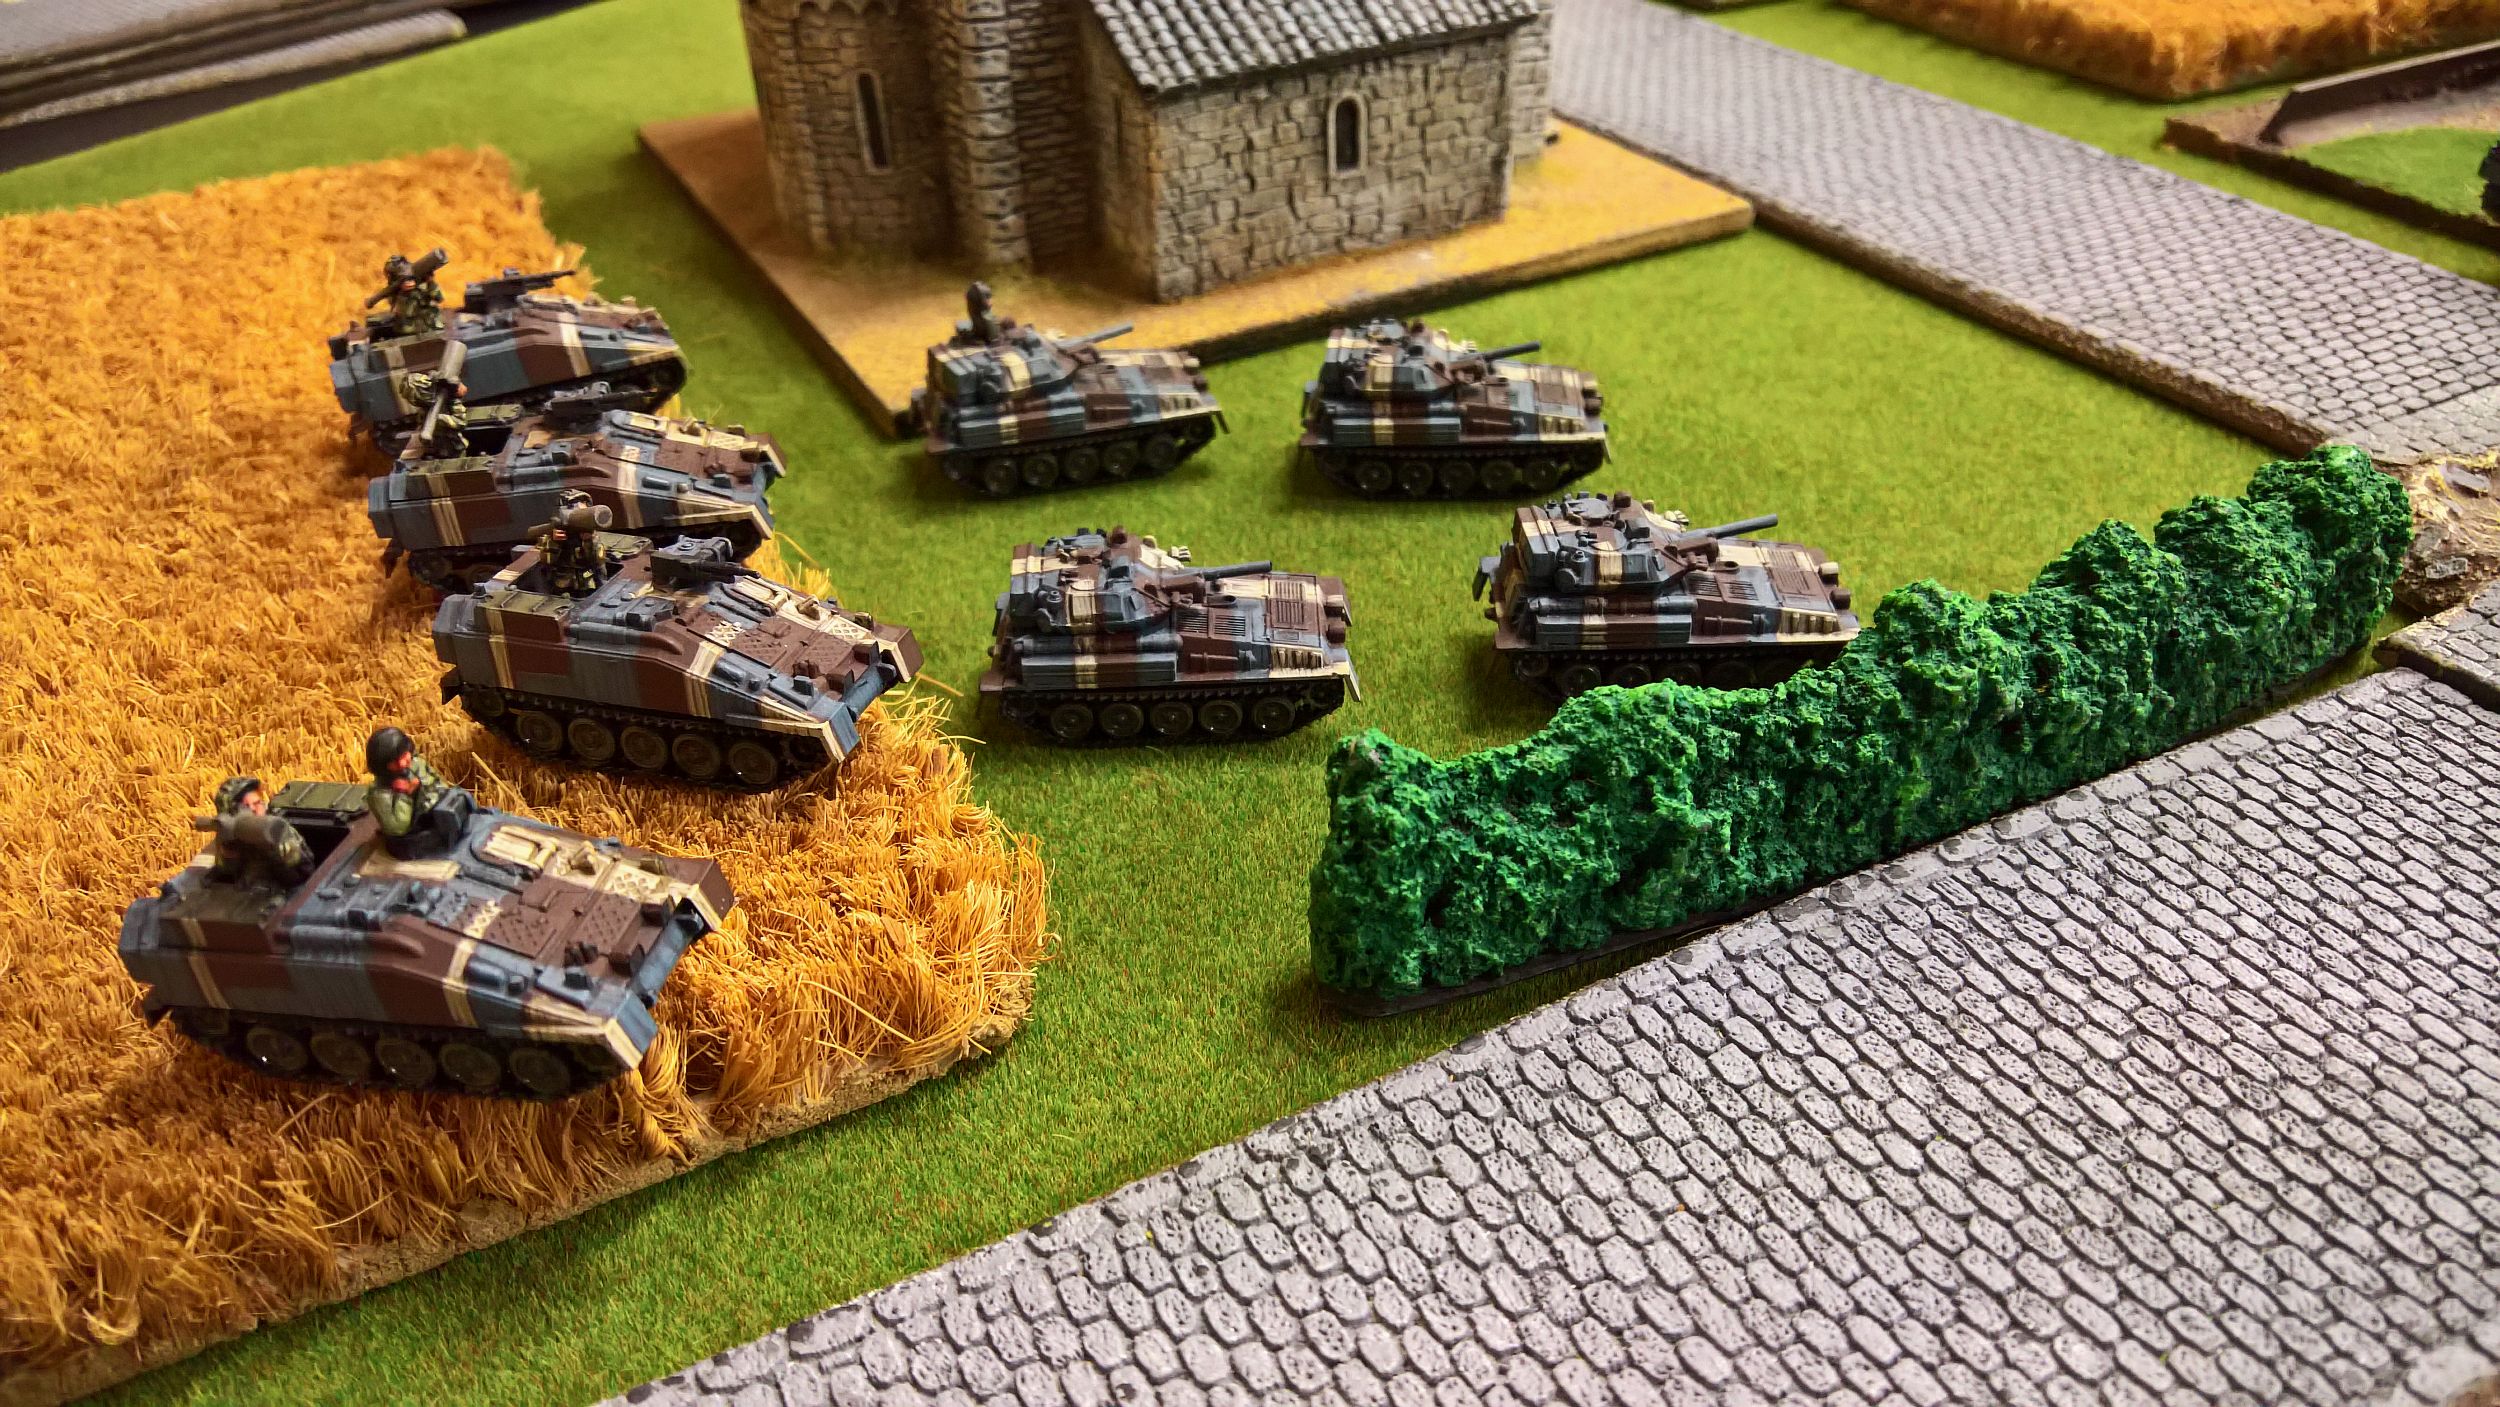
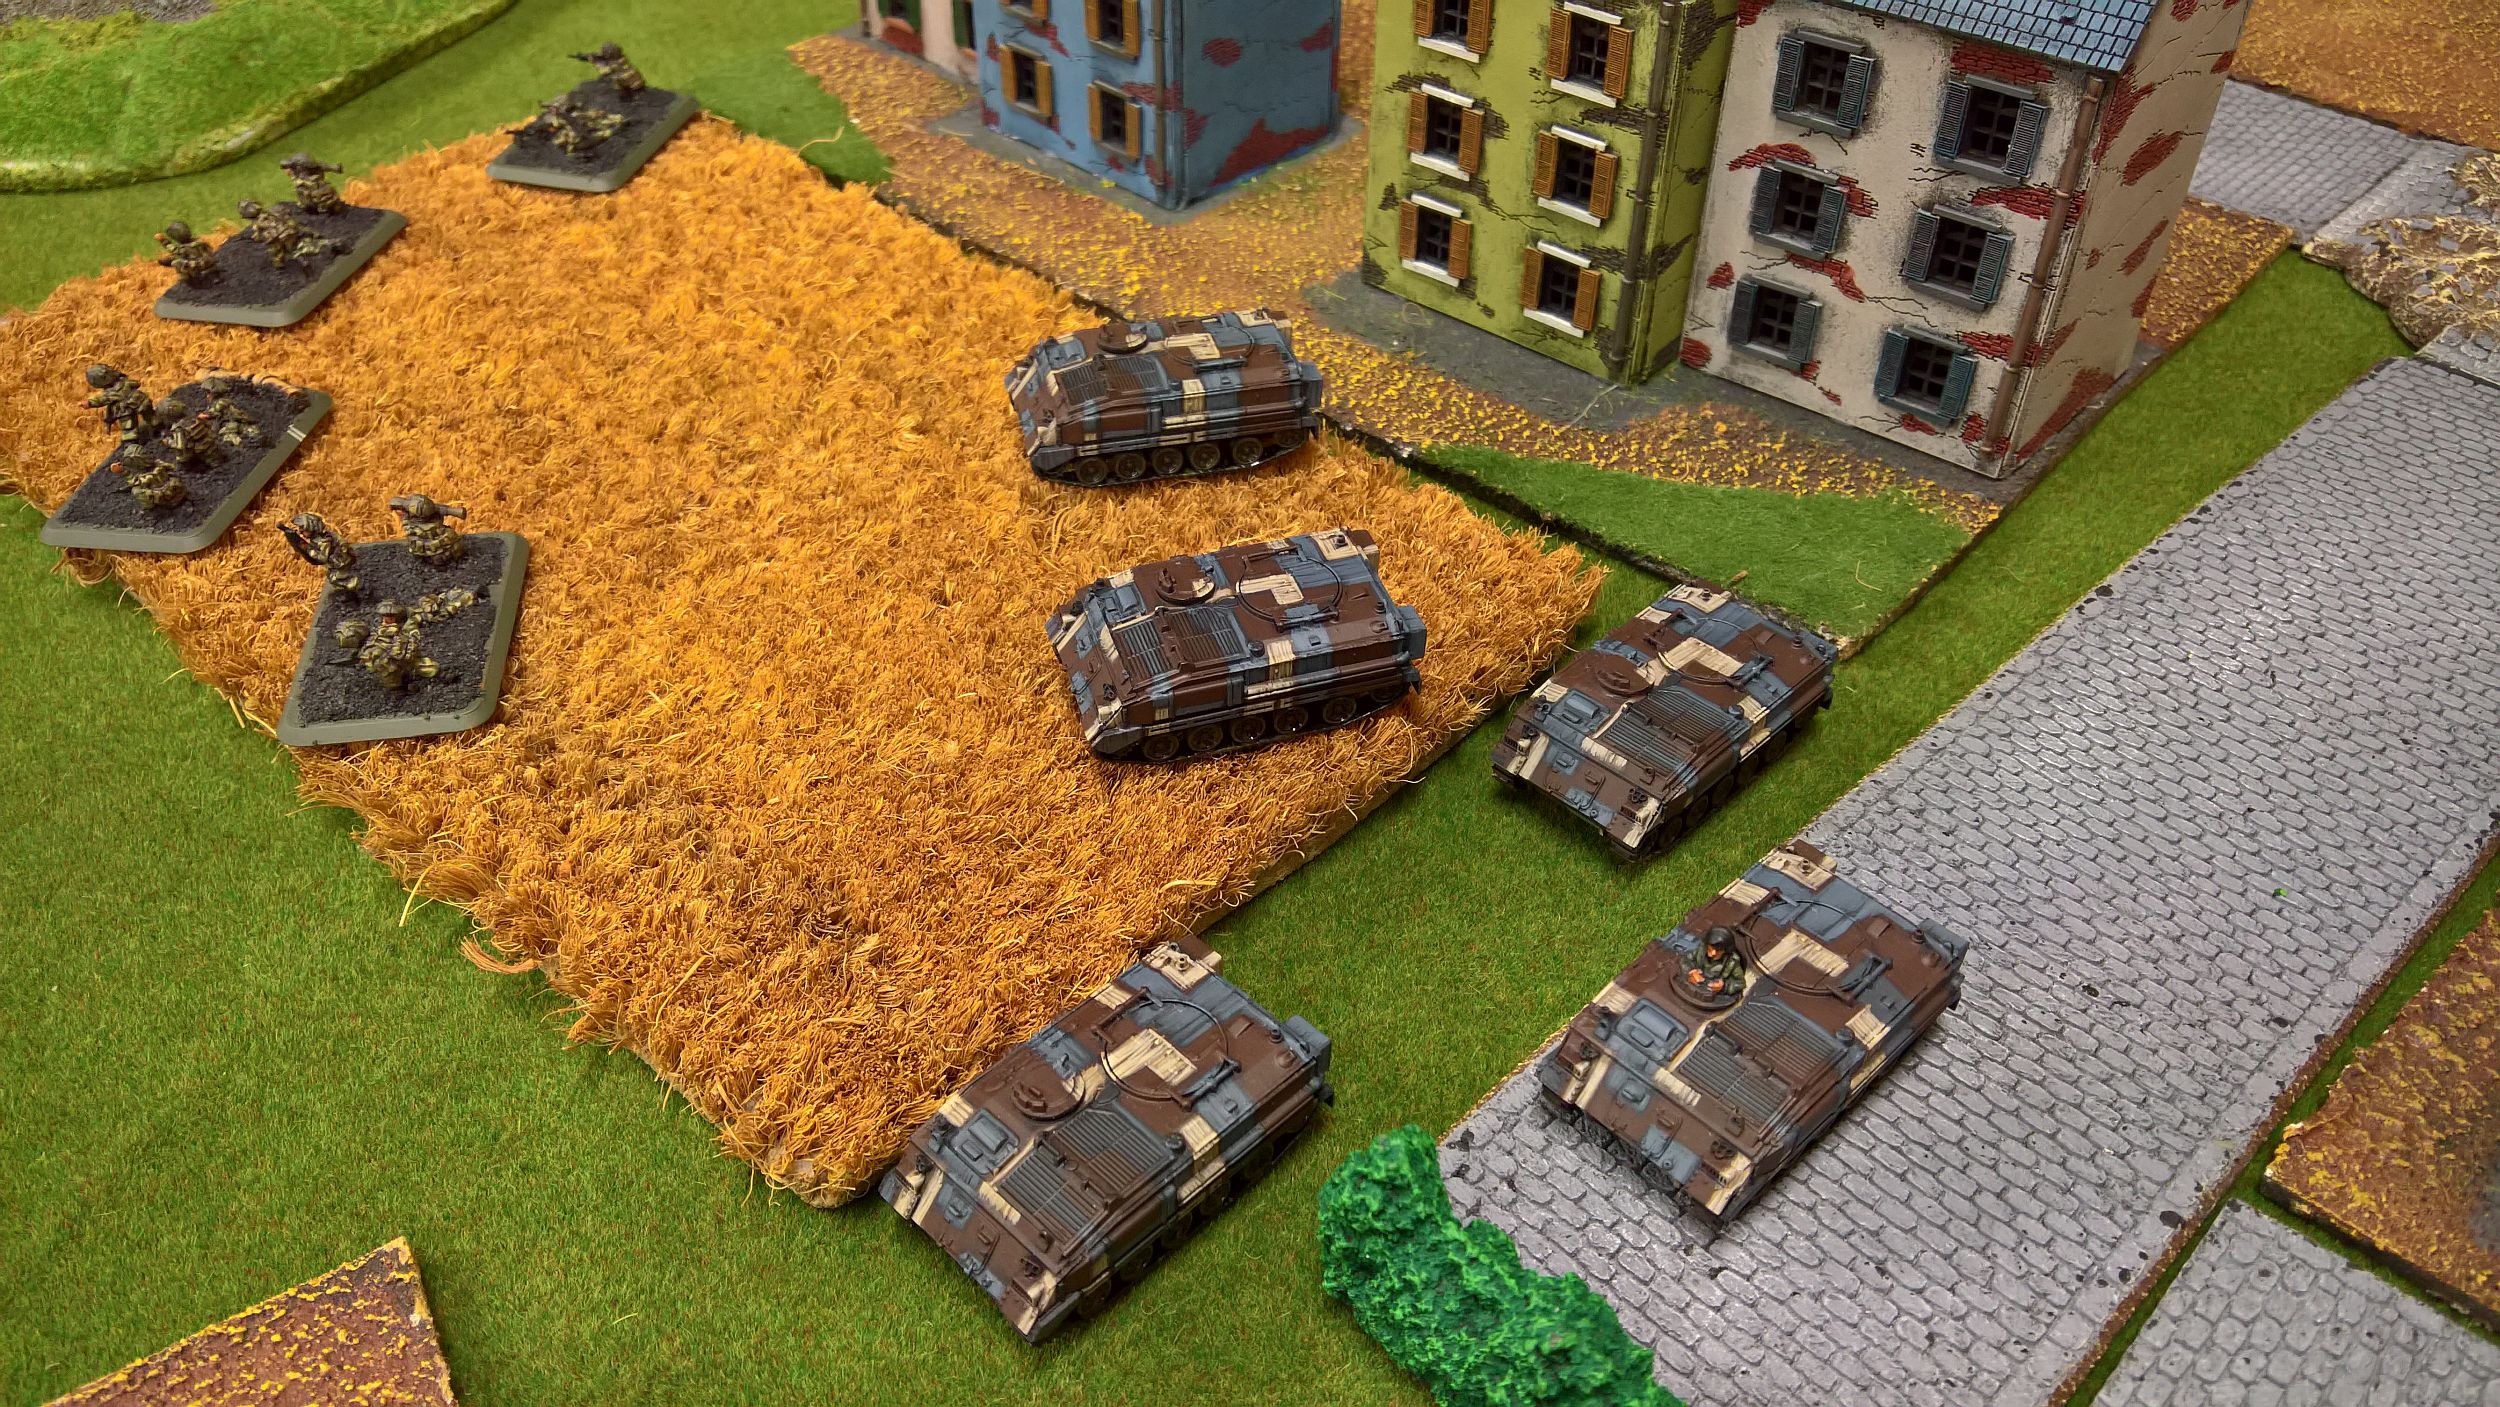
My starting force was made of Scorpions, HQ Chieftain, a Chieftain unit and the Blowpipes (essential to survive the relentless waves of Hinds!), giving me more or less the same amount of points as the attacker.
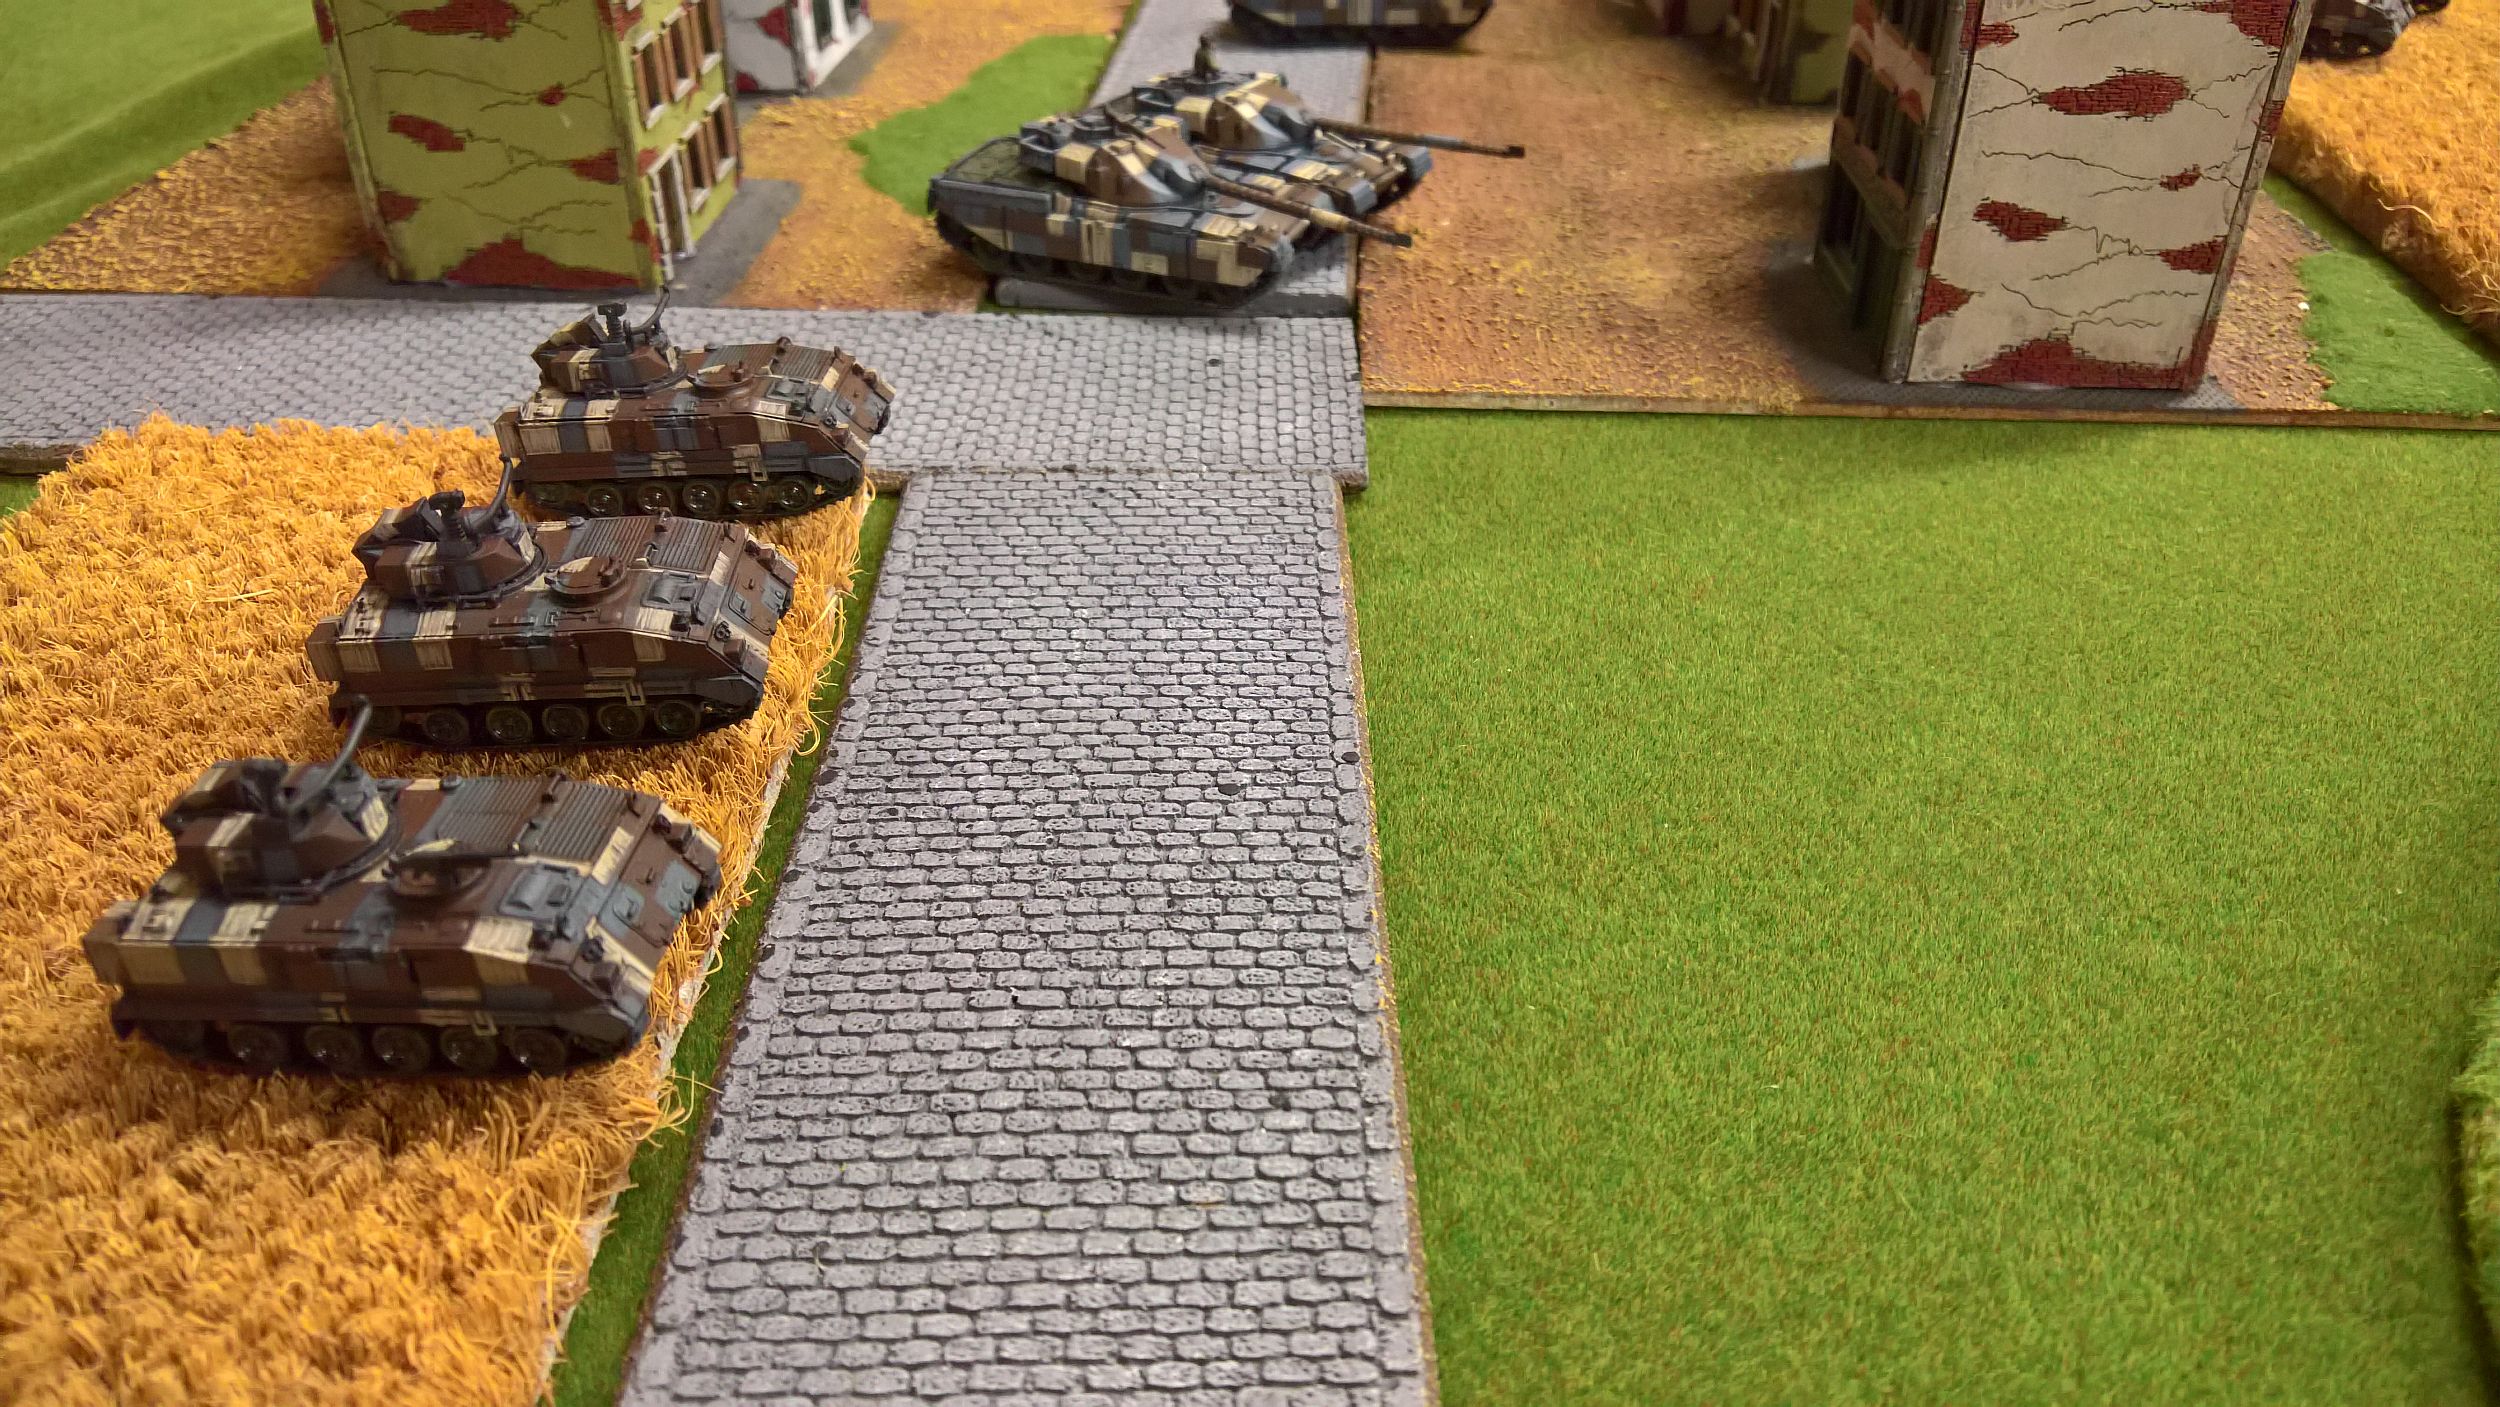
I had the benefit of range and firepower though and the units that could damage me from long range were very few. The T55s advanced forwards to soak up most of the hits, while the BMPs and Shilkas skulked around the wooded area in the centre. The first Hind flight was thrown recklessly against he Blowpipes but it didn't do them any good - both were swatted down without working a sweat.
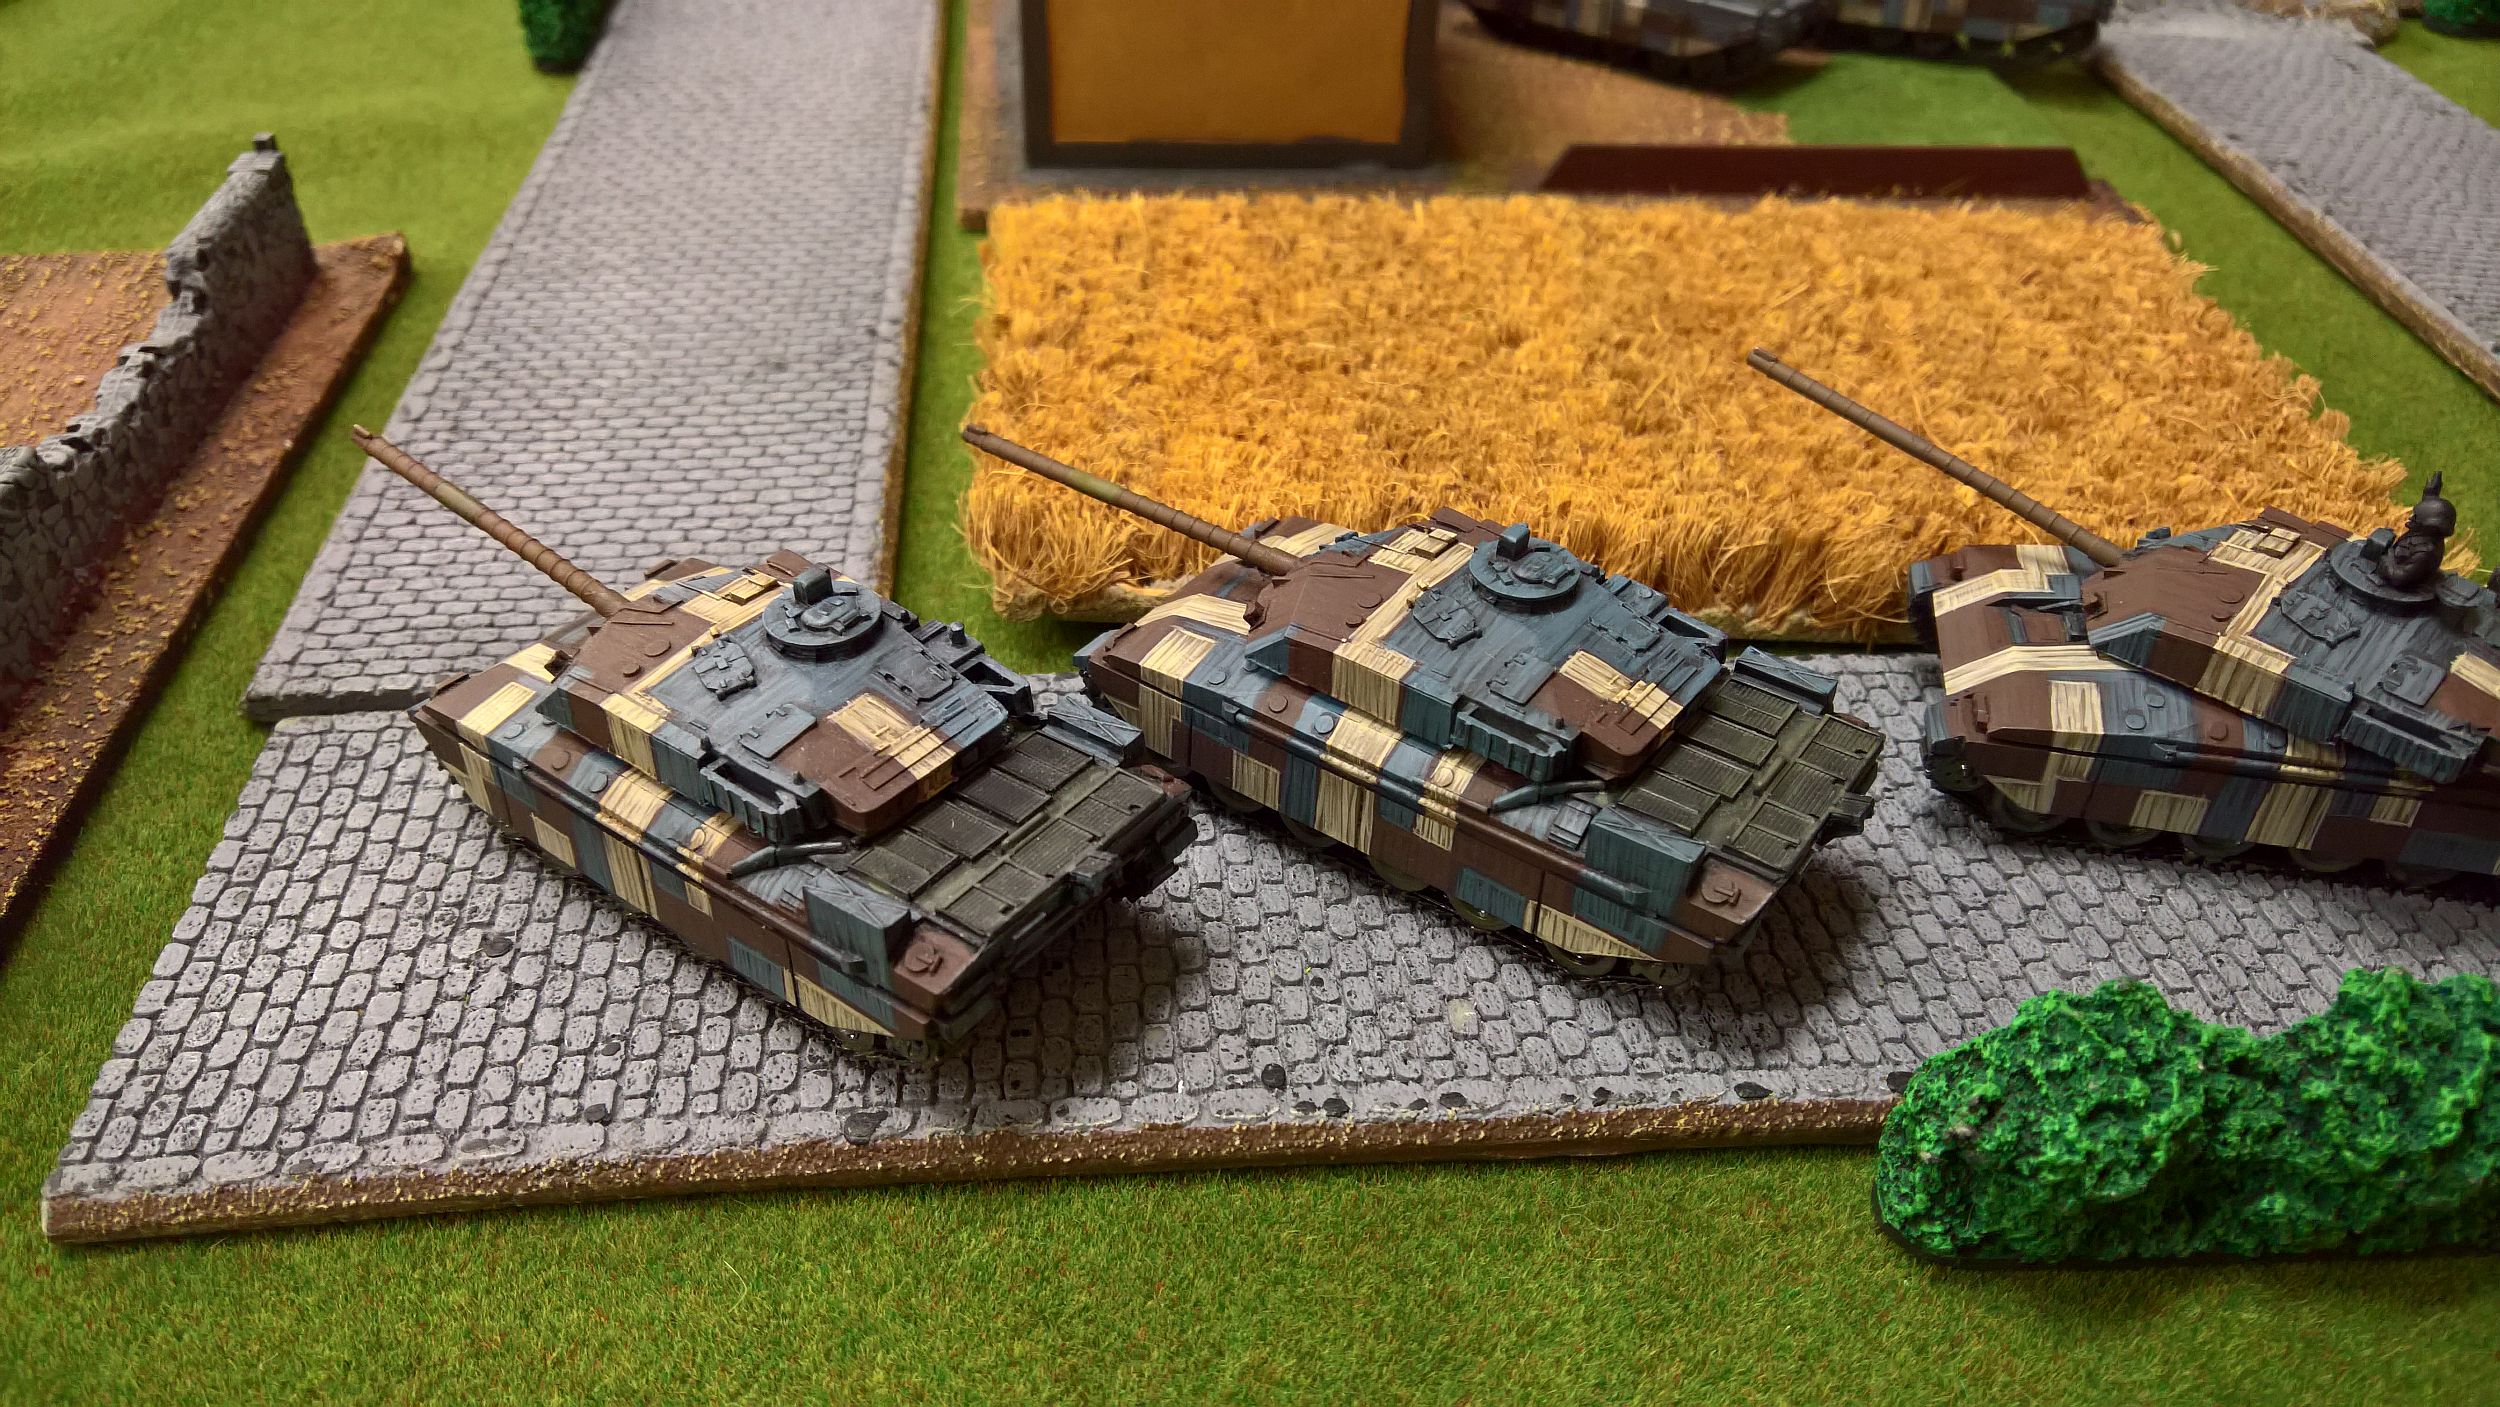
My firing was concentrated on the T55s, with the Chieftains just doing their homework - 6 shots, 4 tanks destroyed.
The second turn was hardly more eventful as the safest way for the Soviet player to destroy the Blowpipes was to force them to fire so they wouldn't be gone to ground when the Shilkas could target them, but they still weren't in range, so the Hinds waited for their turn. The T55s advanced again but could score no hits, while the Chieftains kept their accuracy, destroying another 4. The remaining ones were withdrawn, but the second wave was ready to support the lead units, which were in a better position.
The second wave rushed in following the noise of battle. The Hinds made their second attempt as the Shilkas were in a position from which they could target the AA unit.
The ruse was only partially successful. Both helicopters were downed and that was a given, but the long range increased the armour of the Blowpipes and in the end only two were bailed by the Shilkas! The BMPs didn't hit anything and the T55s were too far away to make an impact. One Chieftain was bailed by a lucky shot from the Spandrels.
Unfortunately I didn't get any reserves and didn't remount either Blowpipe, while the Chieftain did. Needing to get rid of the Shilkas as soon as possible, the Scorpions blitzed to get all into short range, wiping them out. The Chieftains scored two kills on the T55s. I still had range on my side fortunately.
More Hinds and more Shilkas, with fewer Blowpipes to counter them!
This time, in the face of lighter fire, the helicopters took their chances on the Chieftains, which had too much armour for the outdated T55s. One was downed by the two Blowpipes but the other one struck hard, destroying a tank.
The best news however was the recovery of the two Blowpipes, which brought them back to full strength after having been targeted by the Spandrels, fortunately to no ill effect.
The T55s destroyed one Scorpion and the BMPs destroyed another. Casualties were going to matter and I couldn't afford that many at this early point in the game.
I got my first reserve - the recce formation. They were immediately put to use to annihilate the BMPs before they could wipe the Scorpions out. The two Stillbrews destroyed three more T55s and scooted away to avoid being flanked, but I was running out of space.

My opponent had two "red spaceship" cards and decided to use one to employ a one-shot Su-25 flight.
The remaining T55s, having missed the chance to flank the Chieftains, focused on the surviving Scorpions in the centre, wiping them out. The BMPs re-entered the table and fired at the Light brigade with the Shilkas, destroying another three. The Hinds were again sent on a suicide run at the Blowpipes, safe in the knowledge that the Chieftains were exposed to the fighters' attention, but both were downed. The tanks unfortunately suffered the same fate.
Swingfires arrived to boost the firepower of my dwindling forces. With the new FAQs they couldn't fire but at least they were making themselves unconspicuous!
I committed my HQ tanks to the destruction of the T55s as they were the only surviving MBTs I had and they acquitted themselves rather well, blitzing and destroying another 3, making the unit useless, so my opponent withdrew them.
The Scimitars, boosted in blitzing by the HQ Spartans, attacked the Shilkas and destroyed 3.
Of course, in the following turn, the Shilkas turned up again and inflicted two casualties on the recce unit. The T55s entered for the third time on the table, dashing towards the bombed crossroad. The unexpected heroes of the day were the Hinds, which managed to dodge the blowpipes before destroying one. Meanwhile, the Spandrels bailed an HQ Chieftain.
In my turn I received the infantry platoon, which moved on the double towards the city centre. They were the longer-lasting unit in my force and would be able to keep the T55s at bay until the end of the game as long as they weren't pinned! The Scimitars enjoyed another round of turkey shooting at the Shilkas, while the Spandrels suffered two casualties from the Swingfires - a bit overkill but they were the only thing in sight.
With the Hinds still on the table and the Blowpipes busy, the second fighter flight arrived.
The T55s were in a position that allowed them to fire at long range at the blowpipes and they wisely used the 50 cals, bailing 2. Unable to defend themselves, they were destroyed by the Hinds.
The BMPs found themselves outnumbered but not outgunned by the Scimitars. Their poor ROF let them down though and I managed to swap a hit on an HQ Spartan.
The Frogfoots were less effective this time - only one missile hit, blowing up a Stillbrew. However, with the Blowpipes out of the equation, it was really a matter of time.
In my turn, the Scimitars wasted another bunch of light vehicles, the Chieftains only killed two tanks and the Swingfires took another two. Infantry made it to the centre.
With the Hinds free to attack at leisure (more or less!) the tanks started dropping like flies: two Chieftains were destroyed. The T55s burst through the centre to confront the infantry but the cover made sure most of the shots went astray. The Shilkas re-entered for the umpteenth time to finish off the Scimitars, wiping them out. Buoyed up by their success, the Soviet tanks attempted an assault but between the Carl Gustavs and LAWs two were destroyed and one bailed, sending them back.
With that we called for a ceasefire as it would take the Hinds forever to destroy the infantry now that they were hidden and dug in, and I still had the Lynx in reserve to weaken any armoured thrust before it could reach them.
Battle Report Author
Army Lists Used In This Battle
Recommend Commander For Commendation
Share this battle with friends
HMS_BelfastWins

Nice to see another 100!
Nice looking paint job on the British.
Another Great report. Thanks for posting.
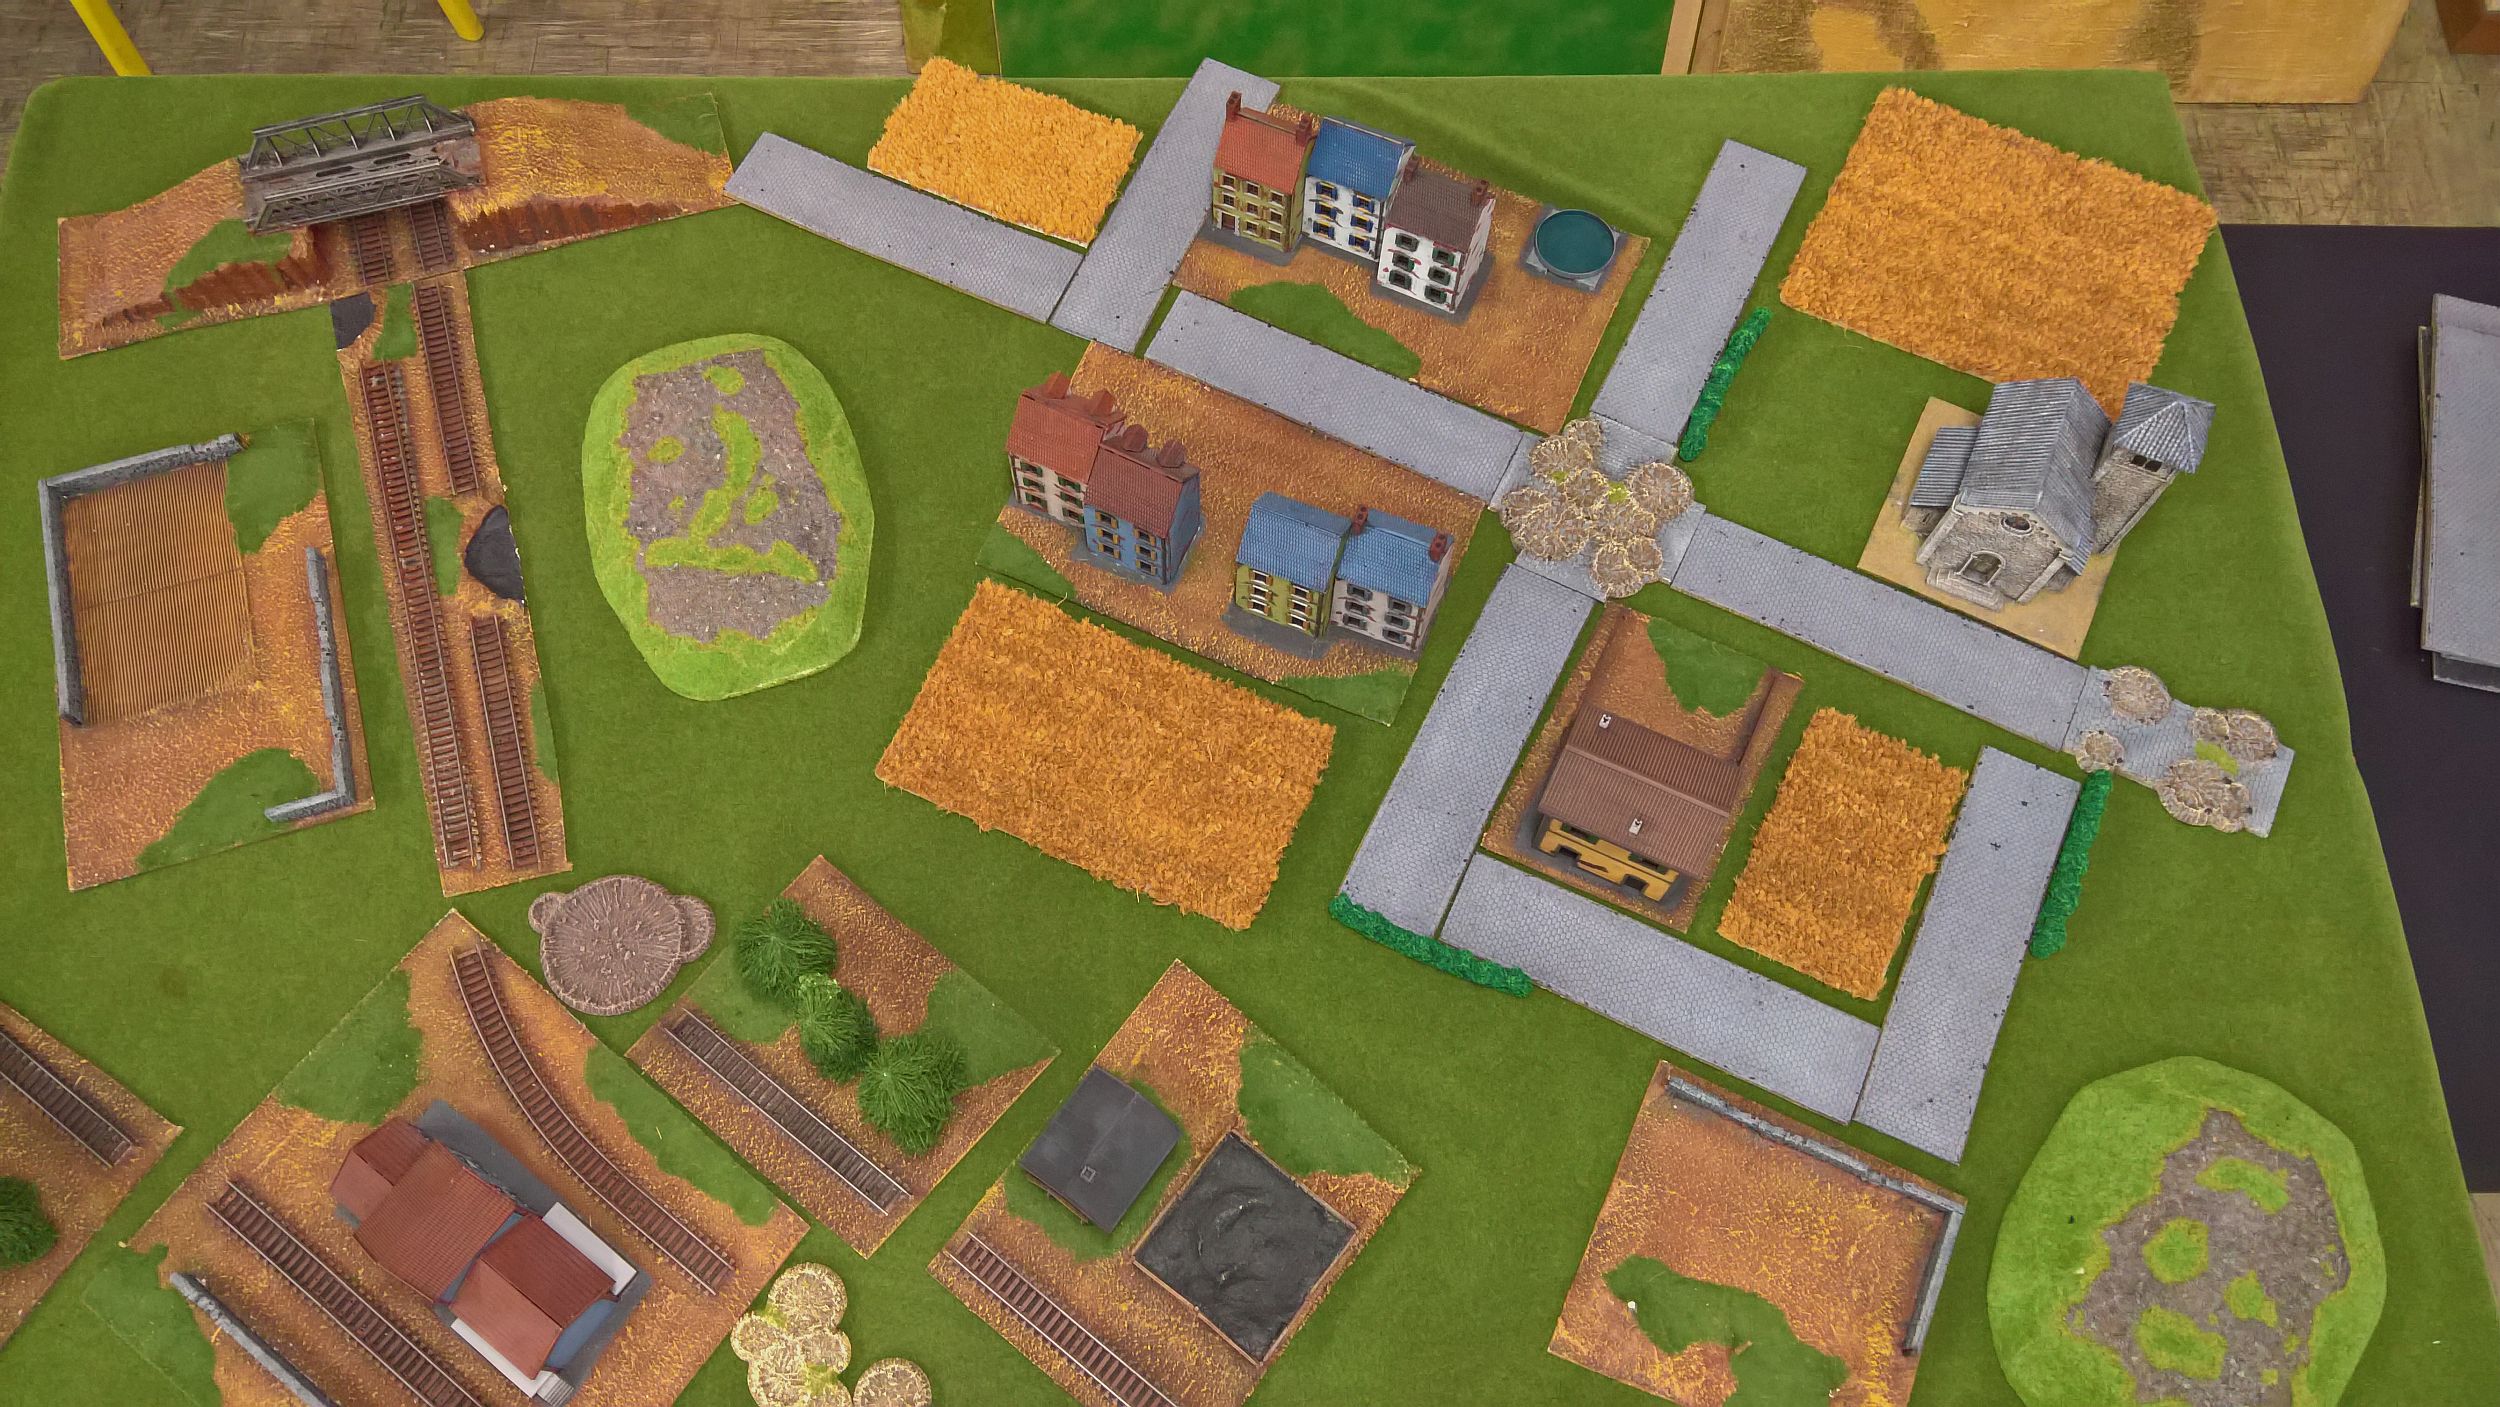
Red Alert, you are indeed correct but the amount of proxies, unpainted figures and even bits from my British army (such as the planes) would have made the report ugly and hard to understand. You will excuse the partiality of it I hope 🙂 .
Well done!!
+++
Nice, fun report – but where are the photos of the enemy?
Well Done Commander. Great Job,
An excellent report!
I like the idea of the waves very cool!
ohh very nice, well done in the end
Finish on a high; well done Signor Belfast.