Fought At Ruhr
2238 days 20 minutes ago
Hornet's Nest in the Ruhr
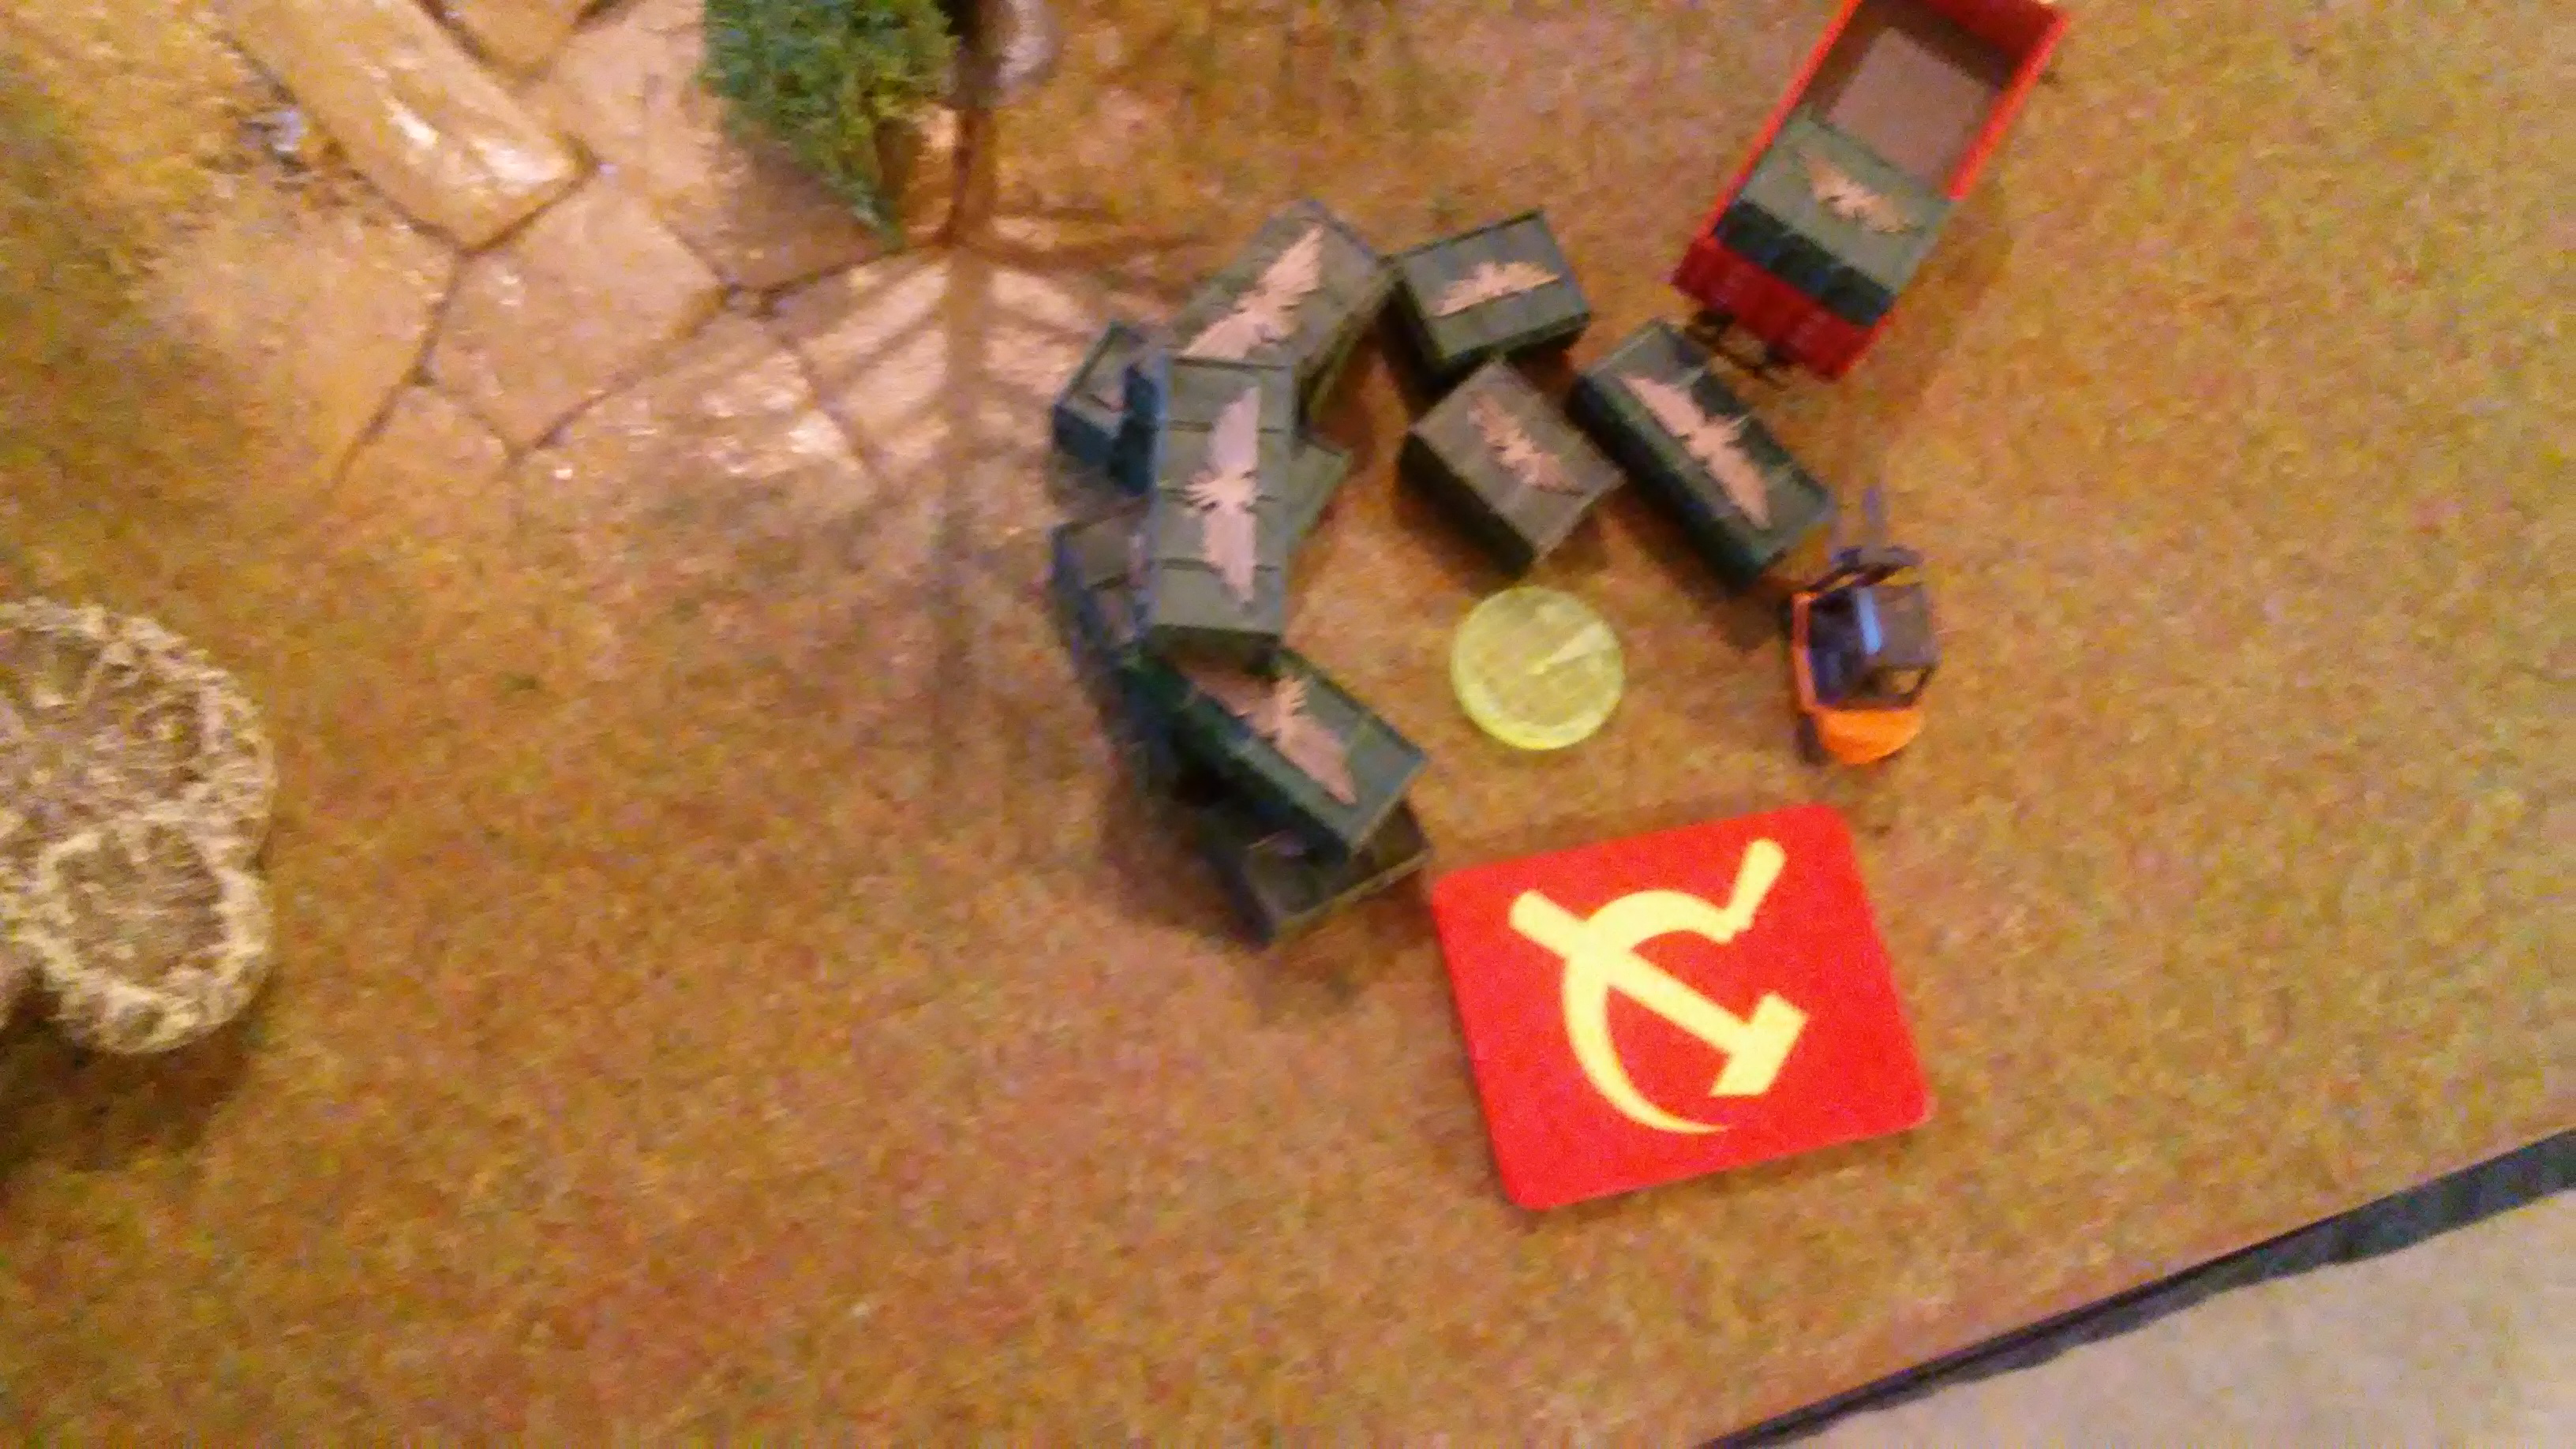
50 POINTSA FARP is exactly what you would think it is. A forward point-somewhere not far from the Brigade Trains area so ( in this case) rotary winged assets can quickly rearm and refuel and get back into the fight. These points are usually hidden fairly well from enemy eyes-in this case, not hidden well enough.
The special rules are as follows:
Since the Russian scouts are too far into the enemy rear areas, artillery is unavailable-an attack by rocket forces however is a possibility.
Morale rules will be slightly modified to deal with the small units involved.
The Americans will roll for delayed reinforcements but will depend on a die roll to see what kind of unit they get-1 is an M1 platoon (3 tanks strong), a 2 gets them 3 M113s, a 3 gets them 2 cobra gunships, a 4 gets them a 3 Humvee scout section, a 5 gets them a Luchs section (2), and a 6 gets them 2 Marders. This should simulate nearby units rushing to the aid of the farp.
Russian scout units will be unable to use spearhead before the 1st movement cycle( they did this to get on to the table to begin with)
Russian Victory conditions:
Destroy both the ammo supply point and the fuel supply point AND get 1 recon unit to exit off the Russian short side of the table= 6-1 win
Destroy 1 supply point and exit 4 units off the same edge=5-2 win
Destroy 1 supply point and exit 3 units off the same edge =4-3 win
Destroy 1 supply point and exit 2 units off the same edge= draw
Any other result is a defeat
Situation:
Nato forces are attacking westward on all fronts. They are conducting around the clock operations and as a result their forces are somewhat scattered and security between maneuver elements has been lax.
Mission:
Our scout company is to help coordinate a rocket attack on a recently uncovered forward arming and refueling point and then conduct a raid to ensure that the point is eliminated and any supporting units destroyed as well-then conduct a withdrawal back toward our own lines
Execution:
The company will move forward at all speed after the rockets hit and eliminate any supporting NATO elements. Then we will conduct a phased withdrawal by company.
Command and Signal:
We are codenamed Squirrel, HQ is codenamed Moose.
" Squirrel this is moose-come in squirrel". LT Badenoff replies" Go ahead Moose". HQ signals " Rockets being launched-code word to go is Peabody-I repeat Peabody" Badenoff replies " Understood, Out"
The rockets are made ready and are launched.
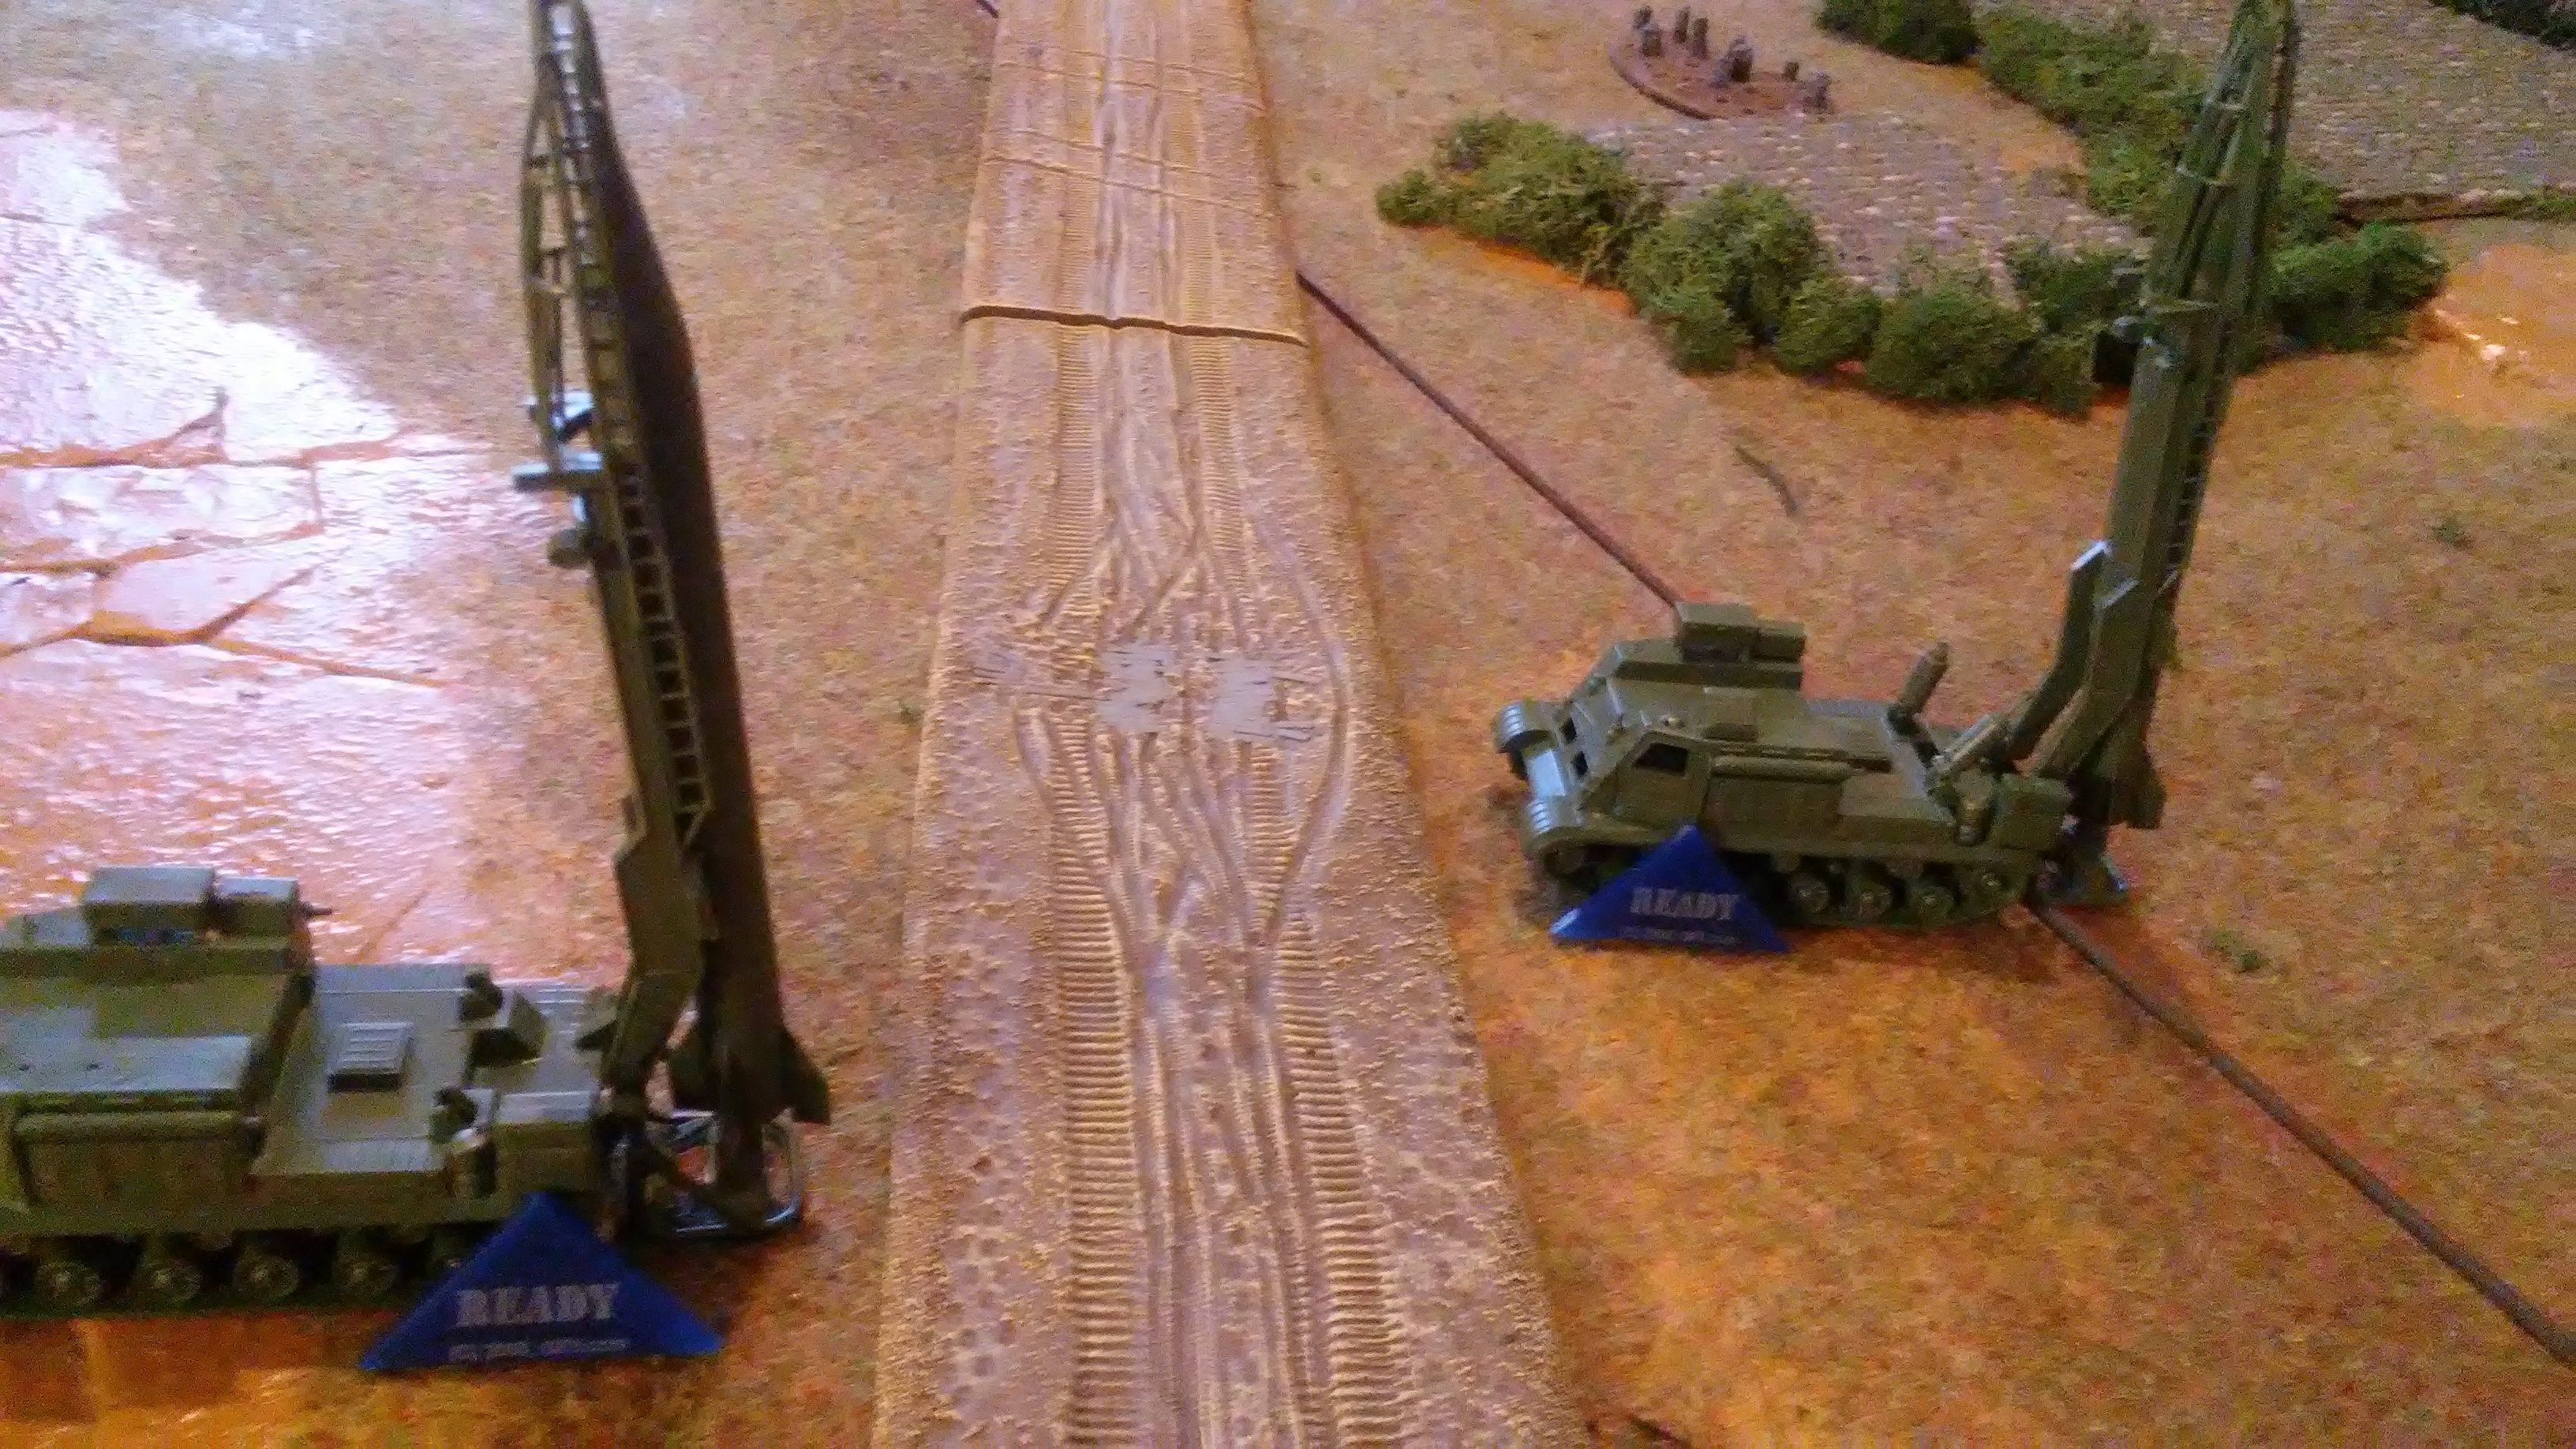


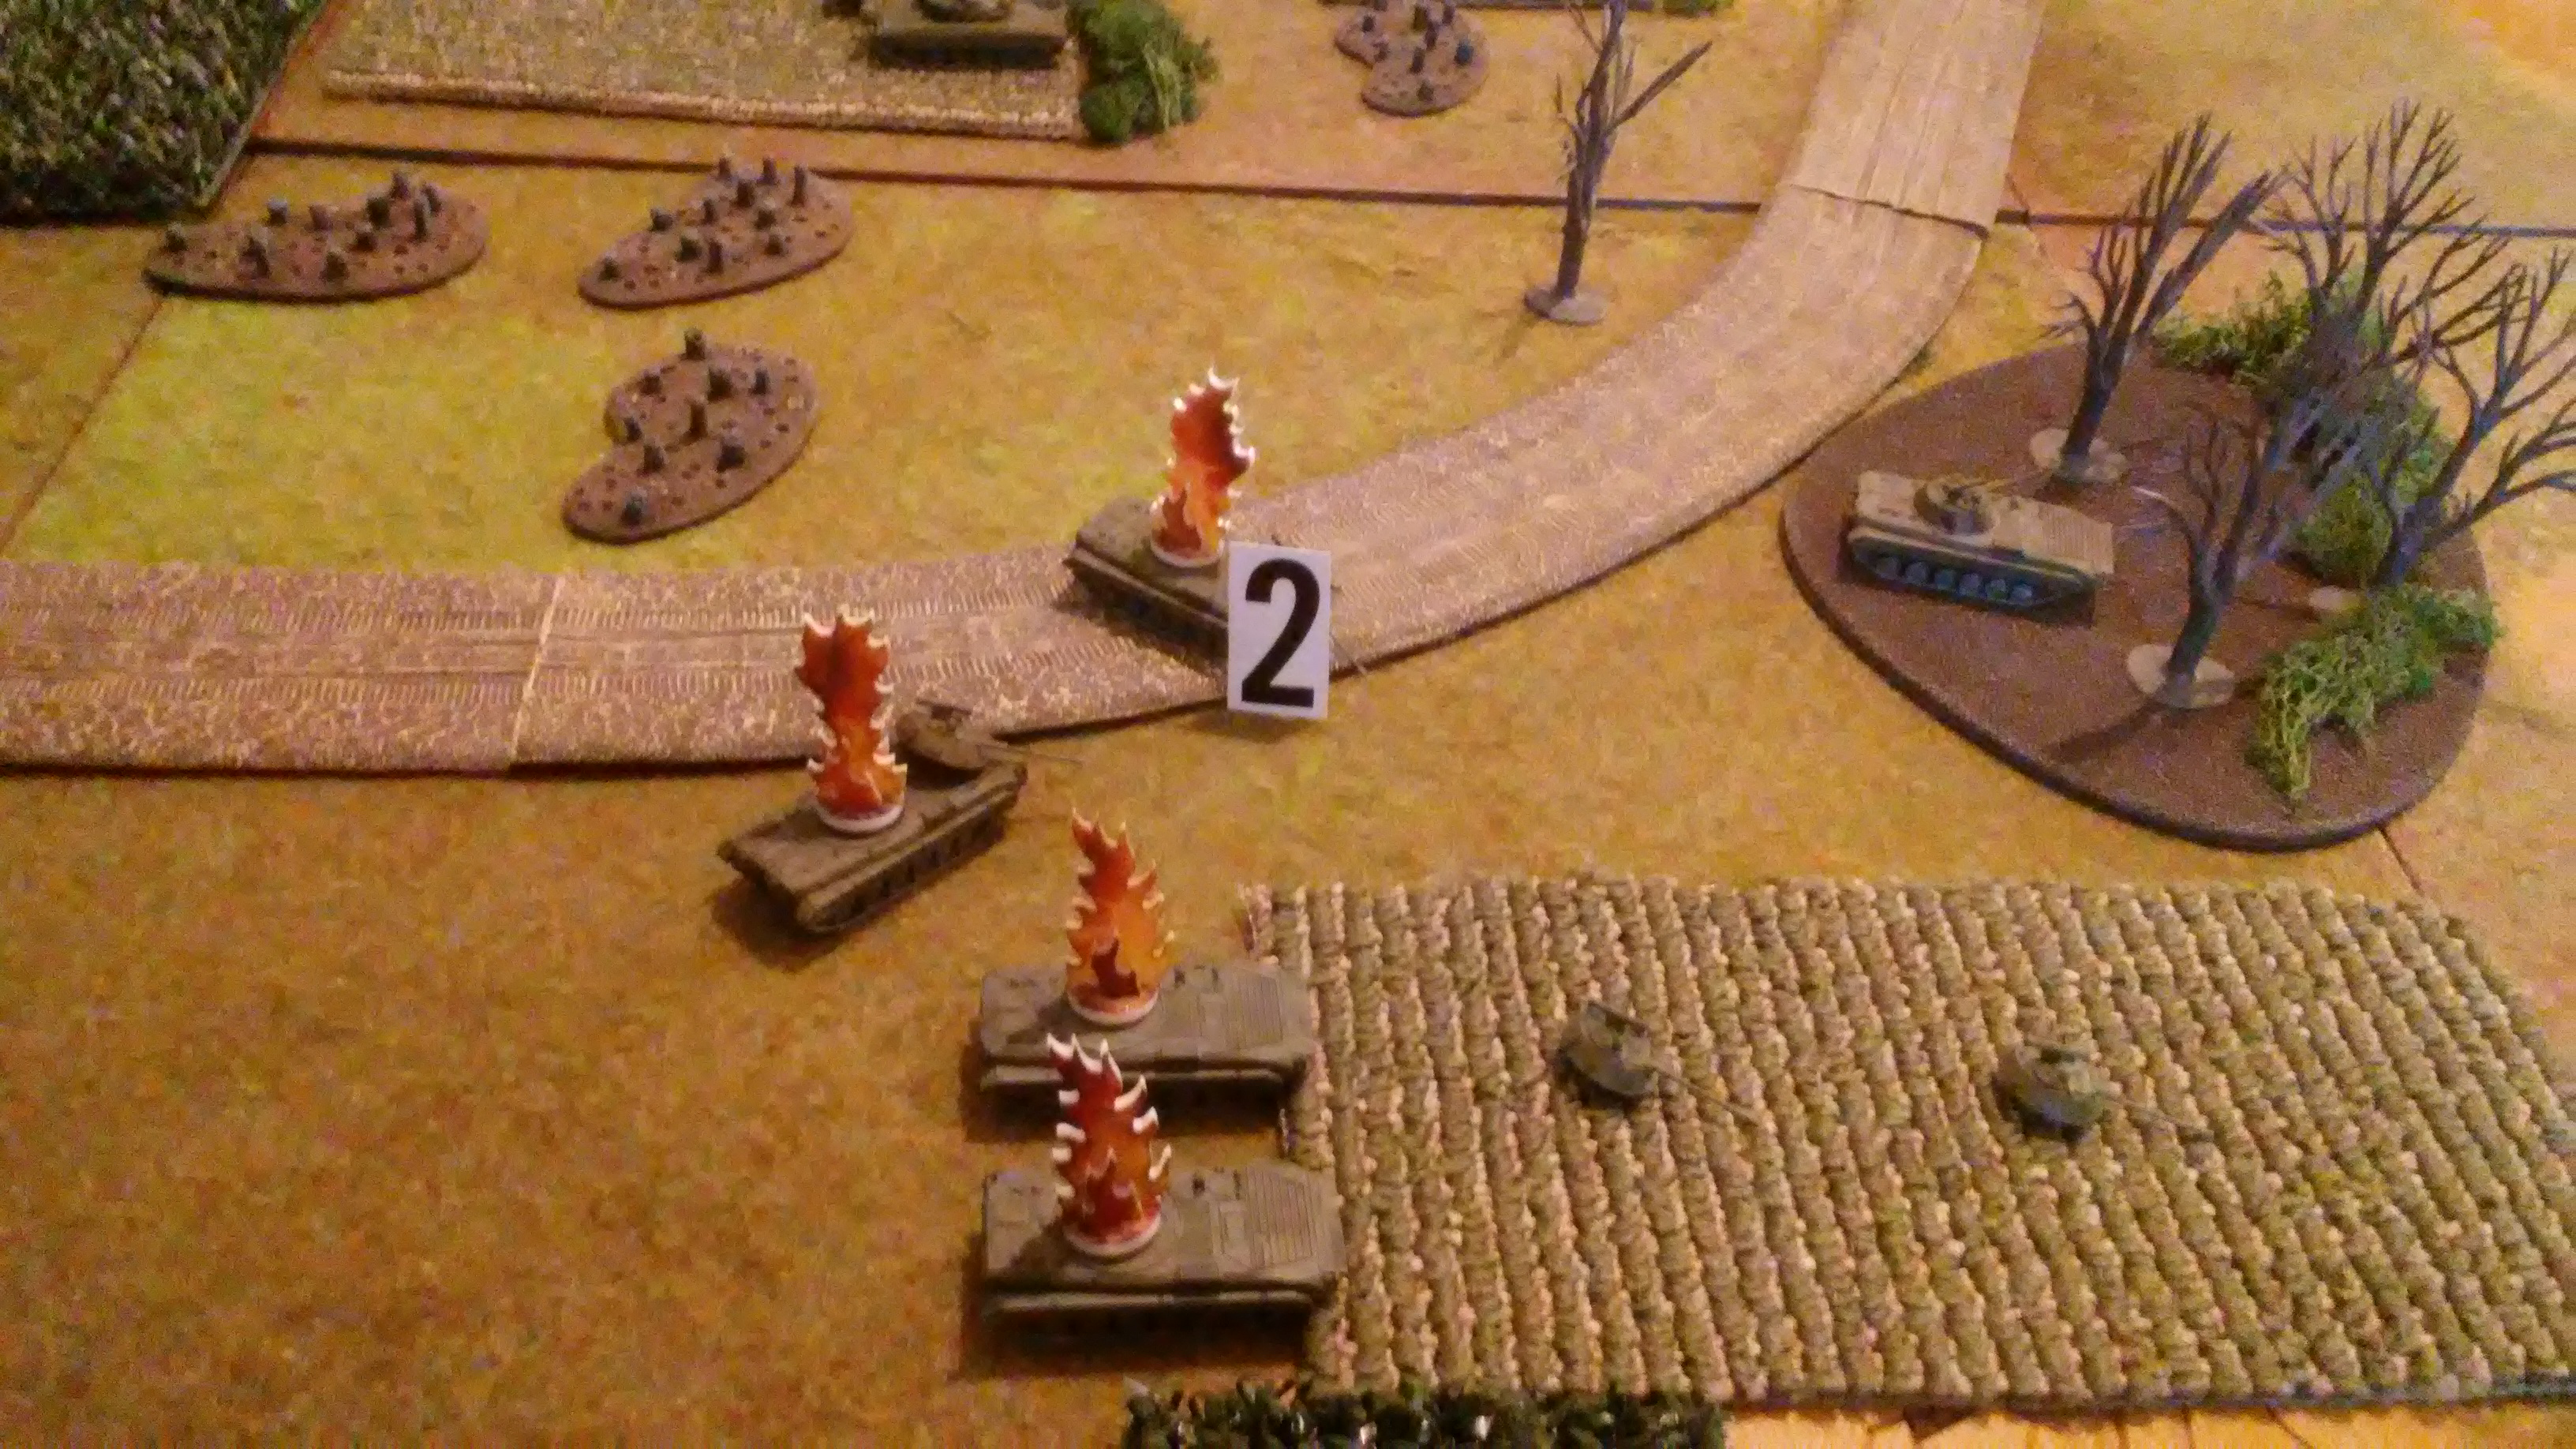
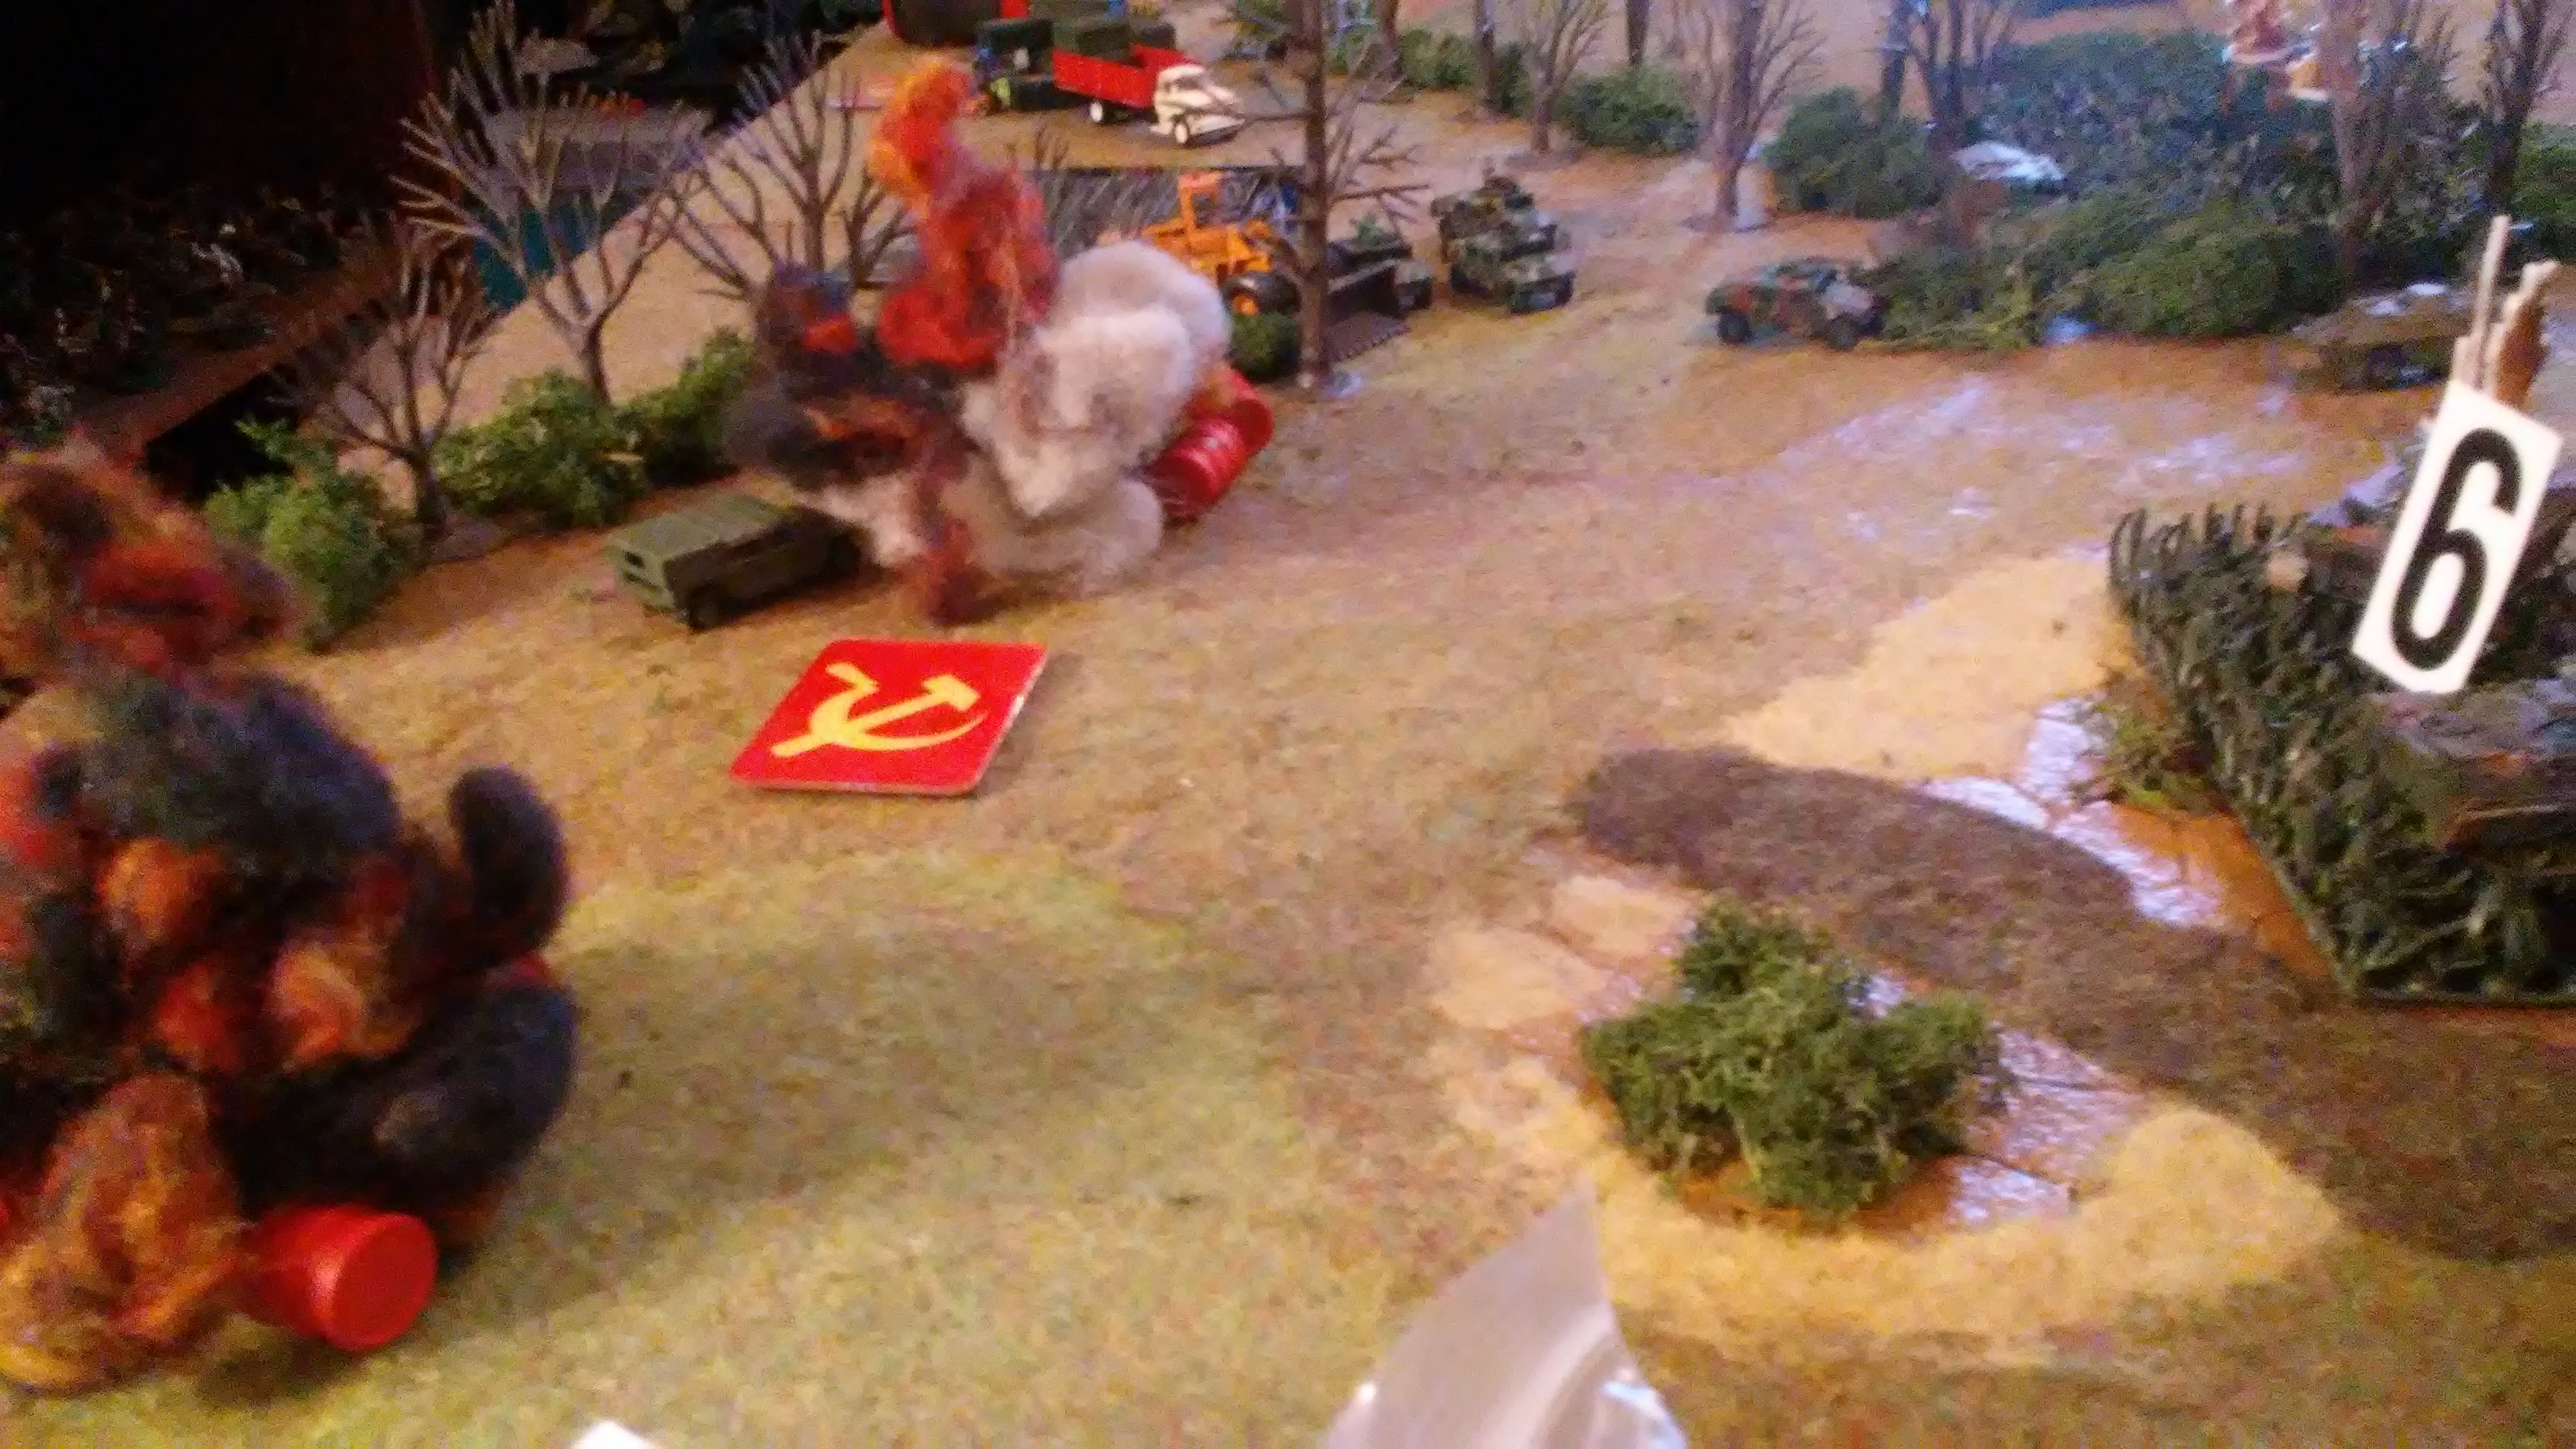
LT Borris Badenoff awaits the word-the word is given. Squirrel this is moose-Peabody, I say again Peabody!!!!! On que, the rockets hit their targ.........No, No they don't. The rocket heading for the fuel point misses and actually lands somewhere off of the table. The second rocket is off course by about 11 inches and hits the hilltop on the far right left flank of the American edge( we used a GW scatter die and rolled 1 six sided die for every foot the rocket traveled (7 feet in this case) then subtracted the number by the results from 1 six sided die ( Russian tech modifier)
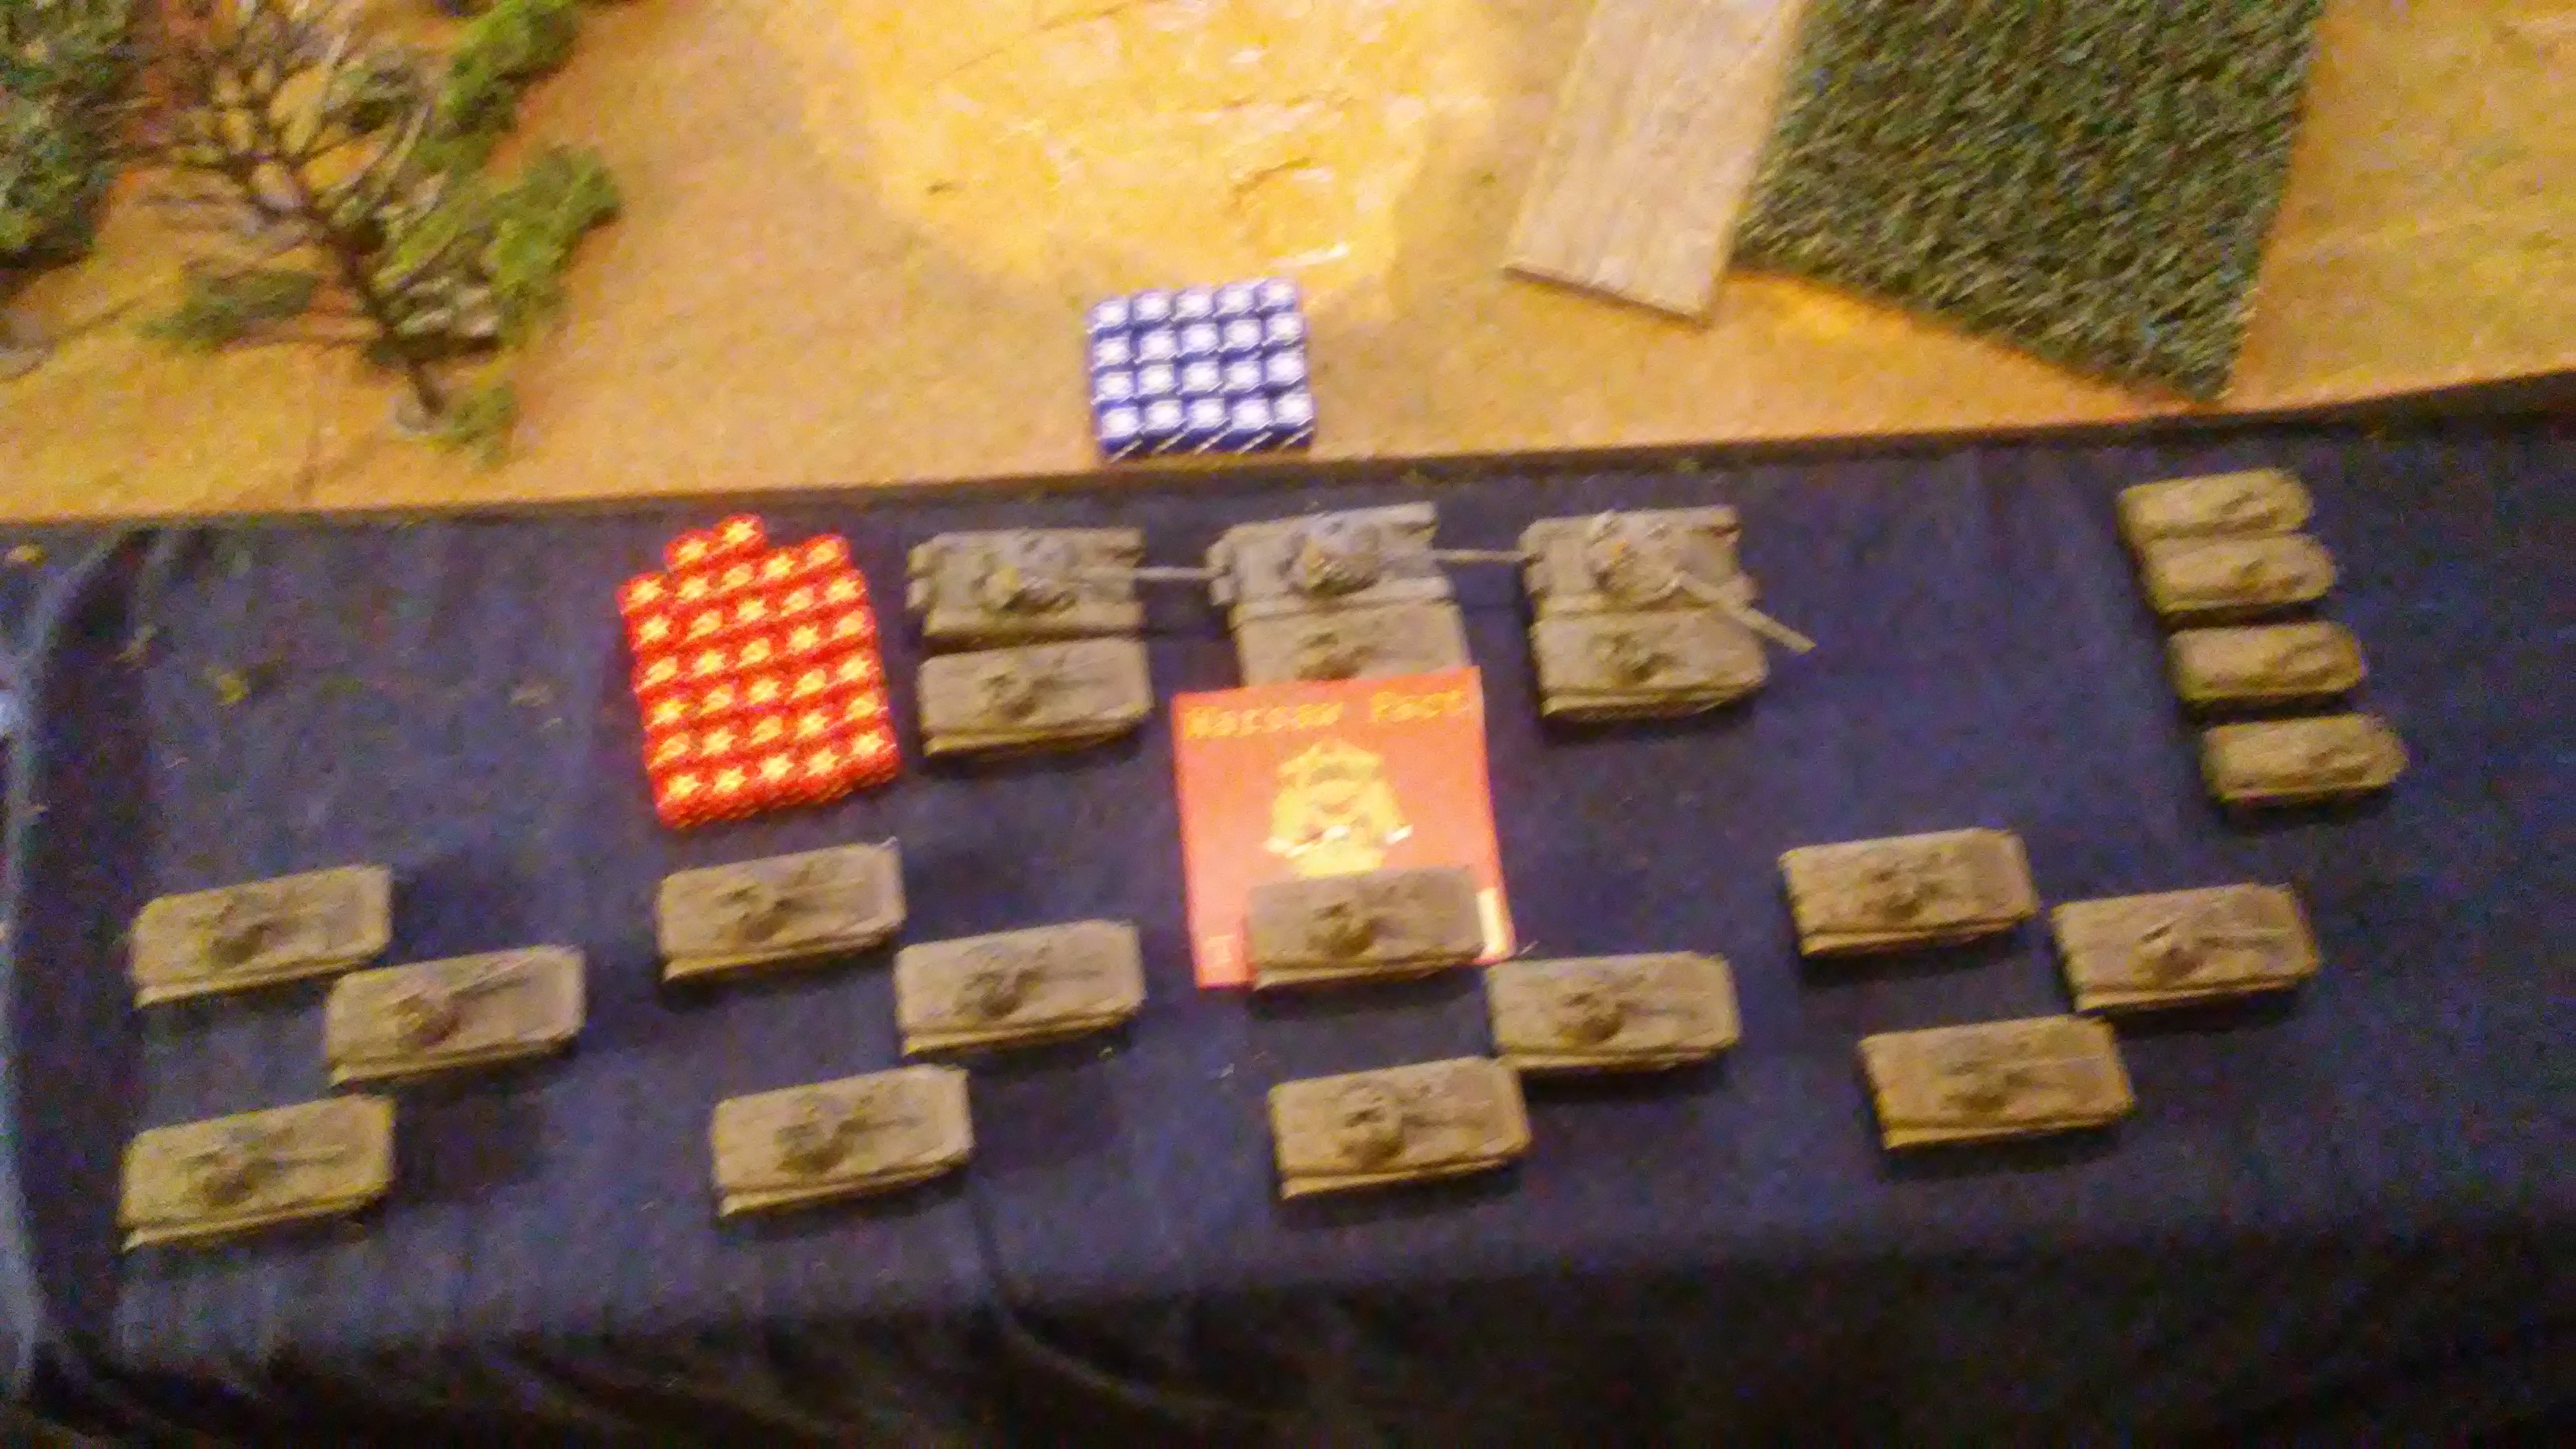
Badenoff is going to have to do this the old fashioned way. 2 BMP-2 companies(1st and 2nd) terrain dash and get 3 bogging results between them. BRDMs move into cover . BMP 2 company (3rd) CC dash to cover, while another BMP-2 company (4th) road dashes. The tank/bmp2 teams move into cover
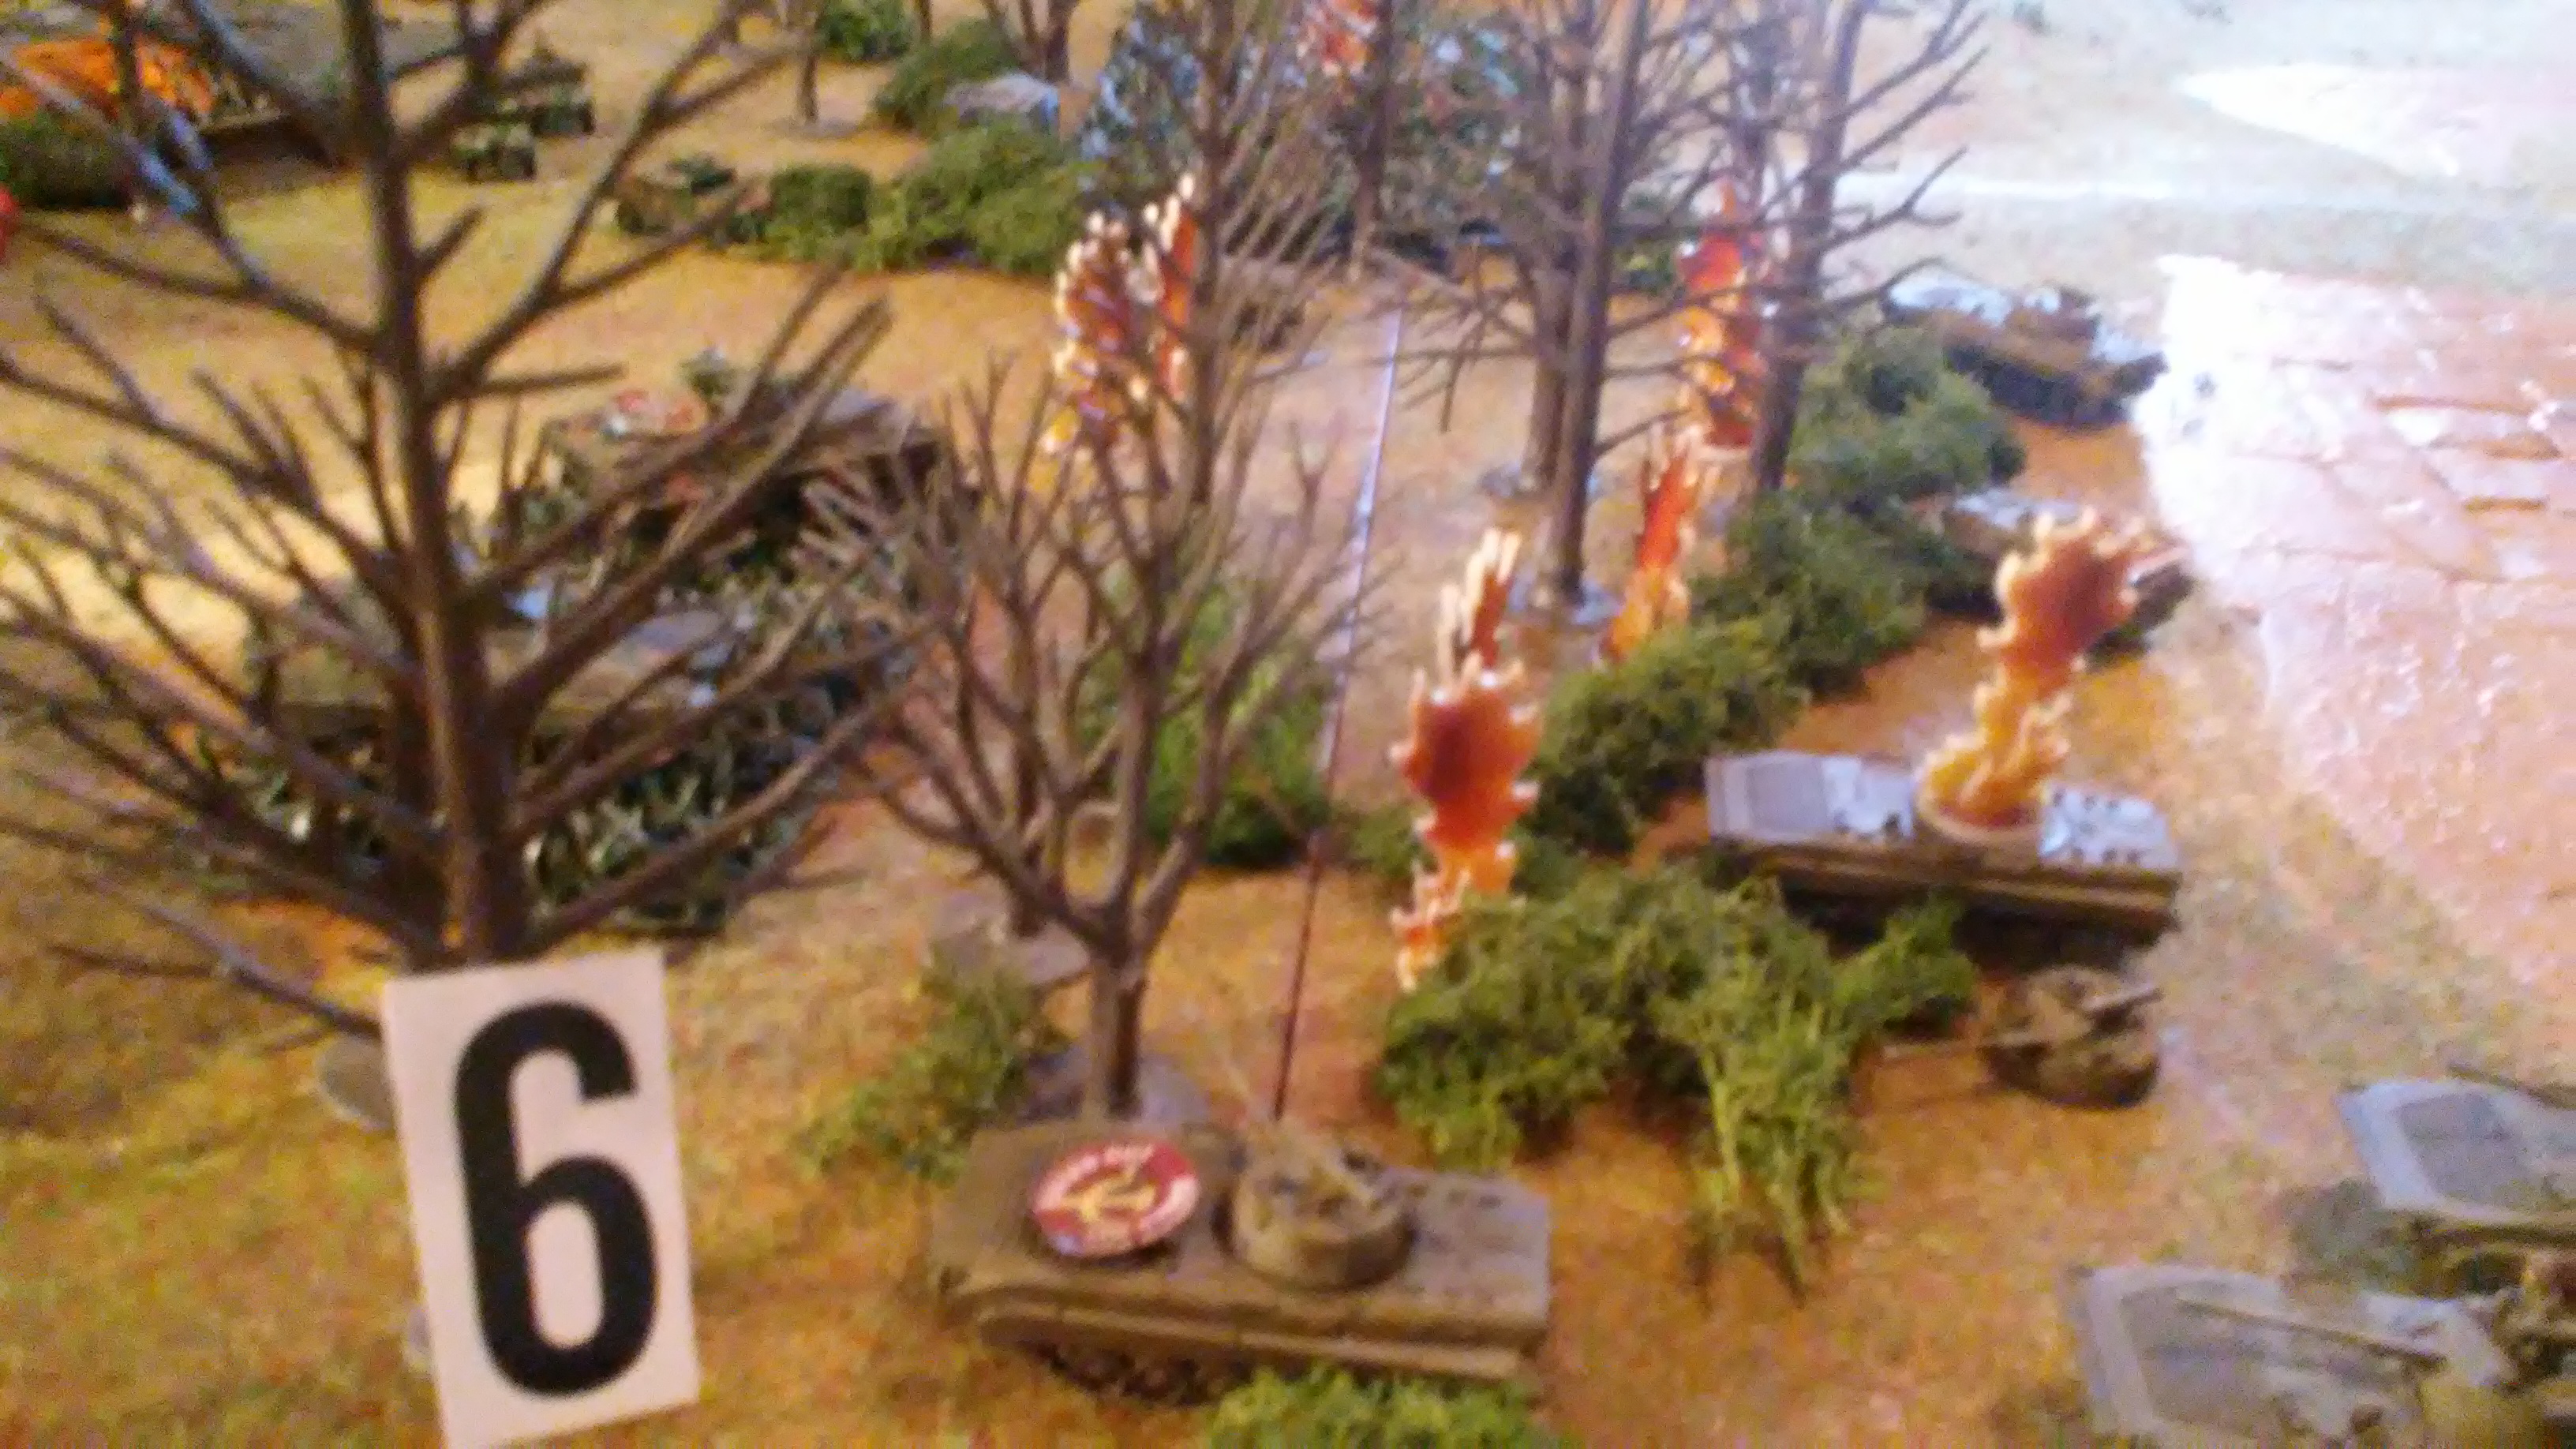
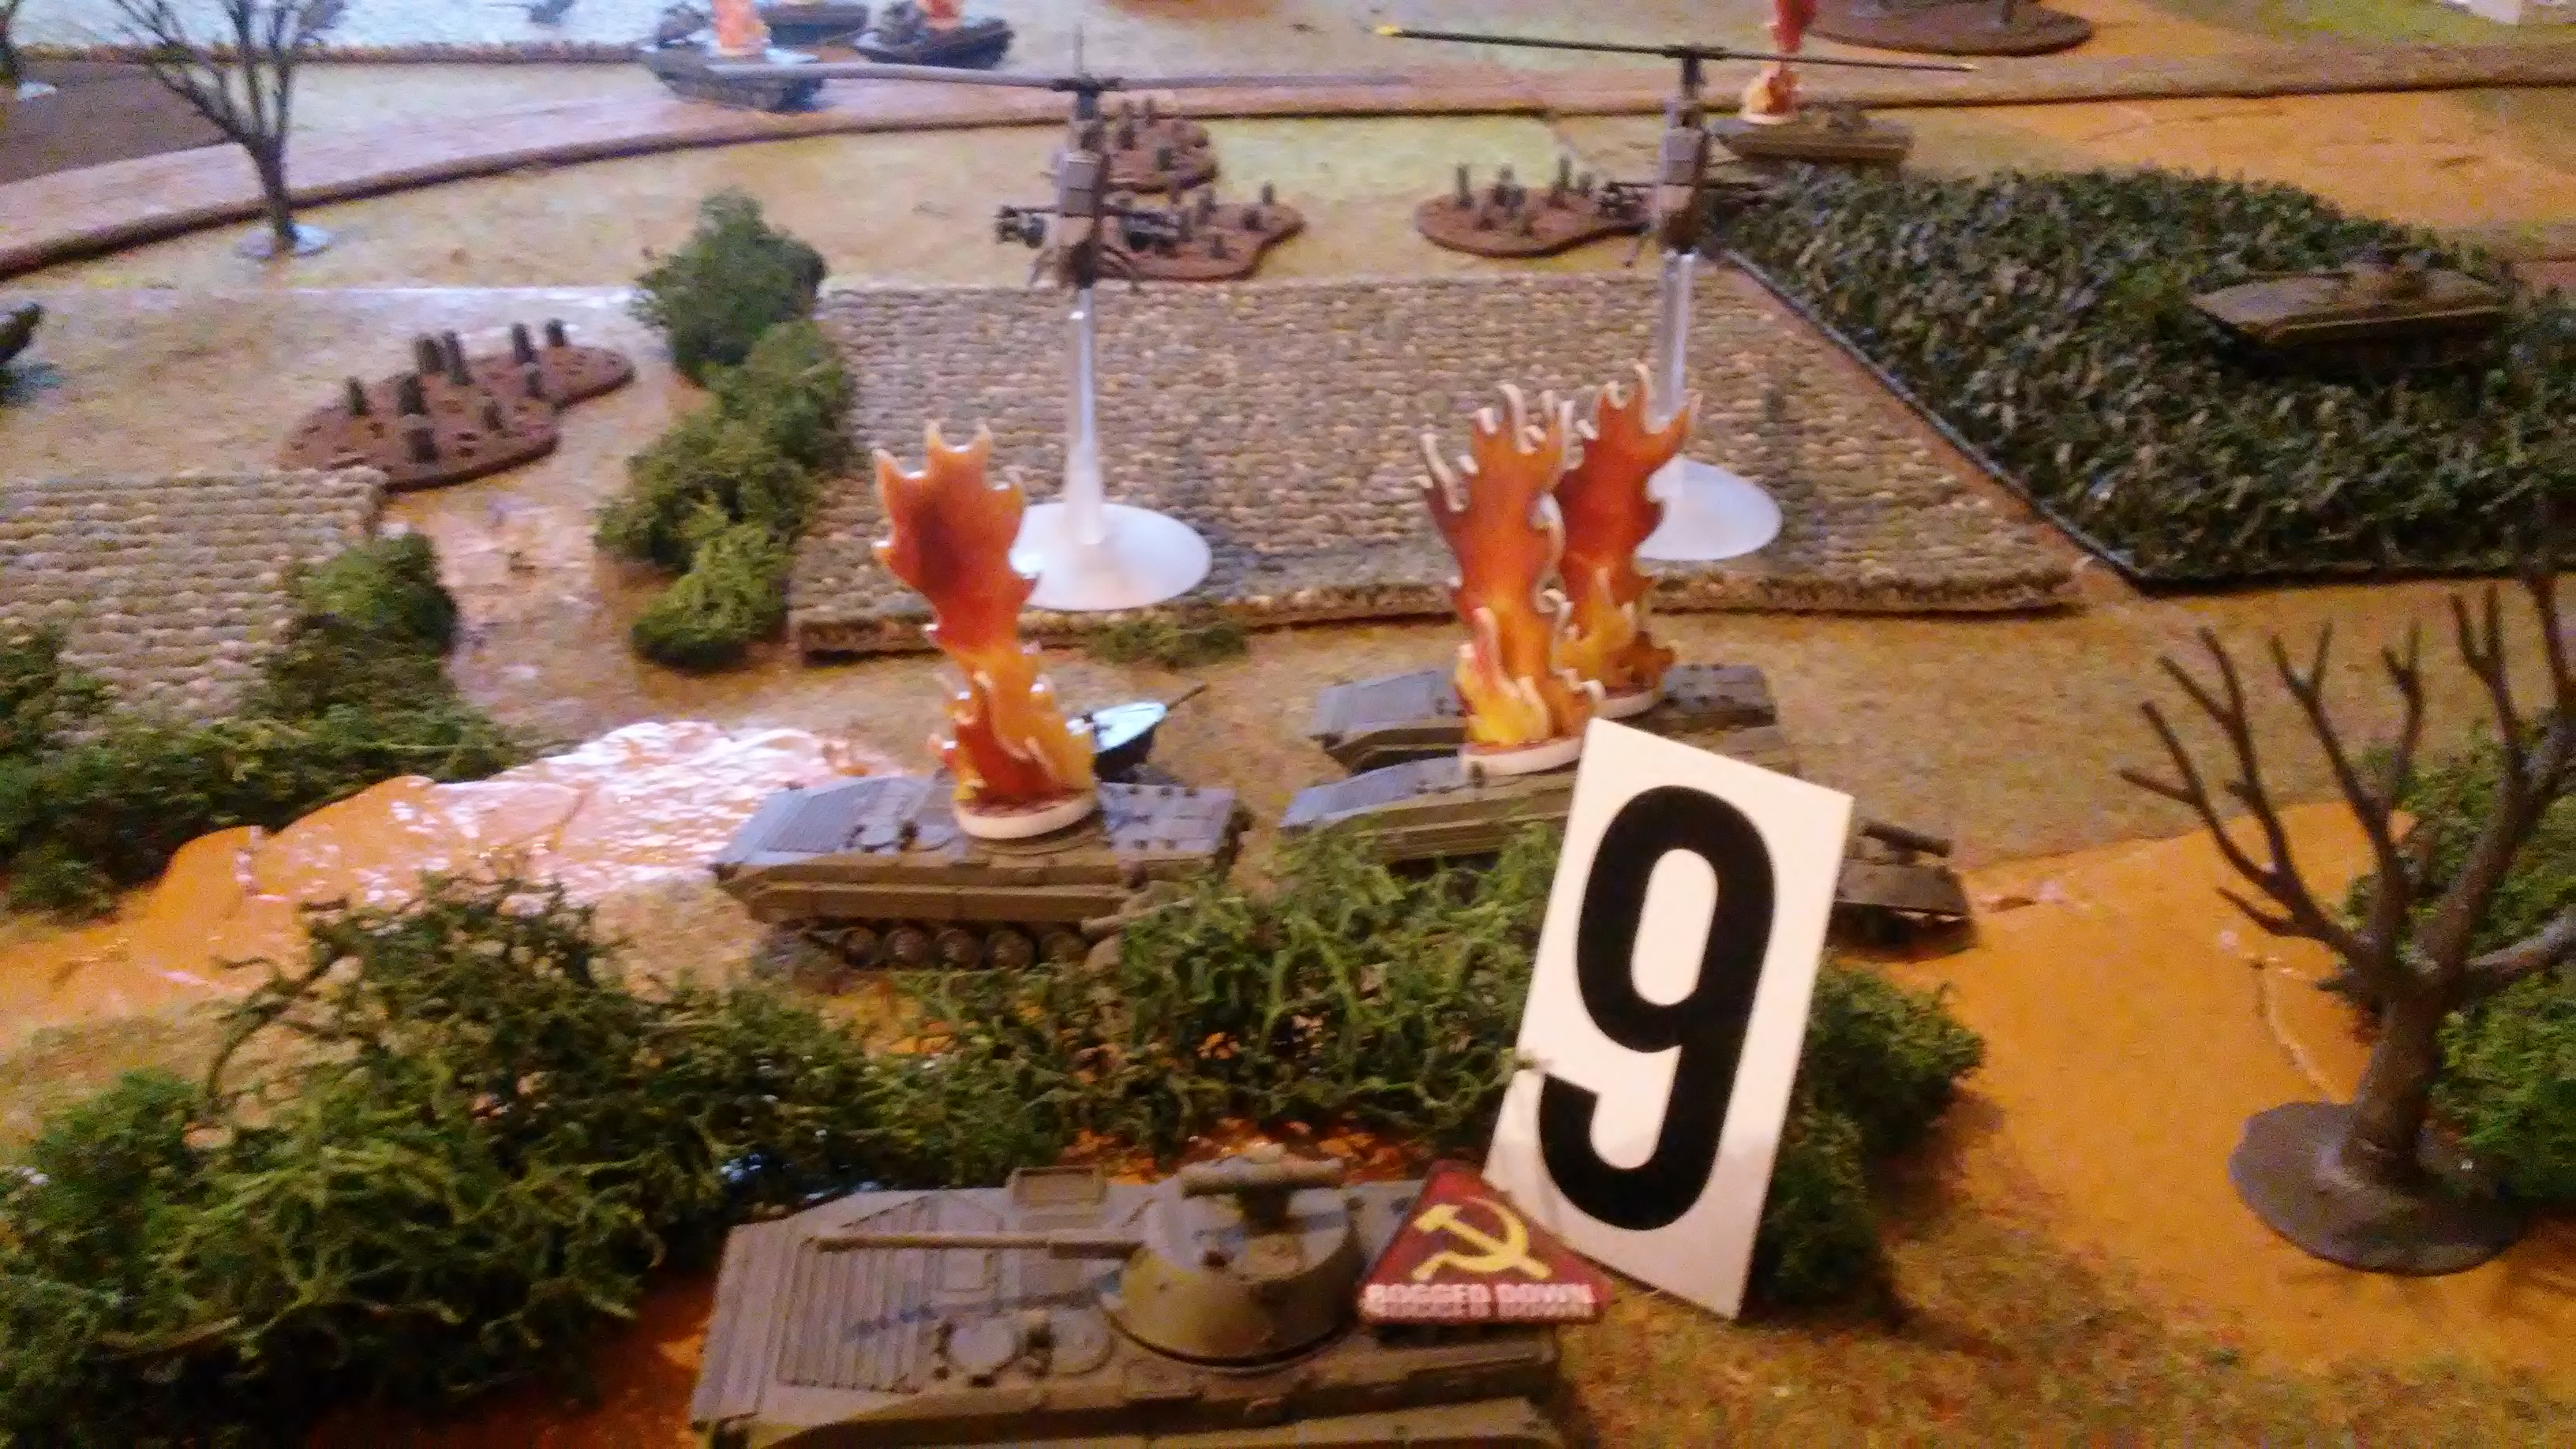
The cobras move to the edge of the farp. The ITVs and Humvee tows on the US left fire at the 4th BMP company-killing 2 of them.
The BMP2 from 4th company passes morale and moves into cover. Badenoff's BMP fire an ATGM at the ITV and misses-the remaining BMPs from his company move to pass him. 1st and 2nd BMP companies also move into cover
The ITVs and the Humvees fire their TOWs again and again kill 2 more BMP-2s (Badenoffs own 3rd Company) The cobras fire 2 TOWs at 2nd BMP company and miss.
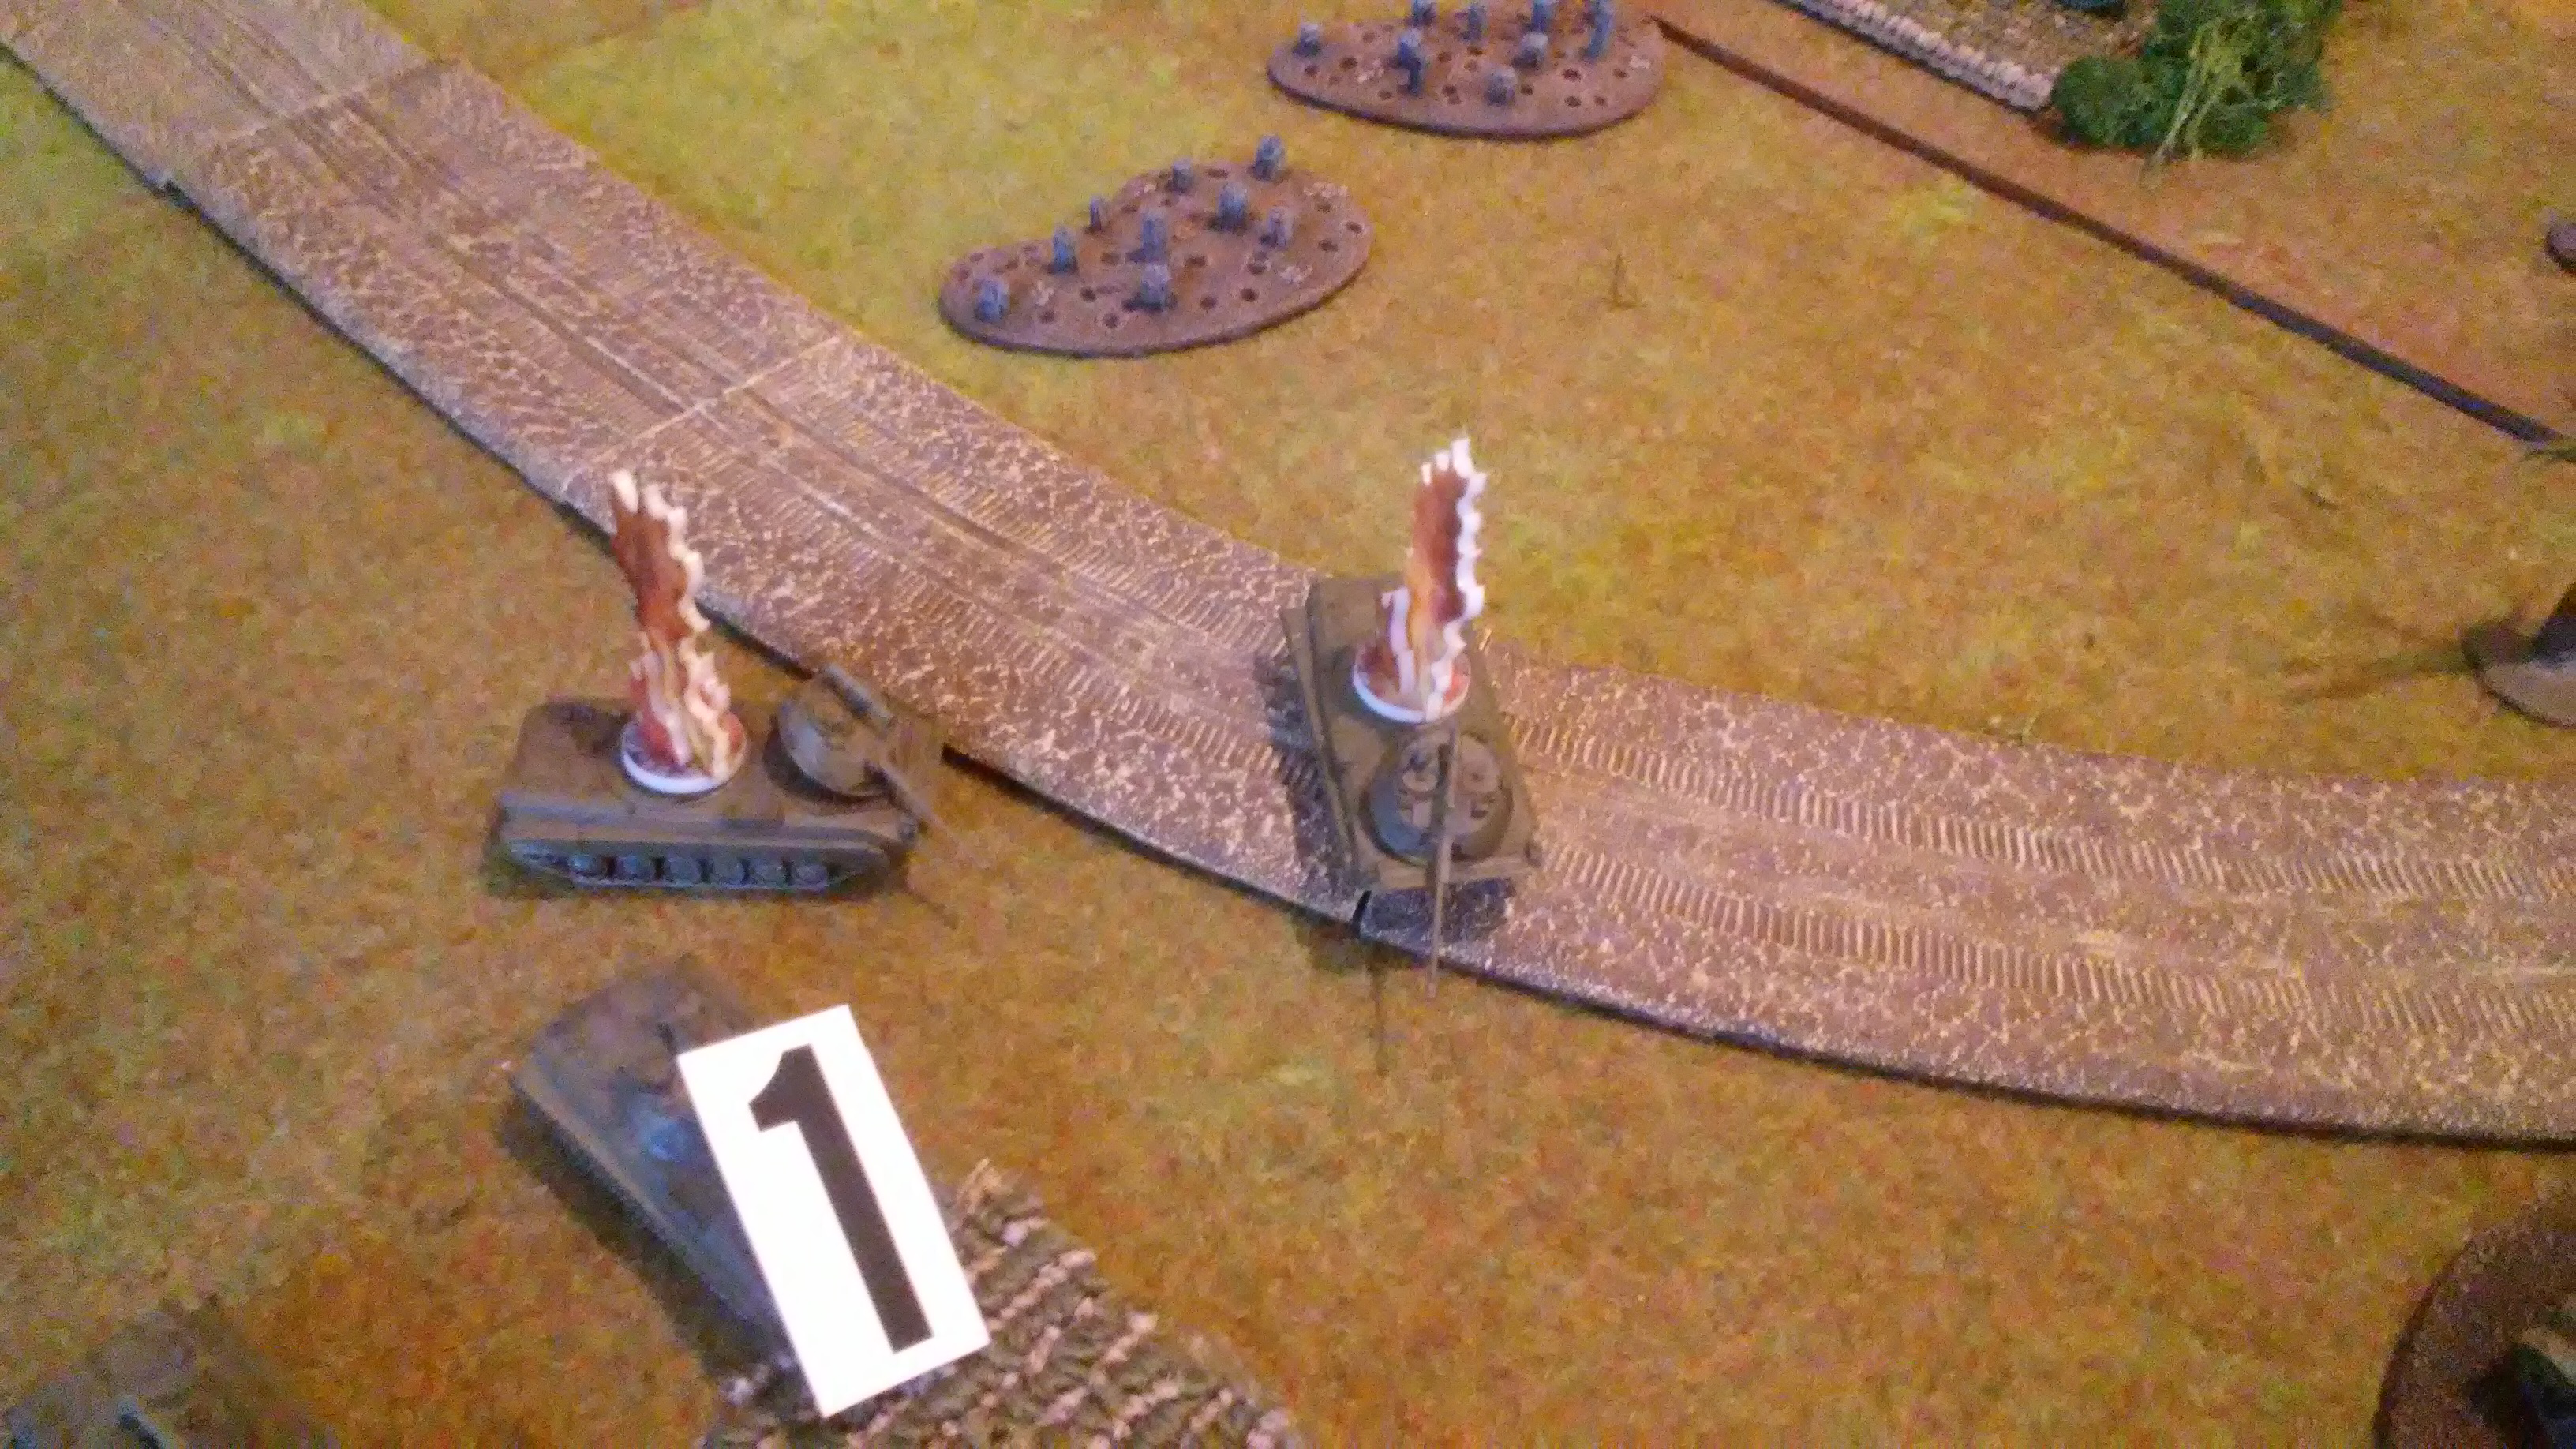
Badenoff's BMP2 passes its morale. BMP 2nd company moves and 1st company covers its move. A t-72 KIAs an ITV and Badenoff KIAs another ITV. A BMP from 1st company manages to take down a cobra
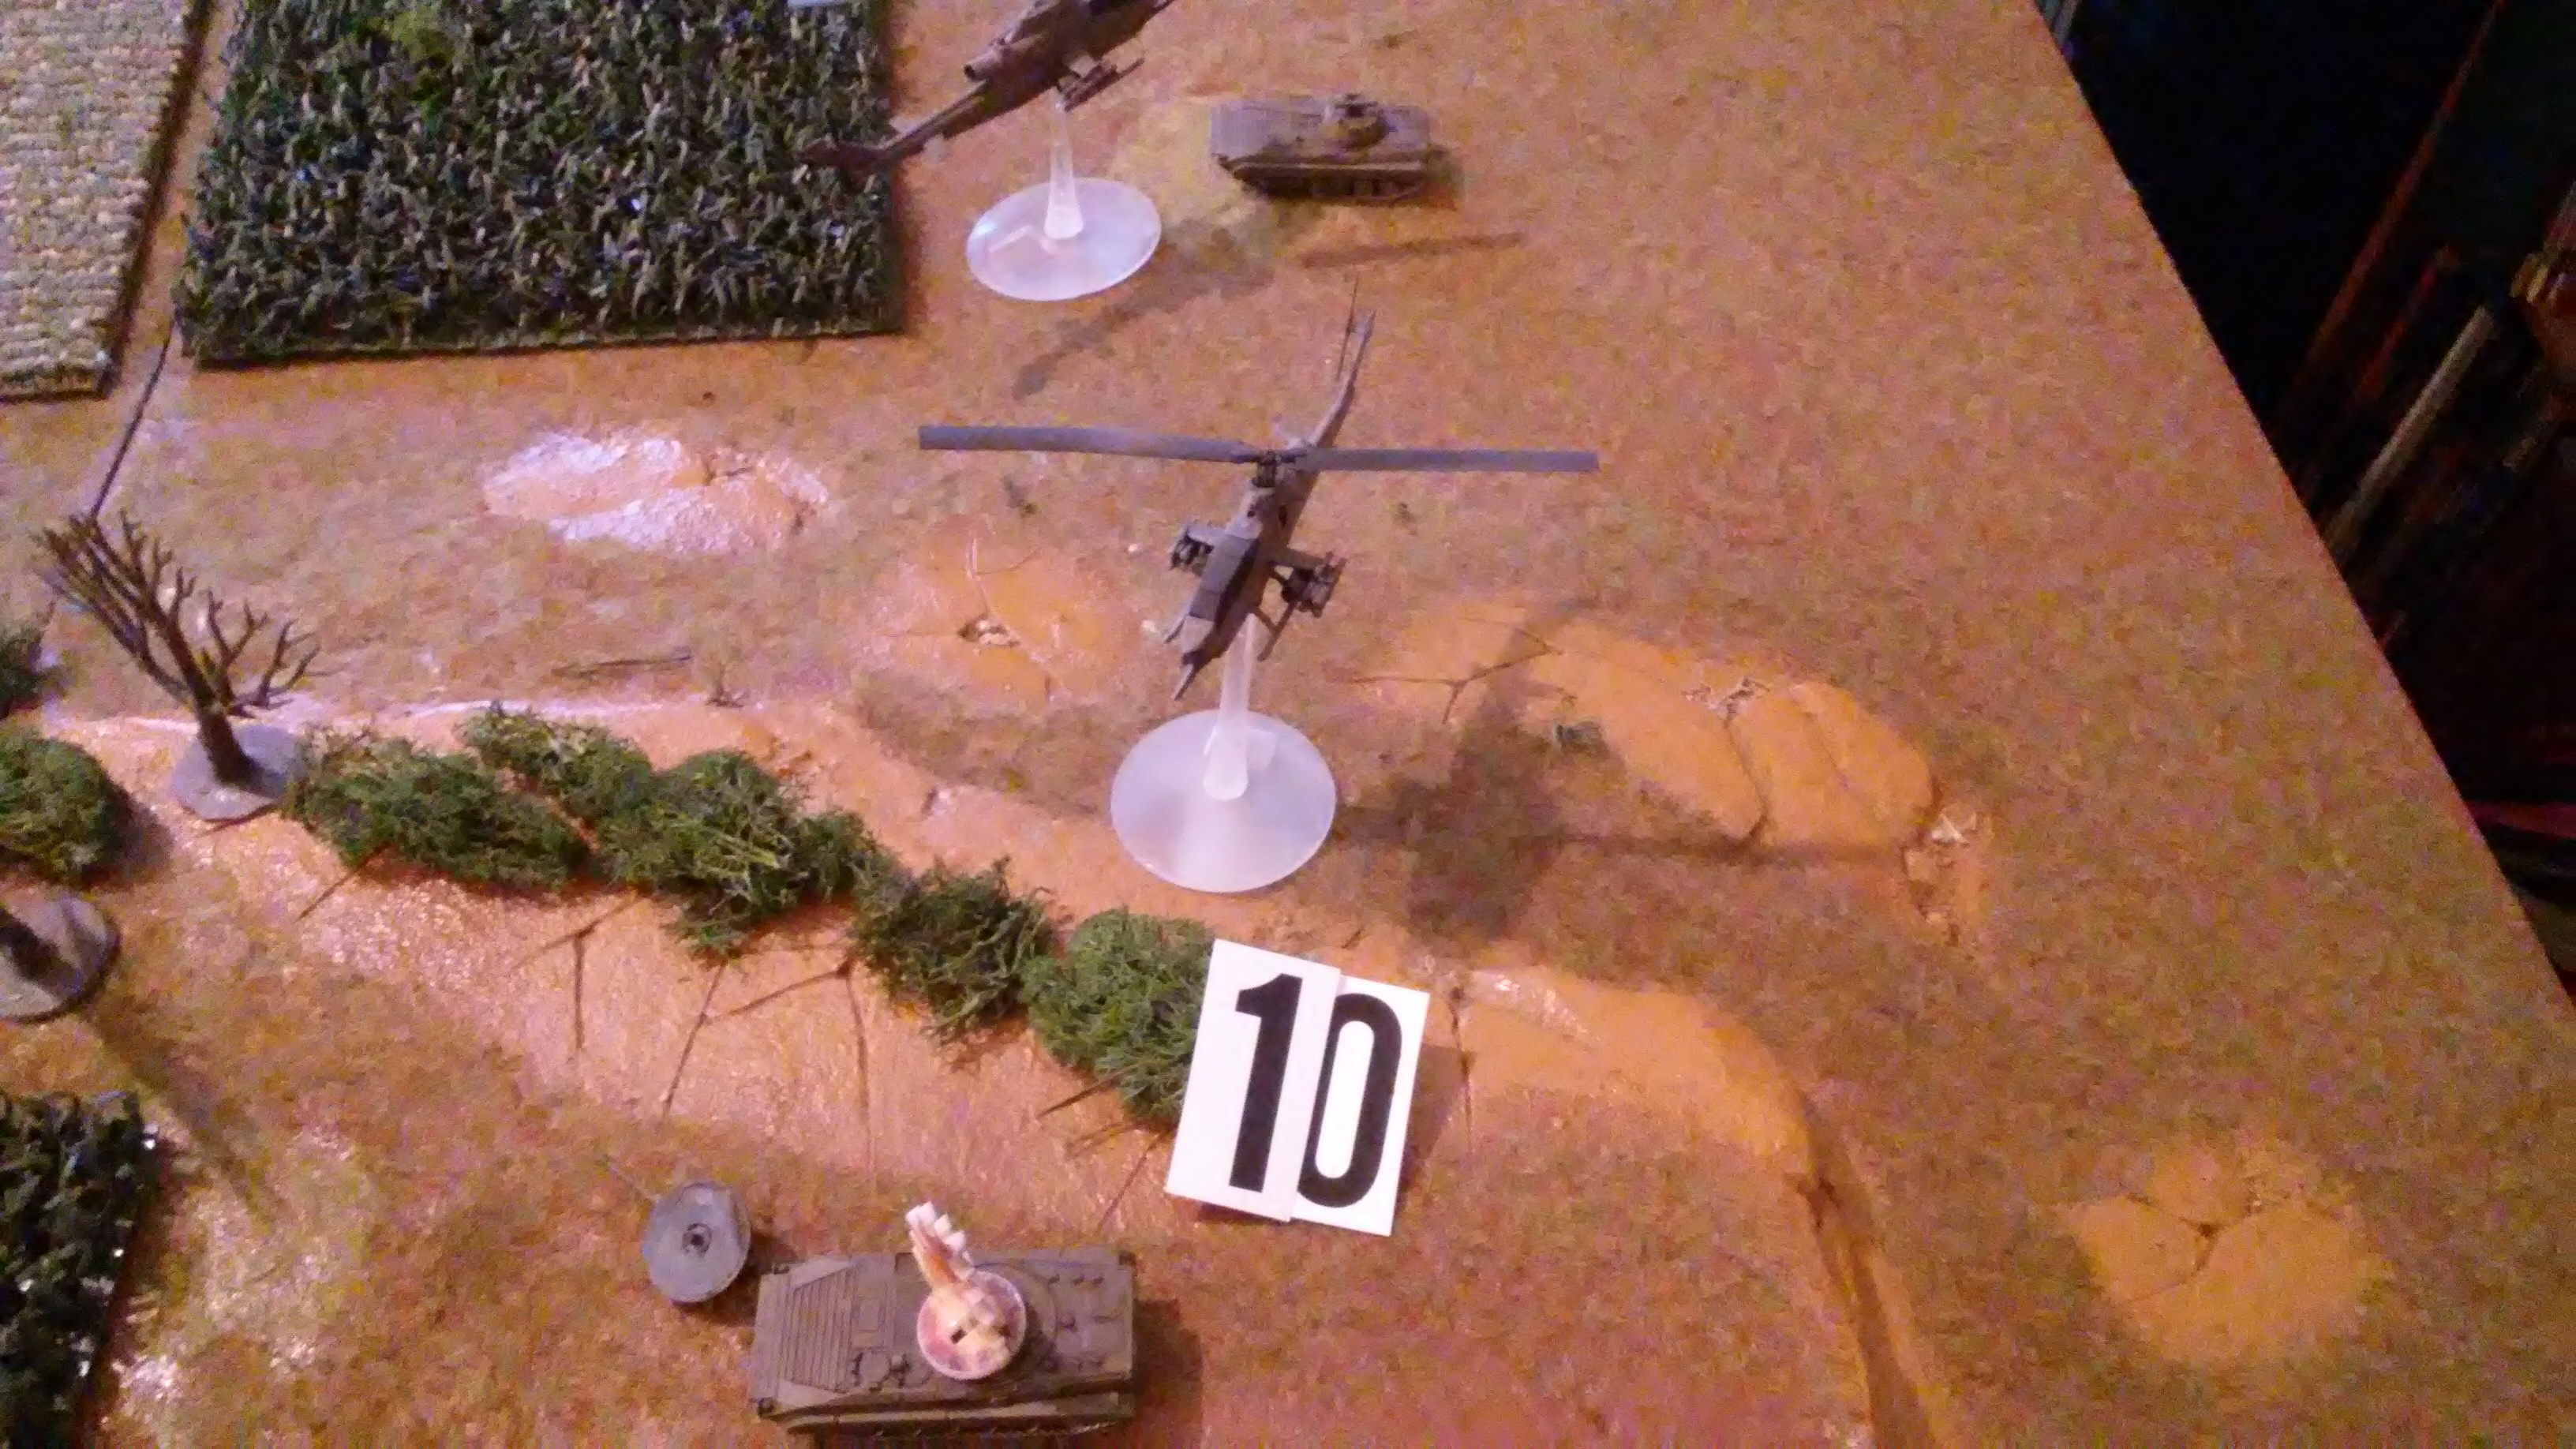
All the remaining ITVs pass their morale. The cobra has seen enough however. And no US reserves yet
The ITV on the hill fires at Badenoff and misses, the other remaining fires at a T-72 hits but fails to bail it. A Humvee TOW manages to KIA the T-72 while another misses 4th company's remaining BMP2
We lost turn 3s picture
Turn 4
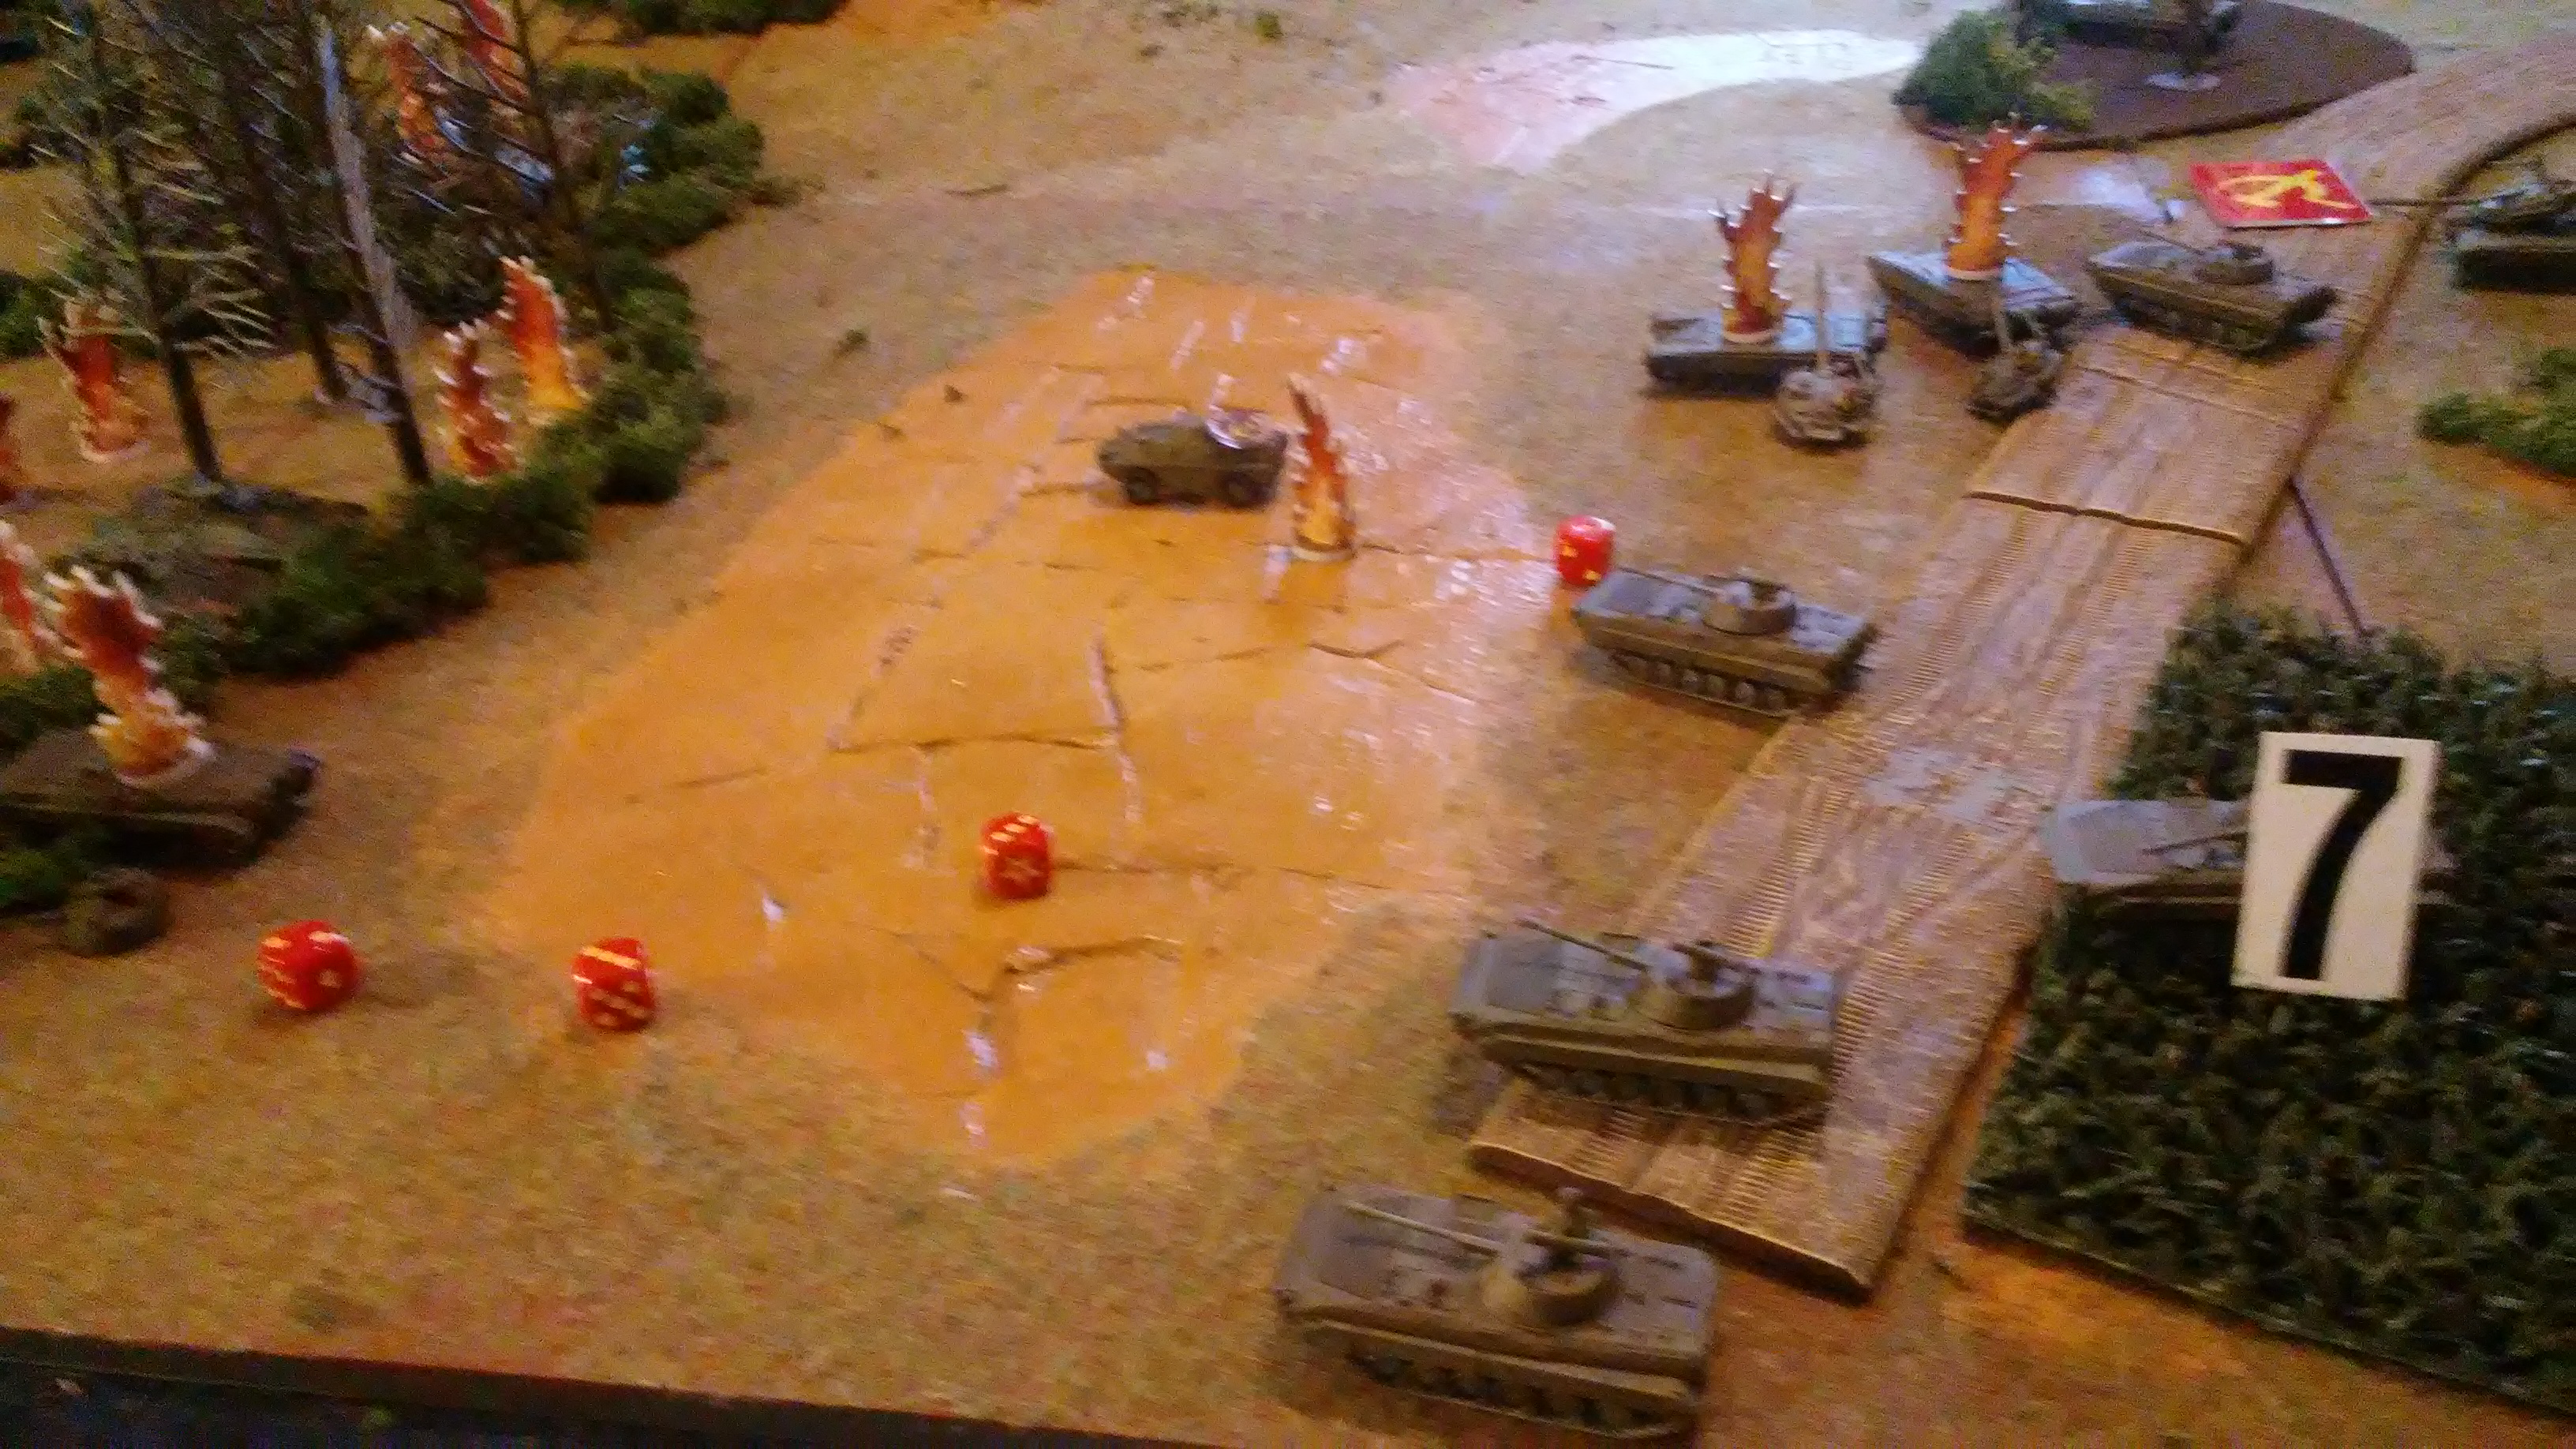
the BMP2 from the tank team passes morale. The single BMP2s from 3rd and 4th companies fire their ATGMs at the ITV and miss. Another T-72 KIAs the last ITV in the center of the US lines. @ BMP2s from 1st company miss the Humvee section in the tree line. The T-72 misses as well. The 3 BMP2s from 2nd company fire and eliminate the Humvee section in the wood line.
Still no US reserves (rolled a 1, 2) the last Humvee flees from the center. The last ITV (the one on the hill) hits a T-72 in the flank (I didn't even see it) and KIAs it. 2 more Humvee TOWS hit and KIA the last 2 T-72s. And the 2 Humvee with 50 cal manage to bail 2 BMP-2s
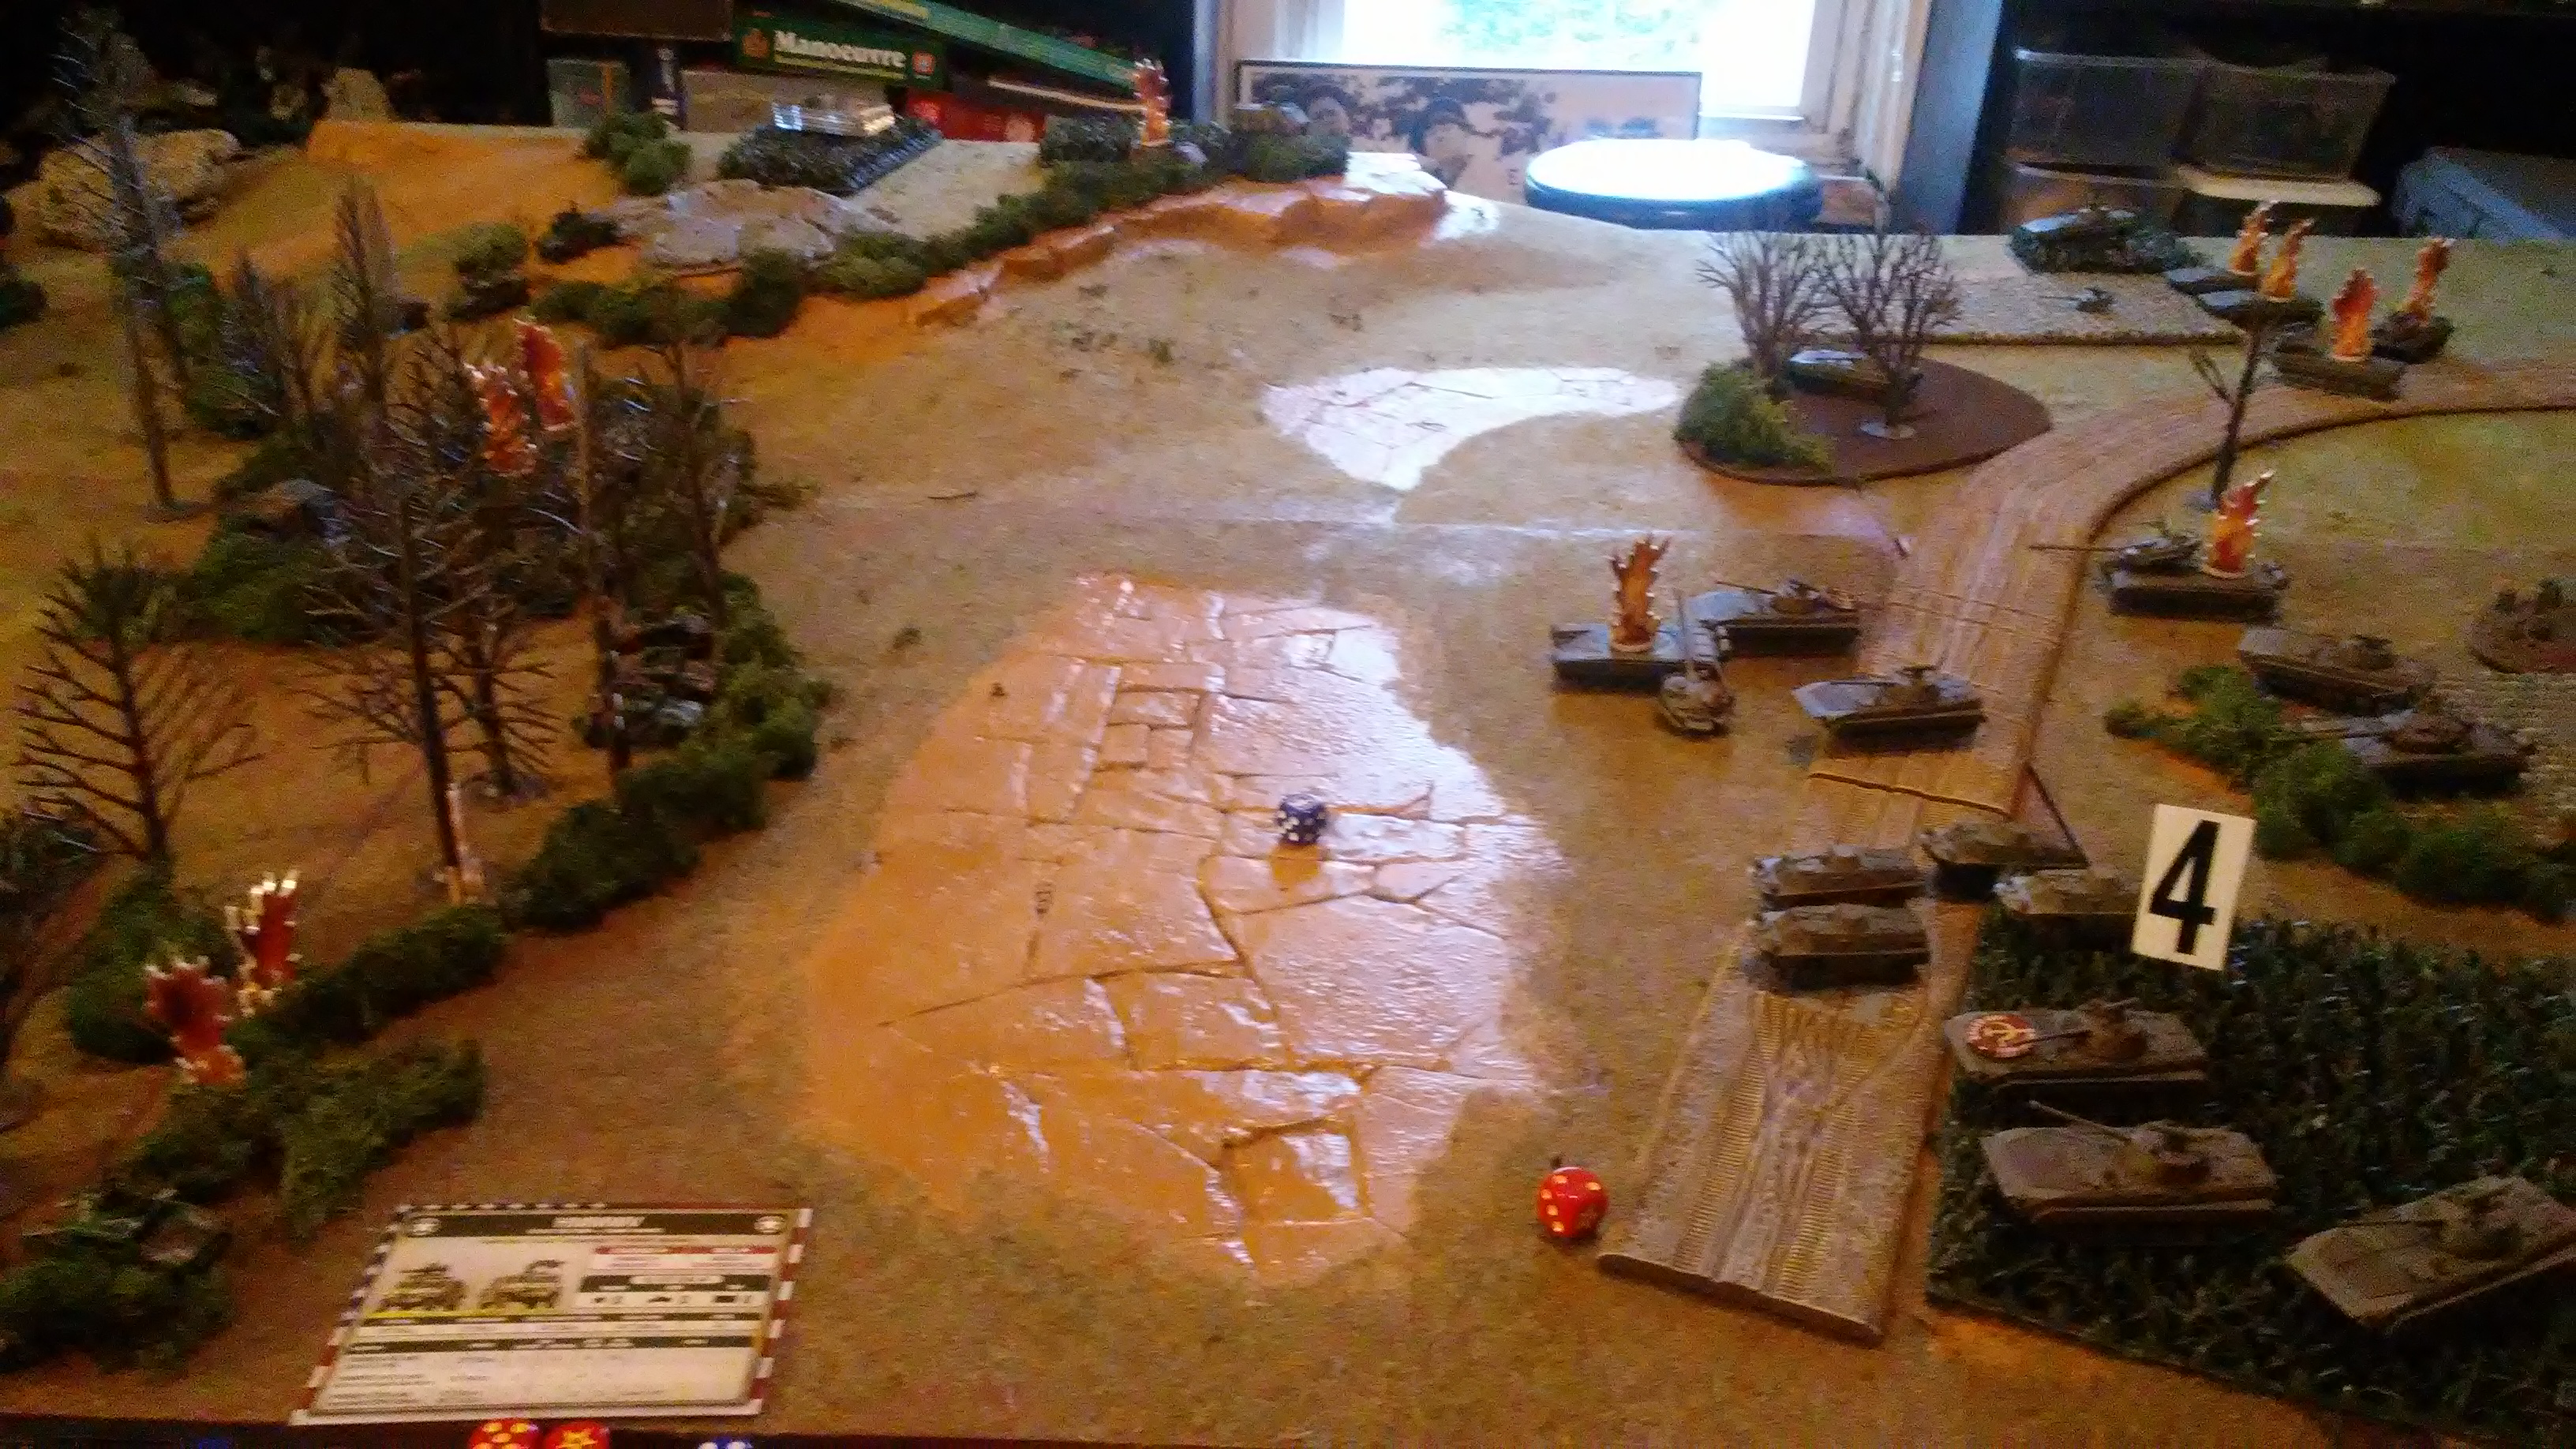
BMPs from 1st and 2nd companies move up. 3rd nd 4th Company BMP2s fire at ITV and miss again. The BRDM move up to the tree line and unload on the humvees that remain there. they eliminate the 2 that remain.
A reserve shows up!!!!!! Its 2 Marders-just in time!!!! The remaining Humvee falls back-the Humvee section that was on the hill with the ITV passes blitz move and haul ass toward the fuel point
Turn 6
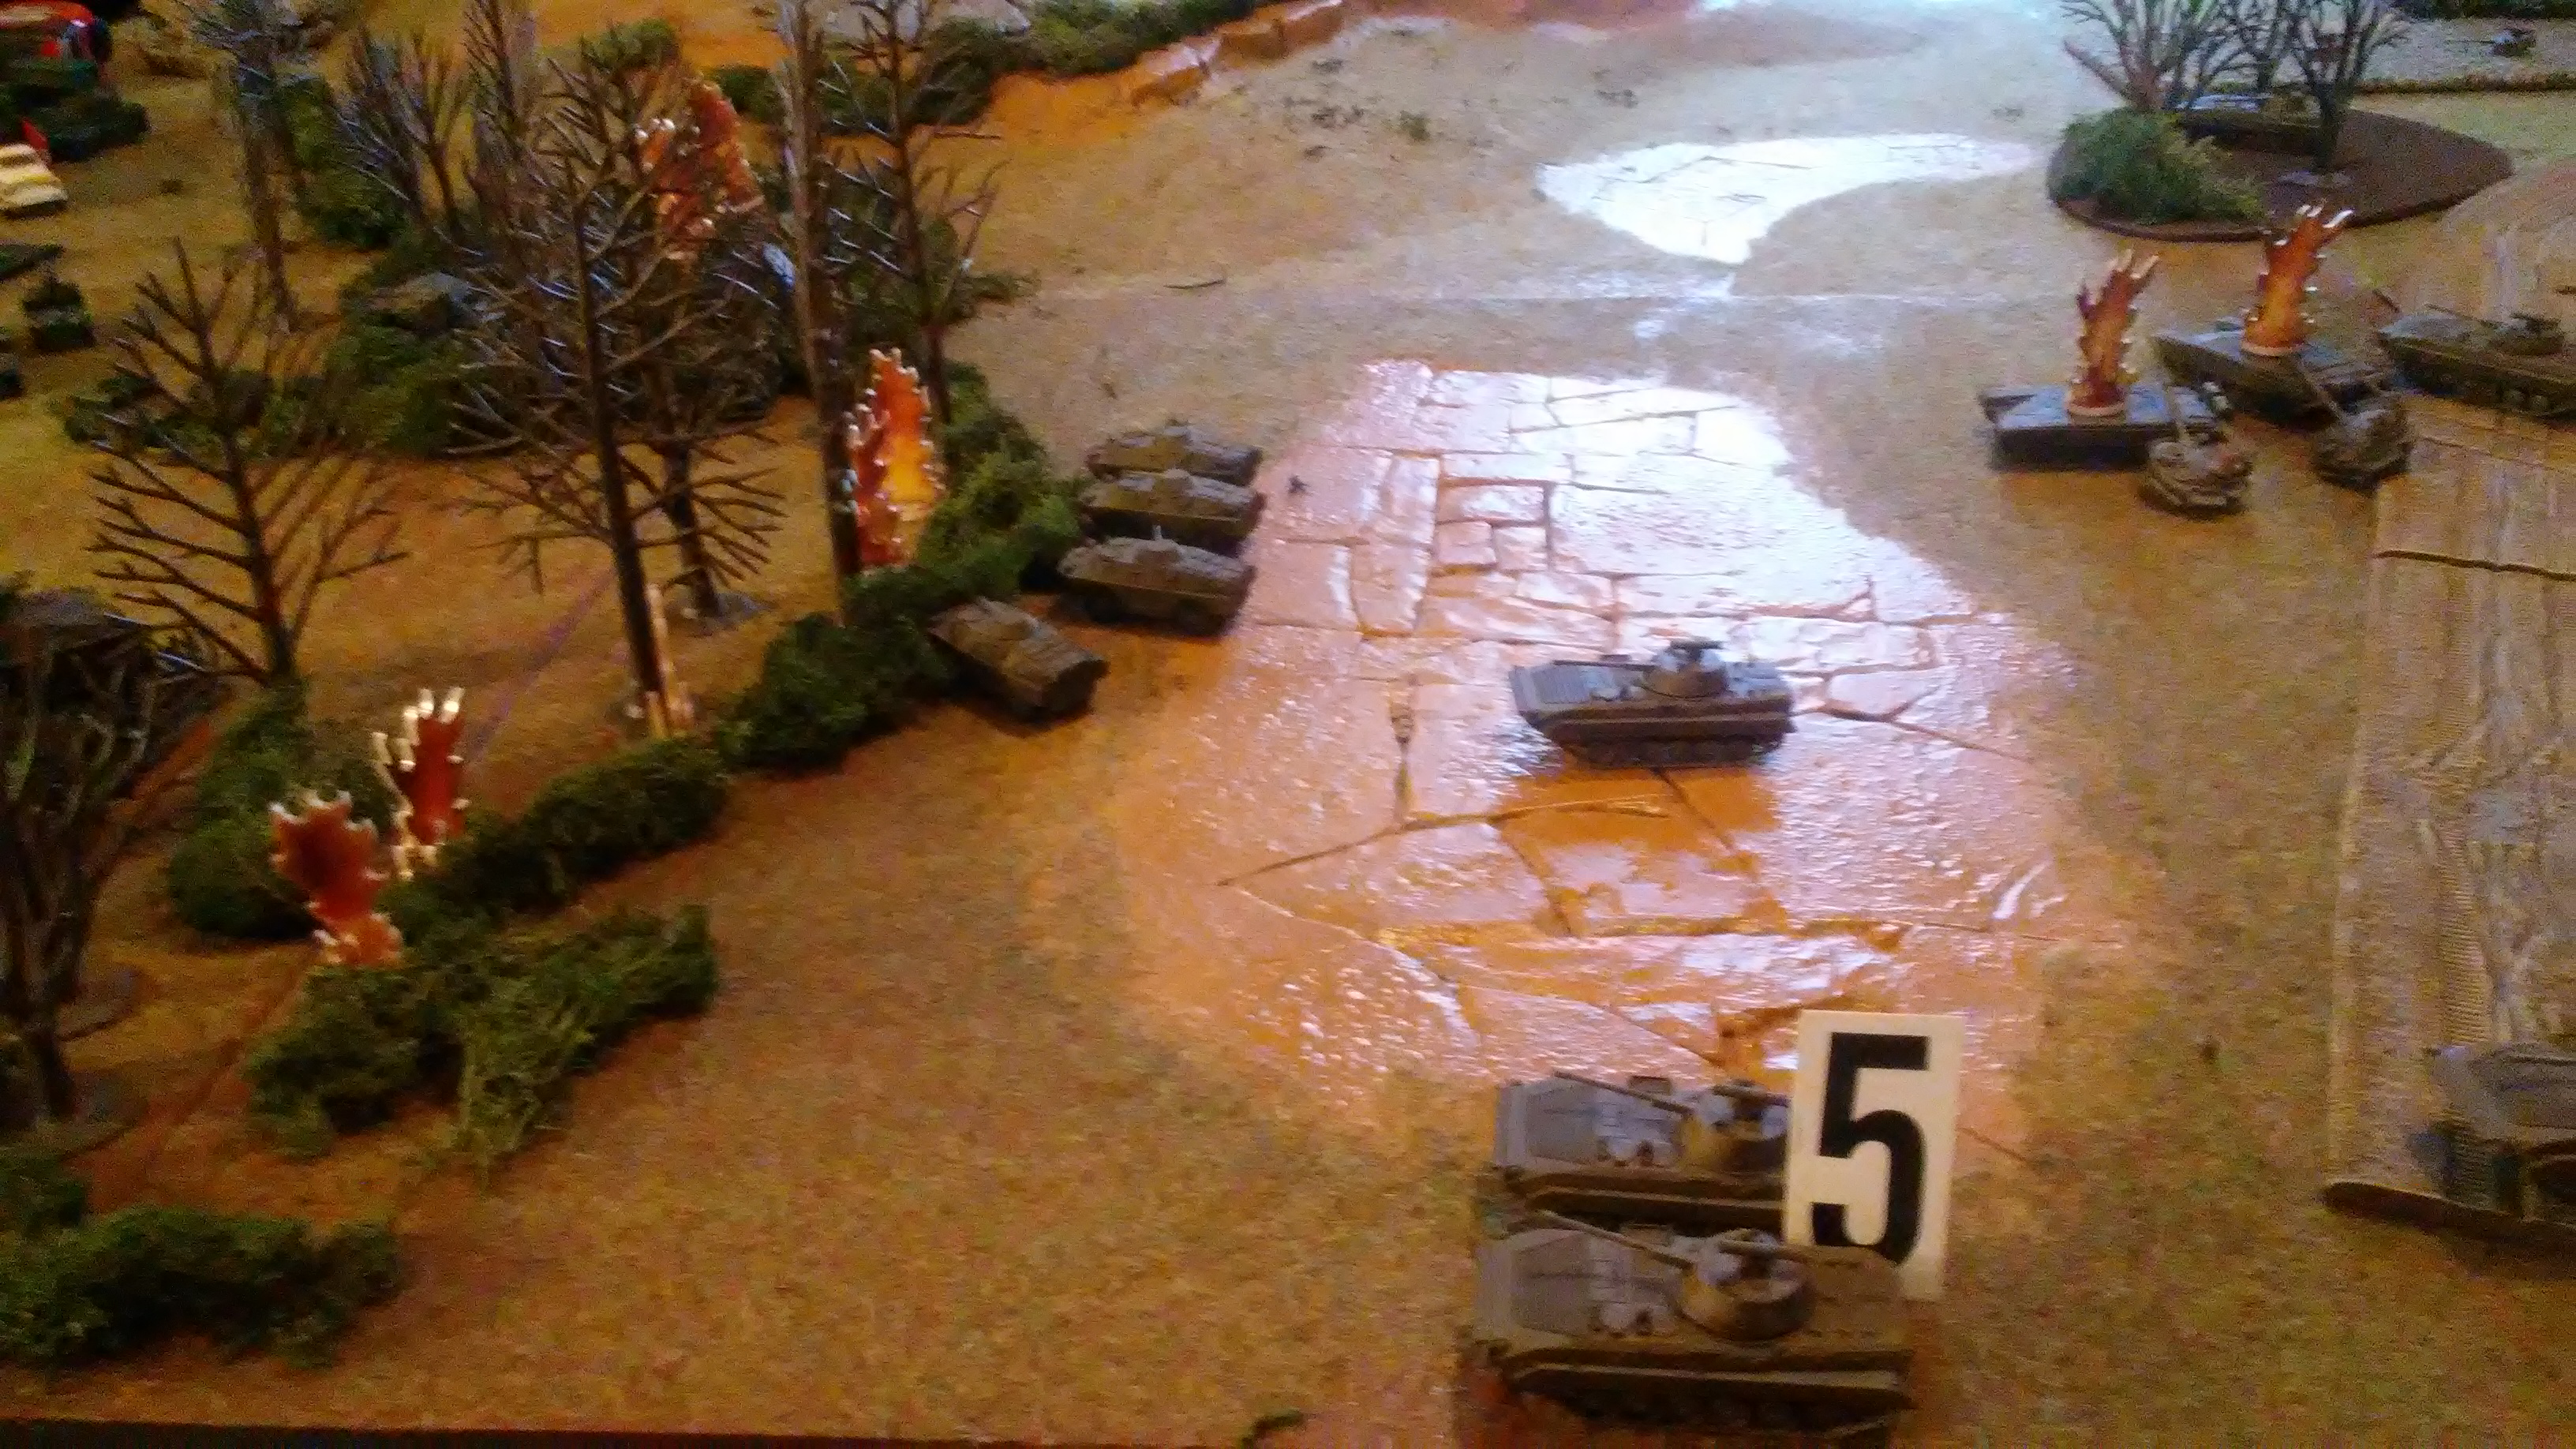
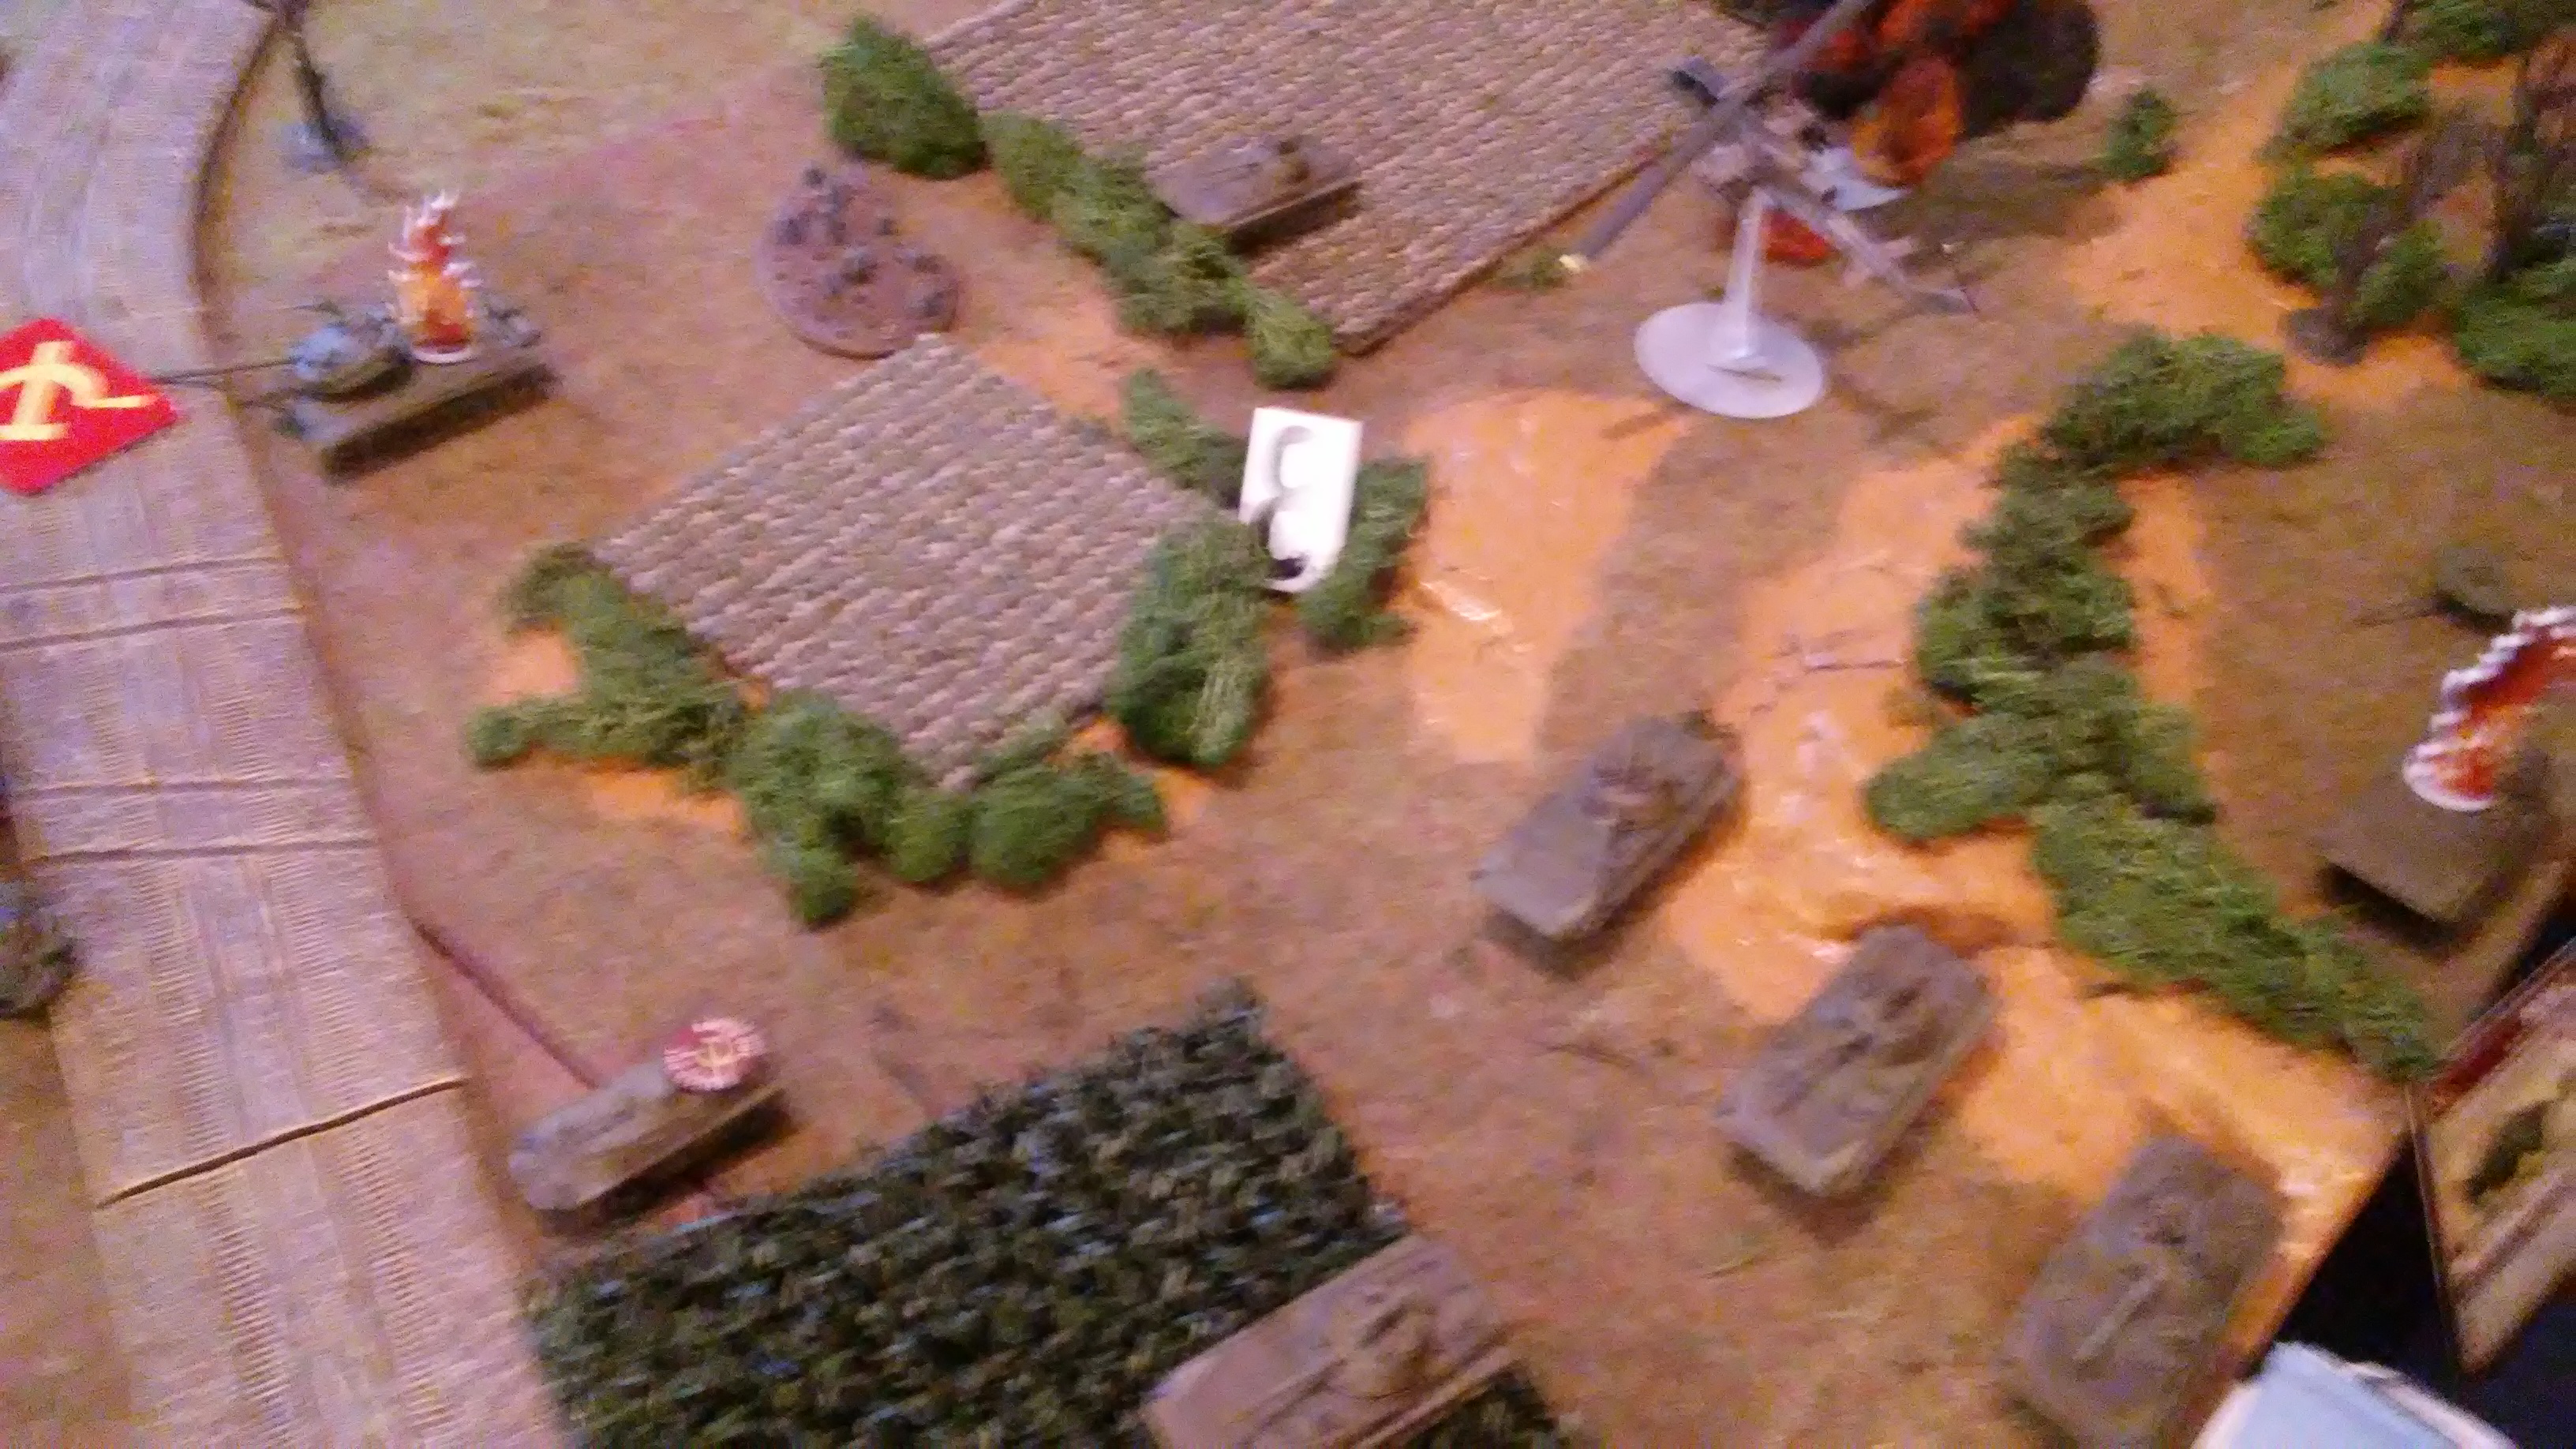
The BRDM company can see the fuel point-and it's in range-they move through the woods-1 boggs down. The BMP2 hit the Marders and bail 1. The BMPs of 3rd and 4th companies again fire at the ITV and again they miss. The BRDMs fire at the fuel point and KABLAMMMMMMM!!!!!! up she goes!!!
No US reserves again!!! Marders pass morale but no remount. IT fires at the BMP-2s and KIAs 1 and bails 1. The Humvee TOW KIAs a BRDM and the ITV fires at 2nd company's BMP2s (2) and KIAs it. The Humvees with those damned 50 cal. KIAs another BRDM!!!
Last BMP2 from 2nd company flees!!! The BRDMs pass morale. The BRDM remounts. Time to skedaddle back to our lines and call it a draw-all vehicles prepare to pull back. 3 BMP2s fire at the ITV and finally KIA it.
US gets cobras(2) from reserve!!! the Marder remounts, moves and KIA 1 BRDM and bail another!!!
Turn 8
If I can just get 2 teams off the board I can get a draw. So retreat!!!! as fast as you can using any movement order you can!!!! And we move back at all possible speed. I have Badenoff and his 1 BMP, a BMP2 from 3rd company, 3 BMPs from 1st company, a BMP from the tank/BMP teams and a single BRDM
Another pair of cobras from reserve!!!!!!! the Cobras from earlier fire tows and KIA the last 3rd company BMP. The Marders are hauling some butt and bail the BRDM. The BMPs fire at the cobras and bring one down. 3 cobras fire at the same BMP-somehow it survives but is full of holes!!!!
Turn 9
The BMPs haul even faster. The BRDM passes morale, the axles are shot so it's not going anywhere (no remount) BMPs move-one boggs- and fire and bring down another cobra
The Marders move up and capture the BRDM and crew. BMPs fire at the cobras and it makes its save. 2 cobras fire at the BMPs of 1st company and shred it-I lose all 3 BMPs!!!!!
Turn 10
Badenoff manages to get off the board. Others are going as fast as they can.
the US once again gets a lot of reinforcements-but the one that matters most are the 2 more cobras. I seem to have stirred up a hornets nest of helos when we blew up their fuel. The BMPs down 1 cobra each. the Cobras KIA another BMP and bail 1.
Turn 11
The last remaining BMP2 is about 12.5 inches from getting off the board-Rolls for Blitz move........nope. Moves and fires at the Cobra and brings it down.
Remaining cobra fires at the BMP2 2 unsaved hits 2 bails-makes its remount-yes!! still in the game
Turn 12:
OK so morale roll for the BMP-yes passes....remounts.....NO!!!!!!!!! The cobra hits again twice. 2 saves yes!!!!!!
Turn 13:
Roll for morale No!!!!! only 1 team has made it off the table-so no draw!!!!
I was hoping for a fast paced chase and counterchase game-instead it was quite a fun chase game. I have to give credit to Adam and Mike who refused to accept a draw and kept coming after me. I don't know why Adam stop chasing me with the Marders though. Fun game-fun mission and I got to use the scud launchers again-
Battle Report Author
Army Lists Used In This Battle
Recommend Commander For Commendation
Share this battle with friends
Adam Norris/MikeWins

I was in a shop and they were doing a ww2 bolt action mission with British paras and underground resistance facing a German police Bn security detachment. I wanted to try something similar. I am thinking of doing something similar with NATO forces destroying a bridge
This seems like a weird and interesting game mode to play, along with the unique force organisation. DId you get this from the internet or did you make this one up yourself? Good report.
Both sides.
I am curious in how you modified morale rules to fit your small units. Do others get to do the same thing for small units or just Soviets?
Nice one again
great refreshing AAR
thx for letting the Yanks support us here 🙂
Mutual Assured Destruction at its finest – commendation winging its way to you!
At some point i’ll gas the Brits and the Americans
I’m sure the Front Commander will shift it somewhere else.
You are sure getting mileage out of the Scud launchers, Dave. But the Strategic Rocket Forces don’t own them, so they will resist the blame…It falls on the shoulders of the Front Commander
I’m blaming the strategic rocket services
Success has many fathers, defeat is an orphan
+++
Et tu Dave
Victory needs no explanation, defeat allows none.
Good use of SMEAC at the start of the report. Sets the tone. Looked like an excellent game.
Great report, and a tough loss comrade. Here’s to you getting the beer at Octoberfest in Munchen this fall.
Somedays you get the bear, somedays the bear gets you.
A crack in the armour at last. Comrade Hodo (Not counting the one at the start of the campaign). Maybe the mighty can be beaten.