Fought At Denmark
2203 days 11 hours 9 minutes ago
Holstelbro
60 POINTSMarines vs Soviet Naval Landing and Air Assault
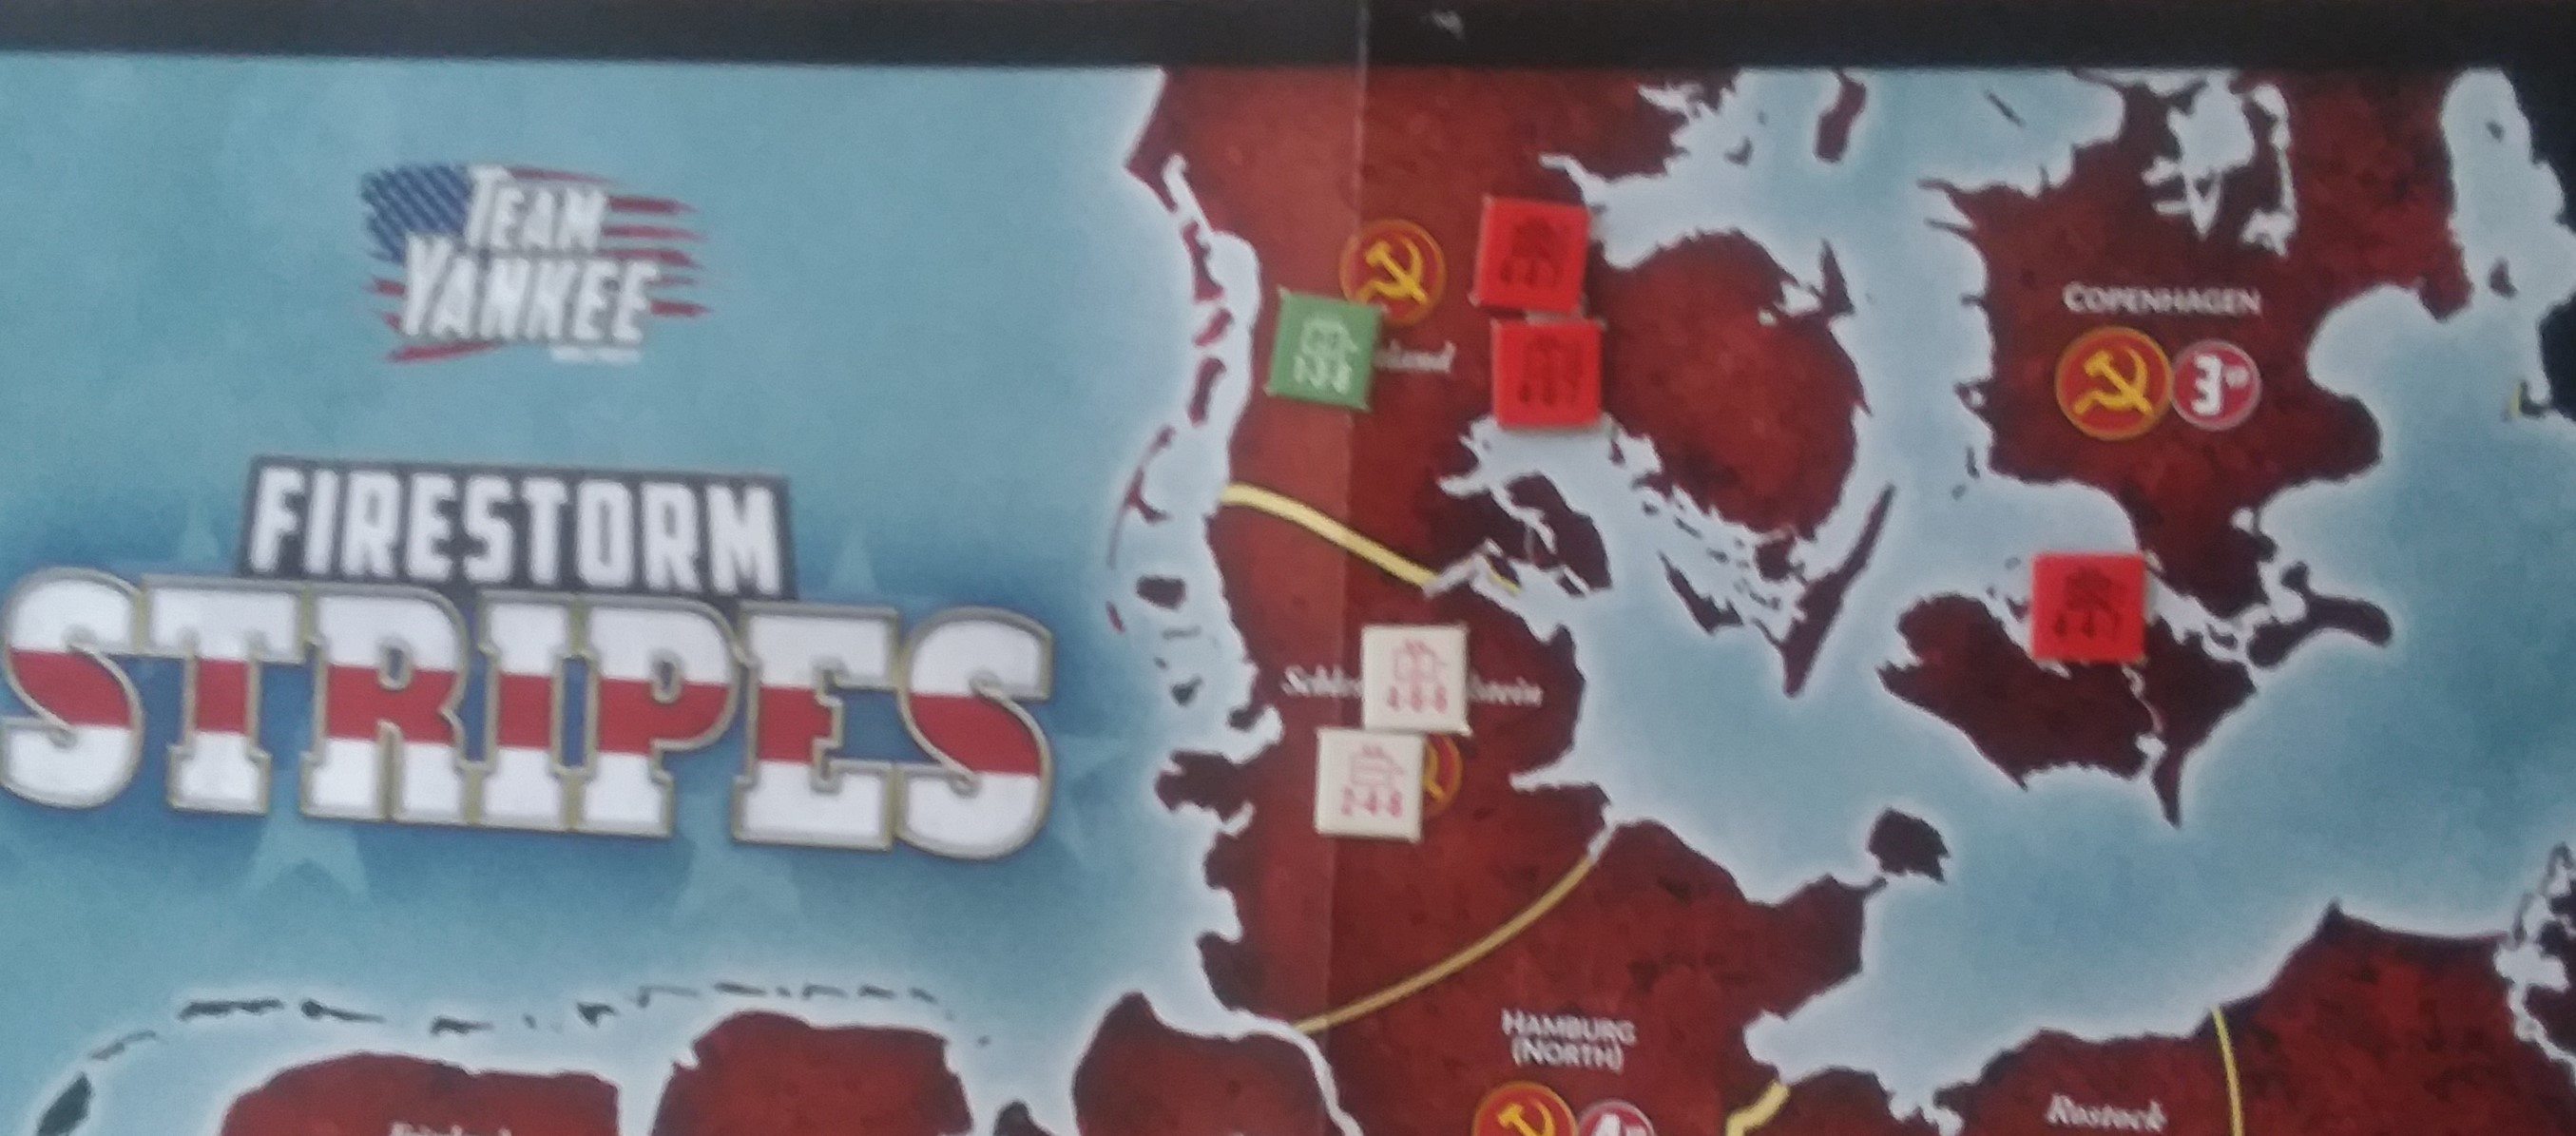
NATO once again tries a high wire act, without regard to proper reconnaissance or adequate forces. NATO commits the battered 8th Marine Regiment, chewed up fighting around Cuxhaven and Hamburg, to a new adventure (military definition of adventure: someone else in deep trouble, far away). 104th Guards Air Assault Division and 46th Guards Naval Landing Brigade respond immediately to the new threat, relieved of the boredom of herding cats and assisting KGB border units in counterinsurgency duties.
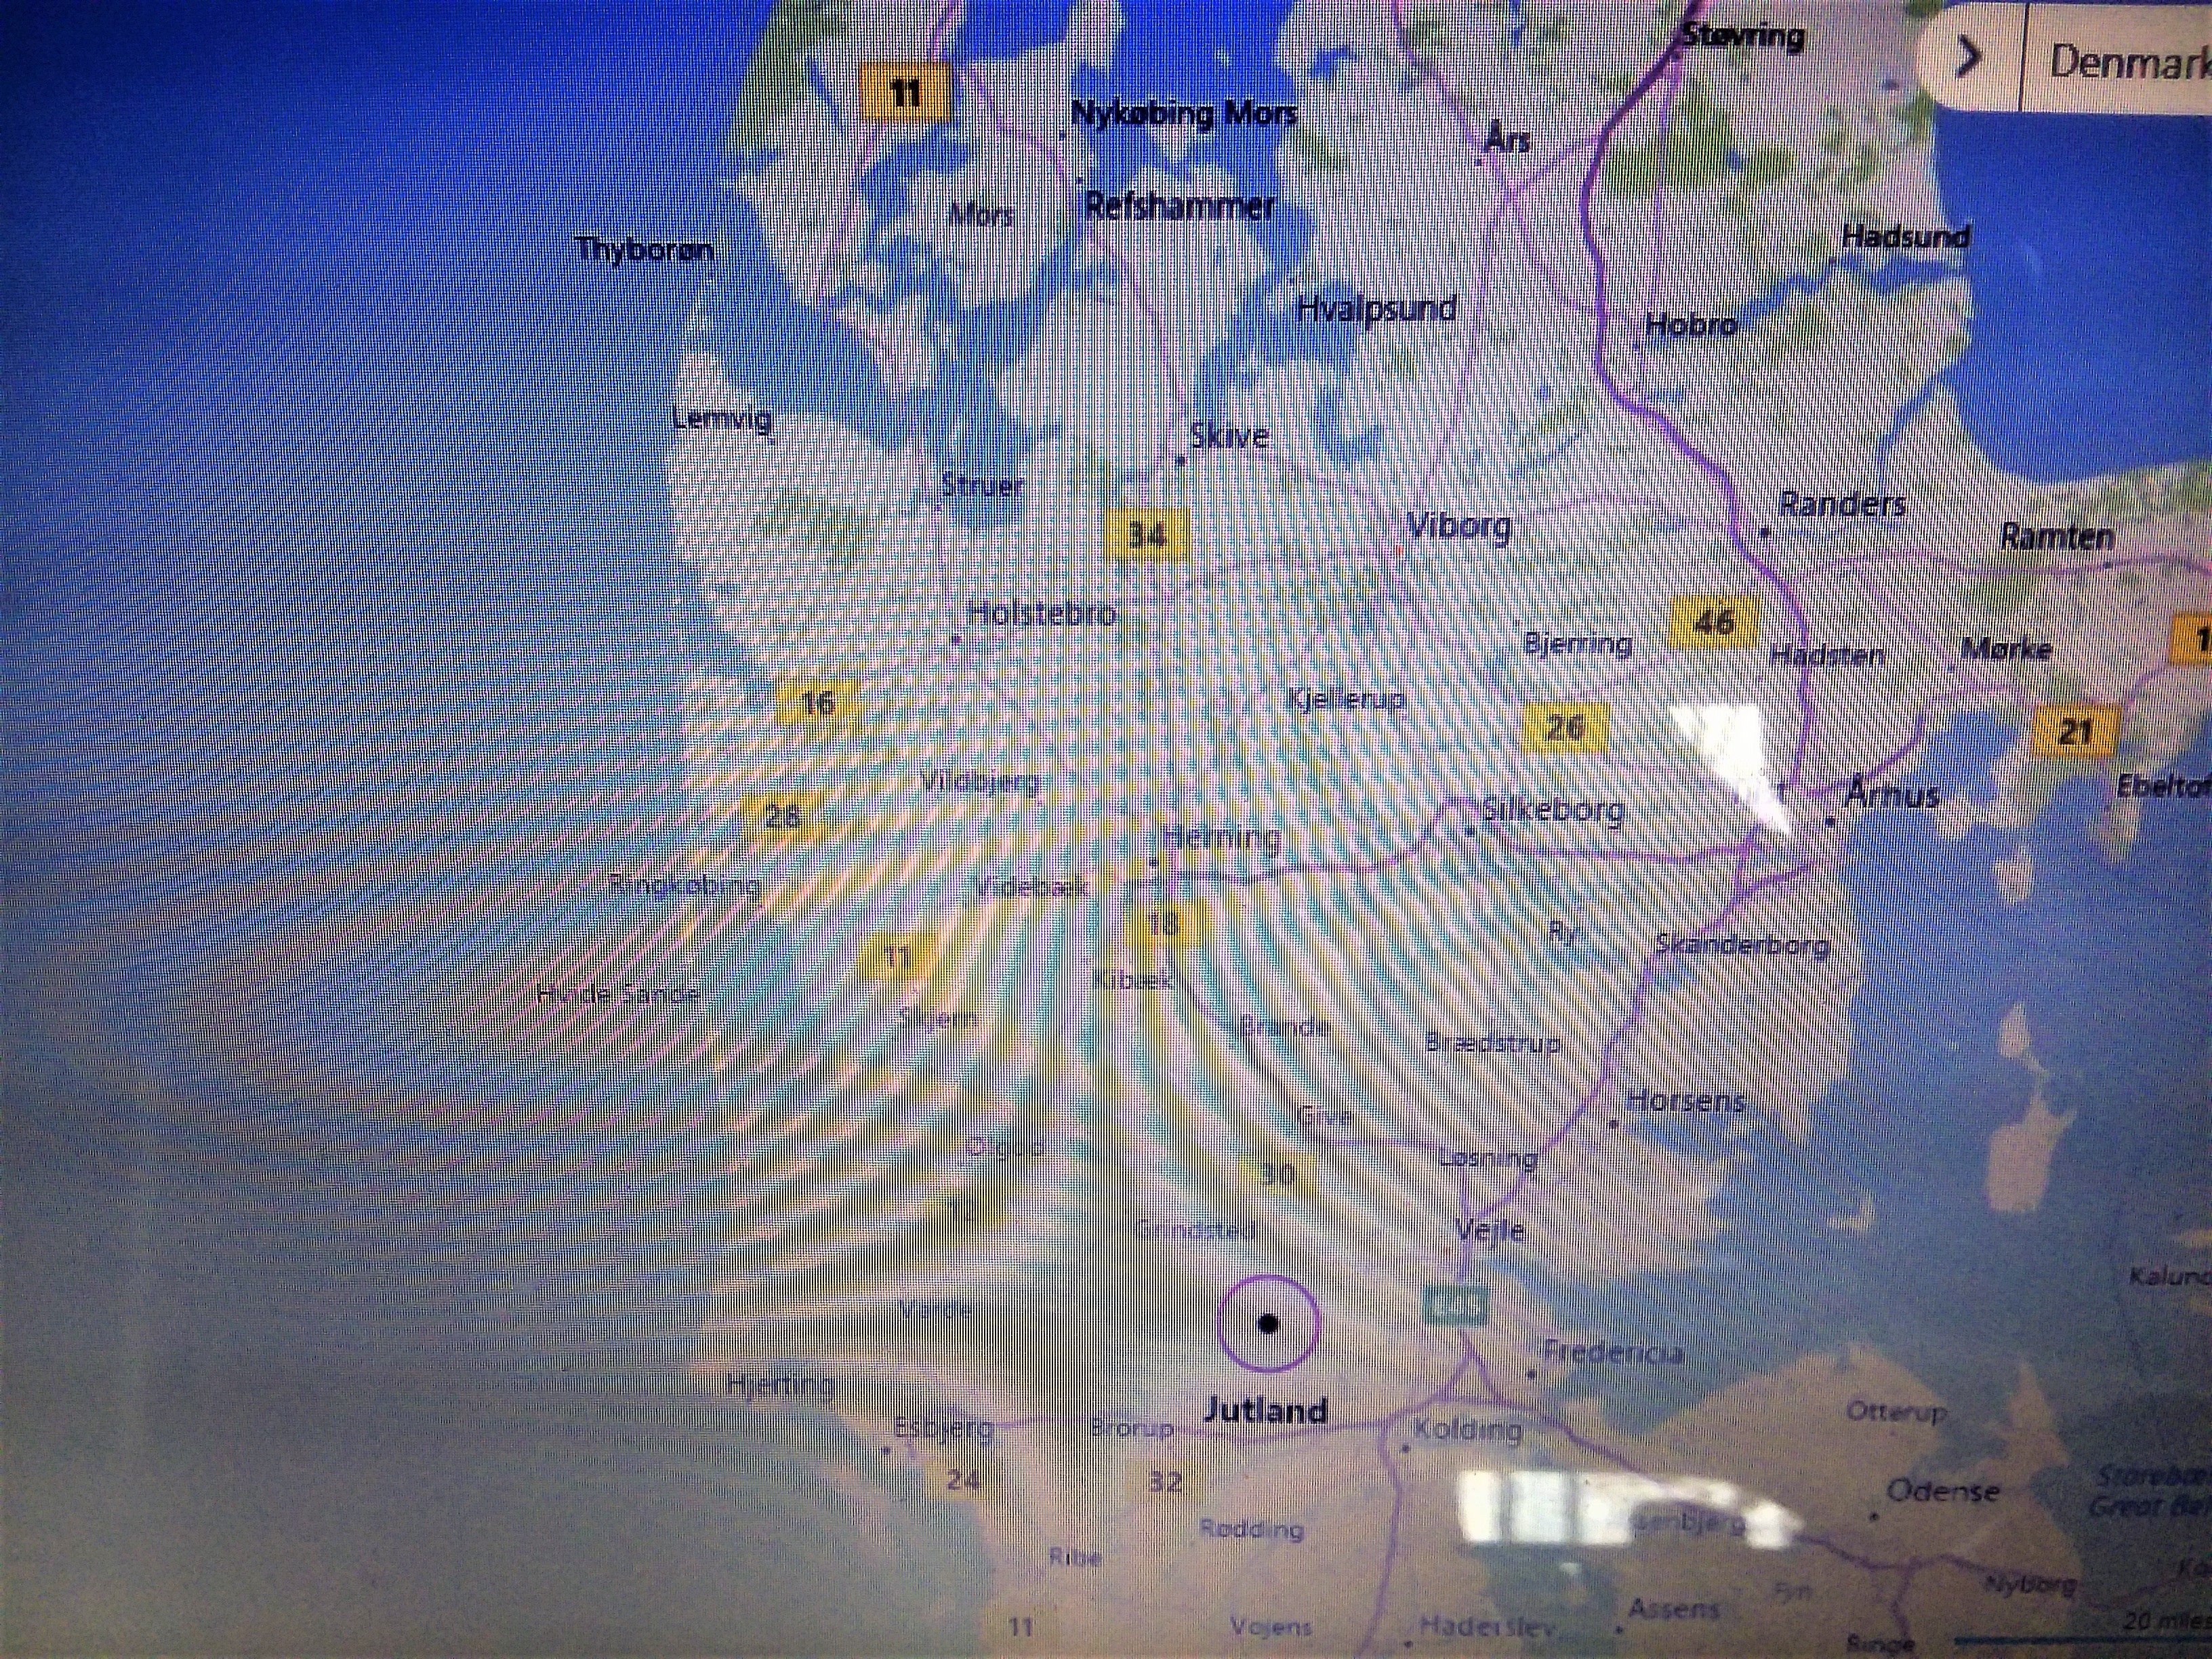
The North Sea coast of Denmark includes many scenic beaches but they are mostly narrow strips of land with large lagoons or inlets behind. Getting ashore is only the first problem; next the Marines must seize a port, prevent the PACT from ranging artillery in on the access to the lagoons where the harbor facilities are, and then off load supplies to get moving inland. Doubtless much impeded by crowds of cheering Danes. See A Bridge too Far, or read the book
 Rough calculations show the two forces would collide somewhere near Holstelbro where the Marines will need to be to prevent Soviet FROGs and 130mm guns from wrecking their lodgement. The Soviet air assault troops with their BMDs are at least as mobile as the Marines, and the BTR-equipped Soviet Naval landing troops certainly capable of reaching the area.
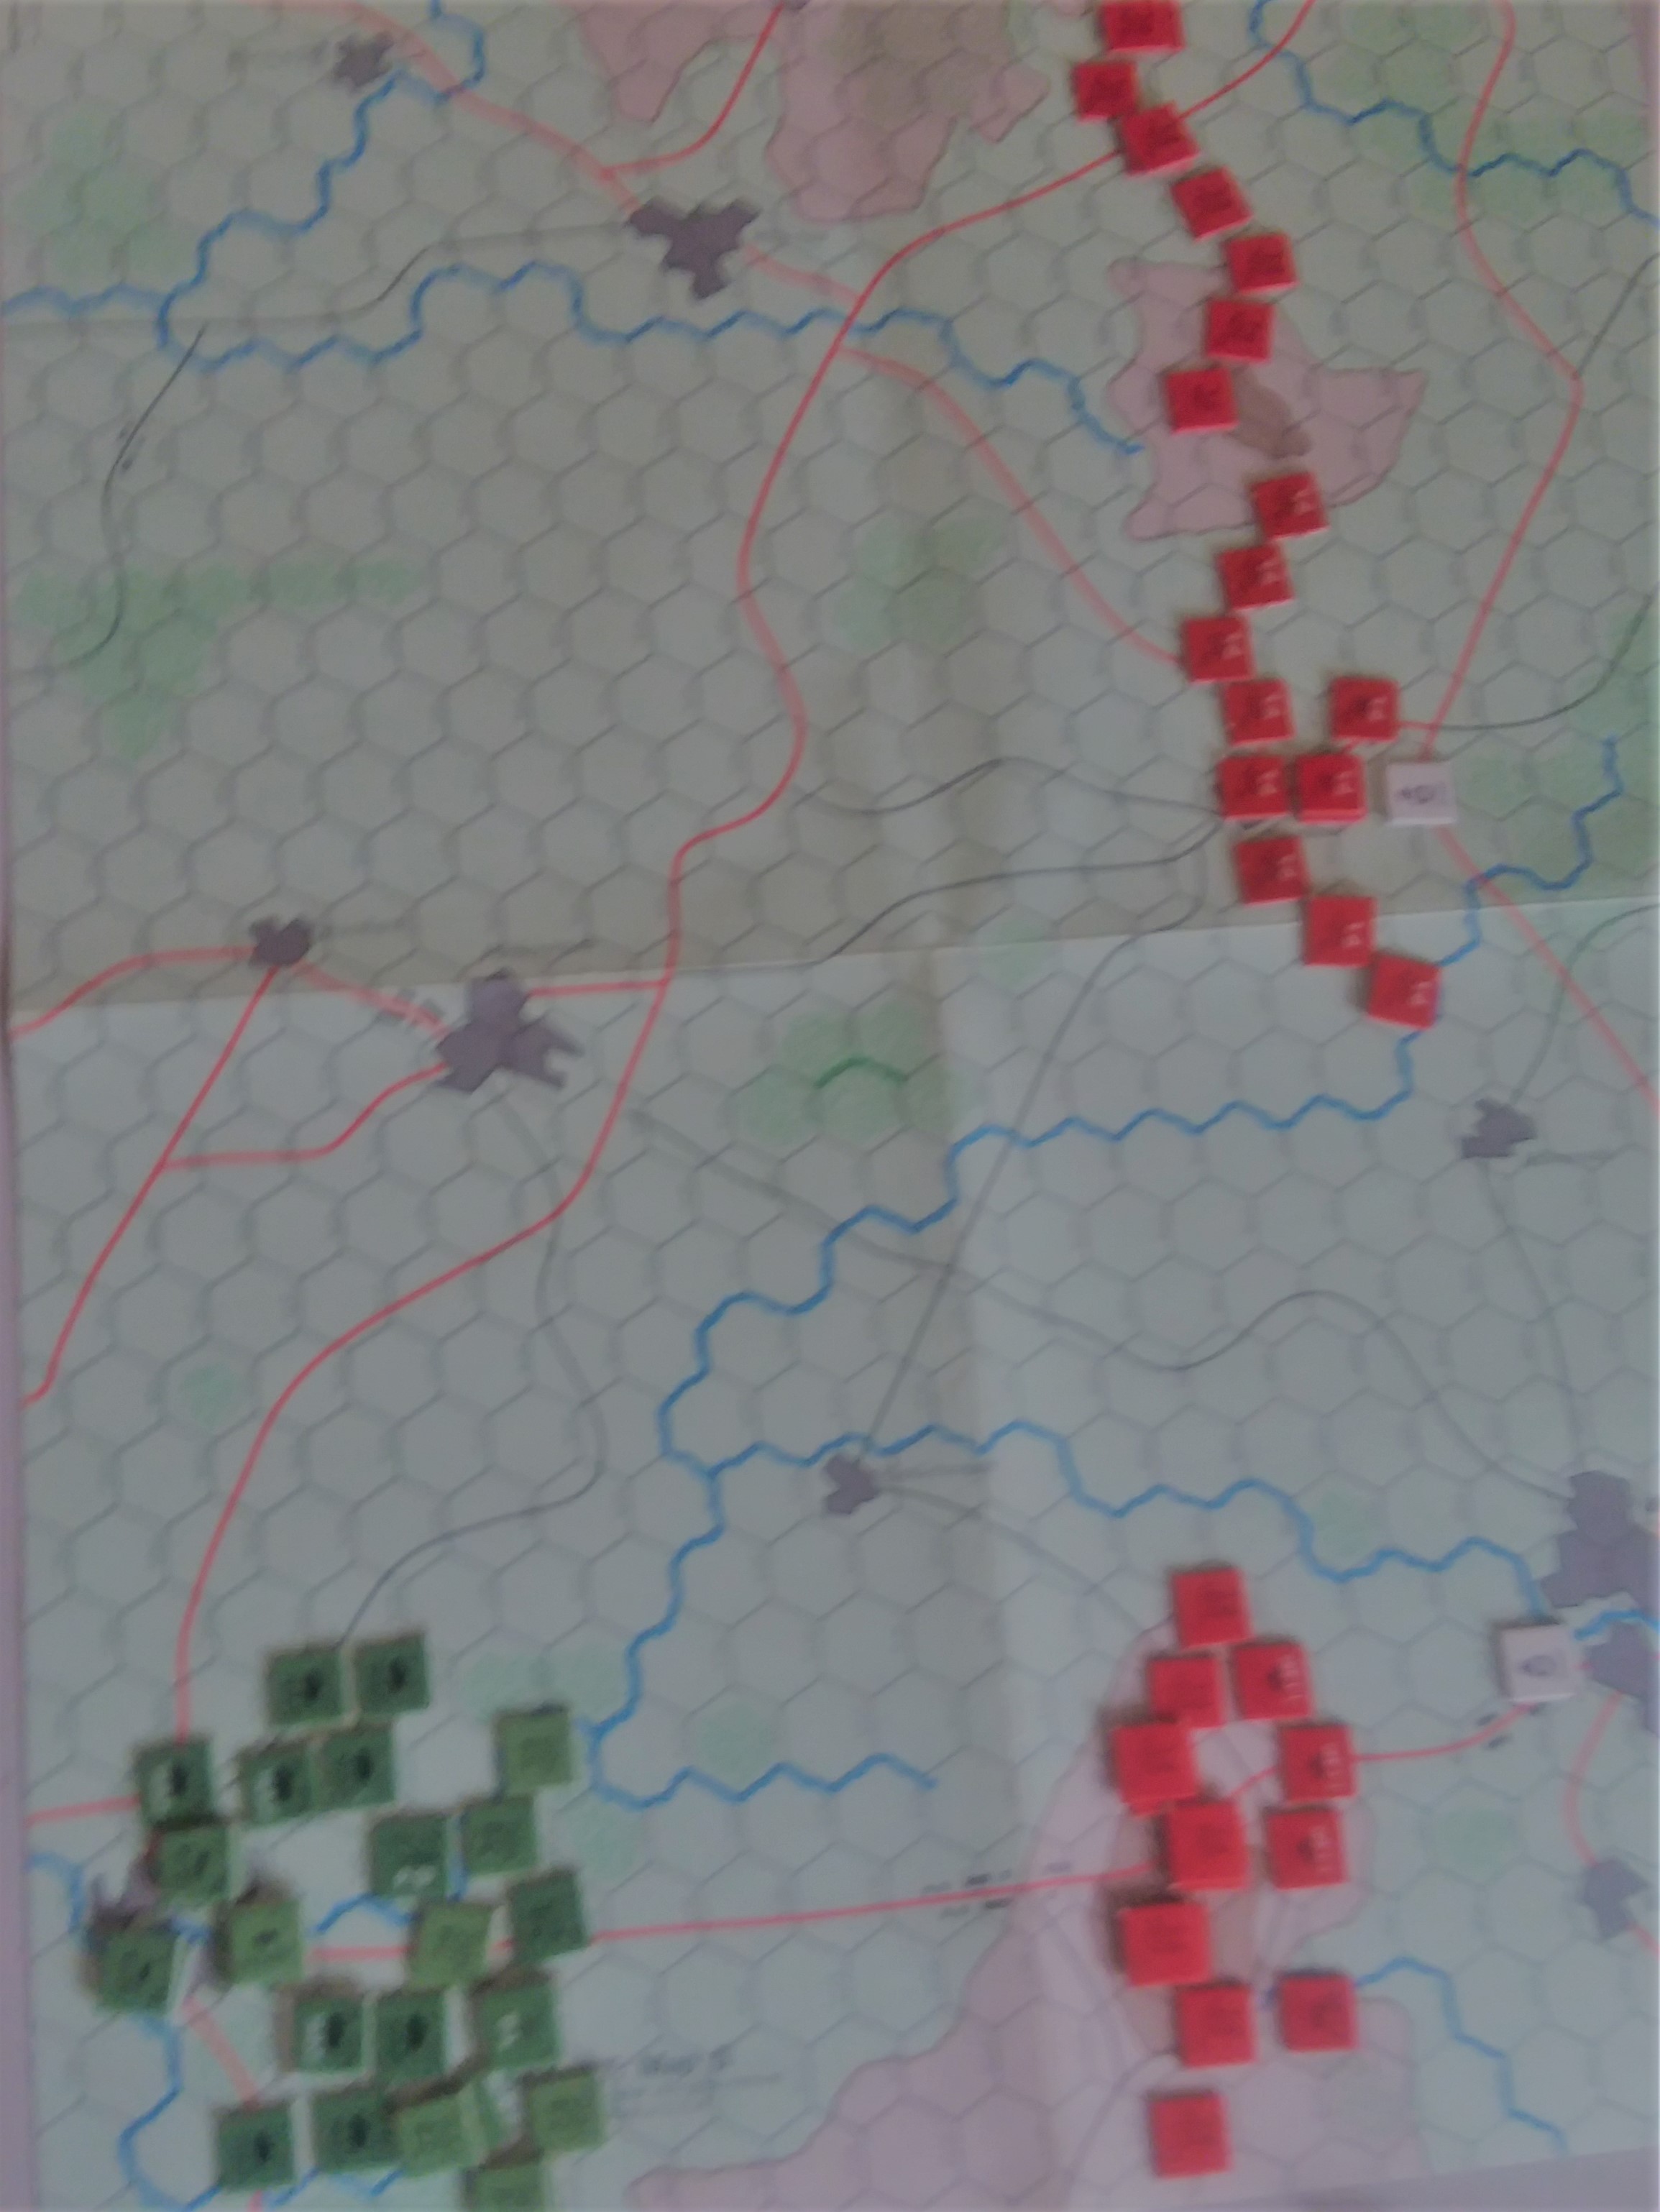
We played Hostelbro with some tweaks. The Soviet Air Assault battalion riding BMDs is displayed here using BMDs but in game turns, we used BMP-1 stats. The infantry are Soviet Afghanski. Another Soviet toy I'd love to buy, but first BF has to sell them and make stats for them. This type of Battalion didn't use BMP/BMD scouts, so BRDM scouts. The T55s are from Soviet Naval Landing. They used TO-55 (flame+100mm gun) tanks which were treated as a +1 cost and played no role in the battle. Maybe next campaign
Scenario was Hasty Attack, Marines attacking. I had to set up first and deployed the BRDM scouts, using their spearhead to get on high ground in front of the objective I had placed, directly opposite the objective I placed in BH's rear. I defended both of BHS objectives; the northern one with another Air Assault company, and the center with the BMD company. Two Hind units in loiter completed the force. In hindsight I should have left the furthest objective open and kept the entire BMD unit in ambush. BH had three units, and chose to place the CO, two tank platoons and the infantry platoon and go all out for my southern objective. I mistakenly put the counters for his HMMV Stingers on the edge of the map and played through the first three turns AS IF THEY WERE THERE. My bad...and yet somehow appropriate. I've seen the same thing happen in FTF games when off-table space is at a premium (this unit isn't here, it's my ambush...etc)
 Turn 1. BH wanted to assault as early as possible and tried to Follow Me the infantry platoon. Failed with a 1. This took the infantry fire out of contention as well as preventing an assault. The 9 tanks provided enough fire to pin the platoon but killed only one stand. BH used a mix of MG and big guns and the MGs didn't yield the kills. My BC insured the infantry unpinned. I saw no reason to be coy so I opened fire with my entire unit, shooting the Spigot team at M60s and the rest at the stalled Marines. The BC, 3 AK stands, the AGL17, and 3 RPGs ripped into the platoon. I also sacrificed my BRDMs, dumping another 12 dice, for a total of 36 dice, hitting 17 times and killing 6 stands. One SMAW and 5 rifle teams disappeared.
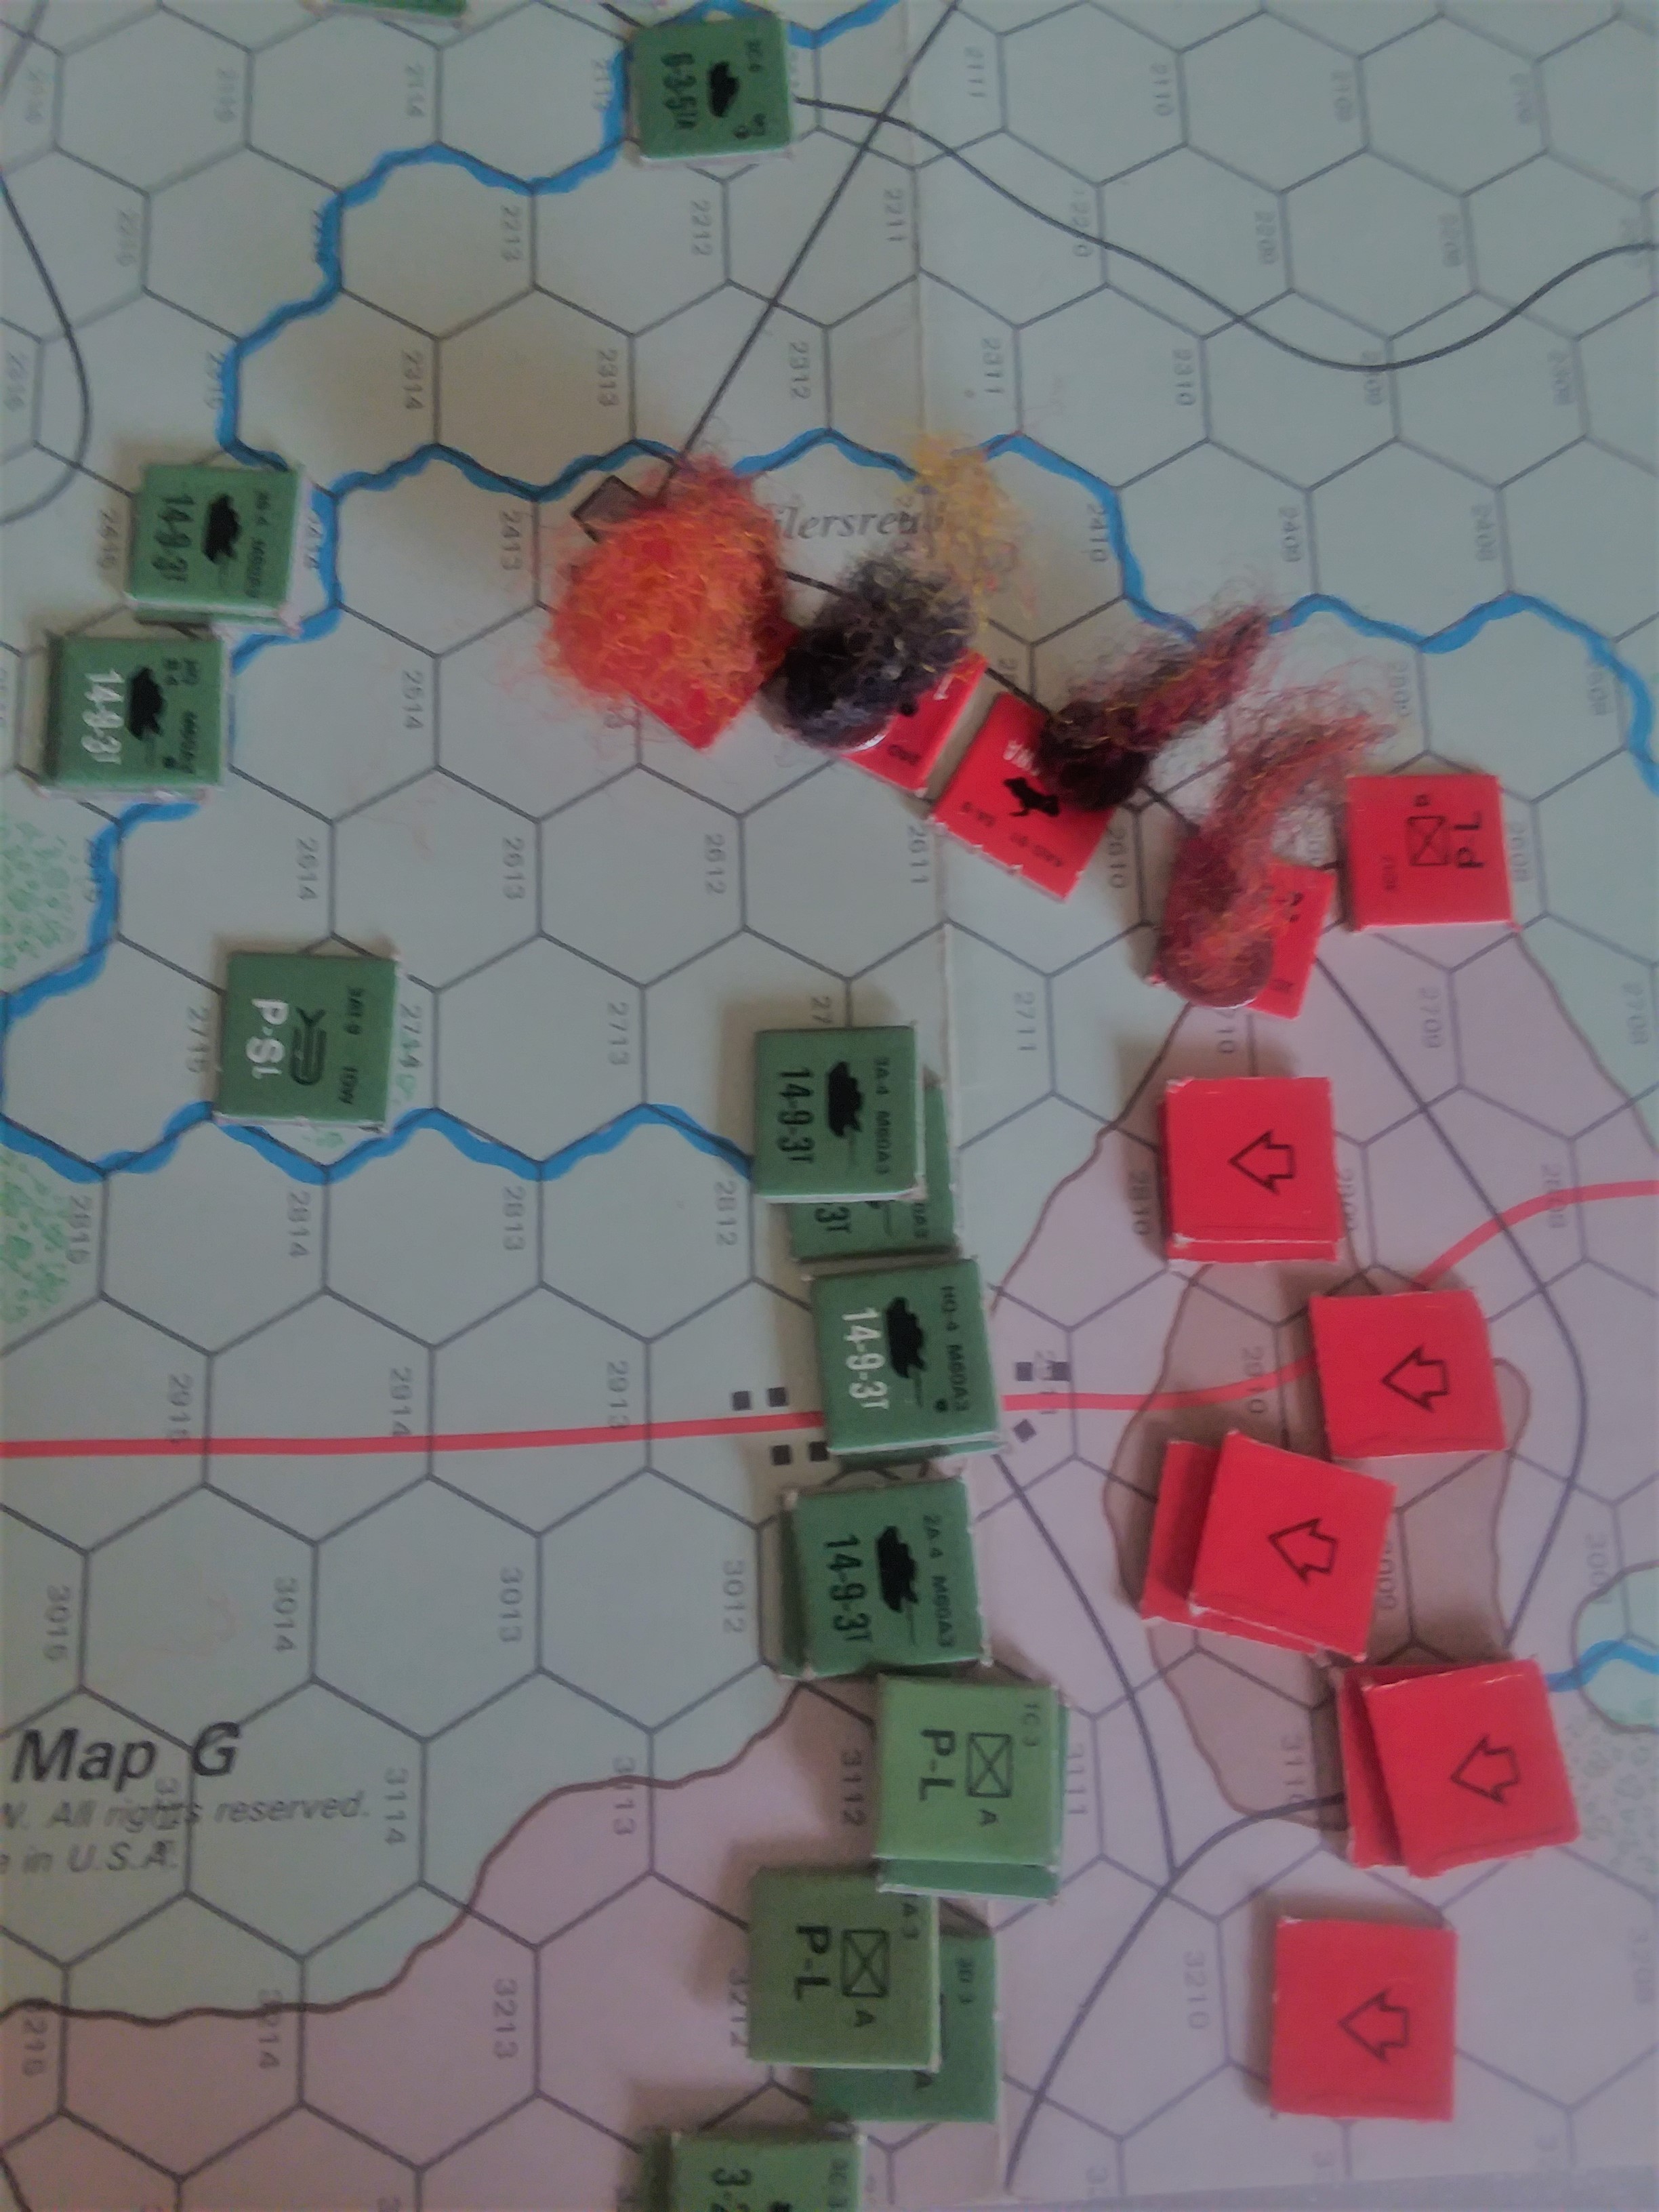 BH continued the attack. The LAVs arrived at center court and dashed forward to support the flank of the attack, which would prove their undoing. The Marines handily unpinned and drove forward. Half the tanks had to deal with the BRDMs whose fire might have interfered, and the others pumped enough MG fire onto the hill to kill one RPG team. The BC was targeted by his infantry but only took four hits and I didn't allocate any to the infantry. It was a nice try but BH still pinned the infantry, but didn't kill the BC. The BRDMs burned merrily. 3 dice from the BC and, 2 RPGs, 3 from the AGL, and 3 from pinned riflemen produced 5 hits, narrowly stopping the attack and killing another rifle team.
 Haselbro PACT 3. I placed my BMD ambush and slid it behind the wrecked BRDMs. This gave three flank shots on the M60s part way up the hill. 1 hit which BH bounced. The reinforcements were BMD infantry on my baseline. I walked the infantry to my objective and send the BMDs after the LAVs. Also moved the 2nd BMD company's infantry component with a Follow Me to where they would just reach the LAVs if they bailed. My Spigots continued to perform miserably, but the combined fire of 3 BMD MGs and my infantry on the hill whittled his platoon to just two stands - a Dragon and the PL. The fire from five BMDs knocked out three LAVs and an infantry assault took out the fourth
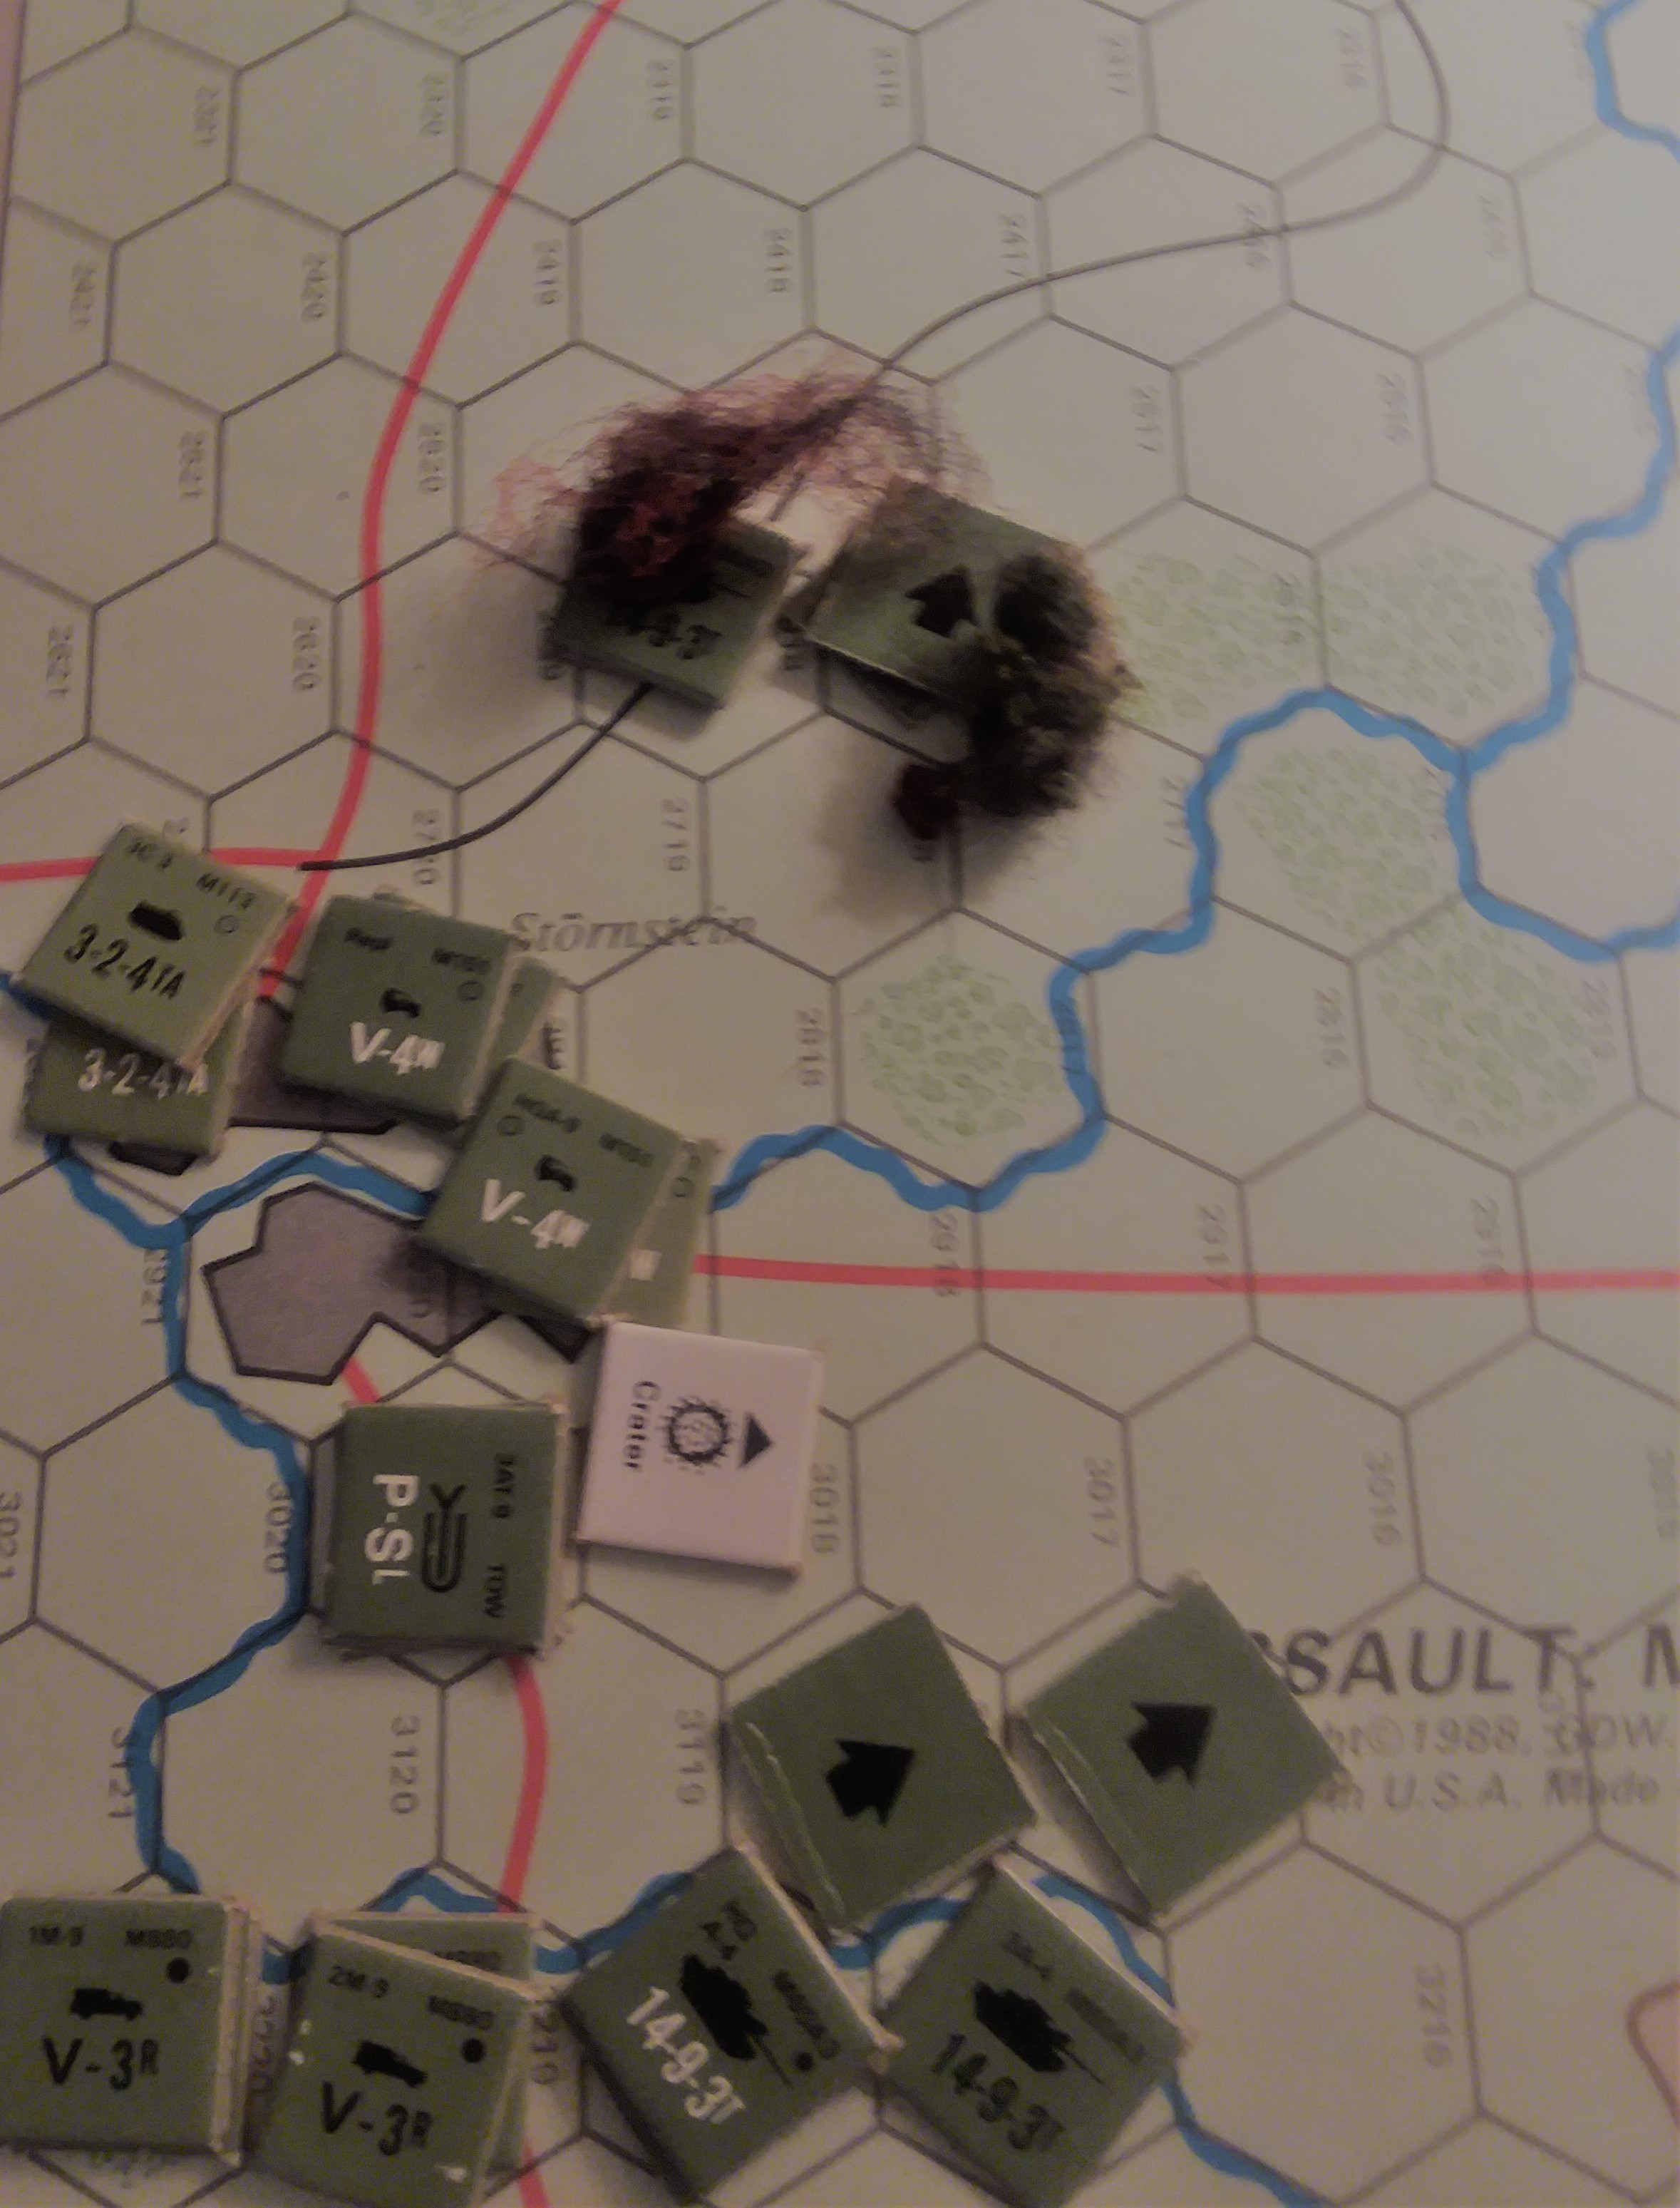 BH realized that with my reinforcement arriving right behind the ridge, and his infantry platoon being effectively wiped out, he was playing for a draw or points. He smoothly disengaged, shooting up two BMDs among the group hiding in the BRDM wrecks. His reinforcement was the TOW HMMVs, which arrived on the north end of the map. He moved them to center court and tried hiding them in the trees on board edge, figuring to threaten my other objective and keep me honest. I got T55s and Spandrels as a reinforcement, and the Spandrels were in the south and the T55s in the north. The TOW HMMVs were far enough out that I could hit them with the Hinds without taking AA missiles from his nonexistent Stingers. That's when I discovered they weren't really there. 4 missiles managed two hits one died; he passed morale. More importantly my Spigots on the northern side of the board managed a hit on his fleeing M60s and my 6 BMDs in center court hit them three more times, for two killed and two bailed. This time his unit failed morale. This was the worse performace of Spigots against M60s in several games - 12 shots for 3 hits and only one penetration.
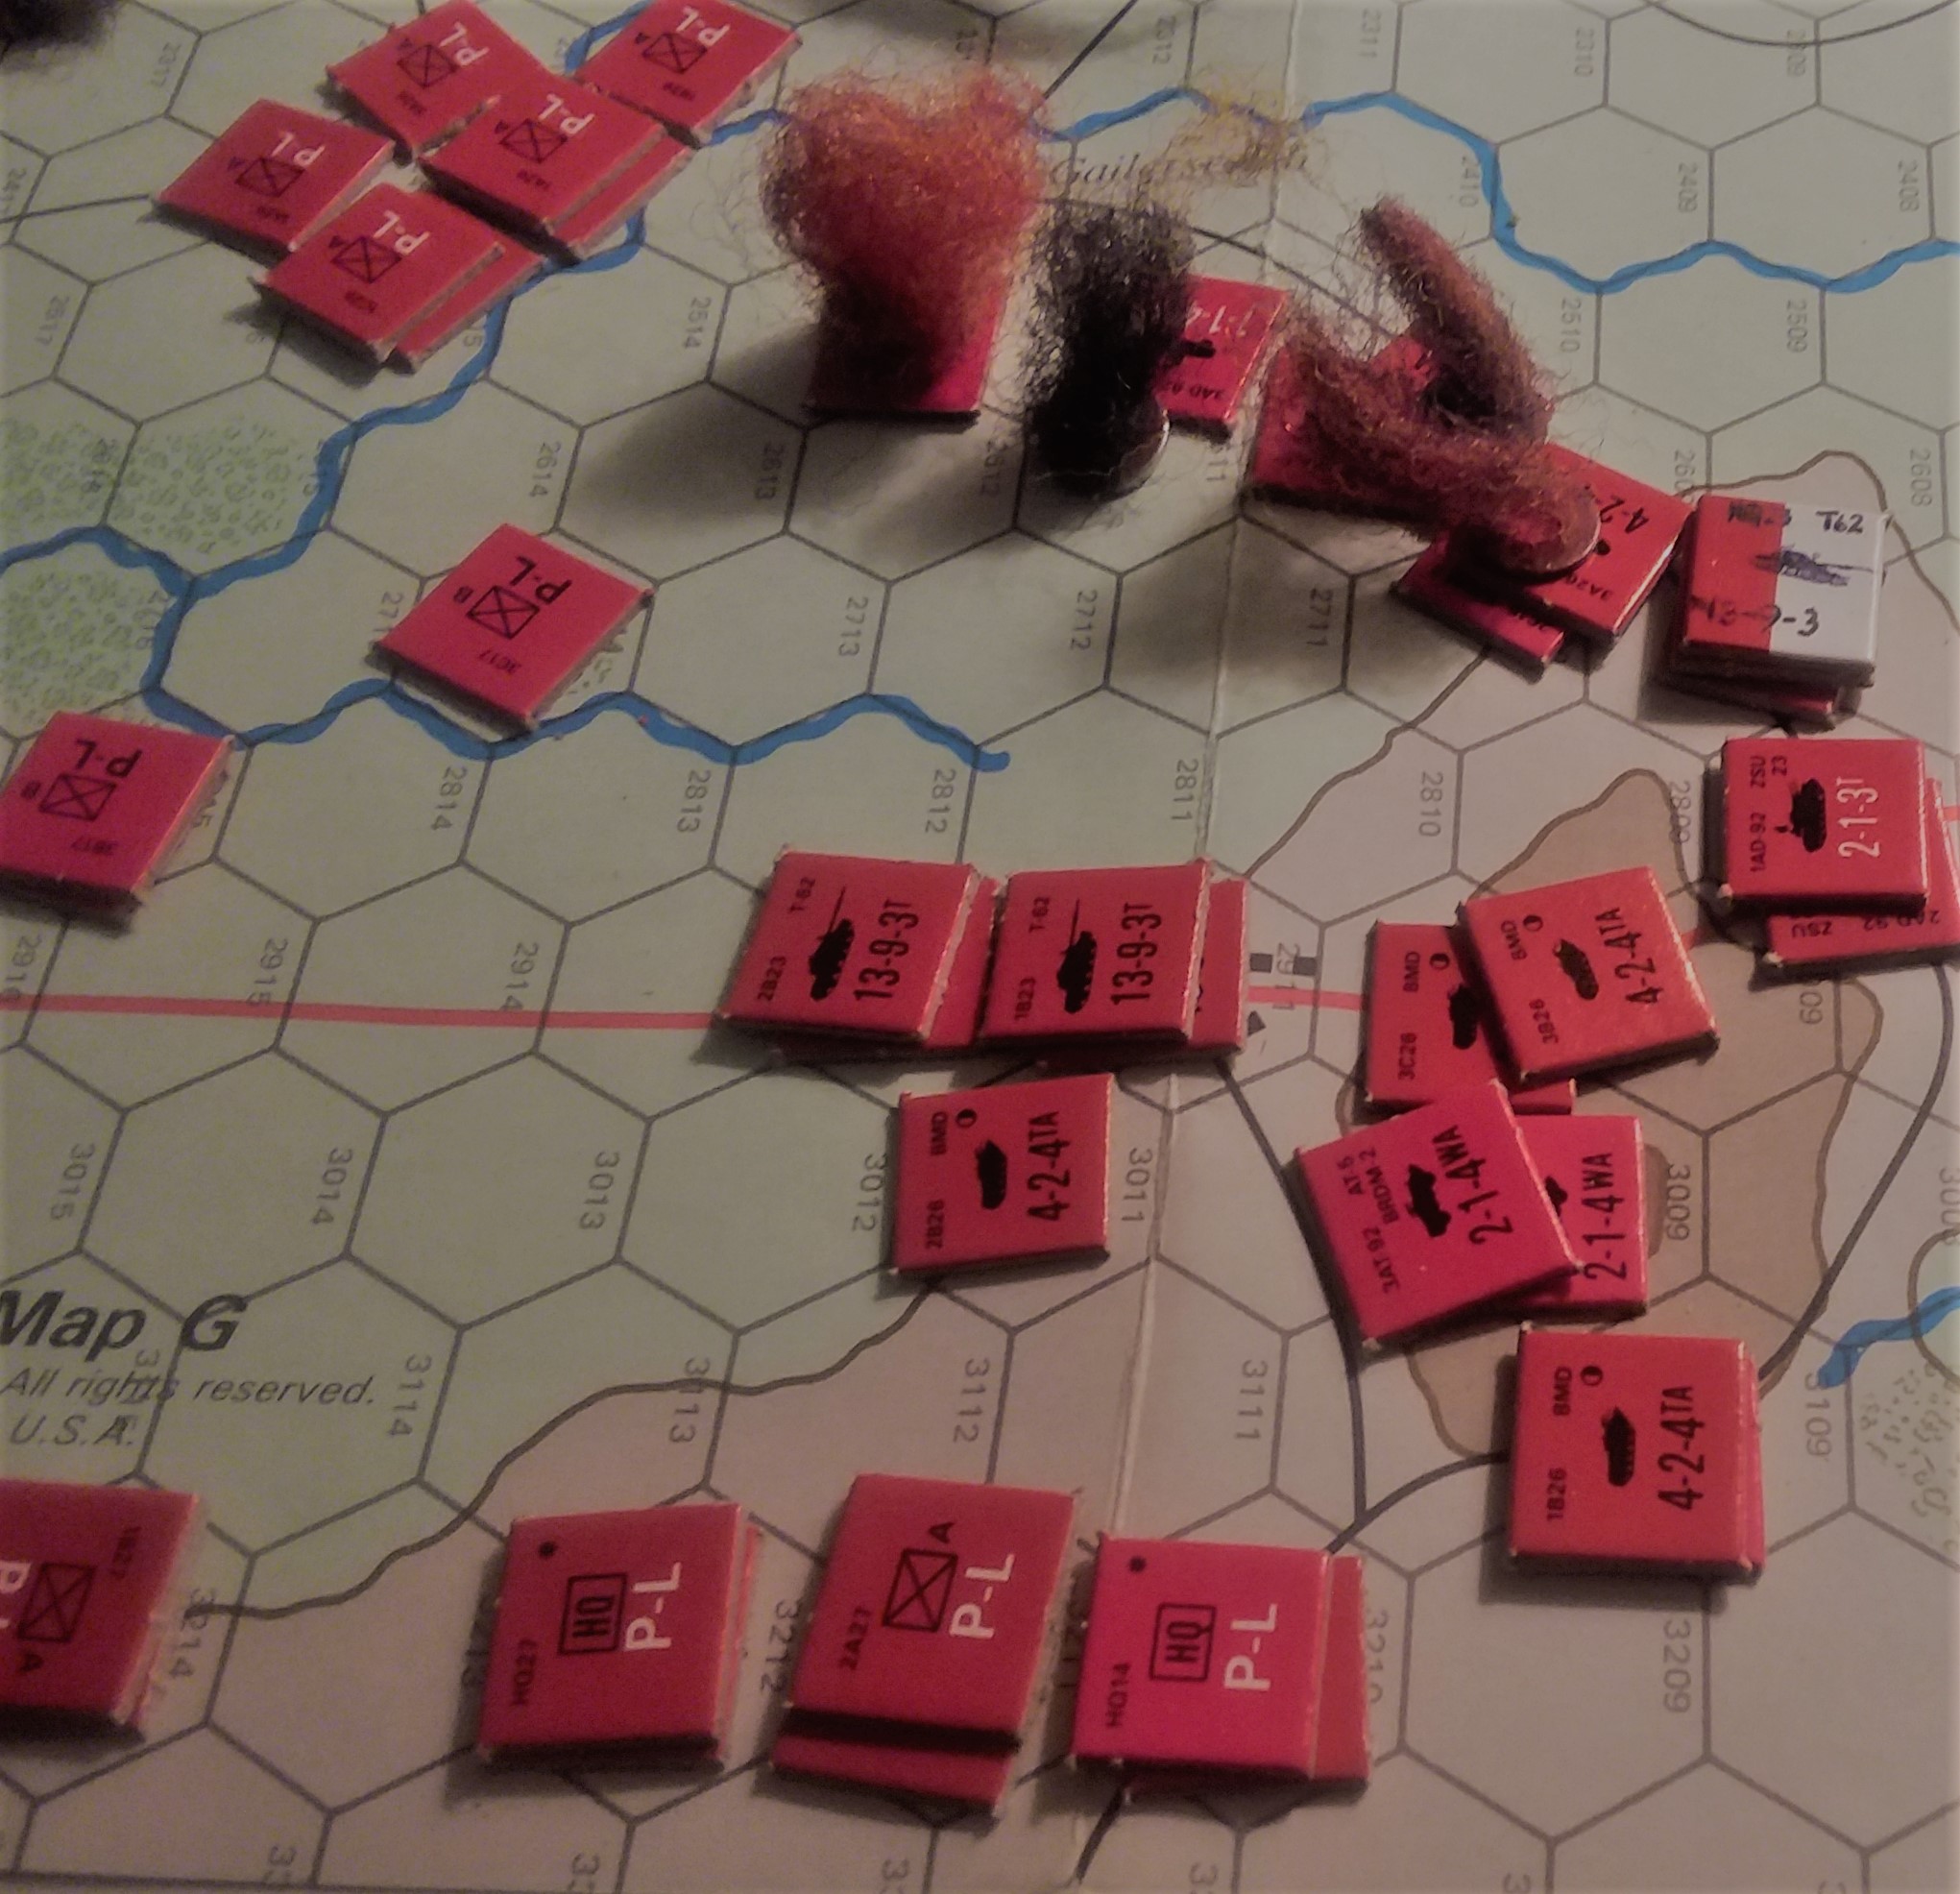 My pursuit of the Marines. BH had moved back into the corner, so I moved forward with three infantry units while leapfrogging missile launchers and tanks. A T55 unit arrived on the southern end, ZSUs on the baseline. I figured the ZSUs would be helpful with sweeping up the American light vehicles. Two of BH's M60s had bogged in the open trying to cross a stream to enter a woods; if you make 10 cross checks you can expect to fail some. BMD and Spandrel missiles executed them. Long range fire at concealed units from moving M60s made his shooting ineffective in Turn 4.
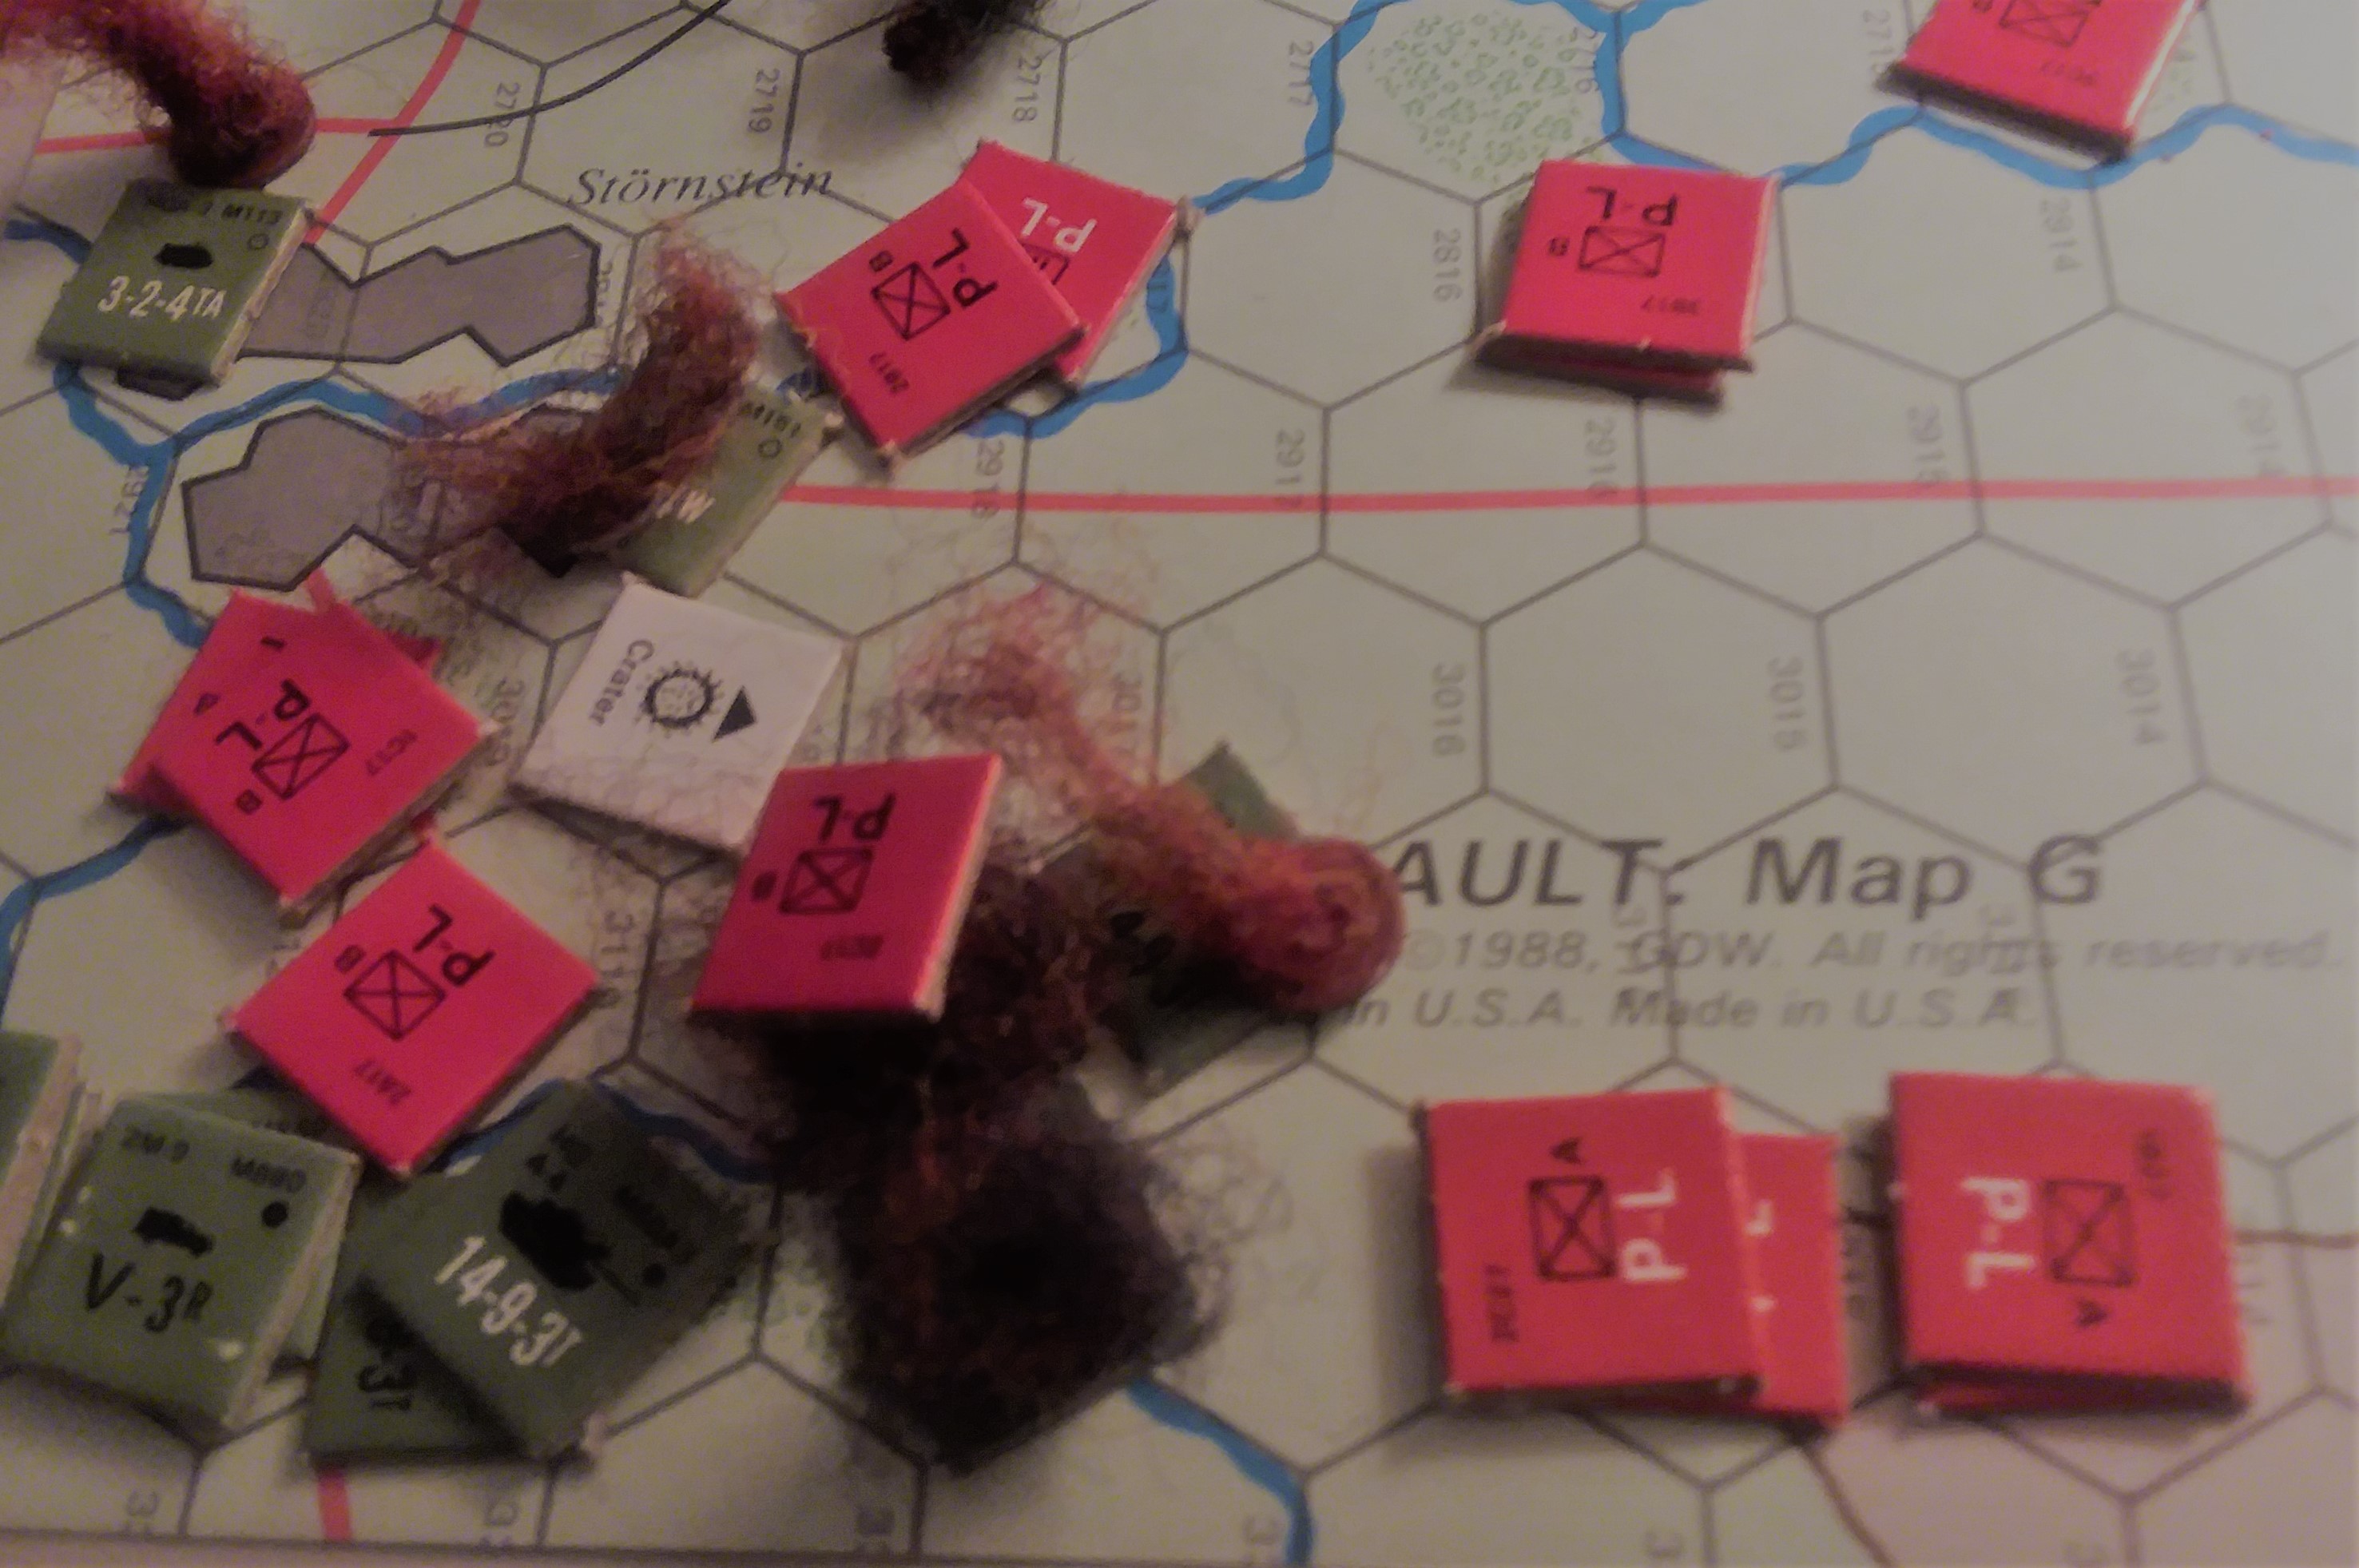 Final act. My pinned infantry platoon rallied and exectued the HMMV scouts with RPGs. Missiles streaked in and killed an LVT. I also killed another M60 with missiles, as well as knocking out the errant HMMV ITOW. Tank MGs and advancing infantry fire pinned the infantry unit and killed the Dragon. Finally I assaulted with the BMD riding paratroopers, and when he failed to counterattack, the 4" rule pushed most of his survivors off the table. BH surrendered.
Hot Wash. For one thing, pay attention to what's actually deployed, as opposed to a memo about possible reinforcements. I could have been more clever in my deployment. BH needed to not roll a '1' although given the same dice rolls for defensive fire, he would have been repulsed anyway. But it certainly wasn't a given that 11 defensive dice (3 of them 5+) were going to throw back an assault. Narrowing the front would have reduced my fire, but also reduced the number of his teams that could roll dice. Successful assault that results in the same outcome casualty-wise (the Afghanski are no pikers in close combat) wouldn't have changed much. Anyway, 5-2 PACT
Battle Report Author
Army Lists Used In This Battle
Recommend Commander For Commendation
Share this battle with friends
bayankhanWins

Nicely done. Well earned win.
gets boring
Will check back for final report – but congratulations!
Looks promising, waiting for the final report!!
You forgot the Canadians! And worse yet there French Canadain’s! Watch your rear and wallet!
Allons!