Fought At Hamburg
2213 days 10 hours 46 minutes ago
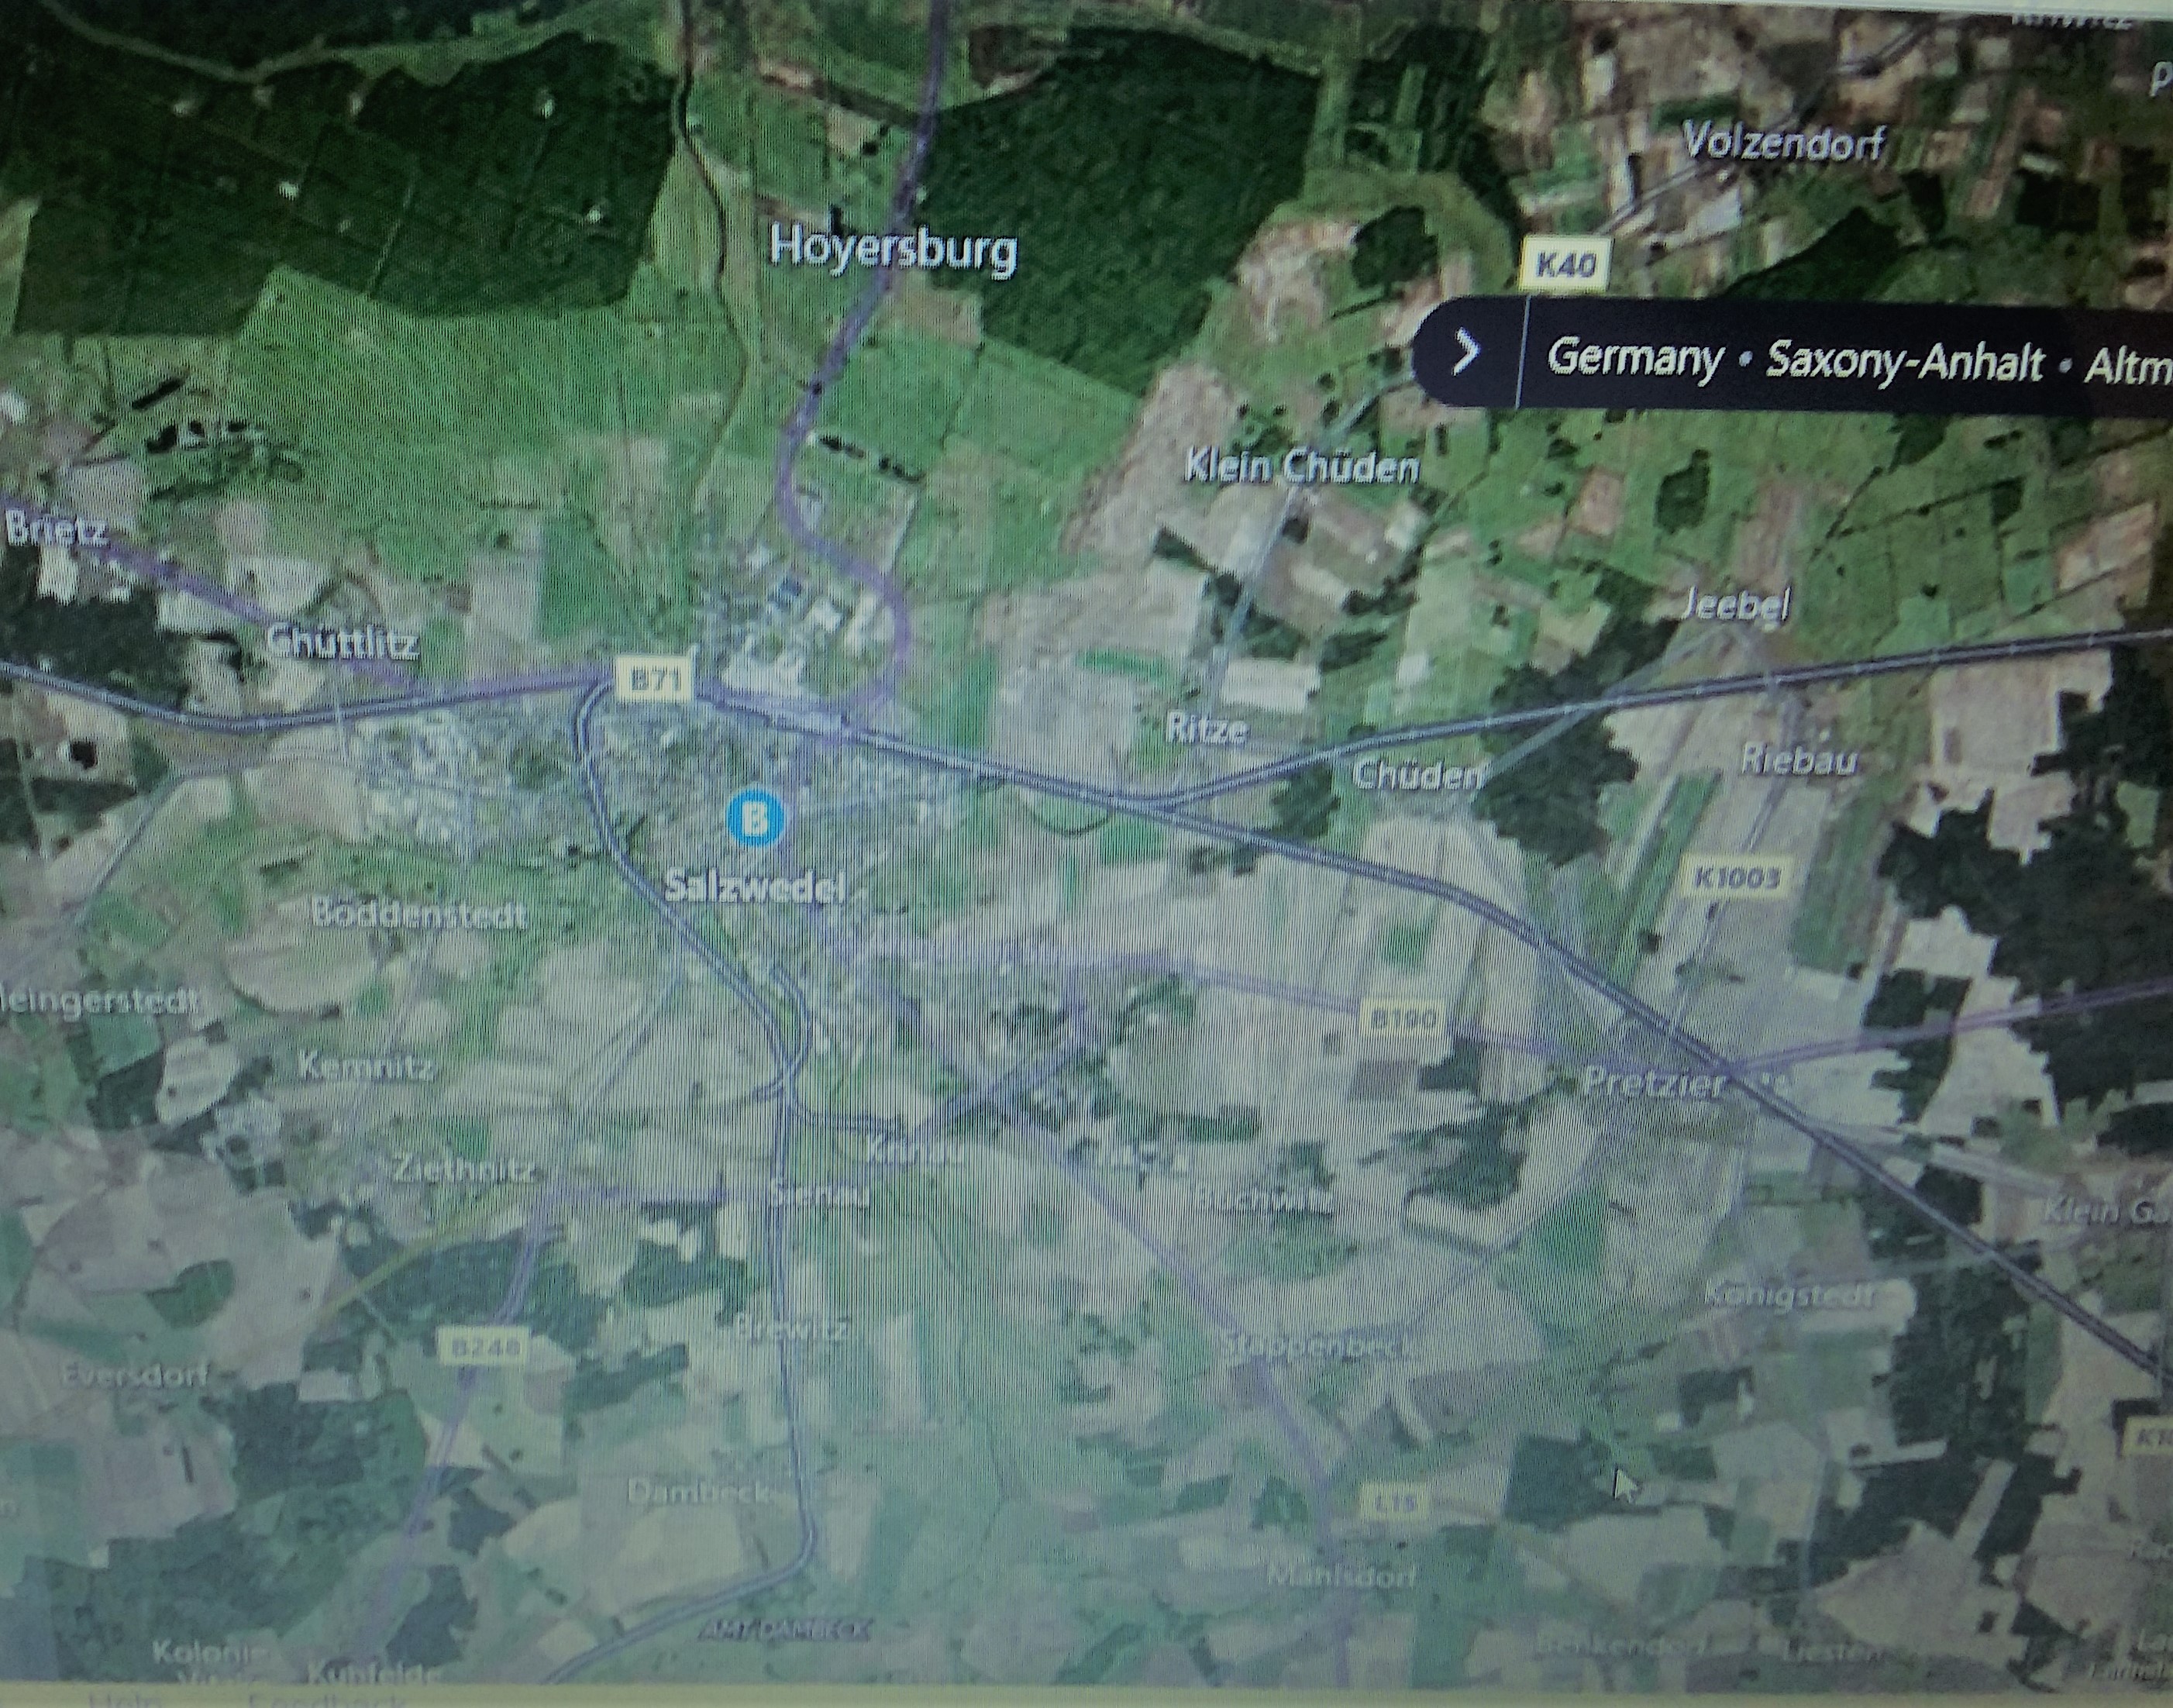
Combat Salzwedel II
100 POINTSAfter only two turns in the last battle, we decided to use the same situation and forces, and try again. BH was trying for a dawn fight, but got daylight instead

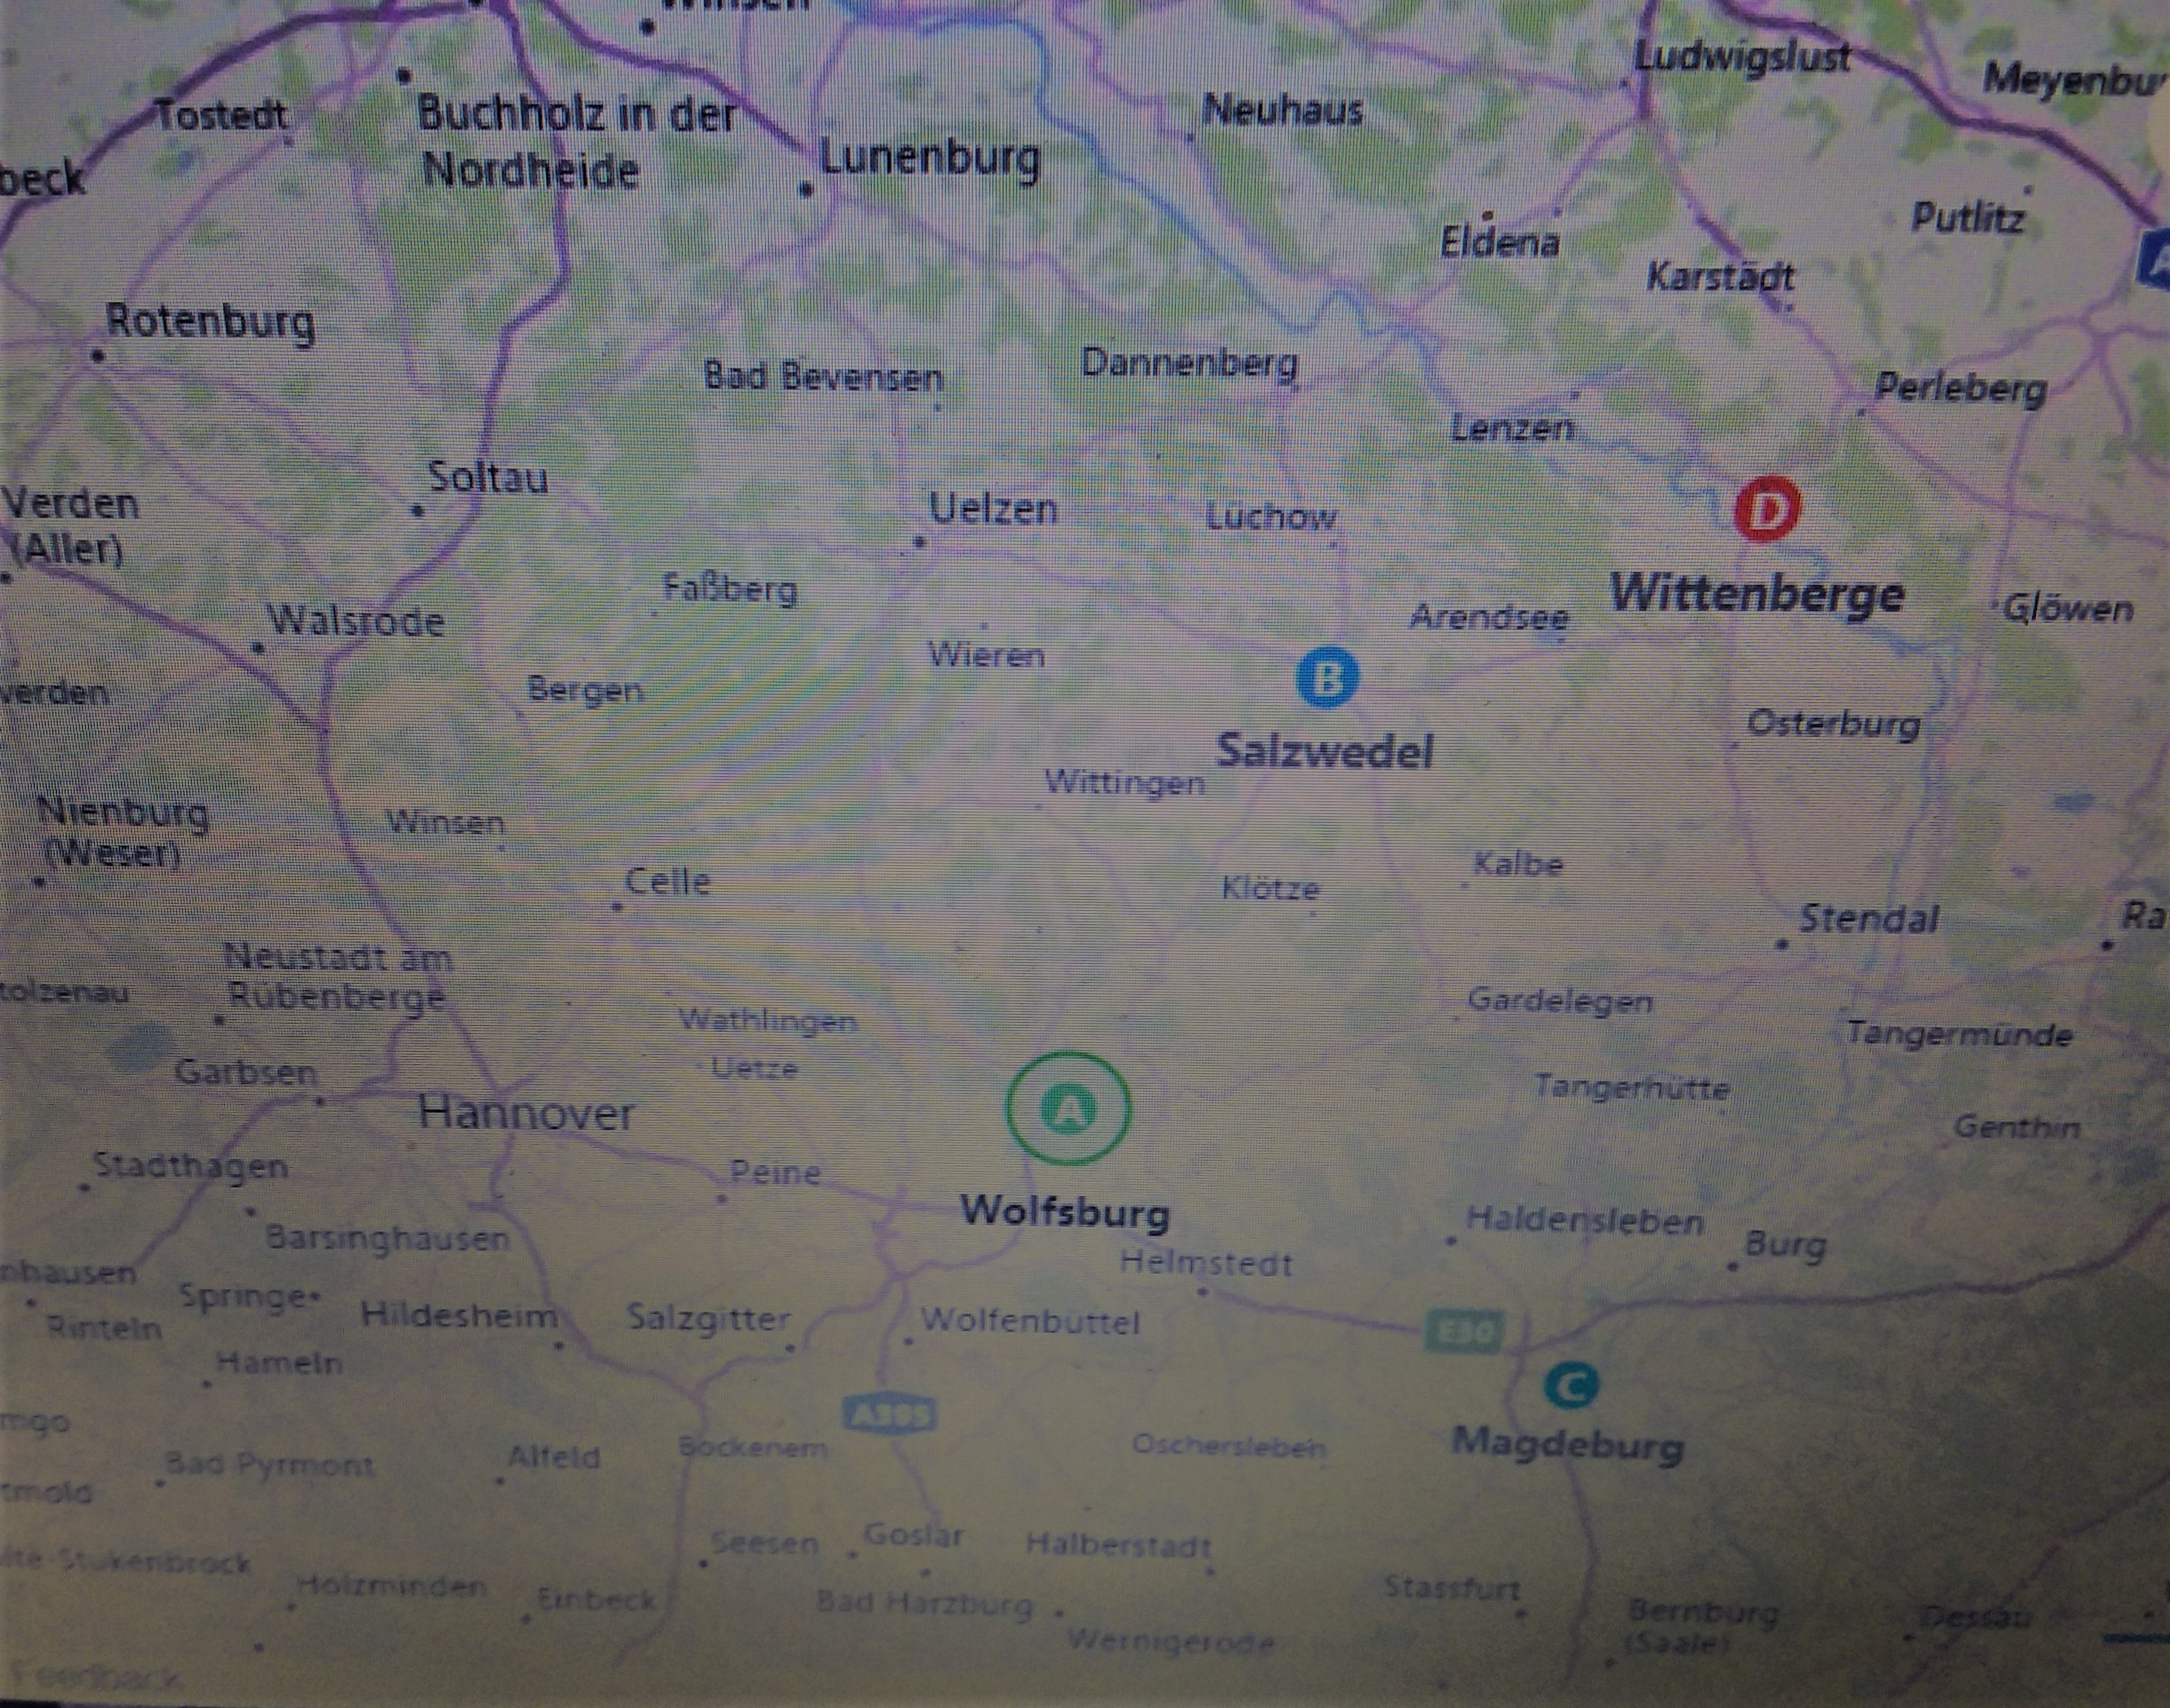
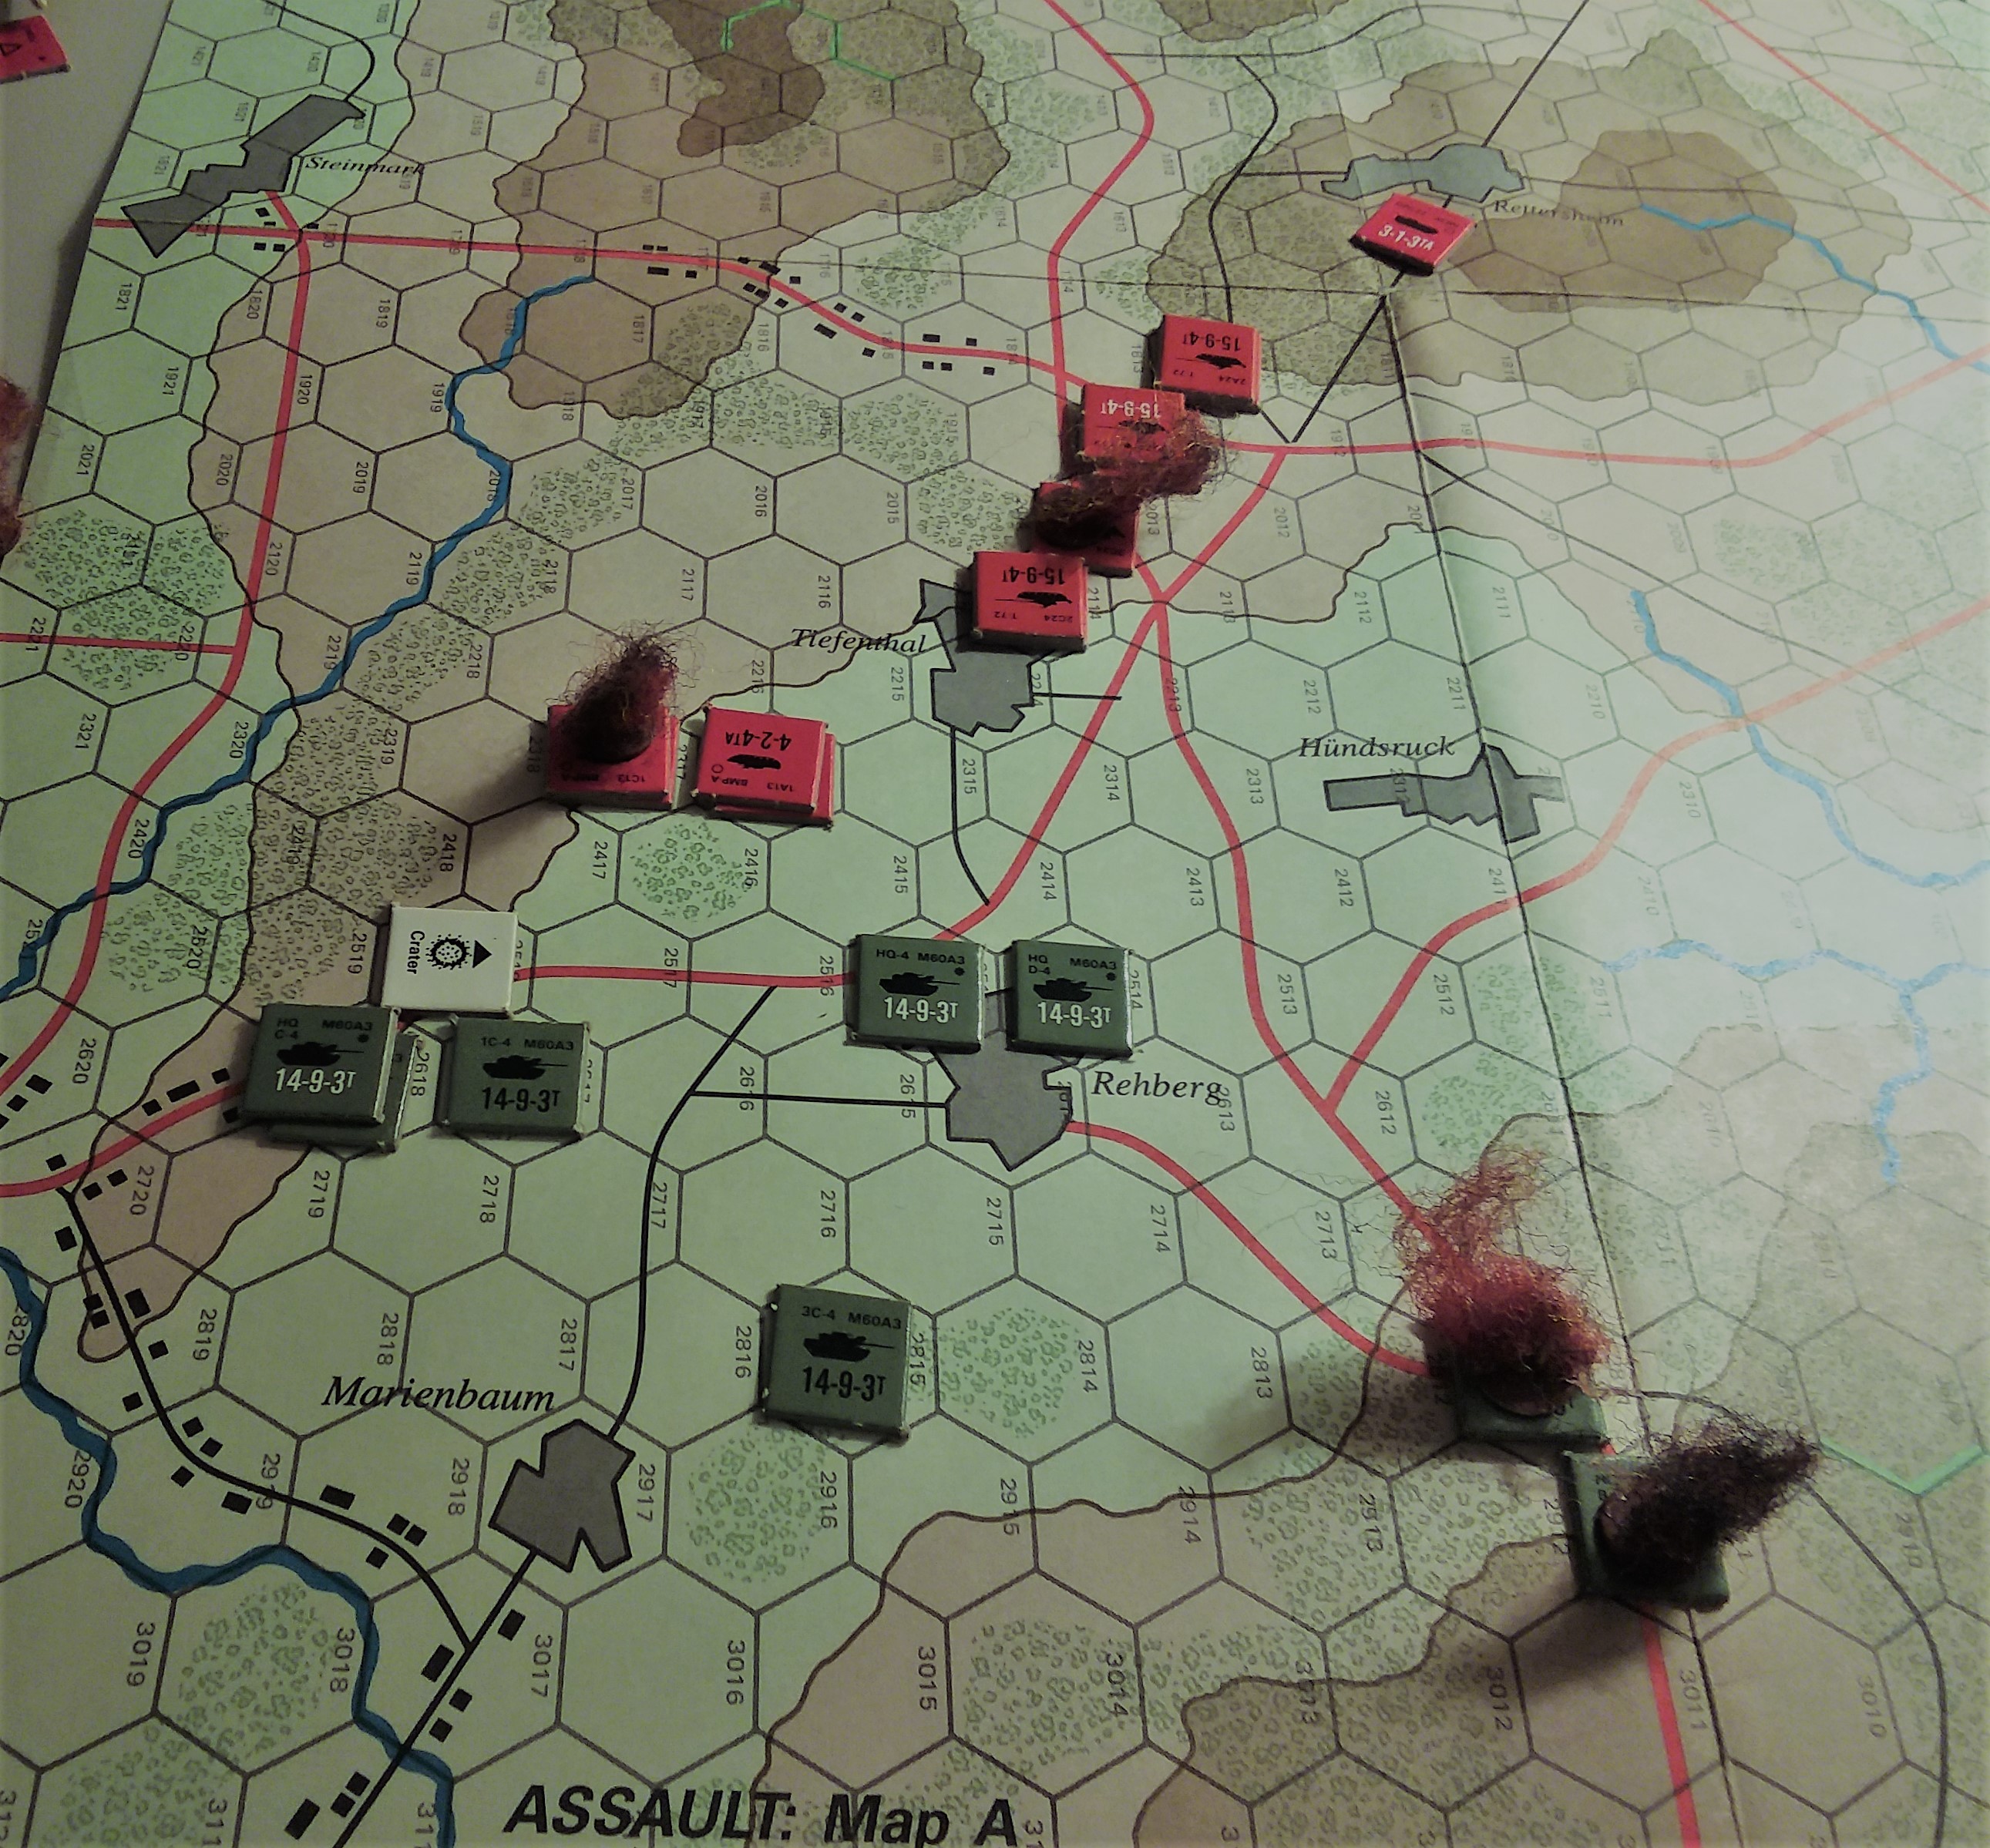
The theater of operations, as before. You can see the strategic stretch of UK I Corps and elements of West German I Corps as they fight in 3 directions OFFENSIVELY against elements of 20th Guards Army, 2nd Polish Army, 4th Guards Tank Army (Soviet+Poles), 5th East German Army (East Germans + Poles), 8th Guards Army in the Harz Mountains. They have the strength of ten for they are pure of heart. It's certainly not because they are well supplied.
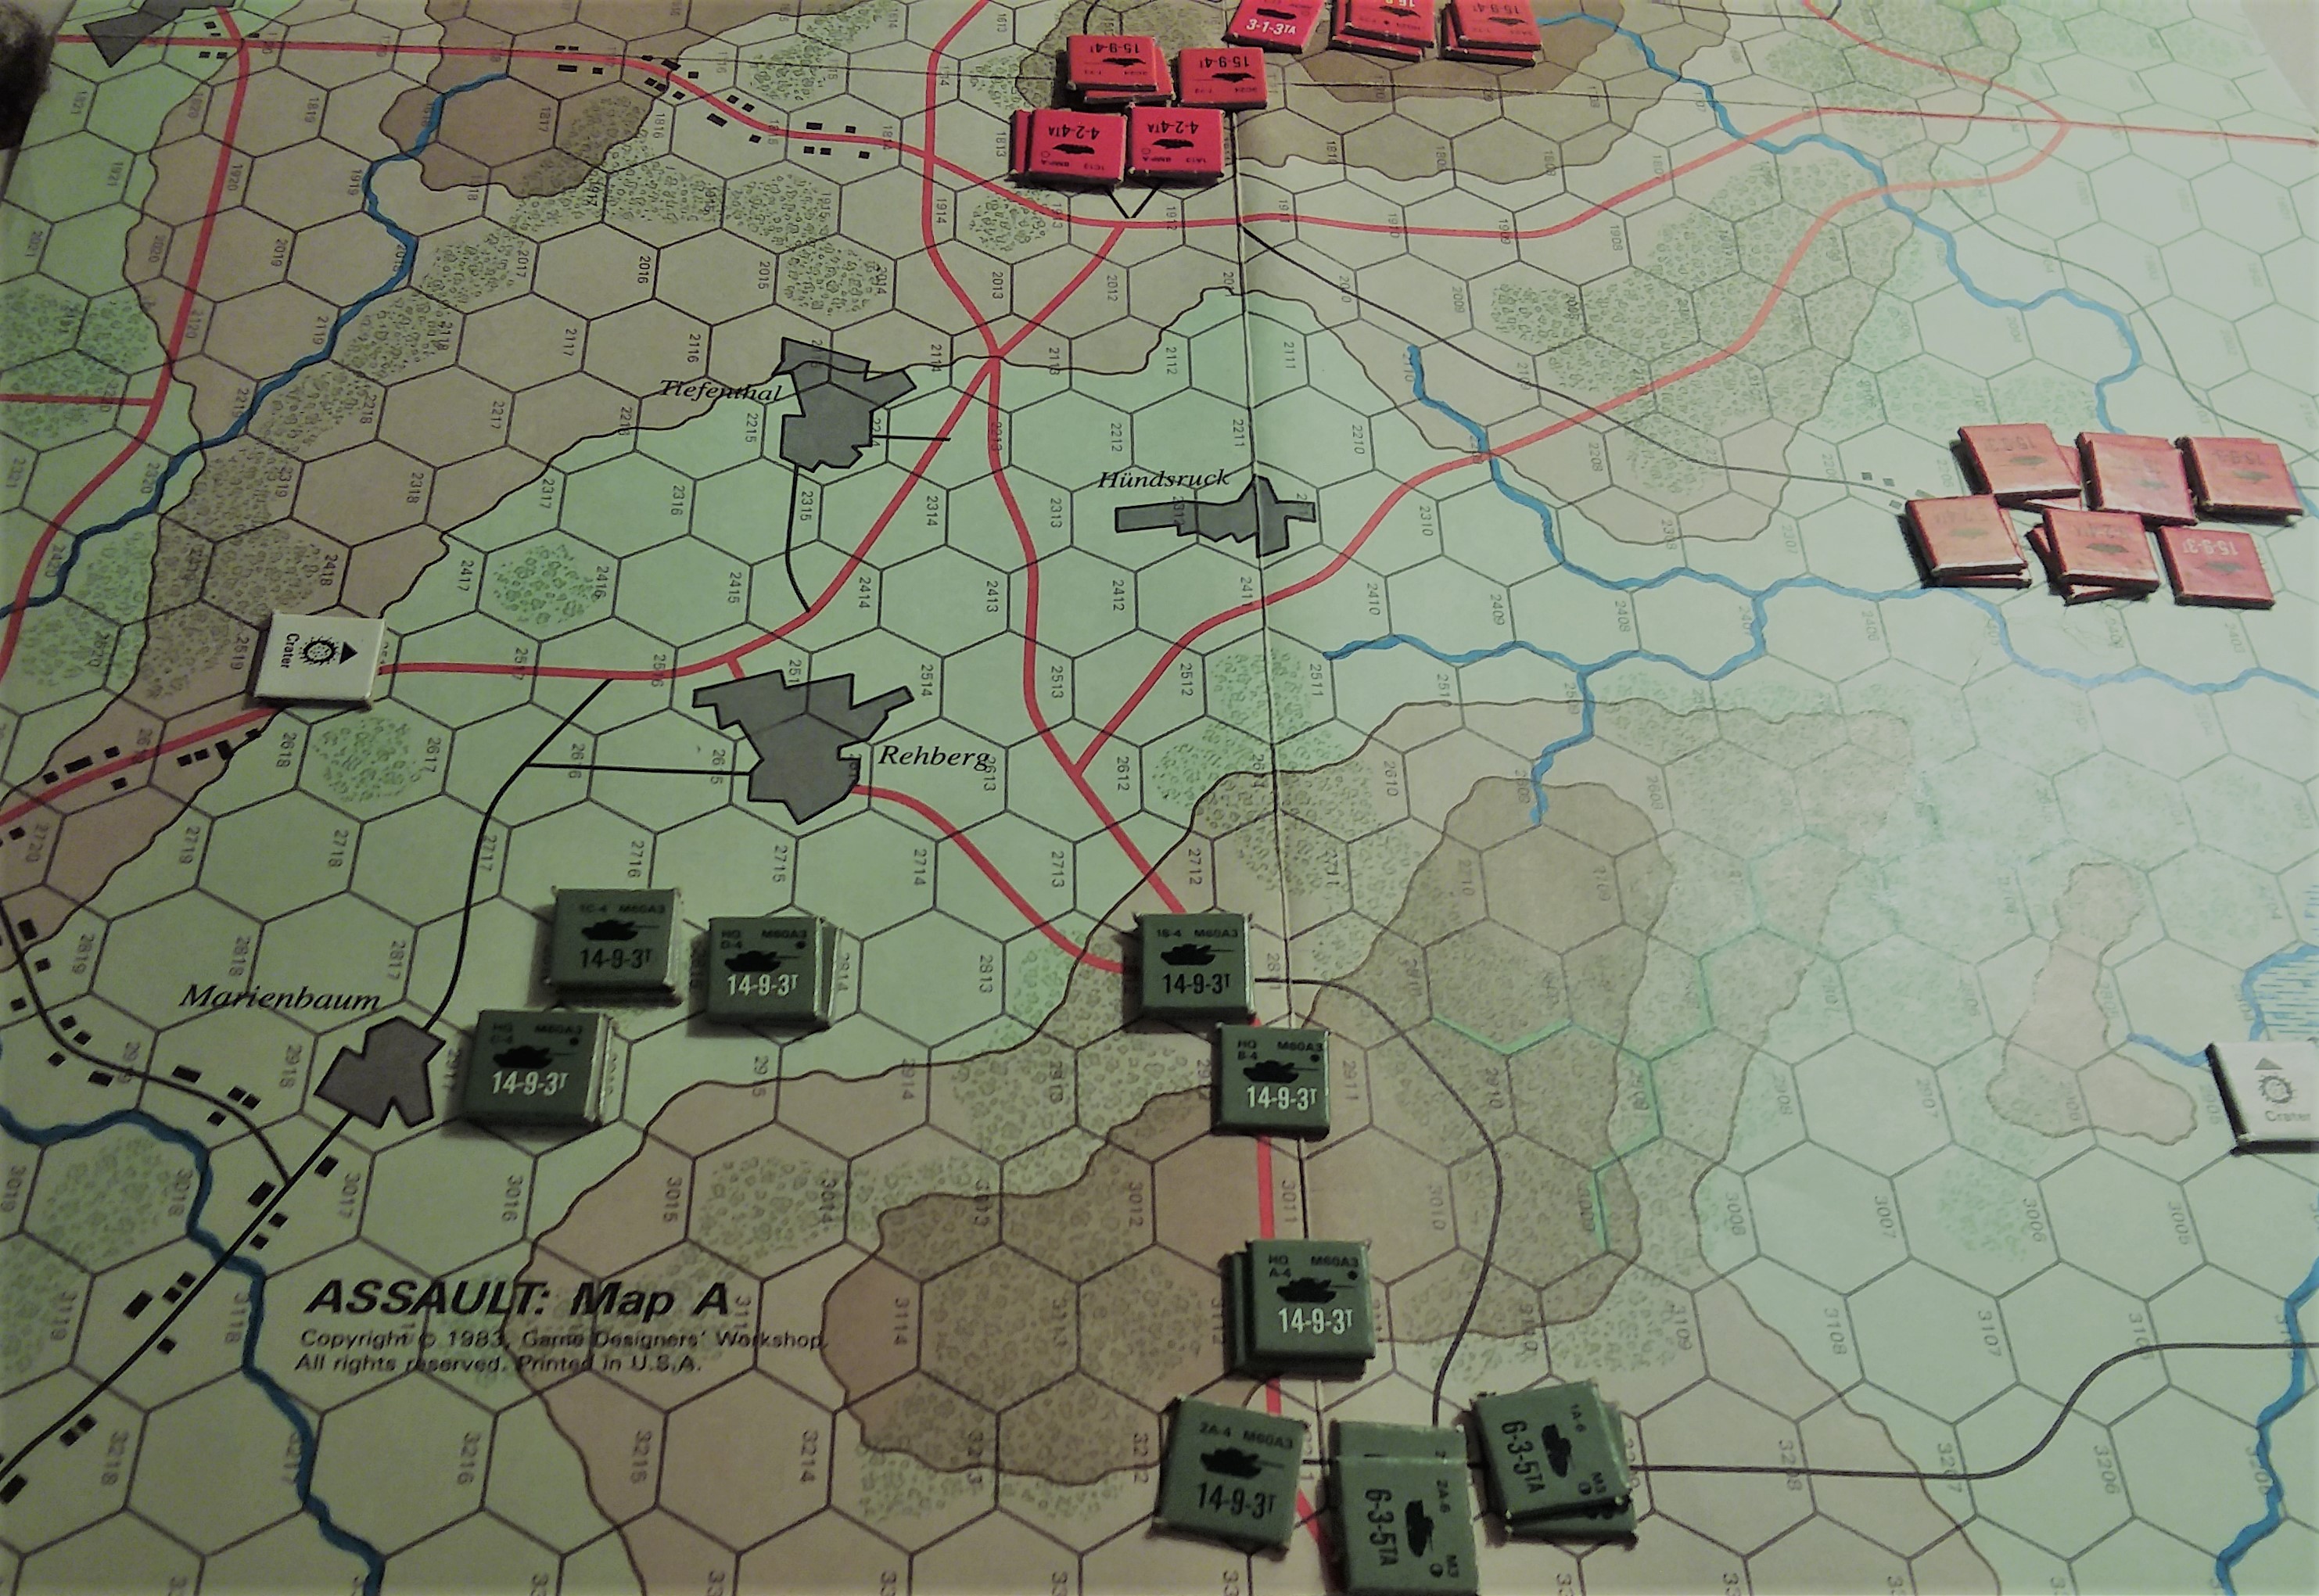
The operational and tactical overhead maps are the same. We made a minor modification to the scenario rules; having fought at dusk we changed the daylight table to 1,2 Dawn 3-6 Daylight to simulate a continuation of the same fight after reinforcements arrived.
After a discussion about reinforcements vs multiple formations, BH decided to put the entire Marine company on the table. The setup was similar as a result

I got first mover this time and concentrated my fire on the M60 platoon on the high ground. BH had overlooked that the T72s didn't give up +1 for moving. Result was 3 dead M60s. On the western end, my T64s and BMPs dashed so they would begin the turn contesting the objective from cover.
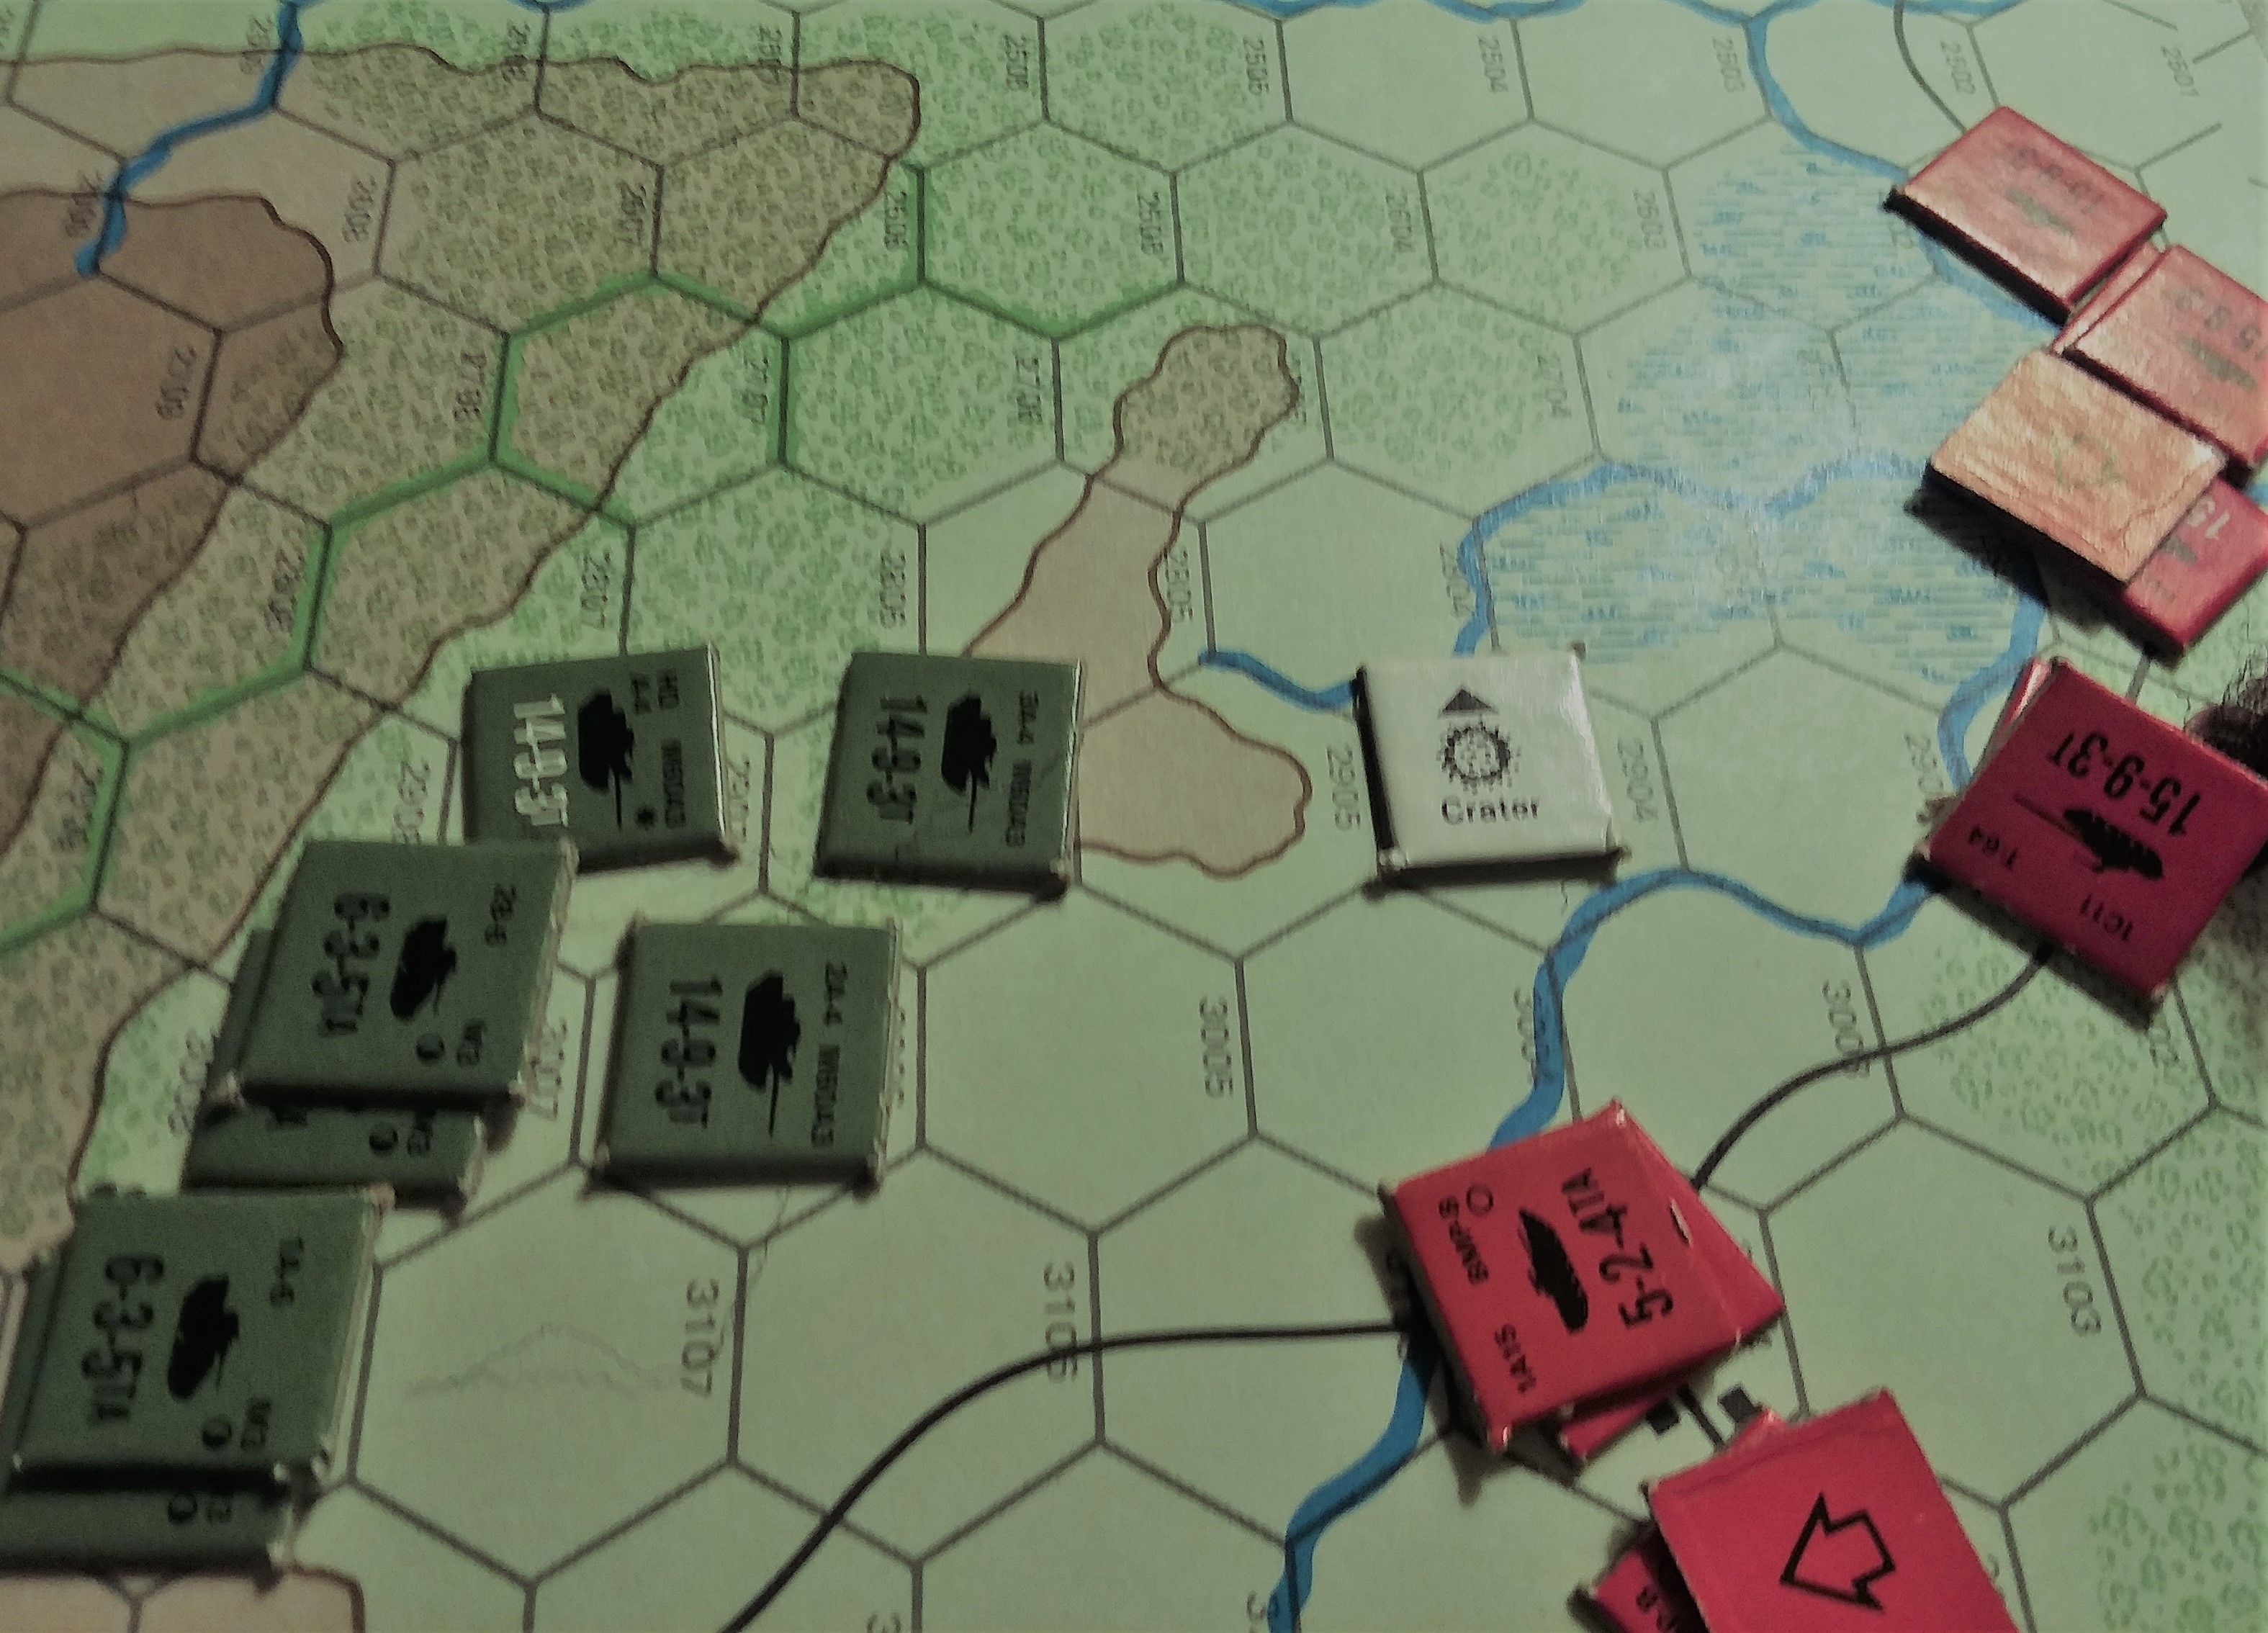
BH had trouble as my moves had threatened both objectives and essentially destroyed his reserve. He moved to contest from cover and then bogged two LAVs that tried to enter woods, and bogged one M60 doing the same thing, leaving 1 M60 contesting this objective (the 'CRATER'). His shooting bailed one BMP and killed, bailed, T64s. This time my T64 unit did not leave the area.
Not a disaster, but you can see it from here.
BH played a little more conservatively here, trying to keep from getting overwhelmed. Two M60s annihilated 2 of my BMP1s but the woods prevented hitting the other two. But the two dead BMPs were the ones that counted as contesting the objective. His 1st Platoon shot up an exposed T72 in retaliation for the last turn.
My turn 2, in the west. 4 T64s fired from cover, and two used their 'super speed' to flank the M60s, assisted by the BMPs. 4 shot's hitting 5 did for the M60 tank contesting the objective, and the two flankers did for the M60 that bogged behind the woods. The BMPs ripped up the LAVs, killing 2, bailing 2. Neither unit passed morale (not that it mattered).
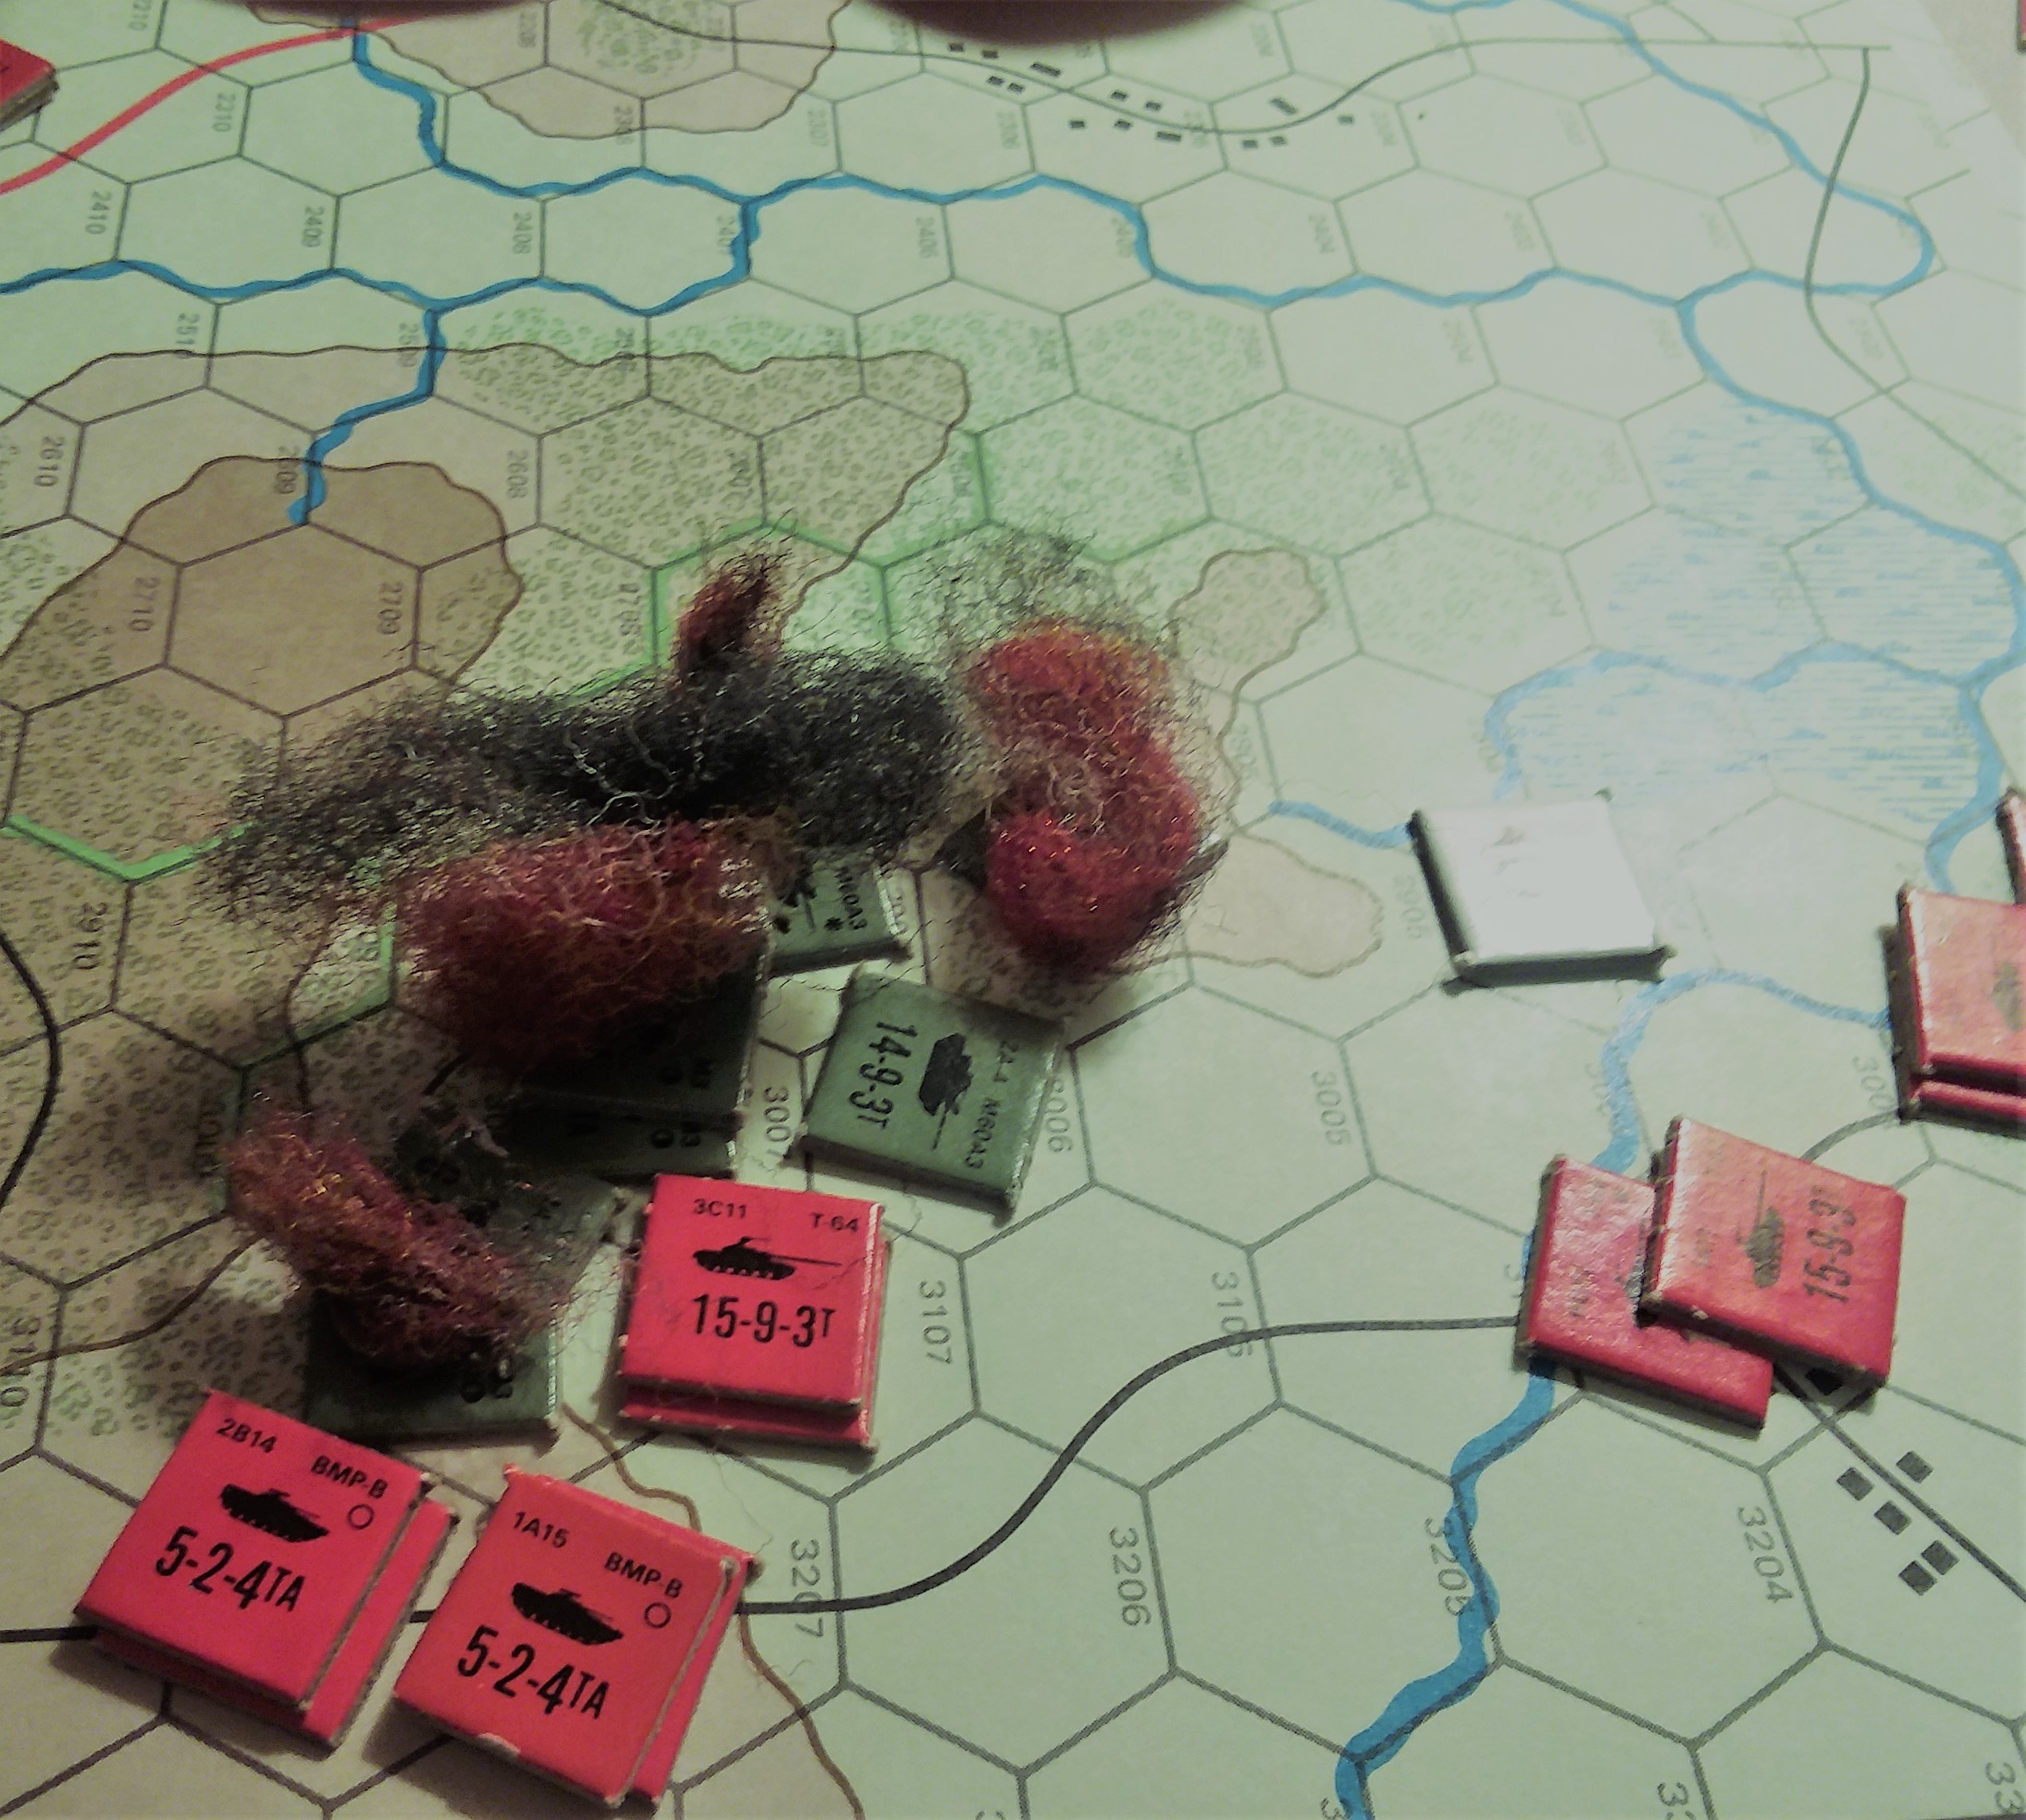
 The eastern flank. This isn't running up the score, because all moves and firing are sent together, evaluated together
The other flank didn't go much better, as it turned out. One M60 died from a back shot from a BMP-1, and two others died from T72 fire, leaving the Company Commander and one tank left from 2nd Platoon.
Hot Wash
Having seen essentially the same result twice, my main conclusion is objective placement was critical. The combination of roads and woods allowed me to approach the western objective with cover, and had he placed it closer to his own deployment area, I would merely have deployed closer thanks to the enormous move of BMPs at road dash. The objective should have been up on the wooded hill where it would have forced at least one cross check to get at it.
The other obvious thing is that nothing should be exposed from any angle unless you want it that way as bait. Enemy movement has to be calculated into the hide position.
Aftermath
The confused battle around Salzwedel had gone in Nagten's favor. Helped by a rainy night that impeded enemy IR, his BTR60 units had exacted a fearsome toll on attacking Marines and a mixed bag of UK troops, including, apparently, civilian maintenance techs trapped with UK I Corps in the early campaign. The last hurrah of dawn attacks showed that enemy coordination had broken down, and the reason became apparent when the T72s of 90th Guard Tank Division made contact with his Verloren Haufe.
Battle Report Author
Army Lists Used In This Battle
Recommend Commander For Commendation
Share this battle with friends
bayankhanWins

Ahhhh Chieftains. Congrats on the win.
Interesting new way to run battles.
Congratulations on the victory comrade, interesting as always.
Congratulations on your victory comrade. Thanks for posting.
Congrats on the victory.
Nice fight comrade. For we have the strength of 12 because WE are even purer of heart.