Fought At Hamburg
2213 days 22 hours 1 minutes ago
Combat at Salzwedel
100 POINTSE-battle on the old frontier as Marines and UK armor try to block a linkup between 5th East German Armee and 4th Polish Tank Army

East Germans and Soviets and Poles oh my
The situation map in my war room. 5th East German Armee attacking north to link up with 4th Guards Tank Army (mostly Poles) and Second Polish Army coming south. Reminds me of another big river bend with a political objective glittering in the distance.
BH wanted to try mixed (allied) forces. That led to two or more formations. Since the penetration of 19th Motorisierte is moving into Hamburg, we picked Hamburg Brawl as something different and recorded the battle Hamburg
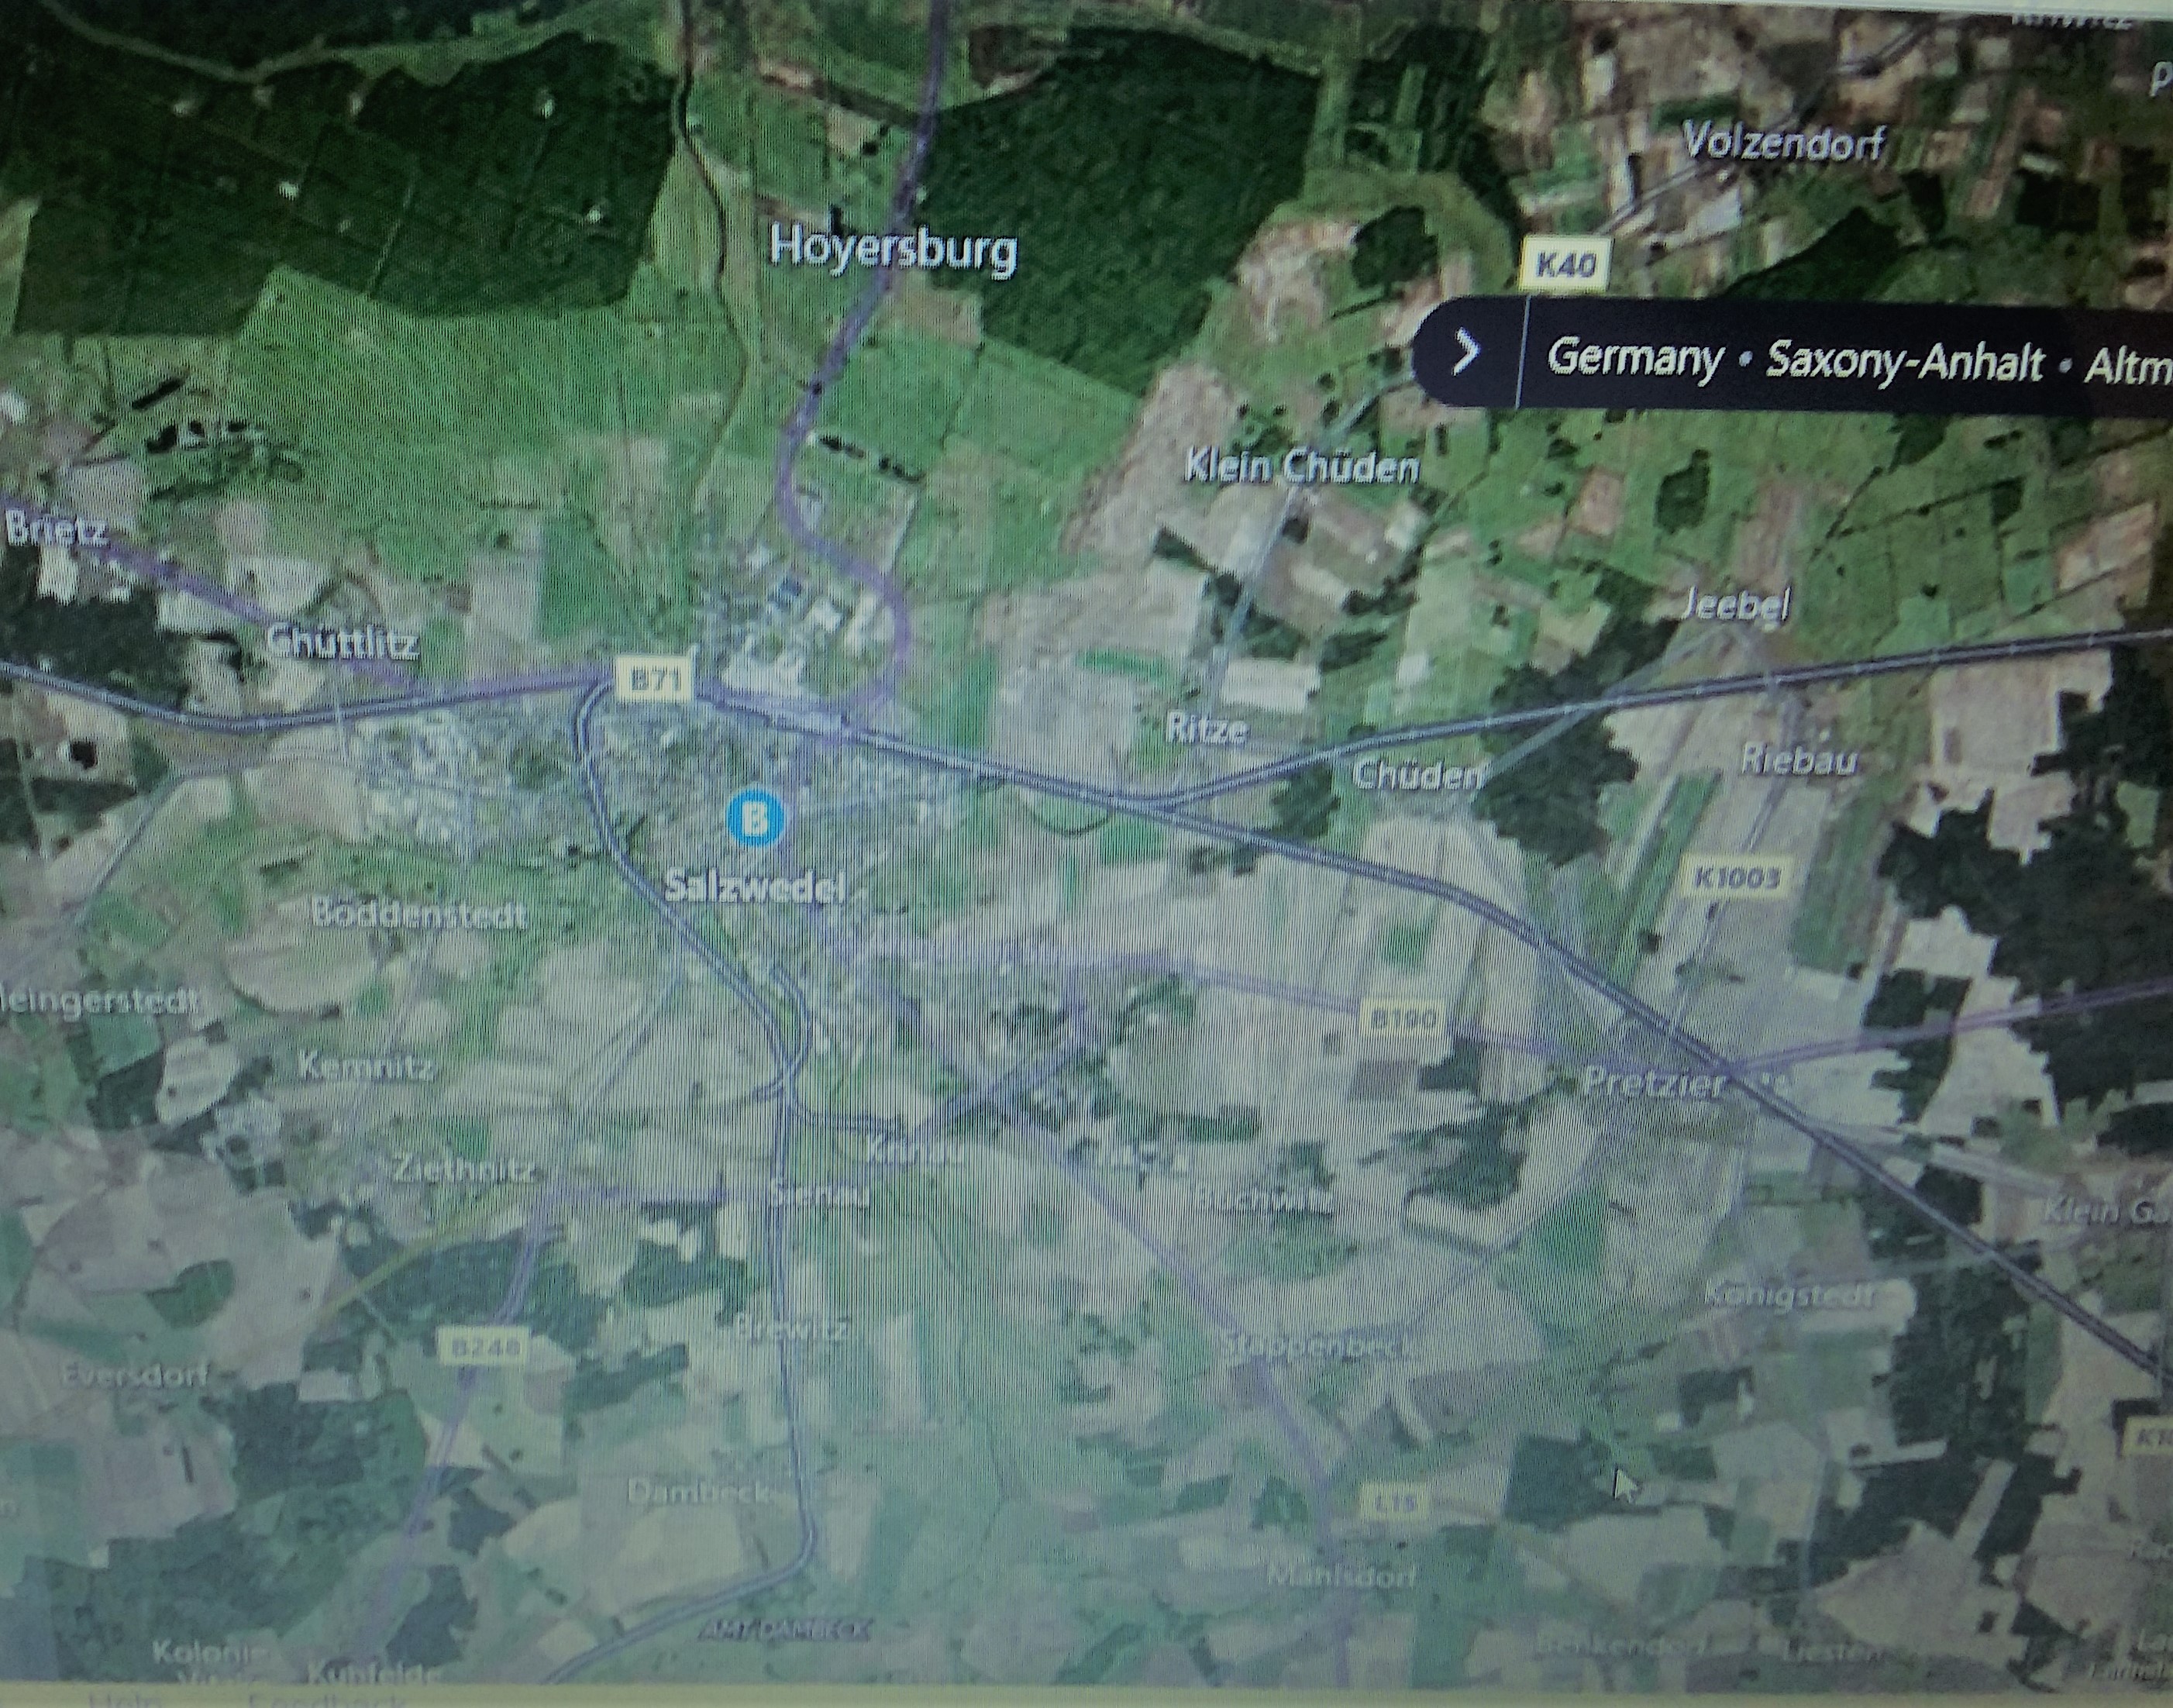
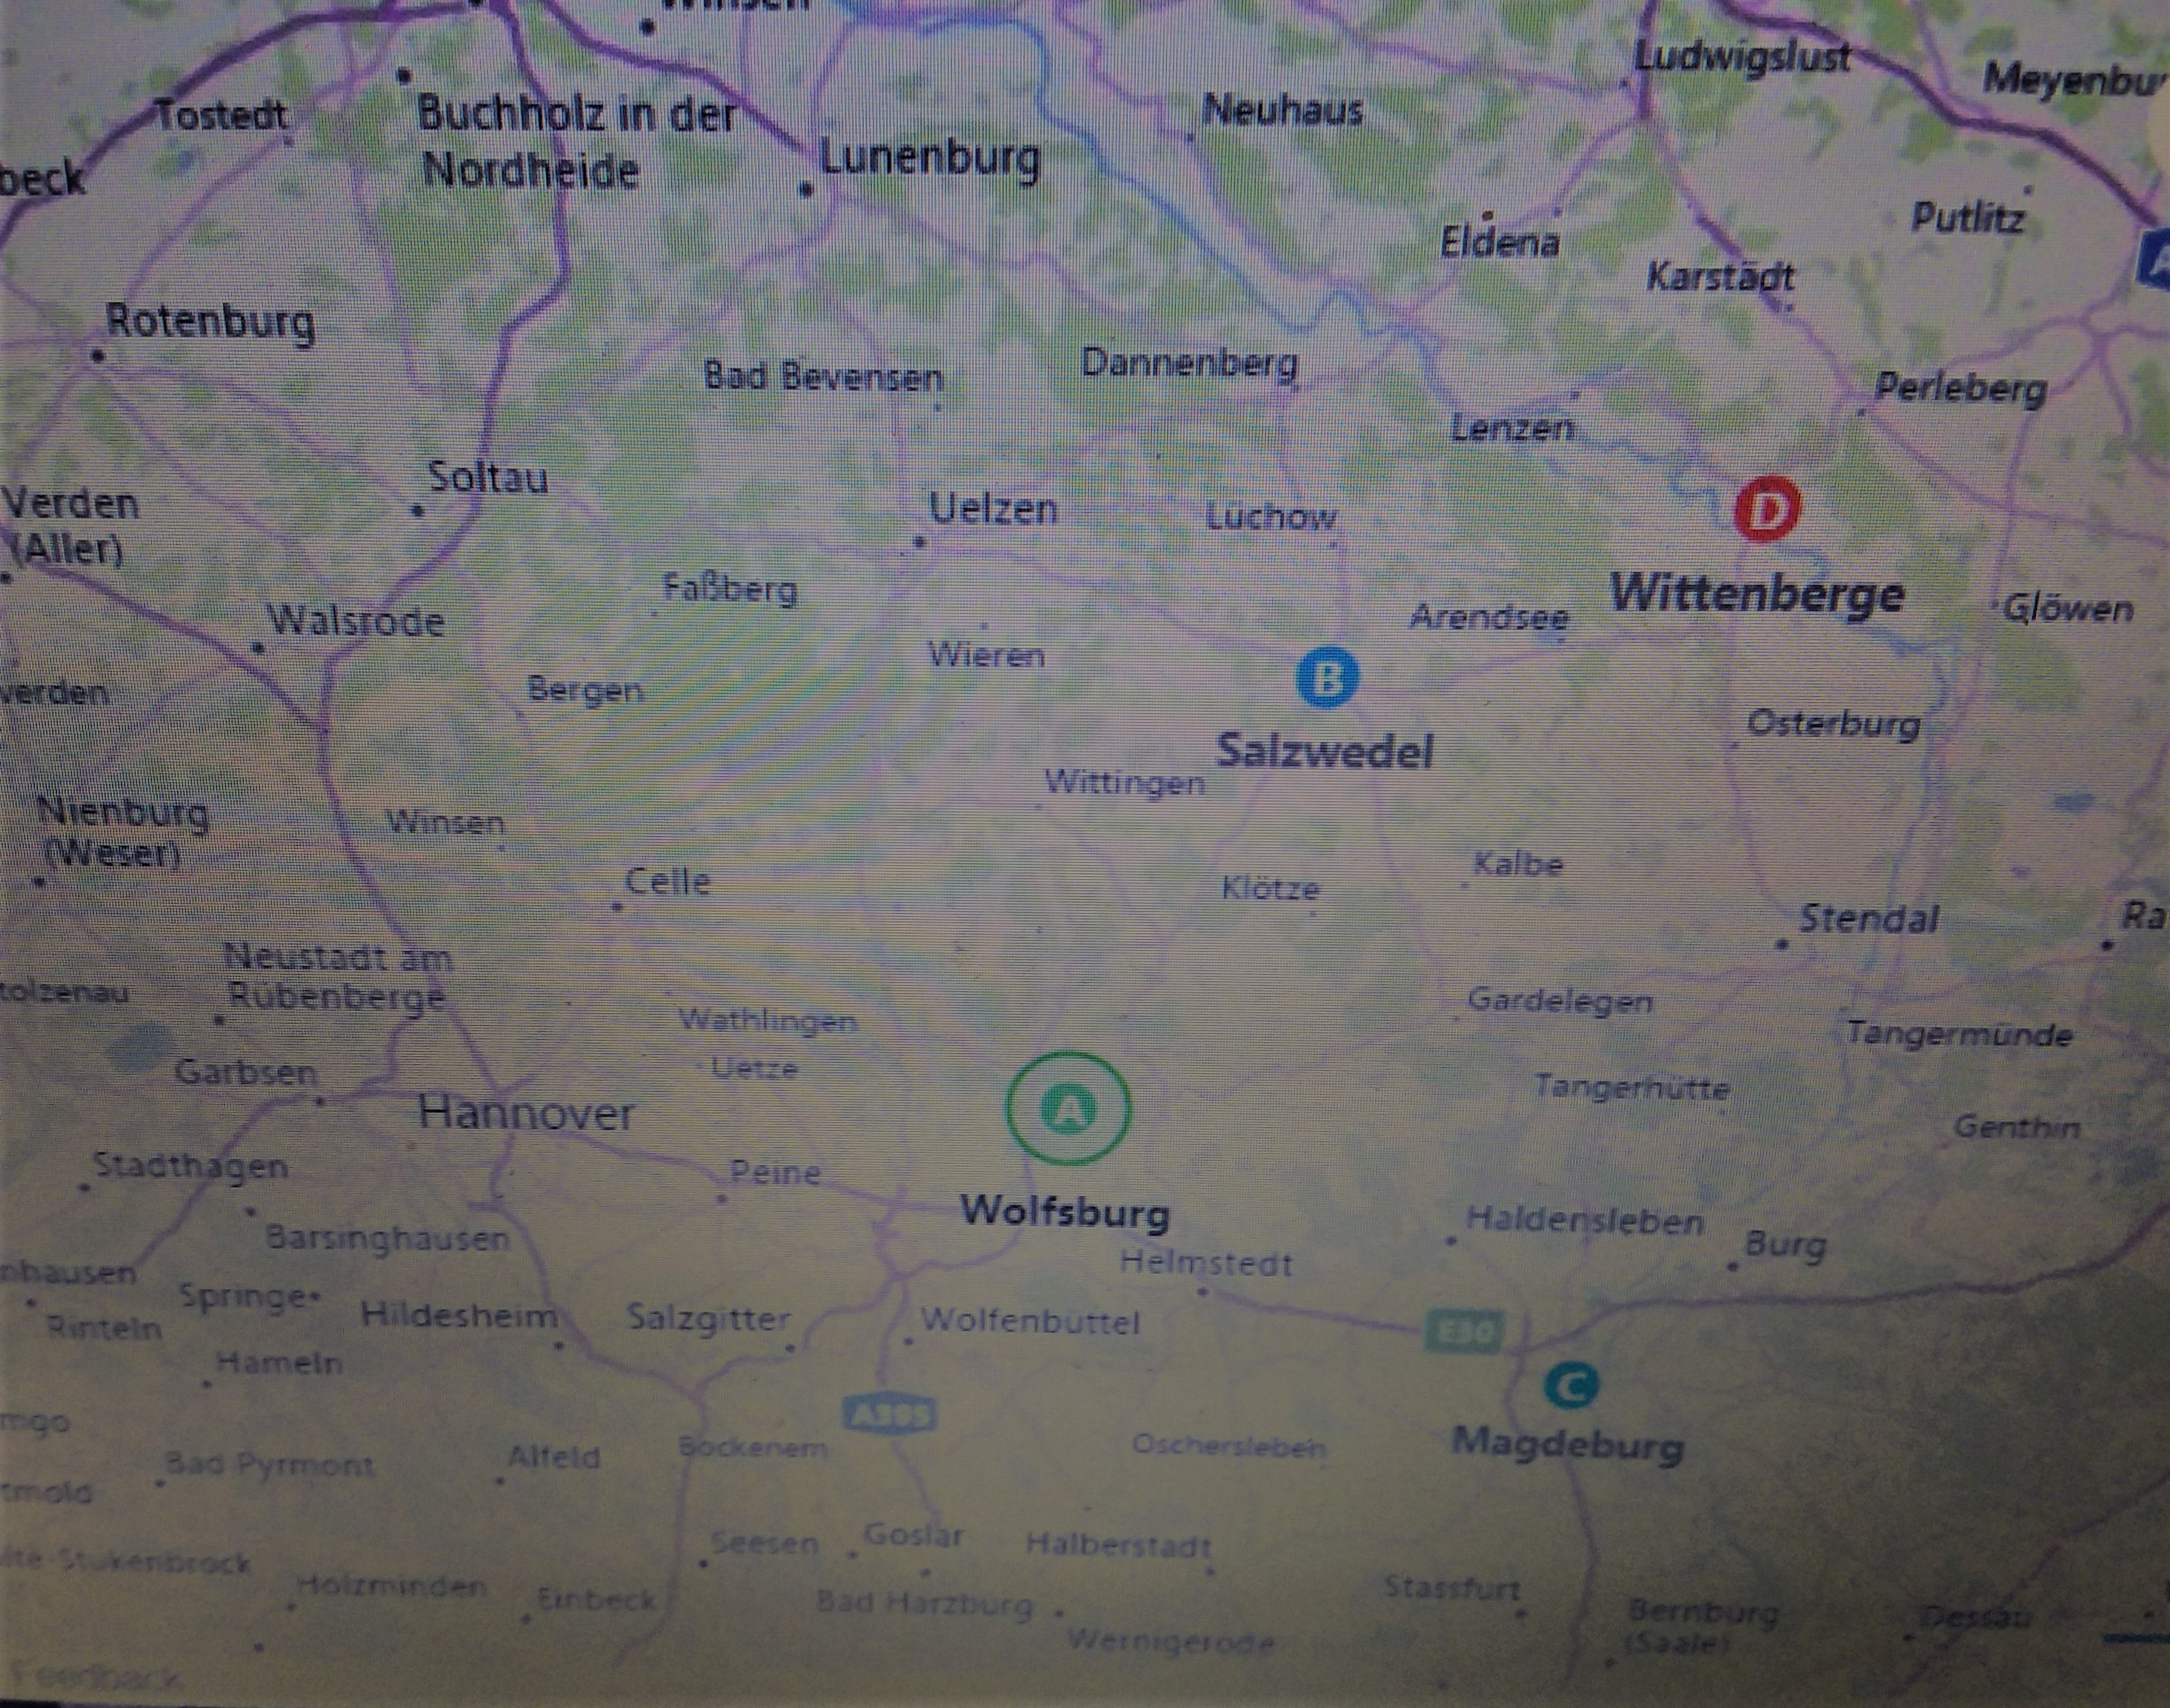 Salzwedel Map. 19th Motorisierte is moving northwest. British scratch company and American Marines meet to oppose them, Marines coming from the planned Elbe crossing at Wittenberge and the UK coming from Wolfsburg
HQ, 19th Motorisierte
GL Jacob Nagten focused on the map in front of him. NATO was not completely asleep, merely checking their eyelids for light leaks. Hind and other helicopter reconnaissance told him the Marine mechanized combat group was turning around, and what remained of its tanks were coming to meet him, while a pickup kamphgruppe of Tommies was closing in from the southwest. Thunderstorms were interfering with the Marine air support, based in distant Cuxhaven, giving him a window of opportunity to destroy both wings of the pincer movement. The presence of enemy Chieftains led him to commit a kamphgruppe from the 6th Guards; it was about time they earned their pay. Meanwhile his two motor rifle regiments would engage the enemy columns with Spigots and force them to deploy. The Marine LAVS and amphibious tractors were particularly vulnerable to these weapons.
As I said we played Hamburg's variant of Dustup. BH rolled attacker, tried for a night battle, and got dusk. I had 8 tank units, 3 artillery units, 3 recce units. BH had 8 units. He picked LAVs, M60s, and two Chieftain units, and of course, the company HQ.
Having to defend two objectives proved his undoing. BH used spearhead to get close to his 'western' objective, and sent his 2nd Chieftain platoon with the LAVS. I used two spearheads, one to get close to the western objective, and one to get across the middle ground to deploy on the rise looking down on his defensive position
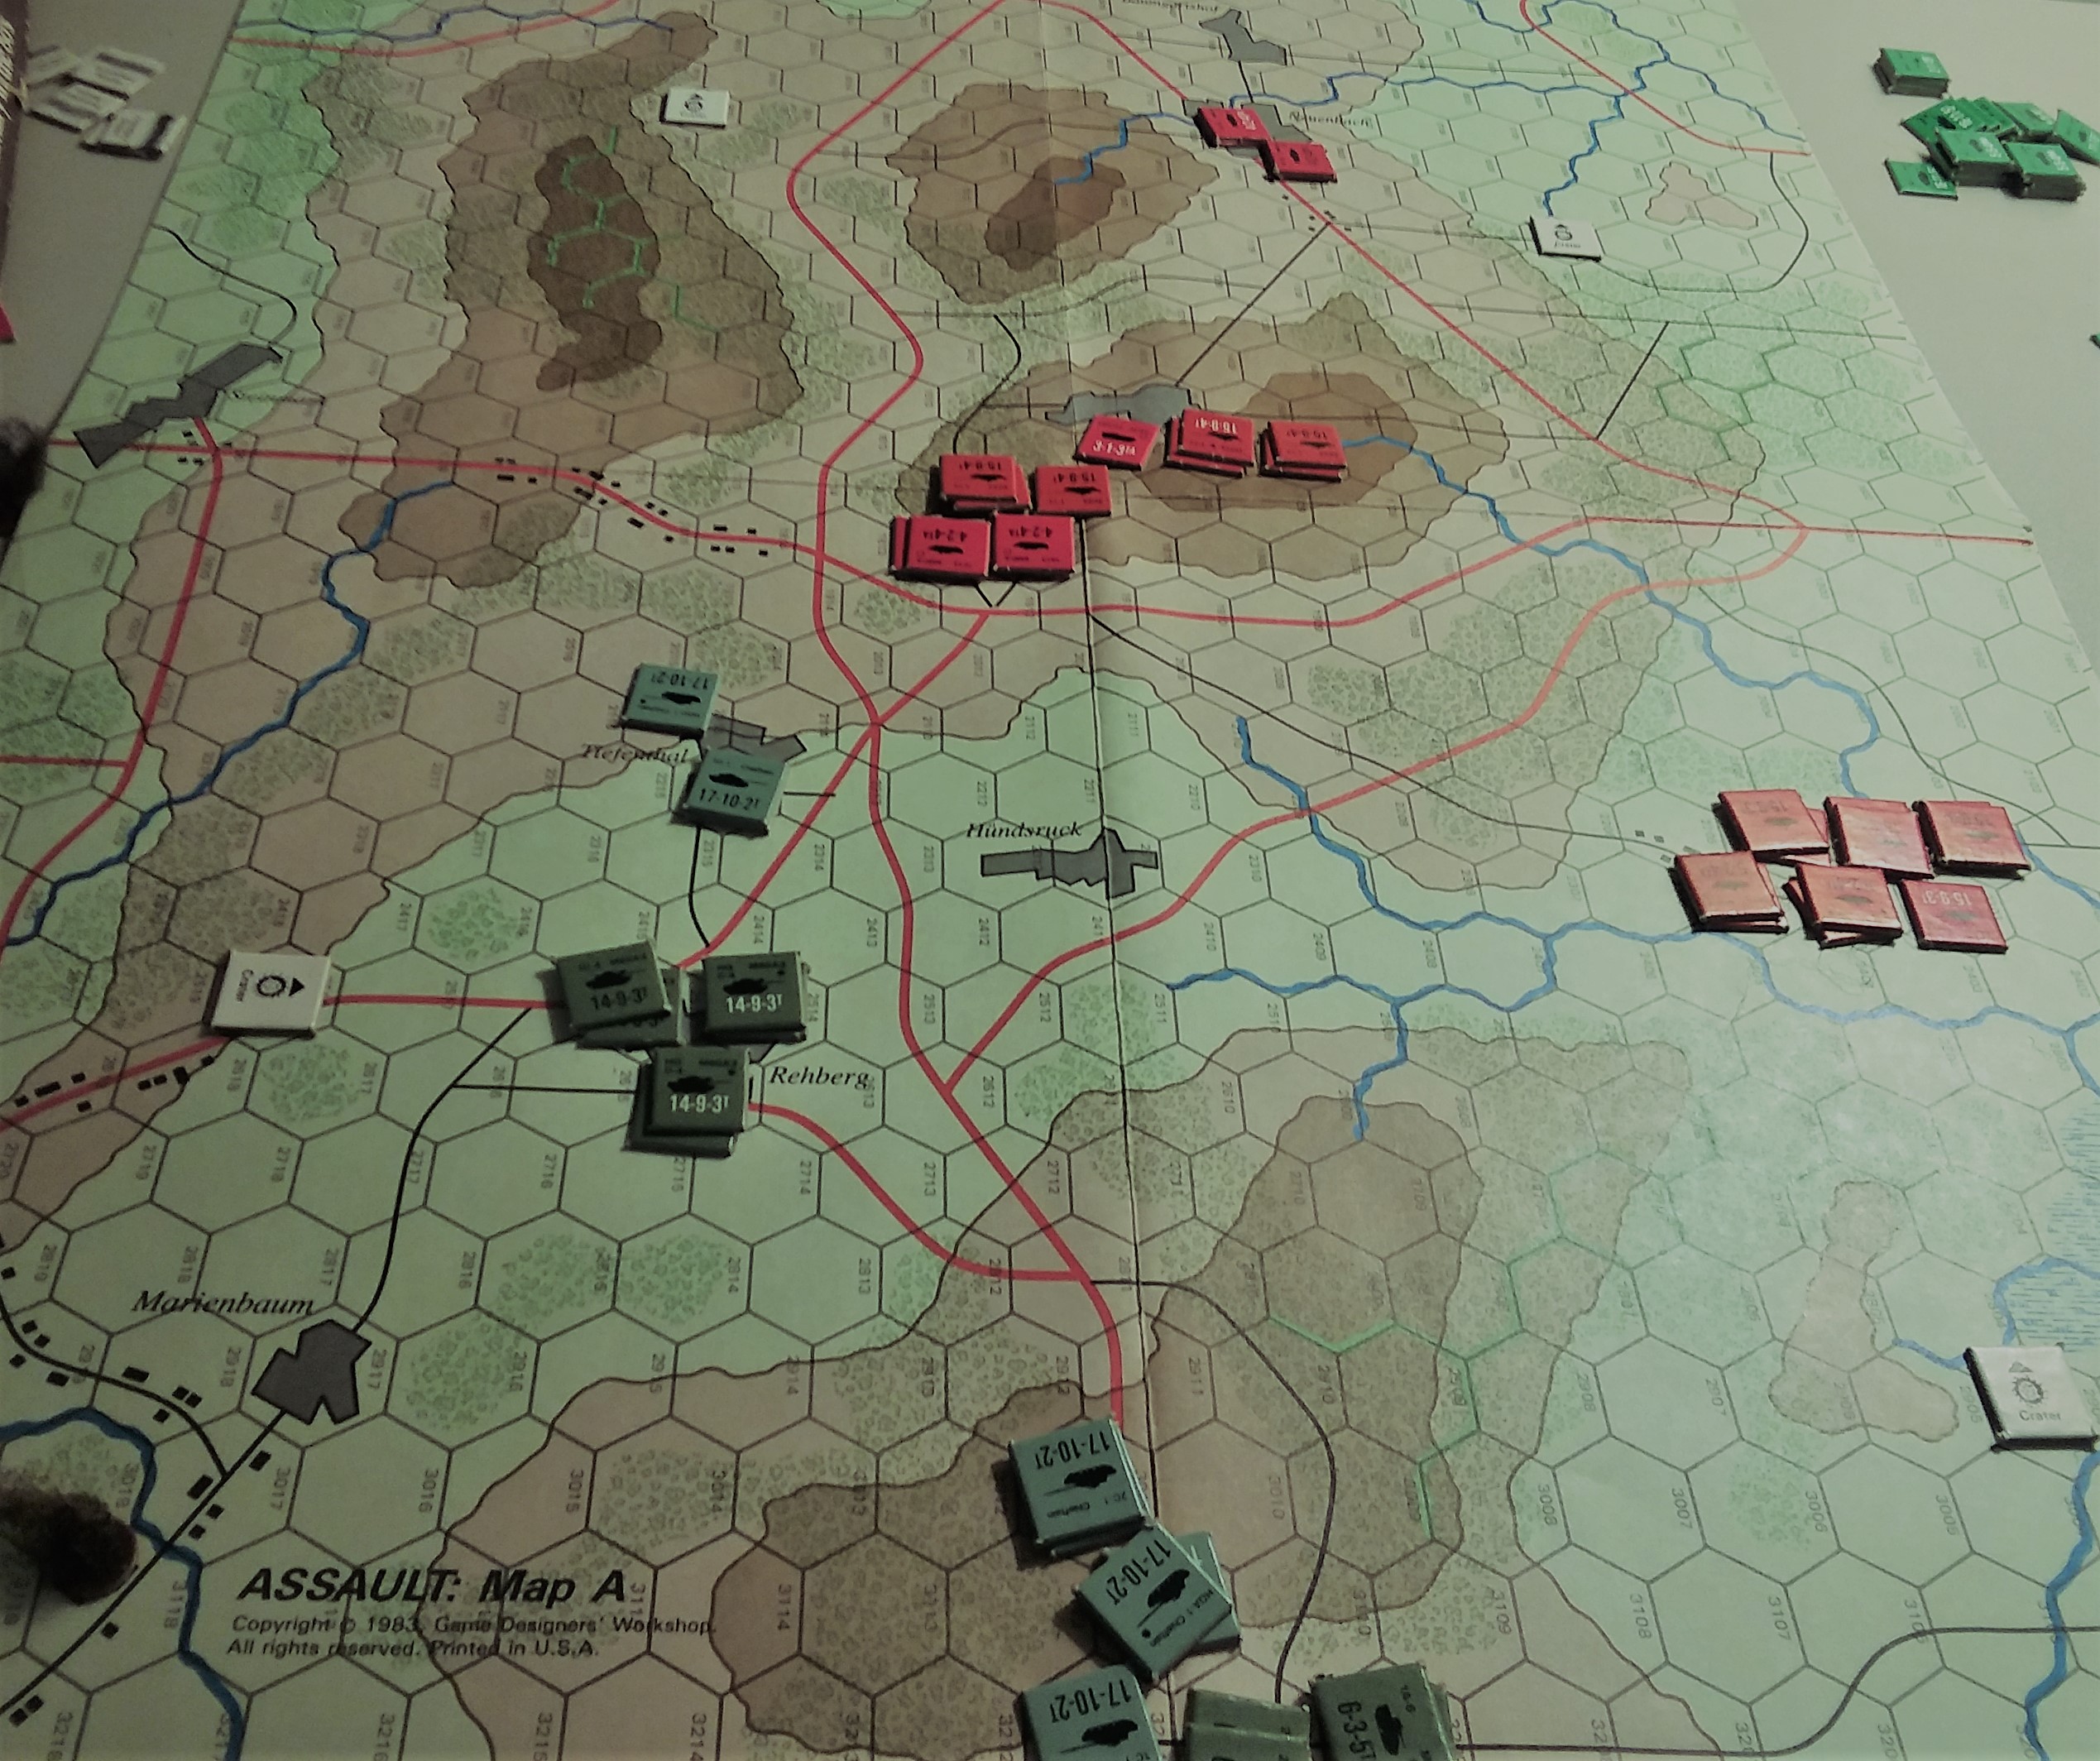
Turn 1. BH moved up a little, skipping merrily through the bog checks. He raced ahead to keep me from dominating the western objective. This proved to be his undoing, as the Chieftains ended in the open from possible firing positions. BH, conditioned from a couple games of T55s/T72Ms and before that, T55s, forgot about advanced stabilizers. He managed one hit on a BMP-1 and it exploded noisily. He was mainly interested in avoiding return fire in the eastern objective.
I countered by moving everything I could to firing positions. 3 surviving BMP-1 moved to where they could shoot M60s, as did the T72 BC and his three followers. The other T72s moved down the hill to engage the Chieftains at close range. I got a lucky 2nd hit against the Chieftains out of three shots, and they both burned. In the west, the fight went even worse. The BMPs put 12 rounds into the LAVs, and ripped them apart, killing 1 and bailing three. Then my BC killed one outright. Failed morale.
The game breaker was 3 shots from BMP-1s and 4 shots from T72s against M60 2nd platoon. 3 hits, 3 failed saves, and two dead one bailed tank. With two M60s at stake BH committed his company commander - and rolled a one for morale. Game over, but we didn't notice

BH decided that with a single tank on the eastern side of the field, the best he could do was go for points, relying on the fact that Chieftains gone to ground are notoriously hard to kill. So he cut loose on my western tanks, managing 3 hits killing two bailing one, who promptly failed morale. He was also at this point still expecting reinforcements. That, I knew, wasn't happening. But I completely missed the full implications.
Instead of checking the OB, I mistakenly went to my original plan and sent the four remaining T64s to center court, keeping them away from his Chieftains, and used the BMPs to prevent an effective chase.
Meanwhile I cleverly moved a tank to within 4" of the eastern objective. I took a shot at his eastern tank, and missed it.
The start of turn 3 brought matters to a conclusion. BH wanted to roll for reinforcements after the Chieftains passed morale, and I said no, and then several emails revealed that his M60s were the parent formation, which I vaguely remembered. Light bulb comes on, game over.
Hot wash Obviously we both needed to pay attention to the effect of having a lot of points tied up in allies. A failed platoon morale cost him his core force. It's an interesting question of whether or not he could have passed two company morale checks to get reinforcements. And obviously, with two M60s in the game, my turn 2 would have focused on killing them instead of finessing the objective.
Having spent a couple hours working up the map and lists, we decided to fight this one again...so stay tuned
Battle Report Author
Army Lists Used In This Battle
Recommend Commander For Commendation
Share this battle with friends
bayankhanWins

Another great victory! Congratulations. Nice report. Thanks for posting.
Well fought.
Congratulations on the win.
Nice report