Fought At Amsterdam
2232 days 10 hours 45 minutes ago
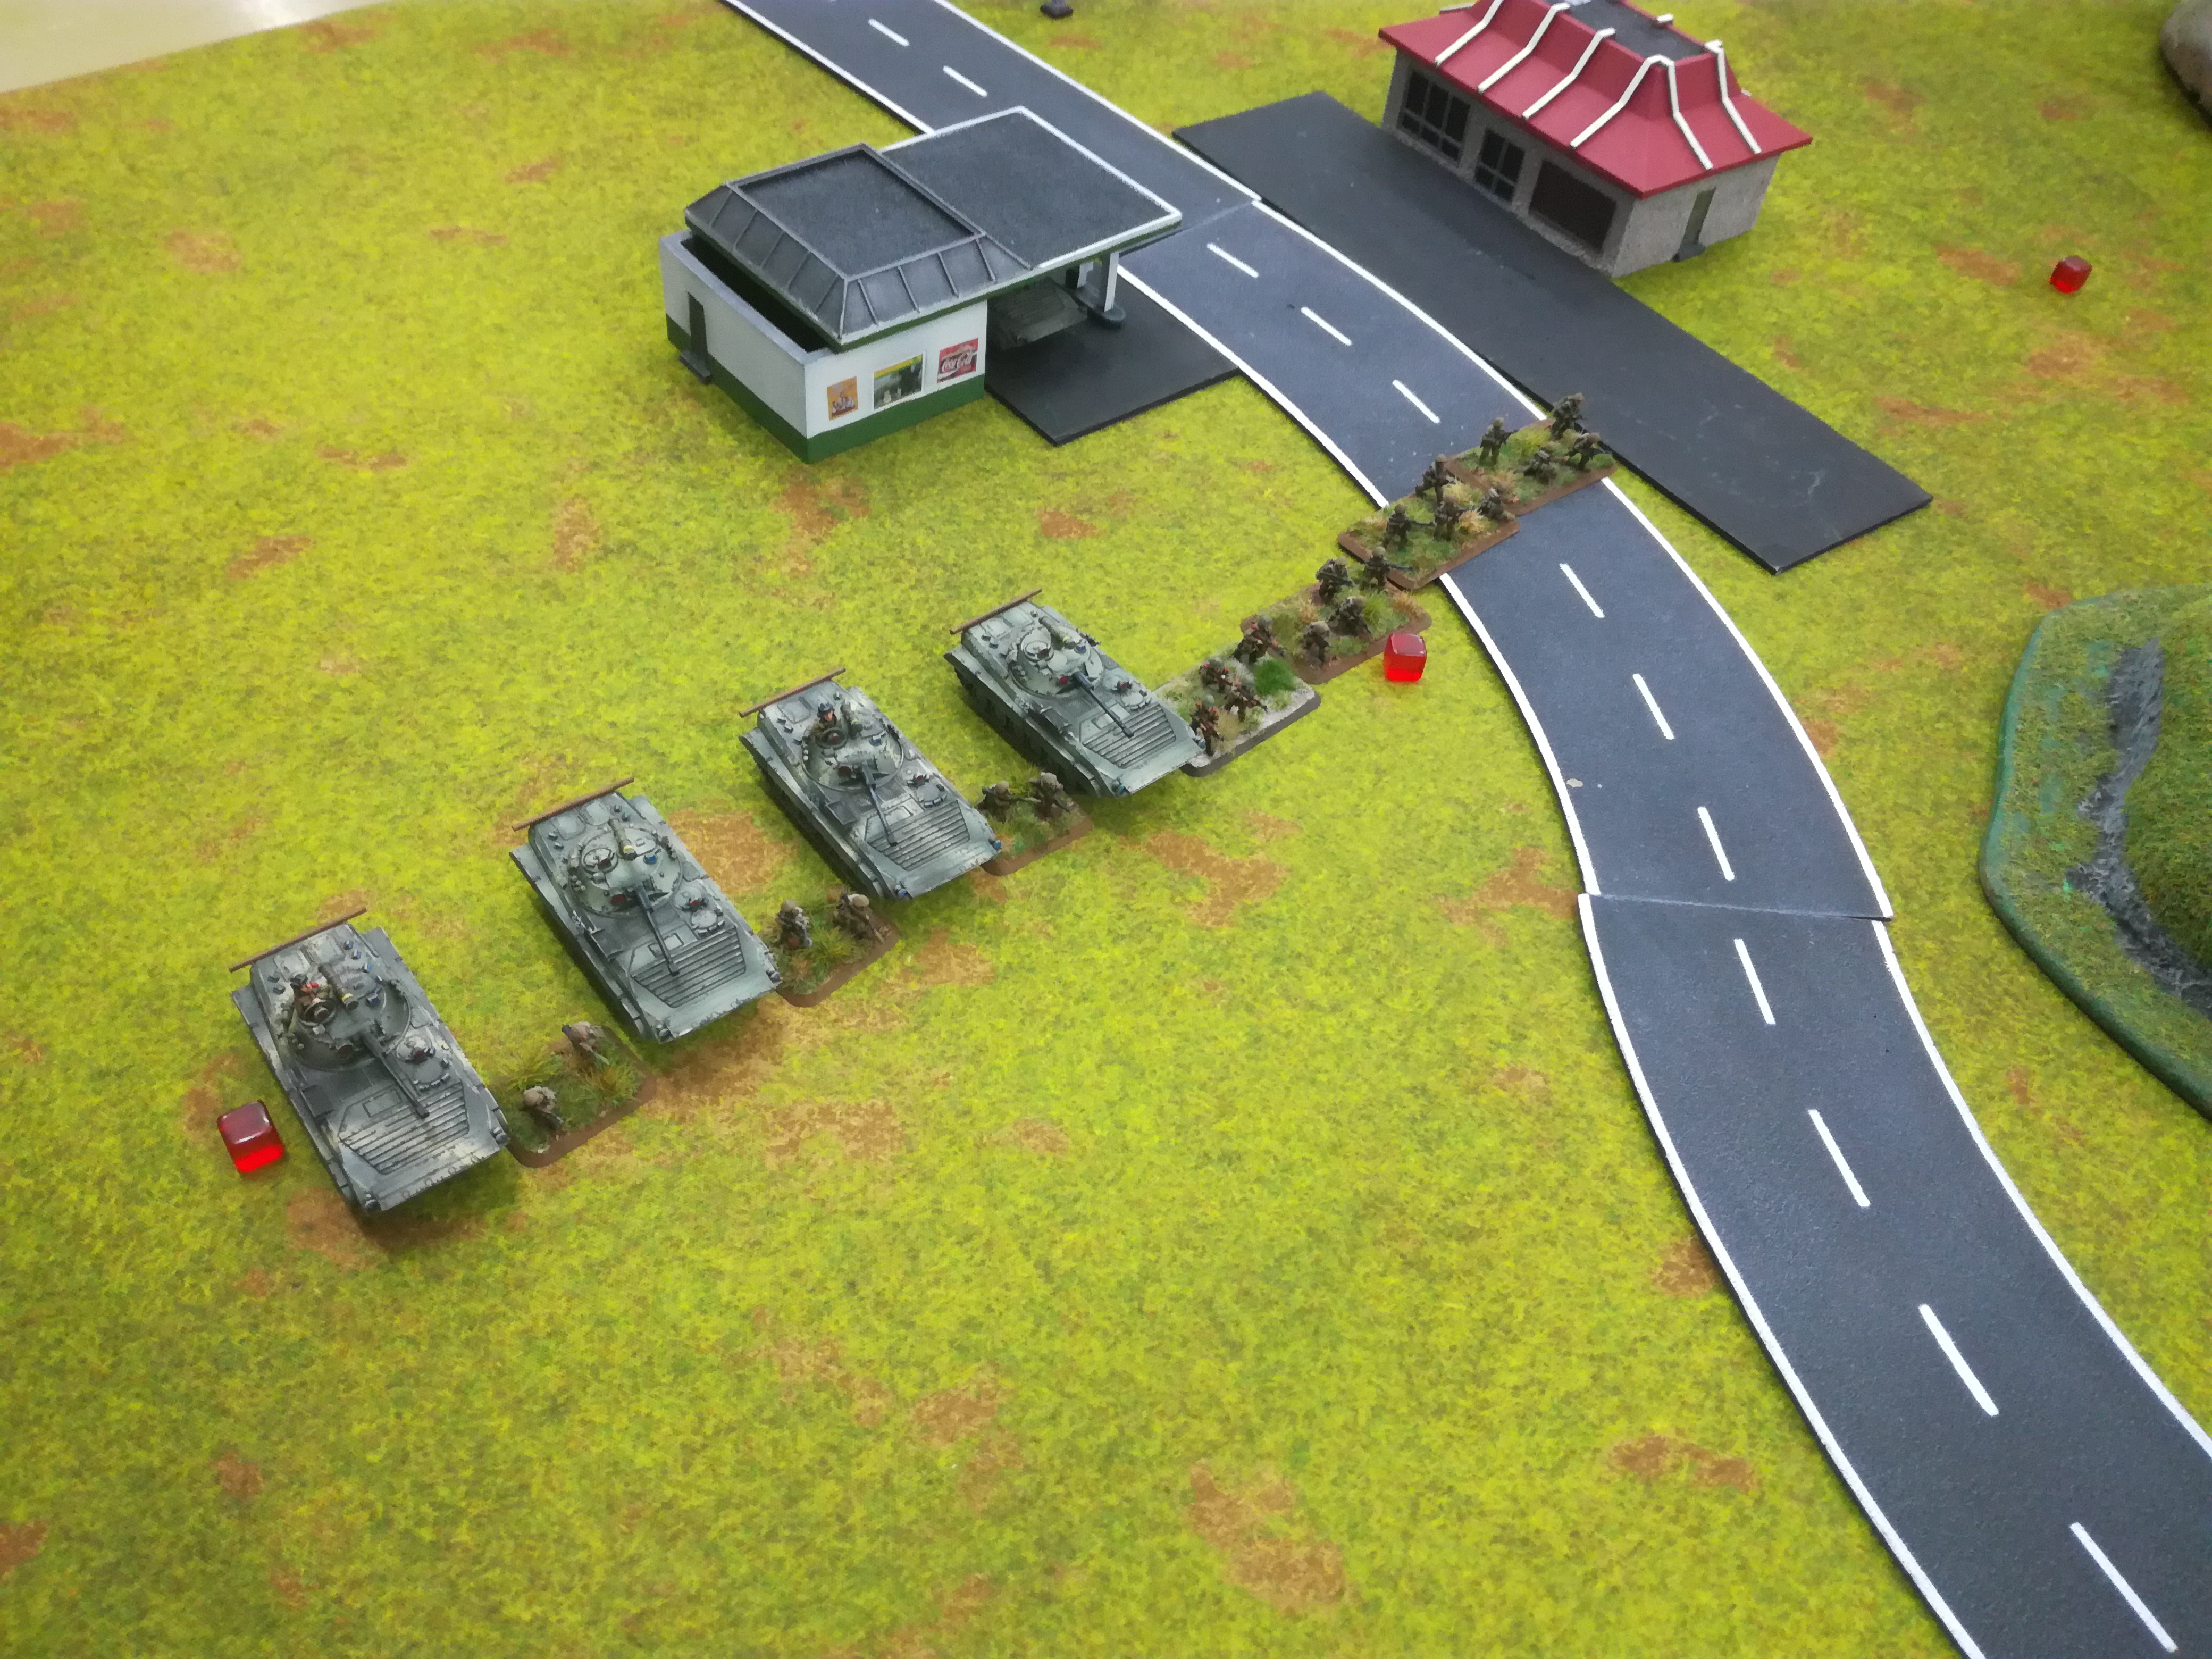
Hold the Bridge
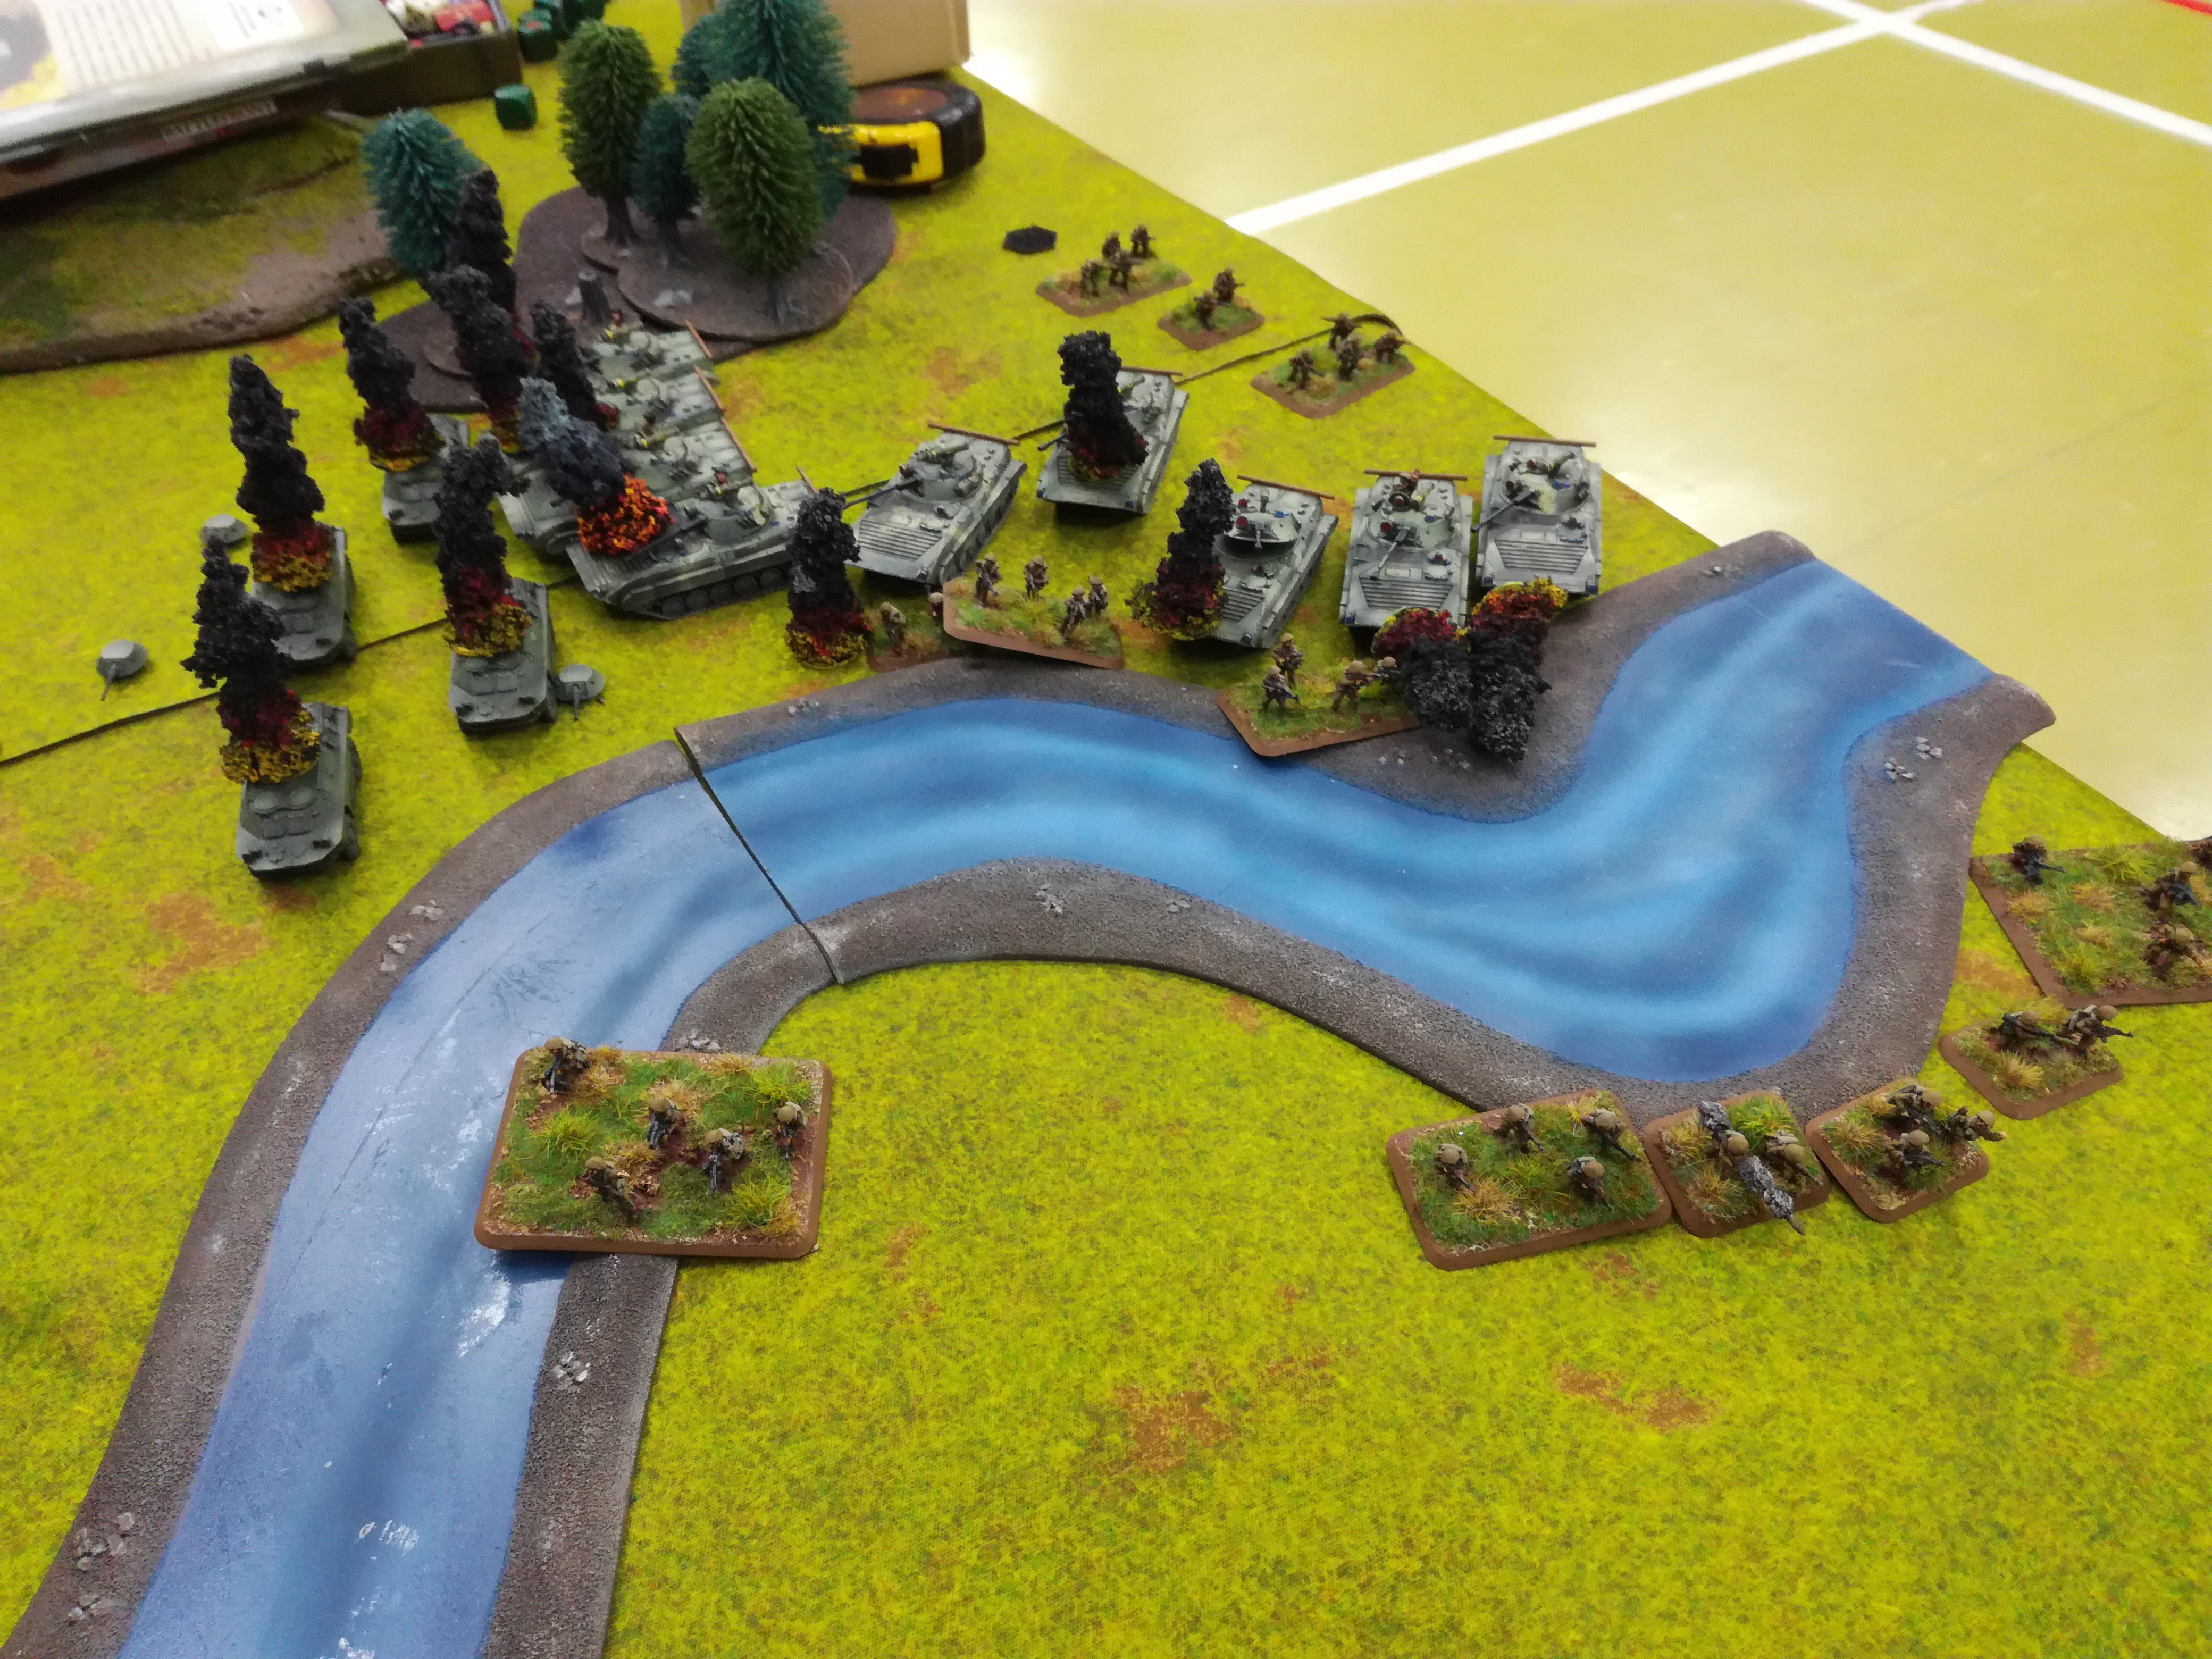
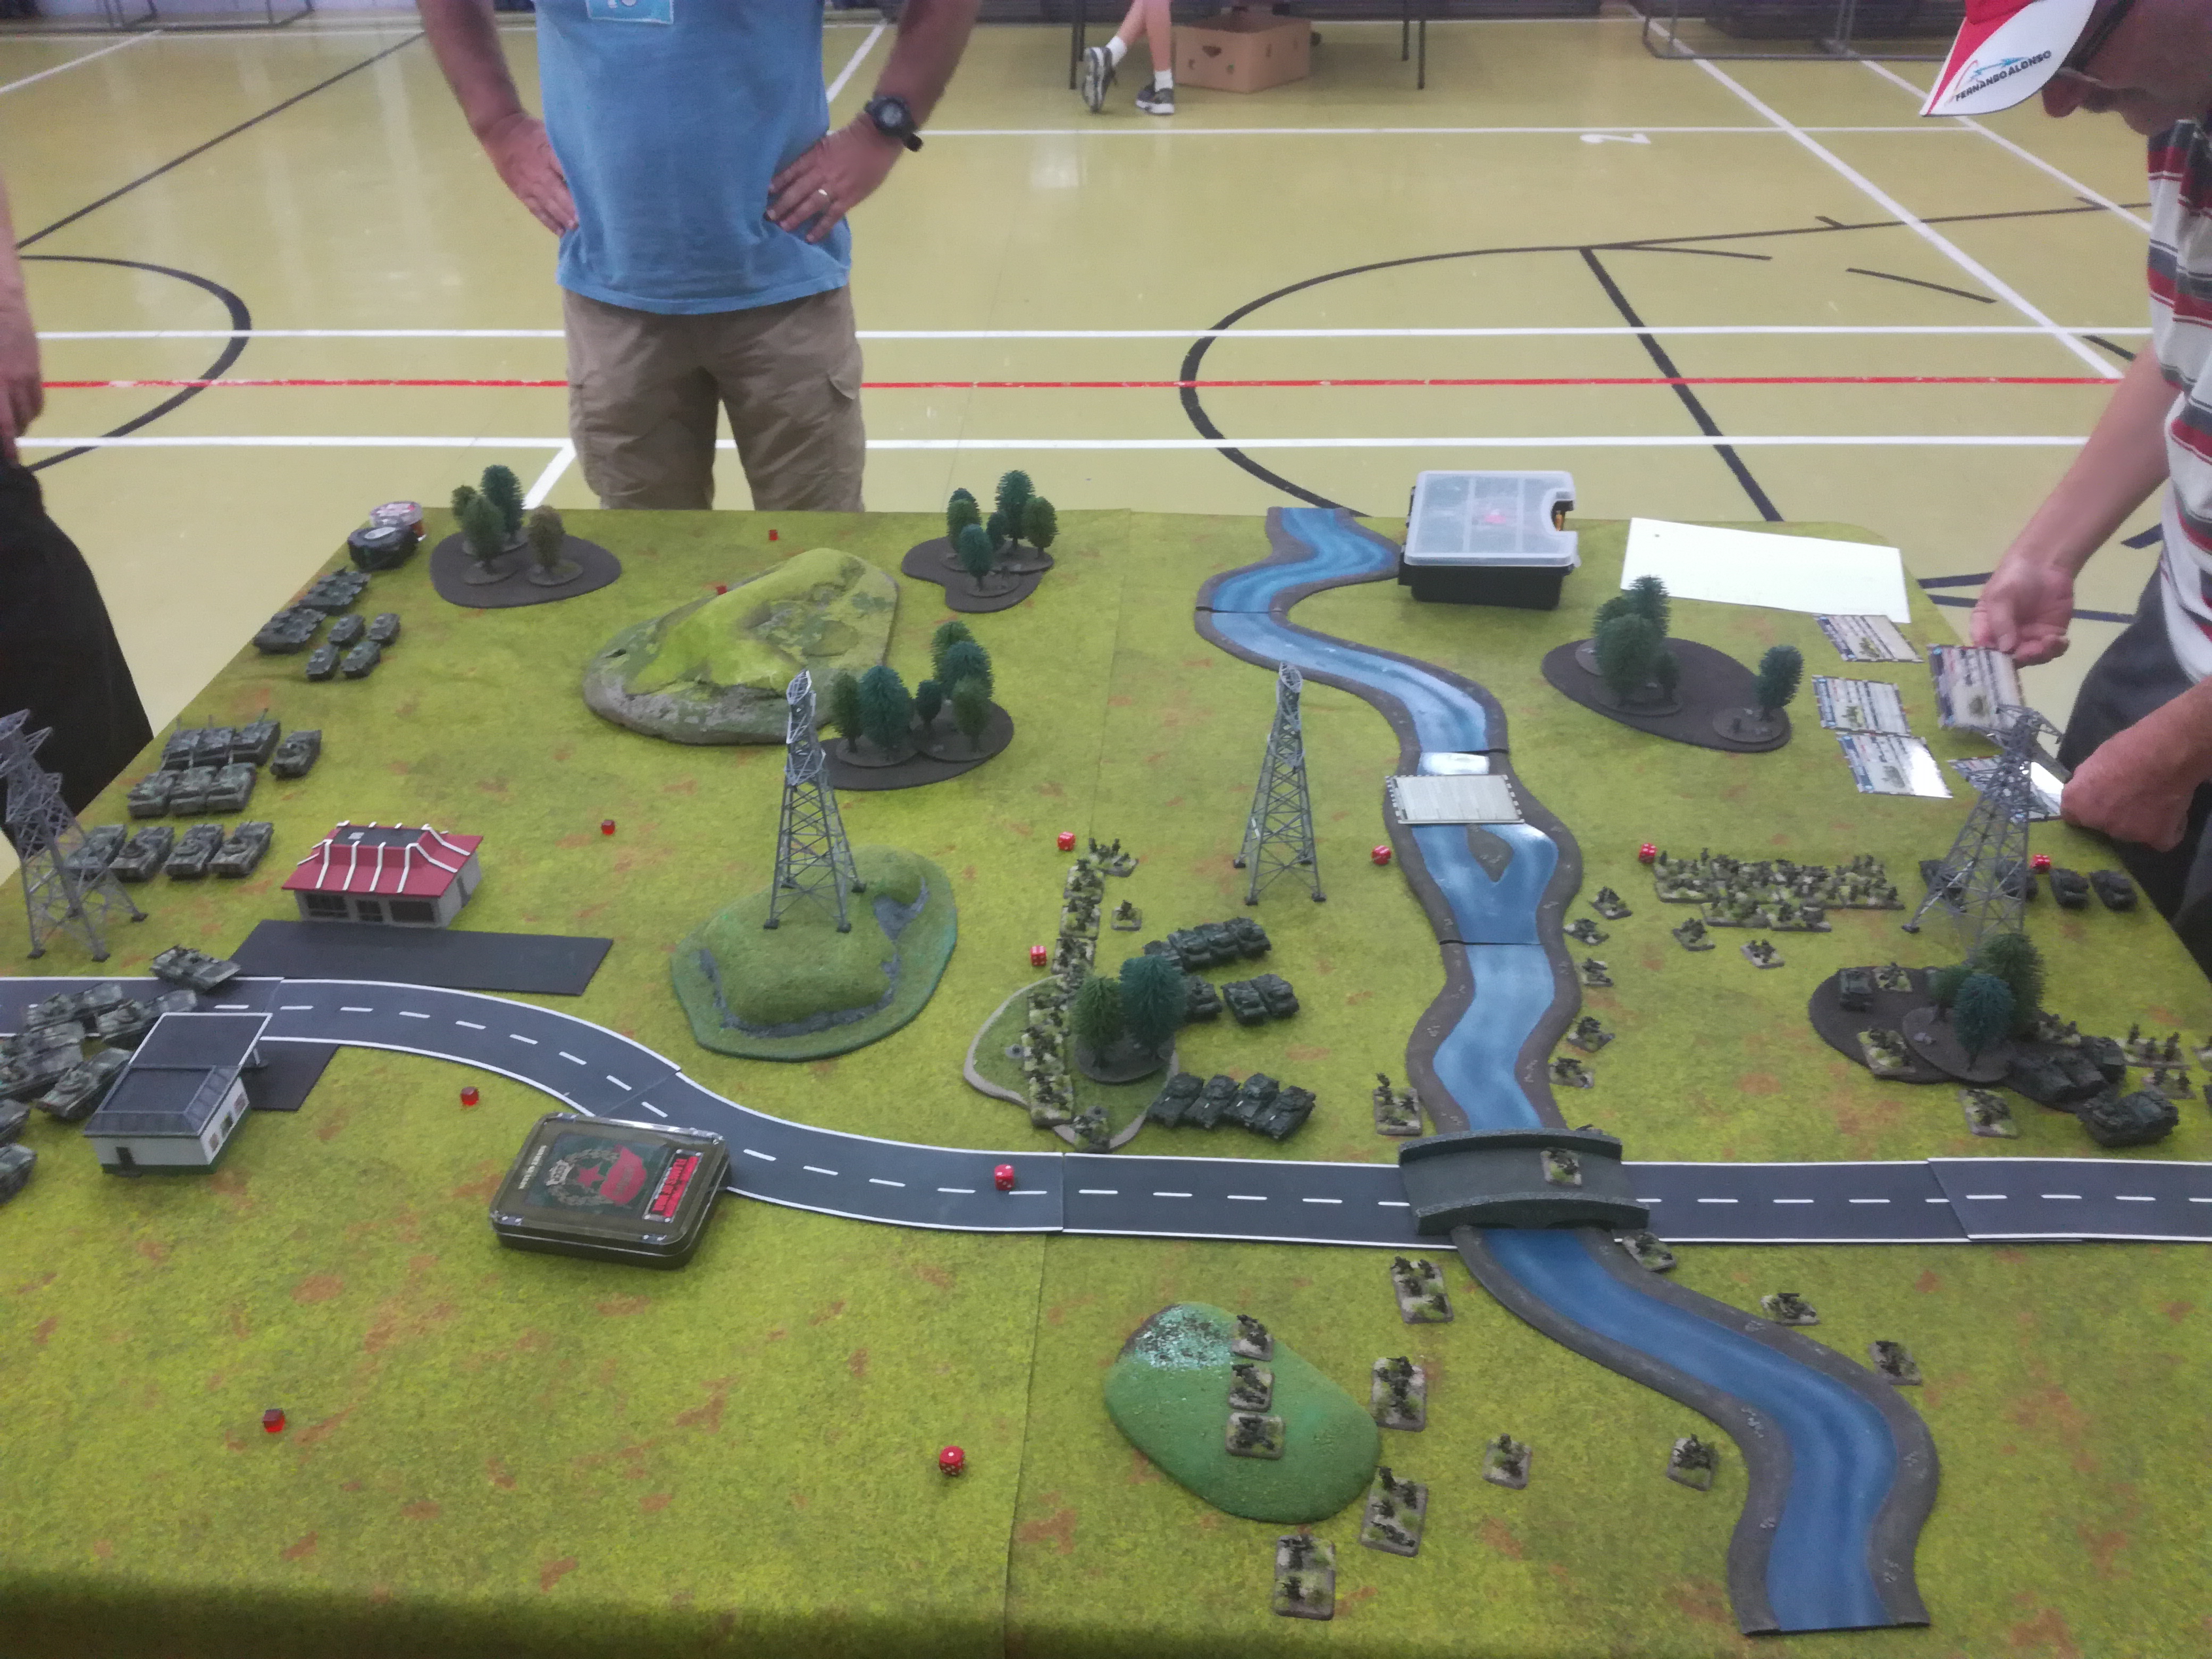
80 POINTSWe played hold the Bridge – The East Germans attacked while the British held the bridge.
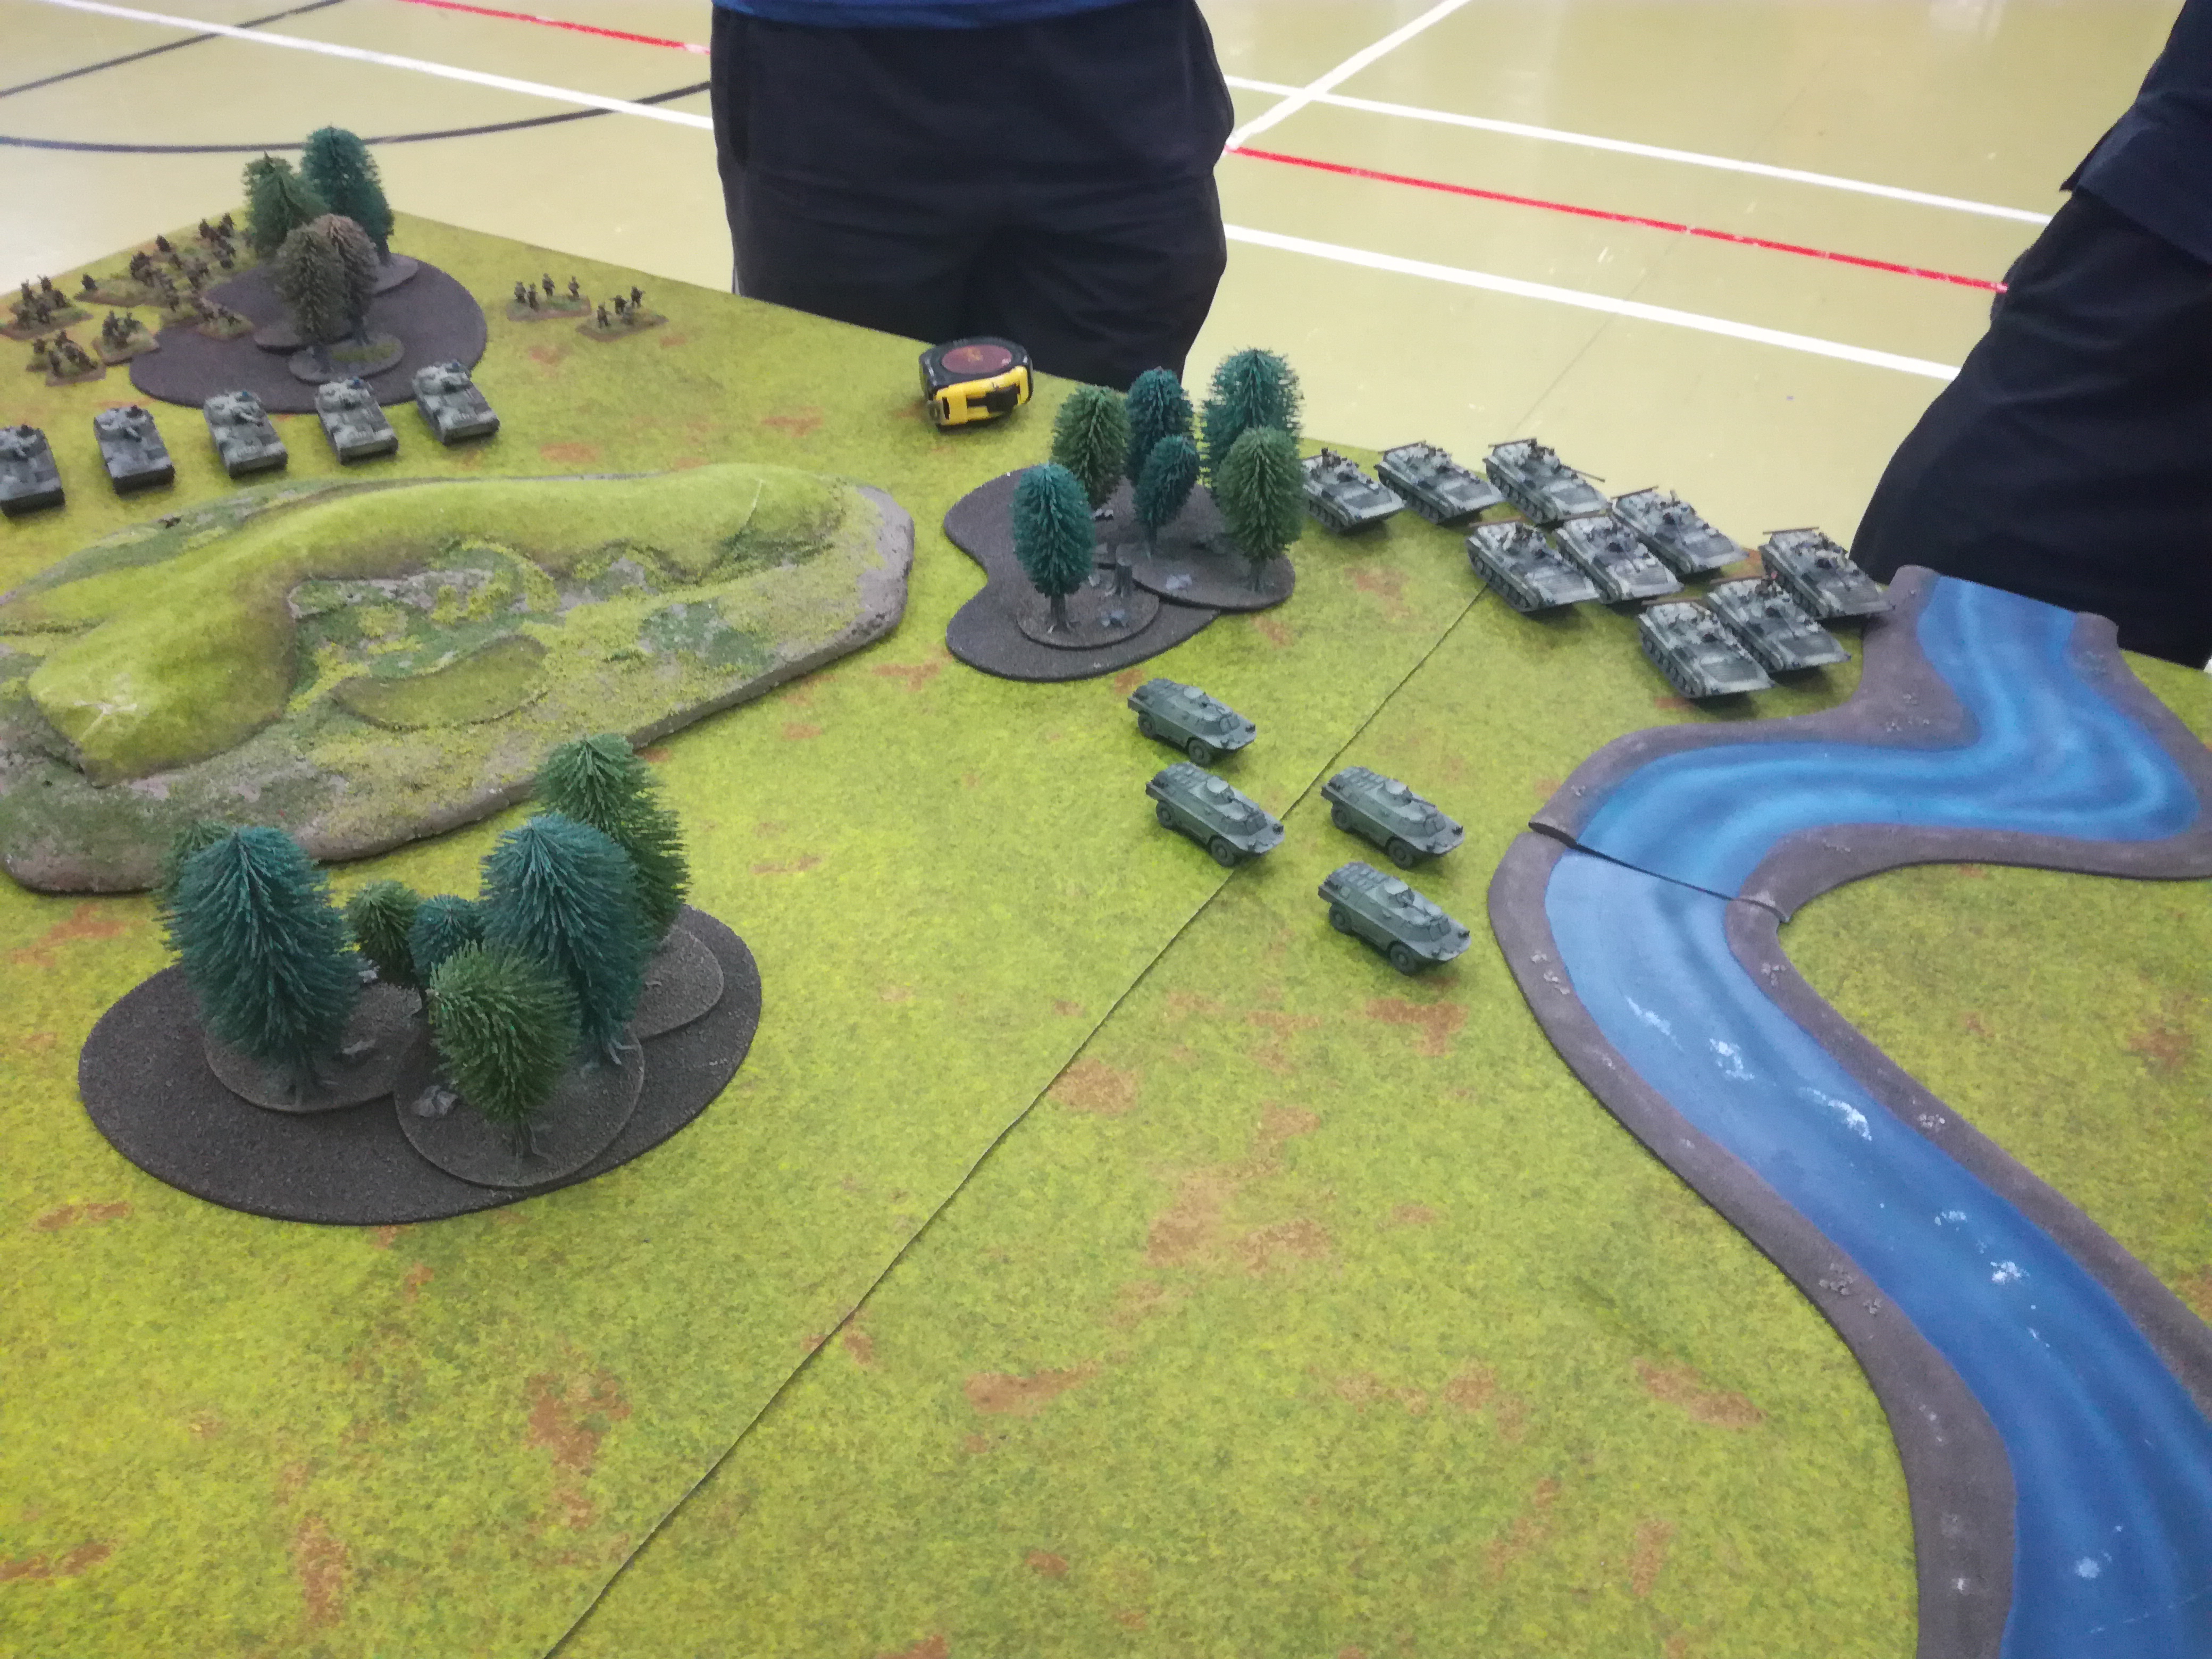
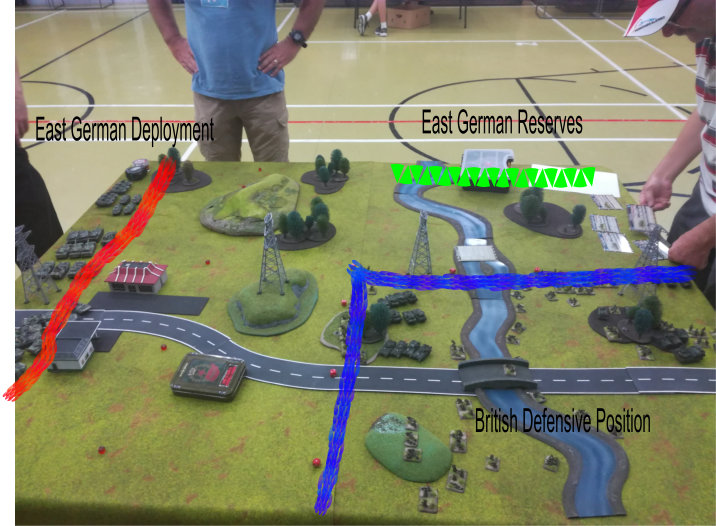
The British dug in with infantry and aimob unites mixed all over the deployment zone. Milan units against to cover the river the bridge, infantry on the front and the flank and Recce ready to strike out when their turn comes. AA back in case of enemy air.
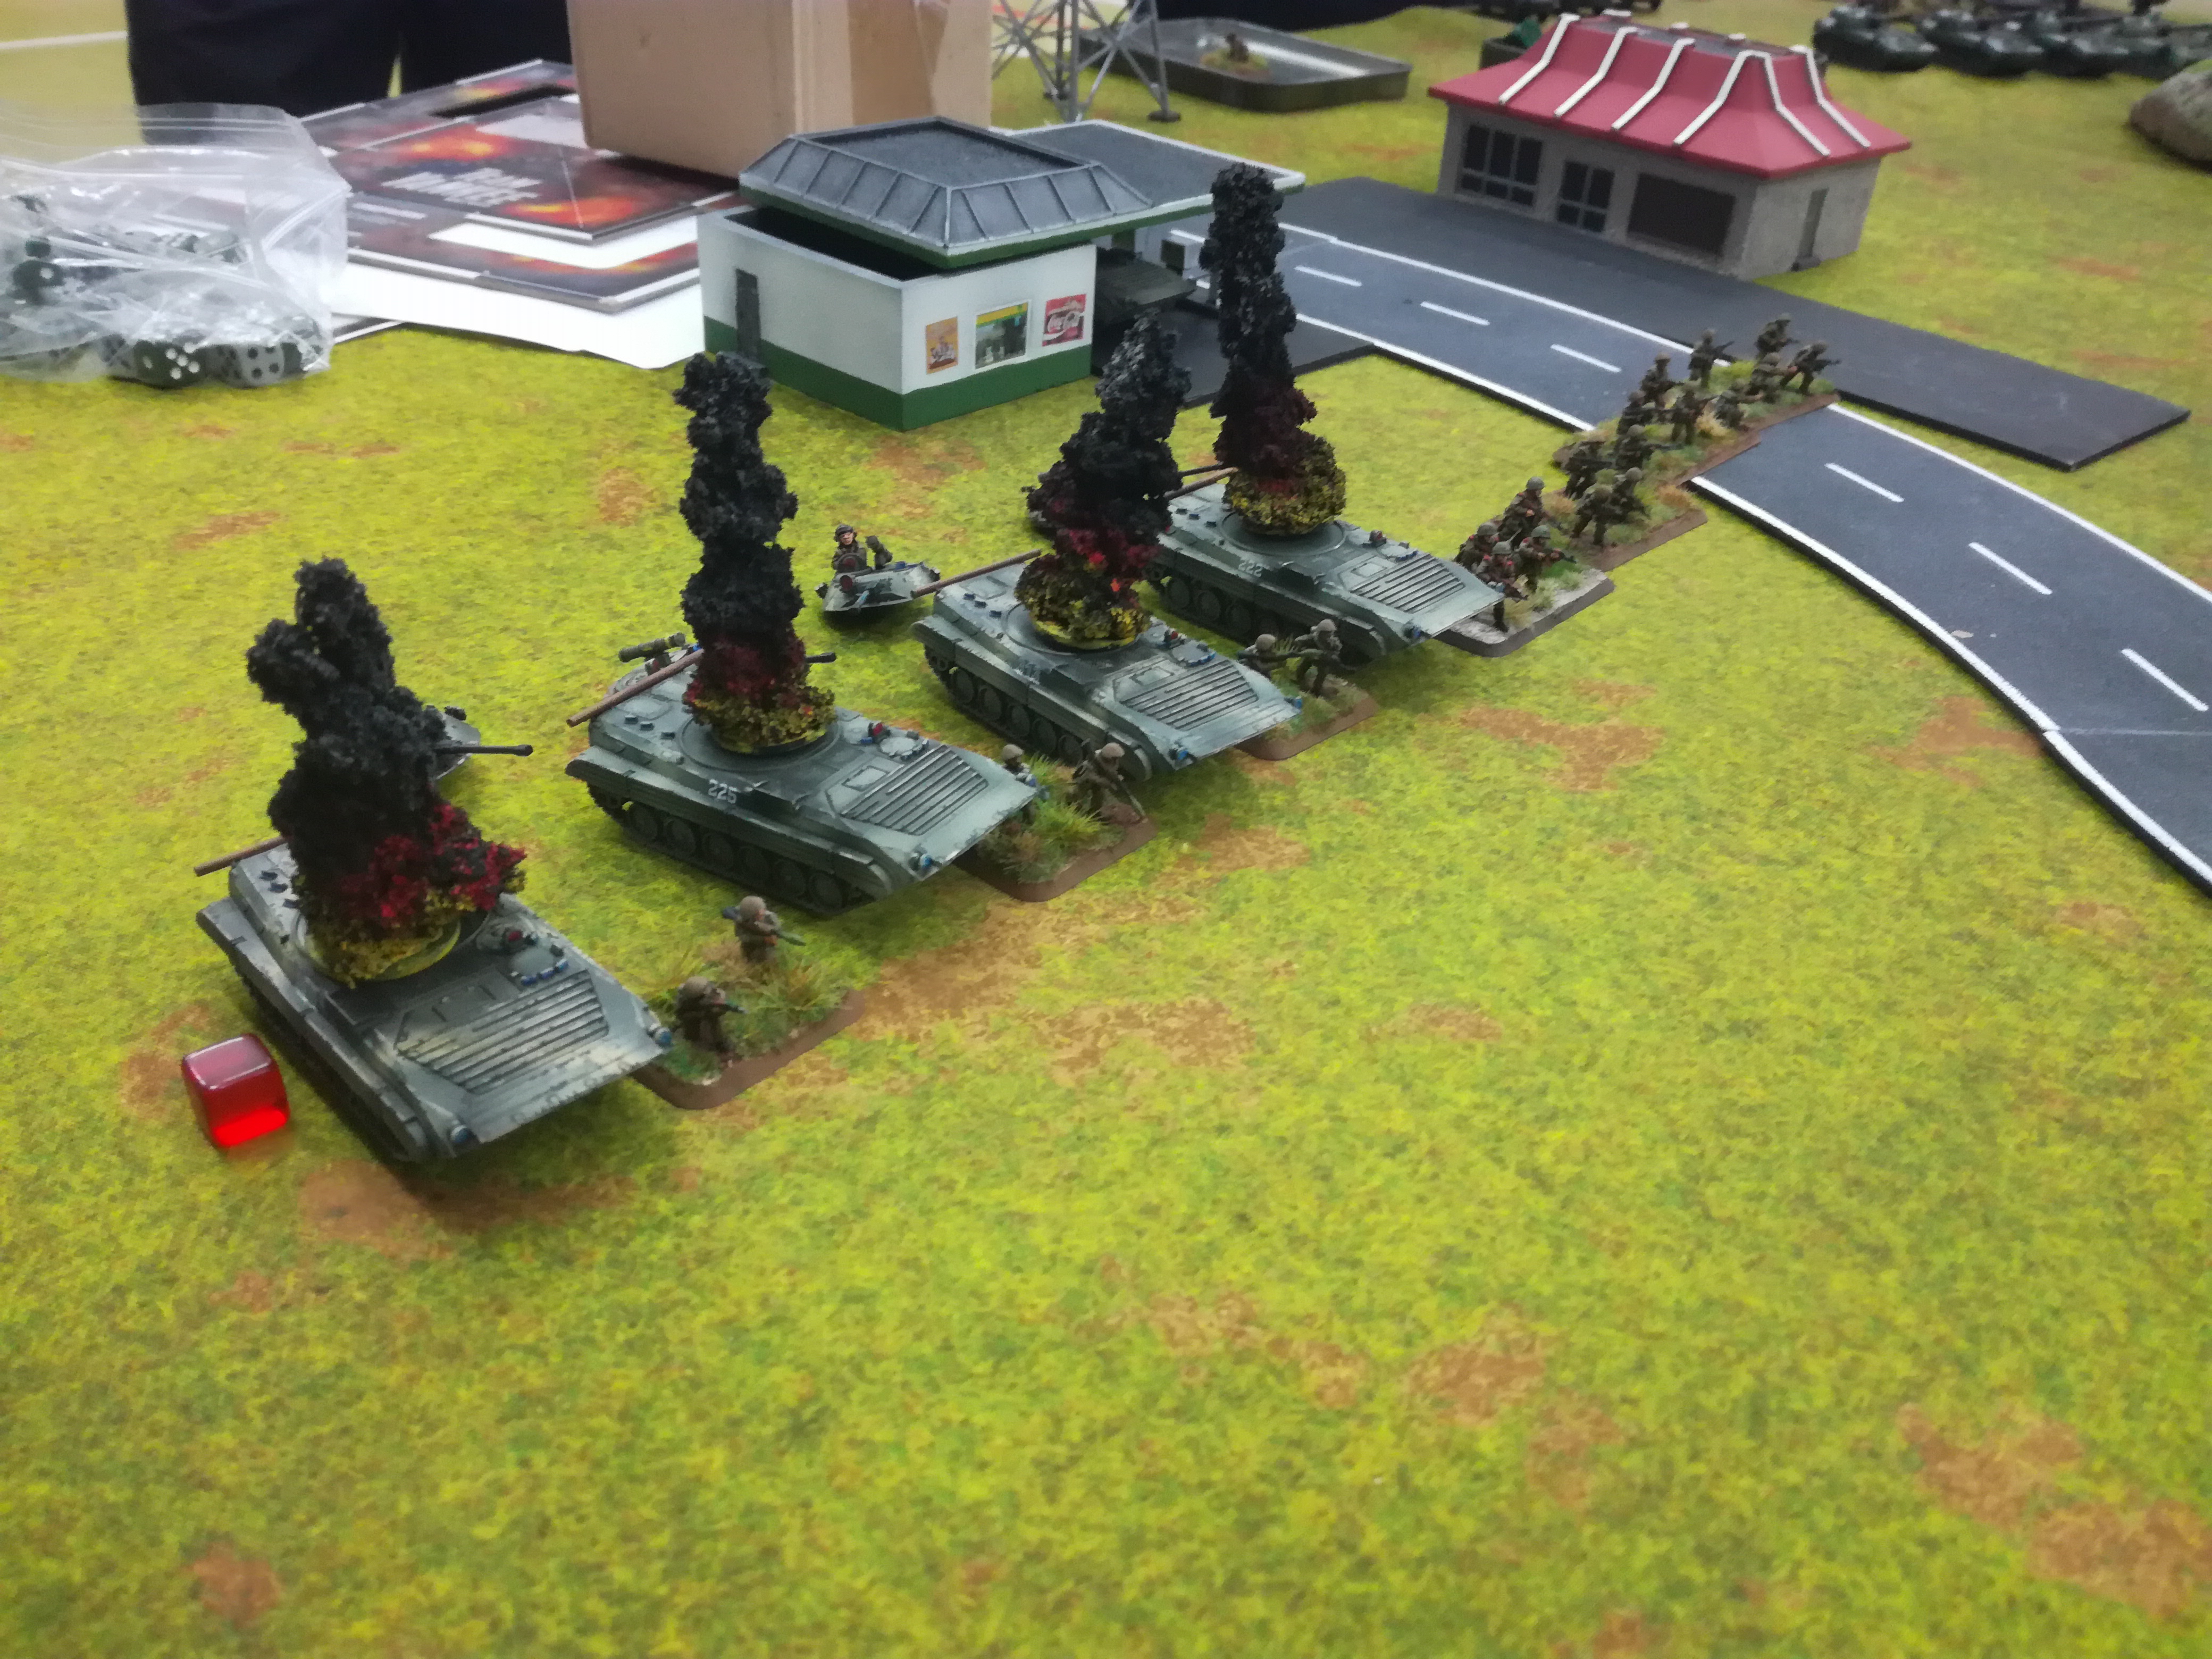
The E/Germans started the turn by placing the BTR-1’s on left flank opposite the bridge, covered by Spandrels. Artillery on right flank and BMP-2’s moving towards the river covered by the BRDM’s. No reserves arrive. The first shots fired was the artillery and a first roll hit caused a fair bit of damage destroying 3 Scorpions and bailing a further one was well as pinning the infantry in the small wood in front of the bridge.
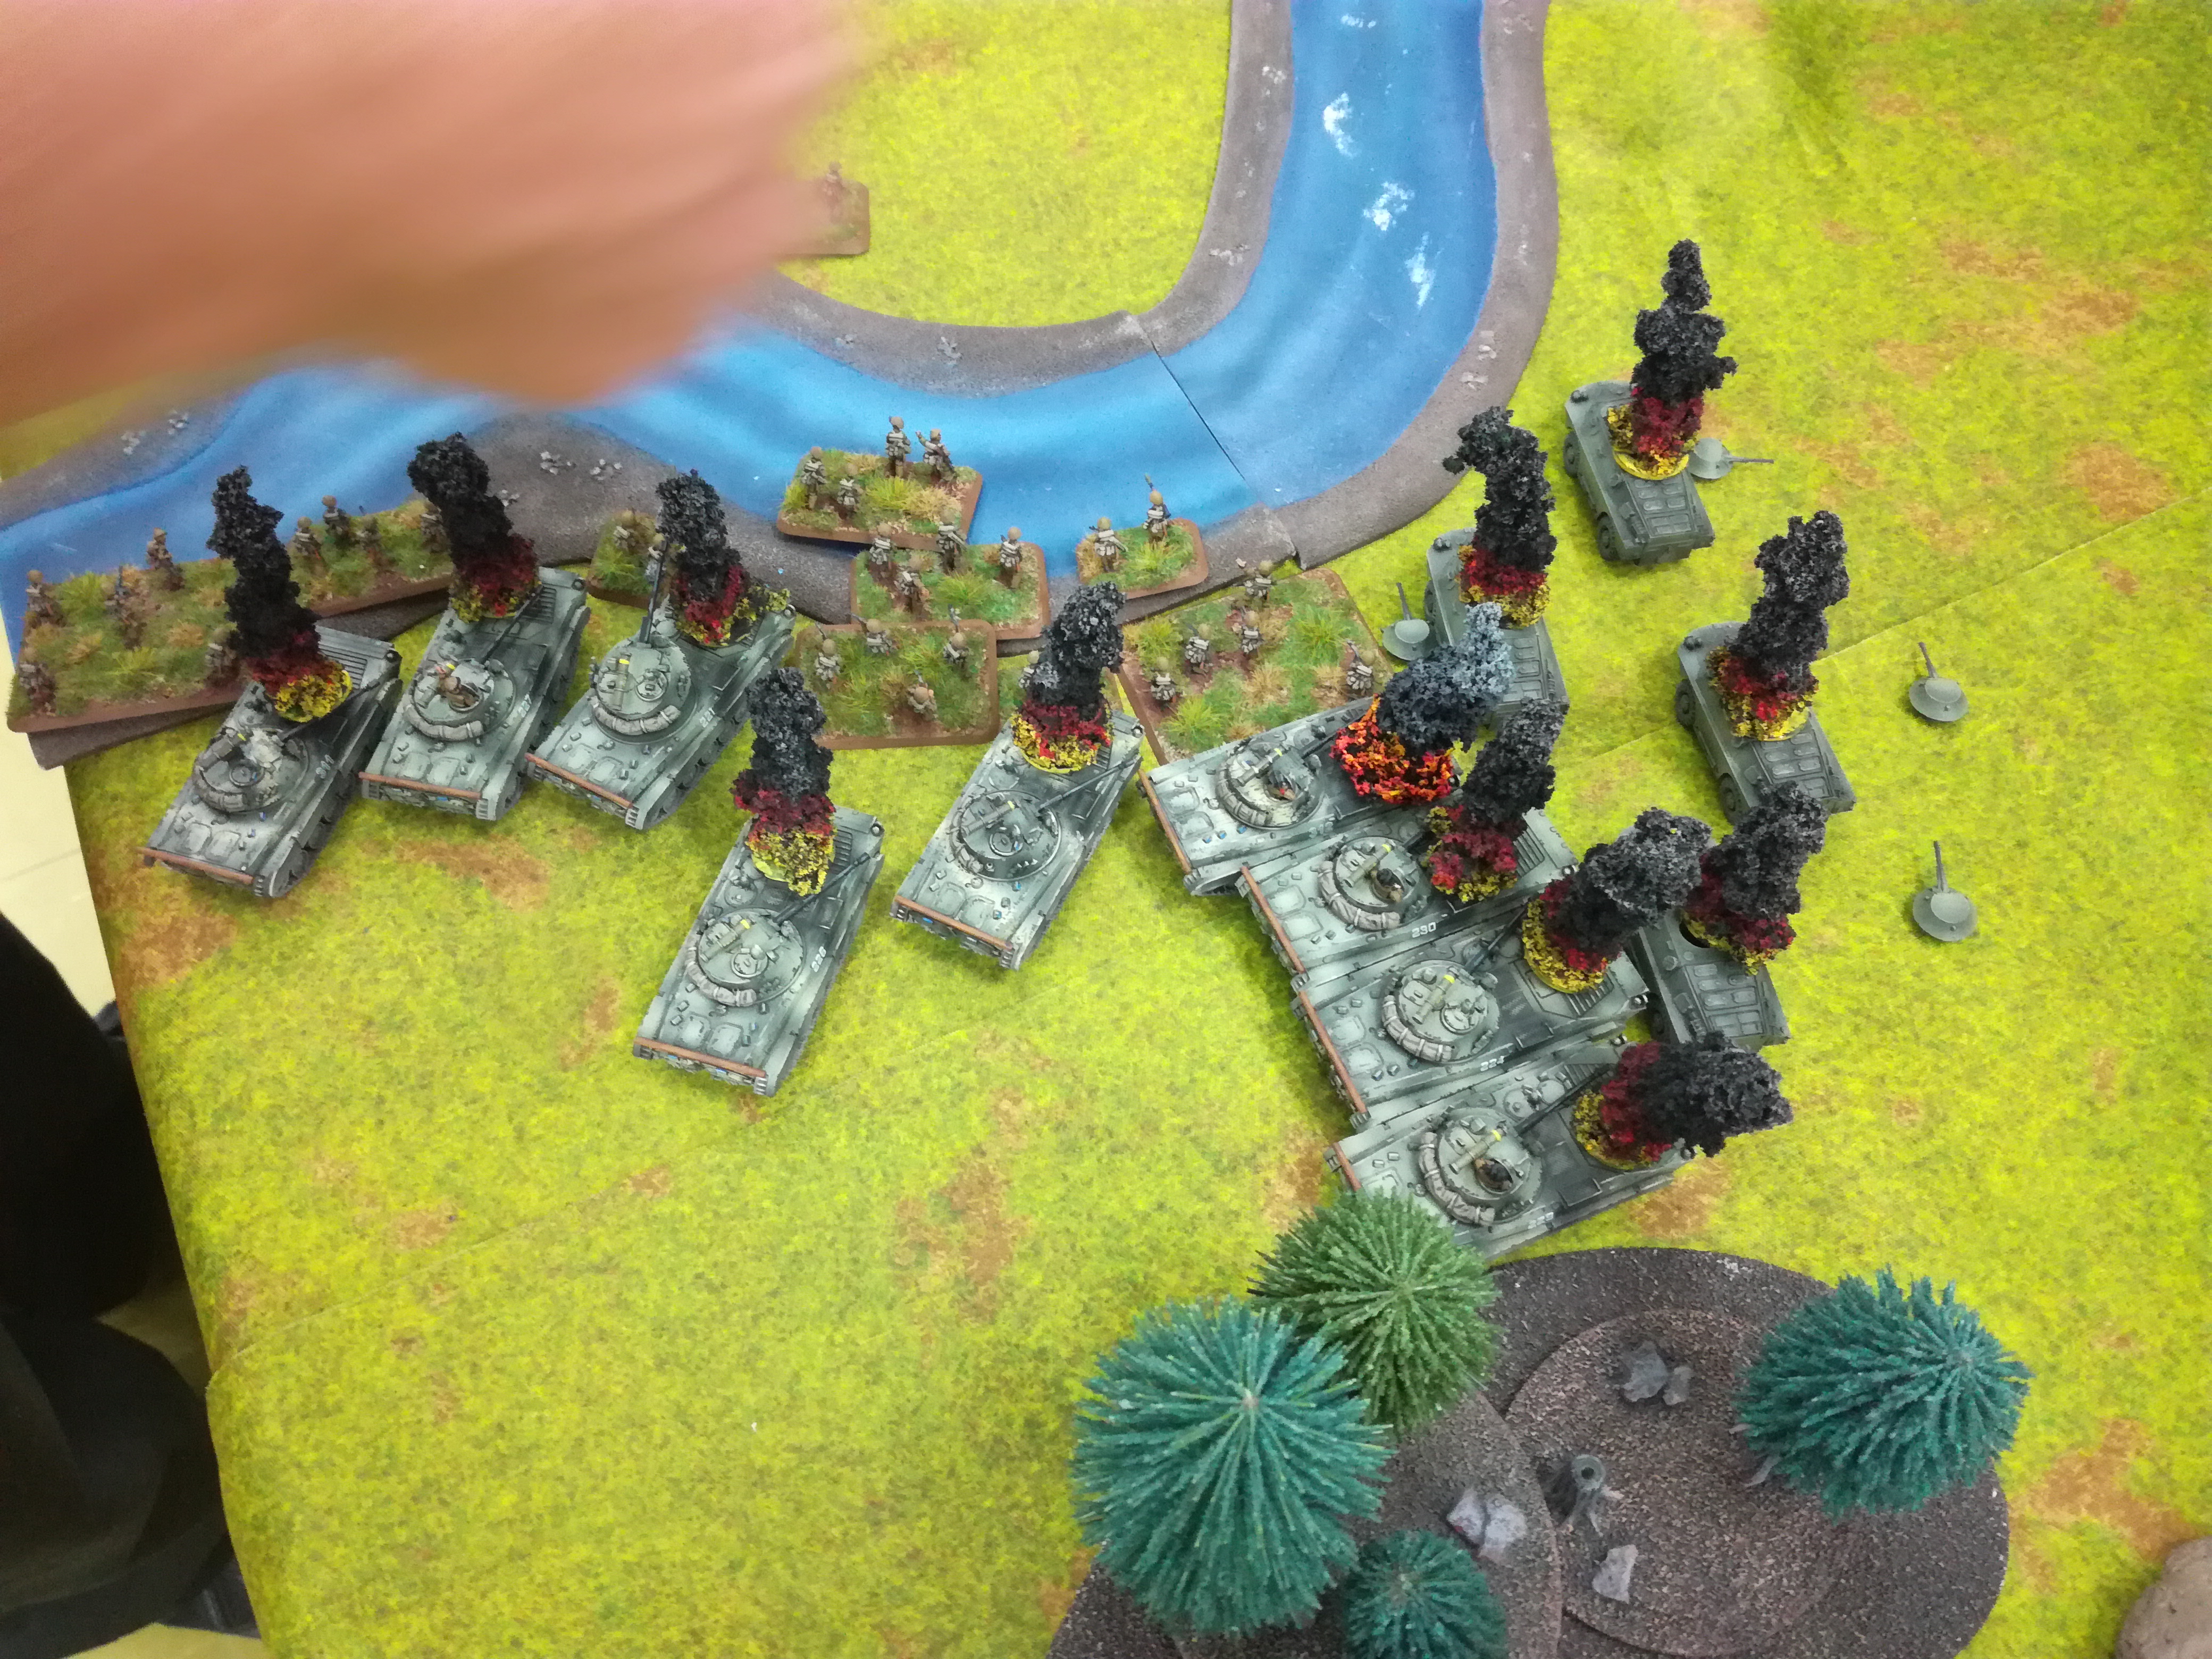
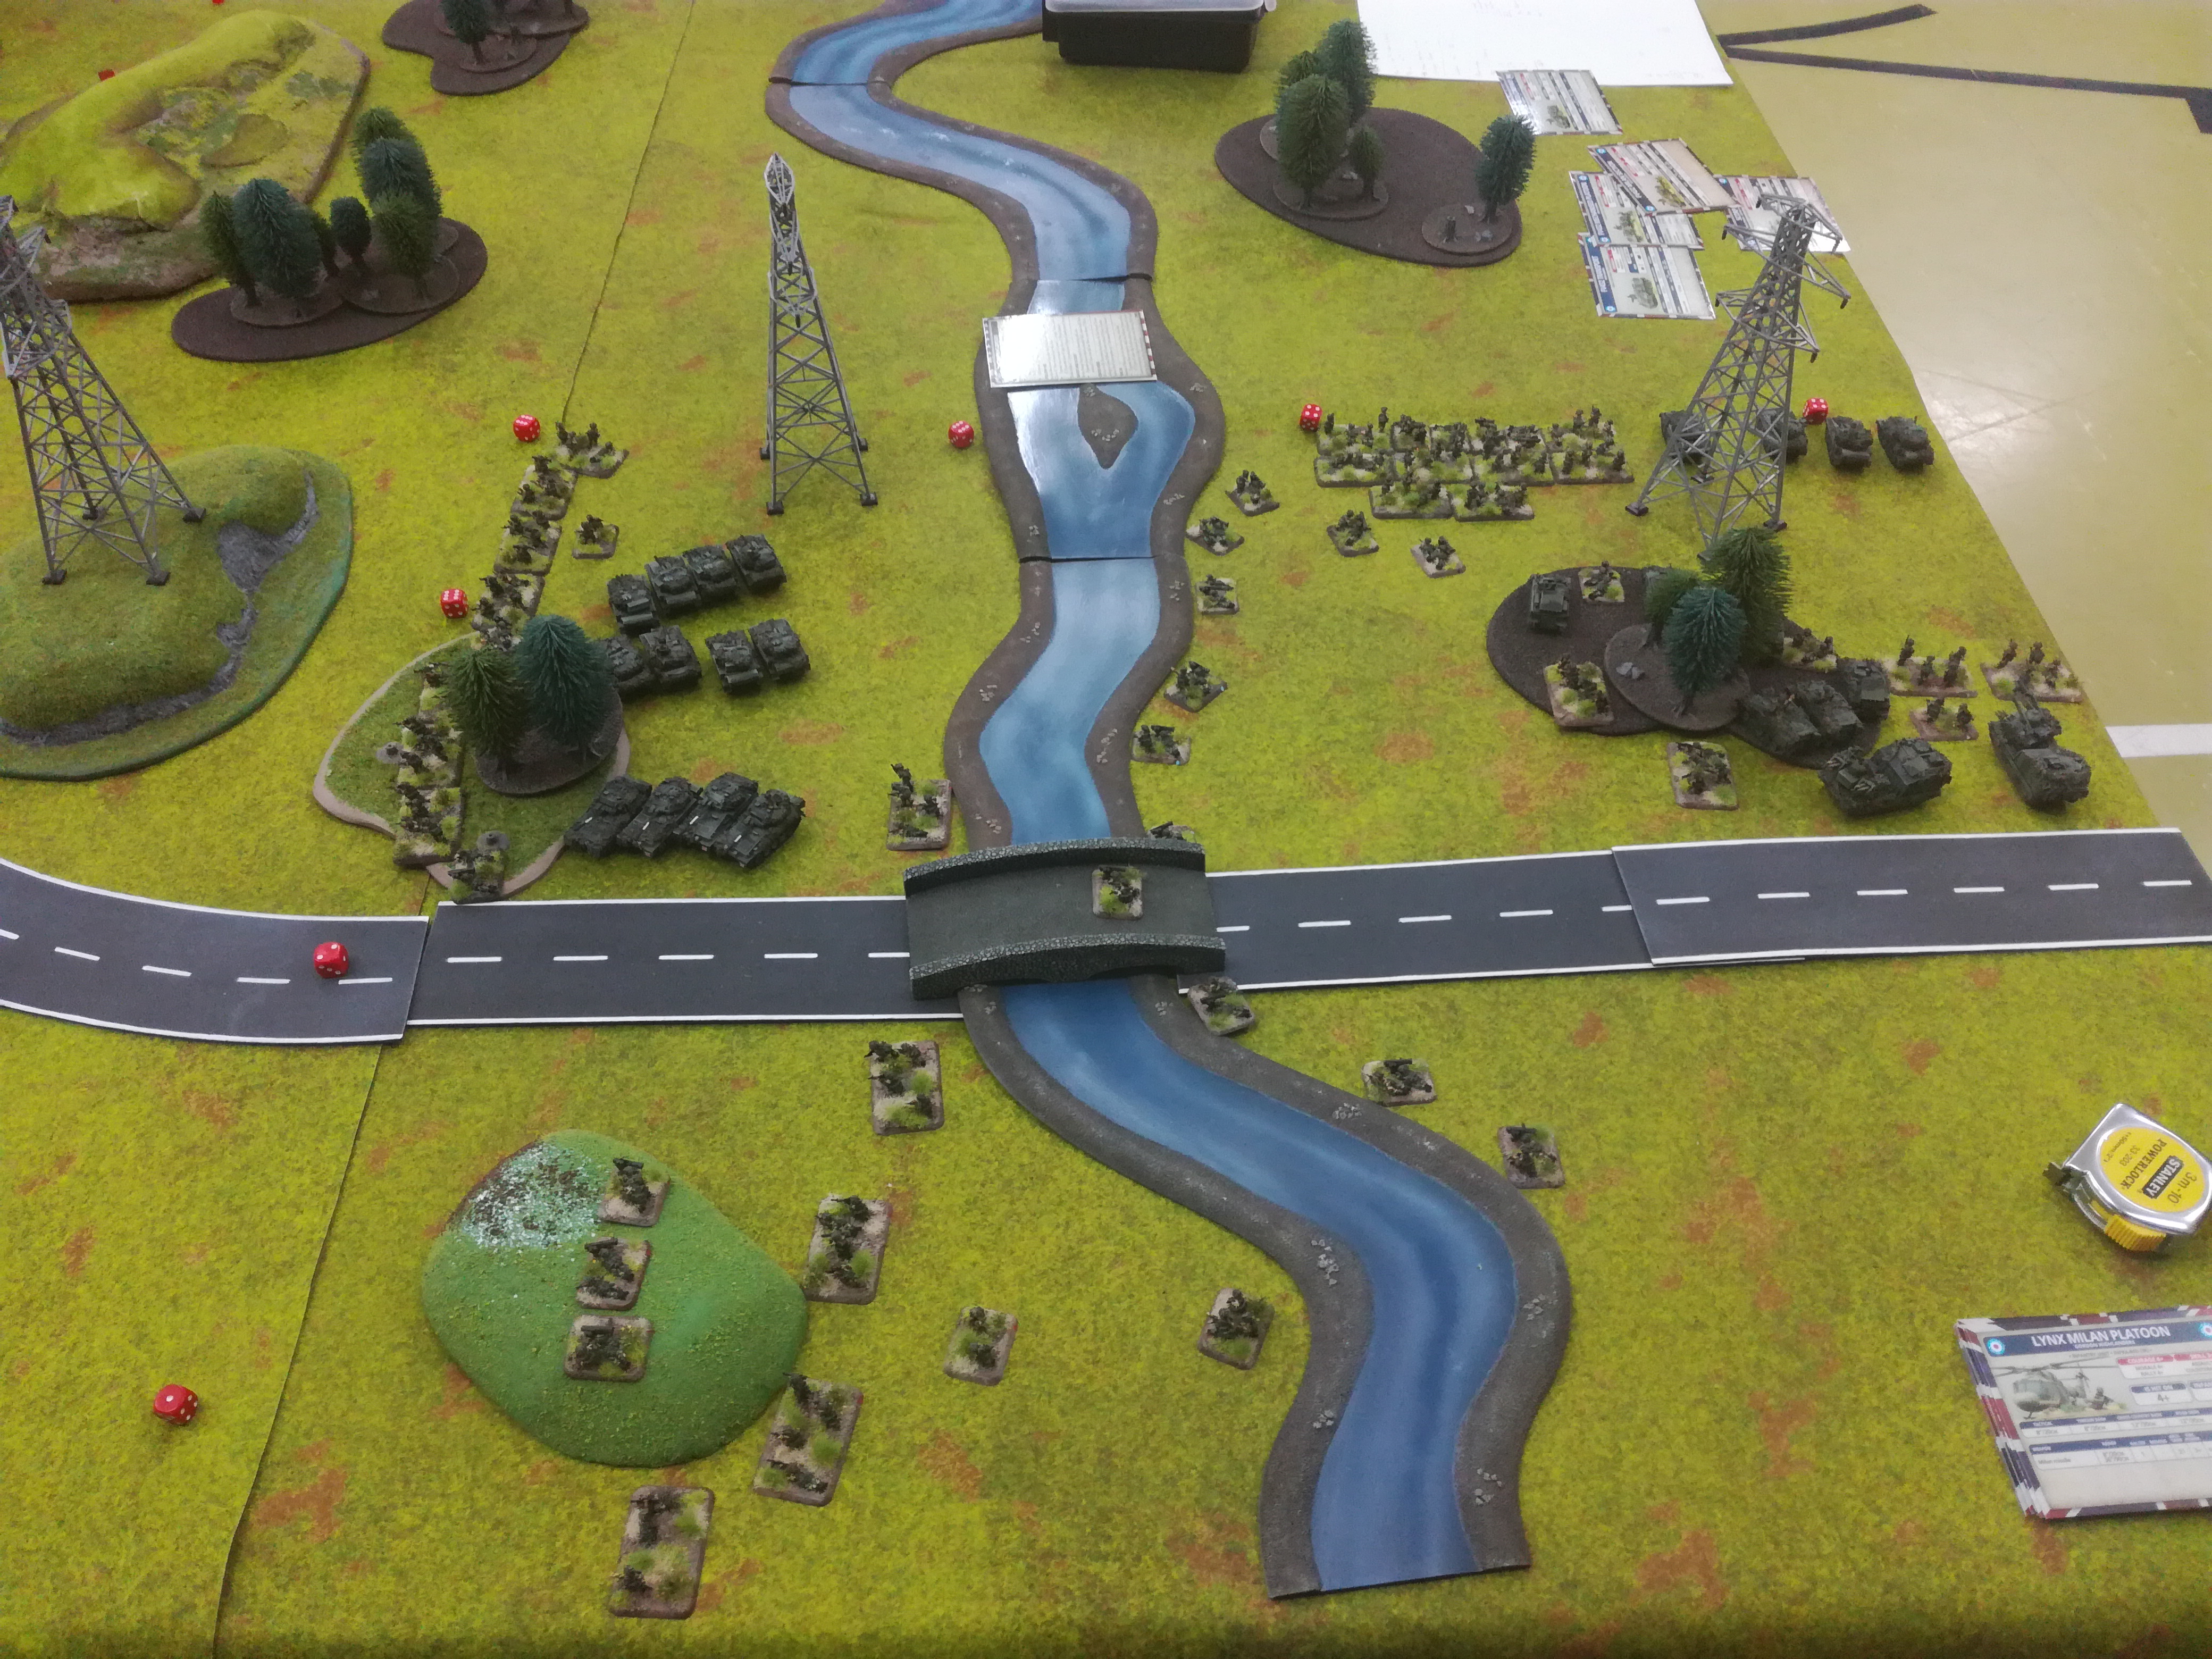
The British turn came and the Scorpion unpinned as well as the infantry. The infantry on the flank advanced to woods on the right hoping to reach them in time before the enemy arrives. They are supported by a troop of Scorpions. In front of the bridge the Scimitars manoeuvred so they can shoot at the BMP-1’s. The British fire takes out the BMP-1’s and an Spandrel but didn’t hit the supporting infantry. On the right flank the three DRDM’s are destroyed by the scorpions in revenge of their fallen friends and some Strikers and the Milan’s on the riverbank take out some BMP-2’s.
The Russian then start crossing the river on the right flank and manage to get x4 teams over the rest doesn’t like the fast-flowing river. No reserves arrive. The BMP-2’s target the Scorpions and the artillery focus on the infantry heading for the wood near the Russian infantry. The artillery range in on the second roll and kill three infantry stands and pin the platoon. The BMP-2’s kill another Scorpion and bailing another. The Helicopters arrive and one is shot down by the Rapiers but the other survive and take a shot at the Scorpions near the small wood bailing one The Spandrels in front of the bridge kill a single Milan unit.
The British turn arrive and the lone Scorpion survive last man standing and is ready for action and one vehicle crew remount their vehicle. The infantry on the right flank unpin and move into the wood and the supporting Scorpions come flying round the wood ready to take shots at the infantry and BMP-2’s. British fire is effective and pin one spandrel on the front sector but the Scimitars cannot dig the infantry near the burning BMP-1’s out. On the right flank the fire from the Milan’s, Strikers and Scorpions destroy all the BMP-2’s and the last BRDM as well as kill a few infantry bases.
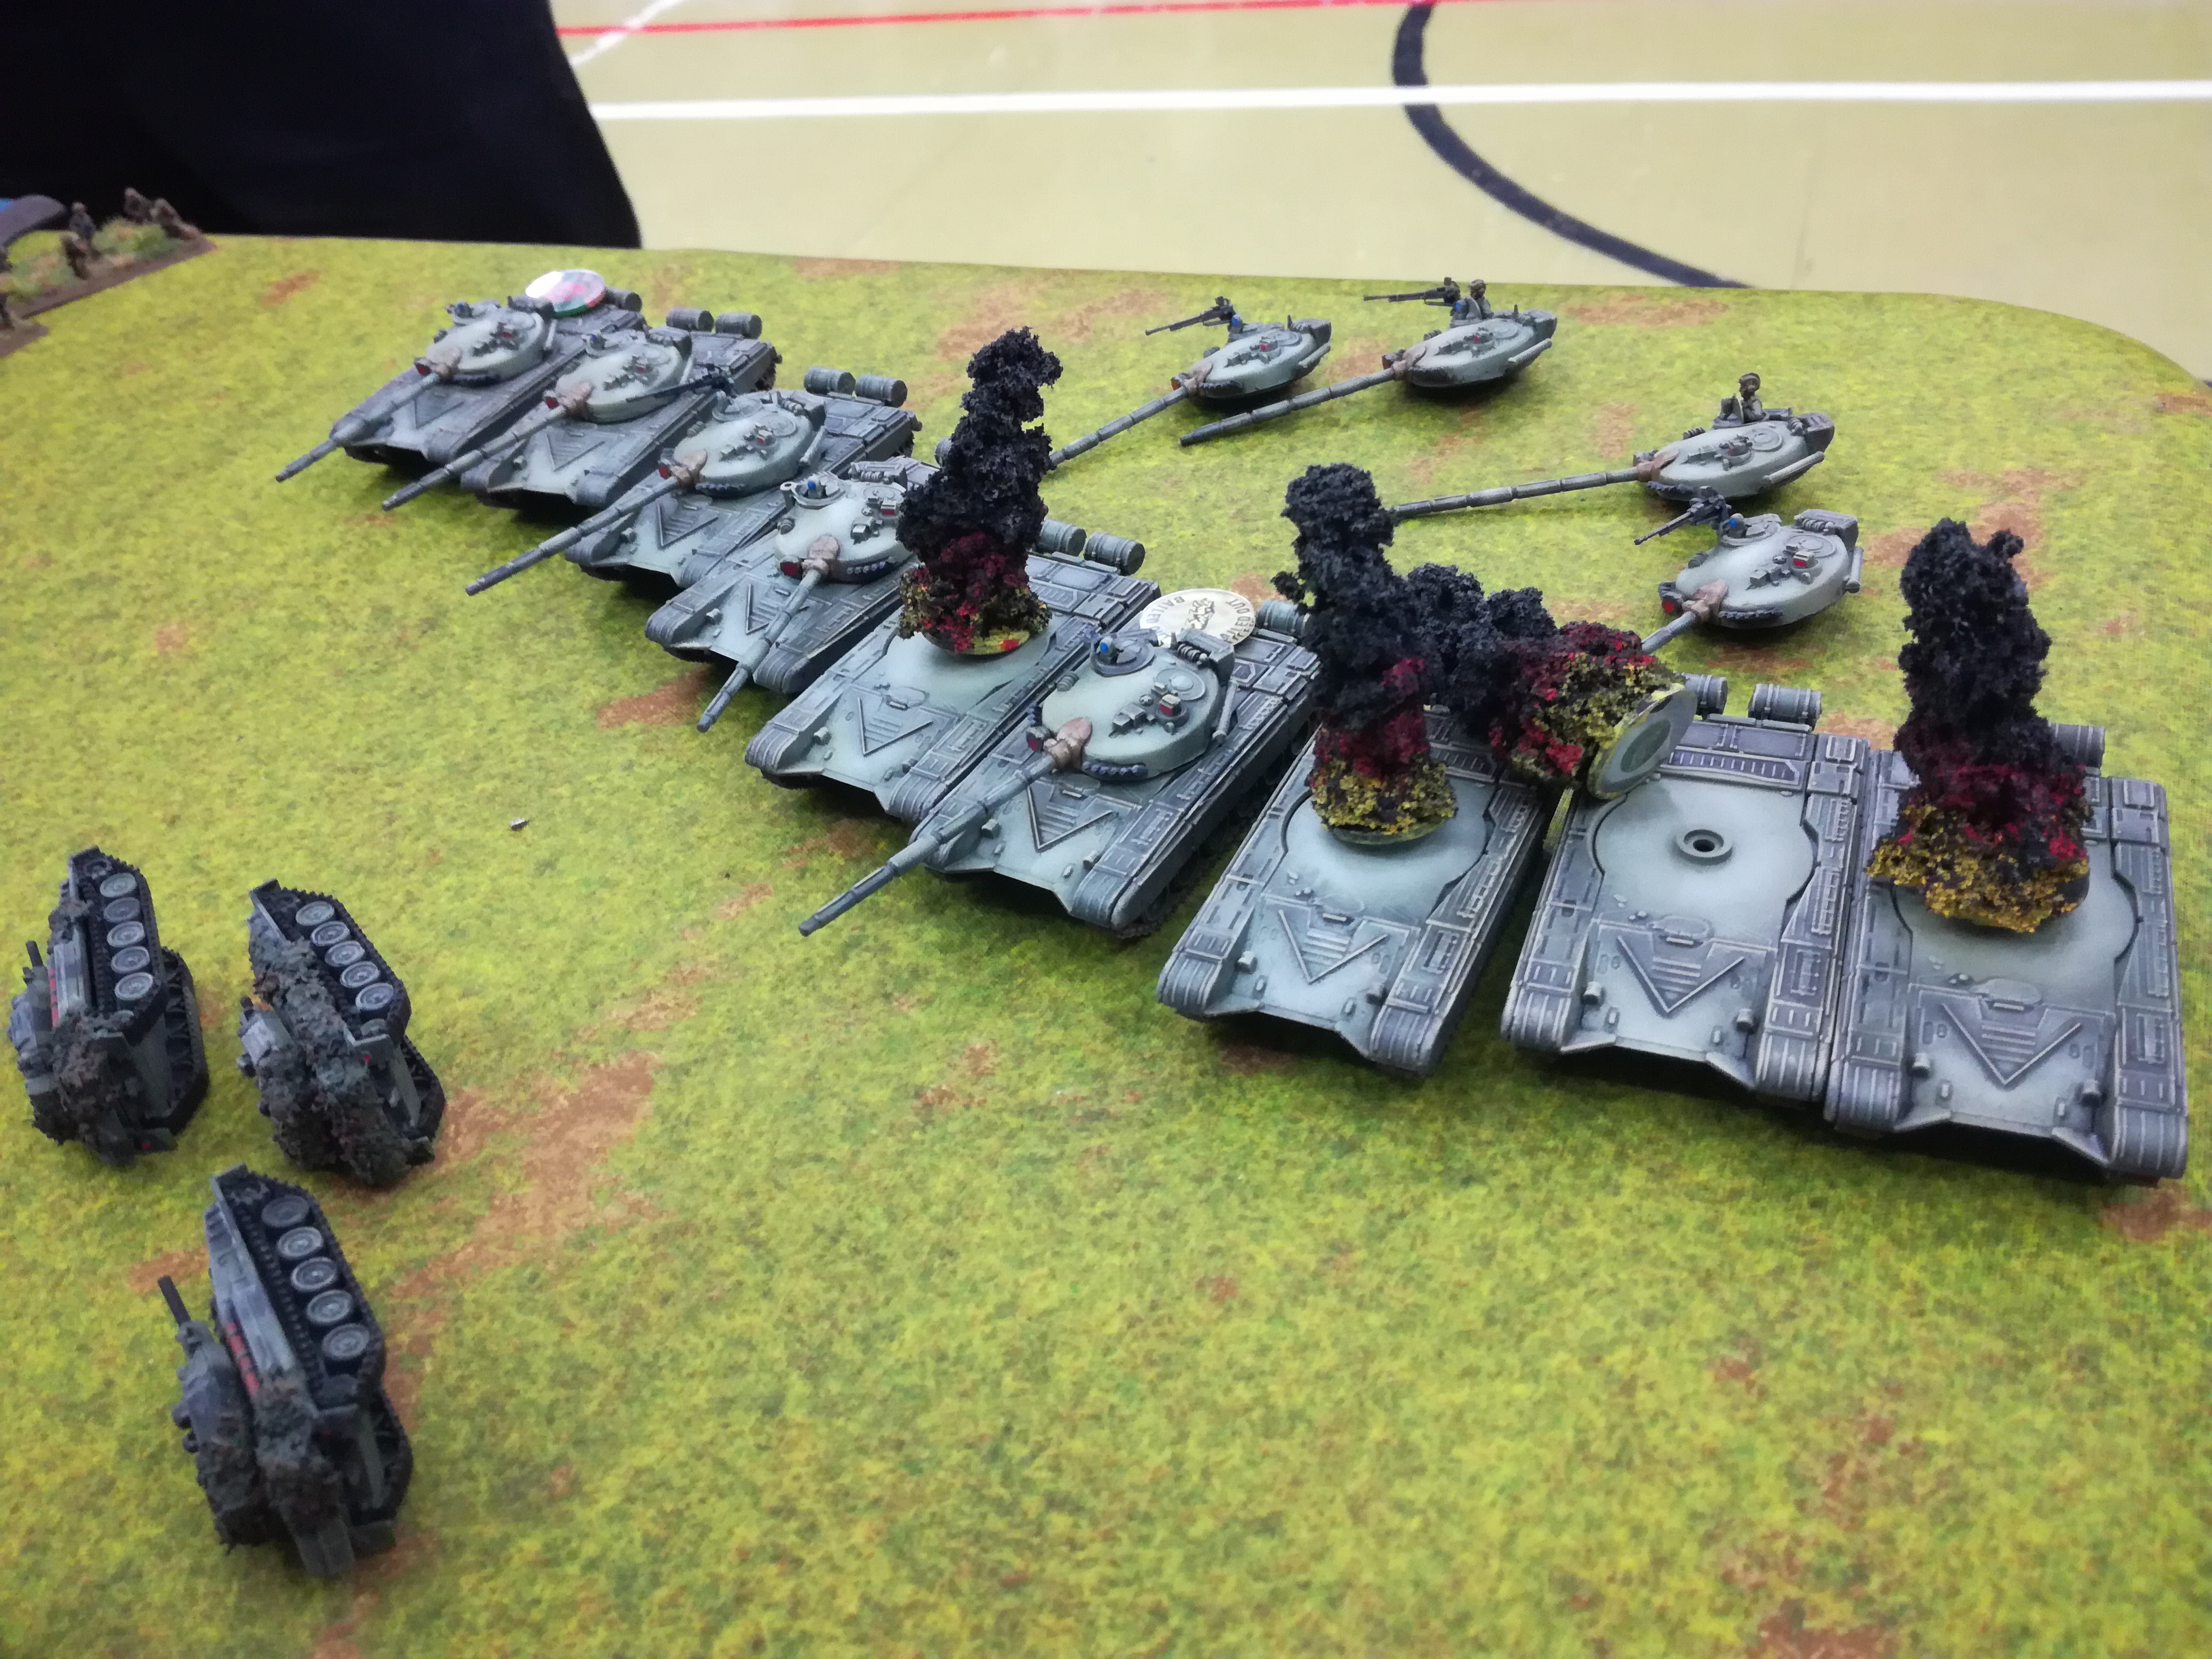
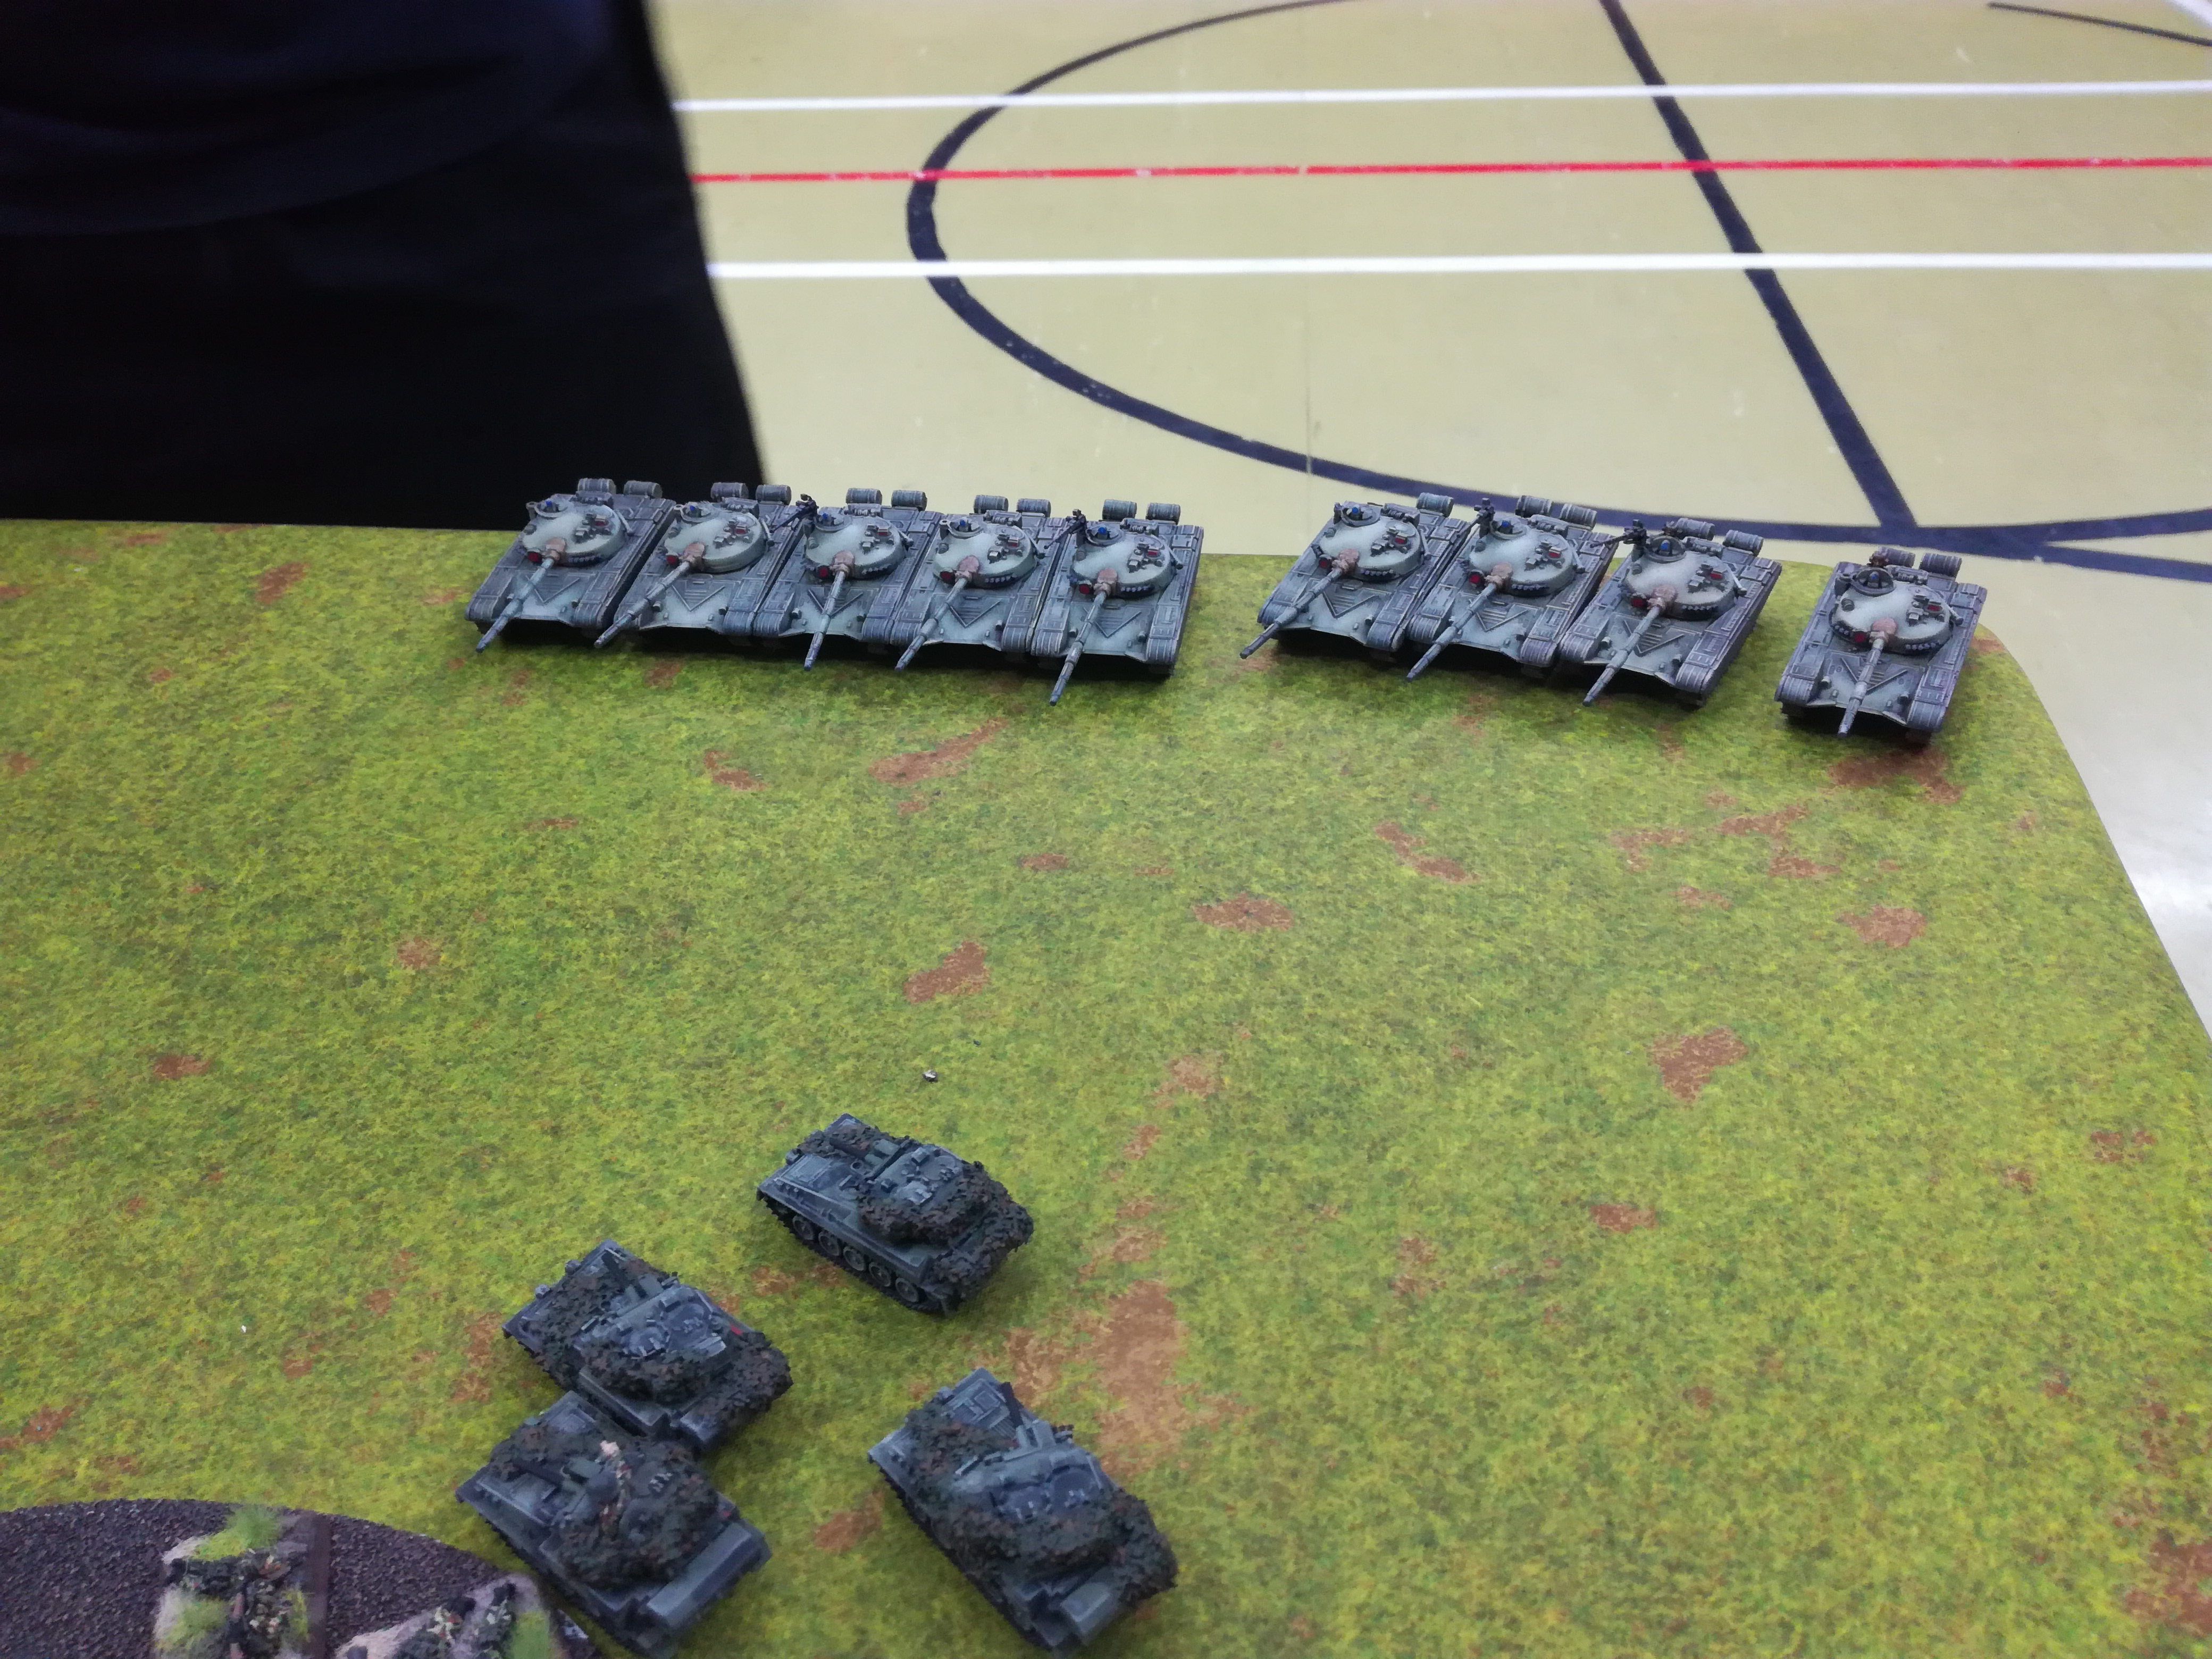
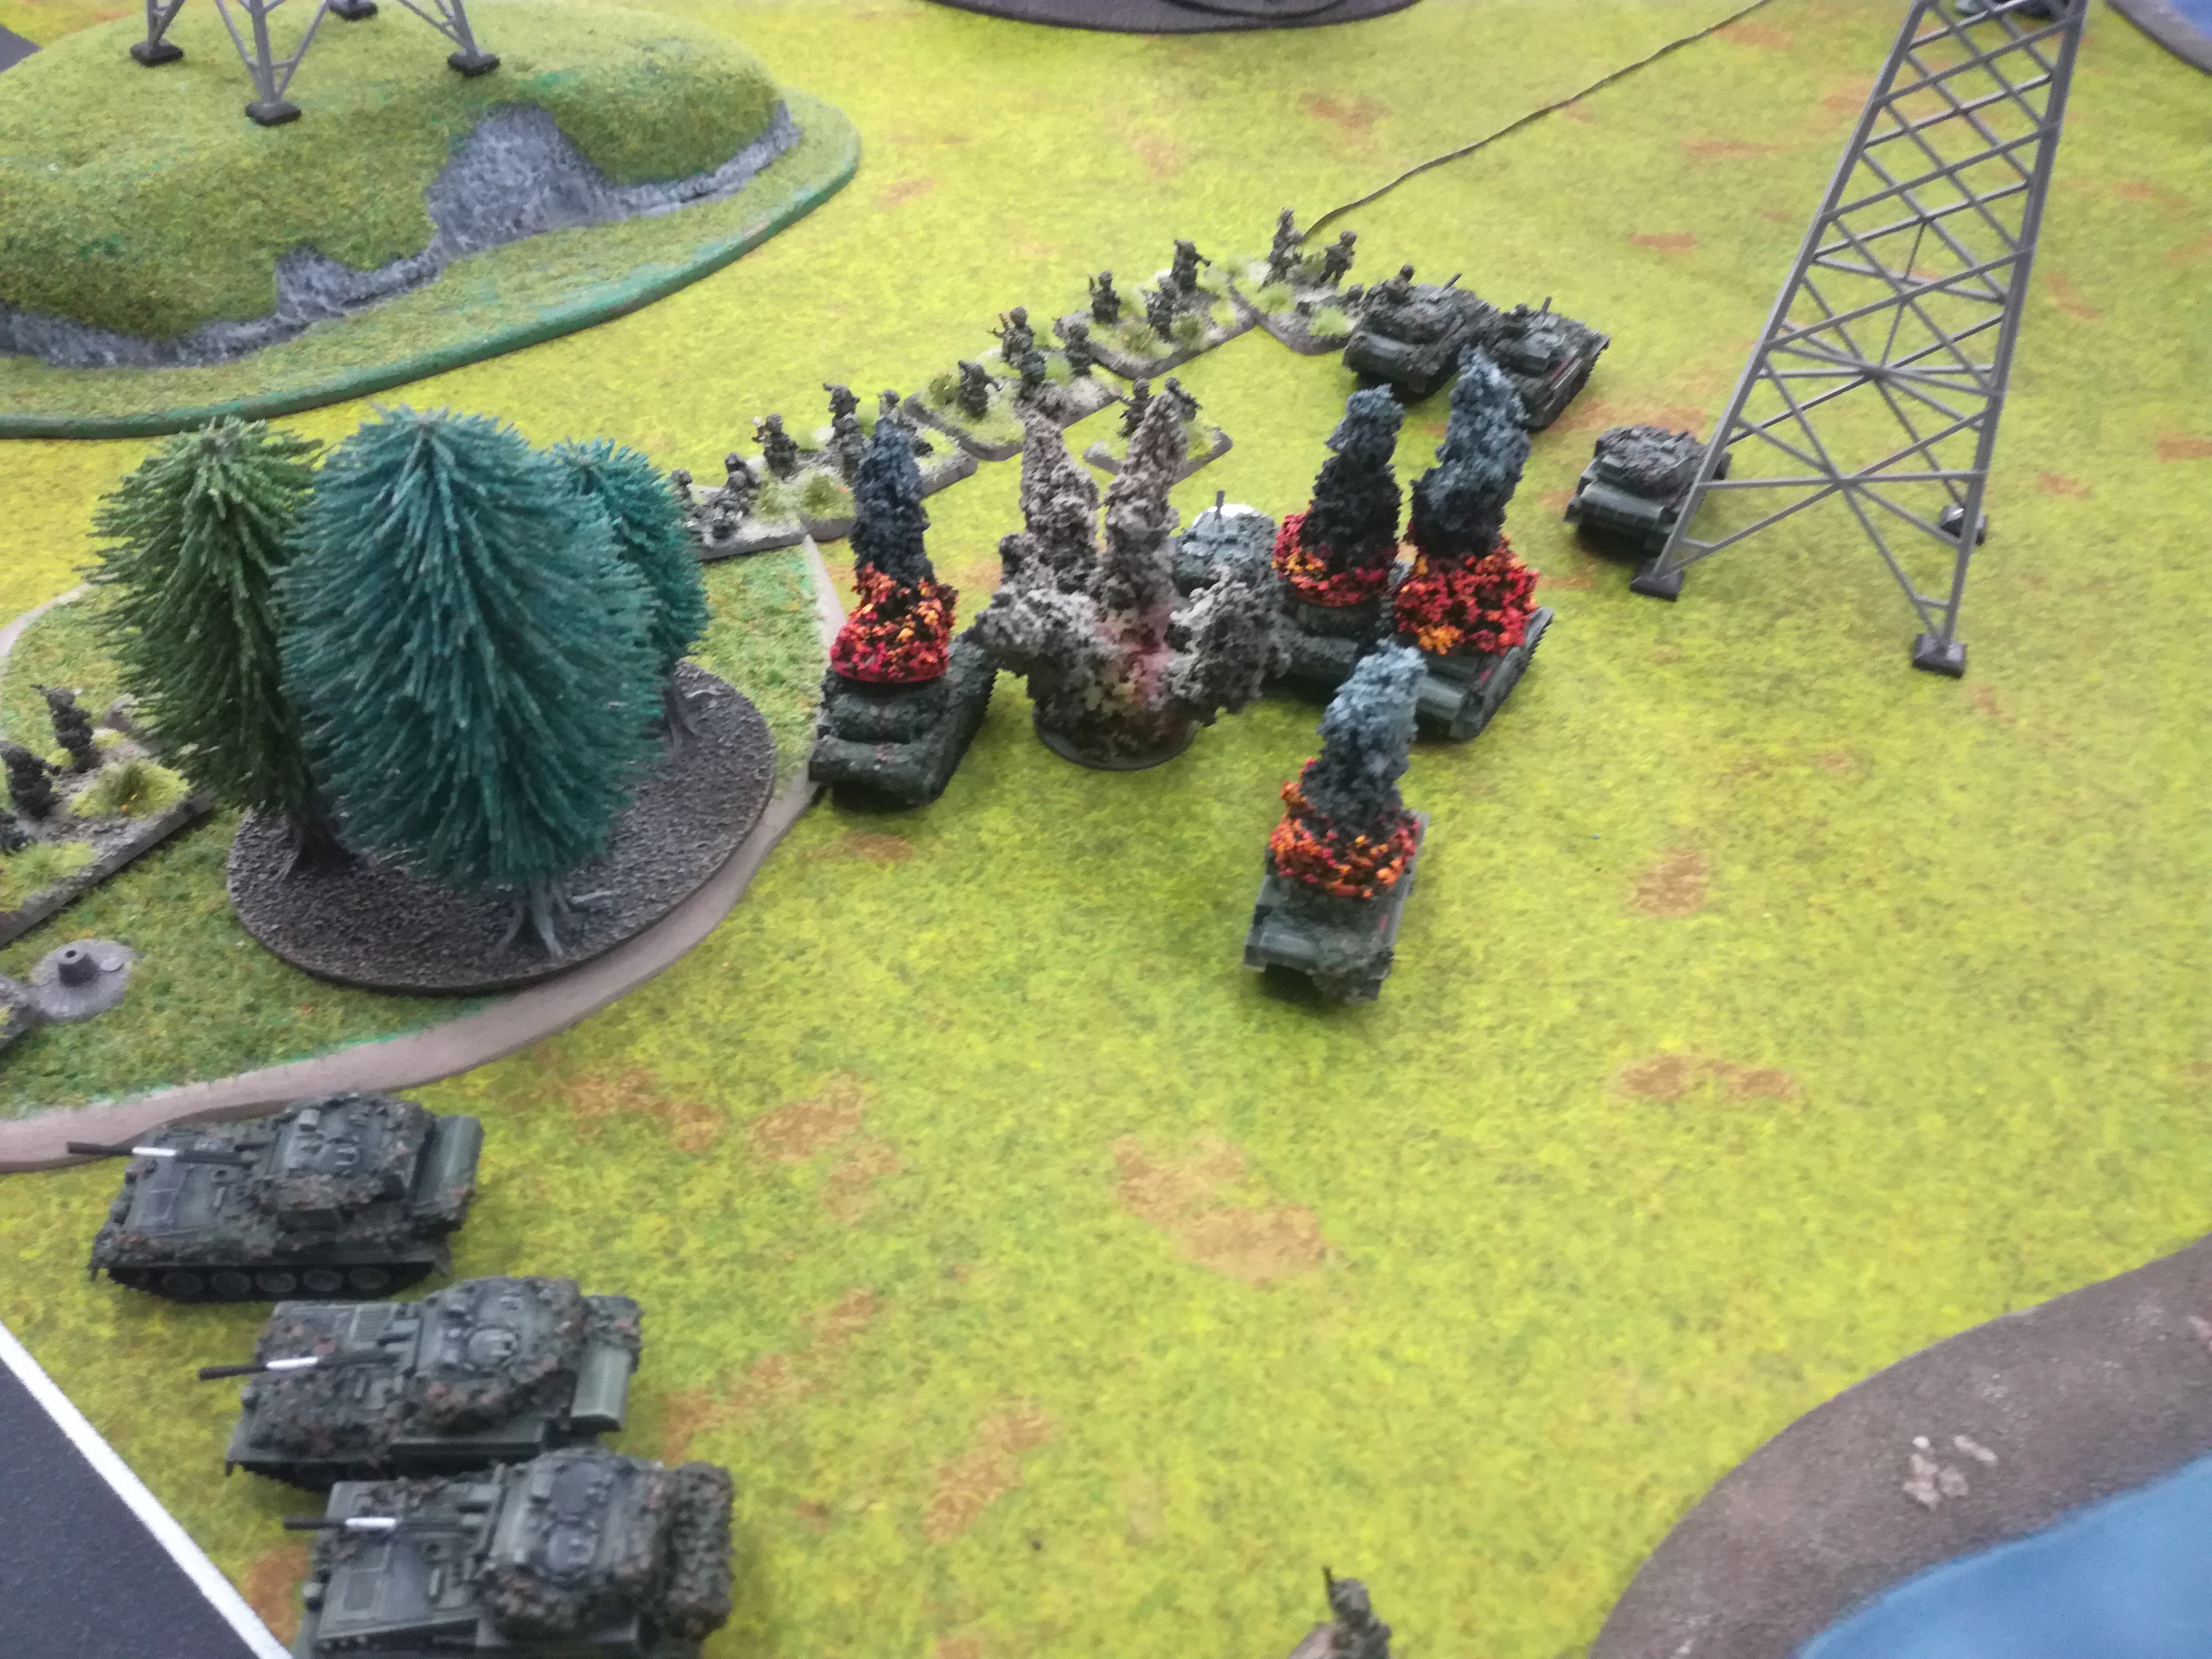
The next turn arrives and the German arrives in the form of nine T-72’s on the British right flank catching the Scorpions there out in the open with even options to shoot at the Rapiers AA defence. More infantry crosses the river on the right flank and the artillery decide to have a shot at the Aircav Milan platoon on the bridge. The arty kill one Milan and pin the platoon. The Spandrels in the front unpin and kill a Scimitars. On the right the tanks open up and five manage to miss the Rapiers, the rest kill three Scorpions leaving one still alive. The infantry closes shoot an RPG at the lone Scorpion but misses. The Helicopter redeploy to have a go at the Scimitars and kill one while surviving the Rapier shots.
The British turn see the Milan’s on the bridge unable to unpin and one lone Scorpion in front of them loose his last man standing roll destroying the unit. The Scorpion unit on the left flank fair no better and loses his last man standing roll as well causing another unit lost. The British then open fire with everything they have on the right flank and kill four T-72’s and bailing another 2. The infantry in the woods and the remaining Scorpions shoot at the infantry by the river killing a few.
It is then that we realise out time is up and the British are declared the winners as they still hold the river and have started going on the offensive.
Battle Report Author
Army Lists Used In This Battle
Recommend Commander For Commendation
Share this battle with friends
anjac22Wins

nice report, yes I dont see any blue on blue here, I think storm caller got confused
Congrats on the win.
Good show. Perhaps a bit more words and break up the pictures a bit next time. All in all good work and kudos on your victory!
Ok , now I am really lost. Since when is the East Germans friendly, they are the Volksarmee. They have Russian equipment and on the wrong side of the wall. Am i loosing it …..
Nice training exercise.
Training exercise is a Blue on Blue or Red on Red.
Tried to avoid Blue on Blue!
The “system” may have a screening criteria that will decrease value or remove the points from area calculations. The WARSAW PAC noted this last week as a Possibility reason for point in area not adding up. I can’t confirm but it’s a reasonable a reasonable assumption.
I believe Phil wrote something about “Historical” screen also that this would not pass, but you did use the right terms for both NATO and WARSAW PAC equipment
Nice report all the same. I didn’t rate, because under the stand system I use to rate all reports this report would only get a three star rating! Two for write up and 1 for group picture. I don’t want to down guard your present star rating of six.
Cheers
Good report
Why a training exercise? Lost me there
This is a fun mission. Will be setting this one up this weekend. Great AAR and thanks for sharing your FTX.
A good win, even though it’s a training exercise.