Fought At Leipzig
2214 days 11 hours 52 minutes ago
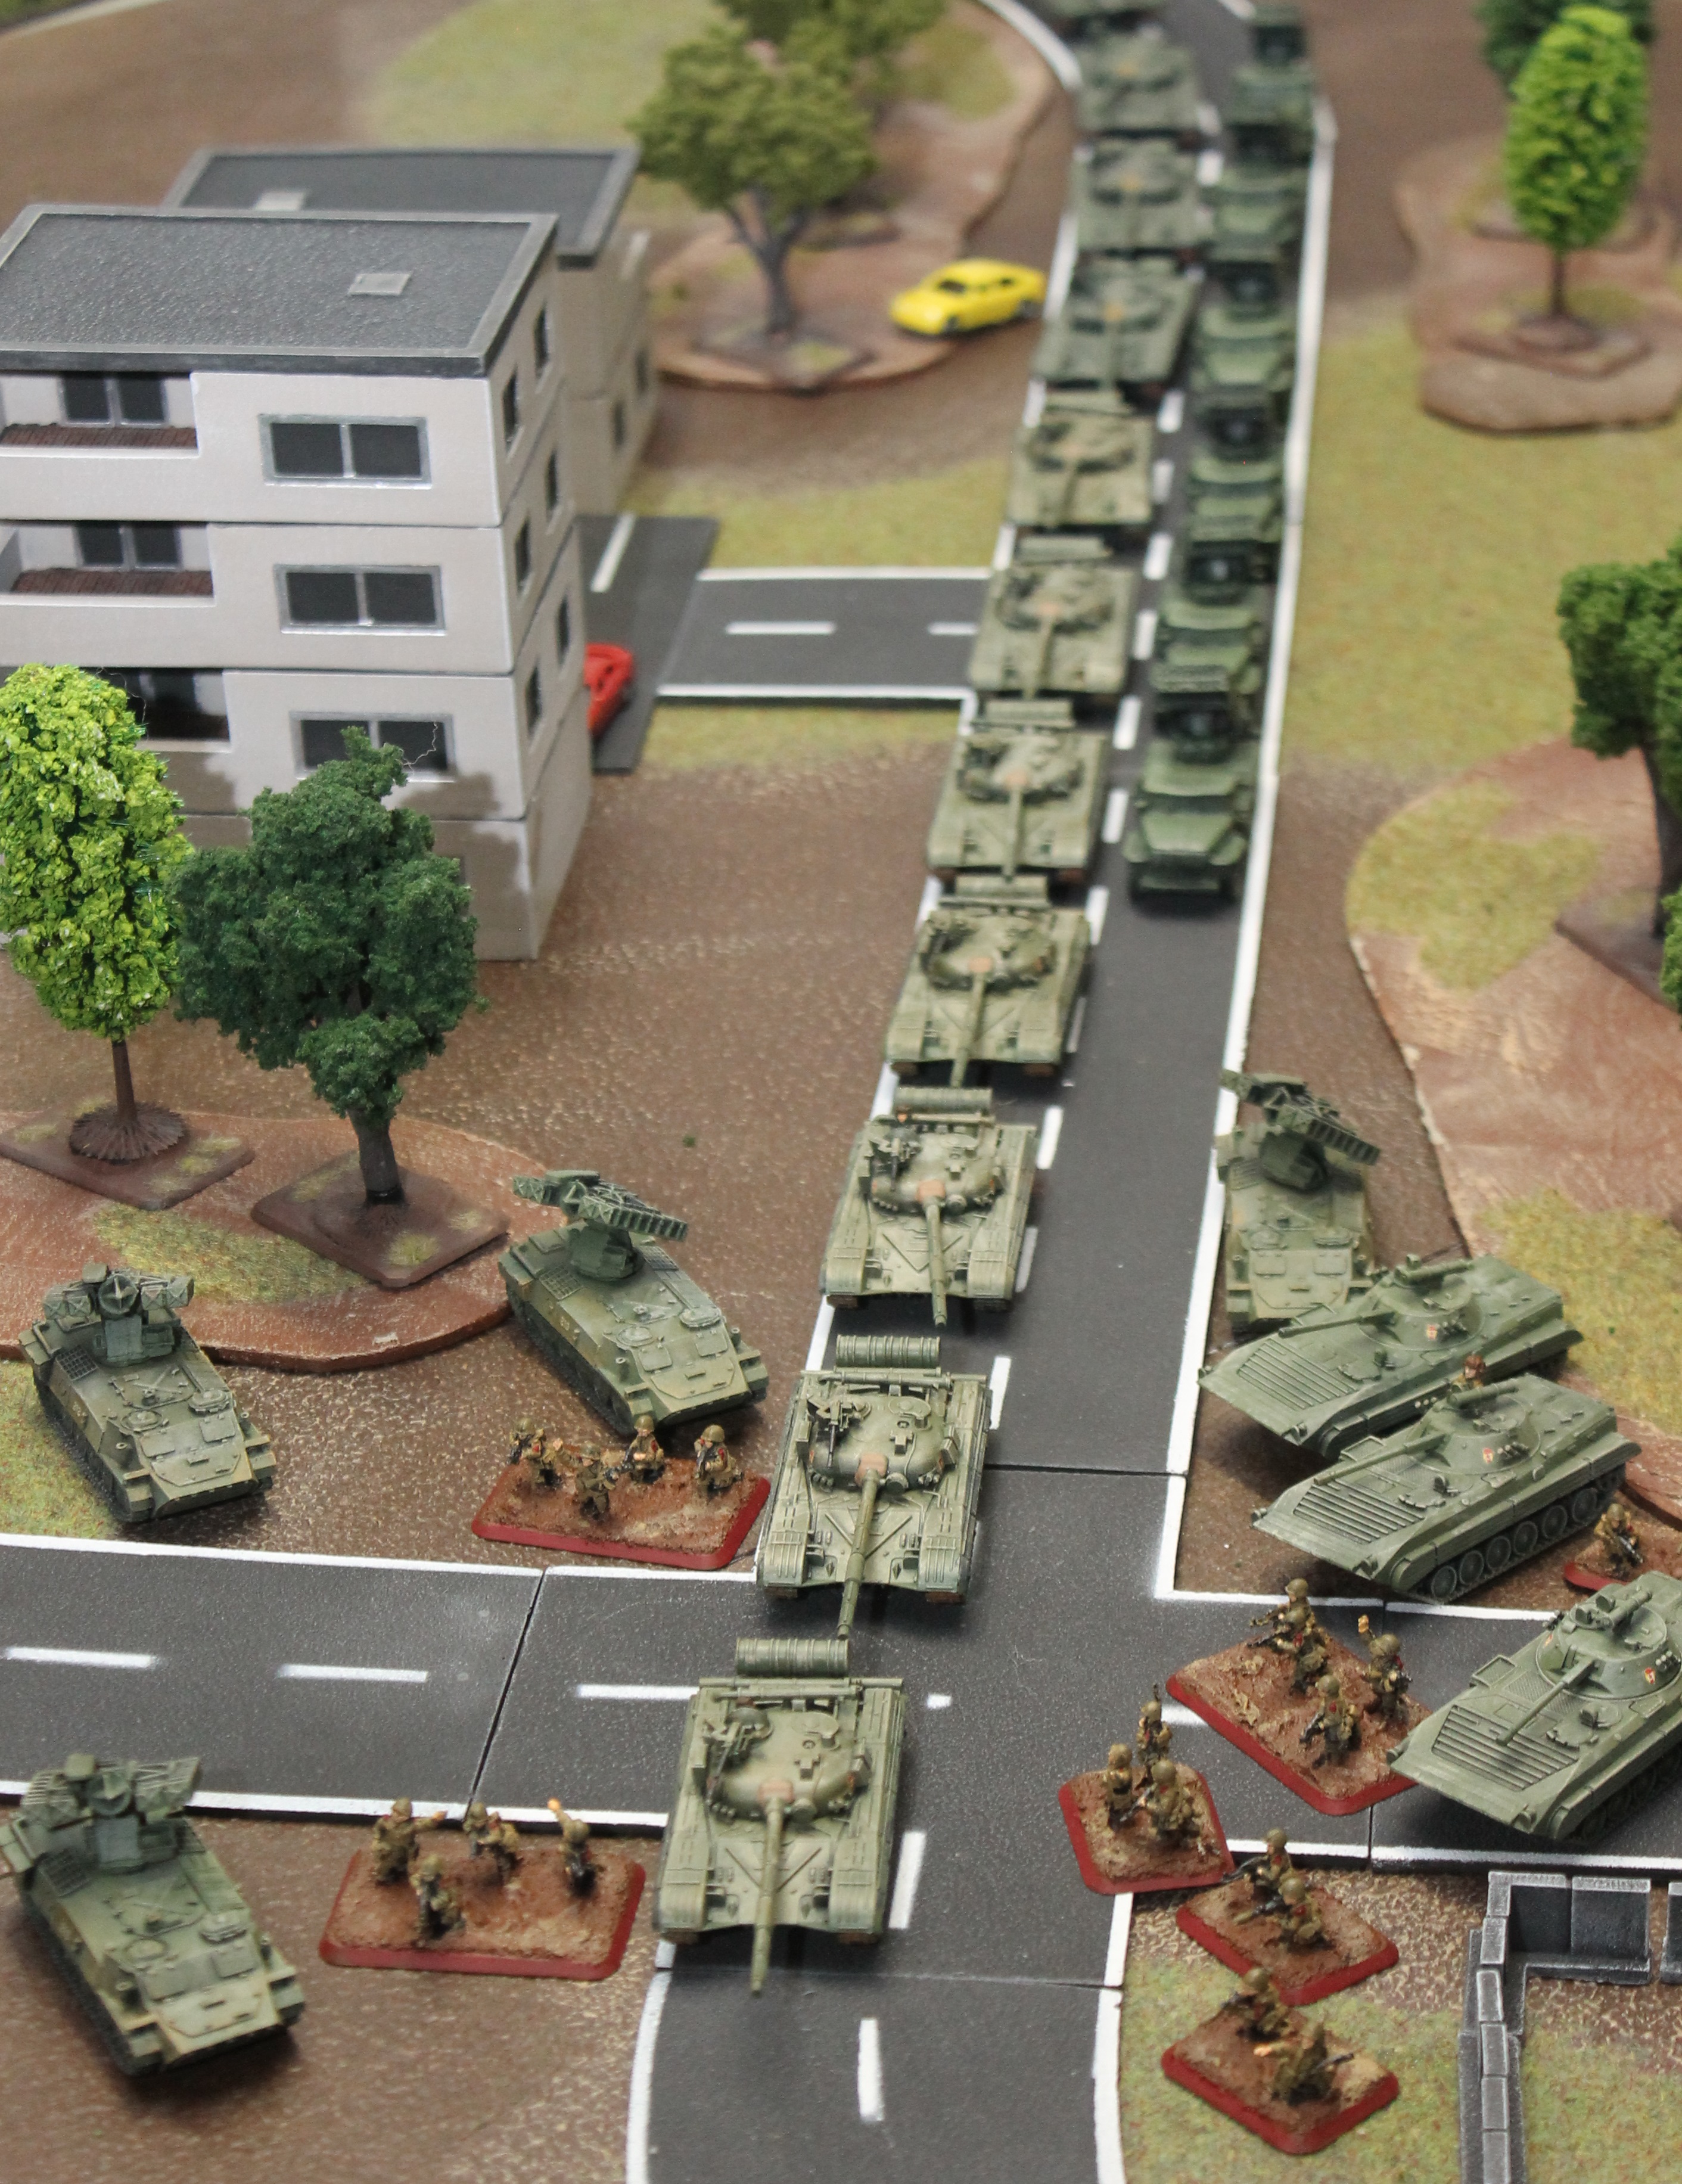
+++ REPEL THE INVADER - LEIPZIG
View Linked Report - CLICK HERE 60 POINTS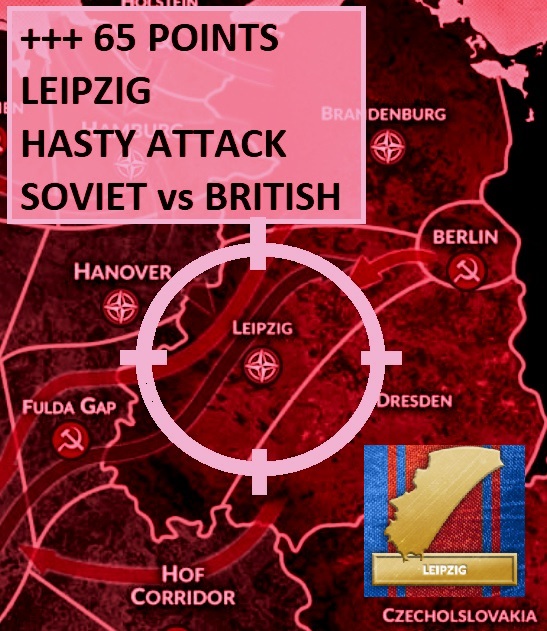
+++ ATTACKER - SOVIET
20-я гвардейская армия
20th Guards Army
35th Motor Rifle Division – Order of the Red Banner
BMP Motor Rifle Battalion - 65
HQ
HQ AK-74 – 1x BMP-2 2
FORMATION UNITS 45
BMP-2 Motor rifle – med: 7xAk-74, 6xRPG-7, 2x LMG
10x BMP-2, 1x Gremlin AA 20
BMP-2 Motor Rifle – small: 4xAk-74, 3xRPG-7, 4x BMP-2 8
ZSU-23-4 Shilka SAM Plt – 4x Shilka 4
T-64 Coy, 3x T-64 13
SUPPORT UNITS 18
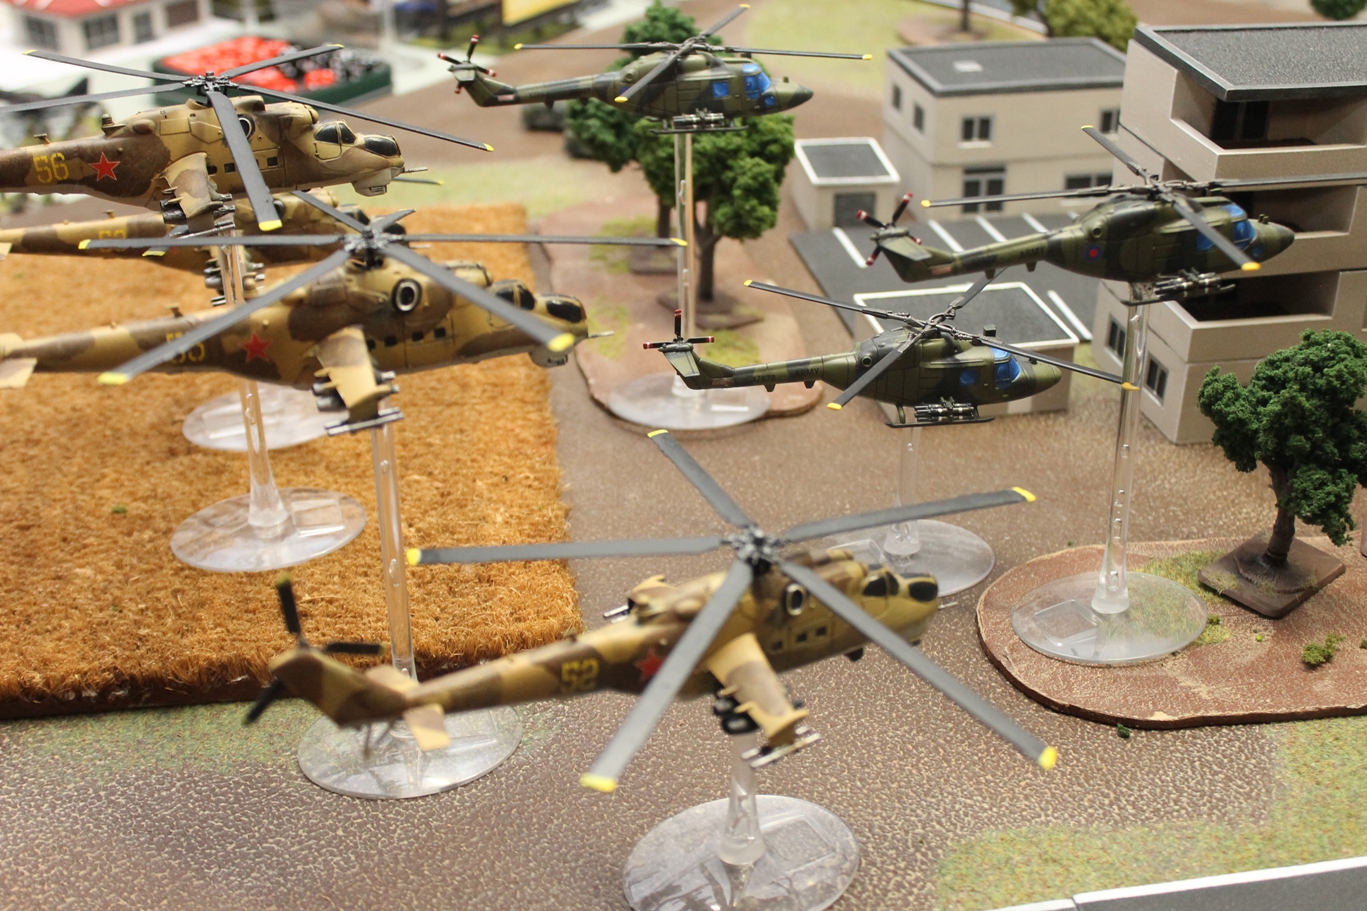
MI-24 Hind – 4x Hind 10
BM-21 Hail Rocket Launcher Battery 3x BM-21 4
BMP-1 Observation Post (Independent unit) 1
Storm AT Platoon 3x Storm 3
+++ DEFENDER BRITISH
NORTHAG
Mech Company
64 Points
HQ 3
HQ –Infantry, FV432 1
- CPMG 2x CPMG 2
FORMATION UNITS 25
FV432 Mech Plt. 3x CPMG, 2x Carl Gustav, 1x mortar
- 2x MILAN & 4x FV432 7
FV432 Mech Plt. 3x CPMG, 2x Carl Gustav, 1x mortar
- 2x MILAN & 4x FV432 7
Abbot Field Battery 4x Abbot 6
FV FOO 1
Spartan Mobile Milan – 4x Spartan 4
SUPPORT UNITS 36
Scimitar Recce 4x Scimatar 4
Scorpion Recce Troop 4x Scorpion 4
Rapier SAM – 4x Rapier 6
TOW Lynx Helarm 4x TOW Lynx 12
Harrier CAS – 4x Harriers 10
+++
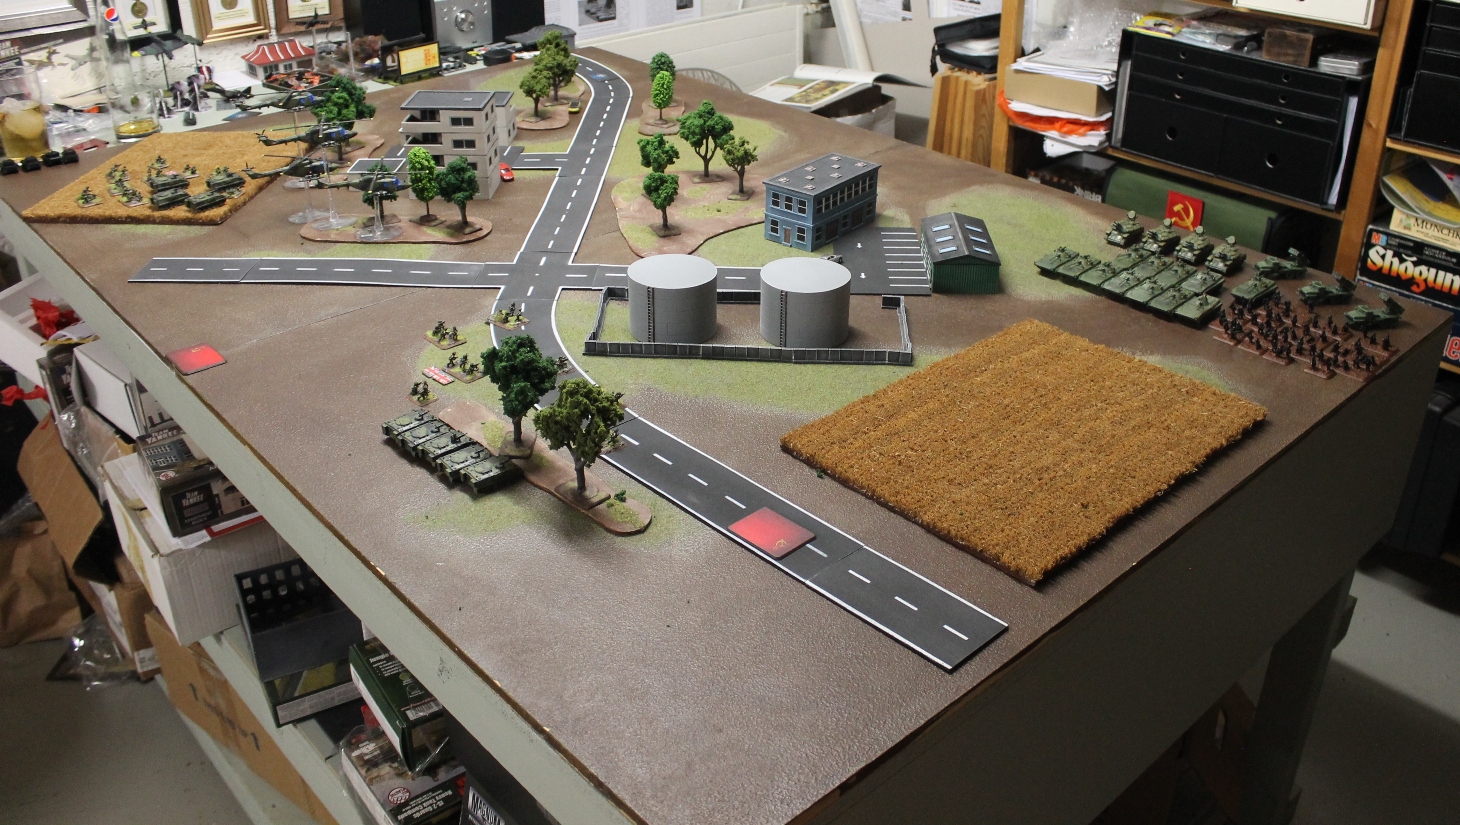
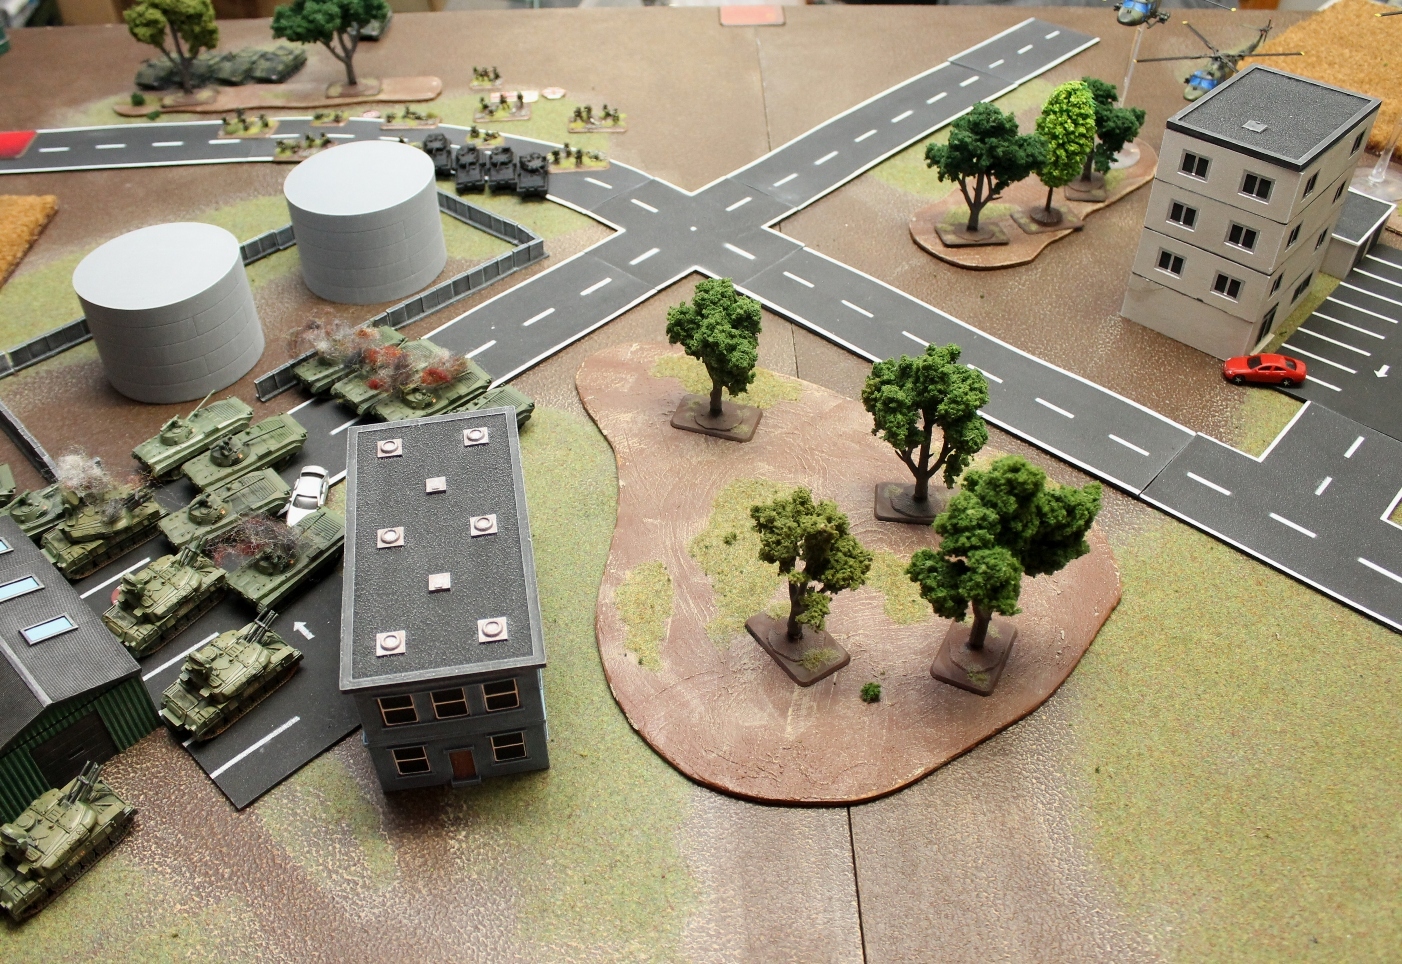
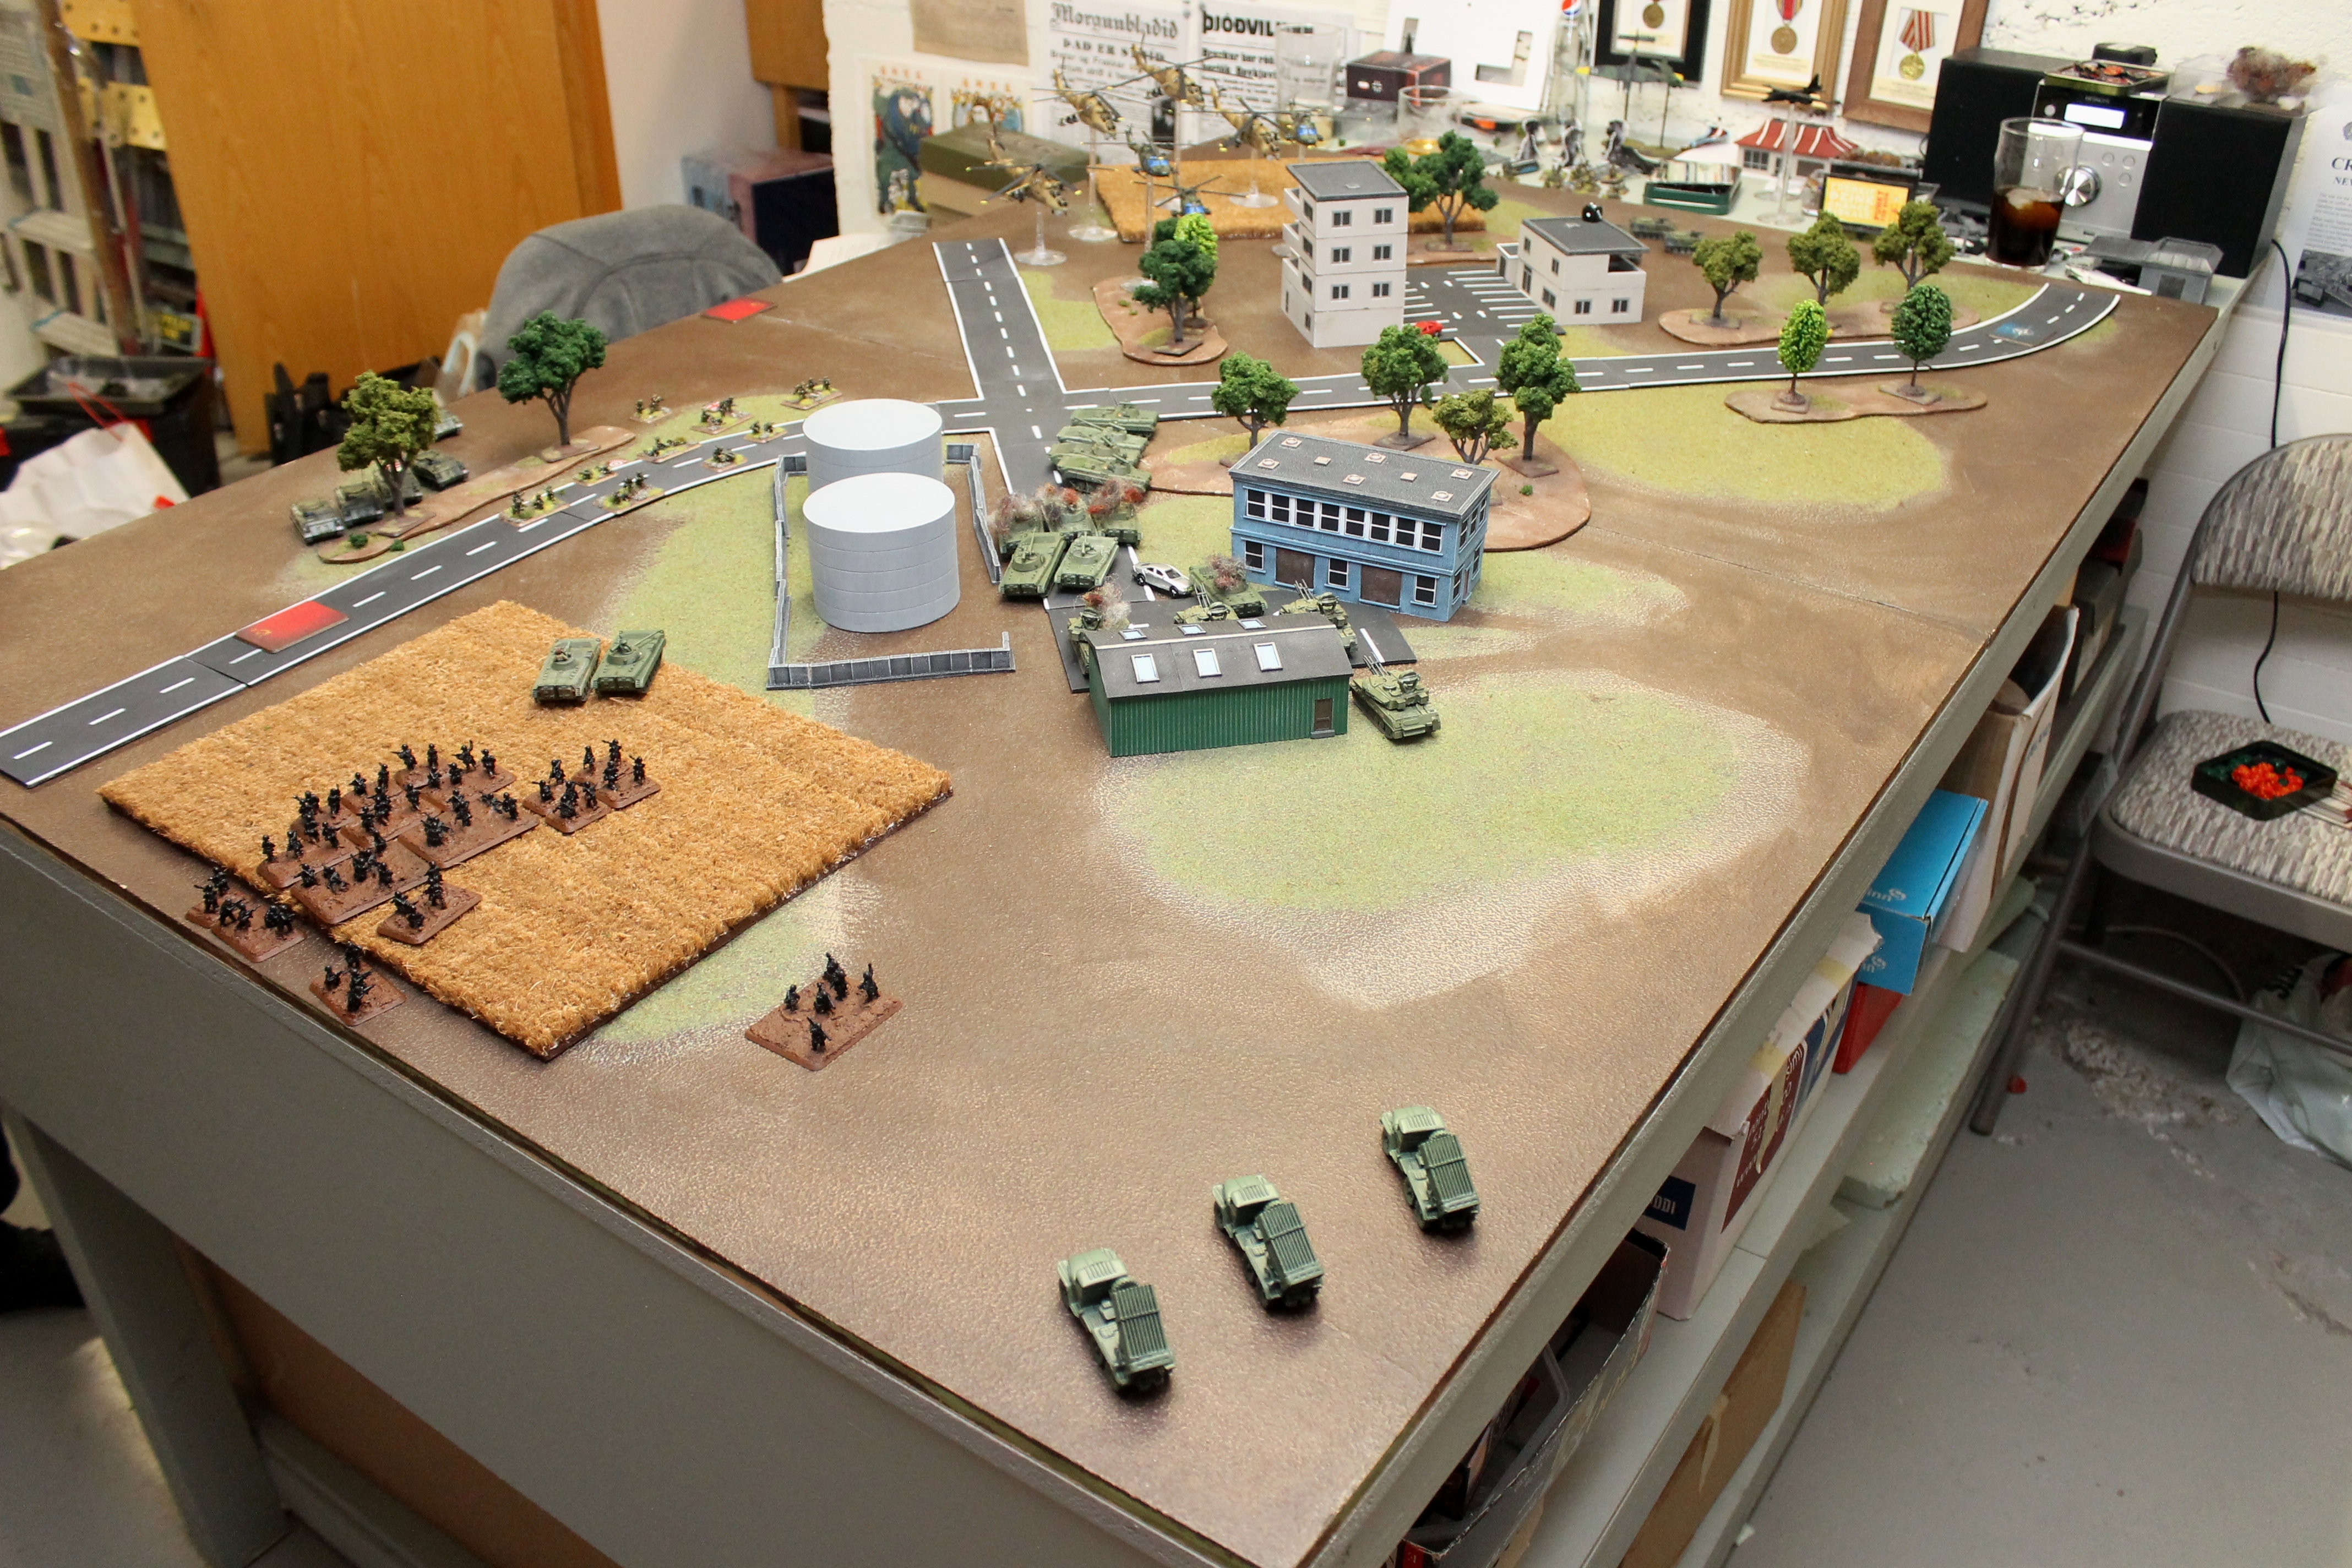
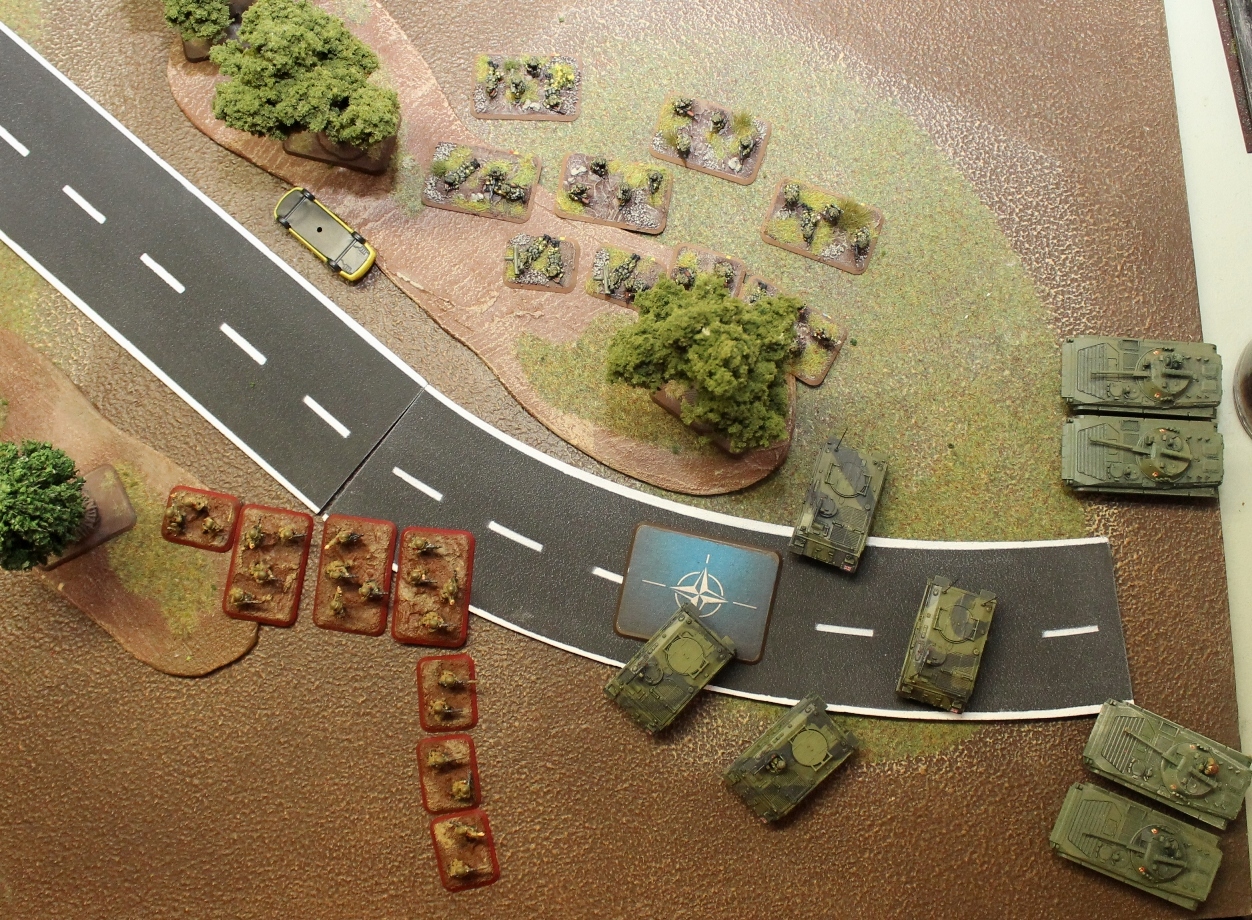
Red Alert won the roll to be the attacker. Then the table was set up.
Major Beaver picked his two infantry teams, Lynx helicopters and the Scorpions in Ambush.
Against them Red Alert selected his large BMP-2, Hails and Shilkas.
Once Red Alert removed an objective the battle lines were clear.
+++ SOVIET TURN 1
Hasty attack along the left flank. Since the majority of the British were Gone to ground and at long range there was little shooting but the Hails ranged in and pinned the British infantry but failed to destroy anything.
+++ BRITISH TURN 1
One infantry platoon was now dug in on an empty space, but rather than moving to support the defence they charged forward in attempt to secure the NATO objective that was completely unguarded.
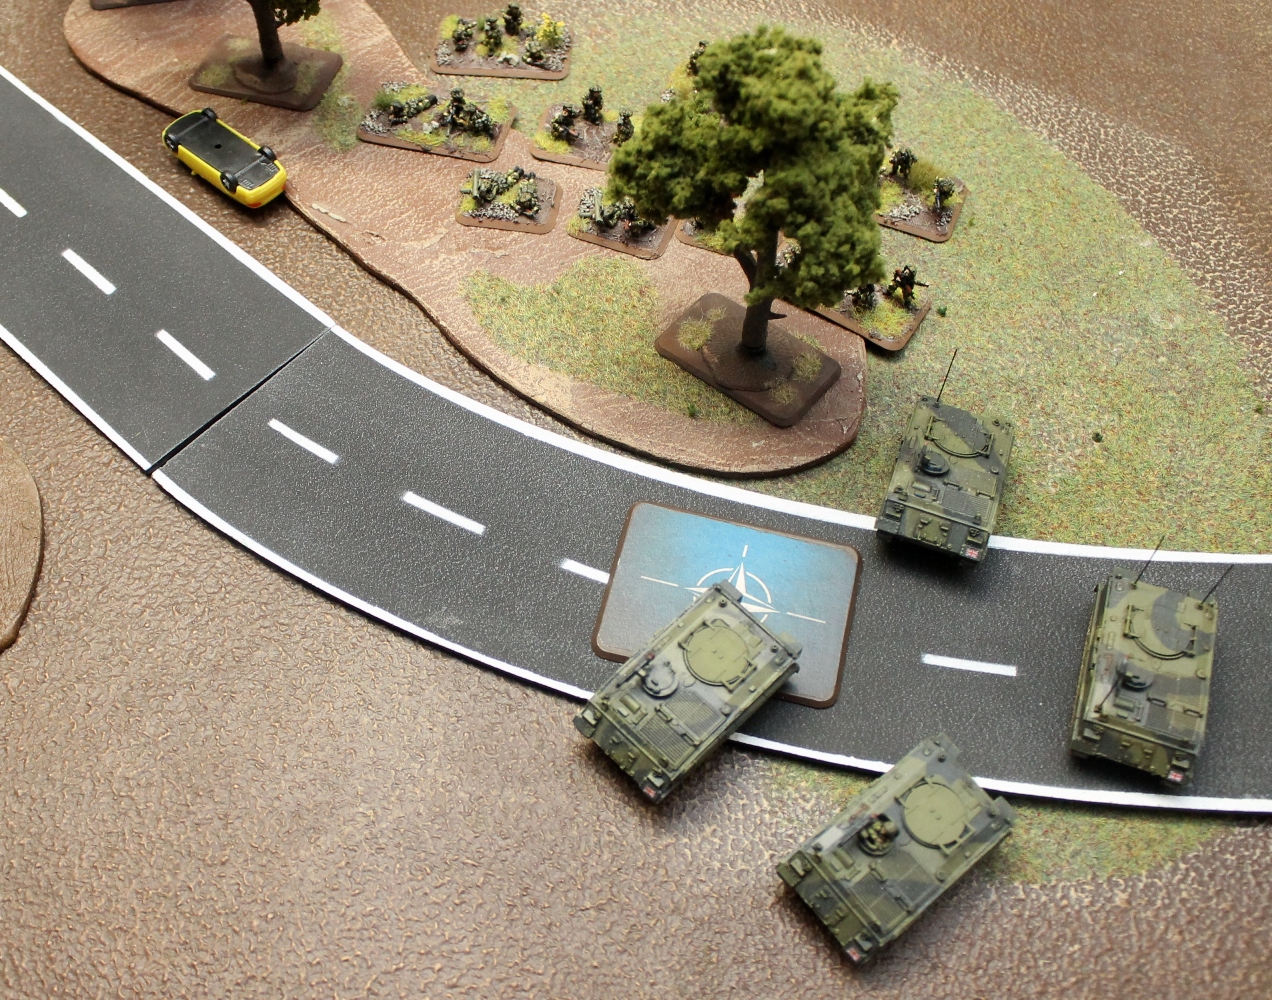
The Scorpions sprung their ambush, but their fire only destroyed 2 BMP-2's
The infantry even pinned, added 2 more and one bailed.
Lynx Helicopters used their range to fire at the Shilkas and burned one and bailed another against the loss of one of their own.
+++ SOVIET TURN 2
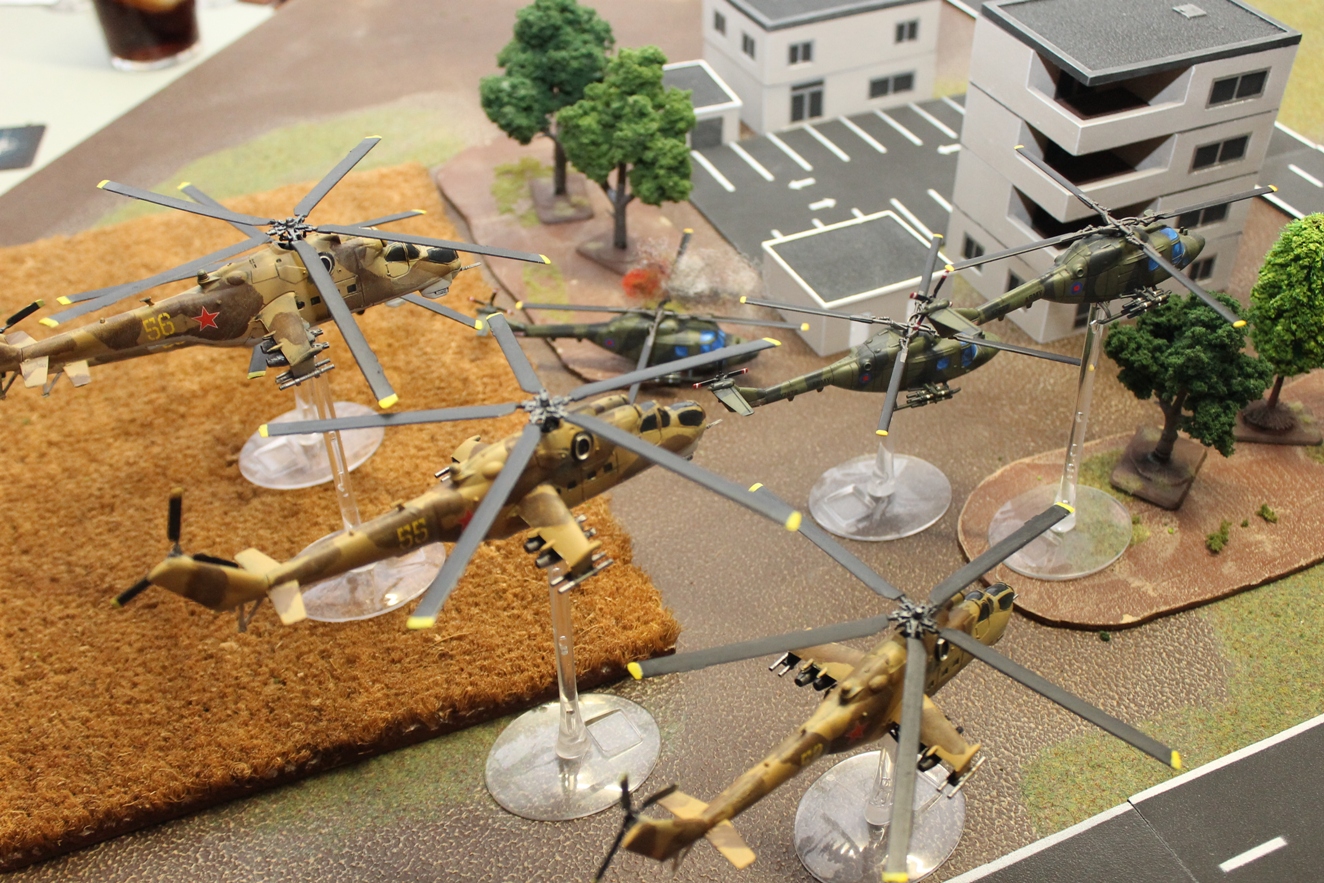
Reserves! Despite the obvious danger to the NATO objective the Soviet commander calls in Mi-24 Krokodils to deal with the Lynx, trusting his reserves next turn to deal with the rash British.
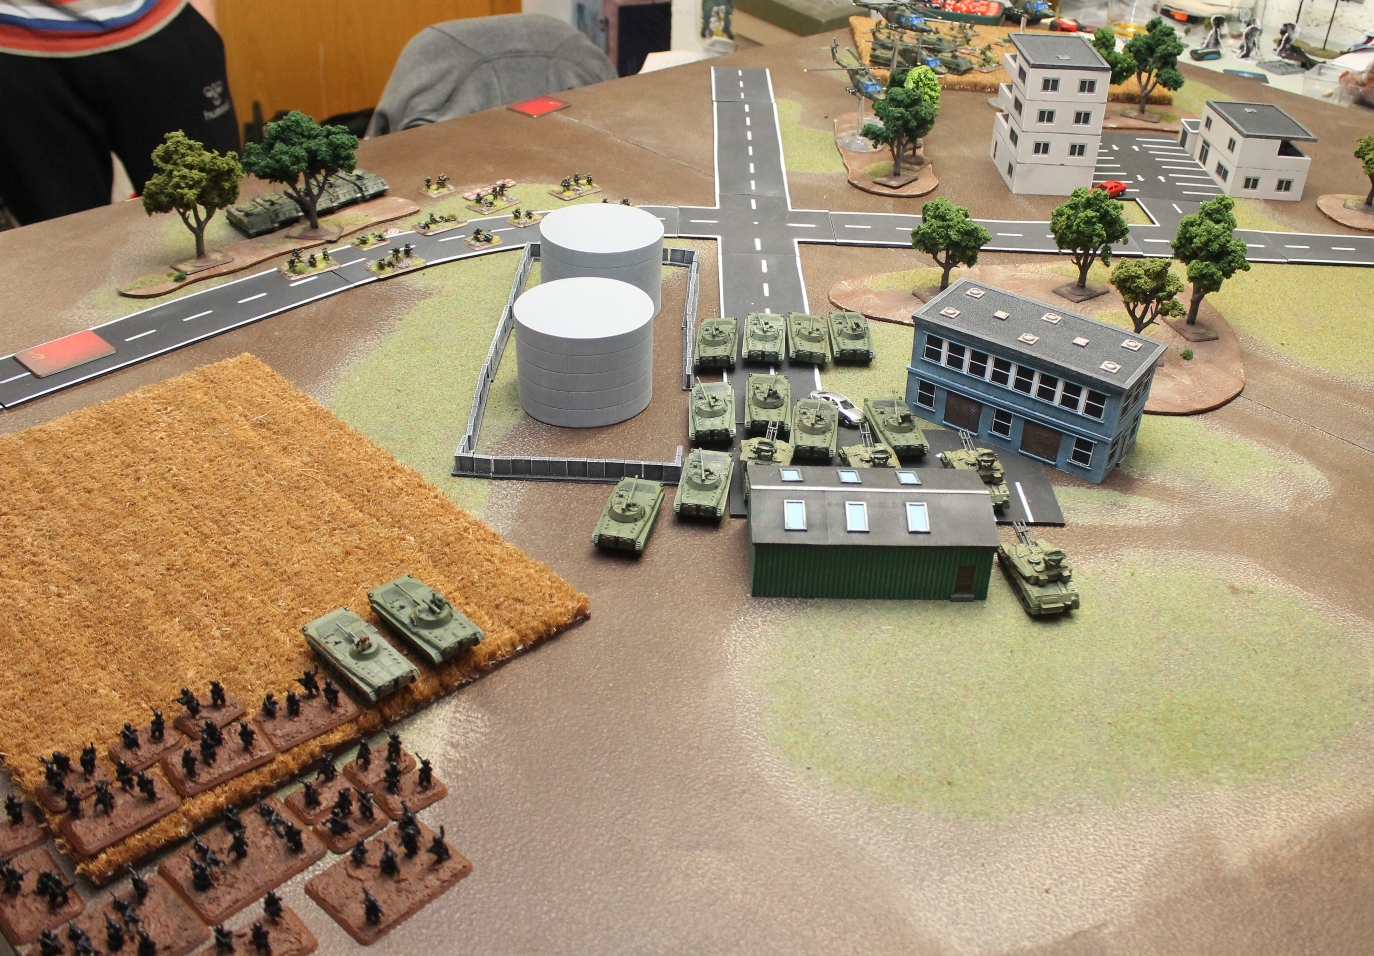
The infantry and BMP-2s advance.
Hails start and do some damage. Then the fire of the BMP-2s manage to destroy two Scorpions and bail the other two, which flee.
Then despite concentrated fire against the Lynx no Helo is downed.
+++ BRITISH TURN 2
The infantry and their transports make a grab at the objective, helped by a successful "Follow me" order.
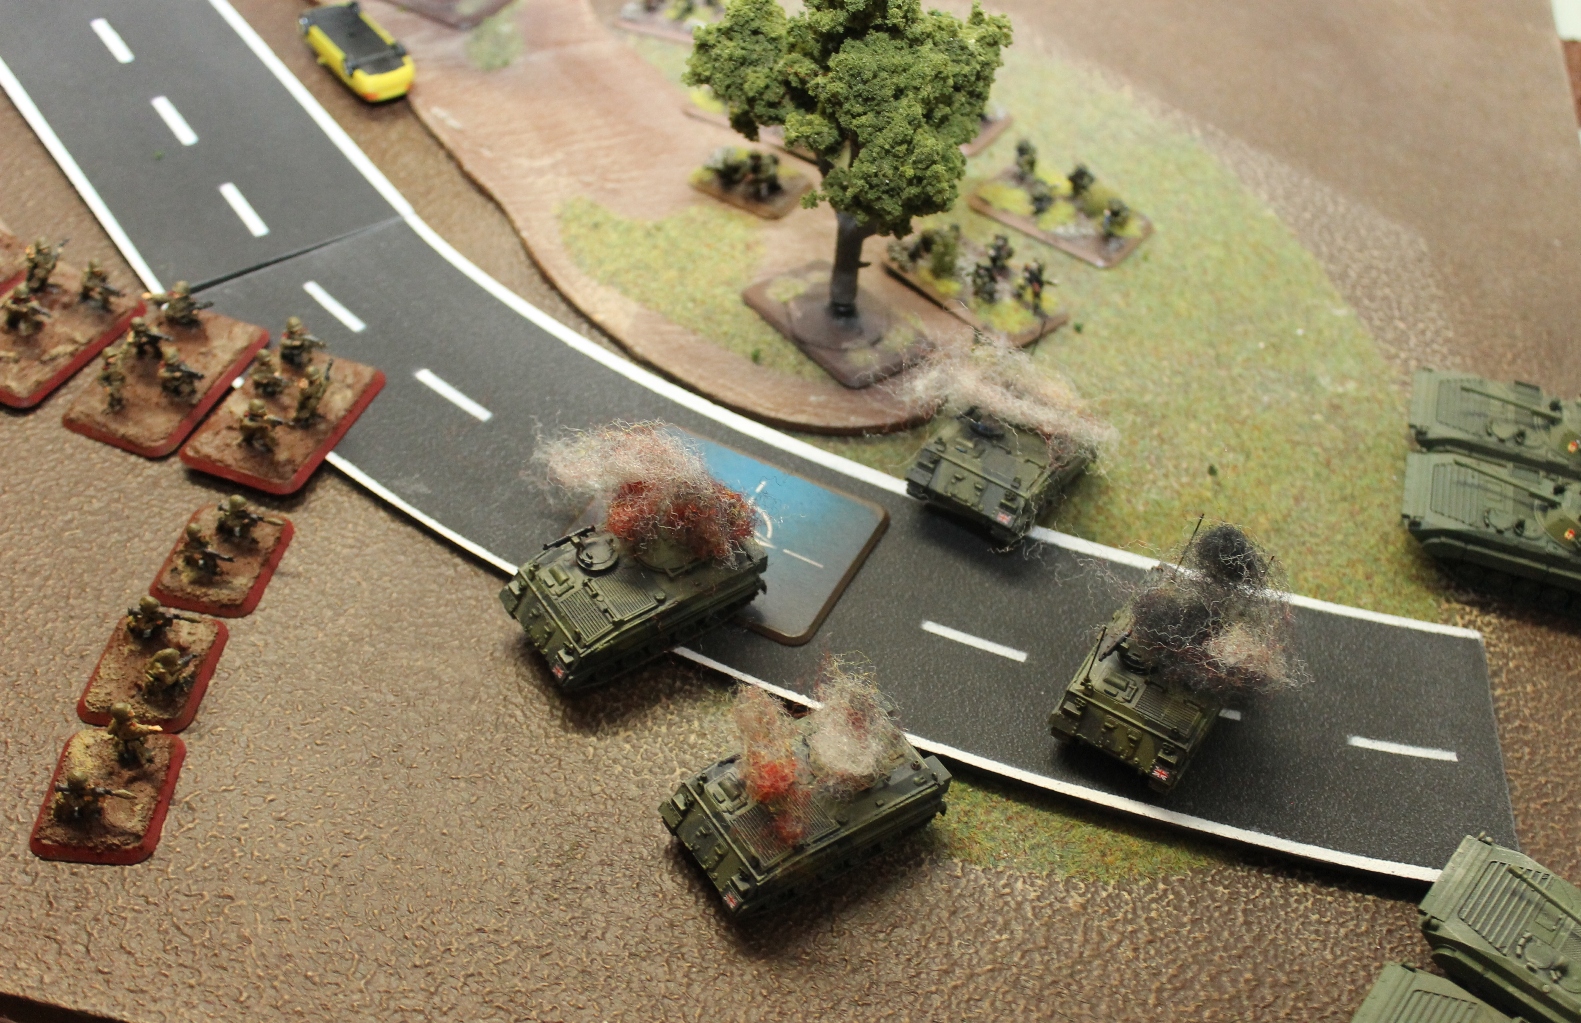
Heavy machine-gun fire takes out 3 Soviet infantry teams and pinning the rest. The BMP-2s suffer rockets from the infantry and lose 2 more of their number.
Lynx are unharmed but only manage to bail another Shilka, forceing a morale test that they pass.
+++ SOVIET TURN 3
Reserves; the other BMP-2 company, that move against the British infantry.
Hard to decide what to do with the Hinds, but the Lynx are a big threat and soon the Harriers might arrive so the Hinds stay on them. BMP-2's from the larger Company engage targets of opportunity. The infantry however fail to unpin so they go to ground.
Hails destroy a carrier. Fire against the Lynxes is again ineffective, but around the objective the FV432 are destroyed and three infantry teams are destroyed.
+++ BRITISH TURN 3
Harriers arrive from reserves and on the table. They move to support the infantry going for the objective.
Much else stays in place.
The BMP-s lose two more of their number and one bailed, with only one active remaining but the Company passes morale.
Lynx attempt to deal with the Shilkas but this time they AA fire brings two of their number down against one Shilka bailed and the Lynx flee.
But it is the Harriers and infantry going against the objective that shine. The Harriers use their 30mm Aden gun and with the fire from the infantry they wipe out the Soviet Motor Rifle Company, forcing their BMP-2s to leave the table.
We decided to go with the rule that it was sufficient to start within 10cm / 4" and end with no enemy contesting to win (in the book you have to start the turn in full possession but this is how it is in all the newer missions).
Having lost three units, - Scorpions, FV432 transport unit and Lynx helicopters, Major Beaver scores a 4-3 win in Leipzig.
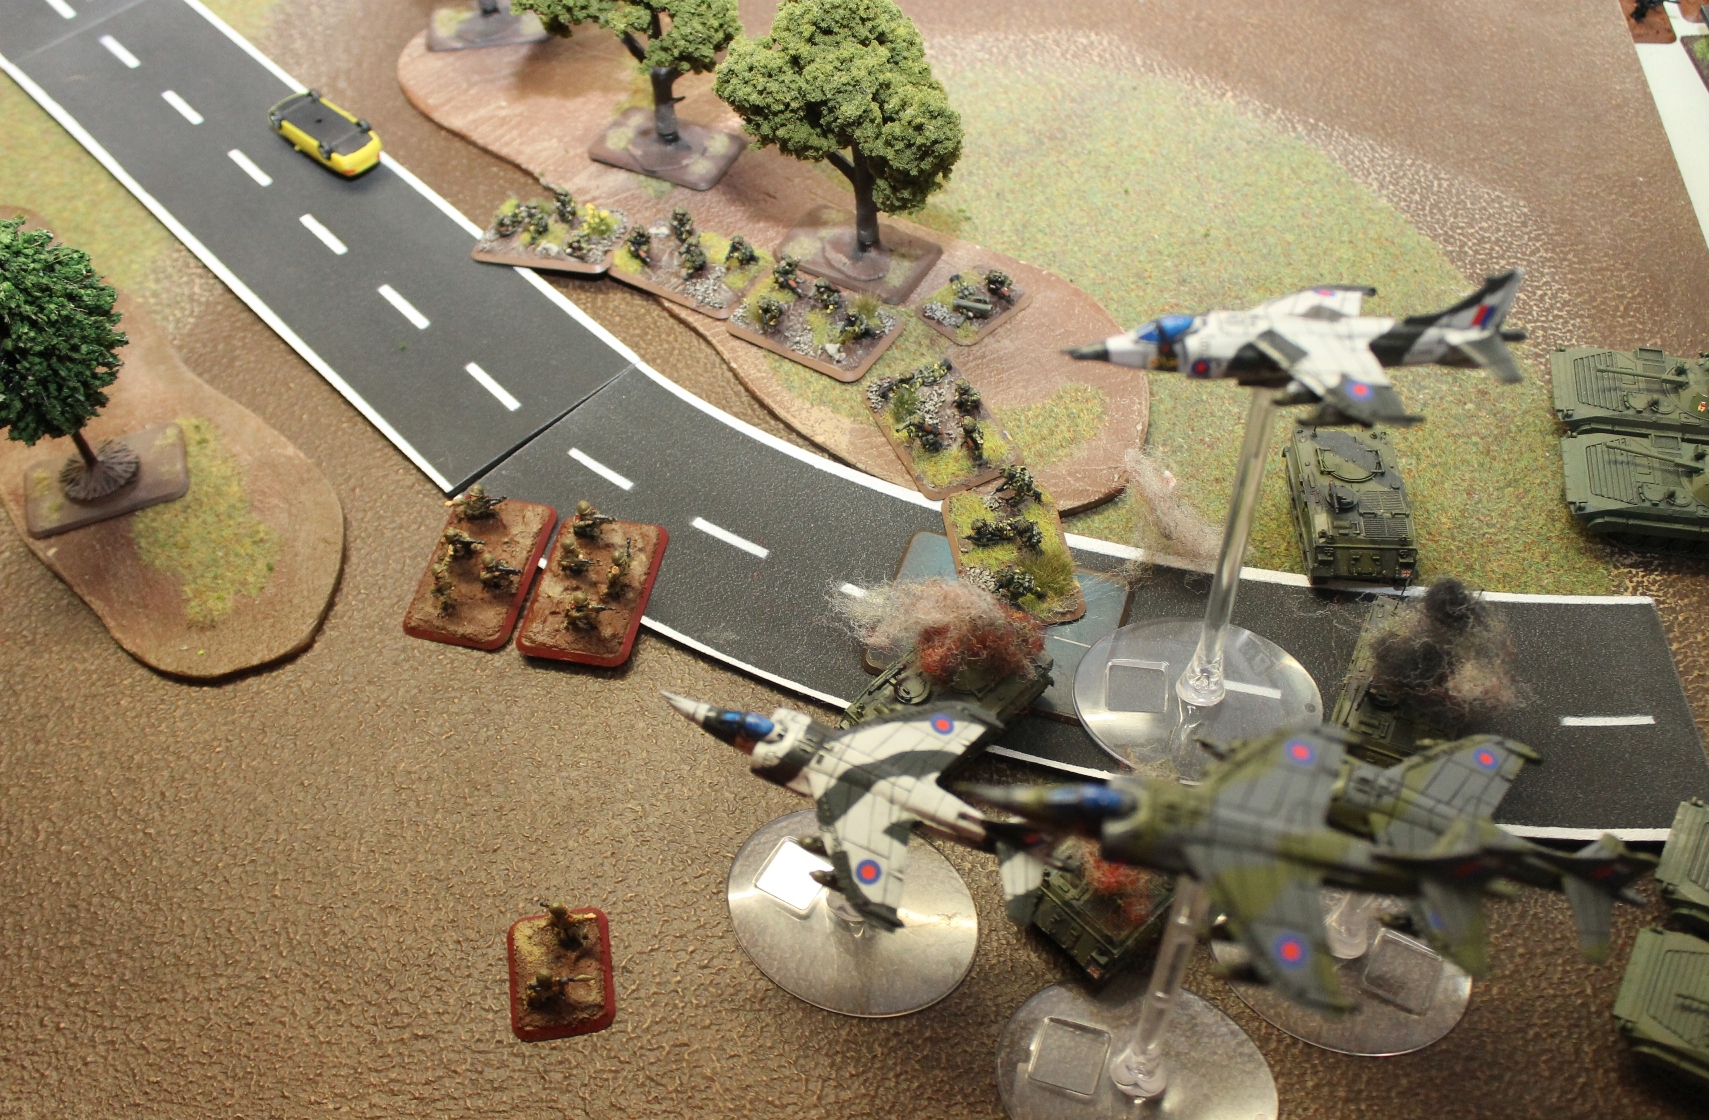
The Harriers strike and take out 4 infantry teams, leaving the remaining three as easy kills for the British infantry.
+++ After prolonged fighting, casualties for both sides are mounting. Any military glory is lost against the loss of good comrades.
"Nothing except a battle lost can be half so melancholy as a battle won." - Arthur Wellesley, 1st Duke of Wellington.
I salute my opponent for a very aggressive play that he pulled through.
Battle Report Author
Army Lists Used In This Battle
Recommend Commander For Commendation
Share this battle with friends
Major BeaverWins

That’s a tough Beaver, better luck next time comrade General.
The lure of a cushy life in a NATO nation has made you lax in your command, Red.
Good report besides.
+++
Those flimsy Lynxes appeared to live a charmed life.
Well until they were destroyed, but then the battle was lost elsewhere!
This may be the game that cures my Hind-fobia. Never have I seen them do so little damage. I like it, I like it a lot.
God game, and fun as always.
Tough fight. Great report comrade. Keep after them.
+++
My opponents get better with every battle.
It was a fun game.
Hard battle! Good report, though, documenting what happened…
+++
We must push for a few more victories to strengthen our position at the peace talks.
Great report-tough loss, but tomorrow is another day. And the war goes on.