Fought At Amsterdam
2230 days 13 hours 1 minutes ago
OpEx Ivan
View Linked Report - CLICK HERE 100 POINTSA little training prior to redeployment
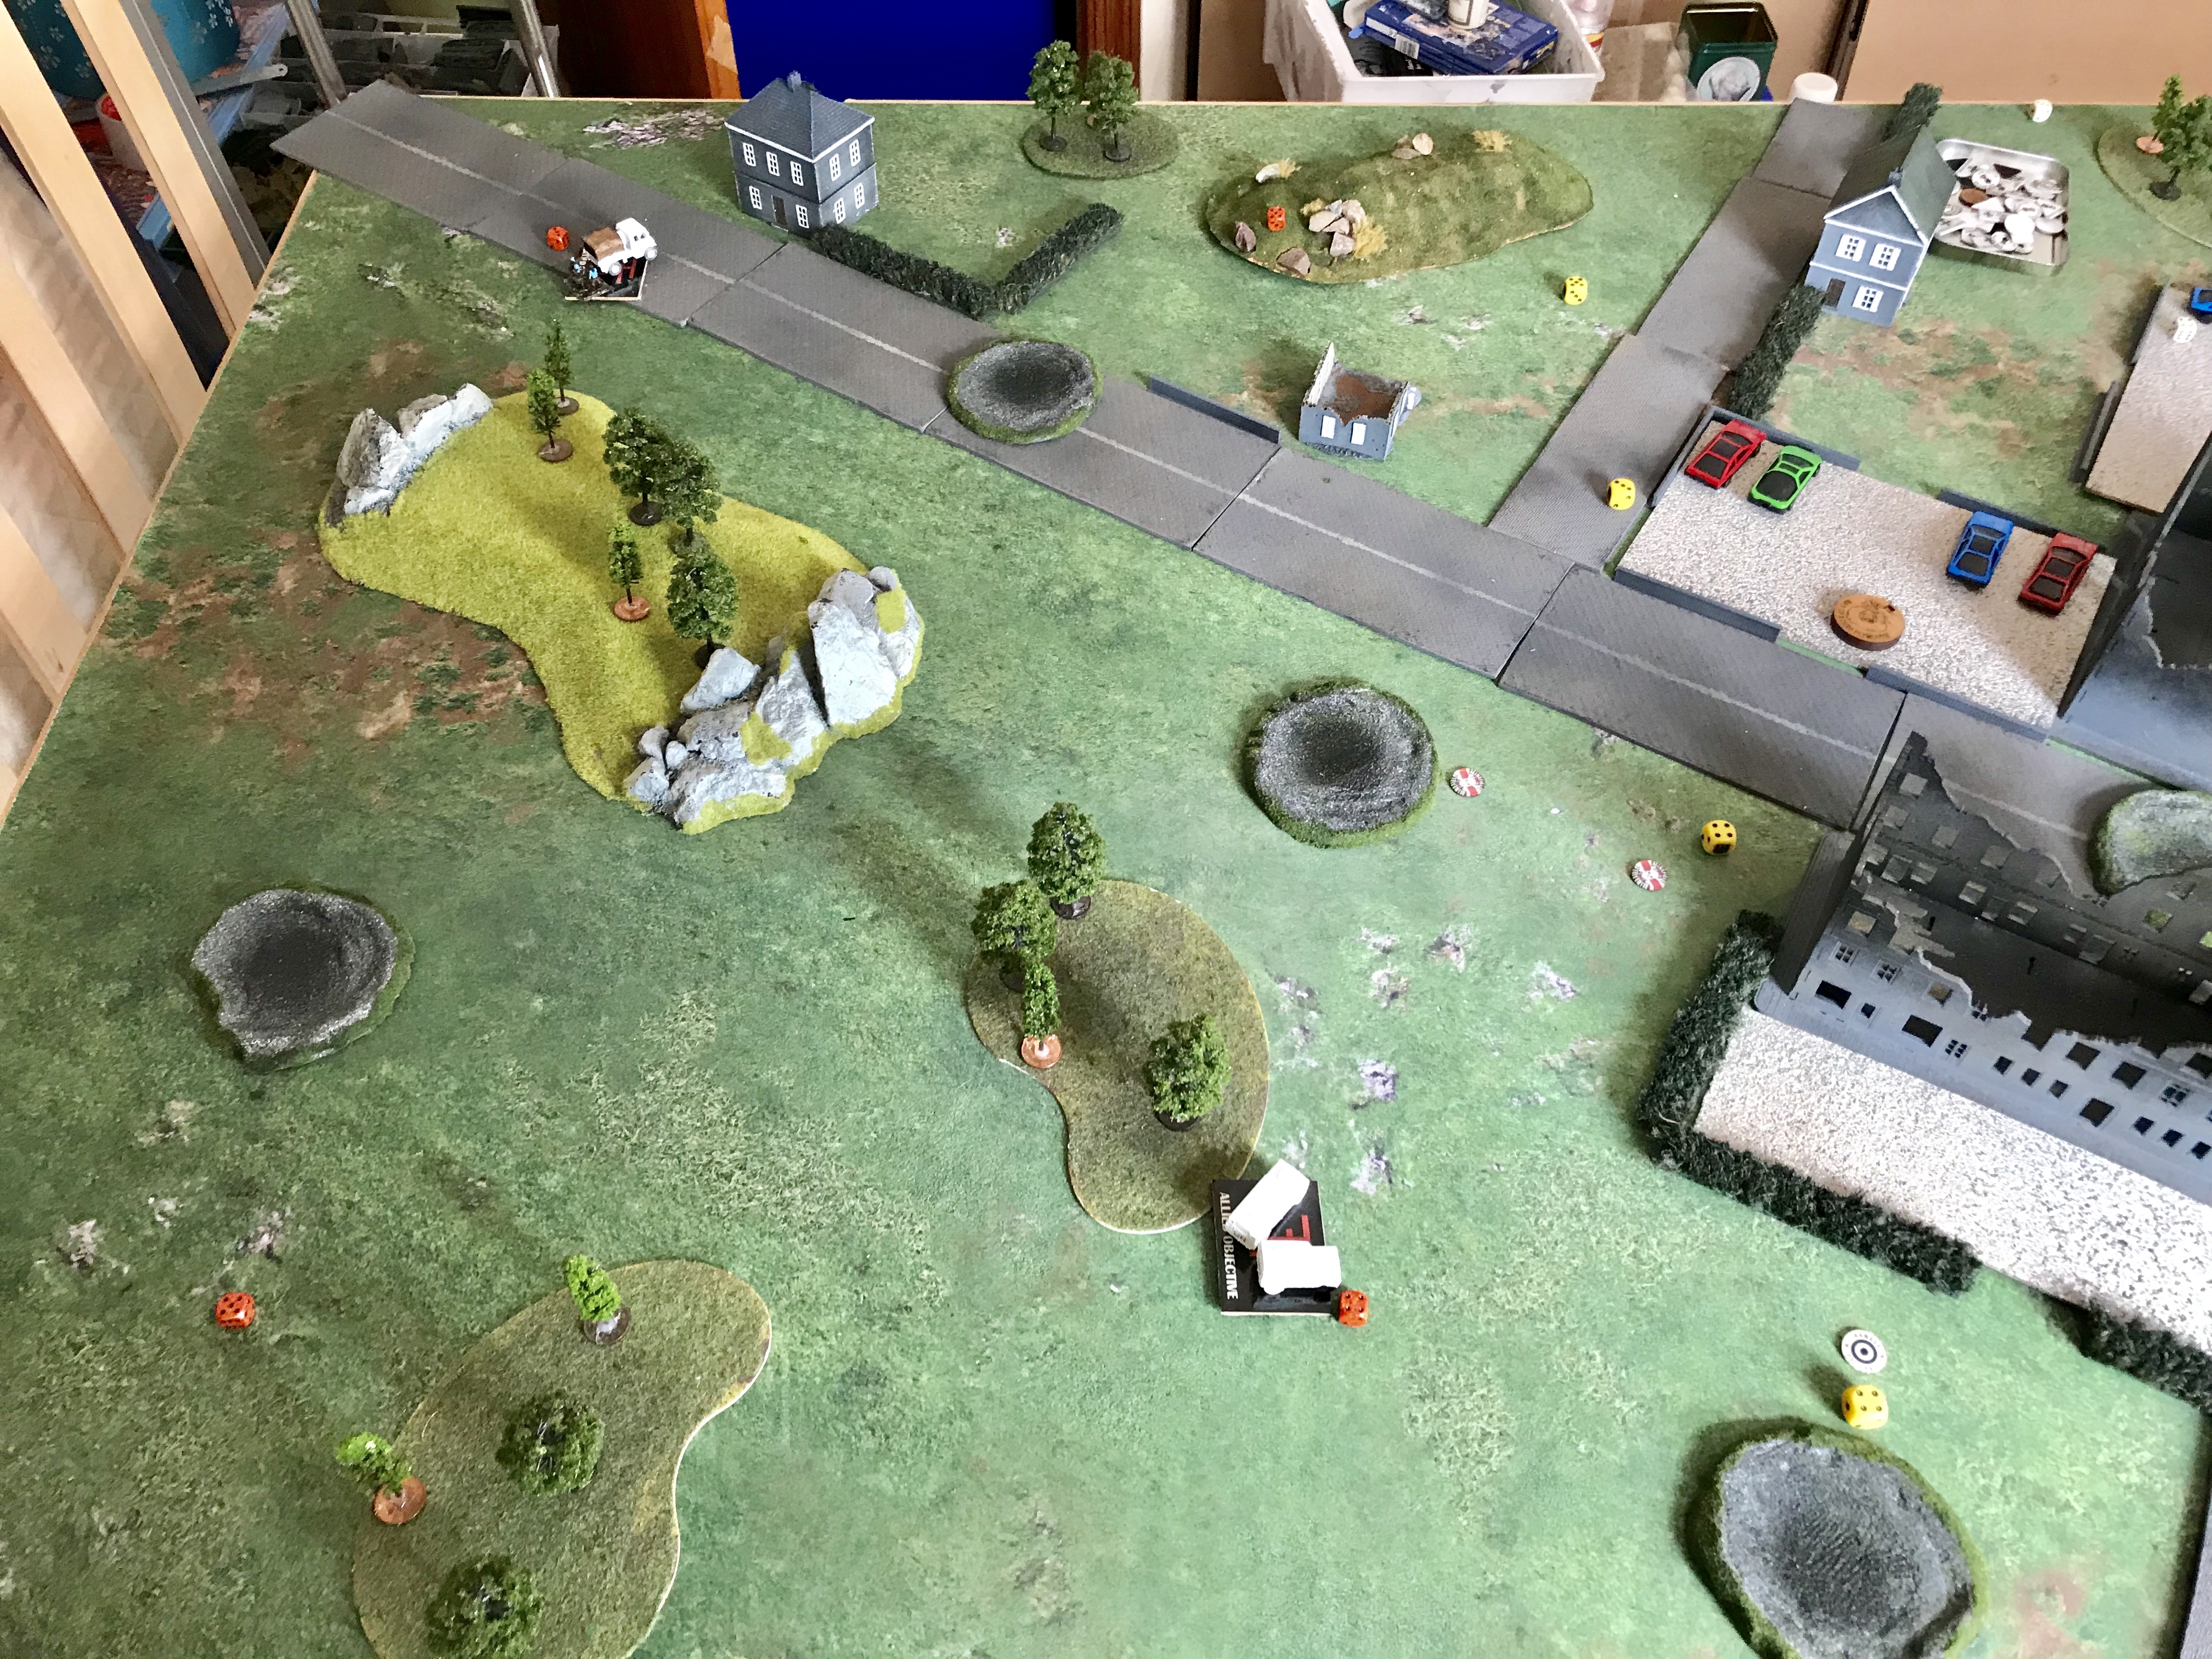
My oppenent won the roll off and selected to play at Amsterdam. He selected the ‘open country’ end over the town
We than placed the objective markers and selected our forces for deployment which looked like this:
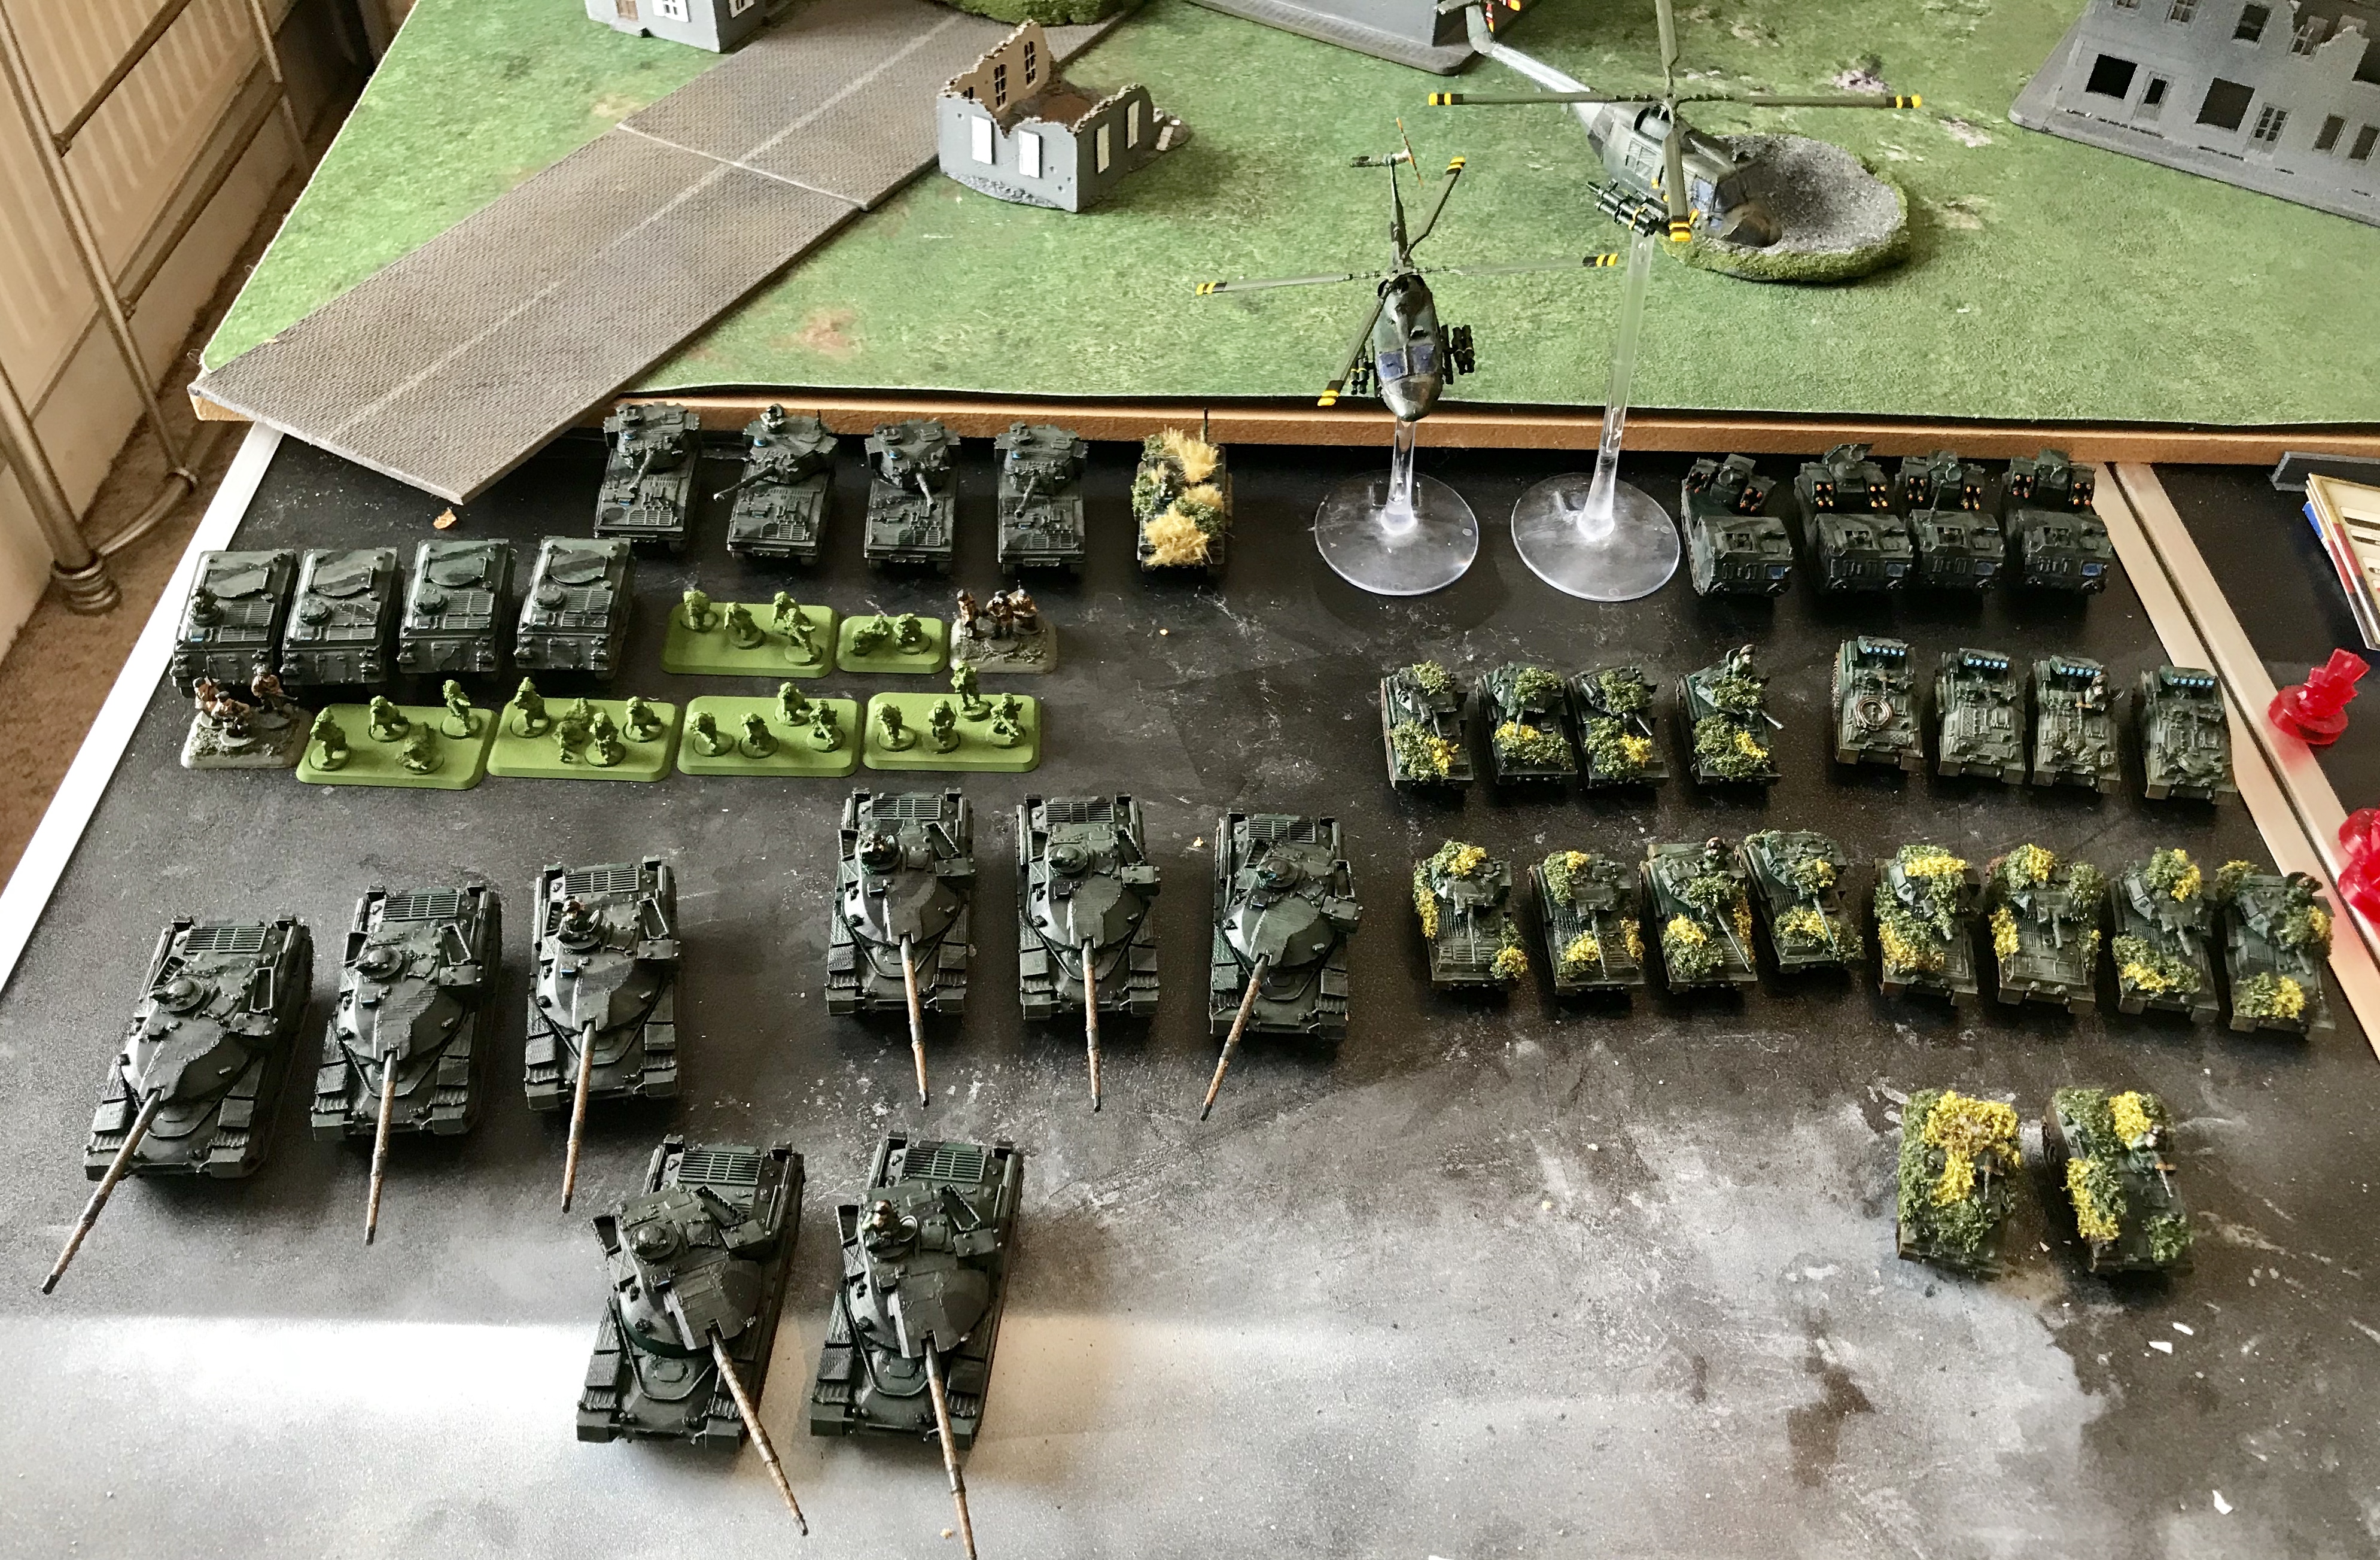
West German
Deployed:
Leopard 1 HQ, Leopard 1 Platoon (3 Leo 1’s), Leopard 2 HQ, Leopard 2 Platoon (3 Leo 2’s), Gepard Platoon (2 Gepards), PAH Helicopter Strike (2 PAH’s), Tornado Strike Flight (4 Tornados).
In Reserve:
Two Luchs Spah platoons, two Full Infantry Sections in their Marder IFV transports and one section of Gepard AA Vehicles.
British
Deployed:
Chieftain HQ (2 Stillbrew Chieftains), Abbot Field Battery (4 Abbot SPGs), F432 Mechanised Infantry Platton (Reduced Infantry with 2 Milans and 4 transports), Spartan HQ (2 Spartans), Striker Guided Weapons Troop (4 Strikers), Tracked Rapier SAM Section (4 Rapier Carriers), F432 FOO (1 Forward Observer).
Ambush – Chieftain Platoon (3 Chieftains)
In Reserve:
Chieftain Platoon (3 Chieftains), TOW Lynx Helicopter Platoon (2 TOW Lynx’s), two platoons of Scorpion Recce Tanks (4 Sorpions in each) and a platoon of Scimitar Recce Tanks (4 Scimitars)


URN1
West German
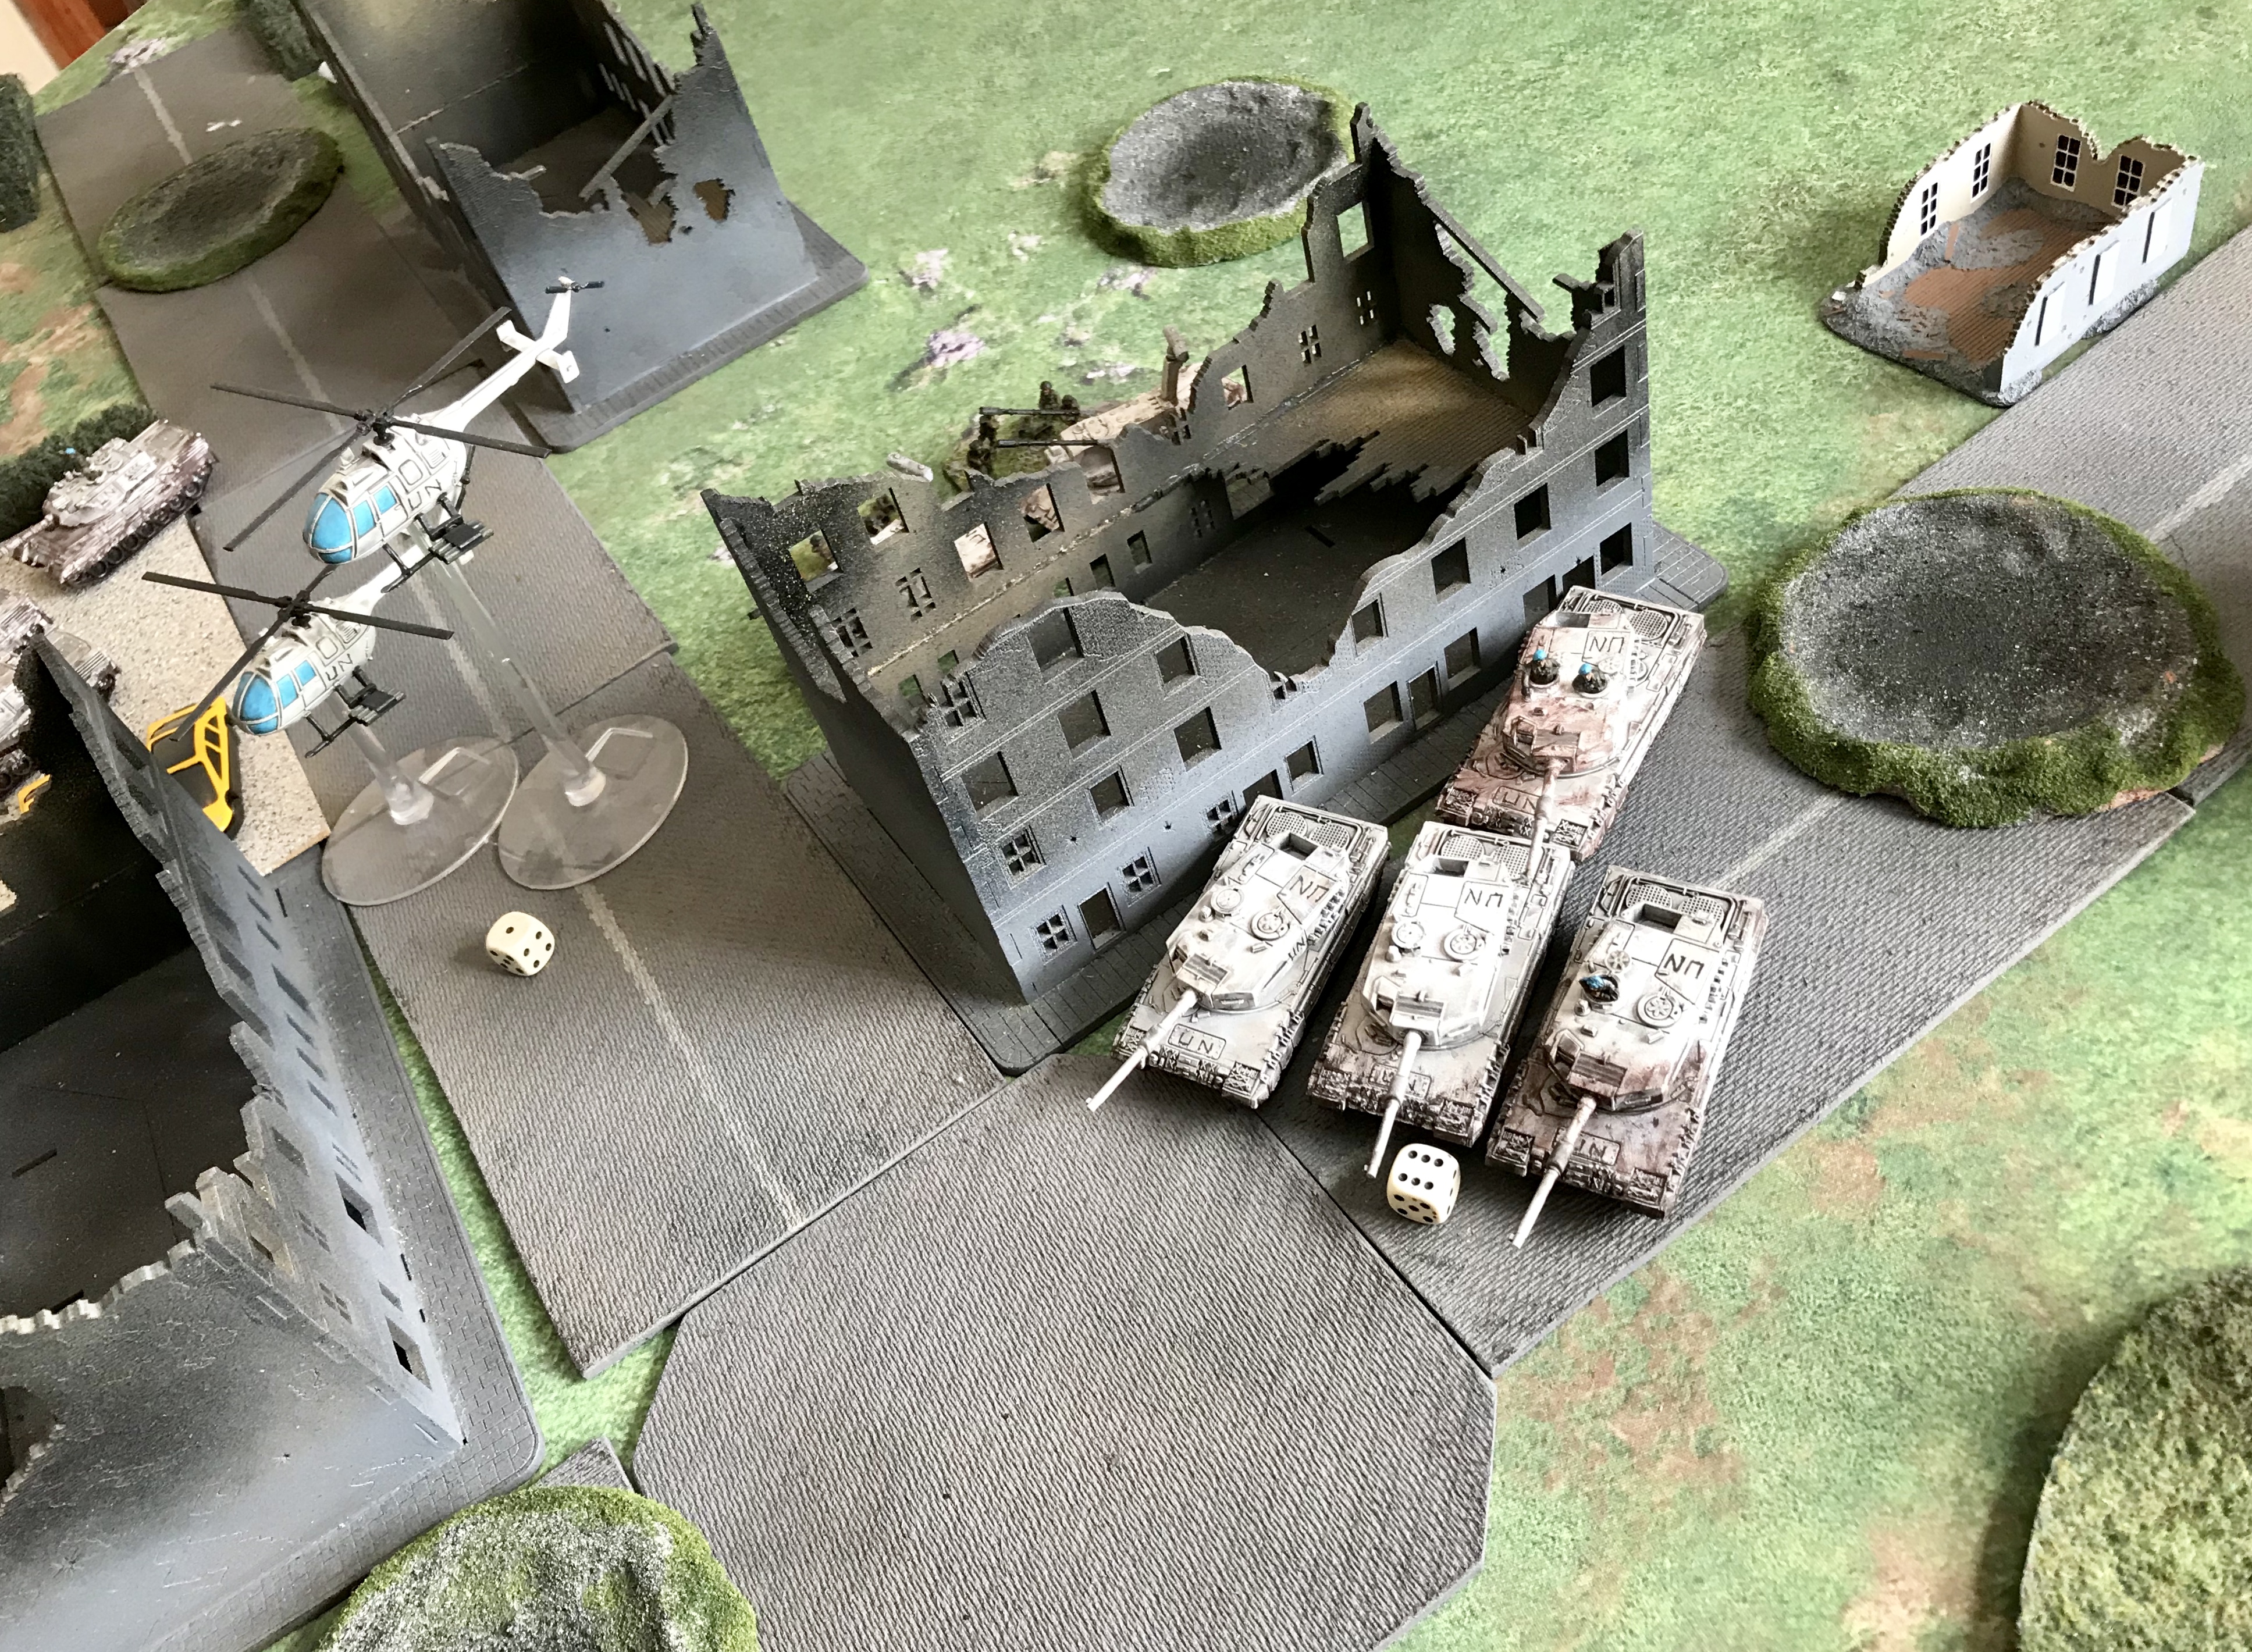
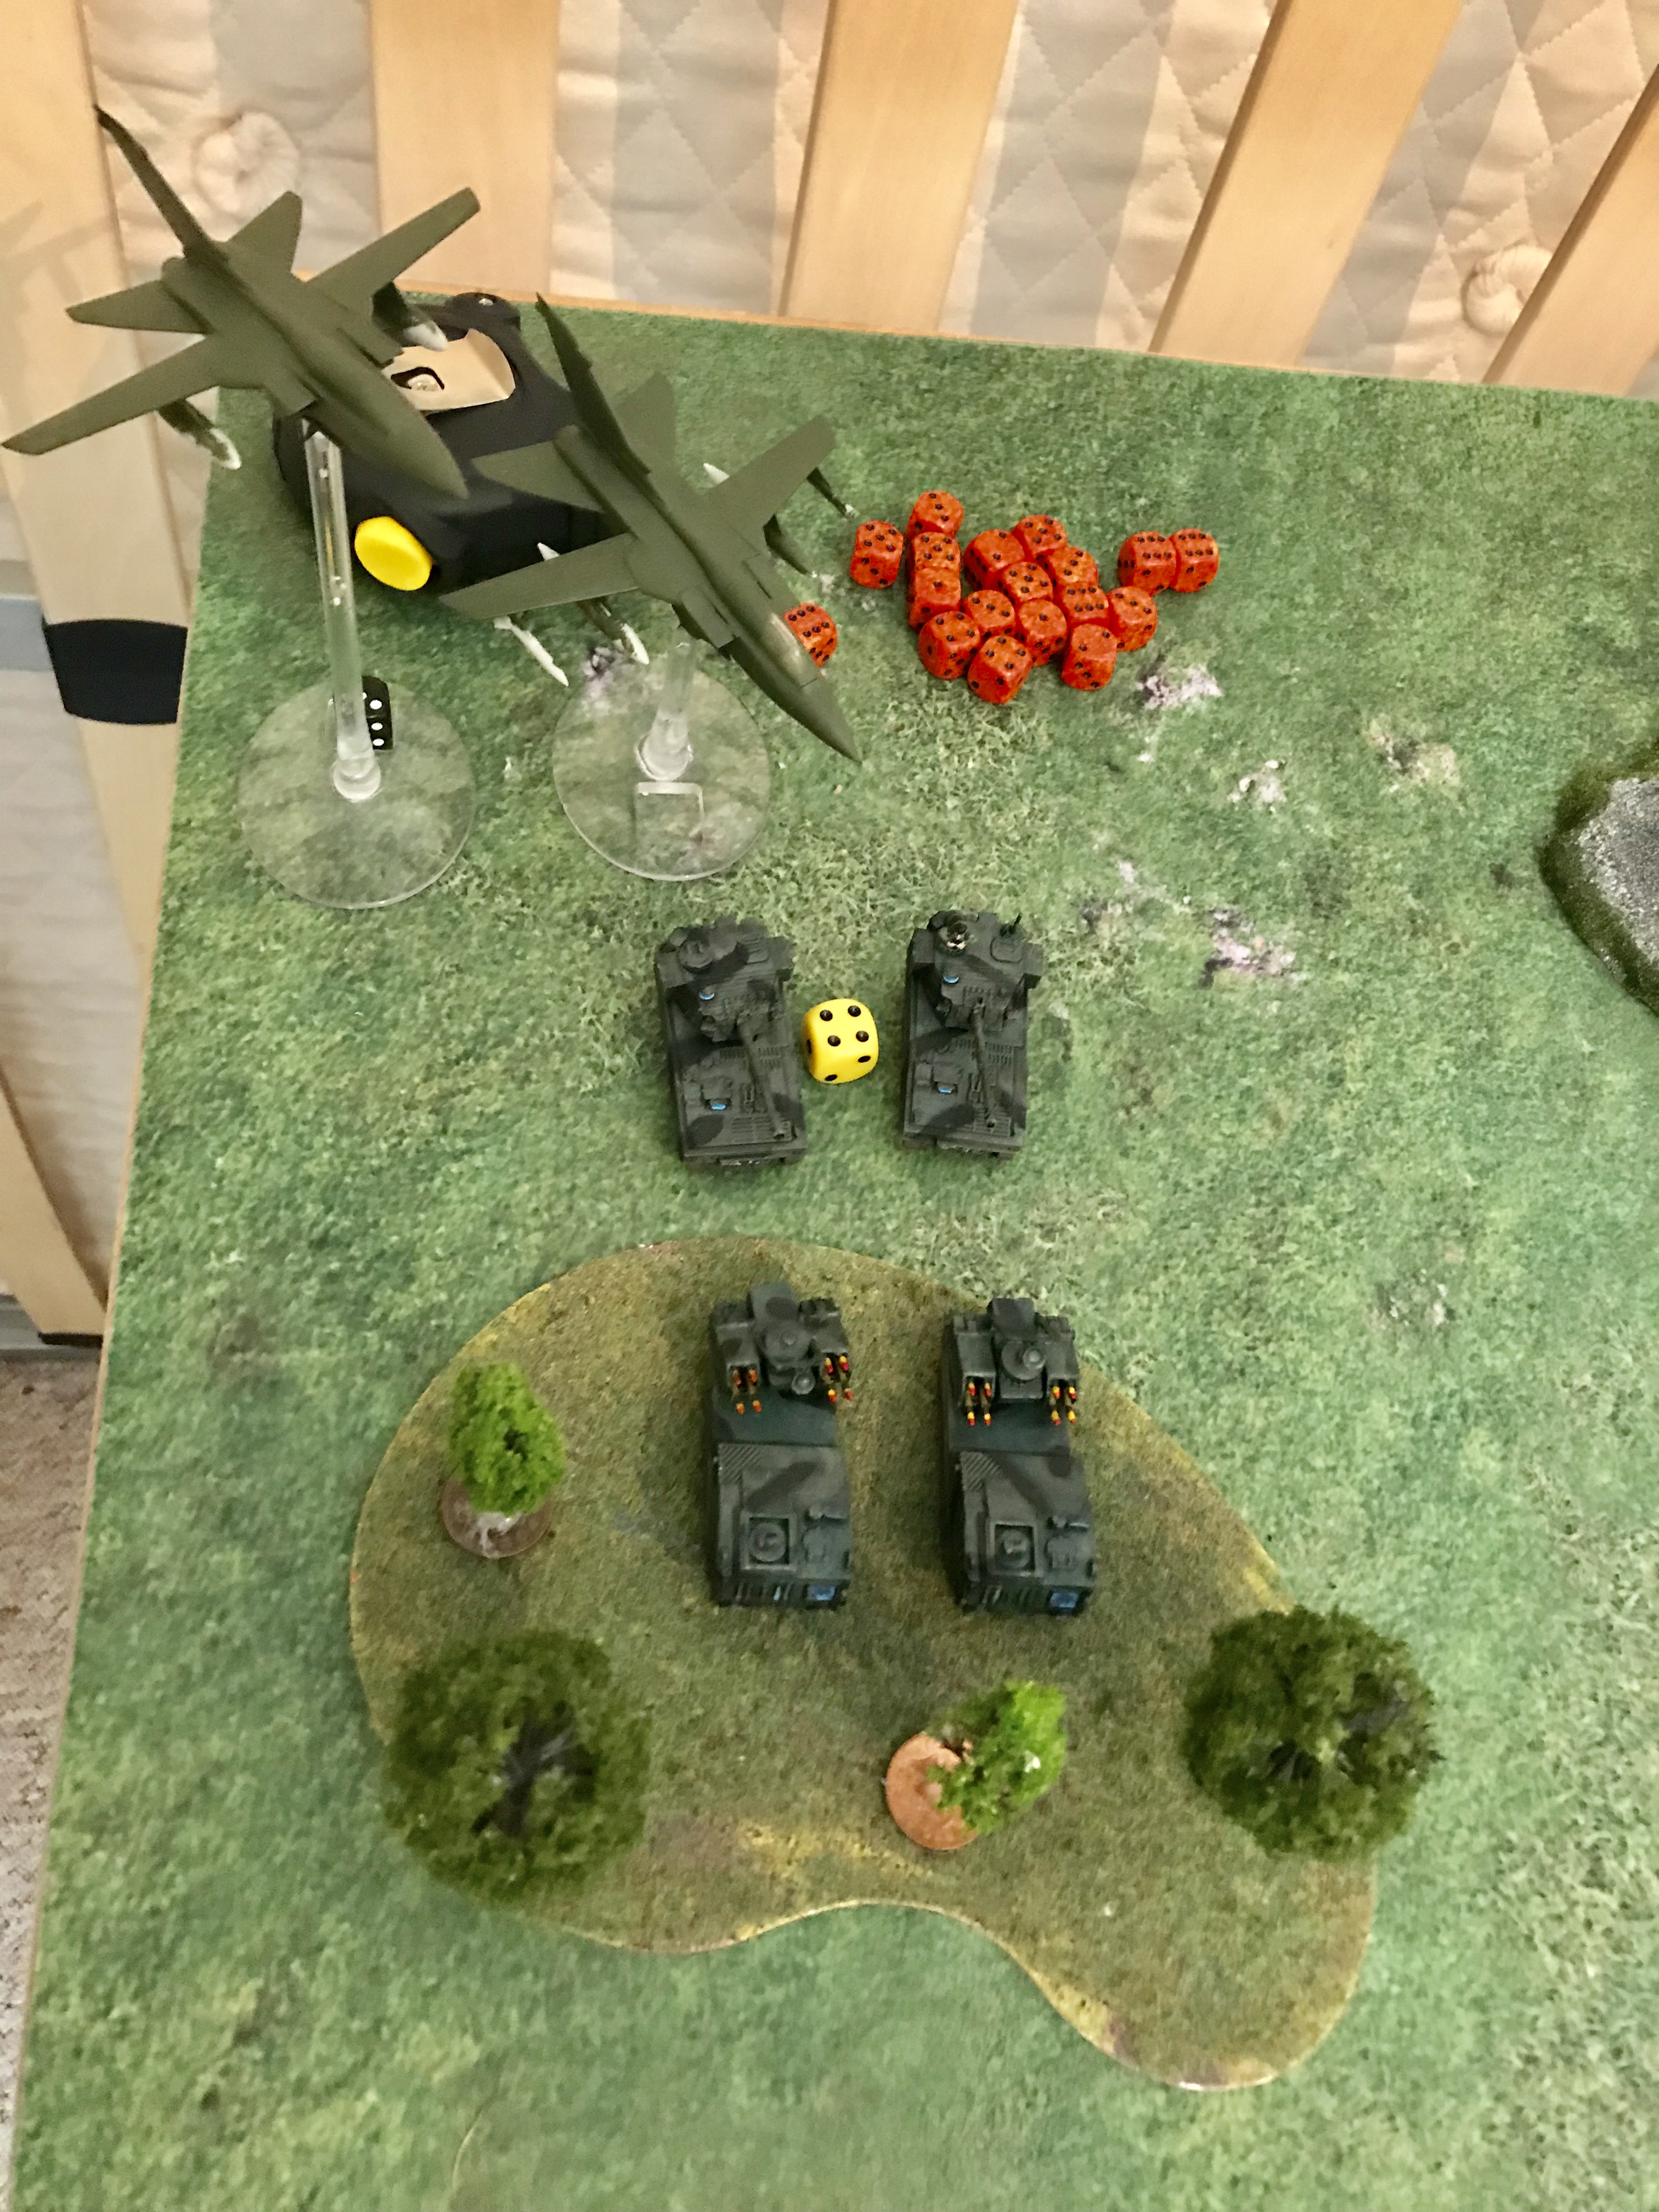
Strike Aircraft Arrive - Tornado's line up to fire at the Rapiers, Abbots and Strikers in the centre of the British deployment area.
No Reserves
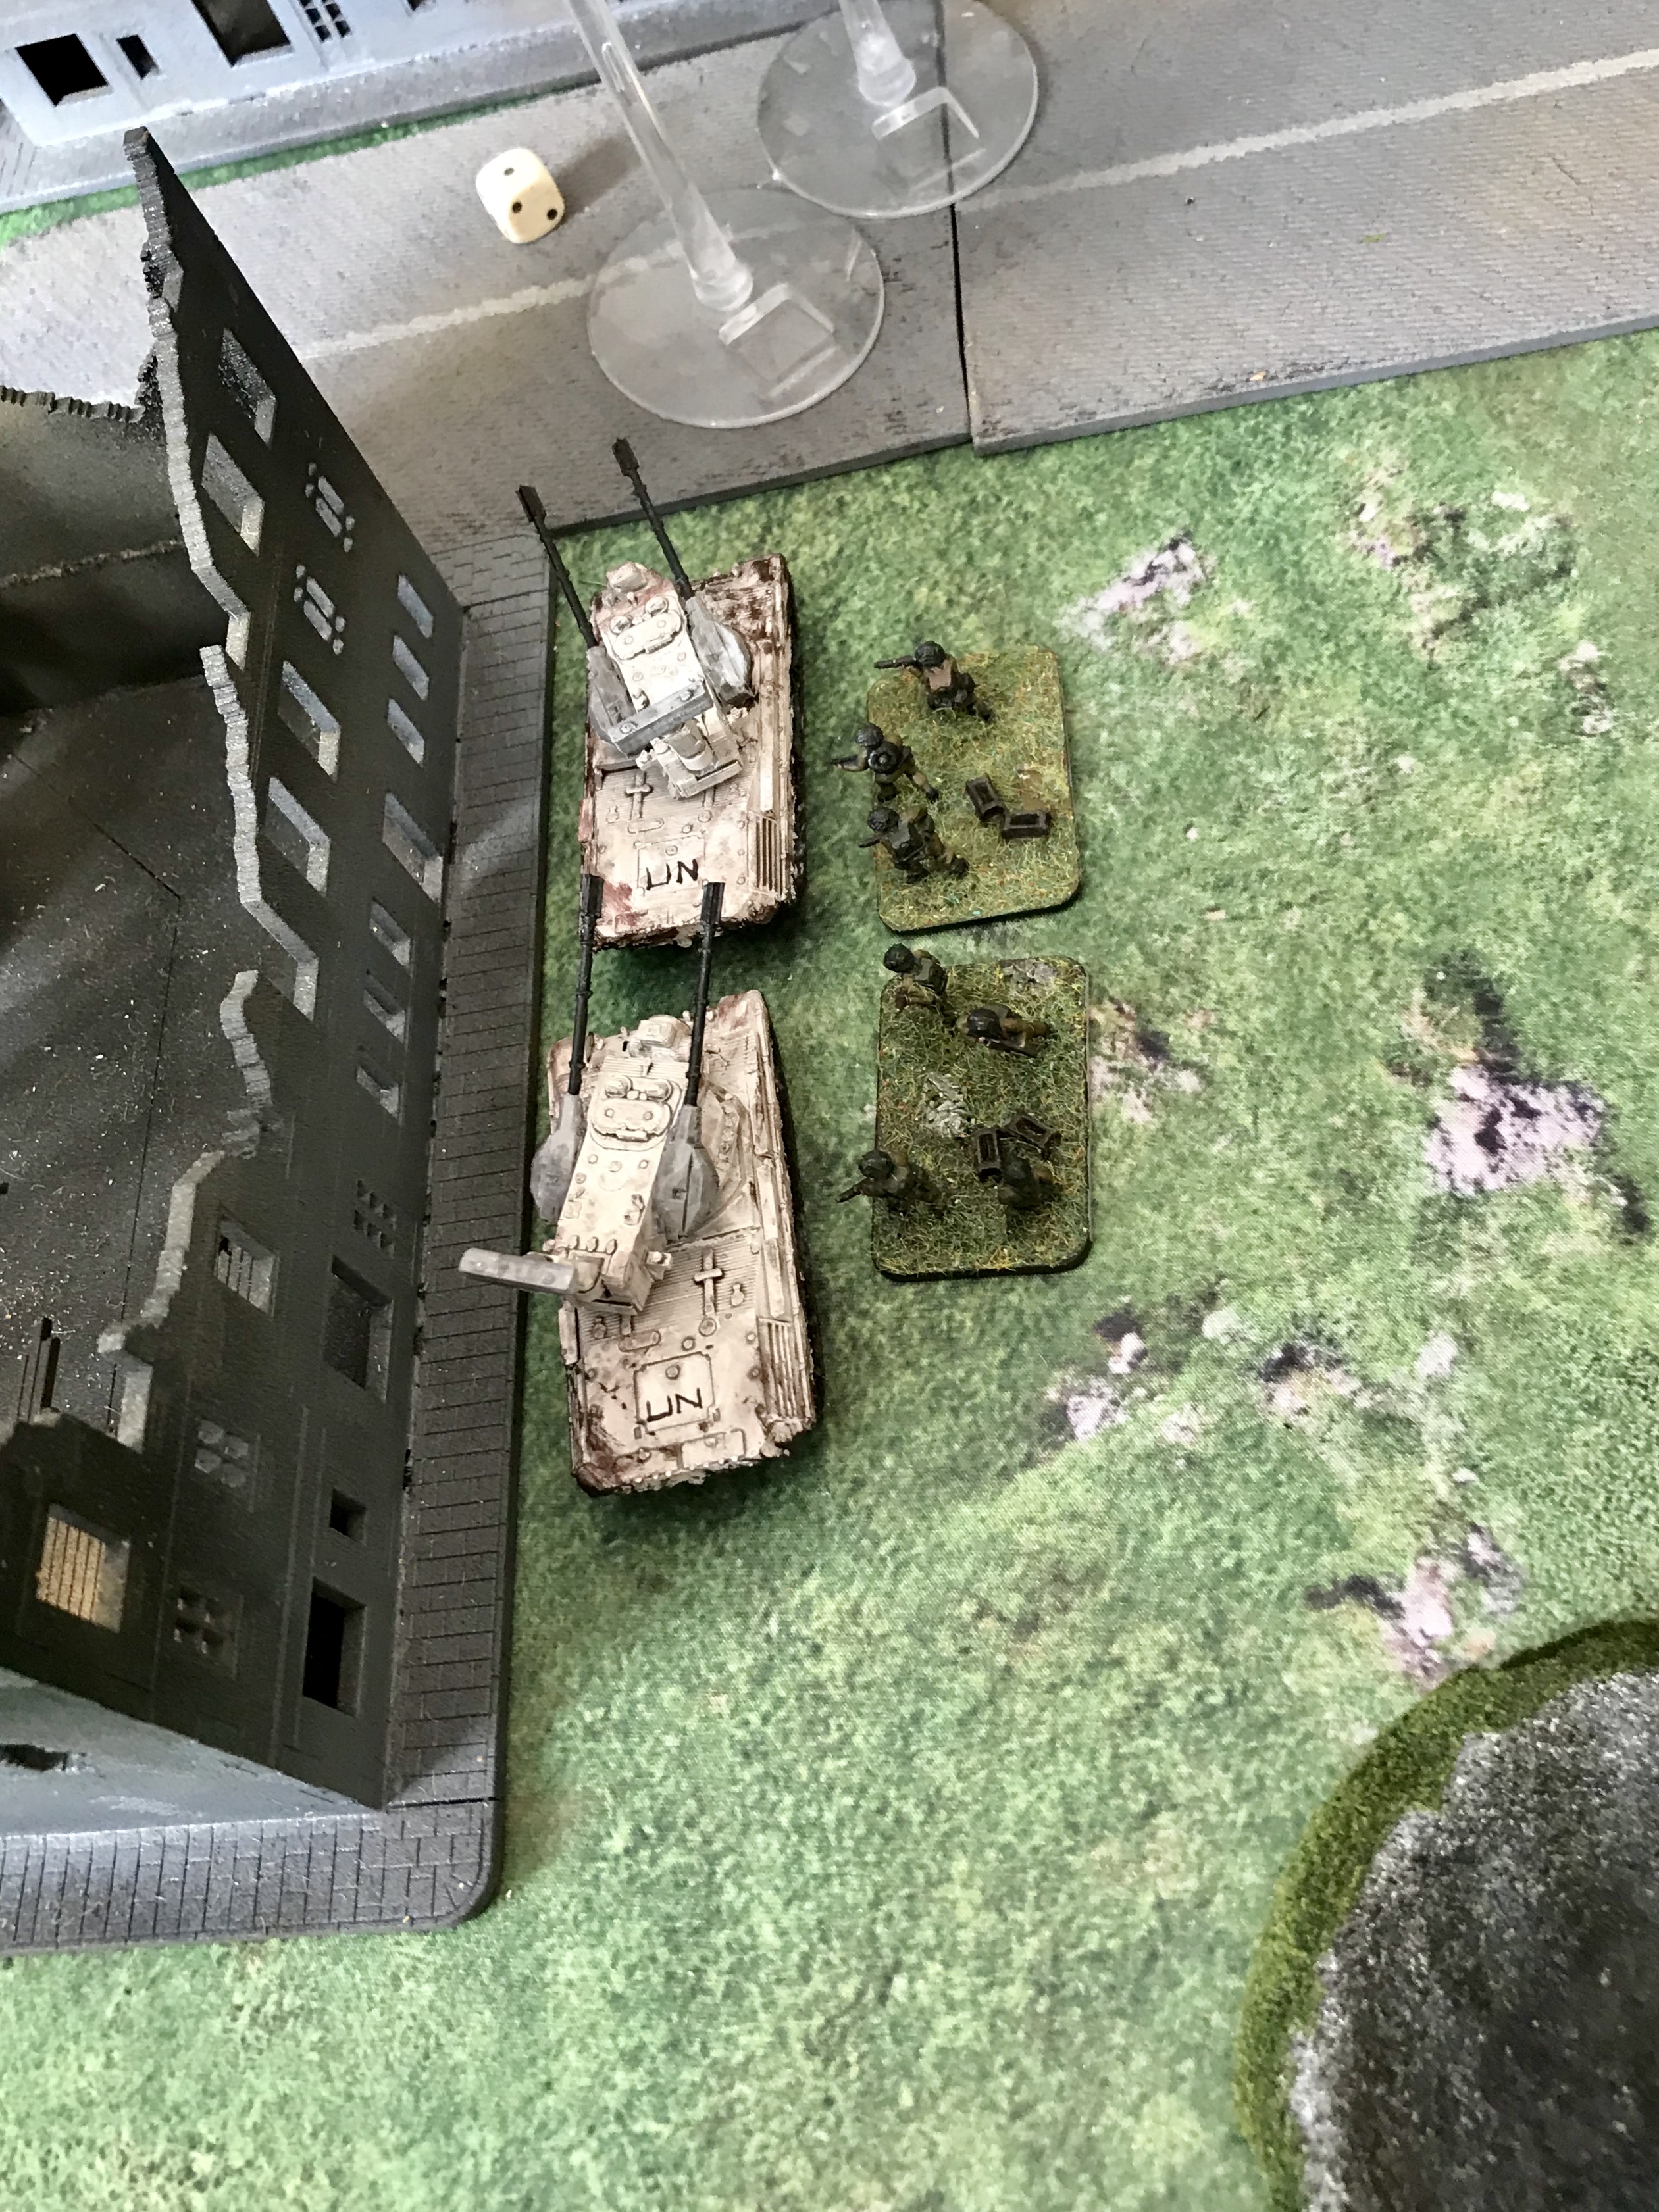
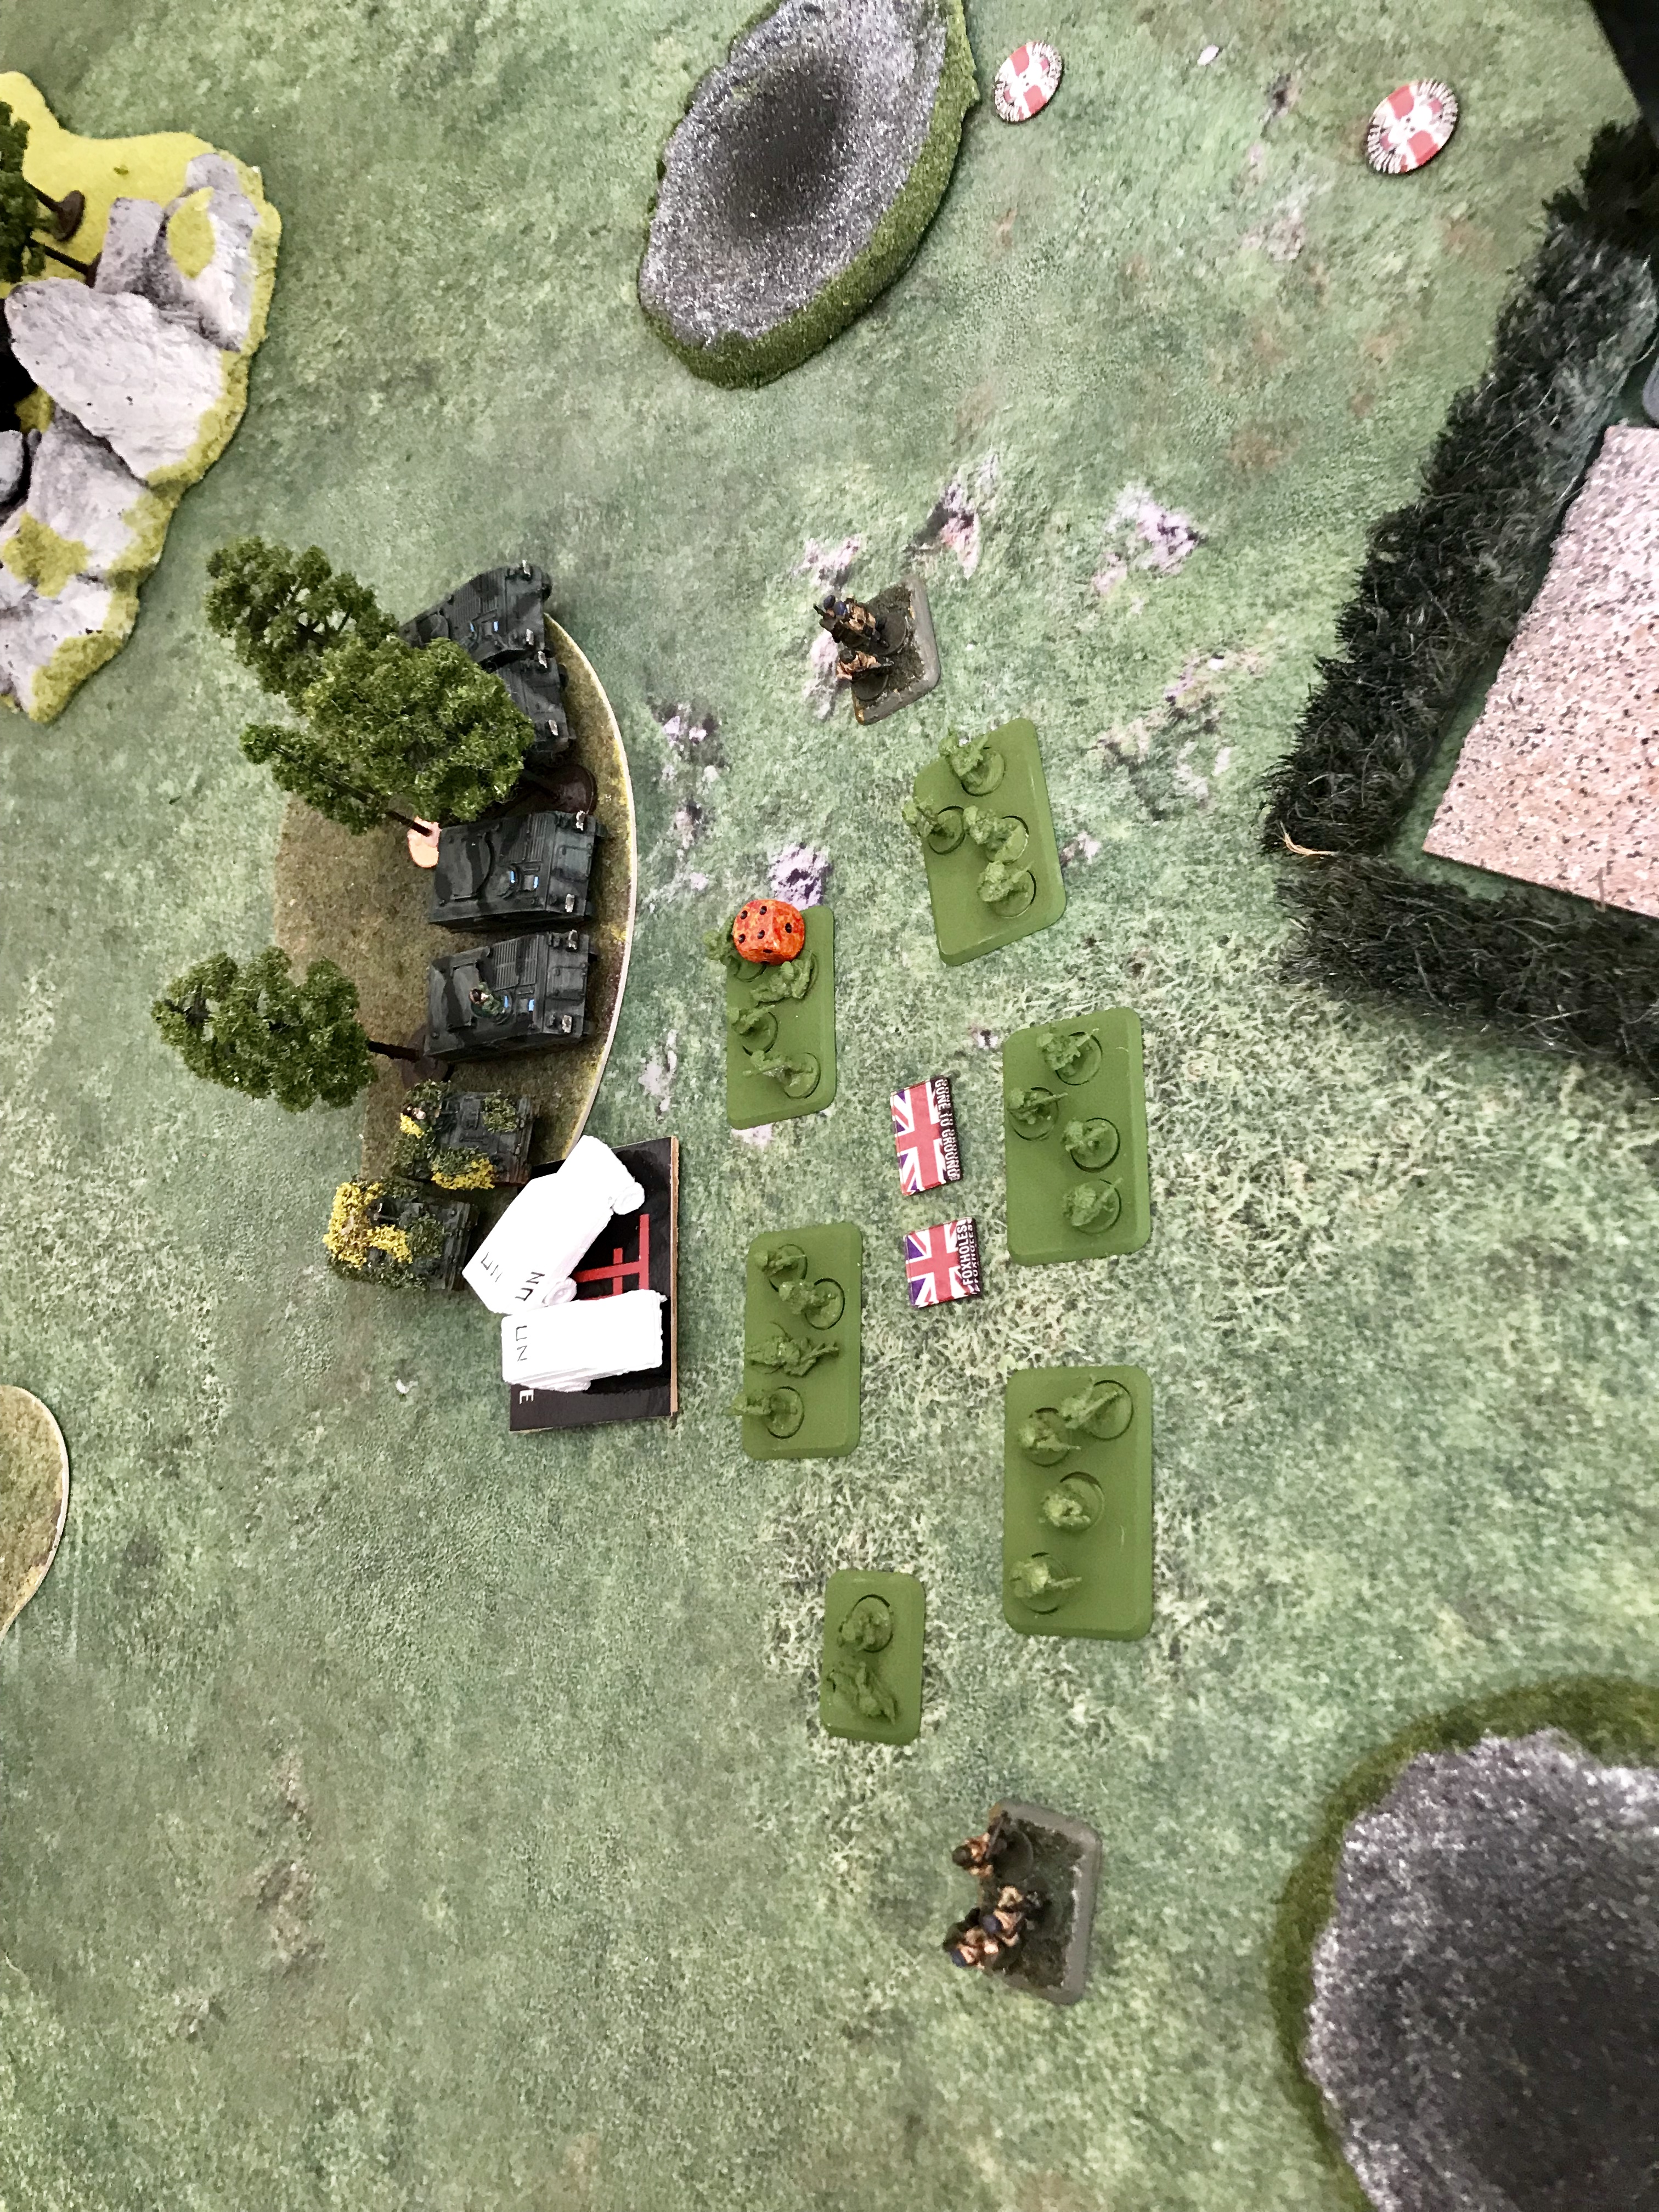
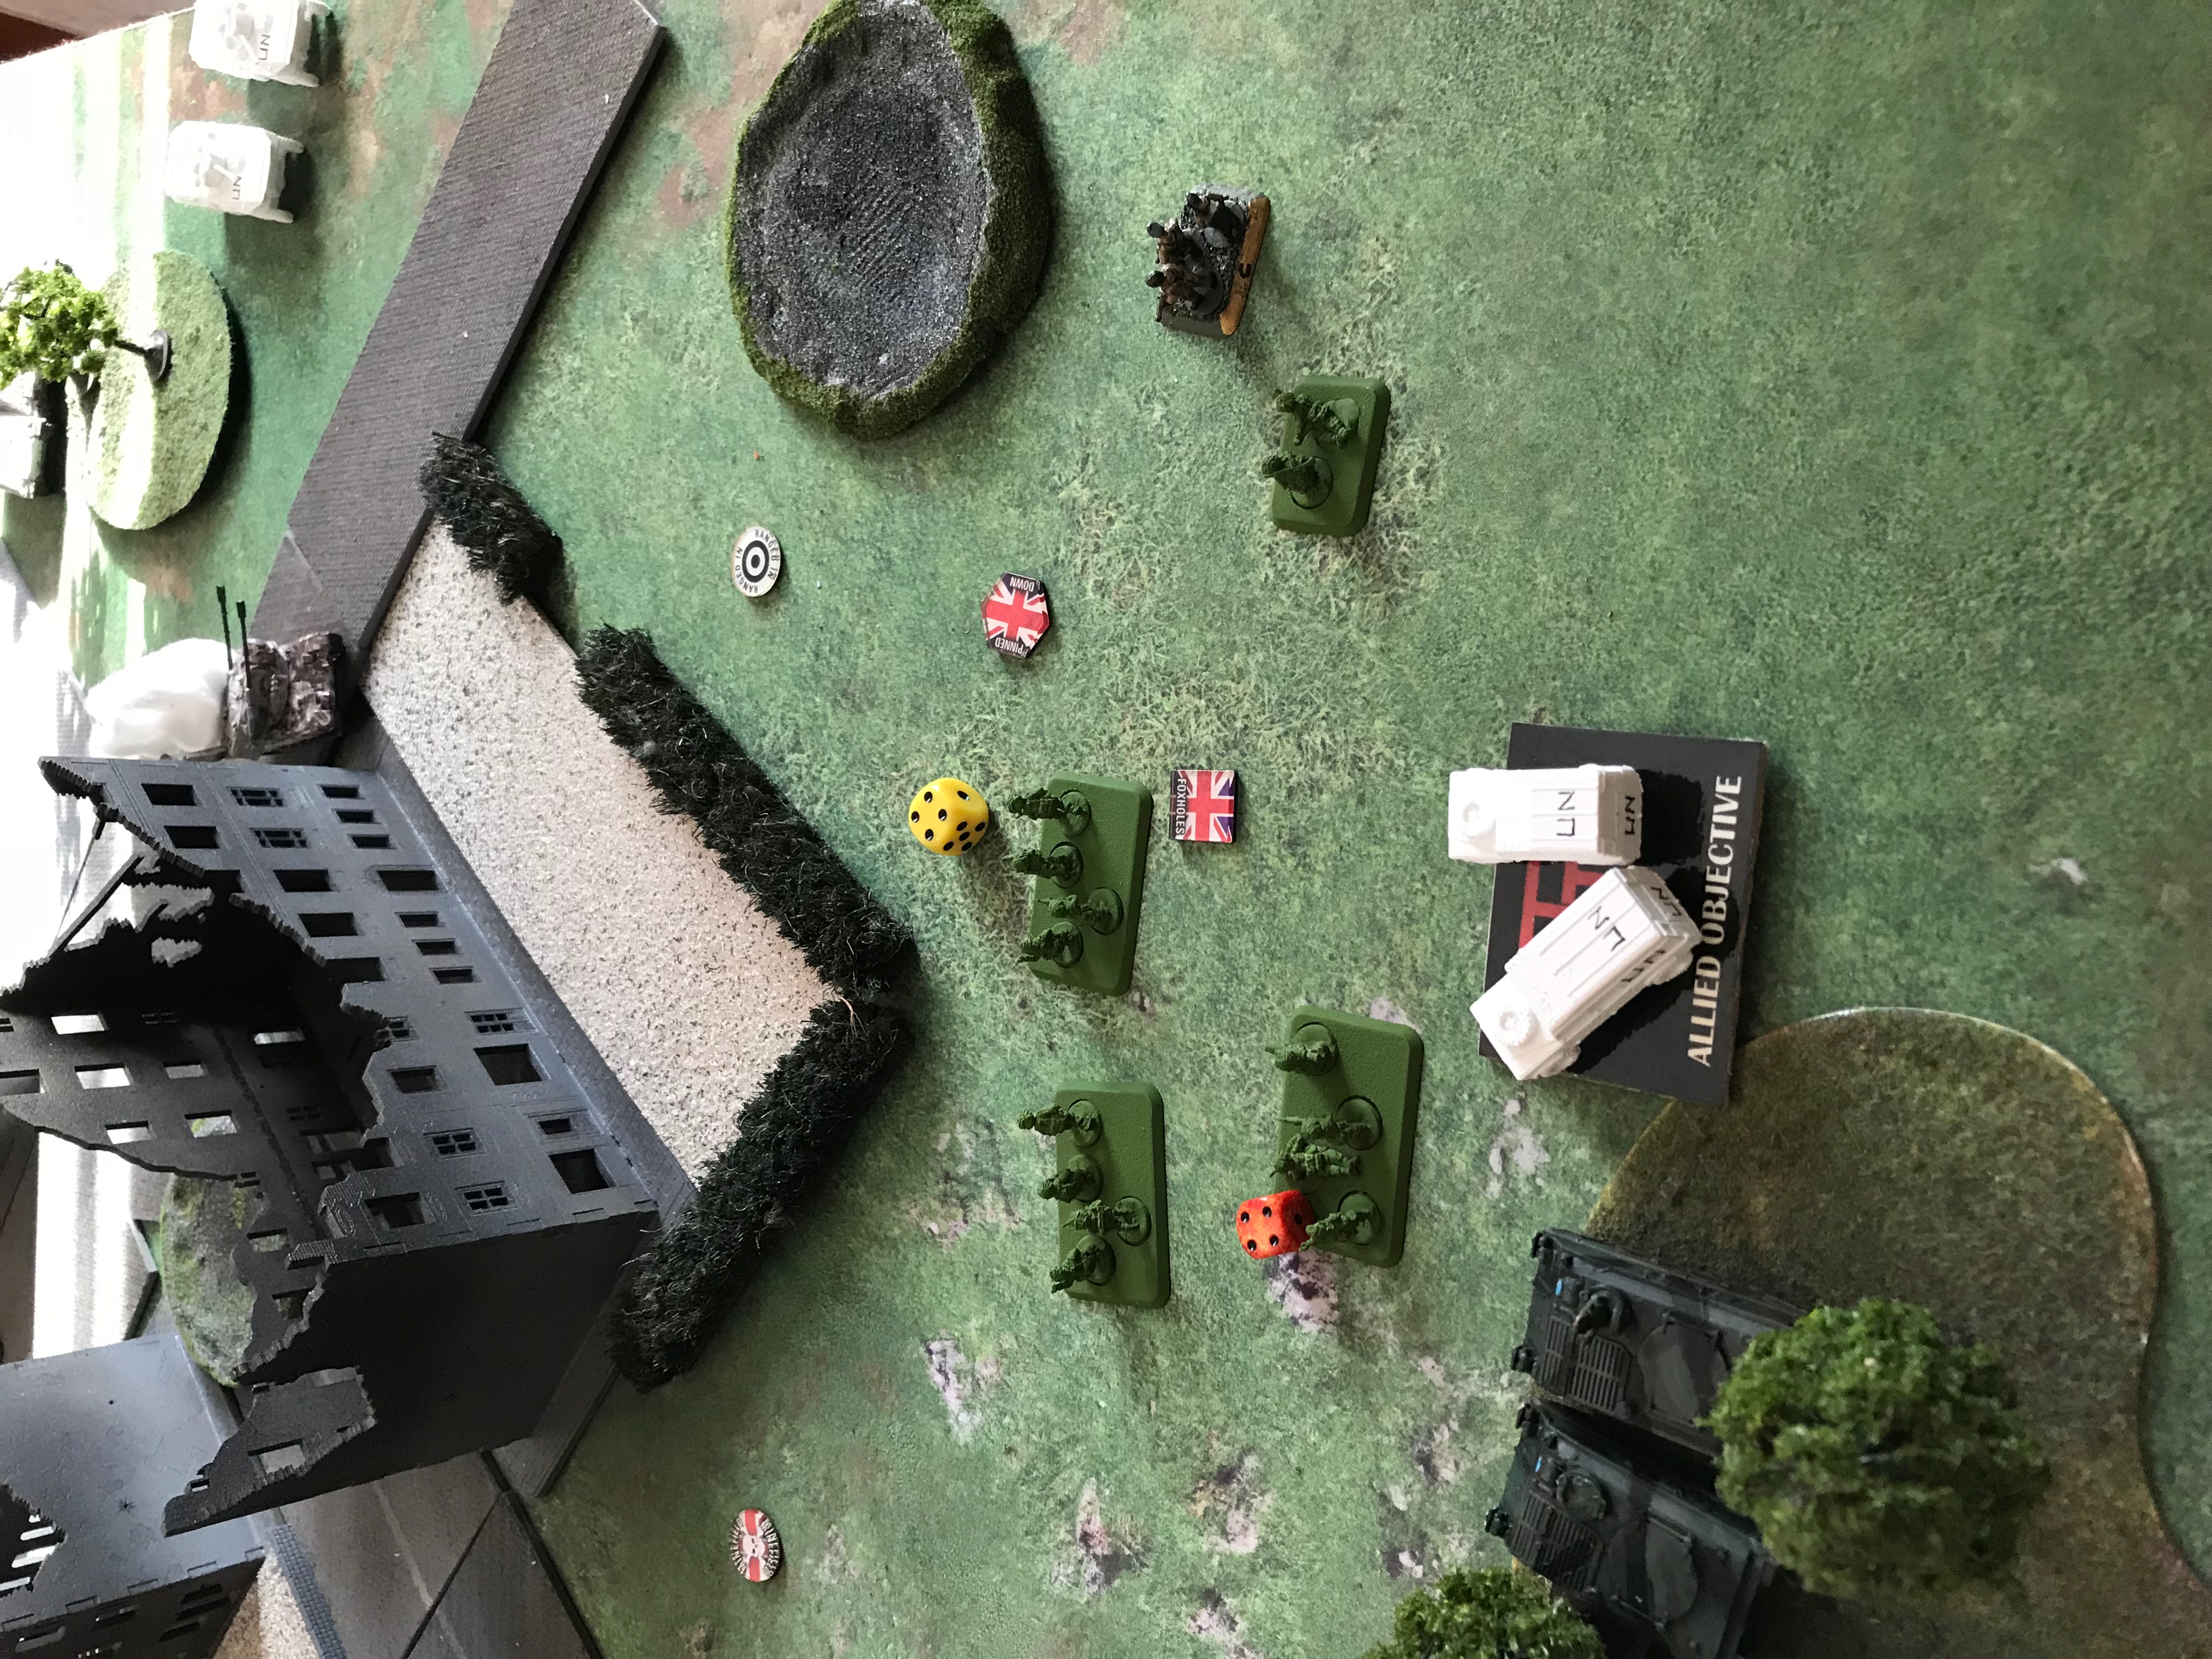
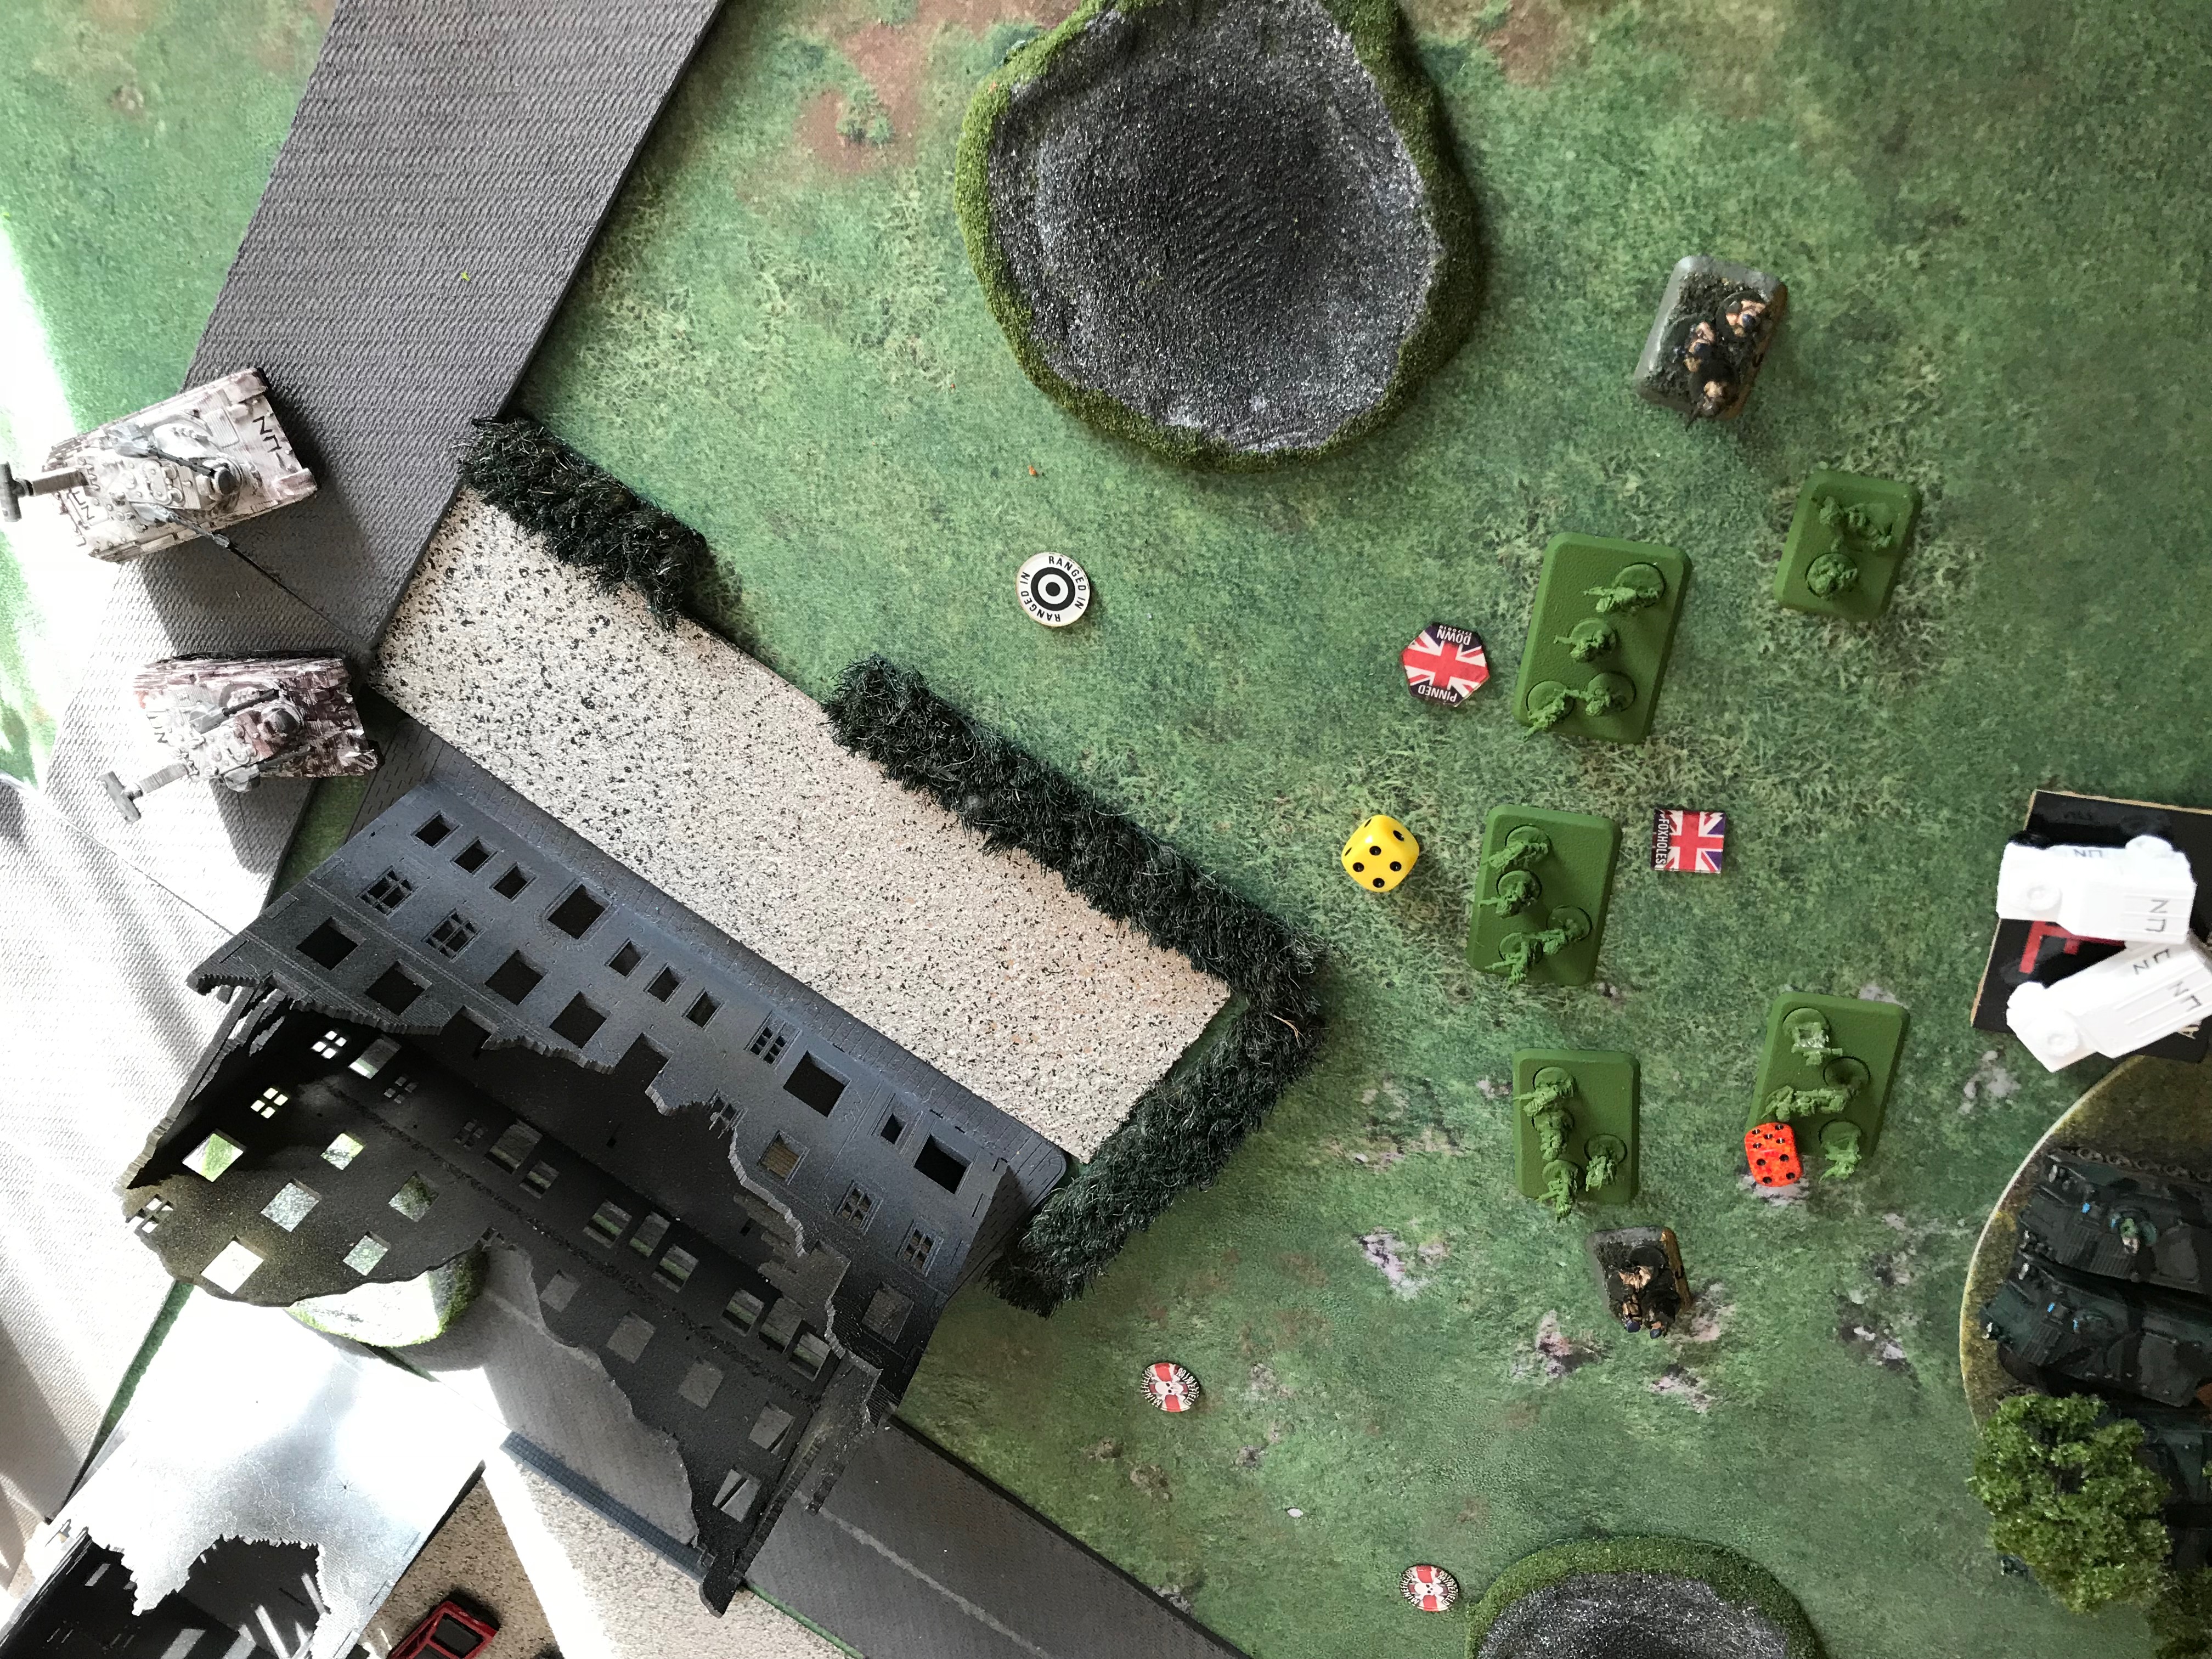
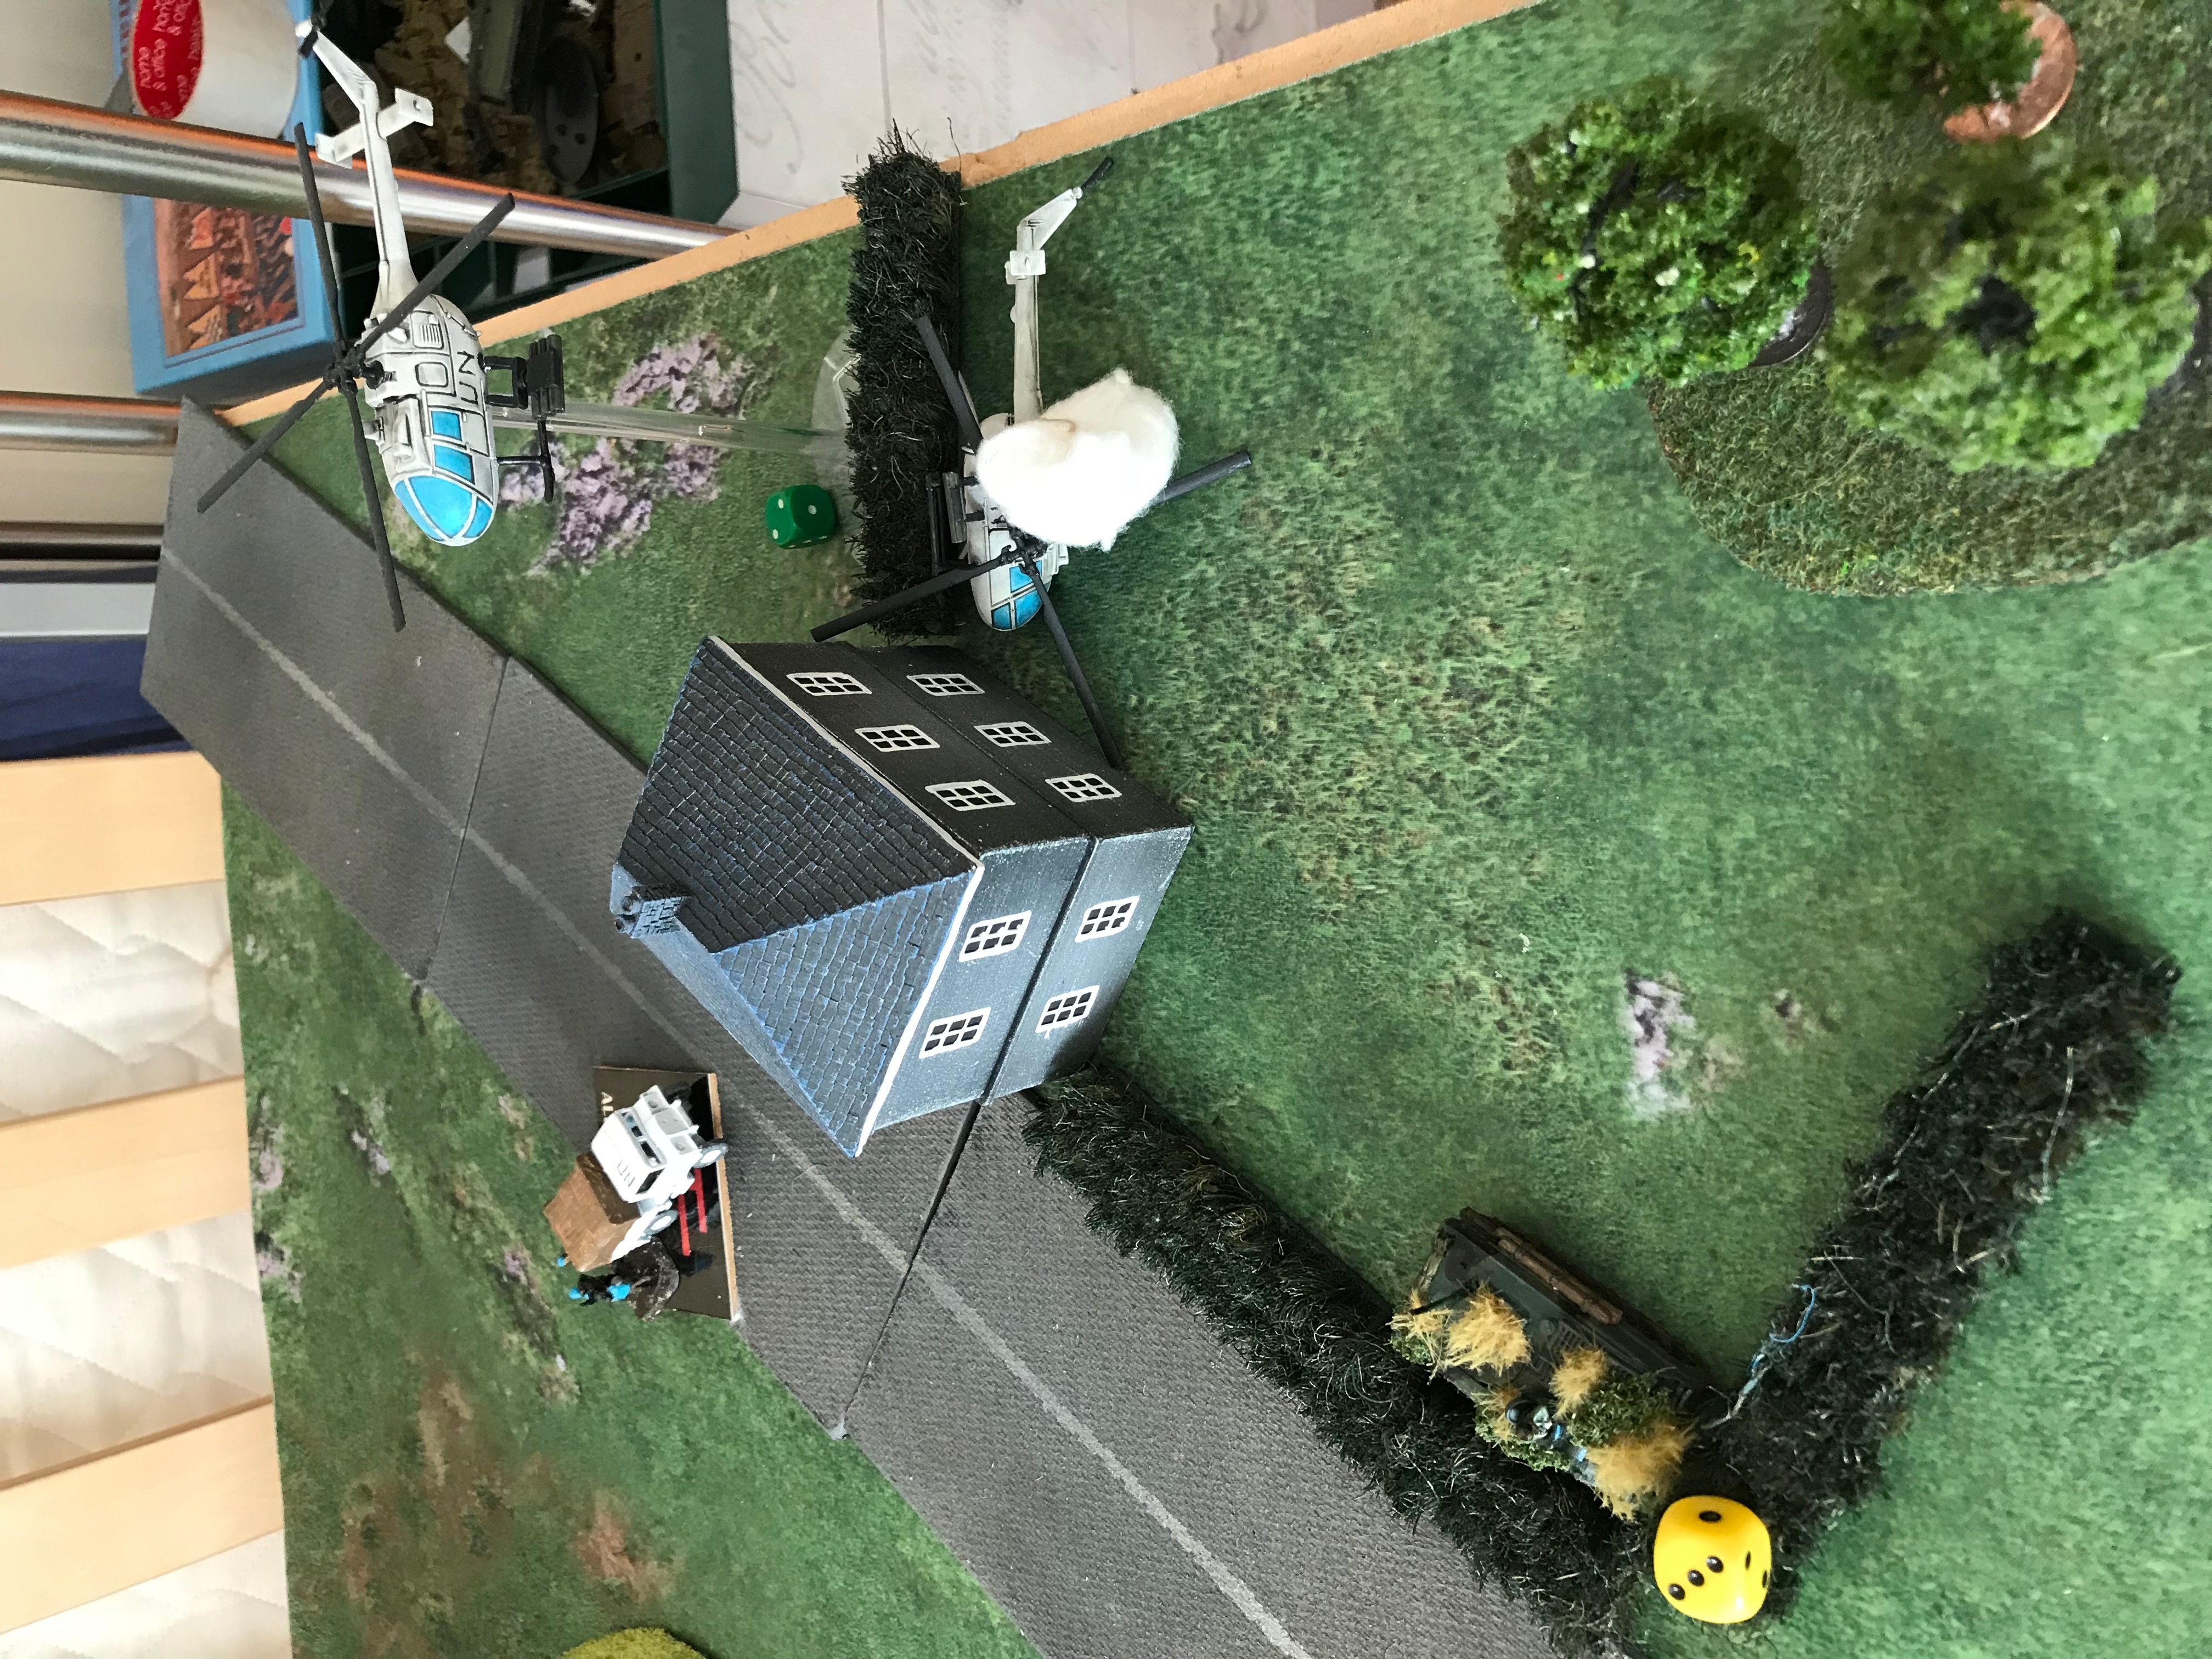
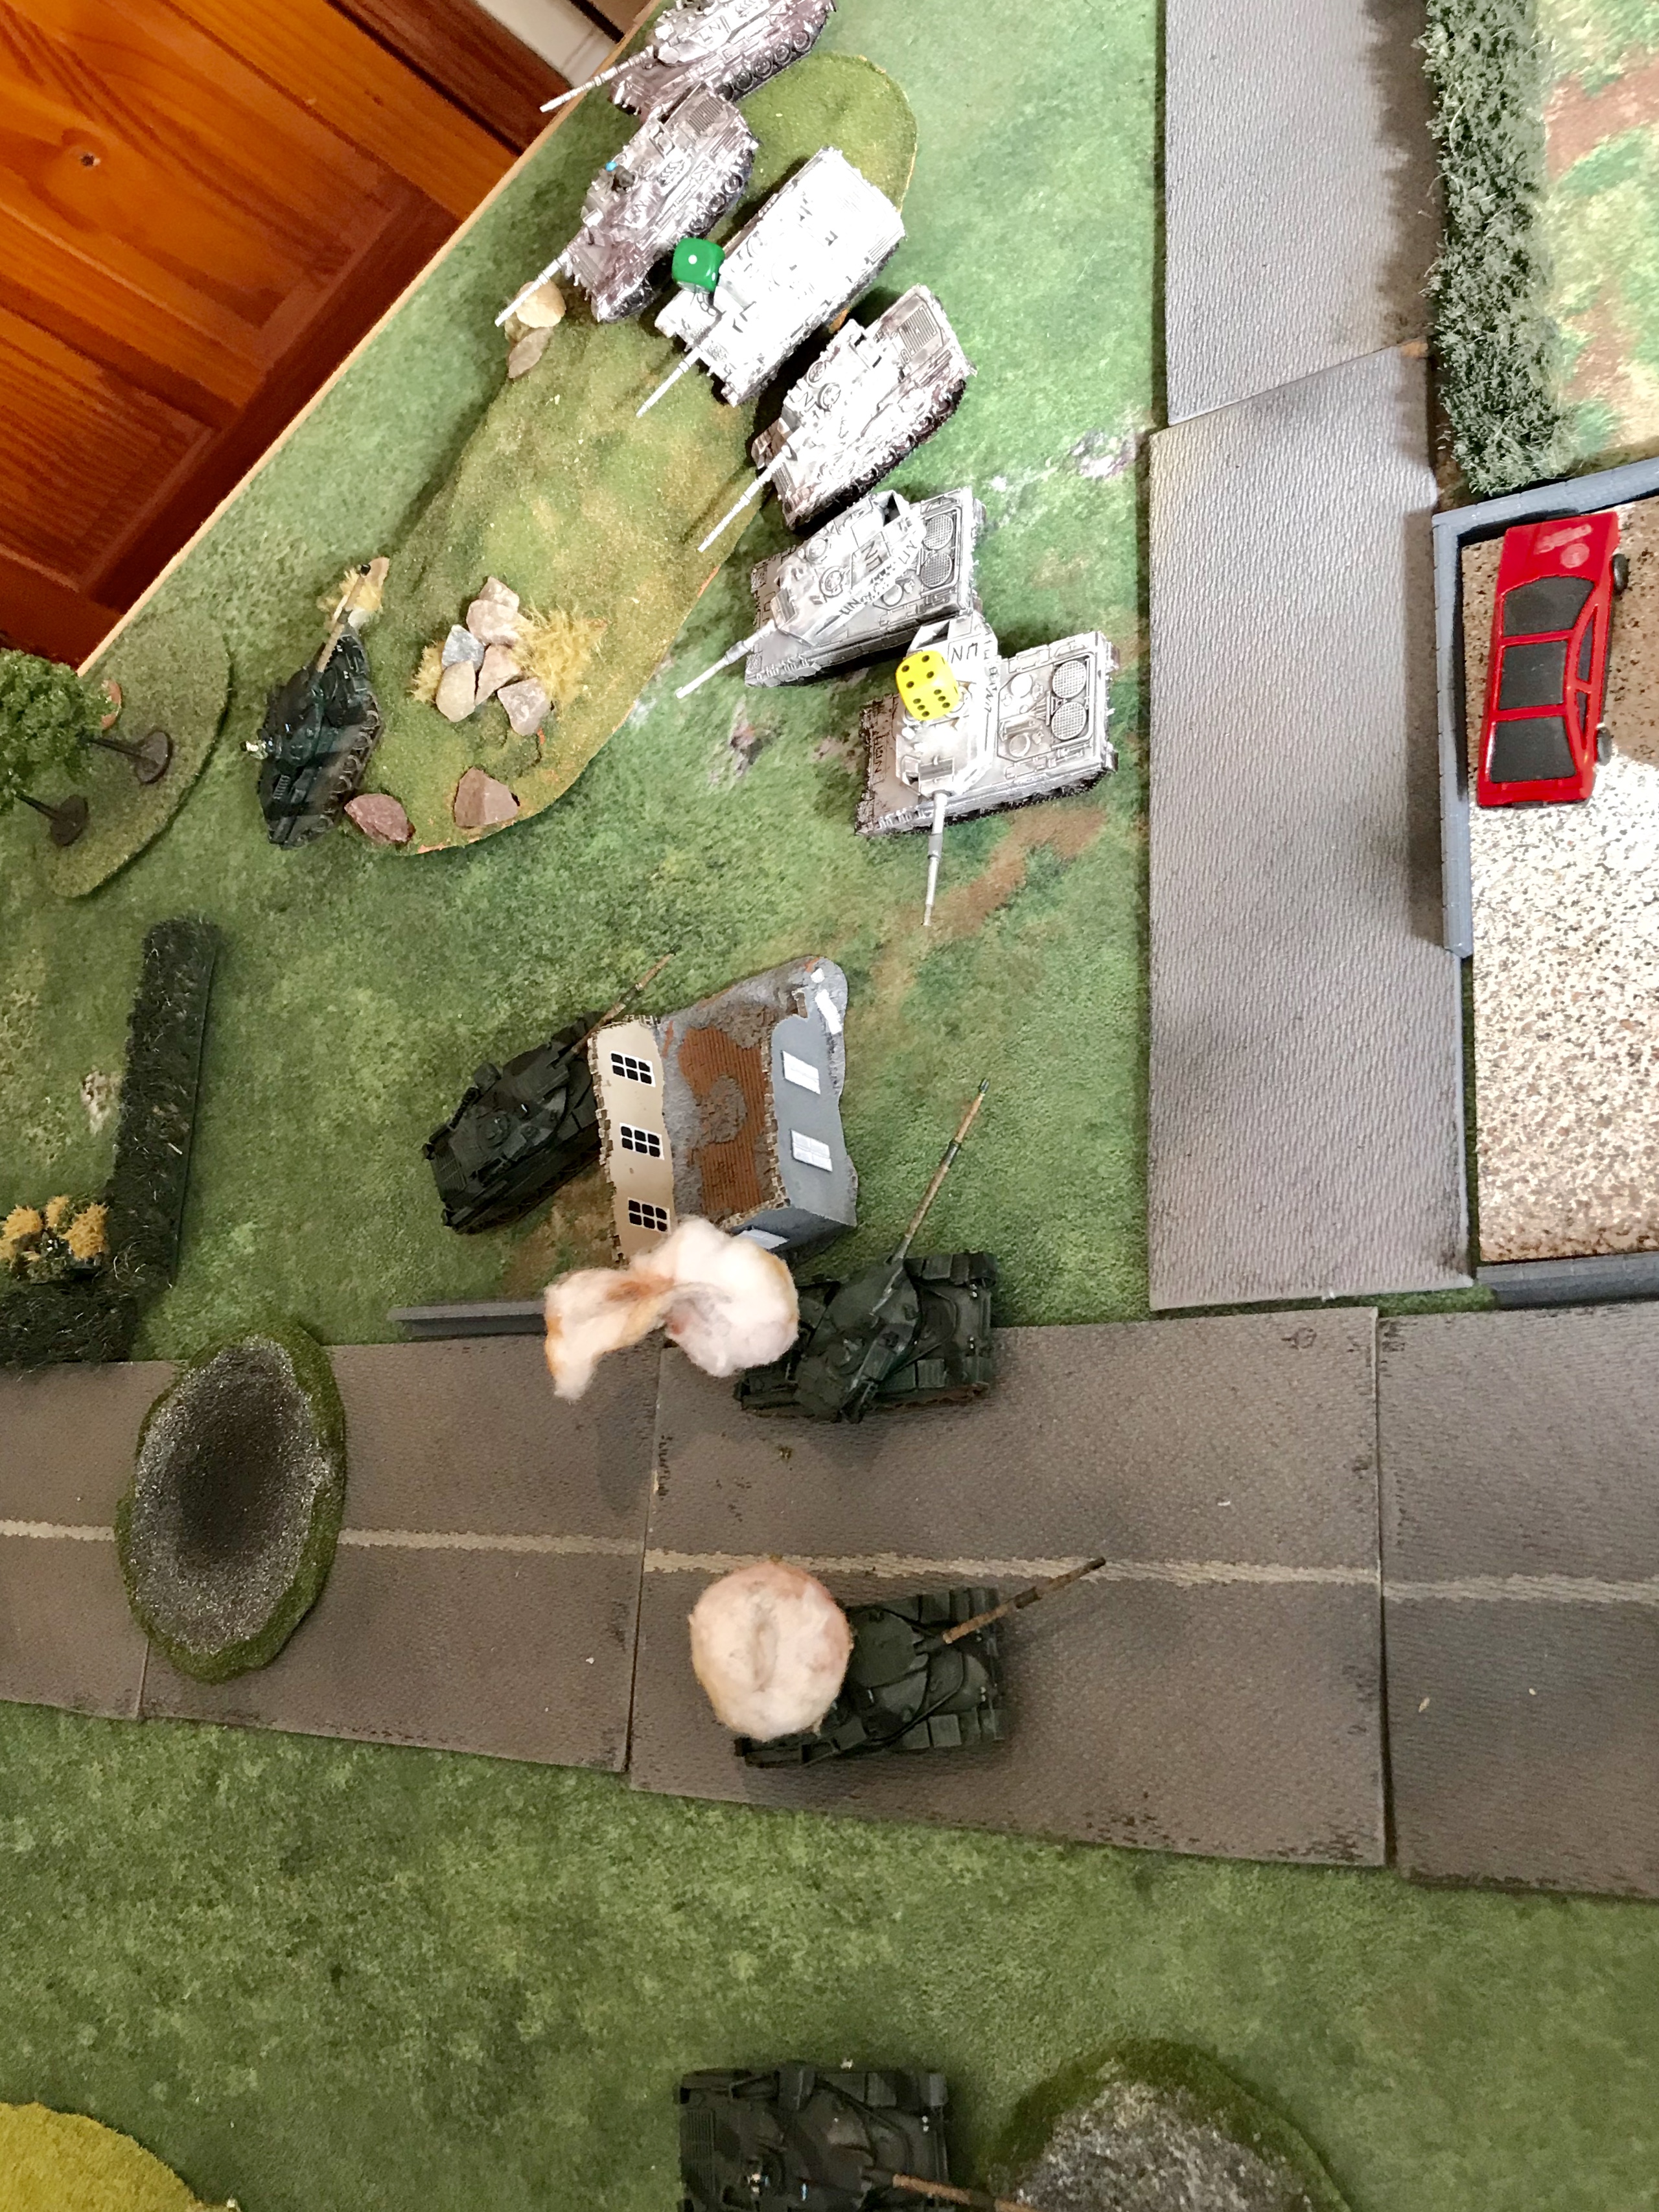
Movement - Cross Here order from Leo2 HQ after he had joined the Leo2 Platoon allowing them to cross on 1's. They moved up the road but remained in cover. Leo1 Platoon with the HQ Leo1 advanced around the 'Ranged In' marker and into cover behind the house and hedge as seen in the picture. The PAH Helicopters move down the West German right flank and hide behind a house, flanking the Strikers and behind the Chieftain HQ.
Shooting - The Tornado's line up to drop their bombs on the massed vehicles in the woods. The Chieftain HQ, 2 Abbots and Three F432 Transports all attempt to fire AA MGs at them but only the Chieftains and Abbots can see due to the nightime conditions and score one hit that was saved. Two of the Rapiers (in line abreast) were unable to see because of the dark so only two fired but were able to down one Tornado. The Tornado's immediately ranged in on the first attempt. None of the Strikers were hit (being hit on 6's), but one Rapiers and two Abbot were destroyed as they were easier to hit (4's) as they were lit up by the AA fire.
British
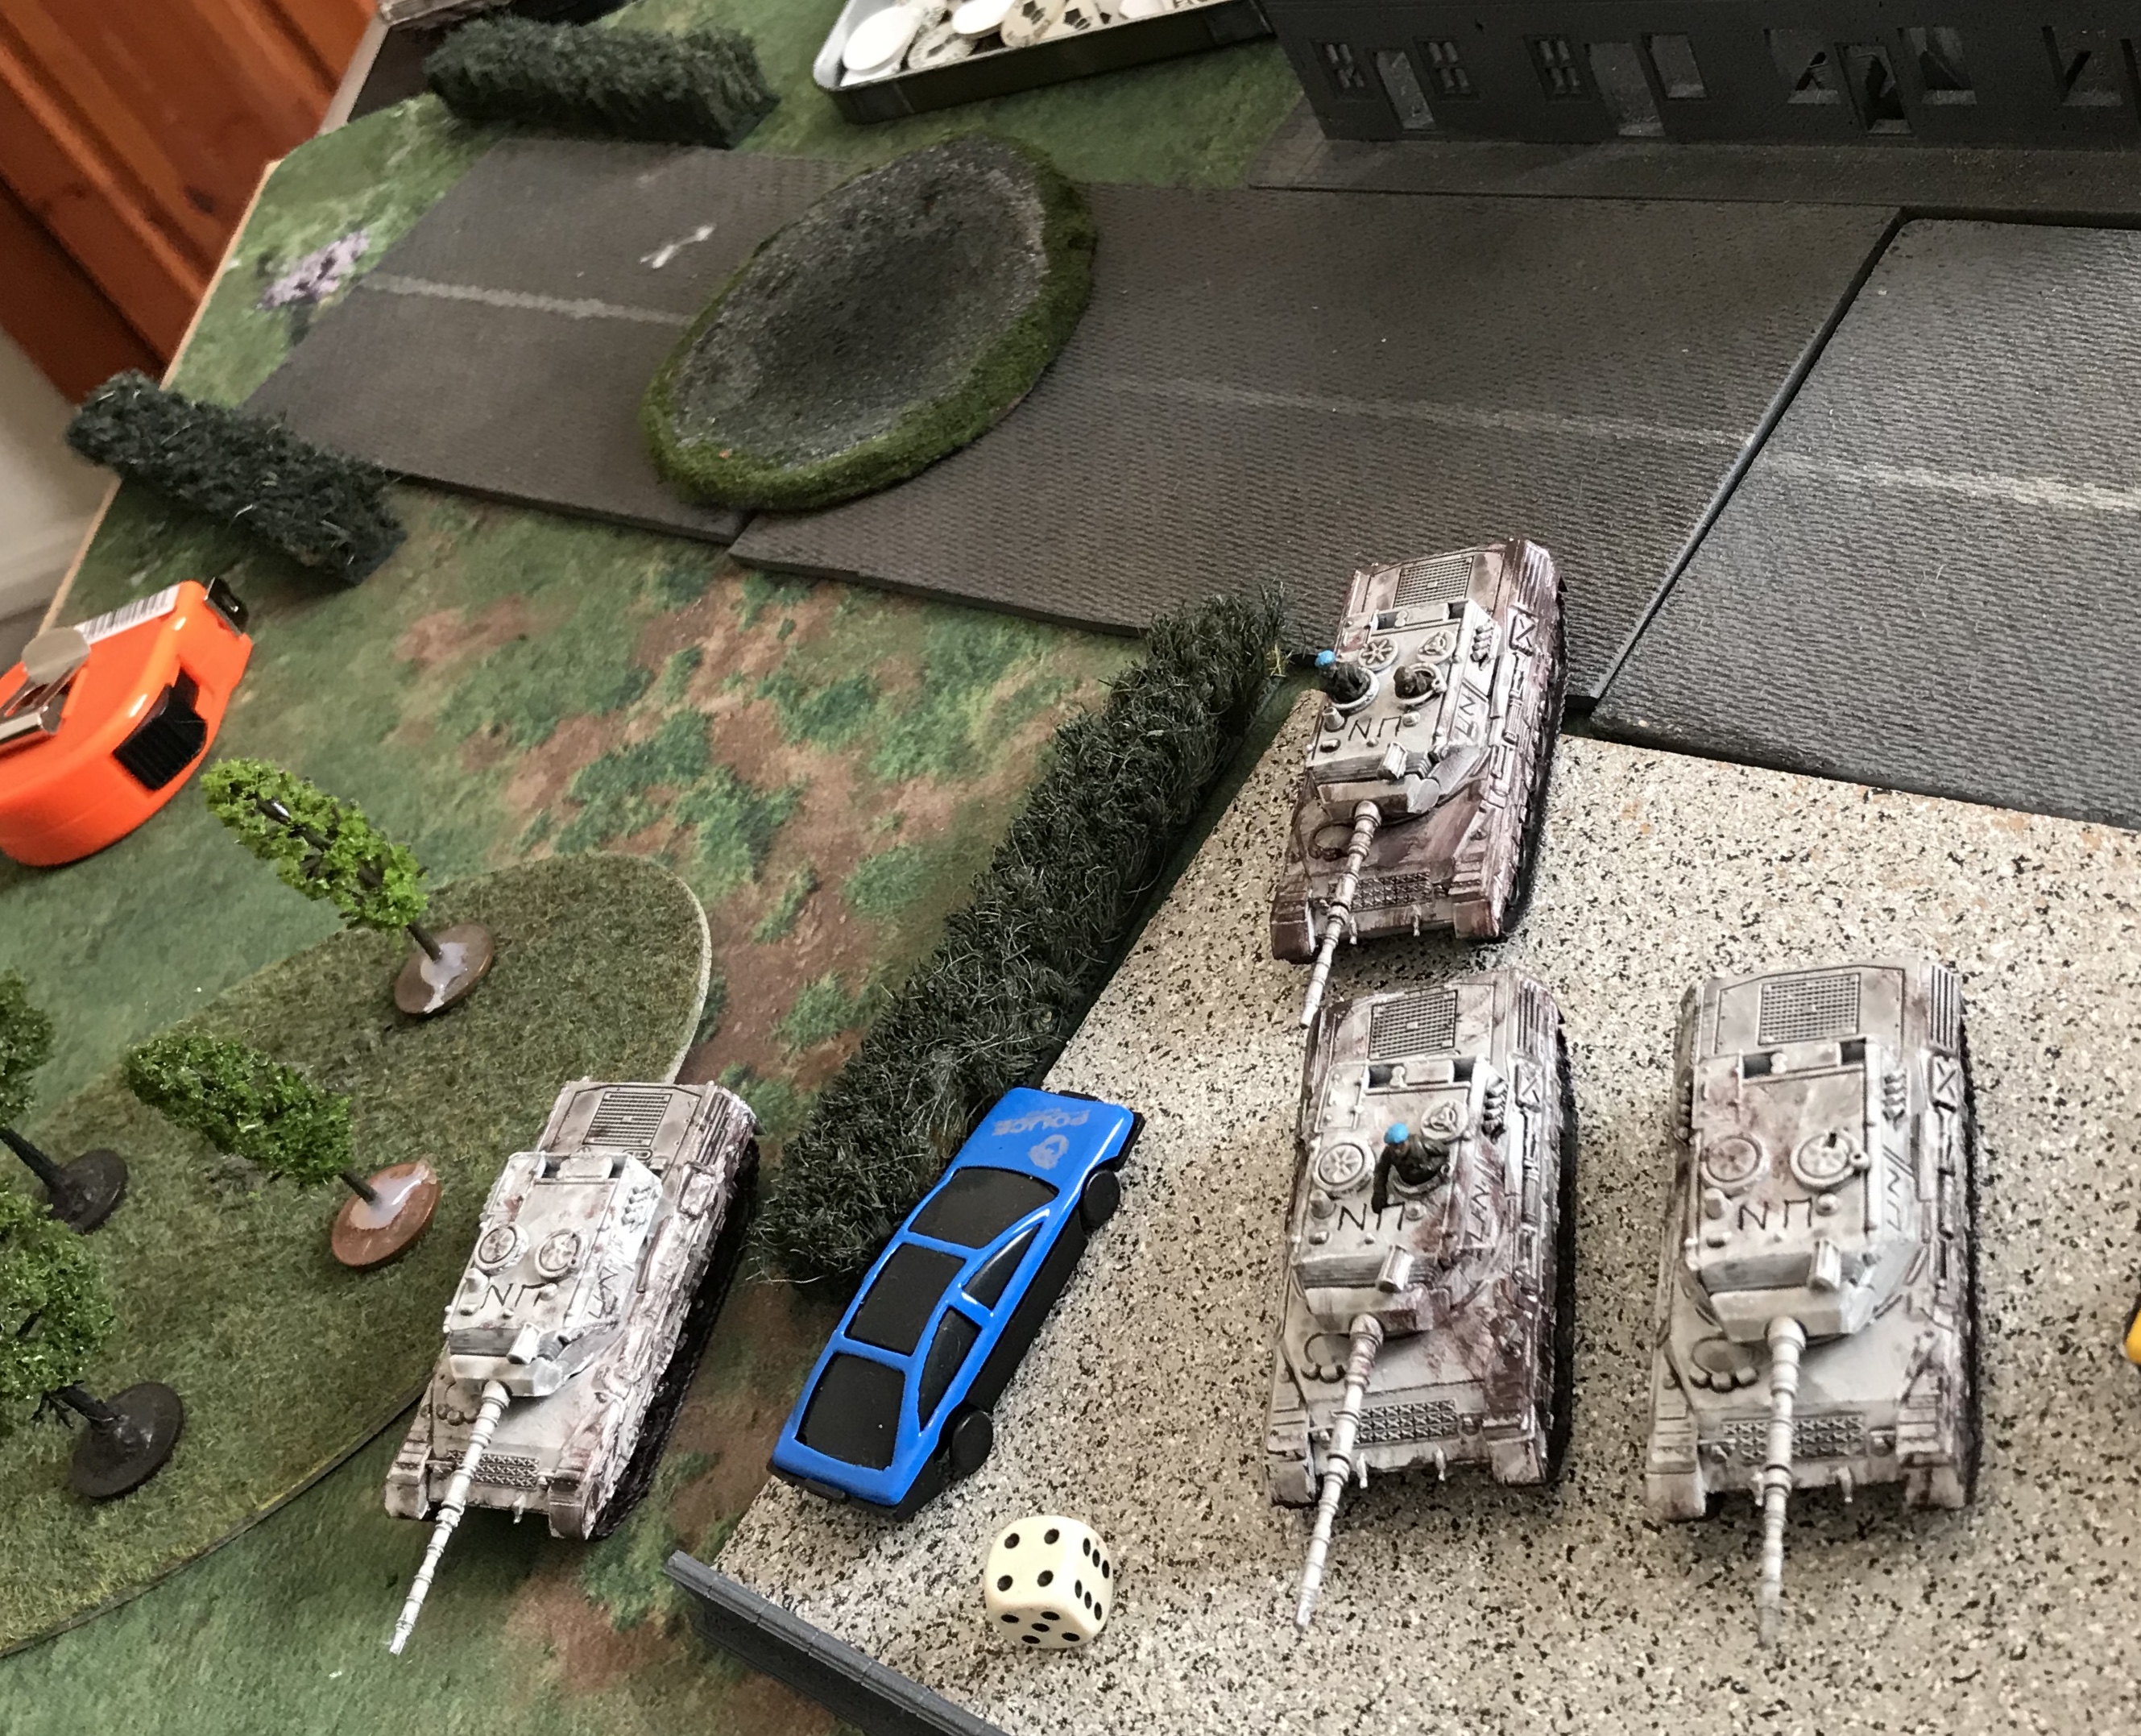
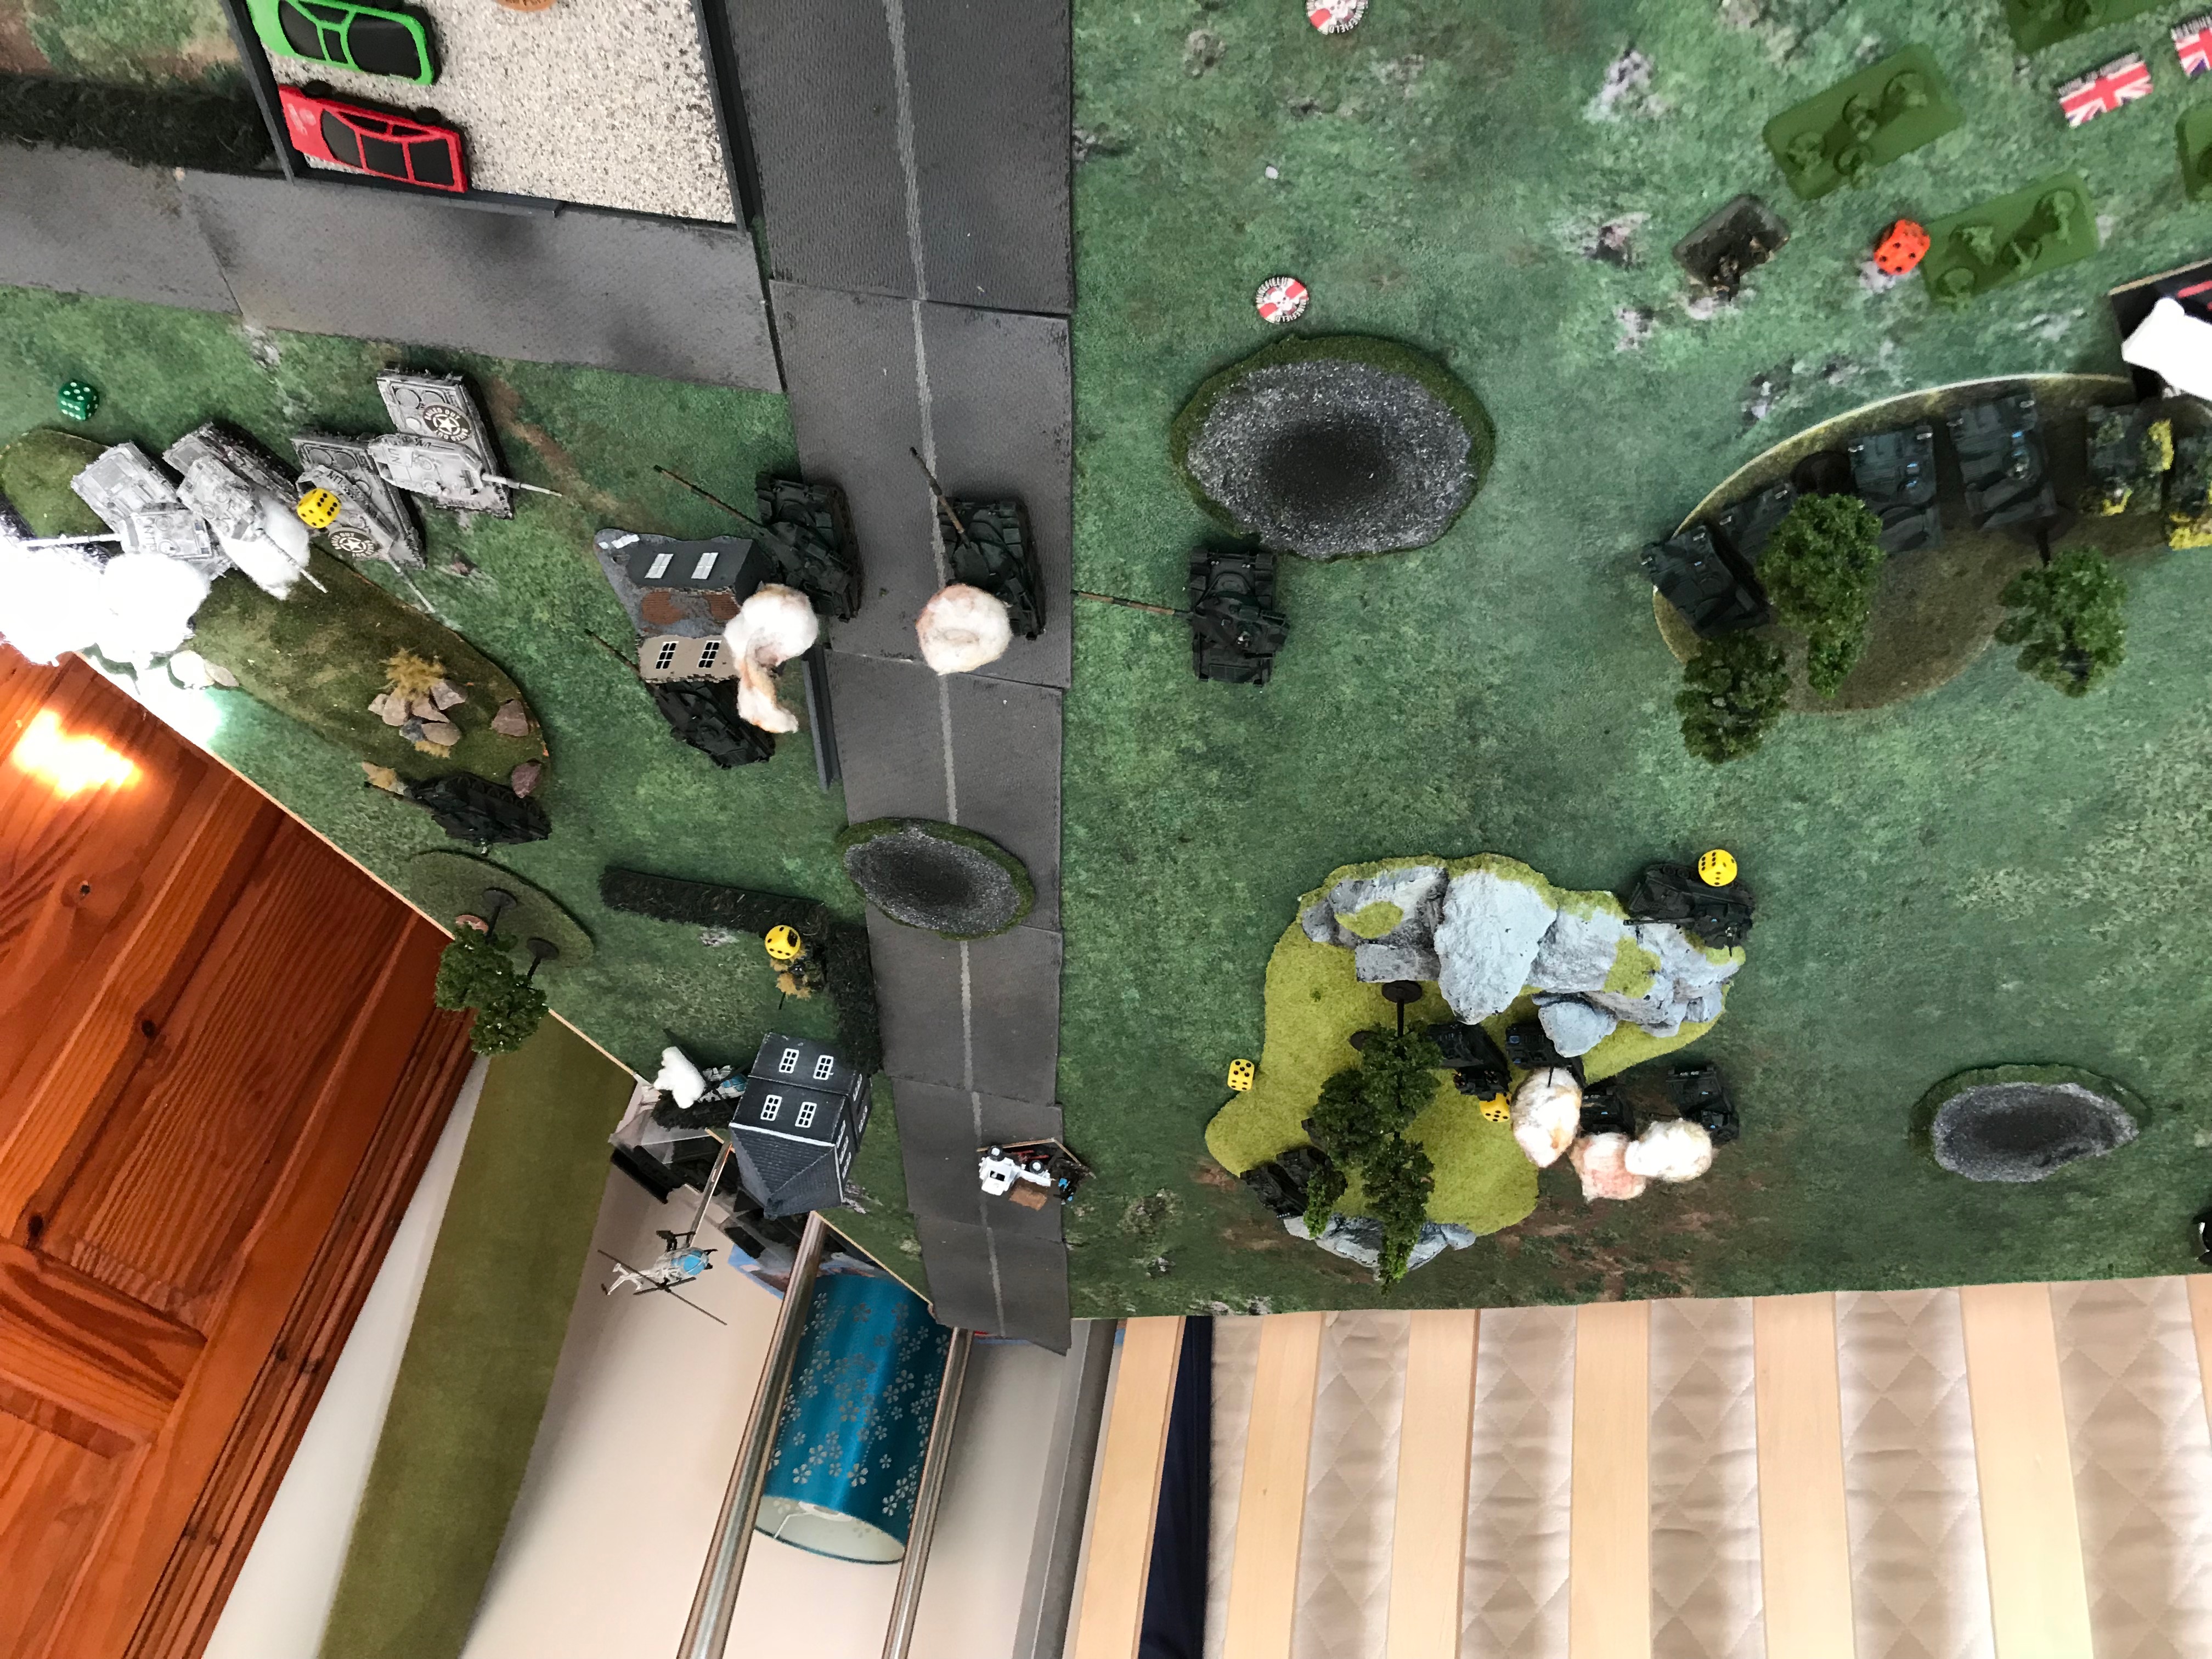
Movement - The Chieftain Platoon appeared from Ambush in the centre of the table, 16" away from the Leo2's. A risky manoeuver but required to delay their advance towards the objective. They successfully Blitzed towards the Leo2's closing the range to 12".
Shooting - The Chieftains were able to see the Leo2's in the dark and fired six rounds but were only able to bail one tank. The remaining two Abbots fired a bombardement at the Leo1 just under the template but were unable to hit as they were hitting on 4's, 5's for night and 6's as they had been reduced to two guns by the Tornados.
TURN 2
West German
Strike Aircraft Arrive - Tornado's line up to fire at the other two Rapiers and reamining two Abbots on the right flank of the British deployment area. The Abbots AA fire but bothe miss. The Rapiers stay concealed learning fromtheir dead counterpart before. The Tornados kill one Abbot (hit on 4's) but miss the two Rapiers in the wood who would have needed 6's.
Reserves - One Gepard Platoon. Advances onto the battlefield and alongside its sister platoon.
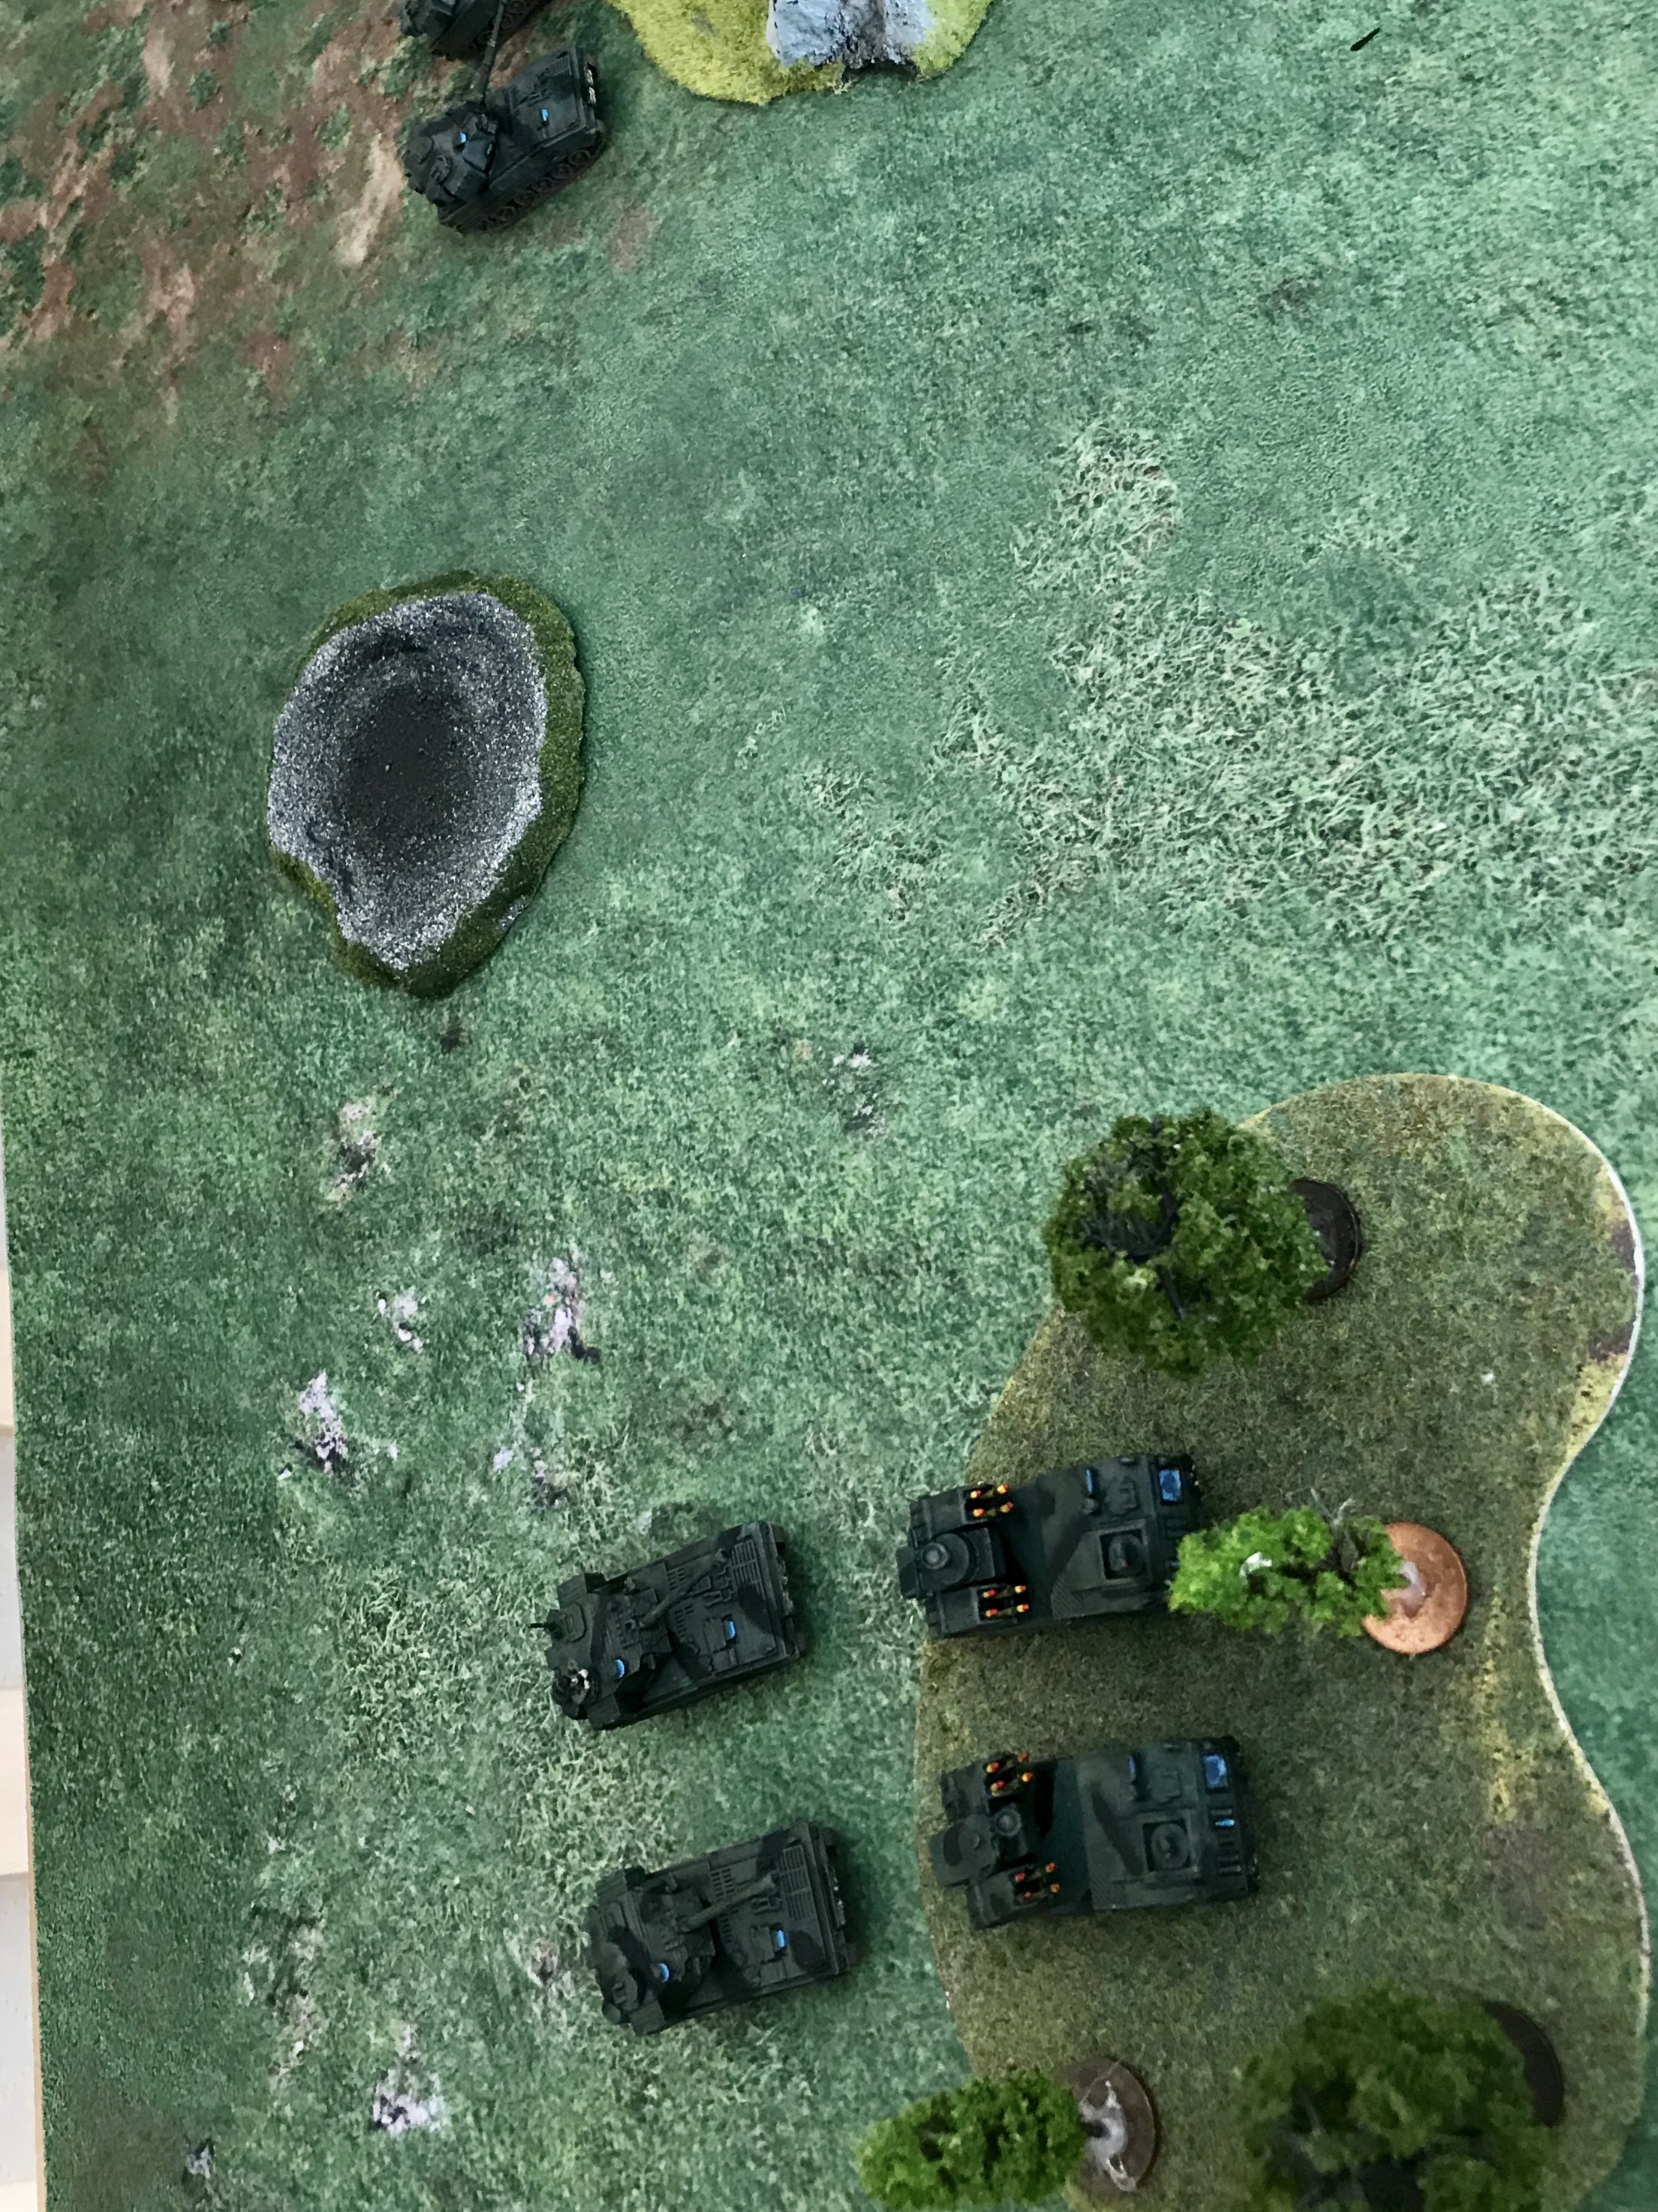
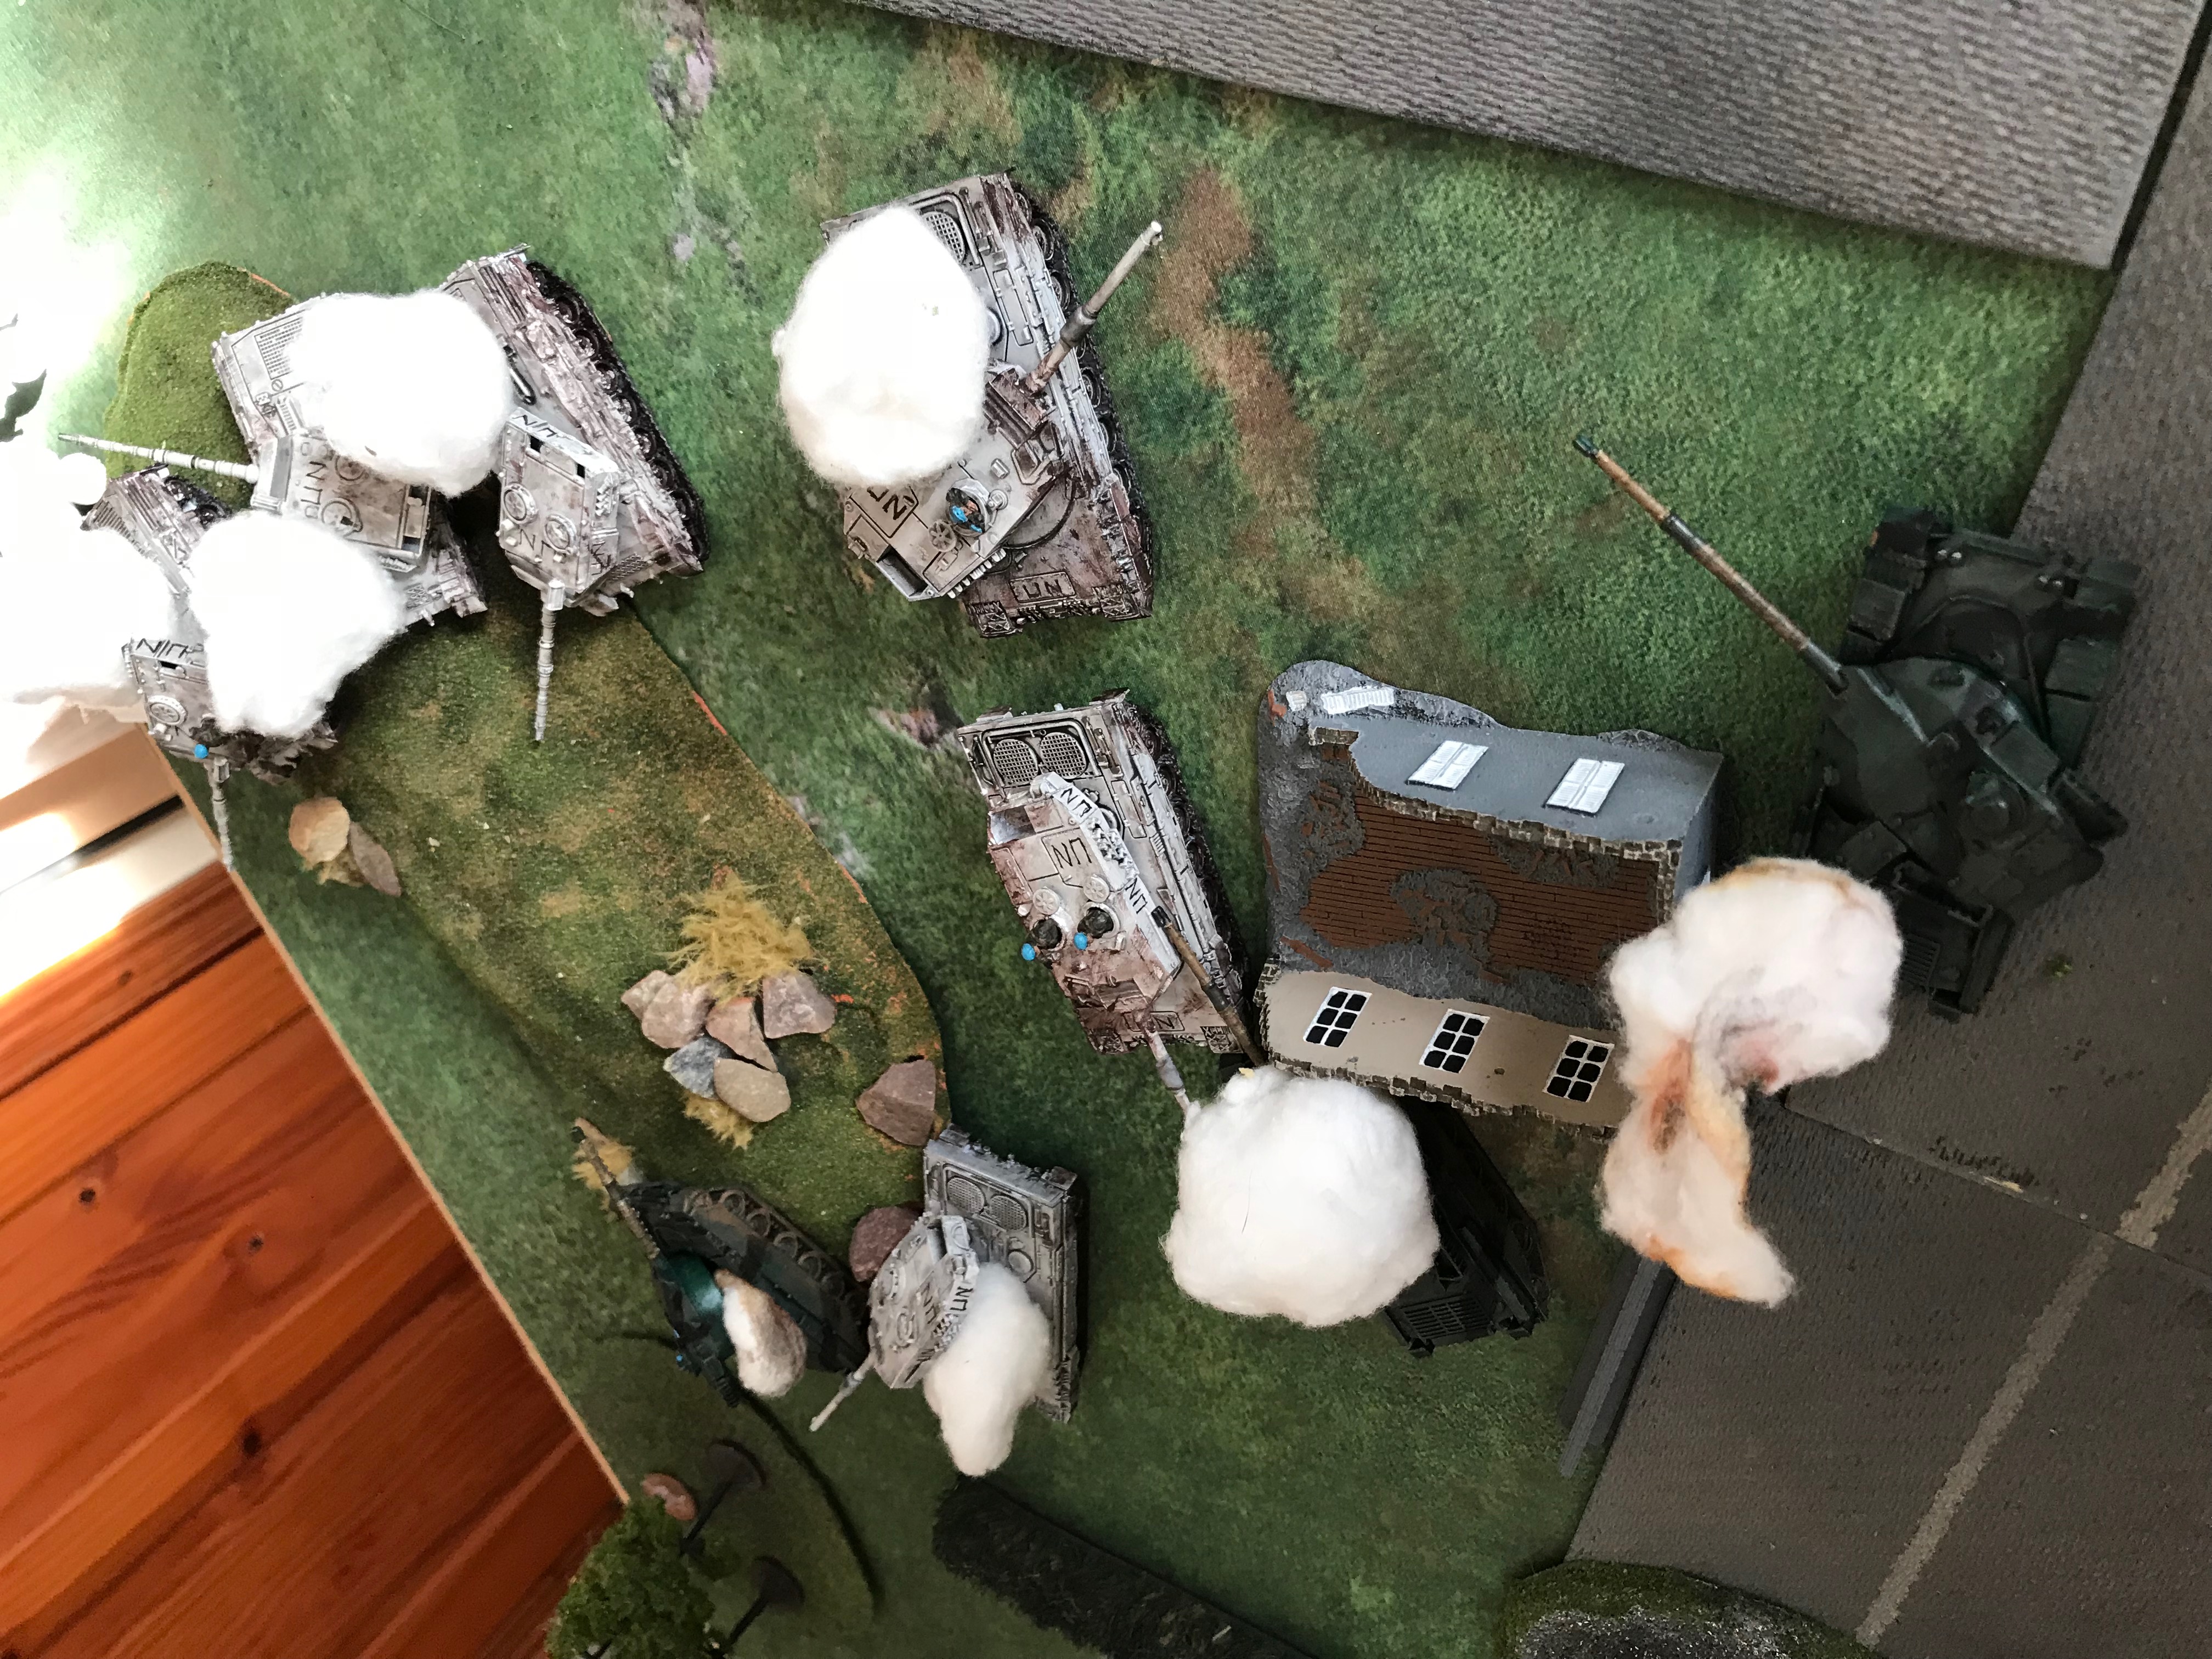
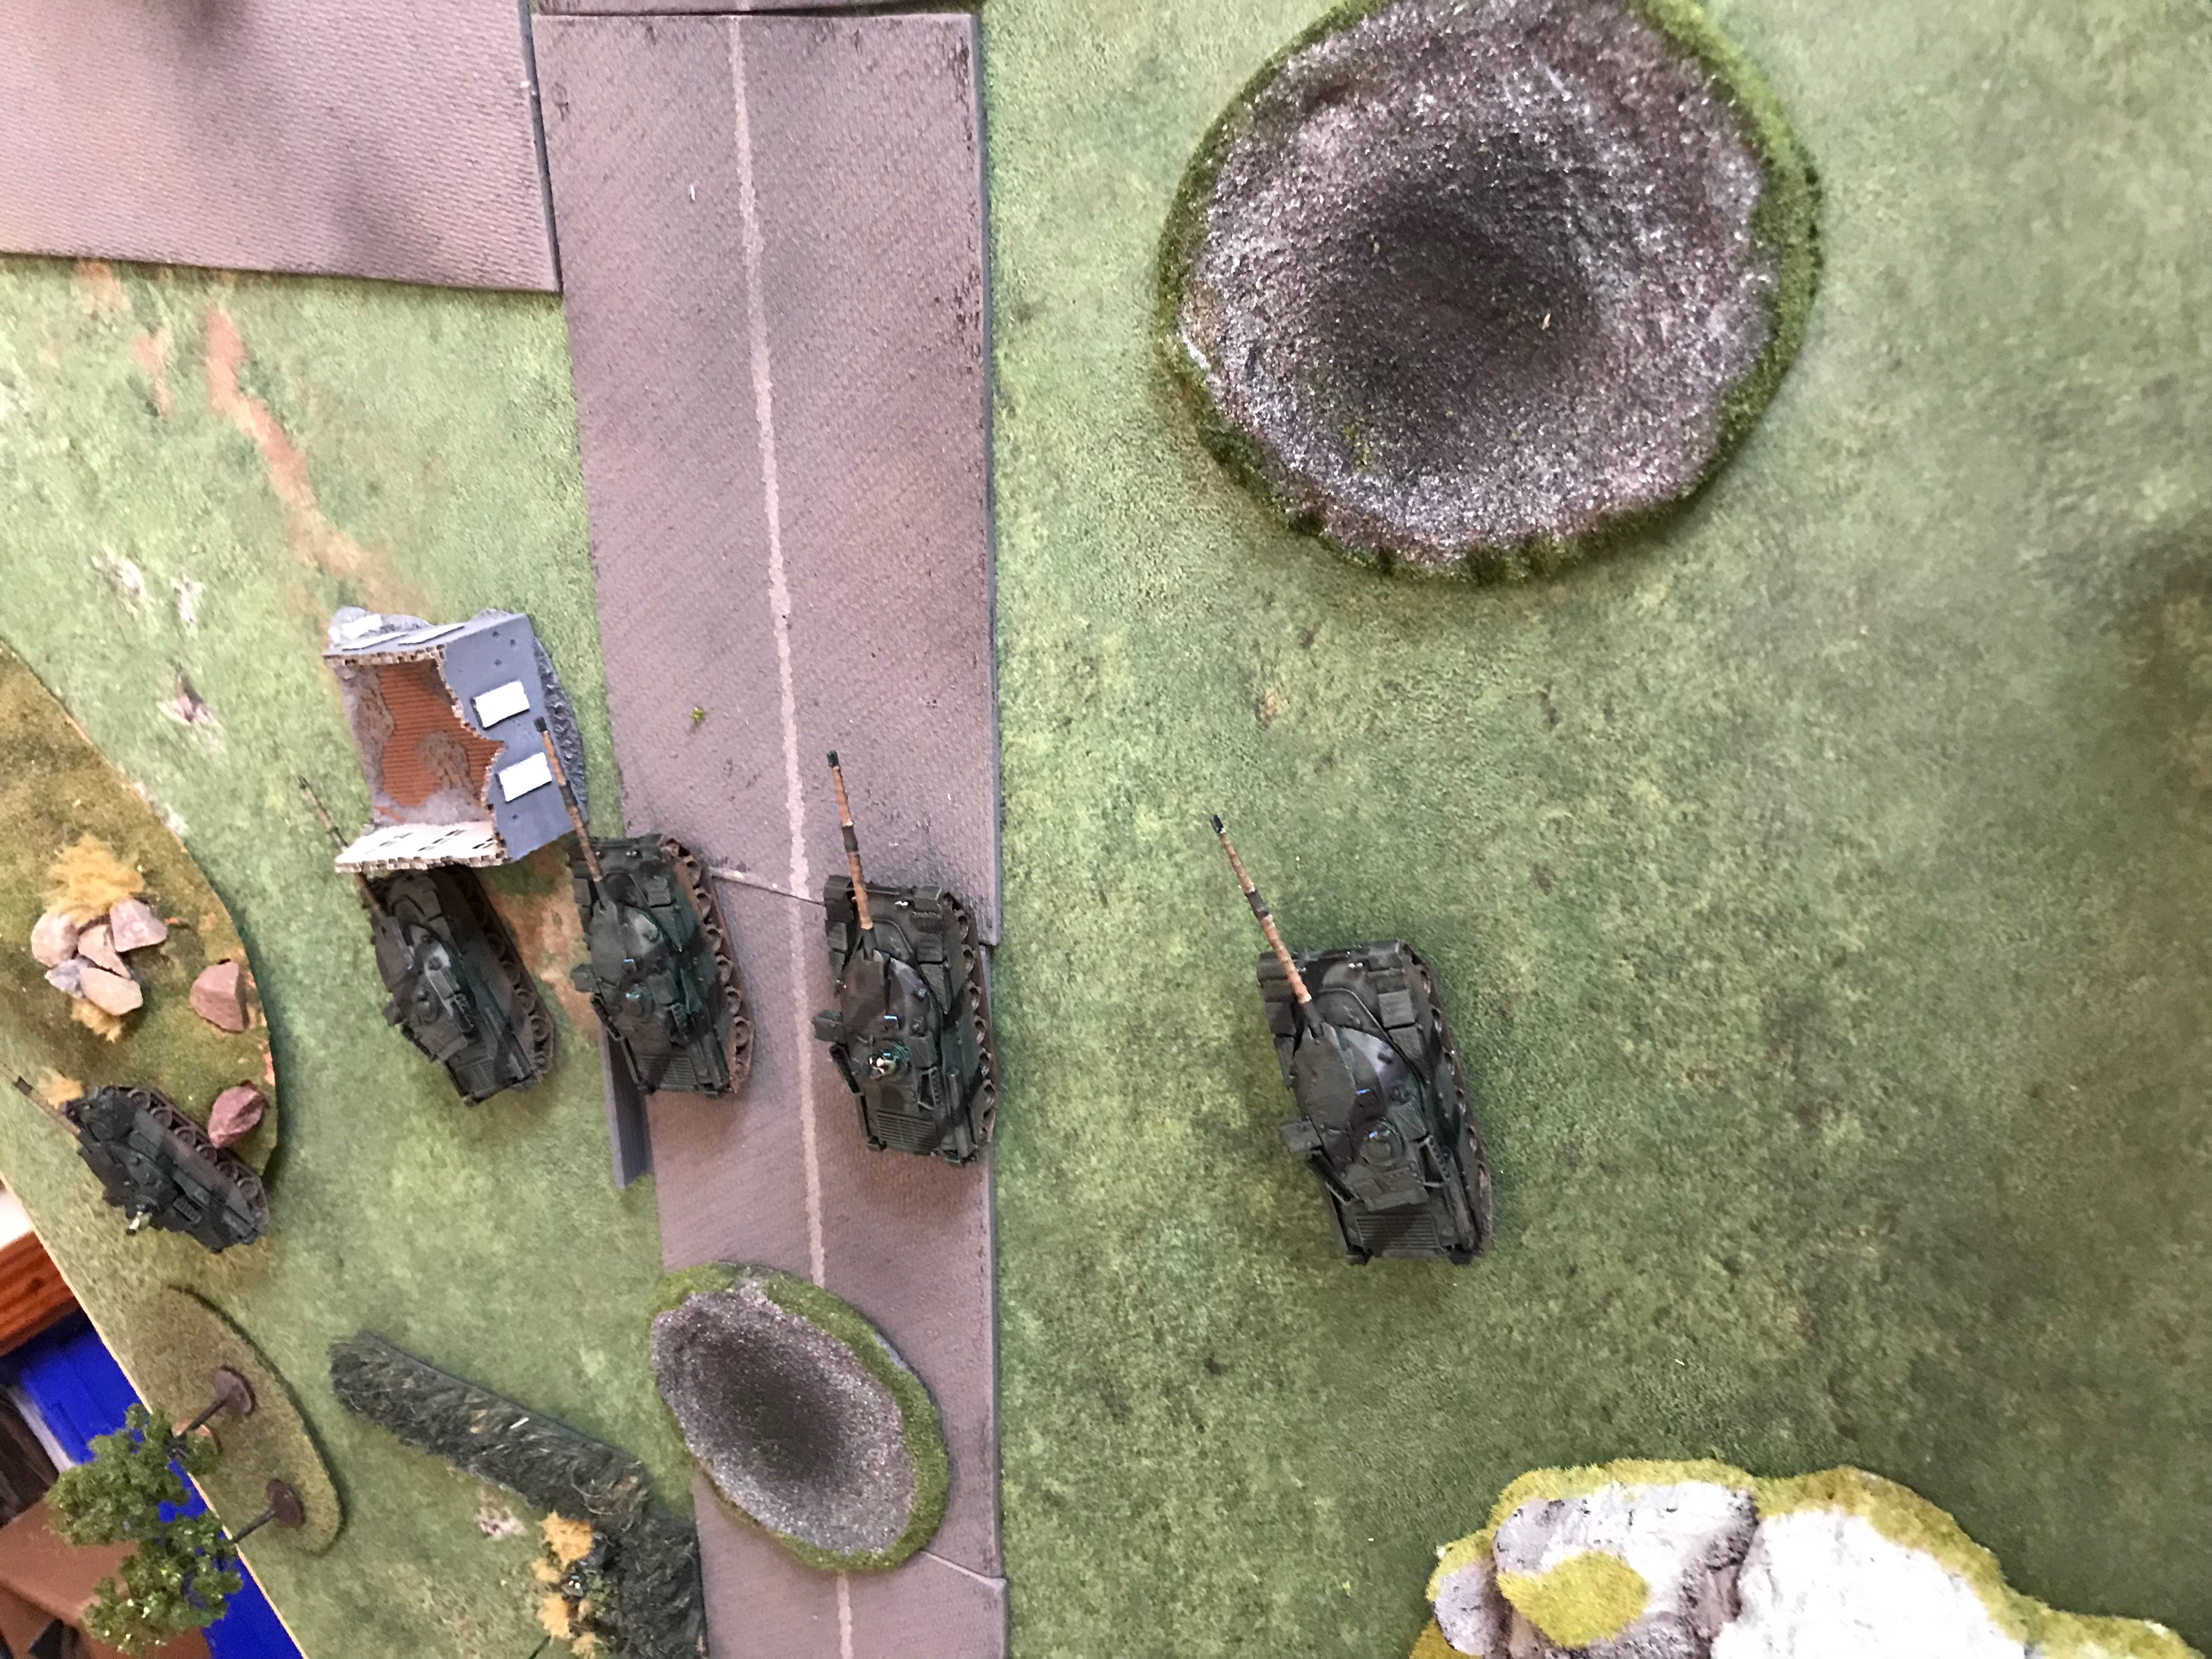
Movement - Successful Blitz for the Leo2's meant that two were now in flanking positions on the Chieftain Platoon but were 'Out Of Command'. Leo1's (Platoon and HQ) successfully Blitzed and tactically advcanced towards the Chieftain HQ Platoon.
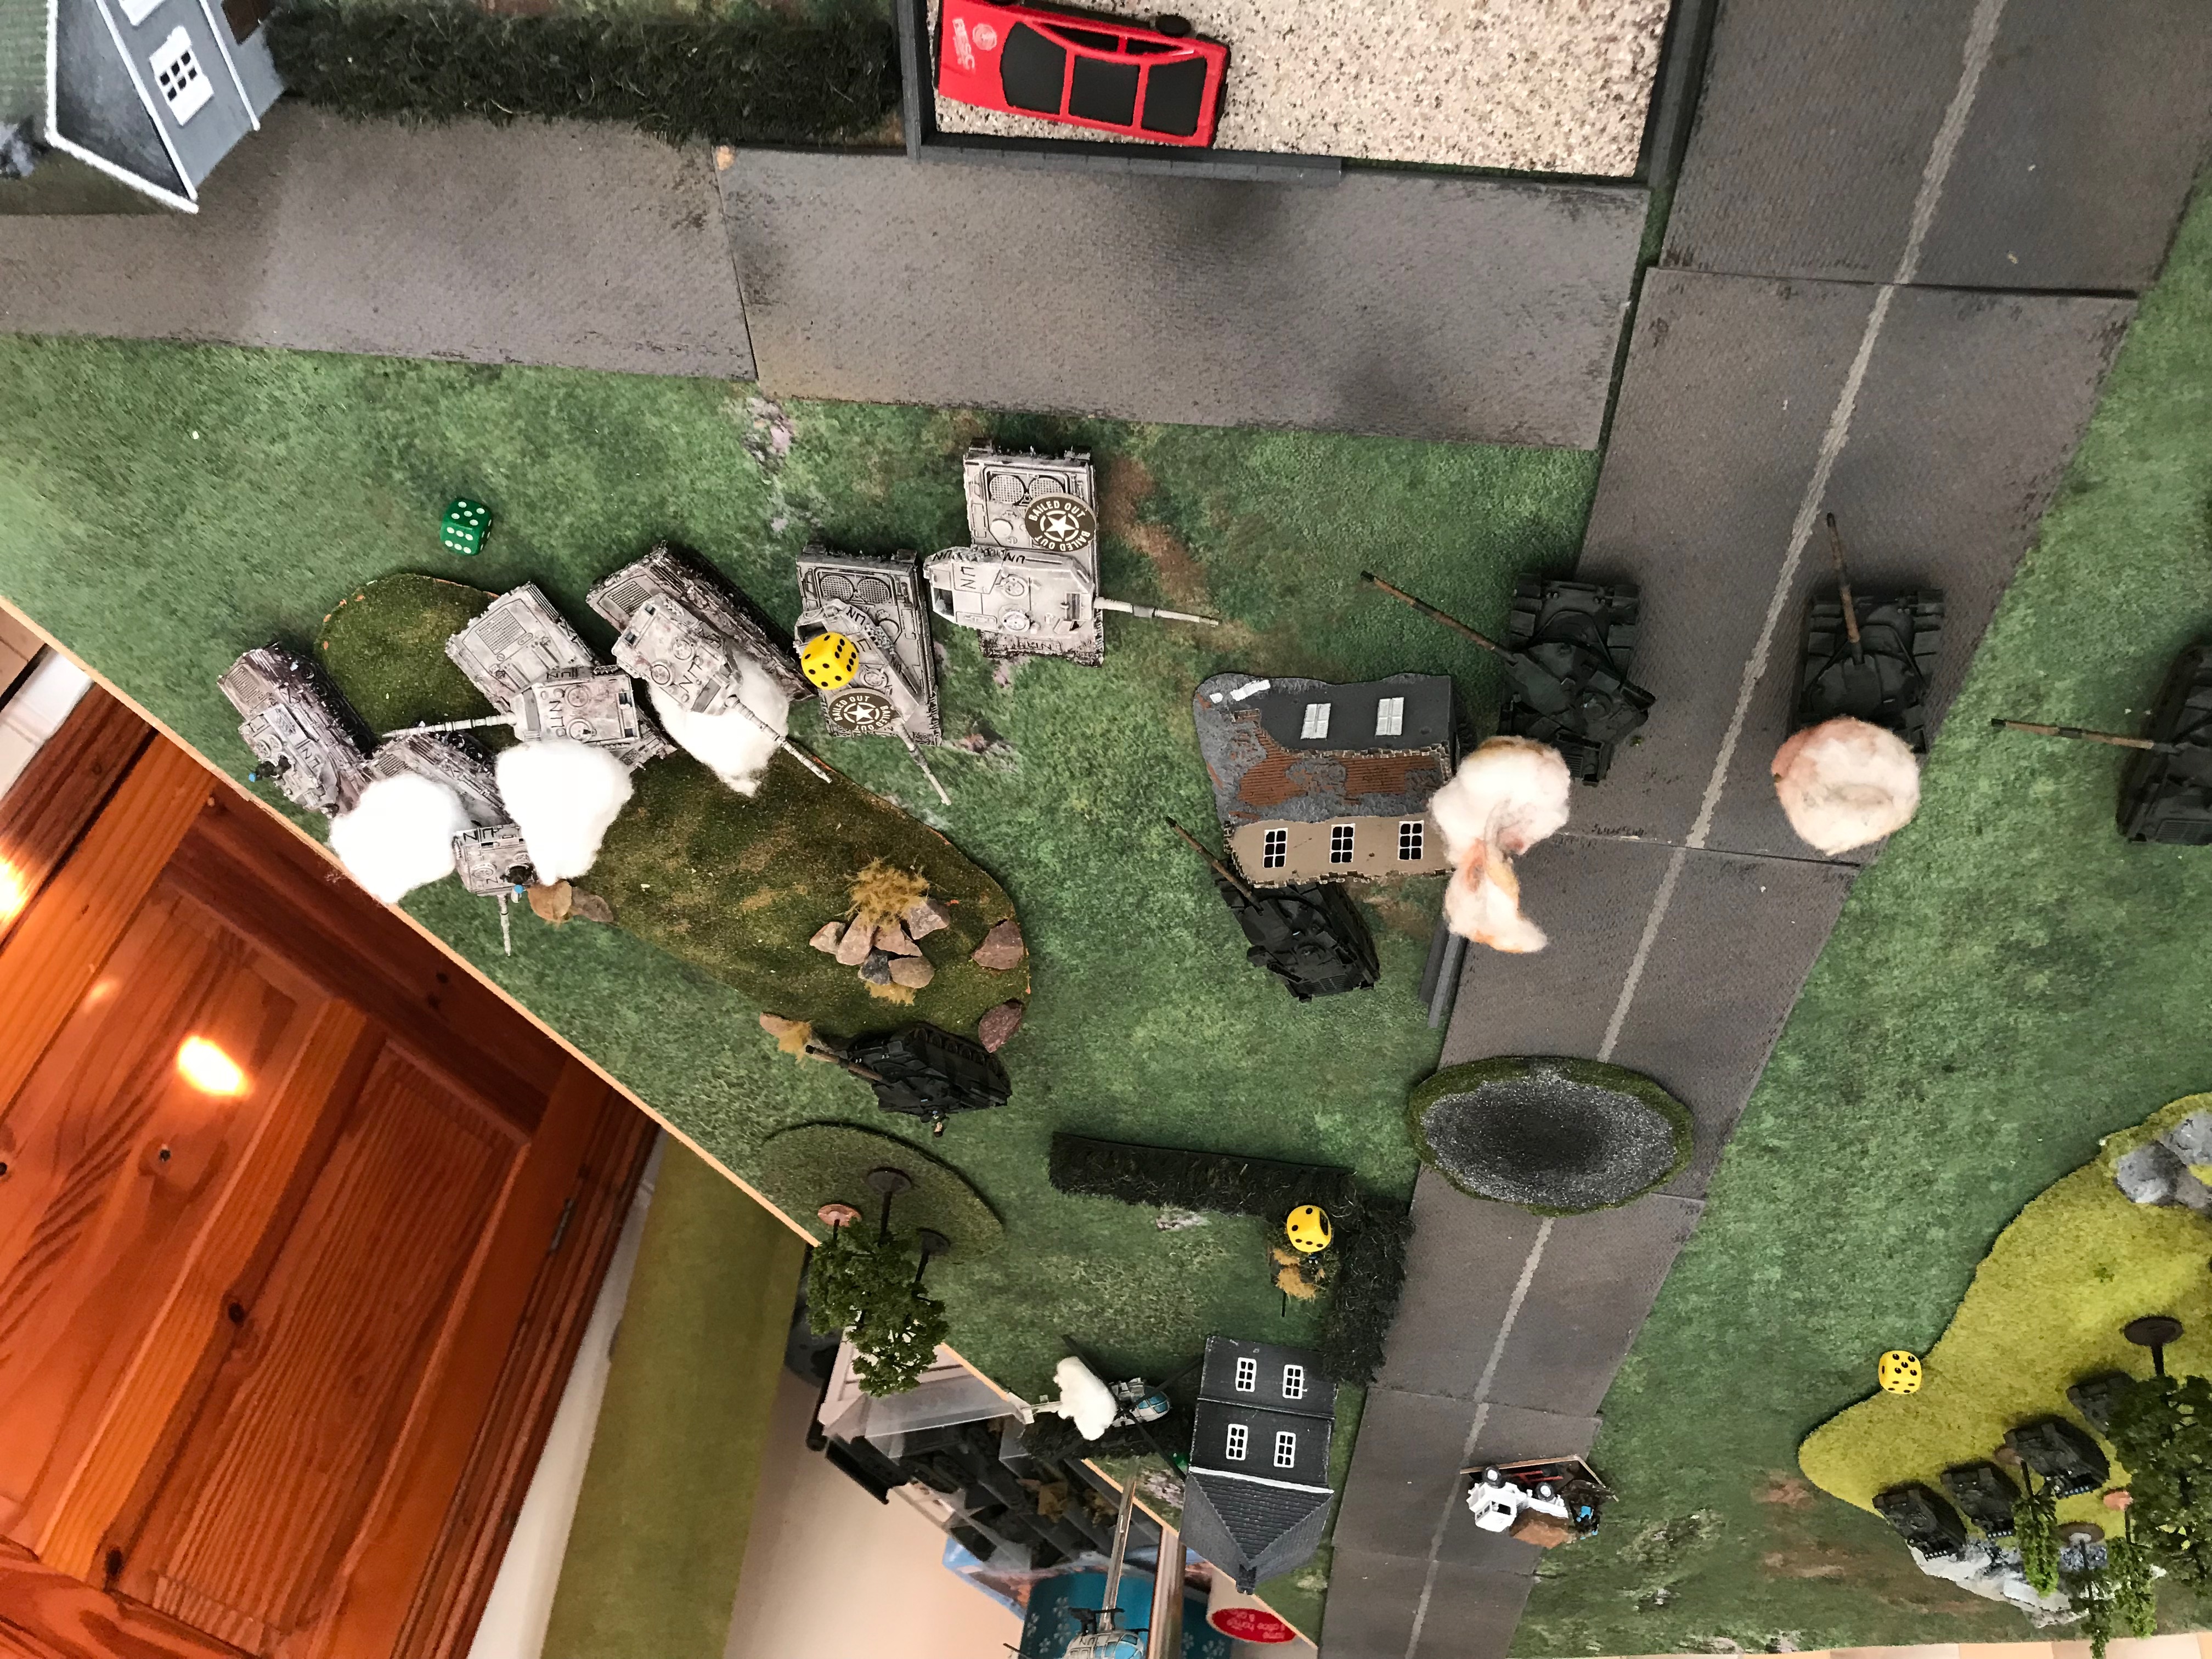
Shooting - PAH Helicopters fire at the Chieftain Platoon in the open after successfully rolling for vision. They score two hits but only manage to bail them. Leo1's fire at the Chieftain HQ Platoon, scoring a hit on both but neither cause any damange. Leo2 HQ fires at the Chieftain Platoon but miss with both rounds. The Leo2 Platoon Commander fires now at the Chieftain Platoon missing with both shots. The other two Leo2's split their fire, one firing at the Chieftain HQ Platoon scoring one hit but failing to cause damage the other firing flanking shots at the Chieftain Platoon scoring two hits which go straight through and destroy two. On morale tests the remaining Abbot SPG and the Chieftain Platoon both opt to remain in the fight!
British
Remount - The Chieftain Platoon Commander remounts his steed!
Movement - The remaining Abbot successfully Blitzed and advanced to gain a direct fire shot on the Leo1's.
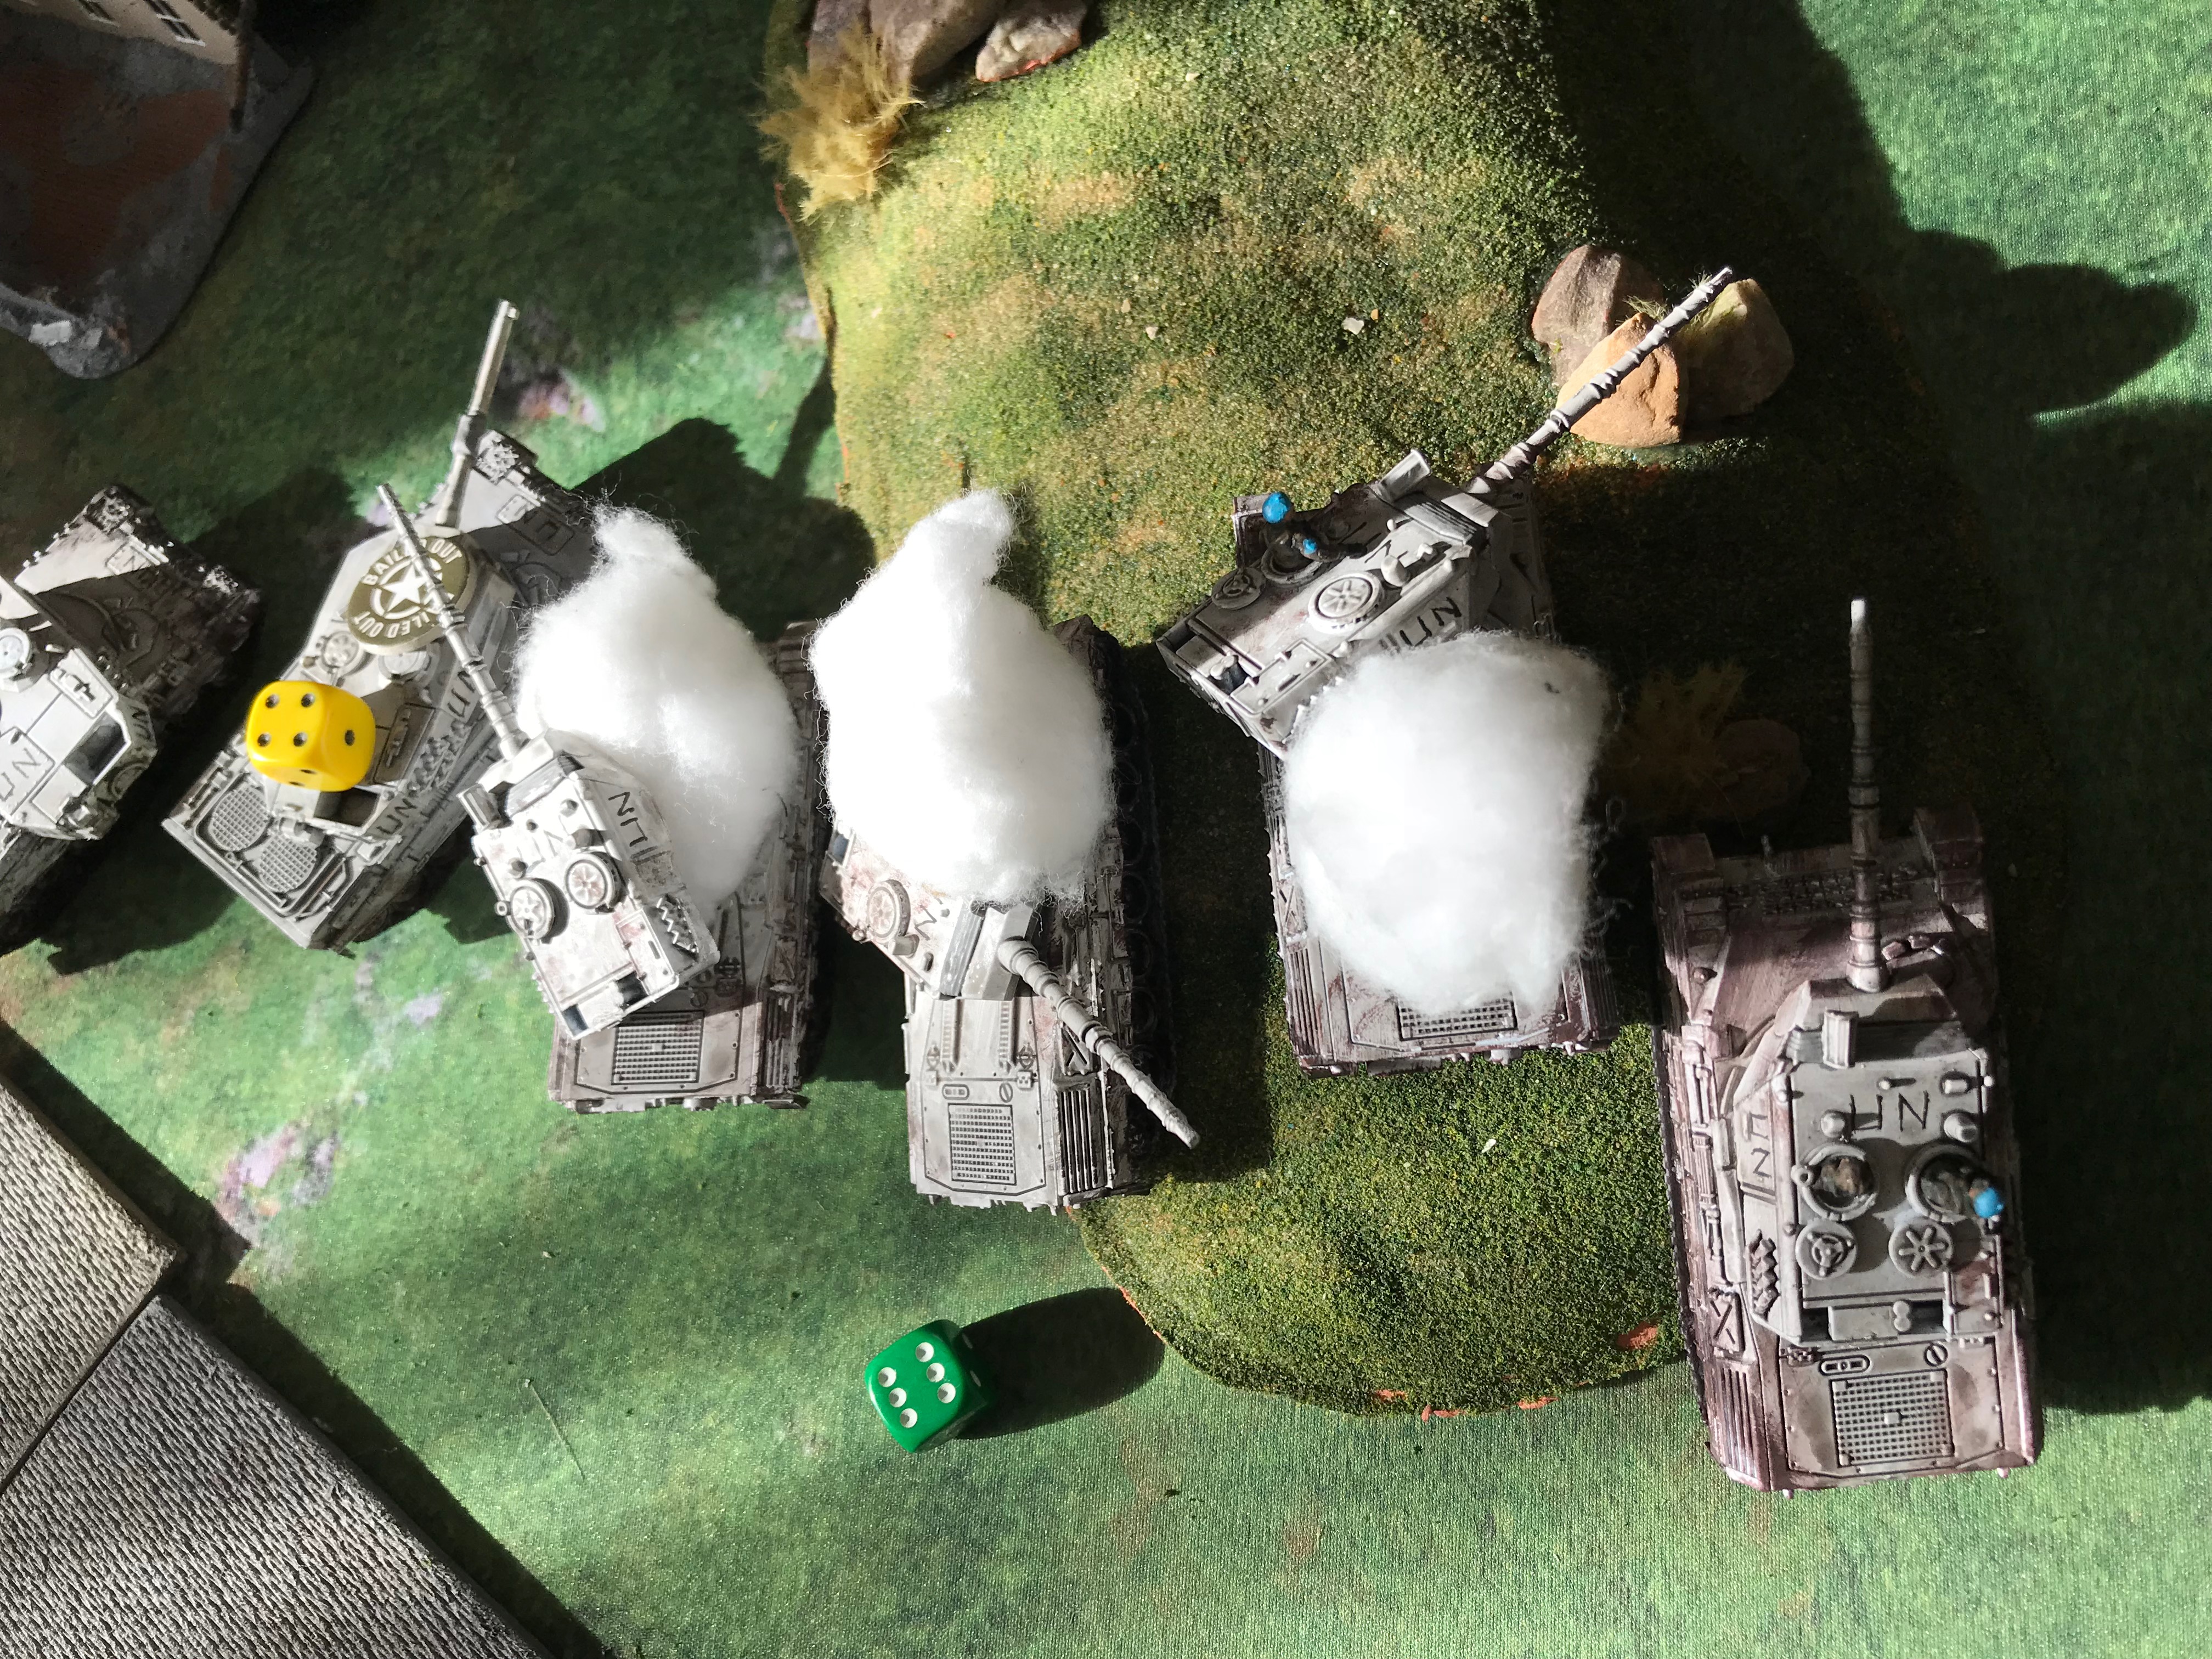
Shooting - The Rapiers fired at the PAH's managing to kill one of them despite having two now 'Out Of Command'. The Abbot attempted a shot at the 'Lit Up' Leo1's on the grassy knoll but missed. The last tank of the Chieftain Platoon fired a flanking shot at the Leo2's and managed to bail one. The Strikers fired at the Leo2's bailing another leaving only one active tank in that platoon now. The Chieftain HQ fired at the Leo1 platoon hitting all three in the platoon and killing all three. The Morale test on the PAH's is successfully passed however the Leo2's only just manage to stay in the fight, using the Leo2 HQ skill (within 6" of the Leo2 Platoon commander) of 2+.
TURN 3
West German
Strike Aircraft fail to arrive this turn.
Reserves - One platoon of Luch Spah arrive from reserve.
Remount - Both Leo2's remount successfully.
Movement - The Leo1 HQ Tank advances around the rear of the Chieftain HQ platoon. The Leo2 Platoon does the same to gain more flank shots and the Leo2 HQ advances forward. The Gepard platoons both advance with one platoon in the centre and the other moving towards the flank to gain shots on the dug in British Infantry.
Shooting - The remaining PAH fires at the rear of the Chieftain HQ and destroys one, however as the second tank is within 6" he runs over and continues to command from there. One Leo2 fired at the Chieftain Platoon and one at the Chieftain HQ. The Shots at the platoon both miss but the flanking shot on the HQ tank find their mark and destroy it as there was no other unit within range for the commander to run to this time. The last Leo2 fires at the concealed Strikers but fails to hit any. The Leo1 HQ fired at the Strikers as well but failed to hit. The Leo2 HQ tank fired at the remaining Chieftain tank of the platoon, scoring a hit but only managed to bail it. The morale test for the final Chieftain was a bust and seeing all the destruction around them, the bailed out crew ran to fight another day.
British
It Remains Nightime and the dawn is yet to come.
Reserves - No reserves arrive.
Movement - Spartan HQ succesfully cross out of the woods and move around the rear of the hill to help shore up the morale of the Strikers next turn if required. The Abbot successfully Blitzed again for firing position.
Shooting - The Rapiers fired at the PAH and hit twice but fail to pass their firepower to destroy it. The Abbot fires at the Leo1 HQ but doesn't find its mark. The Striker Platoon fires at the Leo2 Platoon and score one hit, destroying one Leo2. The two Milan Teams in the infantry section try their luck with flank shots and despite the Chobham armour on the Leo2 (Side16 against HEAT) they both go through destroying one tank. The Leo2 platoon now fails their morale test and run!
TURN 4
West German
Strike Aircraft Arrive - Tornado's line up to fire at the infantry but no hits are scored at all due to ranging in on the thrid attempt.
Reserves - The second platoon of Luchs Spah arrive.
Movement - The Leo2 HQ tank advances into the kill zone of decimated tanks. The Gepard Platoon Blitzed and tactical moved into a better firing position against the dug in British Infantry.
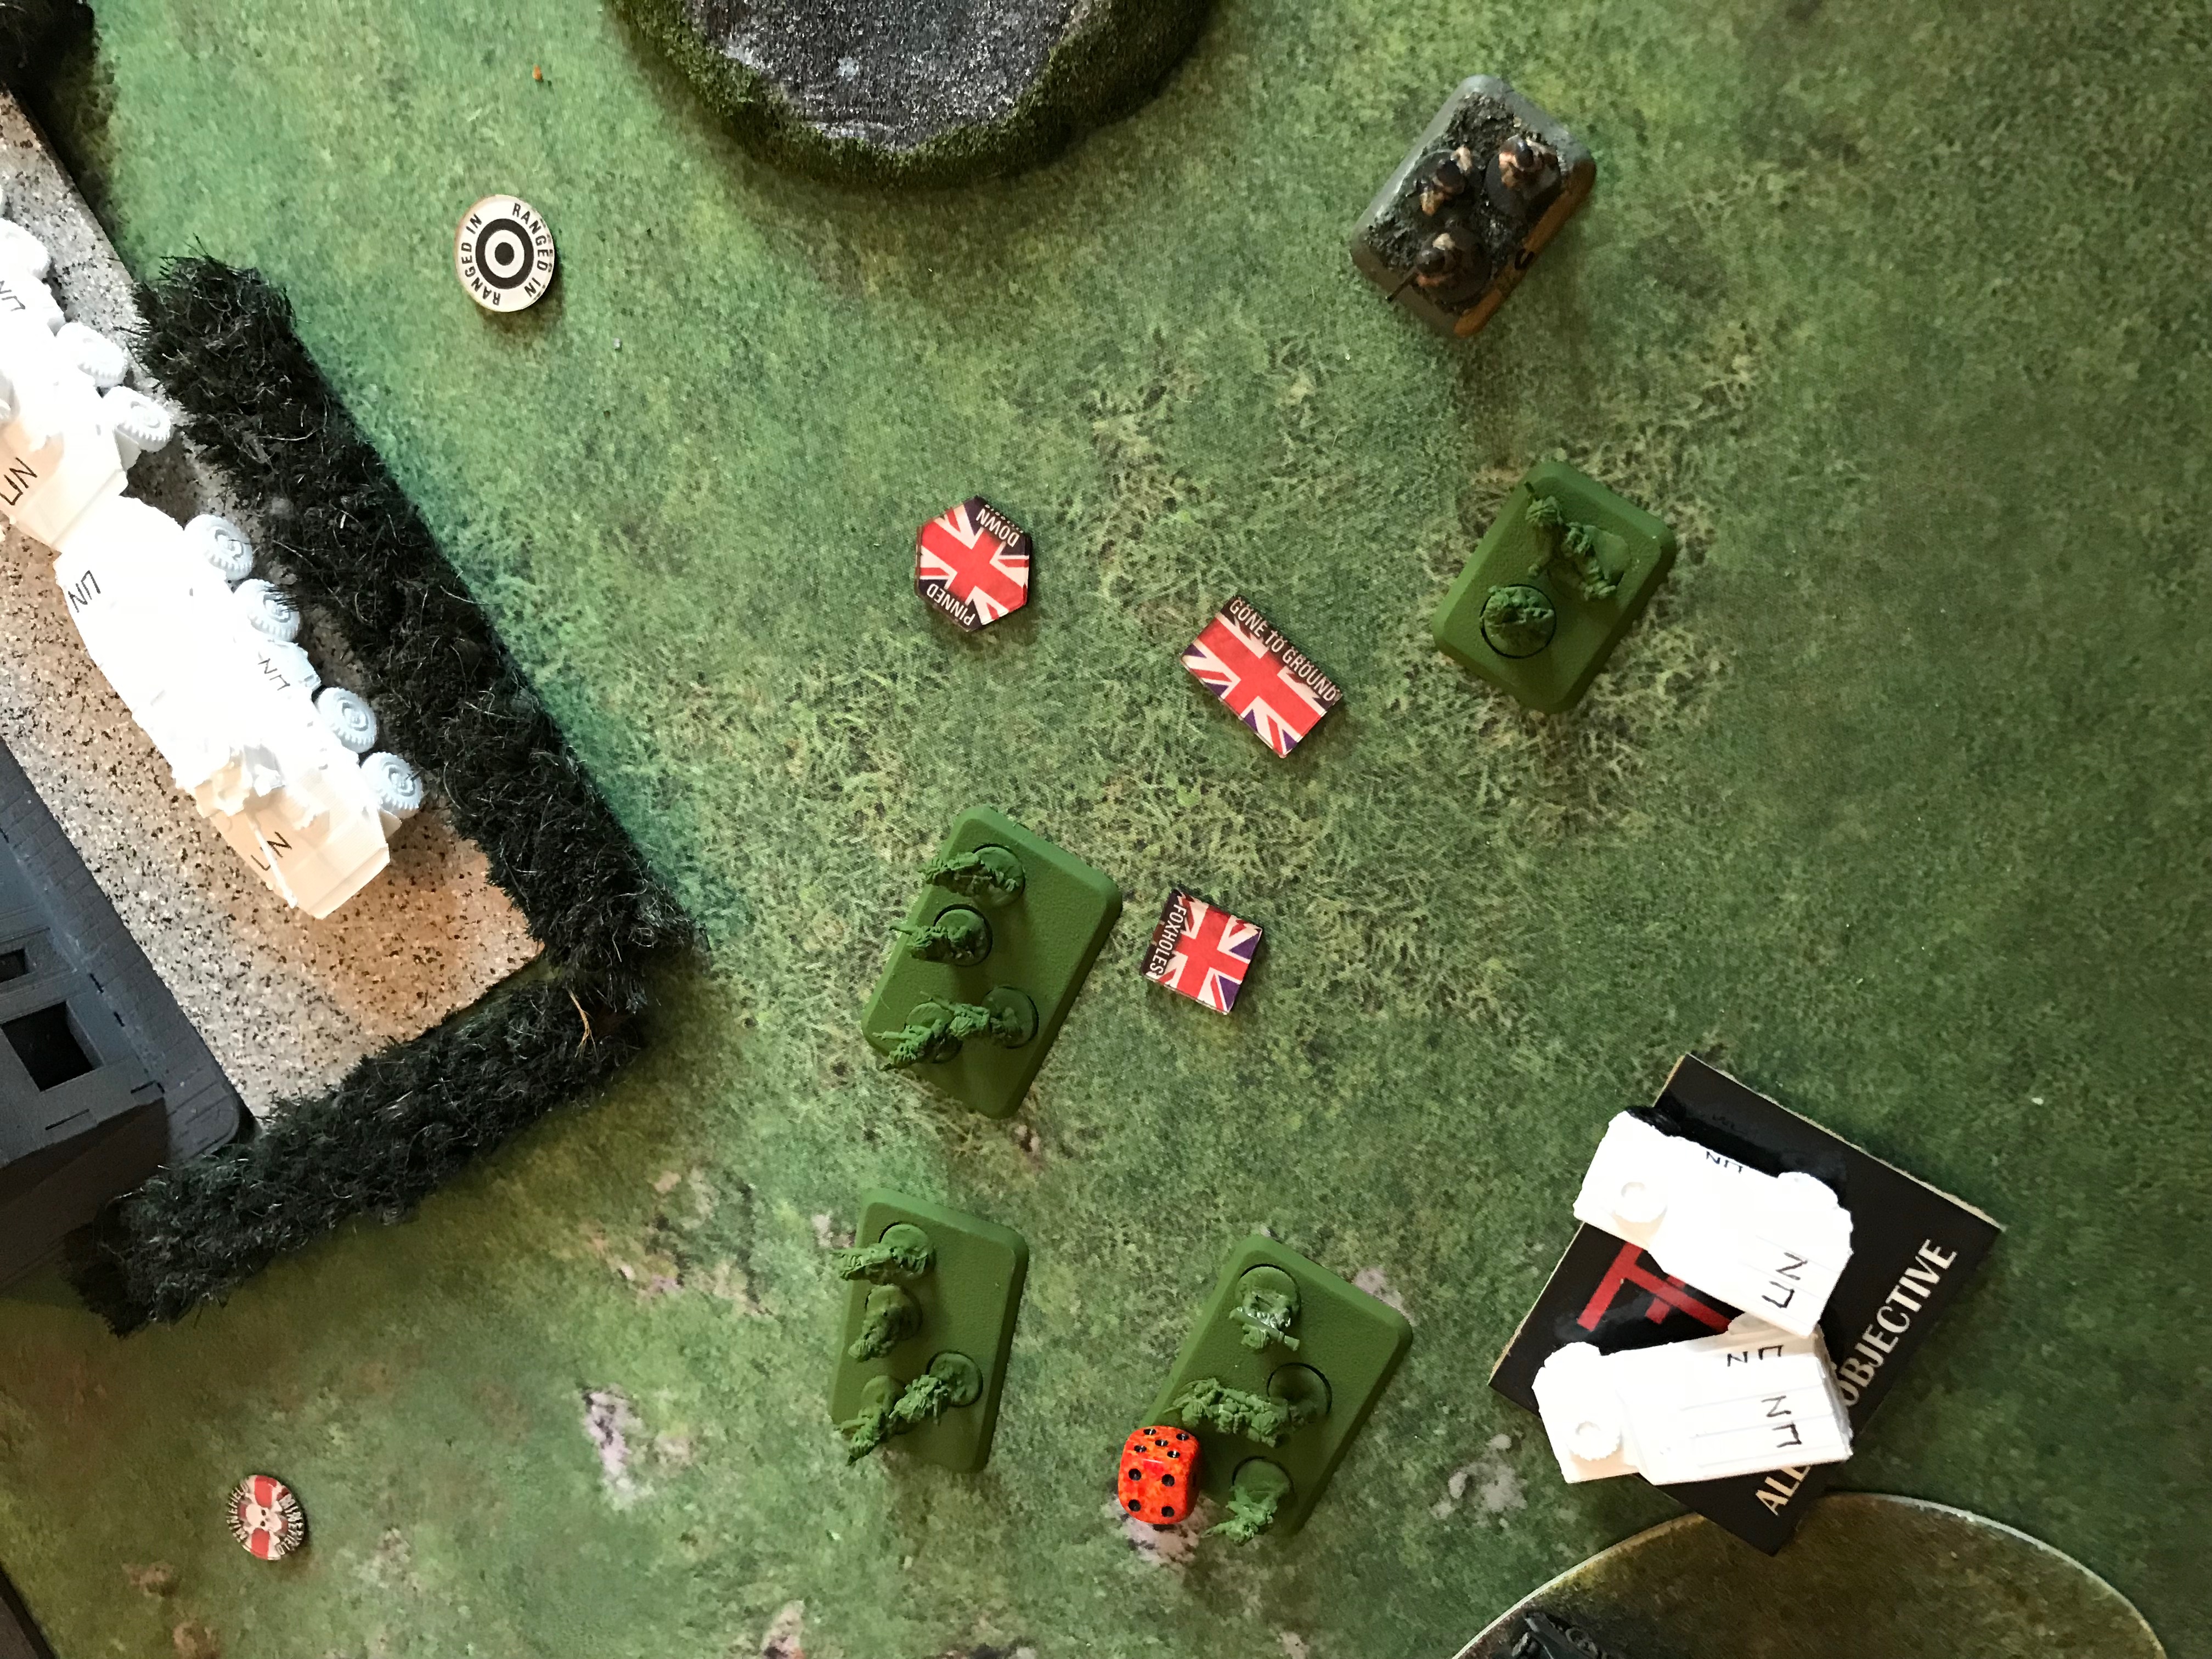
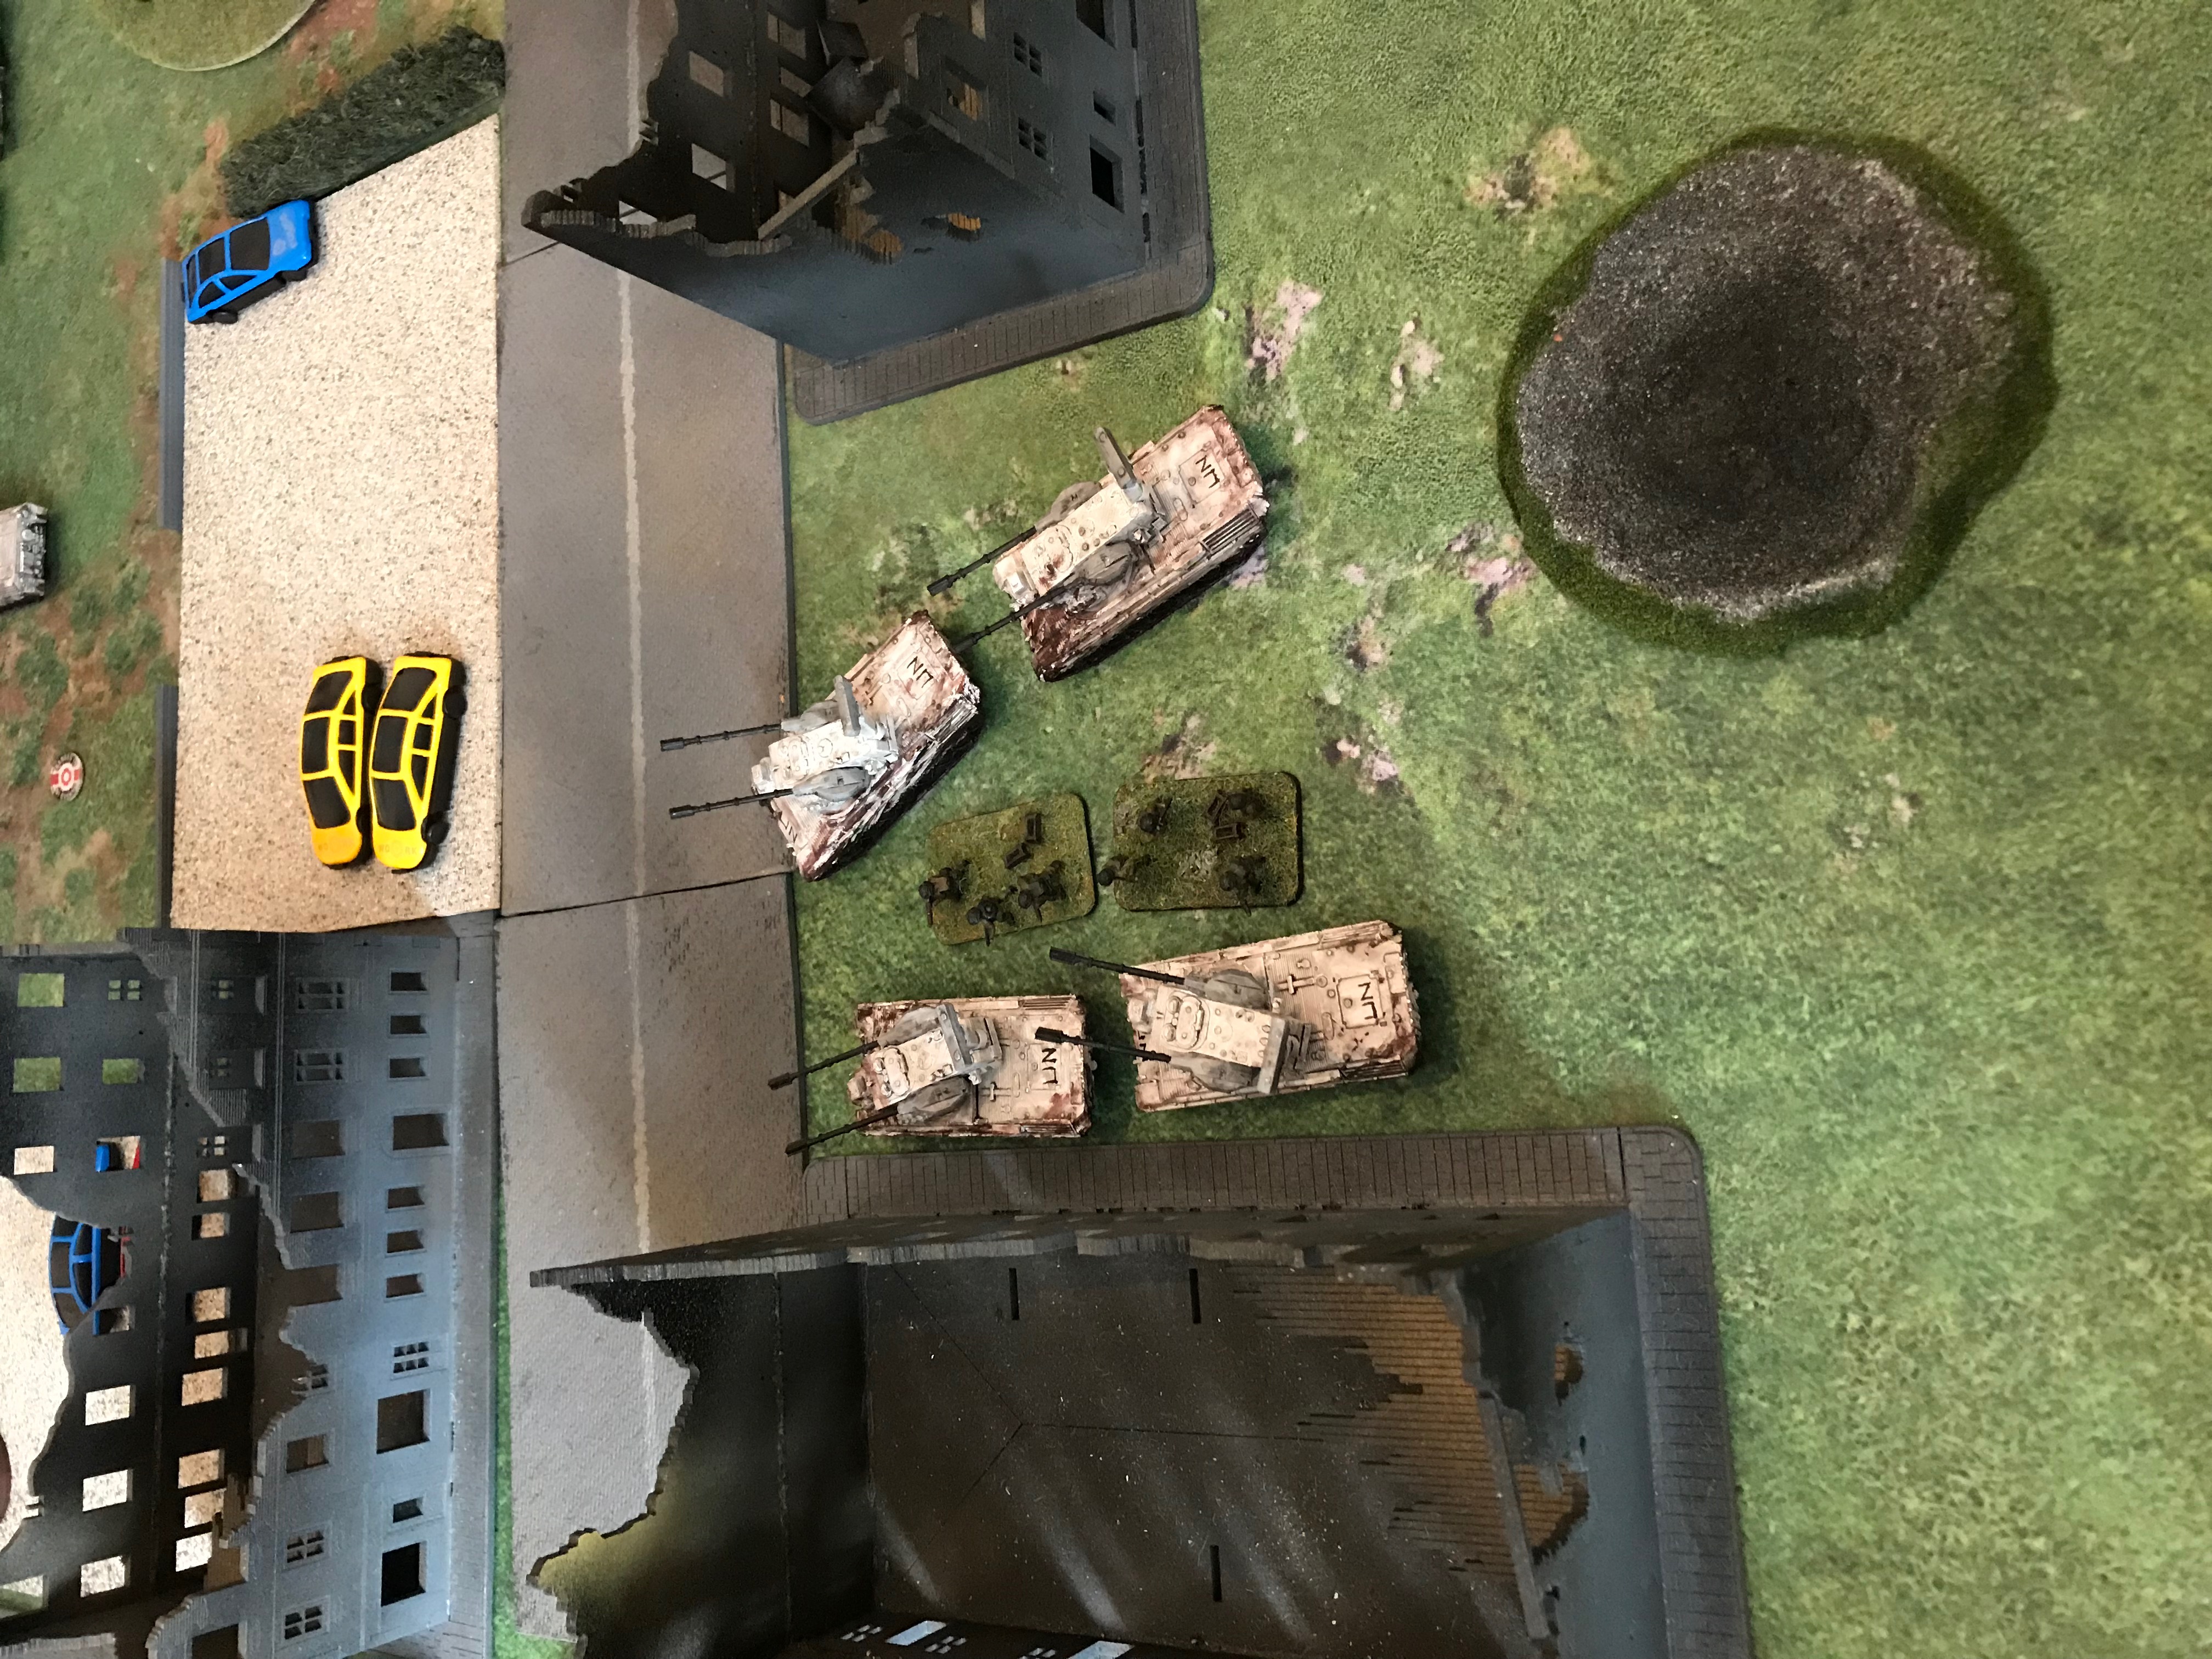
Shooting - The PAH Helicopter, Leo1 HQ and Leo2 HQ tanks all fire against the Striker platoon but none of them find their mark against the concealed, gone to ground Strikers. One Gepard Platoon fired all rounds at the British Infantry but needing sixes meant a tall order and no hits were made. The other Gepard platoon fired but only needing fives this time due to the reduced range and scored six hits! One Carl Gustav infantry team died as a result and the Platoon was pinned.
British
It Remains Nightime and the dawn is yet to come.
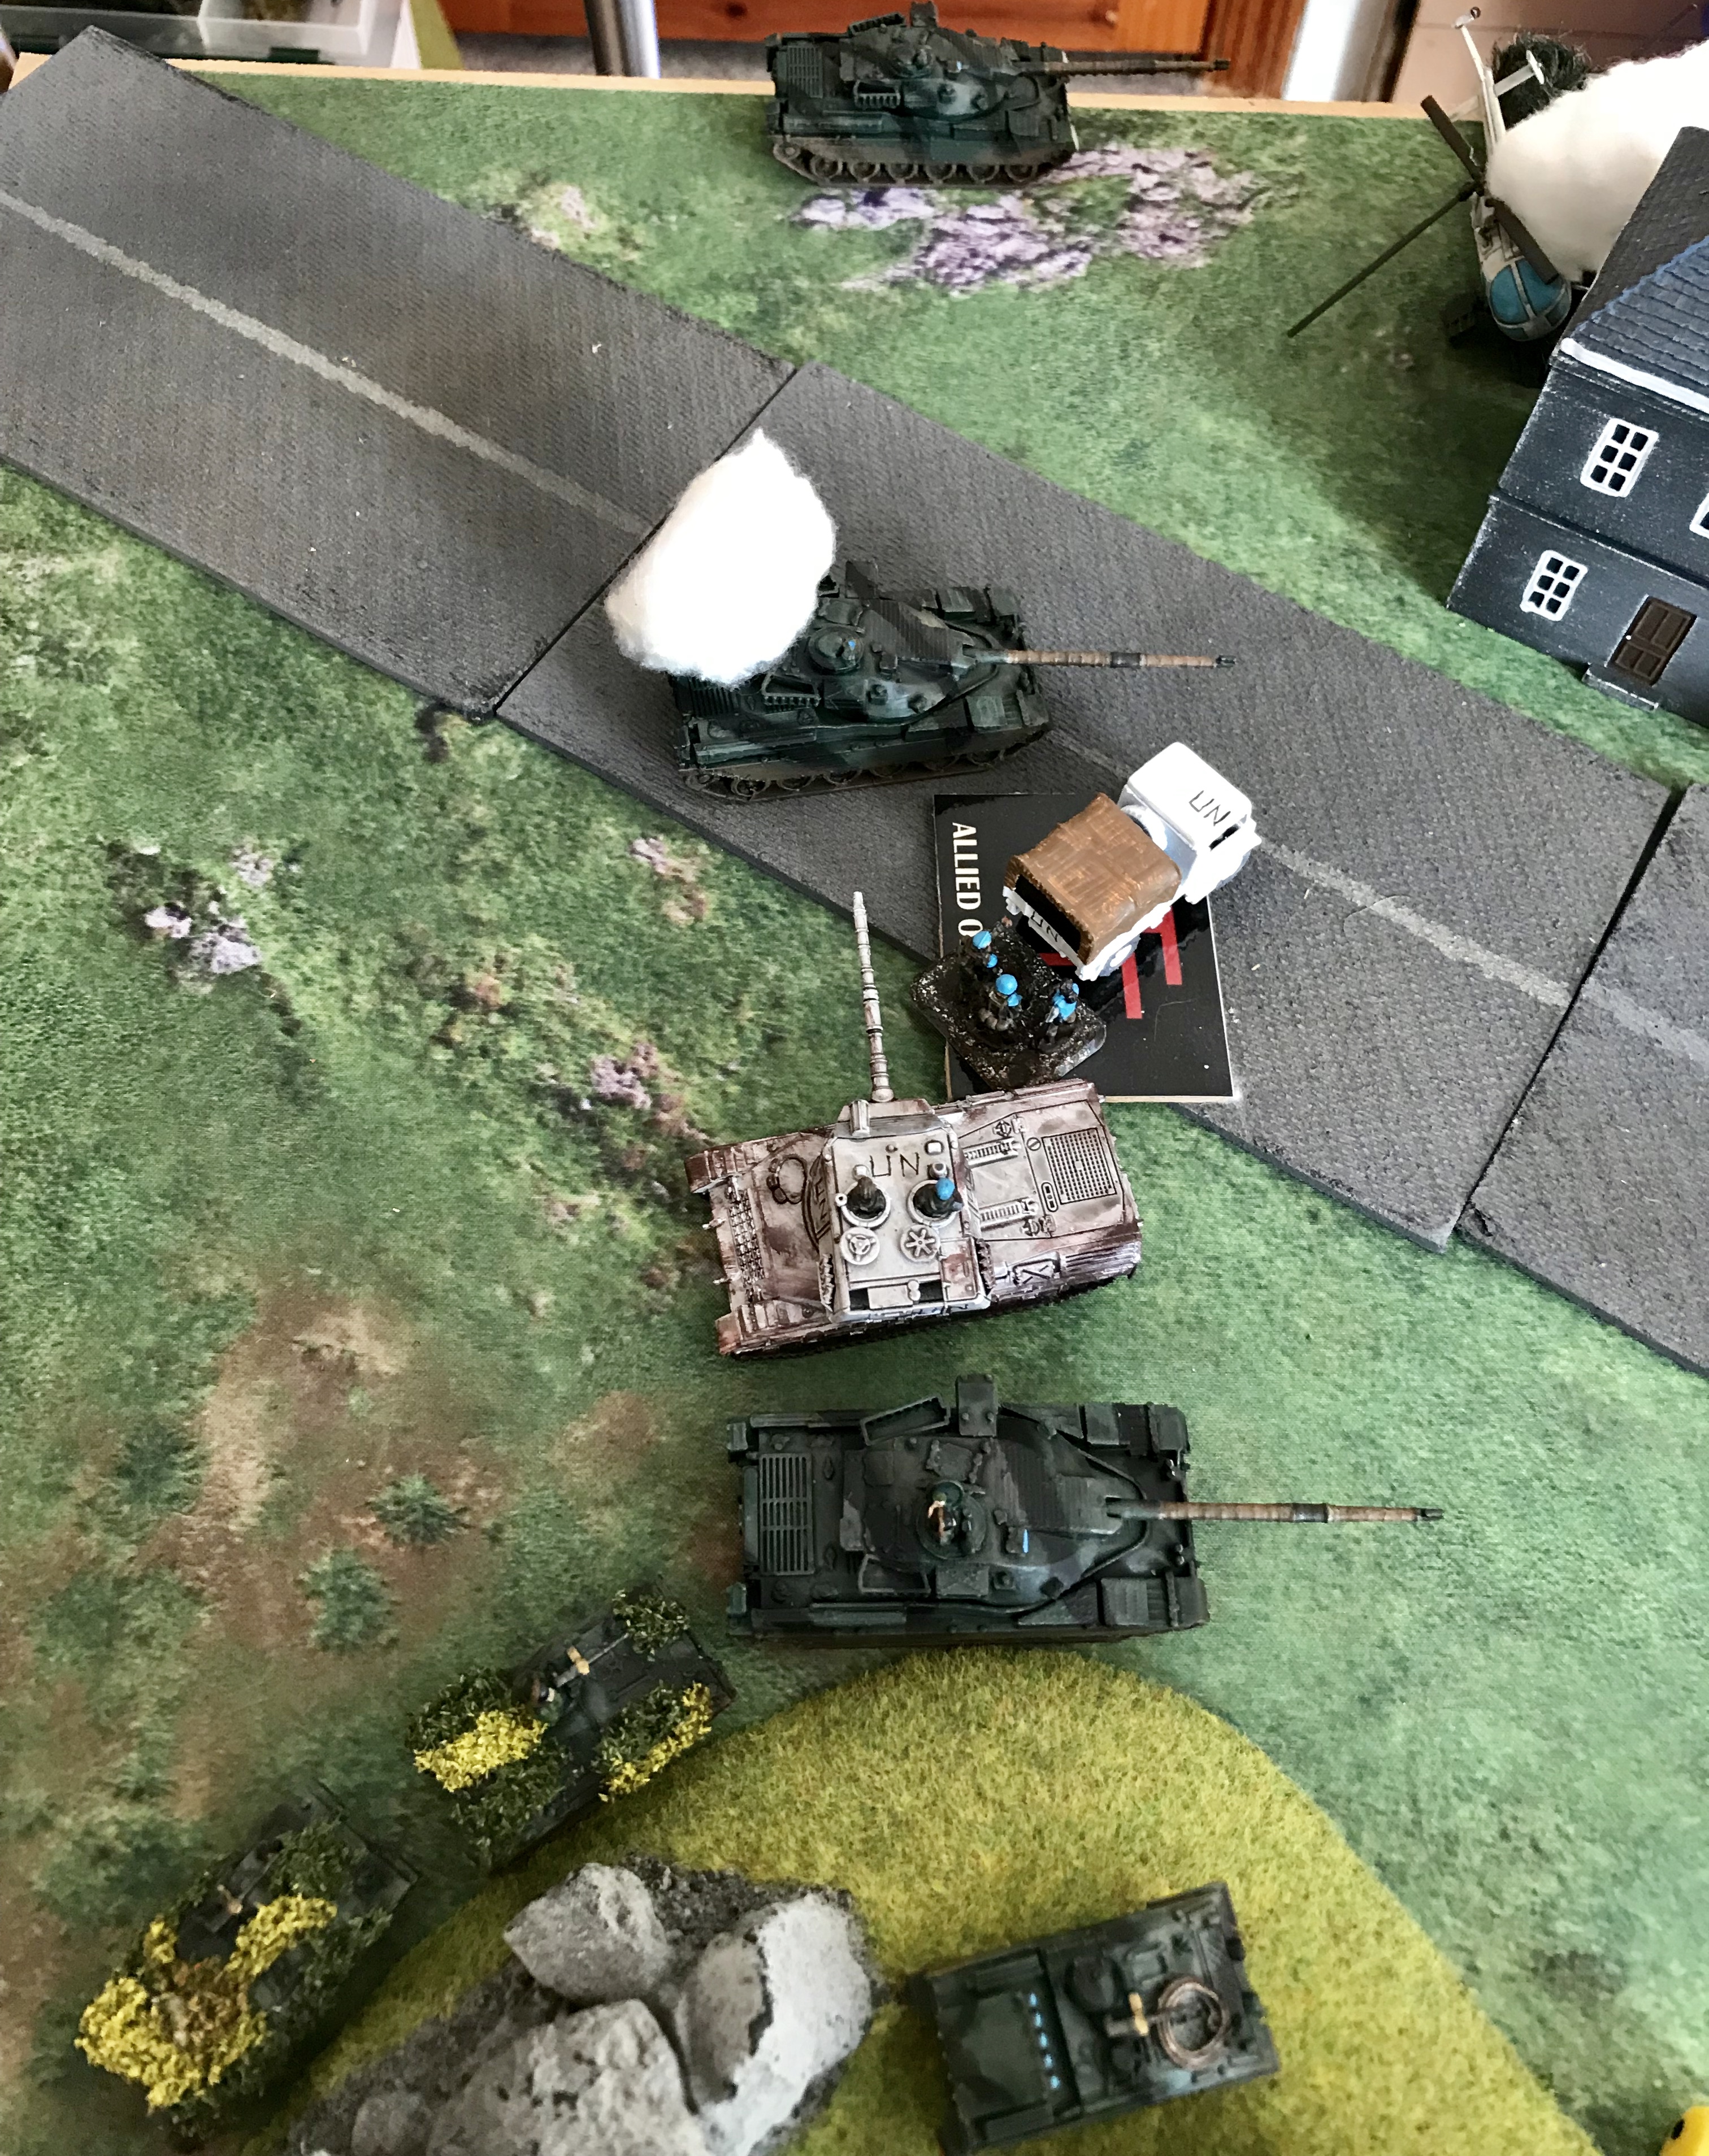
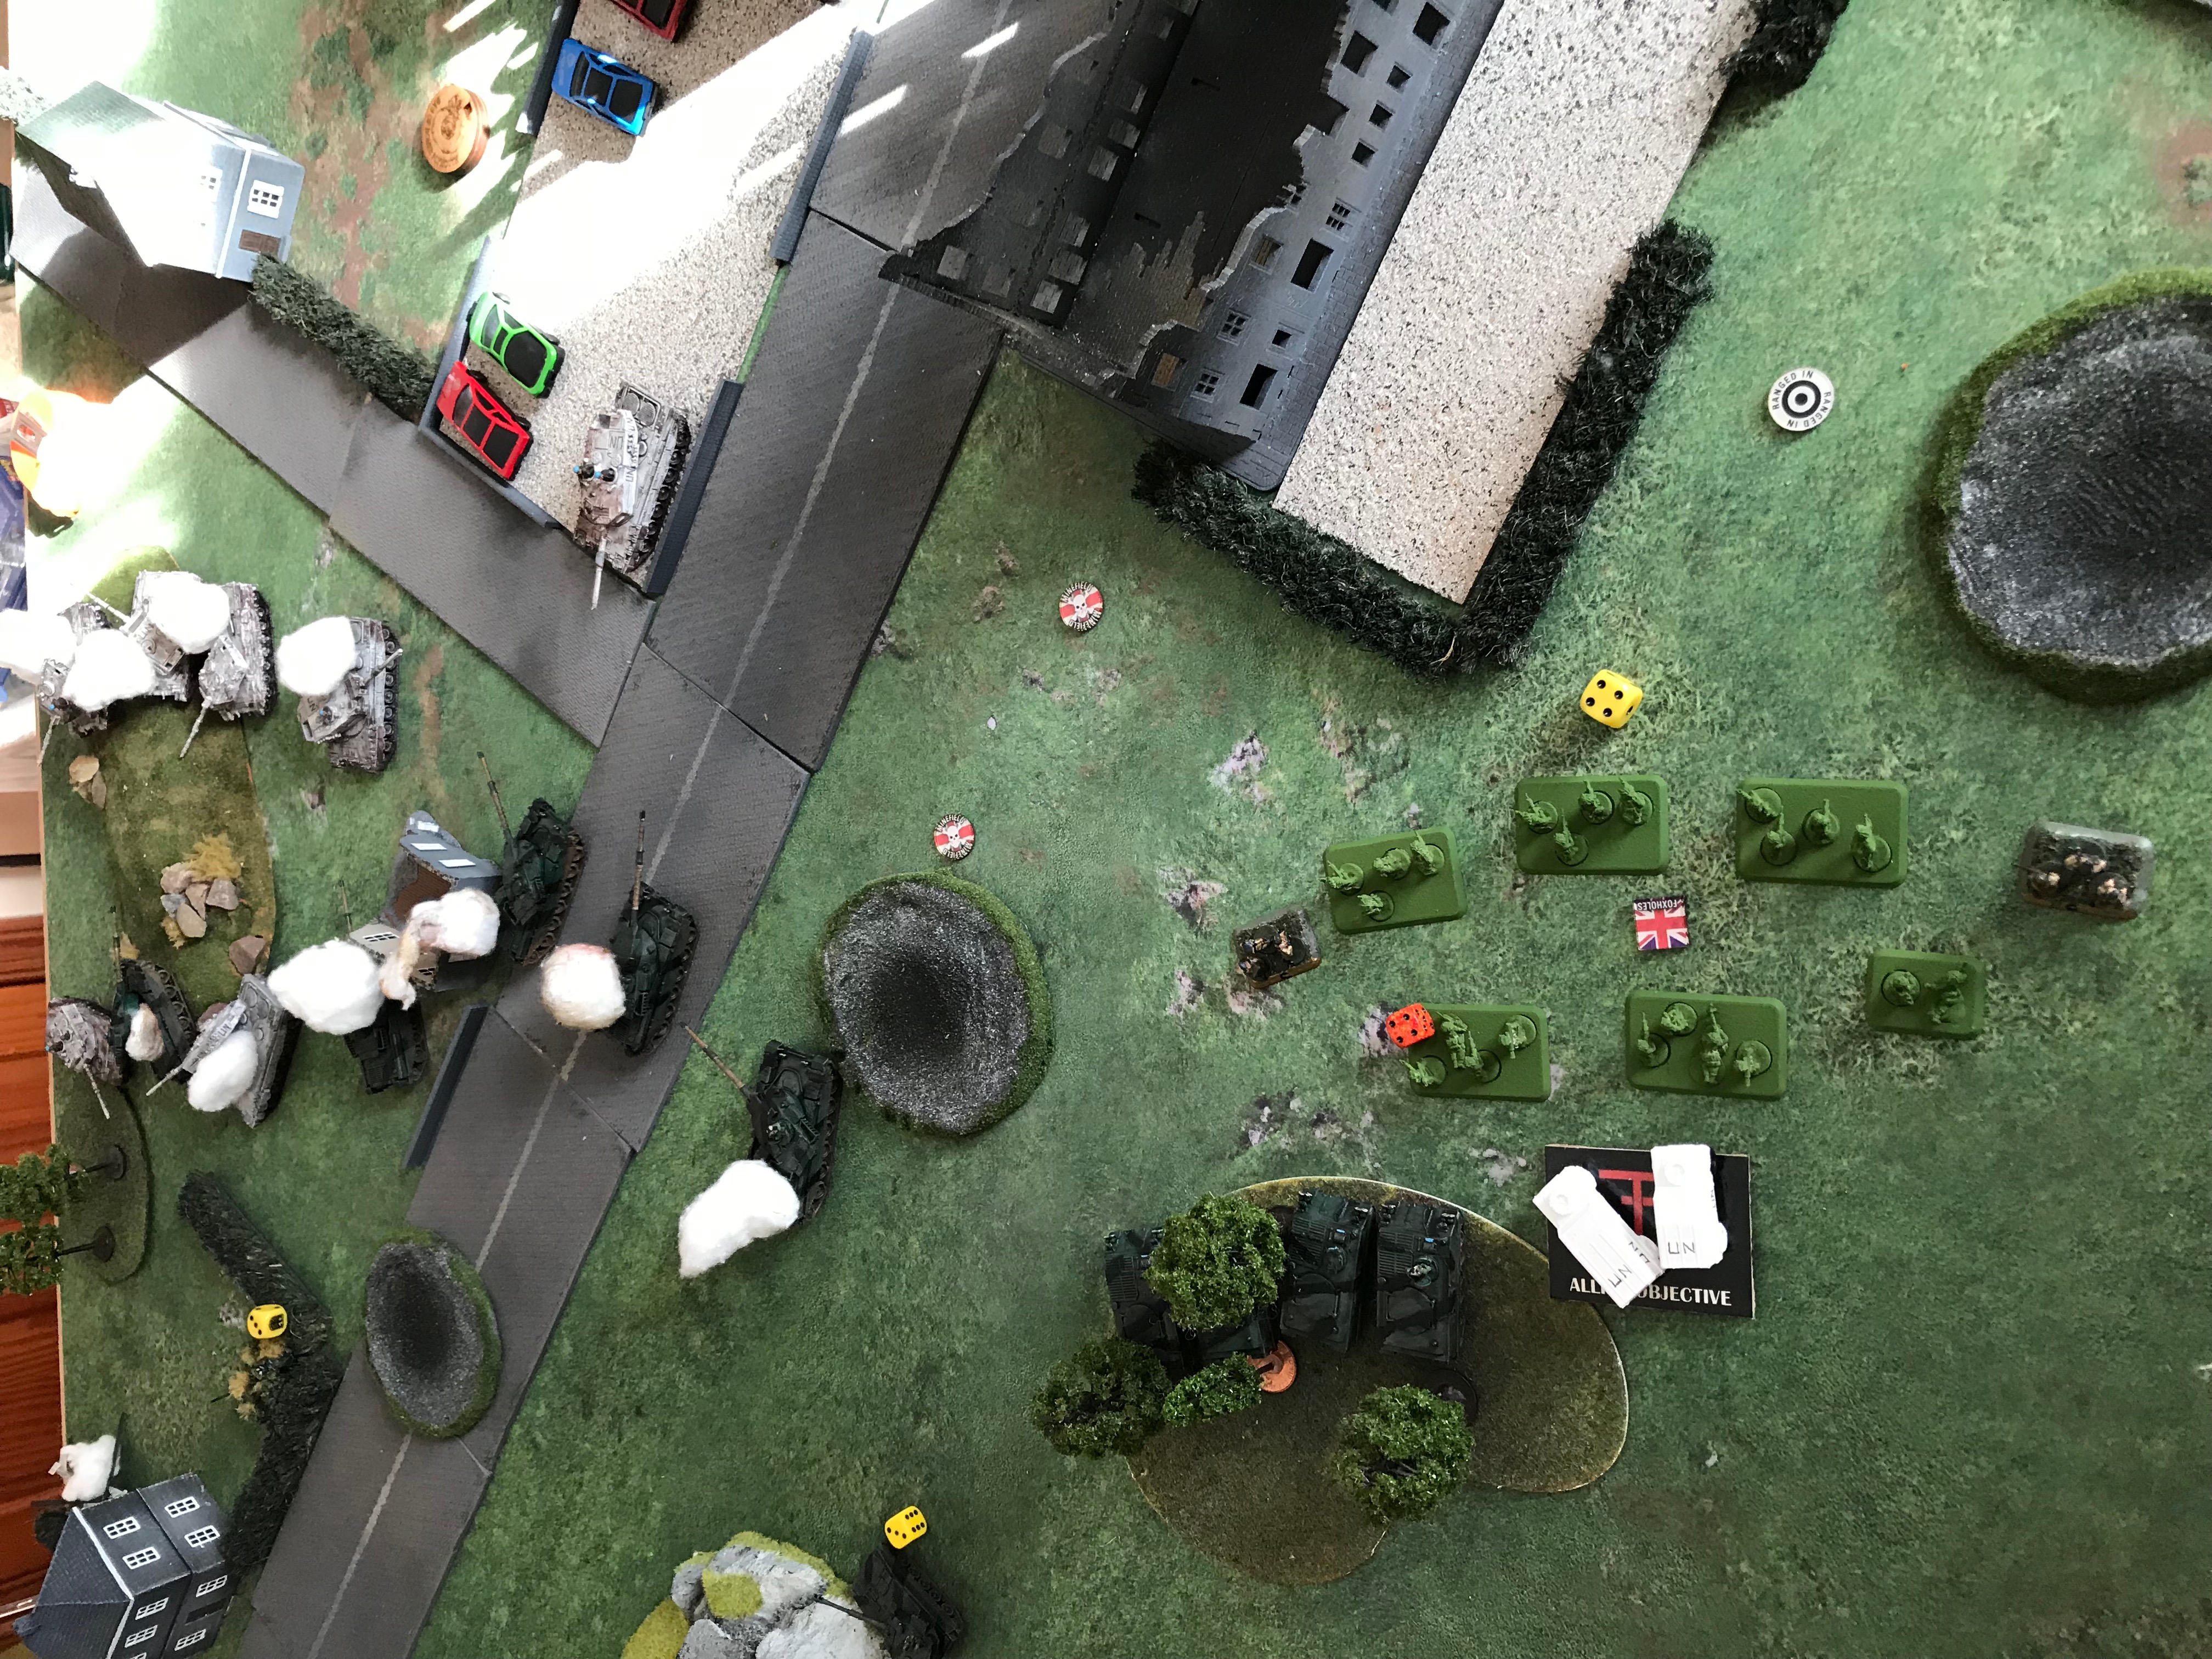
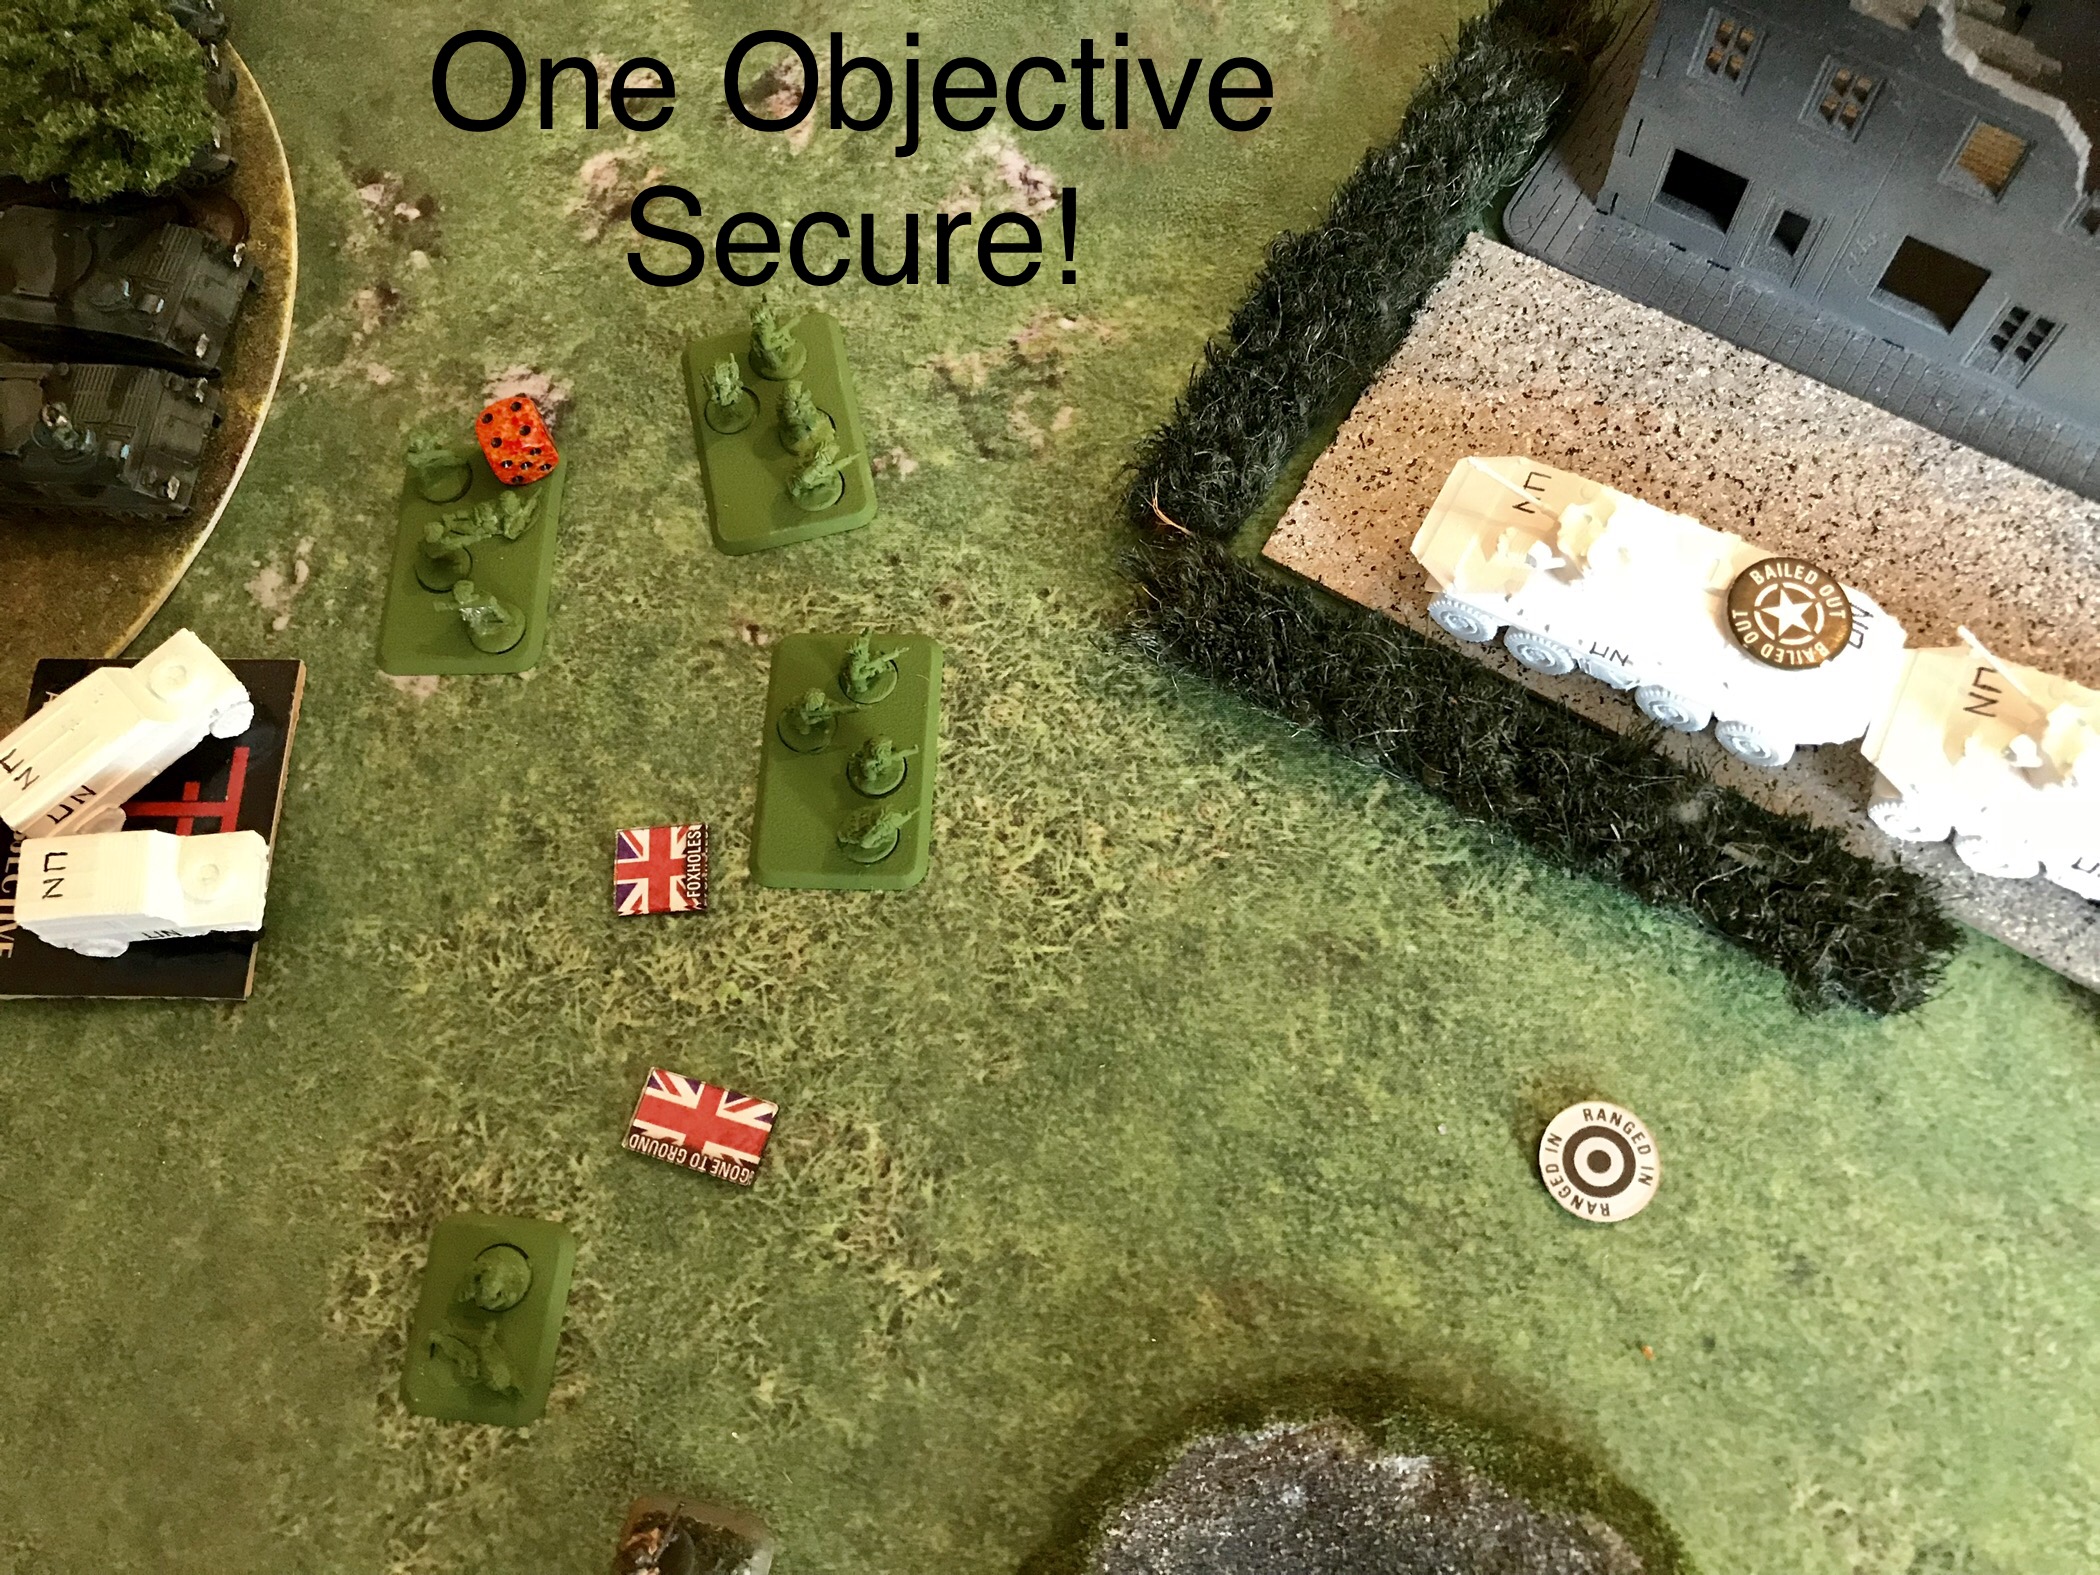
Reserves - One reserve platoon arrives in the forboding shape of three Chieftain Tanks which appeared onto the objective at the rear that the West Germans had pushed so hard towards.
Un-Pin - The Infantry platoon remainined pinned down.
Movement - The Abbot SPG again successfully Blitzed into a better firing position.
Shooting - The Rapiers finally found their mark and downed the last PAH Helicopter. The Striker Platoon fired at the Leo2 HQ Tank scoring three hits but only resulting in it becoming double bailed! It successfully passed the instant check and stayed in the fight. The Infantry Platoon opened up with all their anti-tank weapons at the Gepard platoon to their front and managed to destroy one. The Chieftain Platoon fired, two firing at the Leo1 HQ Tank and one firing at the Leo2 HQ Tank. The Leo2 HQ Tank was missed and unbeliveably the Leo1 HQ Tank was missed! In the morale checks the remaining Gepard in front of the Infantry didn't fancy the fight anymore and ran.


TURN 5
West German
Strike Aircraft fail to arrive this turn.
Reserves - One platoon of Infantry arrive from reserve and cross country dash towards the British Infantry positions.
Remount - The Leo2 HQ Tank REMAINS bailed.
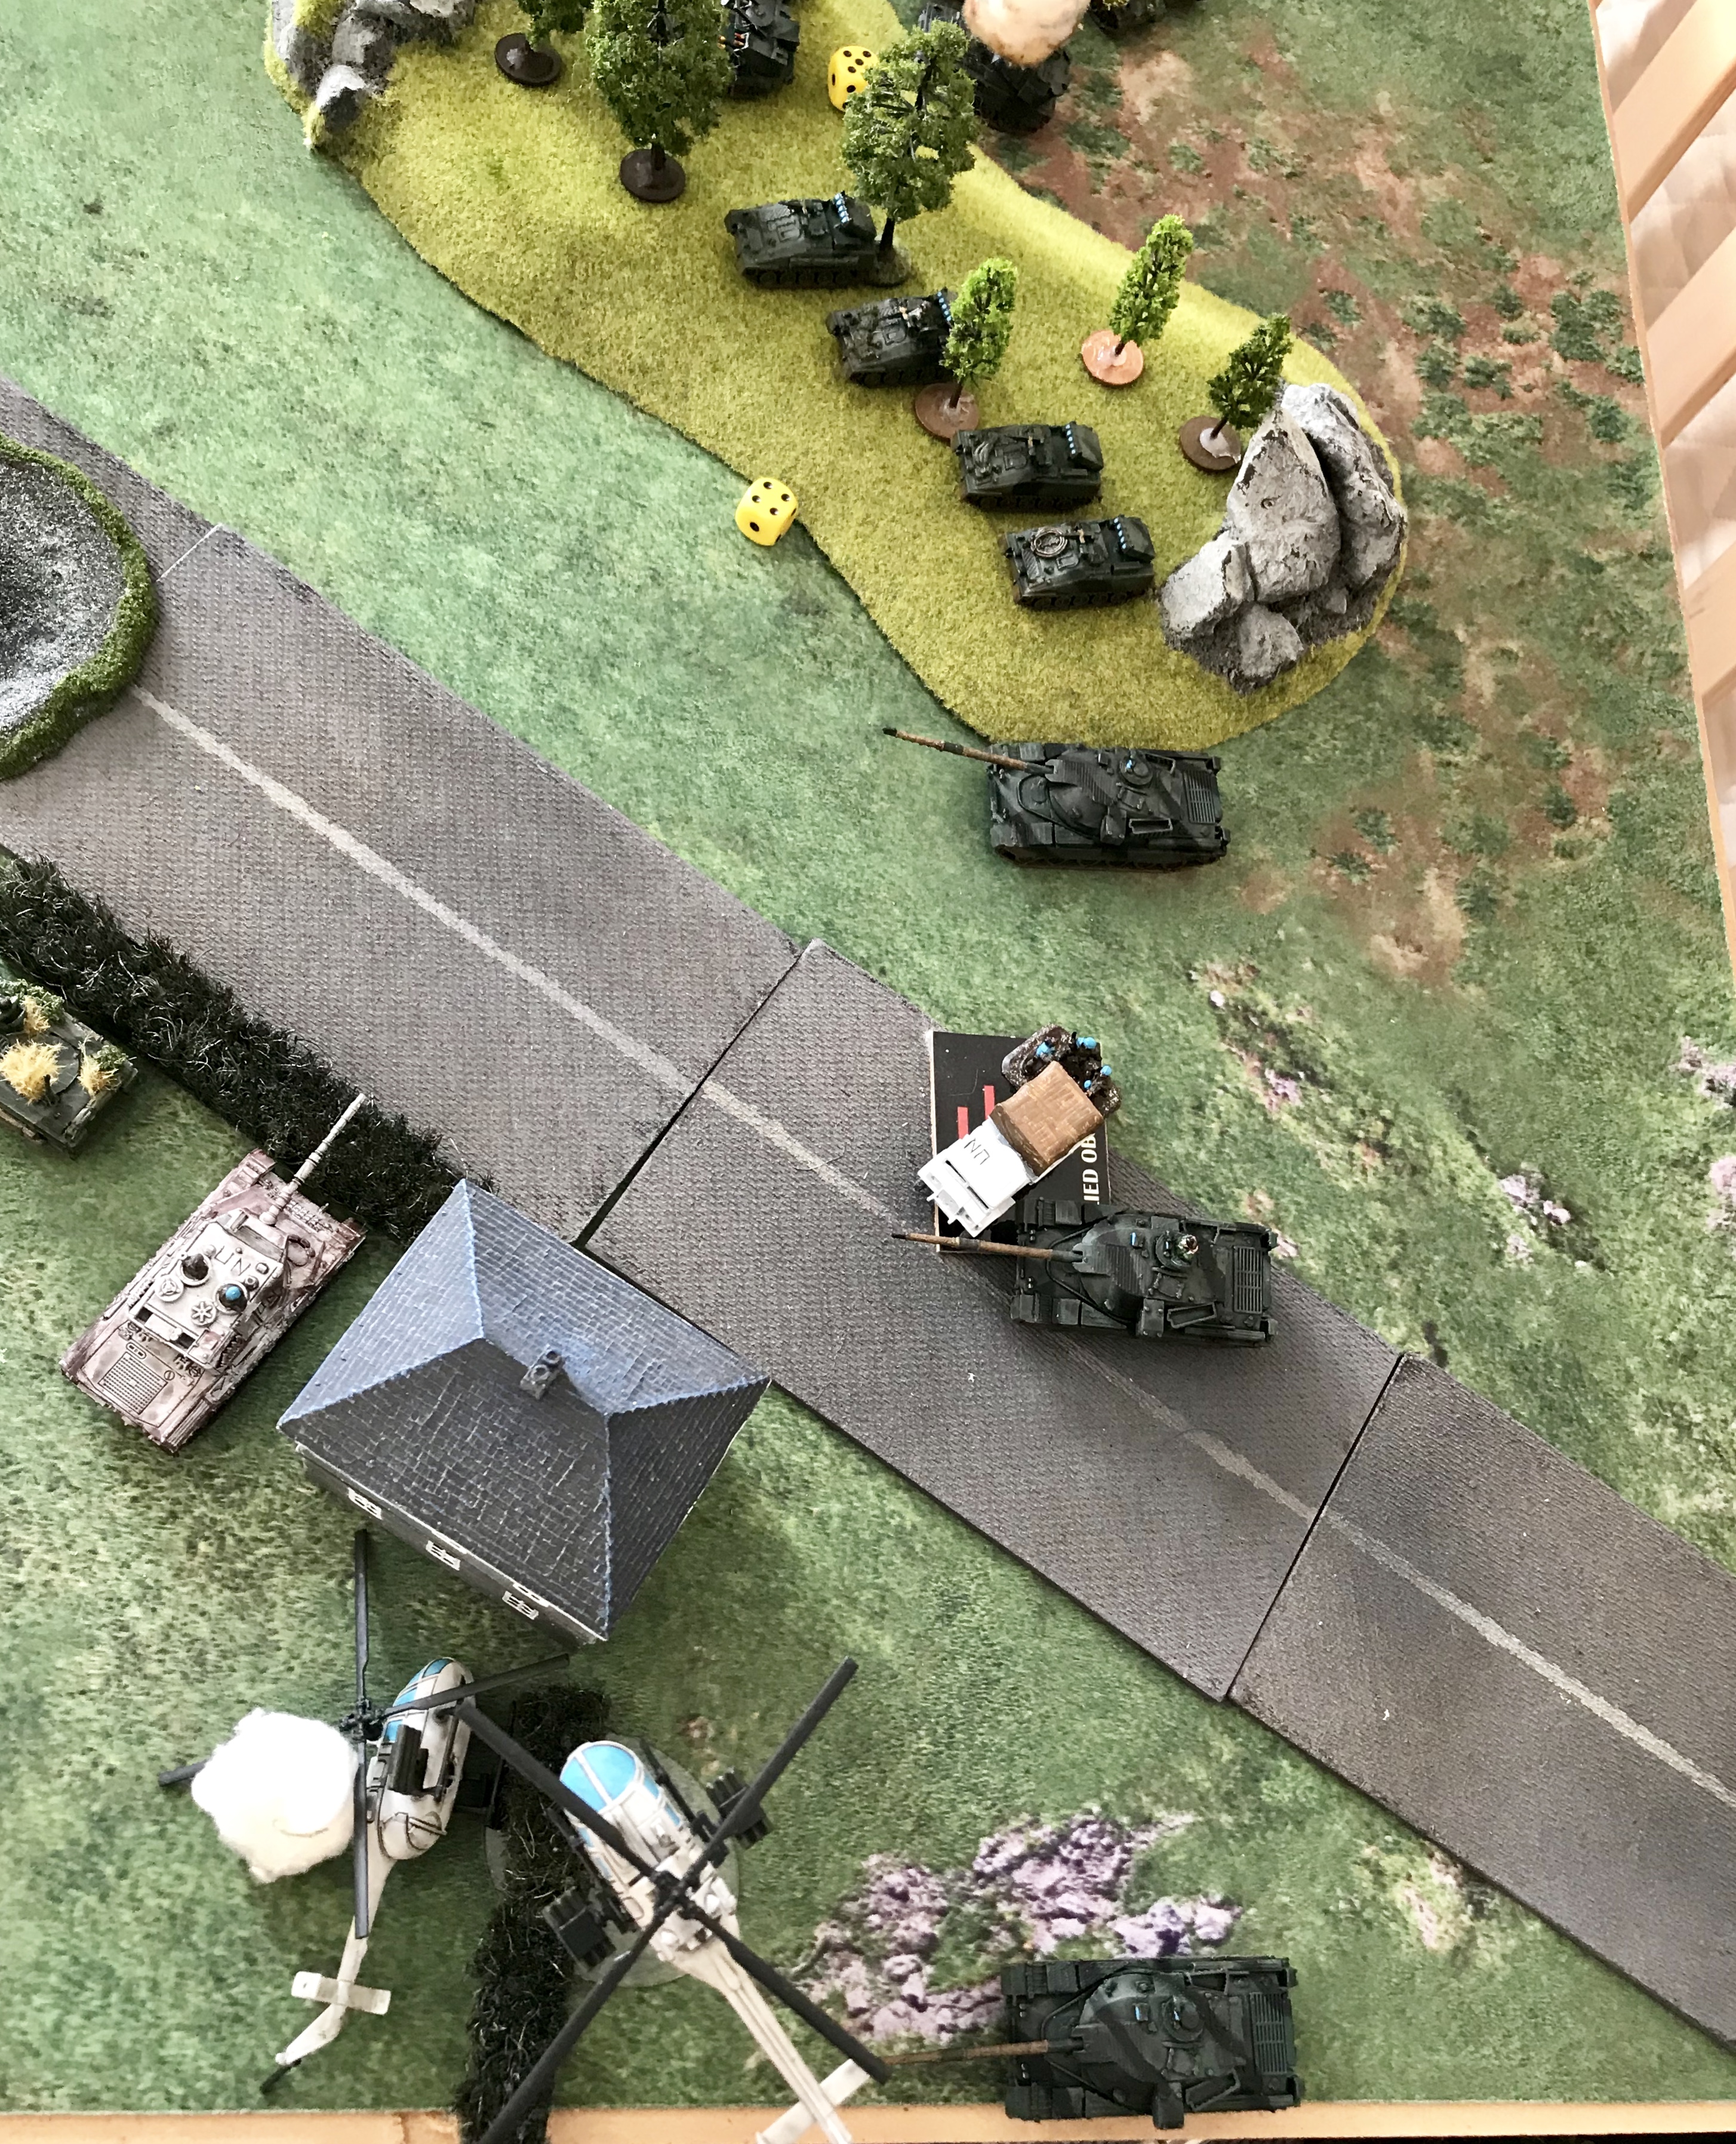
Movement - The Luchs Spah platoons both advance towards the two objectives. The Leo1 HQ Tank successfully crosses and moves to gain a rear shot on the Chieftain Platoon.
Shooting - The remaining Gepard platoon again fires at the British Infantry but this time manages to kill the closest Milan Team. The Luchs Spah on the West German right flank fires at the infantry and after some 'mistaken target' action from the British commander mandages to kill one GPMG Team. The Leo1 HQ Tank fires at the Chieftain Platoon destroying one with a flanking shot. The remaining Luchs Spah platoon fires at the Strikers but fails to score any hits.
British
The Dawn breaks with two dies rolling fives, equaling DOUBLE DAYLIGHT!!
Reserves - One platoon of Scimitars arrives from the rear, immediately coming in to support the Chieftains holding the objective.
Un-Pin - The British Infantry remain rattled and do not un-pin.
Movement - No movement required!
Shooting - The Abbot shot at the Luch Spah and missed. The Strikers fired at the Leo2 HQ Tank and destroyed it outright with the successful penetrating hits. One of the Chieftains fired into the flank of the Leo1 HQ tank, missing and the other fired at the Luchs Spah platoon also missing. The Scimitar platoon fired at the Leo1 HQ tank with two rounds on the flank and six on the front causing two bailing strikes but the HQ passed their morale staying to fight the next turn.
TURN 6
West German
Strike Aircraft Arrive - Tornado's line up to fire at the infantry again but this time the Rapiers in anti-air fire down another tornado reducing them to two aircraft. This alongside ranging in on the third attempt means that 7's are required to hit the infantry and score no hits.
Reserves - The final West German Infantry platoon arrives and cross country dashes up the flank towards the British Infantry.
Remount - The Leo1 HQ Tank remounts.
Movement - The Luchs Spah platoon advances to be within 8" on the British Infantry held objective. The Infantry behind the wood advances also but cannot get within contesting range.
Shooting - The Leo1 HQ Tank fires at the Chieftain tanks but scores no hits. The Luchs Spah and Marder transports fire at the infantry but score only two hits, both of which are saved. The Gepards fire at the same but score no hits.
British
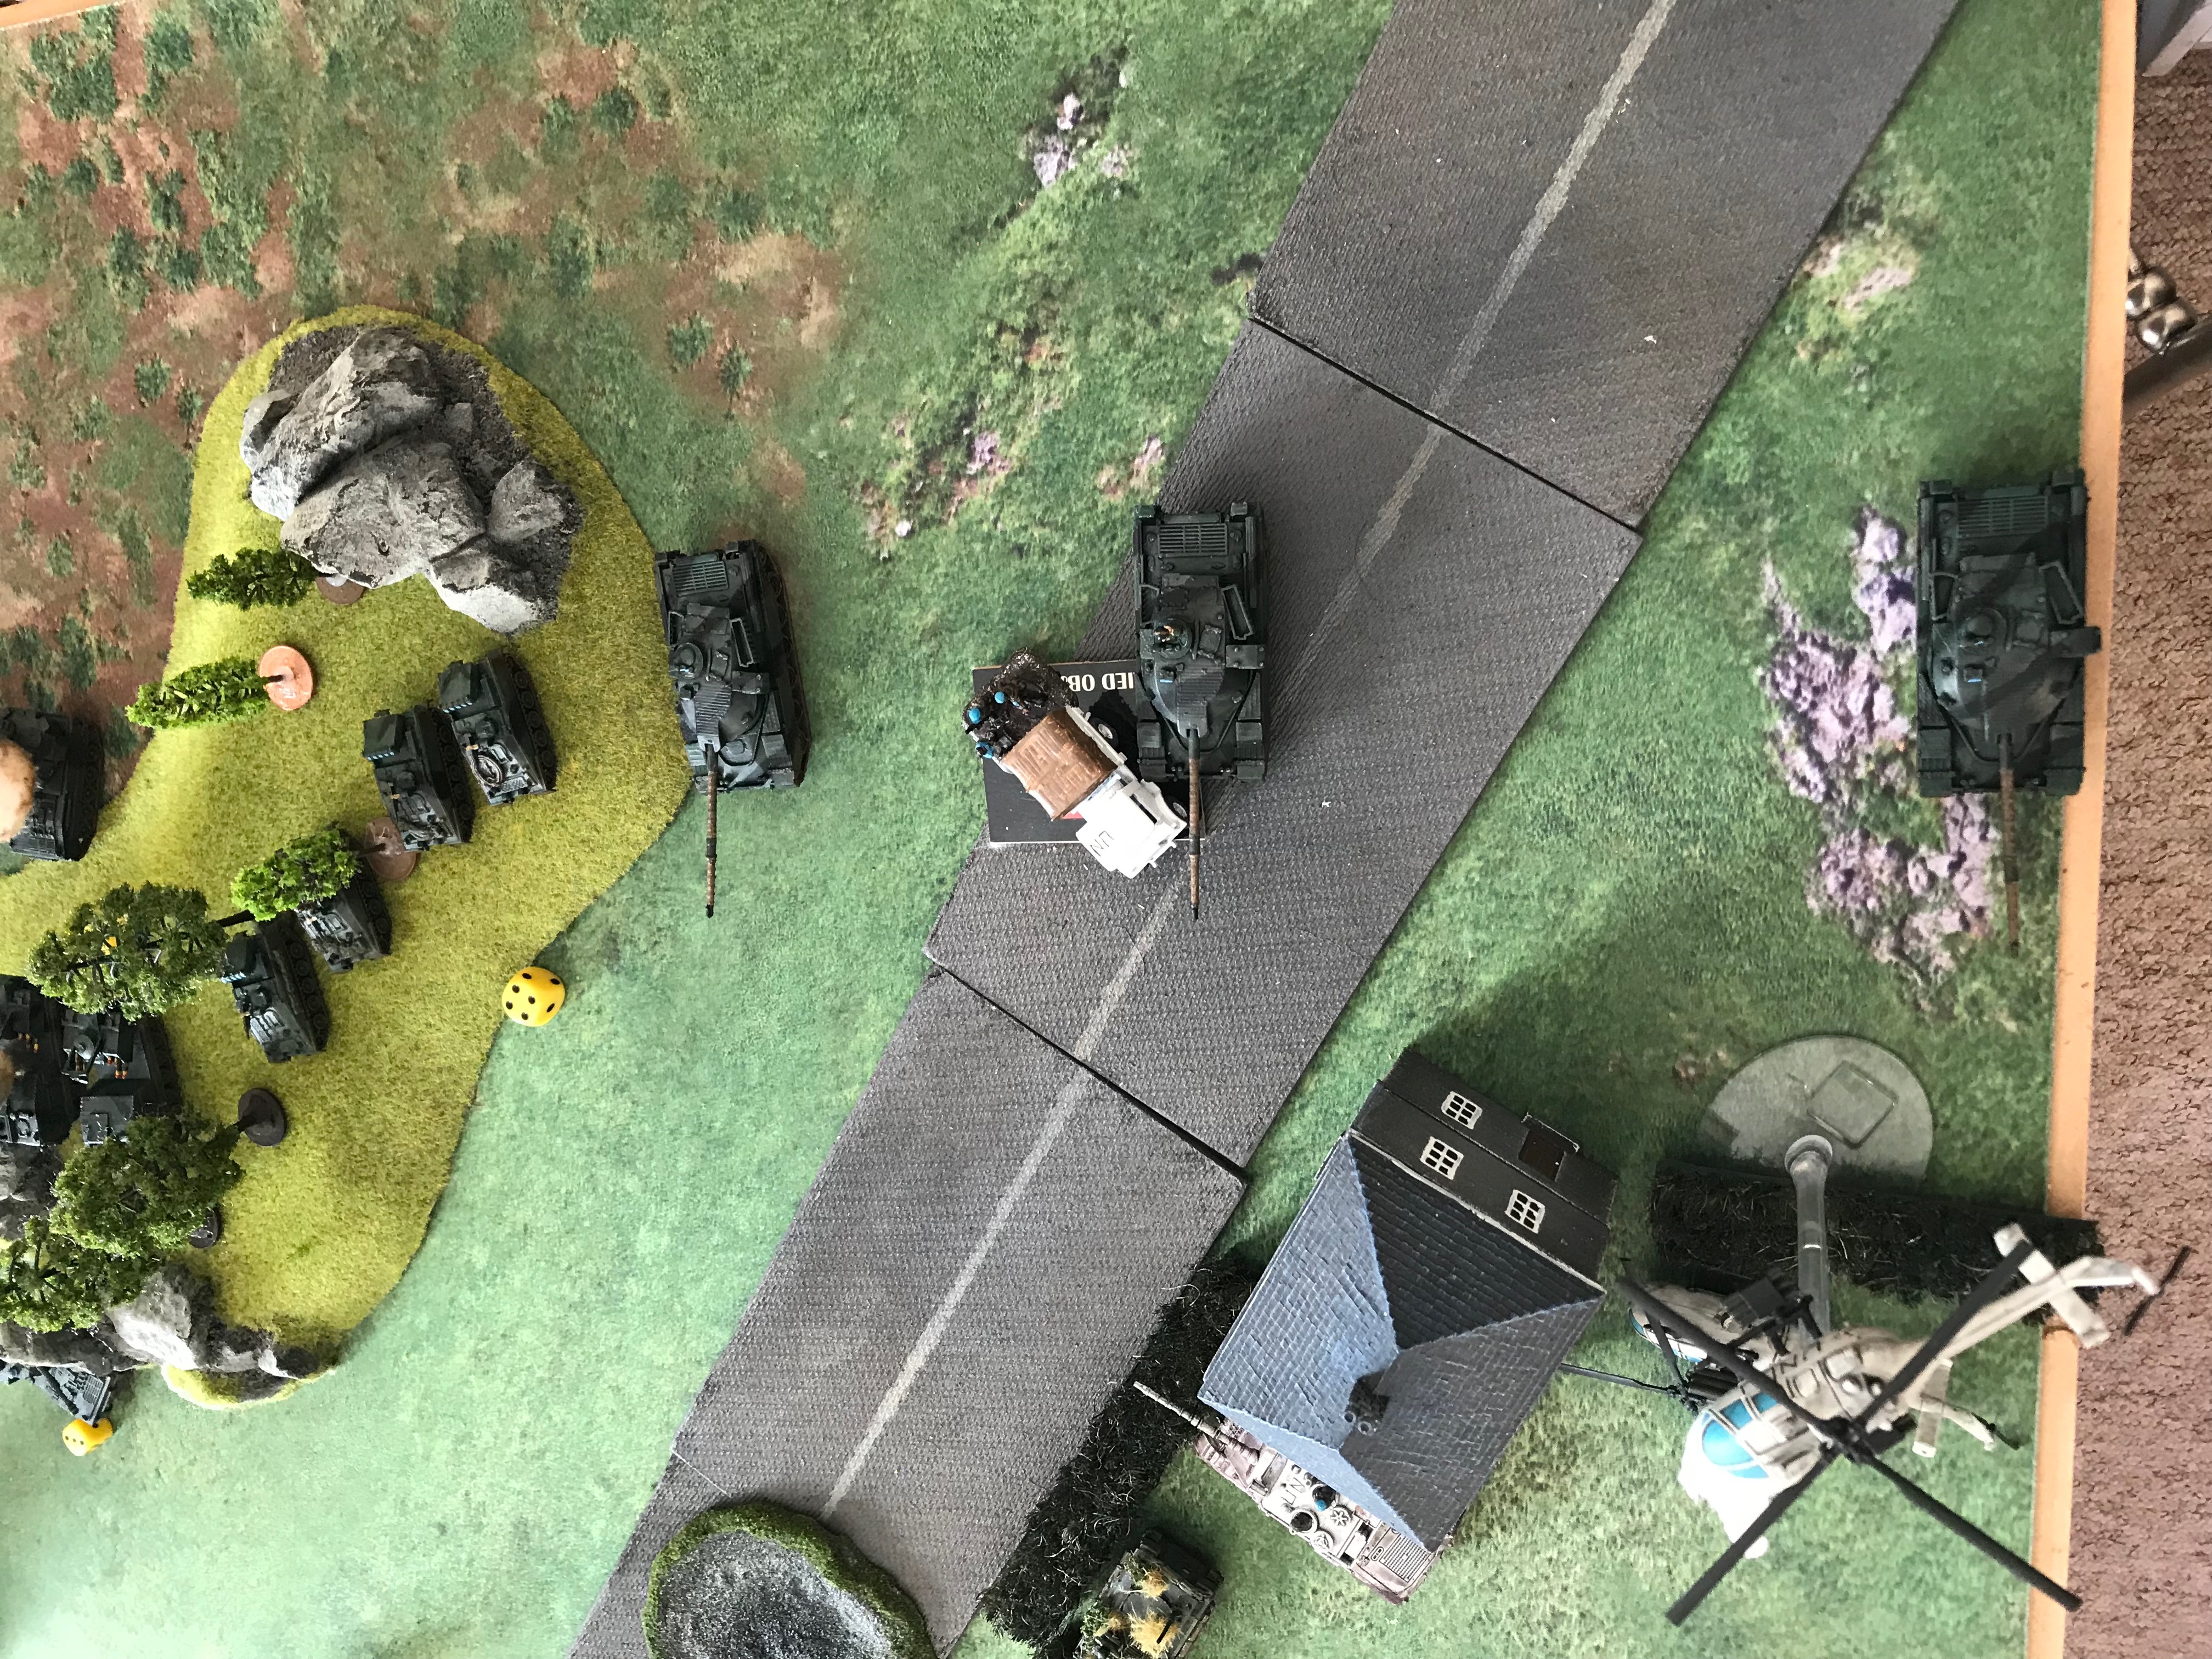
Reserves - One of the Scorpion Platoons arrive in an attempt to destroy the plucky Leo1 HQ Tank.
Un-Pin - The infantry finally up-pins.
Movement - The Scimitars Blitzed forward.
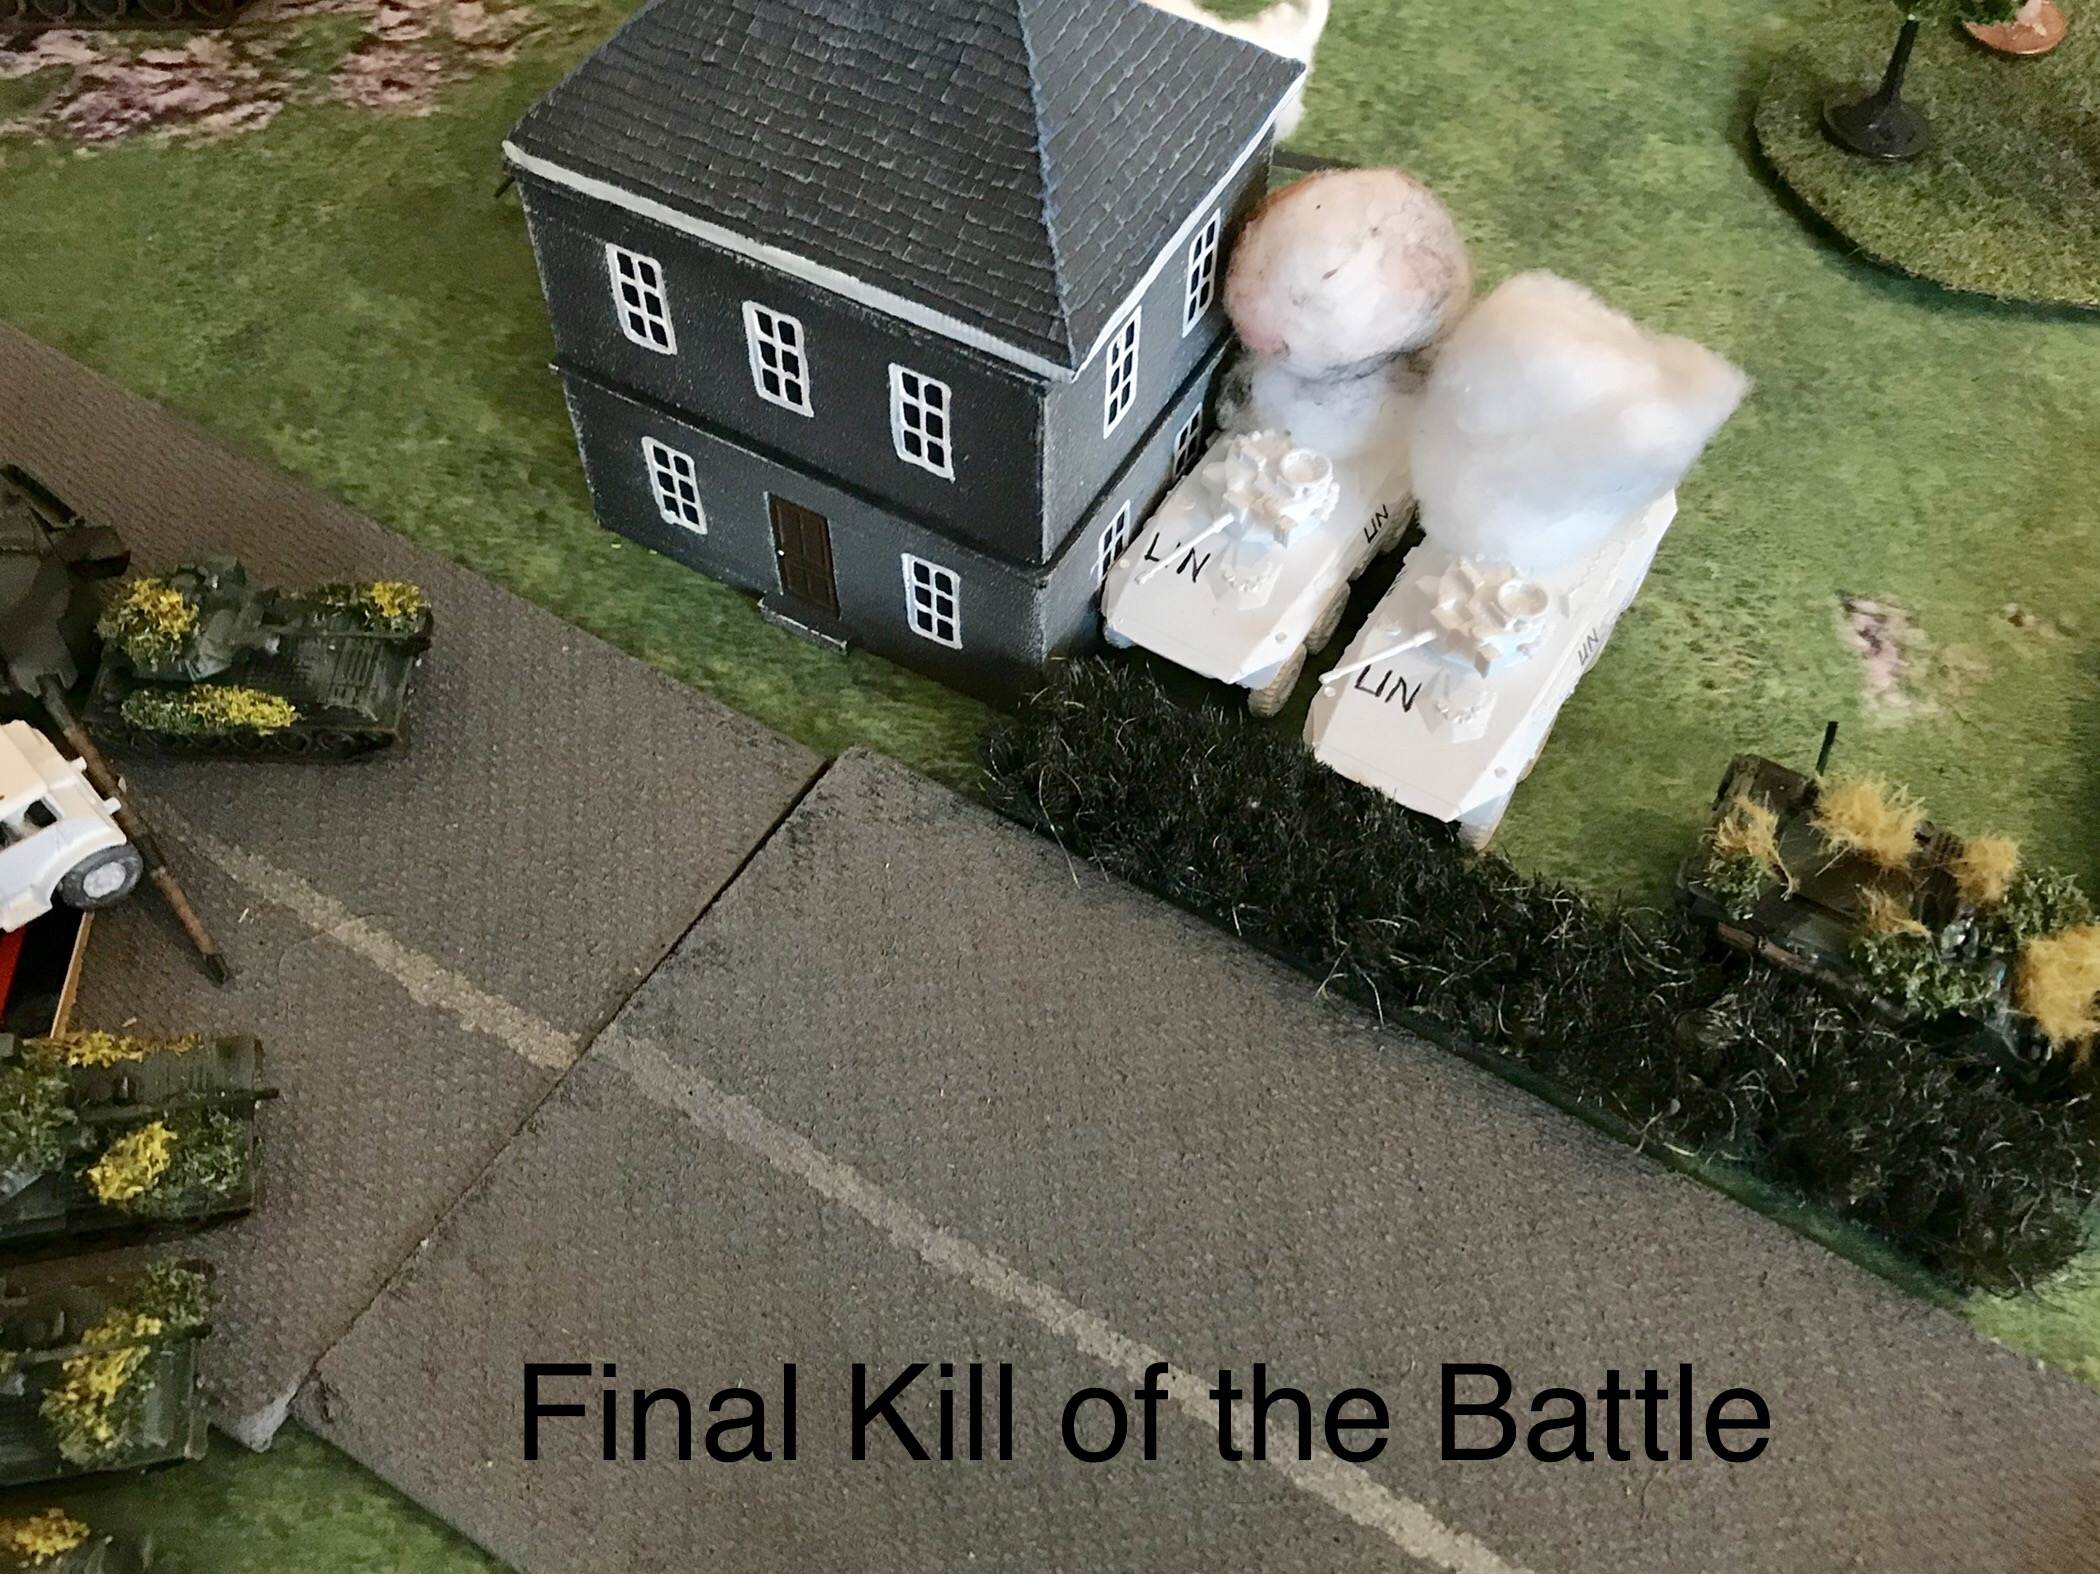
Shooting - The Abbot fired at the Luchs Spah but misses. The Infantry fire all their AT at the Luchs Spah Platoon bailing the Luchs that was contesting the objective meaning it can no longer contest as its not an active unit. On the other objective the four Scorpions fire at the Leo1 HQ Tank and destroy it. The Scimitars fire at the Luchs Spah and destroy them bringing an end to the battle as not active oposing unit was within 8" of an objective.
West German - 7 Platoons
British - 2 Platoons


Battle Report Author
Army Lists Used In This Battle
Recommend Commander For Commendation
Share this battle with friends
Sir Binglebert SlaptybackWins

What’s all this I’ve been hearing about your equipment being stolen, kameraden? 😉 Good fight.
love the PAH video, well done
We’ve taken to using a dicterphone to keep from spending ages writing and not enjoying the game
I kinda like the Turn, phase by phase layout, very detailed. you must take a mountain of notes, or have a killer memory.
Nice & extensive AAR Vinehart;
pity you couldn’t keep the Brits in the “Bag”
excellents pictures good luck next round
lots of pictures, but some of them need orientating correctly. and not enough long shot’s to place them in context.
Thanks for the report
Sad there are no comrades in Plymouth
We have one and another who is building a force at the minute.
Mr Phew who is the other guy who I’ve reported against prior to this one
A good read. Is there no WarPac at Plymouth?