Fought At Frankfurt
2212 days 11 hours 47 minutes ago
Redemption in Ruhr!
View Linked Report - CLICK HERE 60 POINTSDespite the debacle in his last battle, Leytenant Umraefein had been returned to command, and was part of a push that broke through enemy lines. As they approached a quiet city center, the tell-tale whir of the German PAH's. This would be a tough fight, but he had his orders: Take the city, and don't allow the German counter-attack to push us back. This time, he would not fail.
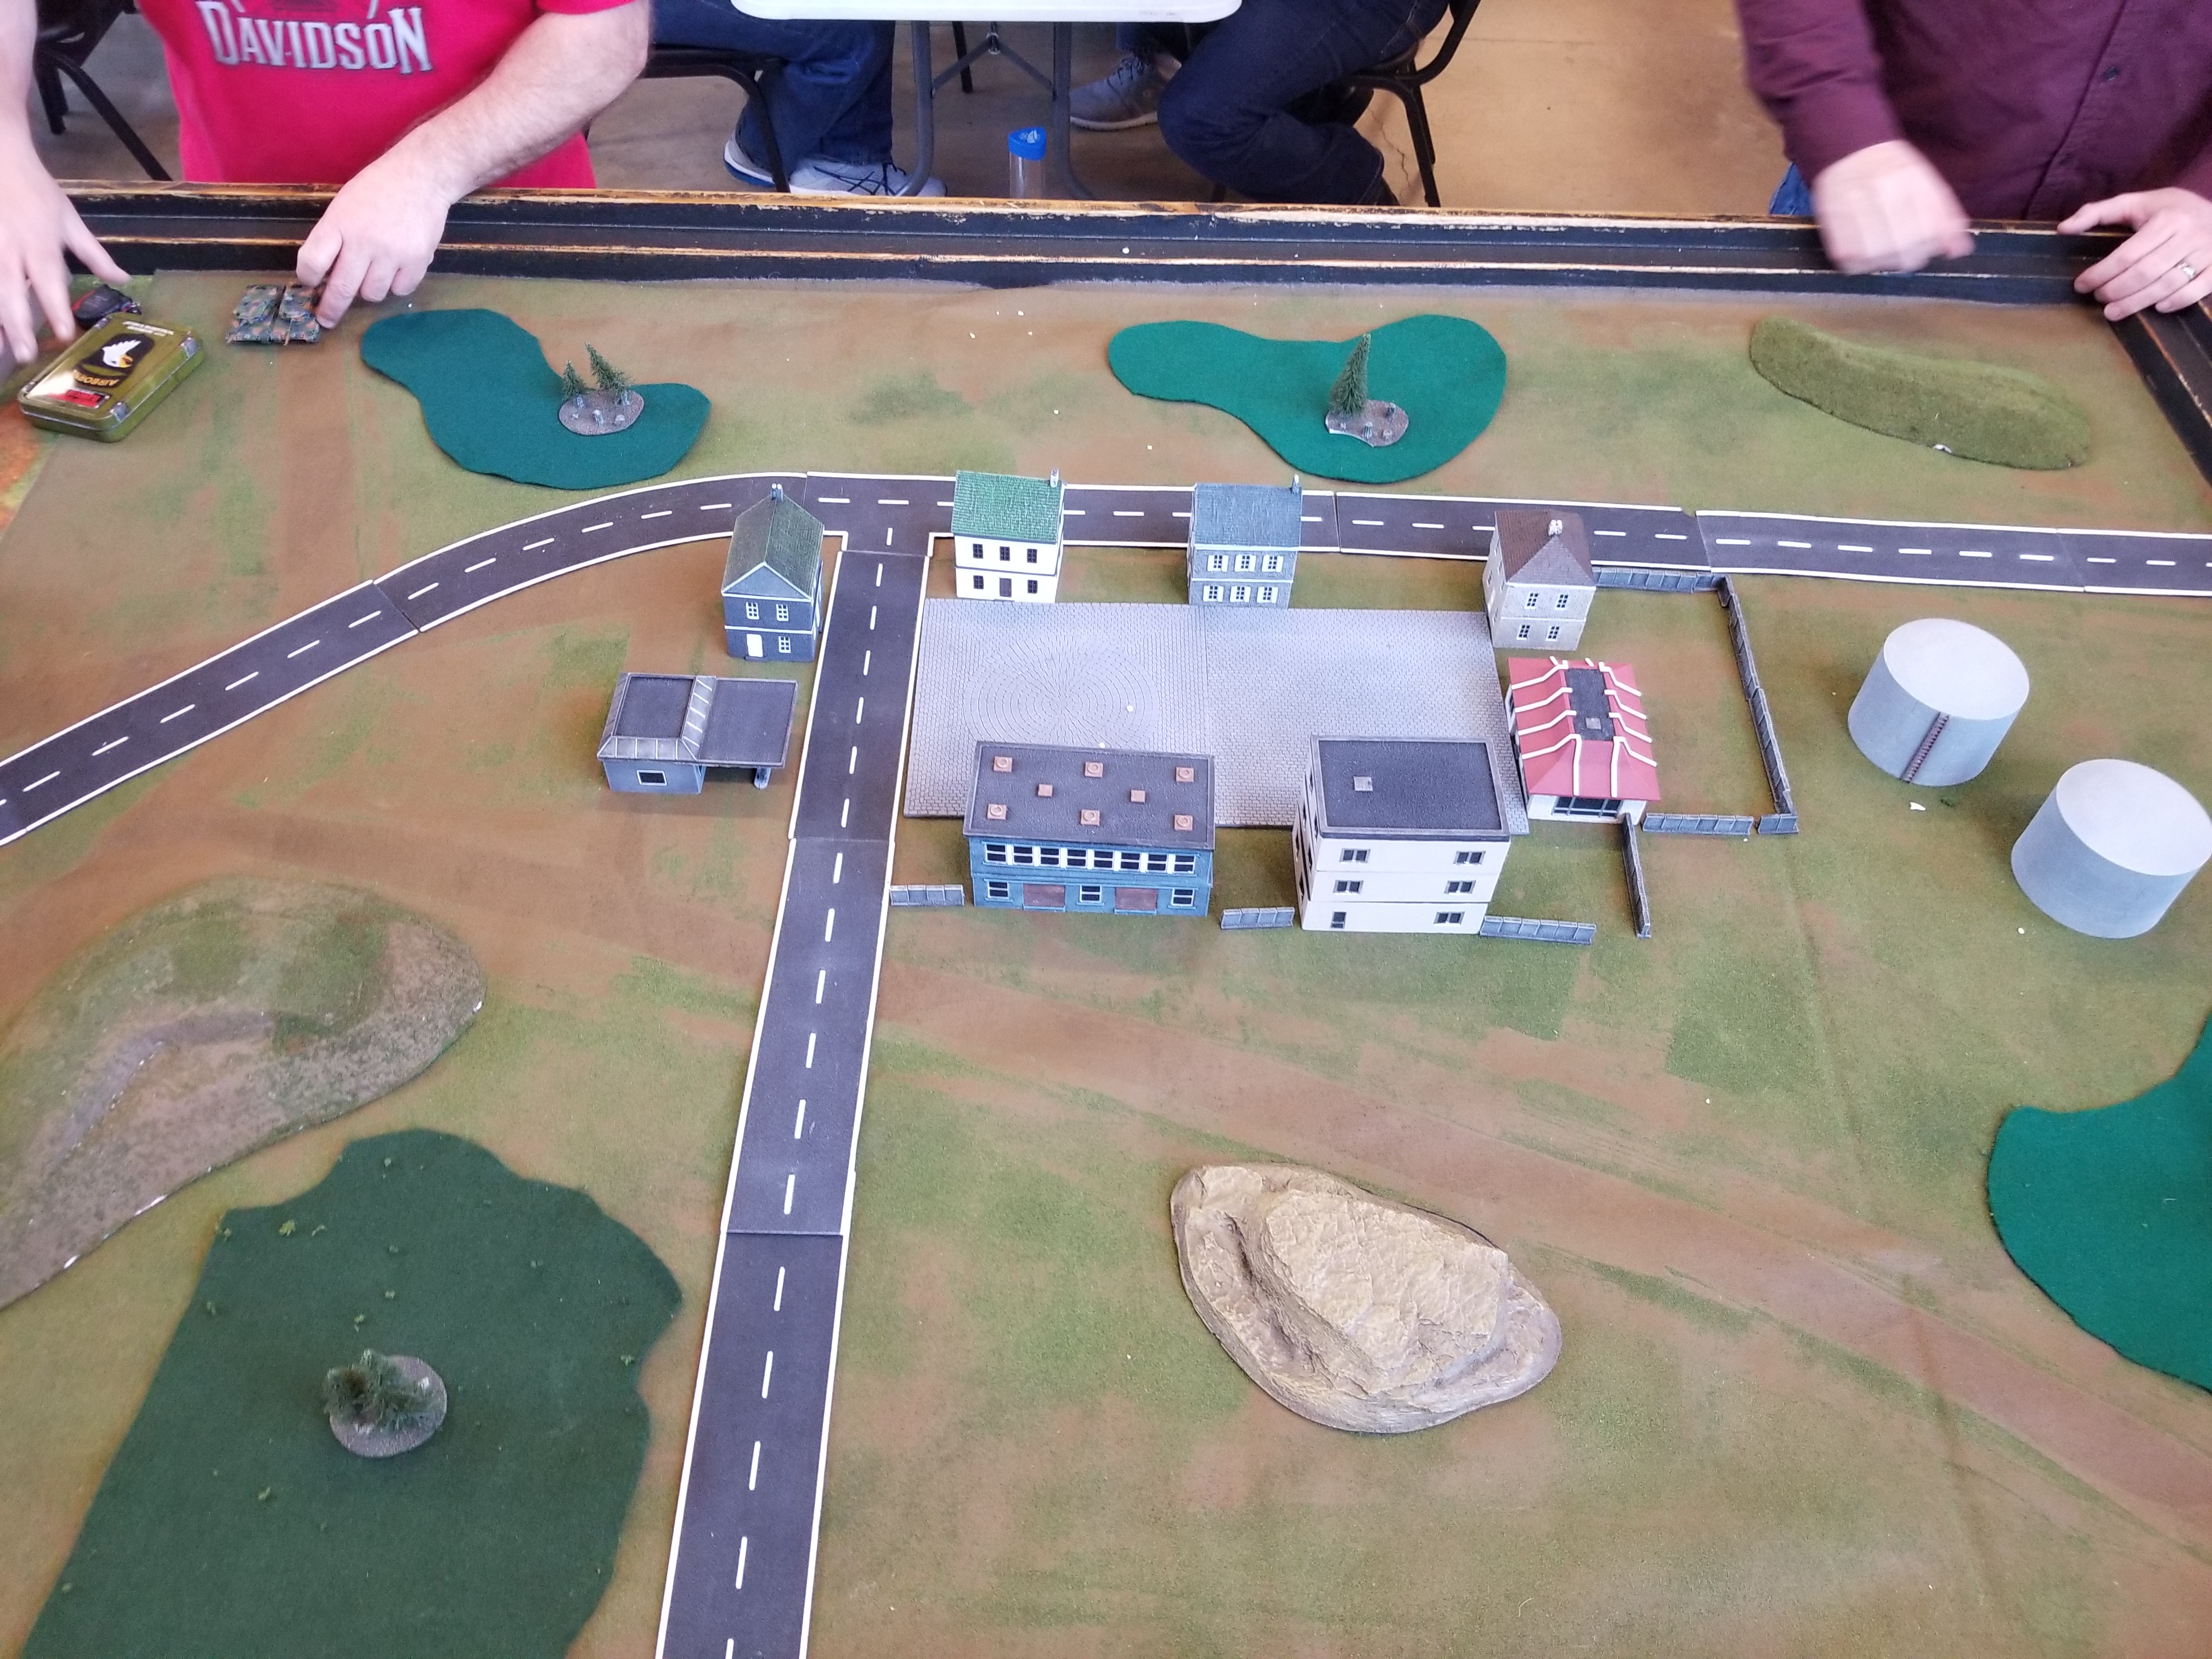
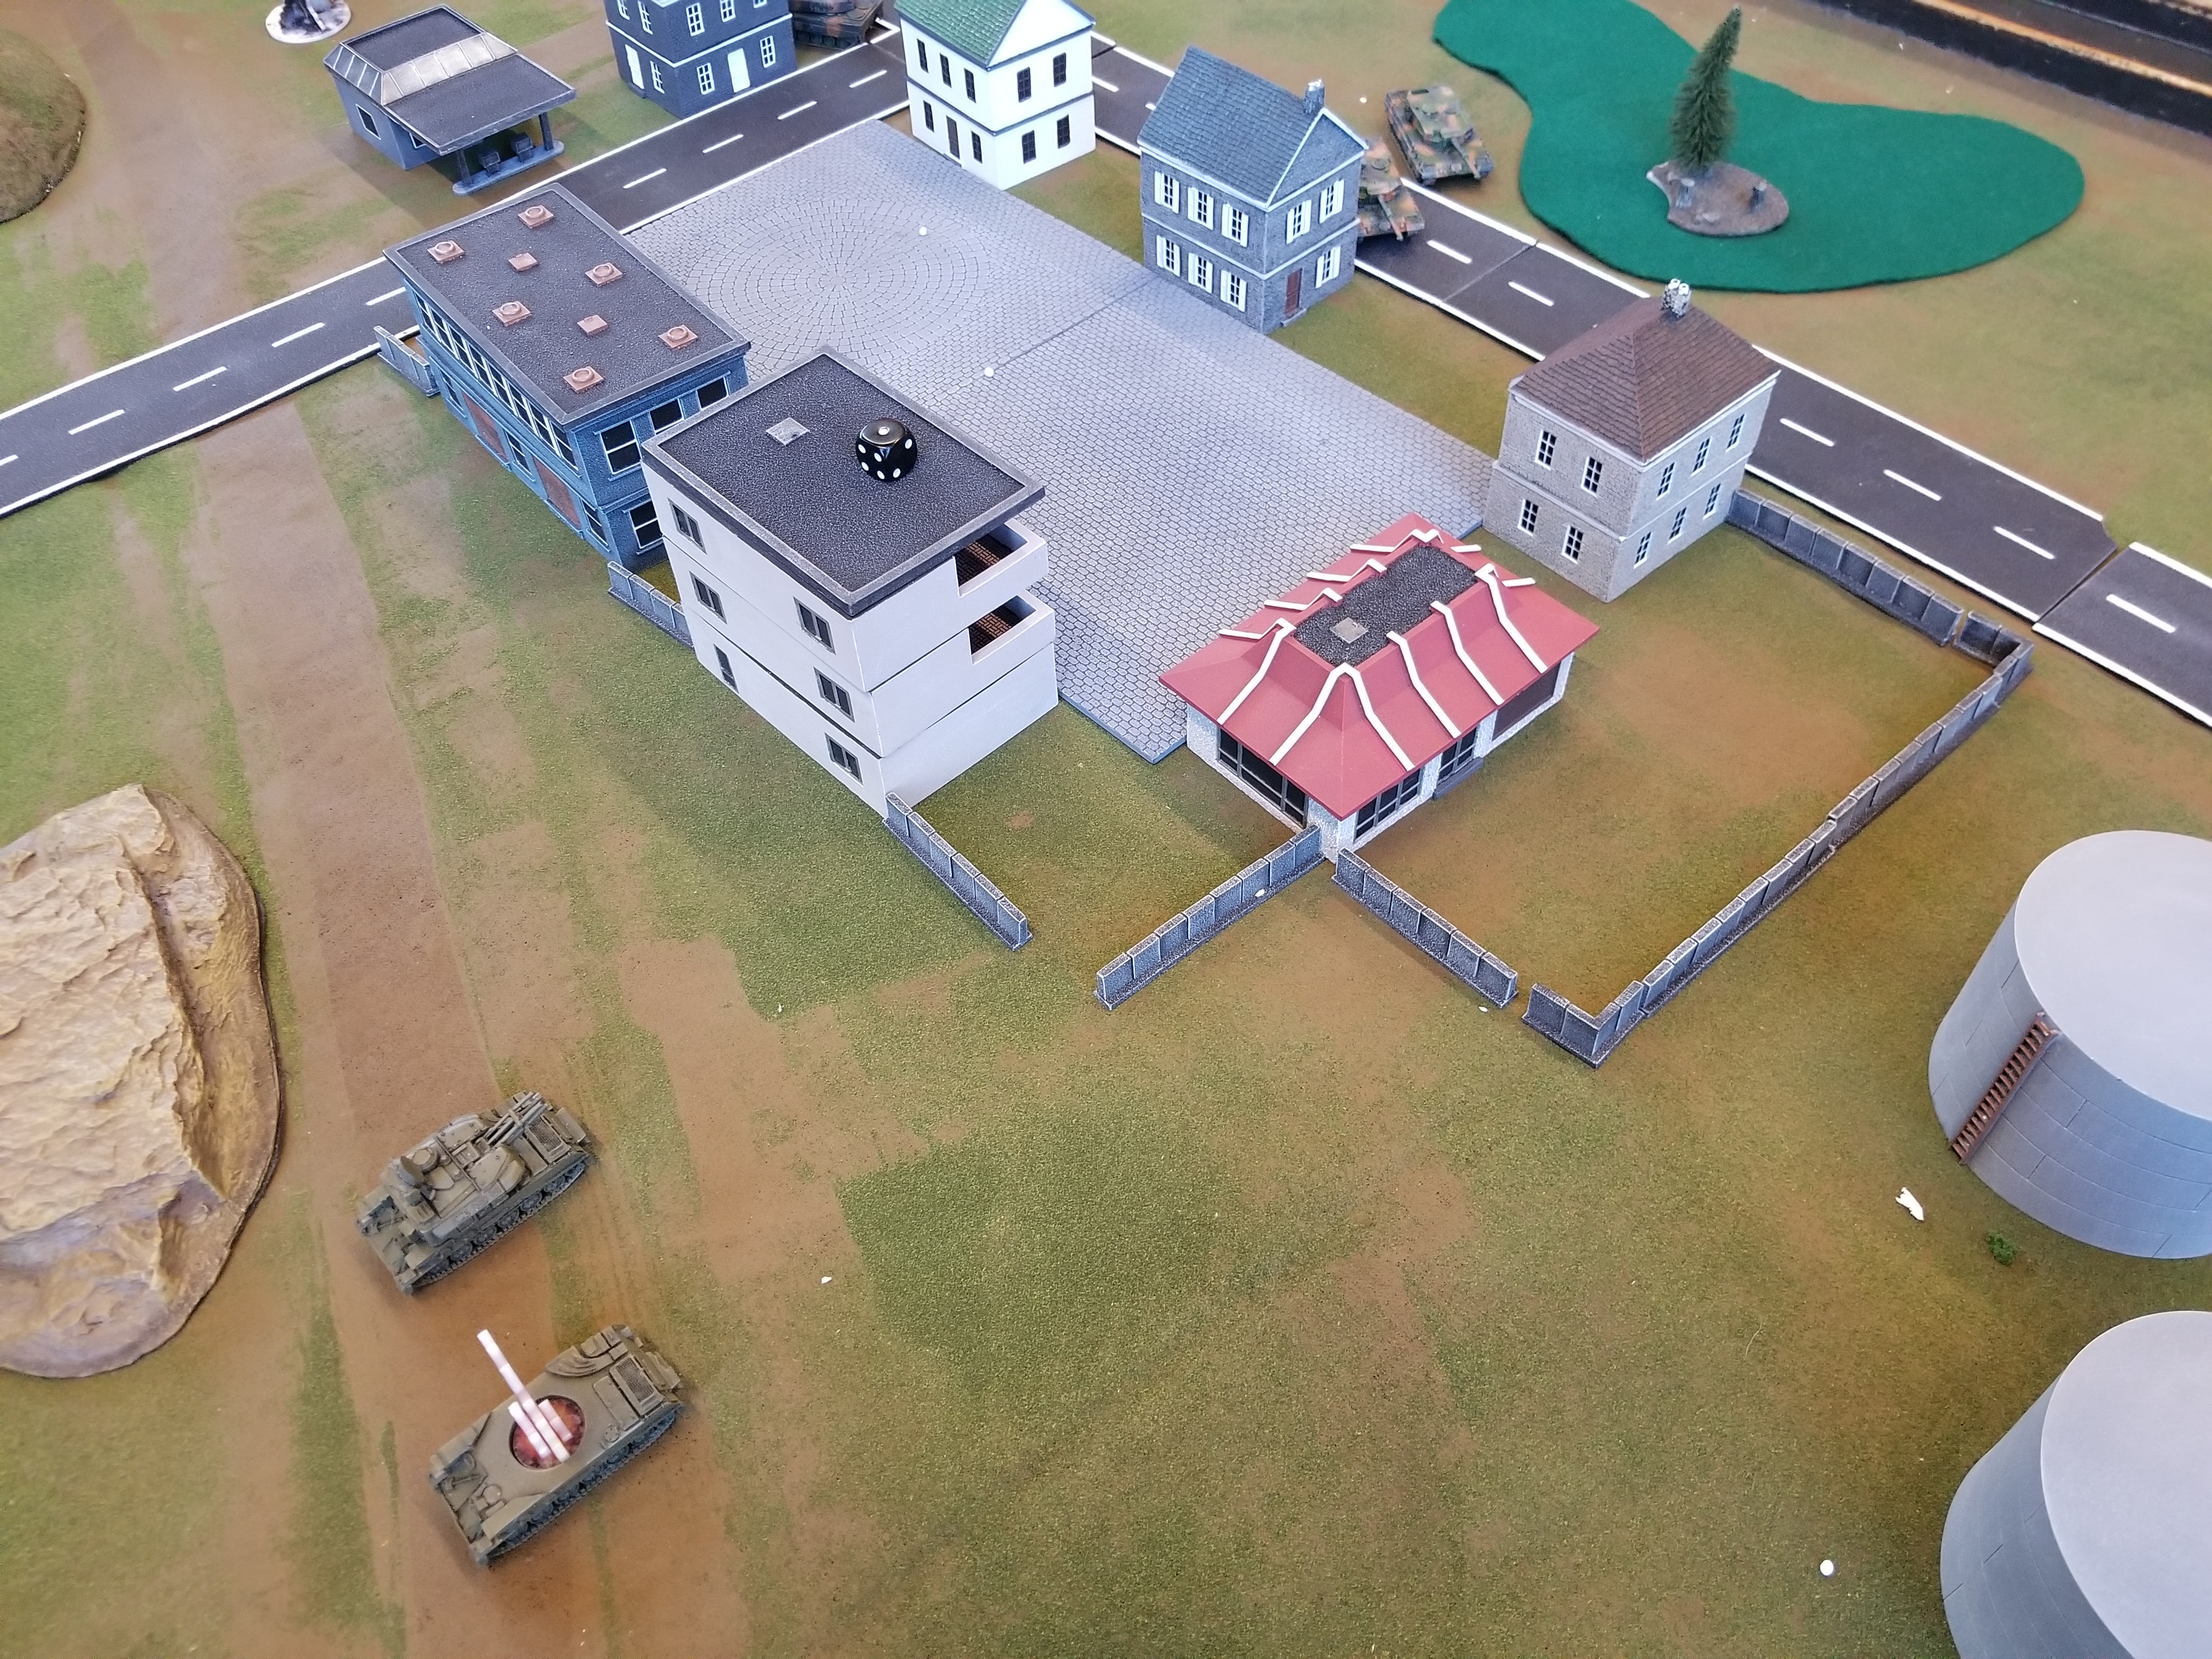
The board featured a city center in the middle of the board, with an assortment of hills and forests around the edges. This terrain would likely favor the defender, as the cover and concealment provided by the city center would make it difficult to bring the high firepower of the Spandrel missile to bear.
Preparing his forces for the fierce fighting that was to come in order to drive them out of the city center, Leytenant ordered all his maneuver forces up along the left flank. They would use their overwhelming advantage in numbers to force the Germans from the field!
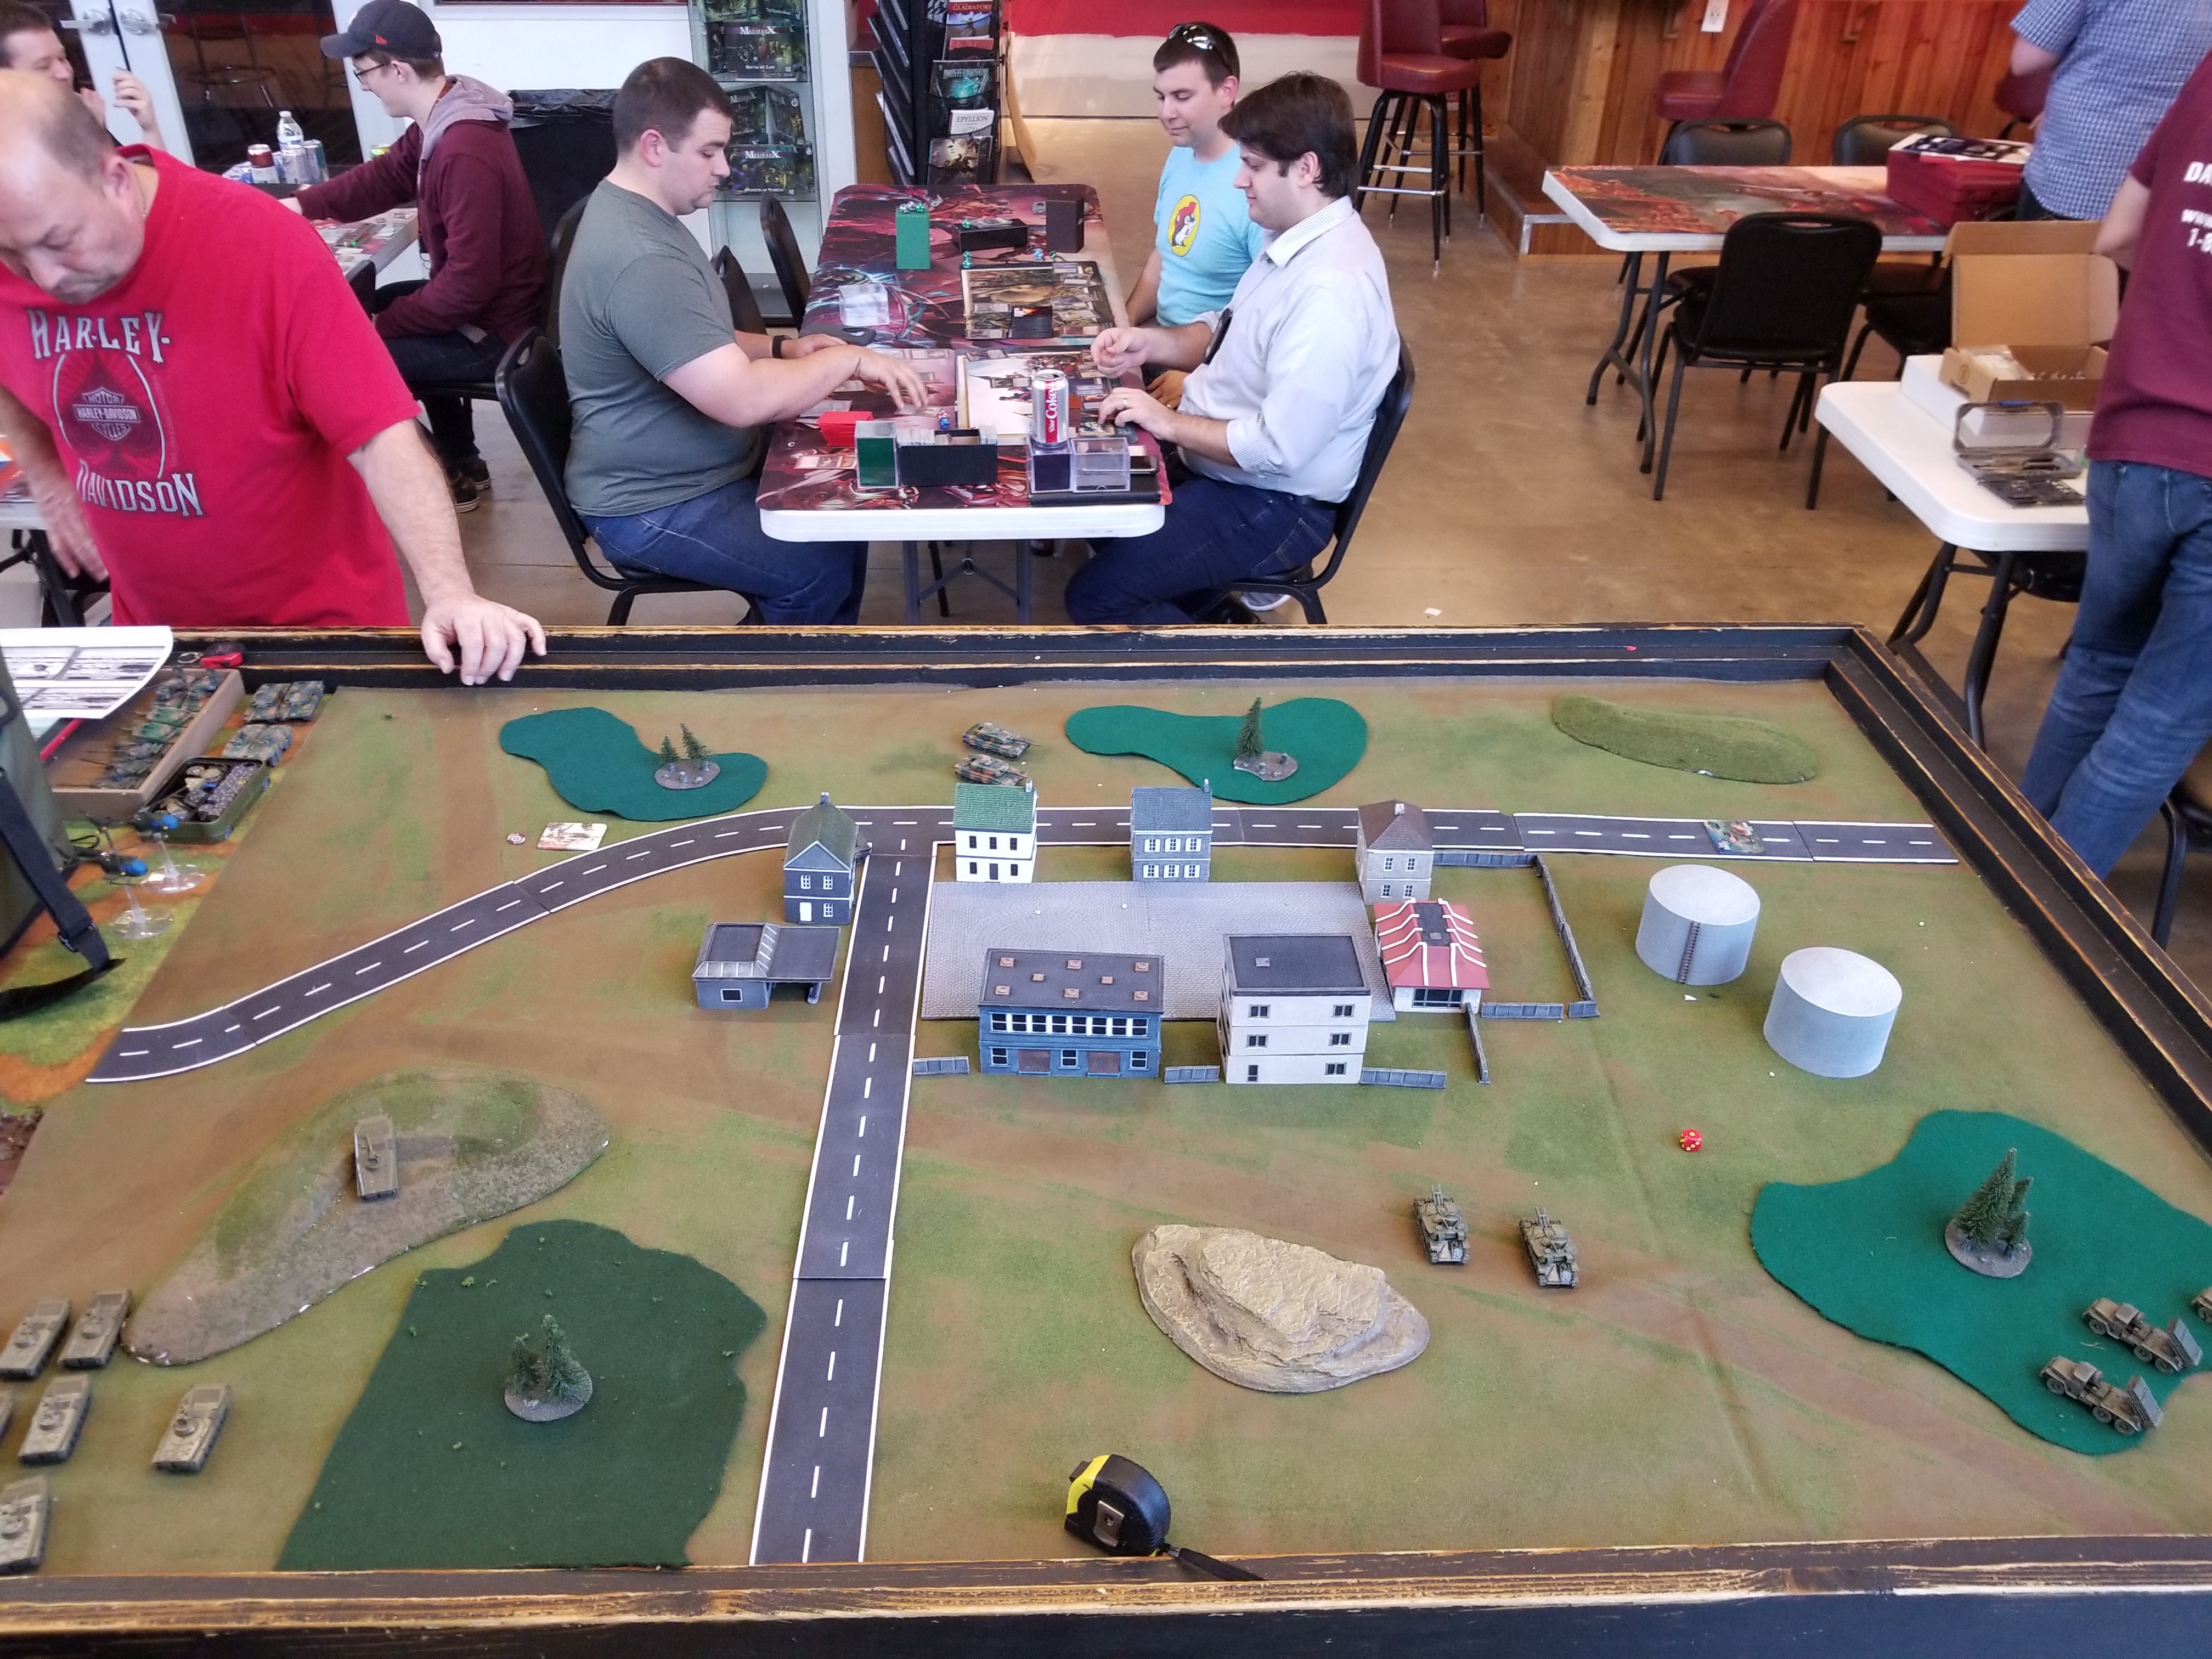
My opponent opted to hold his PAH flight in ambush, hoping to draw me out. Meanwhile, his commander and one of his two Leopard 2 Panzer Zugs took up defensive positions behind the town center near the center of the board in order to ensure rapid response to any Soviet push. In reserve was the second Panzer Zug and a Luchs Spah Trupp. Meanwhile, I opted to deploy my Hail Battery and Shilka Platoon on the right flank, with the Hails concealed in the woods. On the left flank, a BMP-1 Motor Rifle Company prepared to advance on the objective, accompanied by the commander in his BMP-1. On a hill between the commander and the town, the artillery observer was placed in concealment, prepared to call down fires.
"What do you mean, the Shilka's are gone?" the Leytenant shouted into his radio, "They're firing from the town? Move up! Drop smoke to cover our advance, and push forward to the town!"
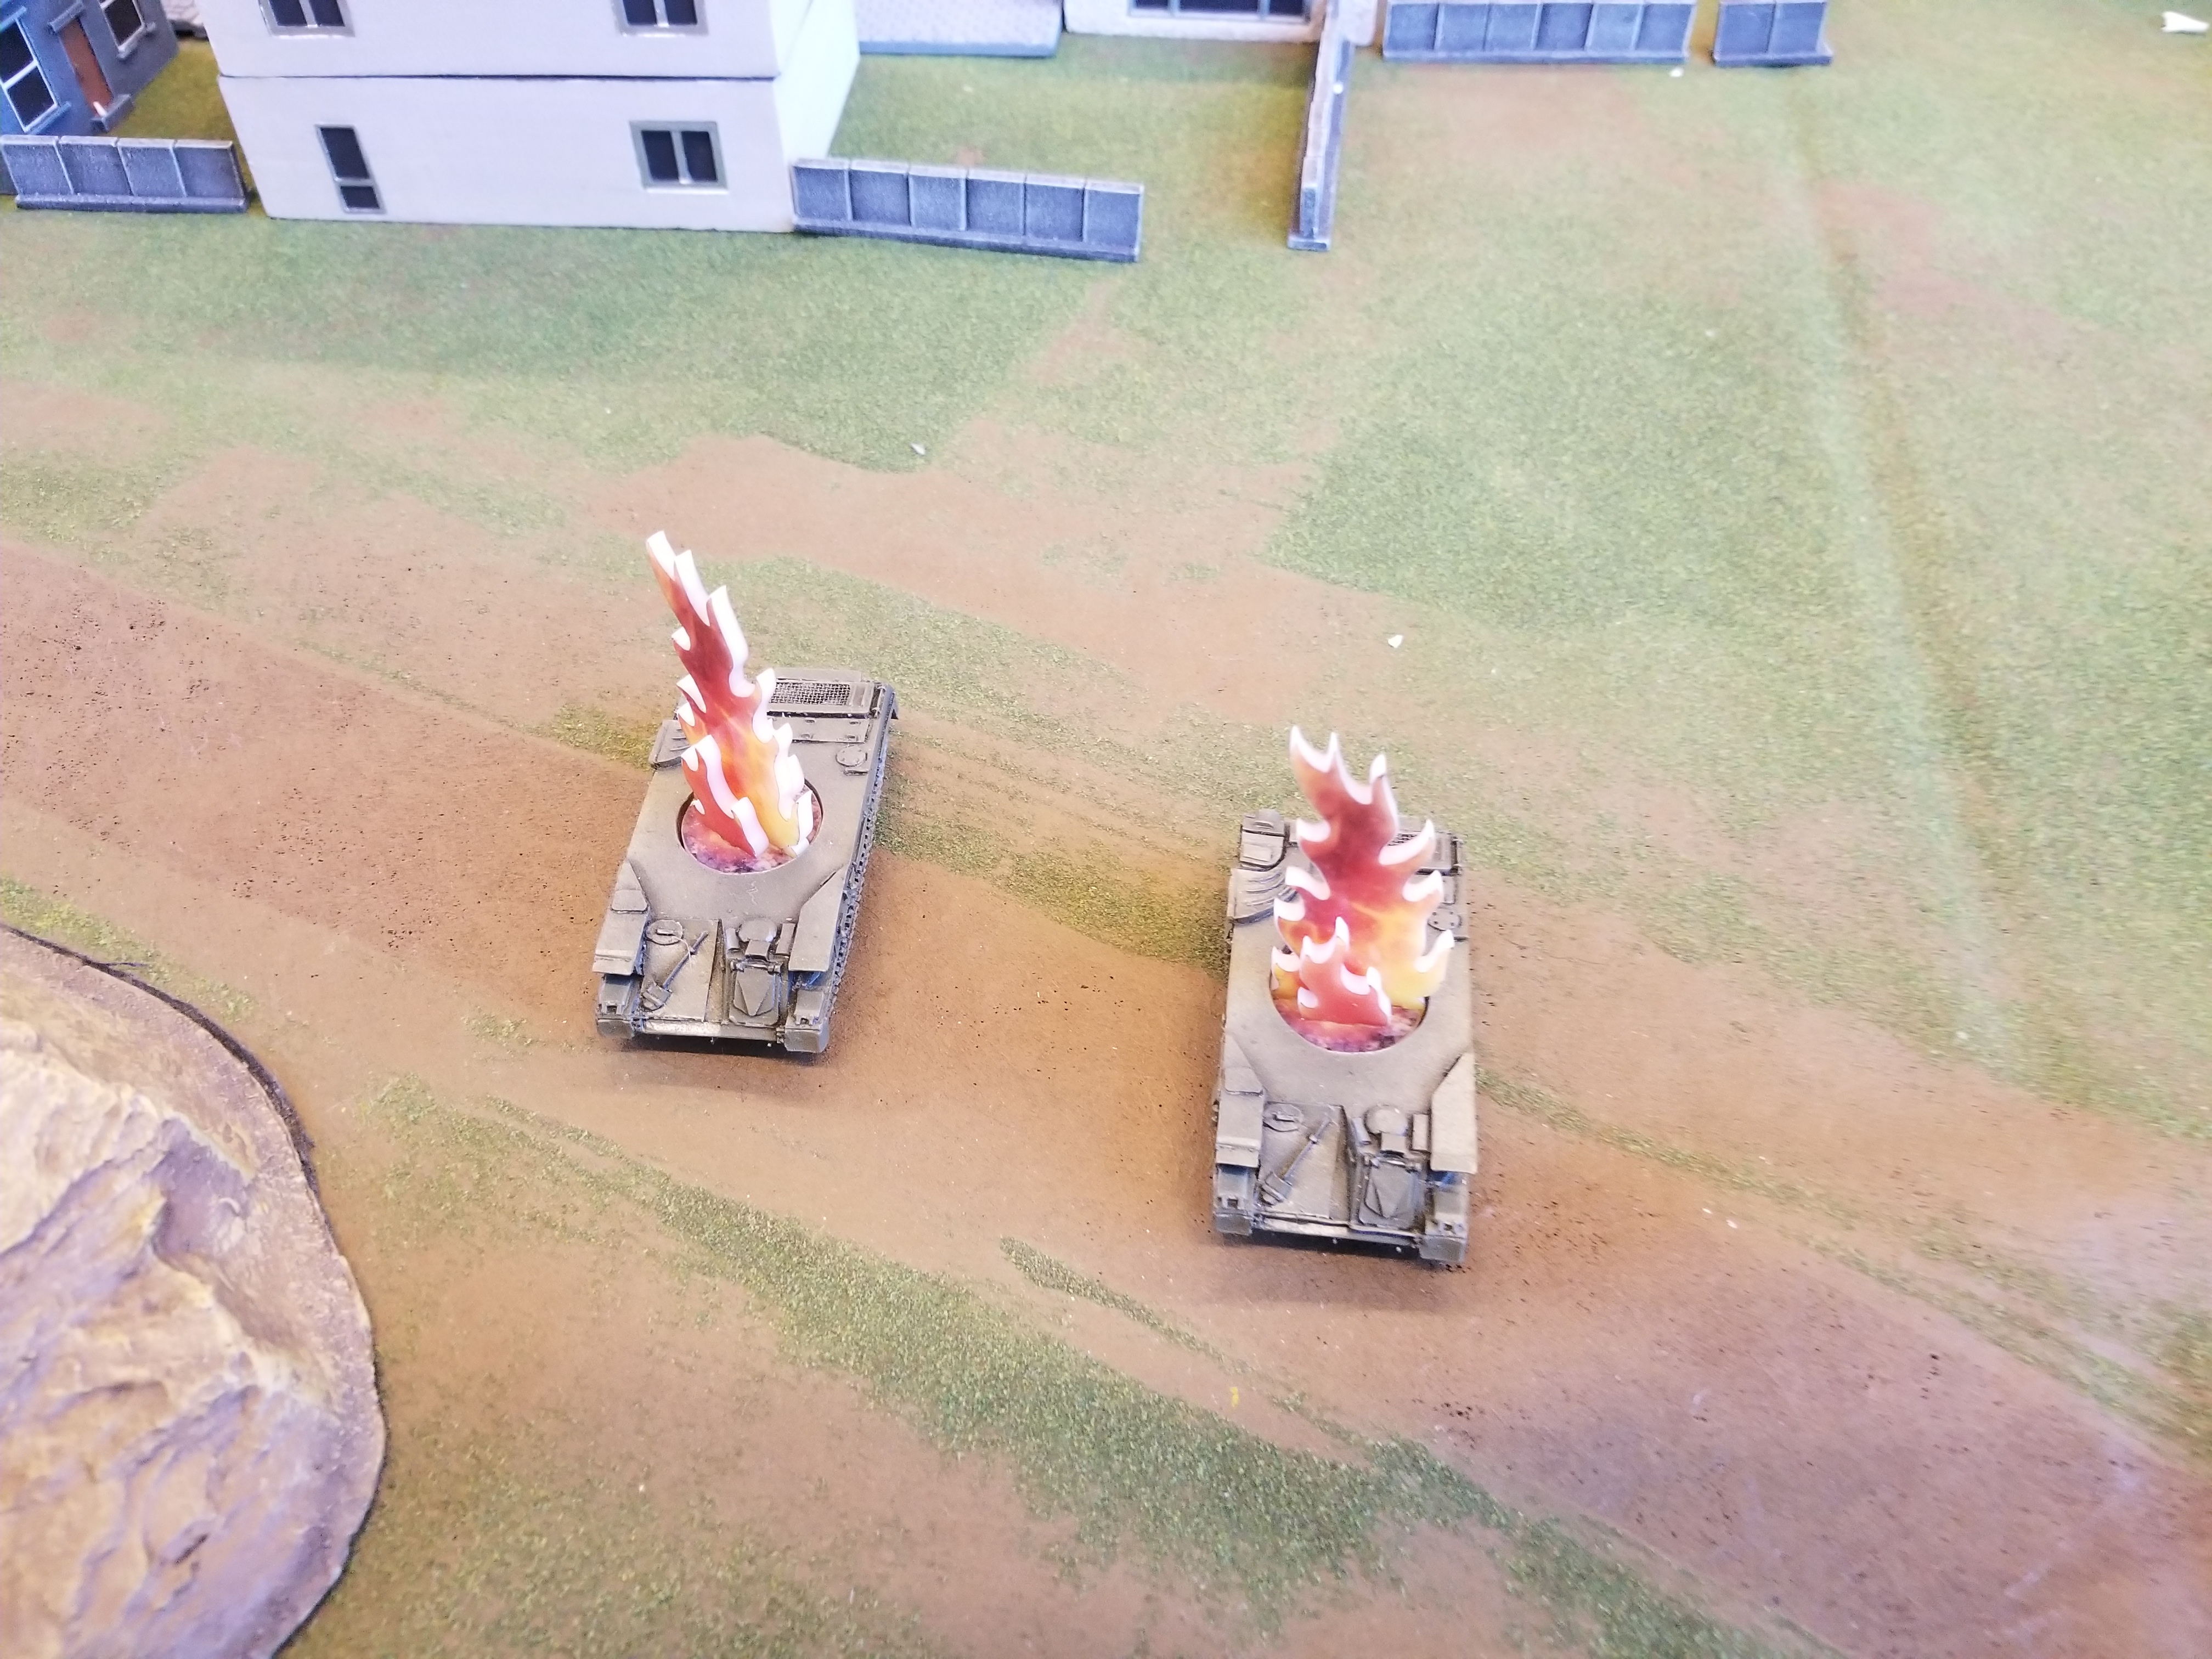
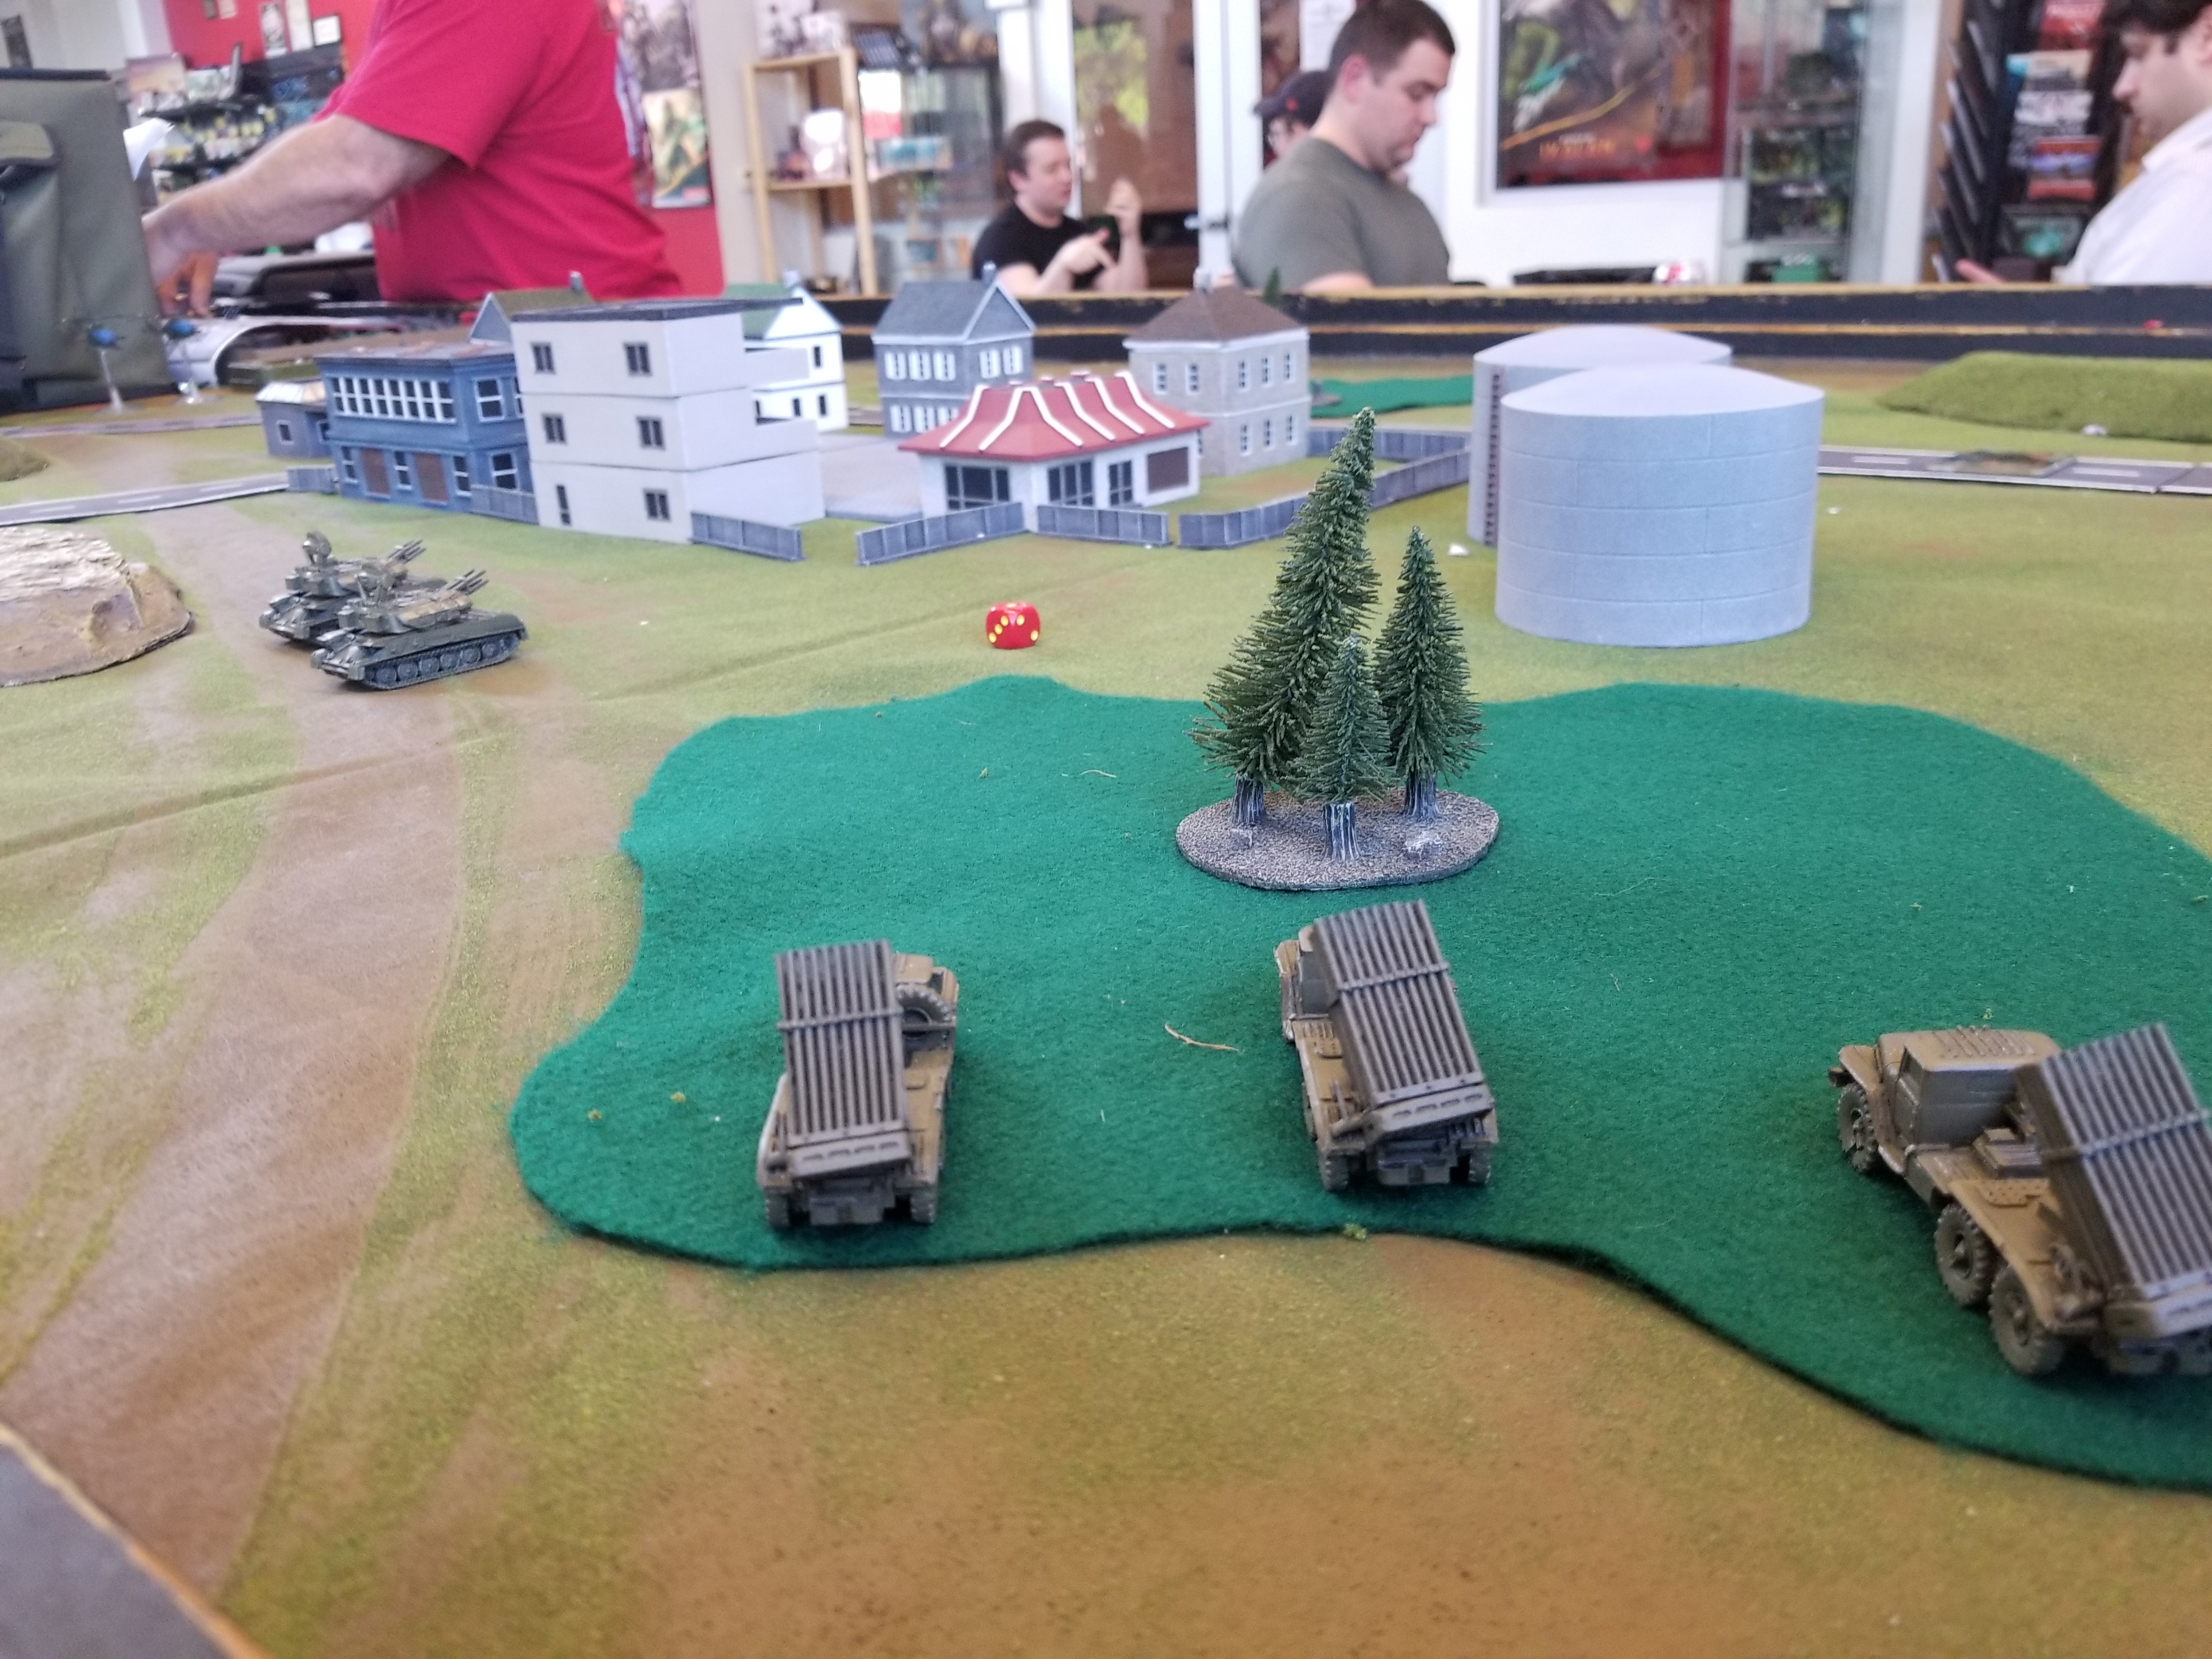
My opponent decided not to reveal his ambush on his first turn, and failed to roll in any reinforcements. Using a combination of Blitz moves and Shoot and Scoots, he maneuvered his tanks in order to maintain his concealment on the far side of the town center while enabling him to take opening shots at the Shilka platoon and the artillery observer. He failed to connect with the observer, but destroyed one of the Shilas. Despite their relatively high morale, the luck of the dice resulted in the other Shilka crew fleeing the field, leaving me without dedicated anti-aircraft fires.
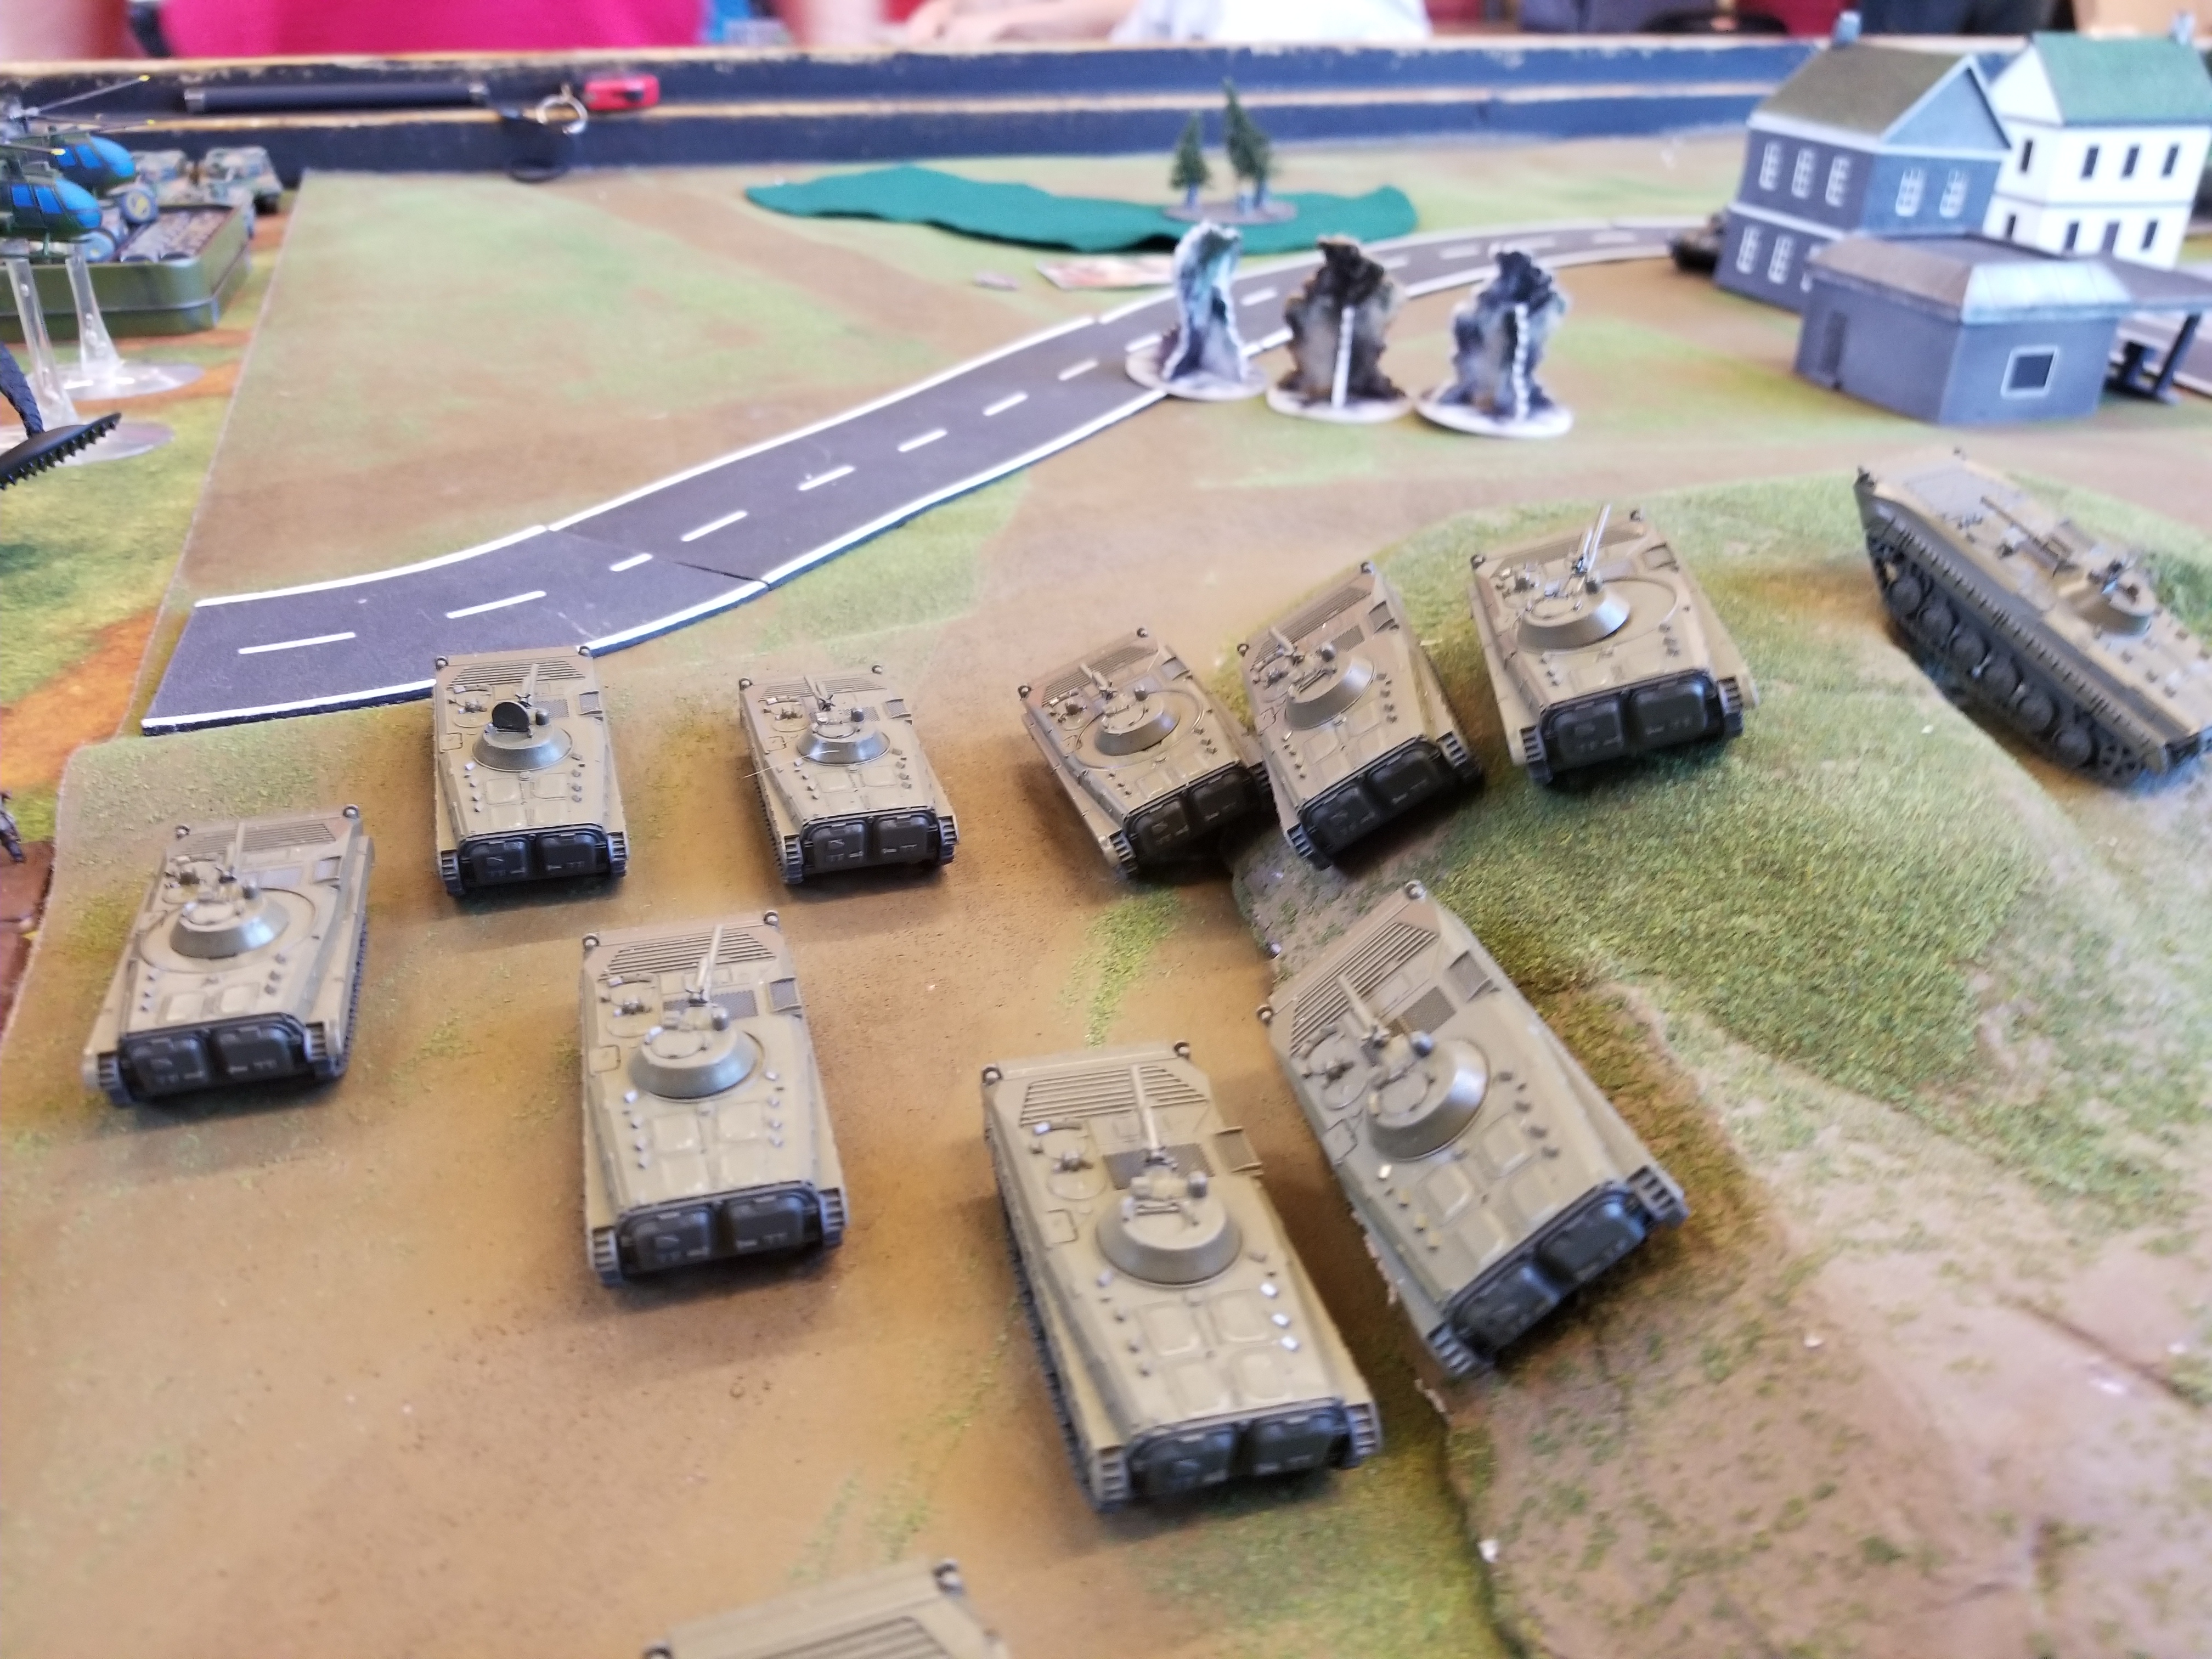
Having lost the air defense, and knowing the artillery could not penetrate the Leopard 2's top armor, I judged the best course of action was to drop smoke and drive the BMP-1's towards the objective. The smoke deployed as requested, and I pushed the BMP-1 company towards the objective on the left flank. Due to a lack of targets, I was unable to fire during my first turn.
"The tanks are here! Push forward! Clear the way for our advance!" Leytenant Umraefein glanced across the battle lines, realizing he had left the right flank without an advance. "Push the BMP-1 company across to take the other objective!" He cried, not realizing the disastrous consequences that push would have.
In response to my push forward, my opponent revealed his helicopters from ambush, and moved his tanks forward into the town center. He opened fire, destroying one of the advancing BMP-1's along with the artillery observer. Due to his positioning, he was able to continue using the buildings to provide cover.
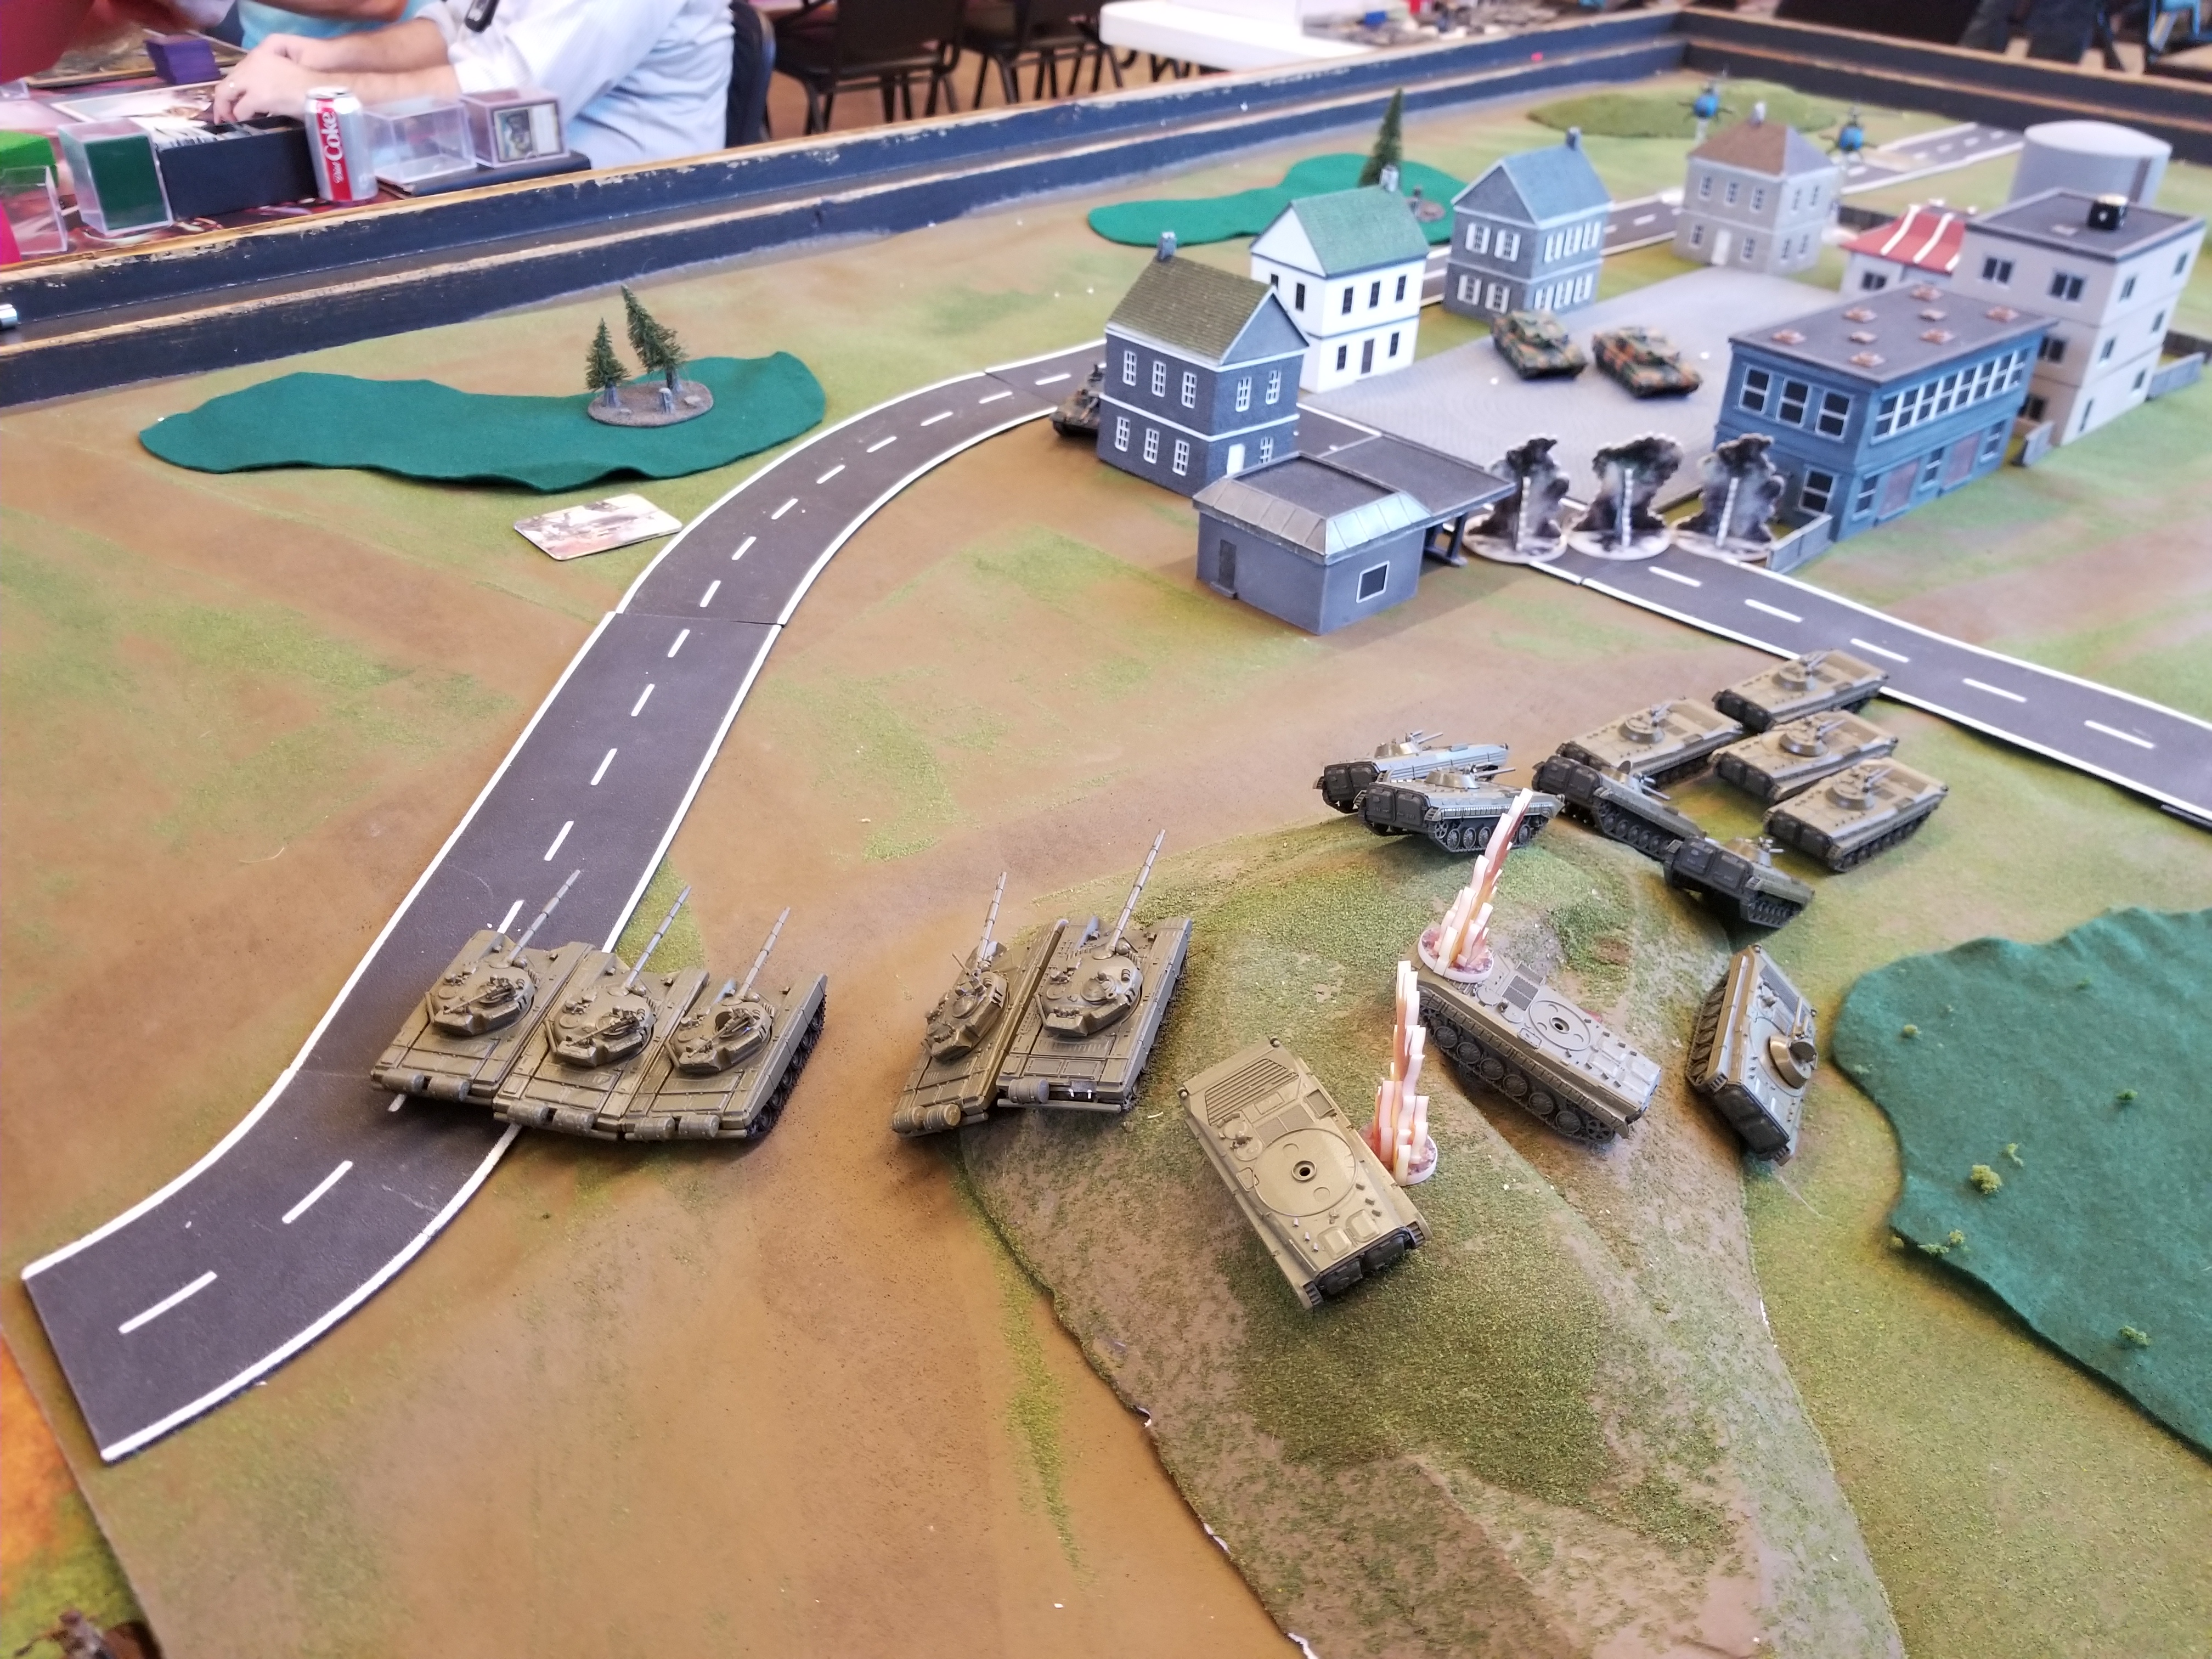
Mistakenly believing I could utilize smoke more than once (I am a new player, and still learning the rules), I opted to push my BMP-1's towards the town, hoping to pressure both objectives. Behind them, my T-72 company arrived to reinforce the push, and hopefully put some pressure on the German Leopards. However, due to his skill, and the concealment provided by the buildings, I failed to connect with any of my shots.
Leytenant Umraefein cursed. His BMPs had moved out into enemy fire, and the column was well crippled. Several of his infantry squads had died in the fire. He made the tactical decision to push the infantry into the town, to try and drive into the nearer objective. That, reinforced with any luck by his other Motor Rifle Company, should win him the objective if not without casualties.
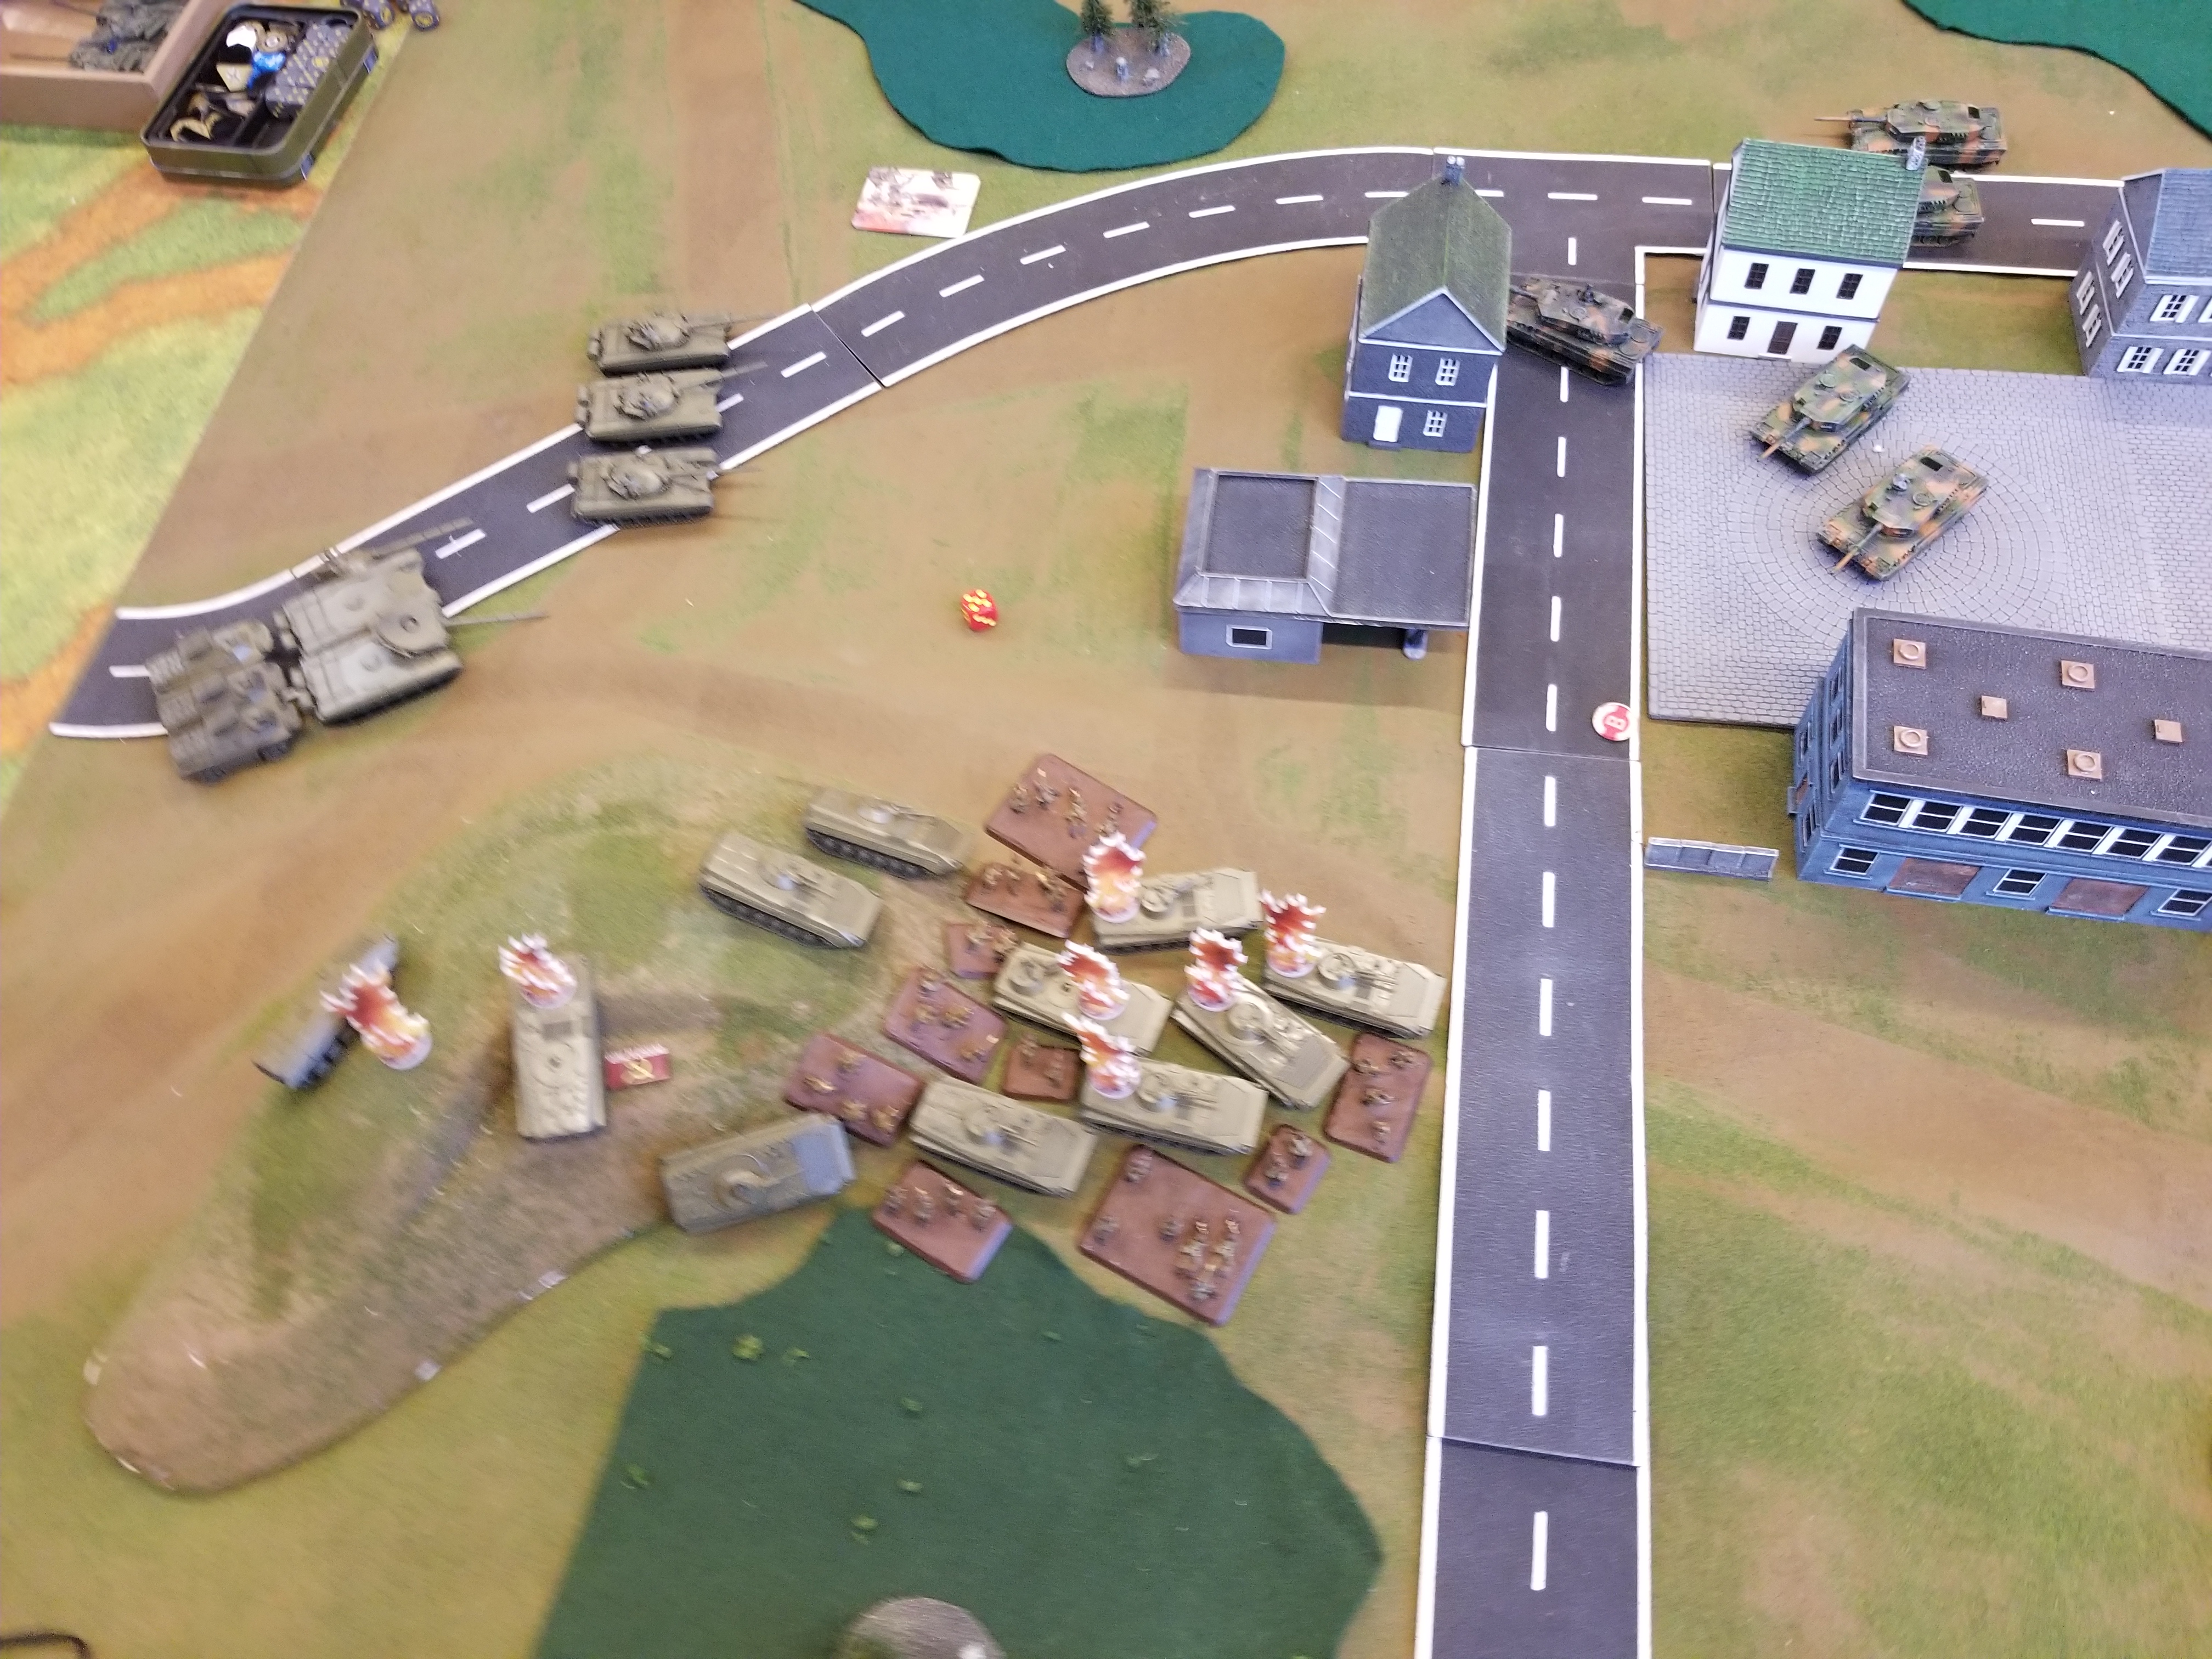
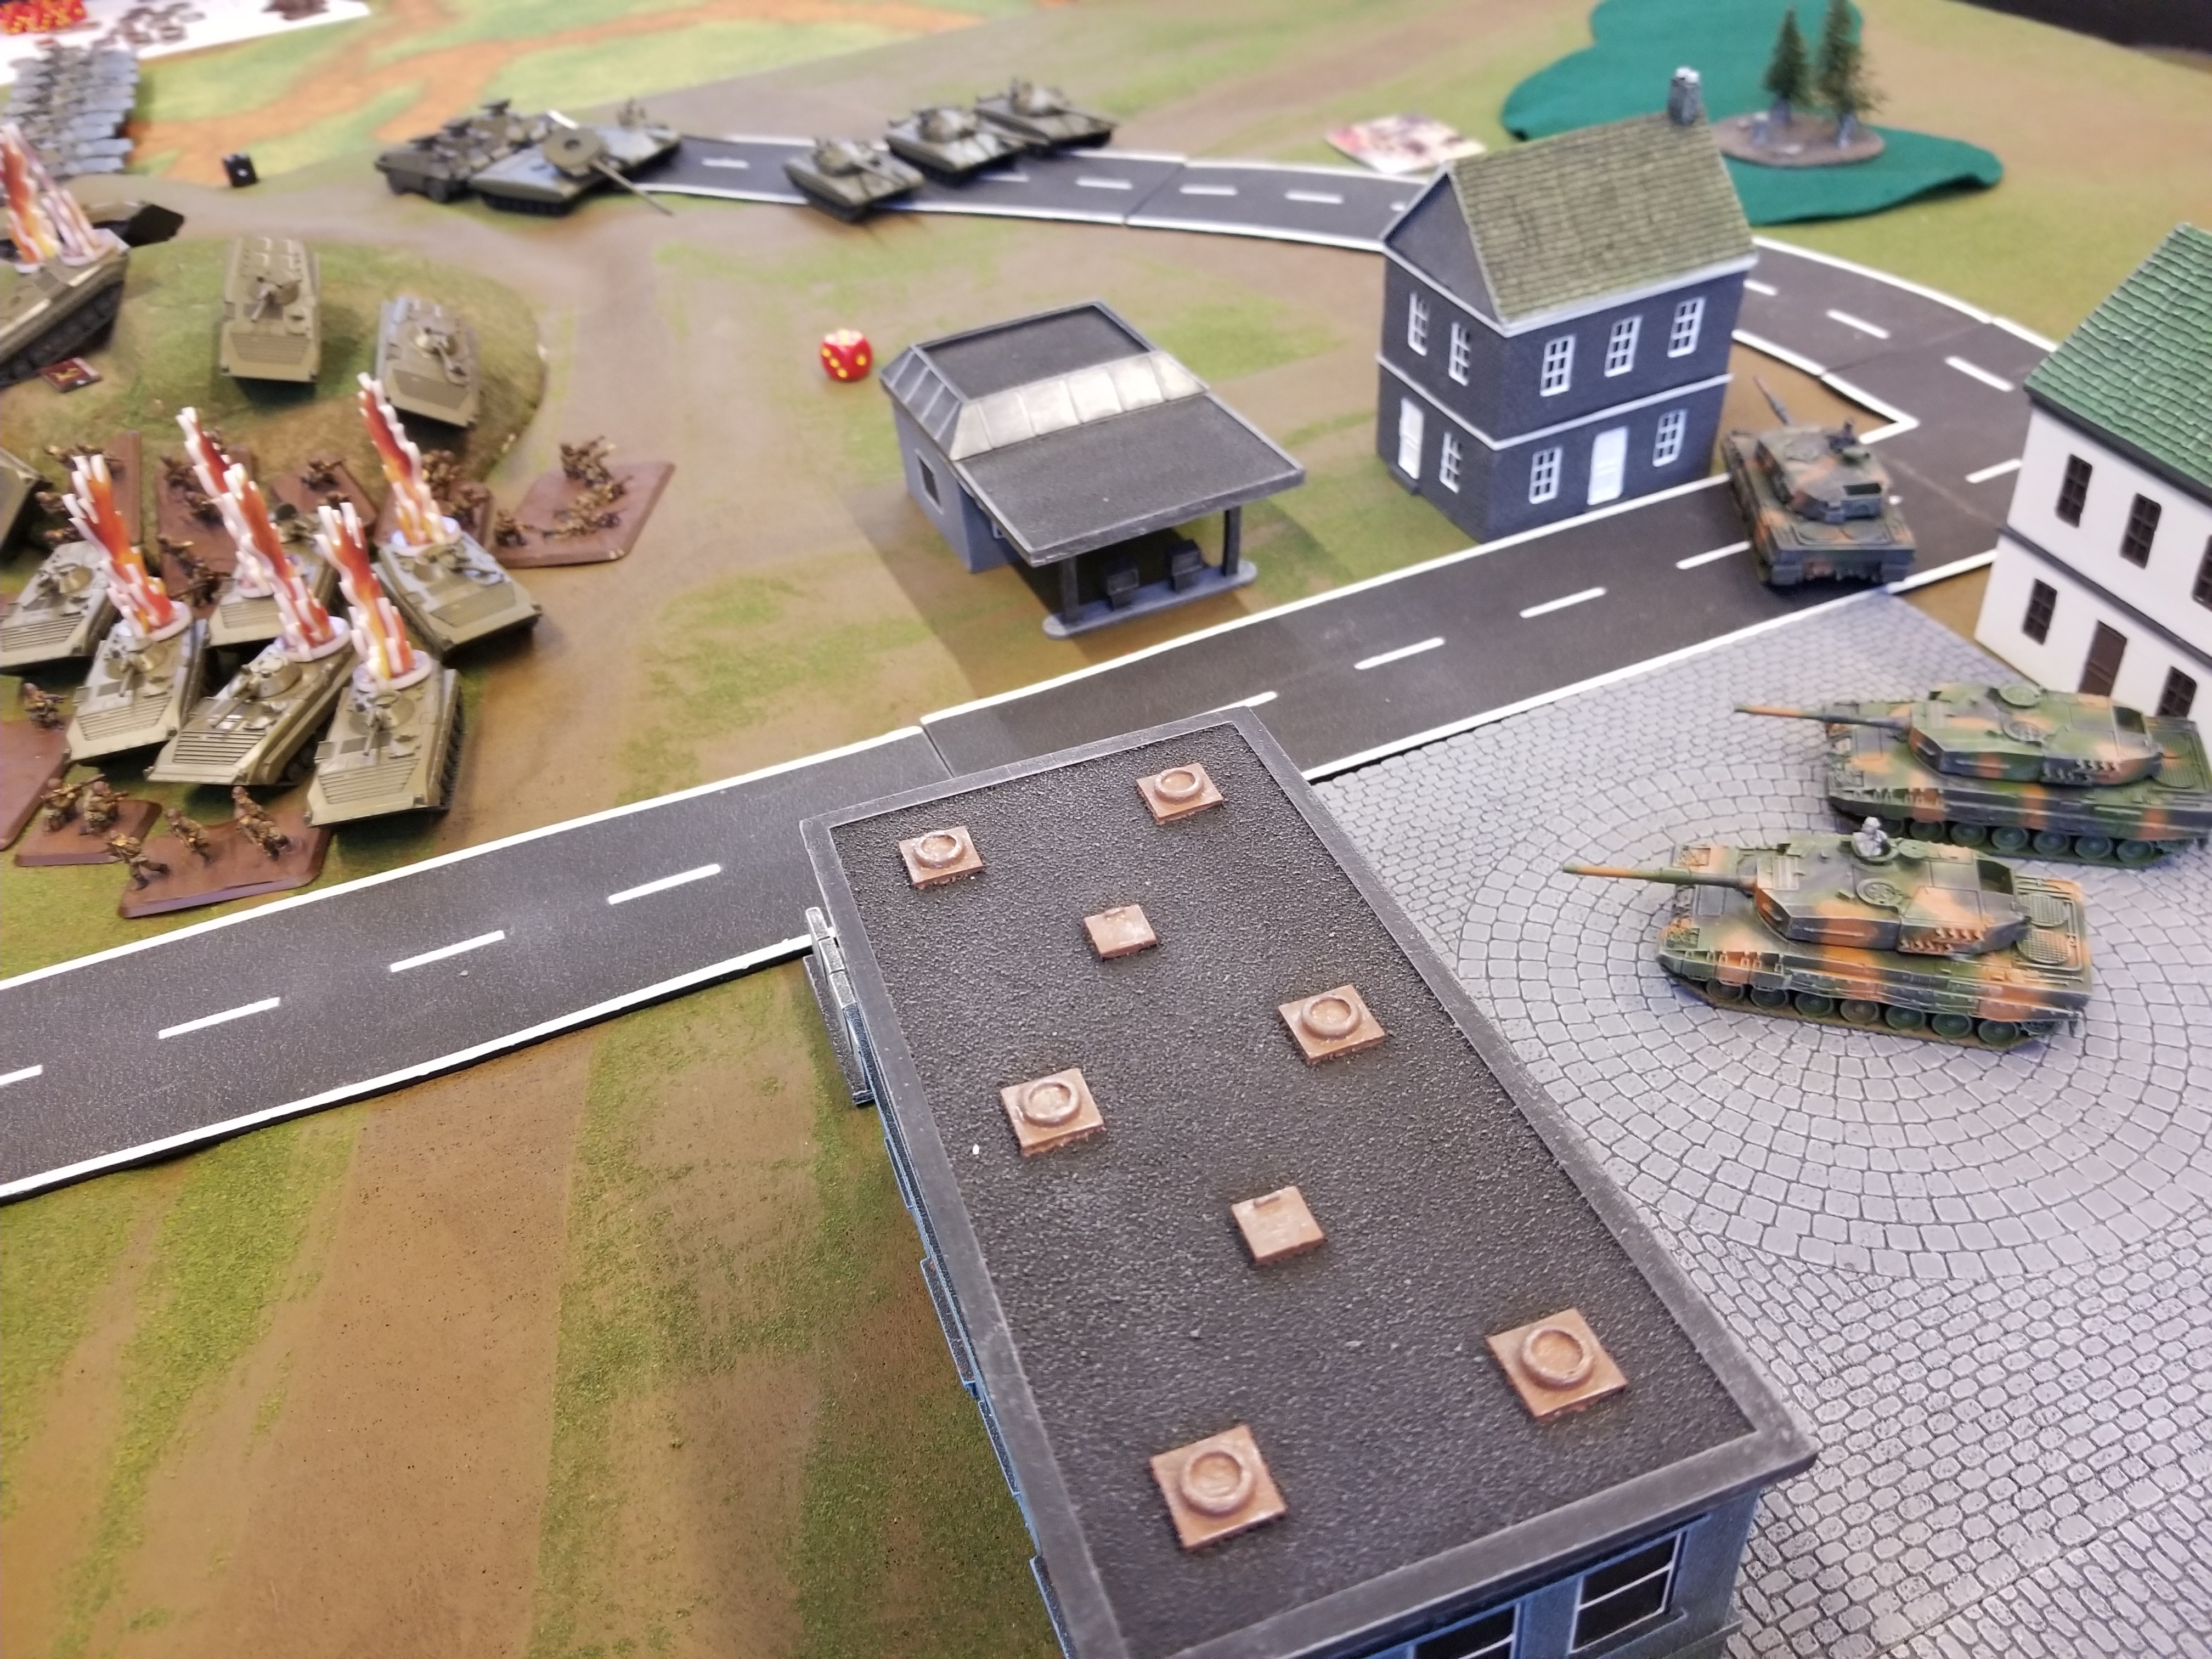
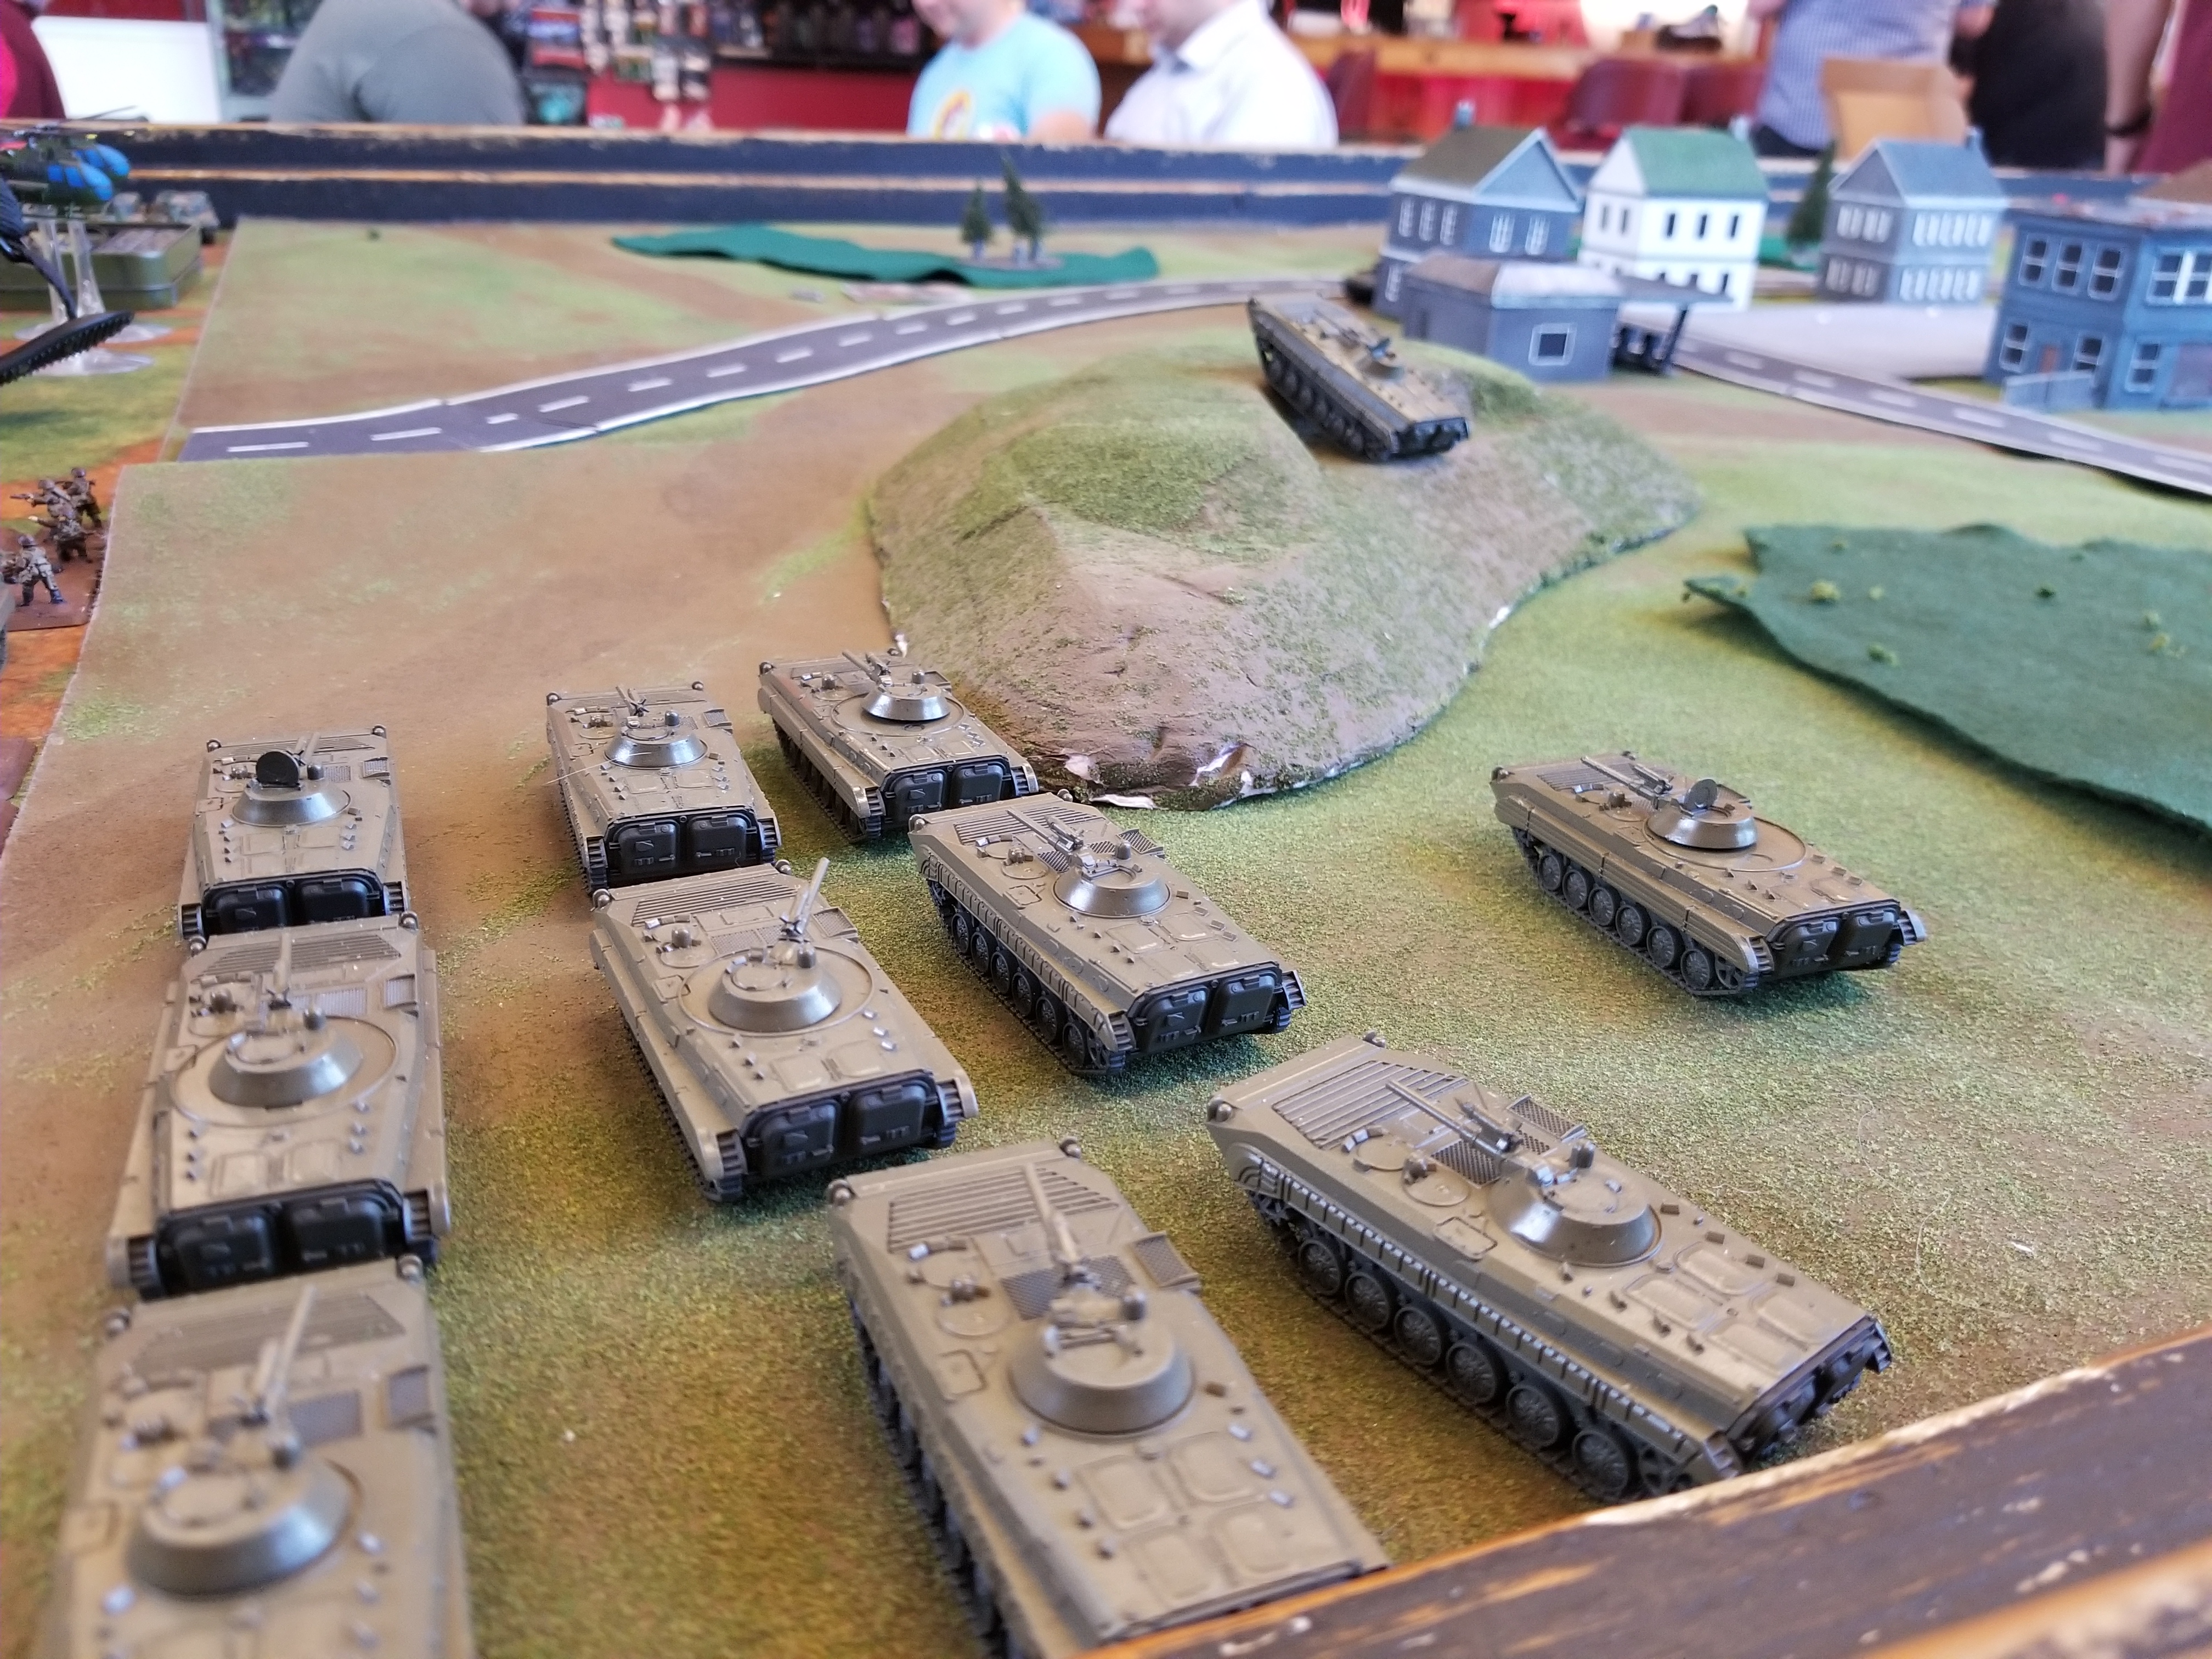
On my opponent's turn, he successfully reinforced with his second Leopard 2 Zug. While his primary forces held position in the town, the second Zug rushed to reinforce them. Once he opened fire, he destroyed most of the remaining BMP-1's, along with two of the five T-72's. They then performed a Shoot and Scoot to gain more cover. The infantry managed to evacuate the destroyed vehicles, and prepared to push into the town on my upcoming turn.
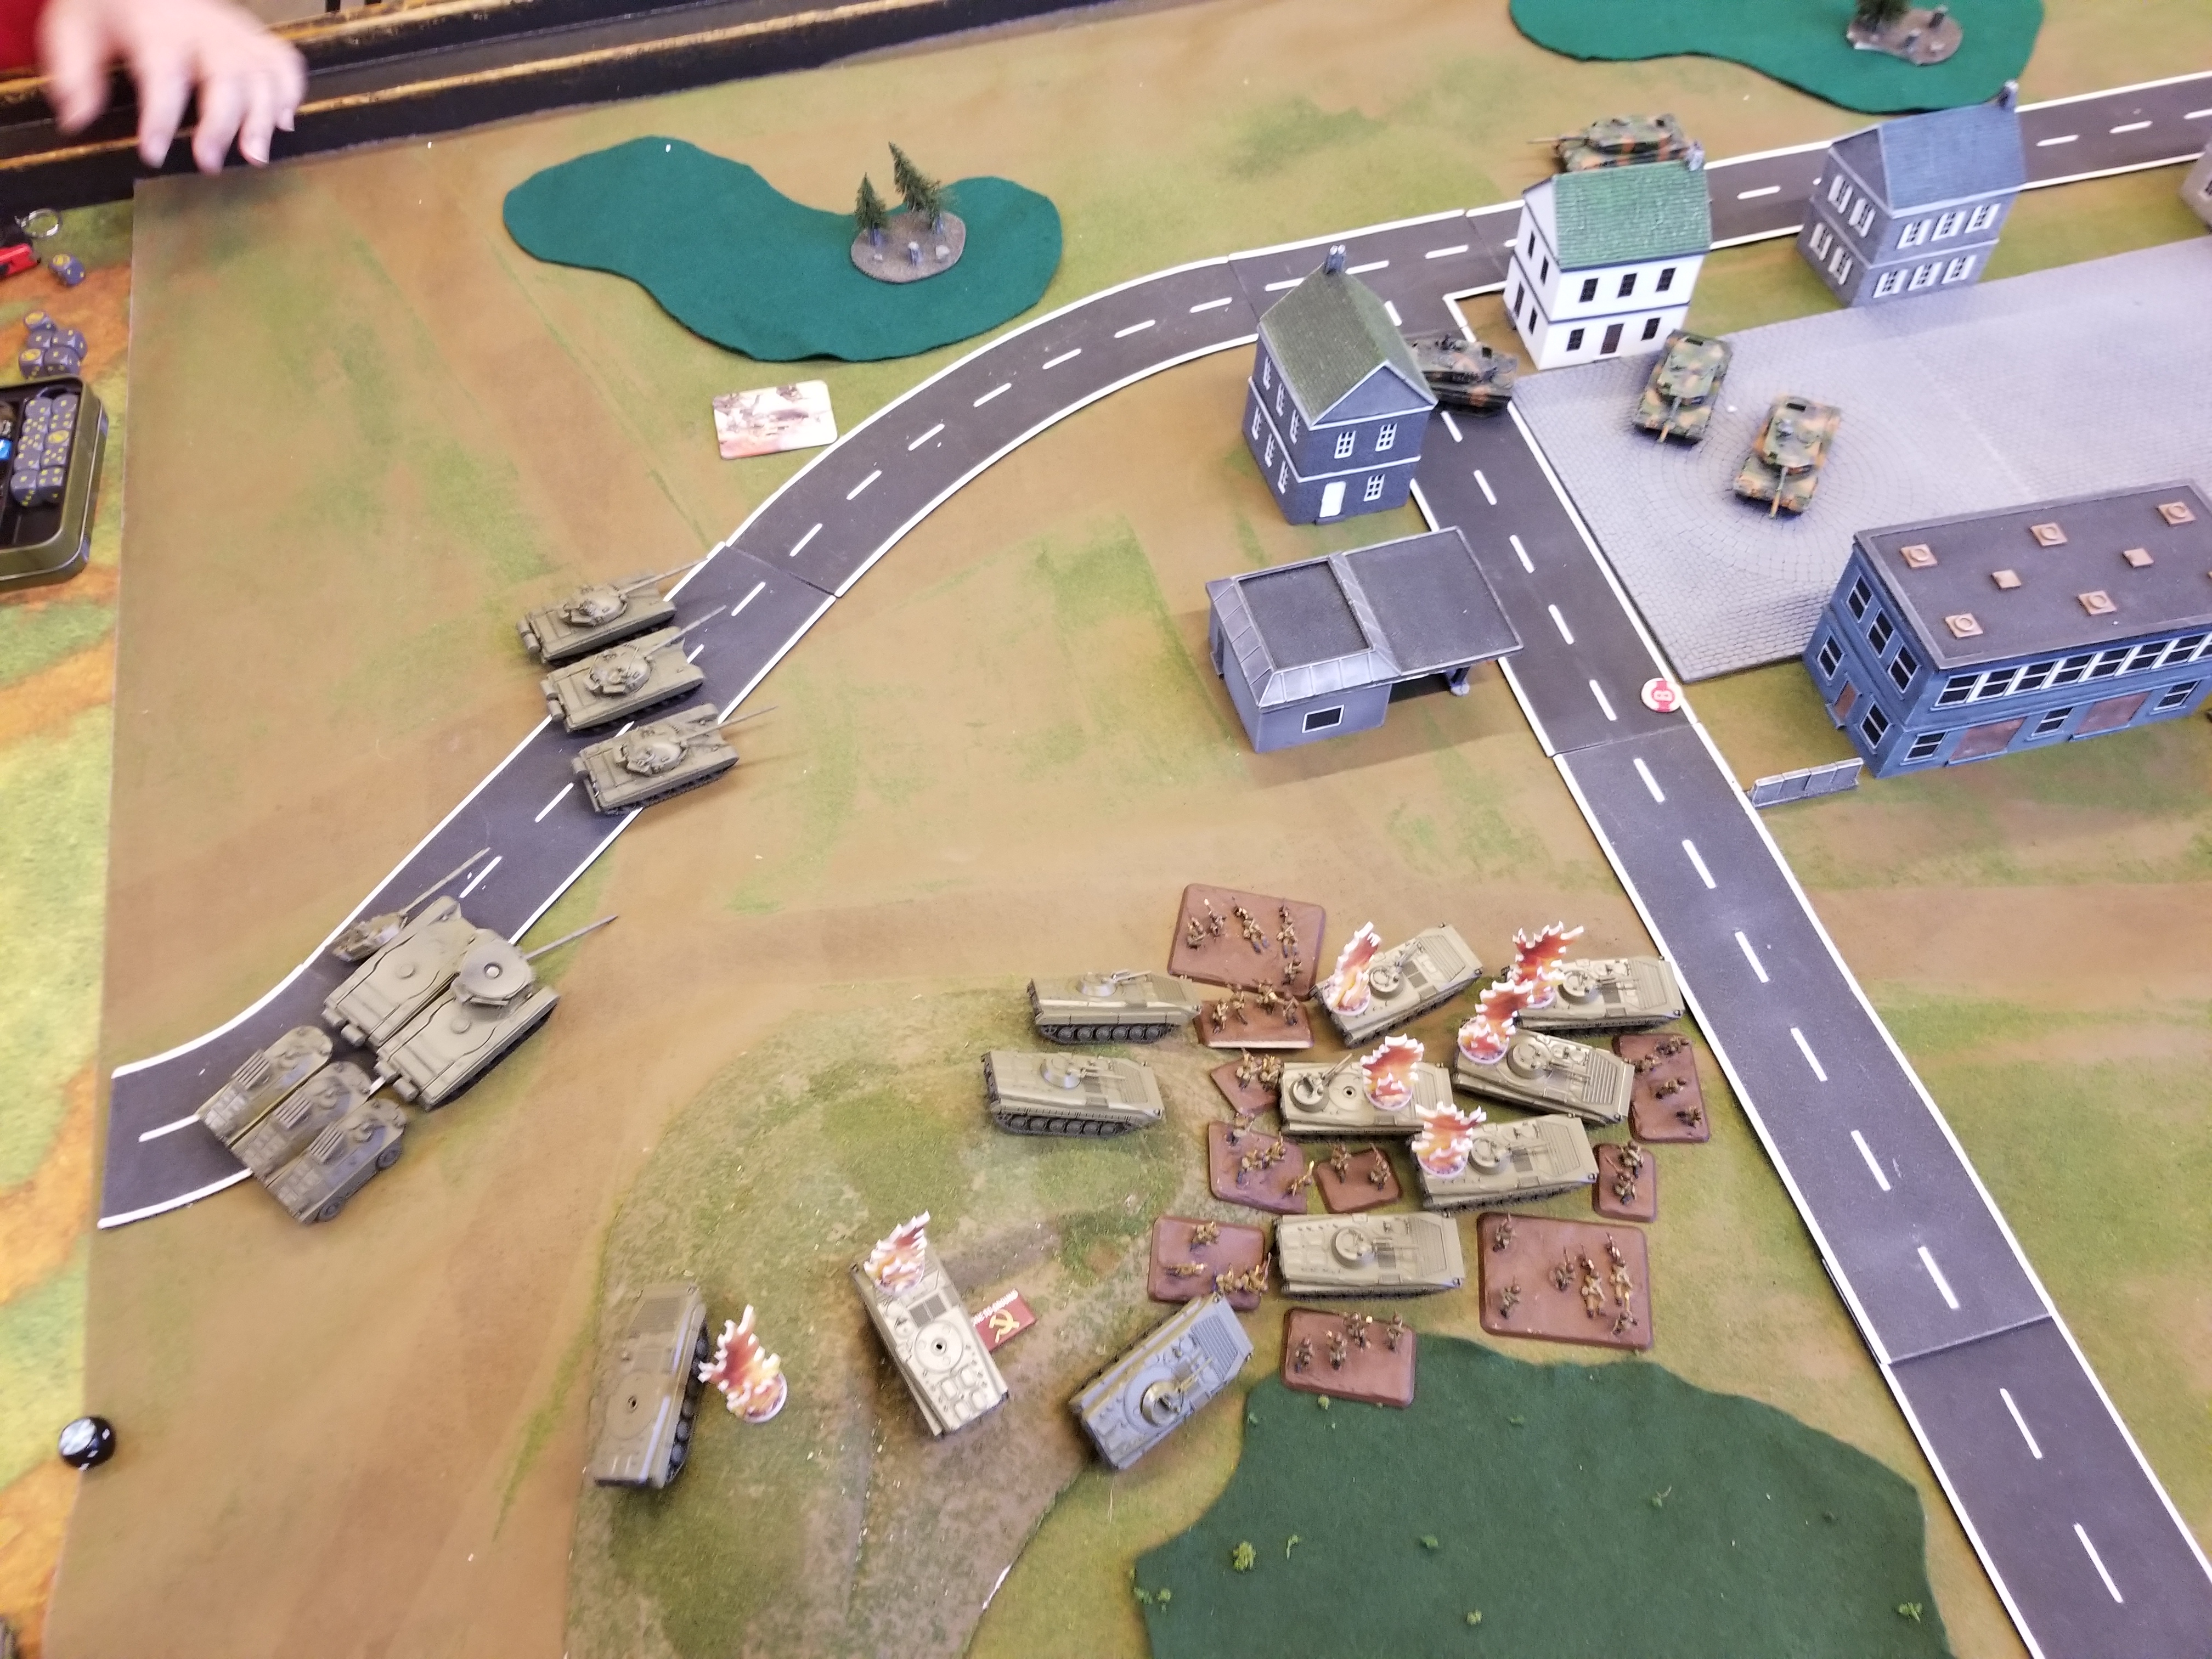
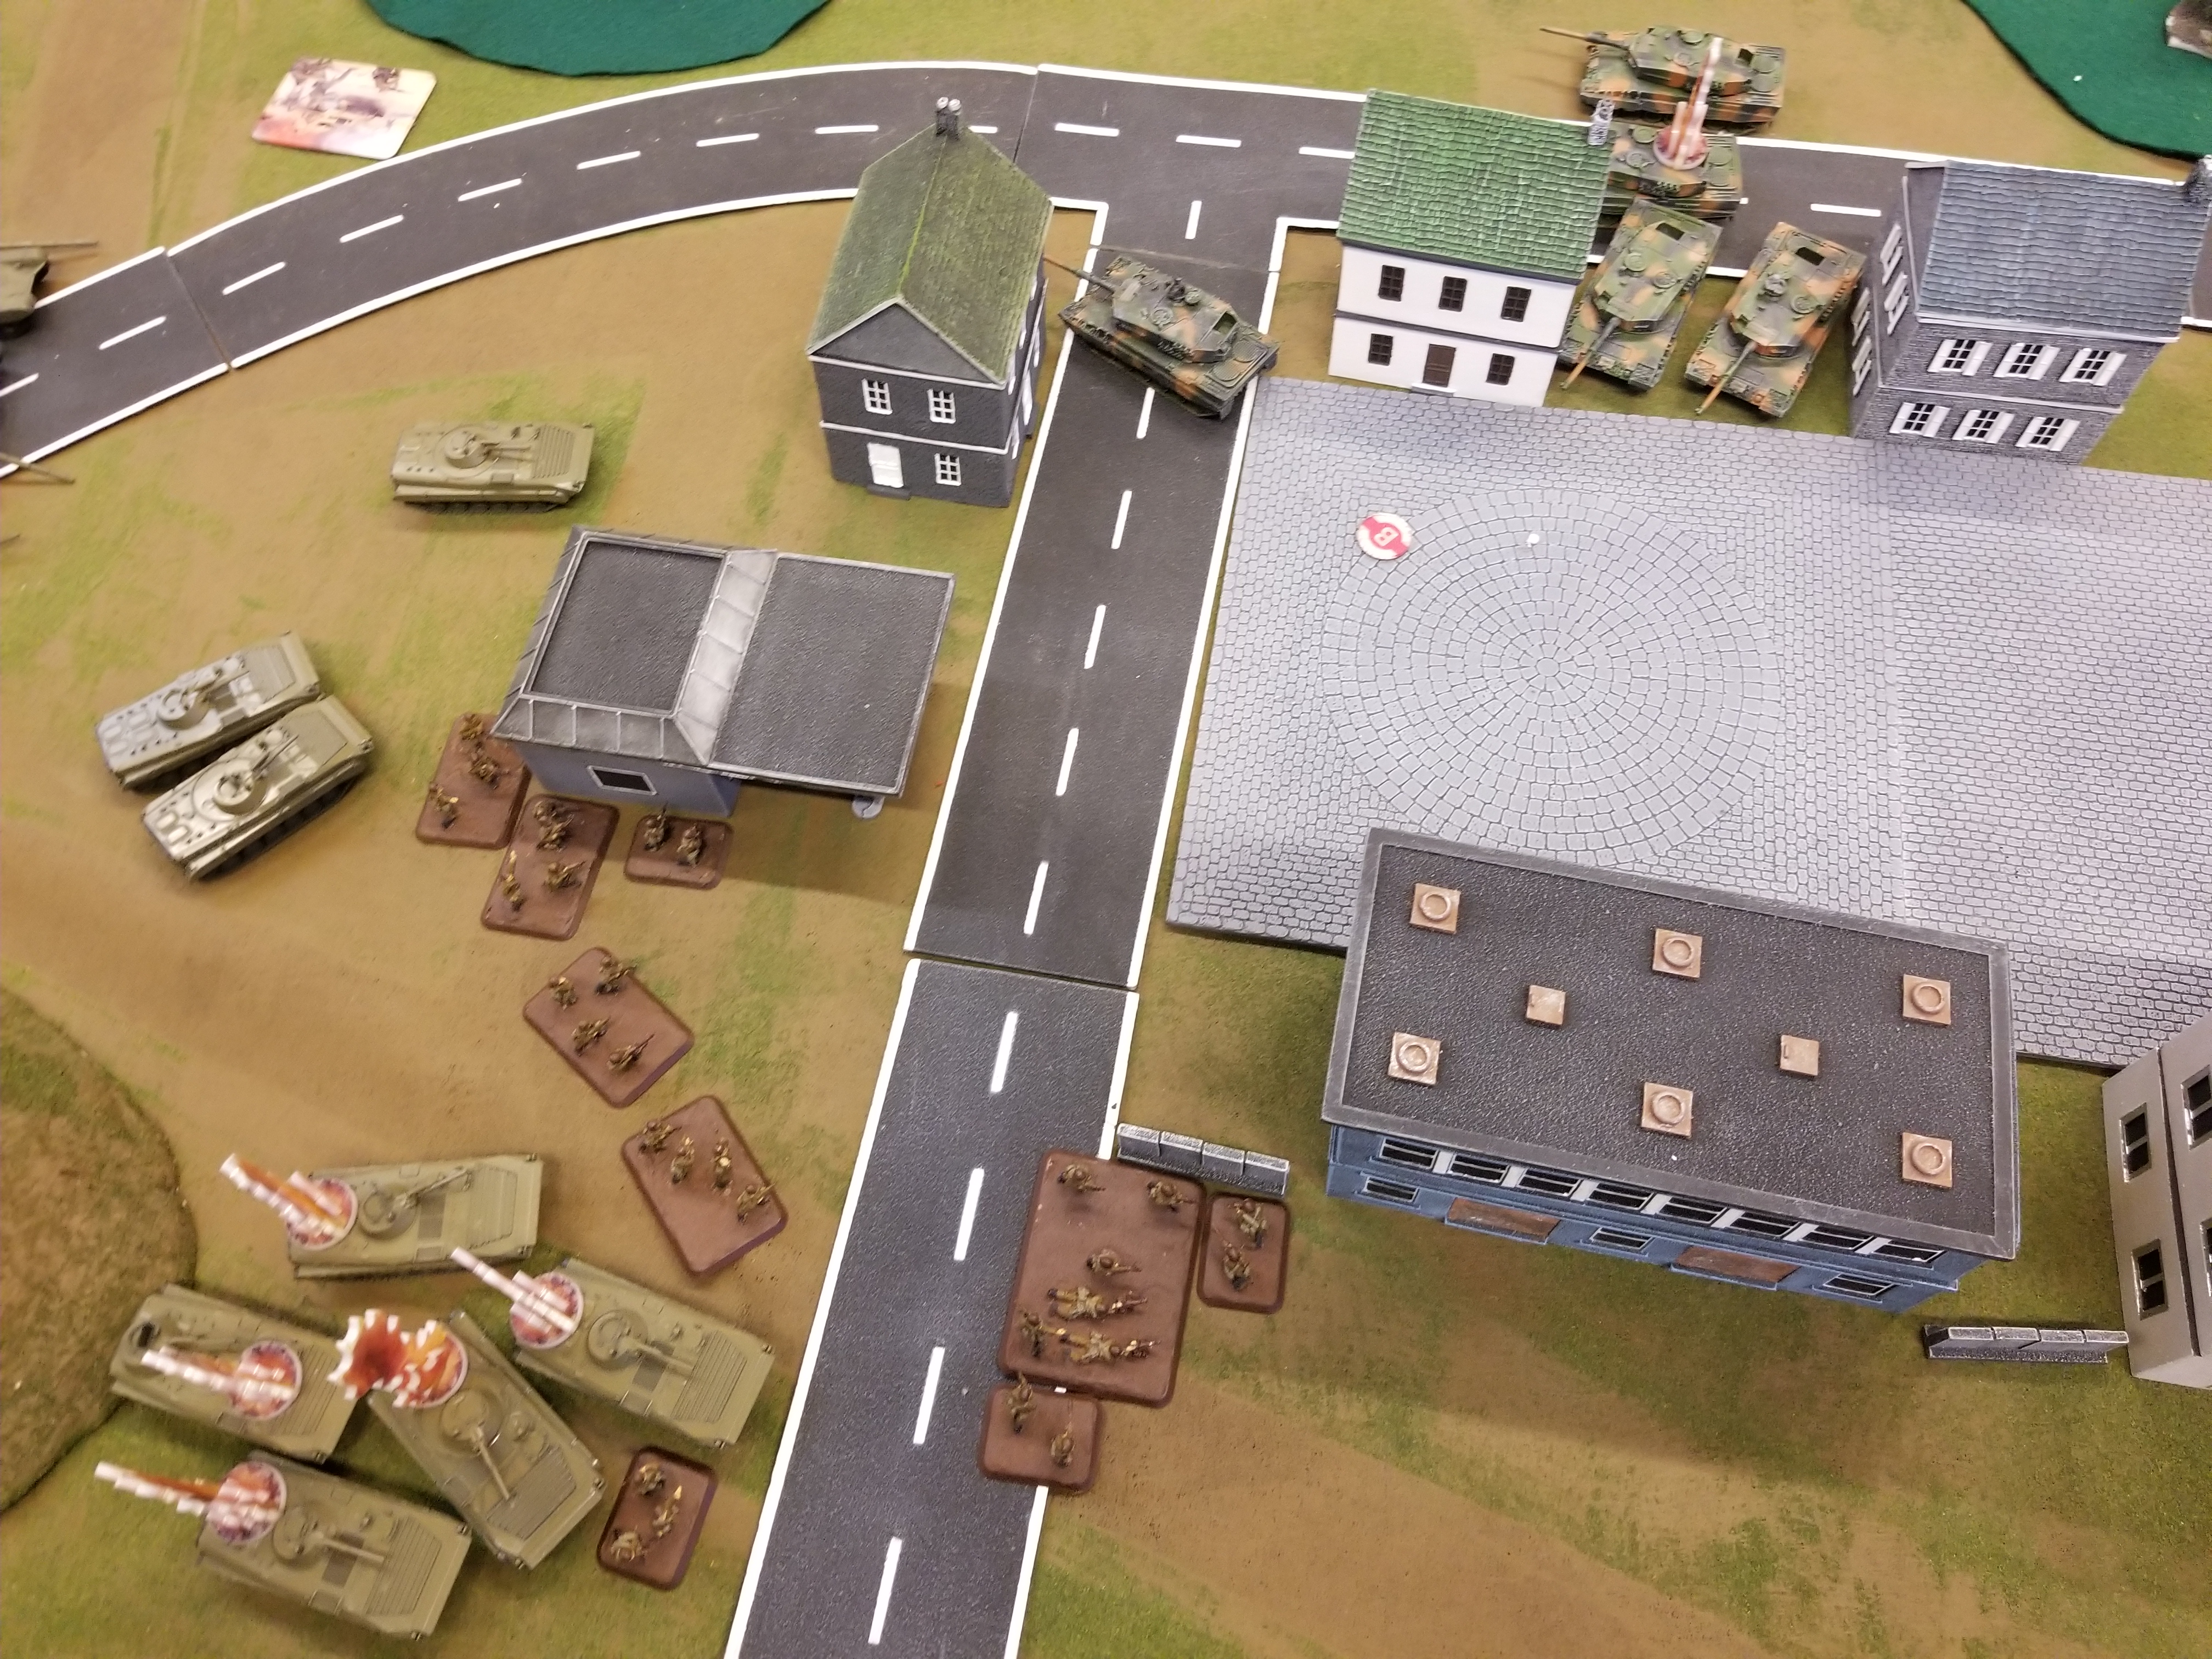
On my turn, I gained additional reinforcements in the form of my Spandrel platoon. They rushed onto the board, and took cover behind the destroyed T-72's in order to be ready to provide fire support next turn. Having lost most of their vehicles, the remaining infantry disembarked the BMP-1's and advanced on foot into the village, making use of the available cover. The commander joined in their advance. Meanwhile, the now unloaded BMP's moved up to provide additional targets to attempt to draw the German fire away from more essential vehicles. The remaining T-72s moved up in support, and successfully destroyed one of the Leopards that had just arrived as reinforcements. Finally, first blood for the Soviets!
Battle Report Author
Army Lists Used In This Battle
Recommend Commander For Commendation
Share this battle with friends
UmraefeinWins

Good report
Congrats on the win. Thanks for sharing.
nice win
More updates still upcoming! Still working on the report, so please hold judgement of the report for now!
Seems a significant bit of the report is missing.
Congrats on the win. Will wait for content
Great news on the victory comrade. Let’s get that AAR in to the Army HQ.
Tough loss, Sicarius. We need Frankfurt. Post your version of this so we can learn what happened back in Bonn.