Fought At Ruhr
2233 days 7 hours 51 minutes ago
Shootout in the Dark
View Linked Report - CLICK HERE 60 POINTS
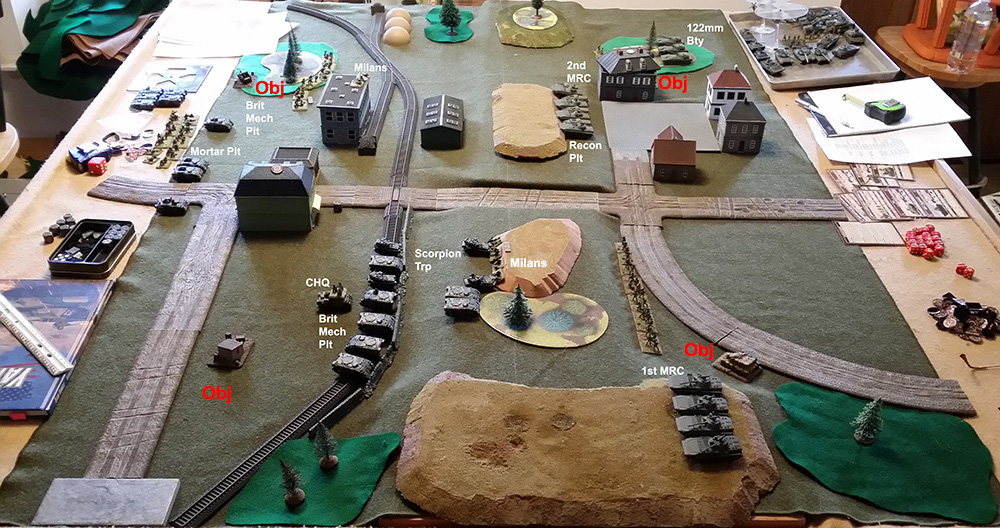
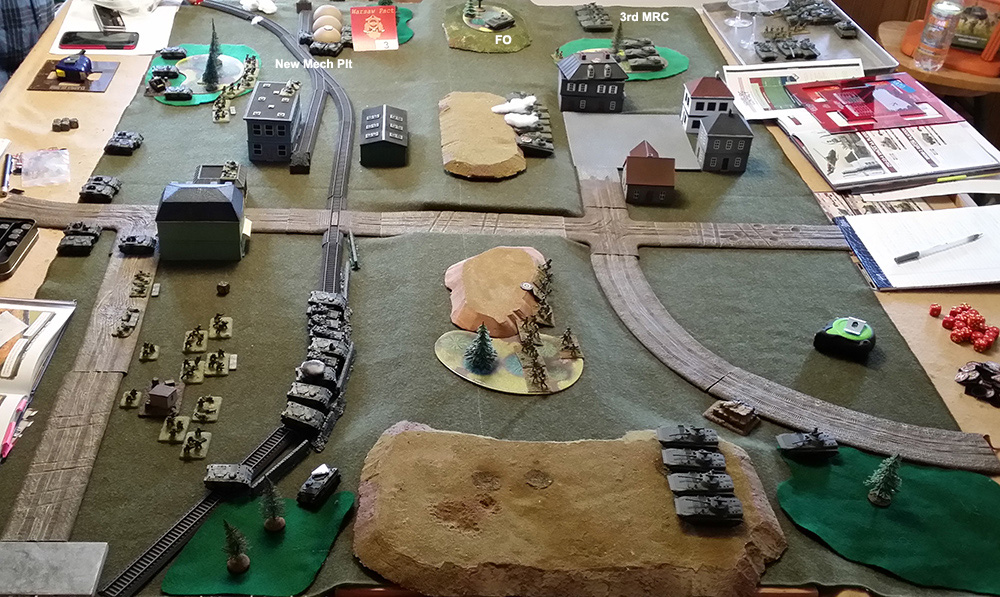
The 244th Guards MRR (see attached OOB), pulled out of the line for re-equipping after its fight south of Hanover, has been rushed south, its first two battalions having been consolidated into one and still without its third battalion, to block a British counterattack east of Dortmund, deploying just north of Unna. Though the battle took place in the Ruhr region, the Hamburg Contact scenario was played and 60 points were used per side. The British deployed and moved first.

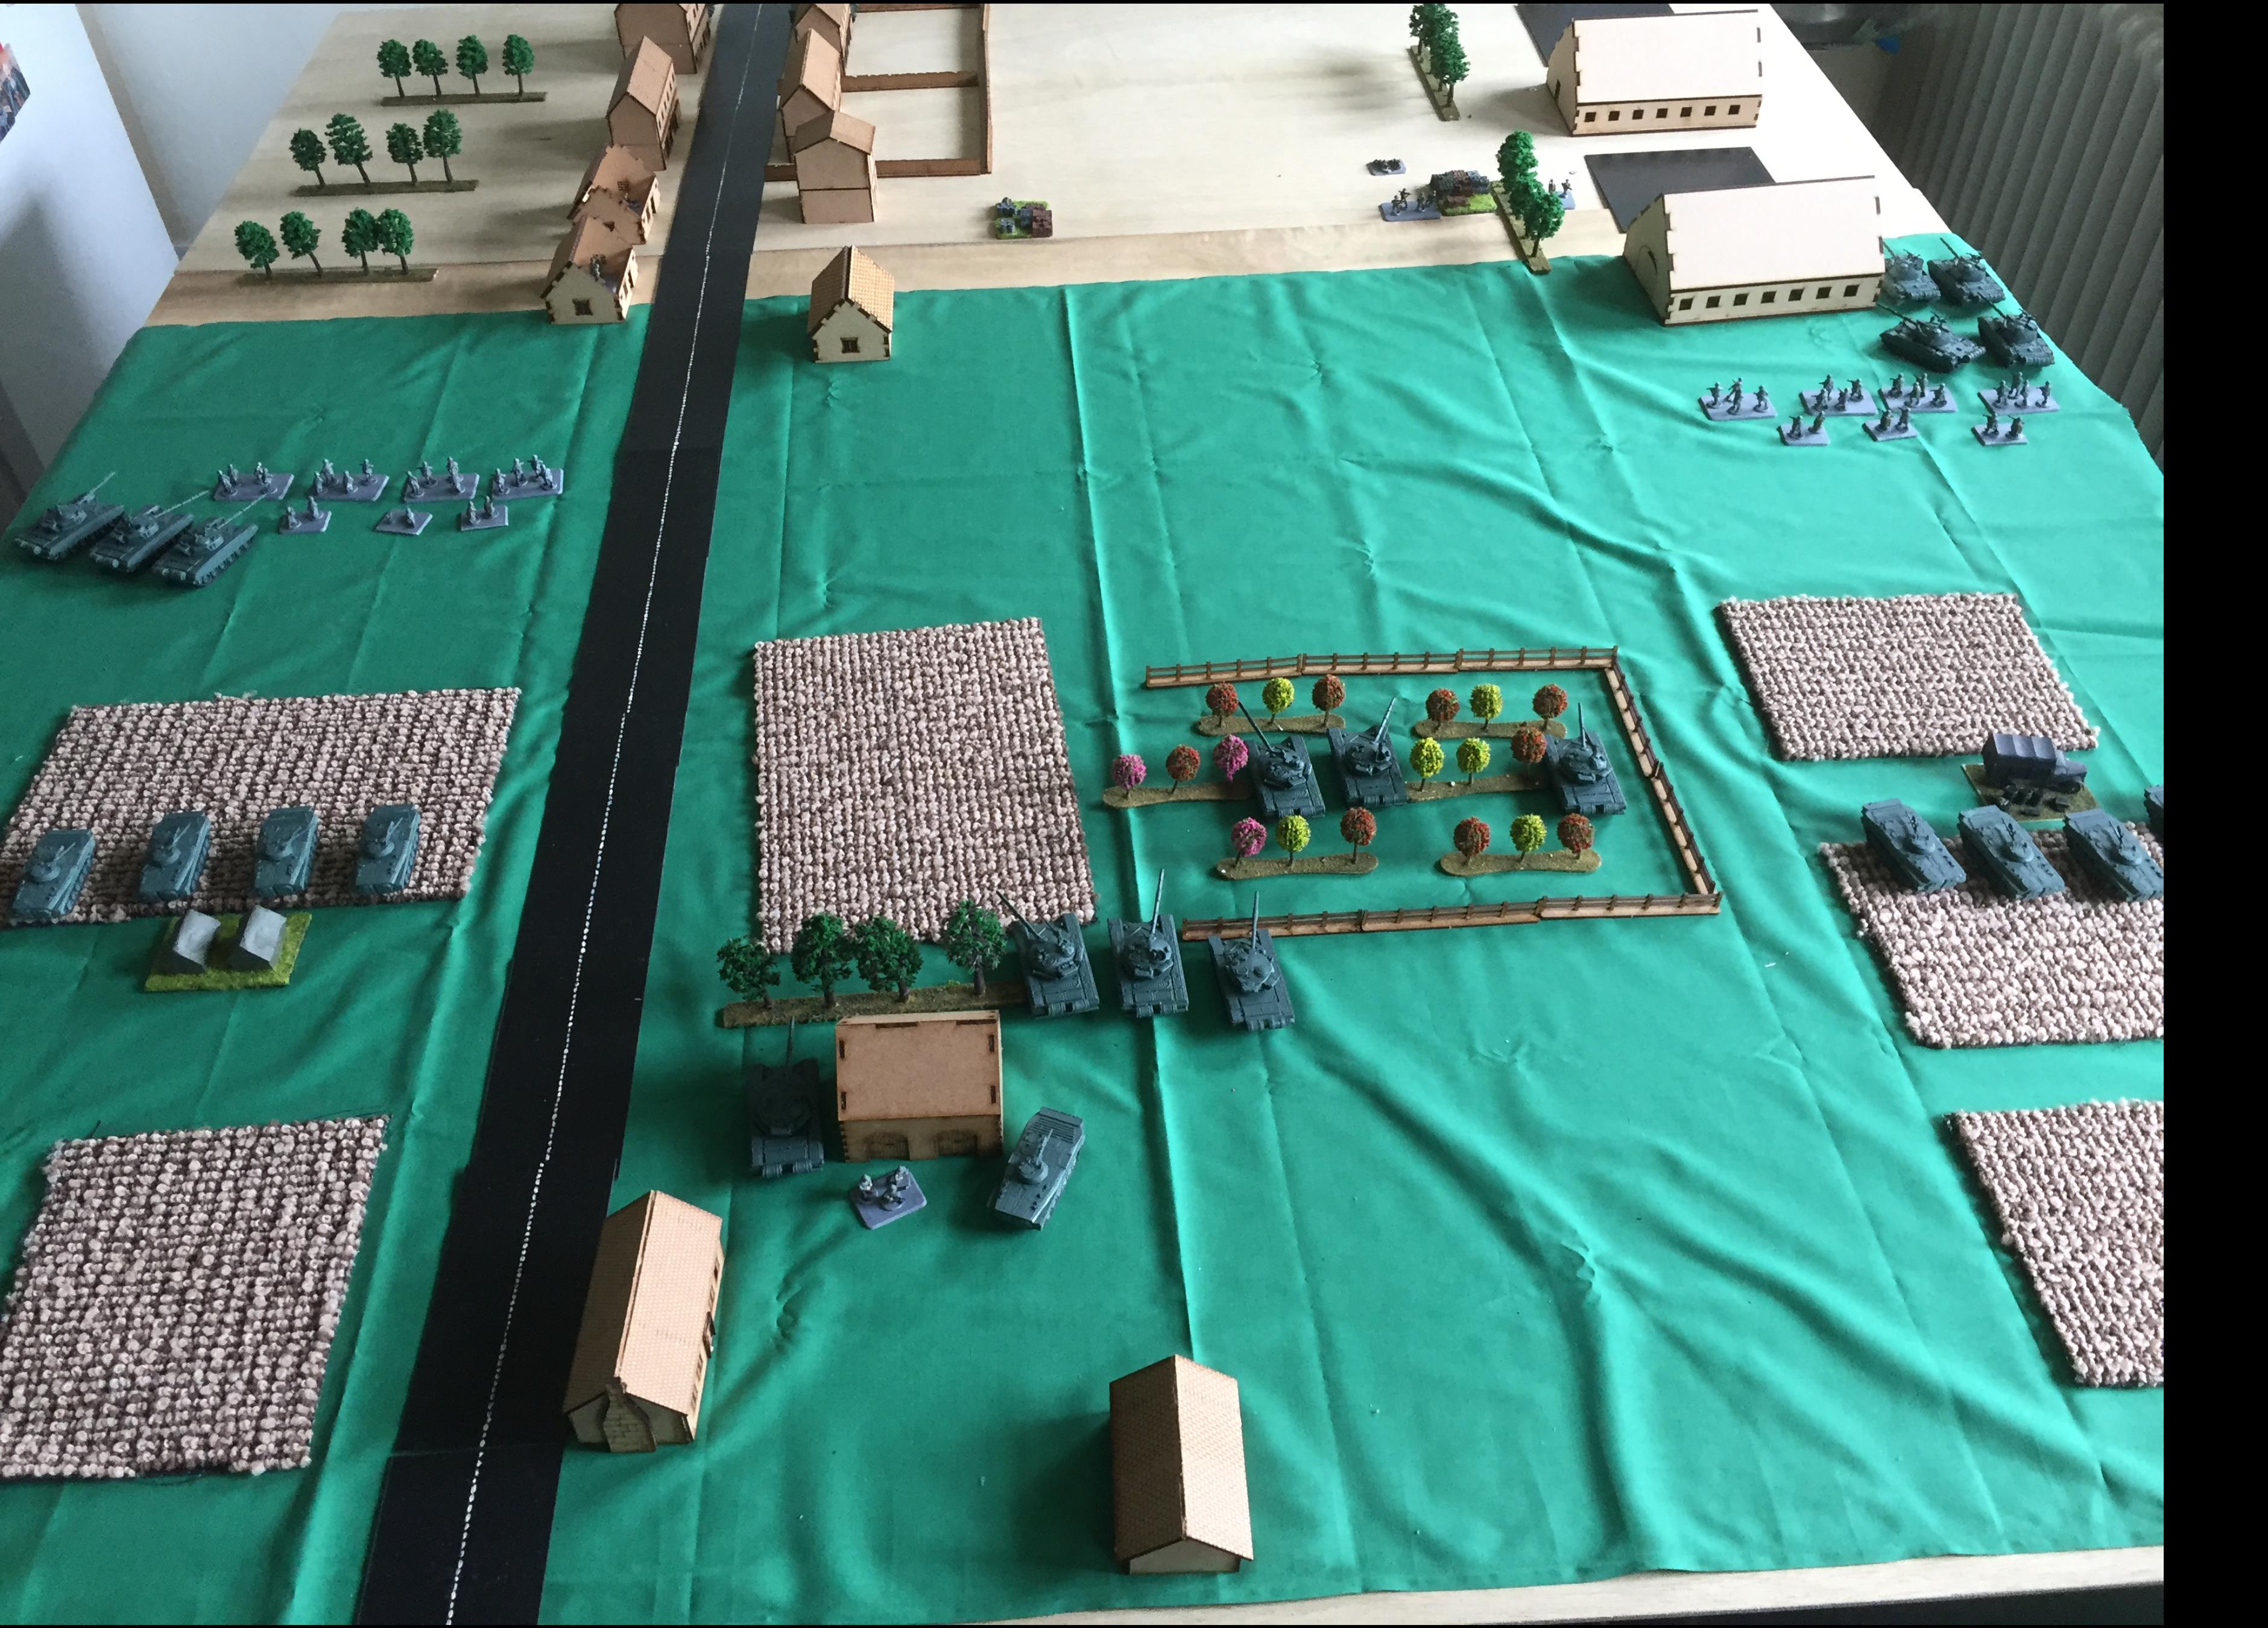
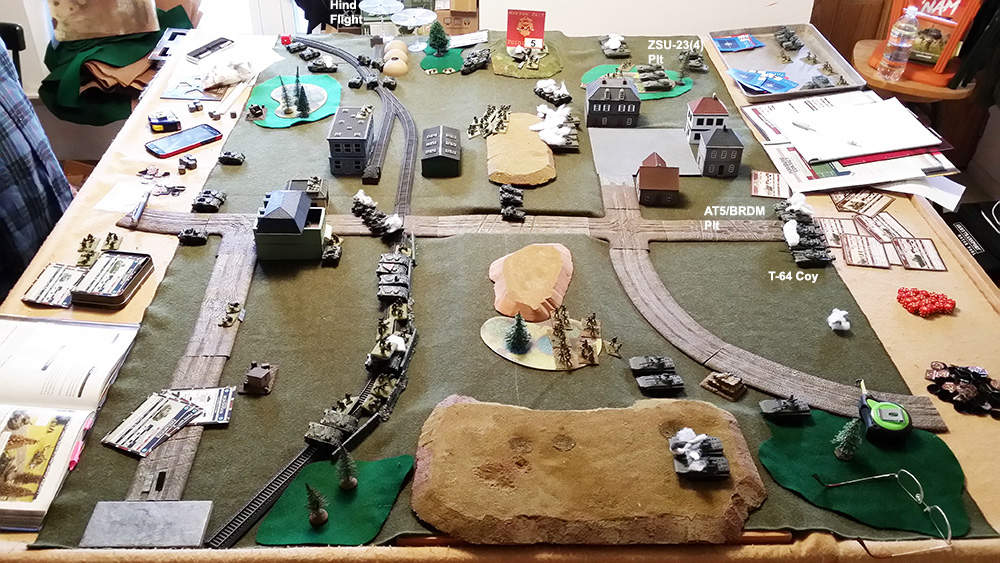
The game began in darkness, with initial deployments as shown below. The British, as usual, used their Scorpion troop during deployment to seize ground, enabling their Milan section to get into defilade on the west side of the southern hill. Note the dispersed placement of the objectives. With only one artillery battery, the Soviets pre-registered the tallest of the buildings in the British deployment area; the British, not to be deterred, put Milan teams on the roof of the other tall building!
The British started things off by using those Milans to snipe at the BMPs and BRDMs in the center, having managed to see far enough to spot them, managing to bail one. They also pulled back the Milans in the south to cover behind the wall running along the railway tracks. The Soviet remounted the BMP, advanced the MRC in the south to defilade on the east side of the hill, and trying to spot the British – any British – managing to acquire only the Milan shooters in the building. The BMPS and BRDMs in the center engaged it with no effect (Note: This was to become a recurring theme in this battle).
Making minor adjustments to their deployment the Milans continued to fire on the BMPs and BRDMs in the center, destroying one BRDM. The Soviets, continued to fire on the Milans with no effect.

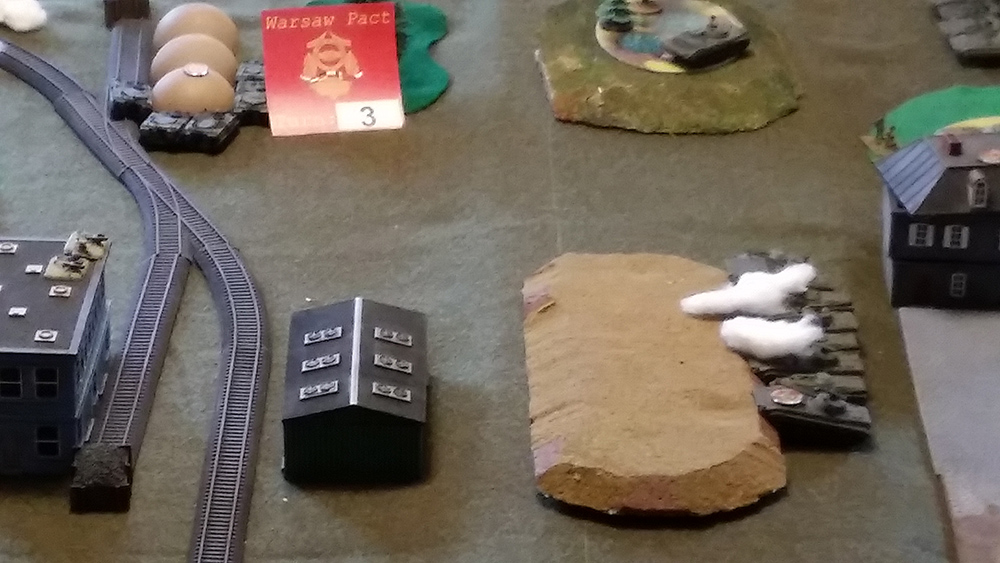
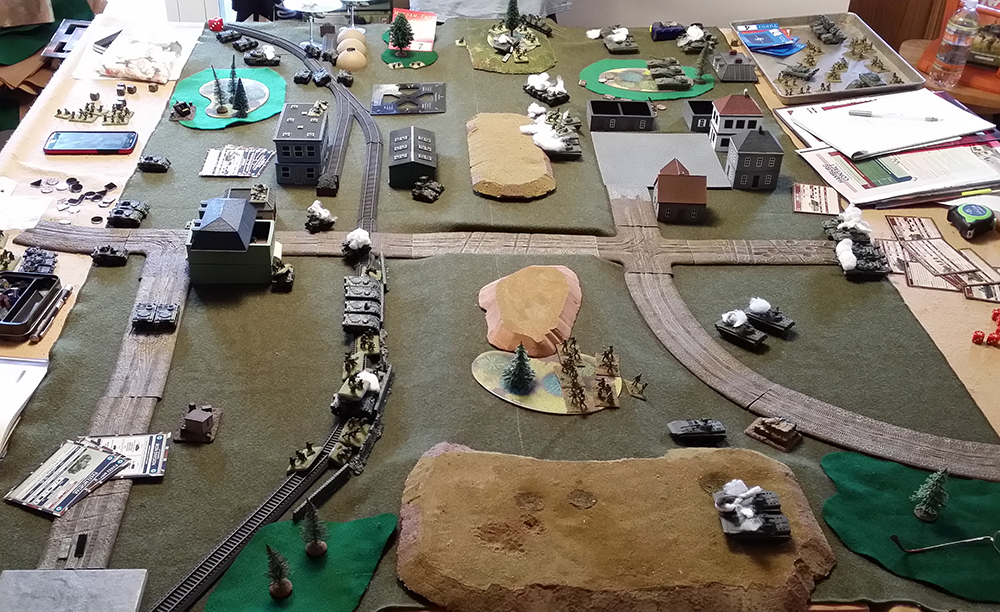
The British brought in a mech platoon in the north (see picture below, near the storage tanks) and their continued Milan fire in the center destroyed two BMPs. The Soviets, remembering their FO, moved it forward, to spot fire on the Milans in the middle (A previous attempt to move fire to the Milans failed, the artillery never coming in). The 3rd MRC arrived in the north as well. The 1st MRC’s BMPs finally managed to spot the mass of British equipment along the wall in the south, firing on and destroying an FV432. Continued fire against the Milans in the middle continued without effect (Einstein had a thought about this…)
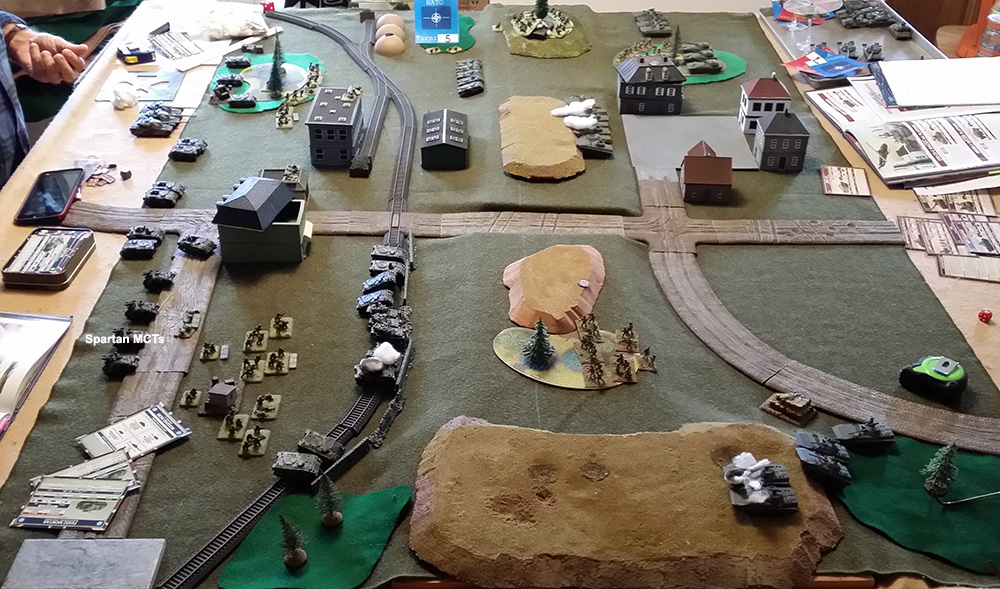
The British Spartan MCT section arrived, heralding an increase in pace in the battle. In the north, the British mech platoon overran the Soviet FO and consolidated their position on the hill top; the 3rd MRC deployed its infantry into the woods to block any British advance on the Soviet northern objective, firing on the British (without effect) as they did so. In the south their Scorpions destroyed two BMPs and mortared the first MRC’s infantry, killing some RPGs and inducing the rest of the company to move into the woods to the south. The remaining BMPs in the south engaged the British troops along the wall, again without effect, and in a rare display of skill, demonstrated a Shoot ‘n Scoot. Soviet artillery was called on the consolidating British in the north, without effect.

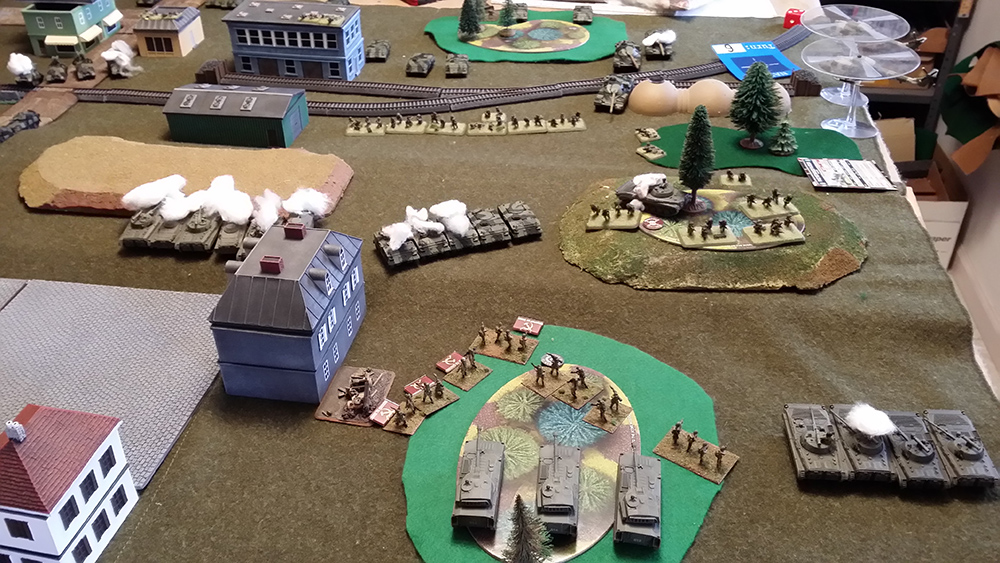
The British continued their push, finally destroying the Soviet BRDM recon platoon and the 2nd MRC’s BMPs in the center. Their northern mech platoon moved to the woods-edge and engaged the Soviet infantry in the woods, killing several, and destroying one of the 3rd MRC’s BMPs with infantry AT fire. Their FV432s moved up in line to engage the 2nd MRC’s infantry in the building just south of the woods without effect. British mortar fire added to the Soviet irritation, pinning both the 2nd and 3rd MRCs. Their Scorpion troop moved into the road defile in the center of the battlefield to interdict any Soviet north-south movement and the Spartan MCTs moved up as well. Finally, just before dawn, the British mech platoon defending their objective moved forward, supported by a Chieftain troop that rolled in from the northwest. The Soviet response, as the sun rose in the west, was to deploy it’s antitank platoon of AT5/BRDMs from ambush, bring in a T-64 company (well, three tanks) from the Southwest, a flight of two Mi-24Es, and an antiaircraft platoon of two ZSU-23(4)s in the north, engaging the British all across the front. The T-64s destroyed two Spartan MCTs, artillery fire killed some British infantry in the woods in the north, and Soviet infantry AT fire destroyed several FV432s who’d gotten too close to the front in the north. The Hinds engaged the Chieftain troop amidst a hail of AAMG fire, destroying one of the Chieftains. The remaining BMPs from 1st MRC redeployed to support the T-64s, destroying one of the Scorpions (the battlefield photographer neglected to capture this image and has been sent off for re-education).
(Note: The embedded Pravda reporter’s PC was damaged at this point so the final few frames of film were mixed up, pulled as they were from the wreckage of his transport) The British essentially went on hold in the South, pulling their infantry back behind the wall. The Scorpion troop redeployed to provide better arcs of fire and, with infantry Milan support, destroyed the 1st MRC’s remaining BMPs. Milan fire destroyed two of the T-64s and the AT5/BRDM platoon. Soviet return fire destroyed two of the Scorpions, causing the remaining one to flee the battlefield. In the north, the reinforcing British mech platoon close assaulted the Soviet company in the buildings but at the end of the fight were pushed back, having their numbers reduced to two stands (the Soviets fared no better but did retain, in a sadly depleted state, possession of the building with the remnants of one company, the other one fleeing the battlefield). The remaining Chieftains rounded the northern woods and engaged the BMPs and Shilkas facing them, destroying (with the help of infantry antitank fire) two BMPs and the Shilkas. The Hinds were somewhat surprised to see Milan ATGMs swirling amongst them but pressed home their attack, this time without effect, but infantry antiaircraft fire downed one. Seeing the two Chieftains, the remaining Hind destroyed one while (the film for this part of the engagement was lost) two of the 2S1s (the third one bogged down in the woods) moved to the woods edge and firing over open sights, destroyed the other Chieftain.
At this point the battle had to be called on time. Given the time limit was due to my needing to hit the road, and the near-certainty that the British would control the Soviet north objective at the end of the next turn, the Soviets conceded the battle at the end of turn 7 for a 3-4 loss.
Once more, Milans bad. Really bad. They had less an effect on the Soviet force than in the past, mainly because most of the game was played in darkness.
Night is the Soviet friend but I didn’t treat it so. The British started with more infantry on-board than the Soviets which made me balk at just charging in (that and not being able to see anything, and their deploying well, under cover). Waited for reinforcements but they only arrived in time to defend, not attack.
Hinds were considerably more useful than I thought. I like Hinds.
As before, learn from previous lessons! Getting better but need to pay more attention.
First “small’ game – I liked it!
Battle Report Author
Opponent
Army Lists Used In This Battle
Recommend Commander For Commendation
Share this battle with friends
kayjayWins

Nabeshin, Heh – if night-time’s what I get, got to make friends with it!
Well done on the report again, friend. That was a tough one for you, night time is not the friend of the Soviets.
+++
More like it, good upgrade comrade!
Red Alert – got it! Have seen discussion about theaters going “locked” over the course of a weekend, didn’t want that to happen before I reported. No further trips planned so should not be an issue going forward. Tx!
+++
Only publish once you are ready it affects the Campaign:
See here
Well good to see a NATO win, but yes will reserve rating until you have done it
Worse Tovarish Vilgelm: subversion!
Withhold rating on AAR arrival
To do otherwise would be maskirovka! 😉
OK – going out the door now – really… I’ll post when this is updated…
Same
Withholding rating as per kayjays report.