Fought At Hof Corridor
2238 days 22 hours 11 minutes ago
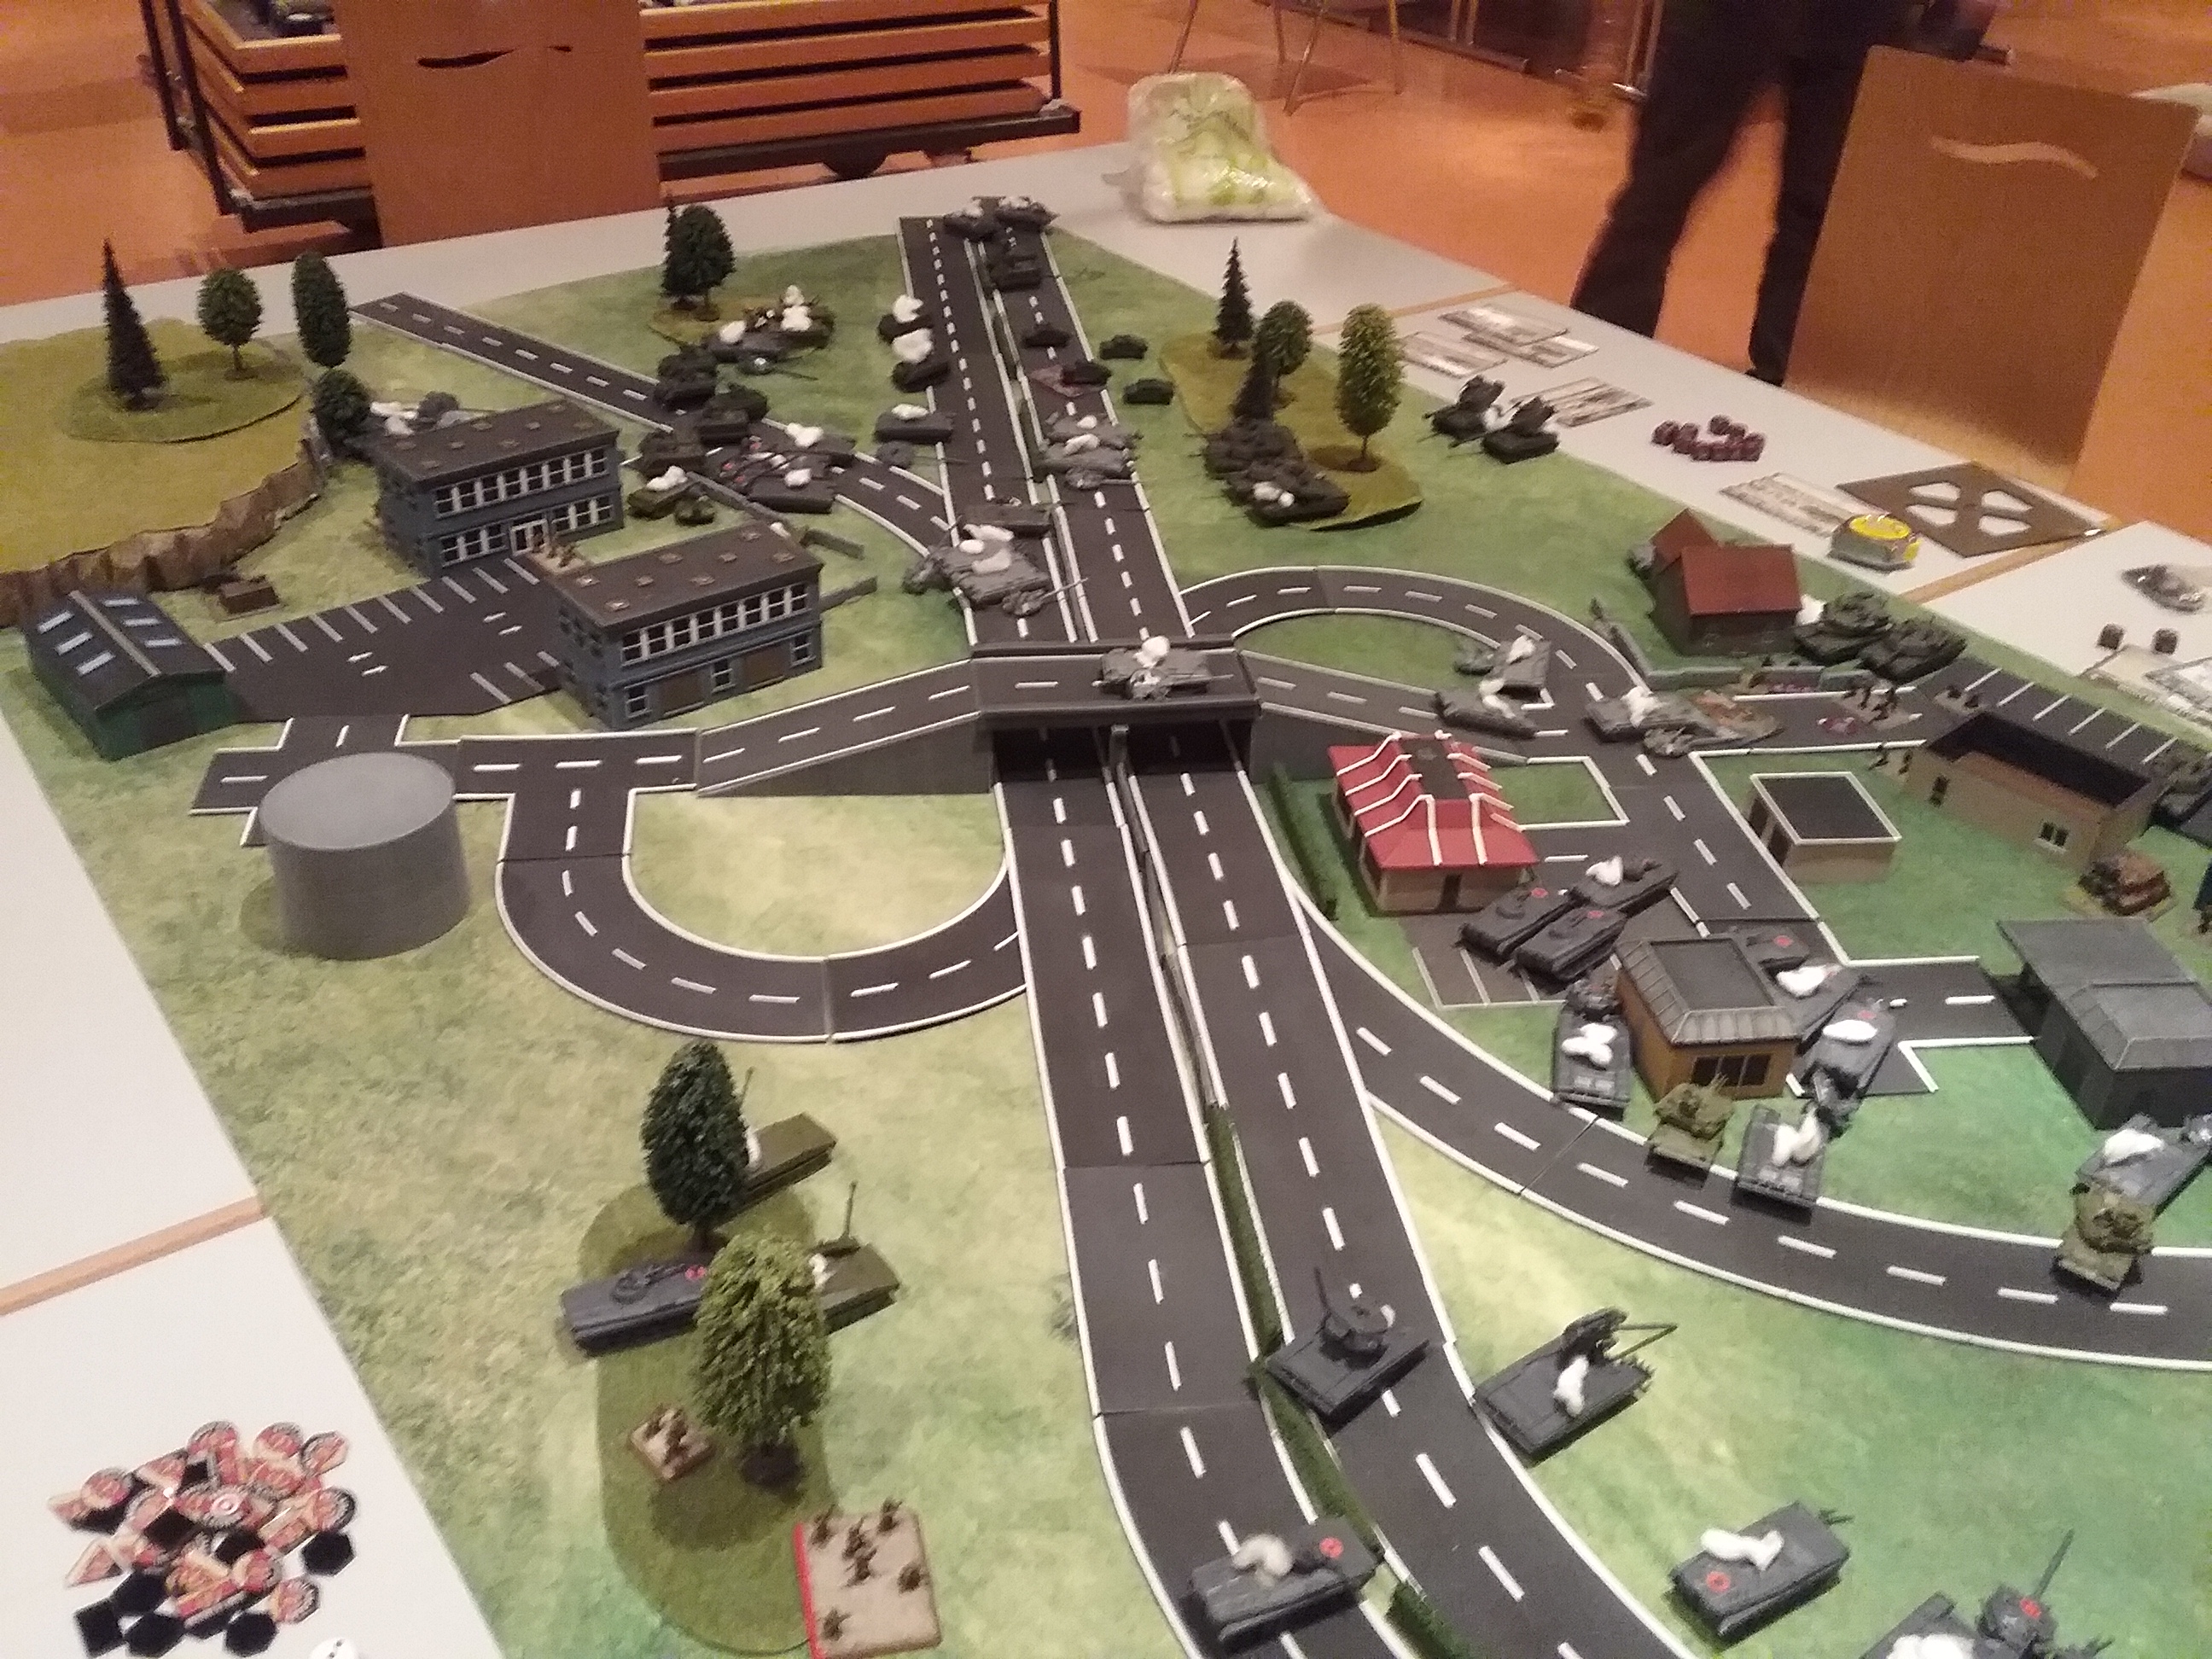
American Army Ambush at Autobahn A9
View Linked Report - CLICK HERE 100 POINTSScenario: Hof Corridor Hasty Attack
Points: 100
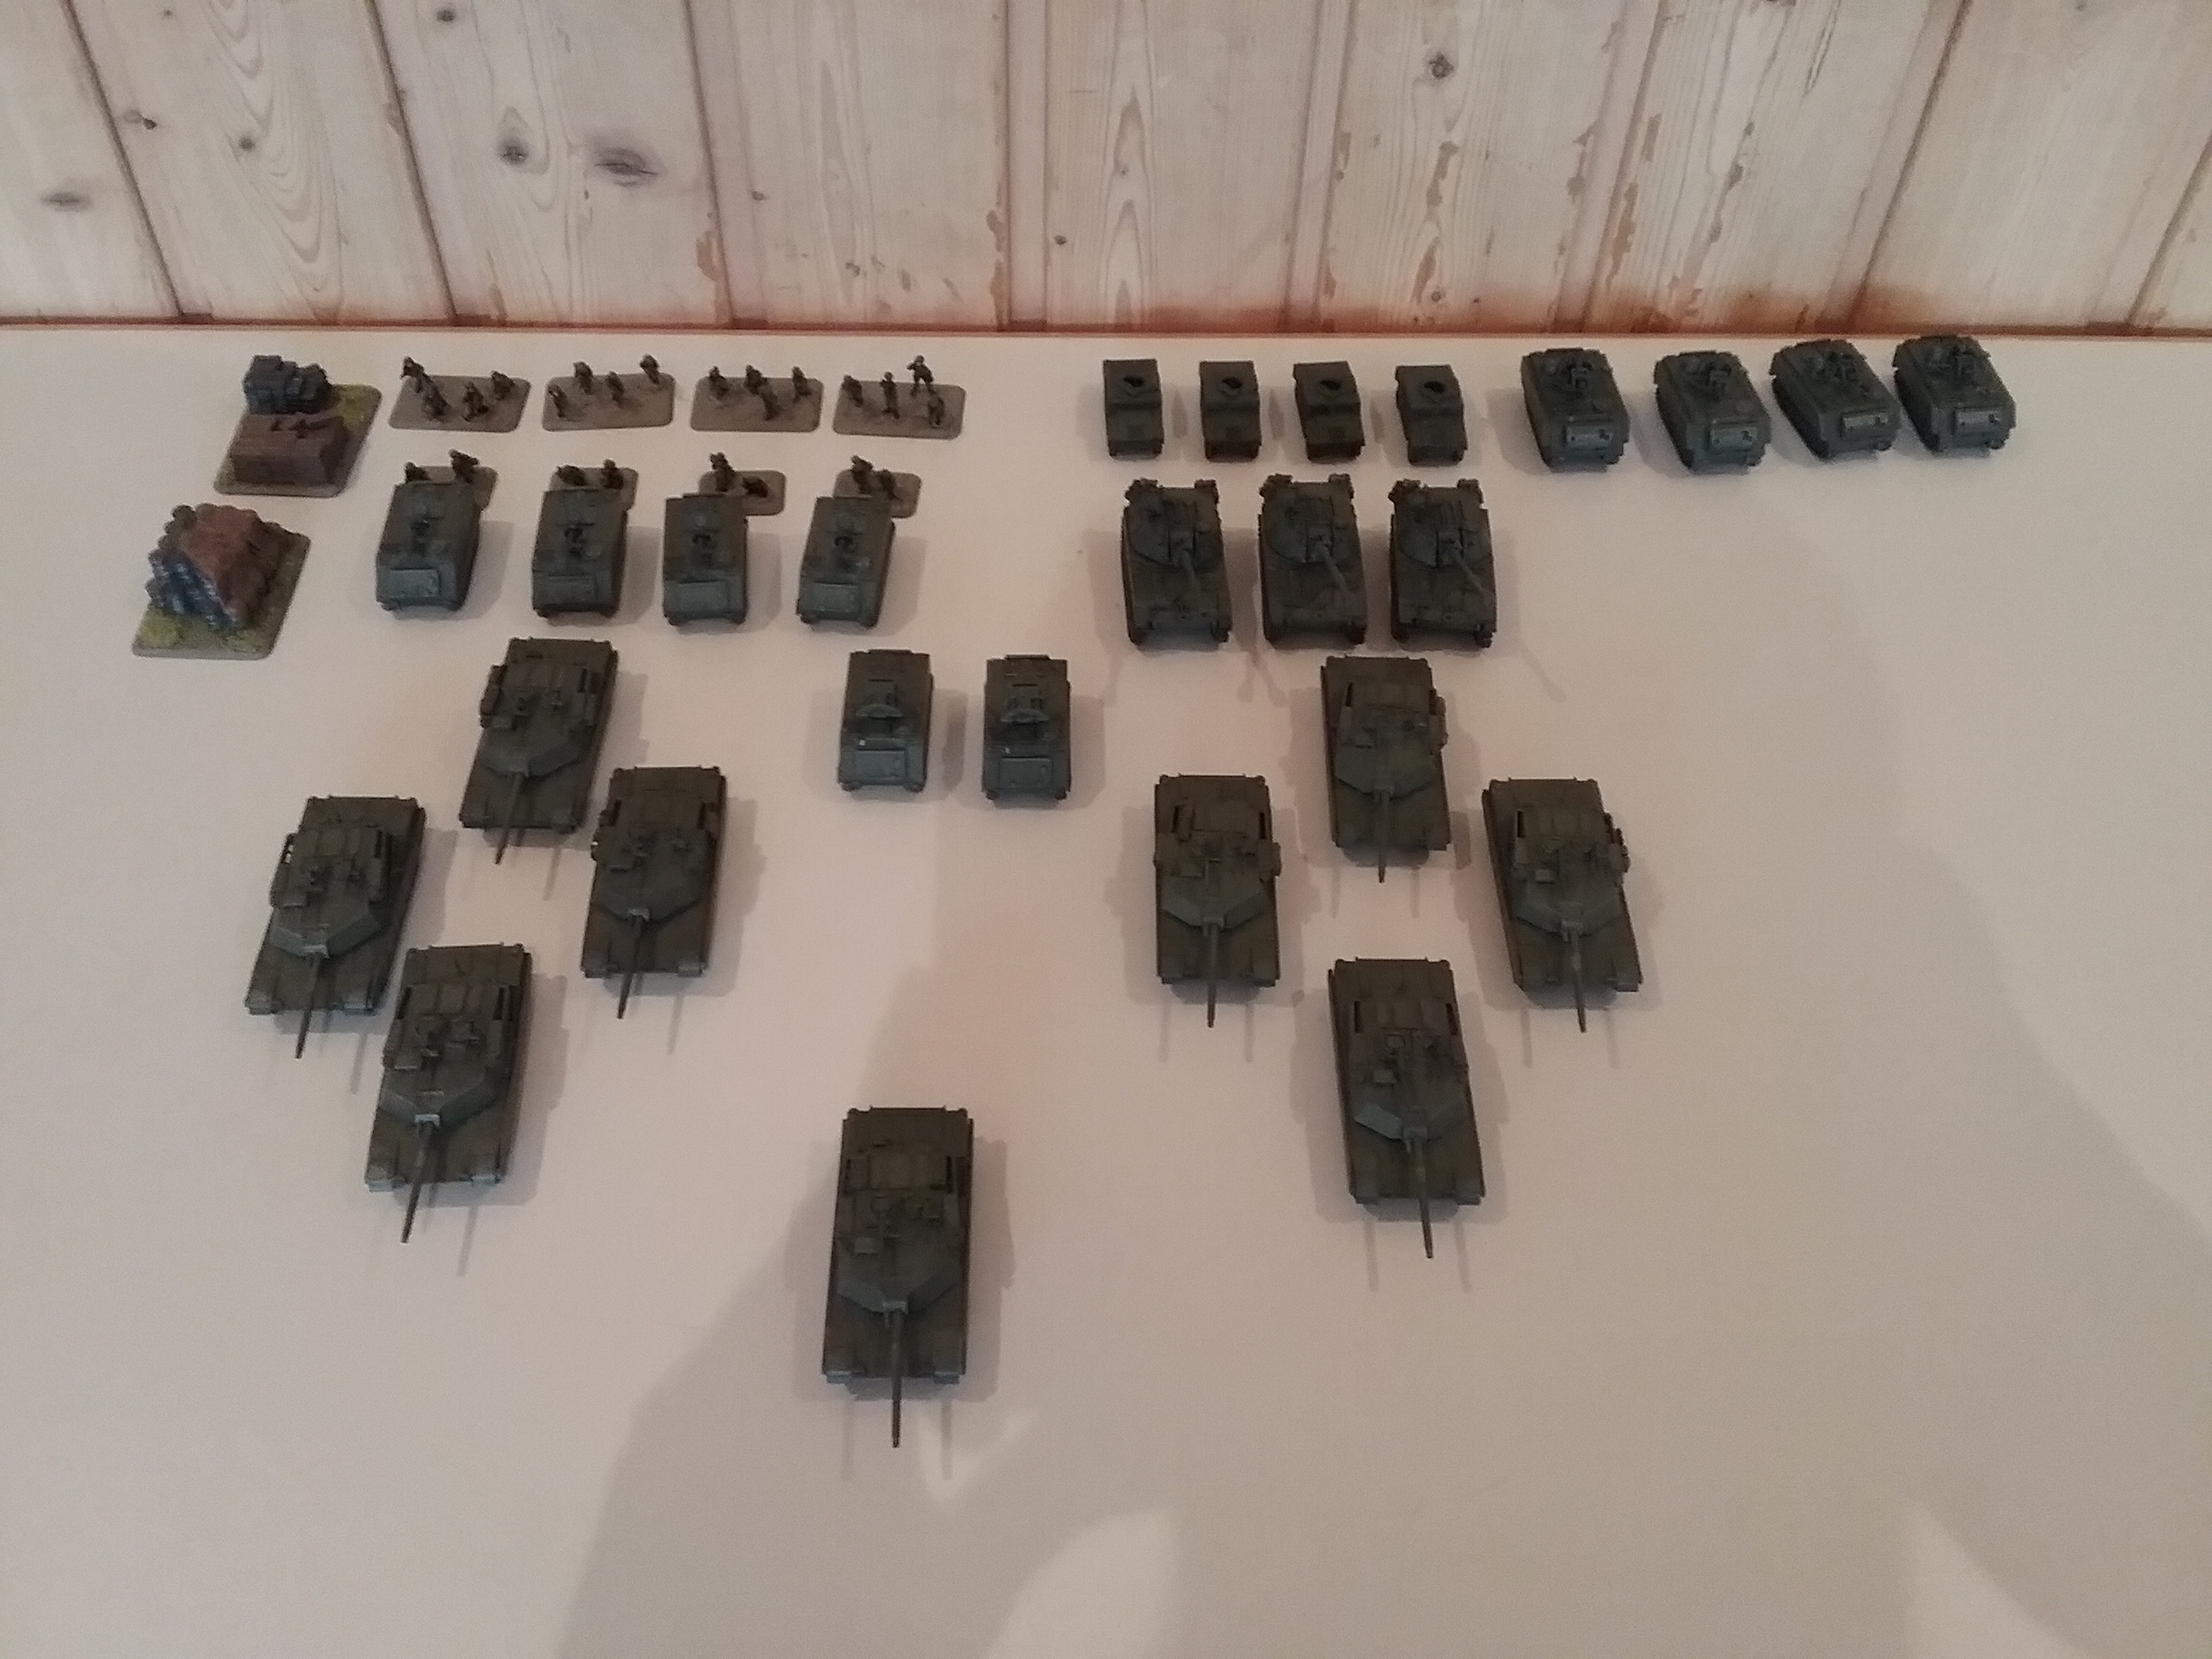
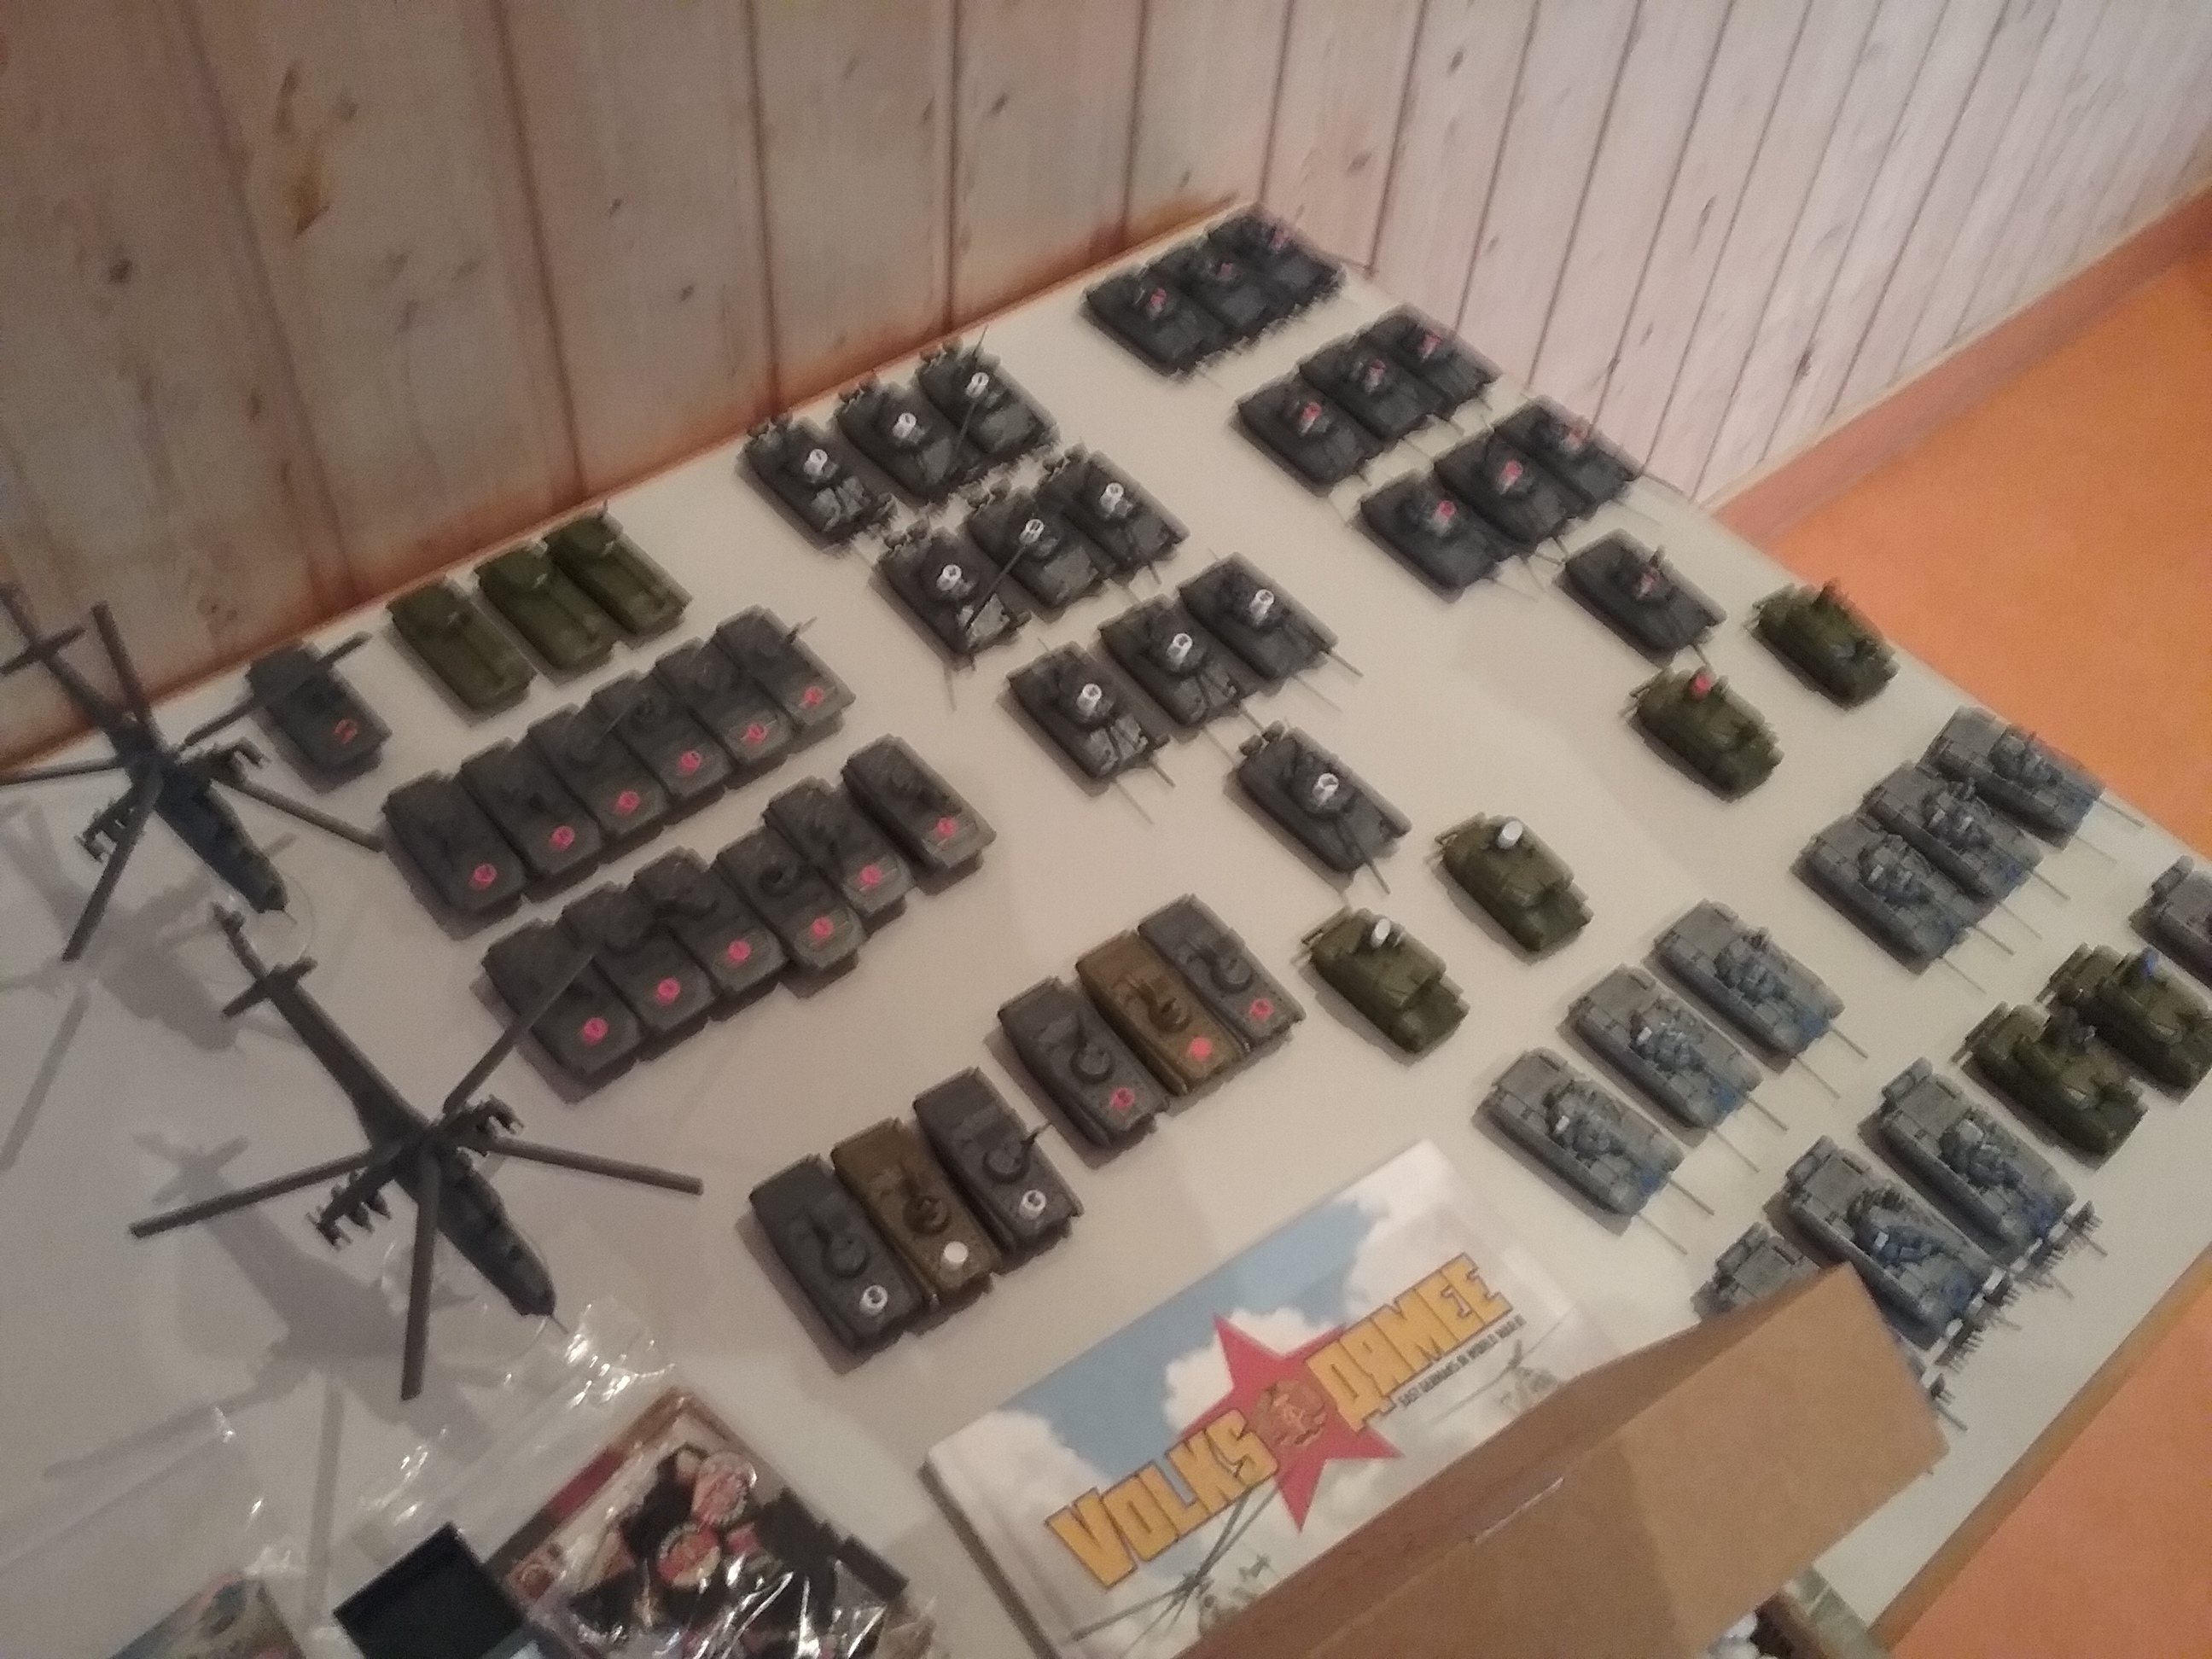
Attacker: NVA (2 T72 formations, 1 T55 formation, 1 BMP-1 formation)
Defender US (Armoured Combat Team)
Army lists: see attachment
After being surprised by the NATO push towards Leipzig, the Generalstab of the Nationale Volksarmee managed to rally several battered and almost defeated NVA units in Upper Franconia (the region, Hof is located in) and hastily organize them into a more or less coherent fighting force. All of those units were at minimum strength and barely able to fight on its own but they just might be able to be effective if coordinated effectively. The goal of this ad hoc Kampfgruppe was to attack a section of the A9 Autobahn leading to Leipzig just at the outskirts of Bayreuth in order to cut off reinforcements from the advancing NATO forces in Saxony. They were expecting only a small force of the Ohio National Guard as defenders. But there was one problem: Local villagers in the area found out about the reorganisation attempts of the NVA and tipped of NATO intelligence. Thus the Americans, fully expecting an attack, dug in and prepared a devestating ambush.
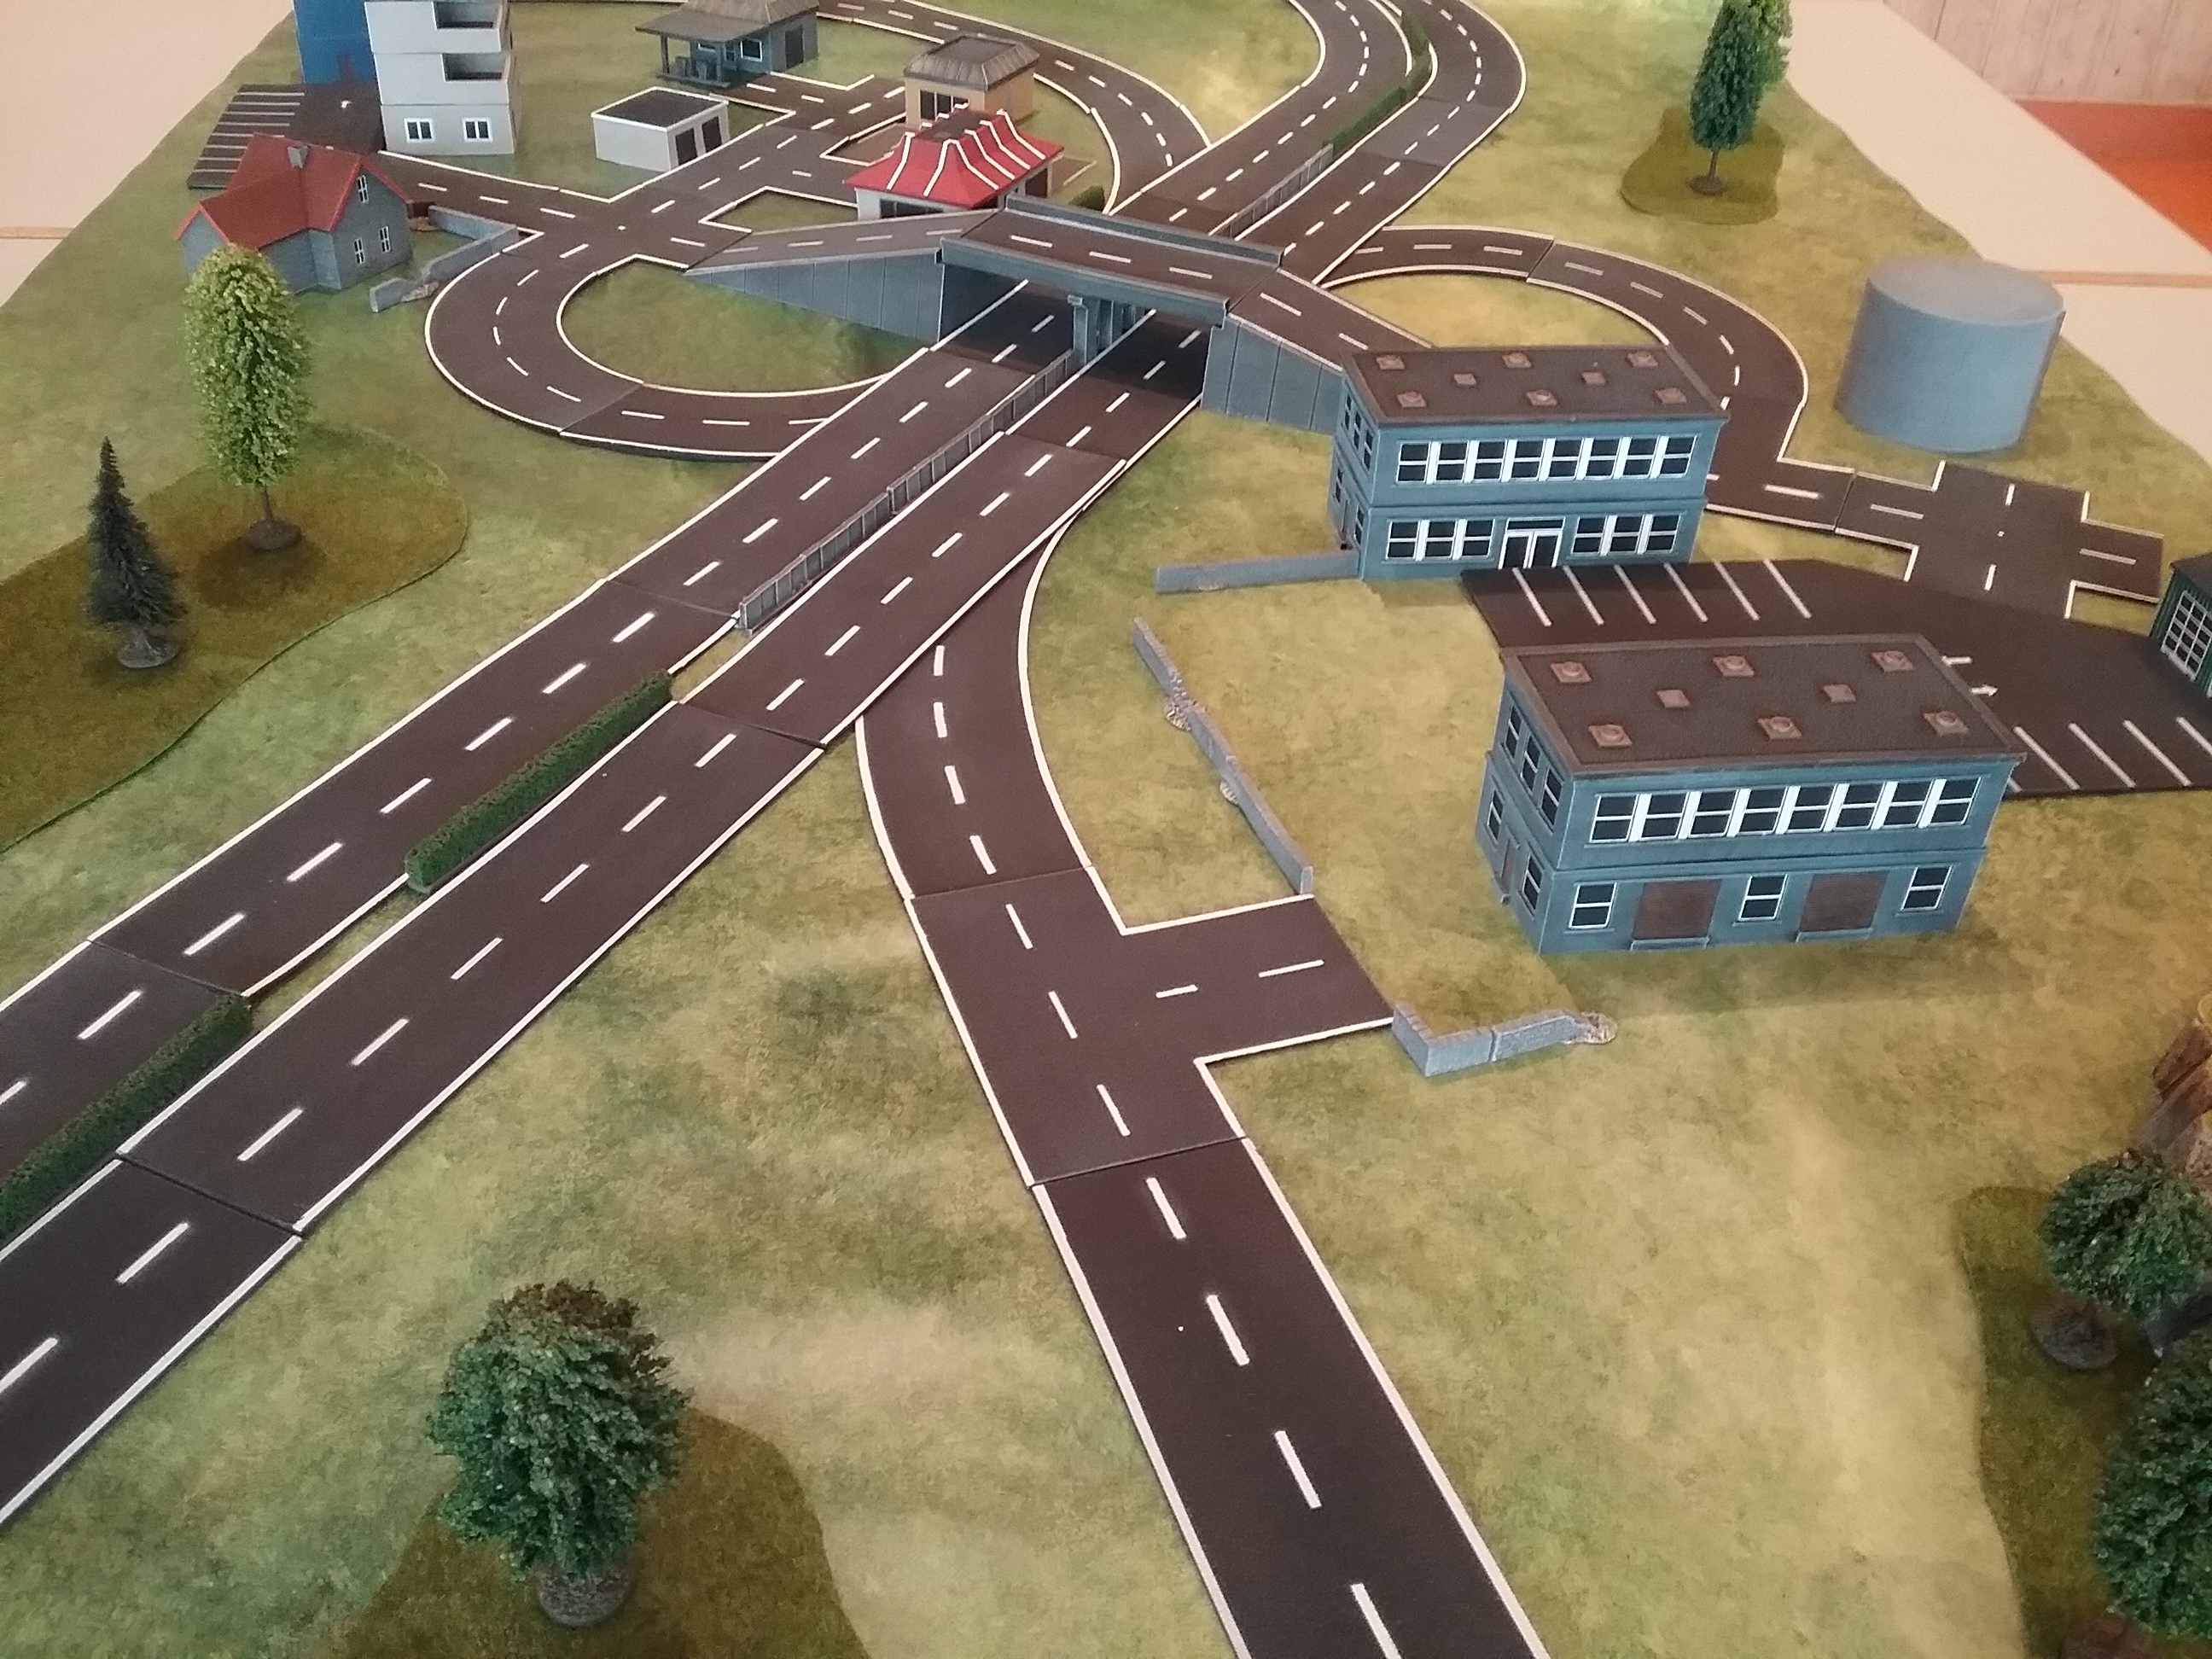
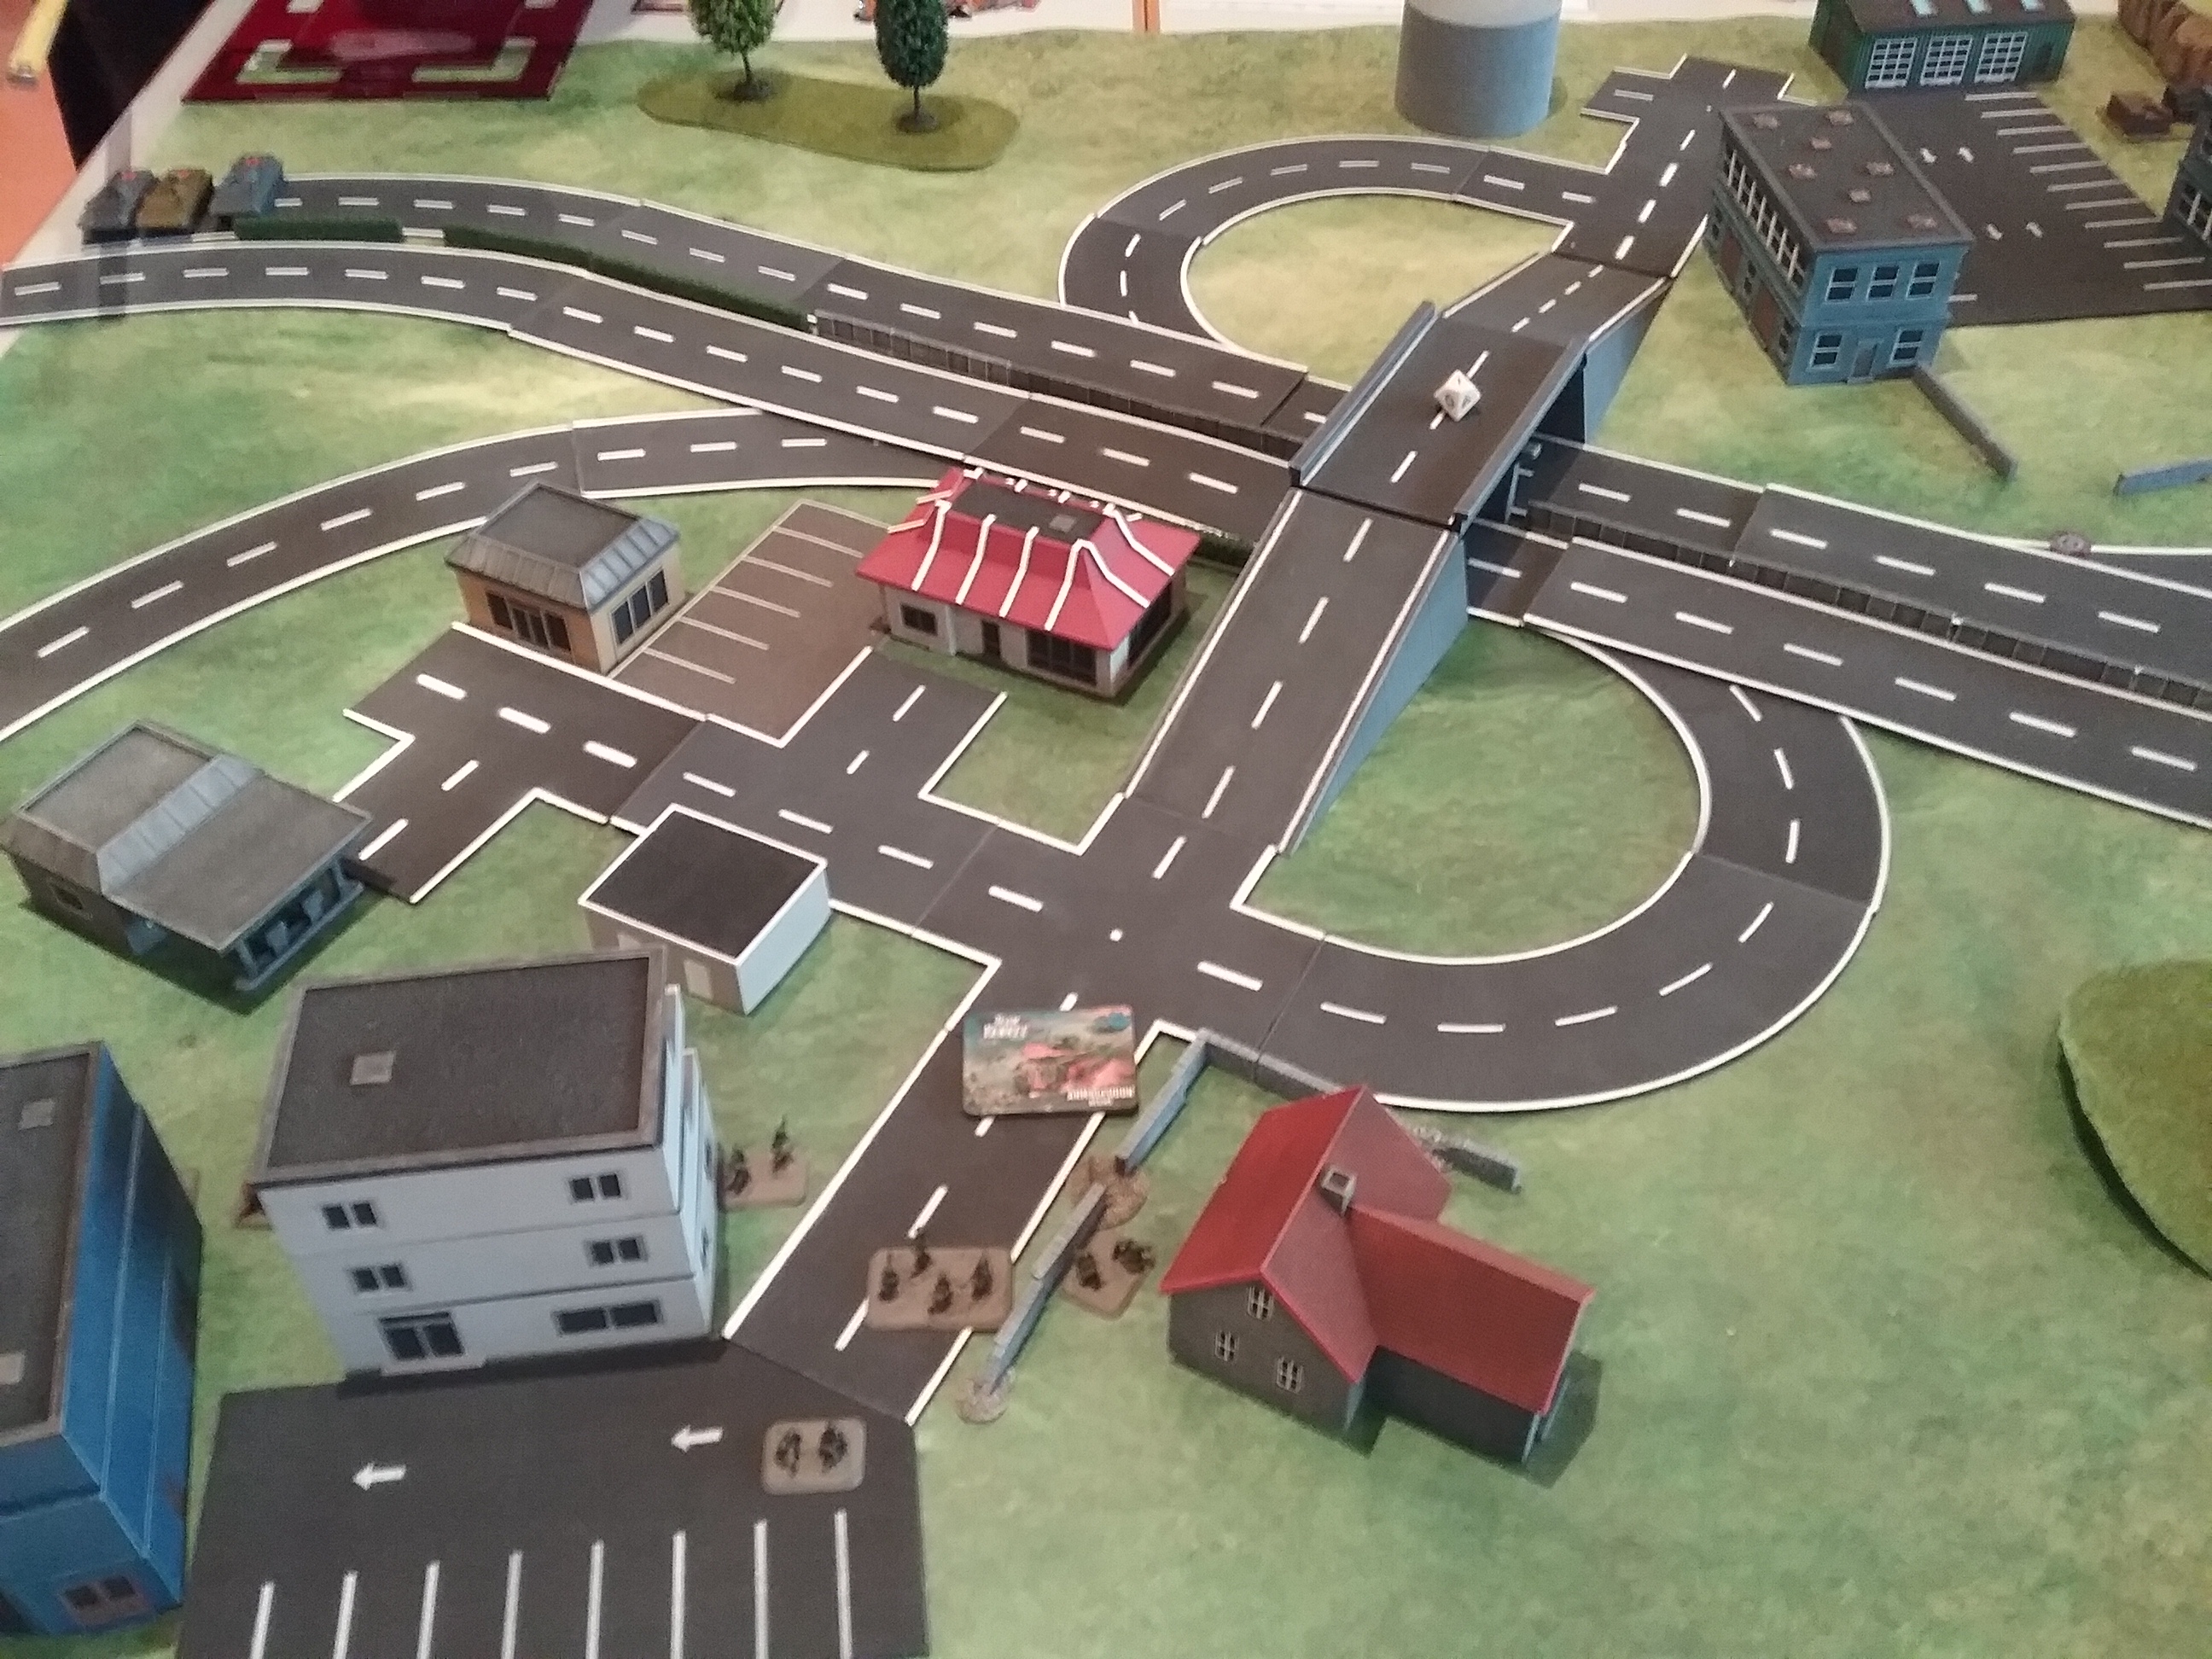
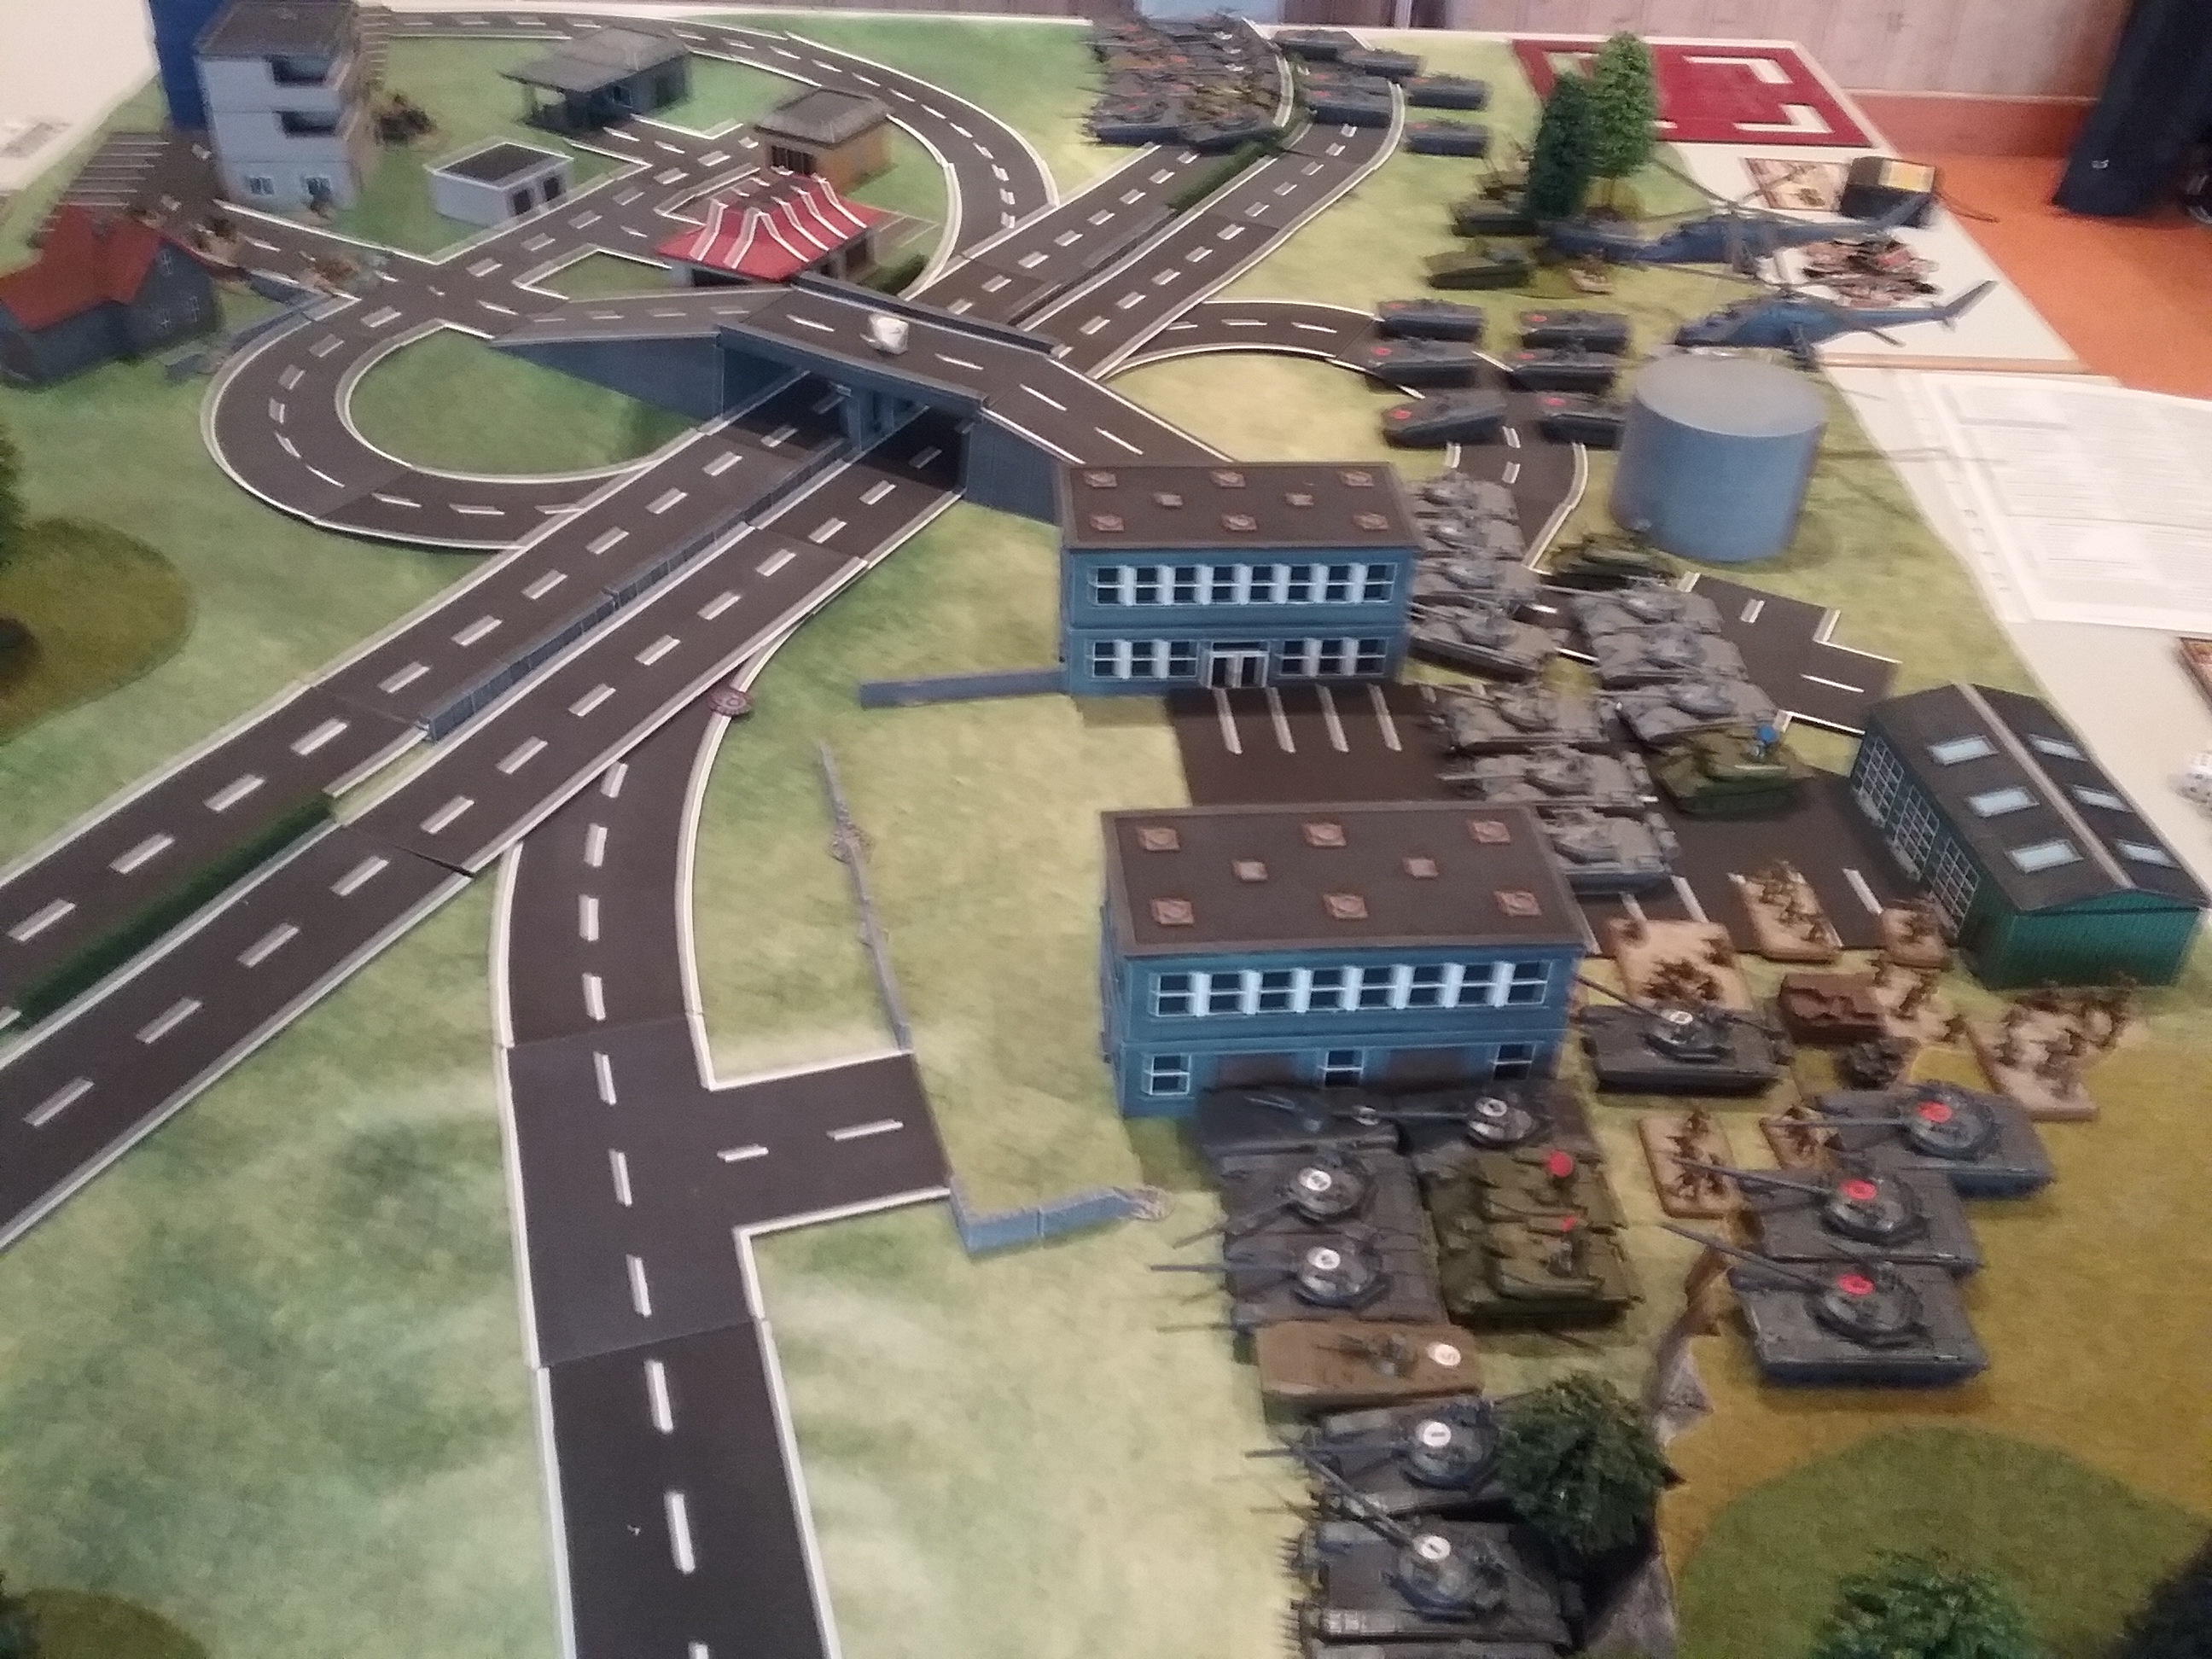
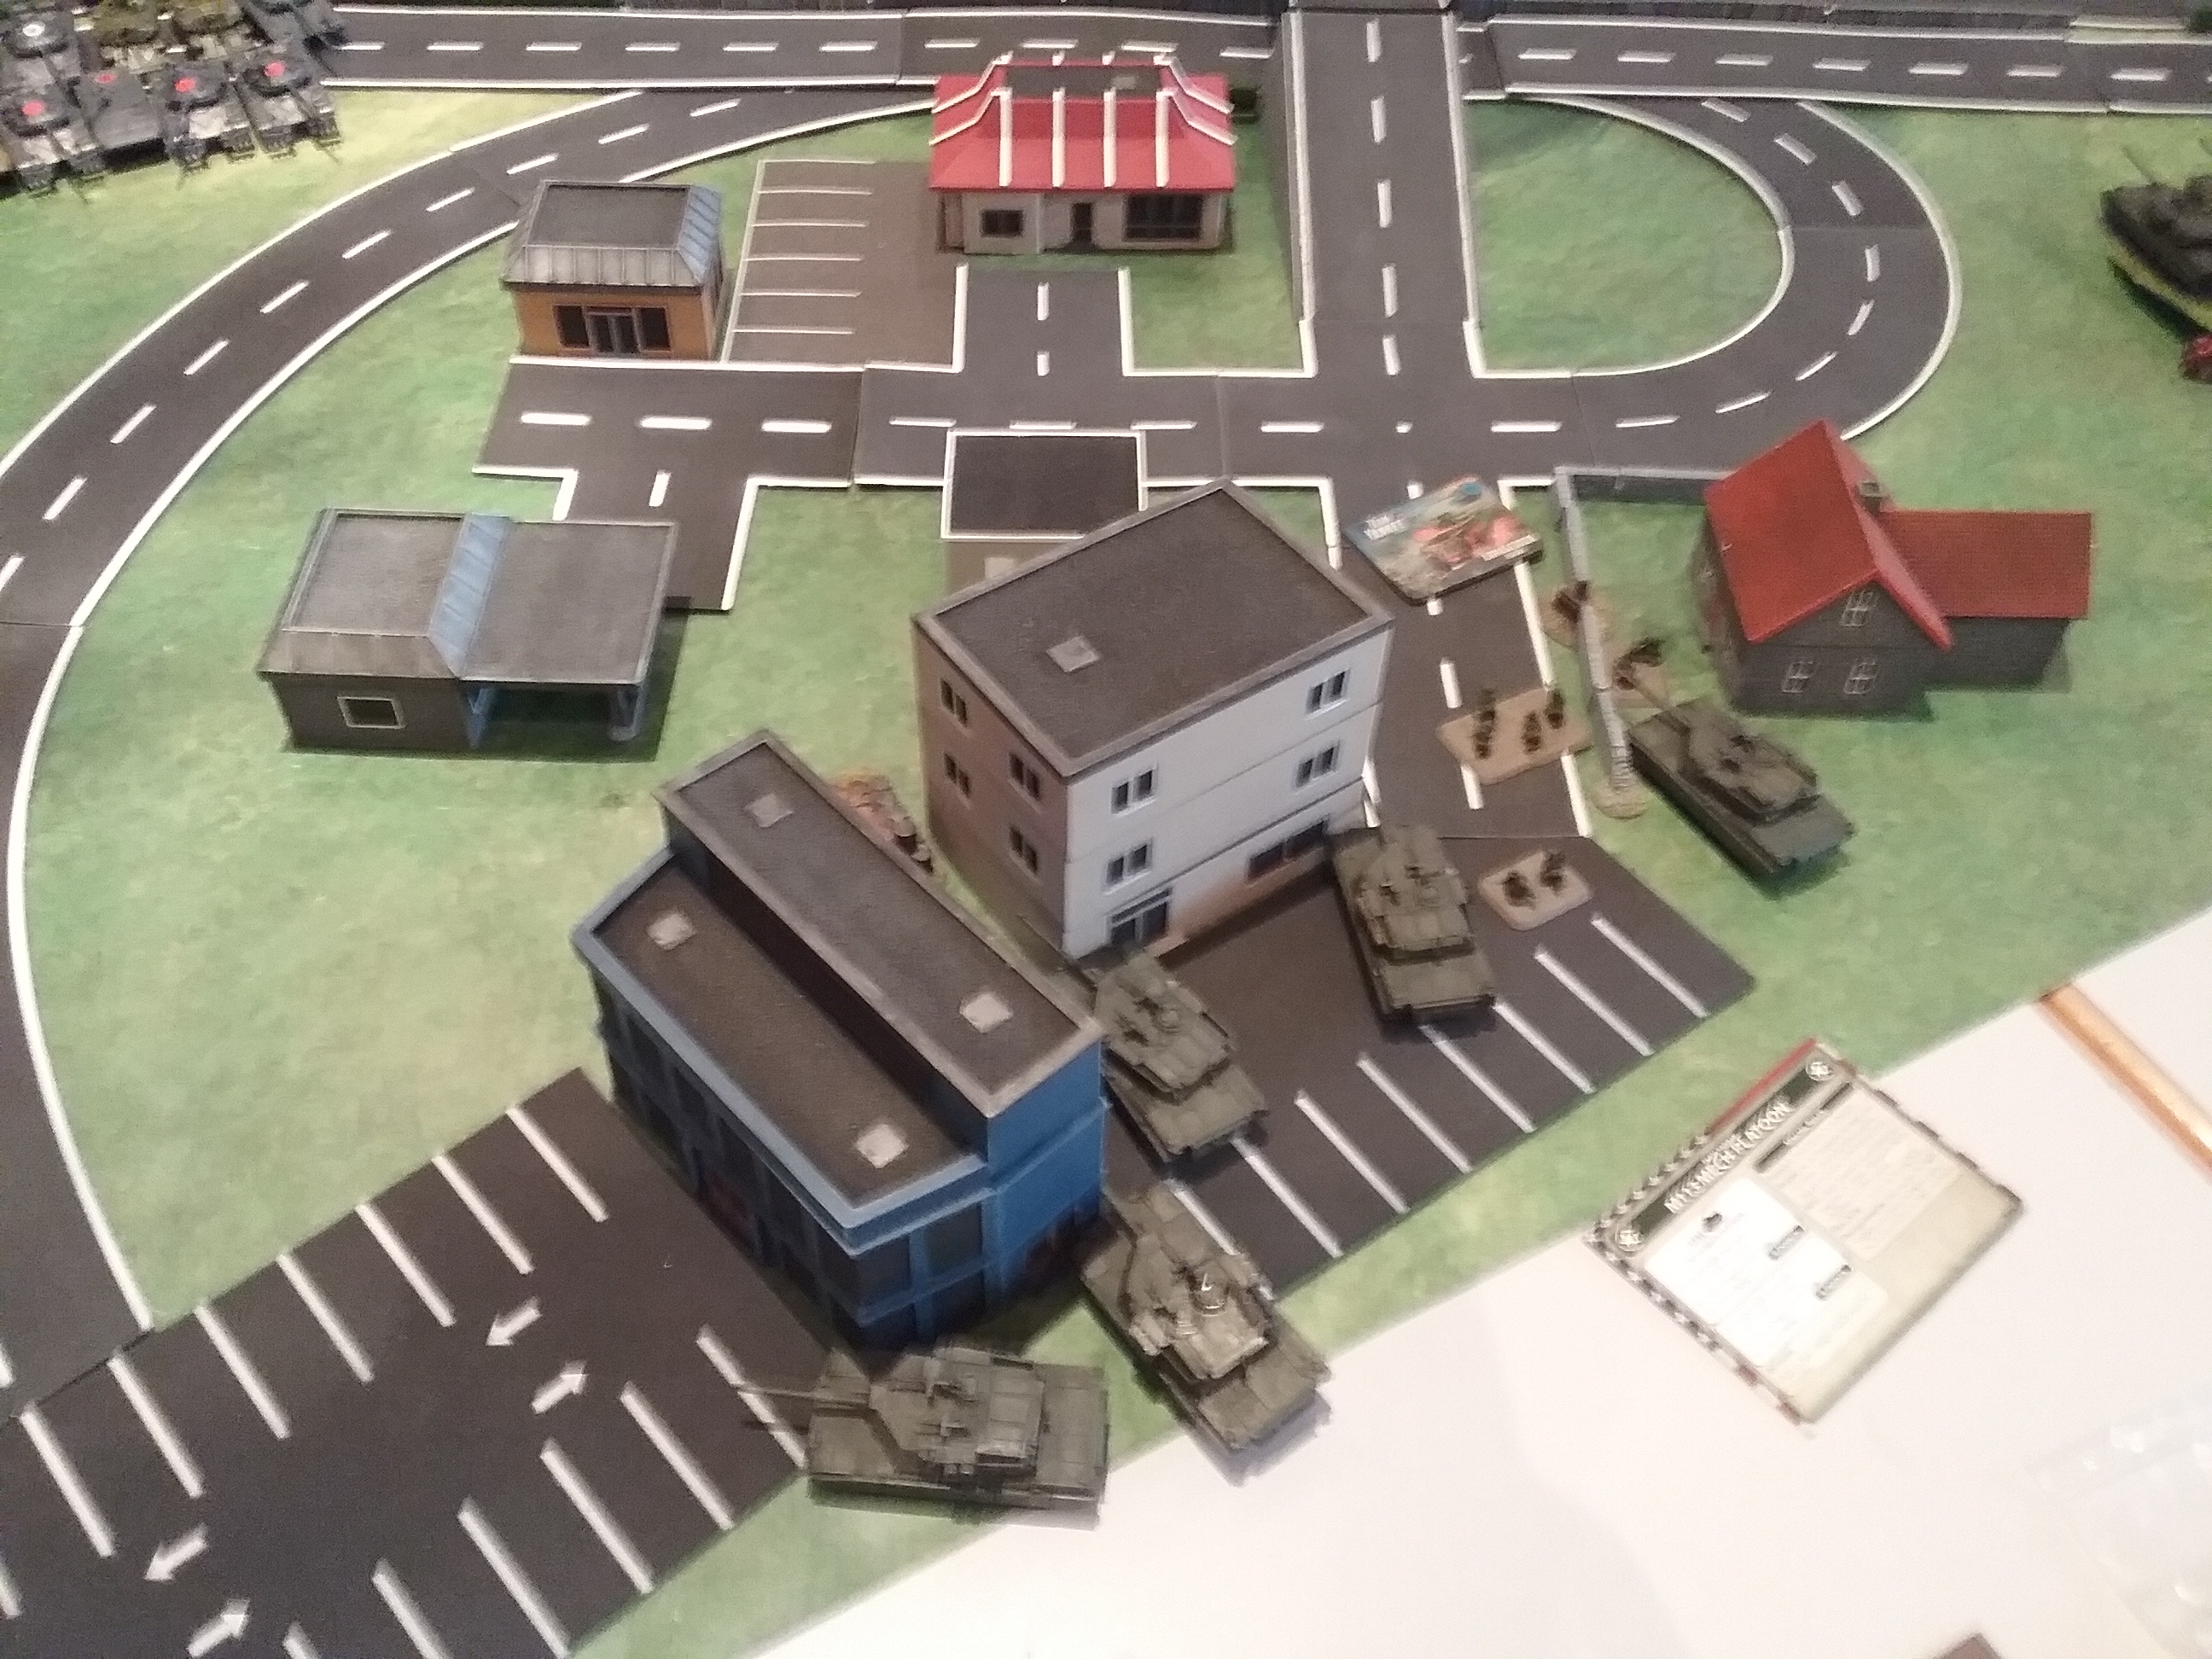
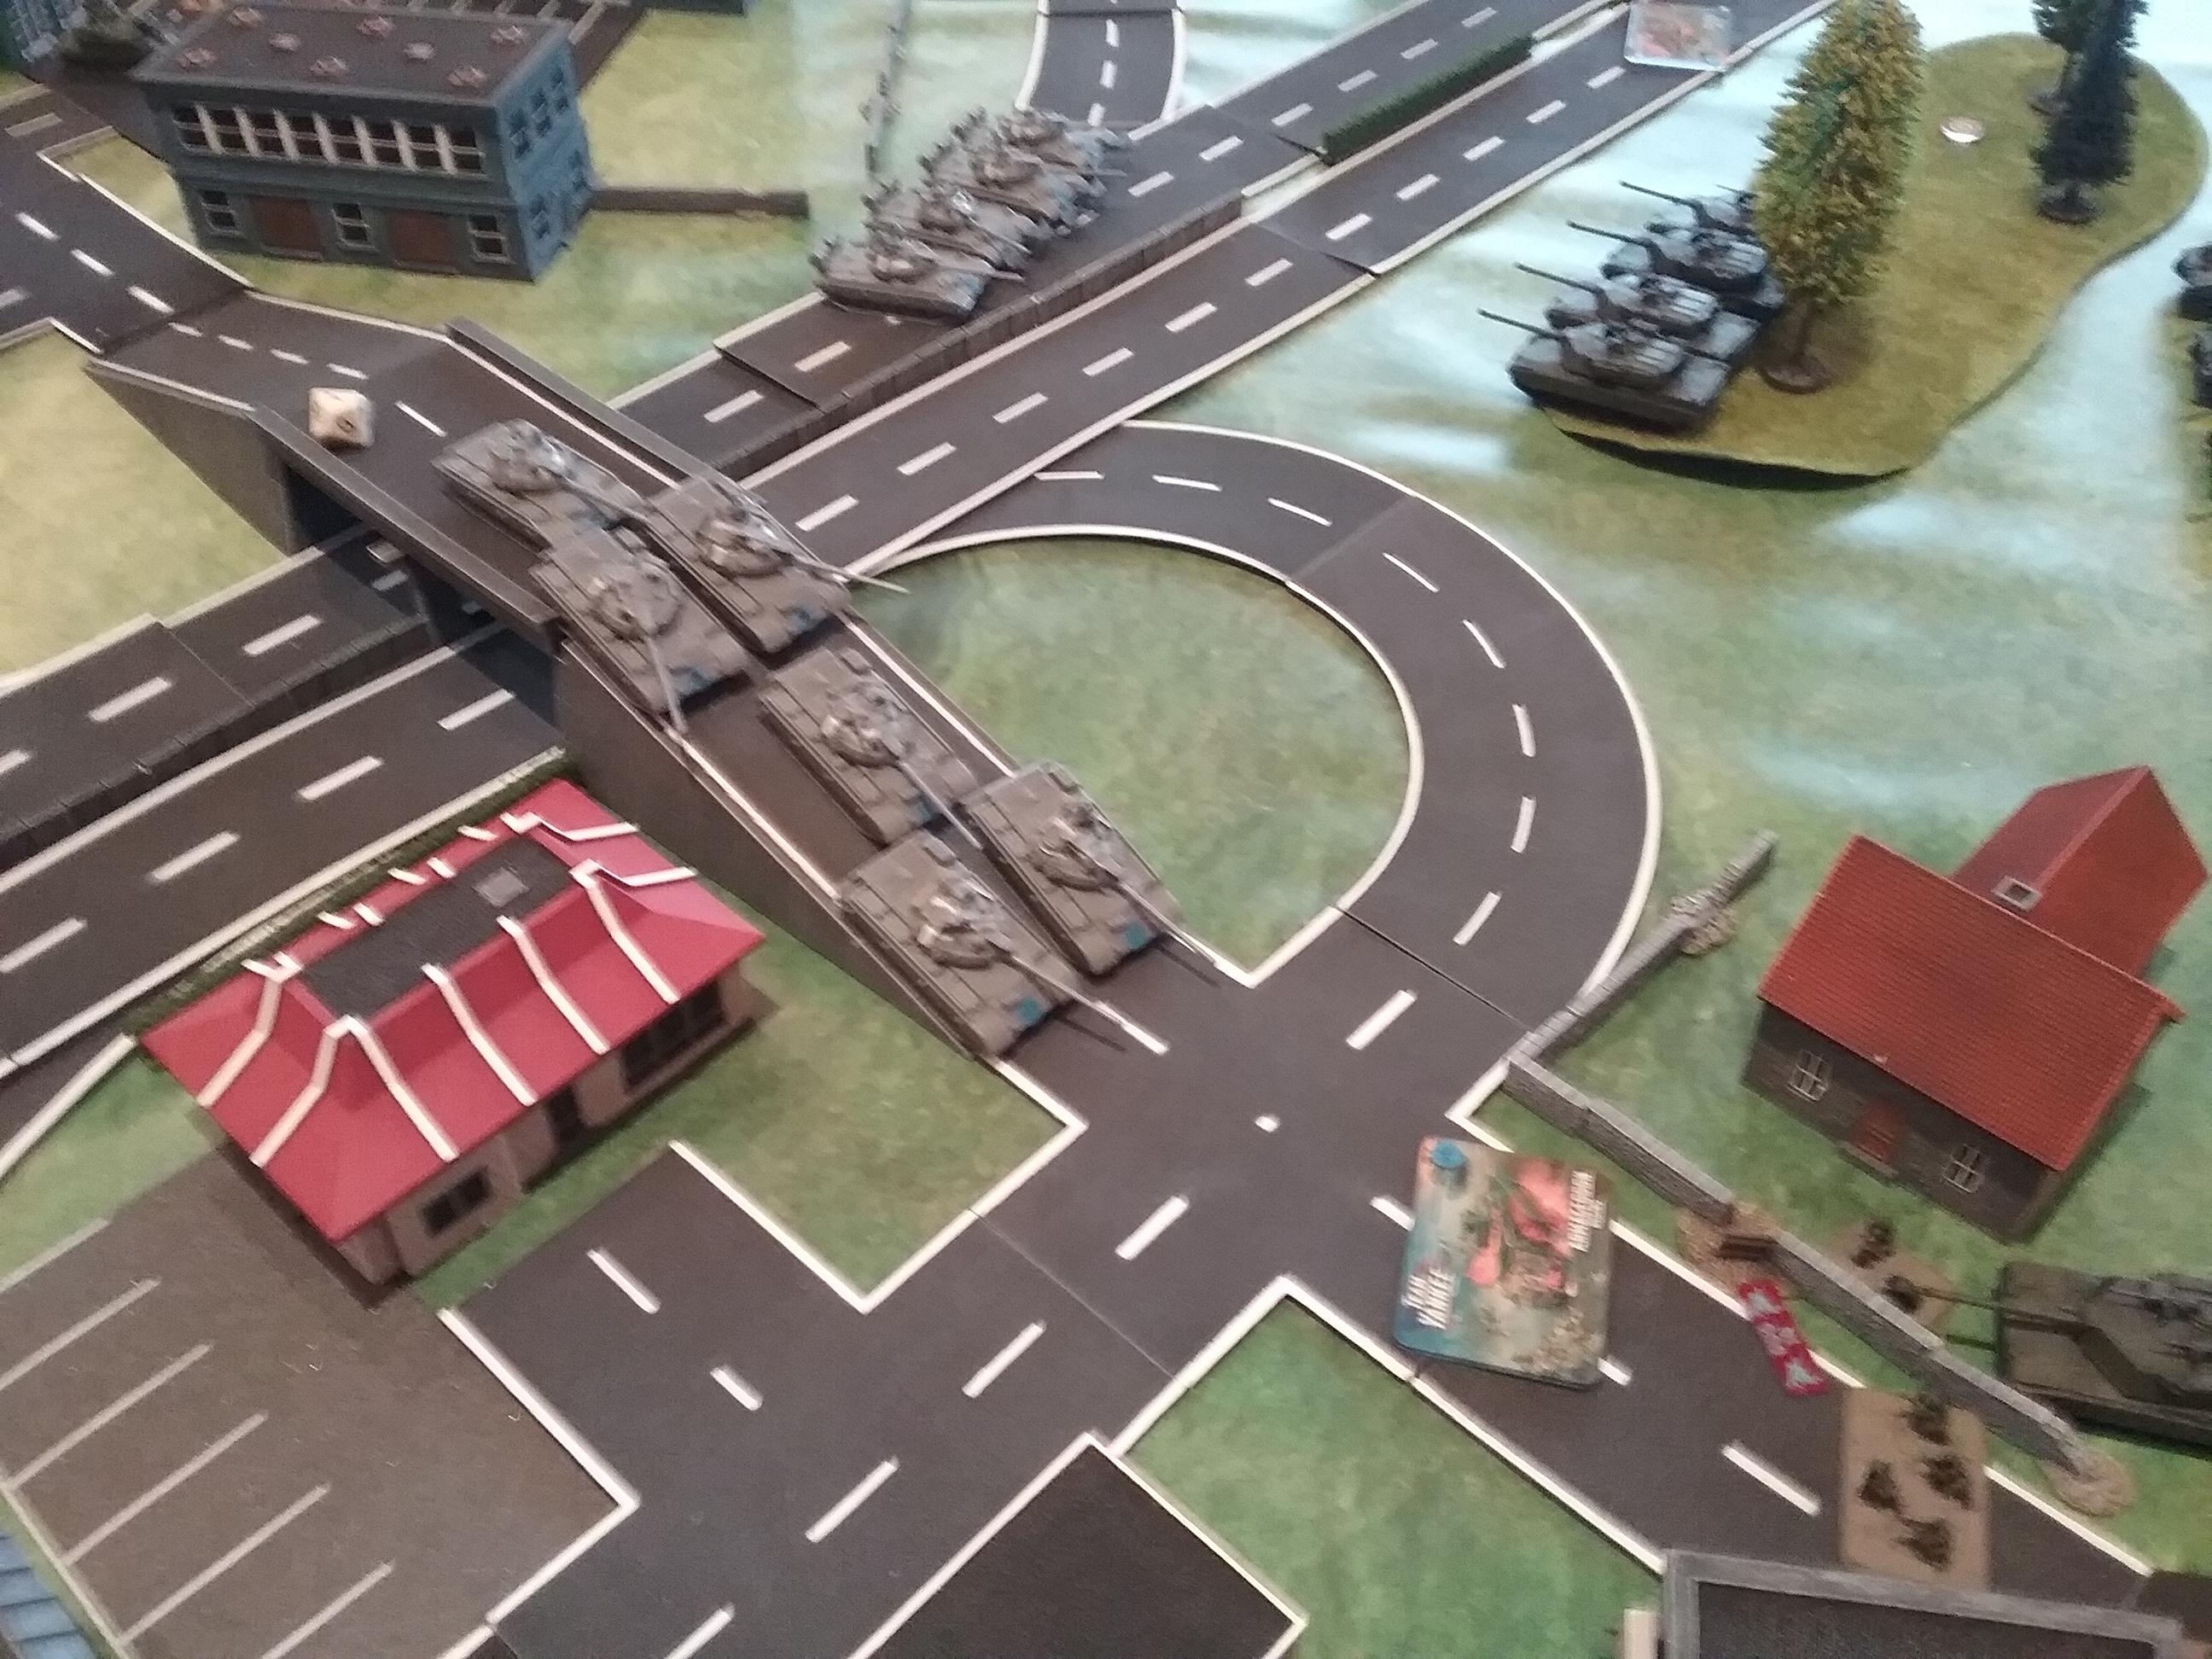
NATO had to defend three objectives, two of them being at a service plaza near the Autobahn exit and the other one right on the Autobahn close to a patch of woods.
US plan was to lure the attacker into the open and than spring the trap, while waiting for an opportunity to counterattack the enemies HQ.
In the beginning the Warpac forces advanced quickly as expected and this triggered the trap. One platoon of M1s revealed itself inside the woods, while the other platoon appeared right at the service plaza. (In game terms: I got my reserves very early and i think that can best be explained by superior NATO intelligence in fluff).
Artillery and M1s opened fire and did a lot of damage.
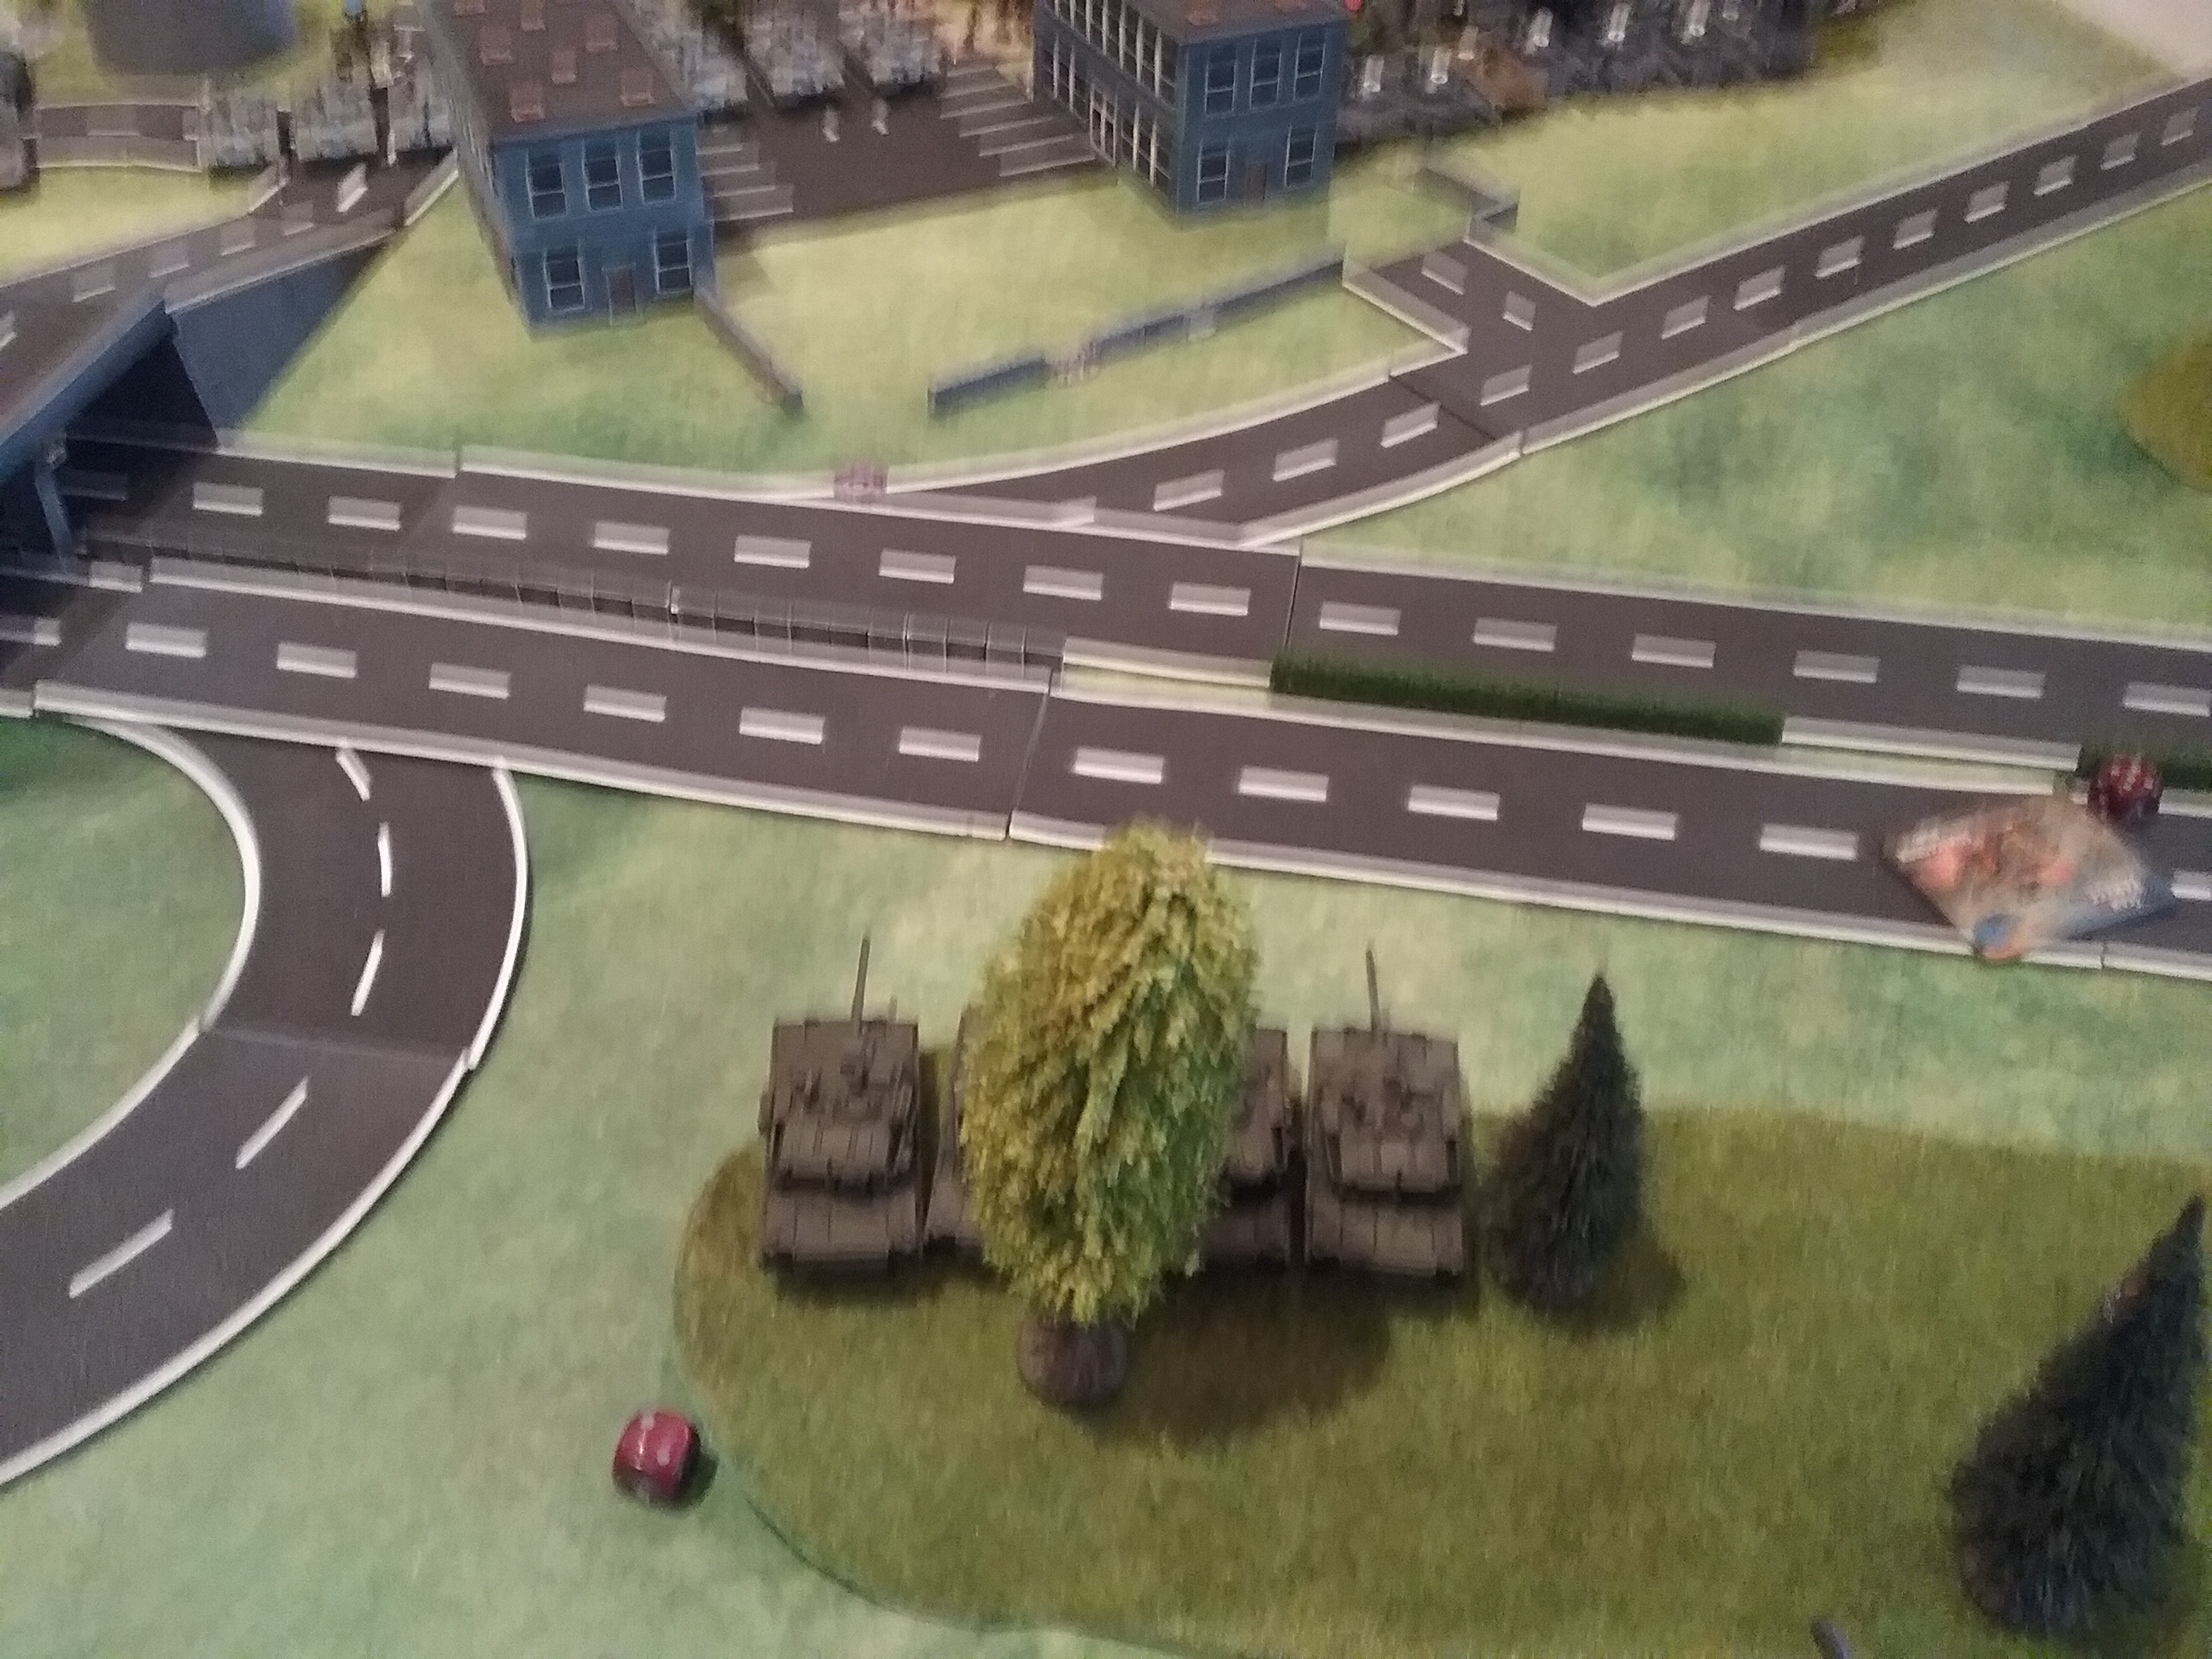
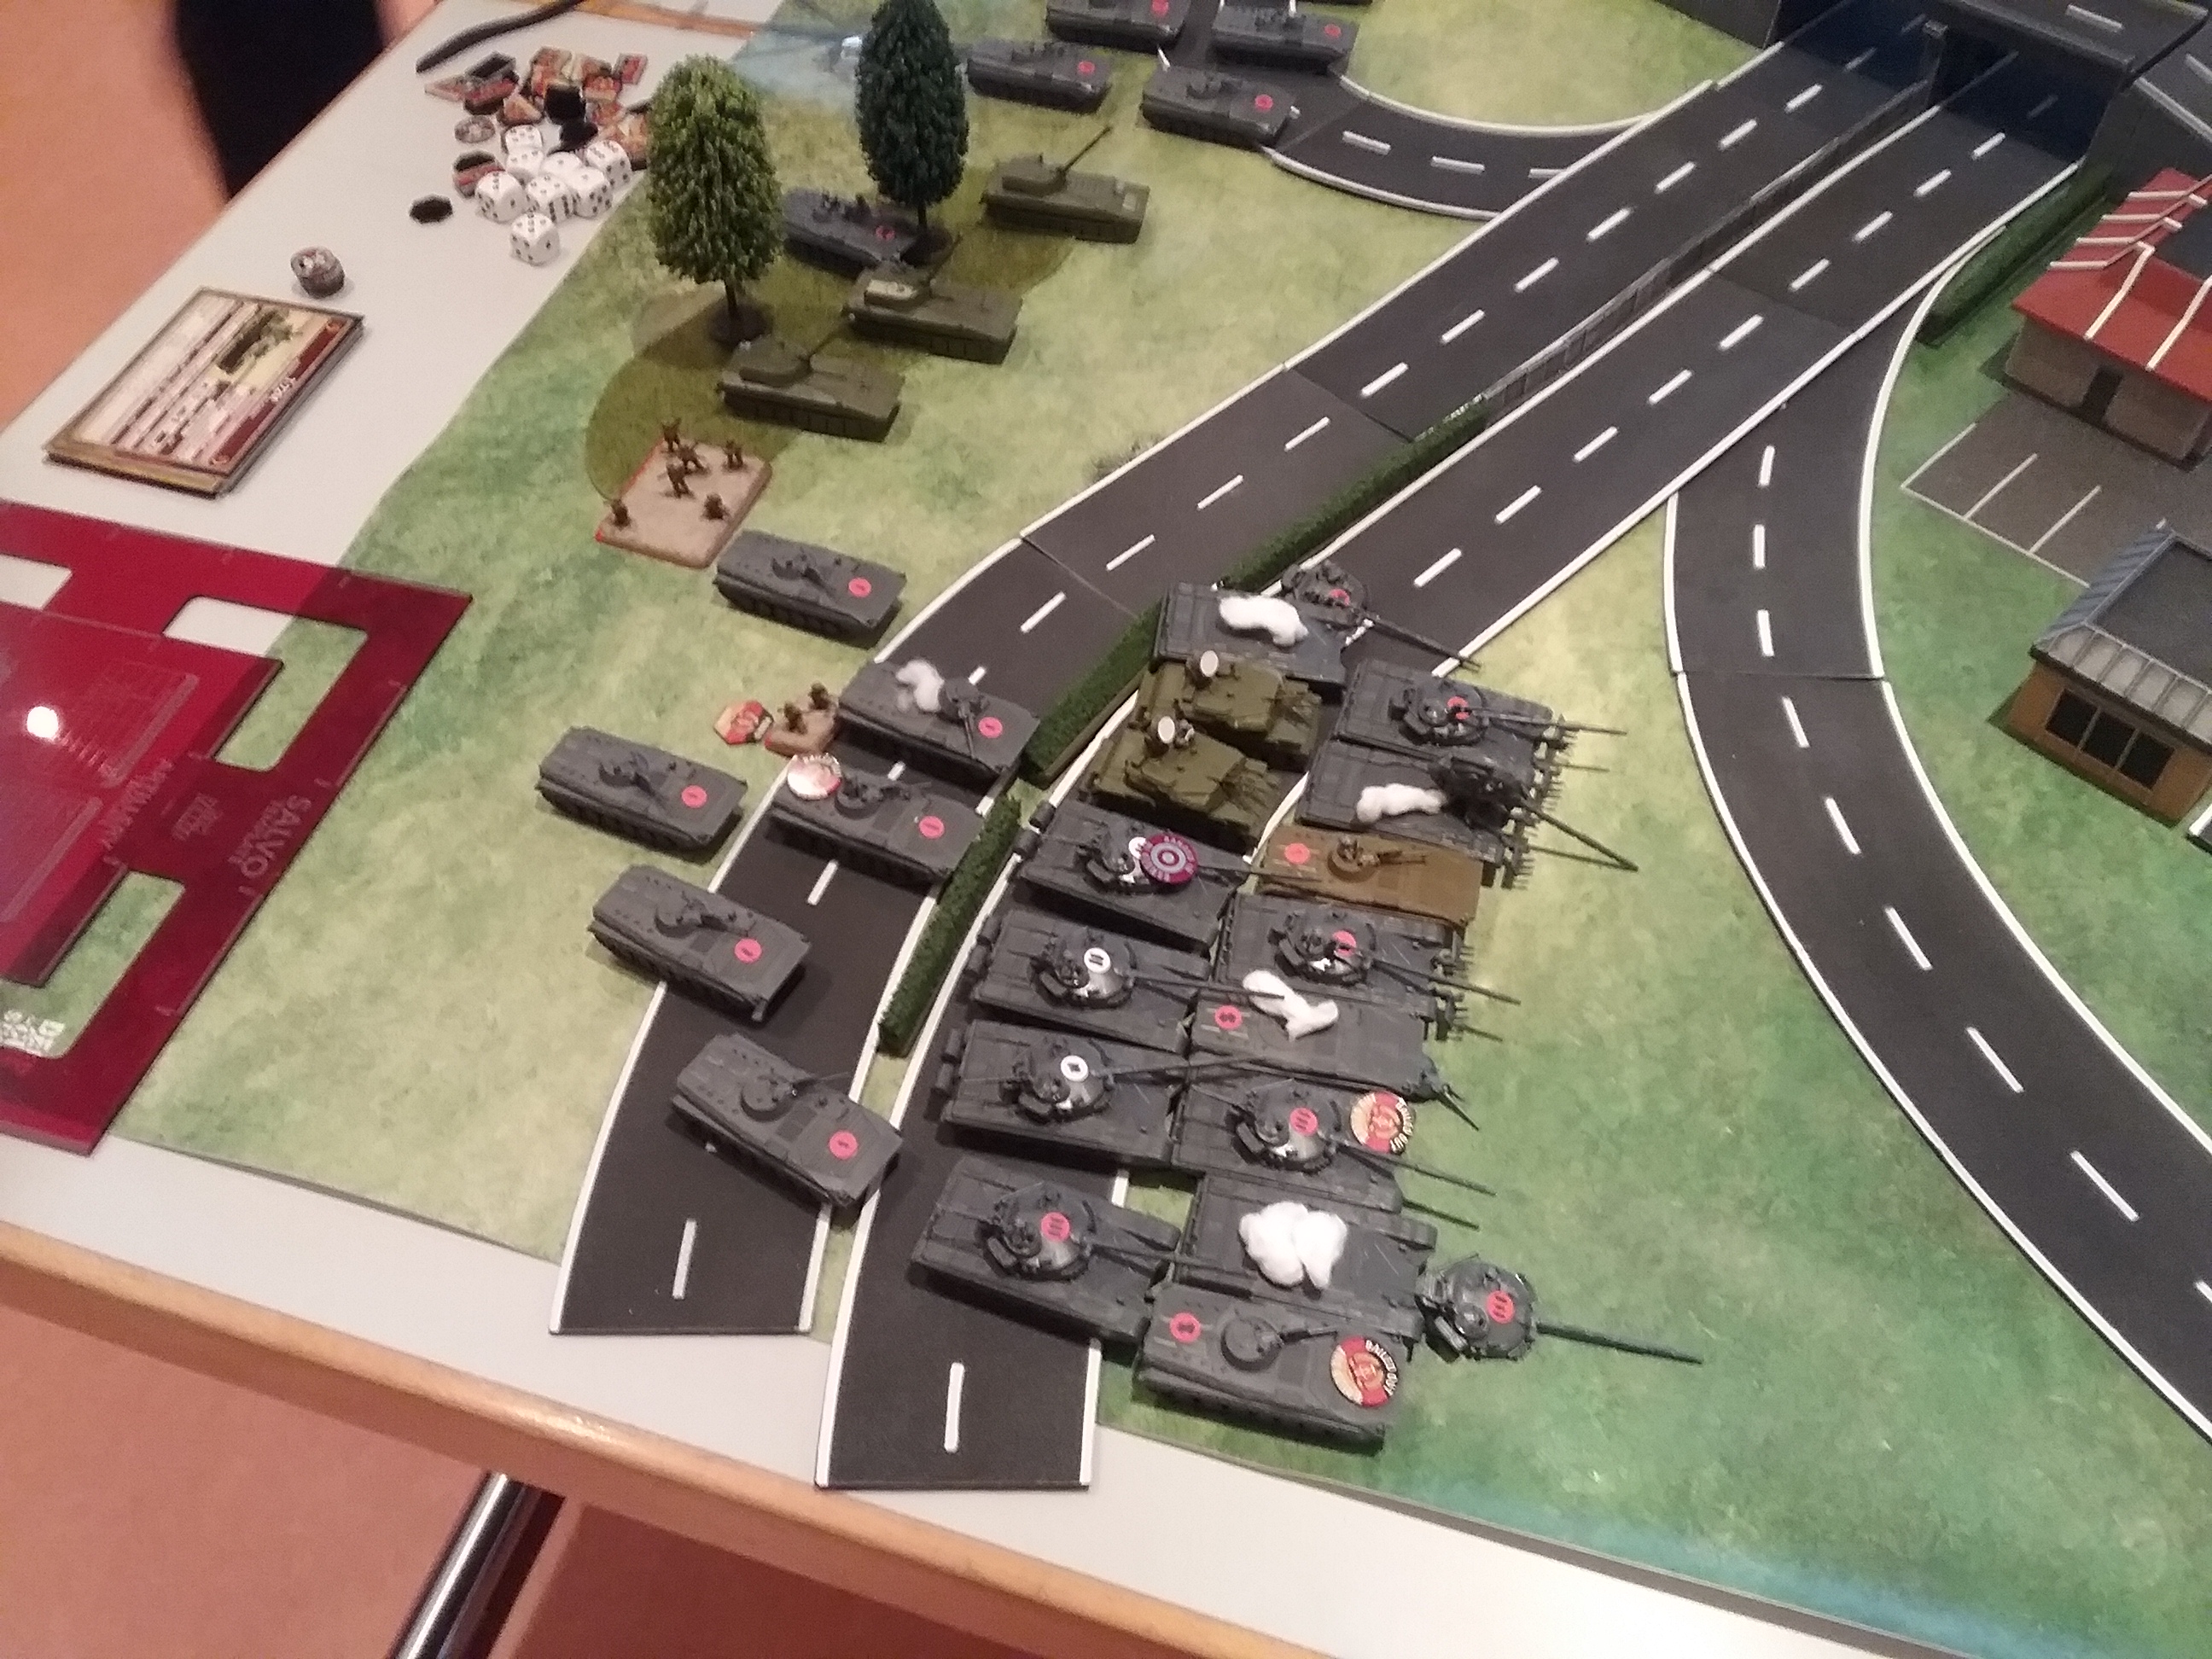
With the left and light flank of their assault under serious fire, T-55 tried to cross the highway bridge with the hope to get side shots of the M1s. But these obsolote tanks also came under fire and started losing tracks.
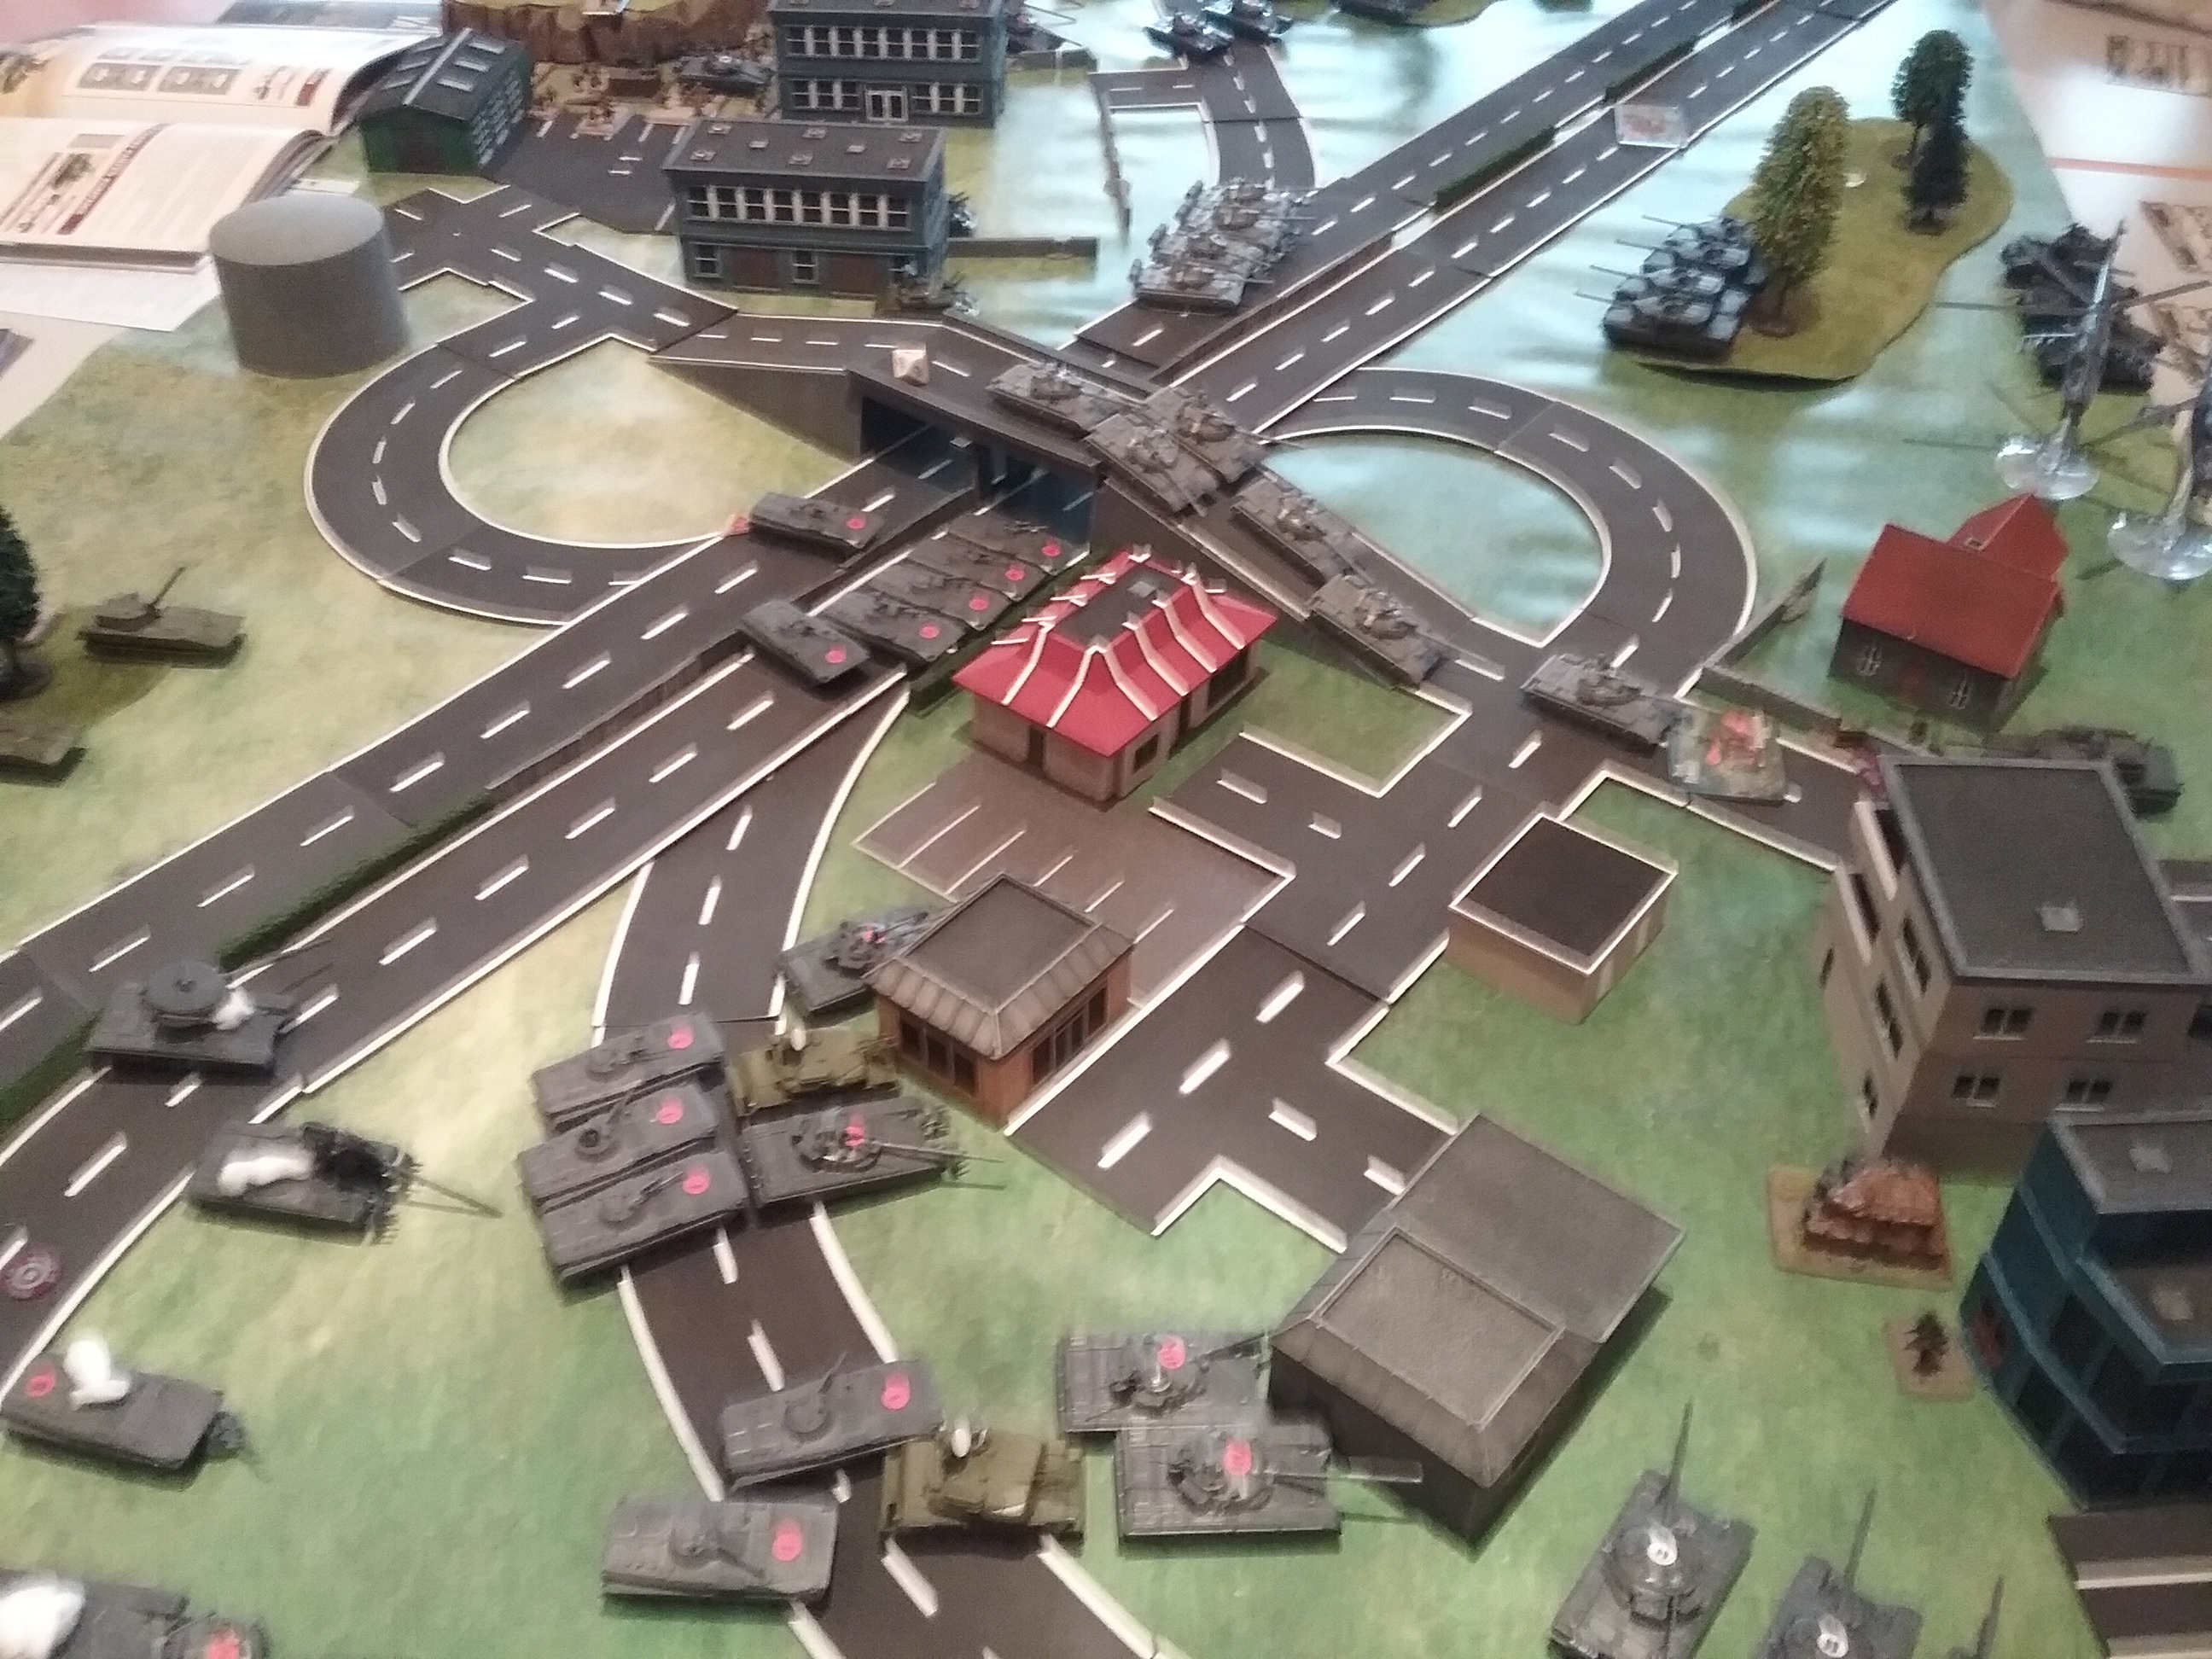
Having suffered serious casualties (having small platoons proved to be very disadvantageous with several platoons retreating after only losing one tank as catastophic kill), the East Germans rallied and tried to push through the defender's lines a second time, in the process destroying American artillery and some M1s.
The objective at the Autobahn seemed to be the most vulnerable with only 4 M1s definding.
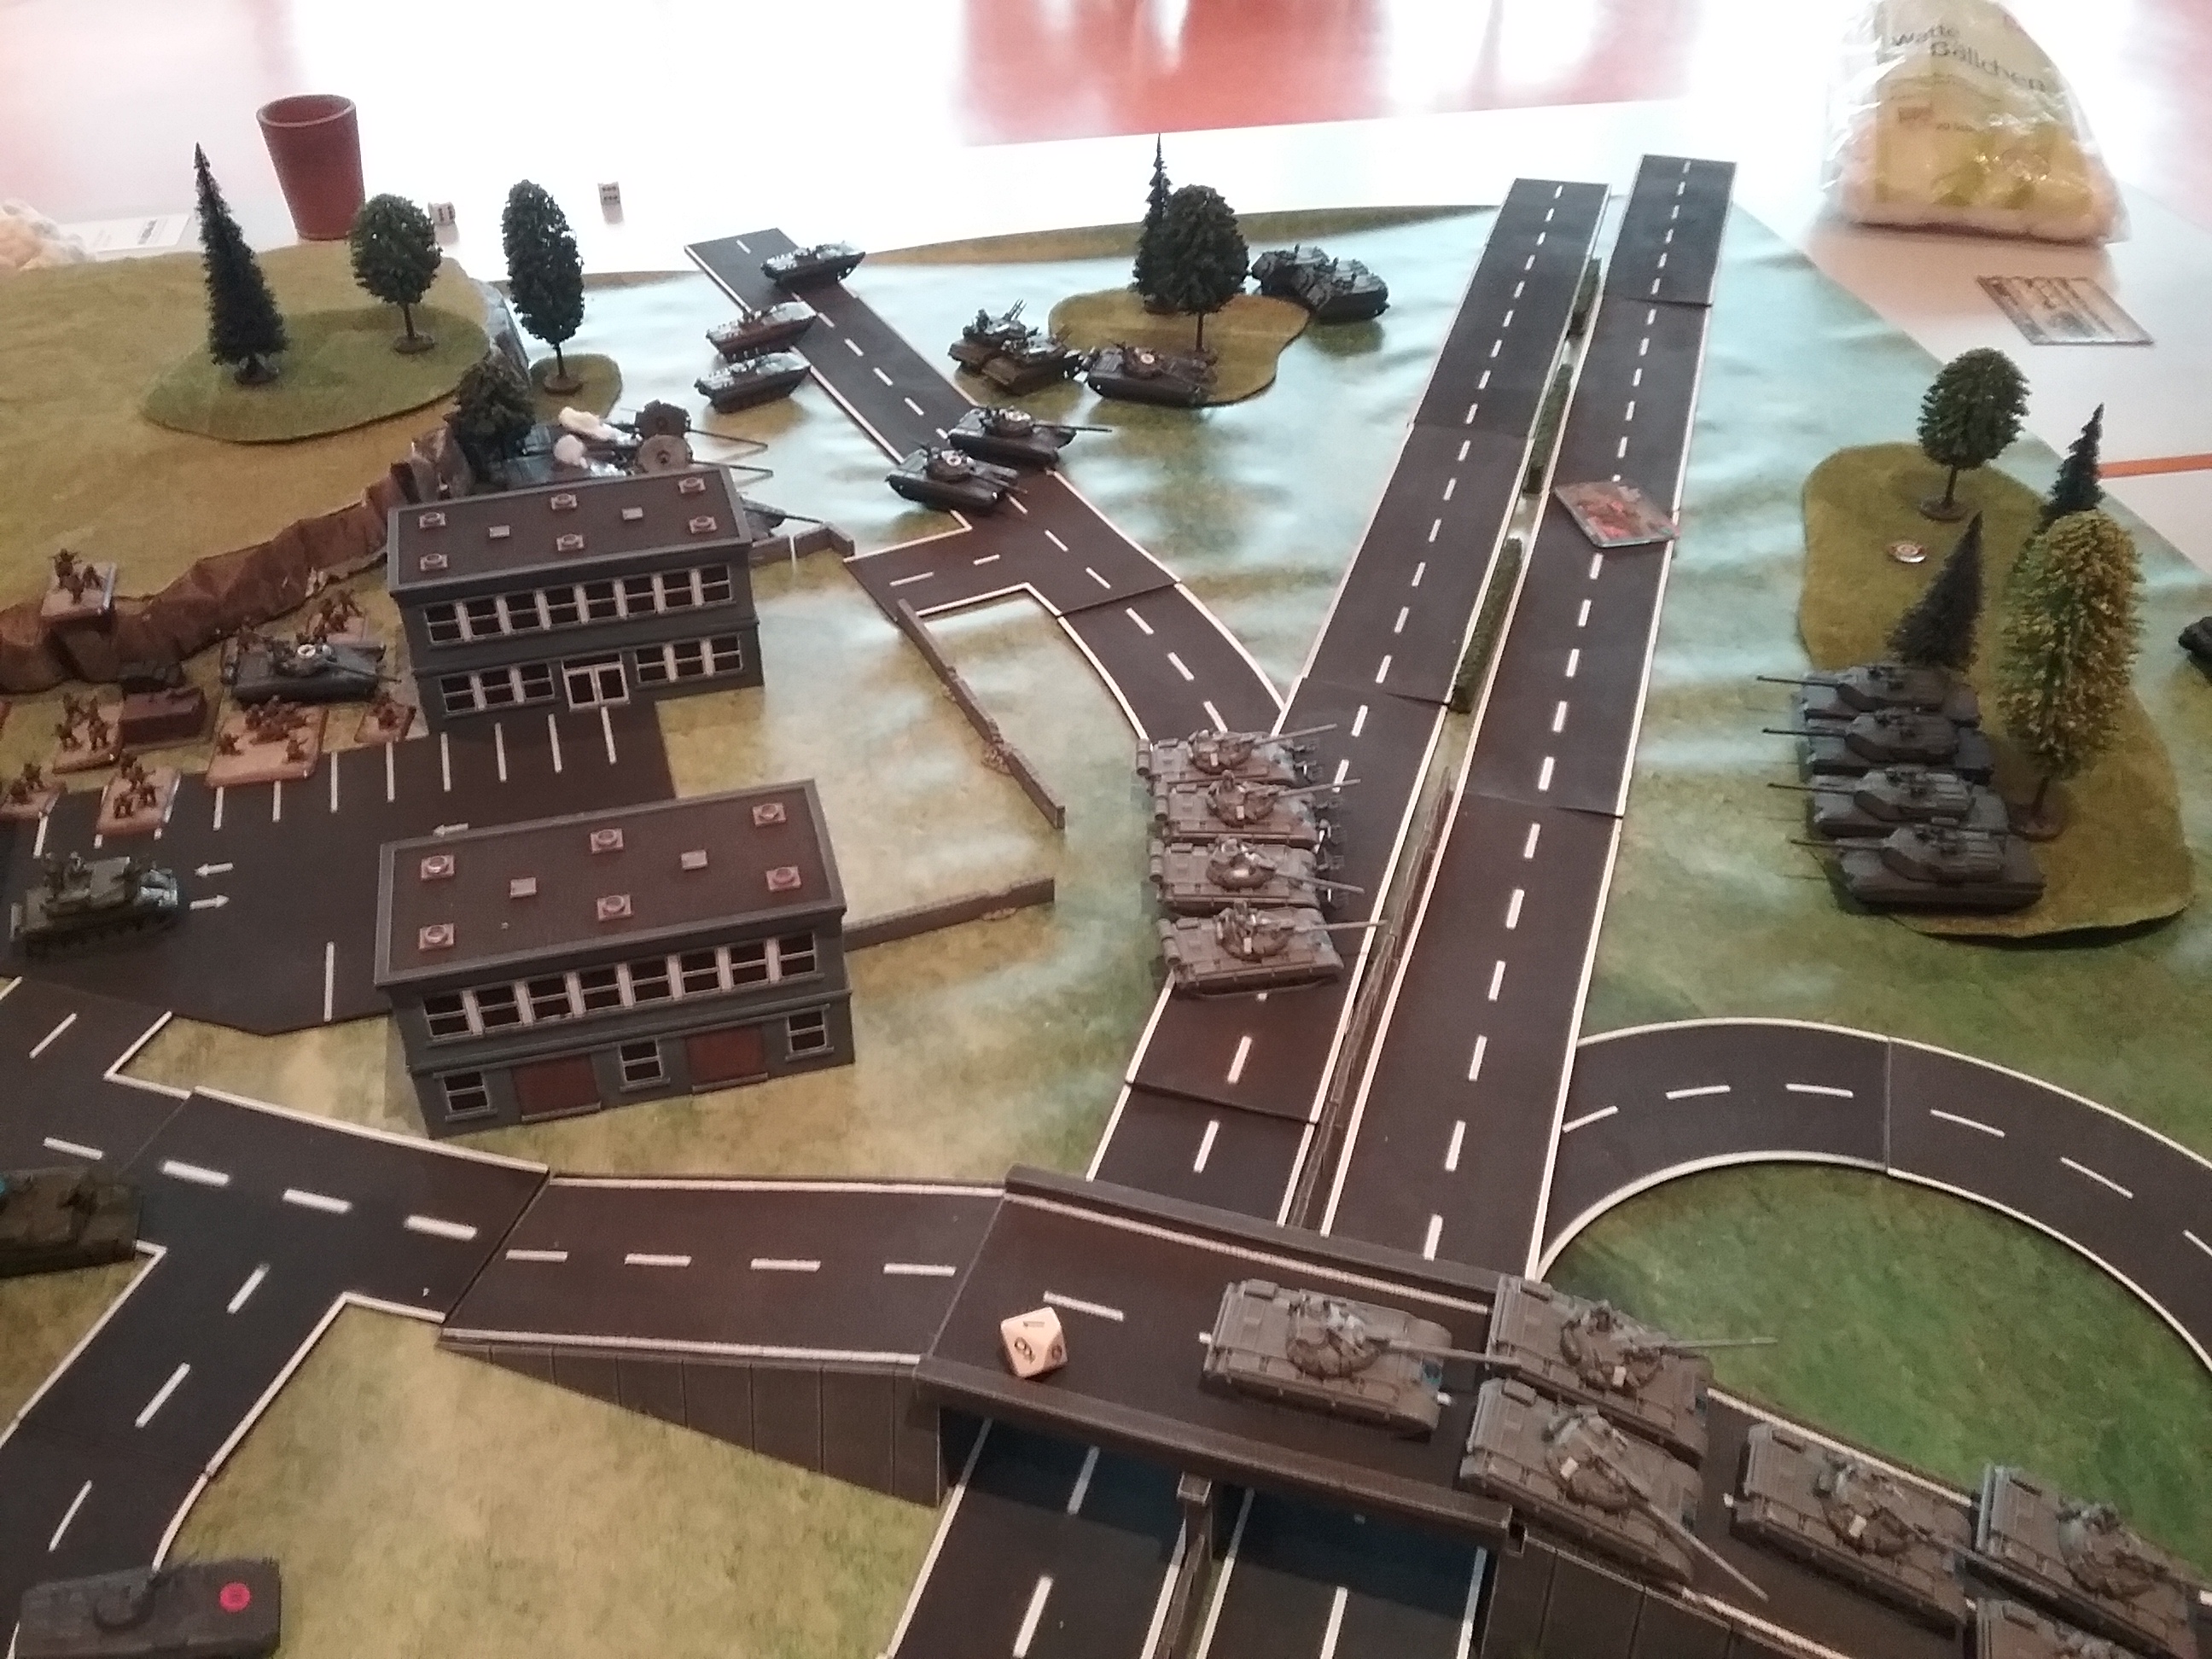
In order to protect the objective at the Autobahn, the US commander decided to move all his reserves to the objective for target overload. Give the East Germans more targets than they can kill in one turn to prevent them from taking the objective. (M1s were seriously limited for one turn due to NVA smoke screens)

At the service plaza, NATO began winning the fight. Dragons and M1s proved to be too much for the East Germans. At the same time NVA gunners had a bad day, hitting almost nothing and got almost wiped out by the M1s.
Over the course of the whole battle, Abrams tanks barely moved, since they could hide behind cover and always had clear shots at the enemy.
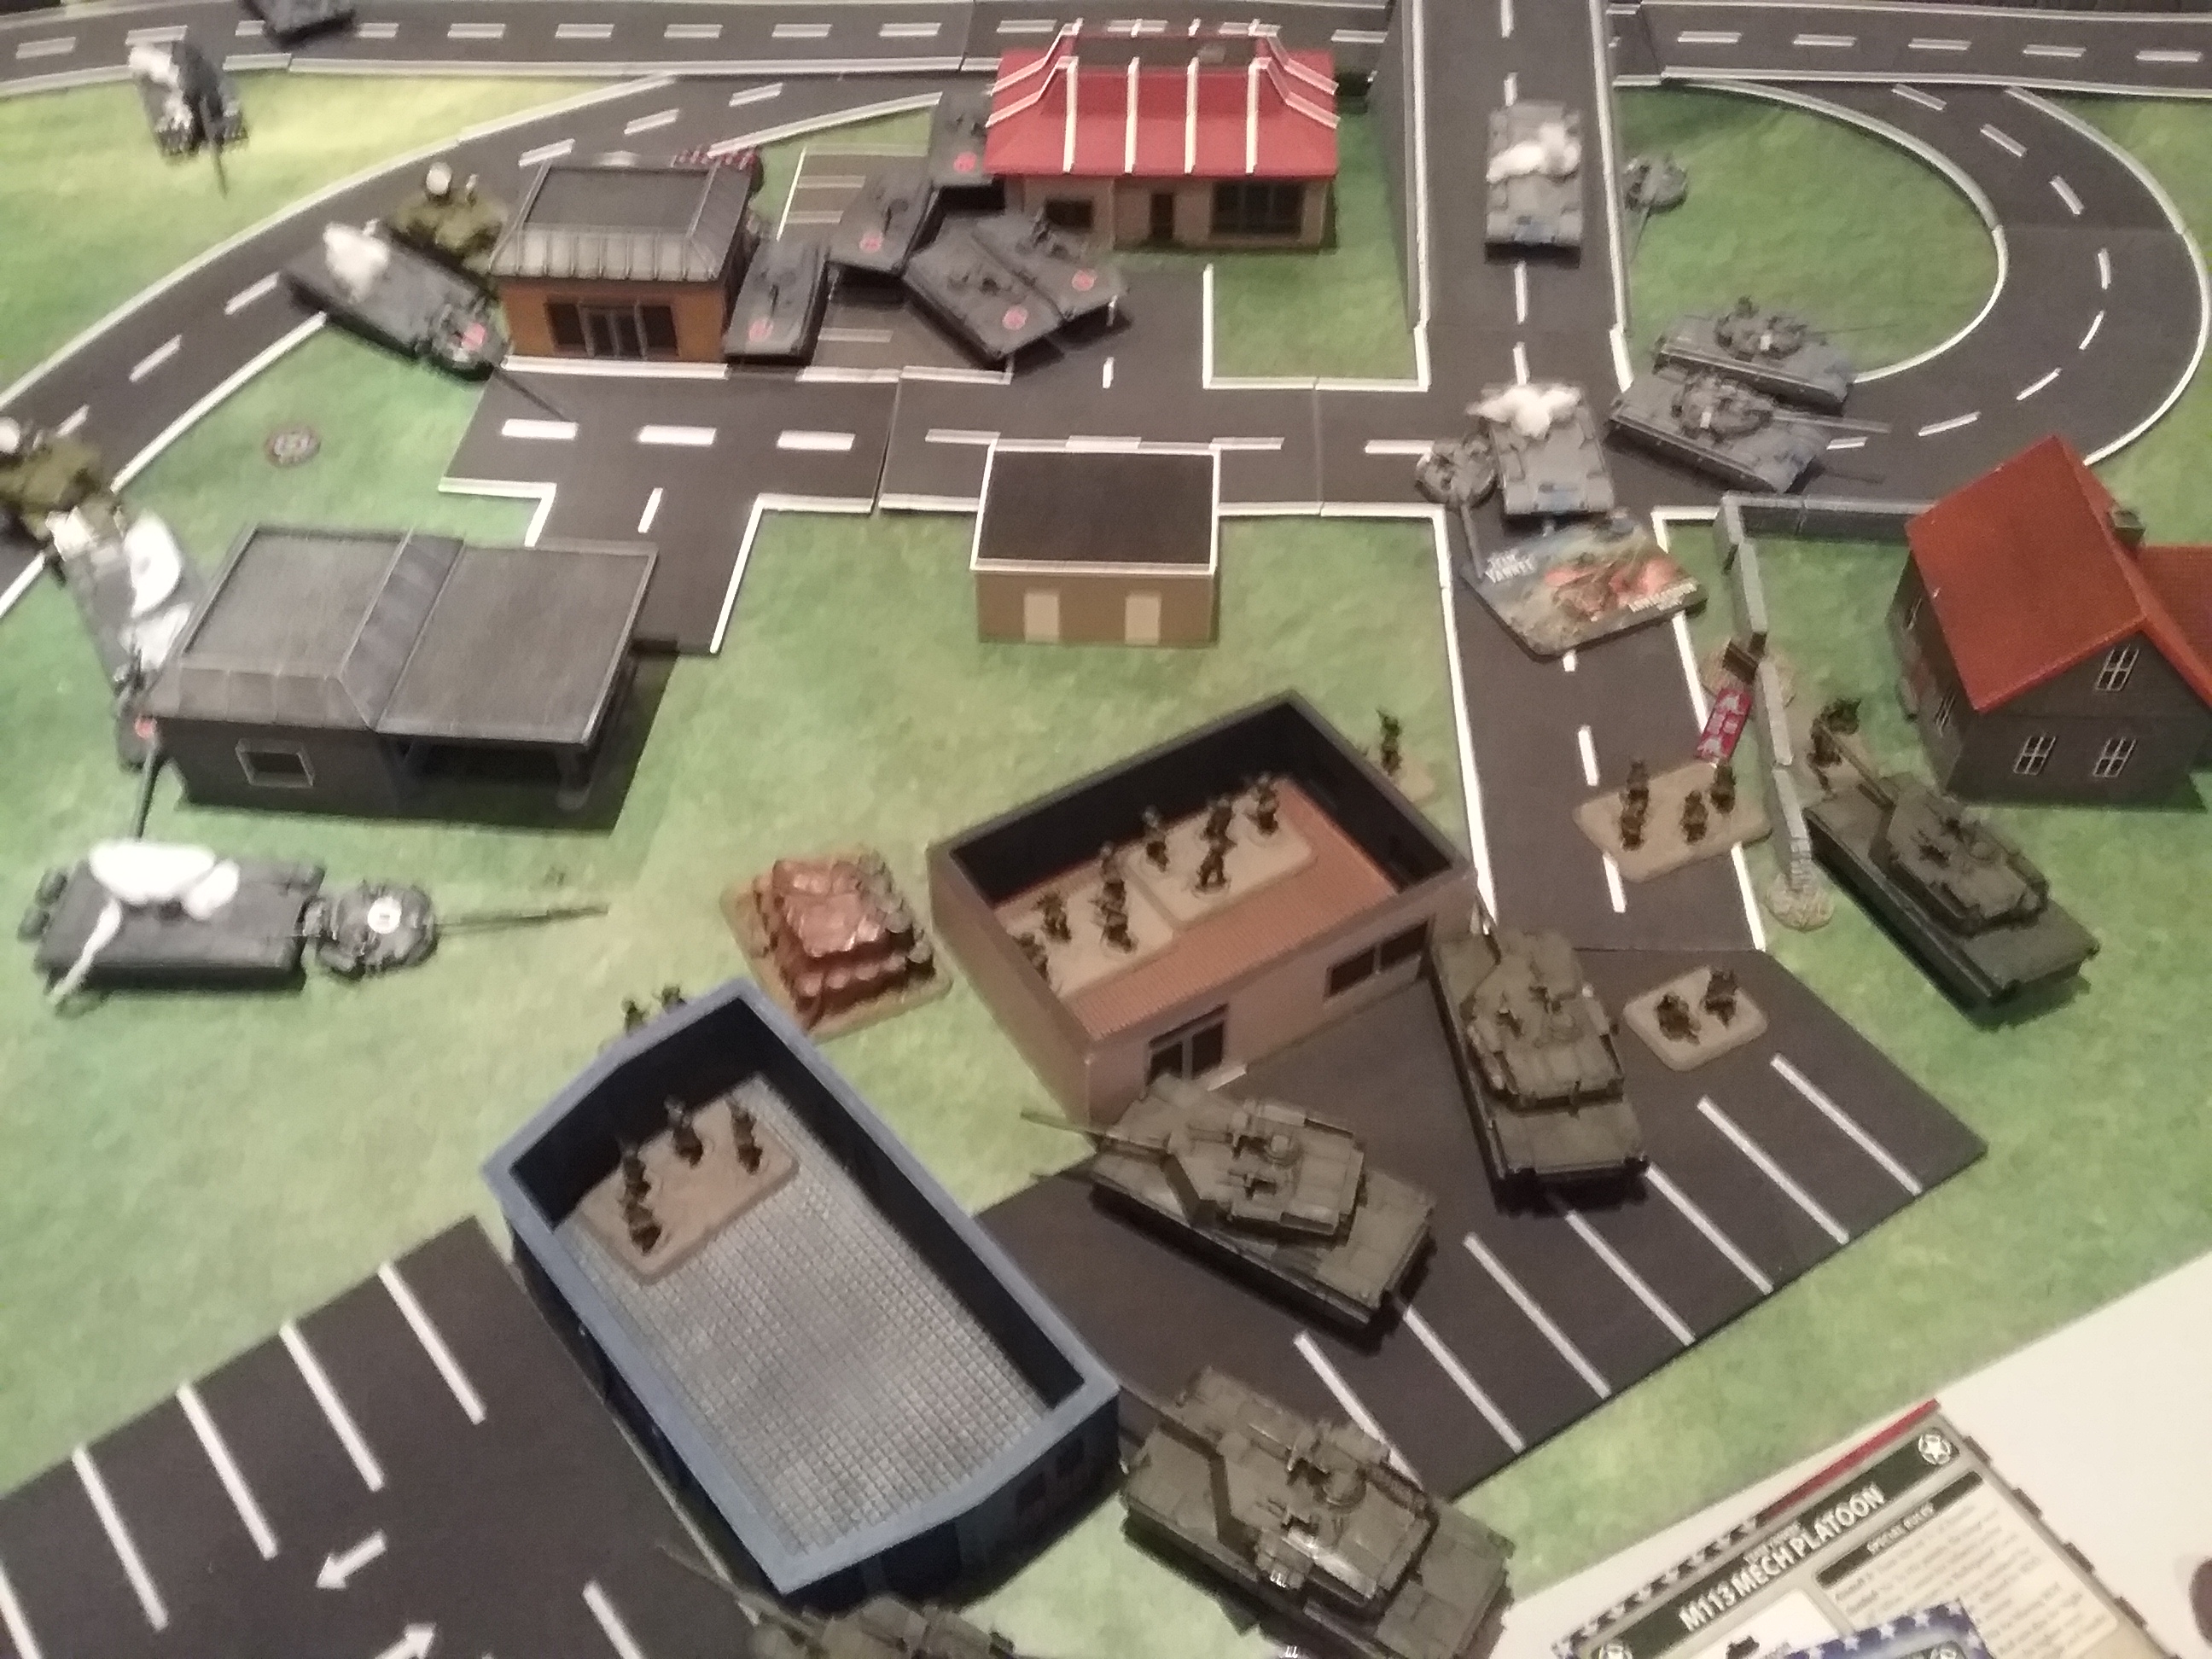
With most of the Warpac tanks destroyed, American light armoured vehicles started to close in on the enemy HQ to dig out the enemy infantry, covered by M1 Abrams from a distance. Running out of options, the NVA commander opted for a desperate suicidal charge to destroy the attackers in close combat but got gunned down by autocannons and HMGs.
A9 remained in the hands of NATO with only minor losses.

Even though NATO had to defend three objectives and had to deal with scattered deep reserves, the battle went very well. First the terrain was a huge advantage for the defender with open spaces the attackers had to cross while the defenders had just enough cover to hide behind. Enemy targets were taken on very early and piece by piece. Reserves arrived on time and exactly where they were needed.
Also the organisation structure of the NVA forces was a problem (as expected beforehand), since 3 tank strong platoons forced a lot of morale tests. At least 5 units were routed this way.
Comined with underperforming East German gunners this all resulted in only minor losses for NATO. (3 M109s and 2 M1 Abrams) while the enemy force was almost completely wiped out. (Only some BMP1s and 3-4 stands of infantry left).
Result: 5:2
Battle Report Author
Army Lists Used In This Battle
Recommend Commander For Commendation
Share this battle with friends
StingrayWins

great table
Nice looking table set up. Better luck next time.
Awesome report and good win!
+++
Congratulations on have your report selected. Pitty I cannot give you another commendation!
Nice report, the content was just right. Also, congrats on the win!
Great report and congratulations on the win.
nice one, congrats on the win!
Nice report and table looks cool. Congrats on win!
Nice autobahn set-up! Very big fan of the table.
Awesome report! Great photos and an outstanding table!
Outstanding! Excellent table.
I like the reports that disguise game mechanics with a creative explanation. Reading this, in my mind it sounded like your boys finished off part of the Kampfgruppe my Cavalry troop tangled with yesterday.
+++
Nice report set up and the terrain table looks good.
To bad the good side lost 😉
Nice job, great report. Awesome table.
Nice job
Very nice table setup, I’m taking notes for future setups.
Kudos to Leichti for providing and setting up the terrain as well as being a good sport.
I thought, the details of the battle report would be visible to other’s automatically. Information added. OOP is in the attechment, though.
Amazing table! I am jealous too! Lots of space and an Autobahn too!!! Please post your order of battle and the scenario that you played if you can. It makes following your battles easier for us at home audience members.
Great Terrain and nice scenario set up;
On which scenario was this based? Hasty attack? As it was in the Hof sector?
Thx for sharing & happy campaigning!!
An impressive table to be sure, I’m very jealous. Congratulations on the win, and driving Ivan back from their advance into Hof.
Nice report