Fought At Frankfurt
2235 days 11 hours 11 minutes ago
Last Exercise Before Battle!
60 POINTS
"Right lads listen in! We've drawn the bloody Panzers in today's exercise. I want you to show this 'Federal Defence Force' how real, professional soldiers fight. Remember, we head to the line next week so there is no room for error anymore. Fight well, fight hard!"
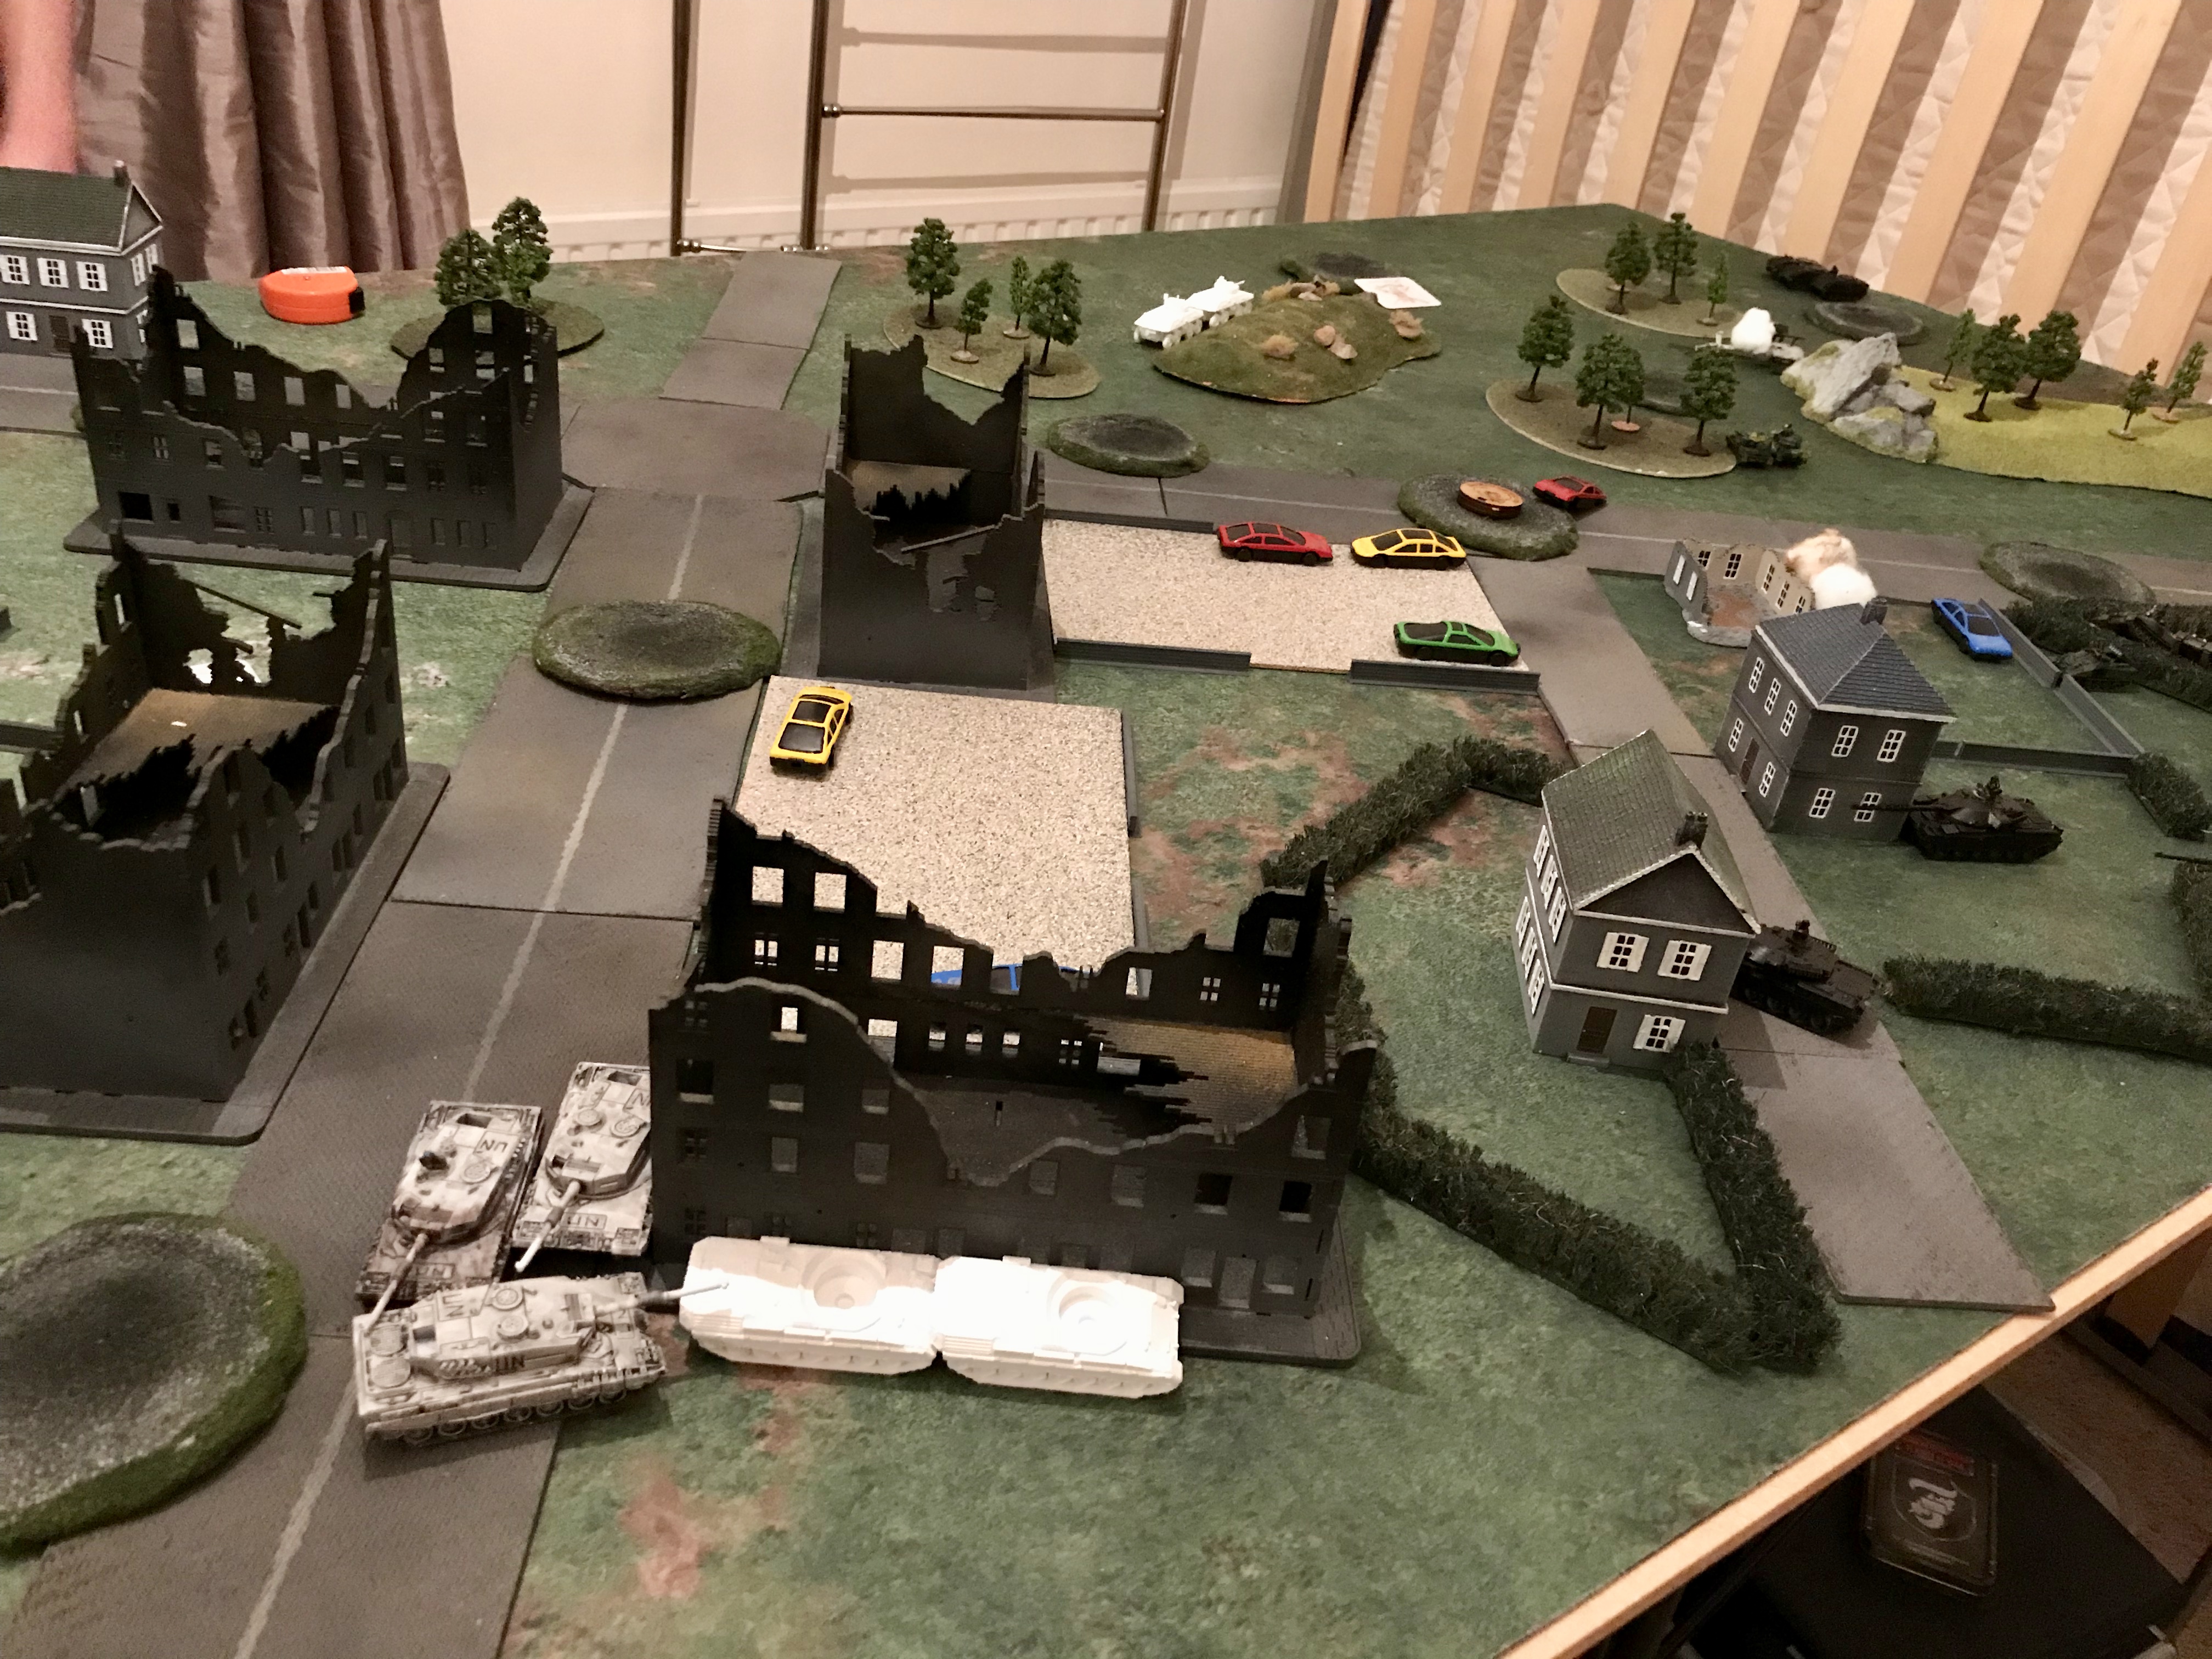
Here we have the battle report for my British Armoured Recce Squadron taking on Panzer Division of my friend Vinehart in a 64 point battle. We rolled off for who would decide the field of battle and as normal I lost rolling a two. Vinehart selected to battle at Frankfurt, in a Counterattack action with him playing the NATO force. The game was played at Bag Of Bones Wargaming, PLYMOUTH, UK.
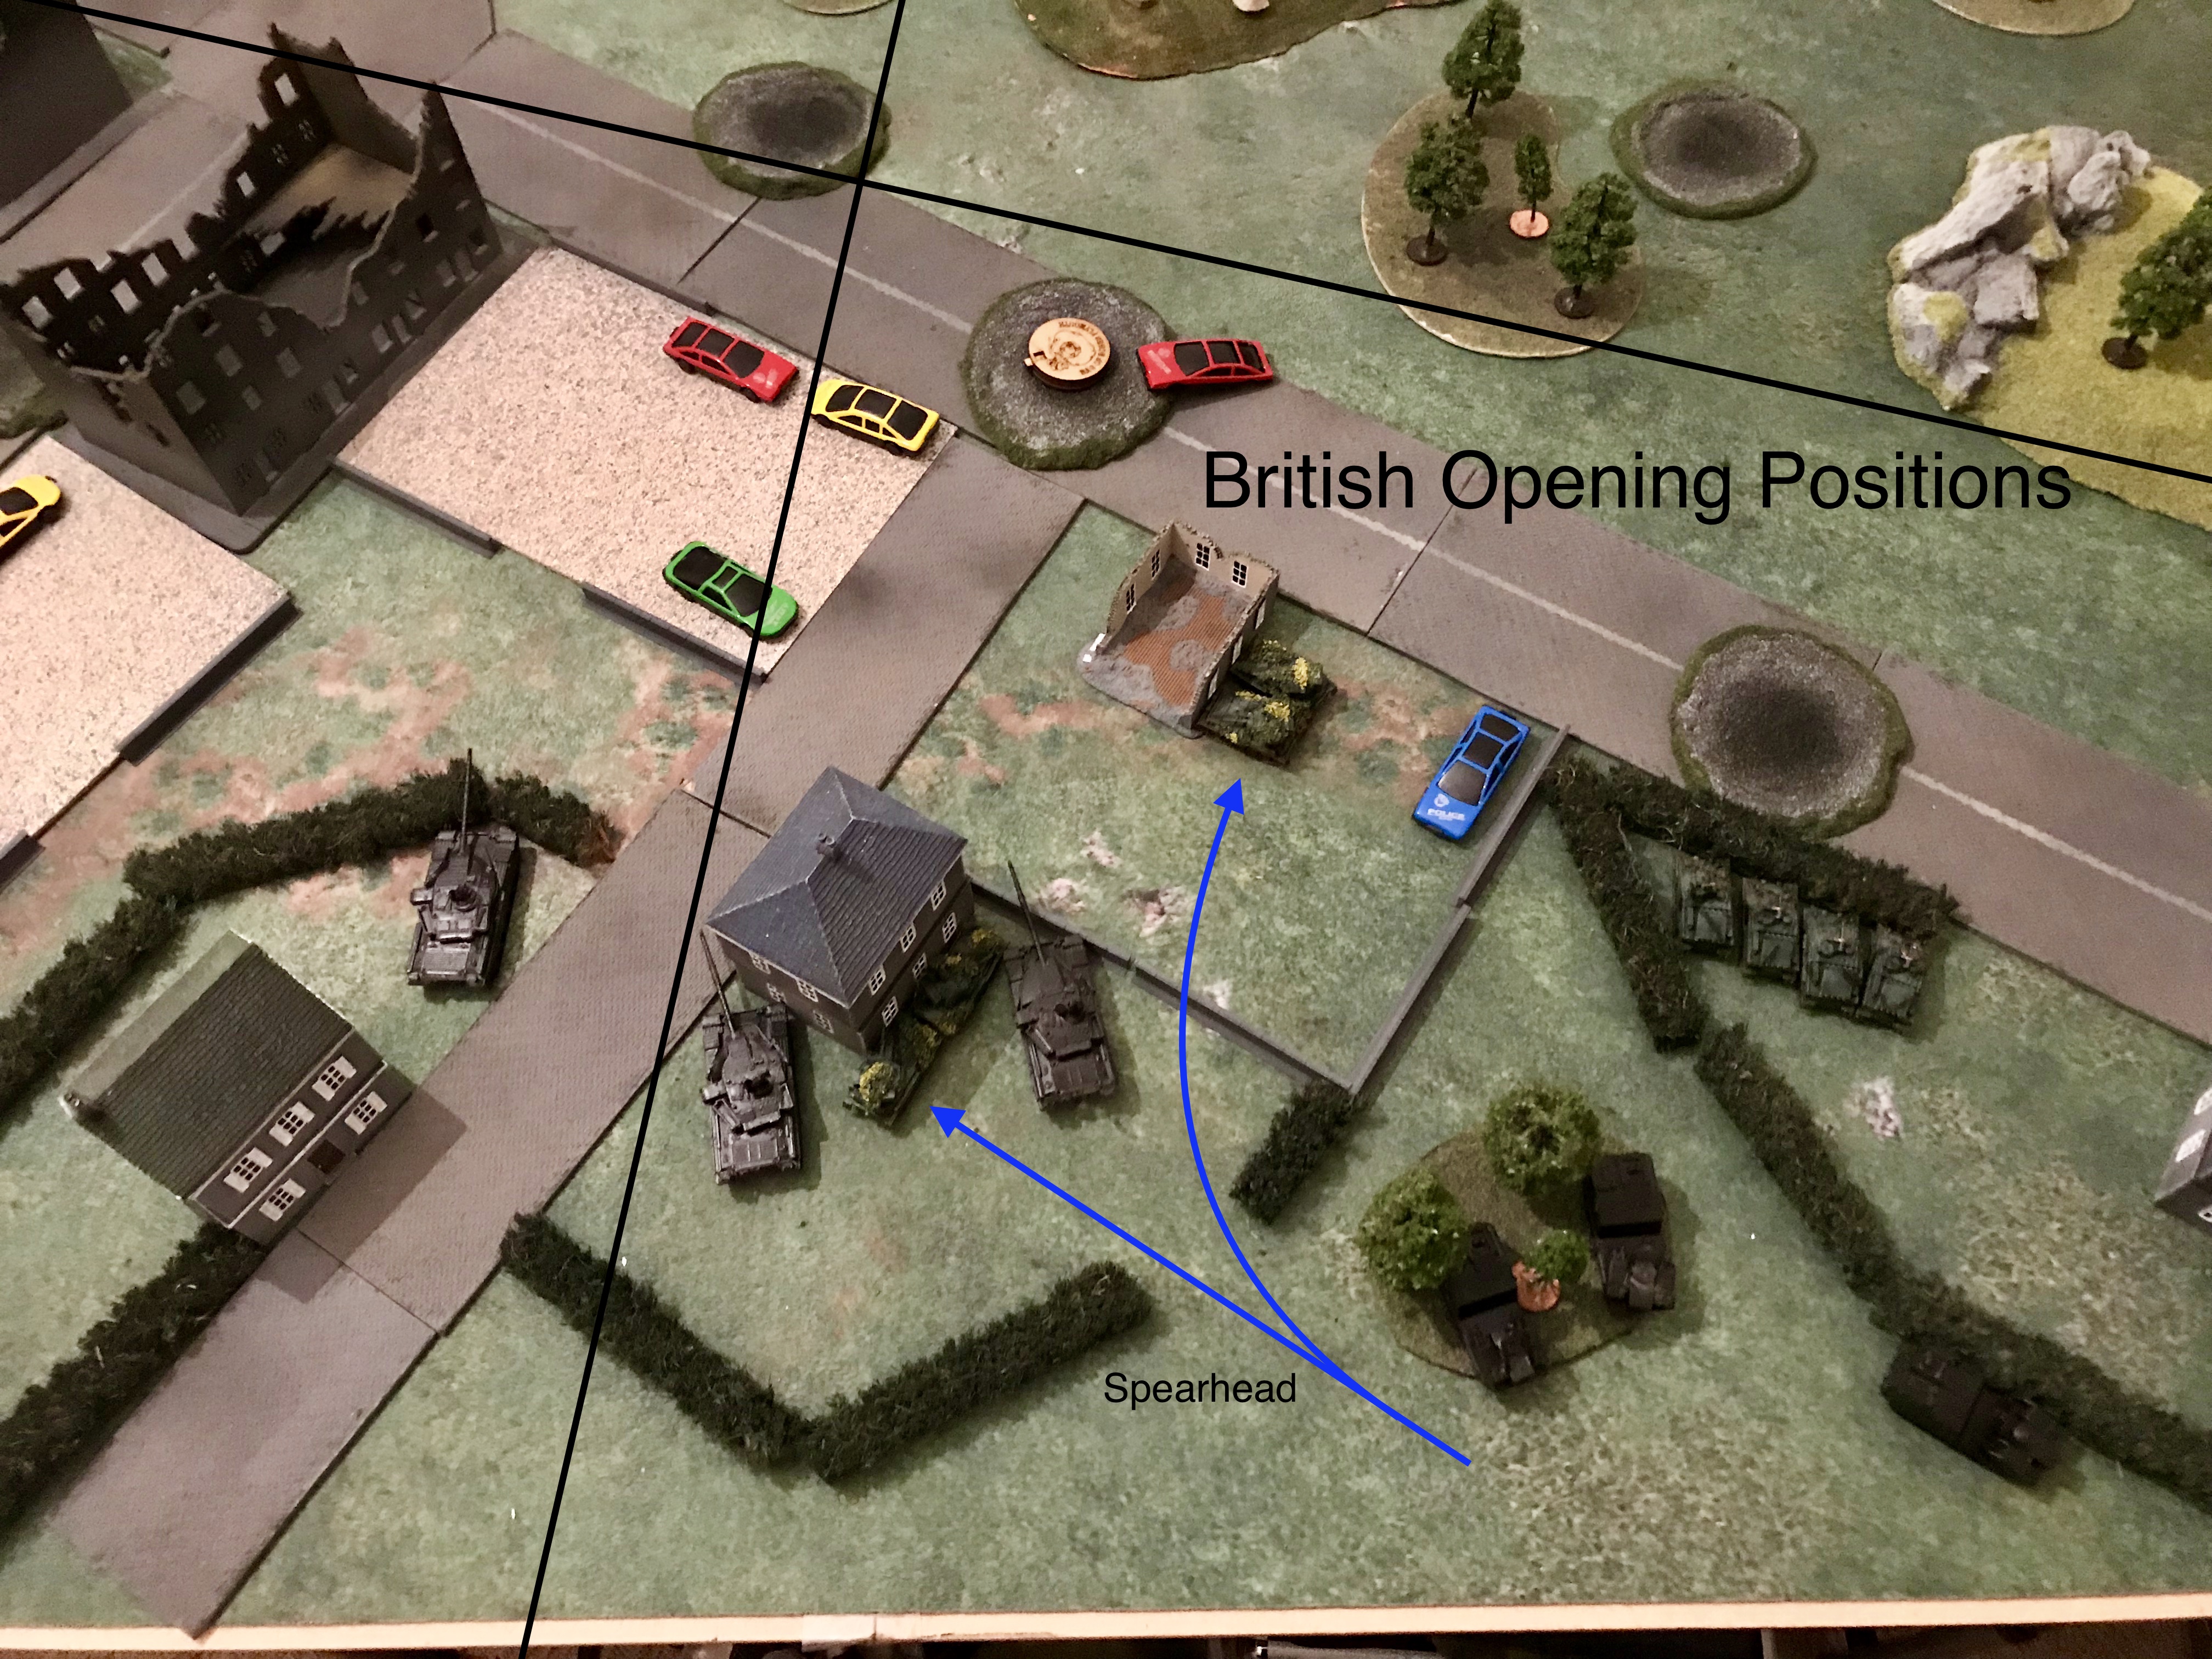
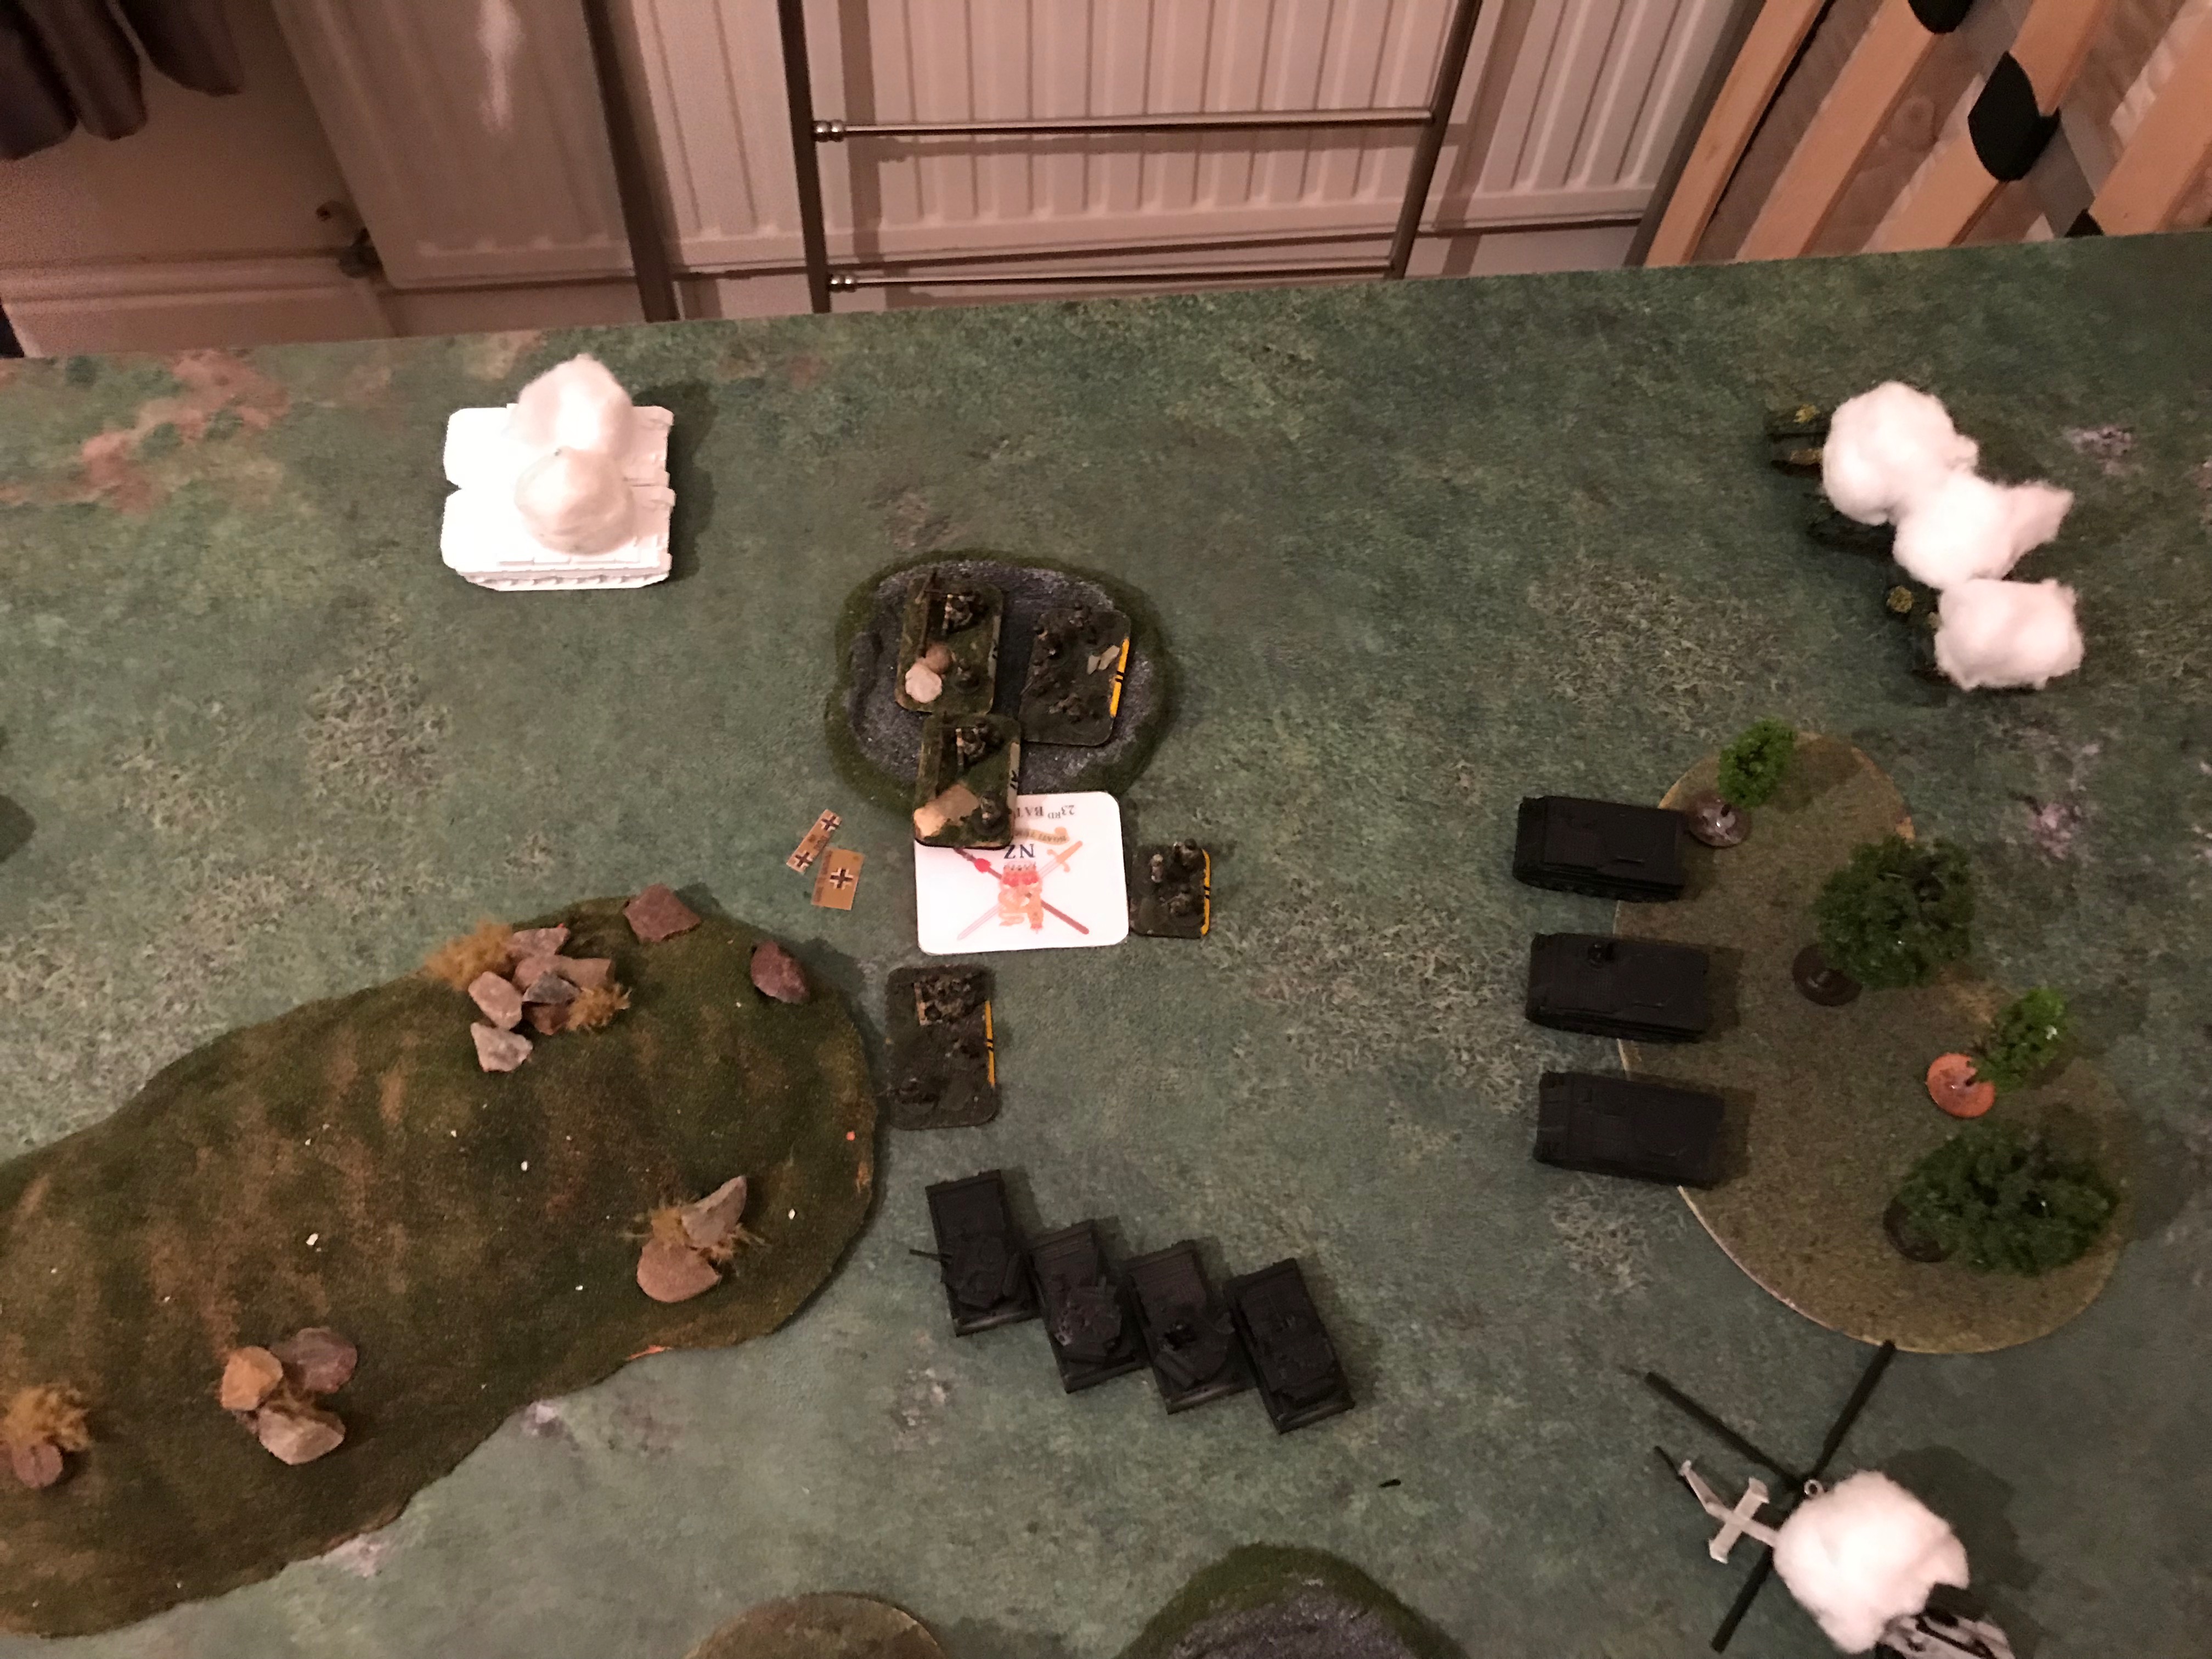
The Bundeswehr selected the left side of the table to defend from leaving me the two quarters on the right. We then selected our 50% to hold in reserve:
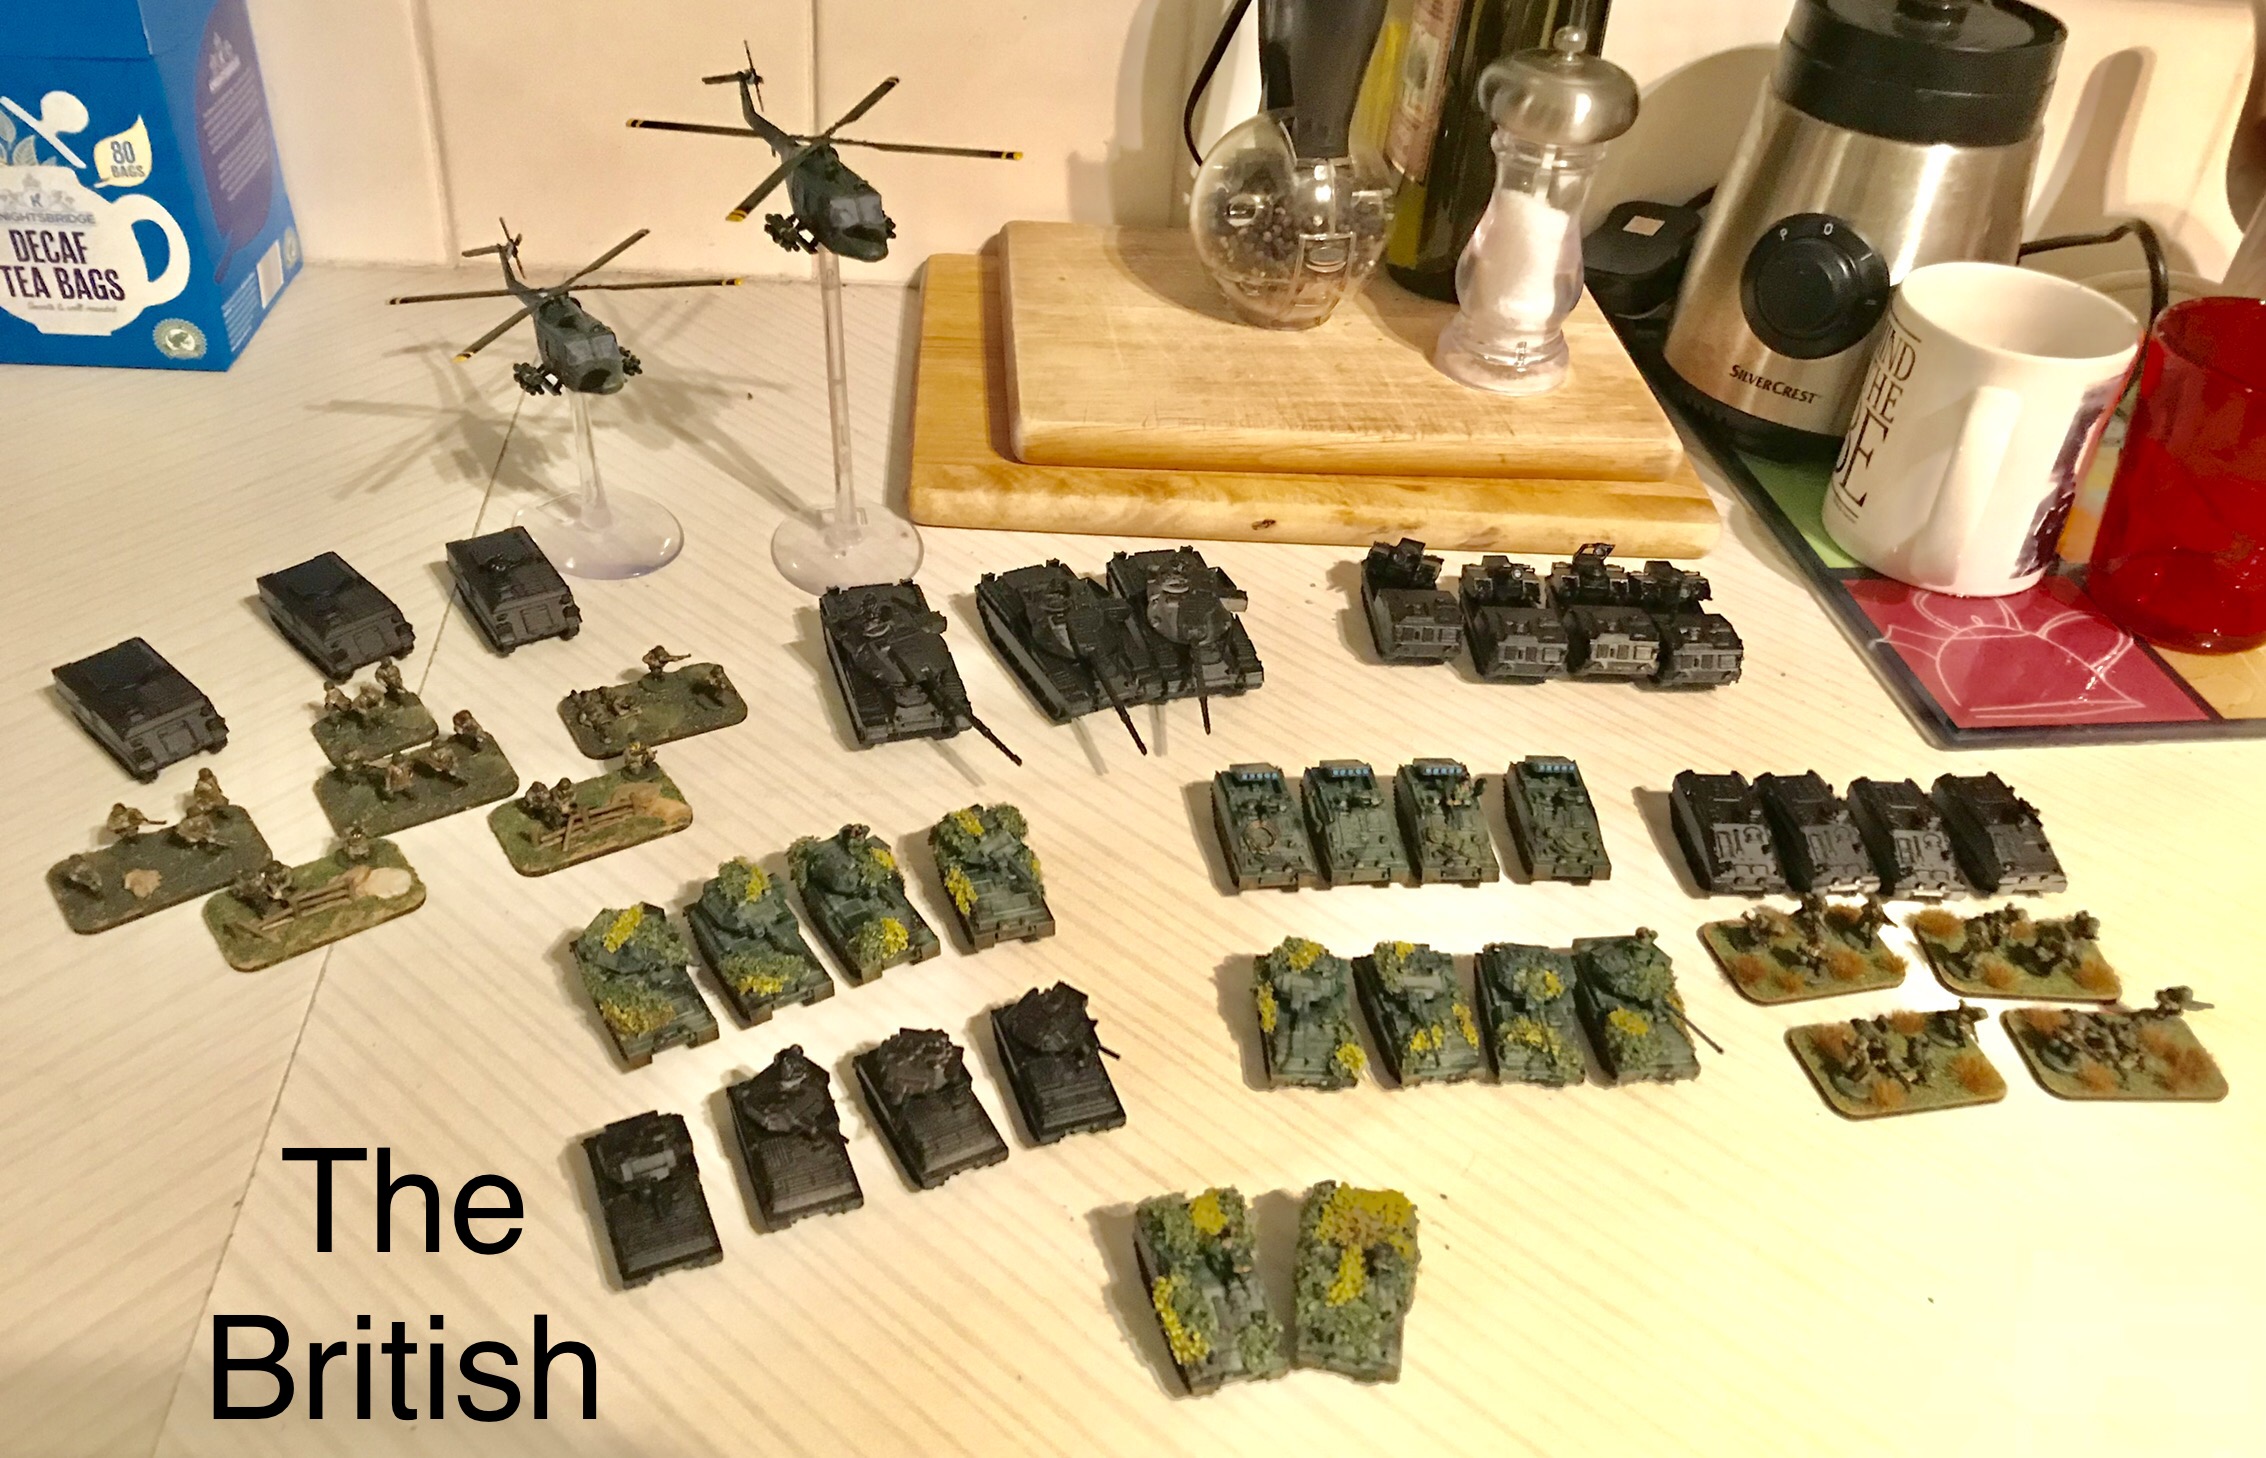
British - Medium Recce Squadron
Deployed:
Scorpion Recce Troop A
Striker Guided Weapons Troop
Chieftain Armoured Troop
F432 Mechanised Platoon (Reduced)
Tracked Rapier SAM Section
Held In Reserve:
Spartan Recce Squadron HQ
Scorpion Recce Troop B
Scimitar Recce Troop
Spartan Support Platoon
TOW Lynx Helarm Flight
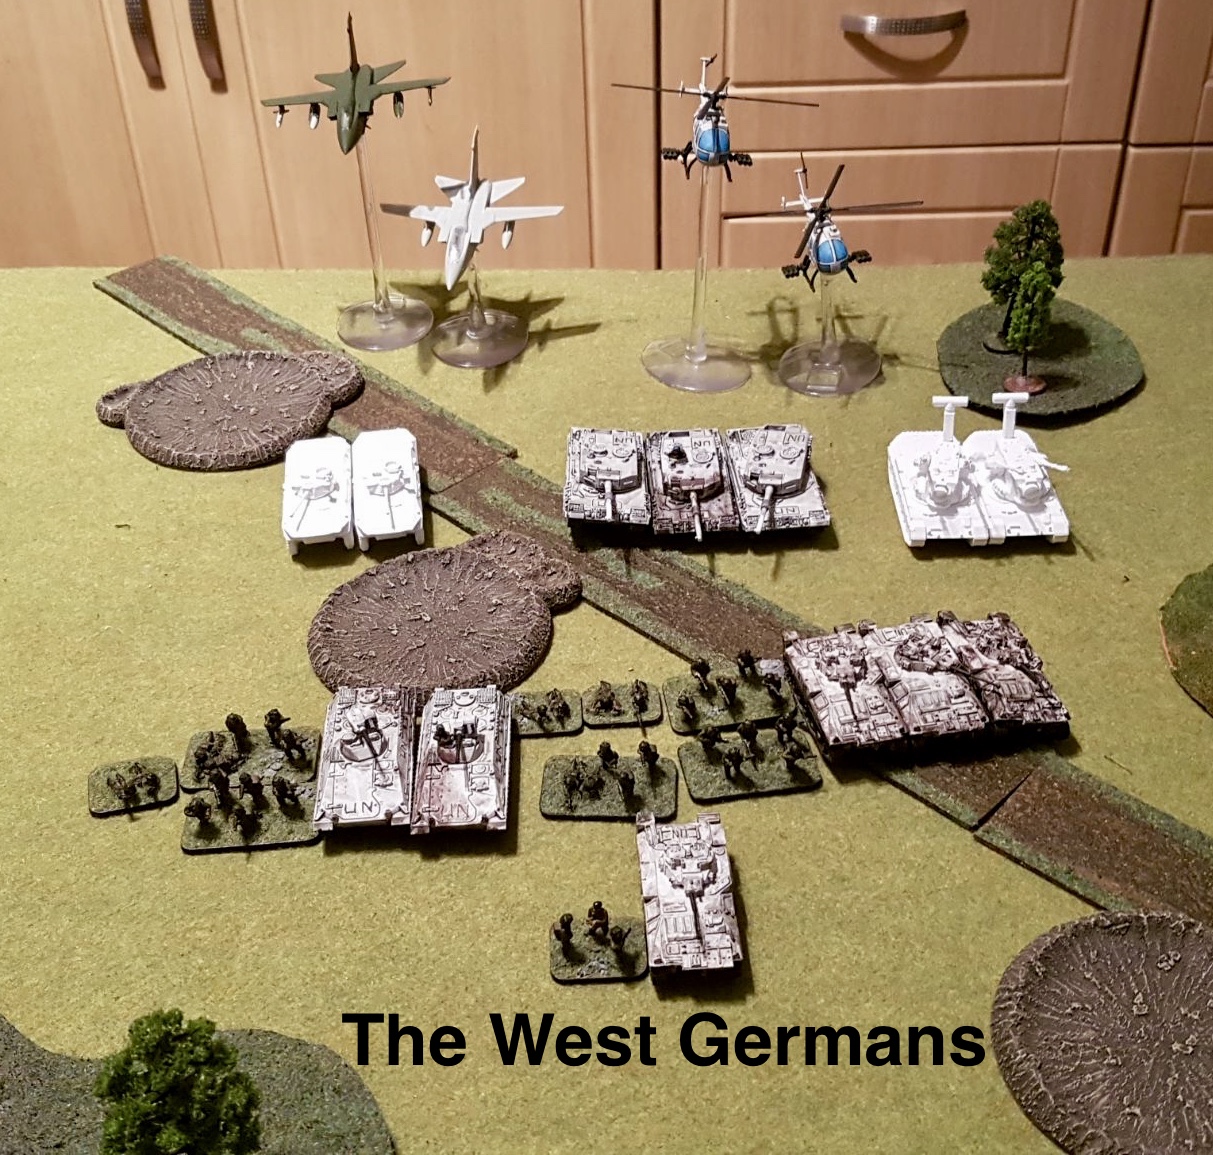
West German - Marder Panzergrenadier Kompanie
Deployed:
Leopard 2 Panzer Zug
Luchs Spah A Trupp
PAH Anti-Tank Helicopter Flight
Tornado Strike Flight
Held In Reserve:
Marder Panzergrenadier Kompanie HQ
Marder Panzergrenadier Zug (Full)
Marder Panzergrenadier Zug (Reduced)
Gepard Flakpanzer Batterie
Luchs Spah B Trupp

The Bundeswehr used his Luchs Spah Trupp (Luchs A) to spearhead towards the furthest objective from his deployment area. This then allowed his Leopard 2 Panzer Zug to deploy within easy reach of securing it on turn one. The PAH Helicopter Flight was held in ambush.

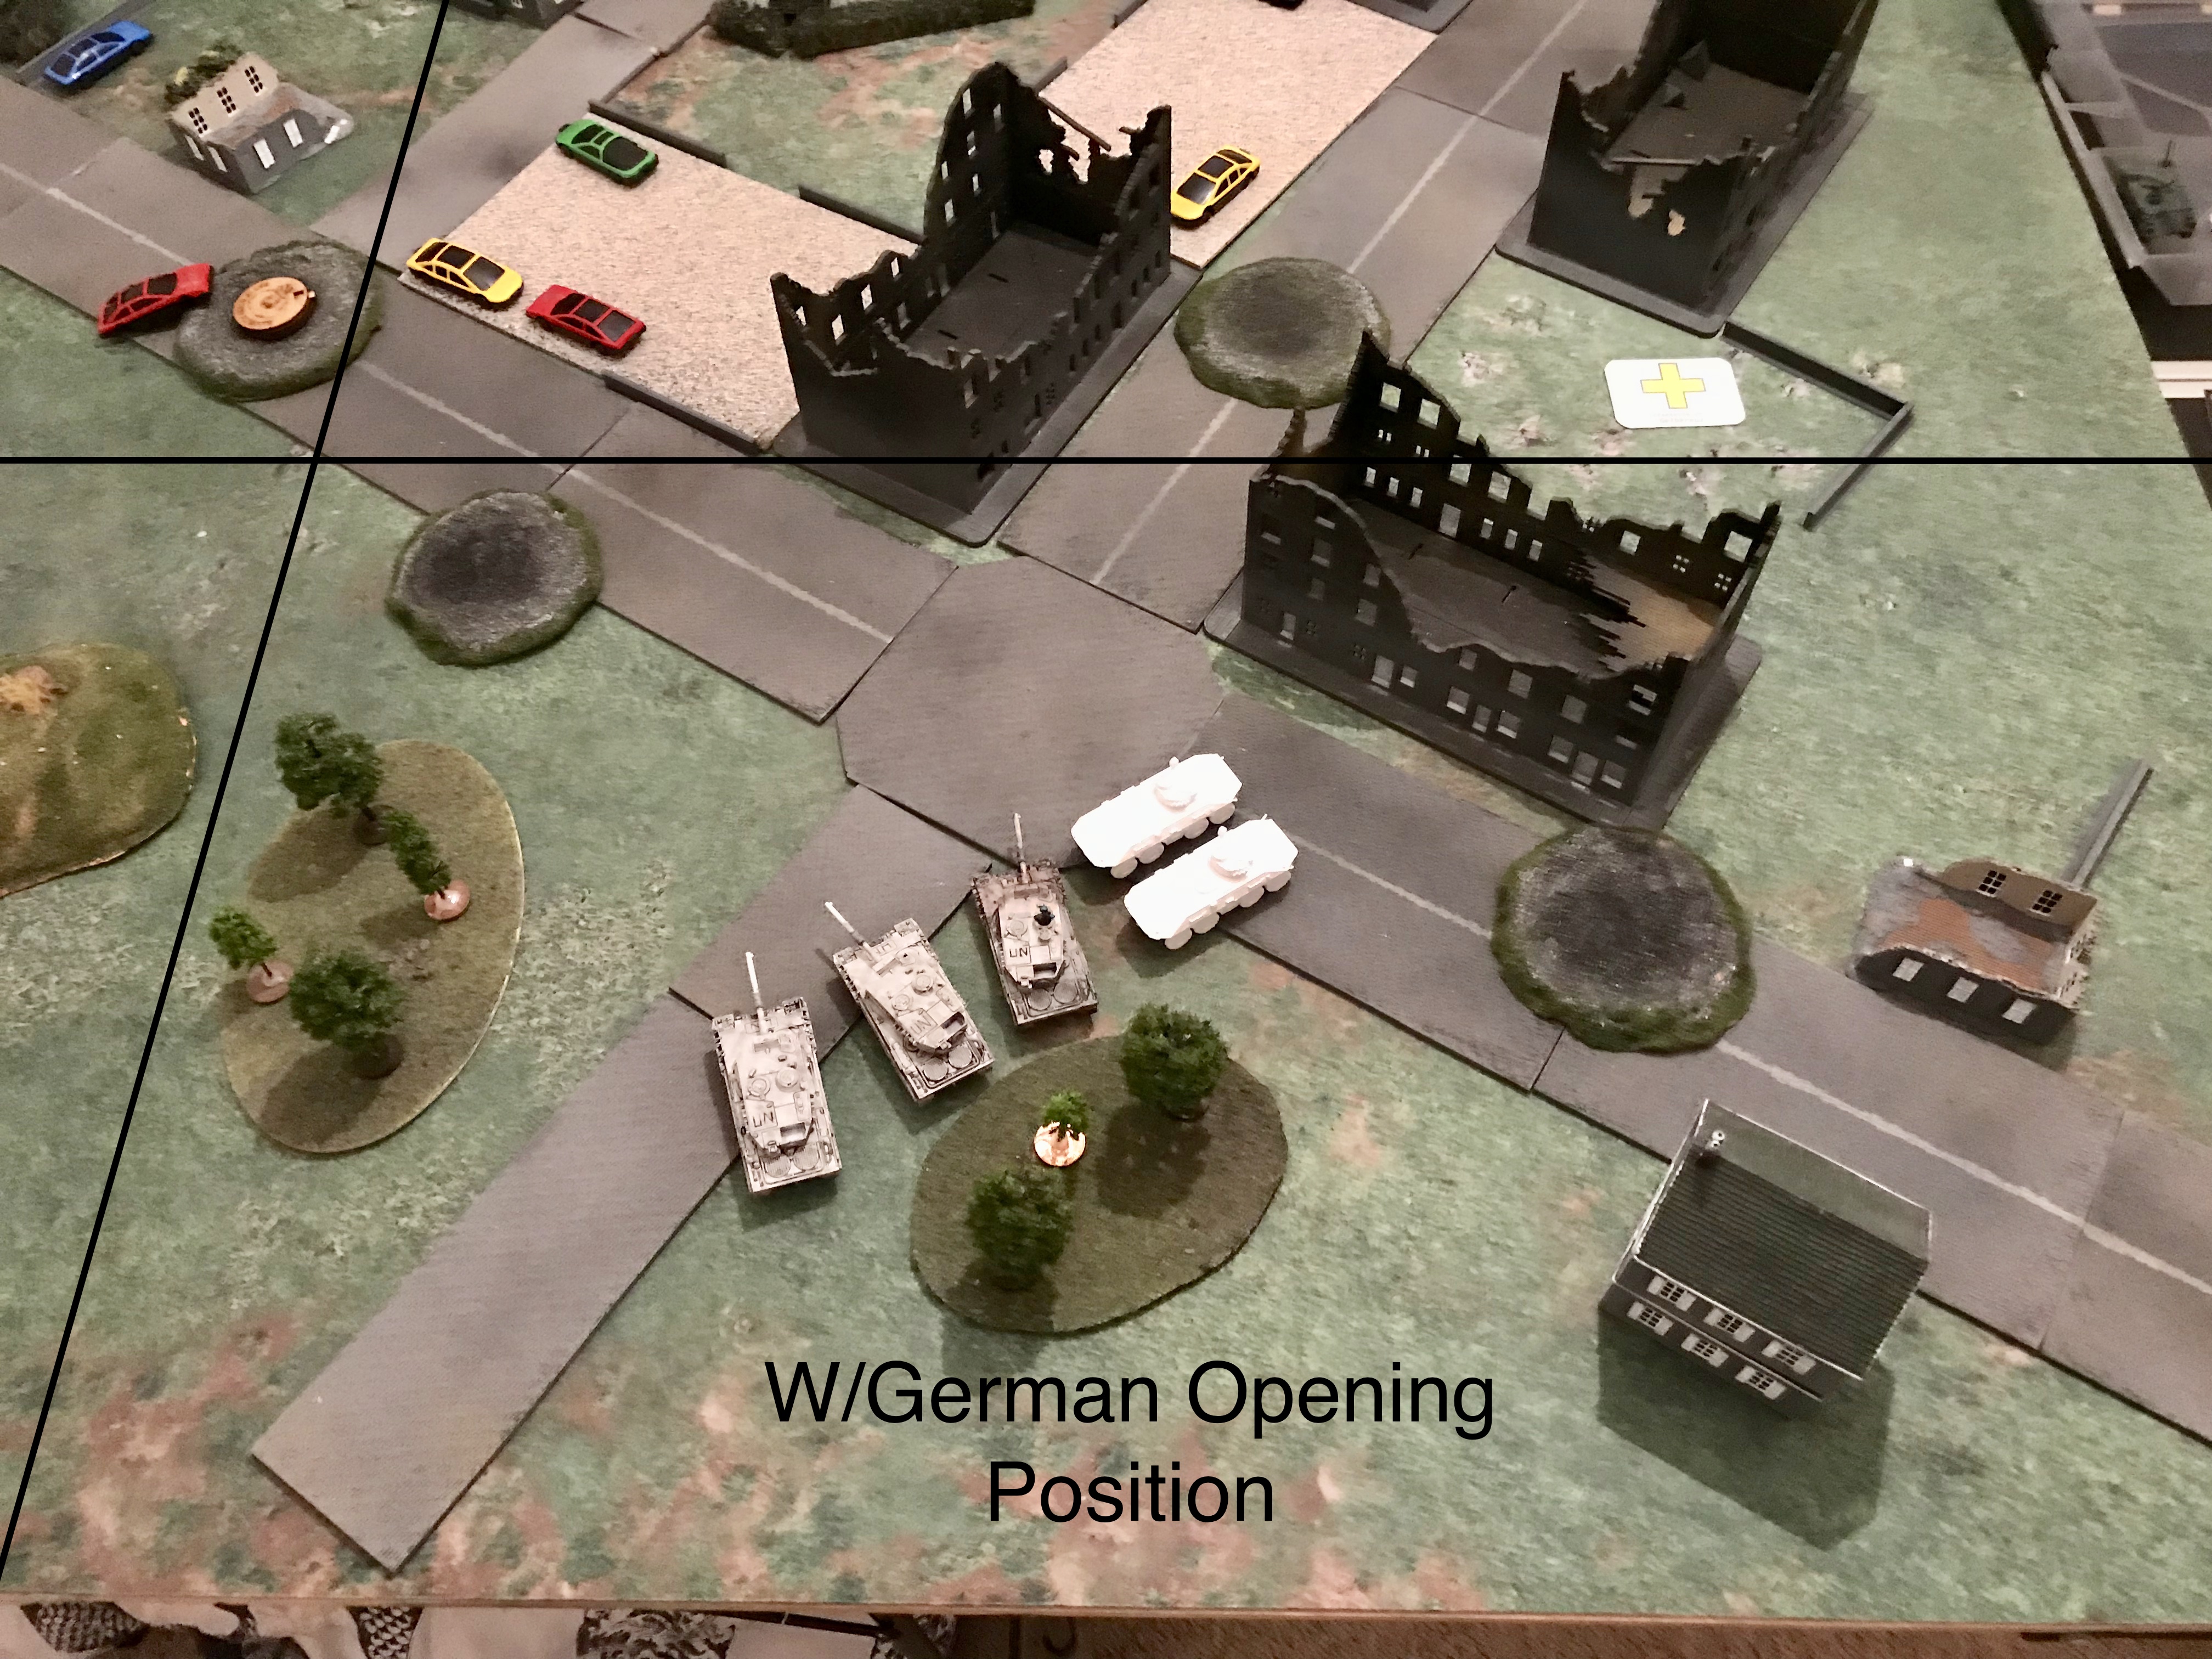
The British used his Scorpion Recce Troop A to spearhead into the centre, opening up the entirety of his side of the battlefield for deployment. The Rapiers sought cover behind hedges and in the woods, with the Chieftains and Strikers providing an arched screen of armour and anti-tank punch. Finally the F432 Mechanised Platoon deployed to the further point on the British right flank ready to make a dash around to the Bundeswehr objective.

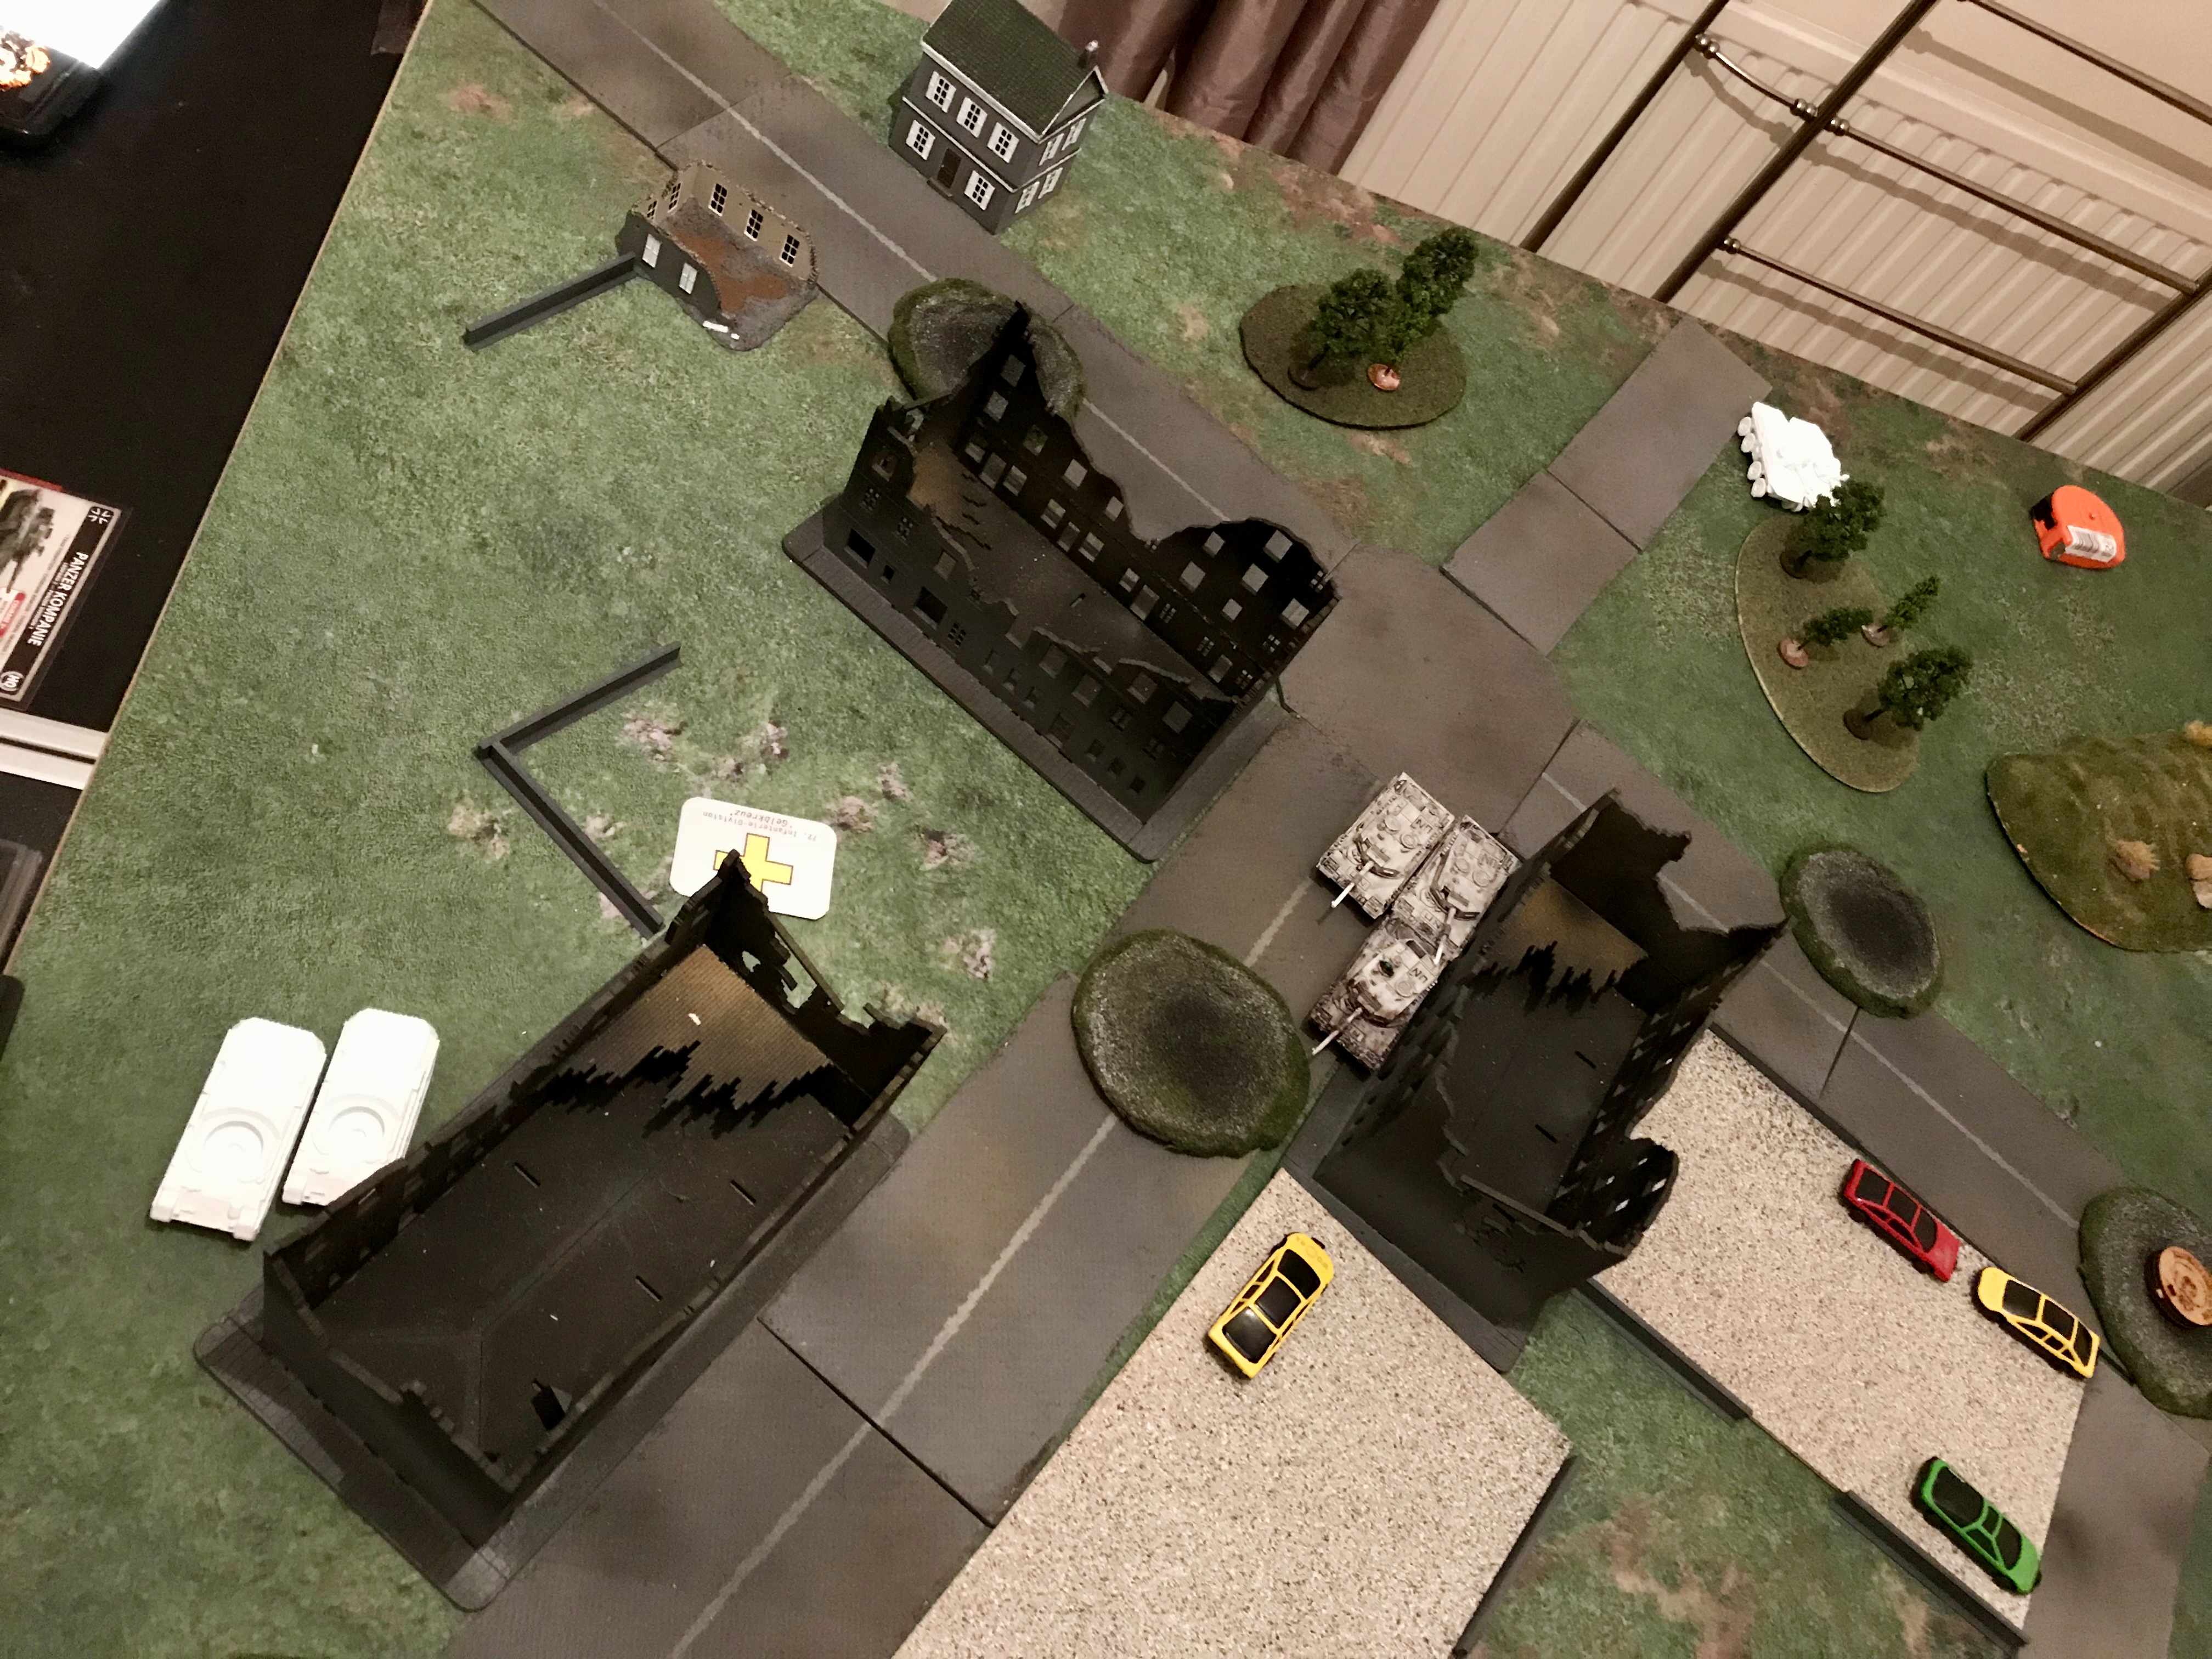
WEST GERMAN
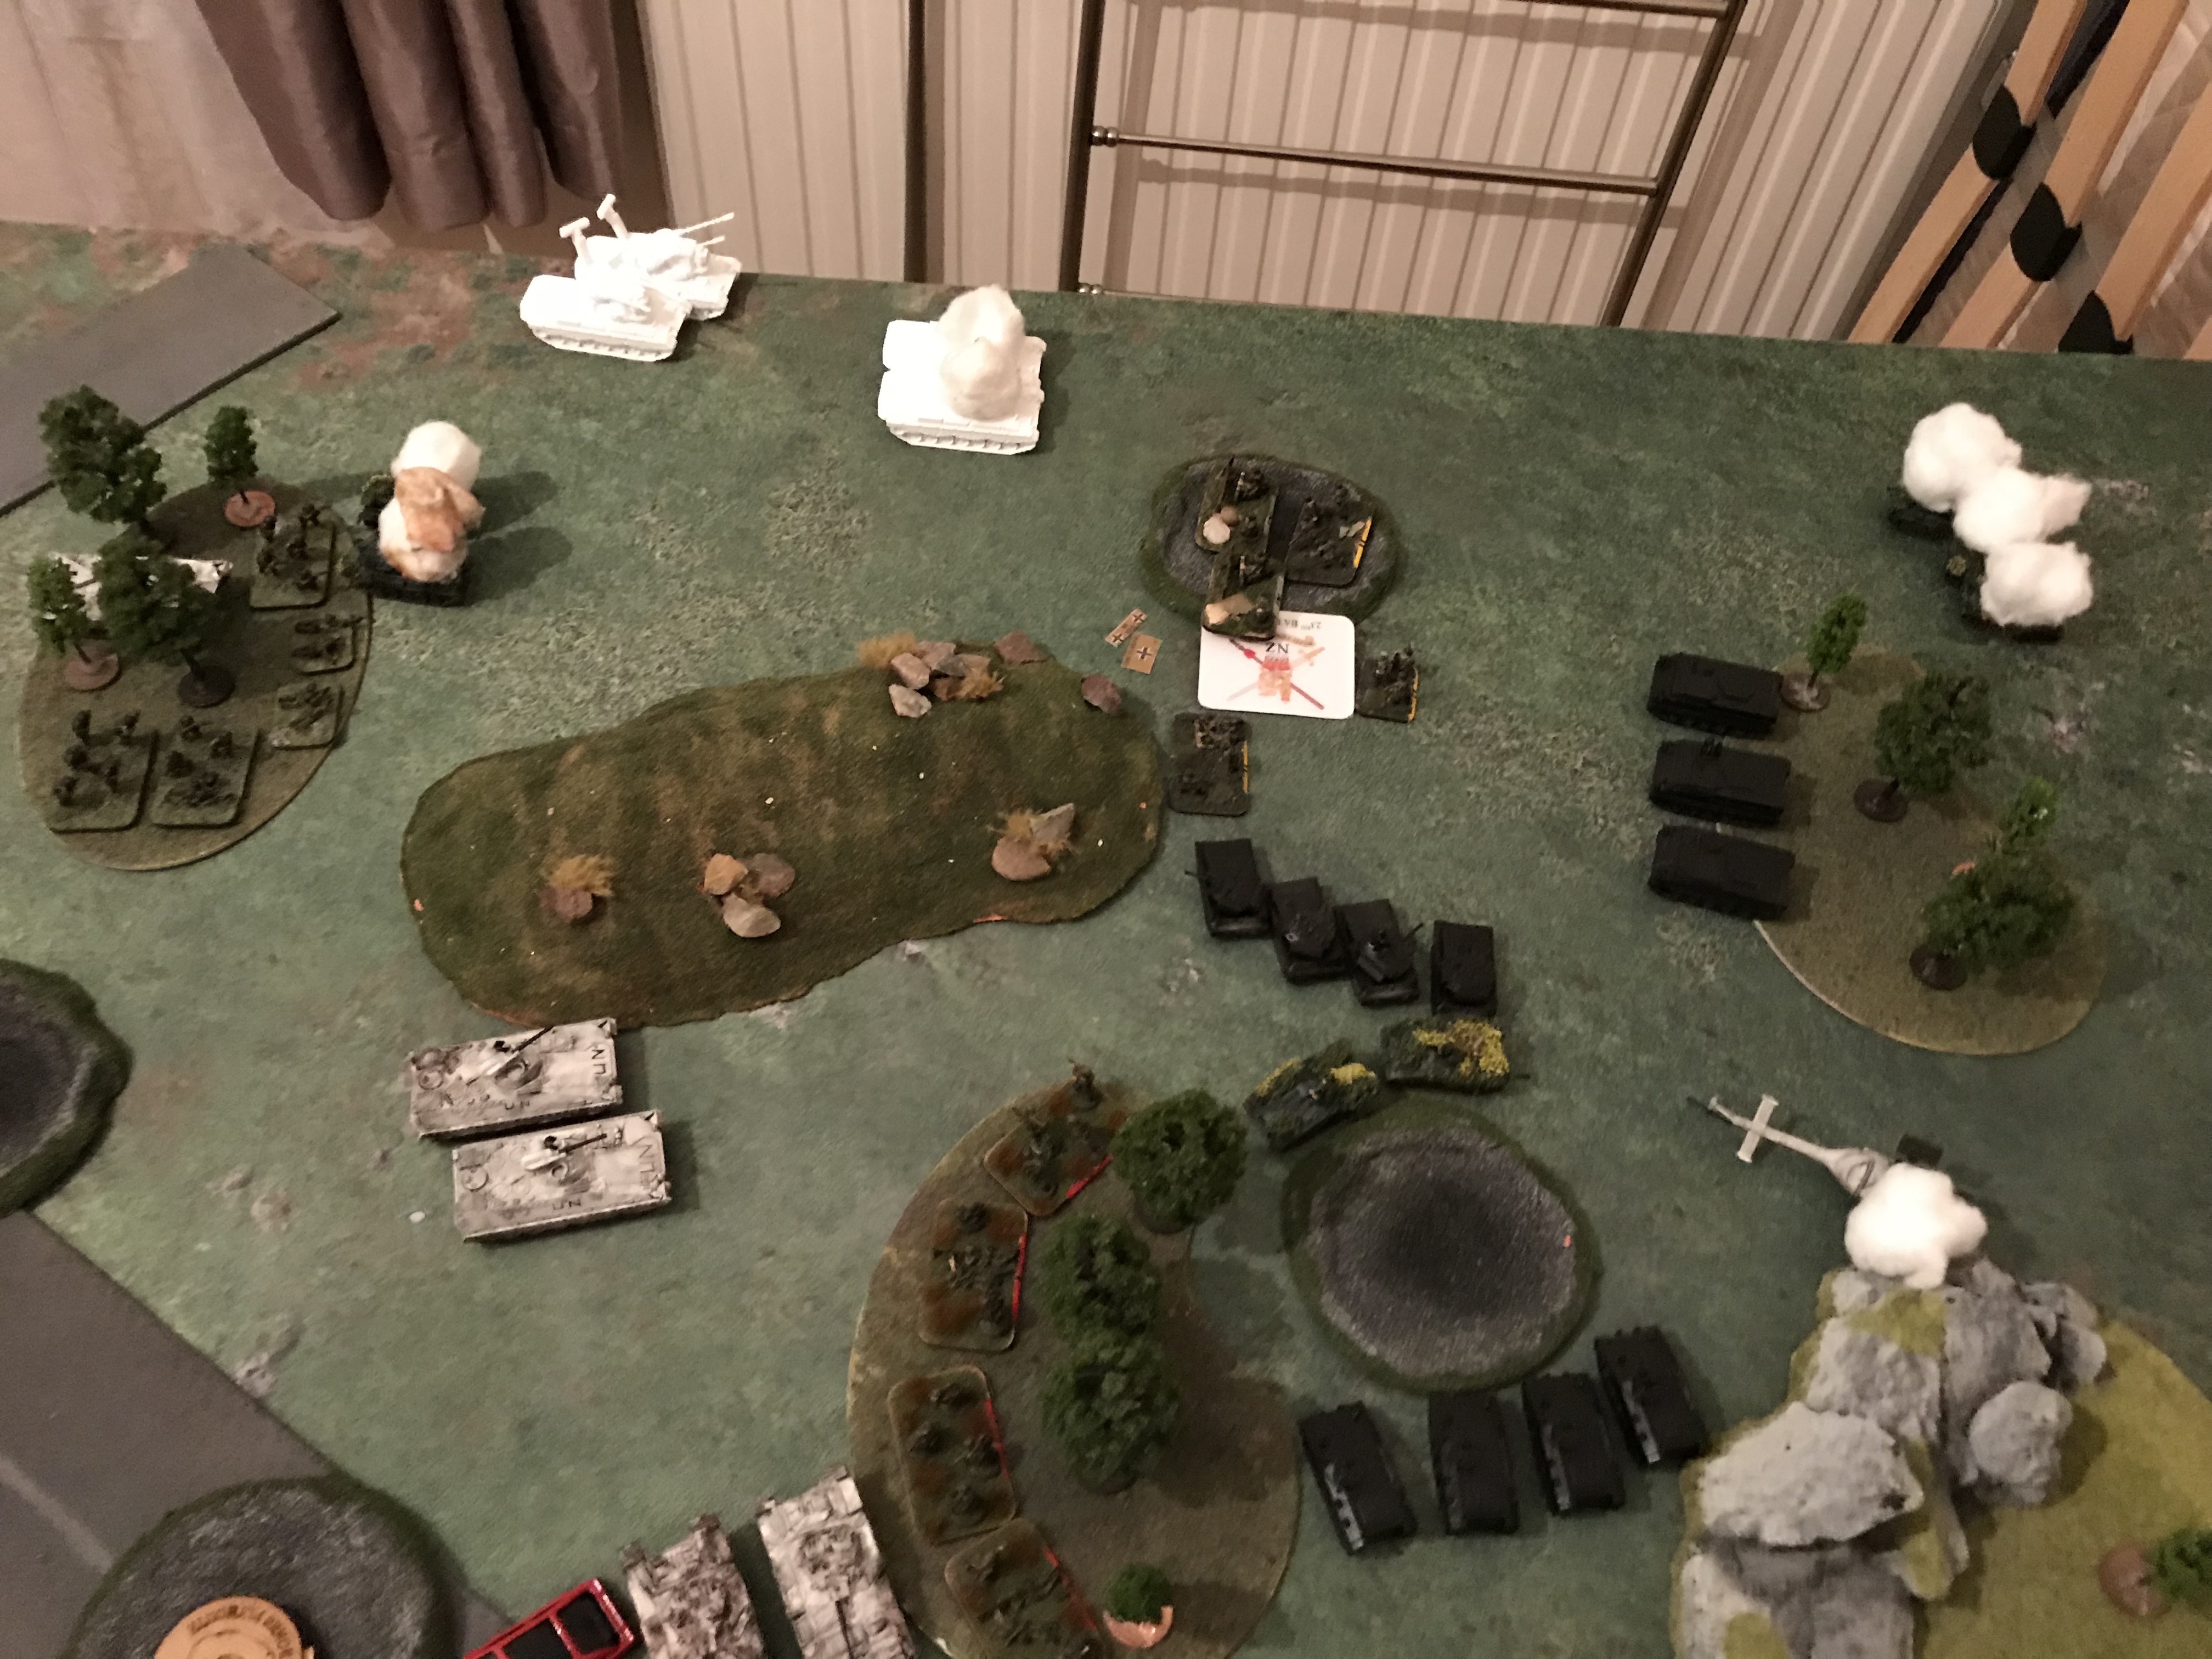
The PAH Helicopter Flight appeared from ambush, lining up to fire at the massed British units in their deployment area. The Tornado Strike flight failed to arrive due to poor weather, bad dice and a general fear of the British Rapiers (more on this later!). The second Luchs Spah Trupp (Luchs B) arrived from reserve and made a cross country dash straight down the British left flank into the town area. The Leopard 2's followed suit and advanced into the town, sneaking behind the buildings and out of line of sight. Luchs Trupp A retired back where it has spearheaded from and towards the Bundeswehr objective.
The PAH Helicopter flight fired at the two visible Scorpions, killing both outright. The British player later realised he could have fired his Rapiers prior to their fire but let bygones be bygones.

BRITISH
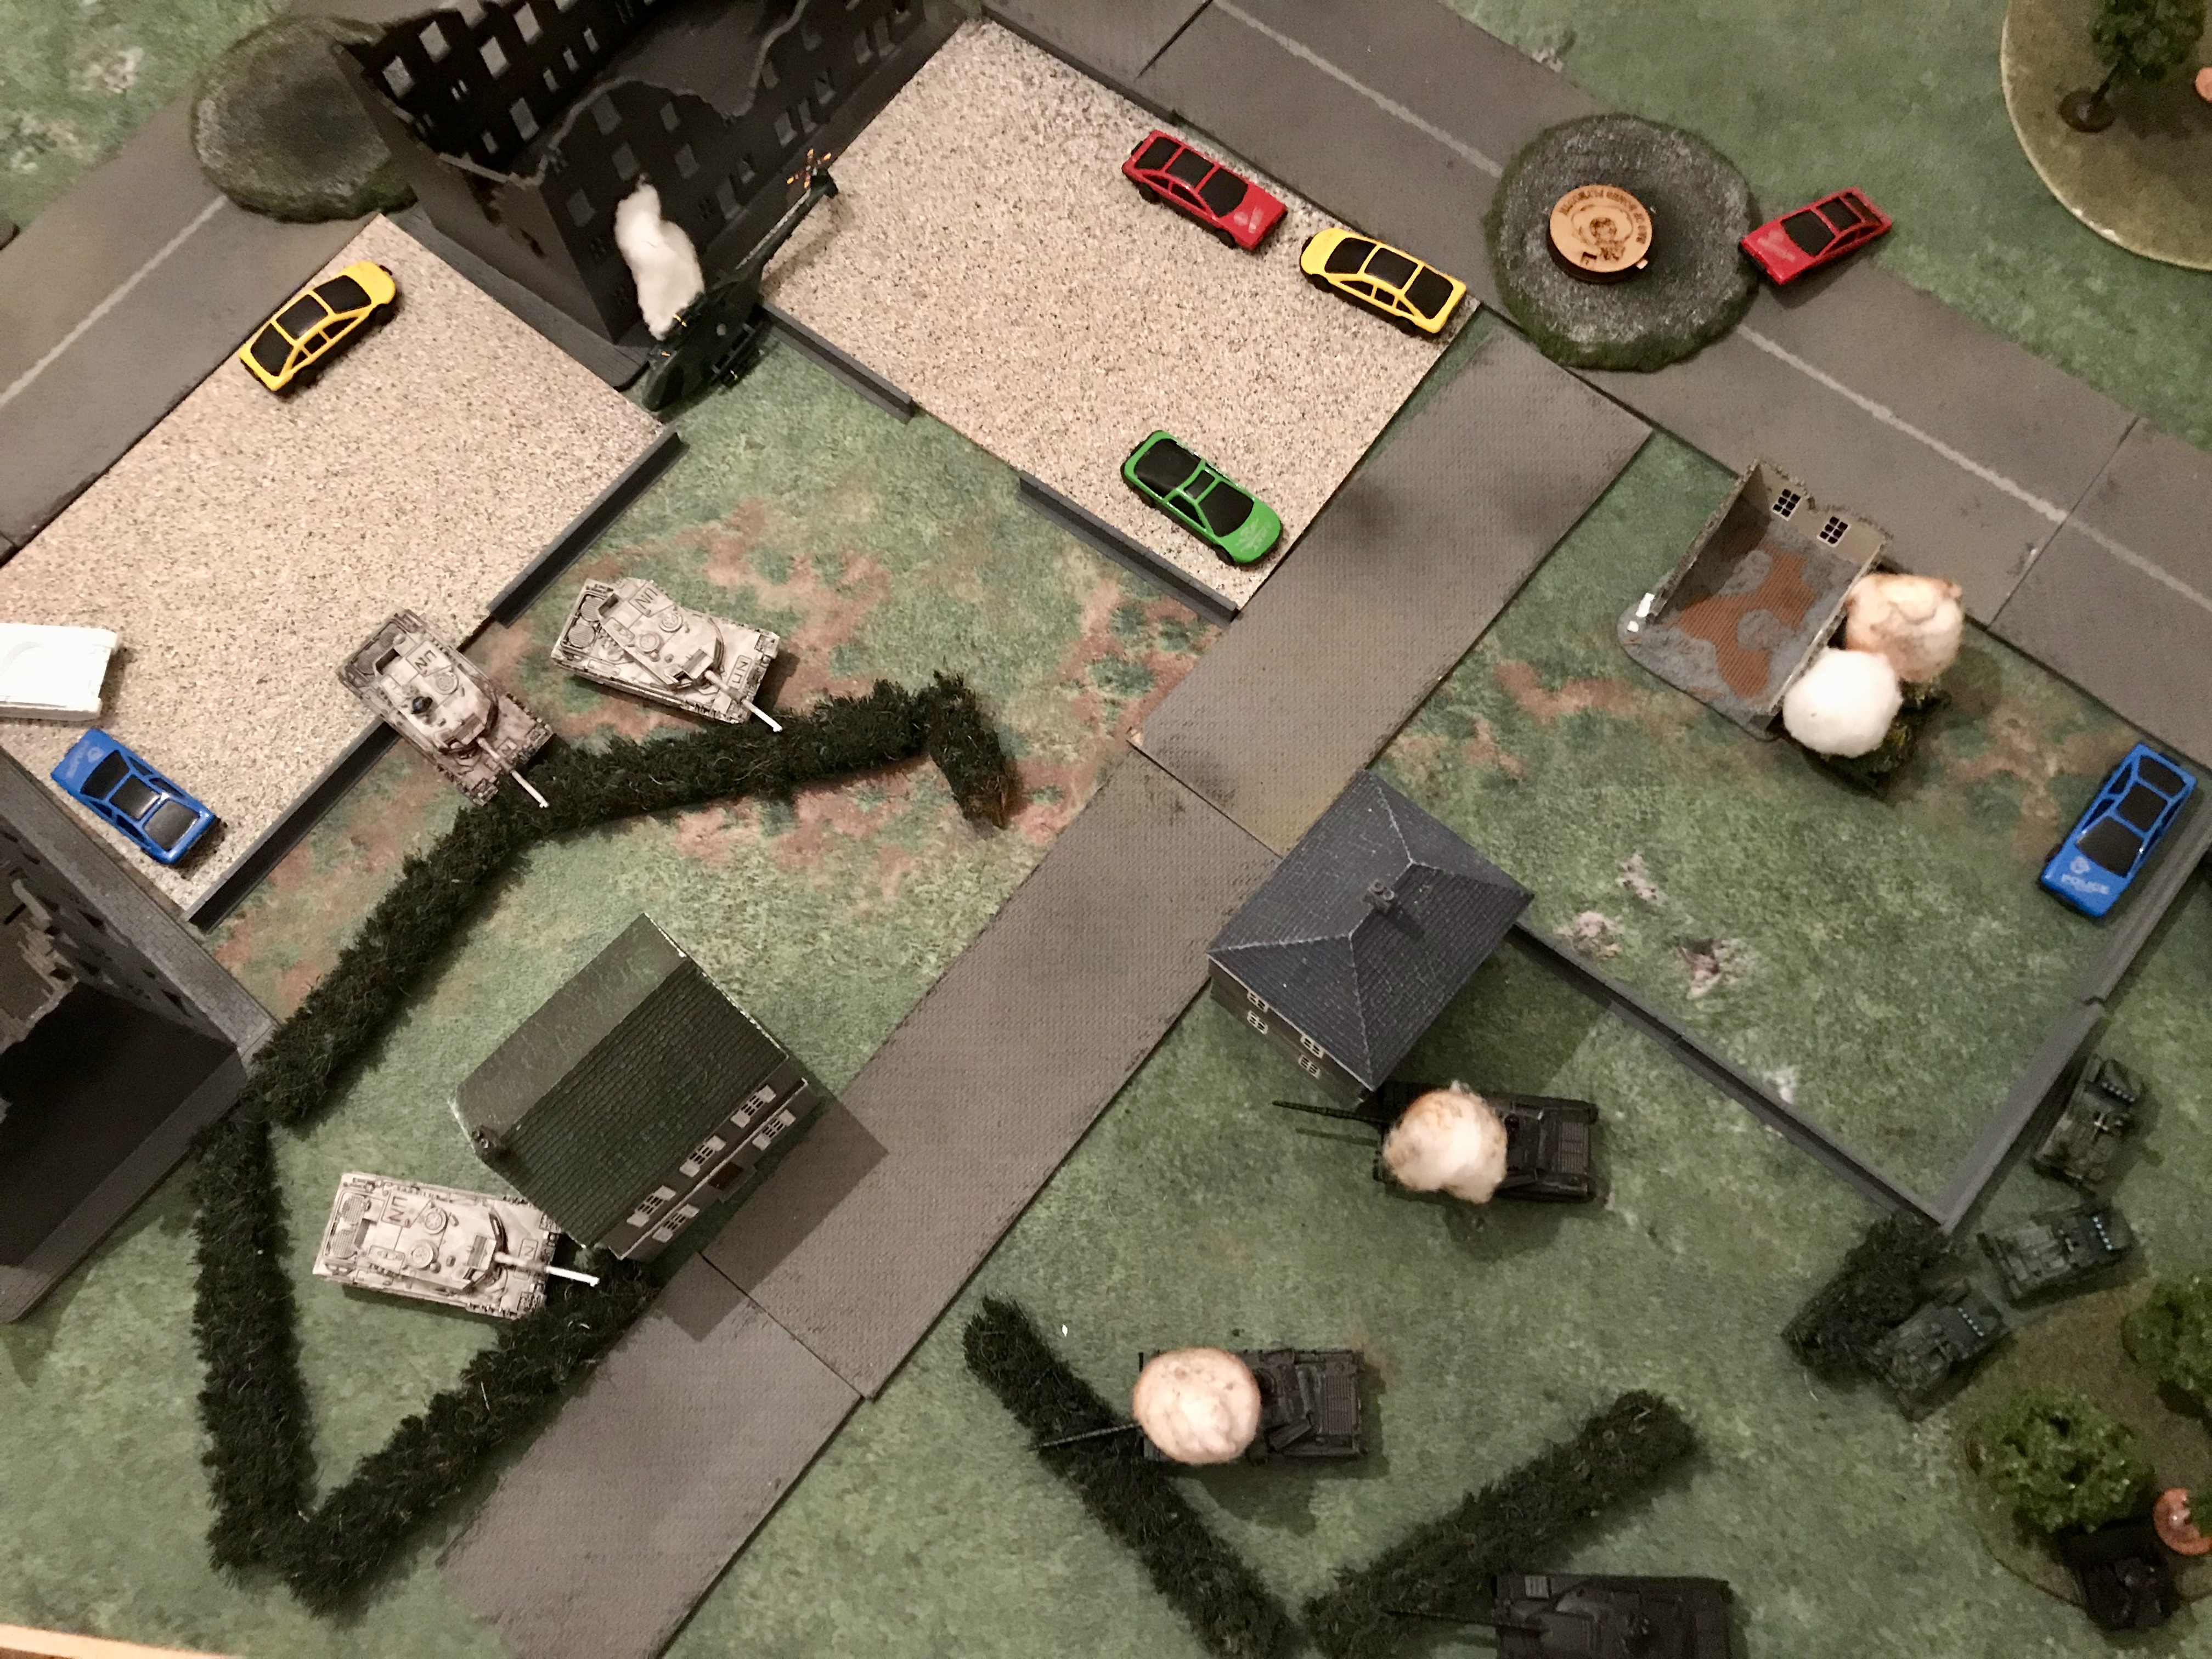
The British advanced hastily and cross country dashed the F432 Mech Platoon in their transports down the British right flank to the rear of a wood to provide cover from the Luchs Trupp A. The remaining two Scorpions of Troop A followed suit and cross country dashed towards the Bundeswehr objective, straight across the battlefield. The Strikers passed a blitz in an attempt to pass over a hedge into a better firing position, however two failed to cross and bogged down. The remaining two crossed over but tucked into cover and remained gone to ground. The three Chieftains successfully passed a blitz and edged back to better cover to remain gone to ground but better protected against a possible flank movement from the hidden Leopard 2's in the next turn.
The Rapier Section remembered their job in this phase, lit up their radars and fired at the concealed PAH Helicopters. One was destroyed with successful fire and the second fled the field due to poor morale as the unit fell into poor spirits.
WEST GERMAN
The Tornado Strike flight failed to arrive again and this turn there were no Bundeswehr reserves. The Leopard 2's advanced further into the town, staying in cover, with Luchs Trupp B following. Luchs Trupp B moved further into cover behind the 'grassy knoll' and into a position to contest their objective.
The Germans held their fire and stayed in cover, ending their turn.
BRITISH
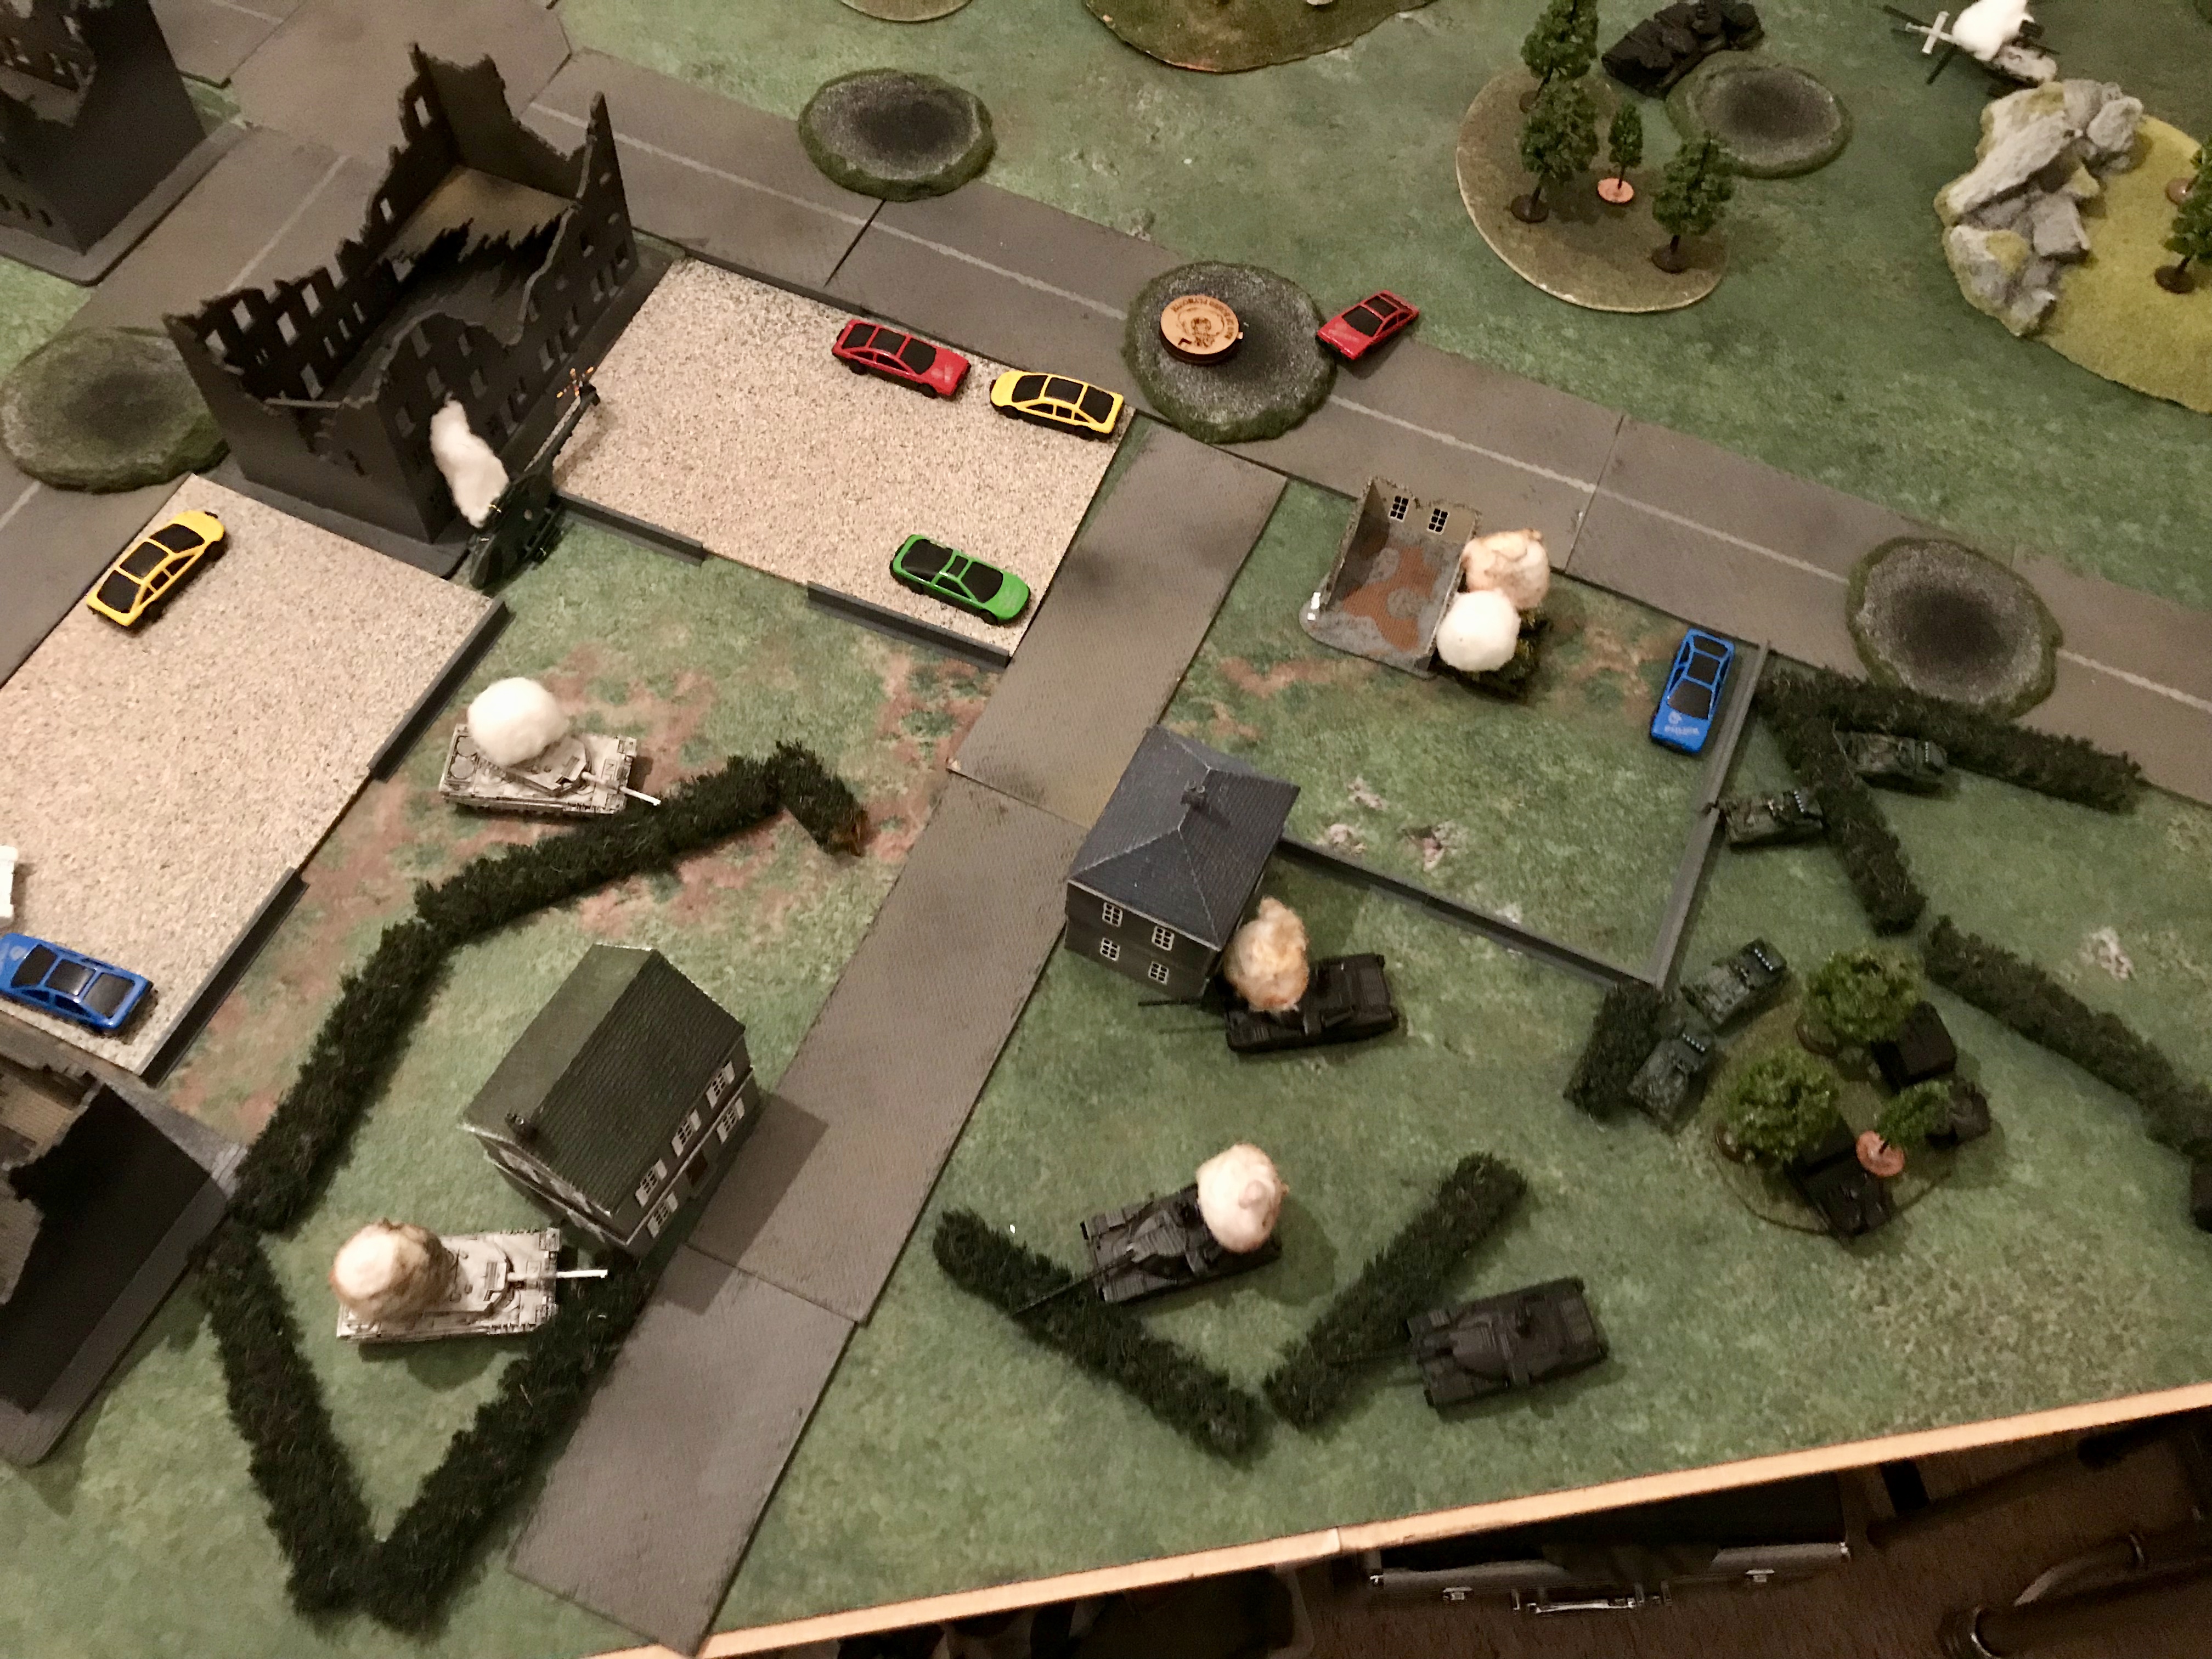
Reserves arrive!! Two units of reserves arrived onto the field, with the TOW Lynx Flight flying in low and positioning over the town to the rear of the Leopards and Scorpion Troop B following the path of the F432 Platoon in the previous turn. Scorpion Troop A continued their advance but around the rear of the 'grassy knoll' in a pincer move, forcing the Luchs Trupp A to have to make a tough decision in the next turn about which threat was the more severe. The Mechanised Infantry blitz dismounted from their transports and moved into the woods, now within sight of the objective. On the other side of the battlefield, the Chieftains (still without a clear target) successfully blitzed and edged back again, staying in cover and keeping their gone to ground. Finally the Strikers attempted to blitz but failed, moving at tactical speed into better firing positions for the next turn against the creeping Leopards. One again failed its cross and became bogged down.
The British, following their counterparts example, also held their fire, stayed in cover and ended their turn.

WEST GERMAN
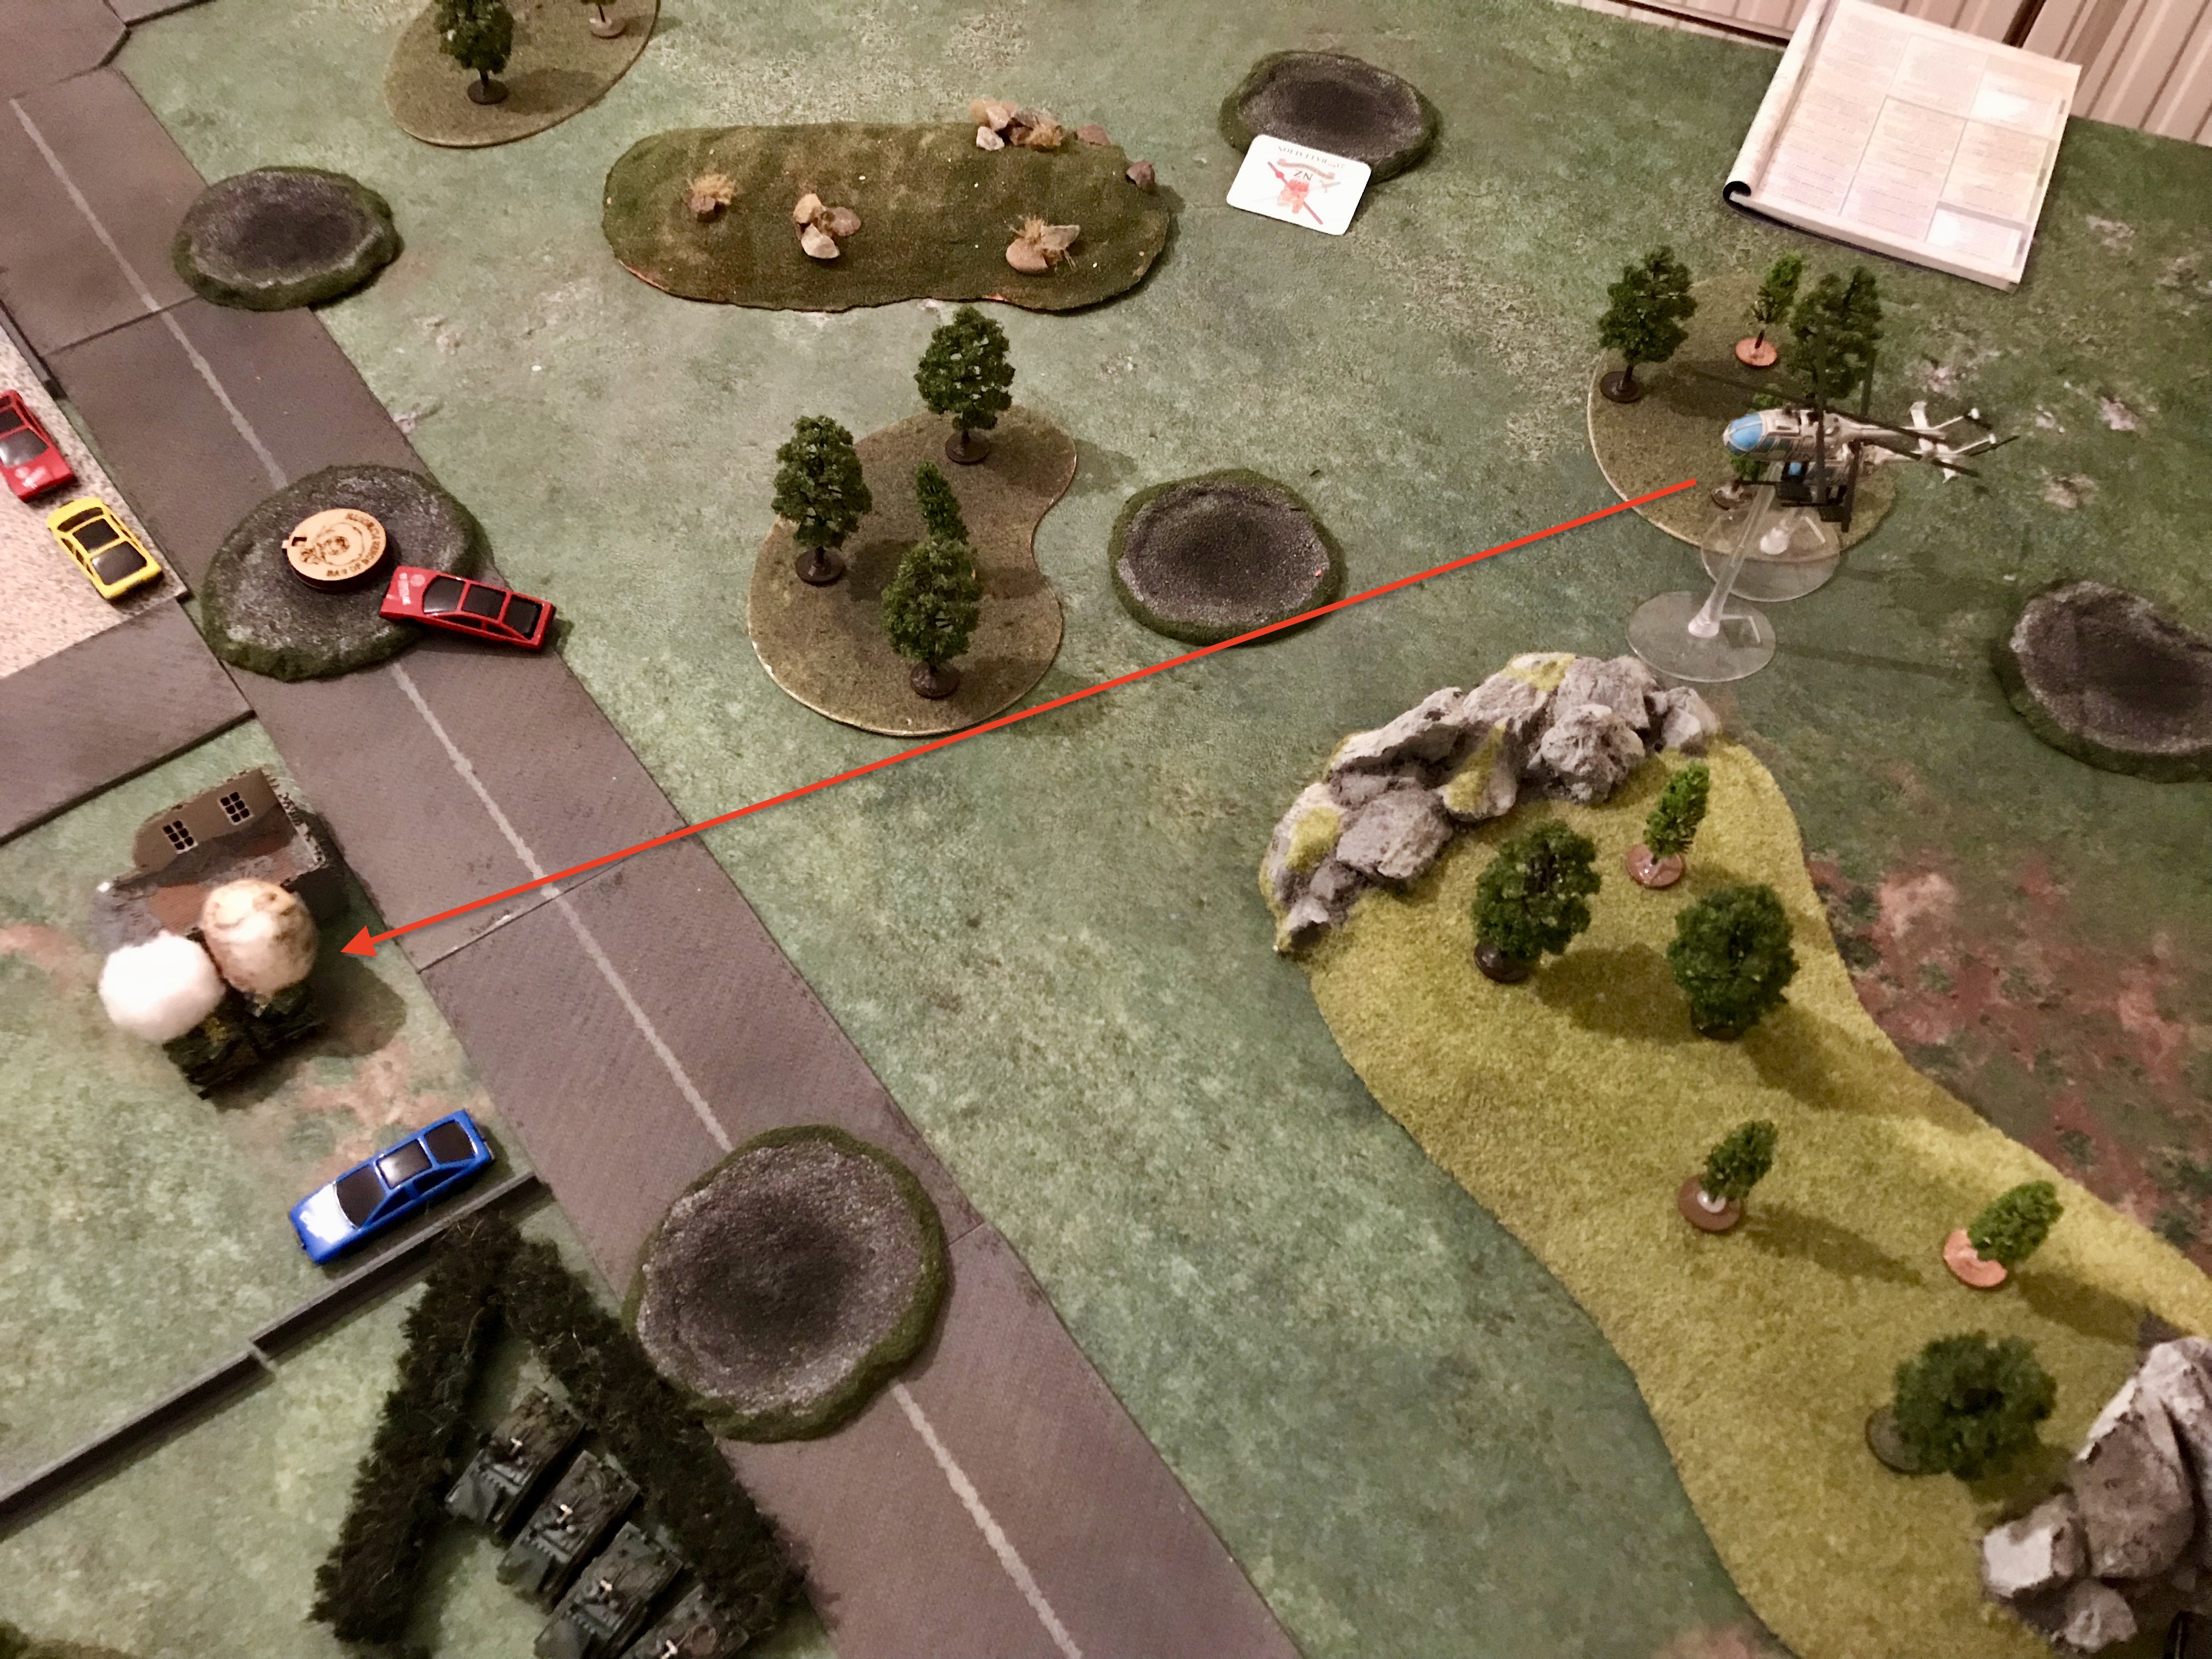
The Tornado Strike flight arrived in theatre but were waved off by the commander for fear of their loss to the dreaded British Rapiers. The Gepard Batterie arrived from reserve and positioned with a firing line against the TOW Lynx Flight. The Leopard 2's successfully used a blitz and their stabilisers to move 22" with successful crosses to gain firing positions against the Chieftains but with them in clear line of sight forcing the Chiefs to lose their gone to ground. Luchs B advanced behind the Leopards. Luchs A did a small shuffle to defend their rears.
Luchs A fired and bailed a Scorpion from Troop A whilst one of the Gepards bailed the other. The second Gepard fired at the TOW Lynx Flight and destroyed one. The Leopards open fired at the Chieftains now only needing 4's to hit and destroyed two of them. This now forced morale checks during which the Lynx Flight and Scorpion Troop A fled the field, but the sole, surviving Chieftain stood its ground!

BRITISH
The Scimitar Troop arrived from reserve, again following the path taken by the F432 platoon. The Mech Infantry moved into the bullet proof cover next to the objective, successfully contesting it for later. Scorpion Troop B moved around the wood and into a supporting position for the infantry providing a cross fire should any assaults on their position take place. Finally the Strikers passed a blitz and all moved into firing positions against the Leopard 2's.
The Mech Infantry fired their two Carl Gustavs and a direct smoke shot at the Luchs A Trupp, but all missed. The Strikers and Chieftain fired their shots at the Leopards and managed to bail two! The resulting moral check from these bails left the Leopard 2 Panzer Zug turning their tails and fleeing from the field!!
WEST GERMAN
The Tornado Strike flight arrived in theatre again but YET AGAIN were waved off by the commander for fear of their loss to the dreaded British Rapiers! The two Marder Panzergrenadier Zug arrived and moved on. The Marder (reduced) section terrain dashed into the cover of woods with their Marder transports moving abreast of them into the town. The Marder (full) section remained in their vehicles who issued a 'cross here' and terrain dashed straight into the woods 16" from the objective they now needed to push the British back from. Luchs B attempted to manouver against the Strikers and Rapiers but both failed their bogging checks and faltered. Luchs A and the Gepard Batterie both advanced towards the British line holding the objective.
The Gepard Batterie both opened up on the British infantry firing eight shots but needing 5's due to concealment. Three found there mark but only one infantry team was lost. Luchs A then fired on the Scimitar Troop and good firing destroyed three! The last Scimitar was resolute however and stayed for the fight!
BRITISH
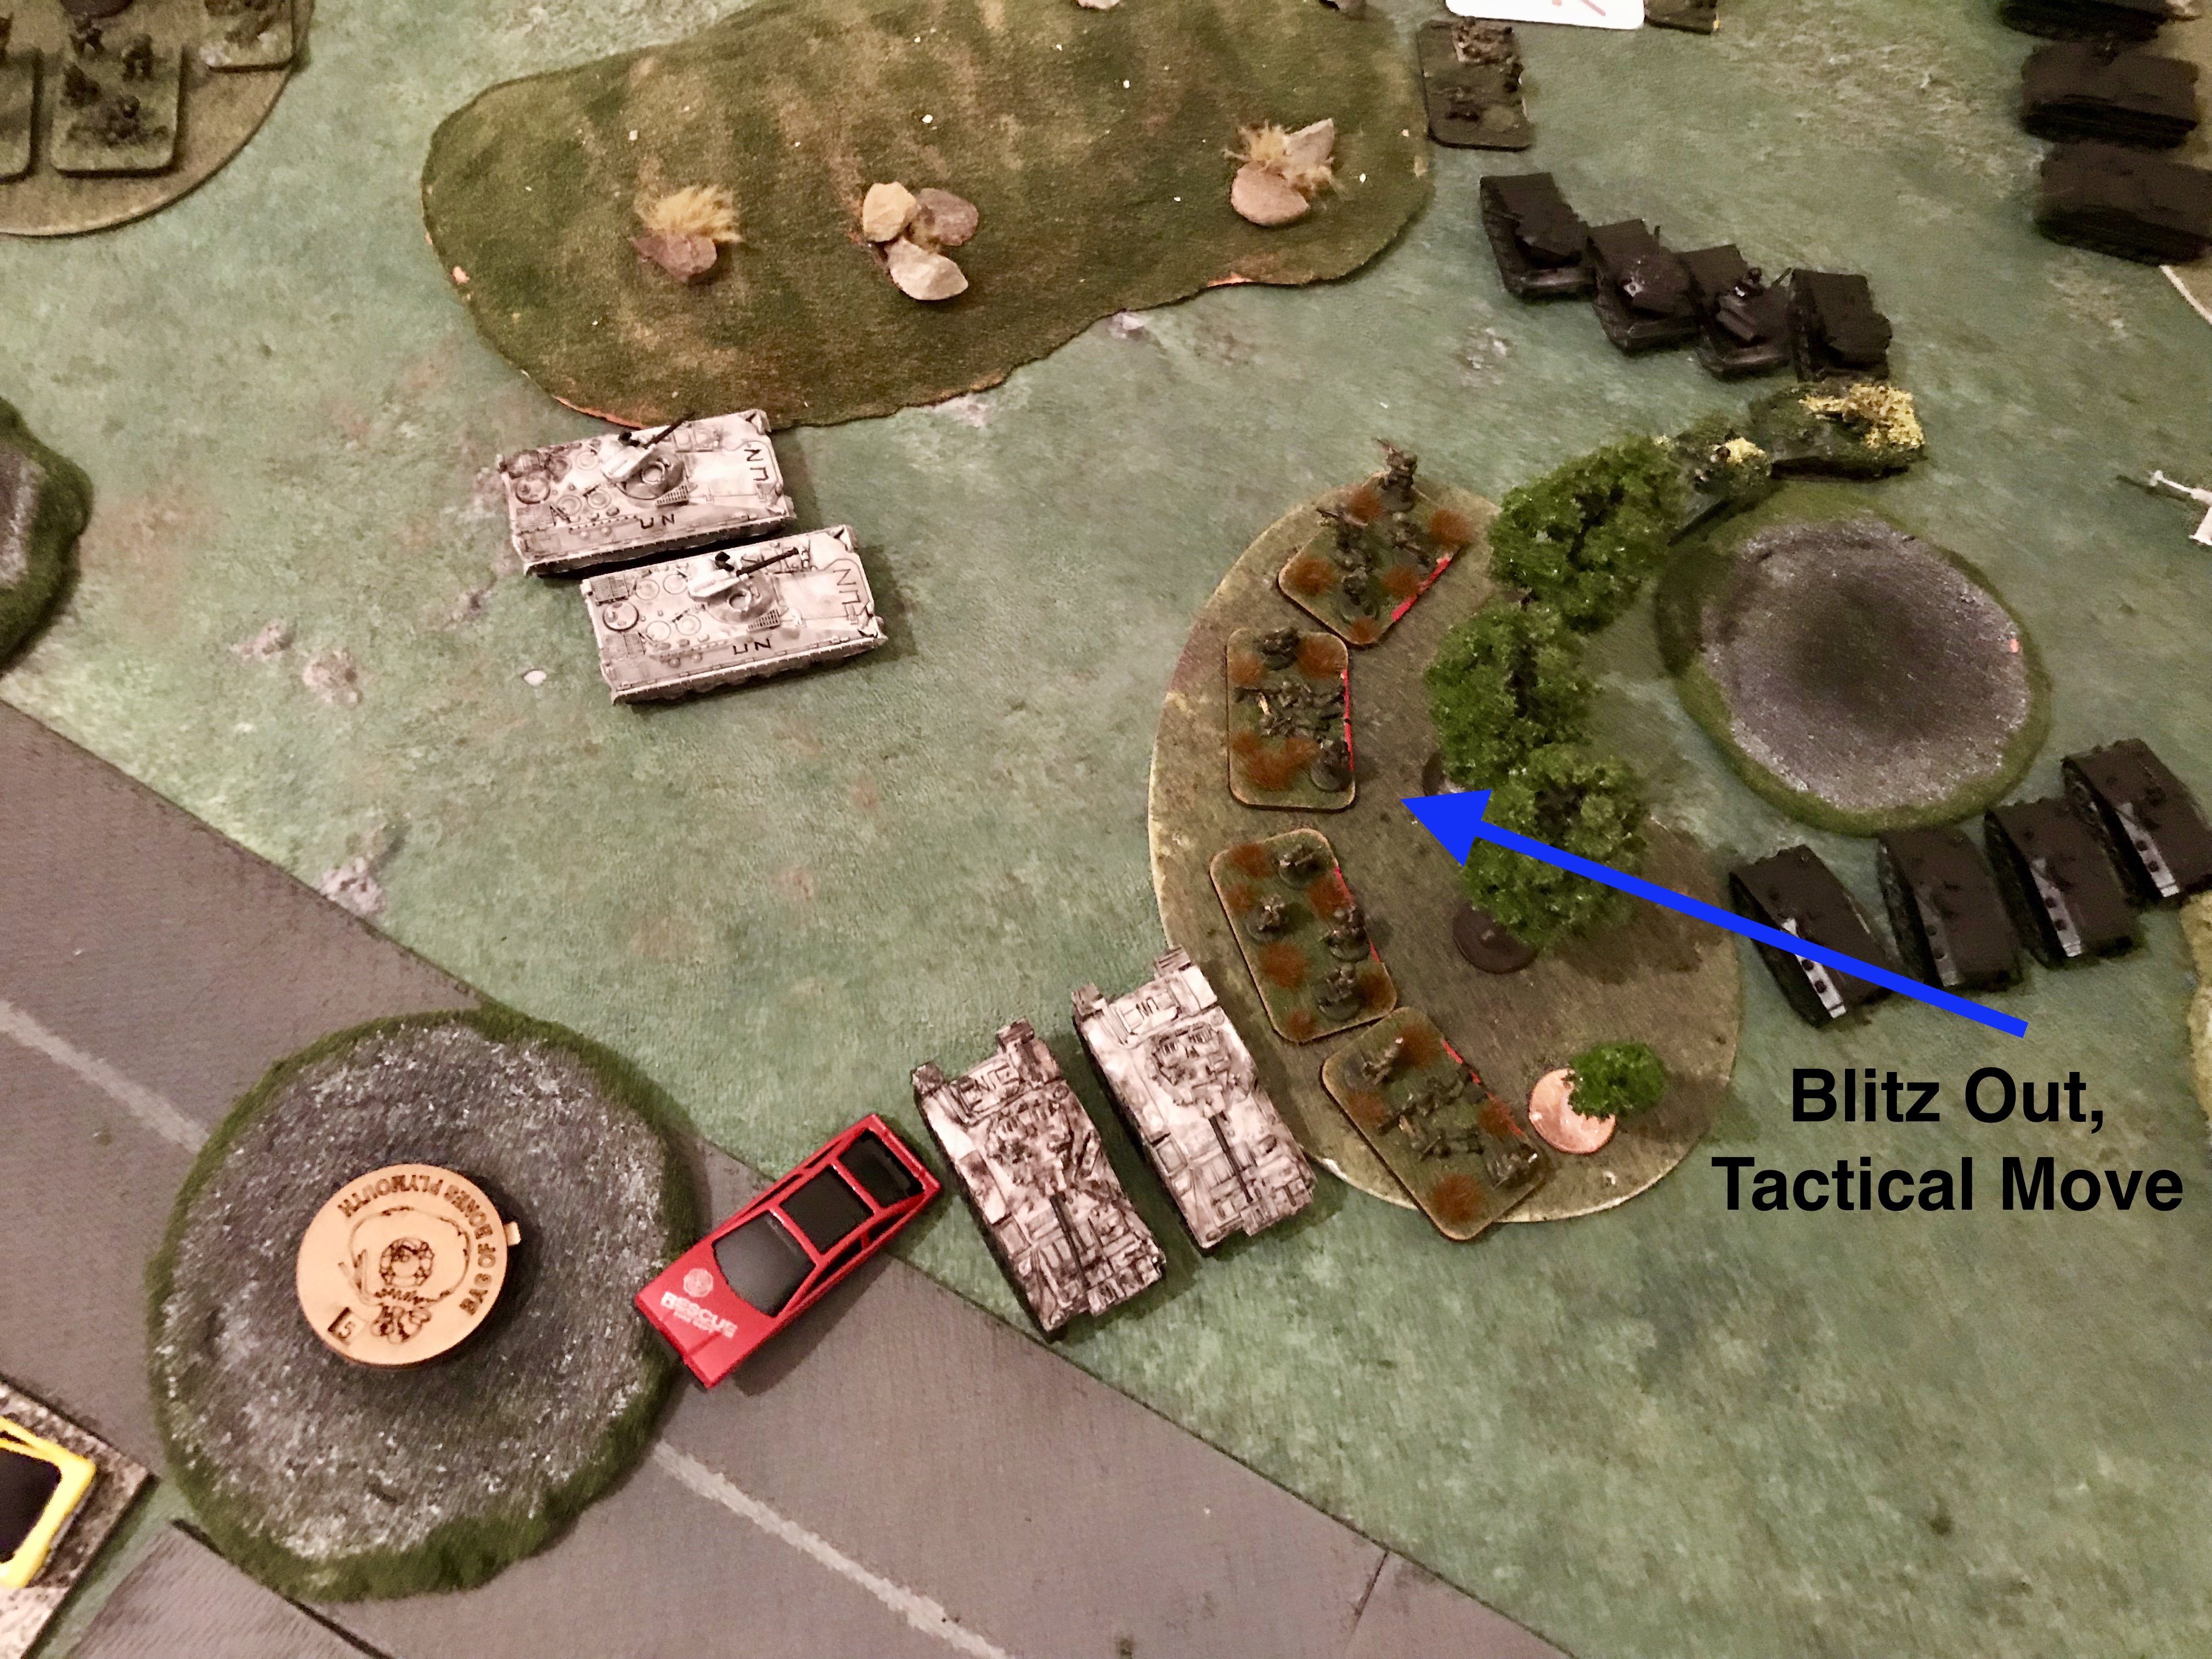
Although never in doubt, British courage stayed the course and both the Chieftain and Scimitar passed their 'sole survivor' tests, staying to fight for another turn. One reserve joined the battle and the Spartan Support Troop dashed onto offer their firepower. Now in the crux of close battle, the Mech Infantry dug in on the objective. Both the Scorpion Troop B and remaining Scimitar passed blitz rolls and made slight adjustments for better firing positions.
The Scimitar fired and bailed one Luchs Spah from Luchs A. The men of Scorpion Troop B, not to be outdone, then opened fire and destroyed both vehicles outright in Luchs A. On the otherside of the battle, the sole Chieftain did not shy from battle and fired at the two Luchs from Luchs B despite requiring 6's to hit, both missed. The Strikers attempted the same difficult shots from two vehicles with the other two sending missiles at the distant Gepards. All missed much to the commander's frustration.
WEST GERMAN
Turn five and having been waved off twice in succession, the Tornado Strike Flight returned to base for more fuel and failed to return in time for this stage in the battle (Vinehart rolled a 2). The last of the Bundeswehr reserves arrived in the for of the Marder Panzergrenadier HQ which cross country dashed into cover behind the town buildings. The Gepards using blitz and tactical moves advanced to engage the Scorpions. The transports from the Marder (full) section discharged their infantry (via a blitz) and then using a blitz move attempted to leave the woods, one however became bogged and the remaining two continued the move at tactical speed in order to flank the British Scorpions. The Marder (reduced) infantry section stood its ground but their transports advanced at dash speed in an attempt to provide support in the next turn. The remaining Luchs B again tried to advance on the Rapiers again with one successfully making it this time and the other bogging down again.
The Luchs B that managed to advance opened fire on the Rapiers, requiring 6's to hit, but still managed to kill the one closest to it. In the centre of the field, the Marder (full) transport fired on Scorpion B Troop, bailing one. The Gepards also fired in this manner and bailed a further two leaving only one active in the platoon! Both infantry sections fired everything in range at the British infantry but made no kills and not enough hits to pin them. With the firing now concluded the all important morale test happened and again the British steel stayed the course with the Scorpions staying on to fight.
BRITISH
The sole survivors of the Scimitars and Chieftains now felt that enough was enough and fled the field of battle, their contributions noted for the debrief afterwards. The remaining reserve unit, the Spartan Recce Squadron HQ, now came onto the field. The Scorpion Troop B unit commander screamed 'TO VICTORY!' at his men and all three light tank crews remounted to the complete despair of the Bundeswehr commander. The Spartan Support Troop infantry blitzed out of their transports and into the woods right next to them, coming out next to the transports of the Marder (reduced) section. The Mech Infantry F432 transports advanced to provide supporting fire on the Bundeswehr infantry in the opposite woods.
The F432 transports opened fire with their machine guns scoring four hits and killing one team of the closest Mech infantry teams. Three of the Scorpion Troop fired at the Gepard Batterie scoring three hits, all of which passed the firepower 2+ to wipe out the platoon. Between the fire of the Strikers, Spartan Support Troop and the remaining one Scorpion tank, one out of each section of two Marders in range were destroyed leaving only one active in each, right within assault range of the Spartan Support Troop. A failed morale test left the remaining transport furthest from the Support Troop running and the other was easily overcome by the Spartan Support Troop in an assault.
WEST GERMAN
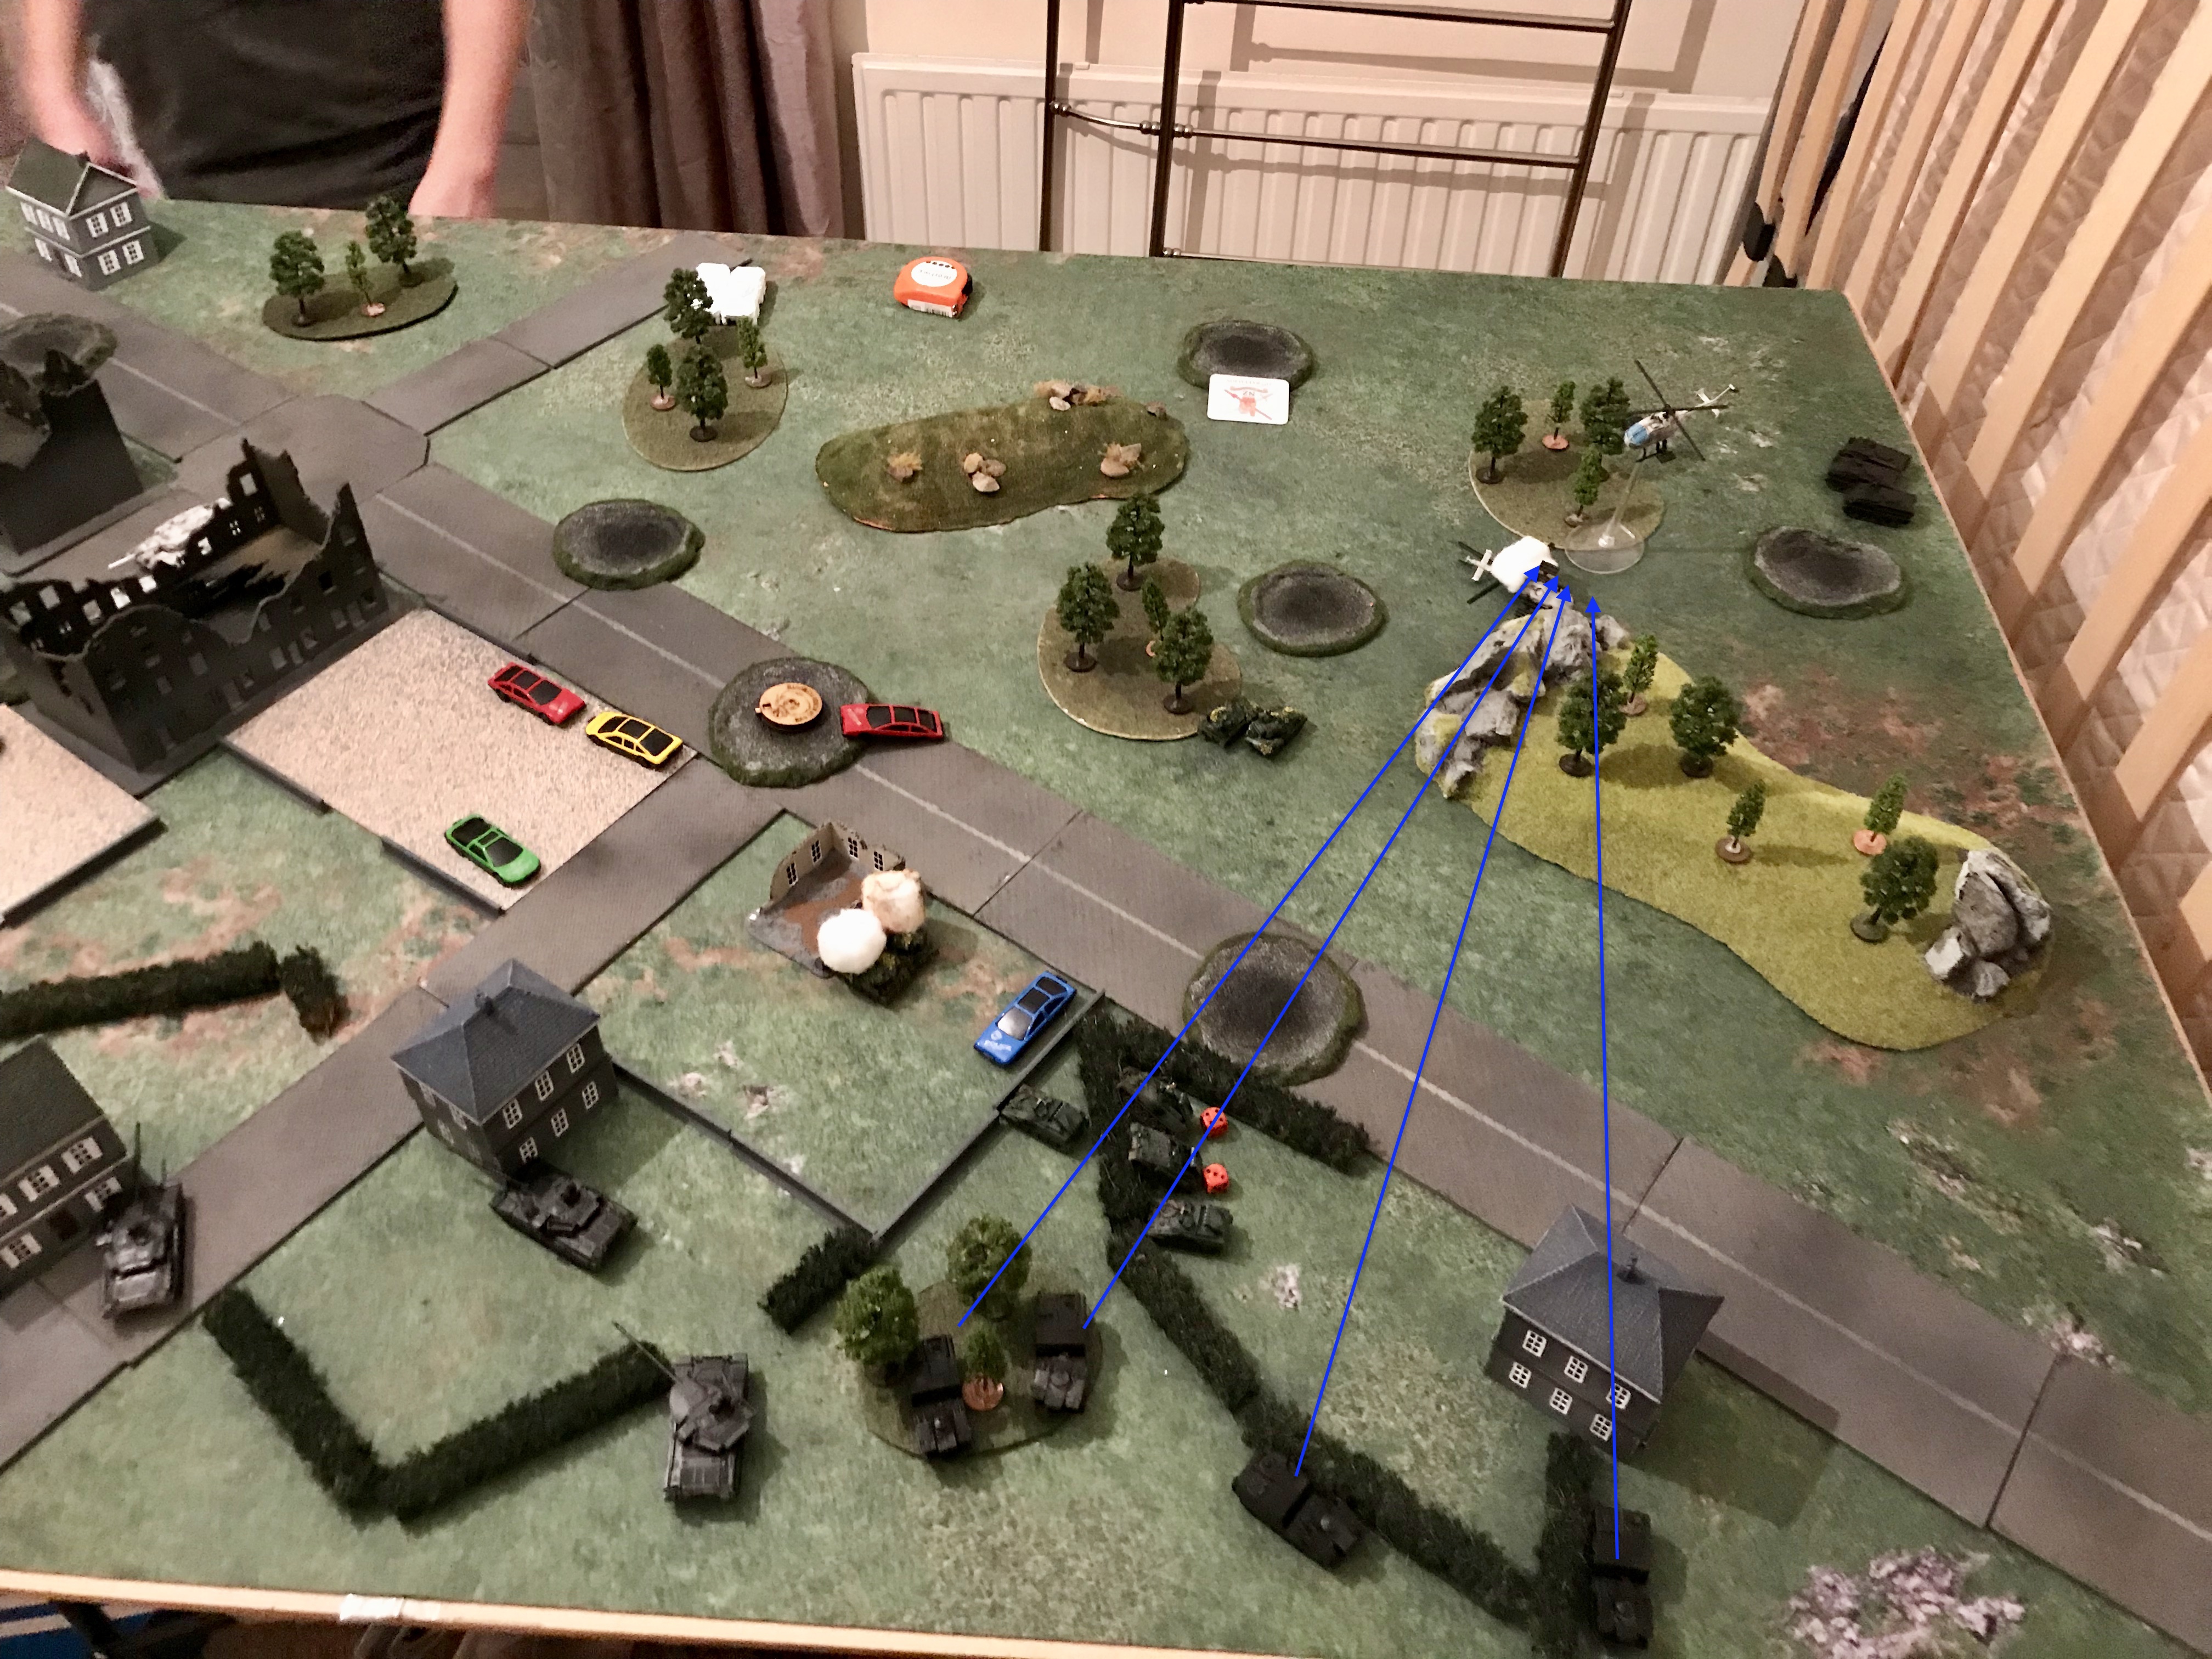
Desperate measures now for the Bundeswehr. Fortunately for them, their fast air returned and the Tornado Strike Flight was actually brought onto the table for the first time. The Luchs Spah 2 and Marder HQ platoons advanced towards the Rapiers in order to try and reduce them prior to the Tornados making their bombing run.
Fire from two Luchs Spah vehicles and the Marder Kompanie HQ vehicle all failed to his the surviving three Rapiers who then opened fire on the Tornados as they began their strike, scoring four hits and downing one plane. The remaining Tornado in the Strike Flight (Fly?) ranged in on the second attempt meaning that to hit the dug in, gone to ground British infantry they required 7's to hit. Suffice to say no hits were scored.

Battle Report Author
Army Lists Used In This Battle
Recommend Commander For Commendation
Share this battle with friends
SirBinglebertSlaptybackWins

+++
Nice clear report and good battle
A lot of long range fighting, very different from a lot of the games I play, I guess that’s the British doctrine for you 🙂 Good report.
Yes a win with a good report!
Nice list
Excellent report and good AAR. I like the alternative Gepard models.
Nice AAR.
Excellent AAR. Just a note, tank teams don’t take sole survivor test. Only infantry reduced to a single stand. They do however take unite morale tests.
Commendation given.
Show your solidarity with the People by getting a samovar
Not my tea! Vinehart the West German owns the tea unfortunately. Thanks for the feedback though 🙂
Splendid extensive AAR over interesting terrain.
Also interesting, the German Gepards, were represented by Dutch PRTL models. As sign of True Allied Cooperation!
British Recce Recce did well: Bravo
Recce
An excellent report, Captain. Very well laid out, and congratulations on the win.
However, we have to talk about your choice of tea. You require better tea, sir.