Fought At Hamburg
2204 days 8 hours 25 minutes ago
Sea of Heartbreak in Hamburg
60 POINTSRay and I were able to get in another game last night. We played another 64 point battle. Ray wanted to battle in Hamburg so that he could use his 2d Marine boys. My force was similar to those in the past except the Hinds stayed home, and the arty support came back. After three tie rolls, I won the attacker role. Because of the text describing the scenario we decided to roll off and give the high roller the option to roll on the time of day table. Ray won, chose to use the chart, and I rolled a one so we would start the battle in the beginning morning nautical twilight.
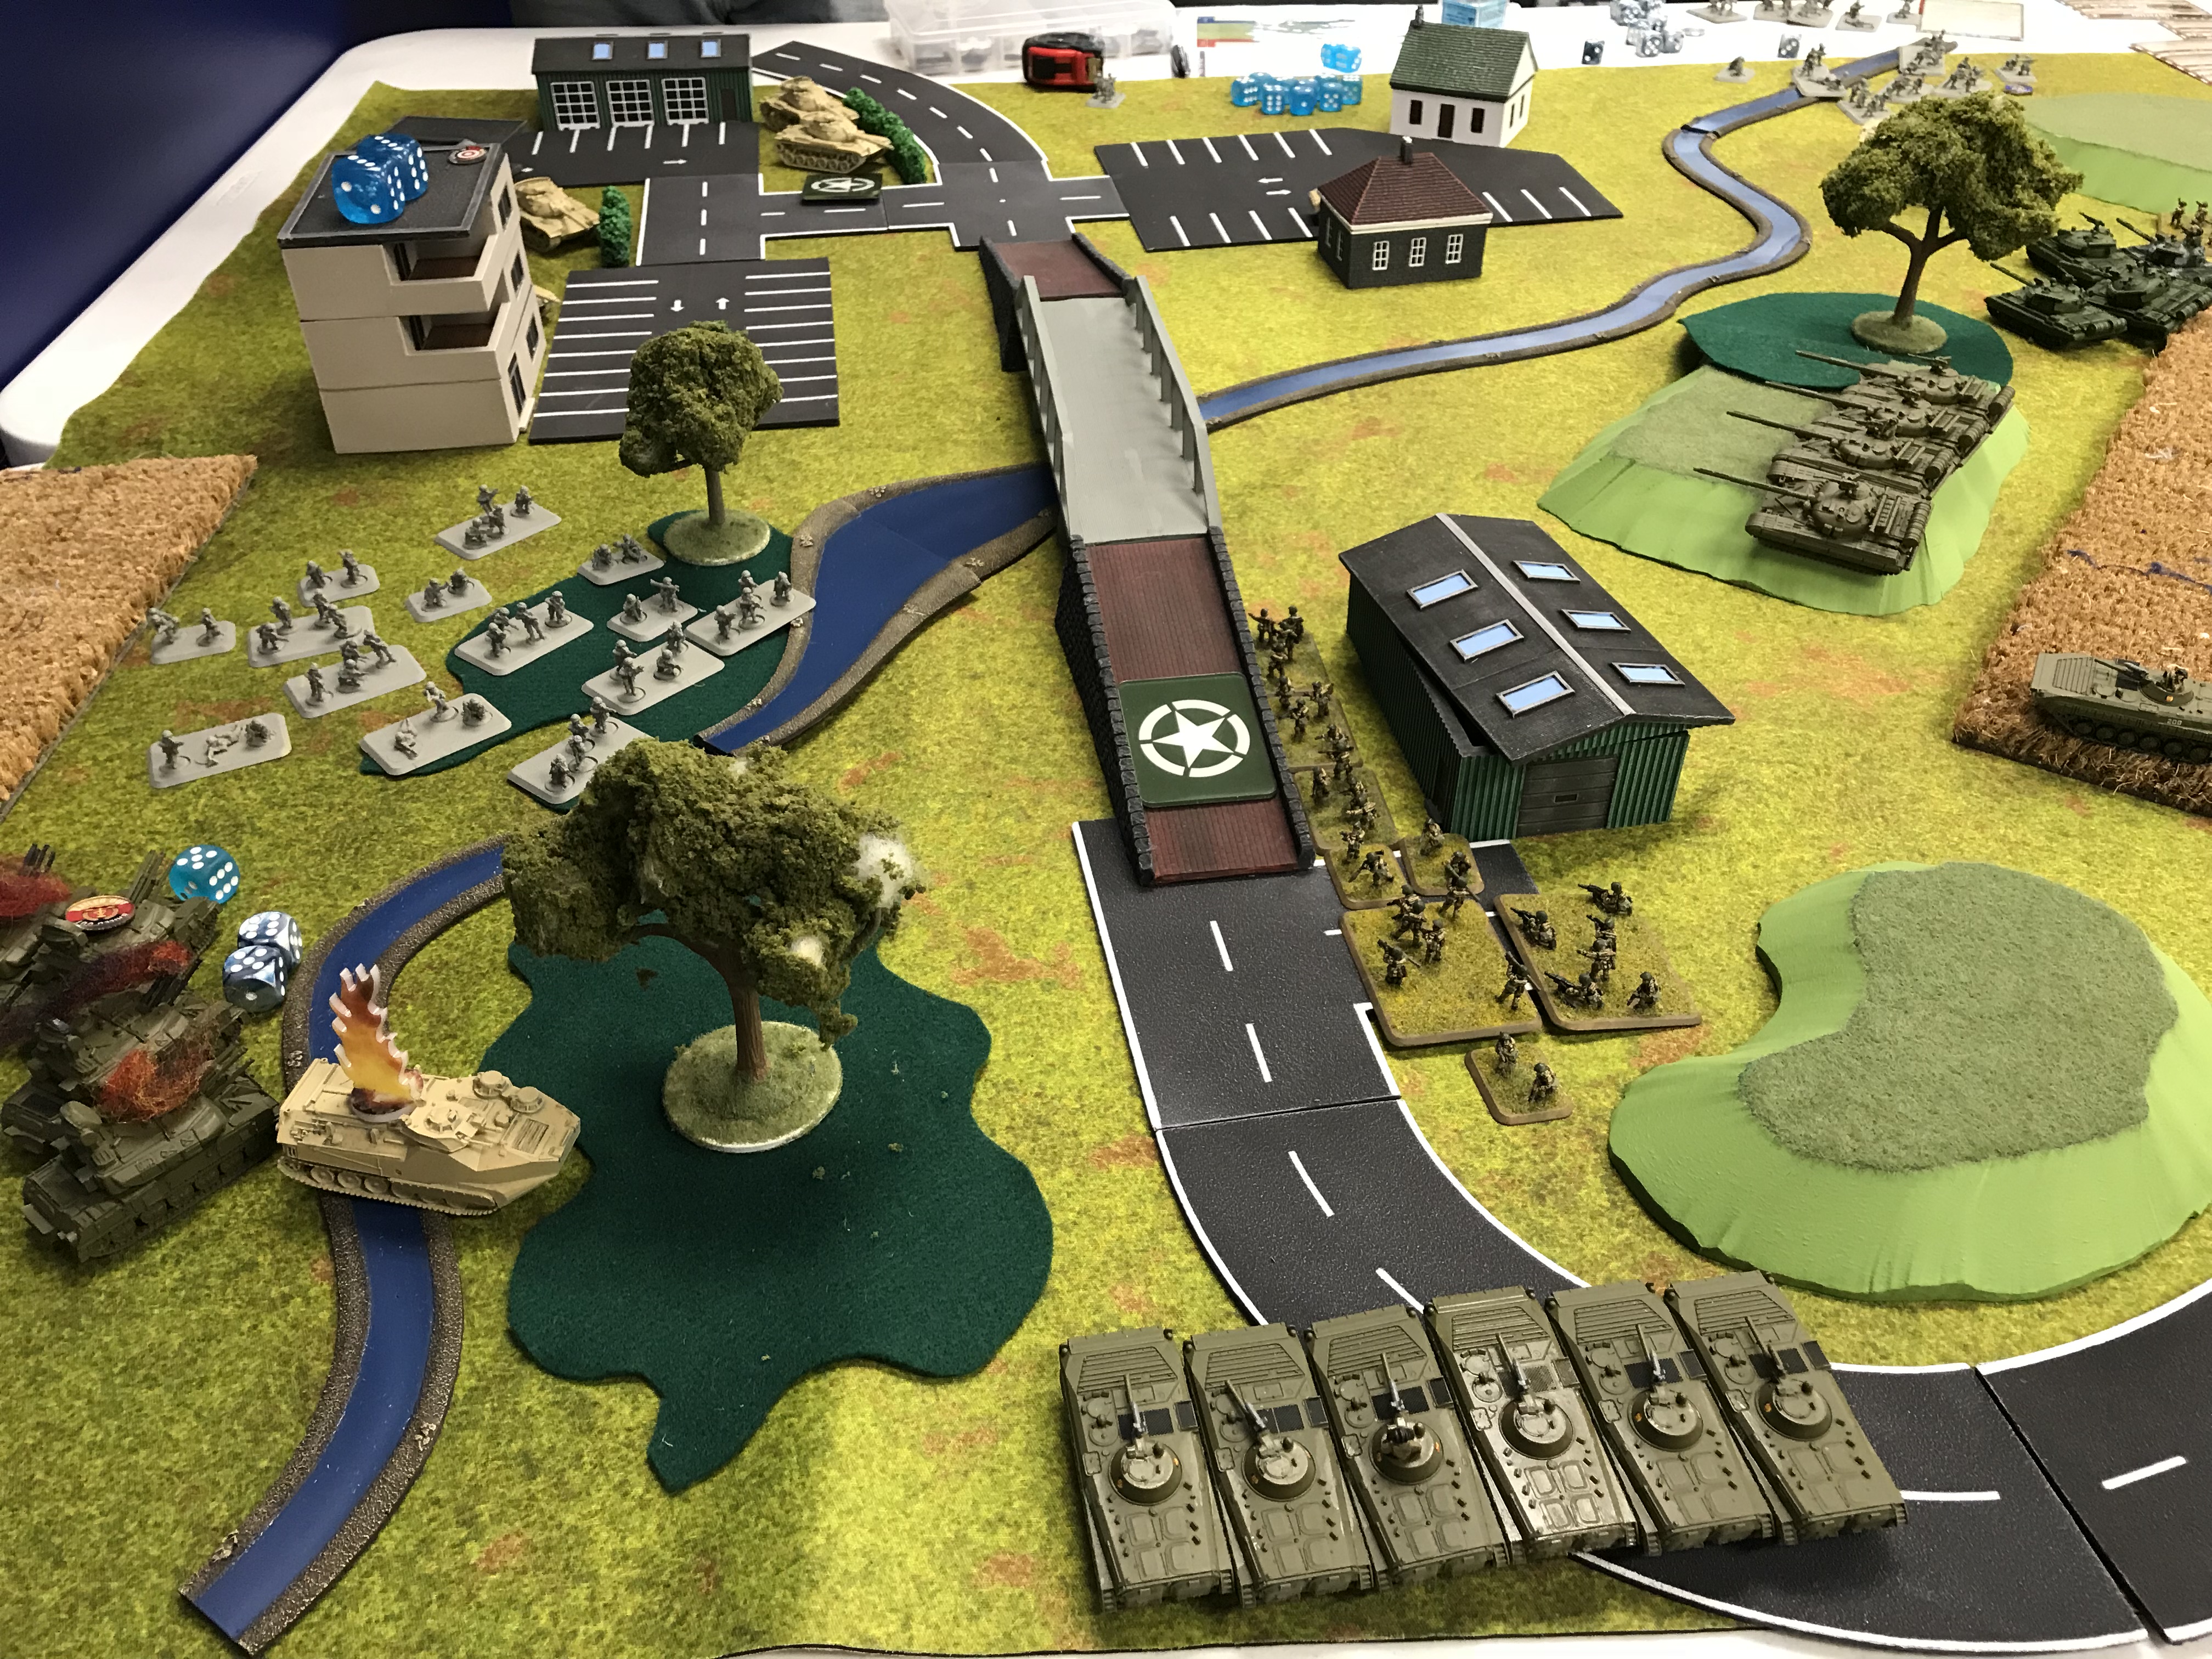
Rey's force consisted of a Marine Rifle company with two maxed out Rifle platoons with all the goodies. They were supported by a five-tank M60 platoon, two HMMWV Tow squads, a LAV platoon, a section of M163 VADs, and a HUMMWV SAM platoon. He started with the rifle platoons, the M60s, and a section of TOW HUMMWVs on the table.
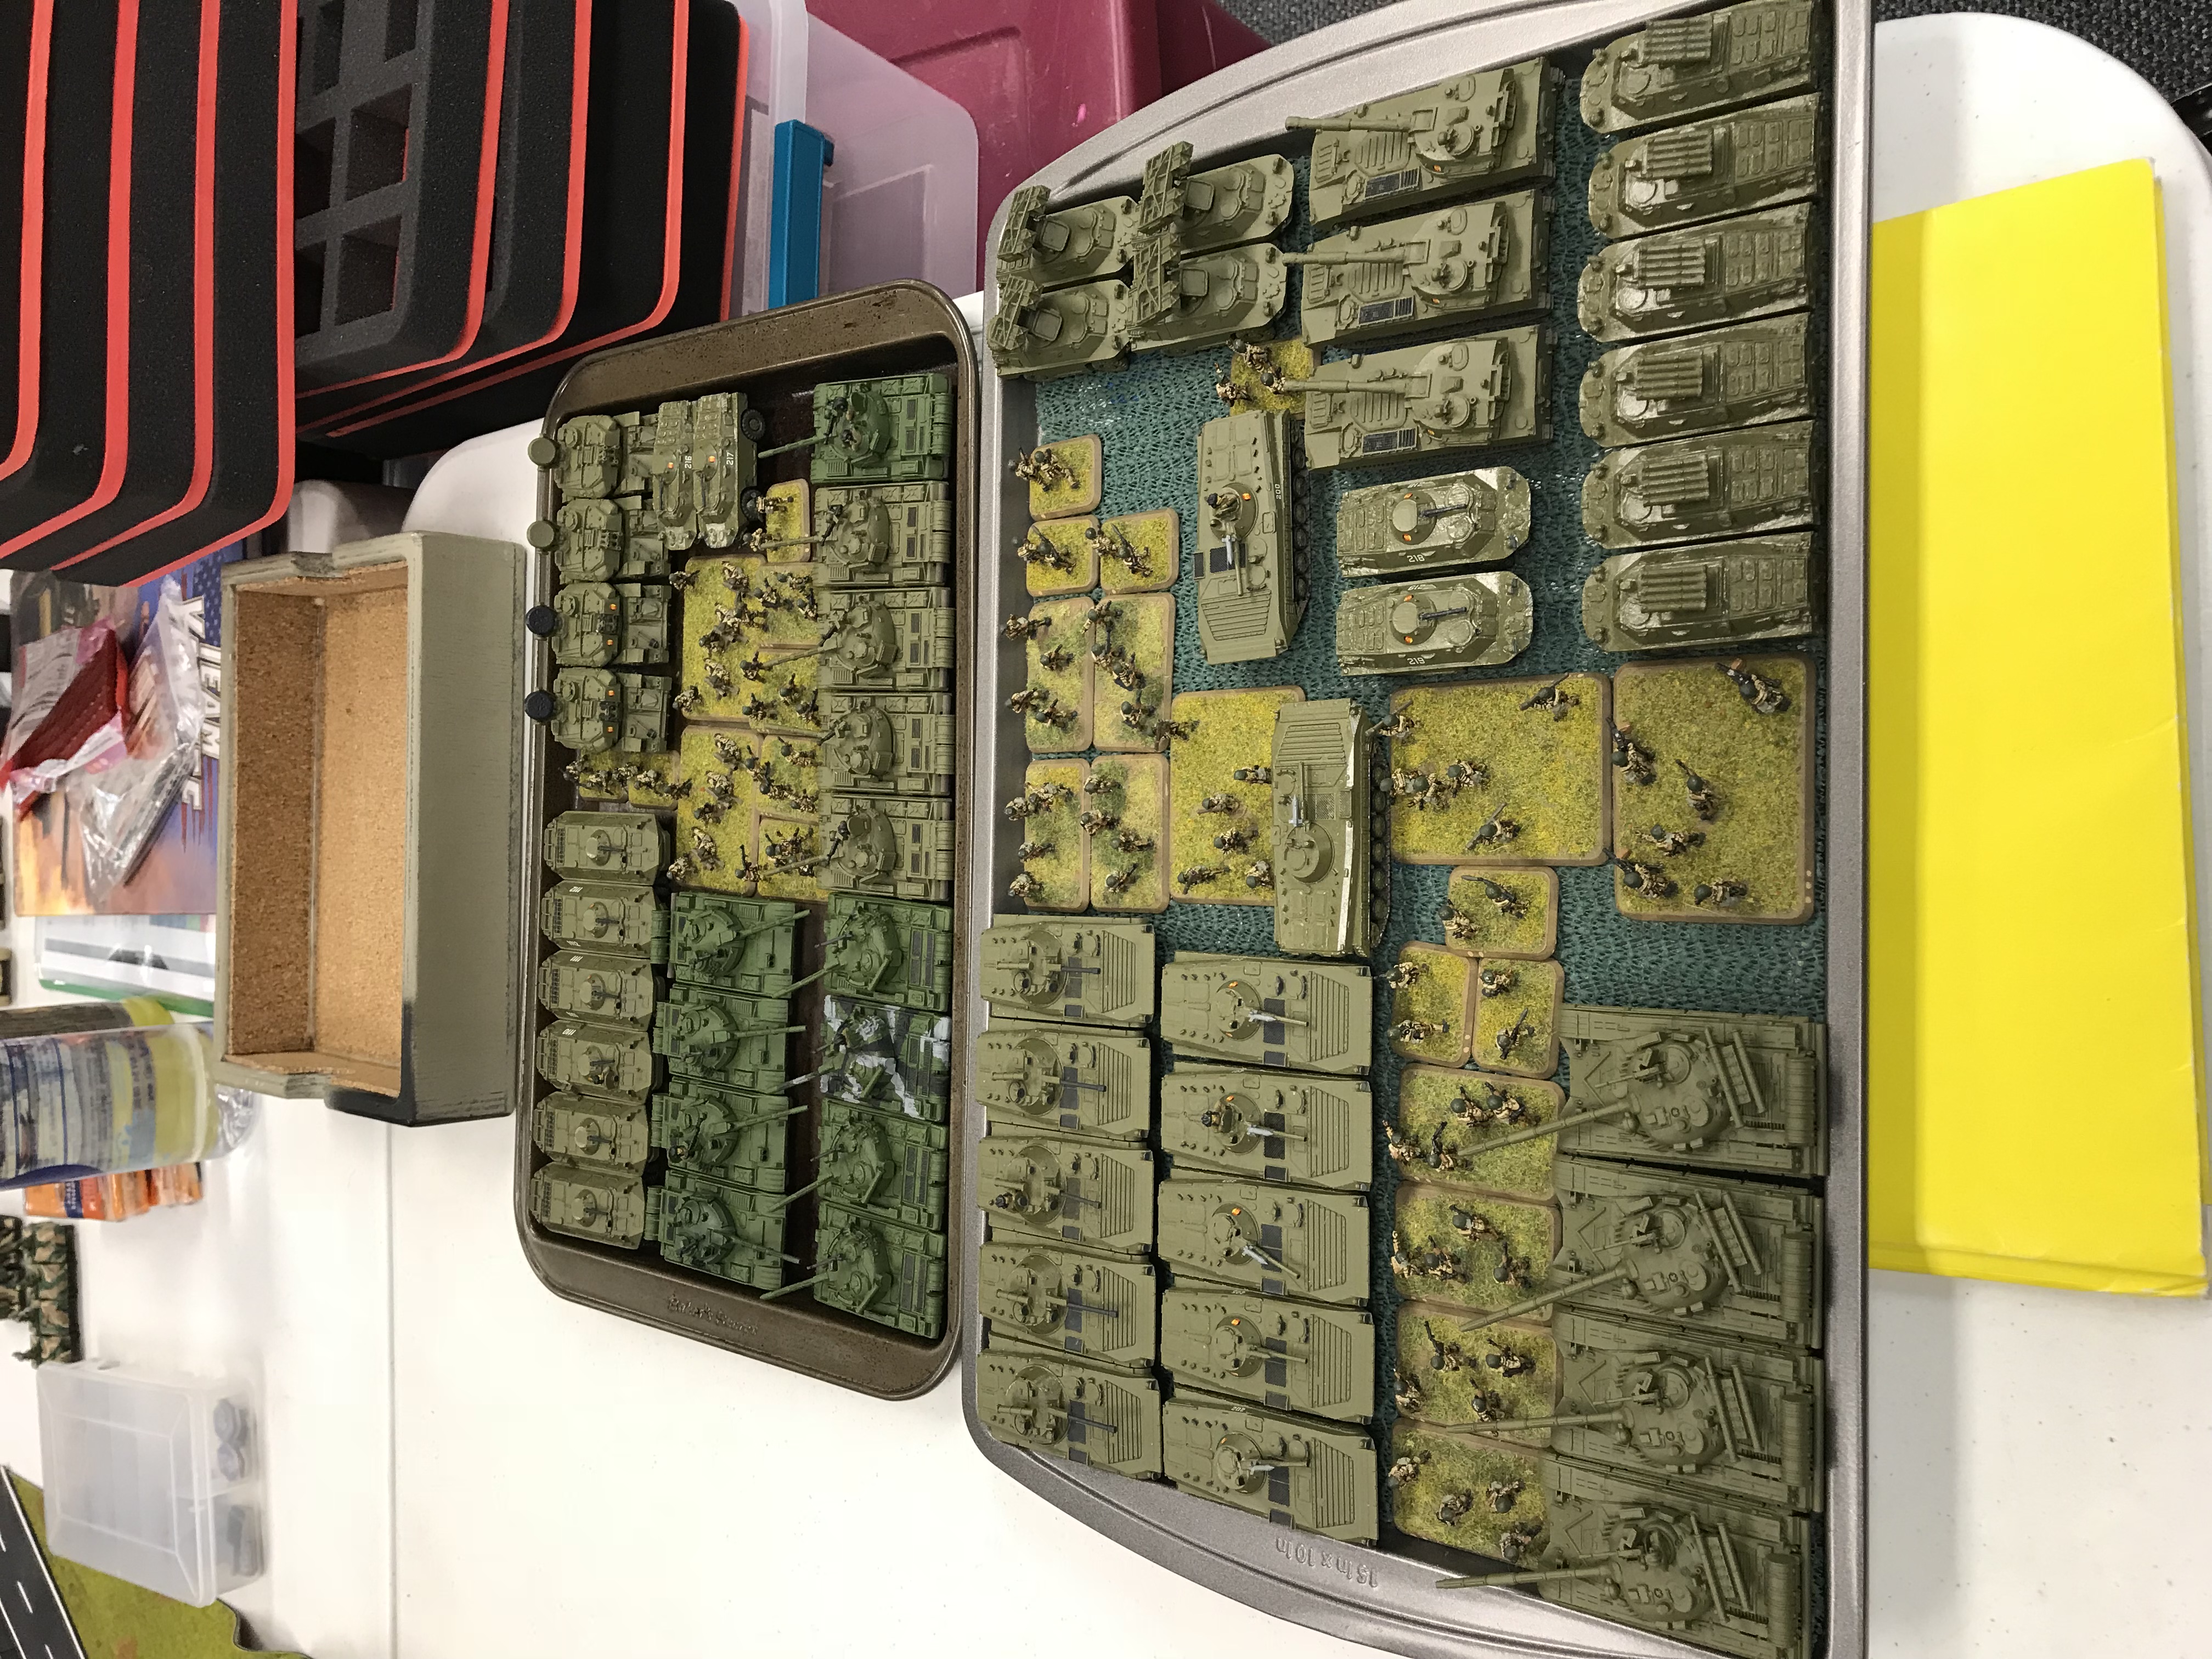
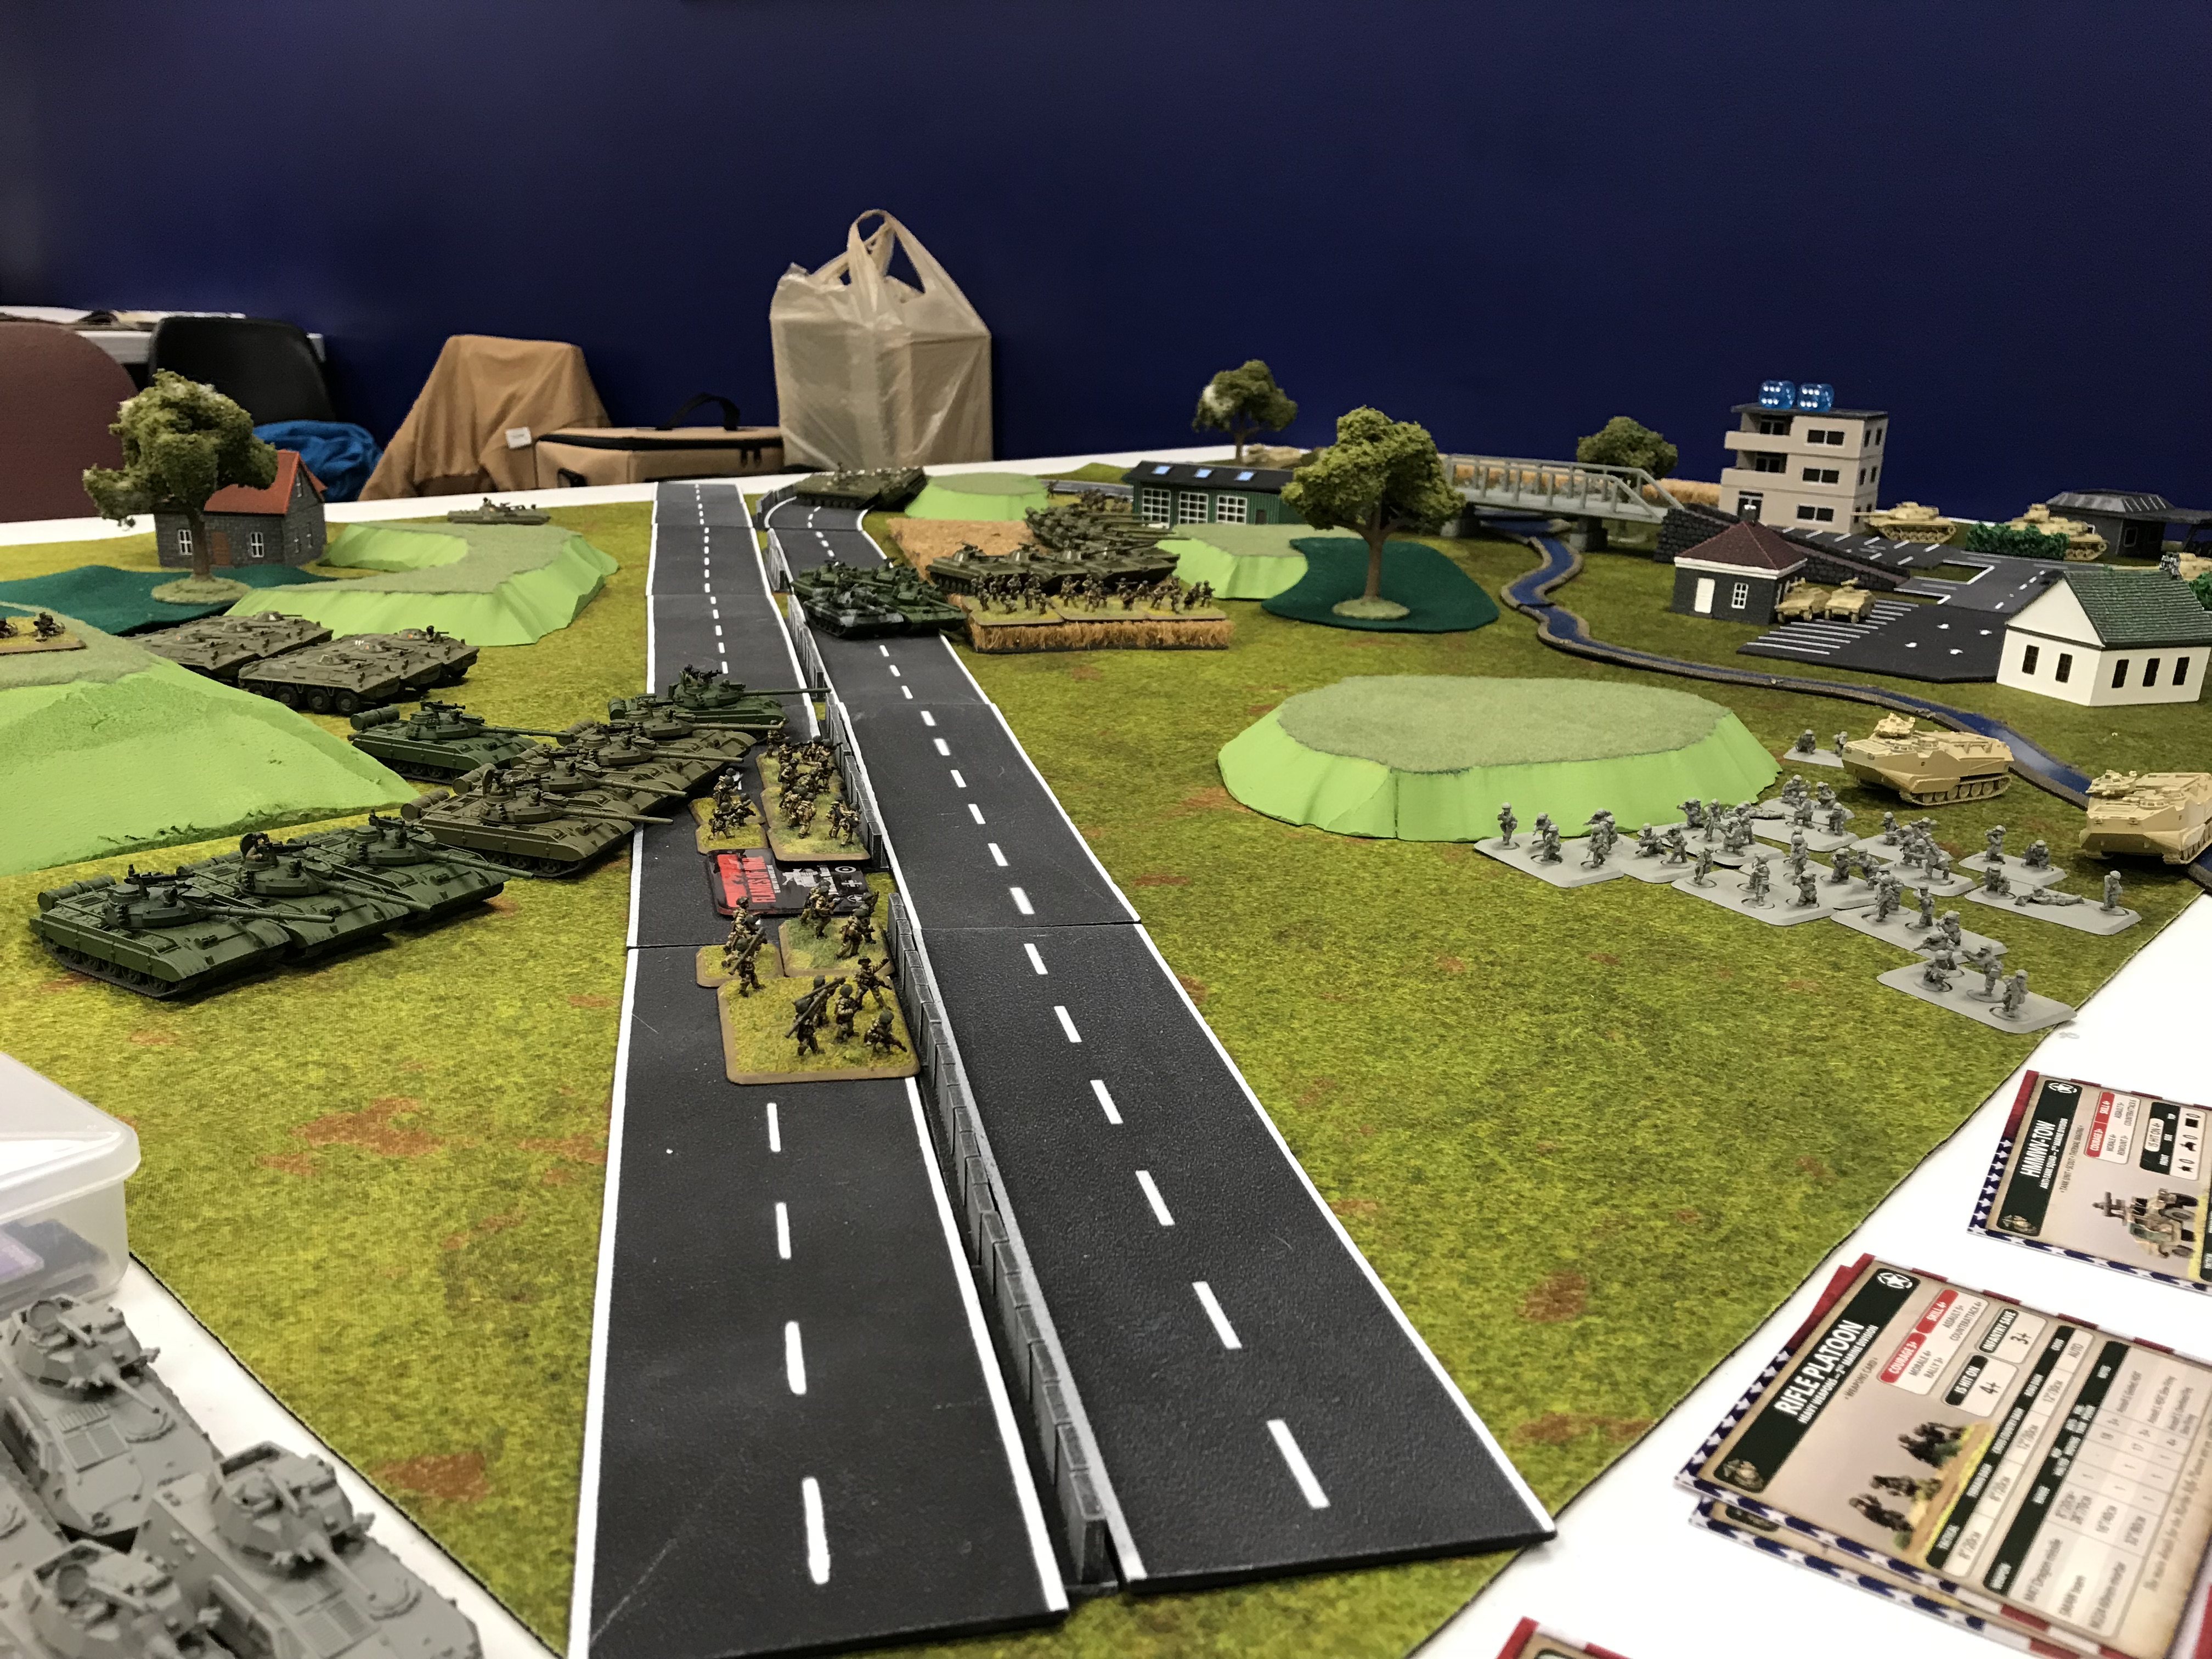
I had two formations. The T-55 Panzer BN had three platoons of four tanks, supported by a BTR Mot-Schutzen KO, A Shilka platoon, and a BRDM section. The Motor-schutzen BN had two companies of Motor-schutzen, a Kompanie of four T-55s (not T-64s), a platoon of Gaskins, two sections of Spandrels, a section of BRDMs, and three 2S1s in support.
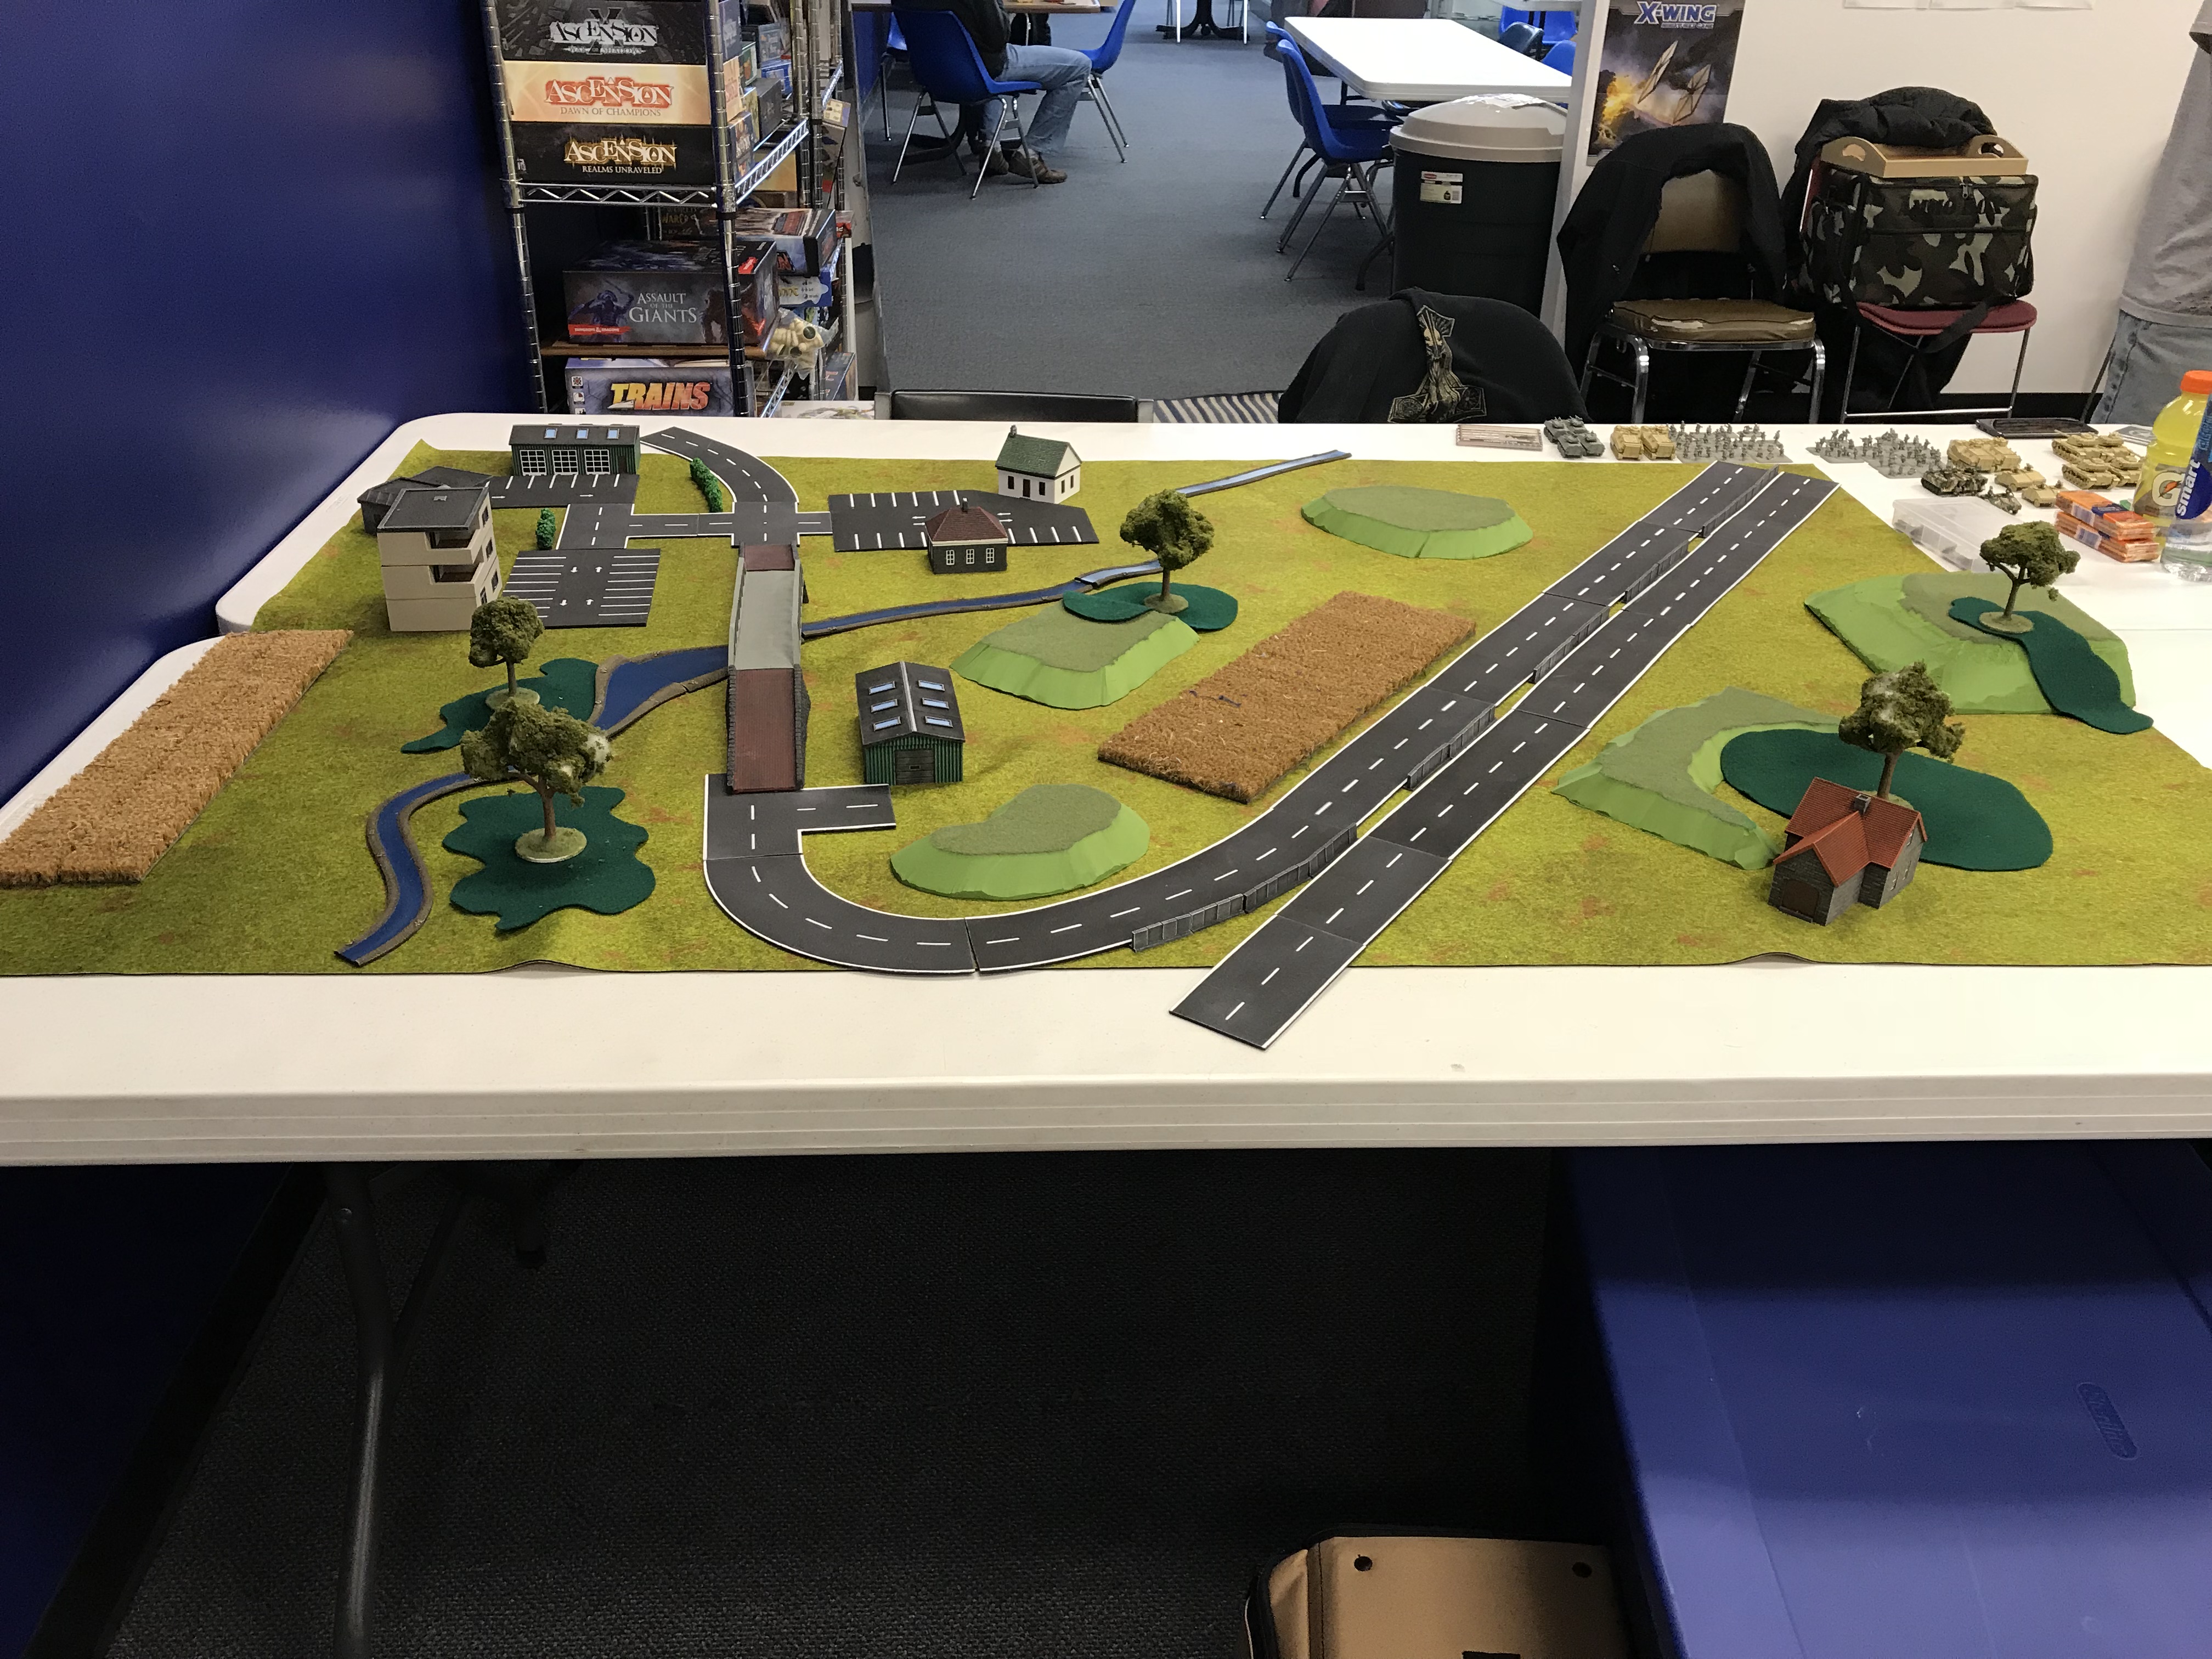
As the attacker I chose to launch my attack from the bottom right corner leaving Ray to deploy in the village.

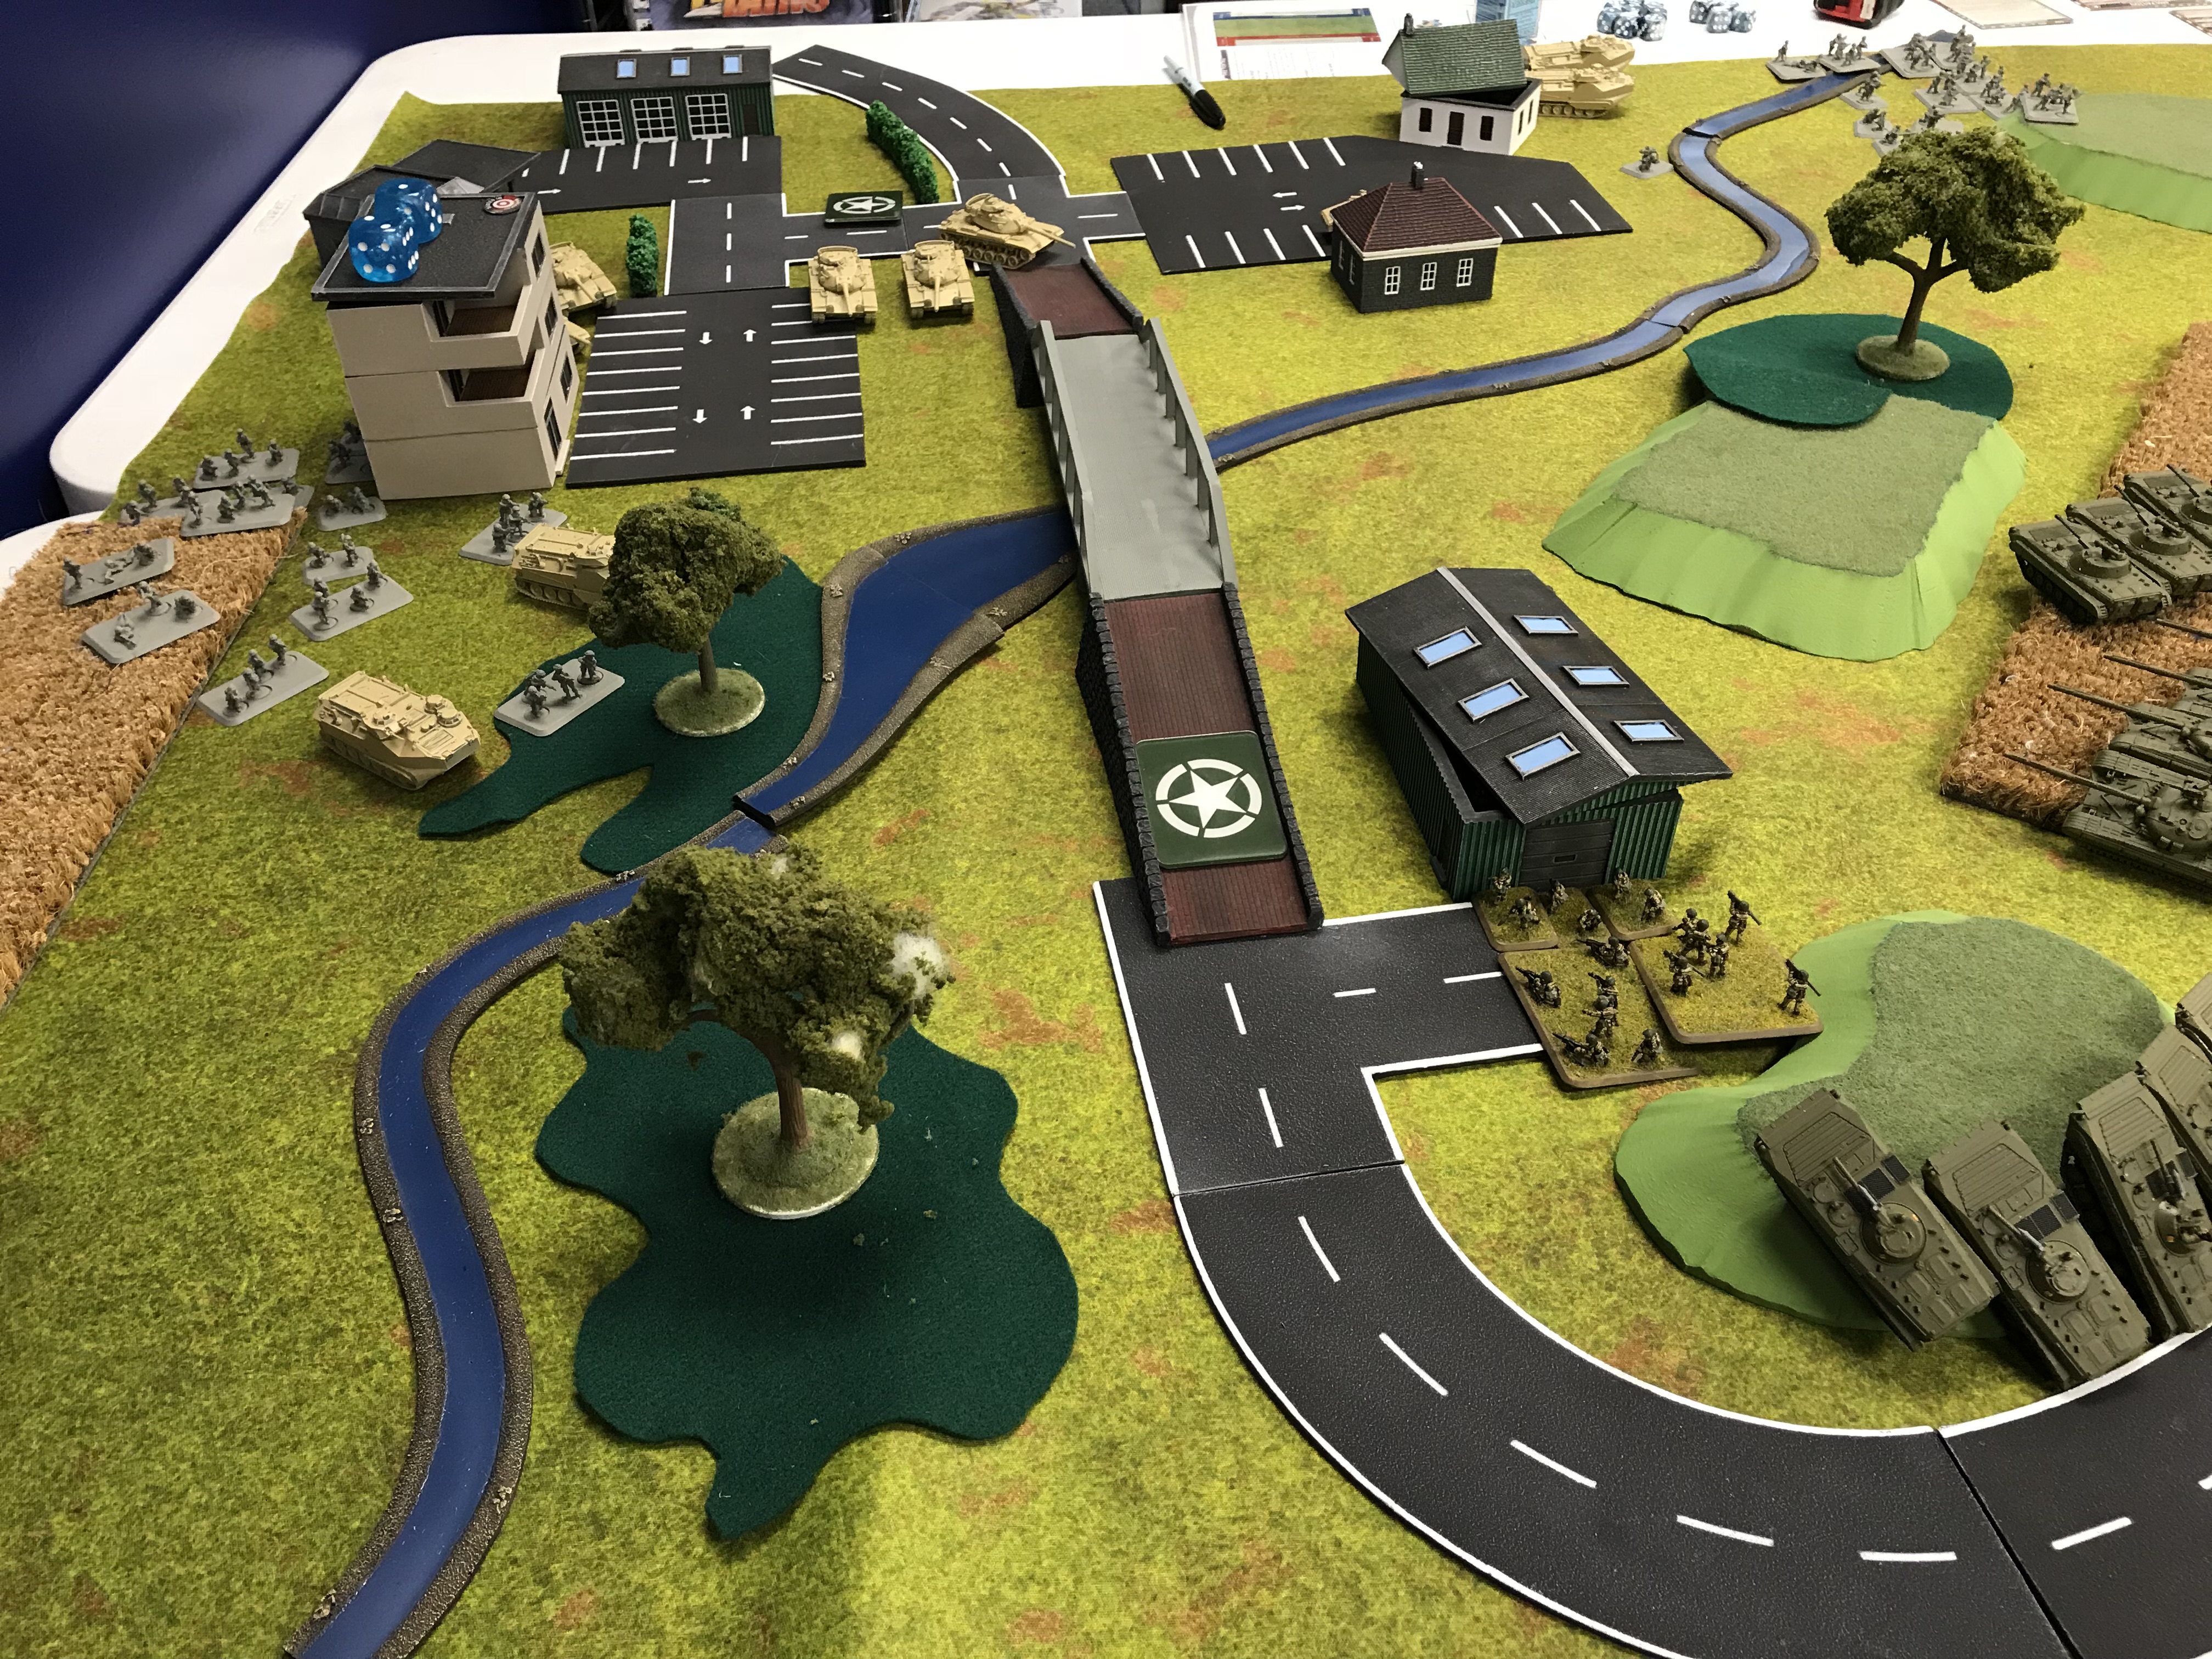
In the darkness both forces on the left move toward the objective. The VA actually captured it on T1, but because both of us messed up on deployment we decided to not have it go hot until T3. No troops deployed where they should not have, but both could have deployed closer to the objective.
On the right, the T-55 BN, and attached infantry move to defend the northern objective being threatened by a huge blob of Marines, and two land battleships.
Turn two was all movement. Not much was accomplished on the left. On the right, an acoustic shadow kept the Marines from hearing the approaching tanks, and they bravely pressed forward to their objective.
Turn three on the left side saw a platoon of Shilkas drive on to the battlefield right between an enemy infantry platoon, and their transports. They open fire on both, but only manage to destroy one of the behemoth APCs. The infantry fails to dig in again, and the APCs re-position.
The Marines fire back at the Shilkas killing all but one. The final track is down but not out, and stays in the fight after multiple opportunities to flee.
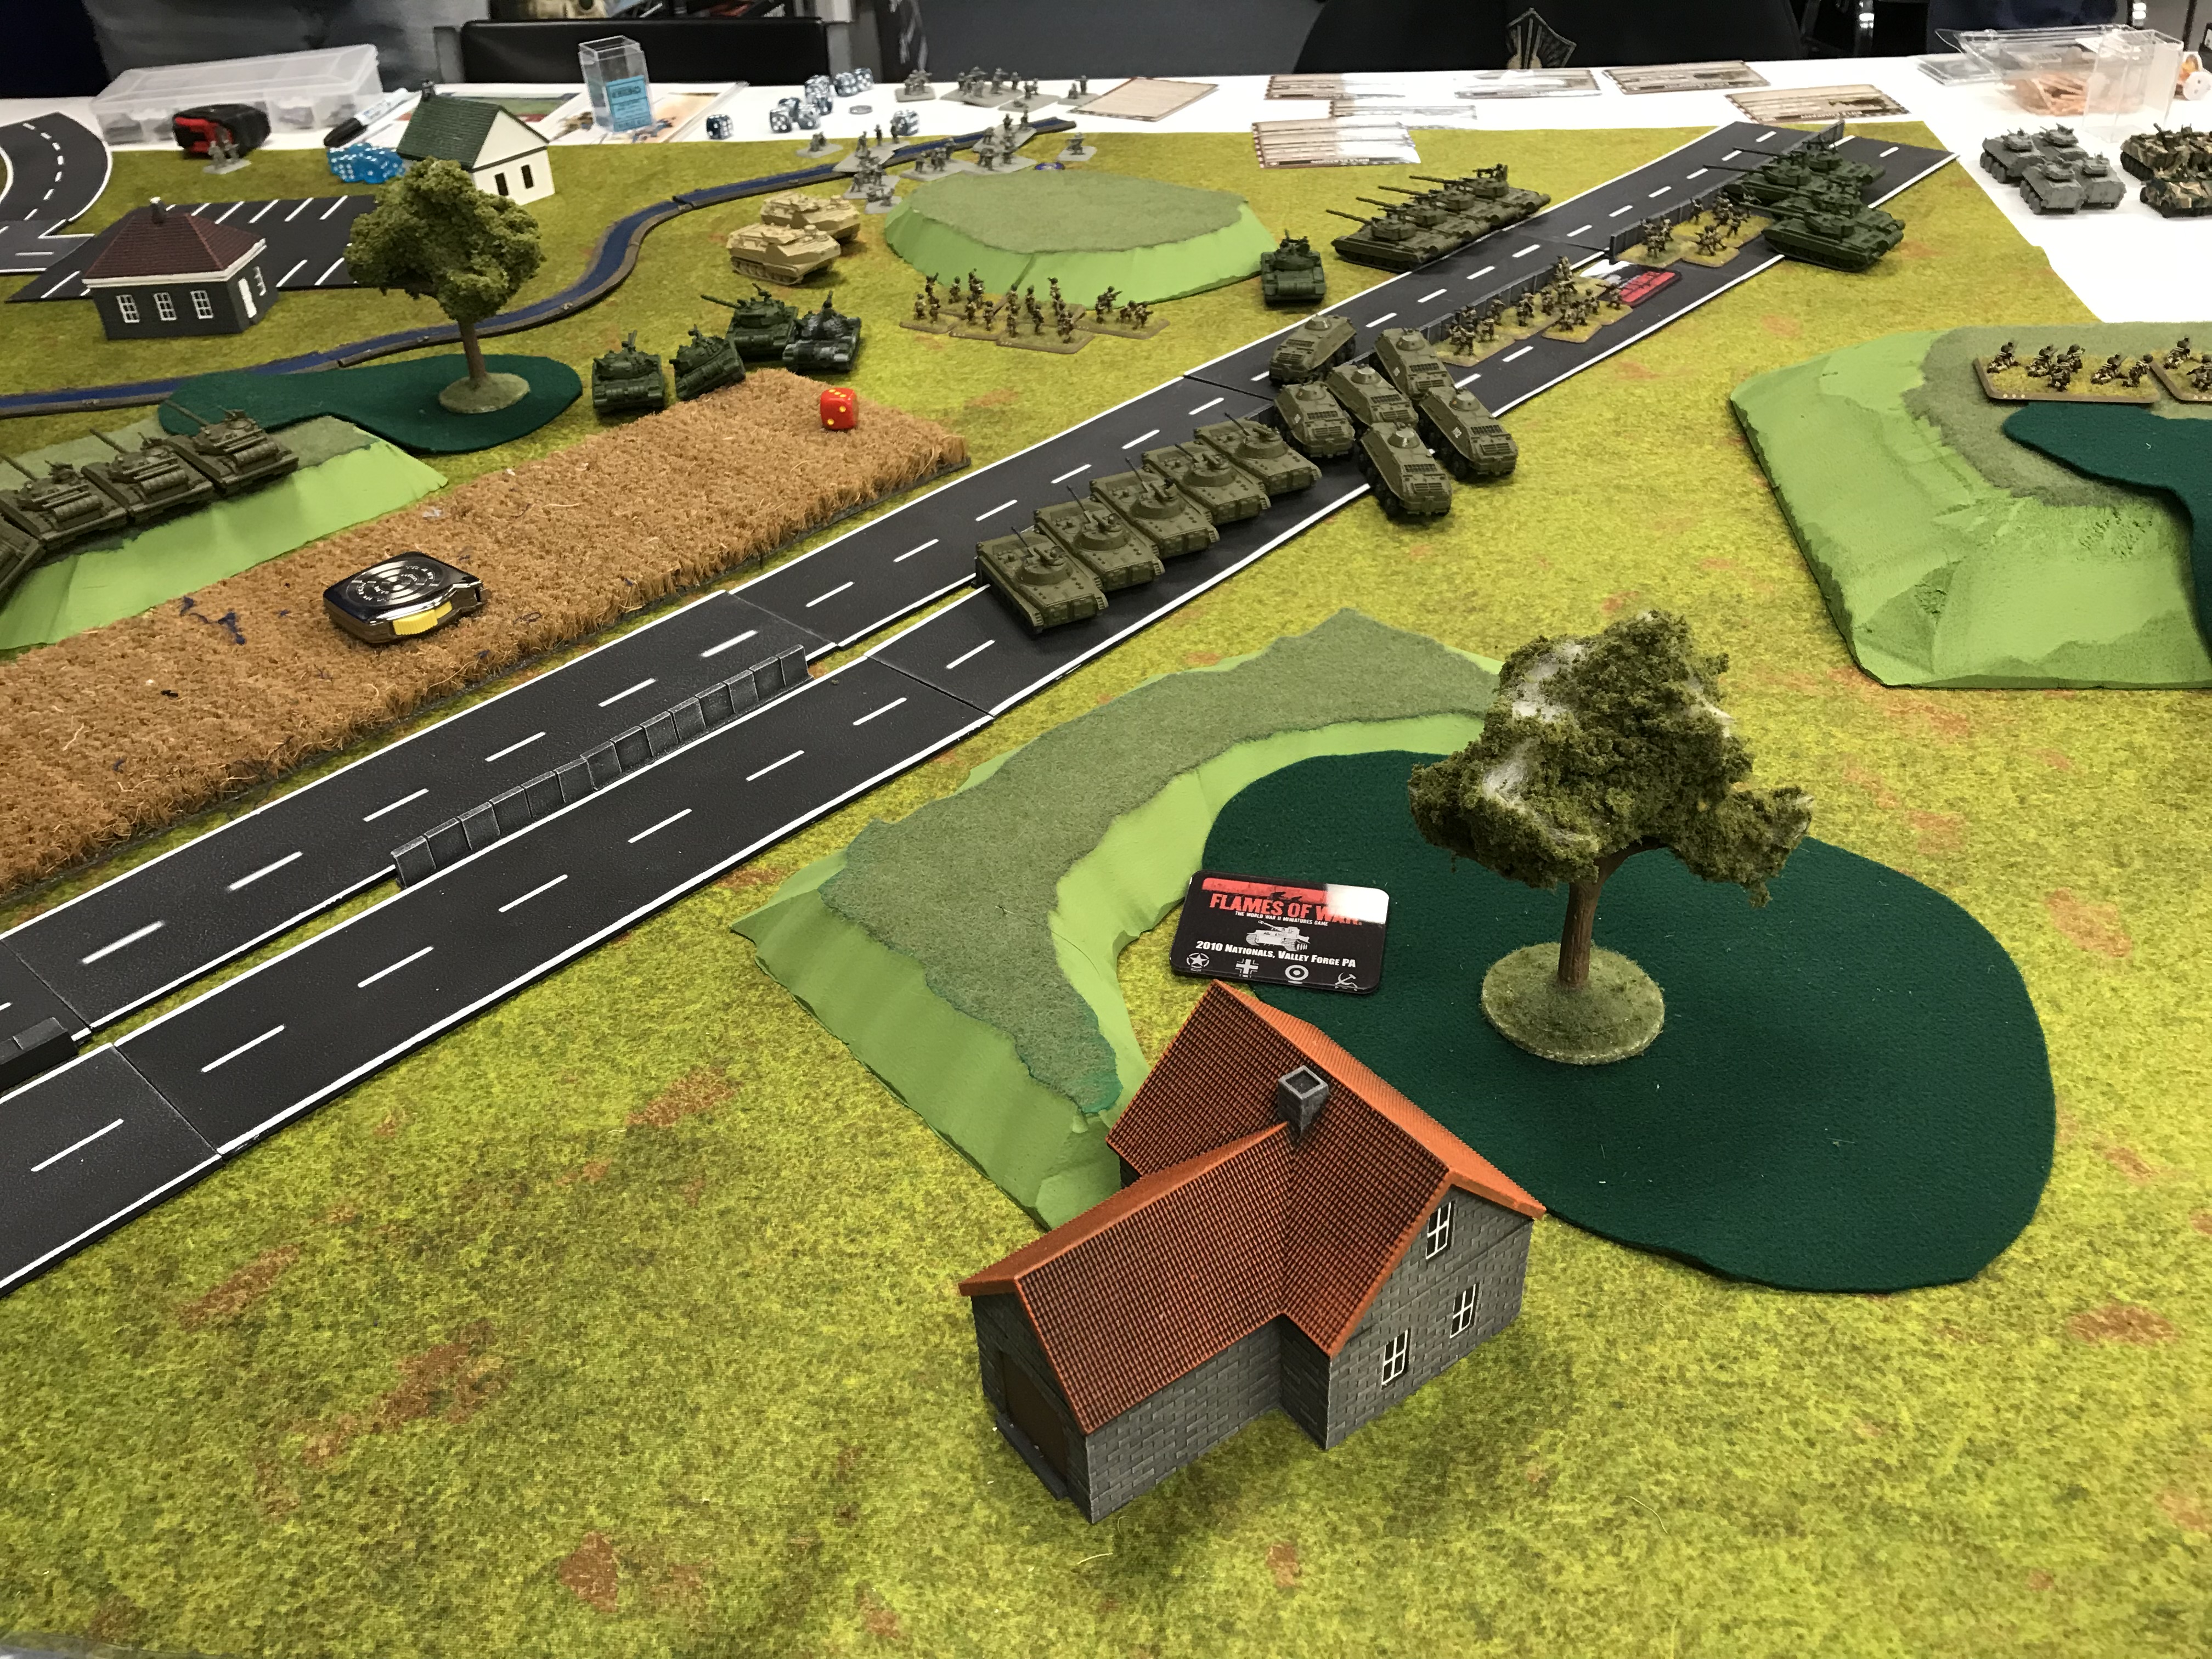
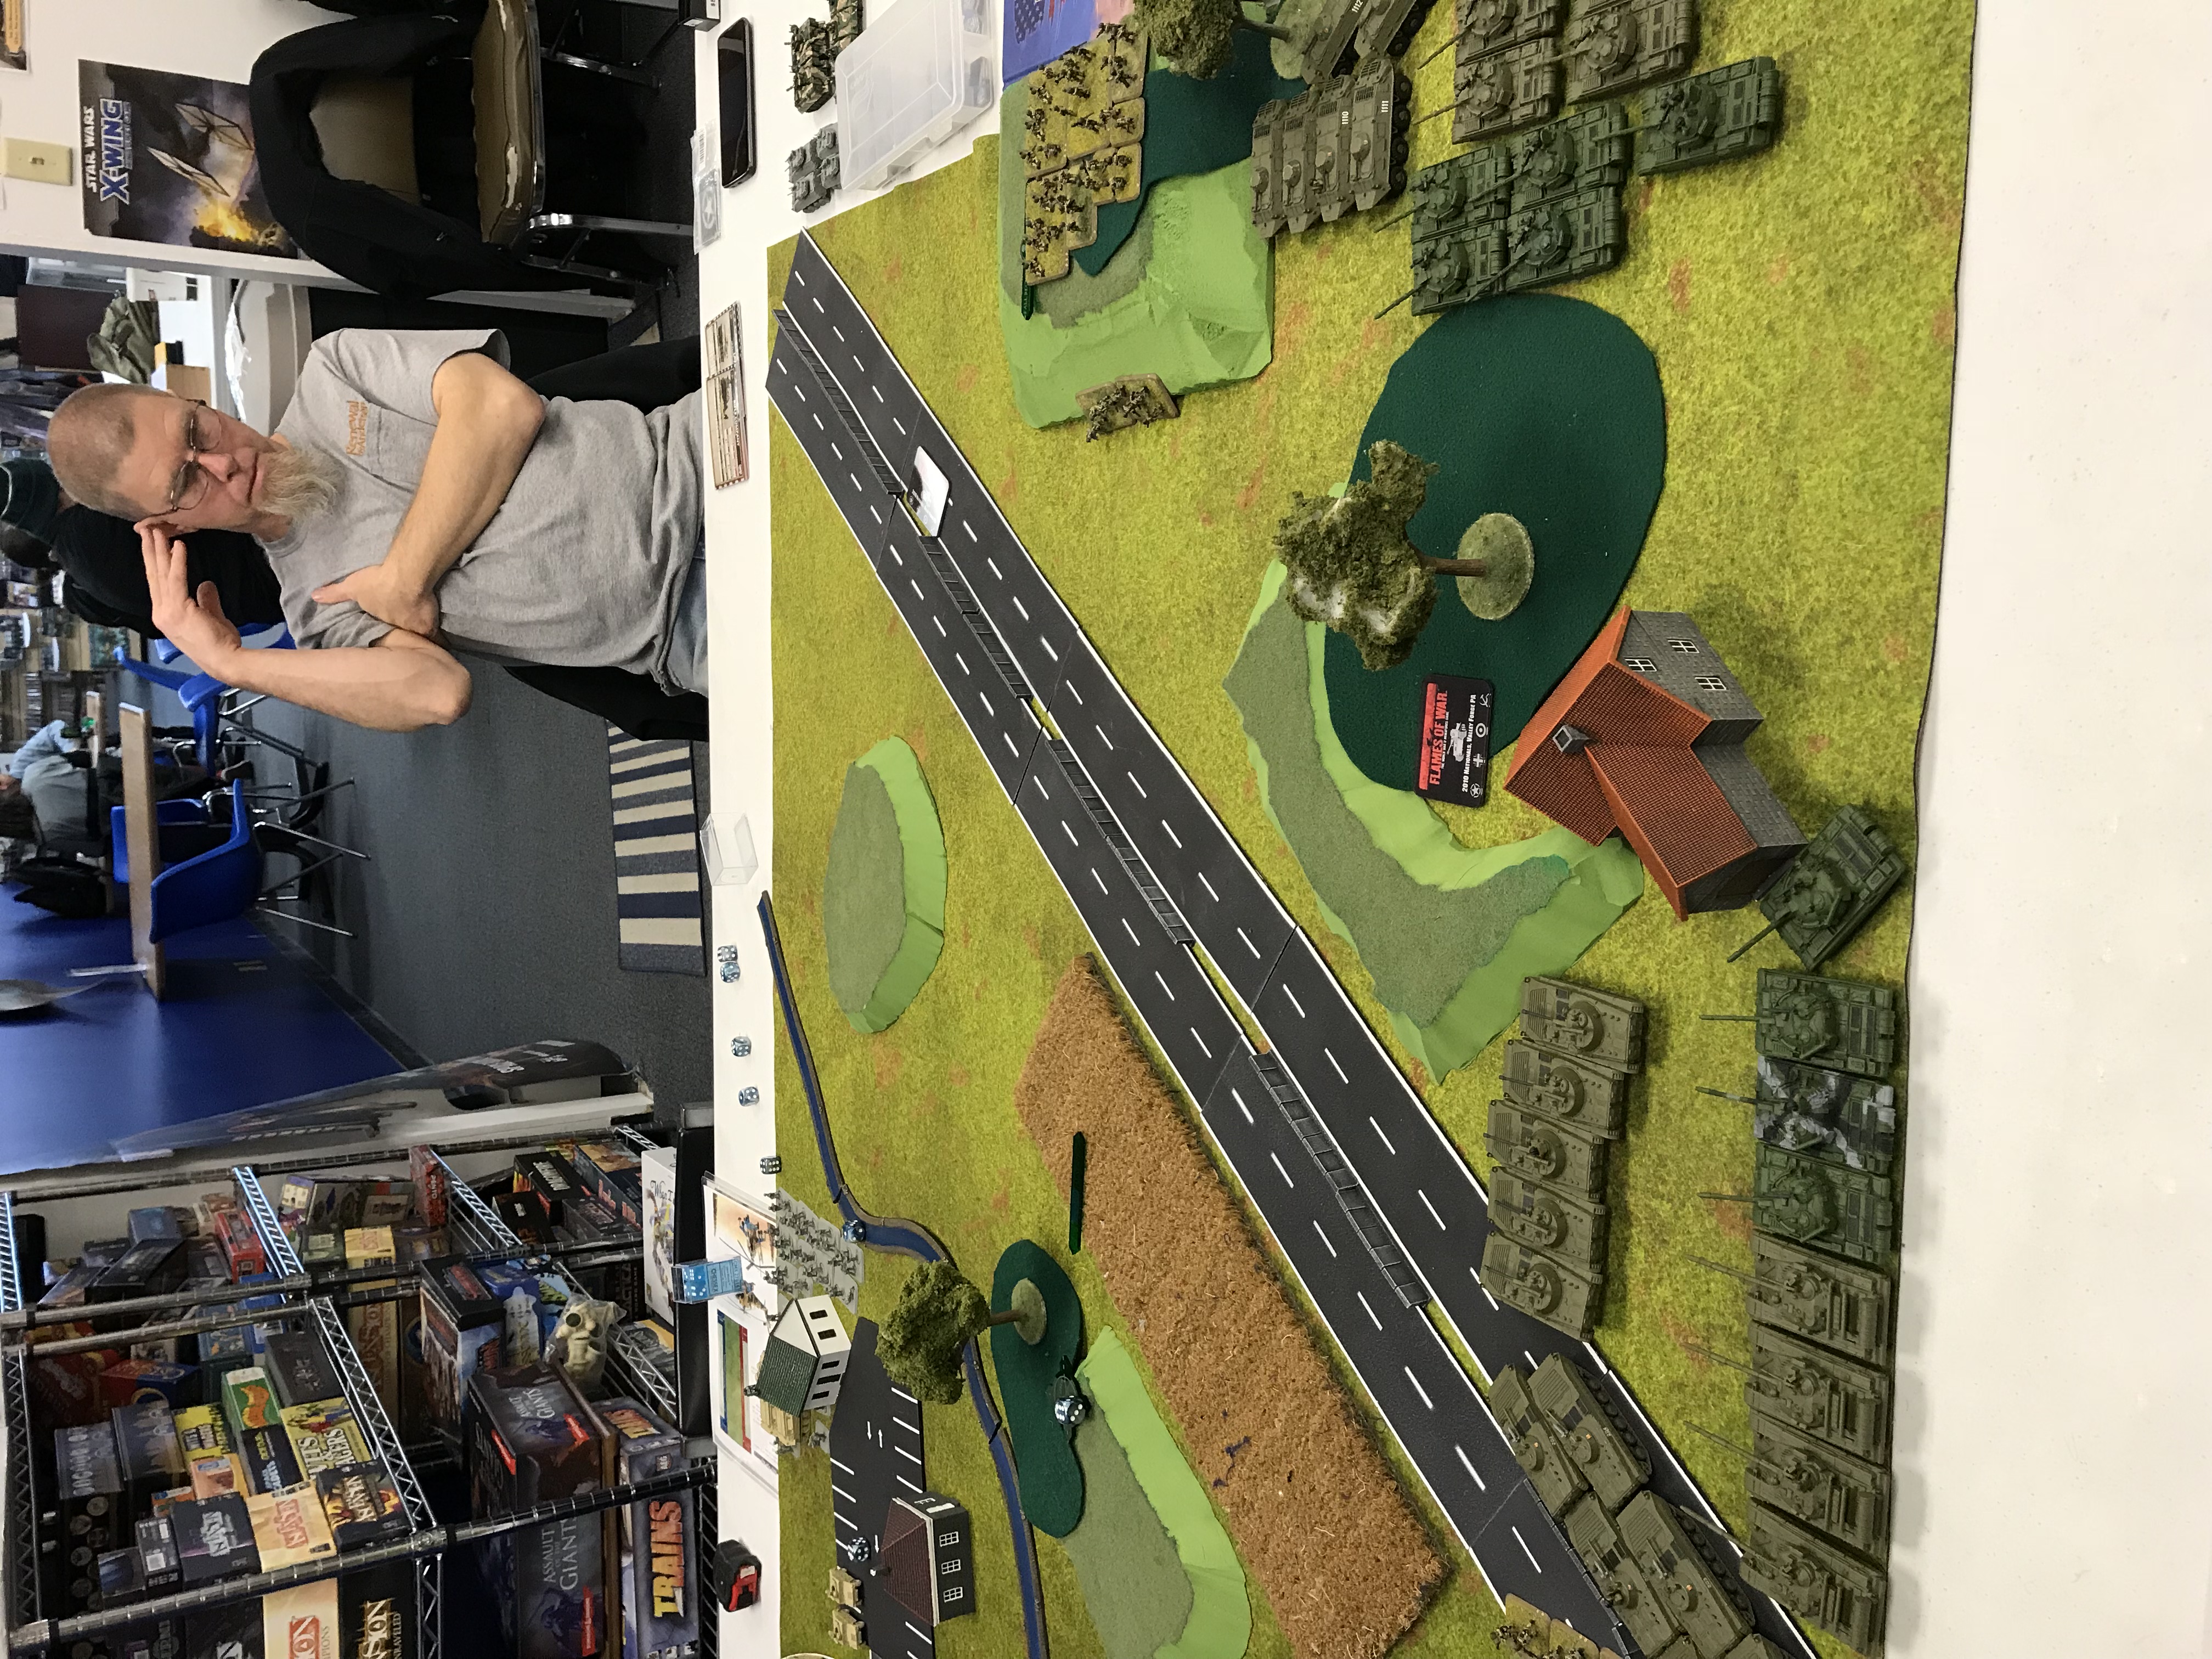
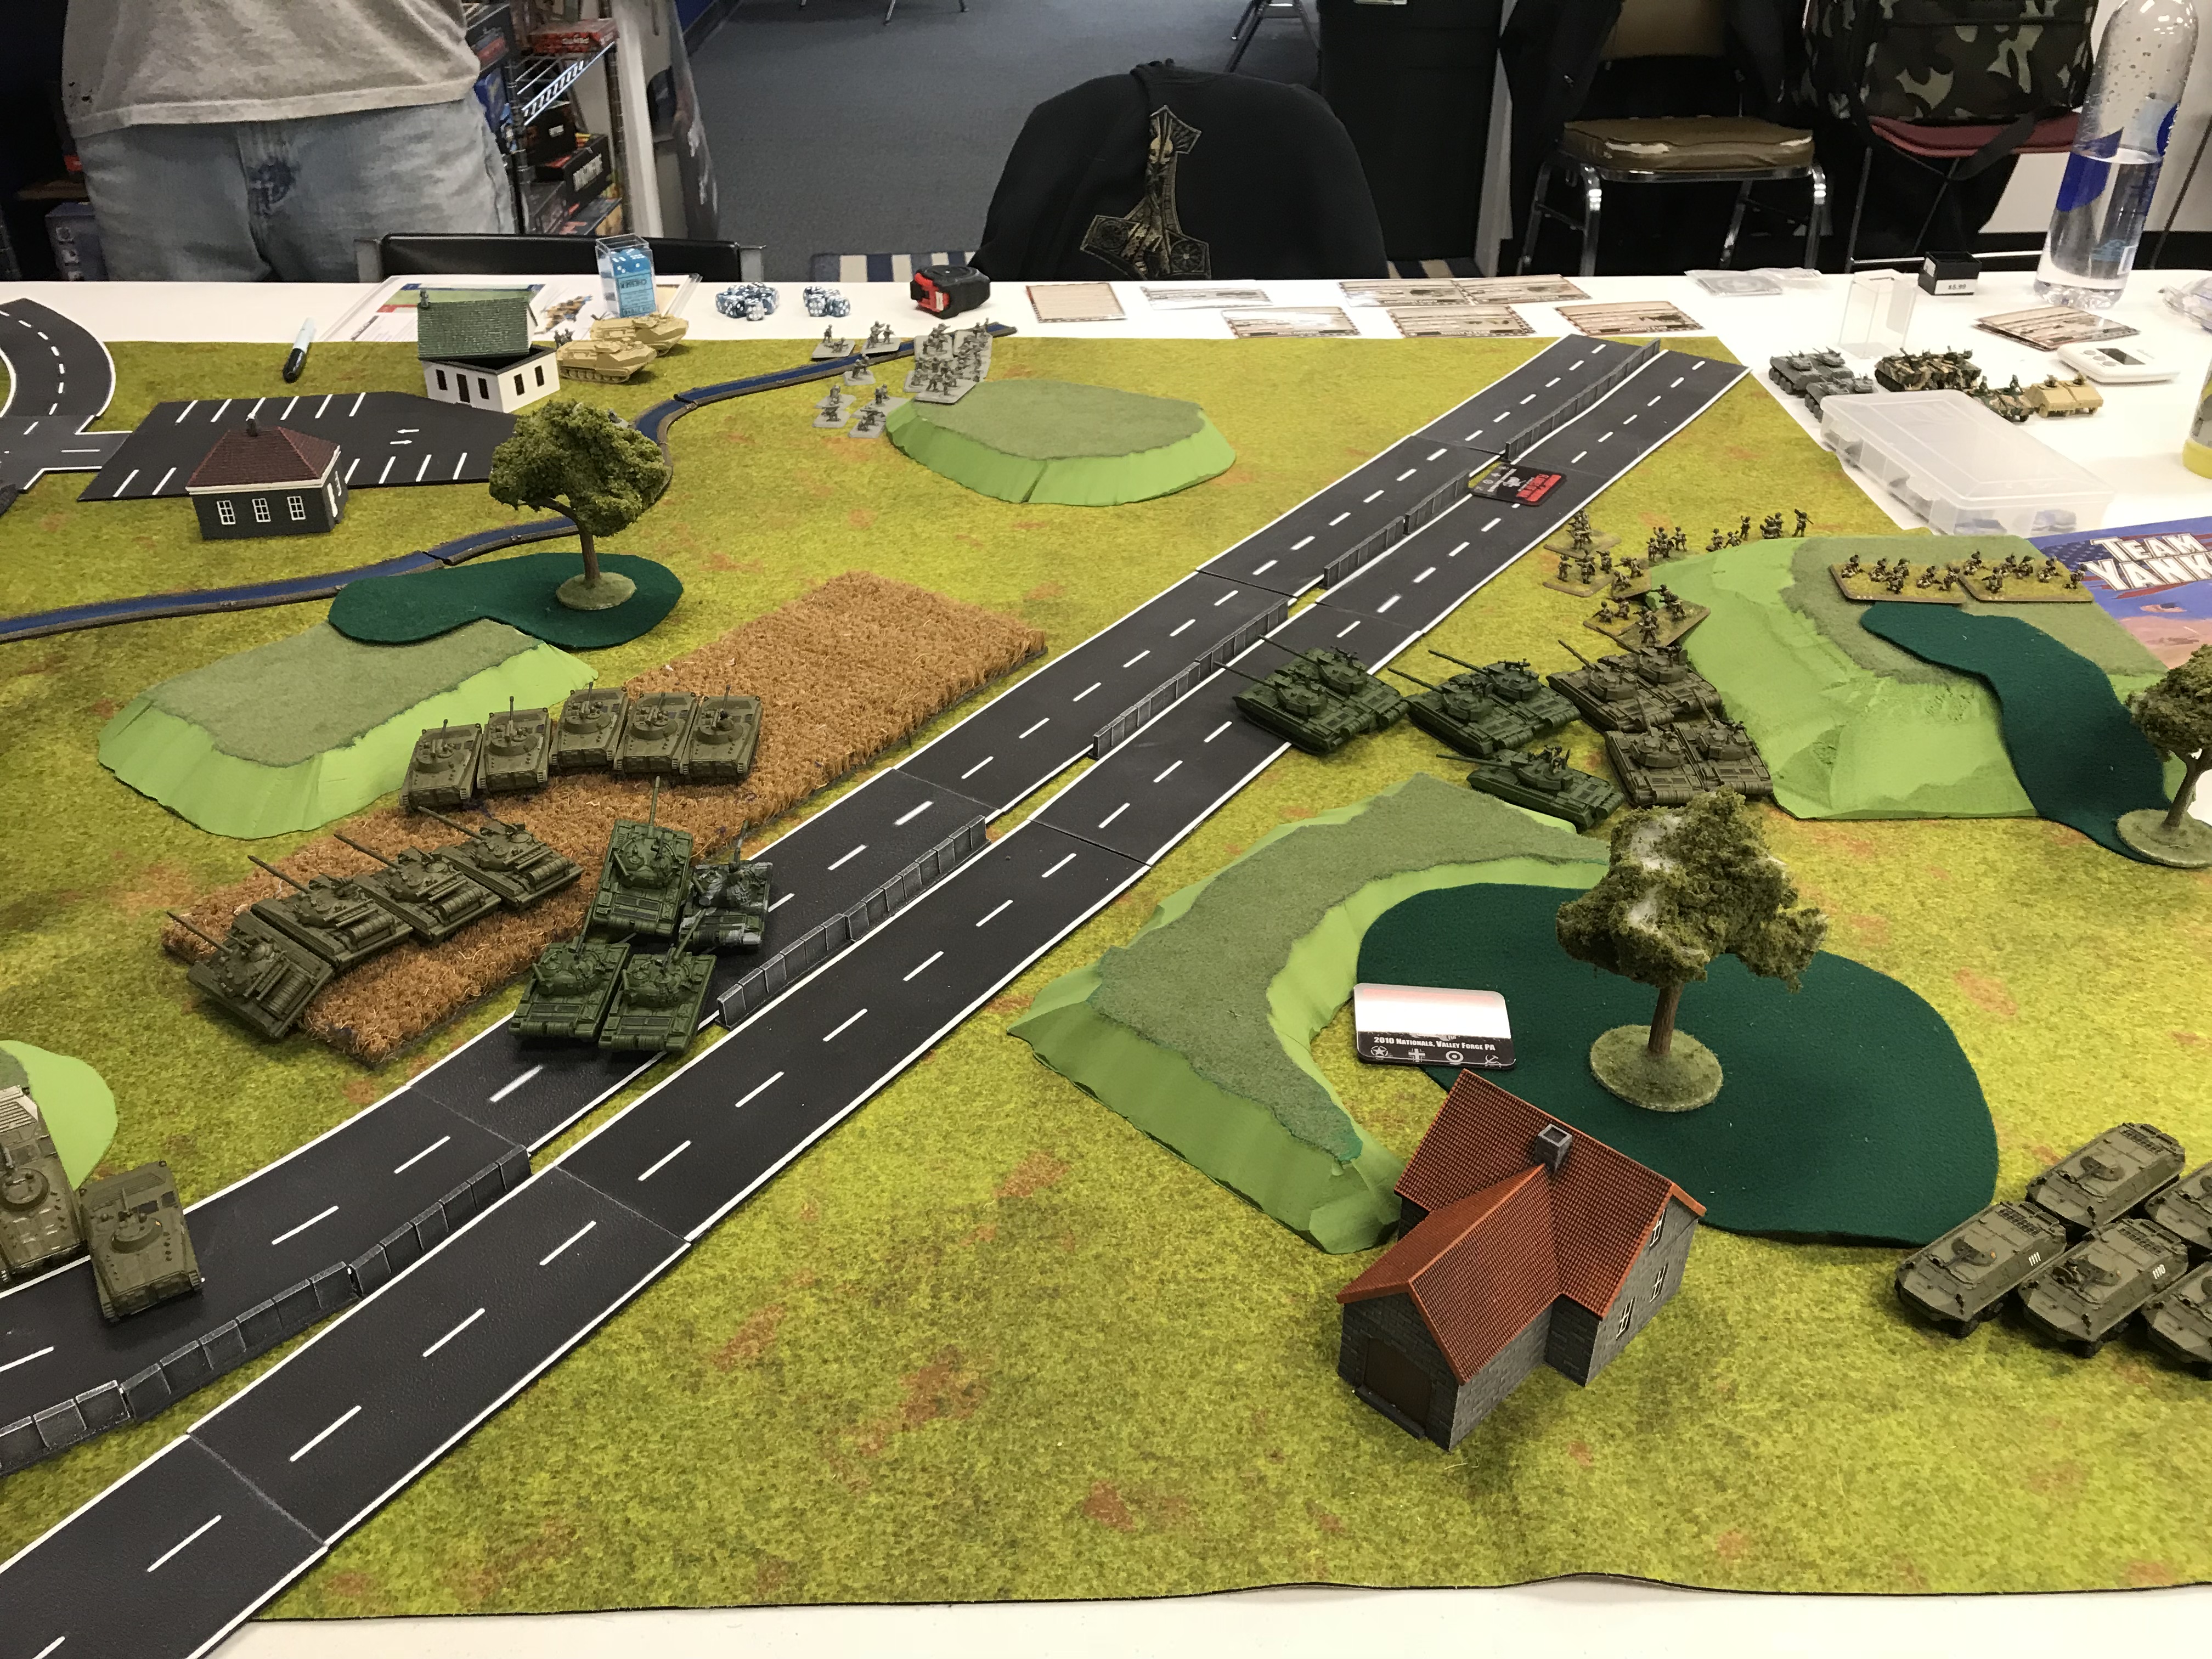
Turn three on the right had the IR sights on all of the T-55 Kompanies make out the approaching Marine infantry. Torrents of tracer-laced MG fire drops a third of the marines before they dive for cover.
In response the Marine land battleships fire a fusillade of grenades at a Motor-shutzen Kompanie attempting to join the fight, but only an RPG team is lost, and they are not pinned down. The pair of HUMMWV TOWs behind the green house fire at the nearest tanks, but miss, as do the marine riflemen's AT weapons after they backed away. No reinforcements make it to join them.
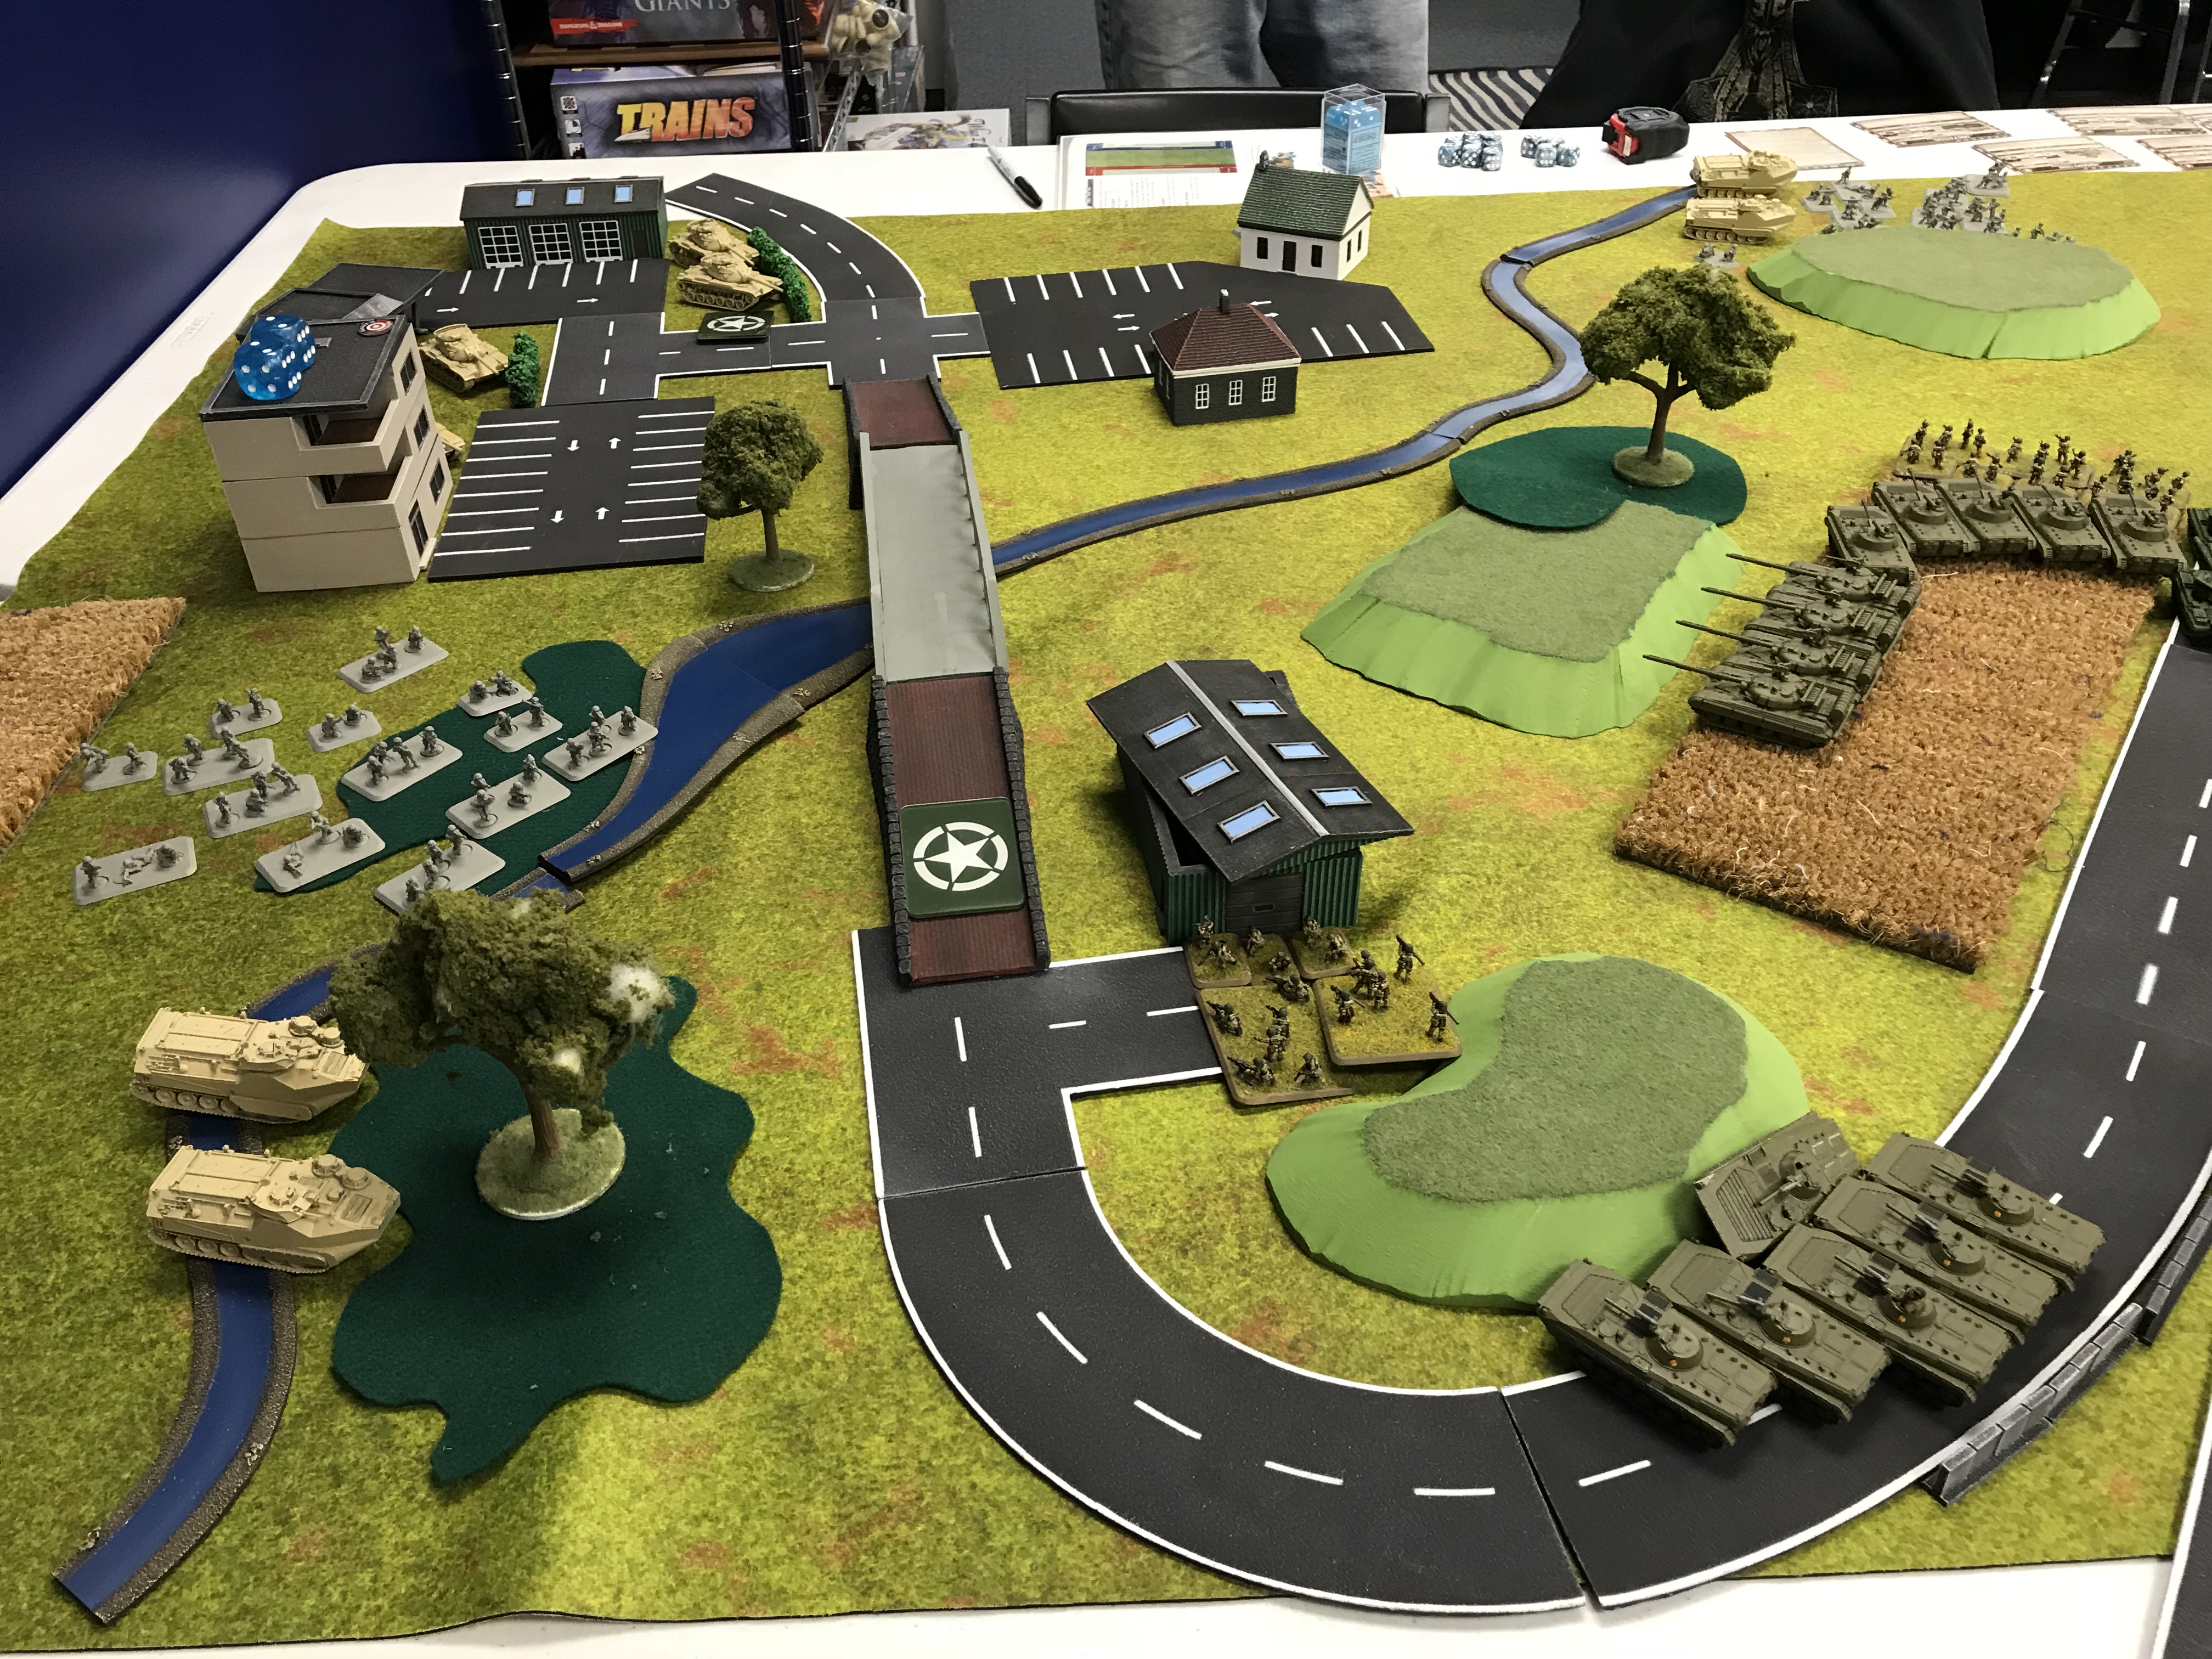
Turn four on the left saw the VA infantry occupy the objective, and fire at the marines advancing to contest their occupation. A supporting company of T-55s (again not T-64s) also rakes the Marine infantry with fire, as do the BMPs. All of the Marines not in cover are eliminated.
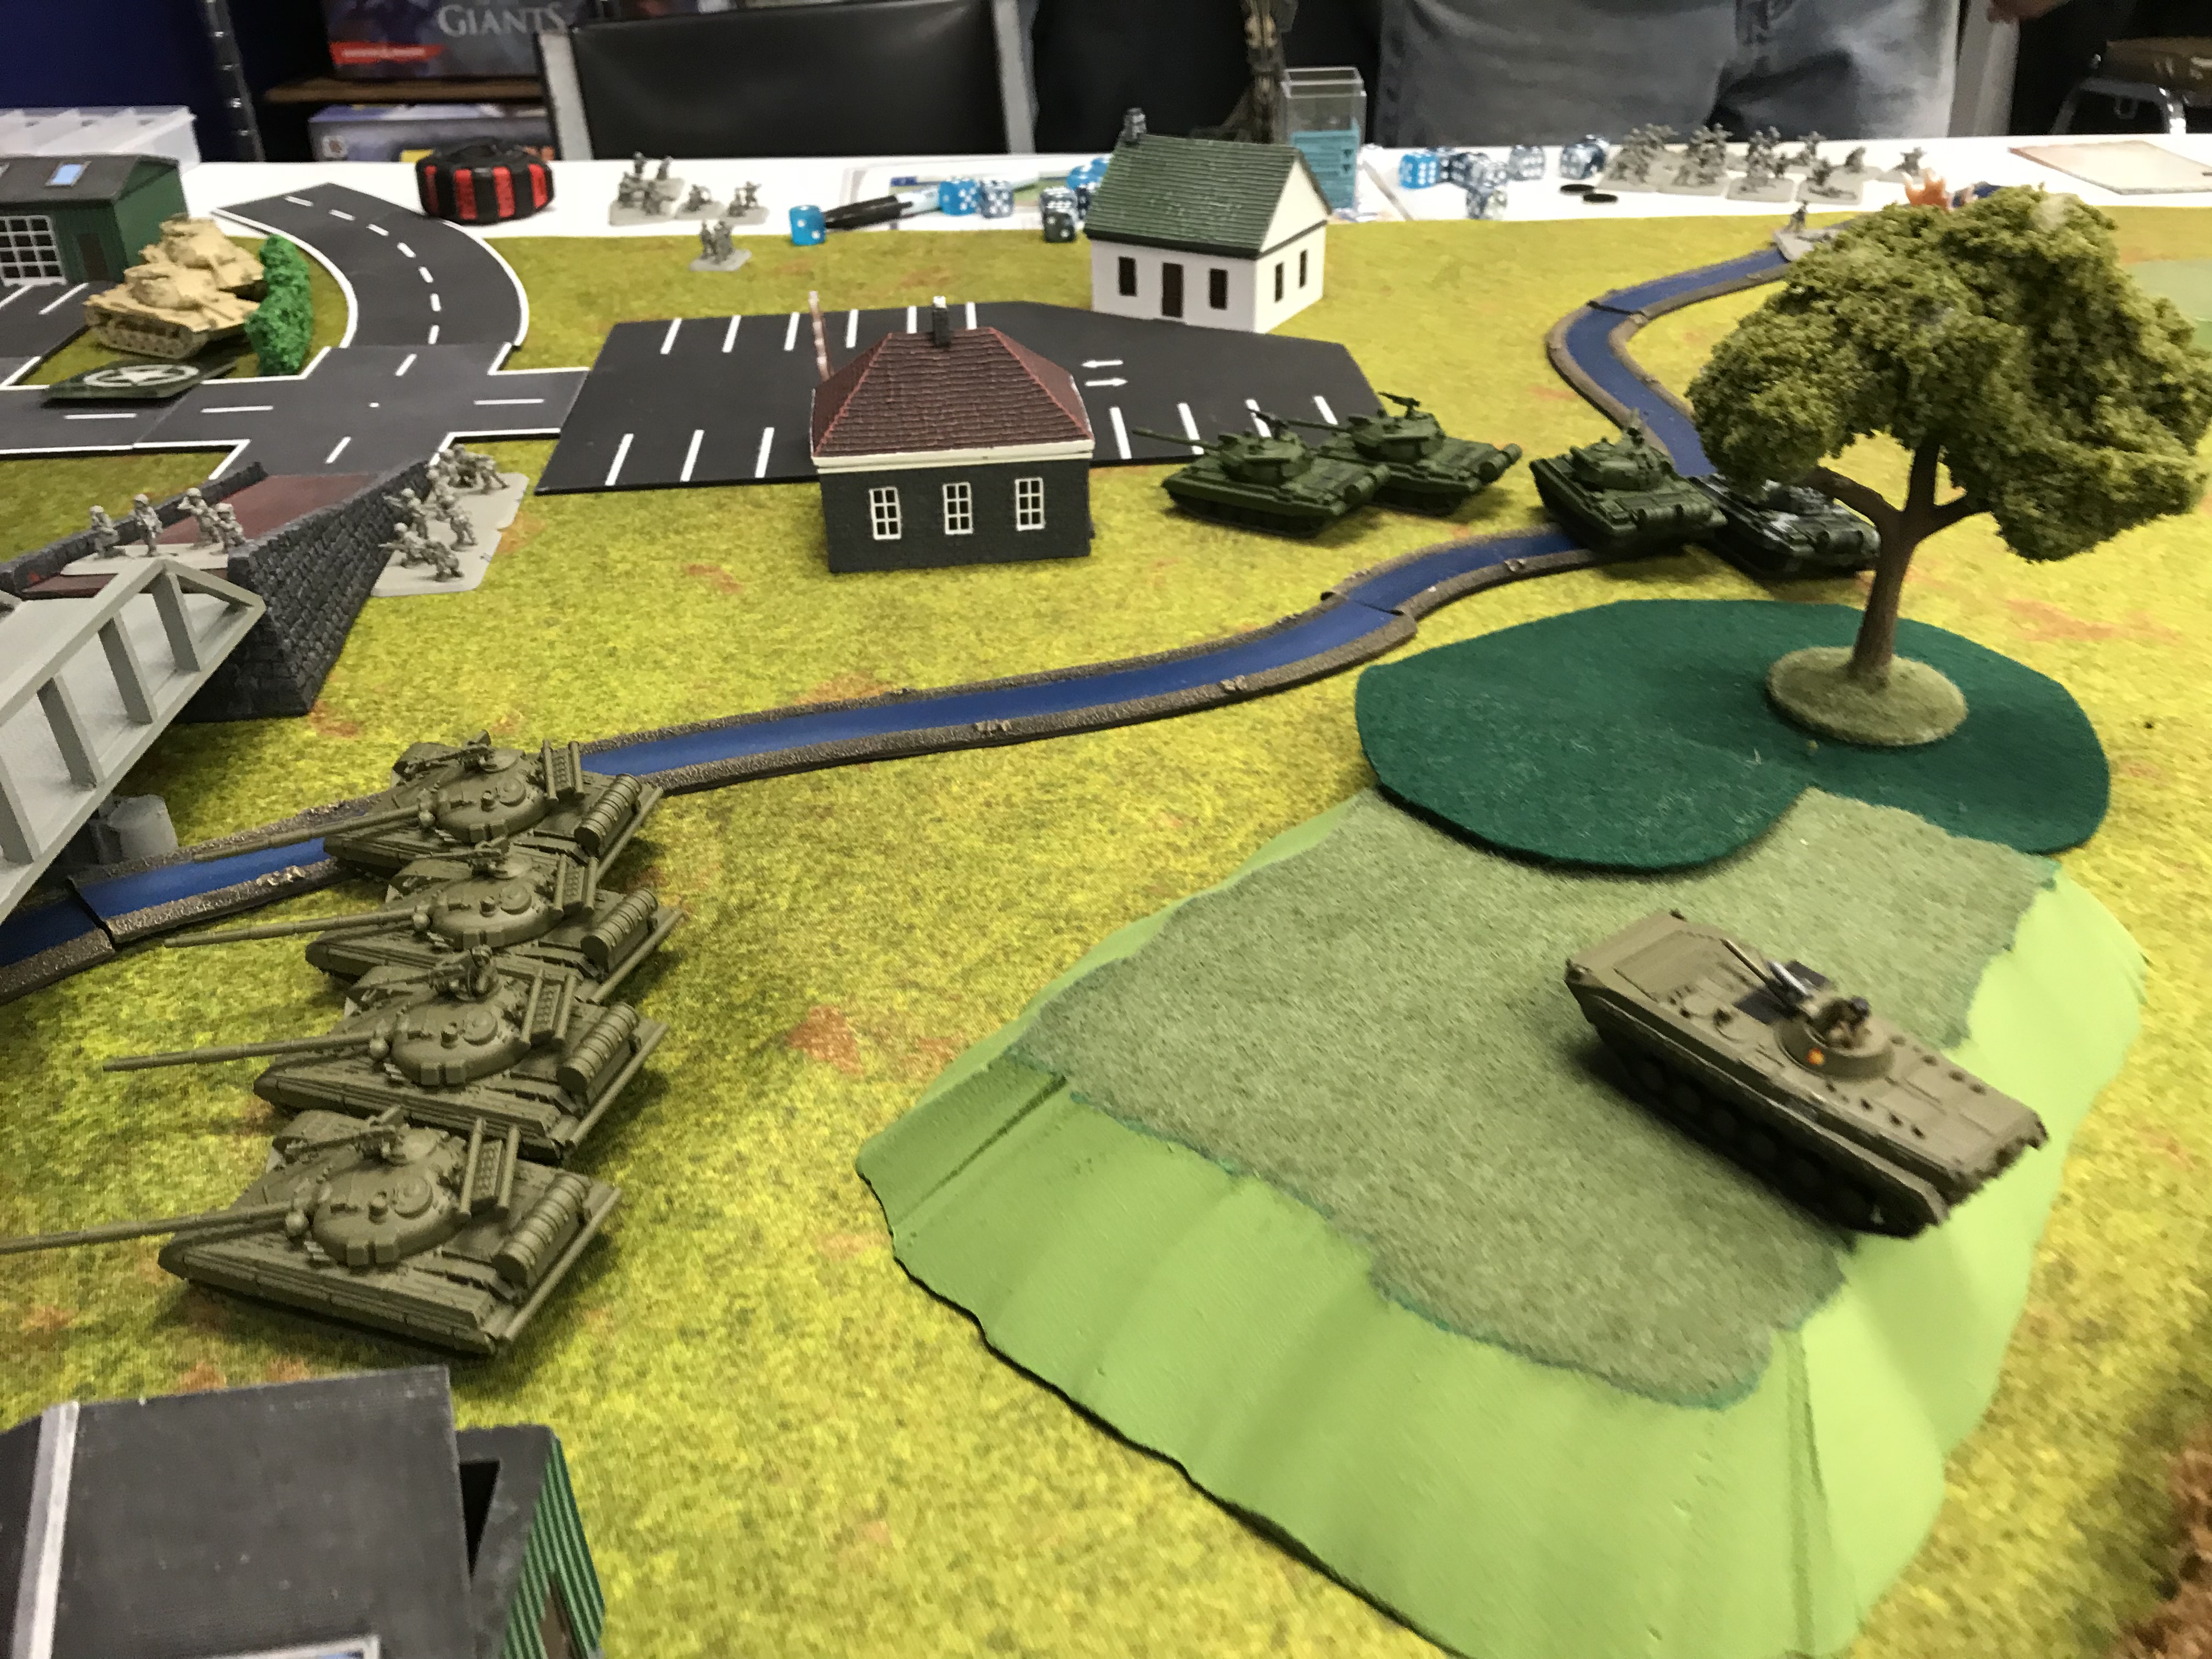
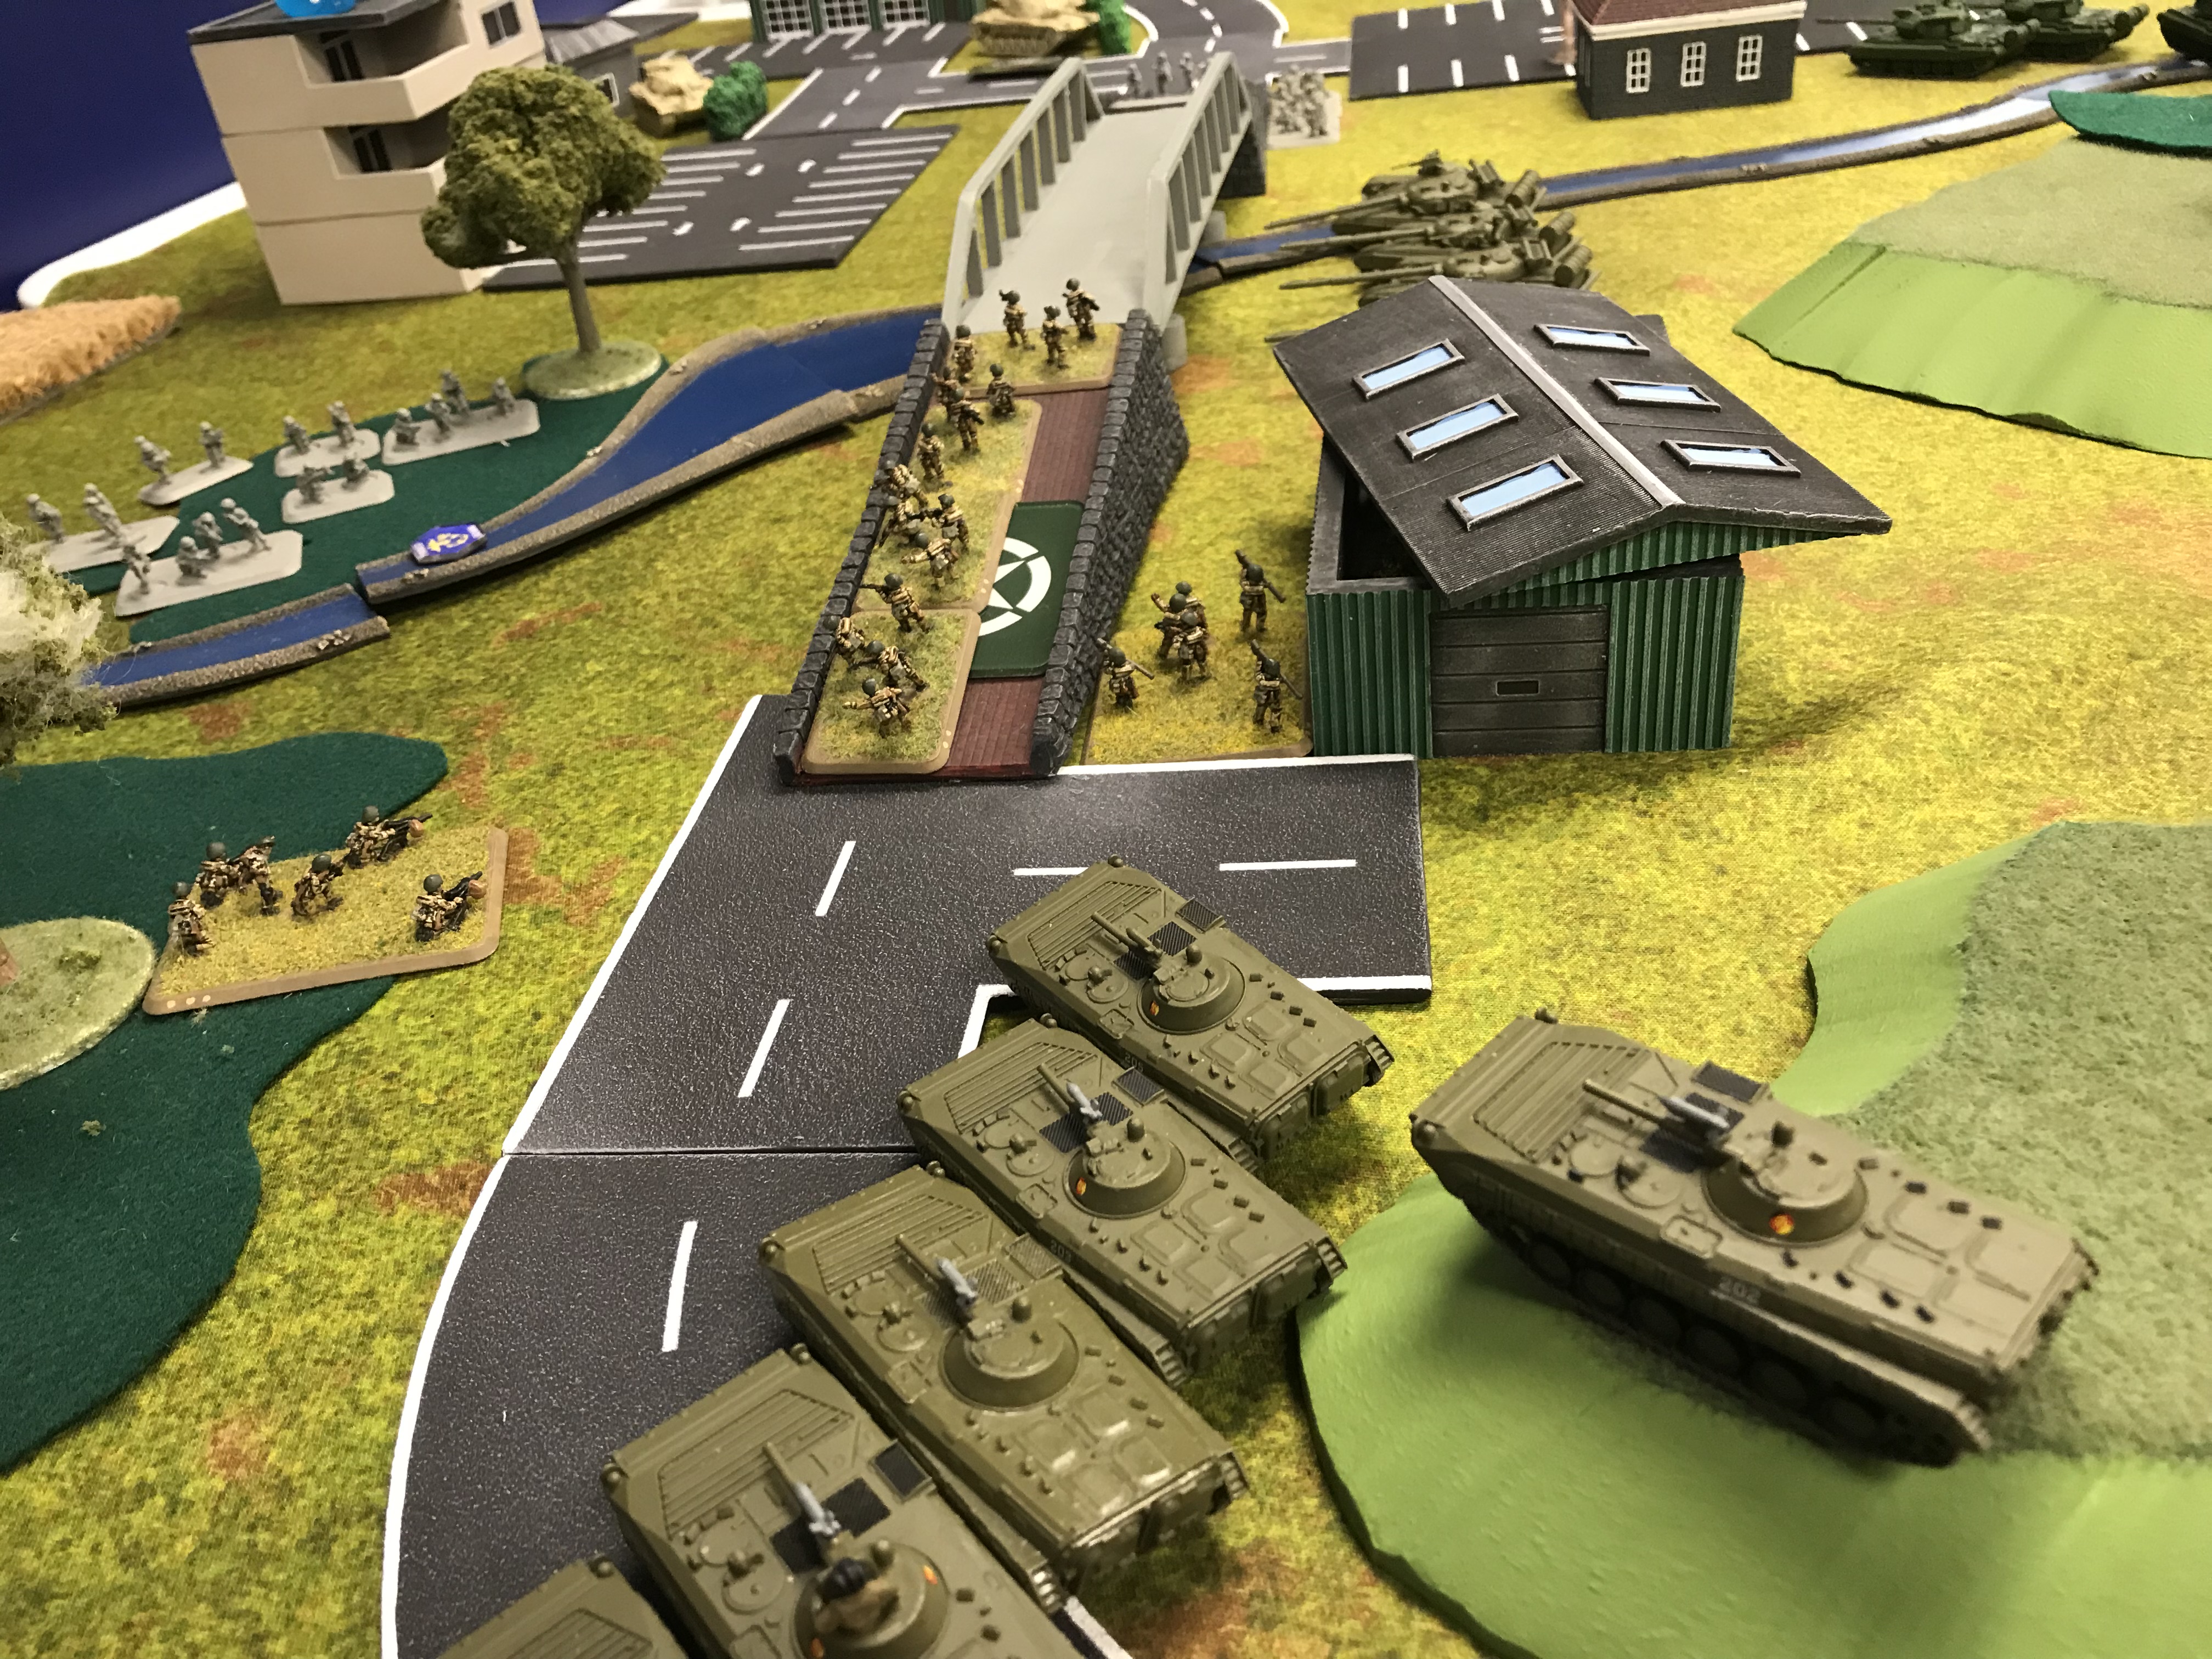
In the distance the T-55s near the green house eliminate the one HUMMWV Tow vehicle remaining after the dismounted AT-3 gunners at the back hill destroyed the other one.
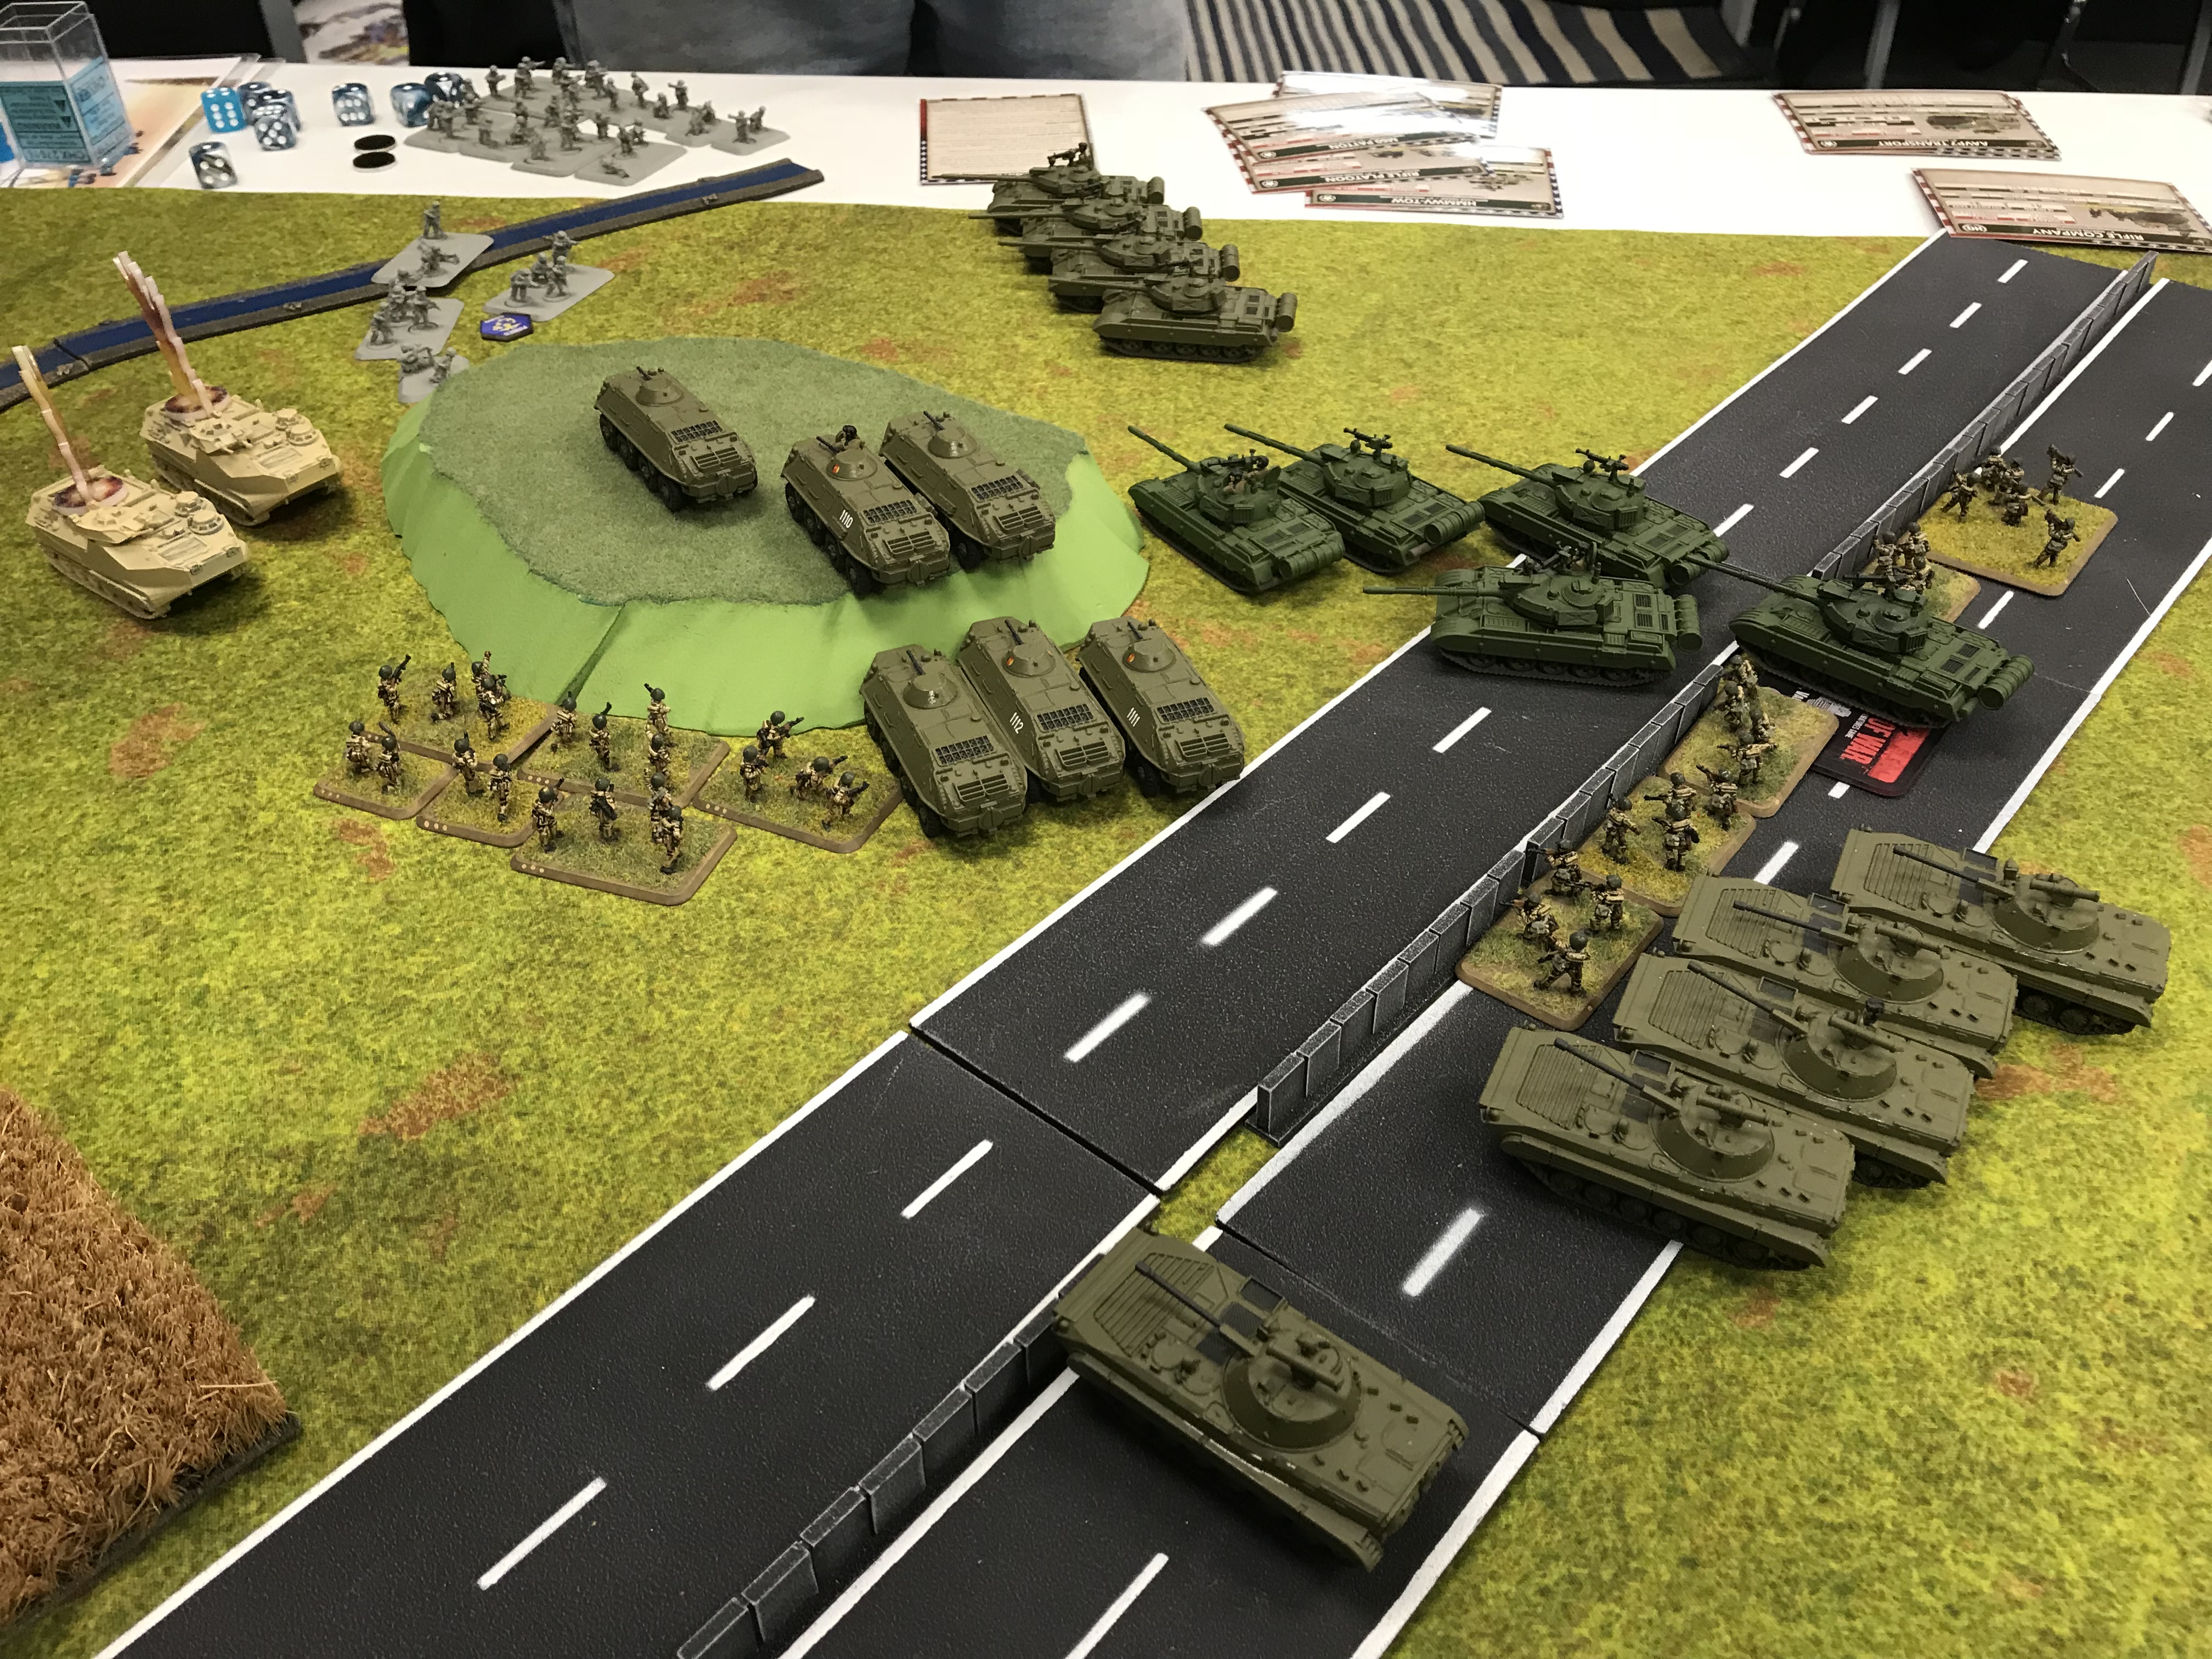
On the right side the sharks smelled blood in the water, and brought maximum firepower to bear. The Motor-schutzen eliminated the Marine APCs with RPGs. Ray could not make an infantry save as four fifths of his riflemen fell to MG fire.
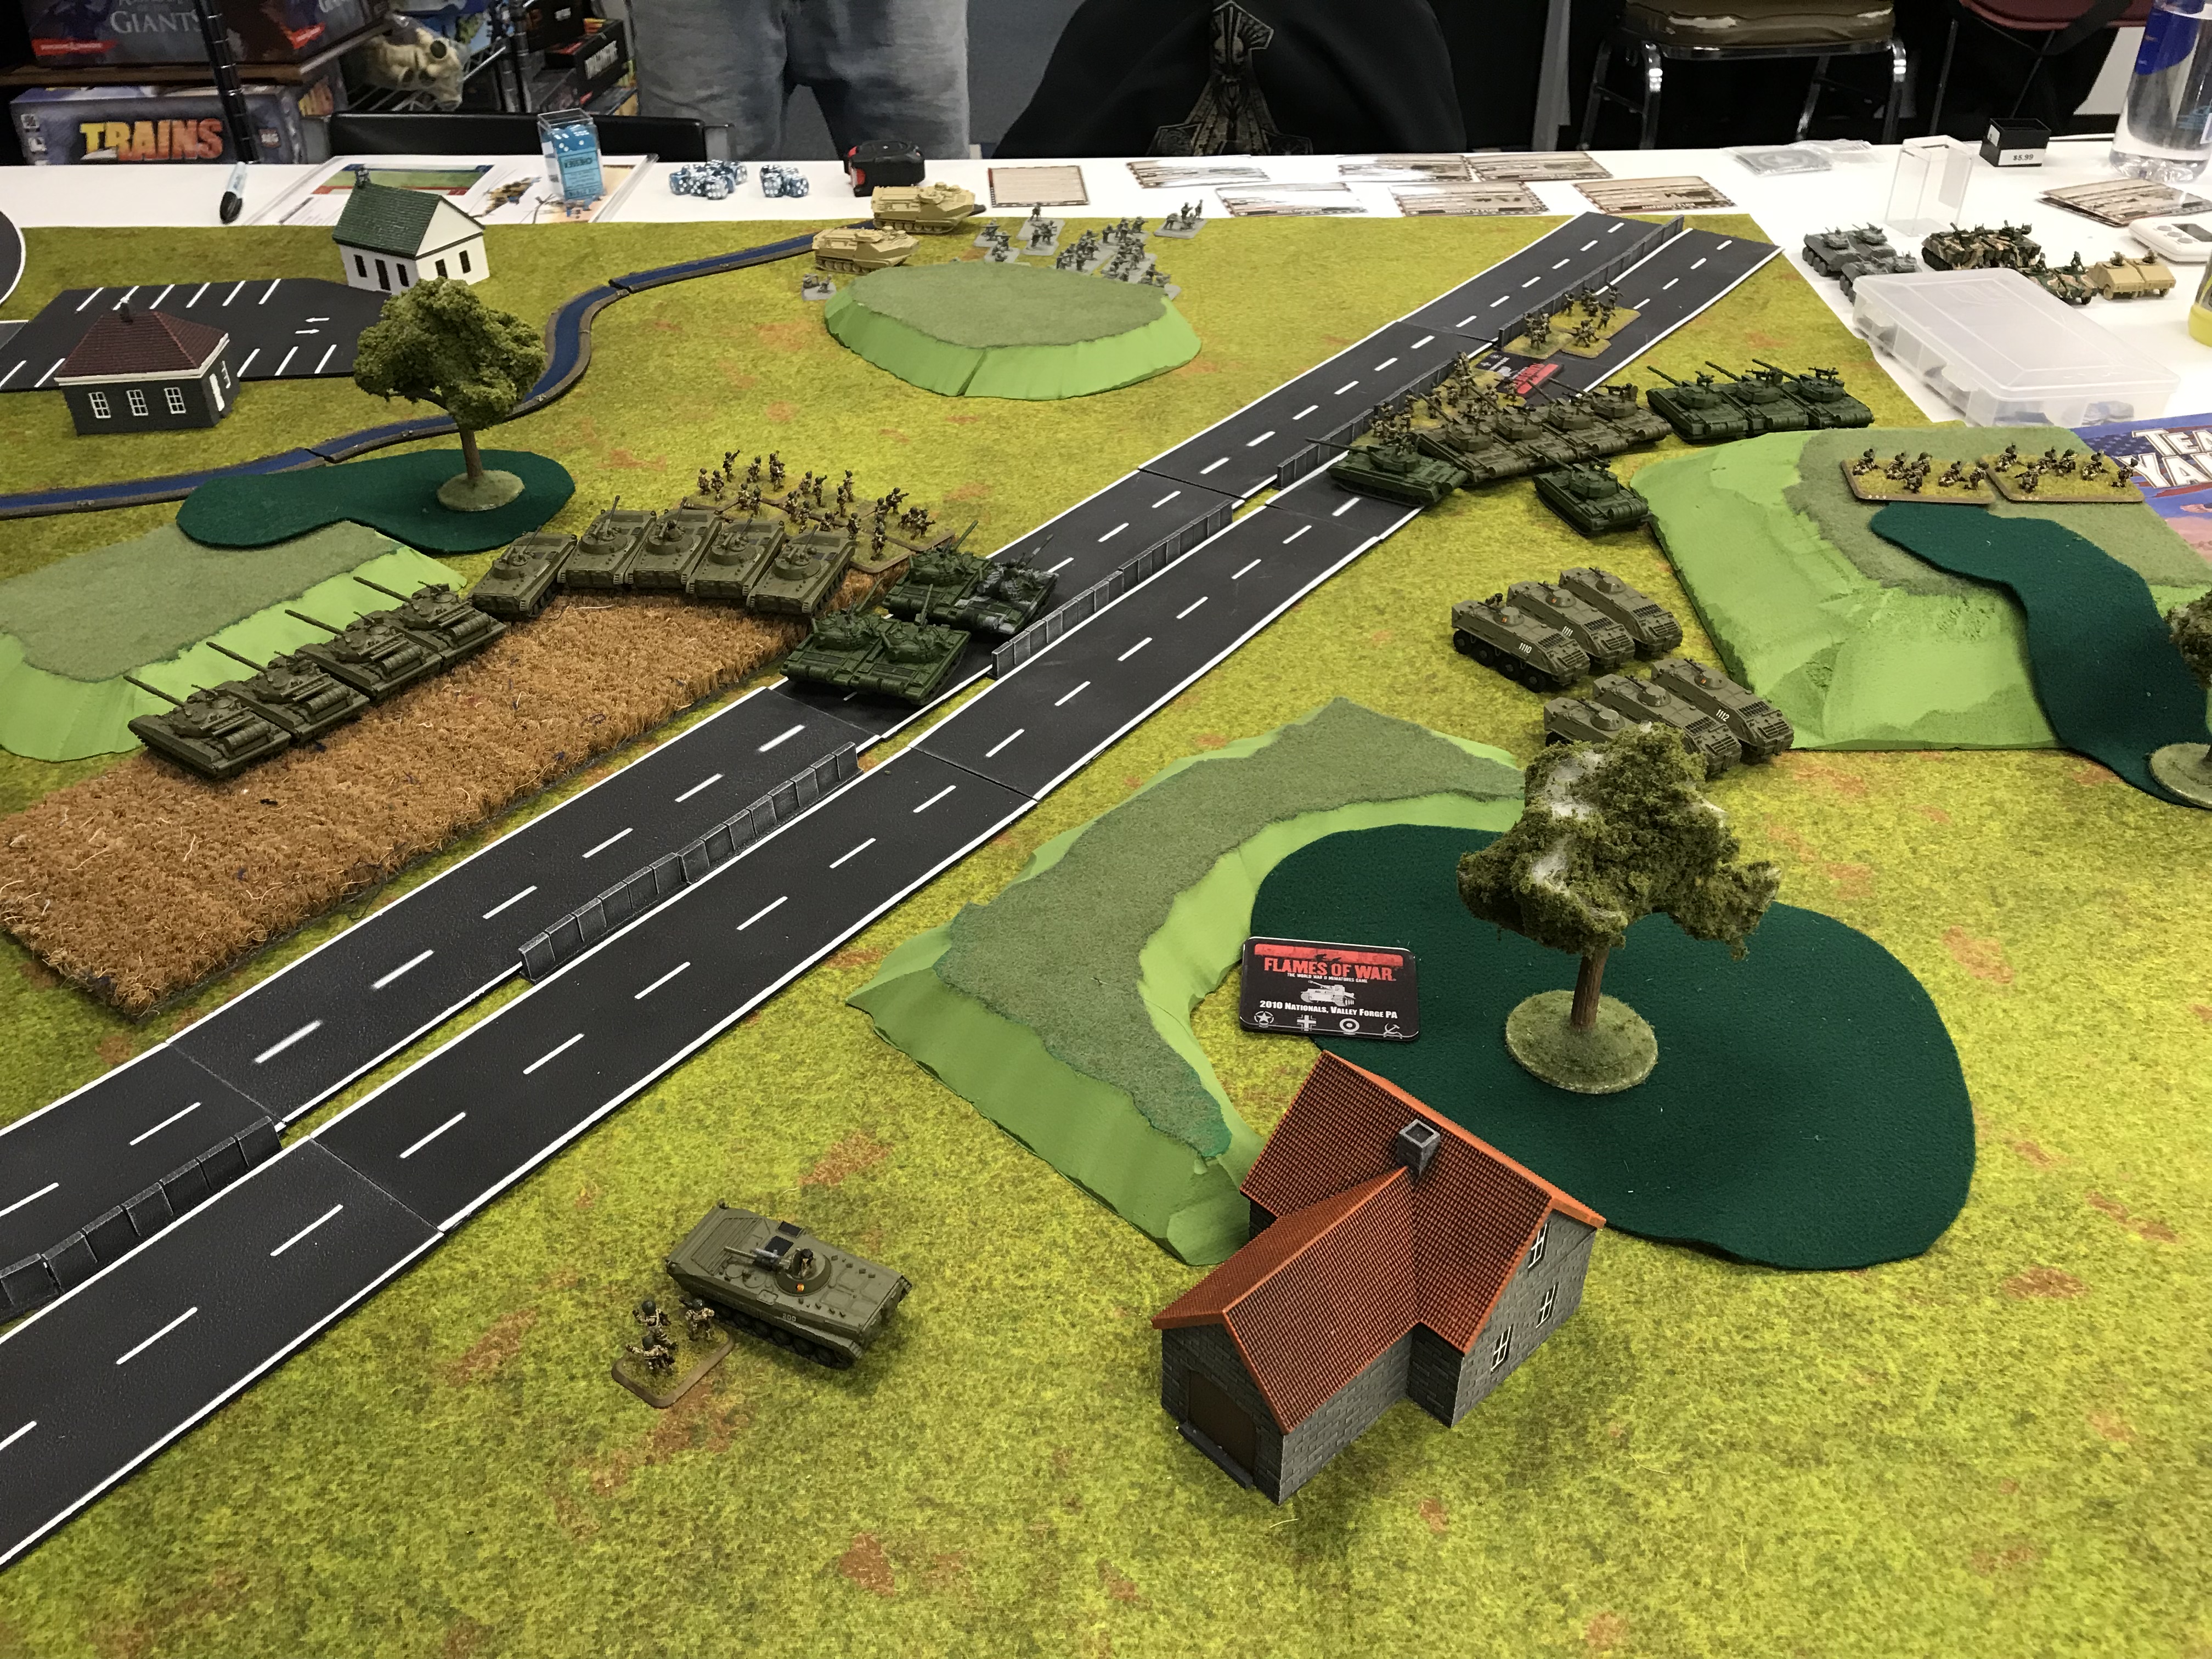
With the nearest marines being further than 4" away from the objective on the bridge, the People's Army had won the day.
By turn three the fun had begun to ebb for Ray, and it only got worse. These are not the kinds of game endings that I enjoy.
After the battle we talked about things that would have changed the outcome such as not overextending with a lone infantry platoon, and then not digging in, or pulling back towards the town when it was clear that the hounds were coming for them.
We also talked about keeping his marine riflemen driving to contest the bridge objective, and using his tanks to kill the Shilkas. Finally we discussed ways to make his list more survivable when defending in a half off fight.
I look forward to facing off against these Devil Dogs again when they regroup, and come back for revenge. Hoohraw!
Battle Report Author
Army Lists Used In This Battle
Recommend Commander For Commendation
Share this battle with friends
PanzerGrauWins

A perfect table, good pictures, great victory!
Nice report and great table!
Hard fought losses over easy wins, any time. Congrats on the win.
Heart break ridge photo, simple out standing!
The scenario was the modified Dust Up for the Hamburg Territory. The twelve inches of movement after a successful Follow Me order put me where you see them at the end of turn one. We were looking at the modified version of the scenario on an iPhone and what we missed was that the deployment area was not just an L -shaped 8″ strip around the outside edge of each player’s deployment quarter. This was pointed out to us after we started, but since we both deployed under the same constraints we just kept playing. Placing the objective by the bridge as far away from me would have helped him as well.
Congratulations on the victory comrade, always nice to see the Volksarmee prevail.
That is some impressive thinking face your opponent puts on.
how can you deploy so close to the objective?? they count as deployment zones for spearheads, yeah sucked he had most of his list off, what misson was it?
+++
Nice notes.
I agree, a tight fight is always best, even that is better when you lose than a walkover you win.
NATO and WARPAC play very differently. But no blood spilt and your opponent will fight another day.
congrats-well won my friend!! great report
good report and good result