Fought At Leipzig
2218 days 6 hours 57 minutes ago
Last Light in Liepzig
View Linked Report - CLICK HERE 60 POINTS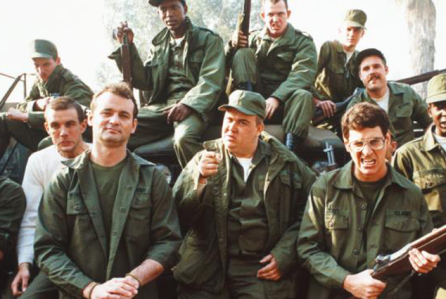
My friend Ray was finally able to get some free time to play some TY and we fought a 64 point fight over Leipzig. Ray was bringing his 82d Airborne boys. Some of the more photogenic of his men are pictured above.

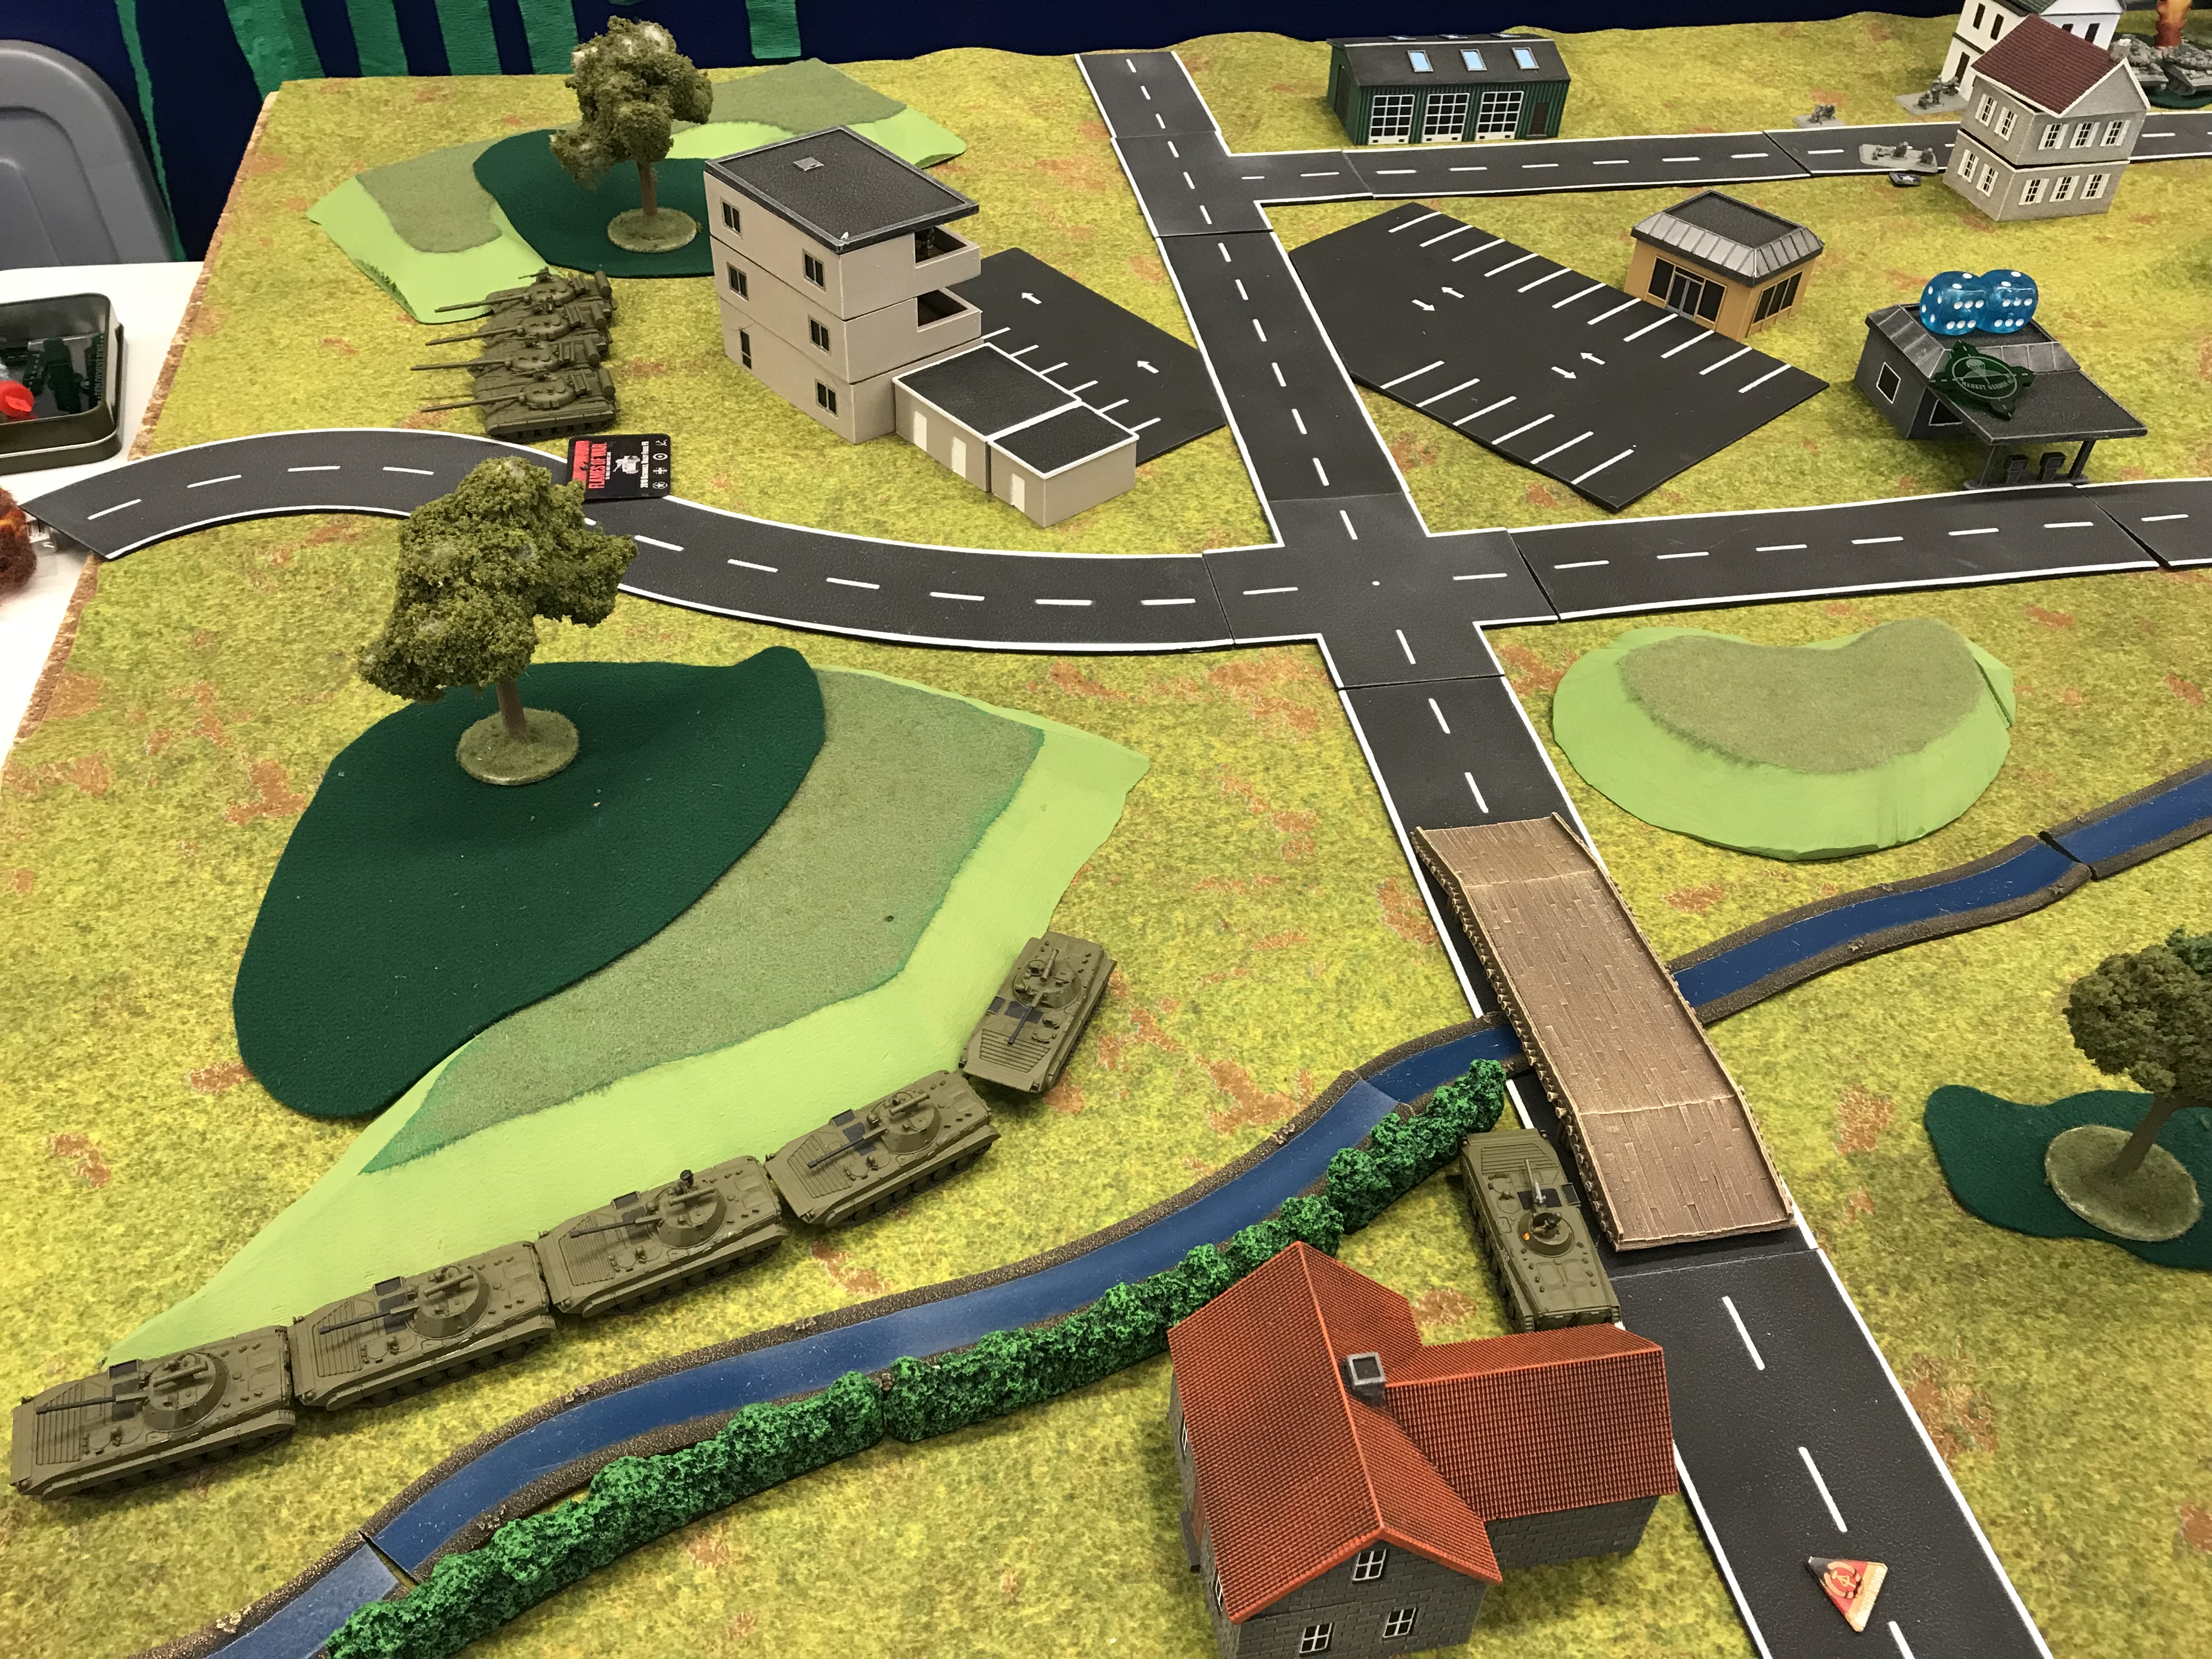
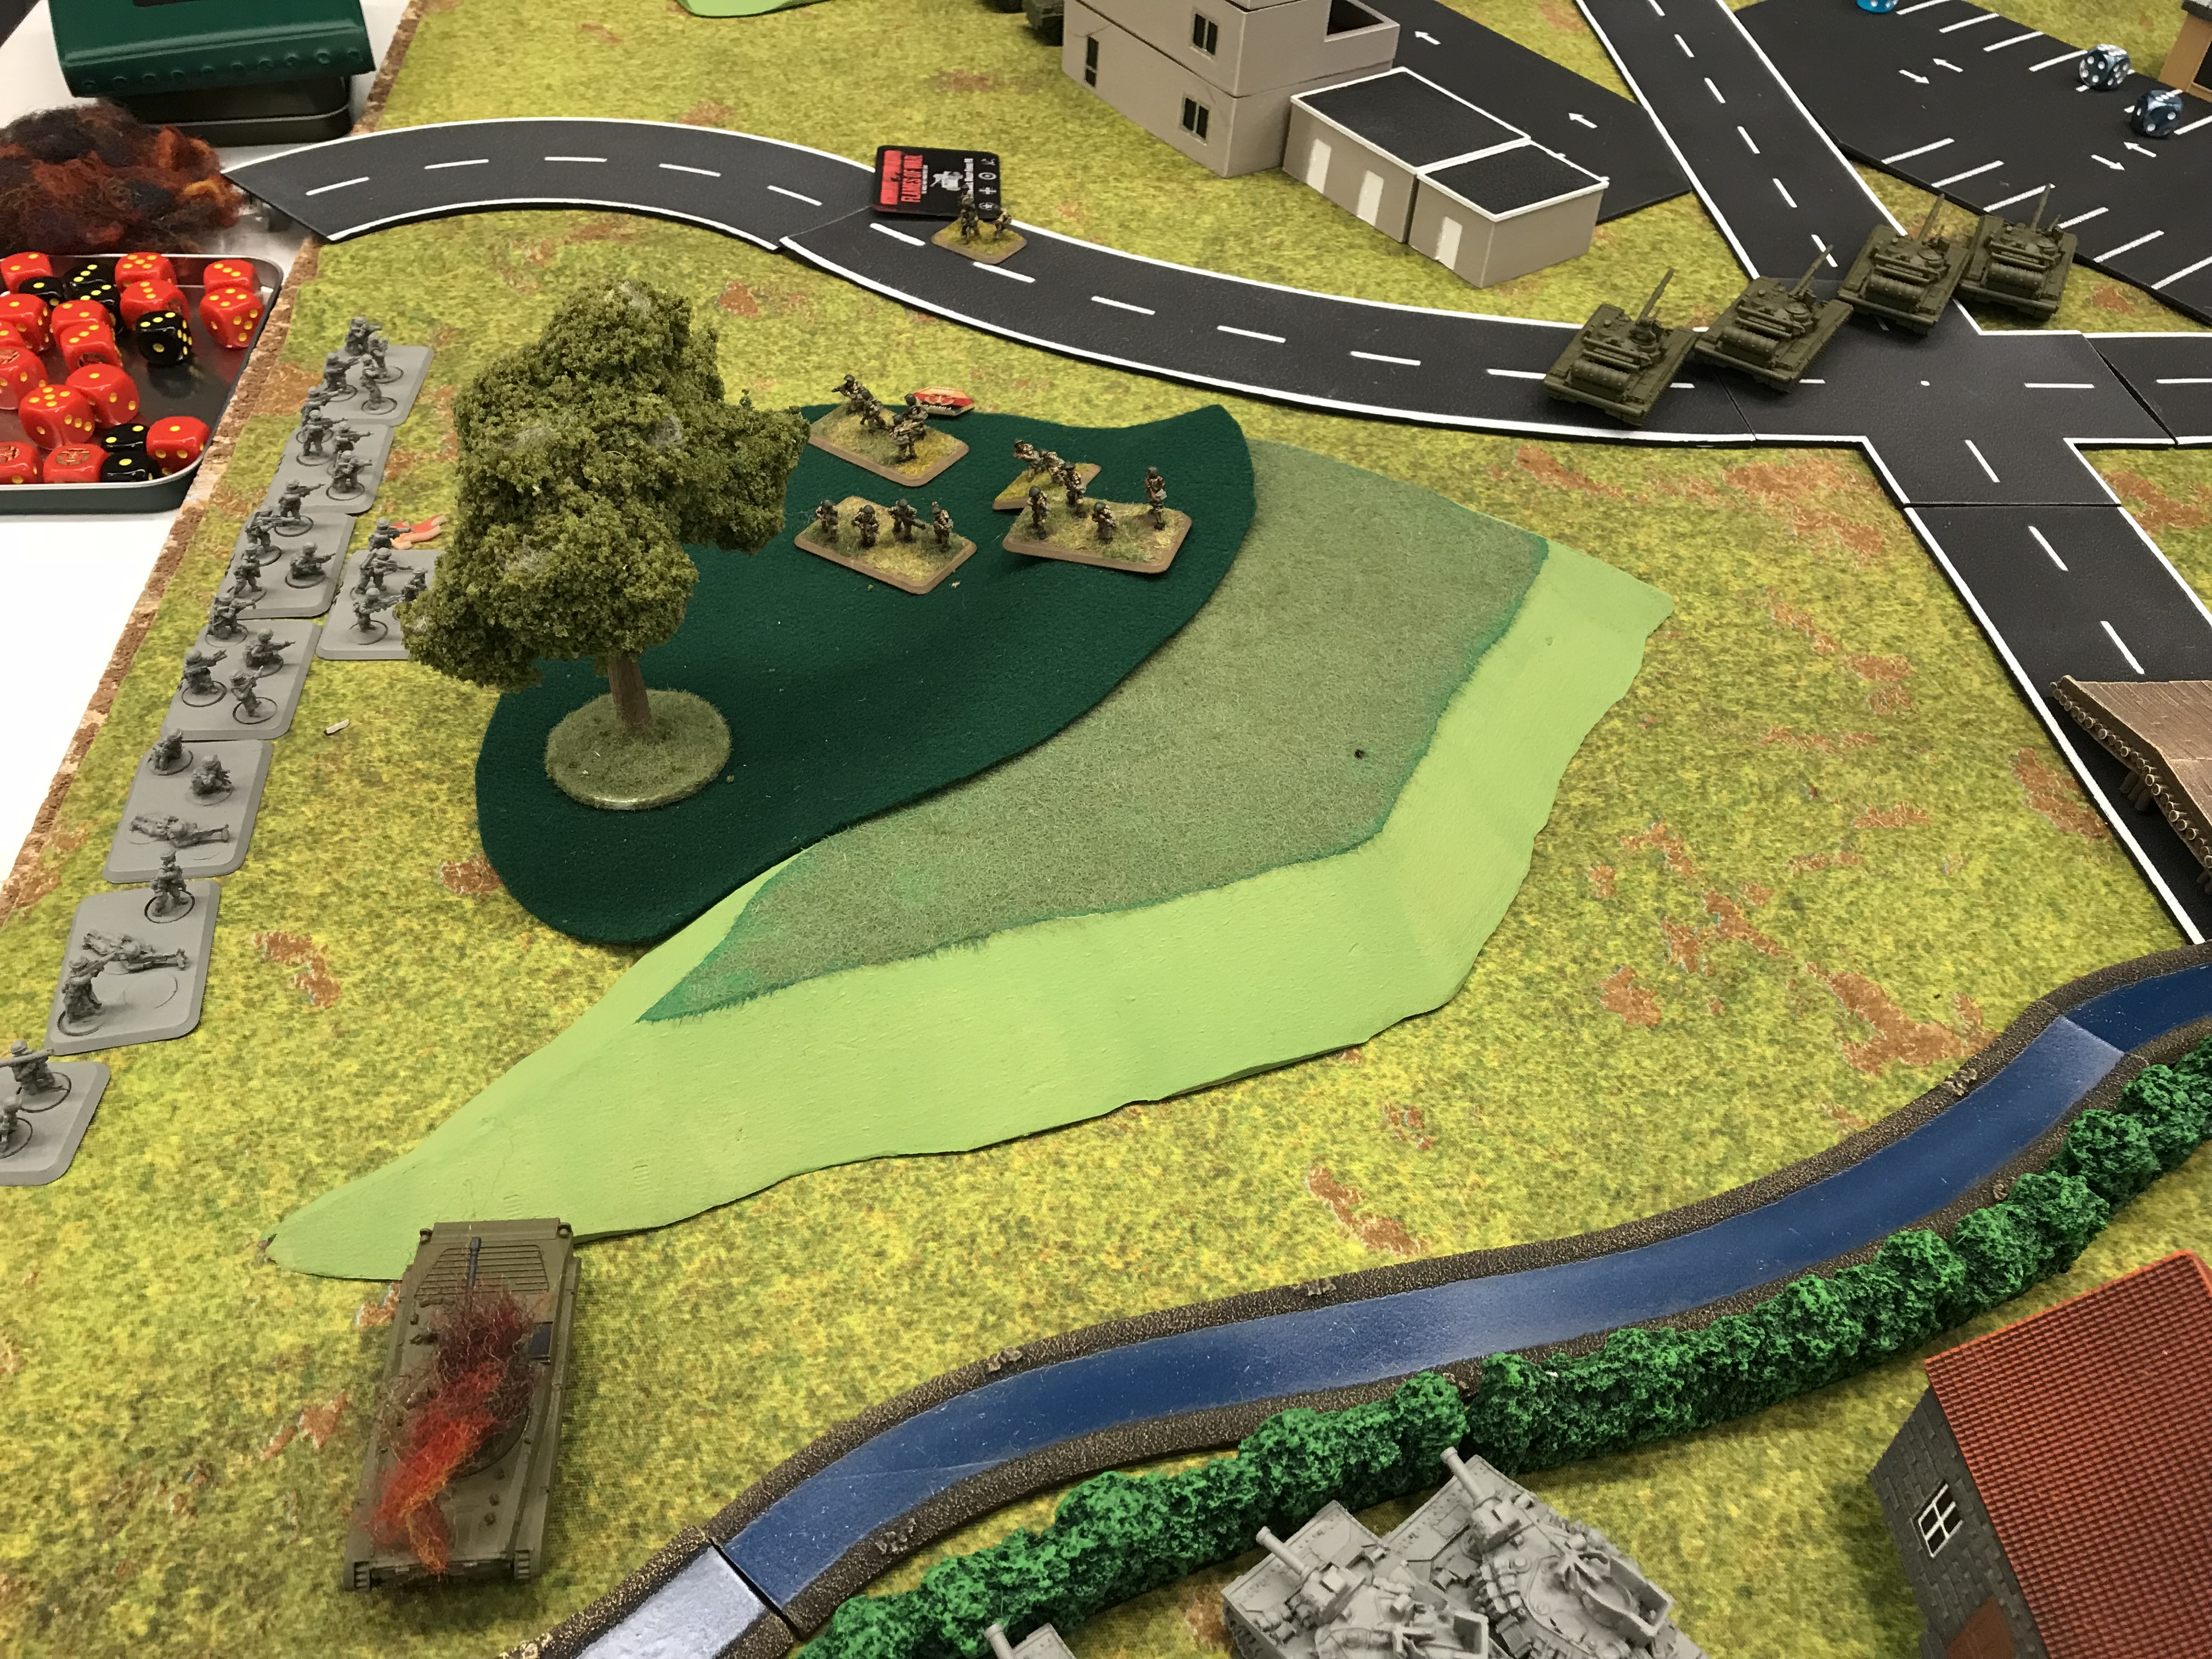
We would skirmish over the outskirts of a small town in Leipzig Counterattack. I won the attacker die roll and Ray chose to defend the far left corner. I deployed opposite him near the oil tanks.
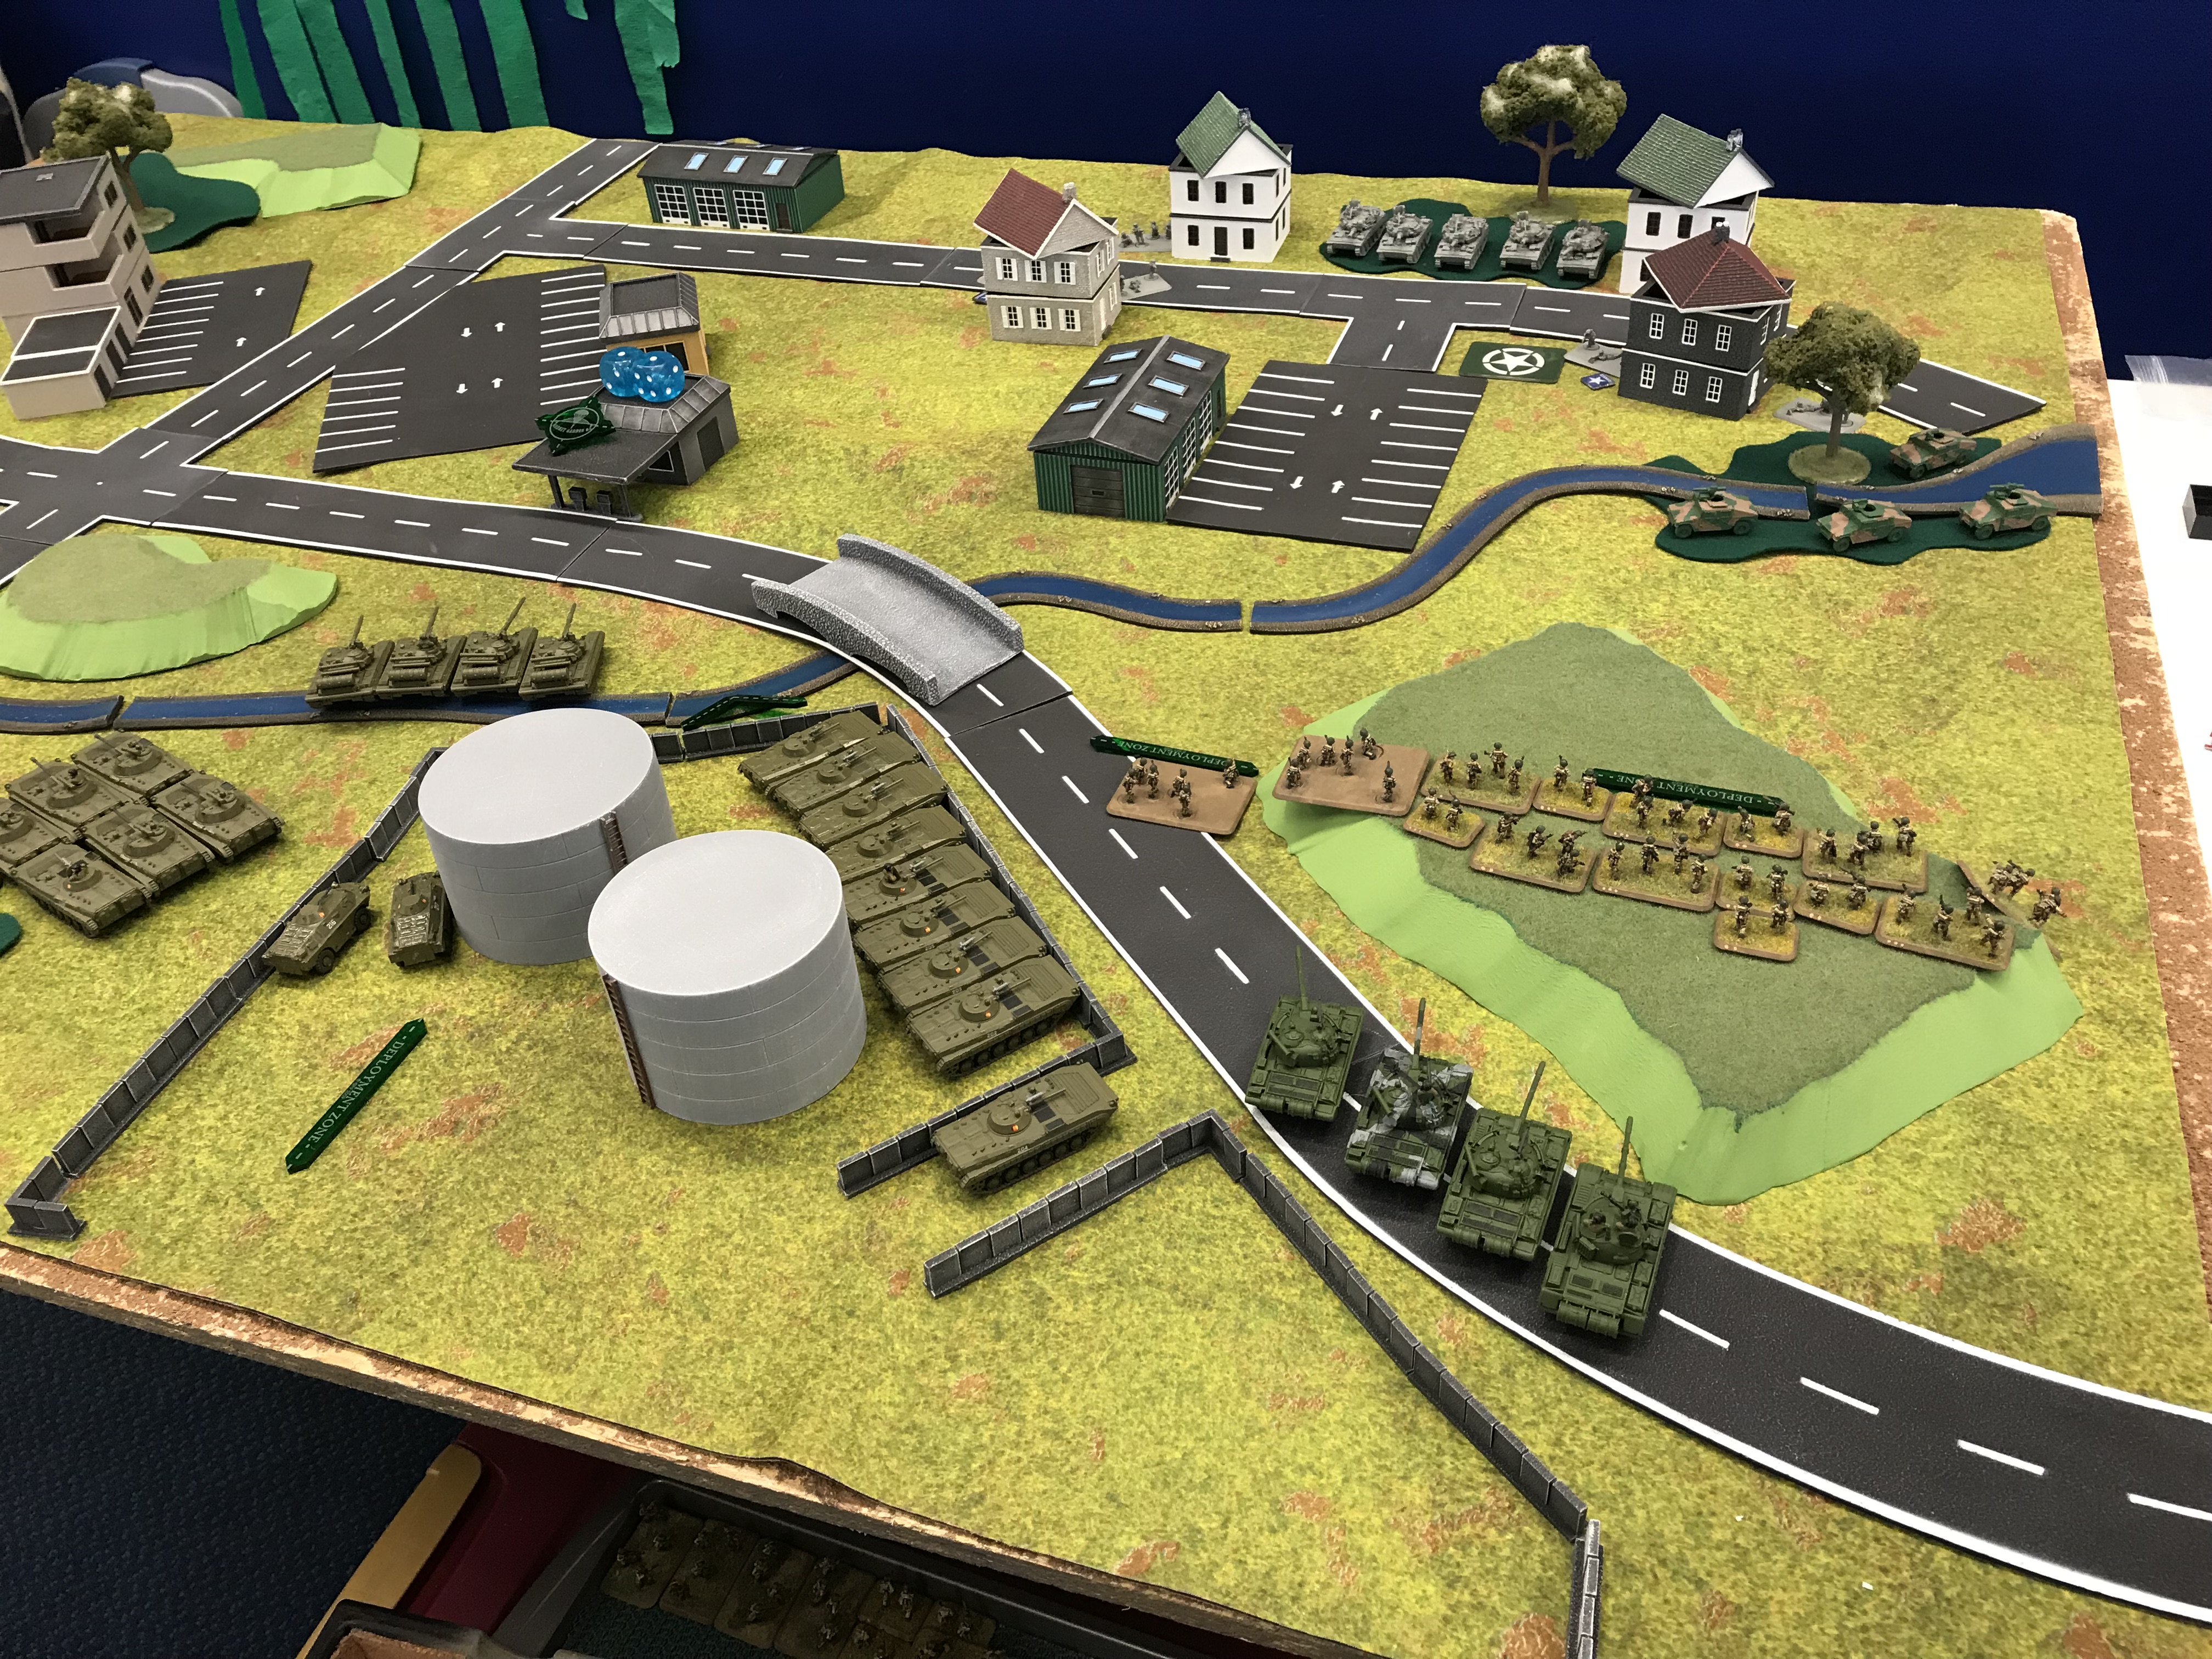
The Americans deployed two platoons of infantry in and around houses on either side of a patch of woods where they had a Sheridan platoon. They forward deployed a scout section of HUMWVs in another patch of woods facing a ridge. They had another Sheridan platoon, another infantry platoon, a Stinger platoon, and a HUMWV TOW platoon in reserve.
The VA deployed the BMP-1 Mot-Schutz KO along the ridge, with their AFVs defending behind a stone wall. The scouts spearheaded to the left allowing the BMP-s KO, the Attached T-64s, and the Mot-schutz 1IC to deploy to the far left beyond the wall.
One the first turn the BMP-1s destroyed a Sheridan, and bailed TOW. The infantry moved toward the scouts. On the American's turn they destroyed four BMPs. On the VA turn two a TOW was destroyed, and another Sheridan. The infantry assaulted the scouts, losing a stand, and capturing all but one scout unit which fled North, but did not leave the fight.

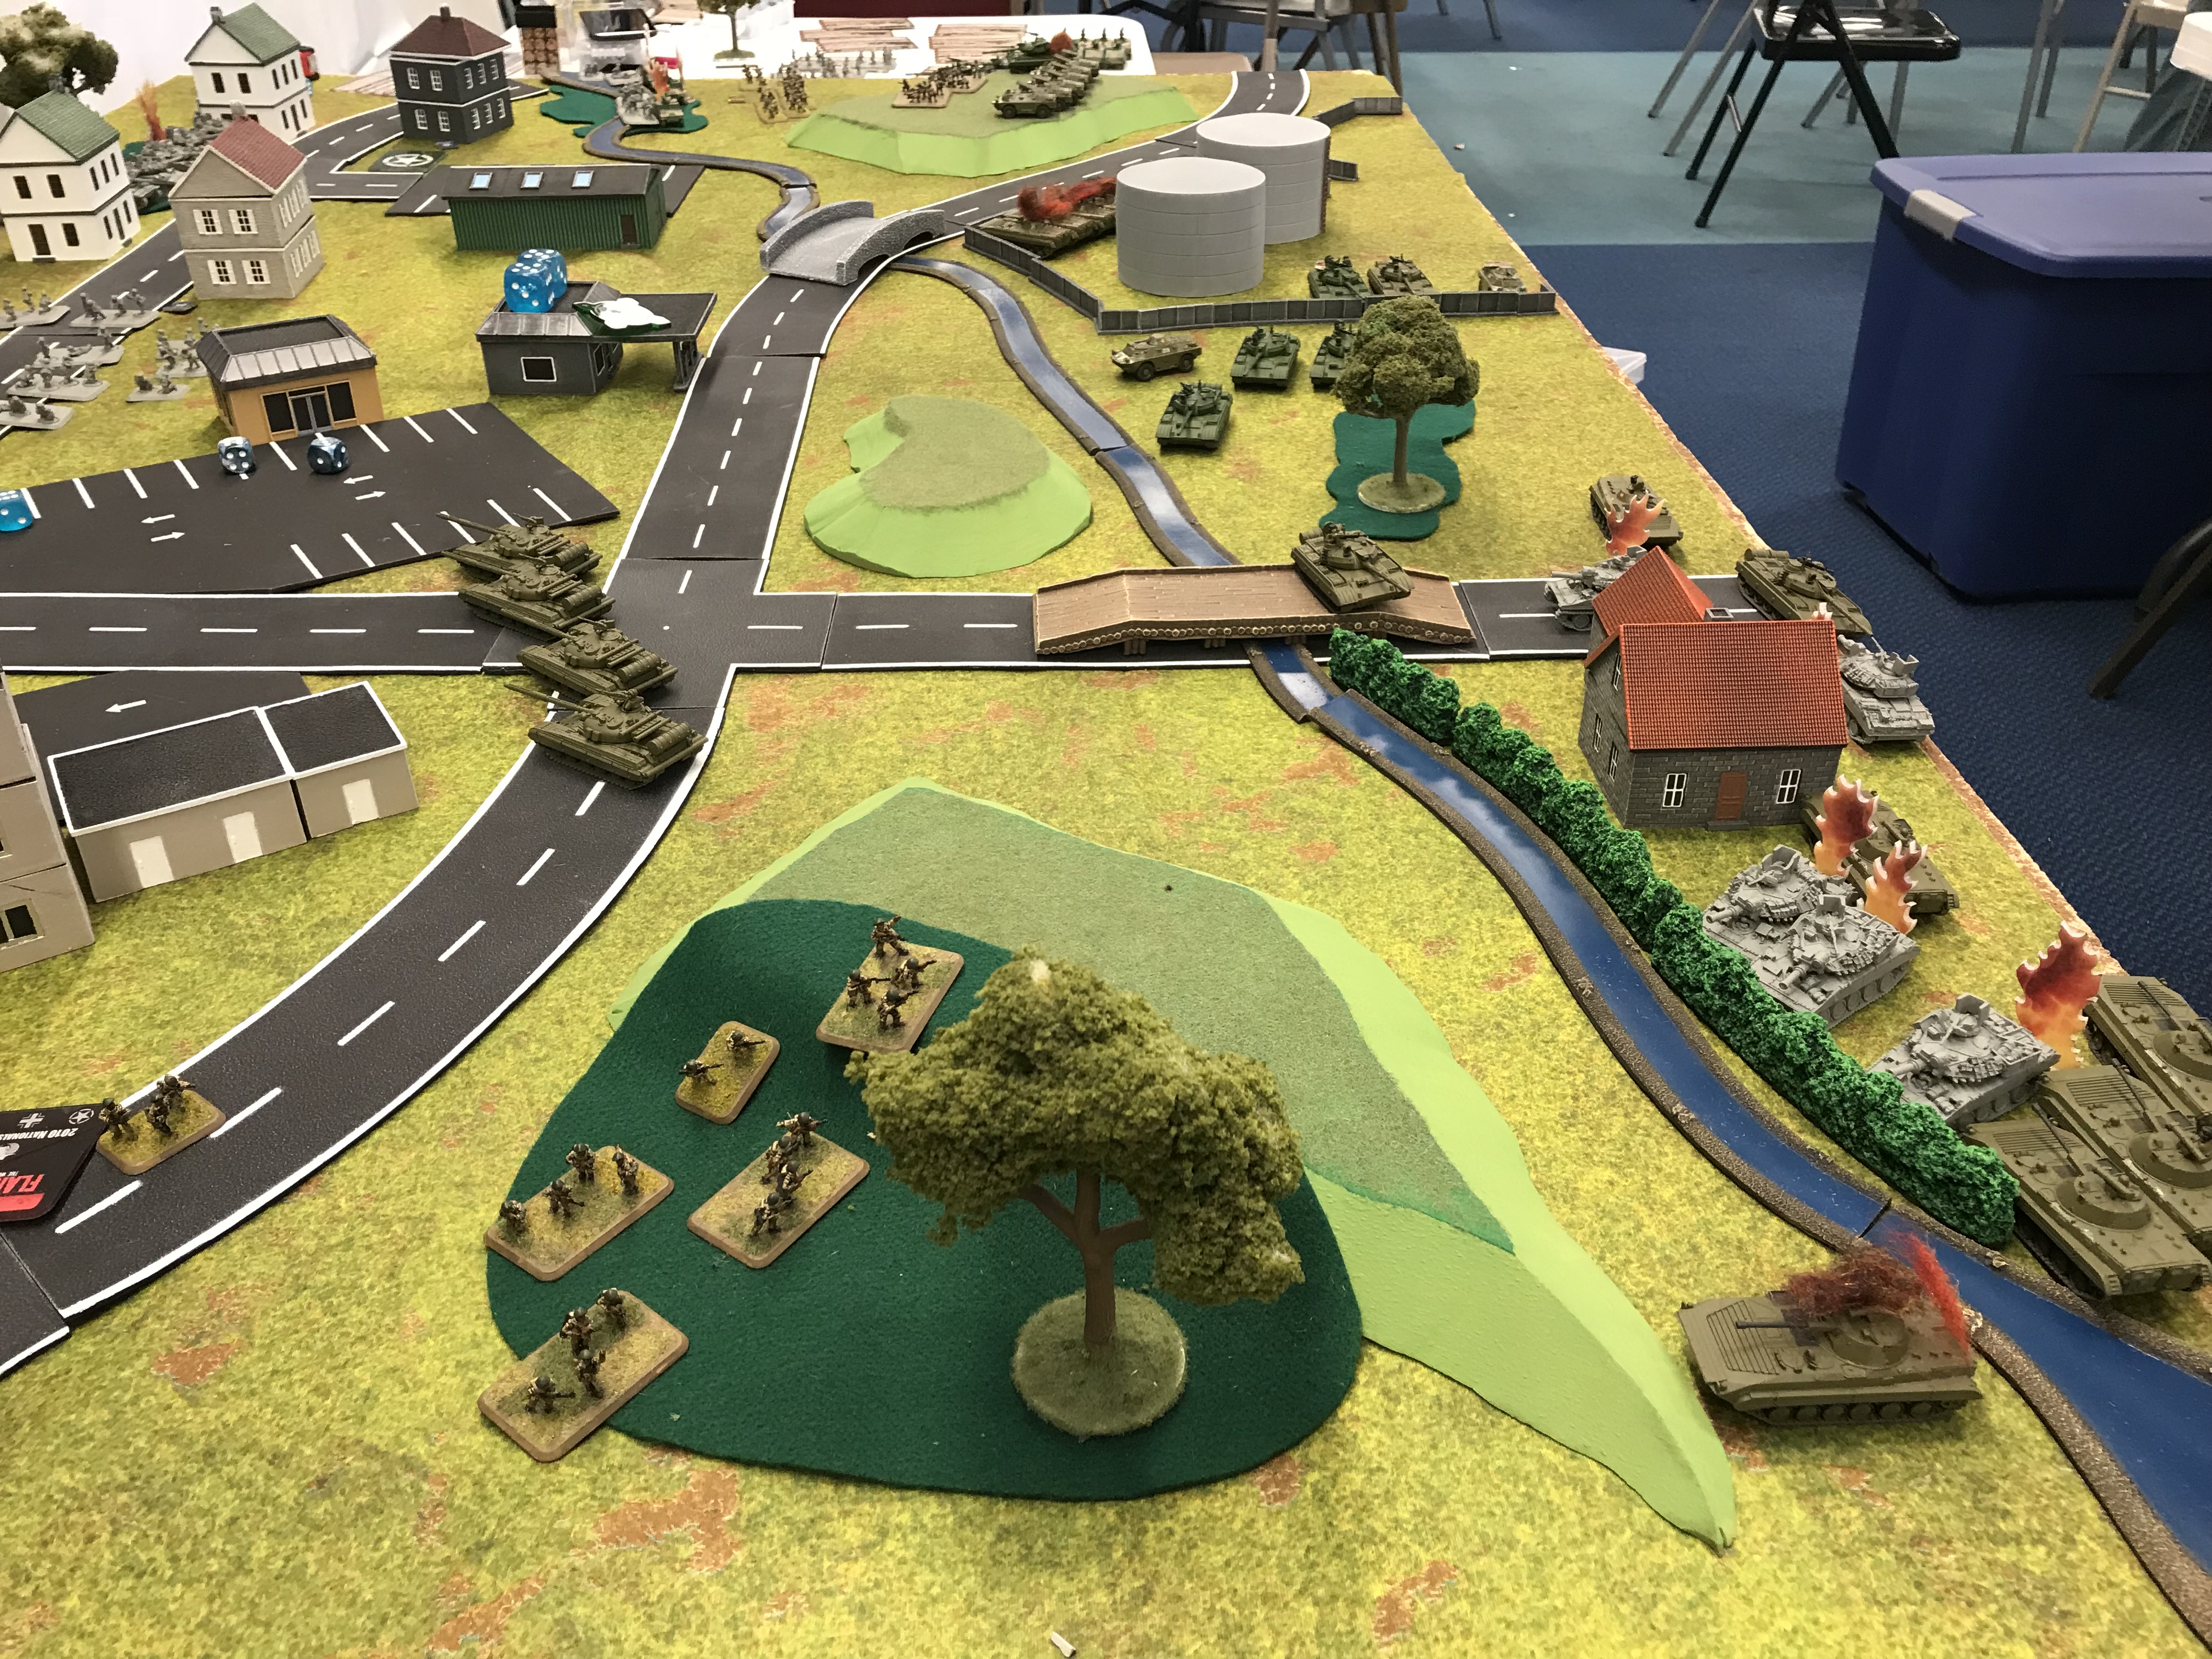
In the middle by turn two a reinforcing KO of T-55s made it to the wall but could go no further. The scouts had finally managed to navigate the wall.
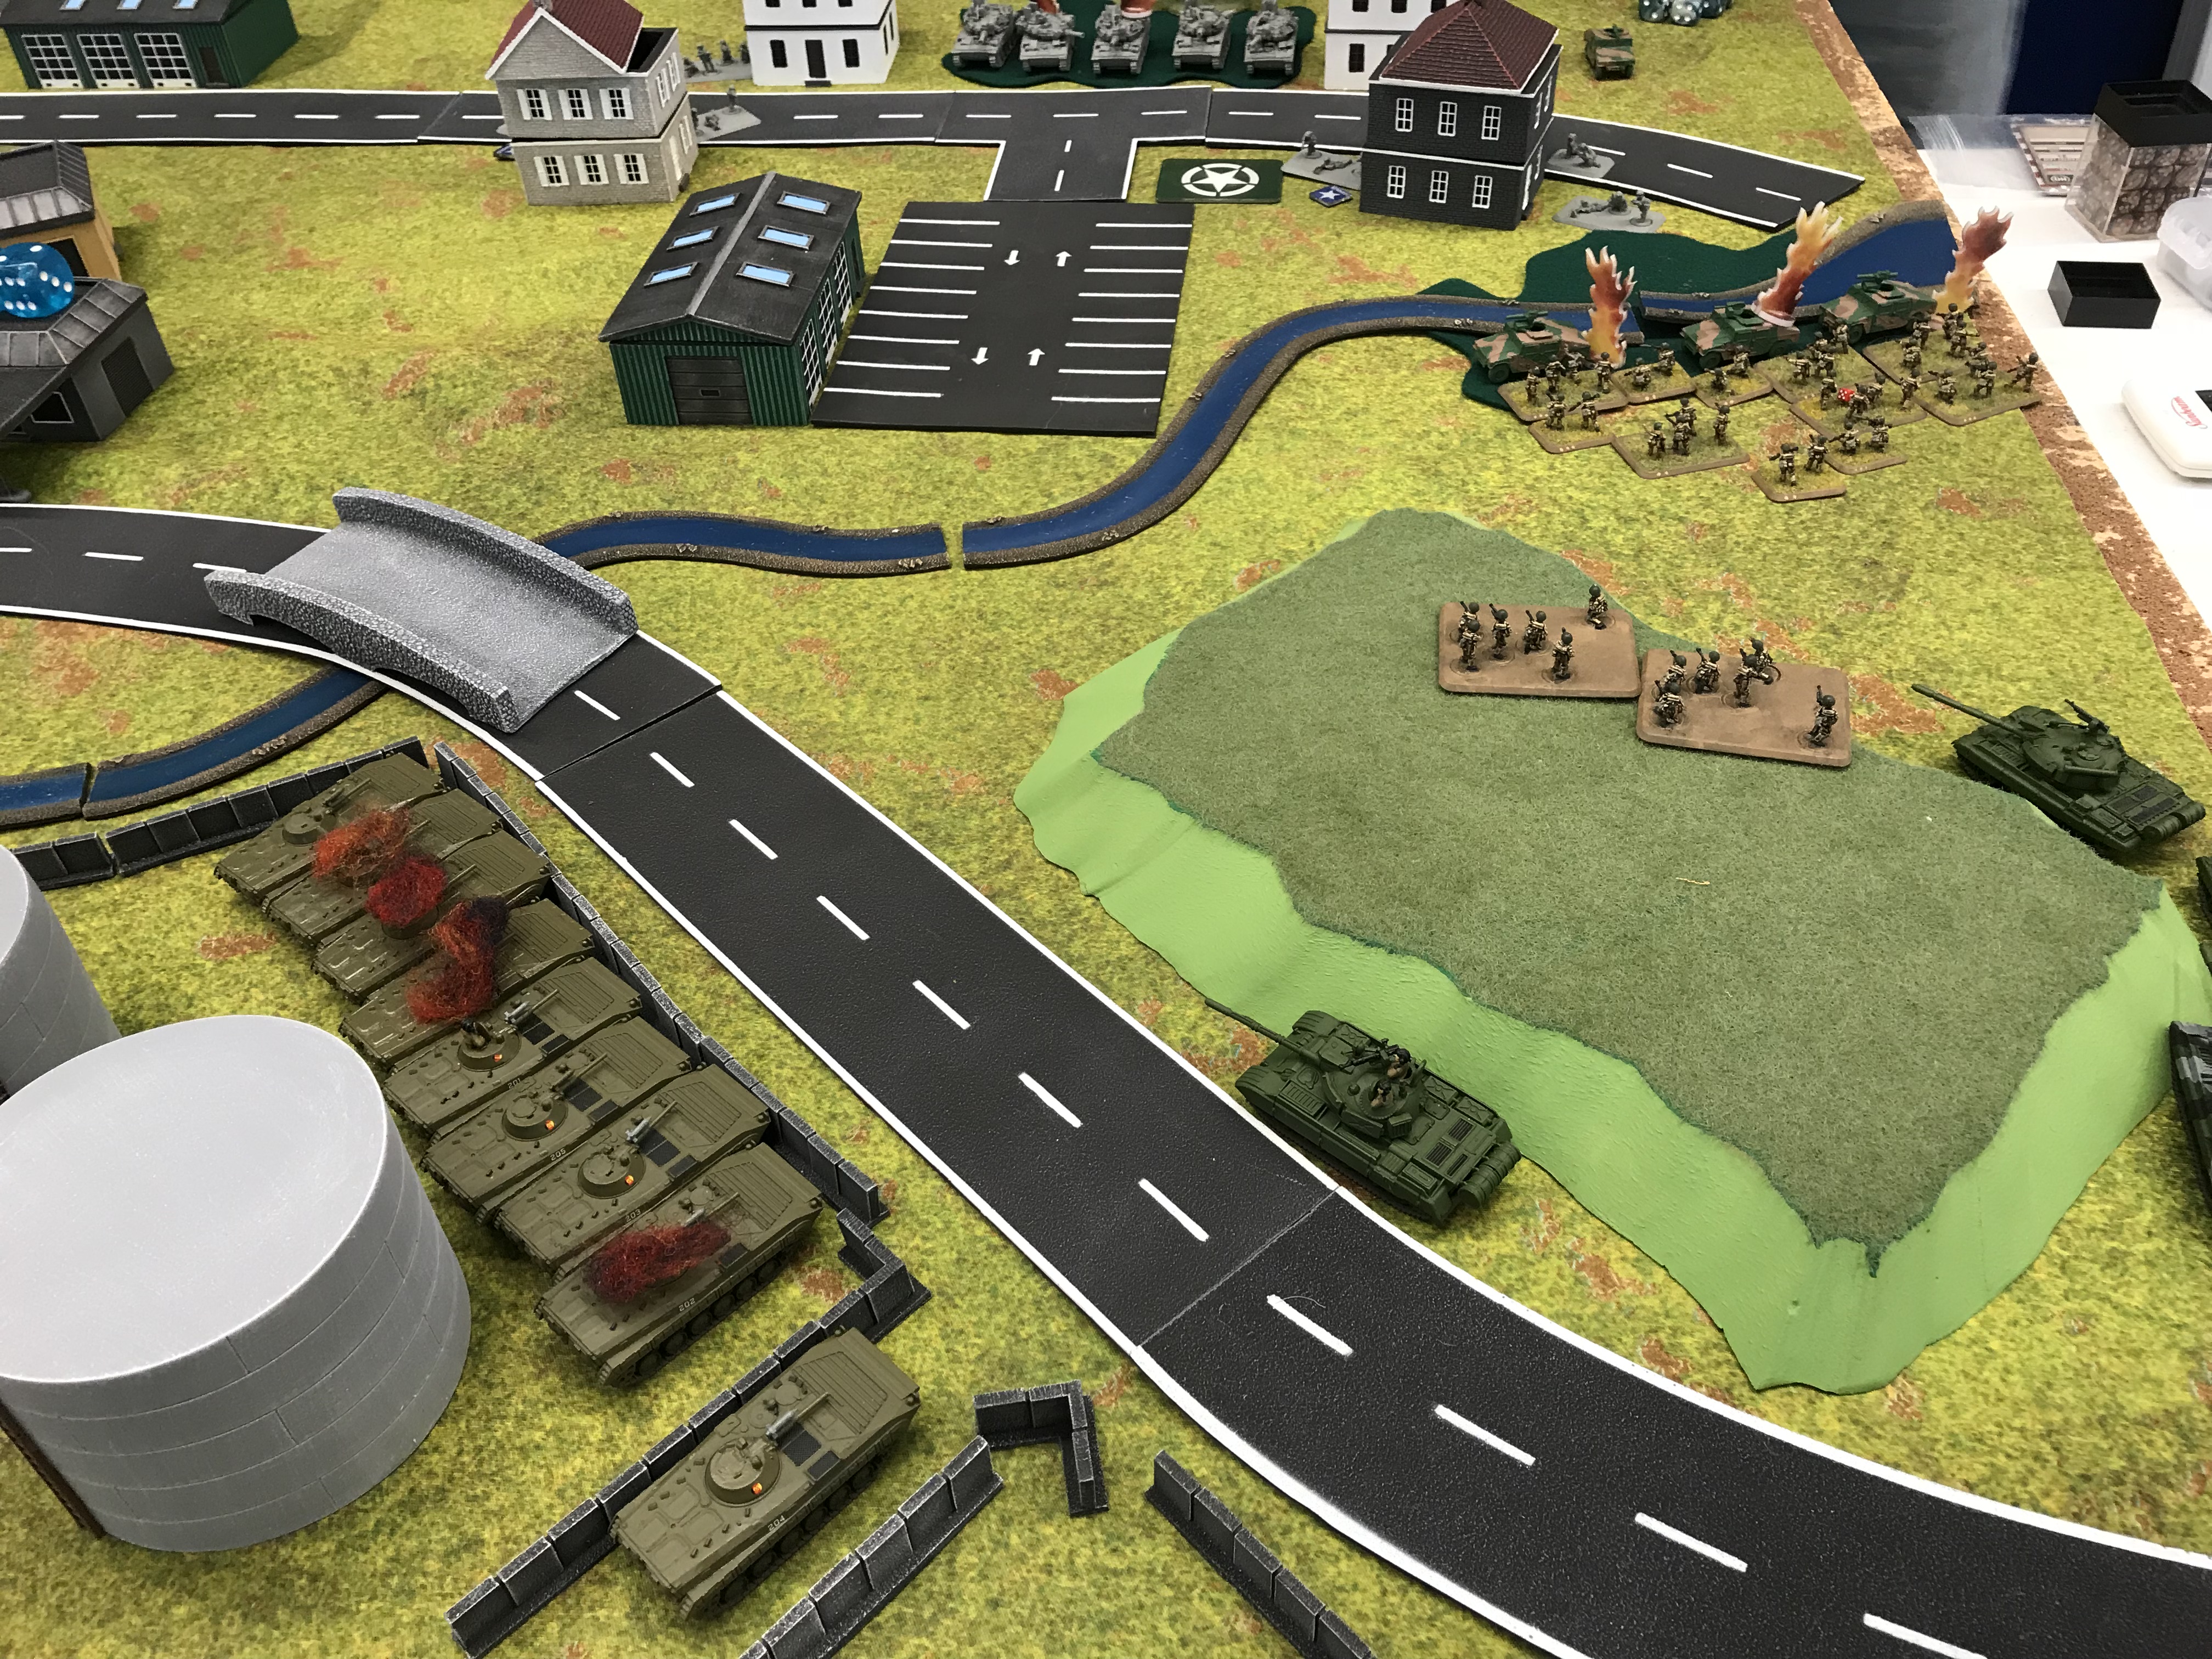
By the end of the VA portion of T2 the Mot-schutz have occupied the apartment building. Their AVFs moved to an ambush position, and the T-64s occupied the objective. If only it was turn six....
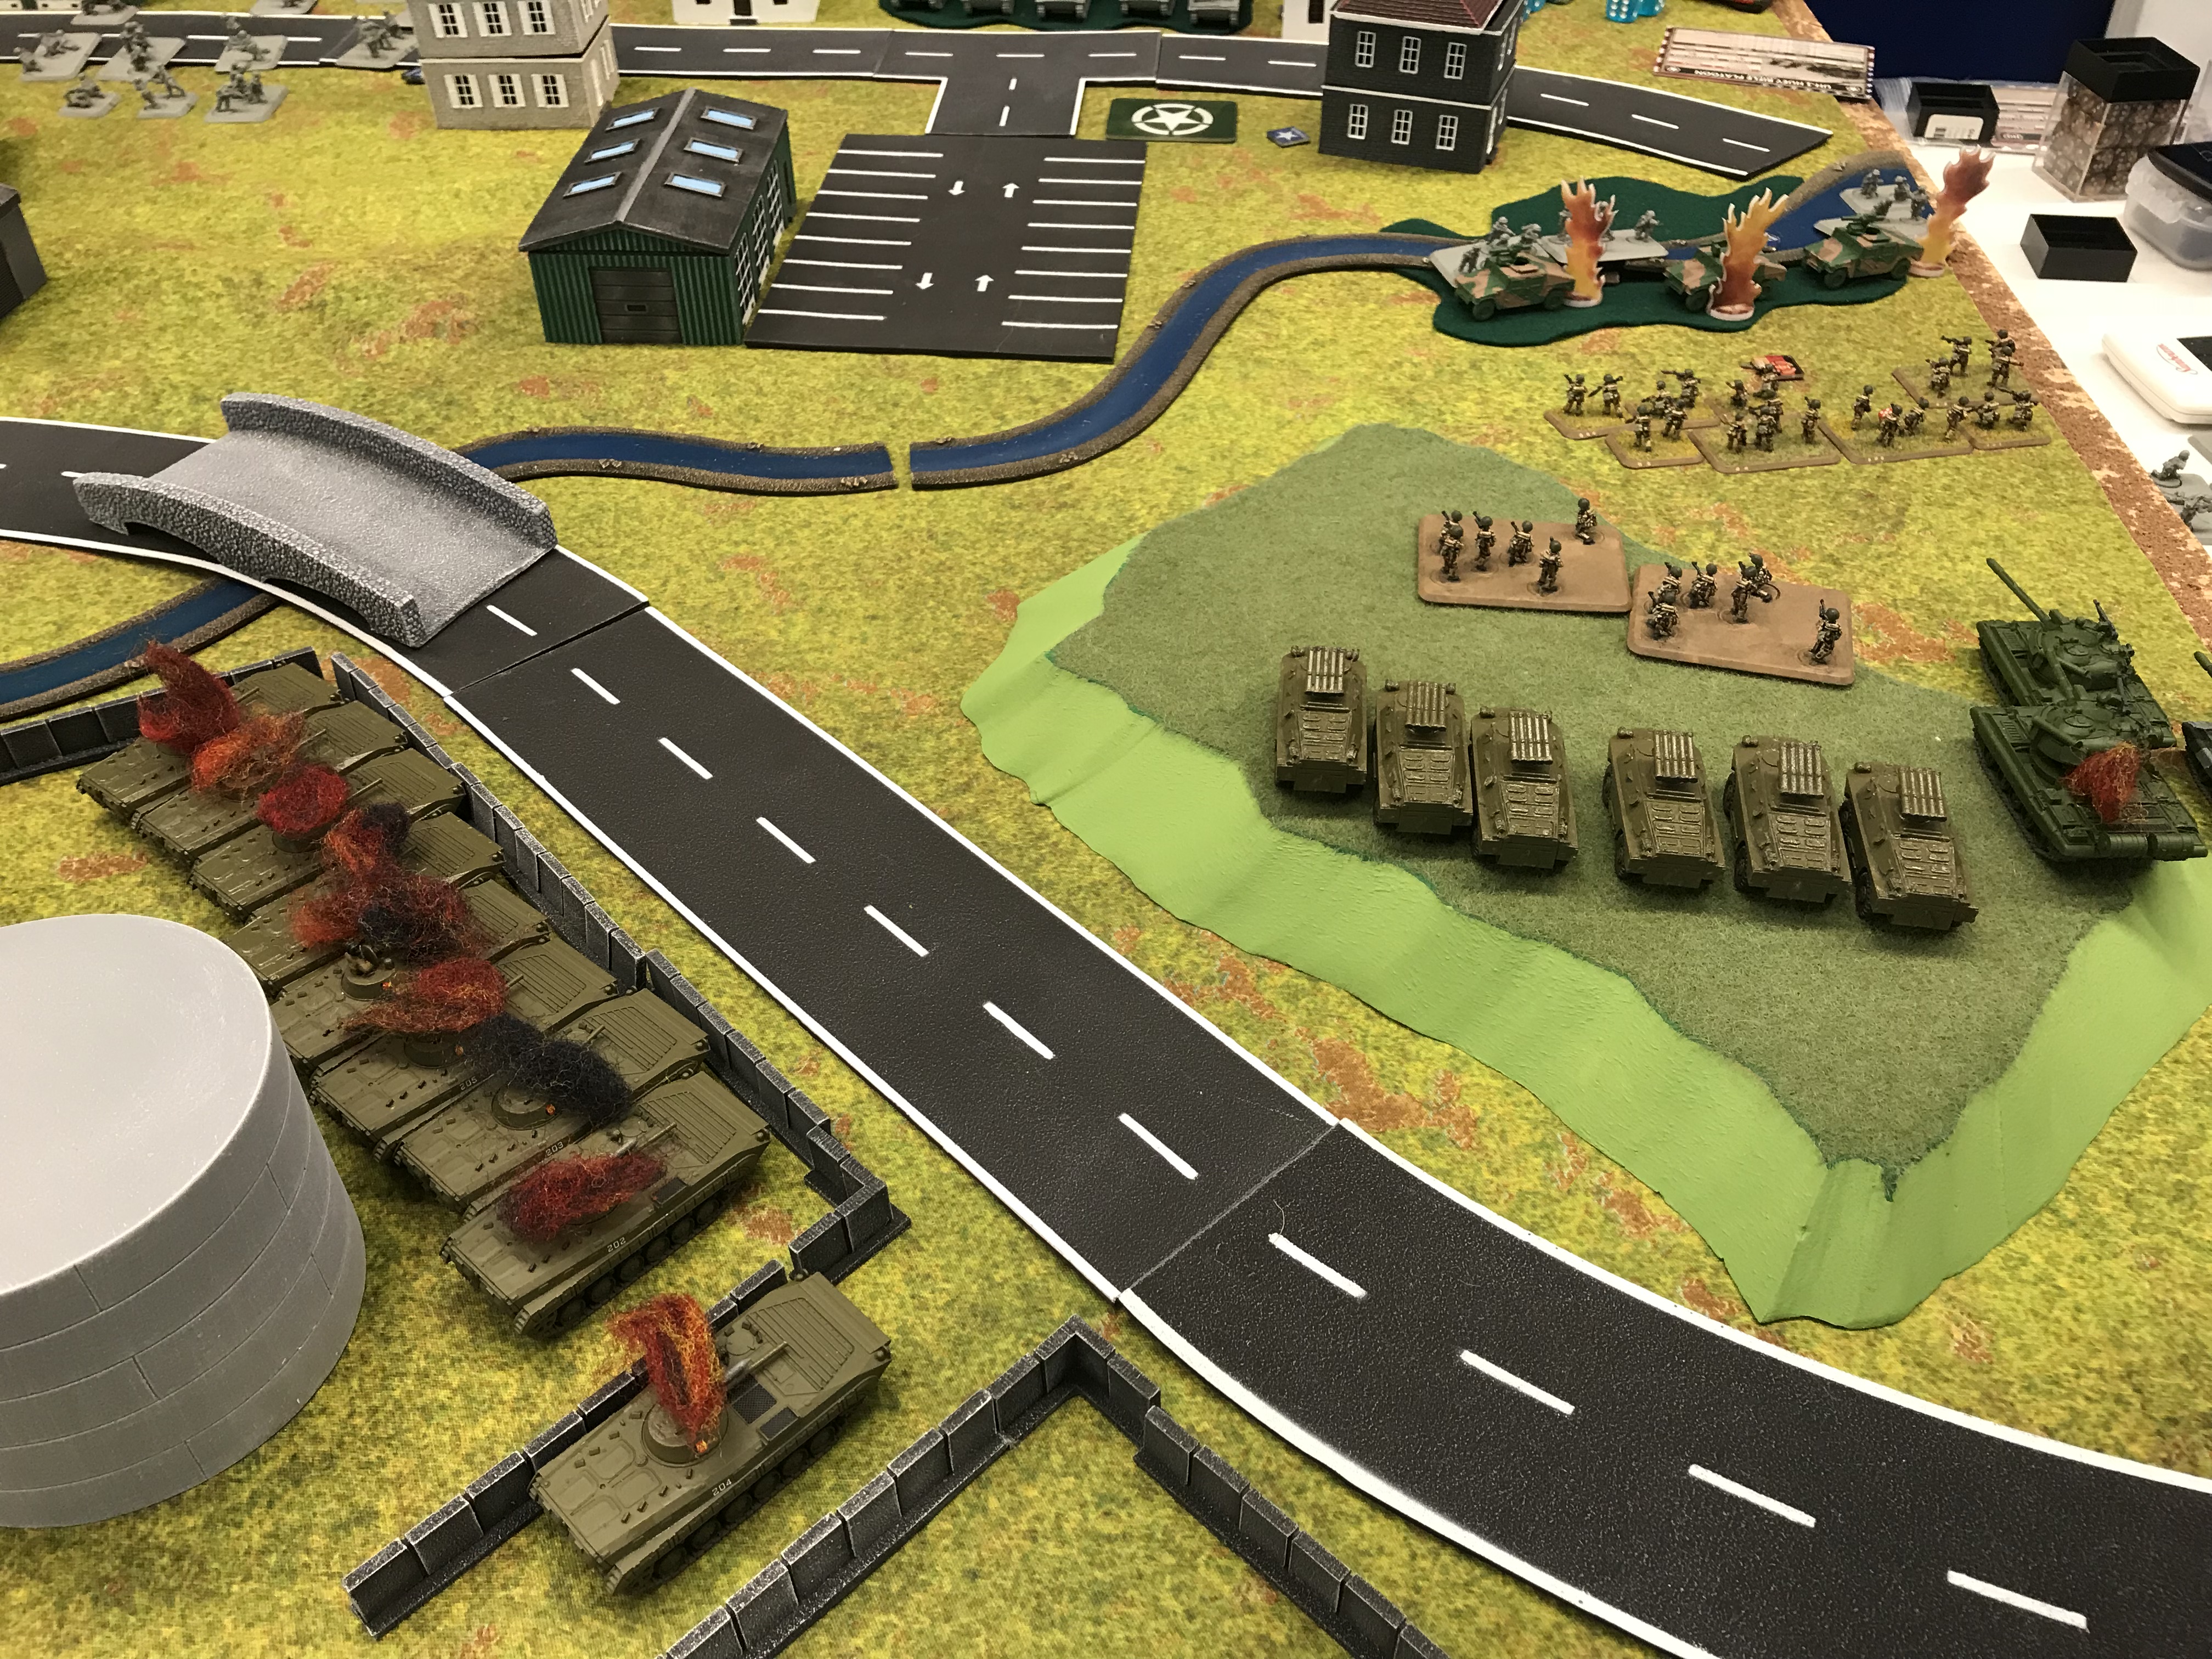
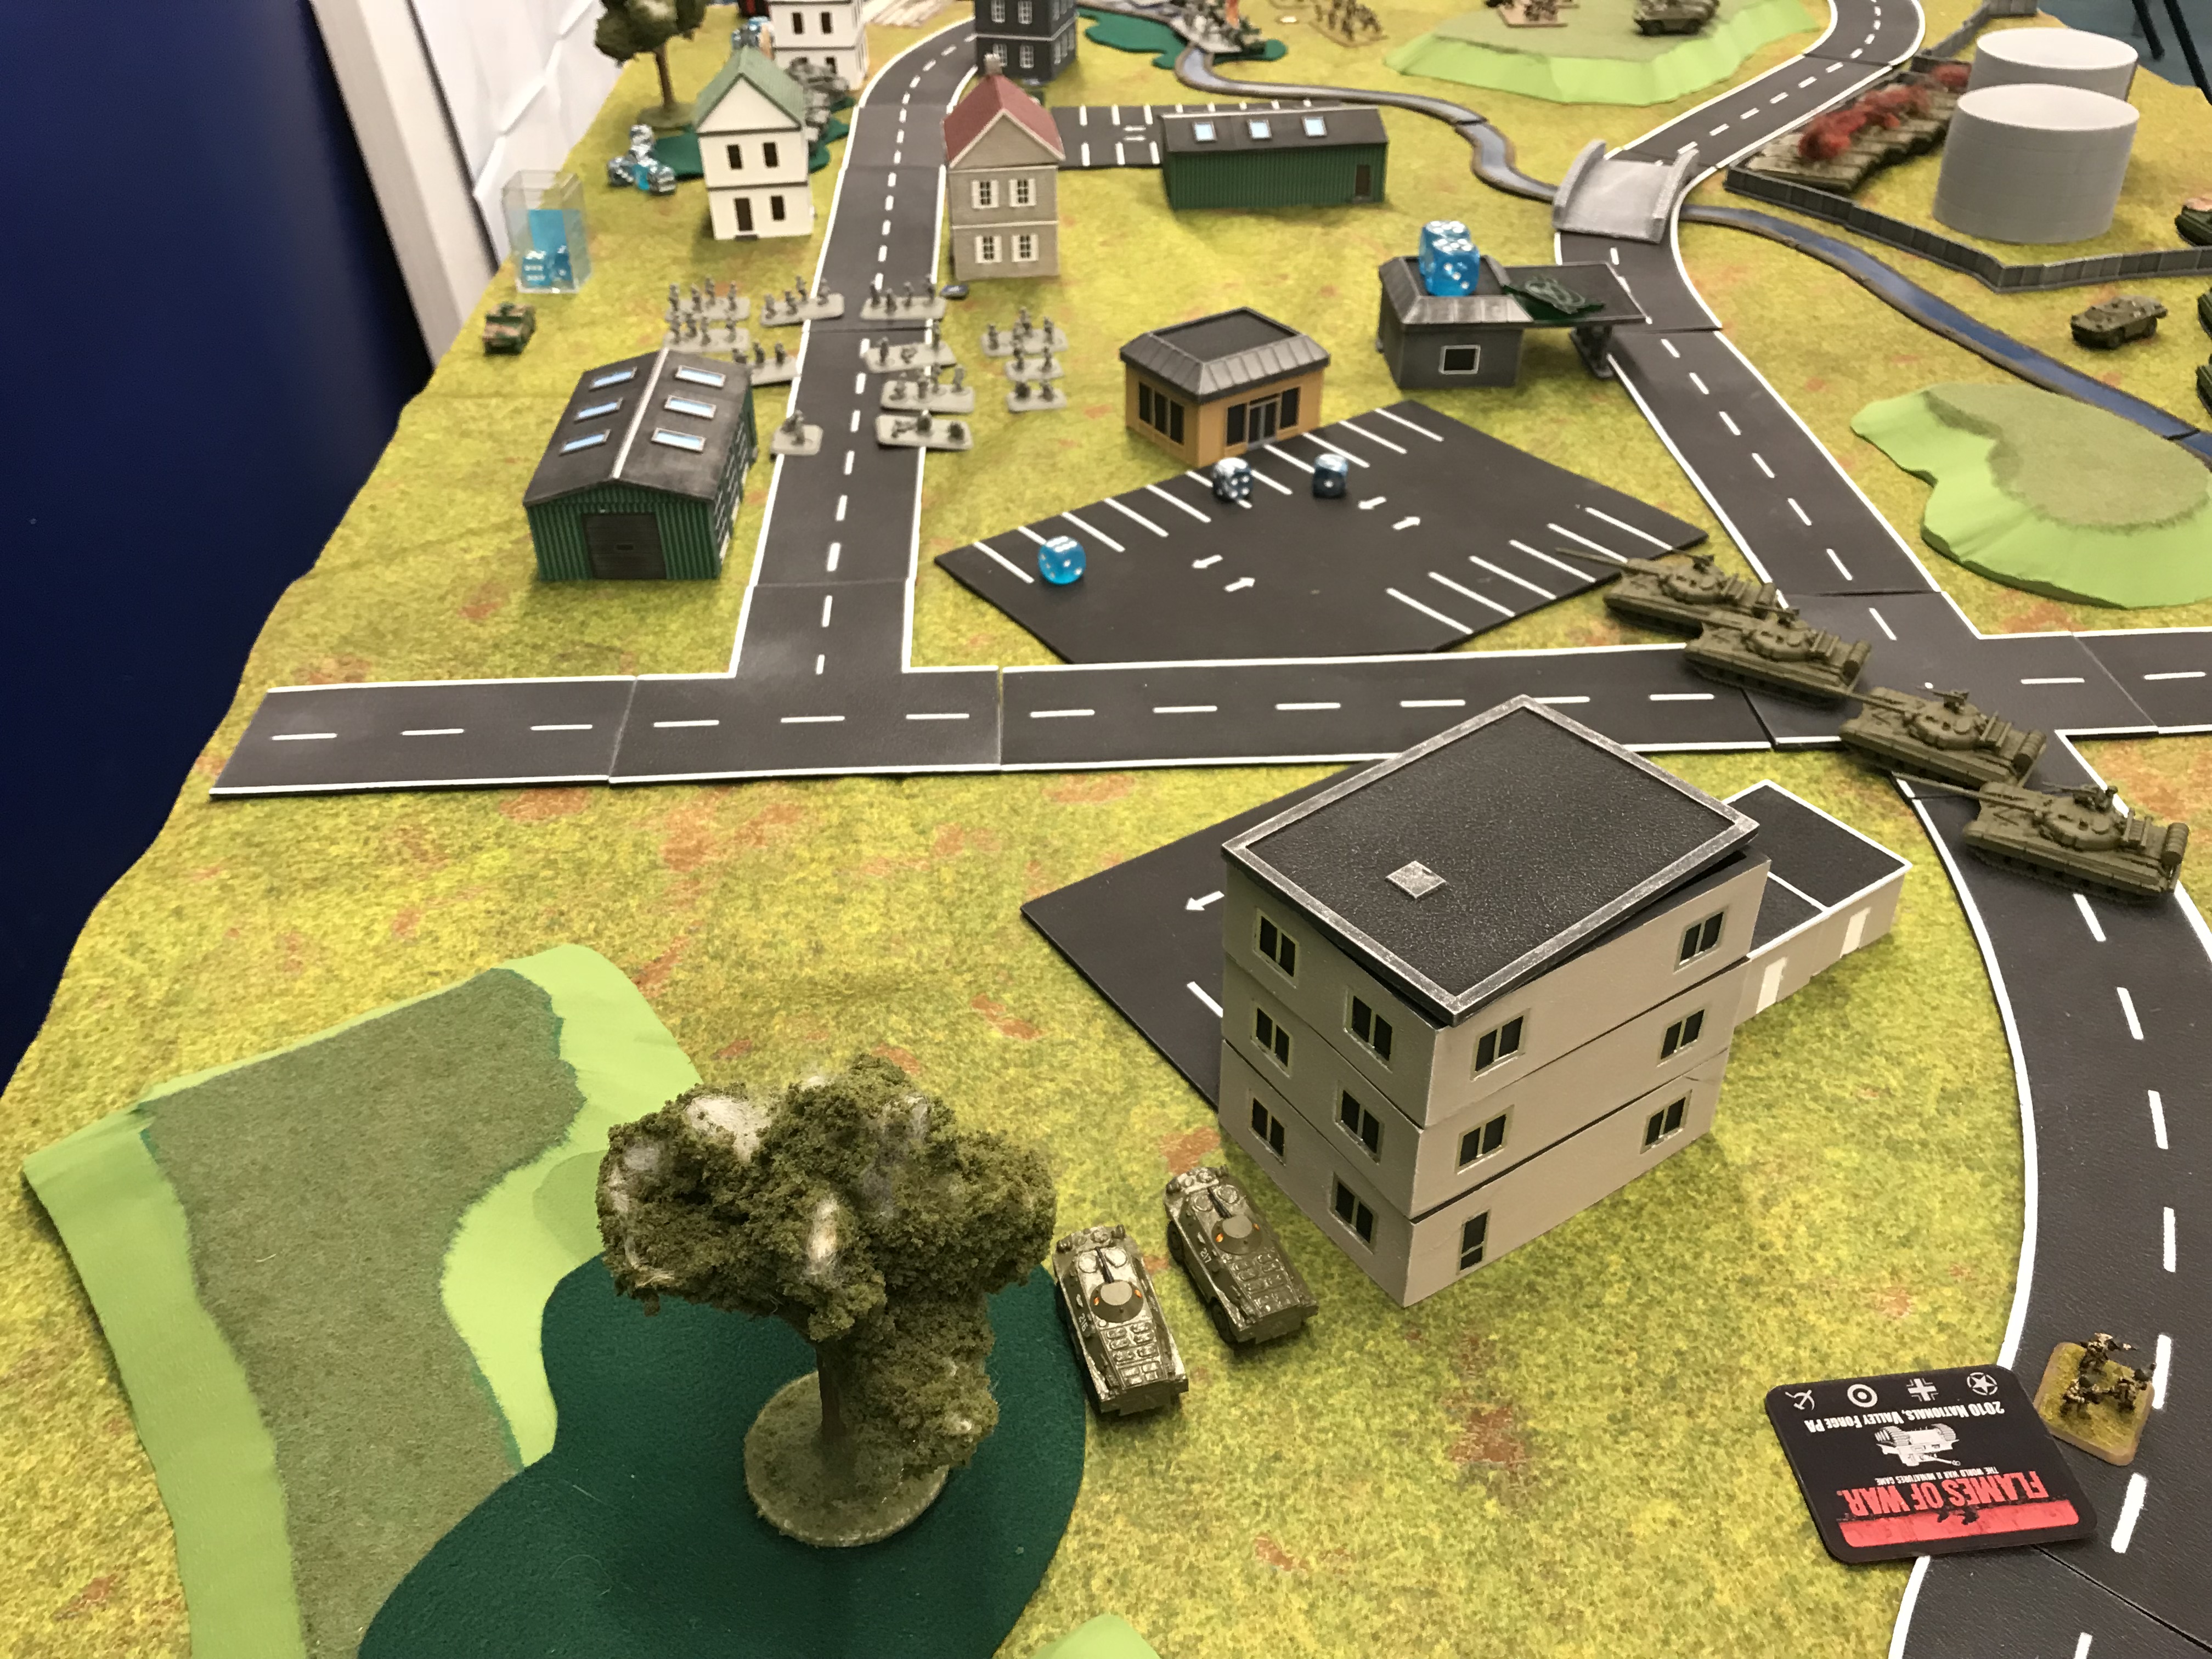
On the American turn two the infantry platoon nearest the scouts counterattacked and knocked the Mot-Schutzen out of the woods after losing four stands to one. All but one of the BMPs are knocked out. Turn three saw more VA reinforcements. The Mot-schutz dug in, and a firefight ensued. The 82d troopers took the worst of the exchange and were whittled down to four stands. Darkness fell on the enemies' turn four and the right side of the map fell in to stalemate. I would not due to assault defenders with thermal imaging.
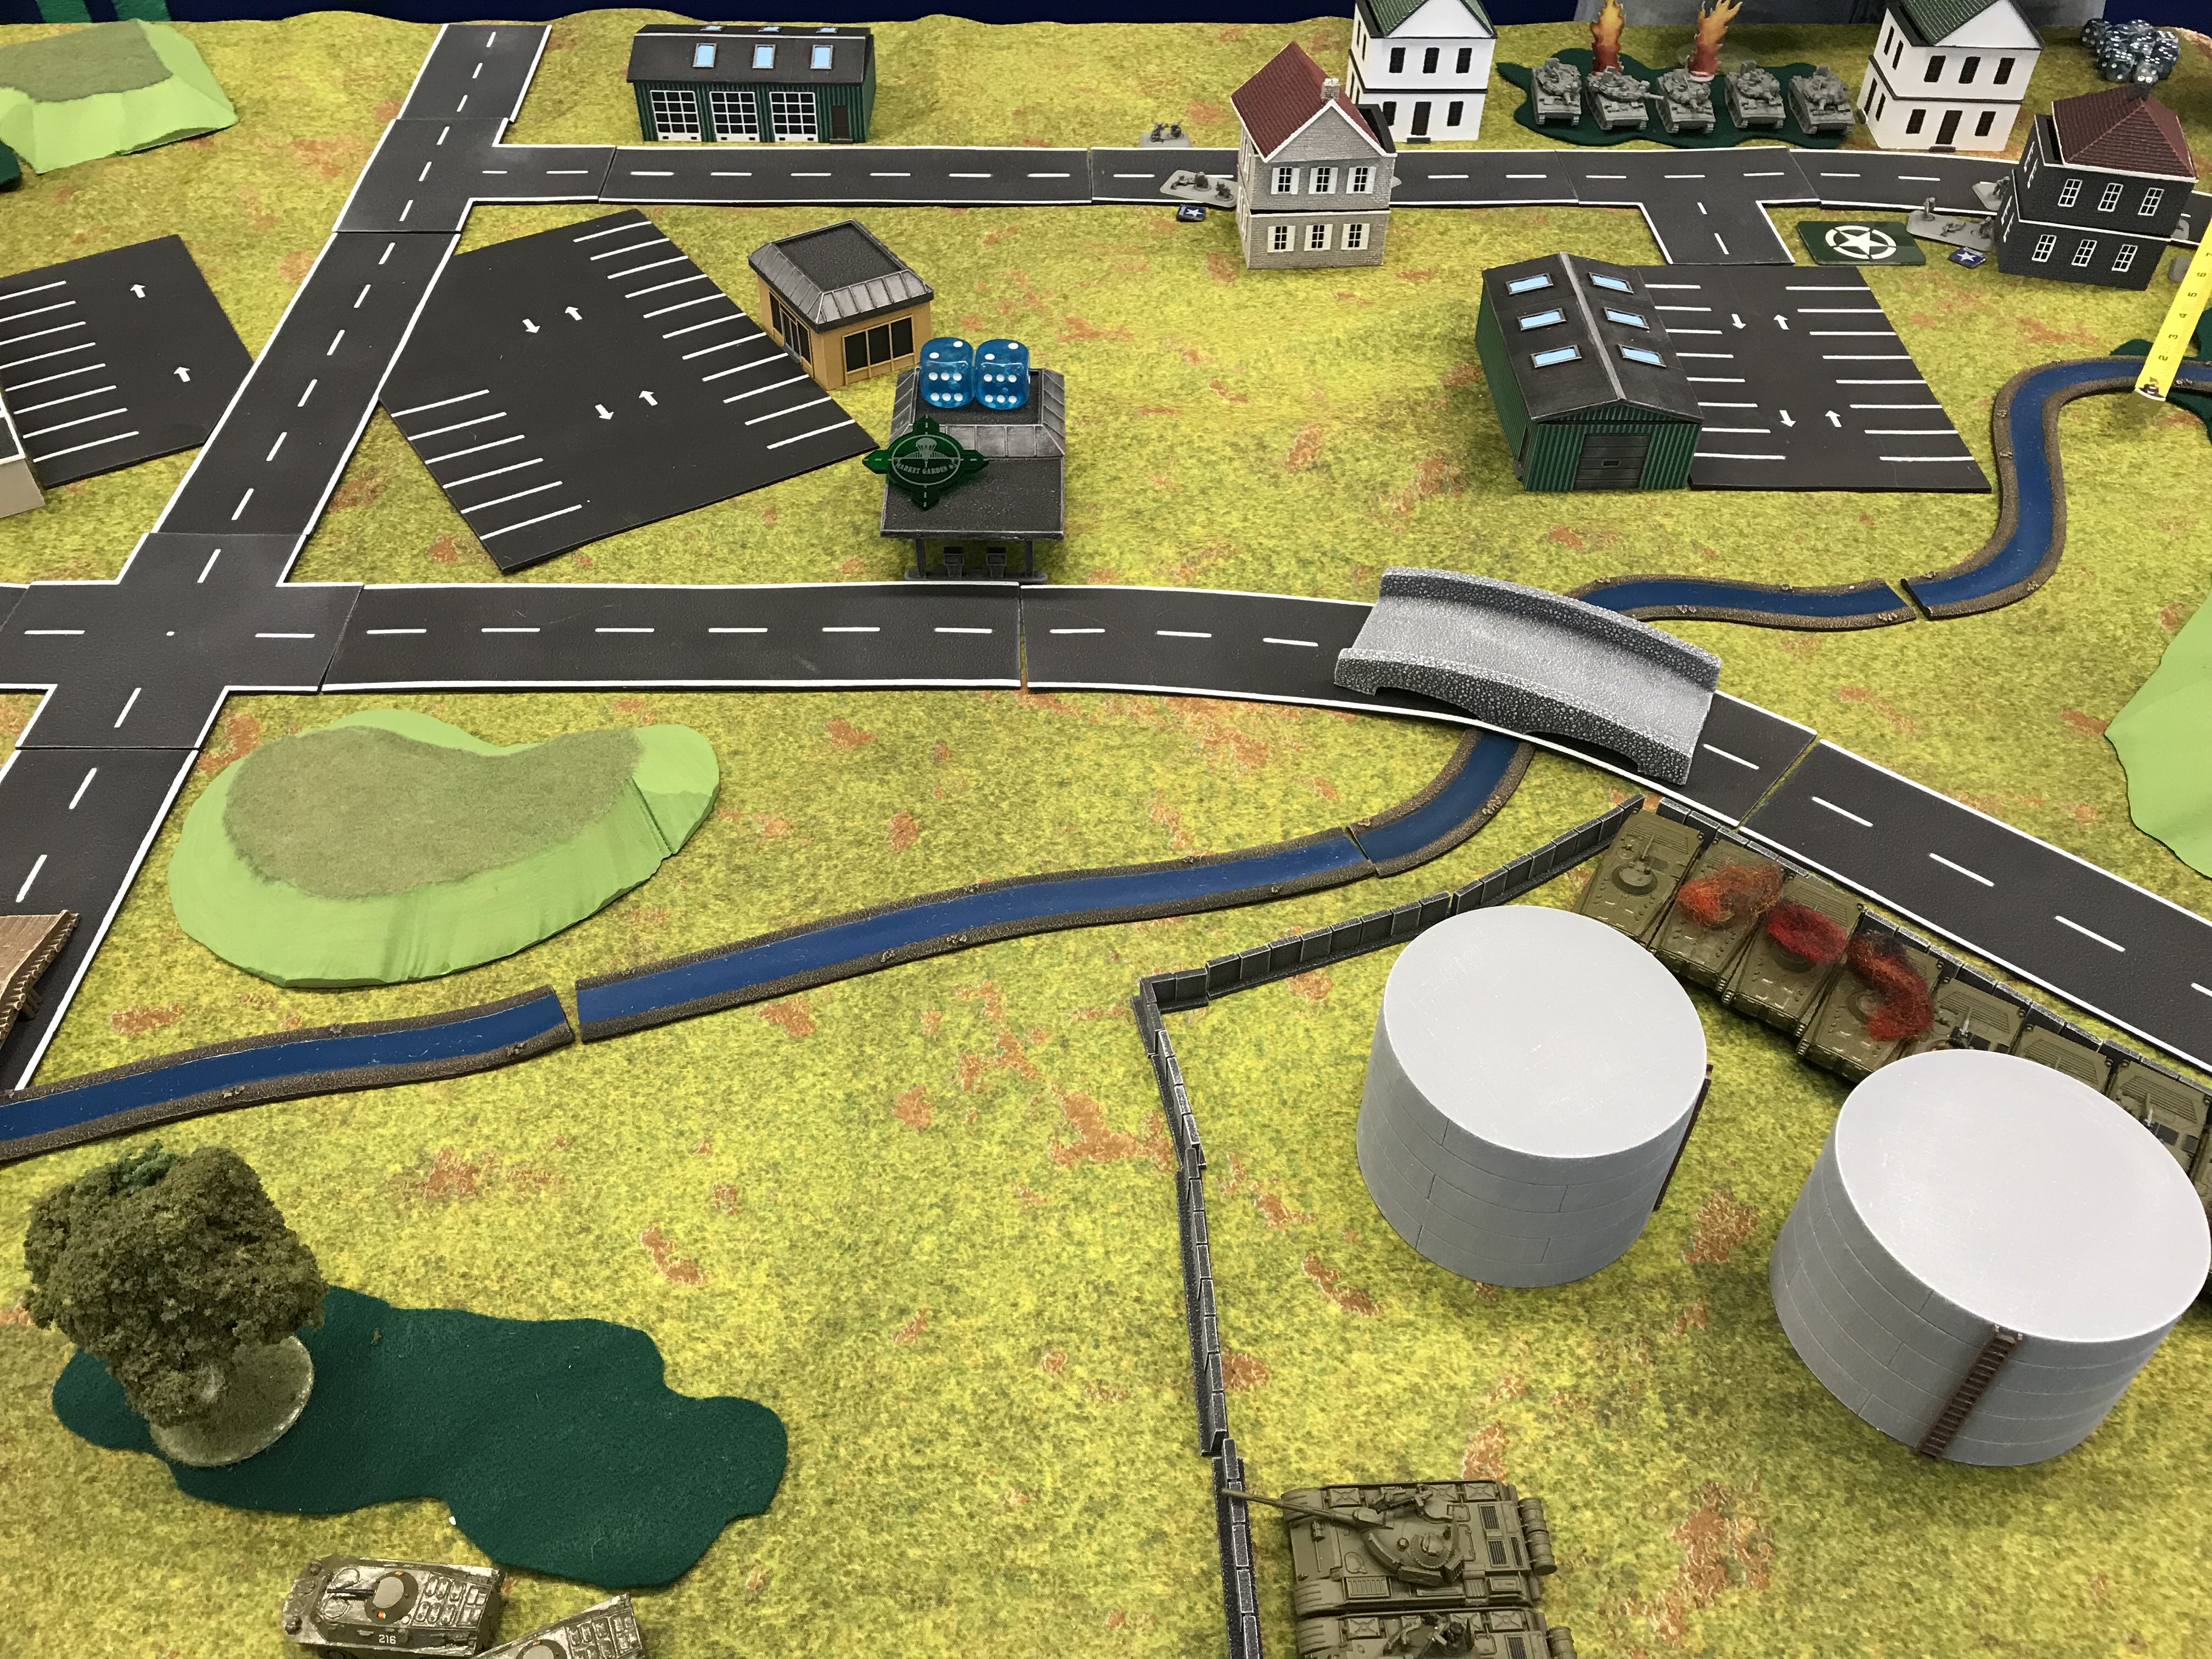
By turn three I had my BMP-2s set up to ambush defenders across the table from my side. Unfortunately, I forgot that the enemy reinforcements come in on the opposite corner, as the Sheridan platoon demonstrated as they drove in right behind the AFVs along the hedge, and fired. Amazingly Ray was only able to hit a single BMP. Whew! On my turn four everyone opened up on the reinforcing Sheridans, and three were killed, with the others bailed out.
The Sheridan's stayed tough, and kept in the fight. Darkness completely fell as the Sheridan's tried to ambush a unit of T-55s, but their gunnery proved poor again. It would be their last action as they were visible having fired, and the combined kitchen sink landed on them leaving them burning puddles of aluminimum.
Battle Report Author
Army Lists Used In This Battle
Recommend Commander For Commendation
Share this battle with friends
PanzerGrauWins

nice table and AAR
Its always better to have lady luck on your side 😉
Very nice report.
Warsaw Pact forces can only dream of such charismatic fighters 😀 !
Good report
Good report.
A well written report, on a spectacular table! Well fought Komrade!
Nice map and a clearly written report.
Good report. Like the terrain set up.
Congrats on the win. Excellent report.