Fought At Hanover
2235 days 17 hours 52 minutes ago
Deja vu all over again
View Linked Report - CLICK HERE 75 POINTSChuck and I faced off in this exact scenario last weekend with very similar forces. That battle ended in a draw, and I was hoping to push it to a victory. As the attacker, I again chose to attack during daylight.
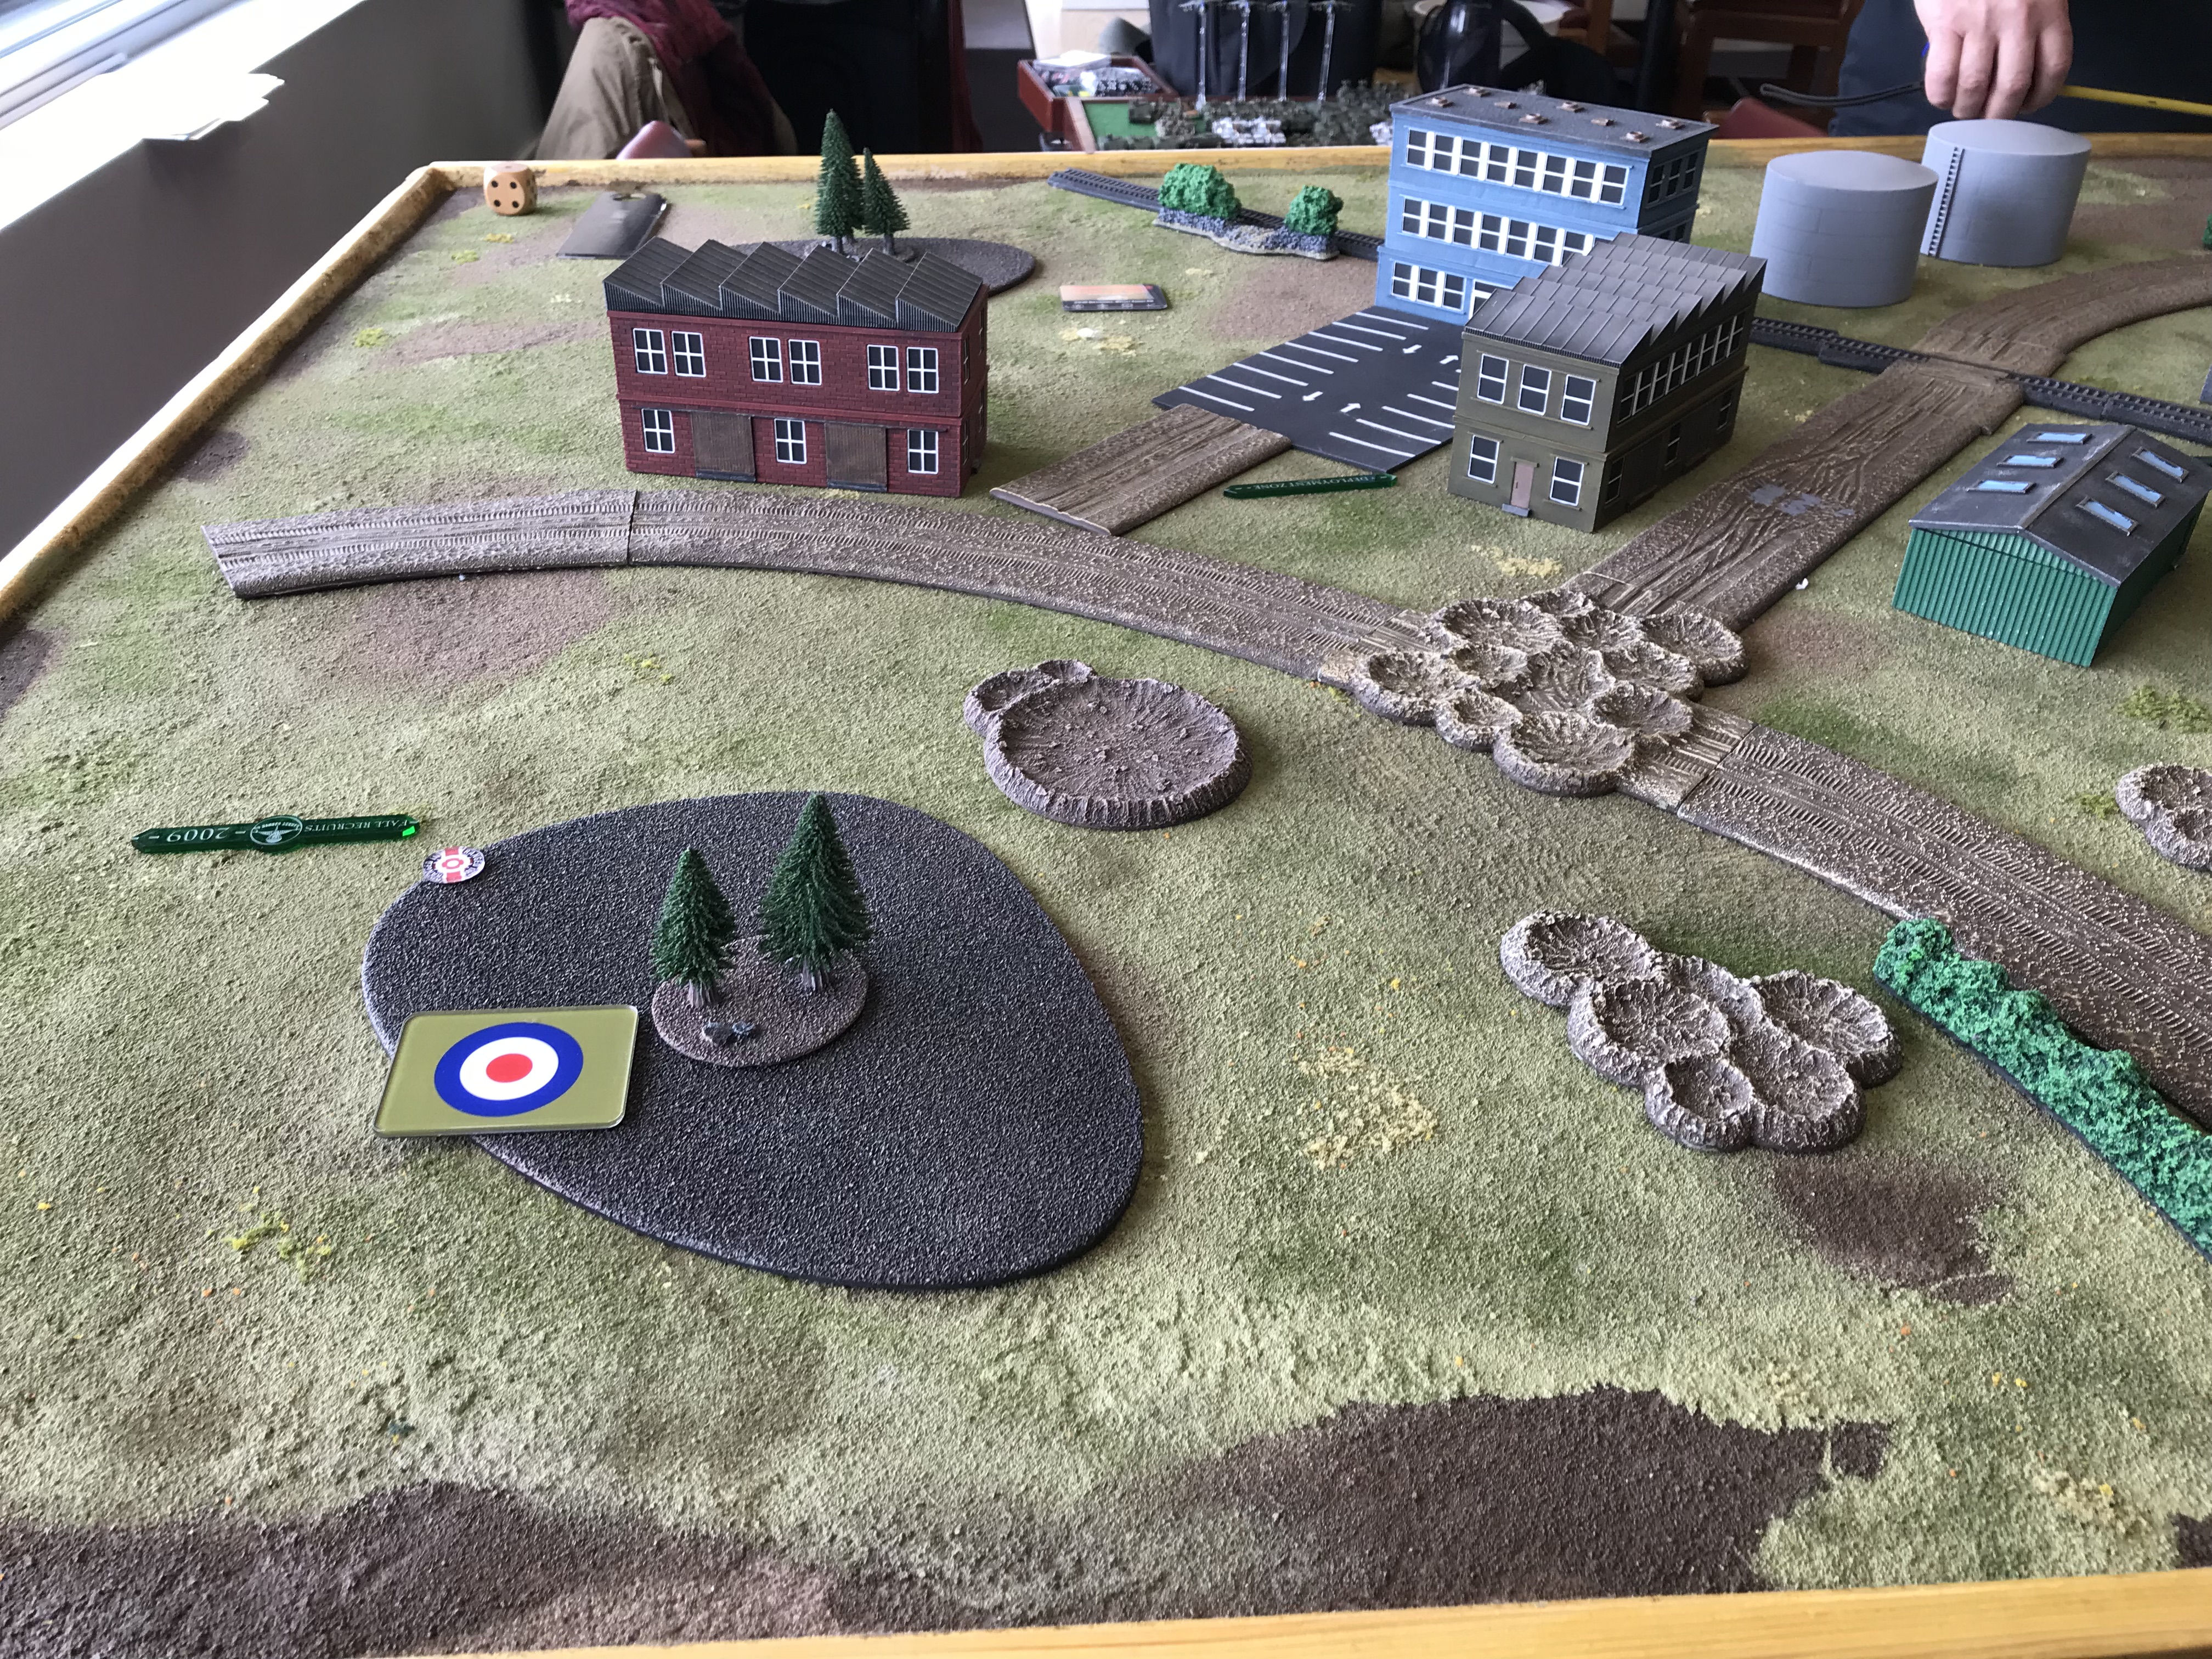 The left side of the map from my point of view. With all of the available cover I chose this axis for my infantry assault.
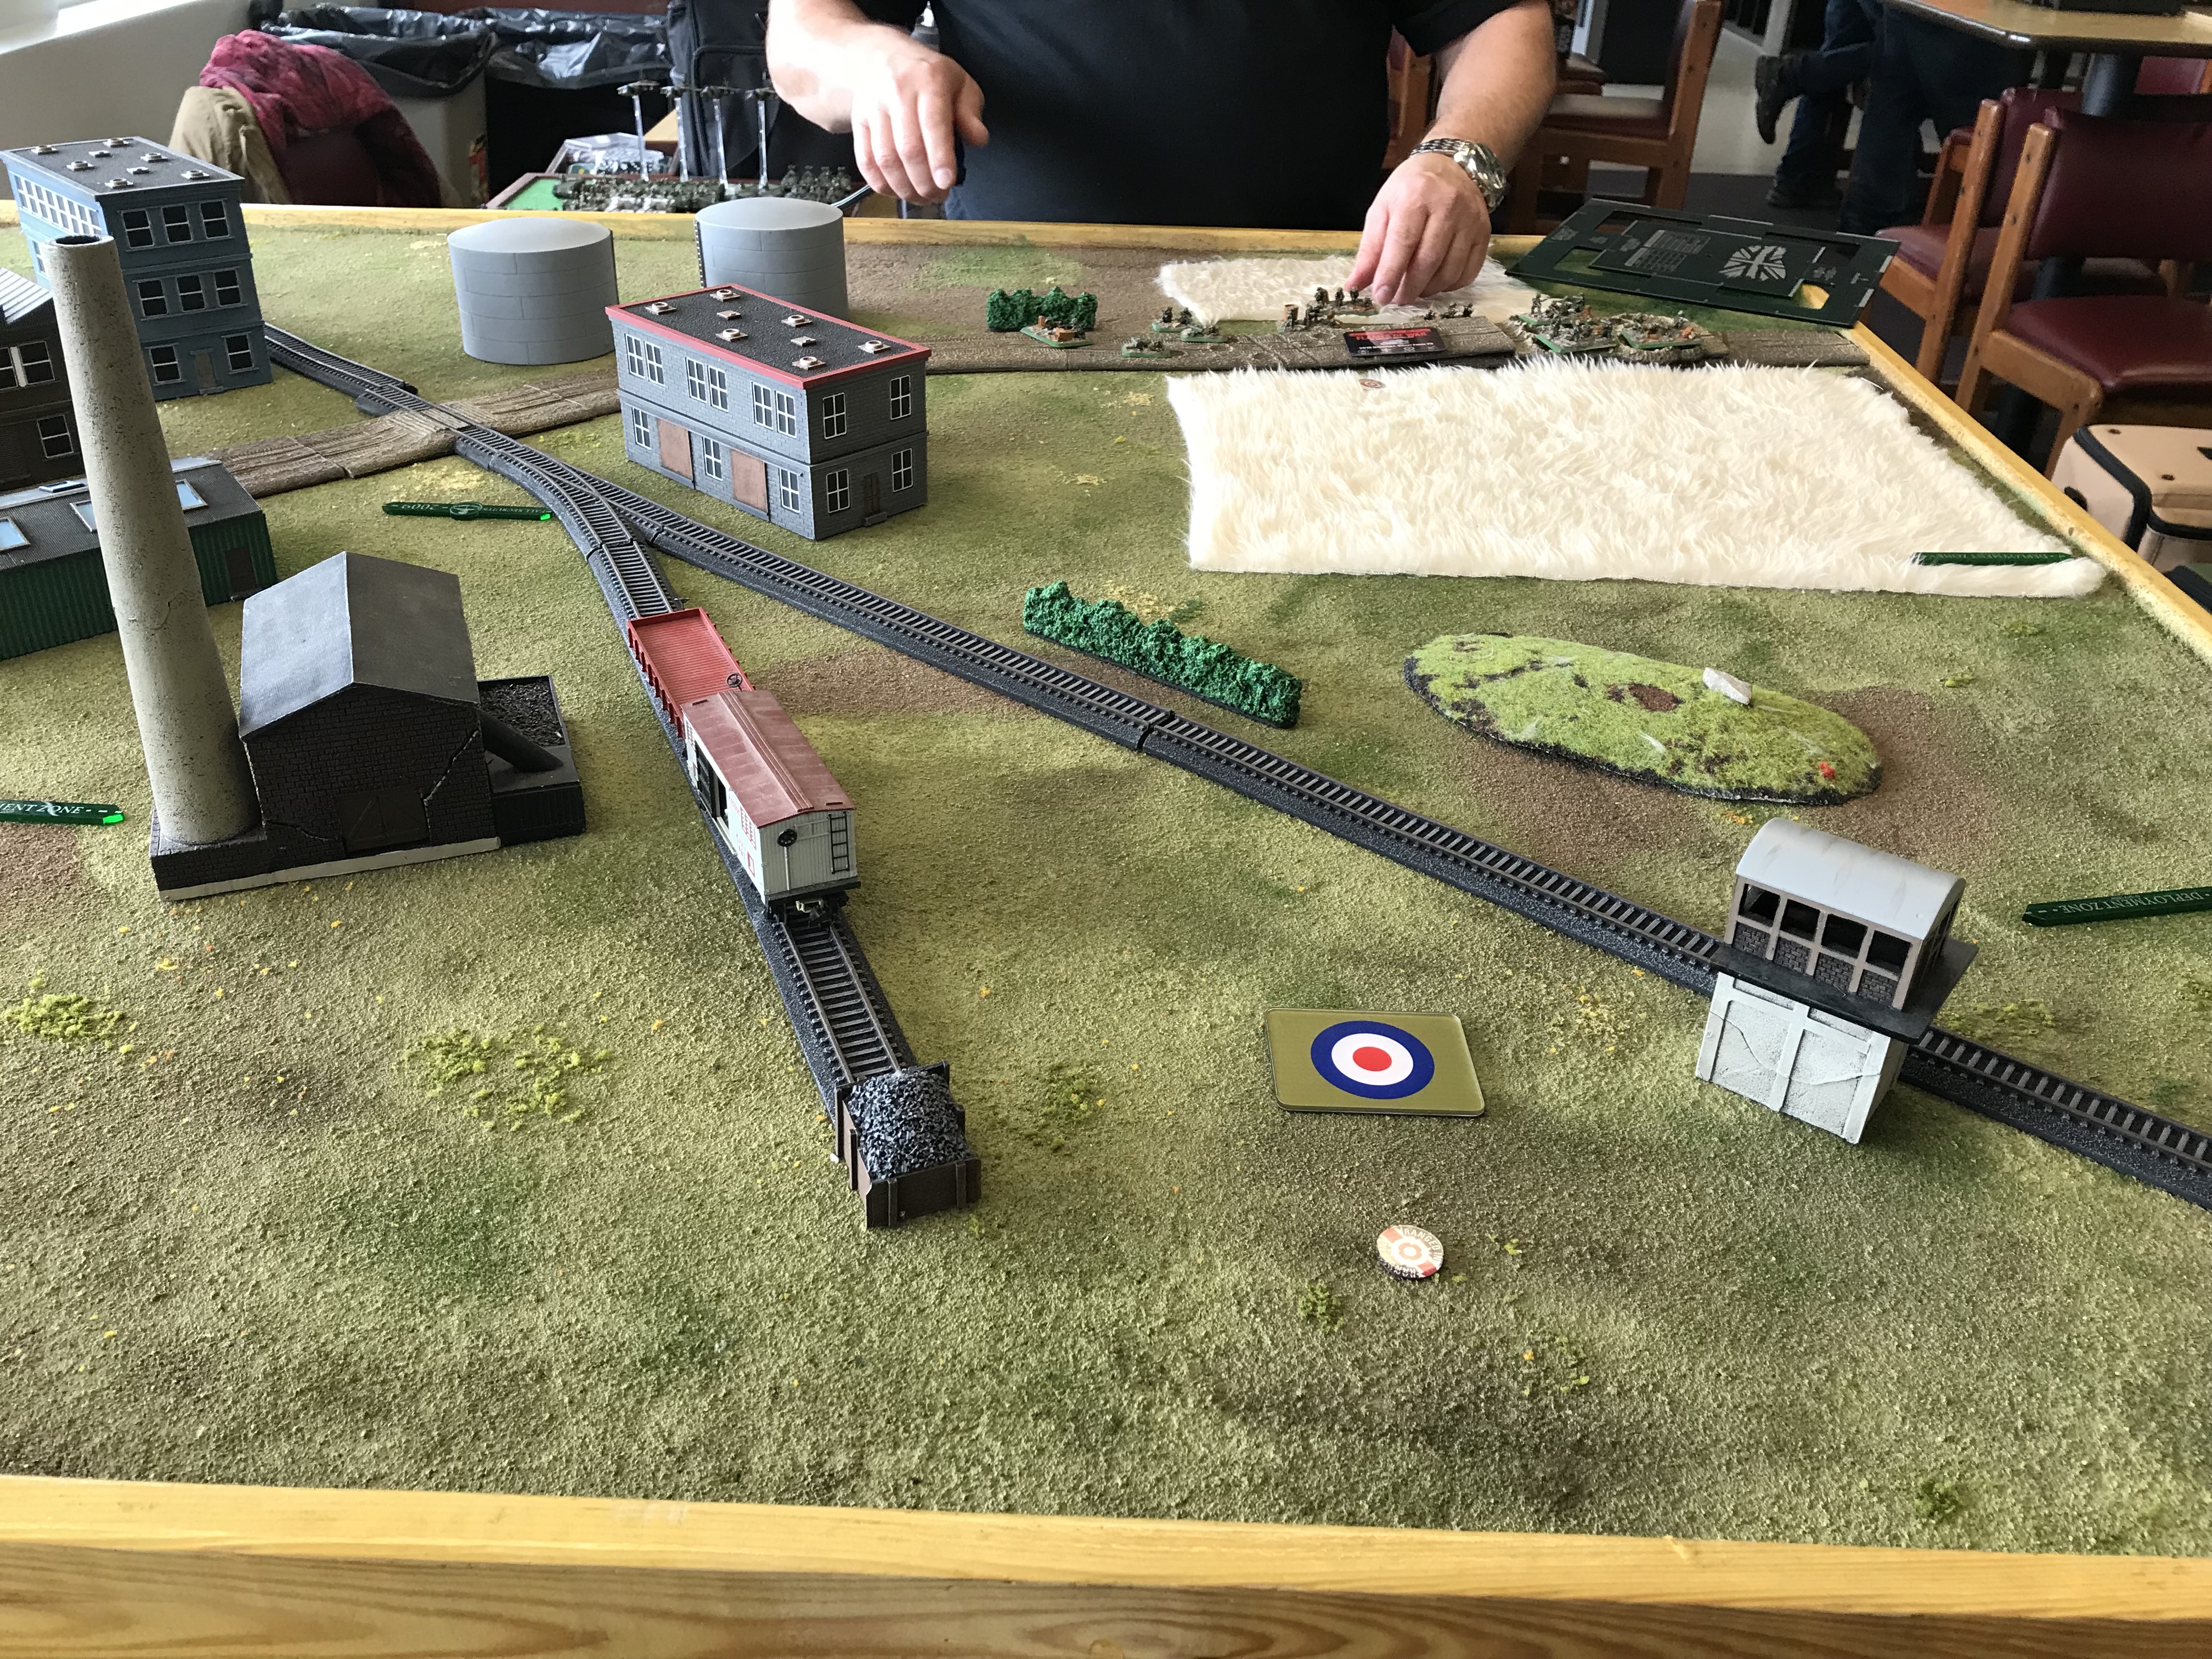 The right side of the map where I planned to fix the defending infantry in place with cover from my BMP-1s, and 2S1s.
I started with six of my thirteen unit on the table: two motor-schutzen companies, two Spandrel platoons, the 2S1s, and the SA-13s. Everything deployed on the left except the 2S1s, and the BMP-1 Motor-schutzen unit that occupied the center.

I spent the first two turns maneuvering my infantry formations through shell holes and buildings to occupy the red factory with my large unit, and the olive green building with the smaller one. I lost two stands from the large unit as I failed a follow me order, and two swarms of FV-432s appeared with MGs blazing. Most of his infantry defending the left objective were dug in, but two Milan teams occupied the second and third levels of the blue building at the corner nearest to his men on the ground.
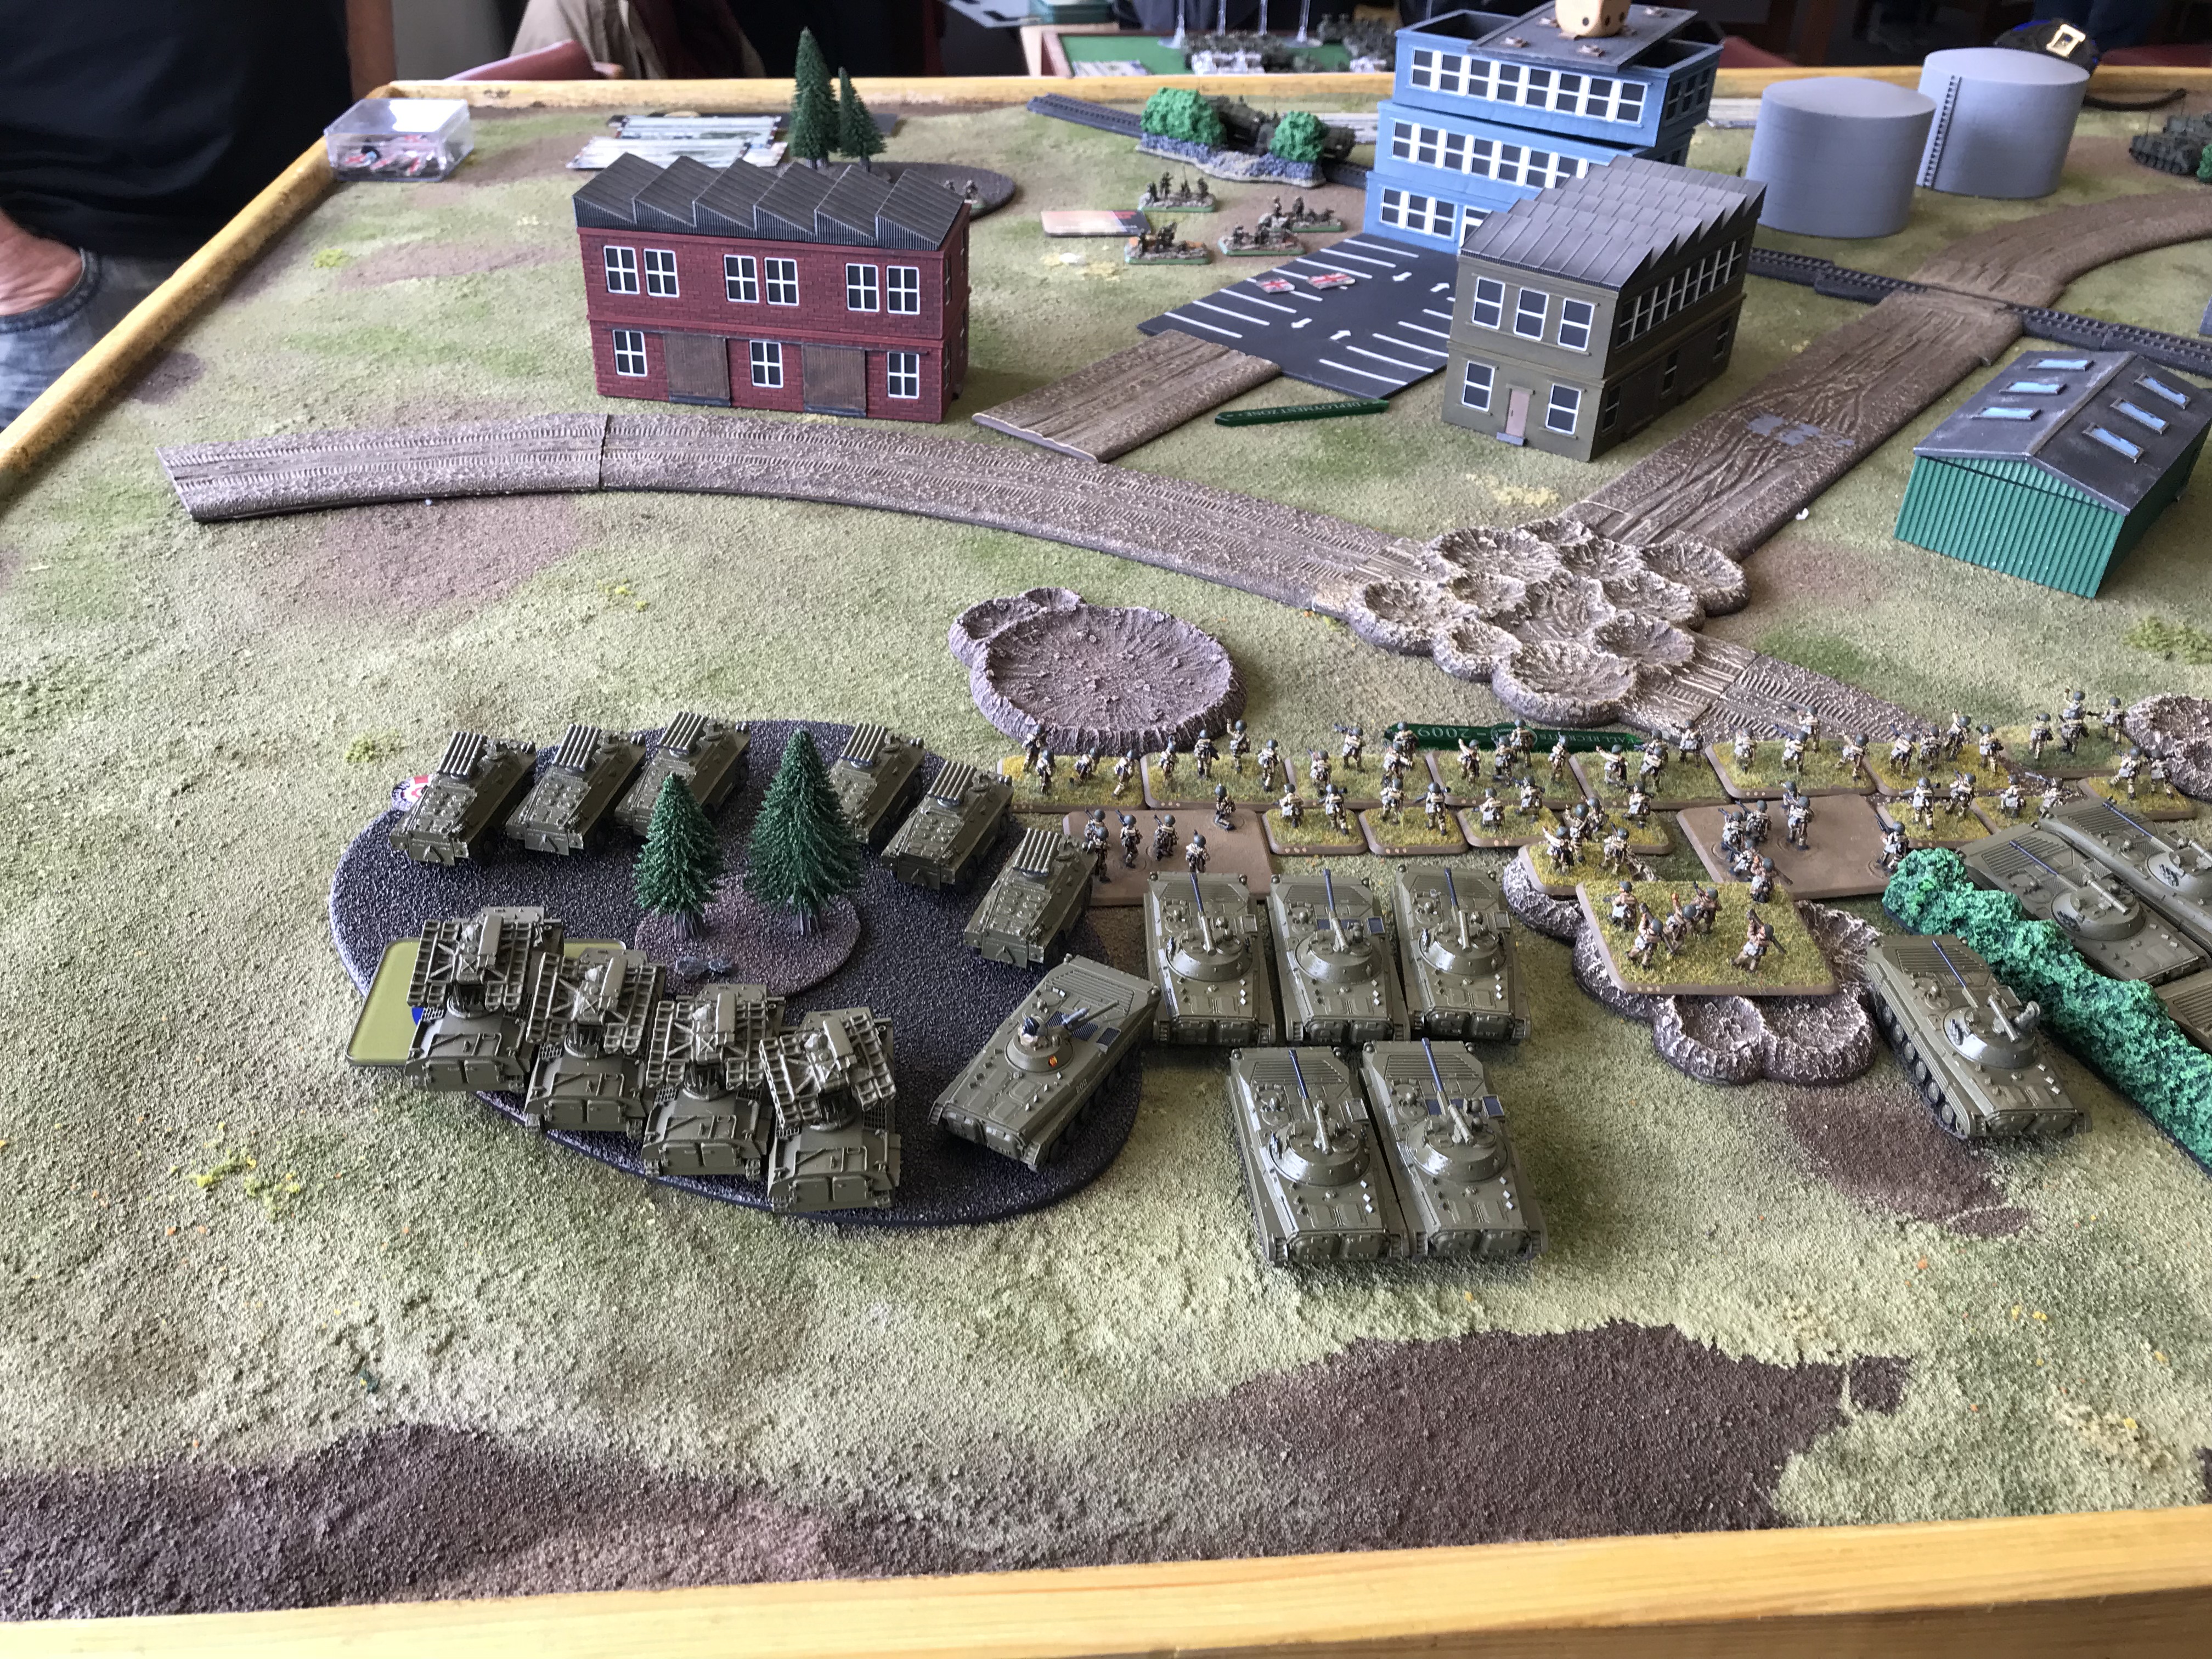
He used his lovely double ambush to place his Cheiftans at the front edge of the woods just on the other side of the red building, and his Swingfire troop at the corner of the large wheat field on my right. Fire from the tanks, Milans, and Swingfires destroyed one Spadrel, and four BMP-2s. His Harriers also appeared, and just like Groundhog day, I killed two of them, and the rest made me pay by destroying the Gophers, and my Infantry formation commanders chariot. They bailed other units, but they all remounted. He moved his HQ assets in to the blue building as well. His tanks moved away from the edge of the woods, and the swingfires occupied better positions with shooting and scooting.
All the survivors of the BMP-2s, except for one that refused to remount despite being next to the formation commander, scampered behind the bright green building. I concentrated my fire on FV-432s, and the swingfires. The T-64s which arrived on my far right stopped just outside of Milan range and took the swingfires under fire as well. I was able to destroy one, and bail one, and did a happy dance when they failed their unit moral and fled. I also brought in my Shilkas near the artillery as a second reserve due to the ADA umbrella getting wreaked by bomblets.

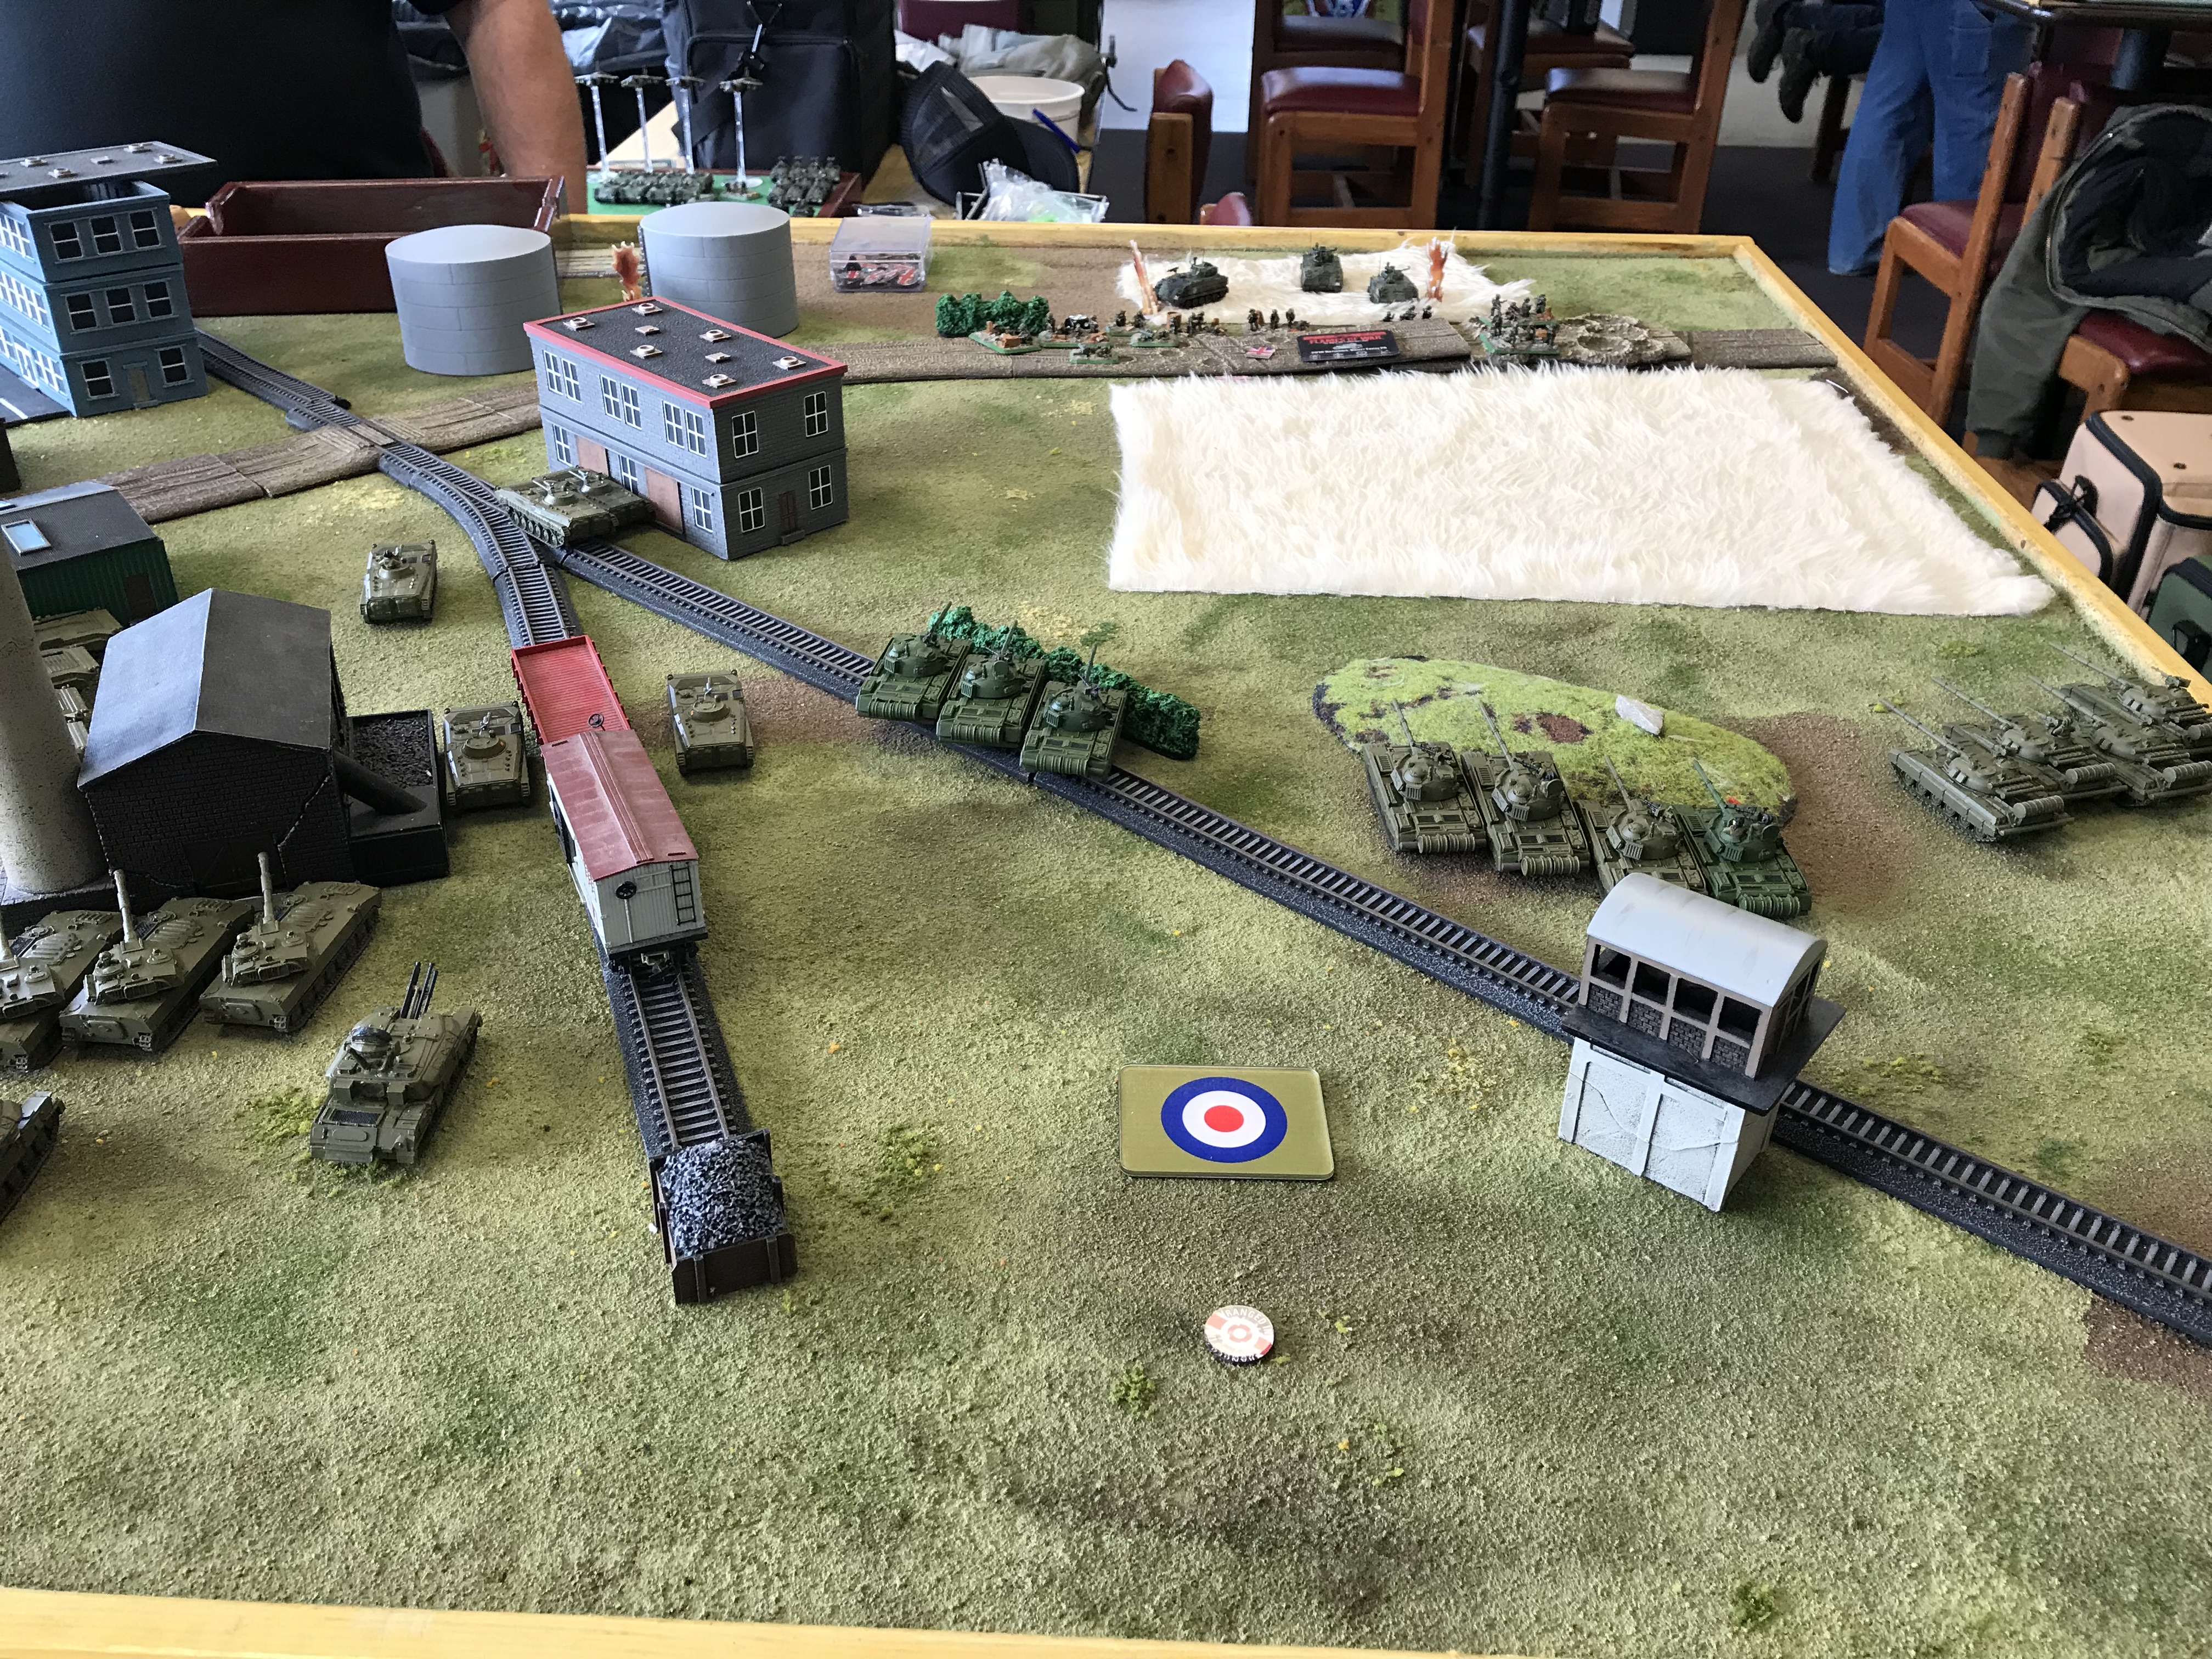
The fighting on the left between opposing infantry and supports as well as the sniping back and forth between BMPs, FV-432s, and a Milan section that arrived from reserve required a crap ton of dice rolling, and bogged everything down. On the right I continued to vector my arriving T-55 formations in to gain enough strength to attempt to drive the defenders off of the objective through assault. The Harriers came in a final time to engage the T-64s, but the Shilkas marked one down, and the bombing was ineffective. The remaining Harrier pilot decided that it was tea time and he headed back to his base for the day. Huzza!
On the left I was having a hell of a time killing the FV-432s. I needed them eliminated so that I could force my infantry assault through. My plan was to eliminate them, and then to lay a 12" smoke barrage from the corner of the blue building across his front which would have covered the tanks as well. The artillery was already ranged in. It was about to be my turn. The Spandrels were primed to kill the AFVs on the far left. The other group was down to two vehicles, and I had two shots on them as well. His Chieftains had moved out to engage the BMP-1s between the buildings and killed three, but when he tried to Shoot and Scoot back in to the woods one of them bogged. It was perfect. I could assault the two tanks, eliminate them, and get set up for assaulting the objective the next turn. I was sure that I could not loose.
No glory would be had however, as we reached the 2:30 minute point. Aaaarrrrrg! Next time... Next time....

nice picts, too bad on the draw
+++
Saved by the bell.
Tough fight but good report. Press on
The bitter end indeed. A great AAR comrade!
PZ Grau, great AAR and what a slugfest!!!
nice table with interesting Key Terrain setting & objectives
thx for sharing
Hard fought battle. Great AAR and tournament report.