Fought At Ruhr
2235 days 1 hours 2 minutes ago
Surrounded and Outnumbered
View Linked Report - CLICK HERE 50 POINTS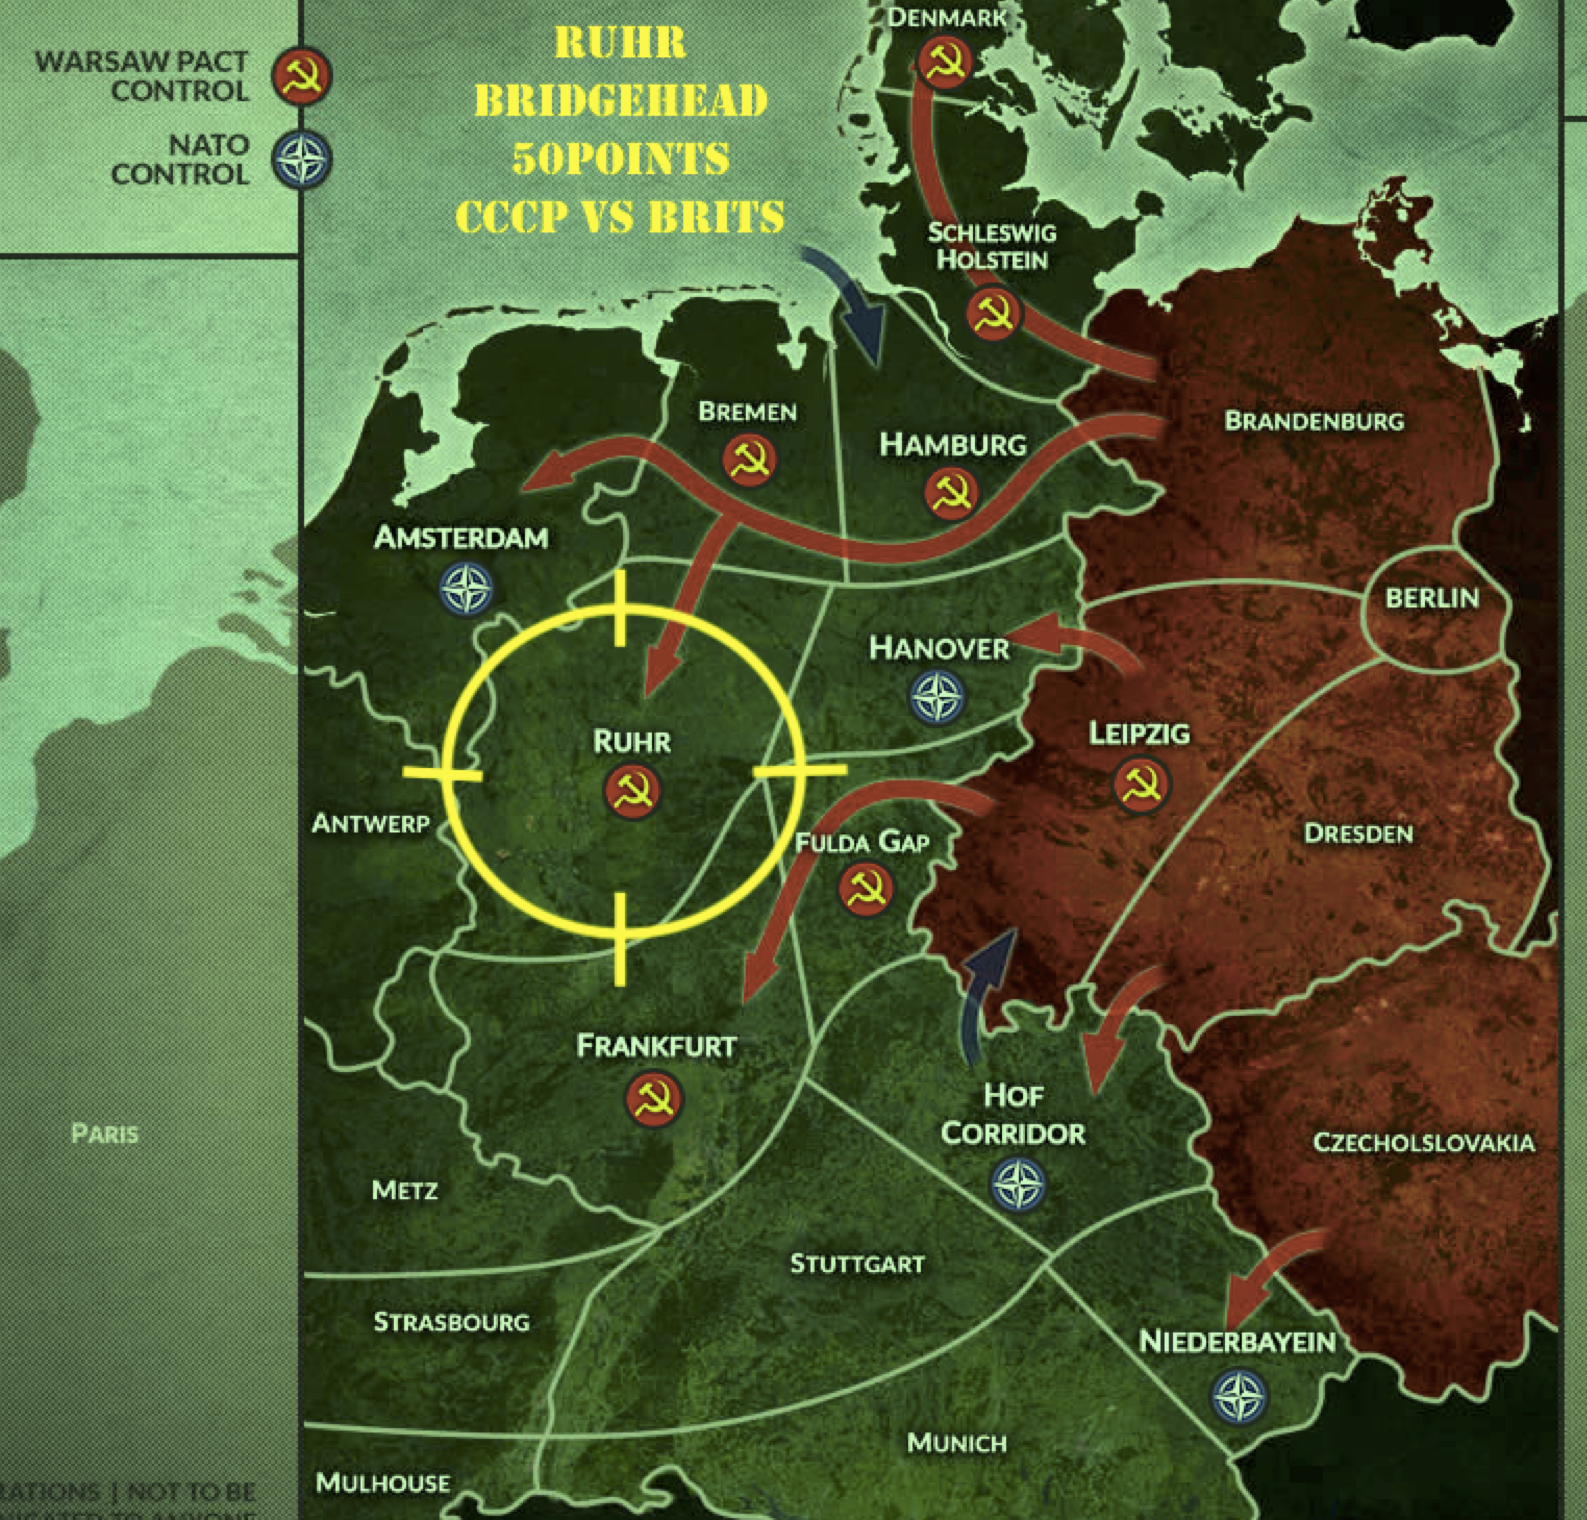
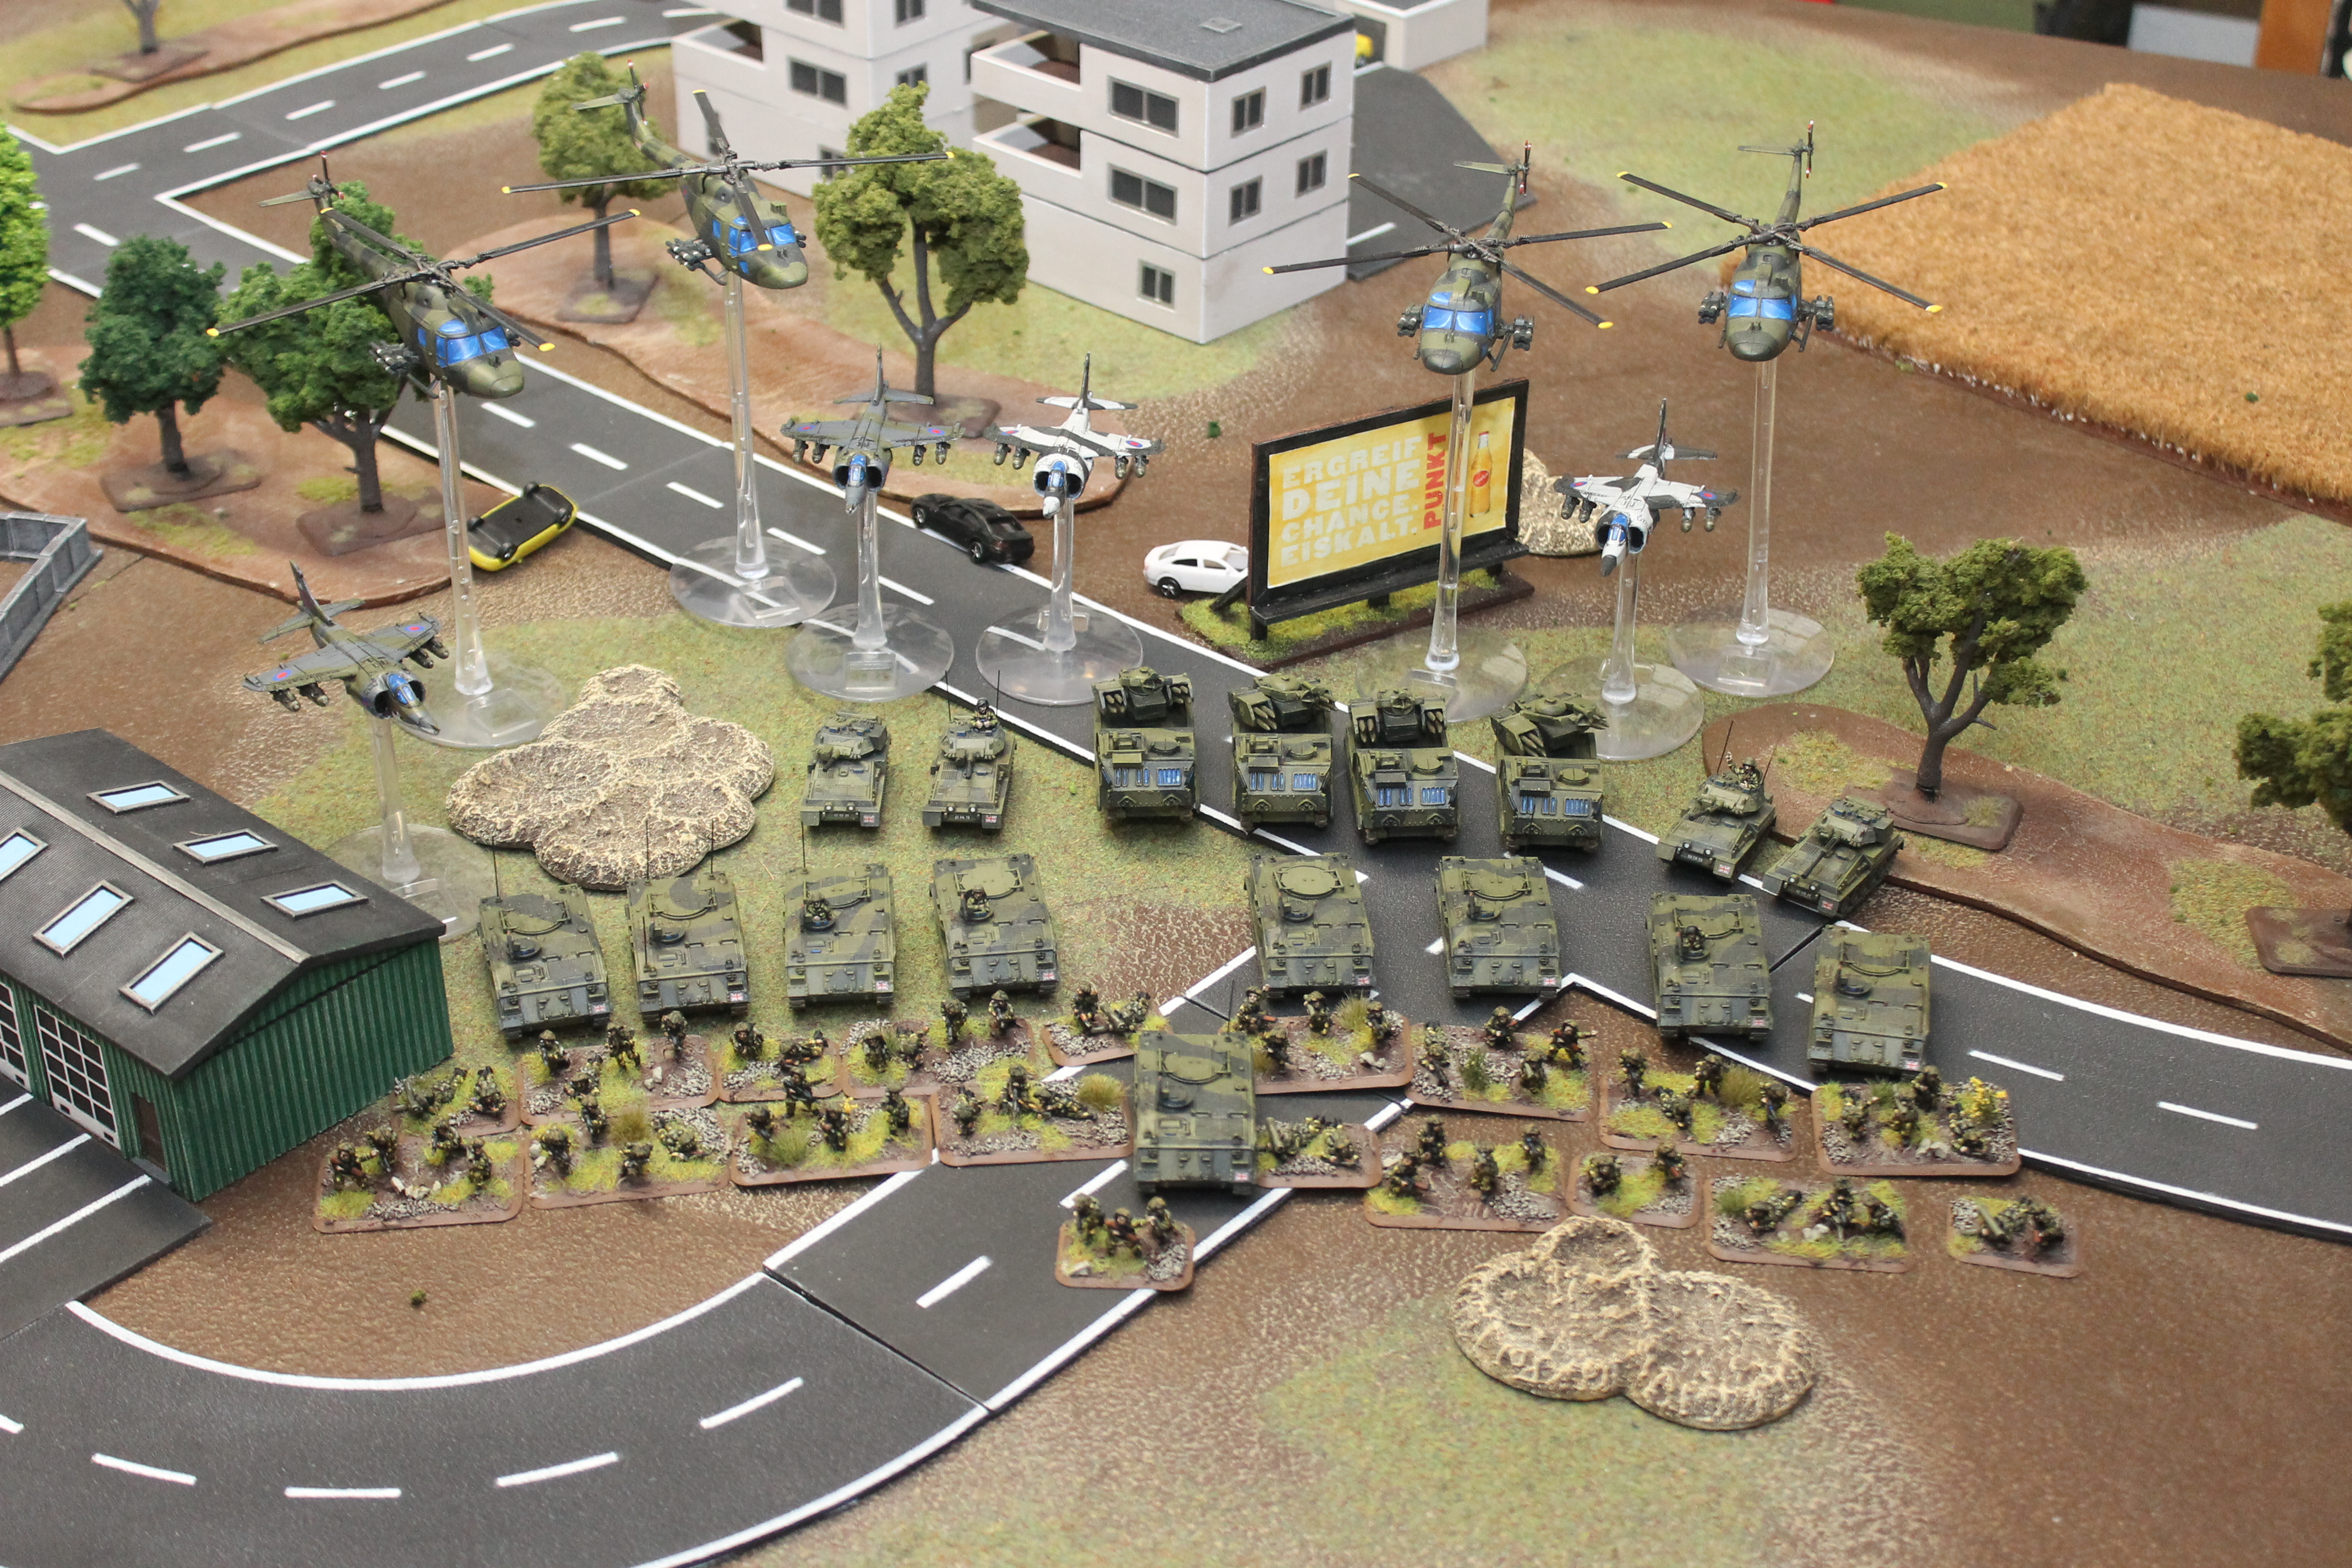
With the task at hand, I gathered my company of Mech infantry, consisting of two short platoons plus Milans and a recon unit of two Scimitars. In support the Brigade let me have 2 Scorpions, 2x2 Lynx and 4 Harriers.
The Soviets had, 2 BMP2 companies, 4 Hinds, Artillery and 4 Shilkas.
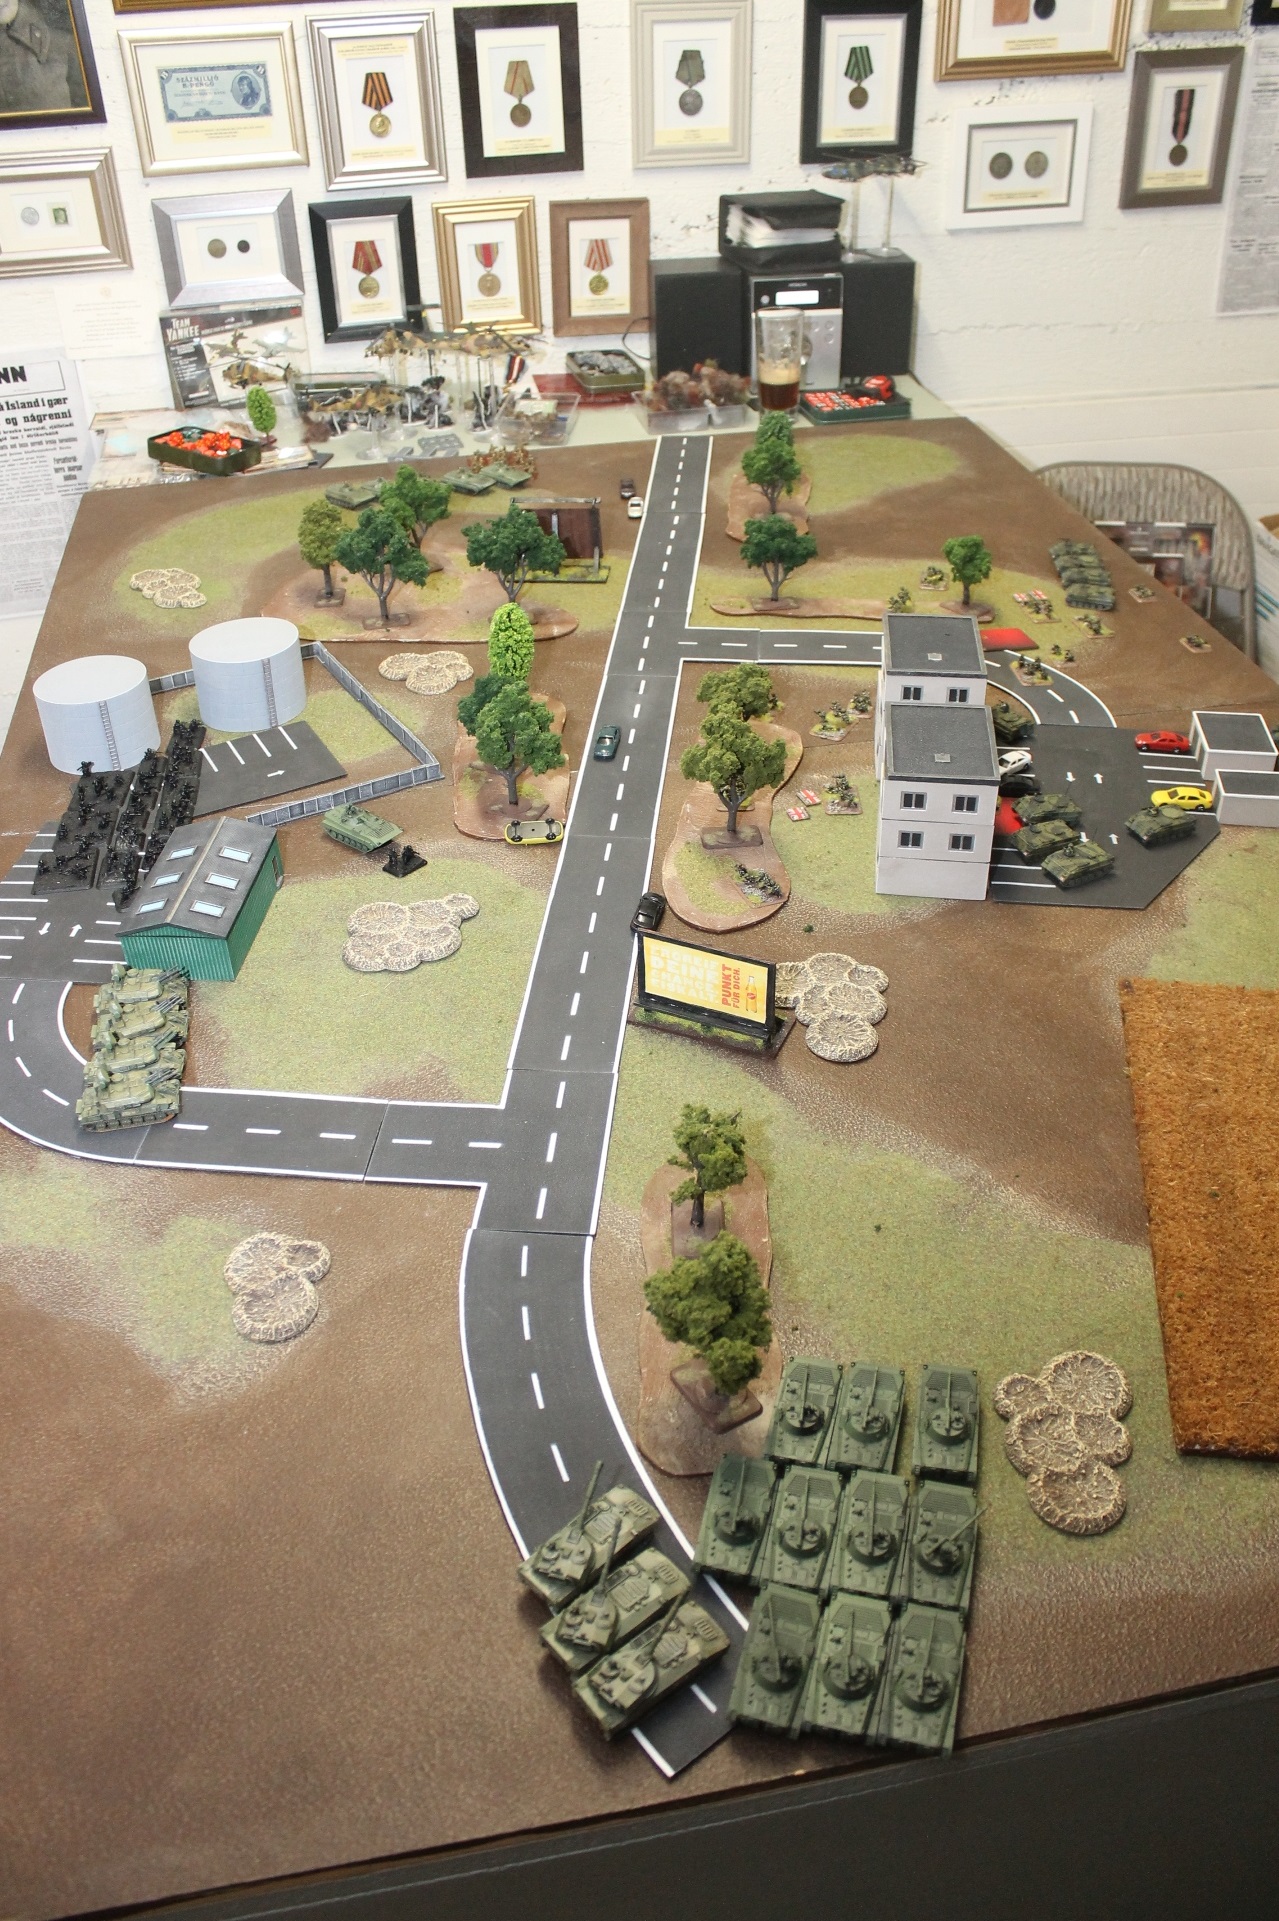
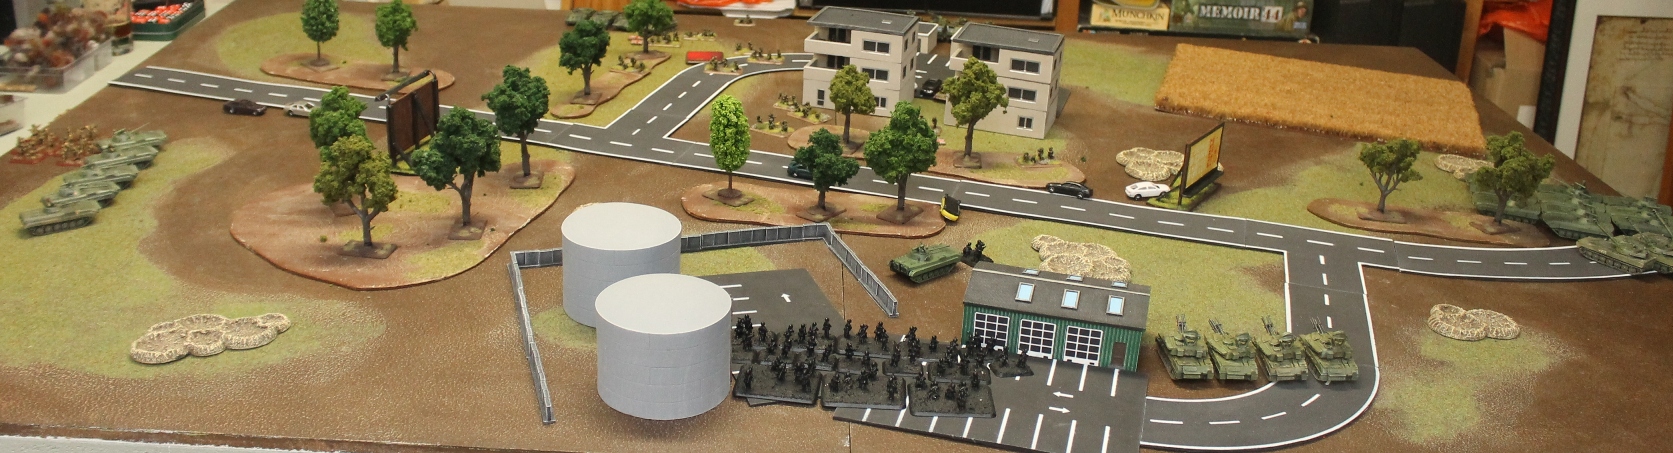
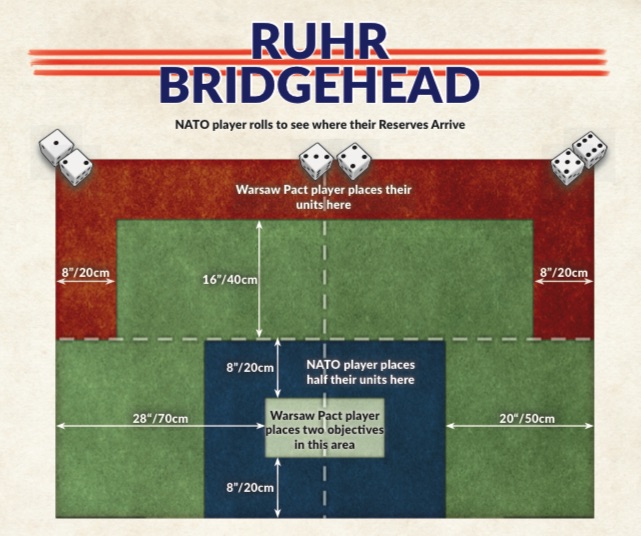
I choose to start with my two infantry platoons guarding the objectives protected by the Rapiers and with 2 Lynx loitered off table ready to Blitz in when I saw what Red Alert had in mind.
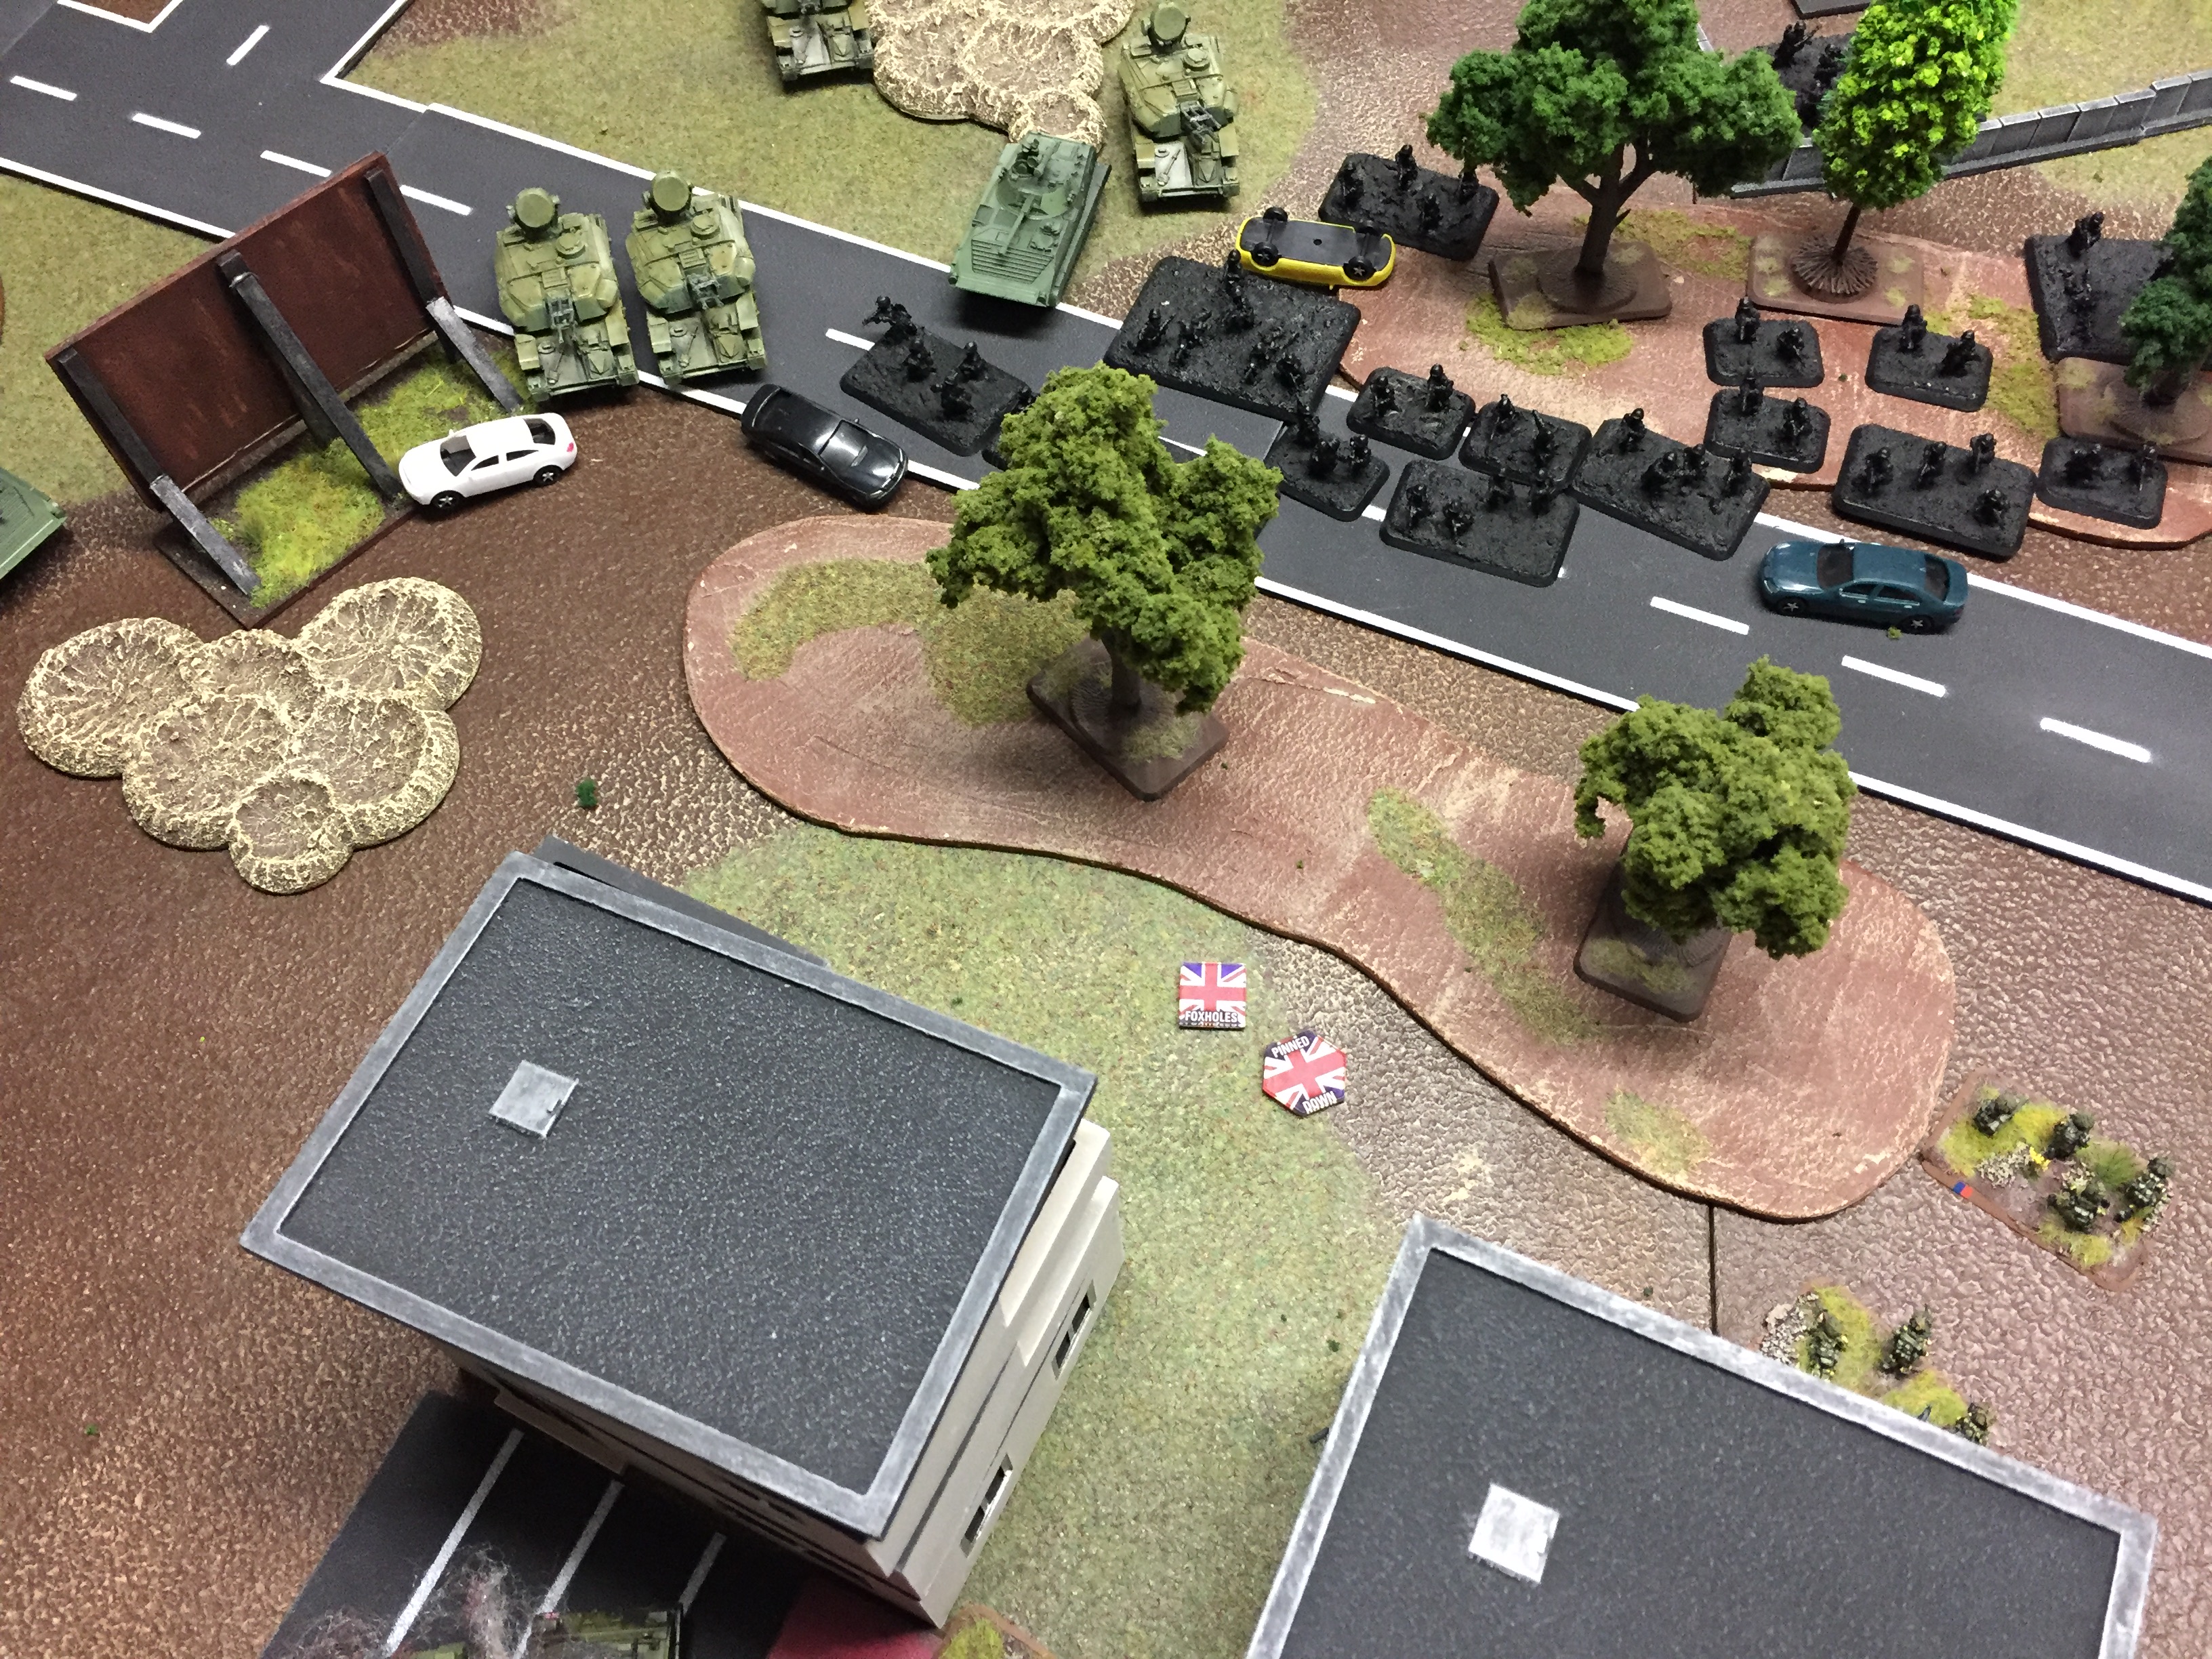
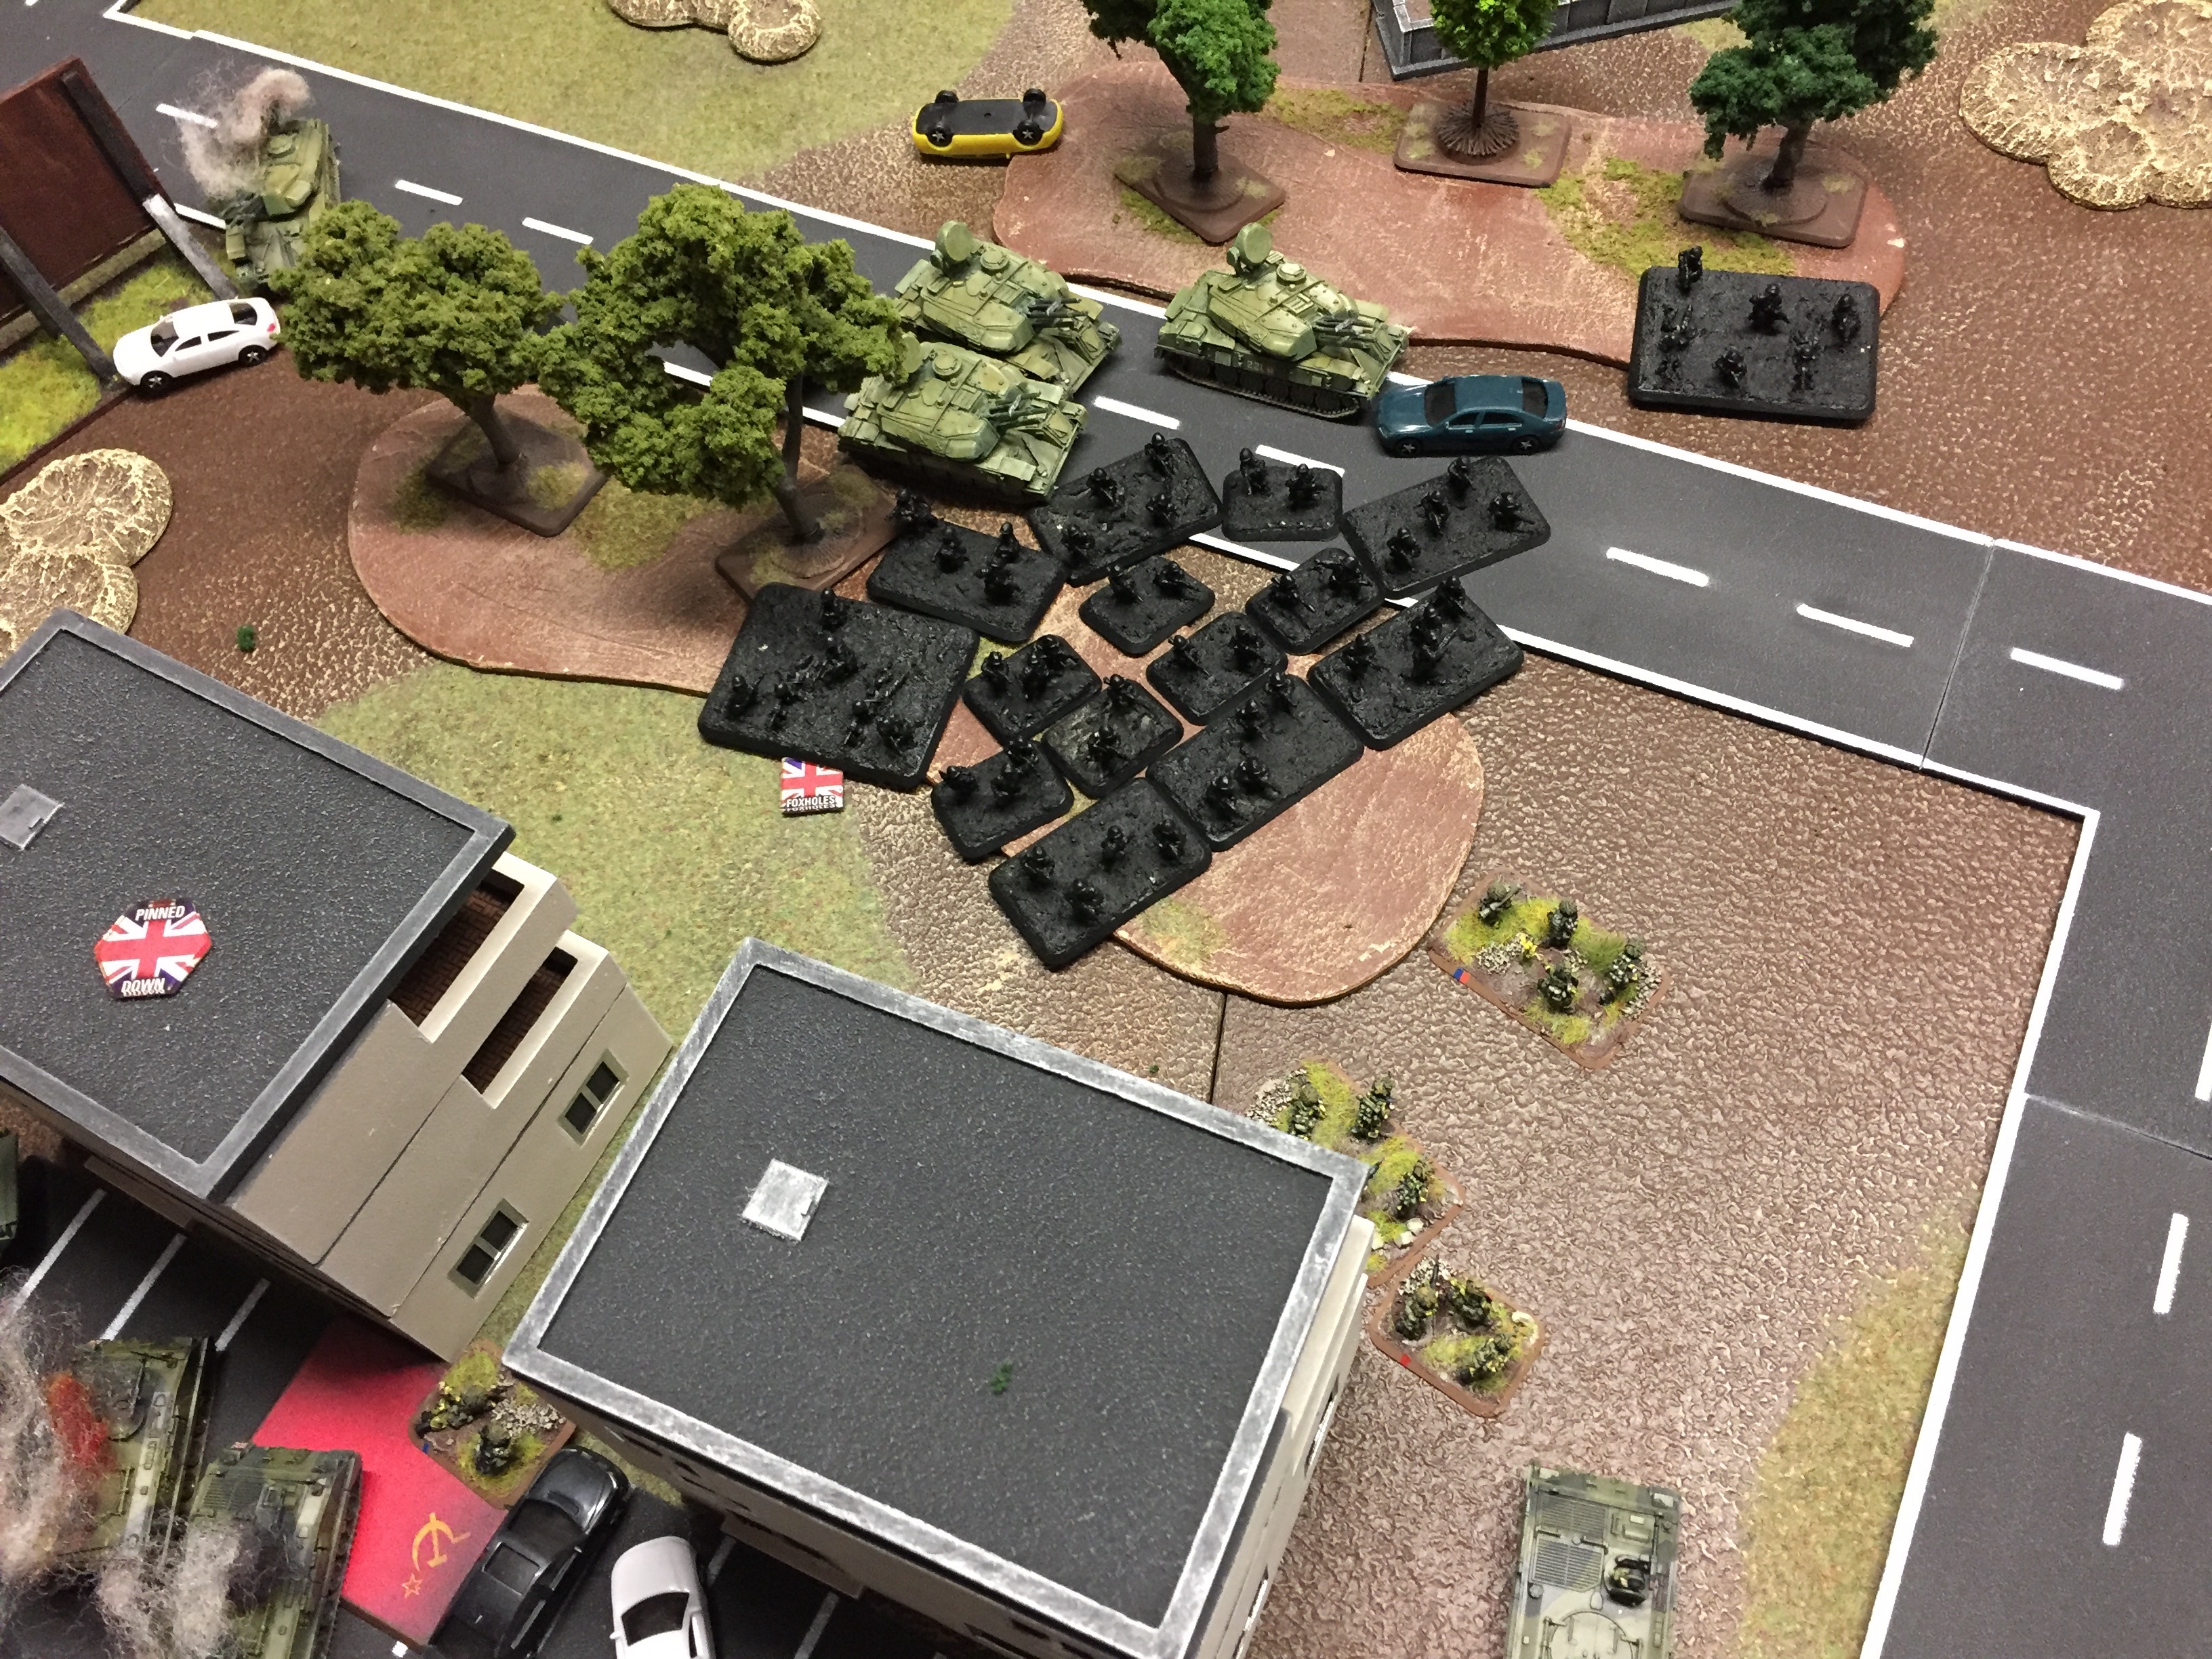
Red Alert deployed heavily on my left flank, with the BMP´s and Arty. He had the large infantry company in the middle and the small BMP platoon and the small infantry company on my right.

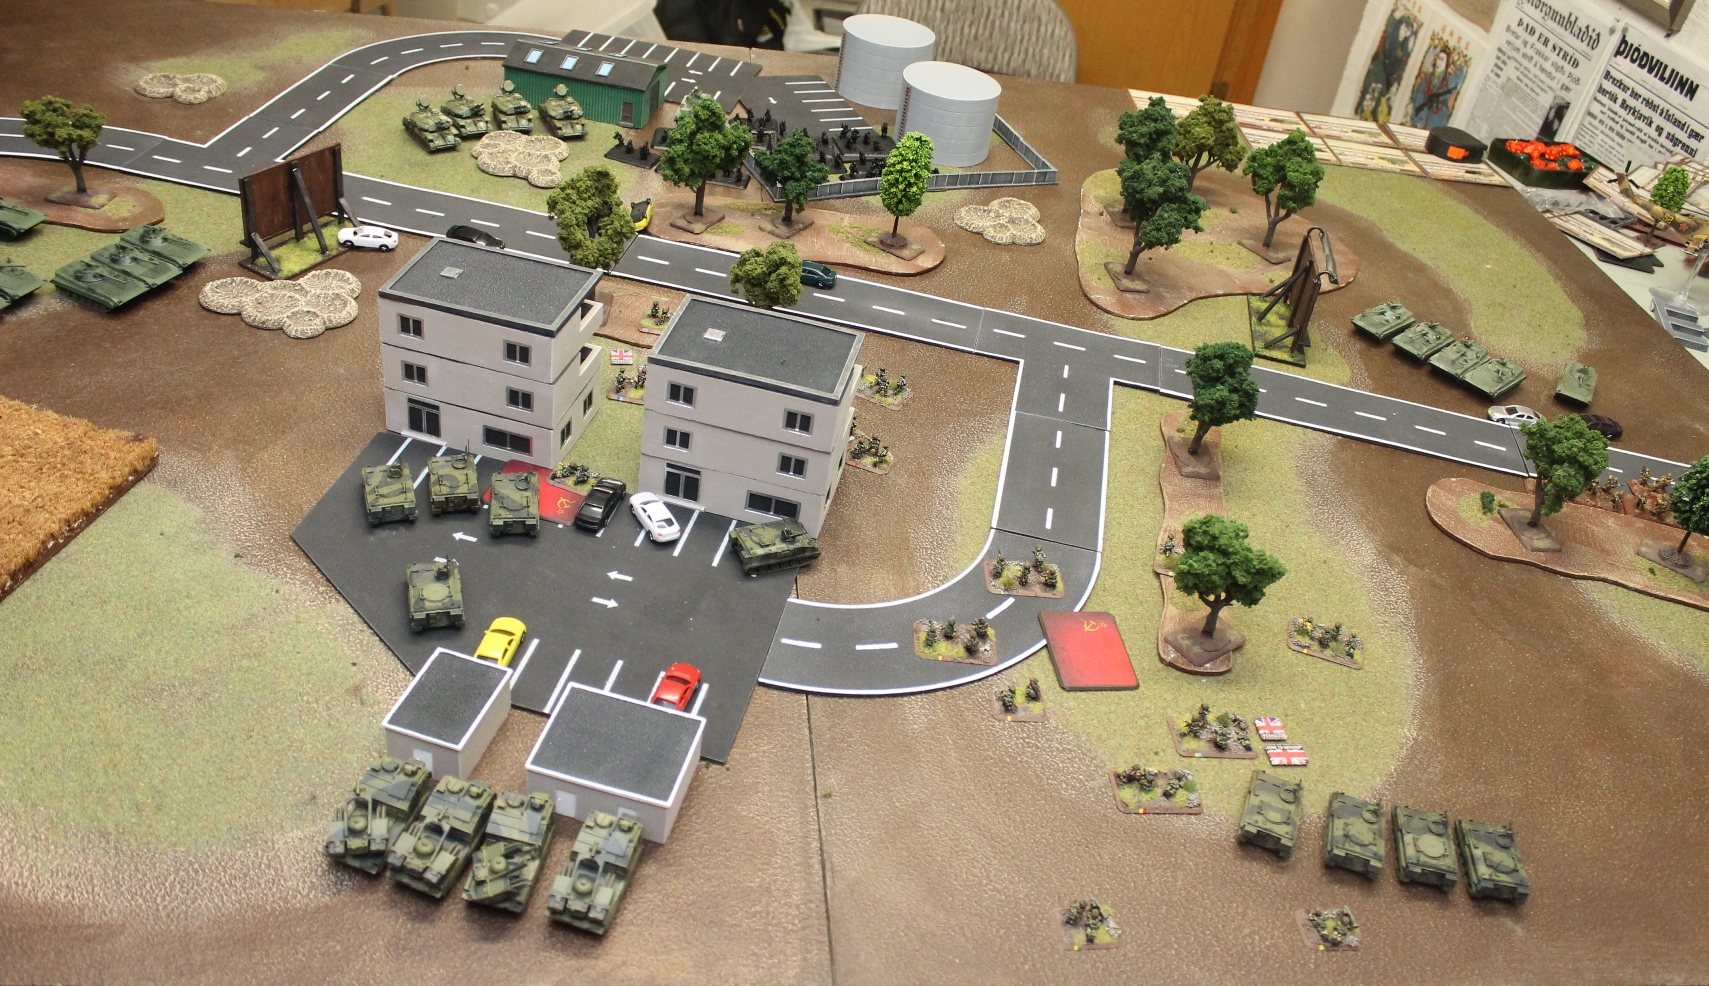

 In response, I move my transport up to see through the trees and shower them in lead only killing 1 stand. My Lynx´tried to blitz in on the table to shoot, but failed.
 The large Soviet inf. company moves forward. We know what is coming, but the tree lines prevent most shooting.
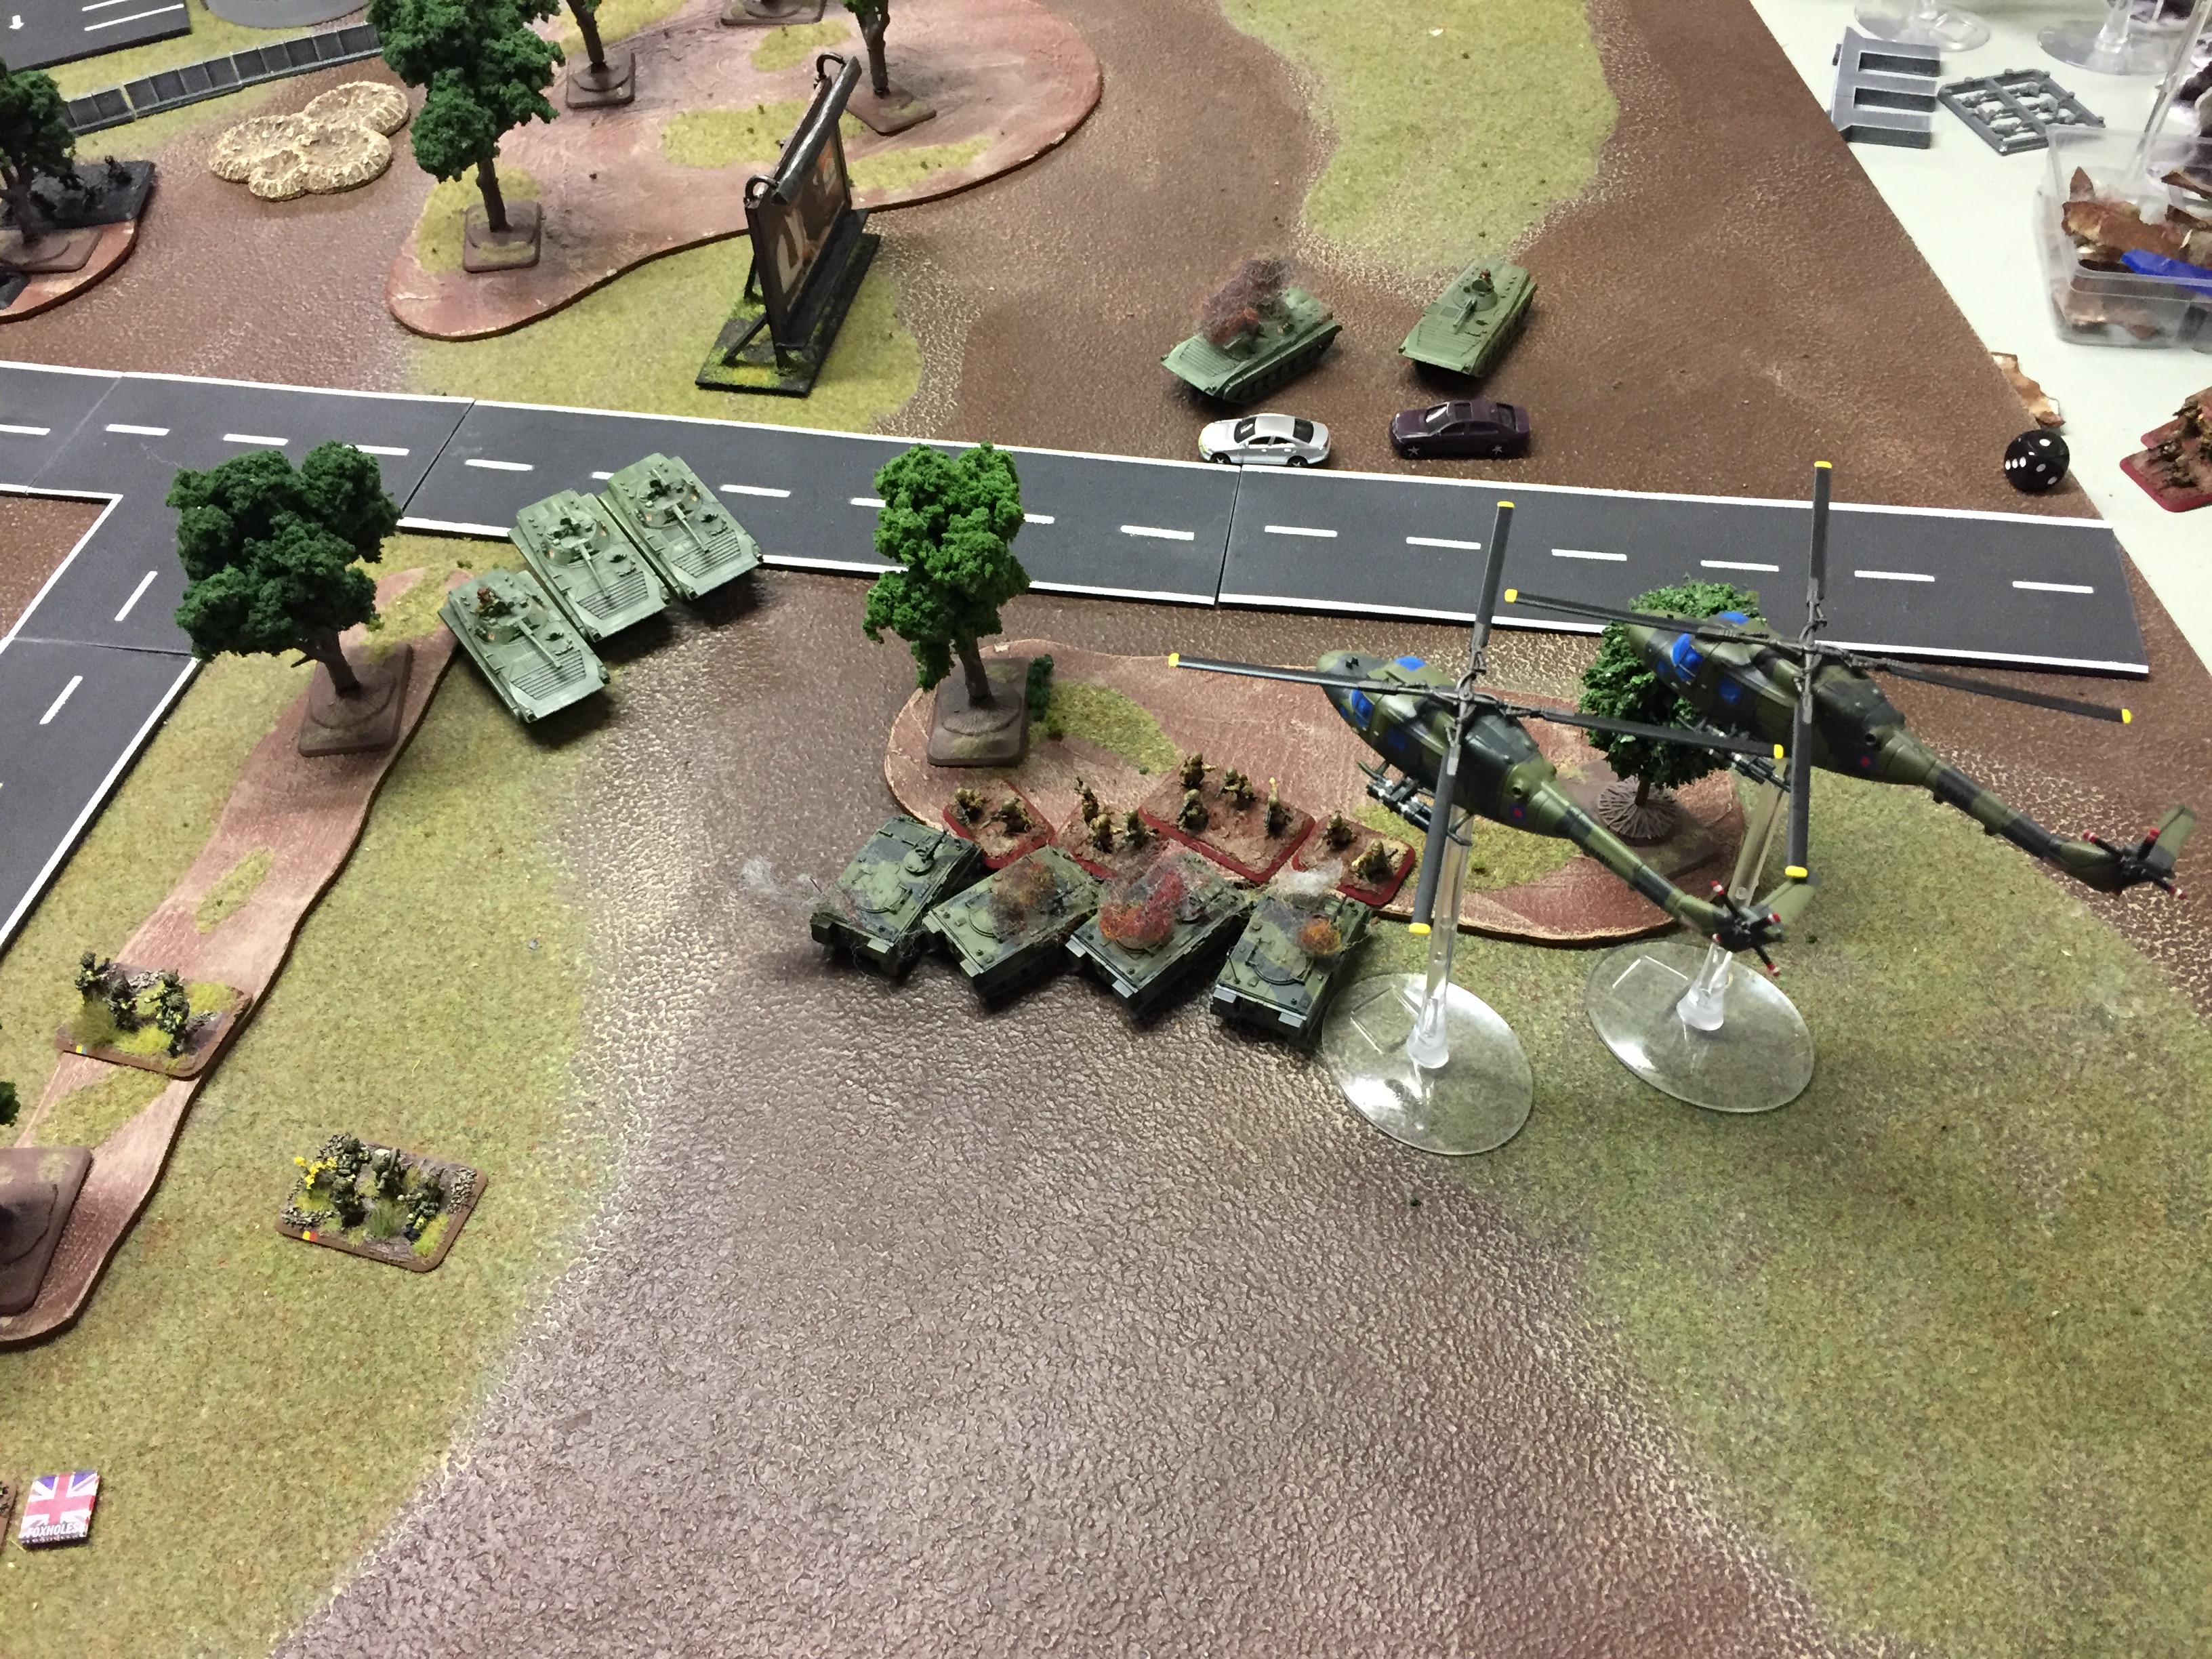
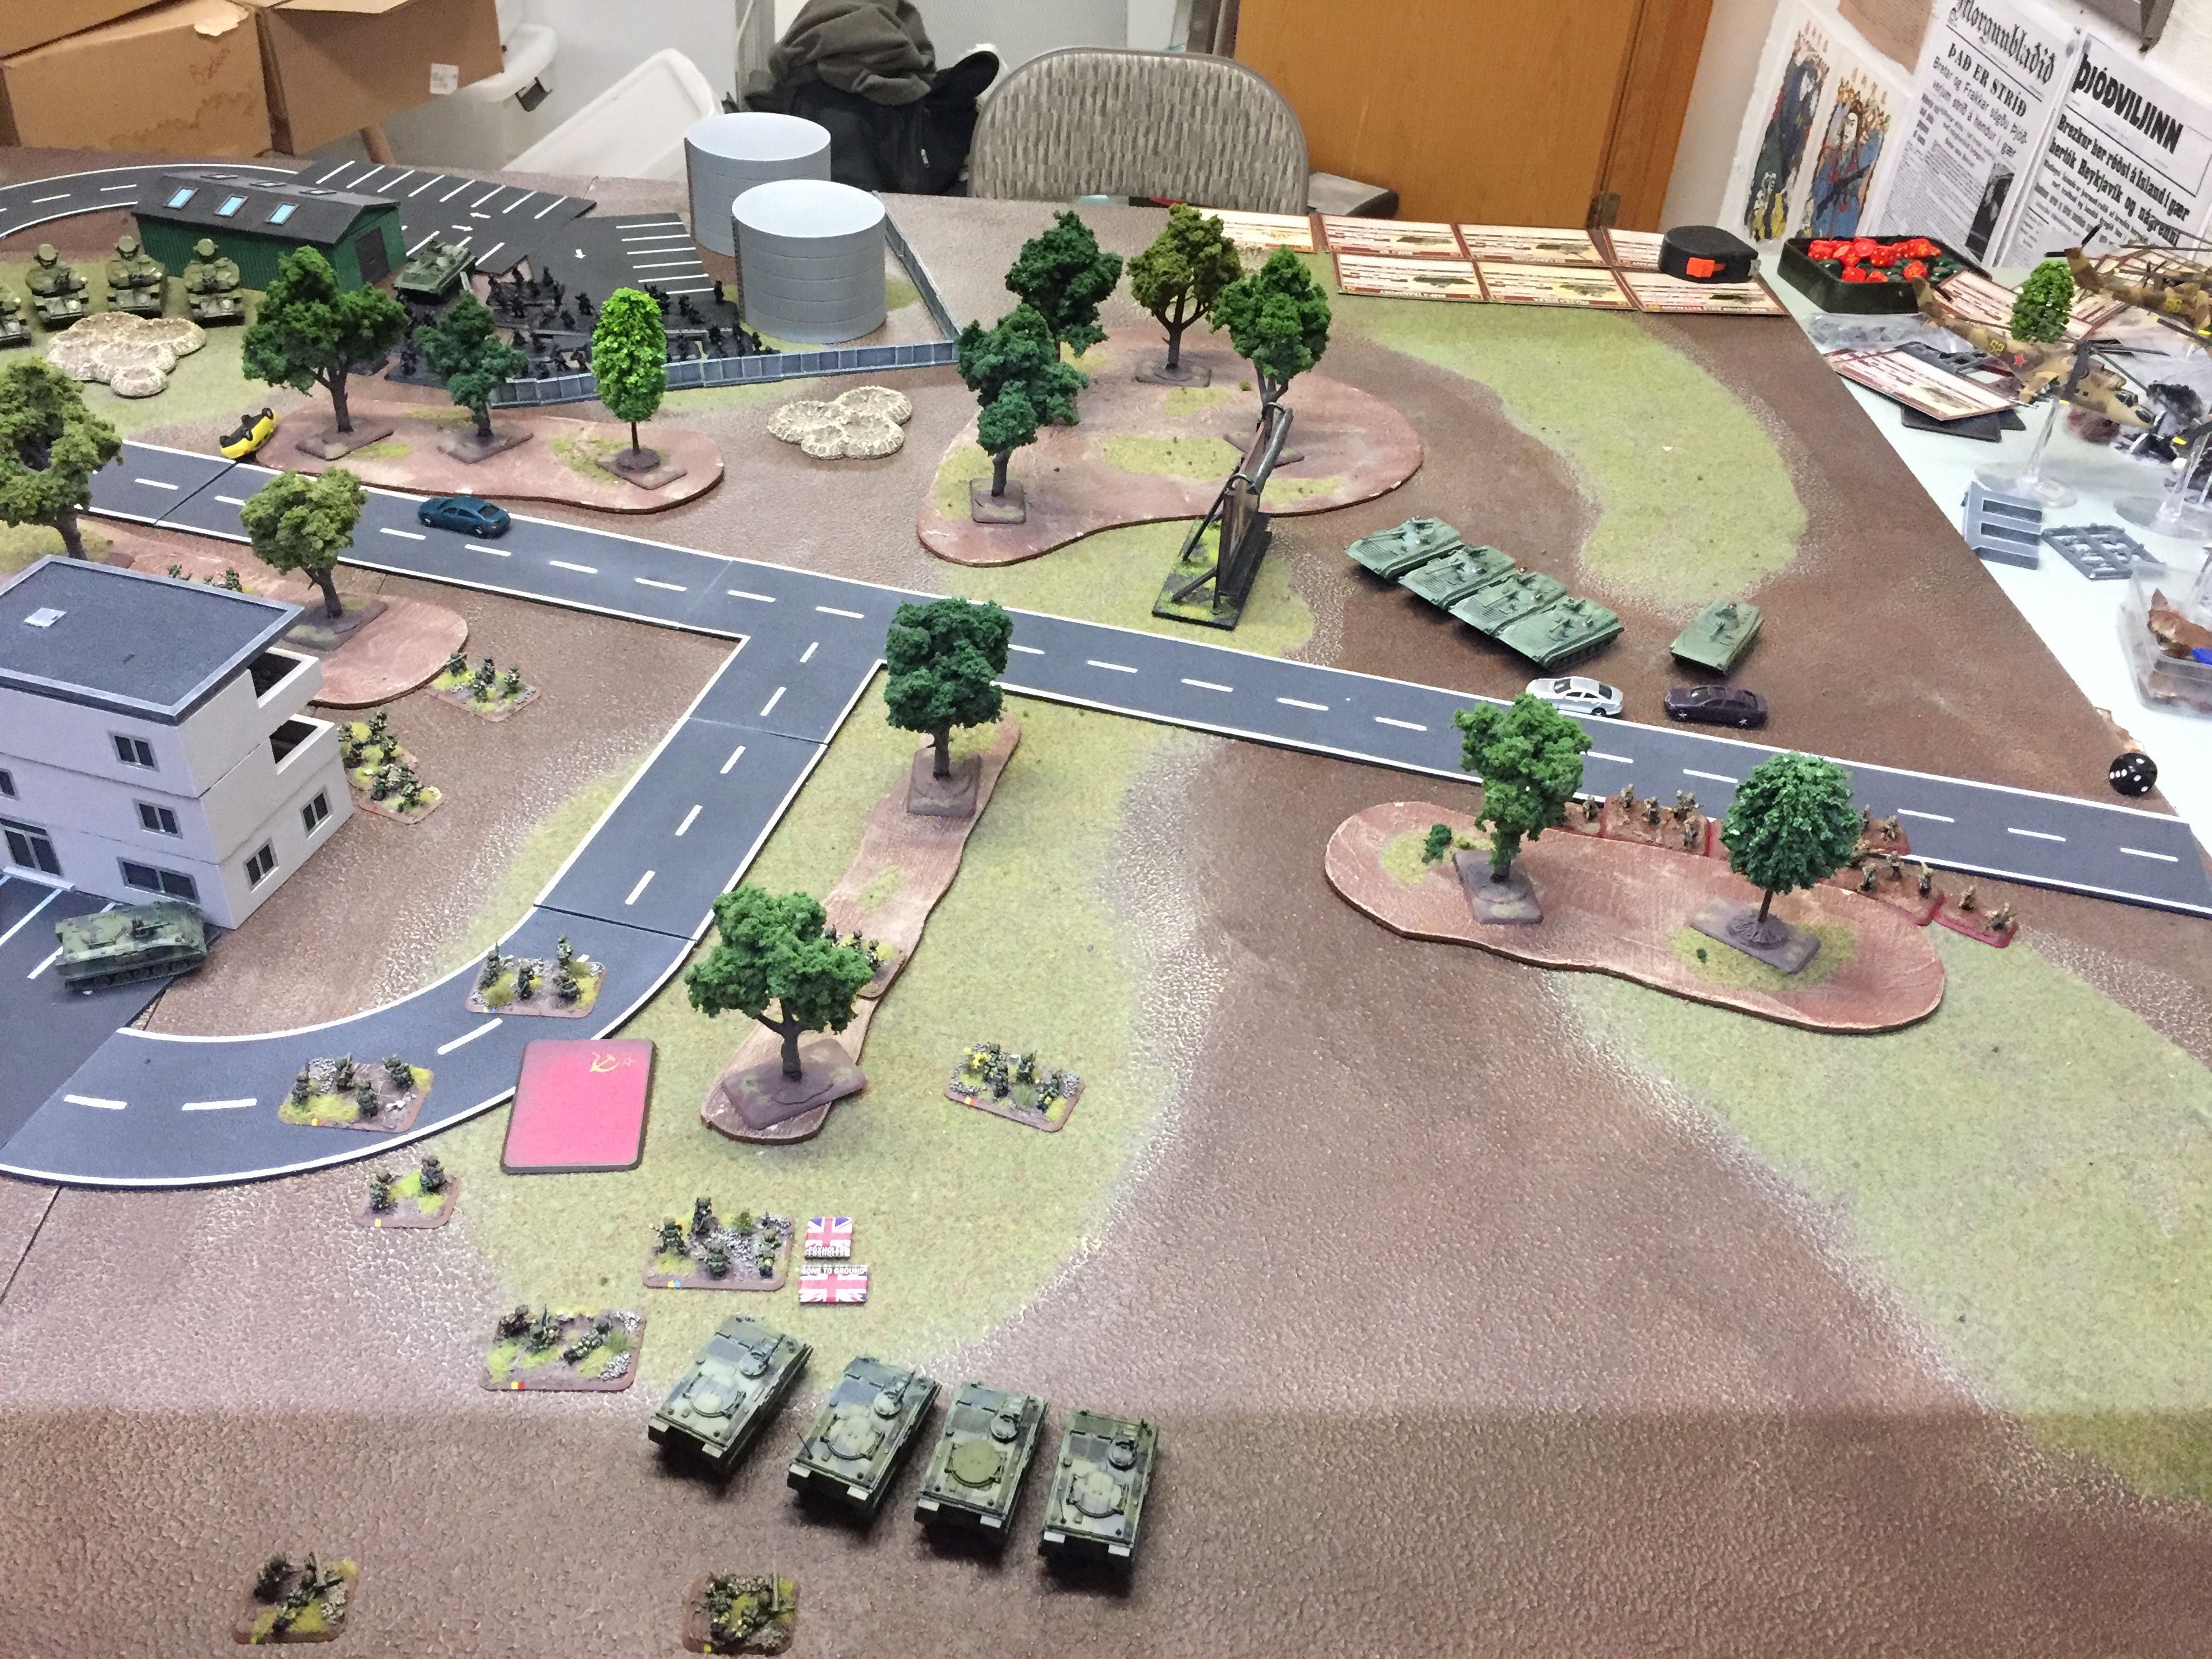
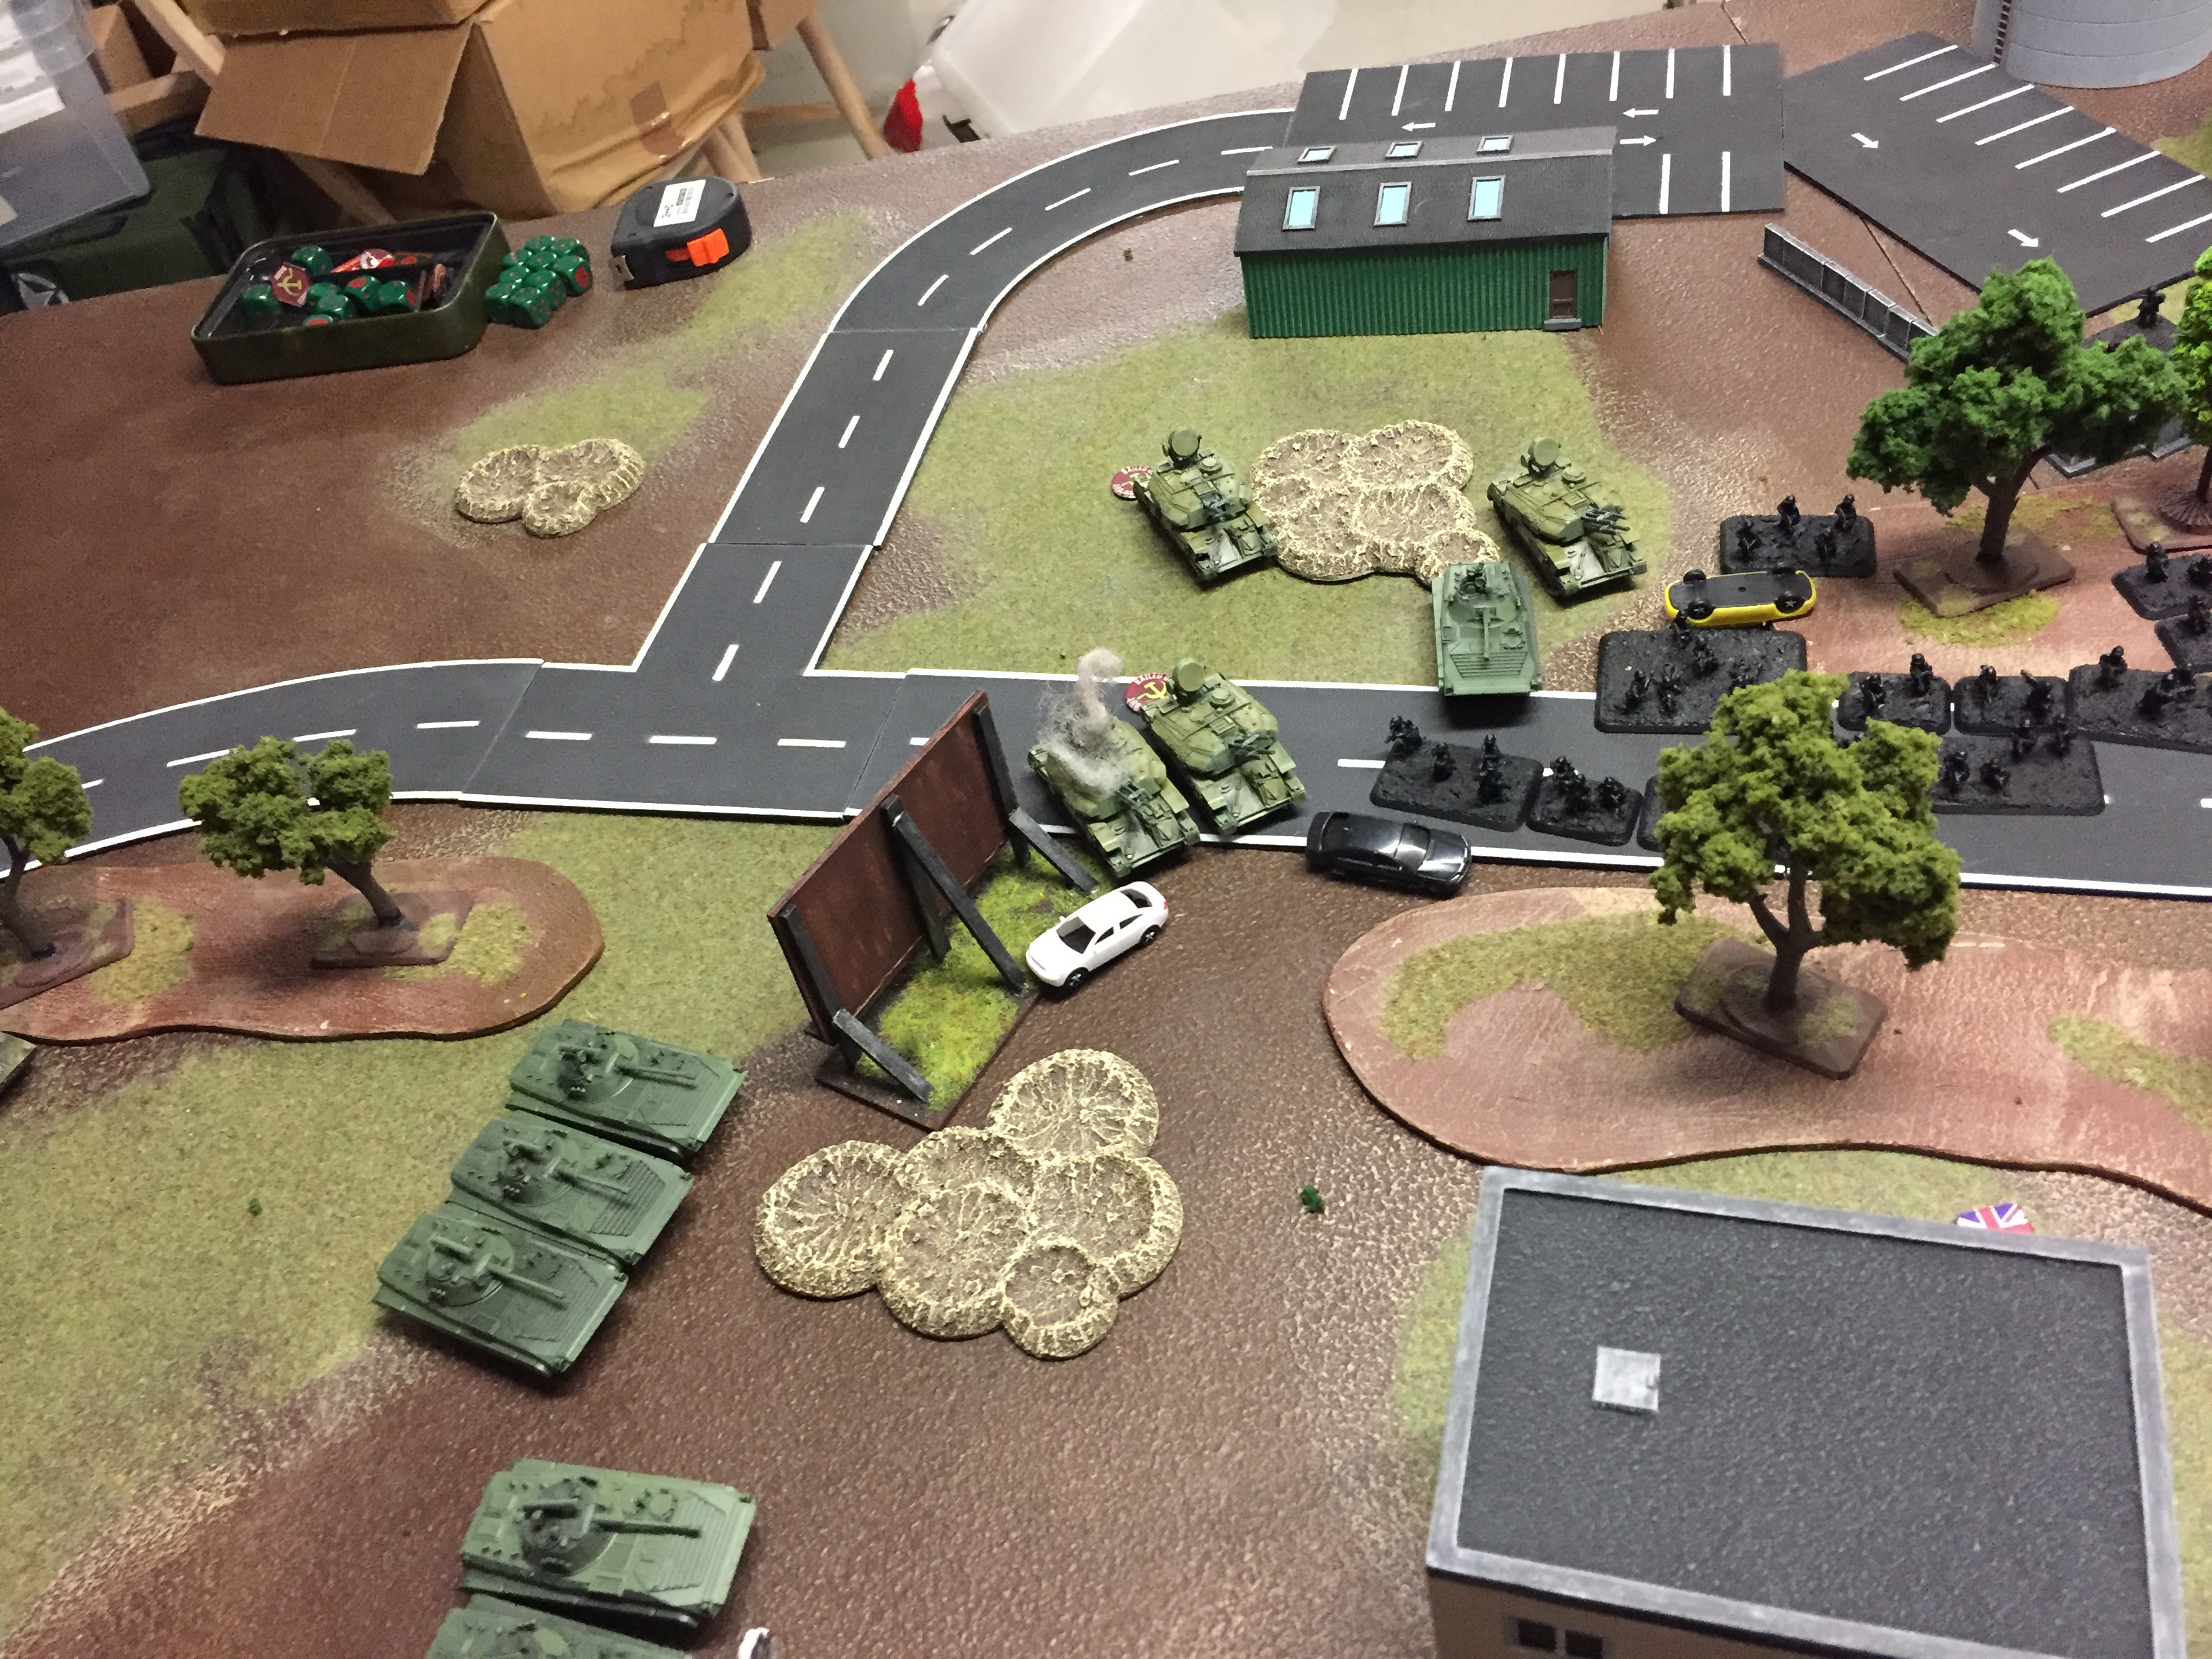 The left flank BMP2´s get to move unhindered as a result of my Company commander failing his 2+ blitz move, leaving Milan teams unable to fire.
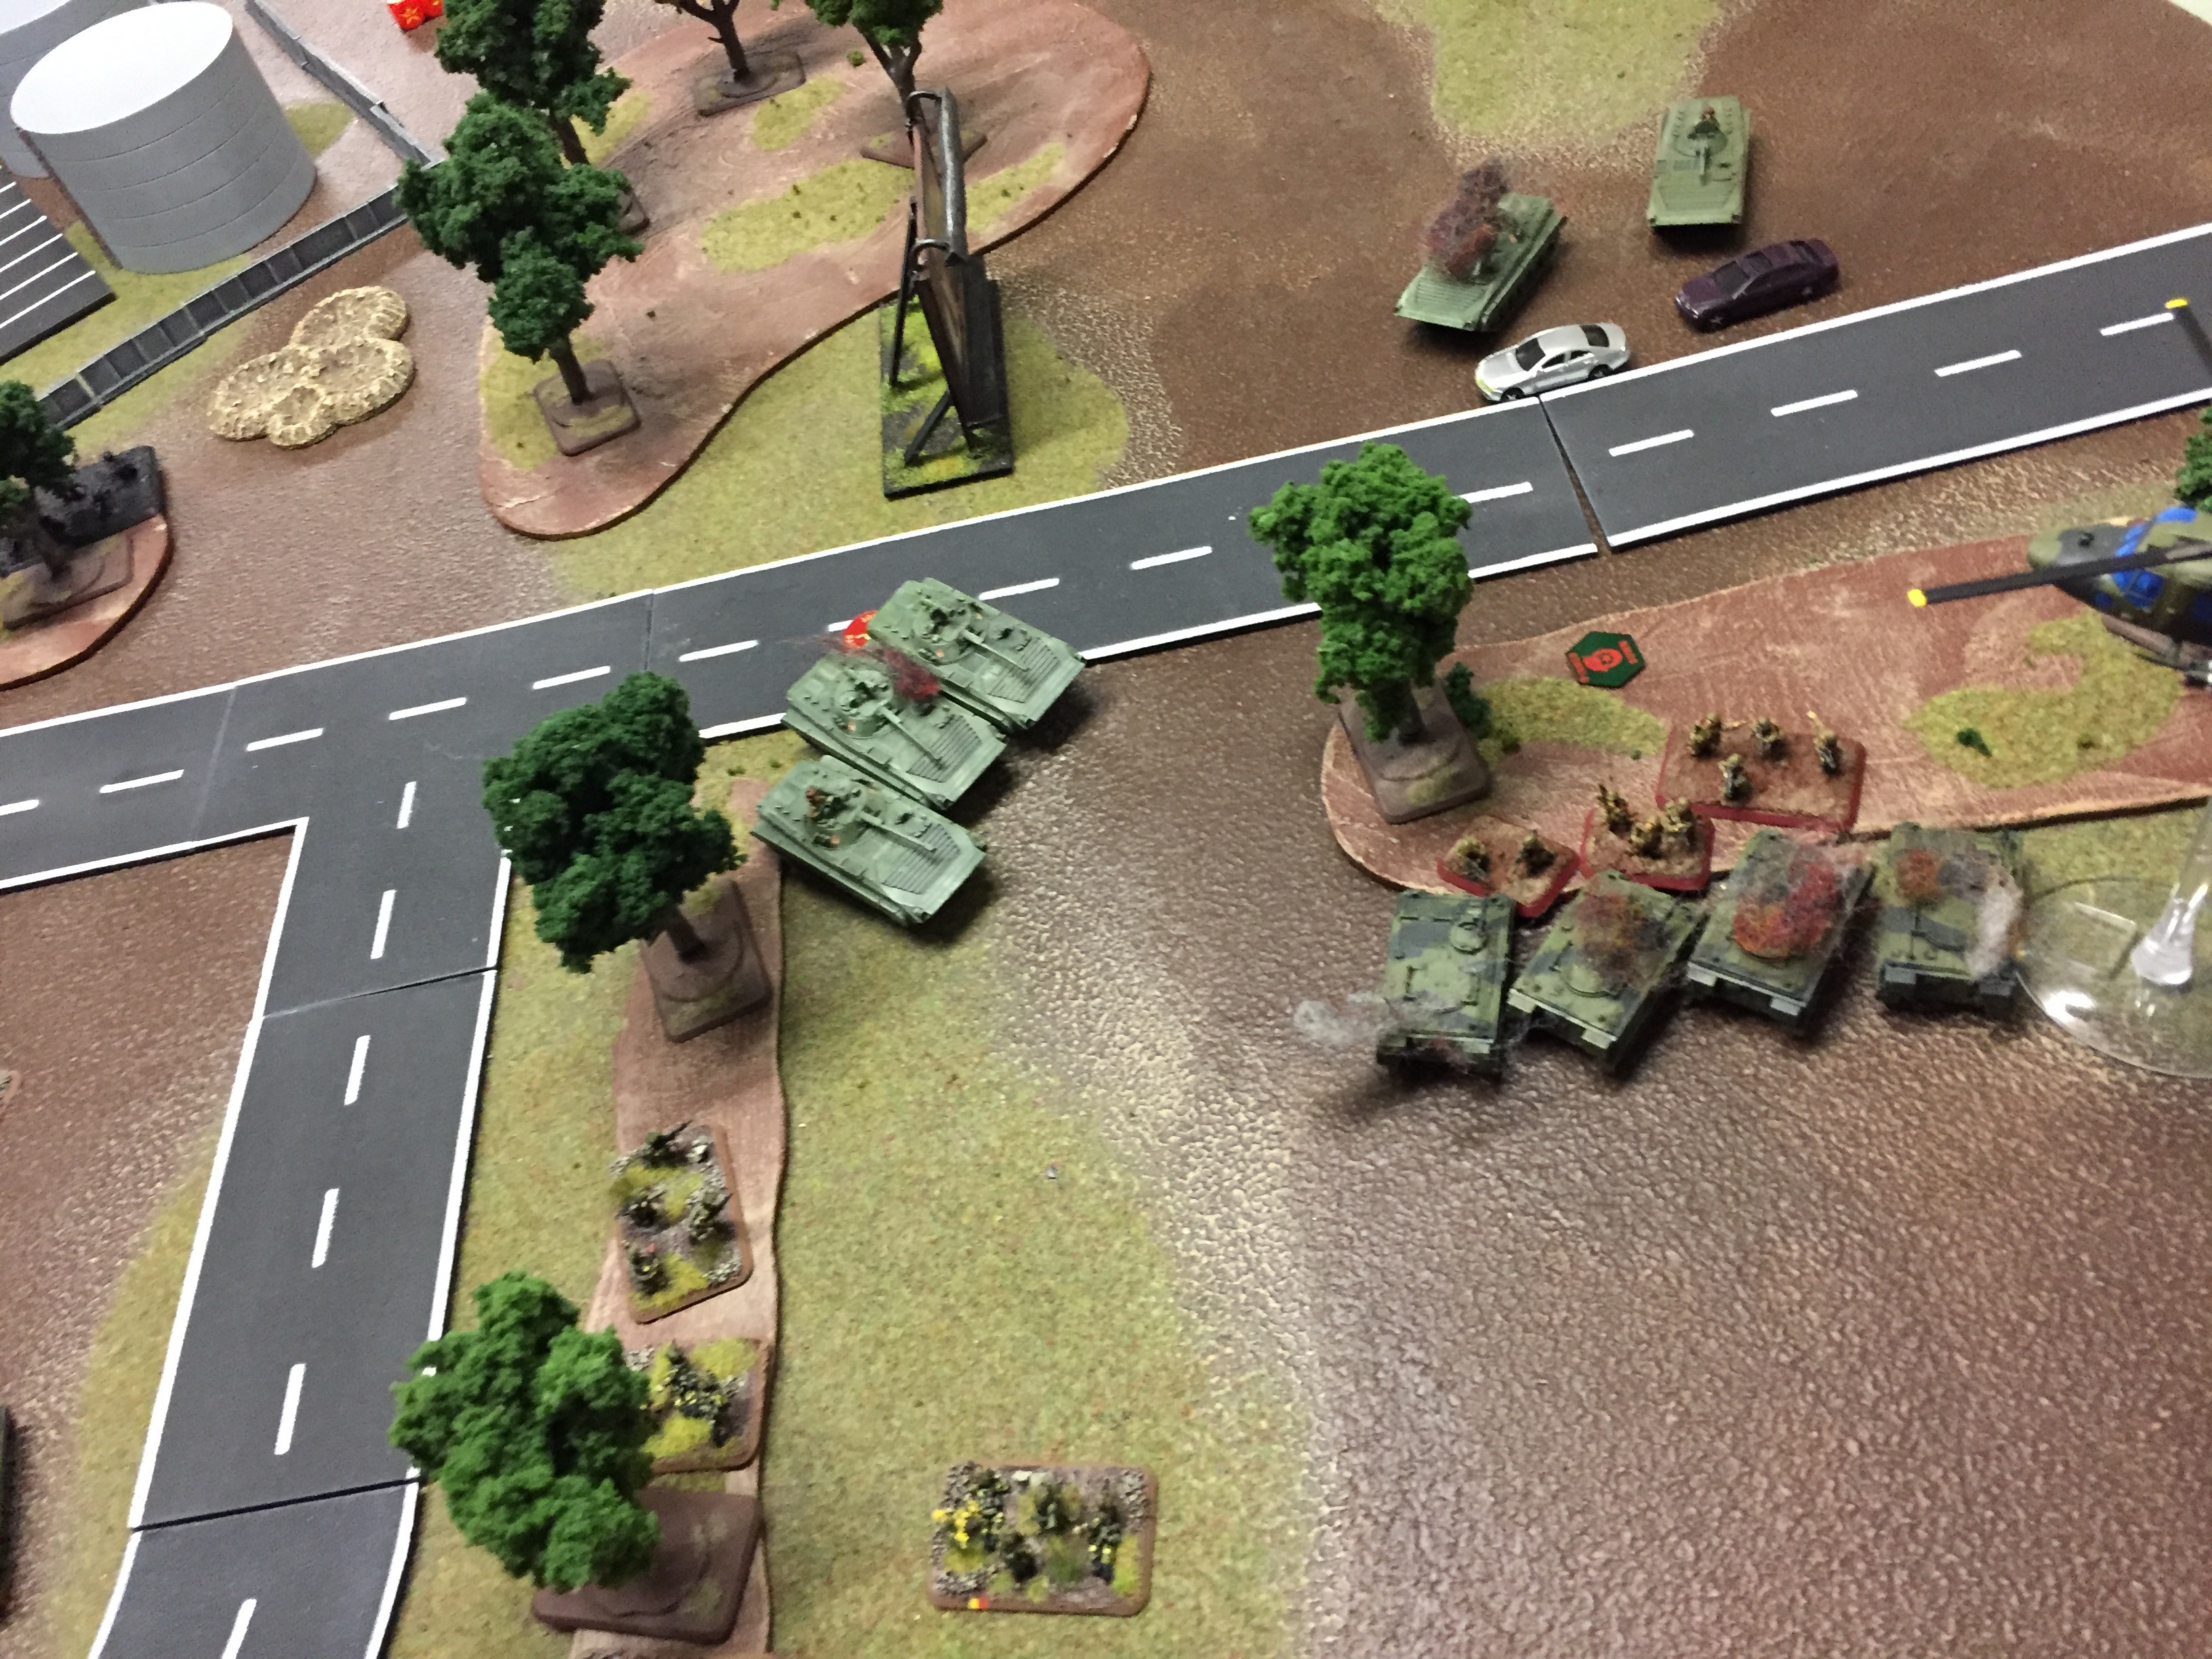
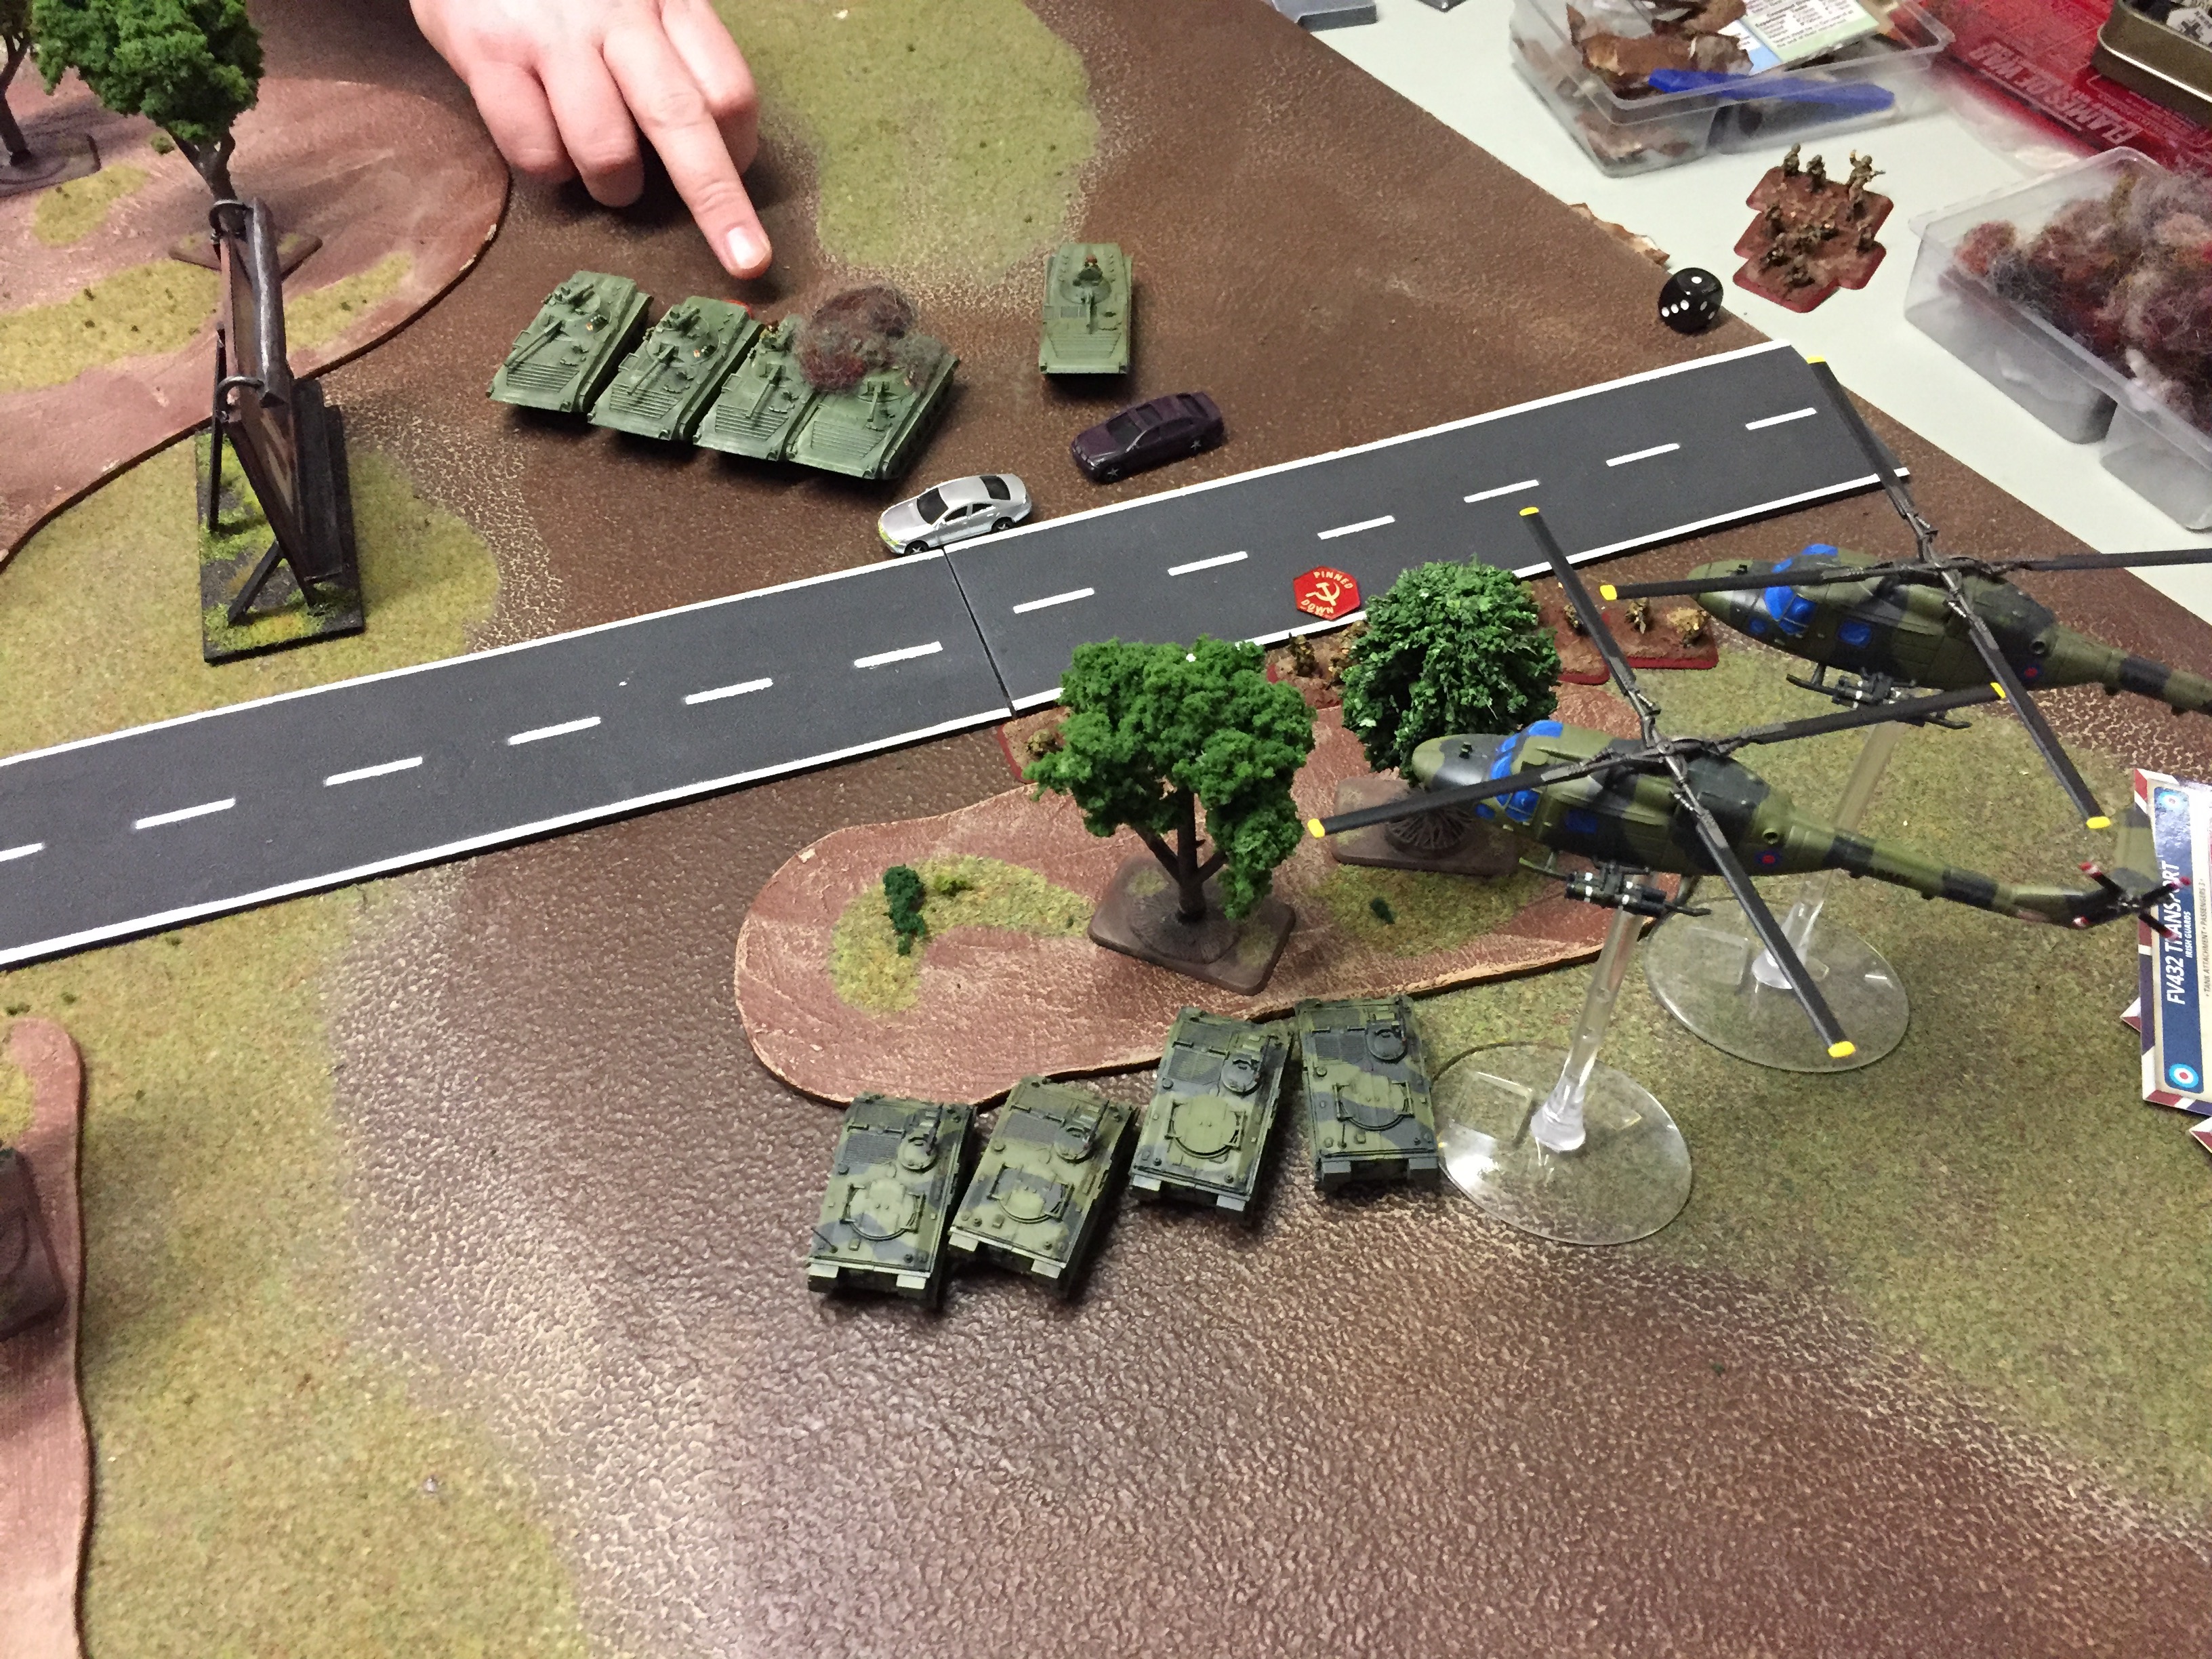
 Finally some reserves. The Harriers arrive. But the Russians have assaulted the infantry in the building by the objective and pushed them out. The Harries try to kill of the Shilkas and infantry. But only manages to kill a transport and 1 Shilka. To little to late?
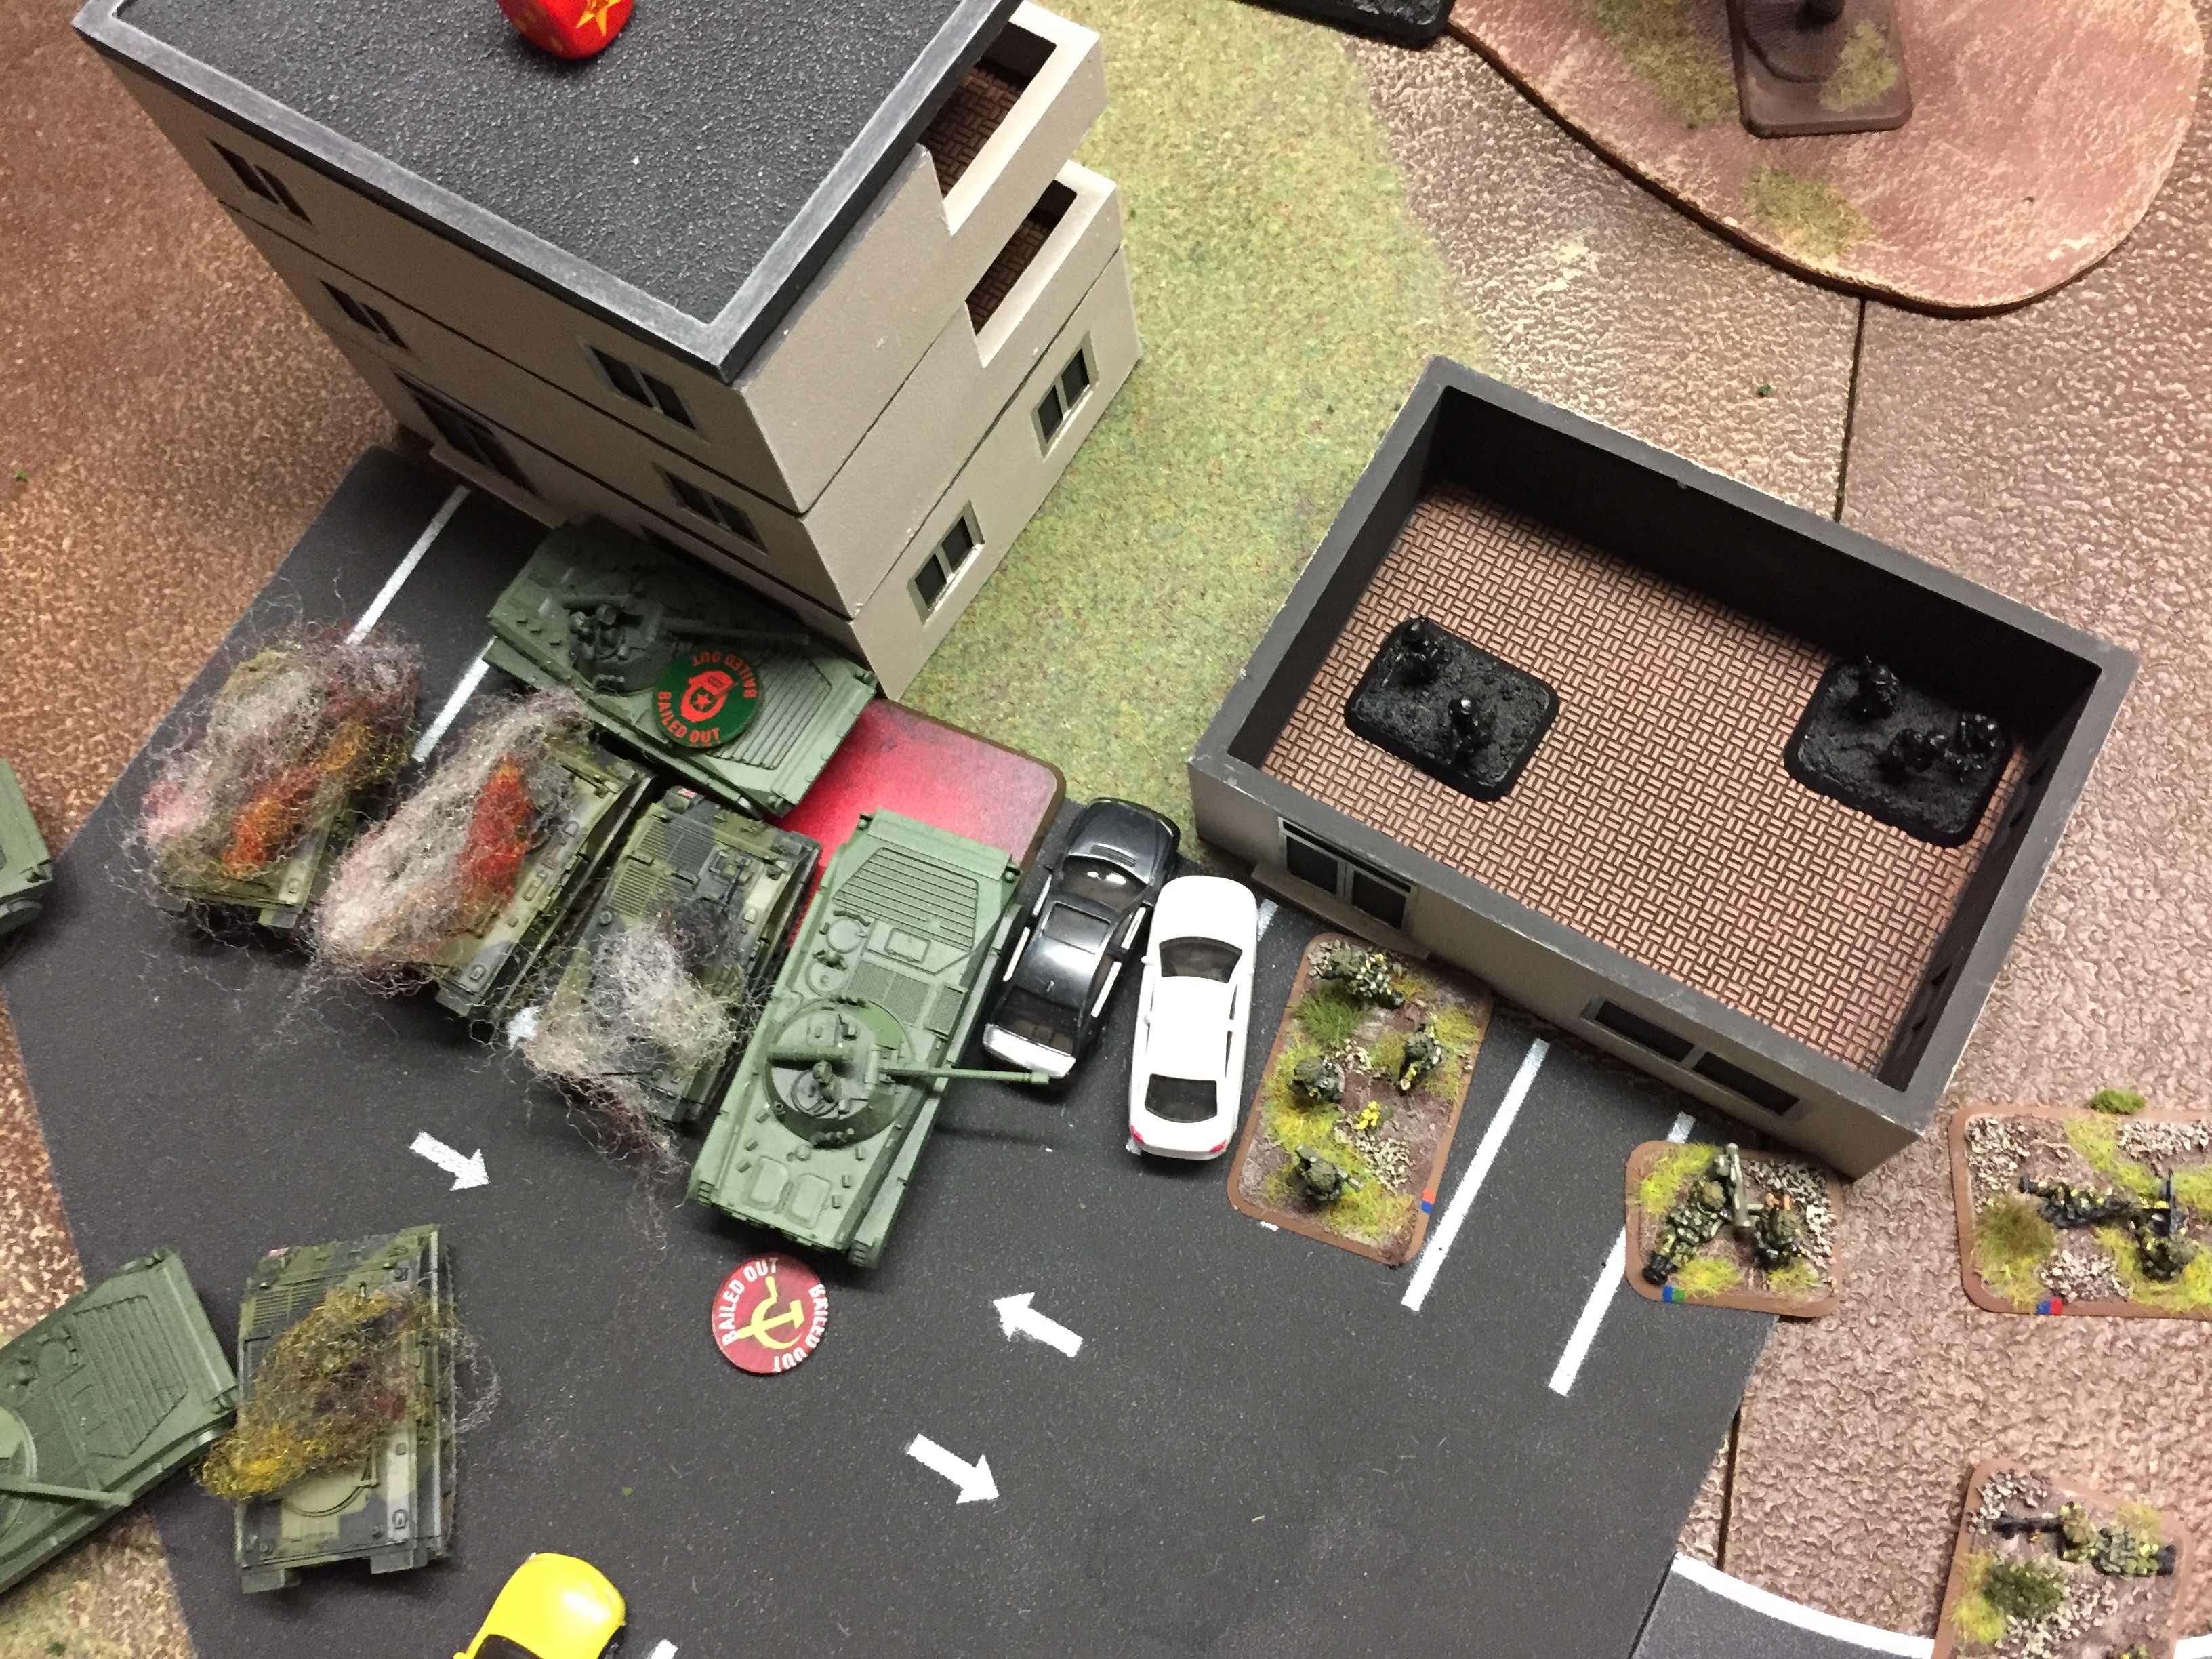
The BMP´s sit on the objective and 4 infantry stands are in the house. I muster all my last resources and cover the infantry and BMP2´s with bullets and missiles. Most of the bullets misses, but I manages to kill 2 stand in the house and pin them thanks to the harries. 2 Assaults with 1 stand each needs to kill two Russians.
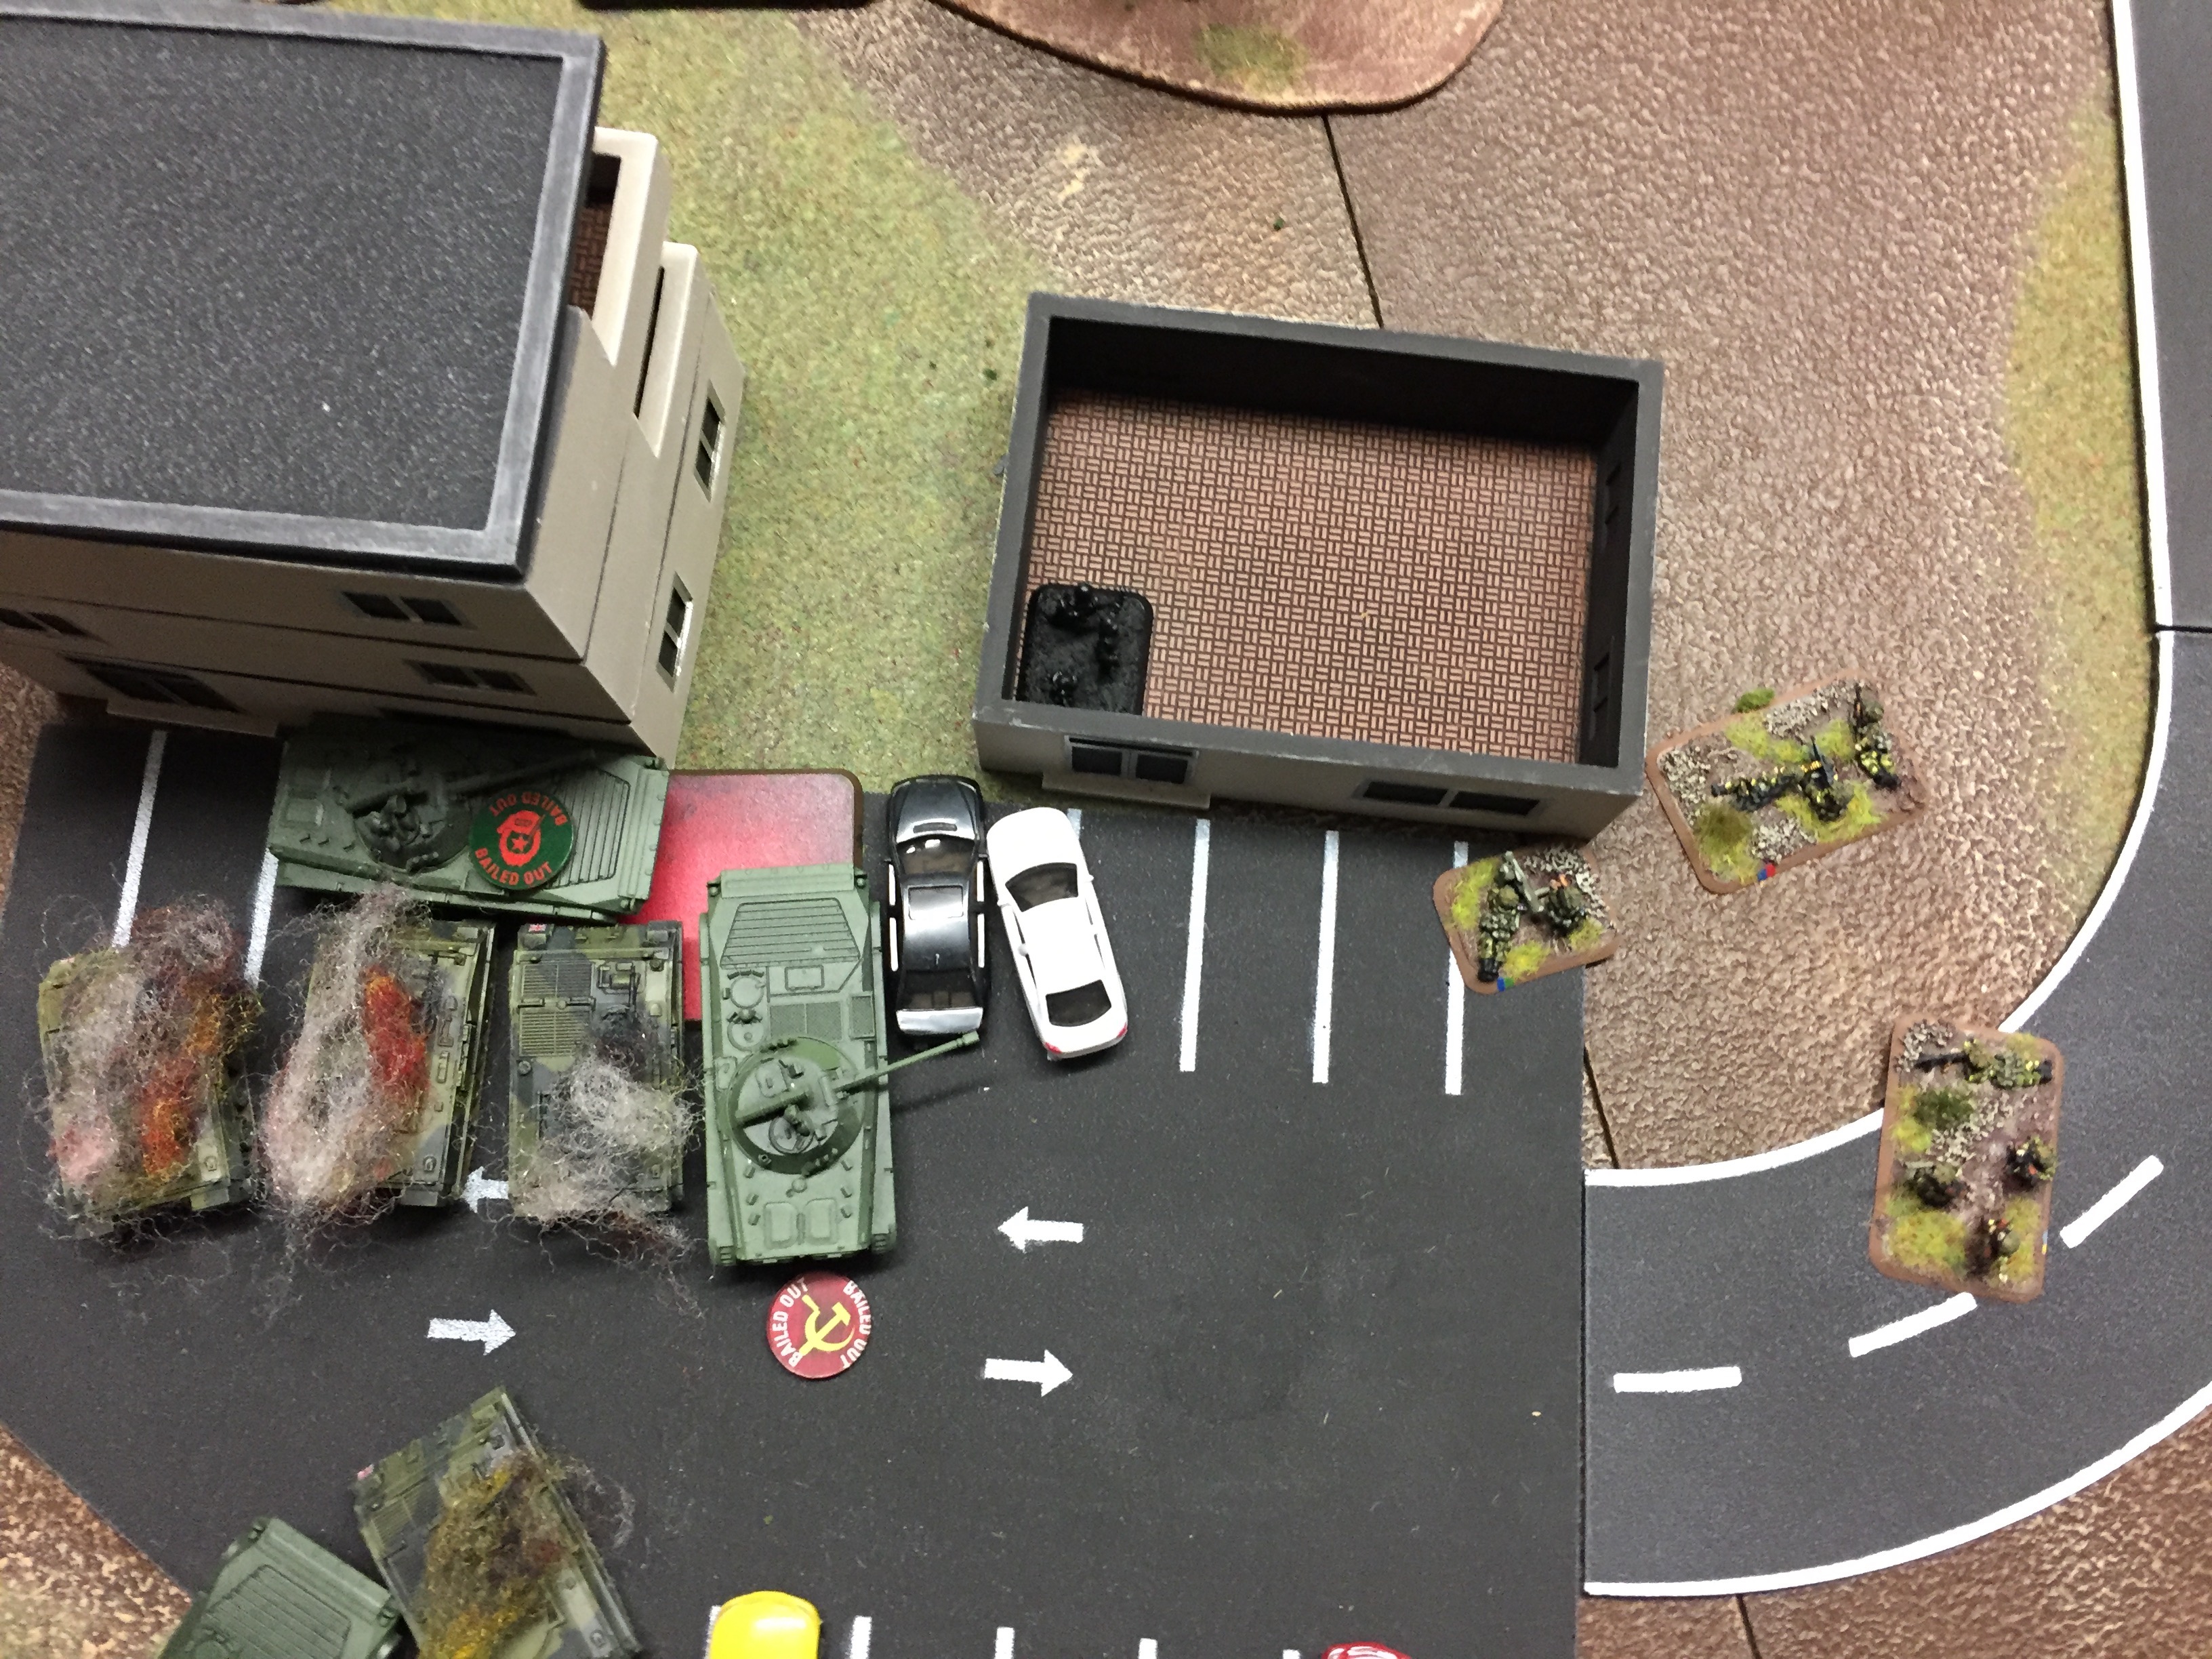
The first gets killed in defensive fire.
The second assault gets through and kills a stand. The Soviets counterattack but misses. The Brits counter and misses. The Brits counter on 3+, kills on 3+. The Soviet counters on 3+ and kills on 5+.
after 4 rounds no kills, but my valiant boys retreat leaving the Soviets to cease the day.
Red Alert played the game perfect. Attacked in force. Used the cover. Kept focus on the prize.
I made at least one big mistake. I deployed my Infantry platoons to far from each other so they couldn't support each other in the defence of both objectives. Lesson learned.
As always, I had lots of fun and there where some big decisions to make. Well played Red Alert, we will meet again.
Battle Report Author
Army Lists Used In This Battle
Recommend Commander For Commendation
Share this battle with friends
Red AlertWins

Really liked the formatting on this one, and I love the force lineup shot, going to have to steal that! Commendations!
Tough mission for NATO
Really liked the AAR. Flowed well and loved the photos. Hard fought game.
This scenario was difficult for NATO. I am pretty sure I won in no short part due to some good die rolls when I needed them. This mission really puts the NATO player in a corner.
Well reported Beaver, you’ll get him next time 😉
Next time,
And there will be a next time!
Interesting and brutal infantry fight, very nice write-up, better luck next time on the reserve rolls.
Such a well painted army, looking forward to meeting it on the battlefield.
A disappointing result, Major Beaver. Regroup at Army Command, and prepare for redeployment.
+++
A good battle as always against Major Beaver. We discussed tactics after the game. Luck is always a factor but a layered defence would have been stronger. As it was a single platoon had to face the main attack (the left flank was there just to threaten his flank and limit his options).
The forces are pretty much close to the standard of what works best in our gaming community.
I am afraid I won the battle but Major Beaver learned valuable lessons and will be a tougher nut in the future.
Jagdpanzer Maybe tanks would have helped, but at 50 points 3 Chieftains are a lot 18p and reserves didn’t show anyway. Stopping the infantry was the problem. And let’s say that terrain and my deployment didn’t help.
Wow another smashing AAR , Major Beaver; – BMP 2 hordes are always a challenge.
I think the music didn’t help either – are those Red Alert’s medals on the all? I presume he’ll earn a bit more before this campaign is over
nice terrain and models both!
thx for sharing!!
Hmm nice report, do you think some tanks would have helped so you had some more mobile AT?
Great batrep, I like the table and the great painted minis.
I have to say Red Alert’s background music was a lot more effective 😉 .
Hard fought. Literally a nail biter. Where is Colour Sergeant Bourne when you need him? Nice report.
Awesome AAR! Looks like it was a great game.