Fought At Hanover
2229 days 11 hours 45 minutes ago
Stemming the red tide
70 POINTSA great game which would unfortunately end up early, forcing us into a draw. Had we continued, I would have wrangled a victory I’m certain.
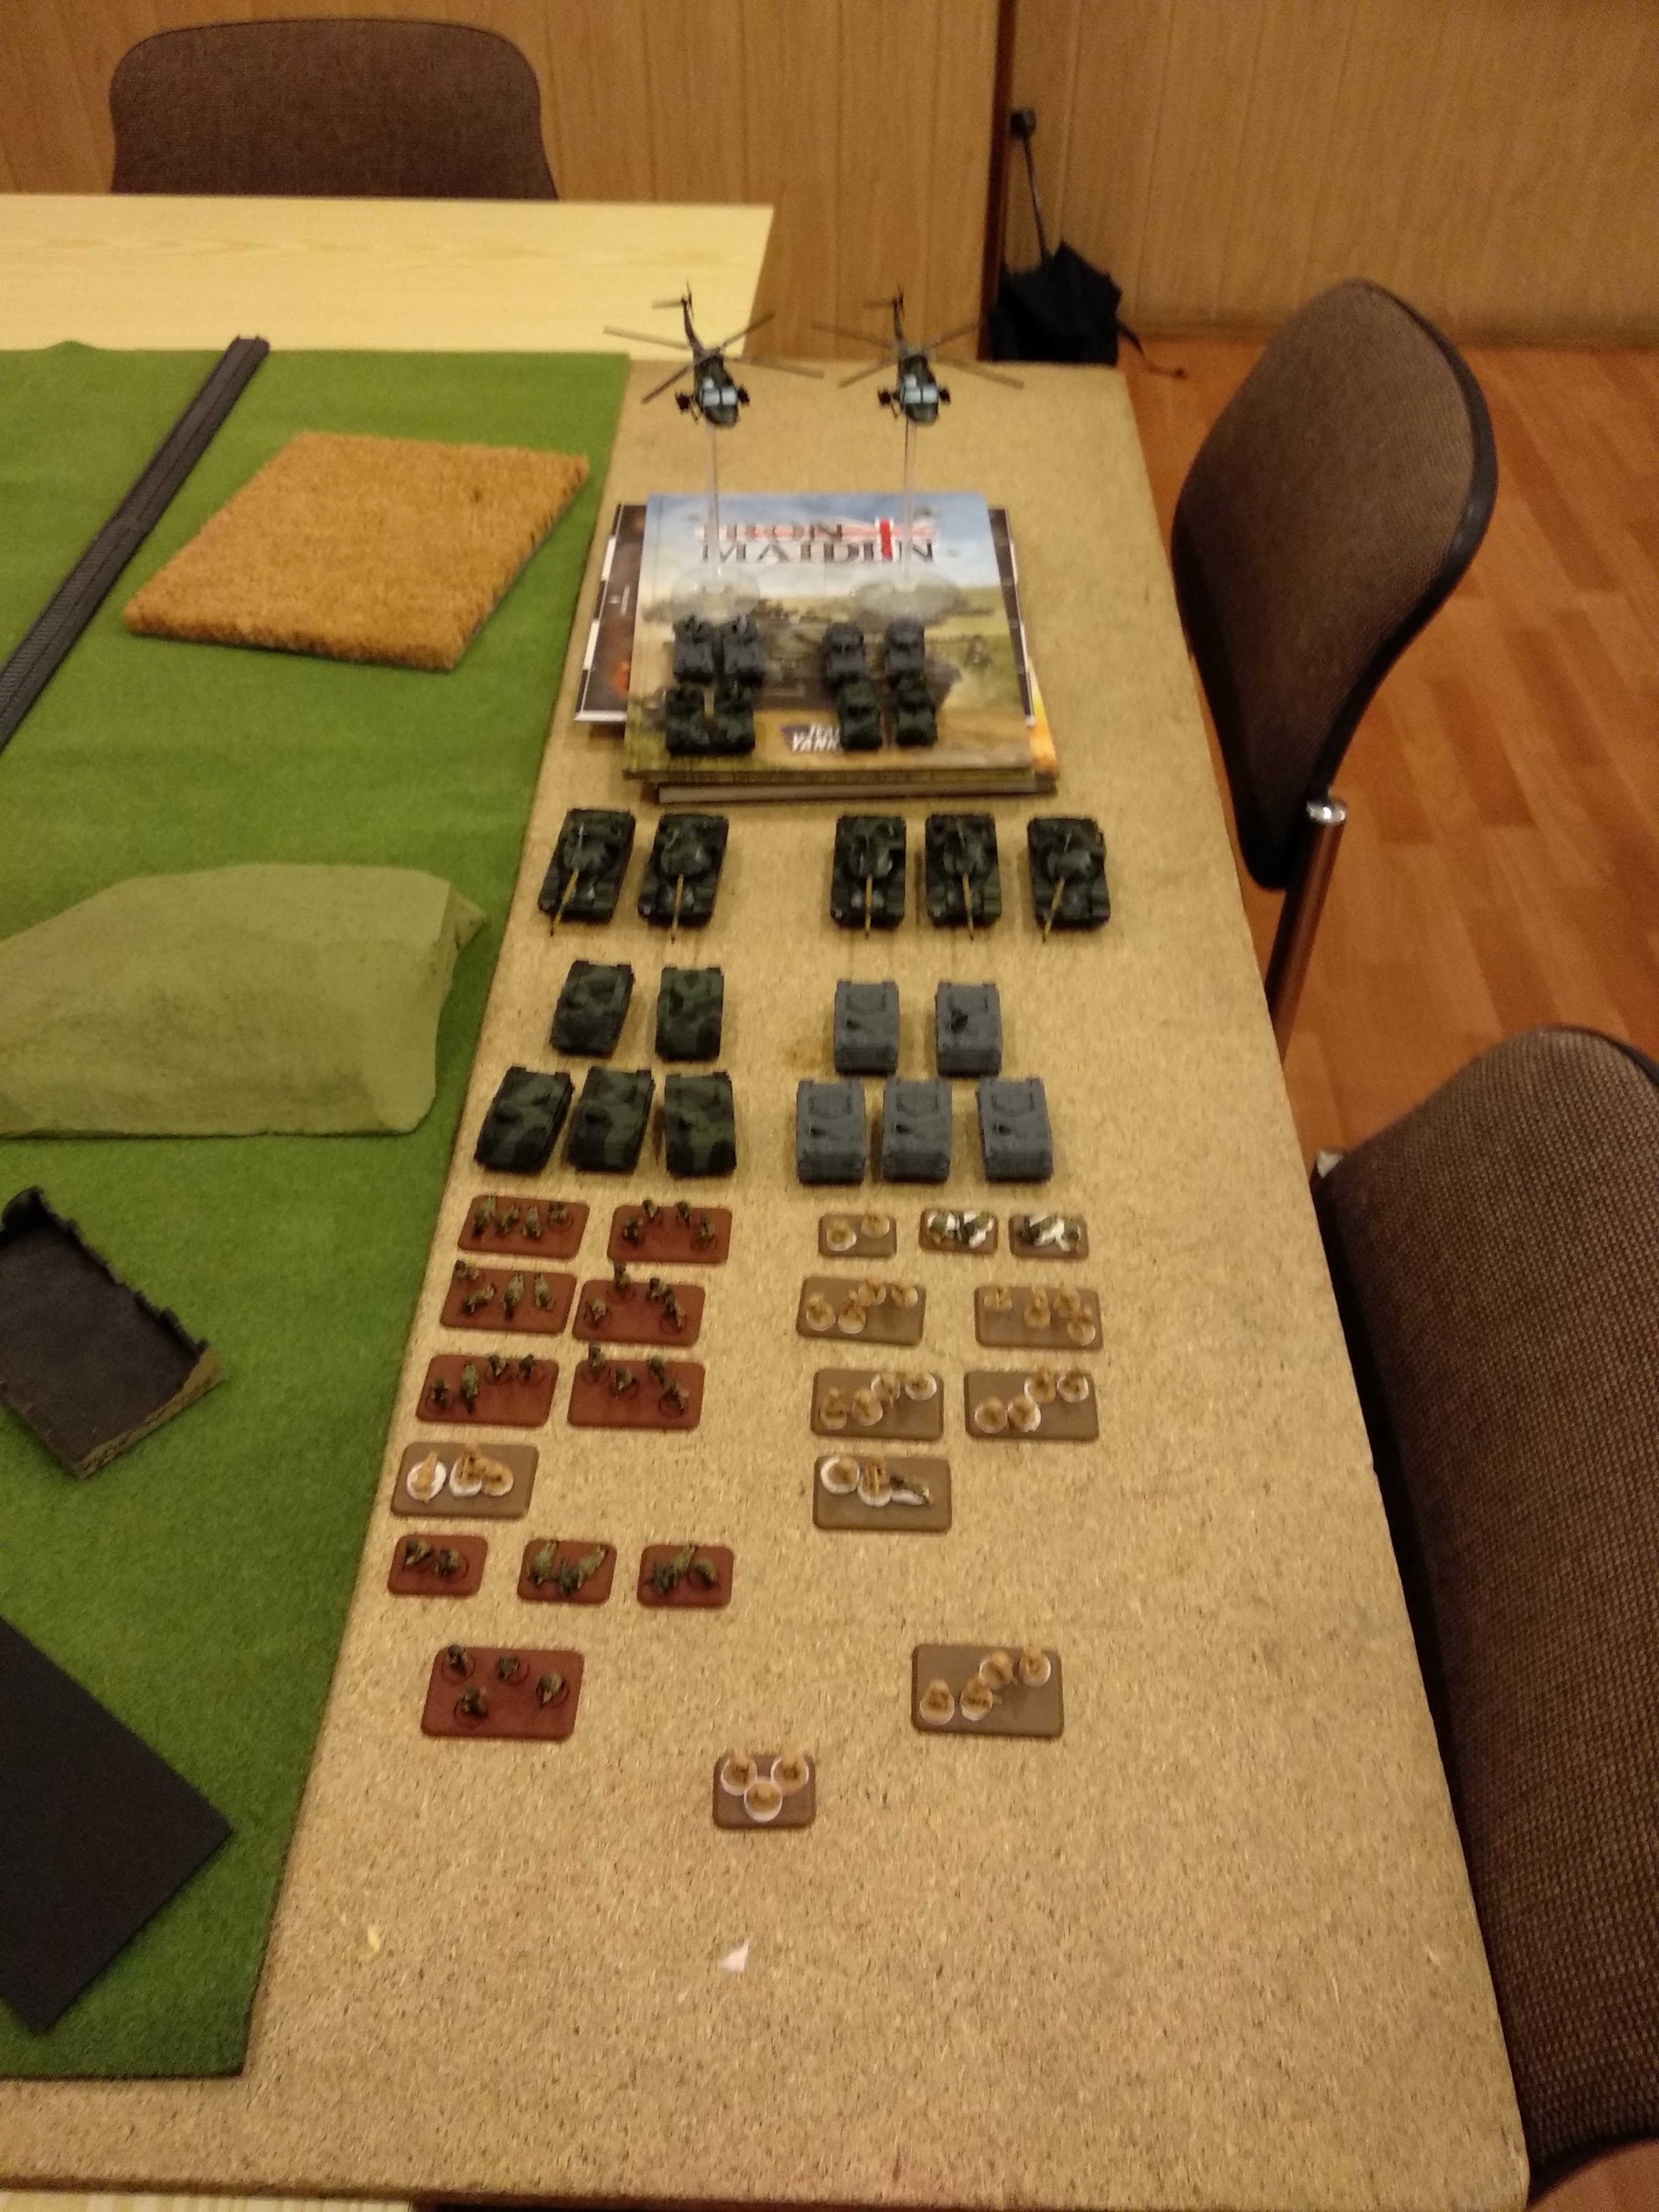
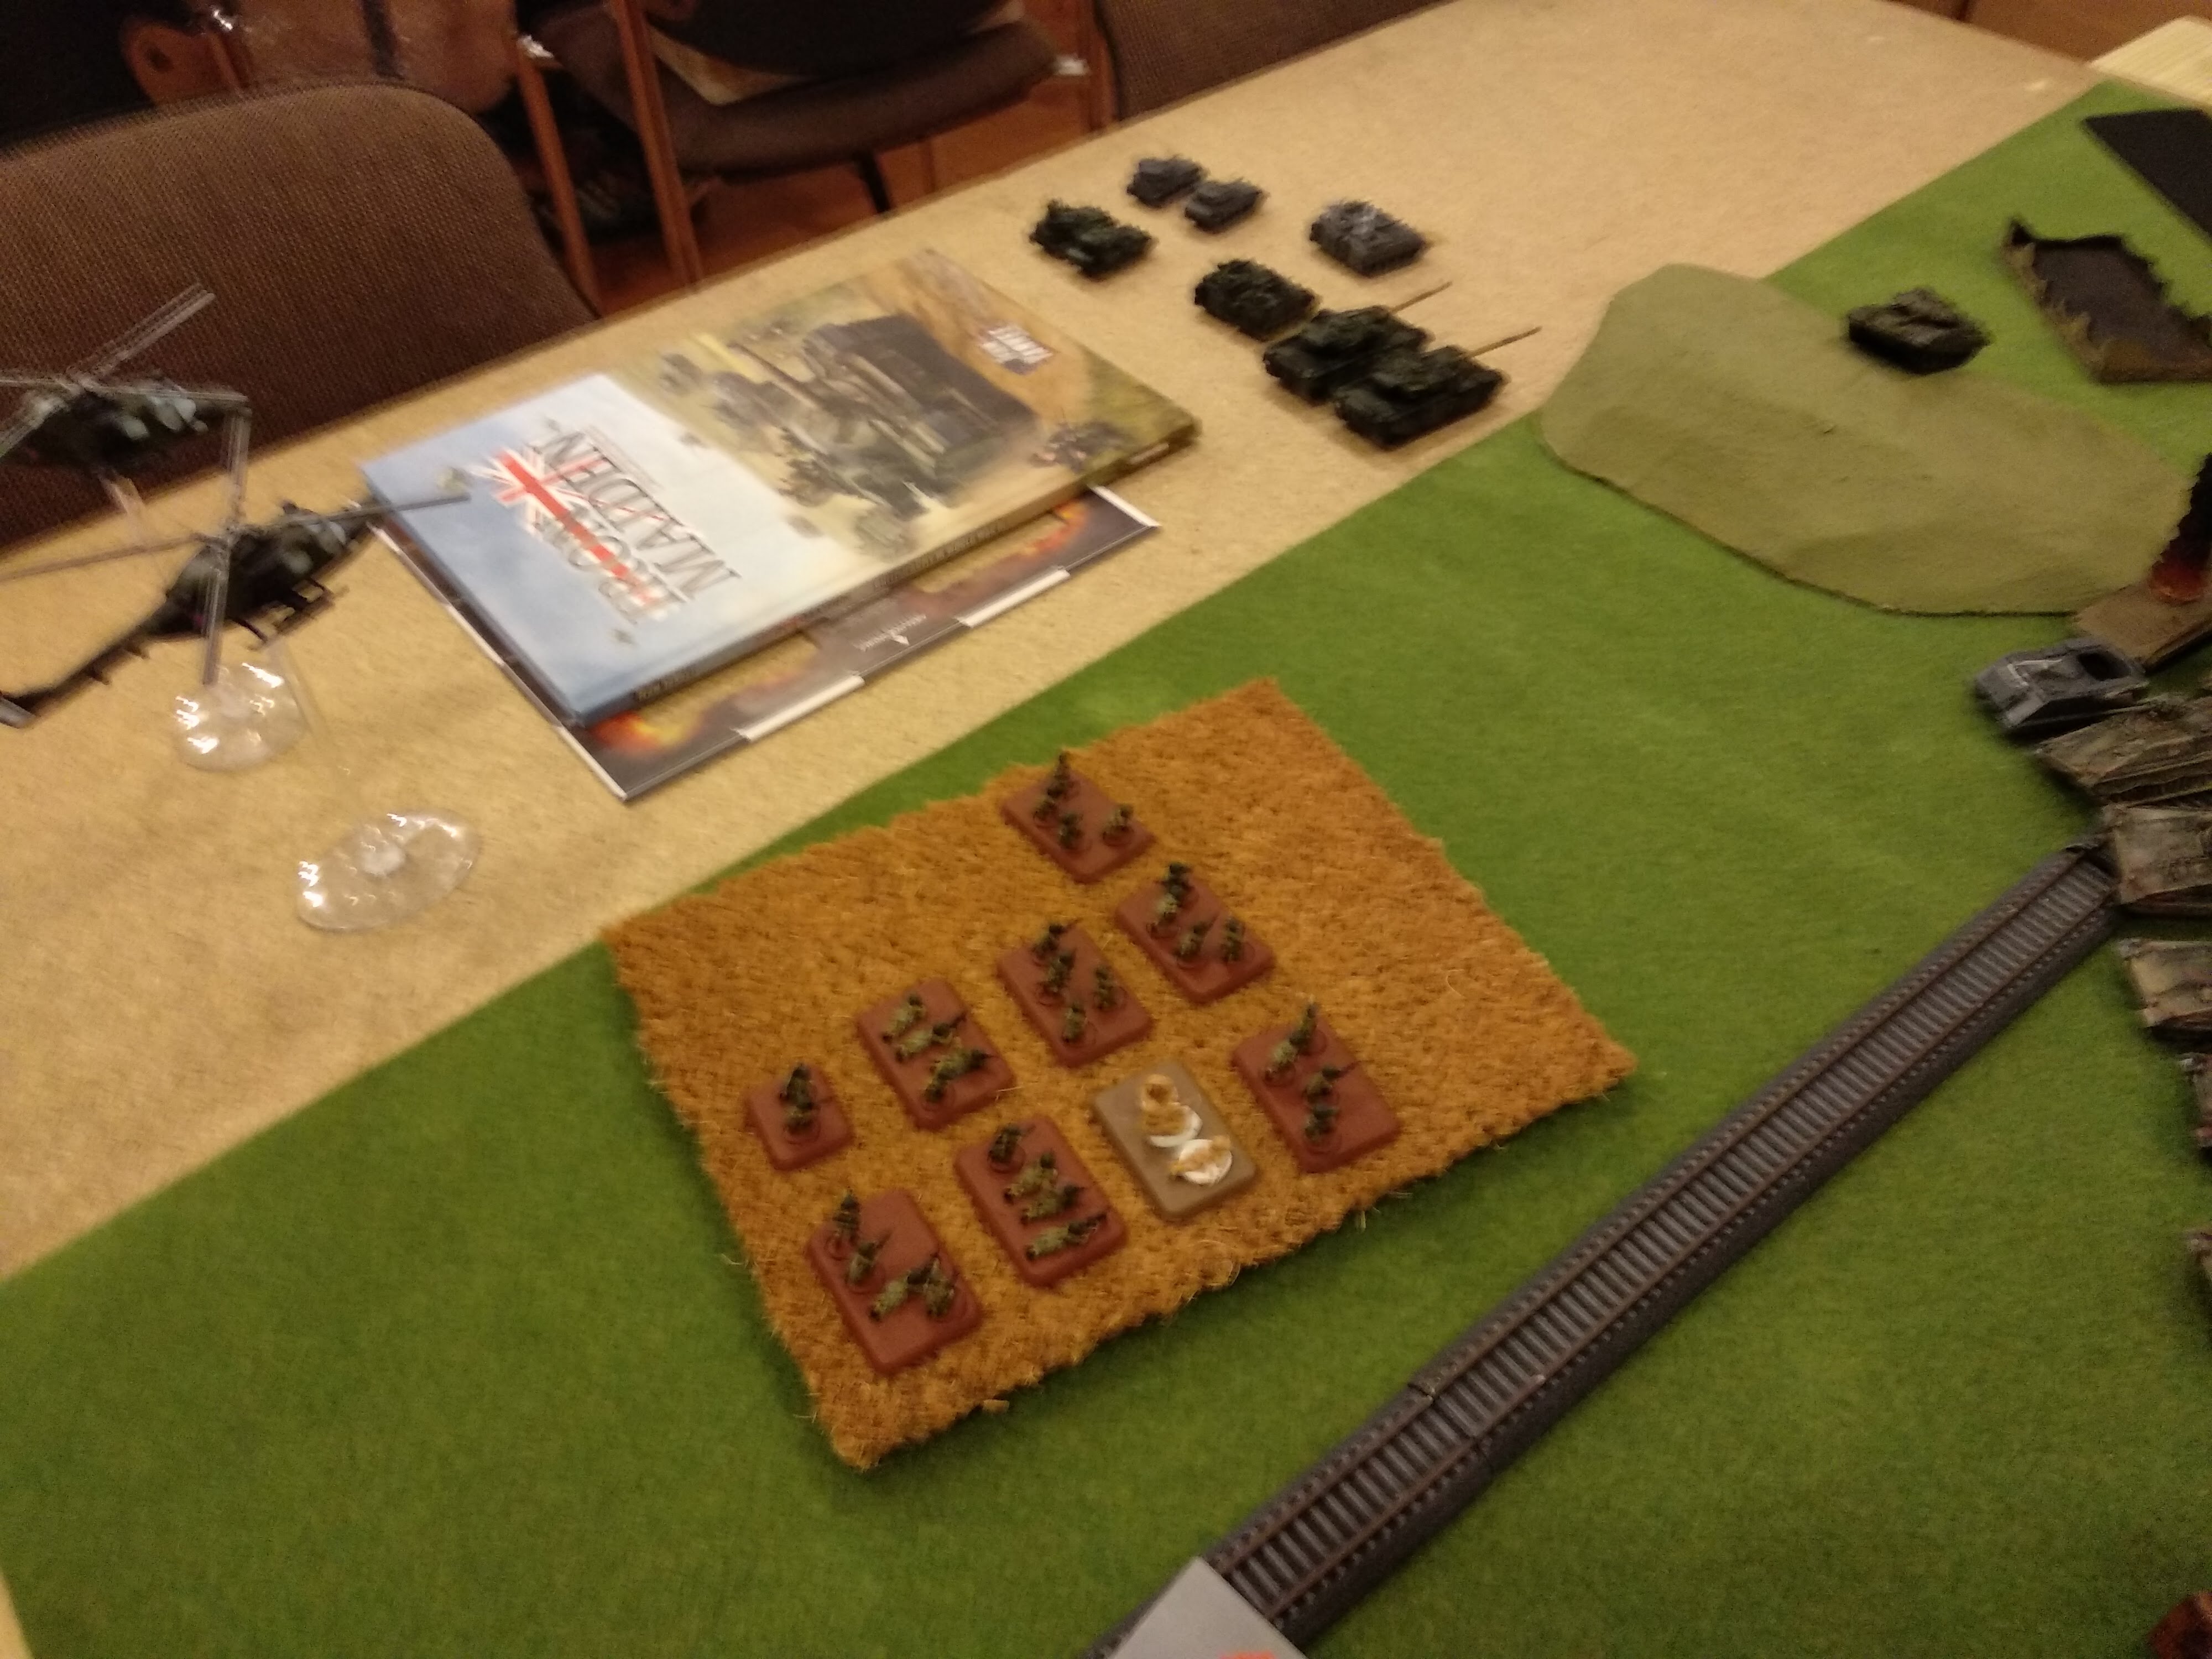
In the last game I brought a 50pt armoured squadron to the field, this time with some newly purchased (don’t tell the missus) and much needed FV432s, I was able to field a 70pt mechanised infantry company. Julek, my opponent was bringing a T-64 batallion, but he had to proxy much of the assets from West German equipment. And given that the campaign has been raging for some time, we decided that these proxies were captured and re-purposed as the Soviets advanced. Read on to find out more.
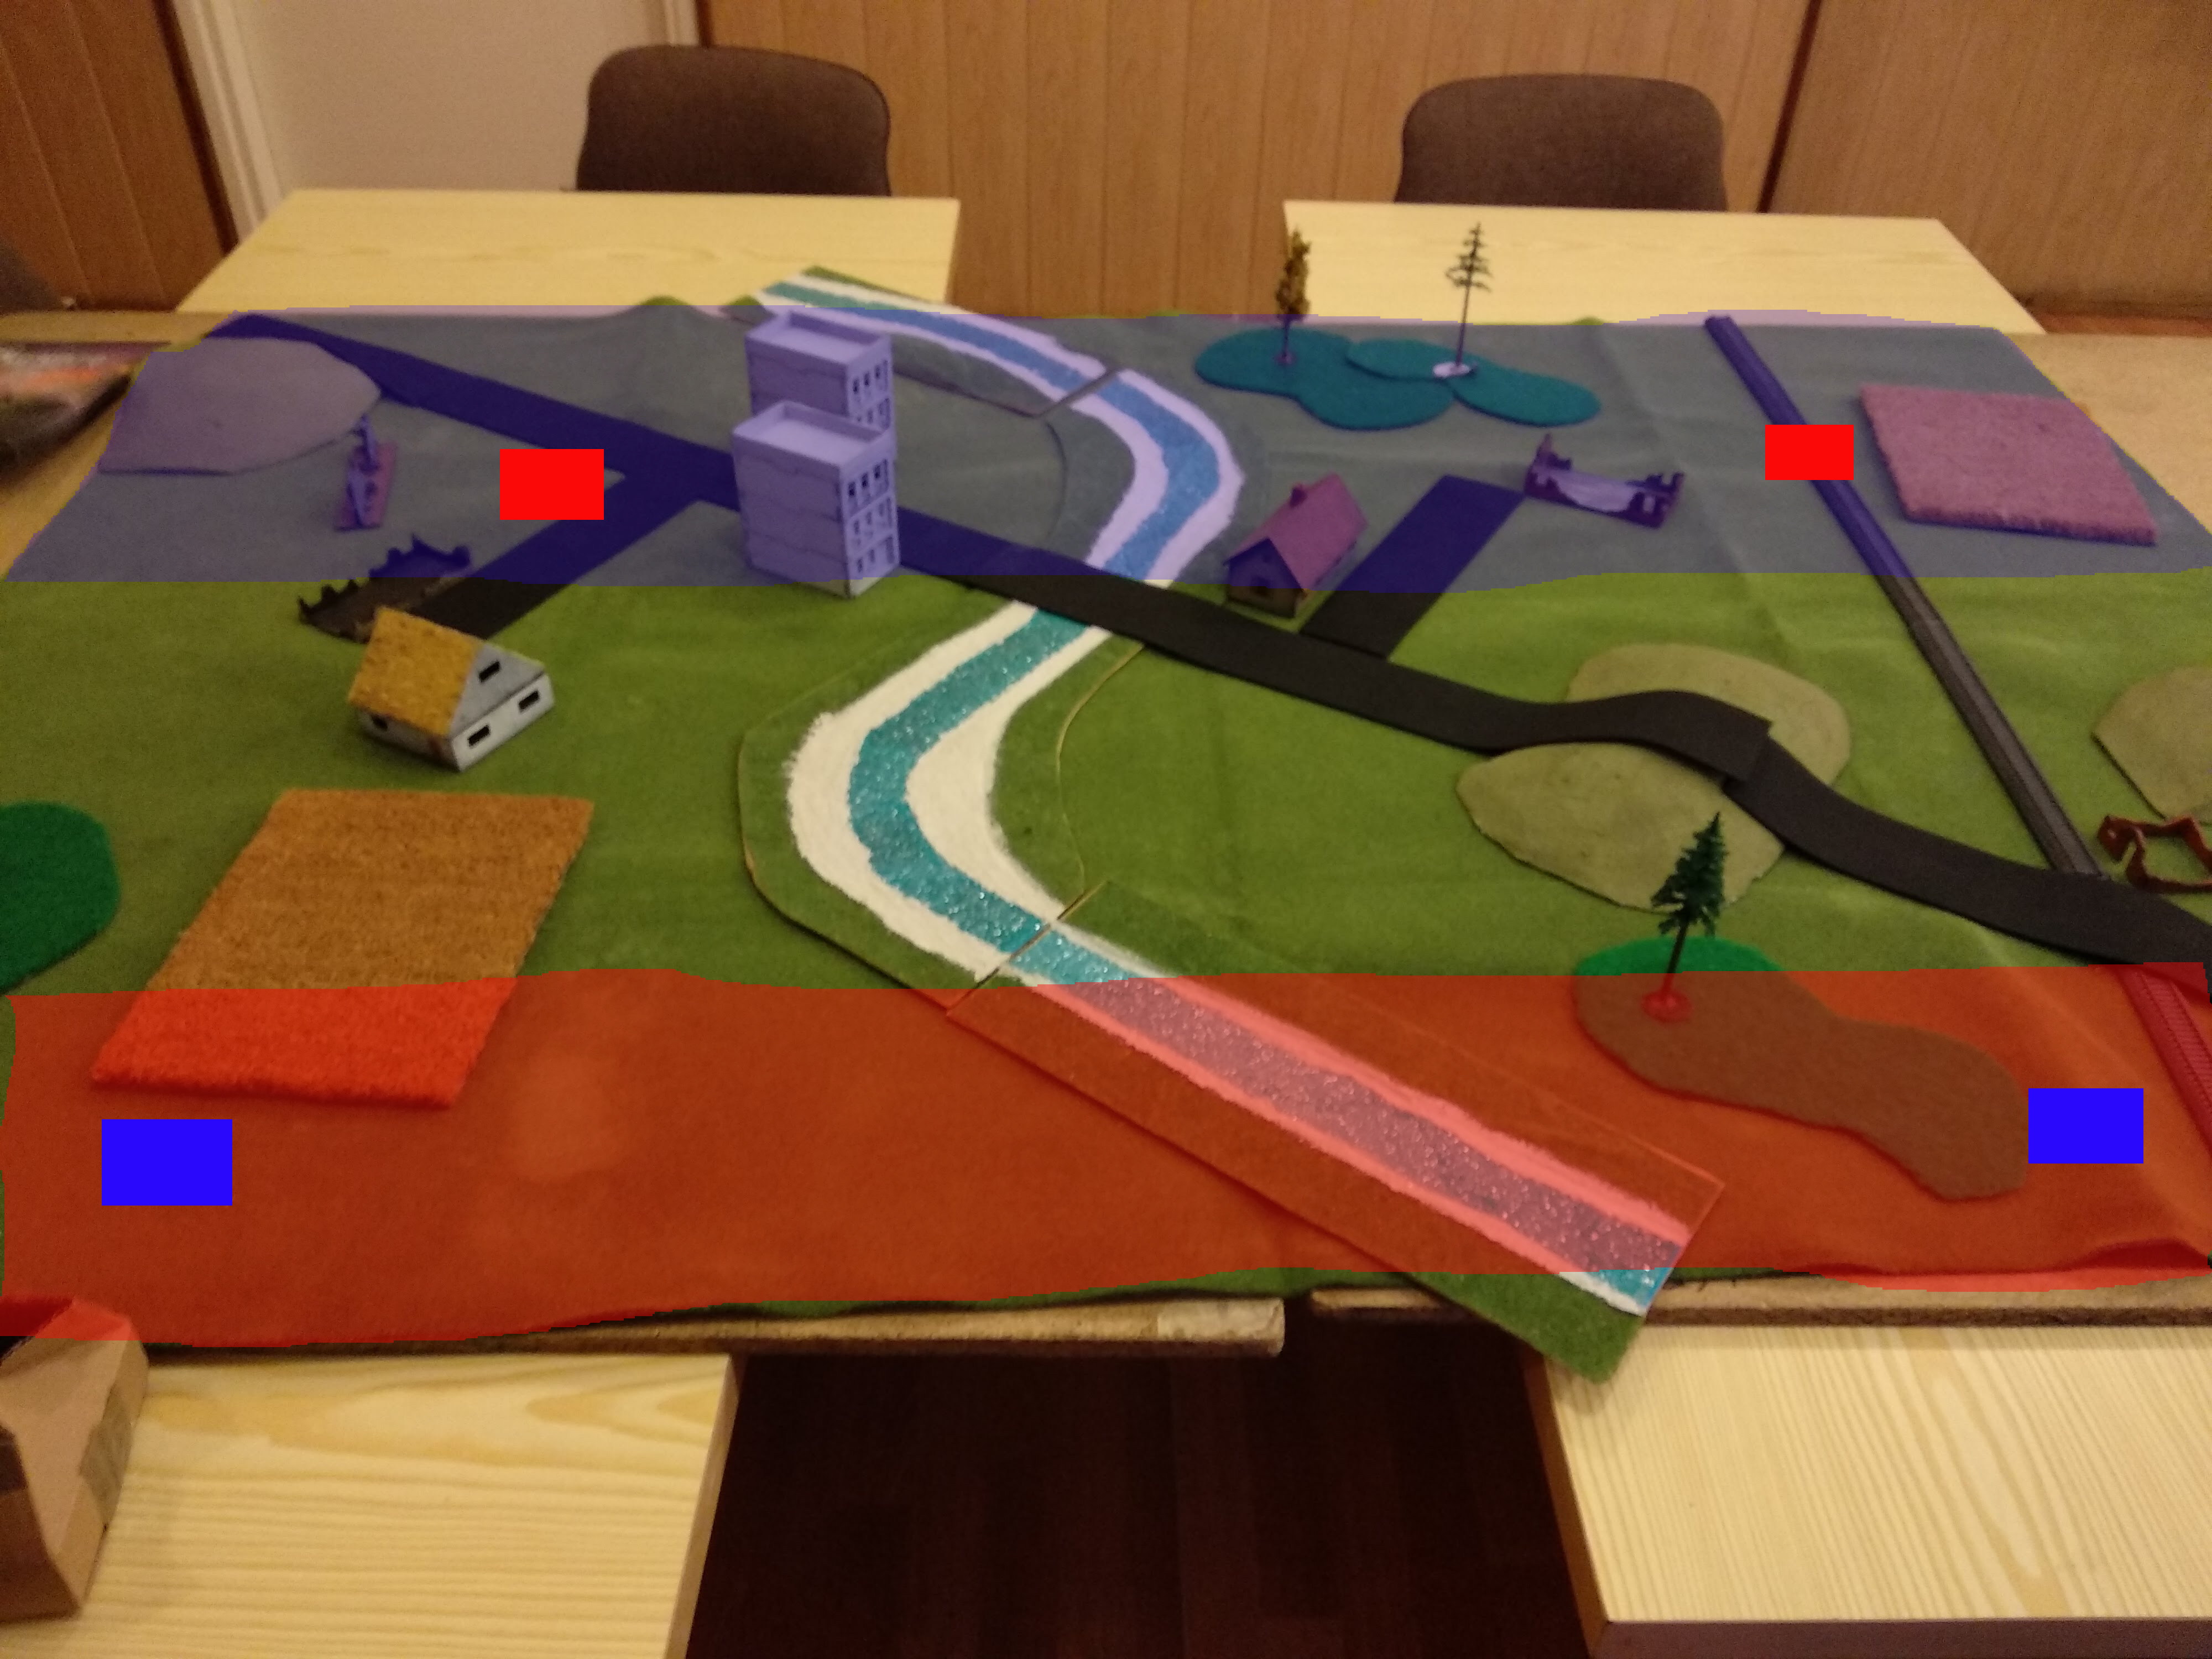
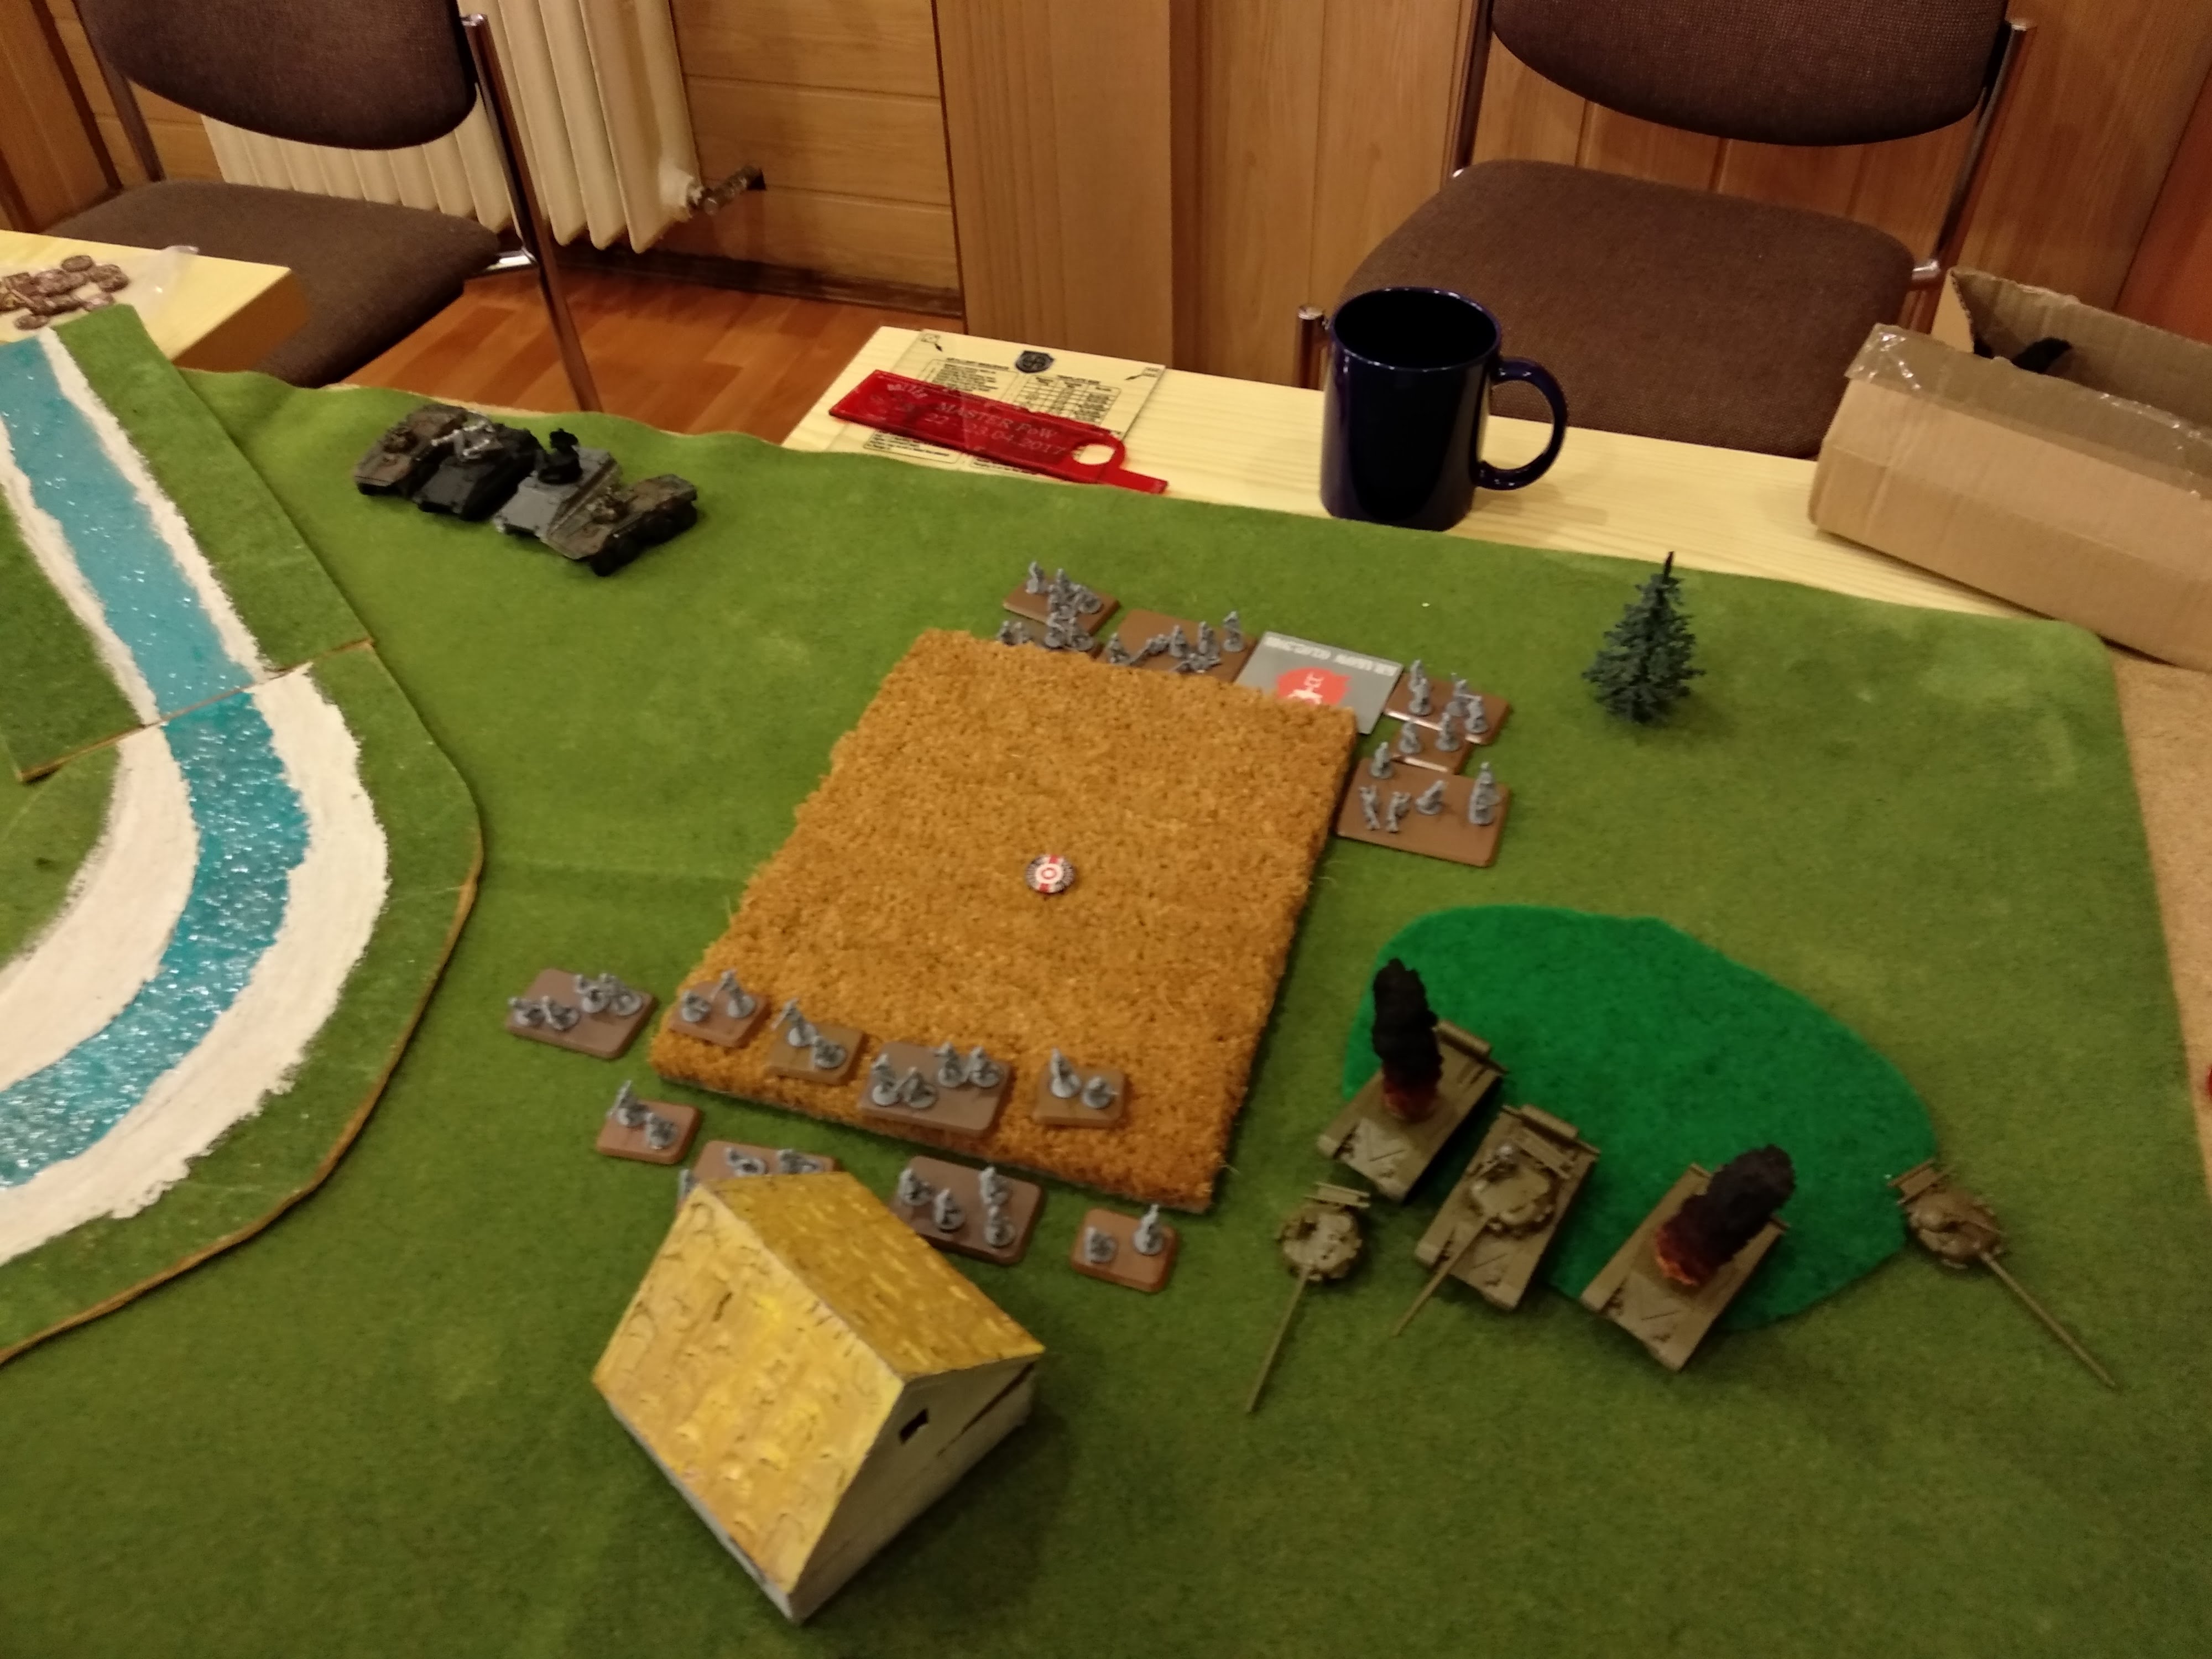
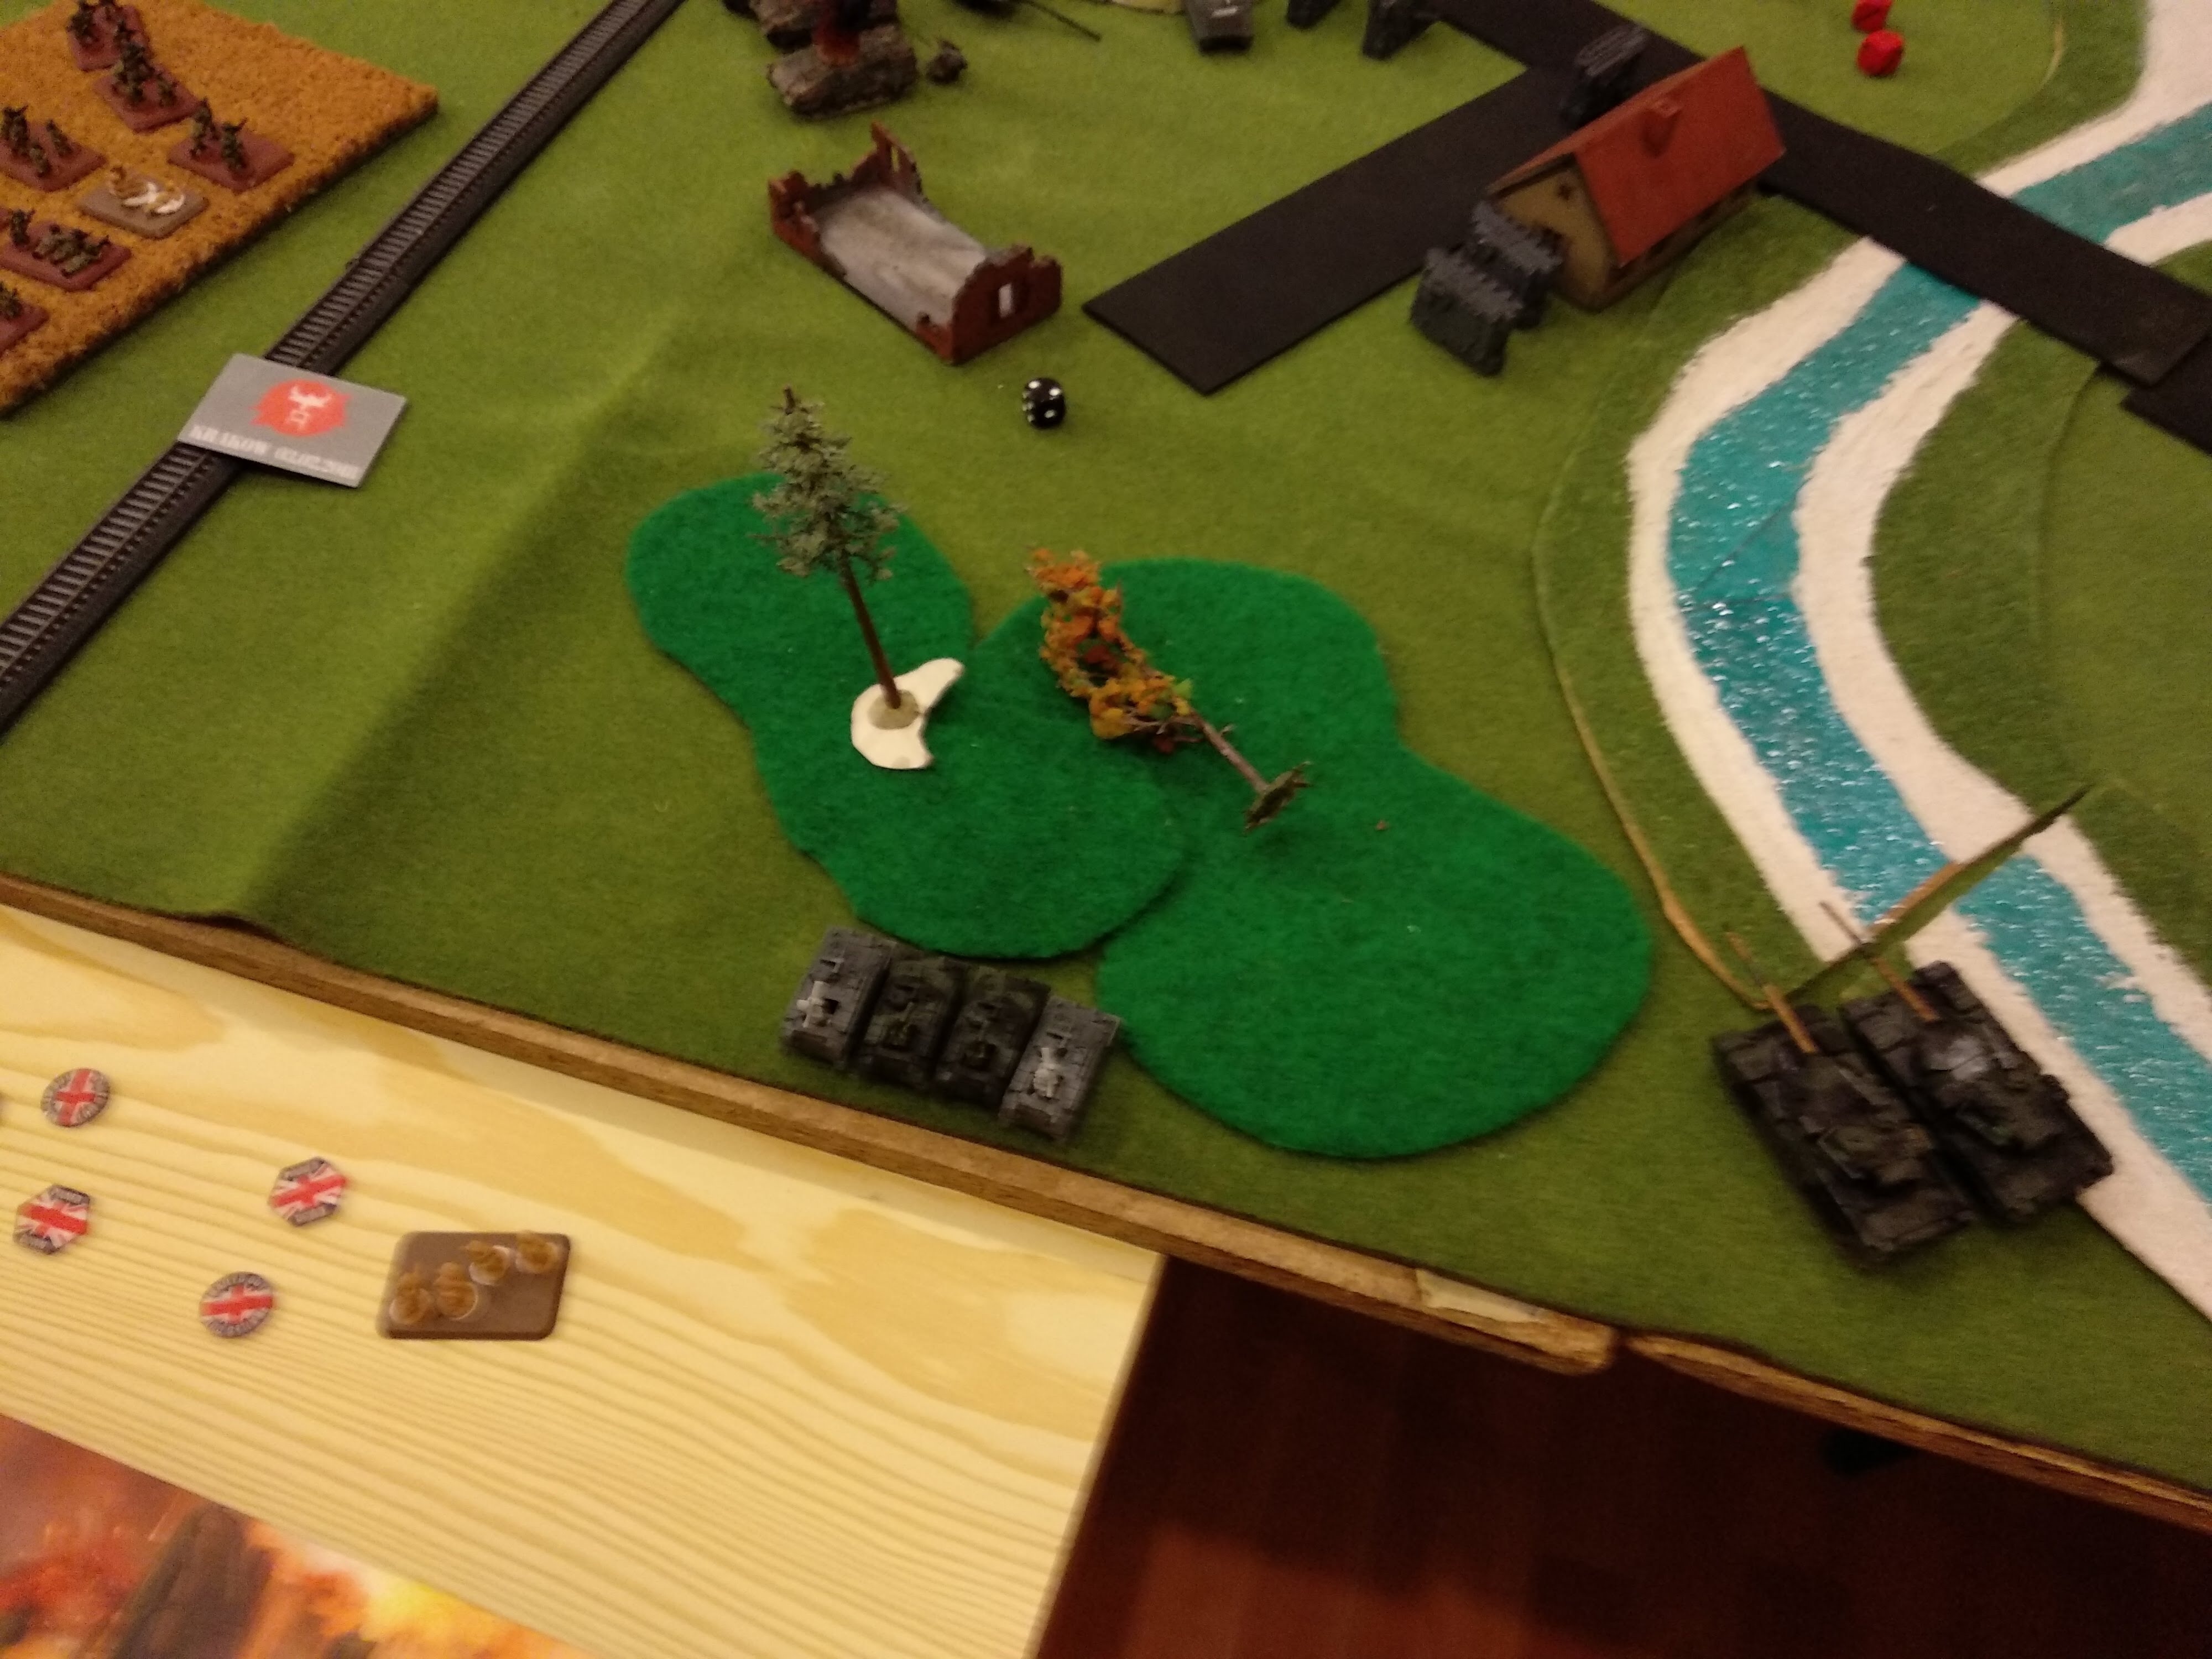
So with my rather simplistic filter, I'm sure you get the idea. We had set up the table with a river dissecting it, with a central MSR traversing the map and bridging the river. Some scattered forests and crop fields, hills and buildings of varying states of repair. We added a railway too, but just because it looks nice :)
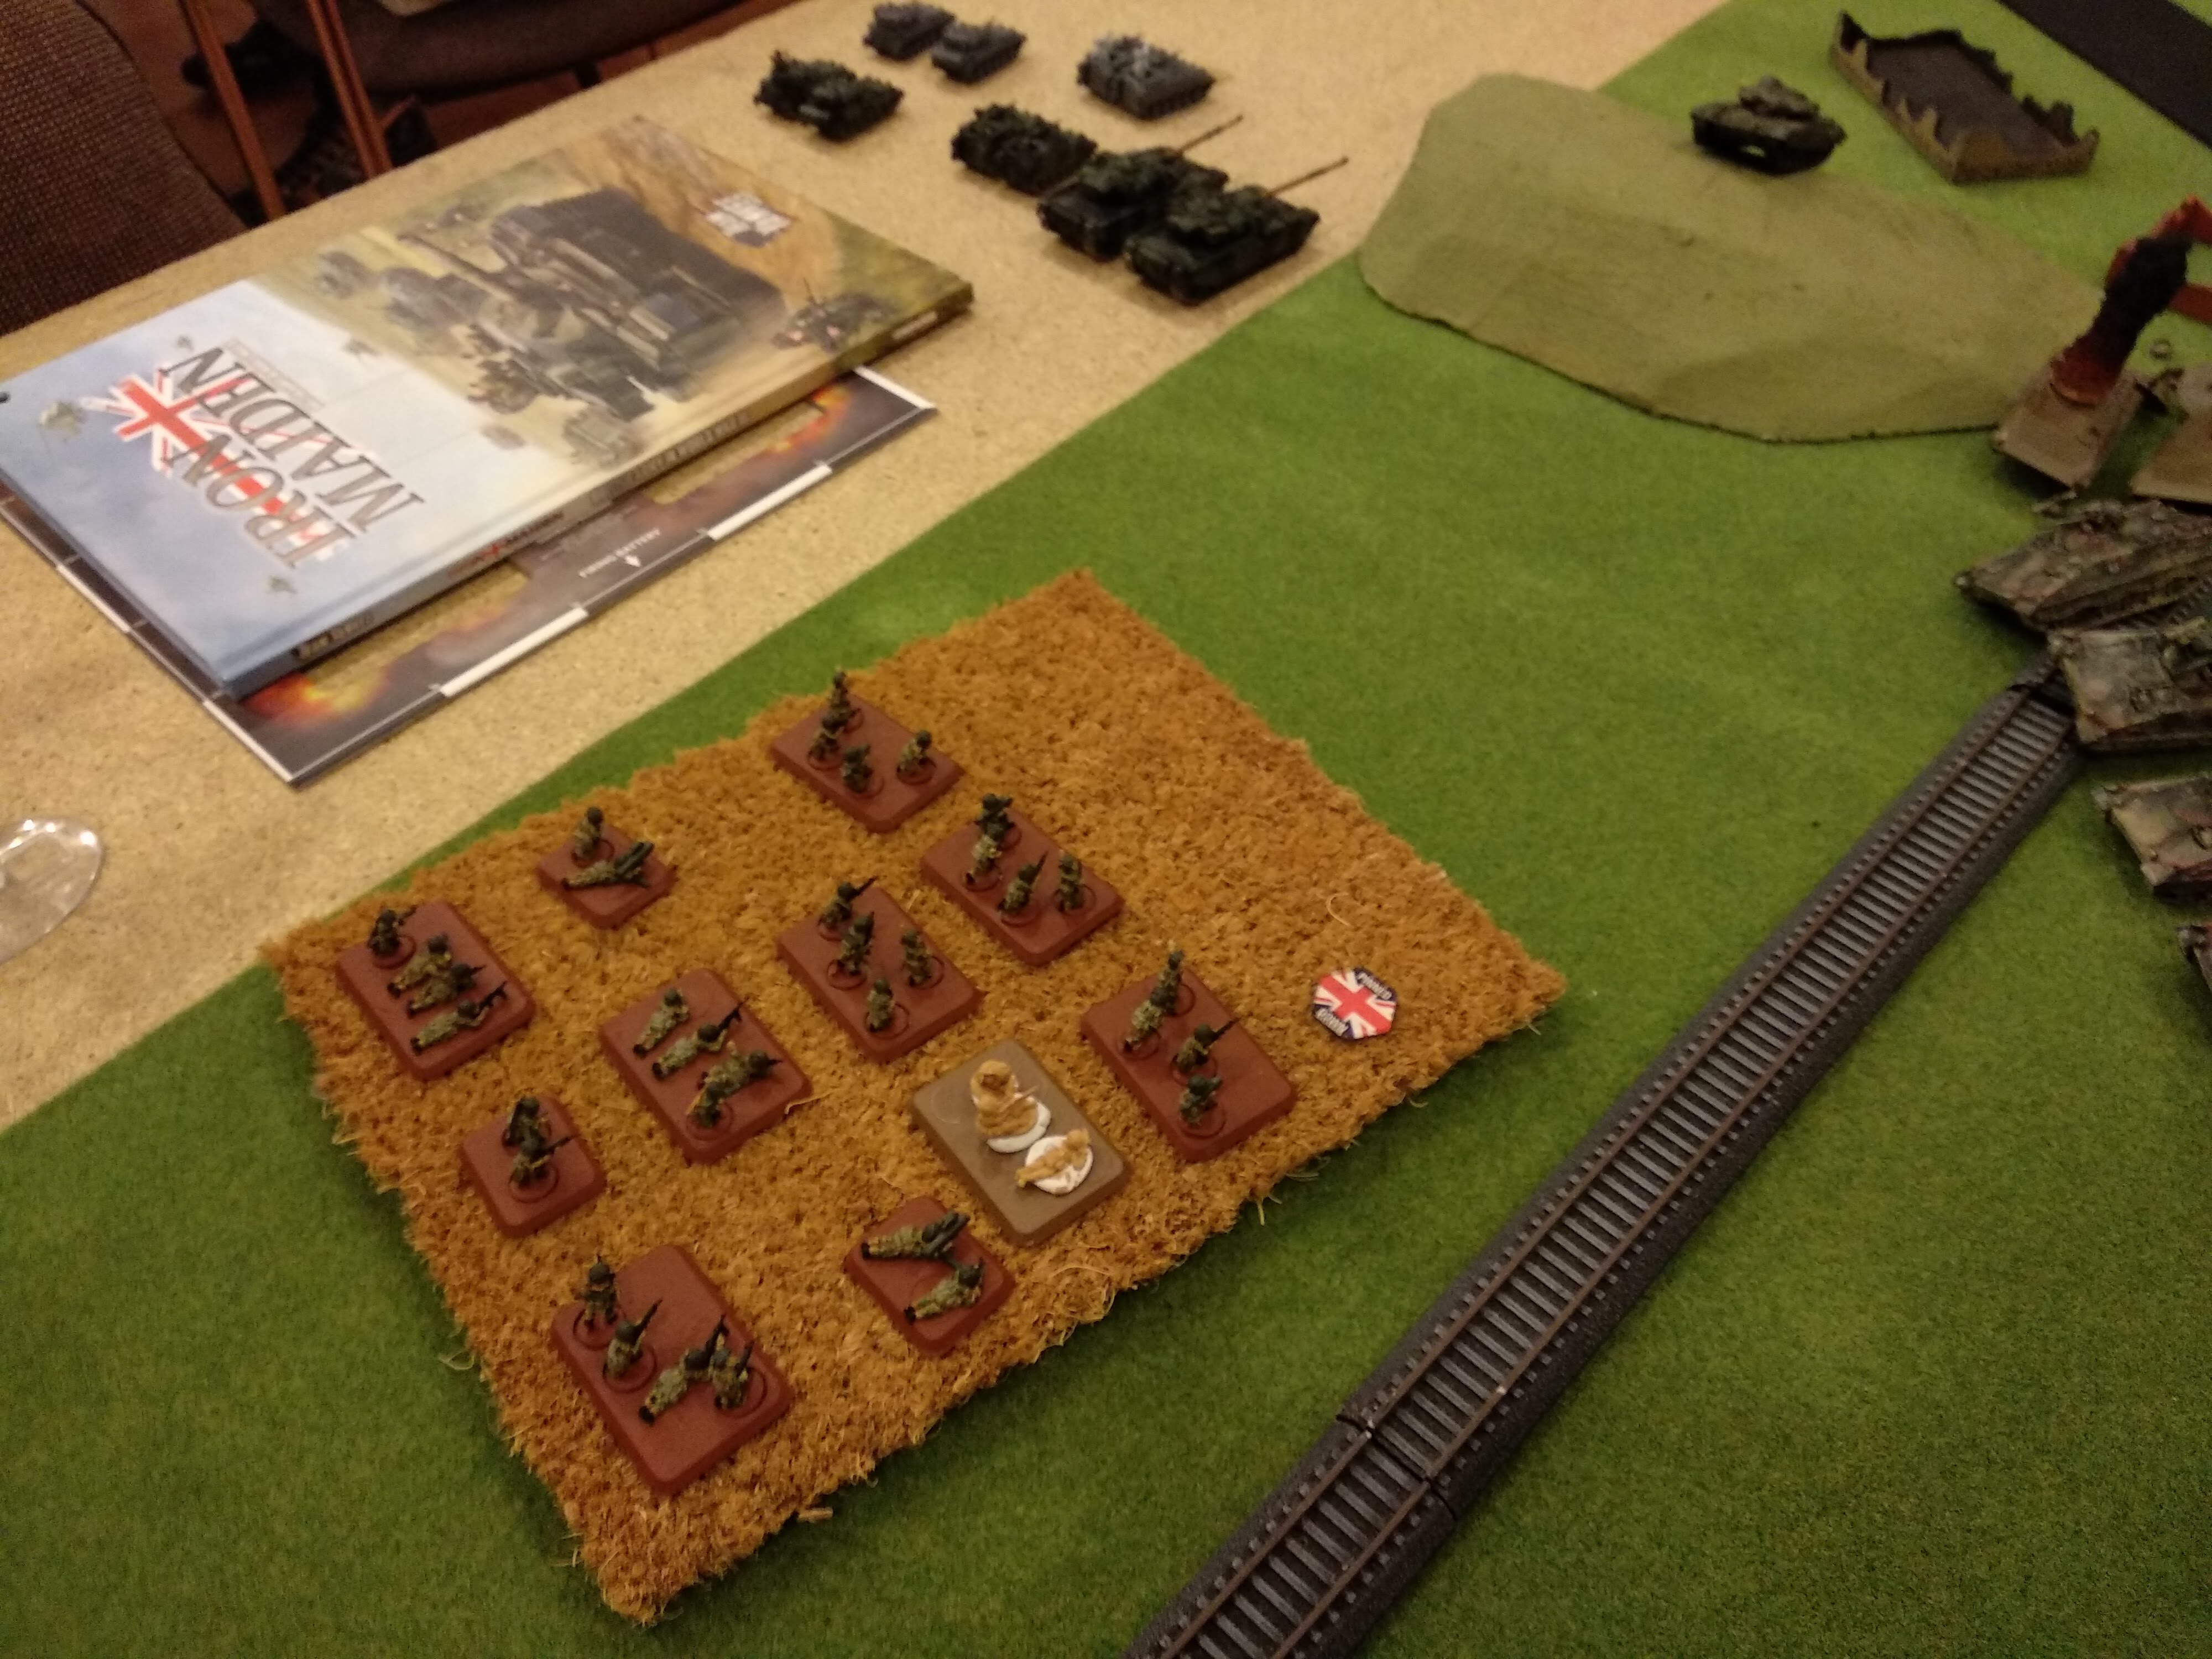
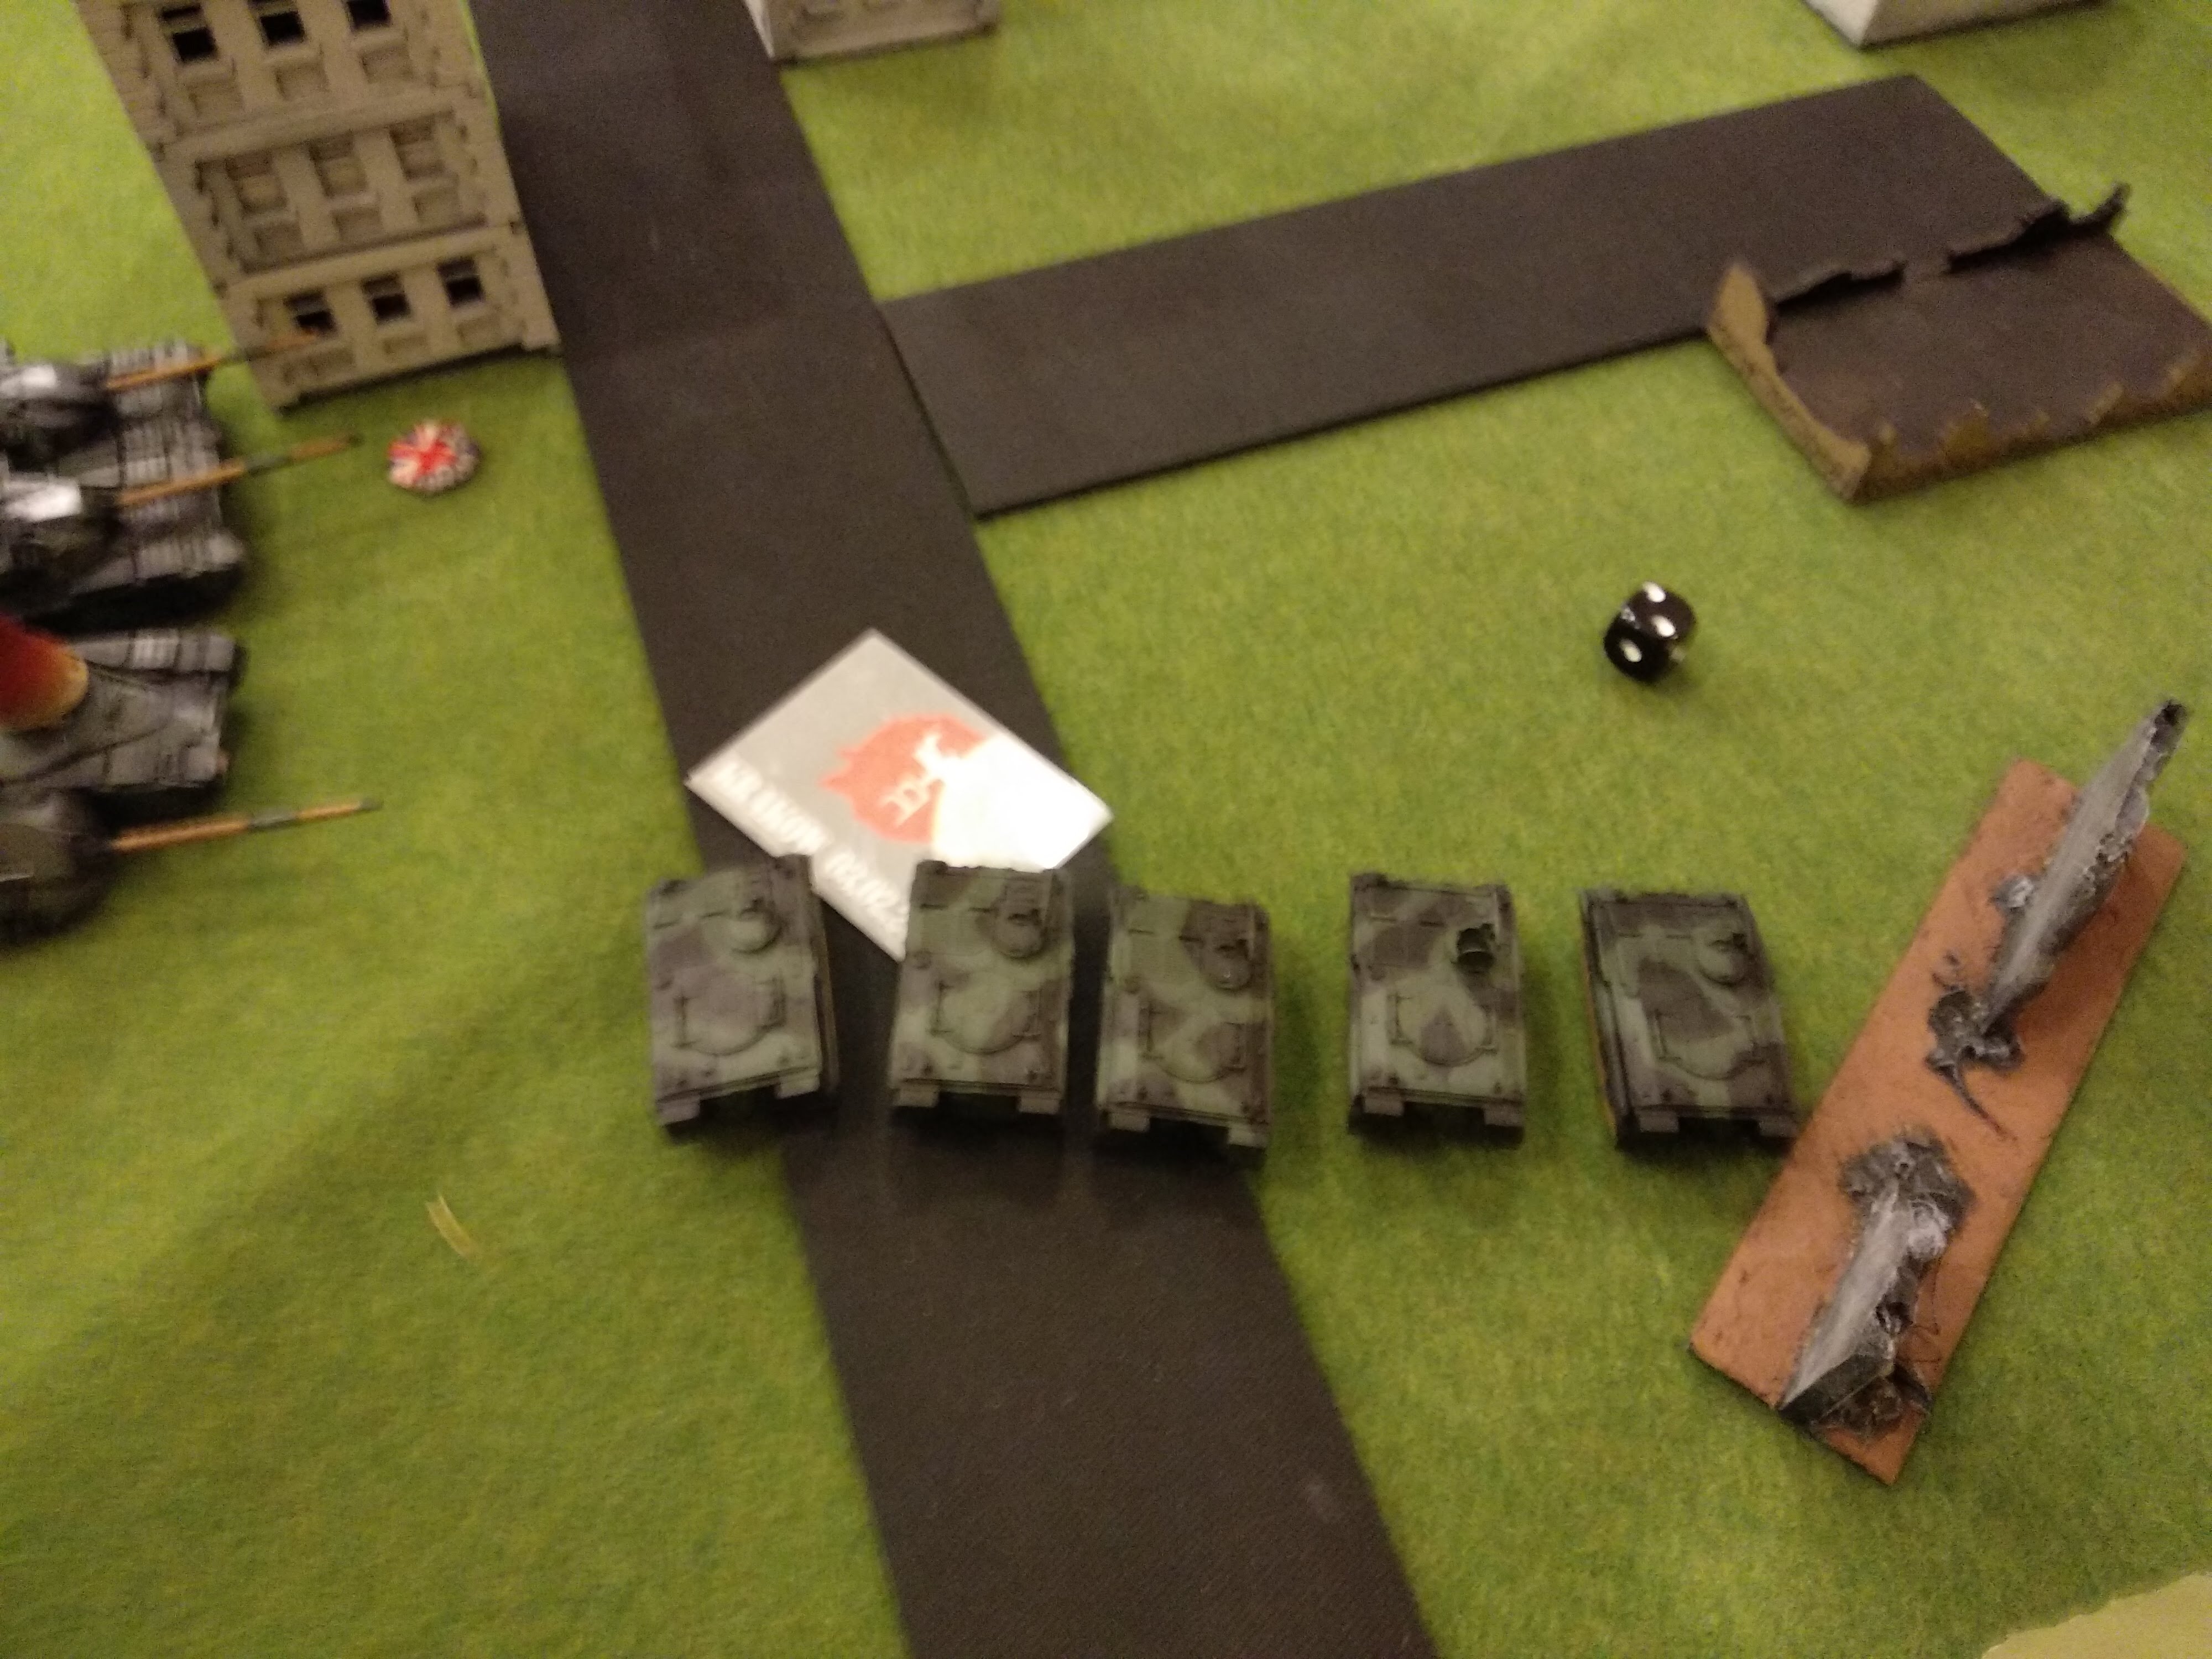
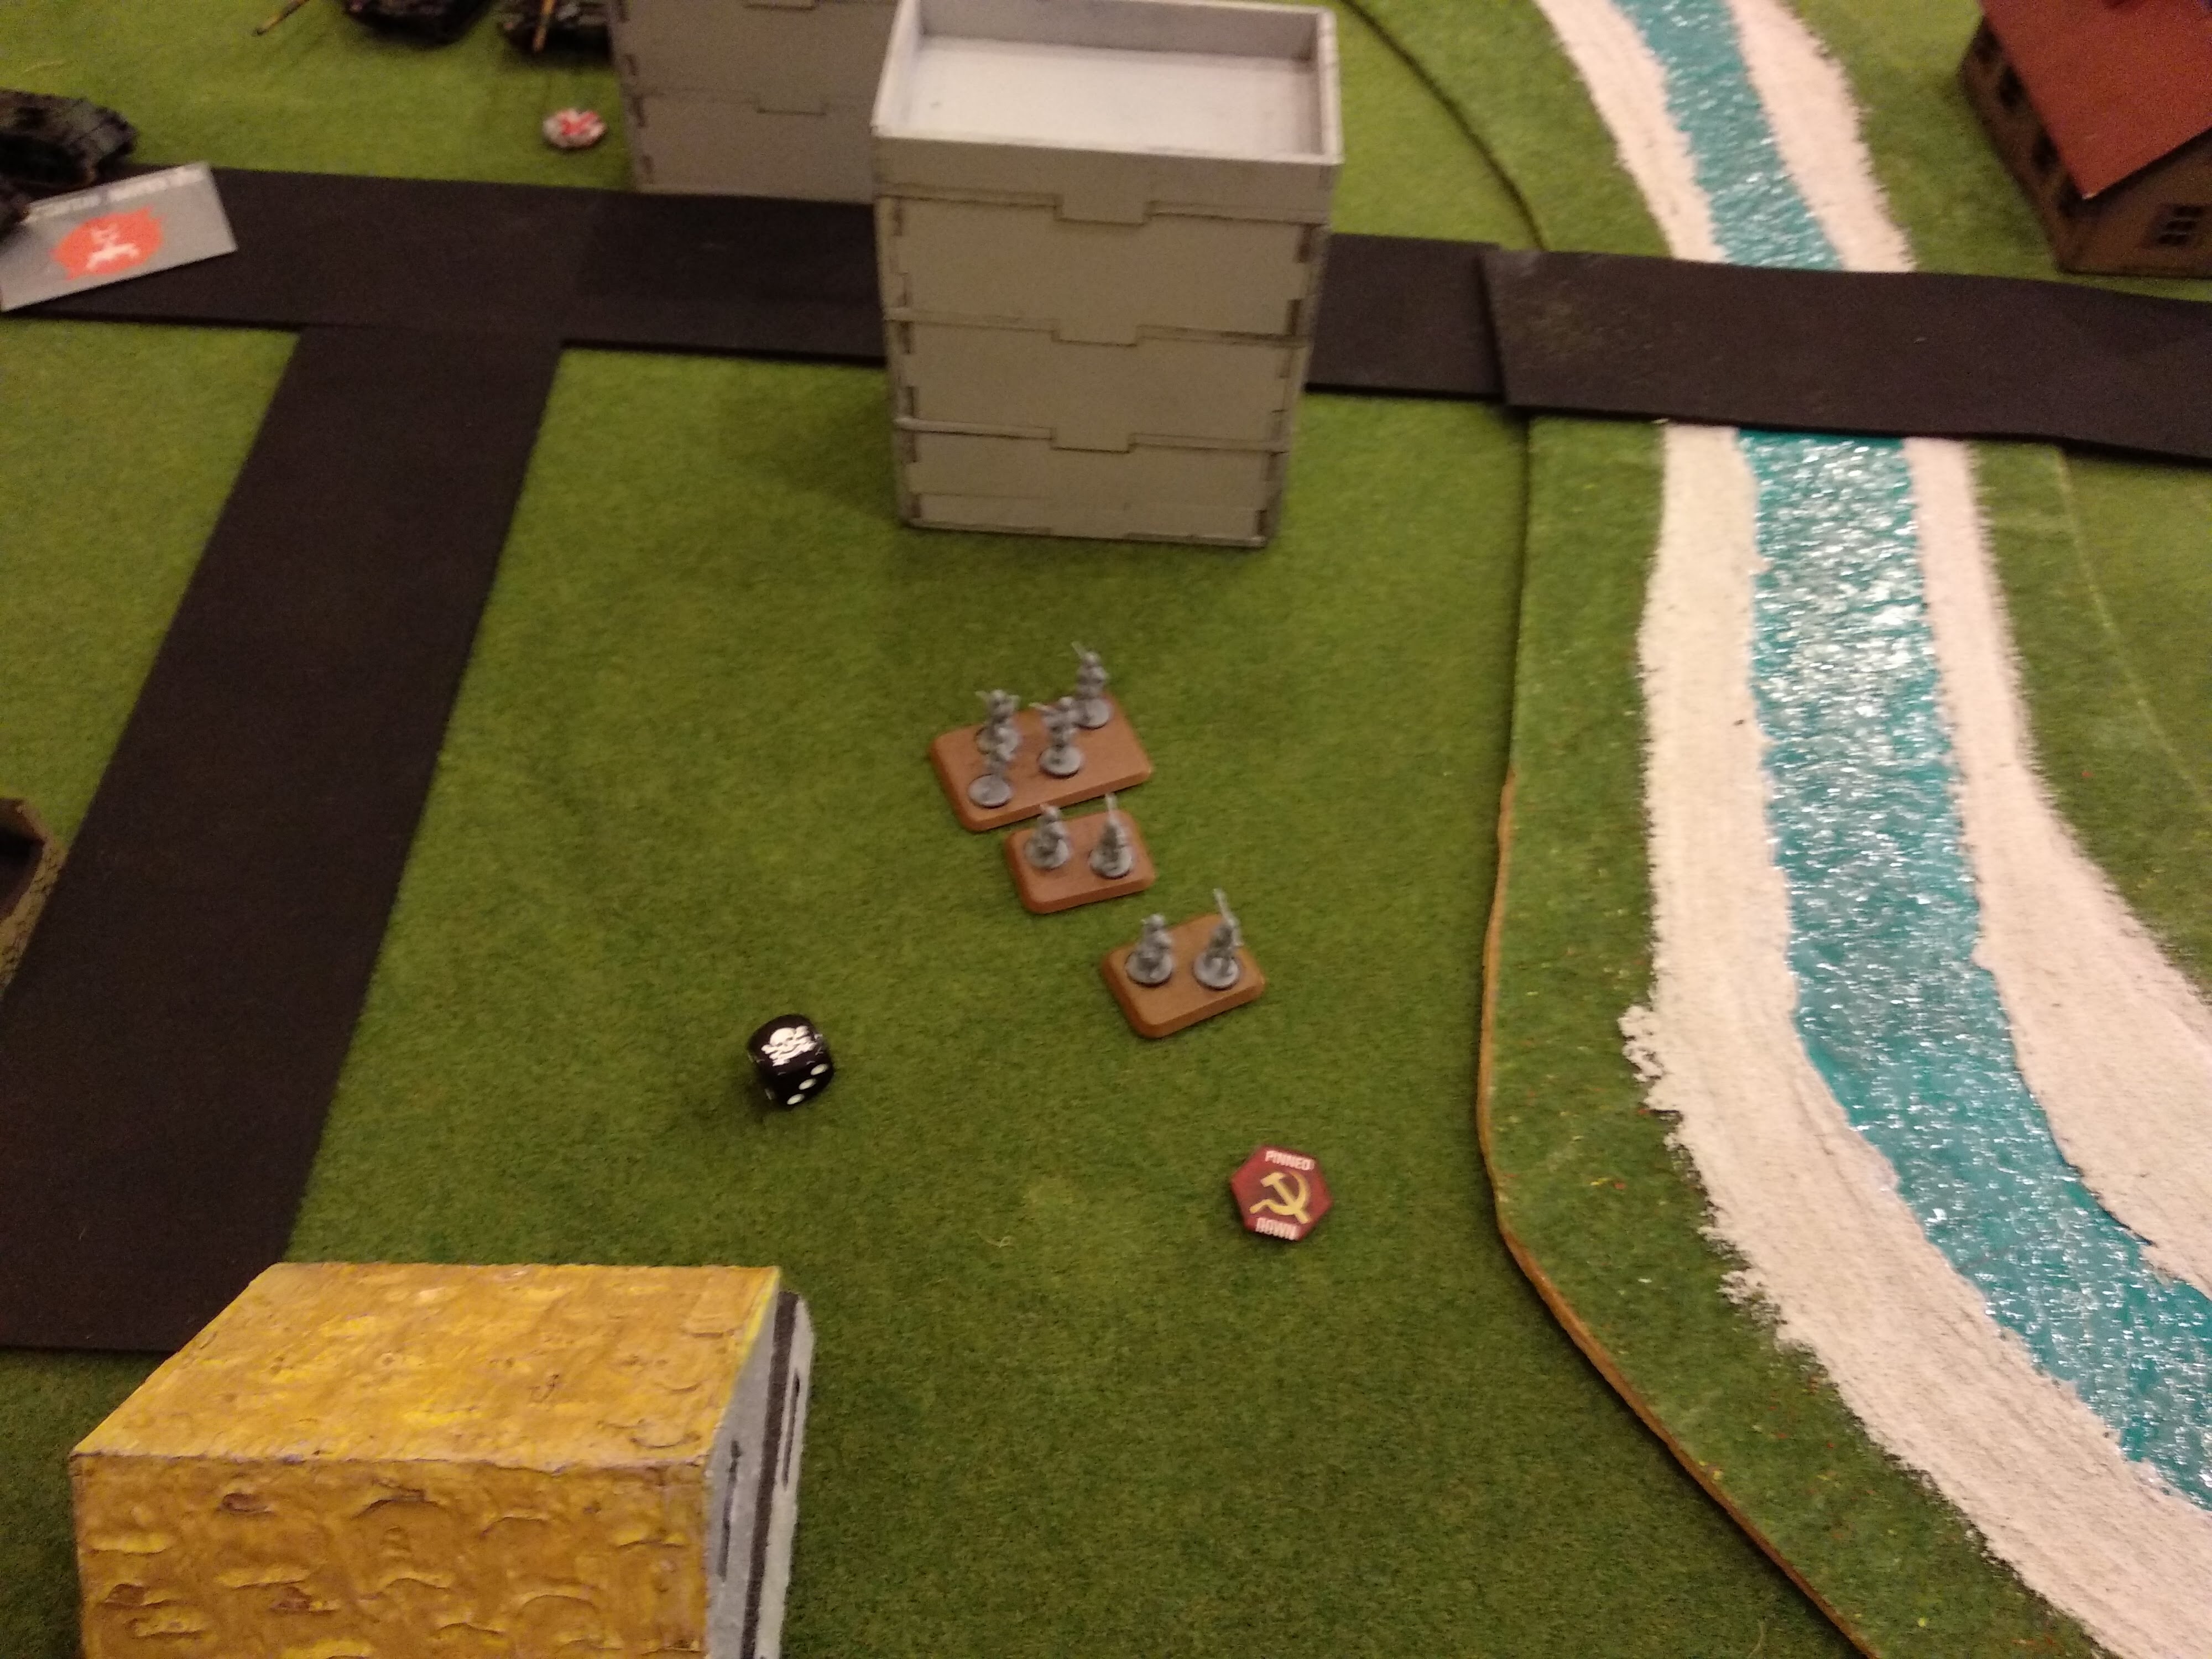
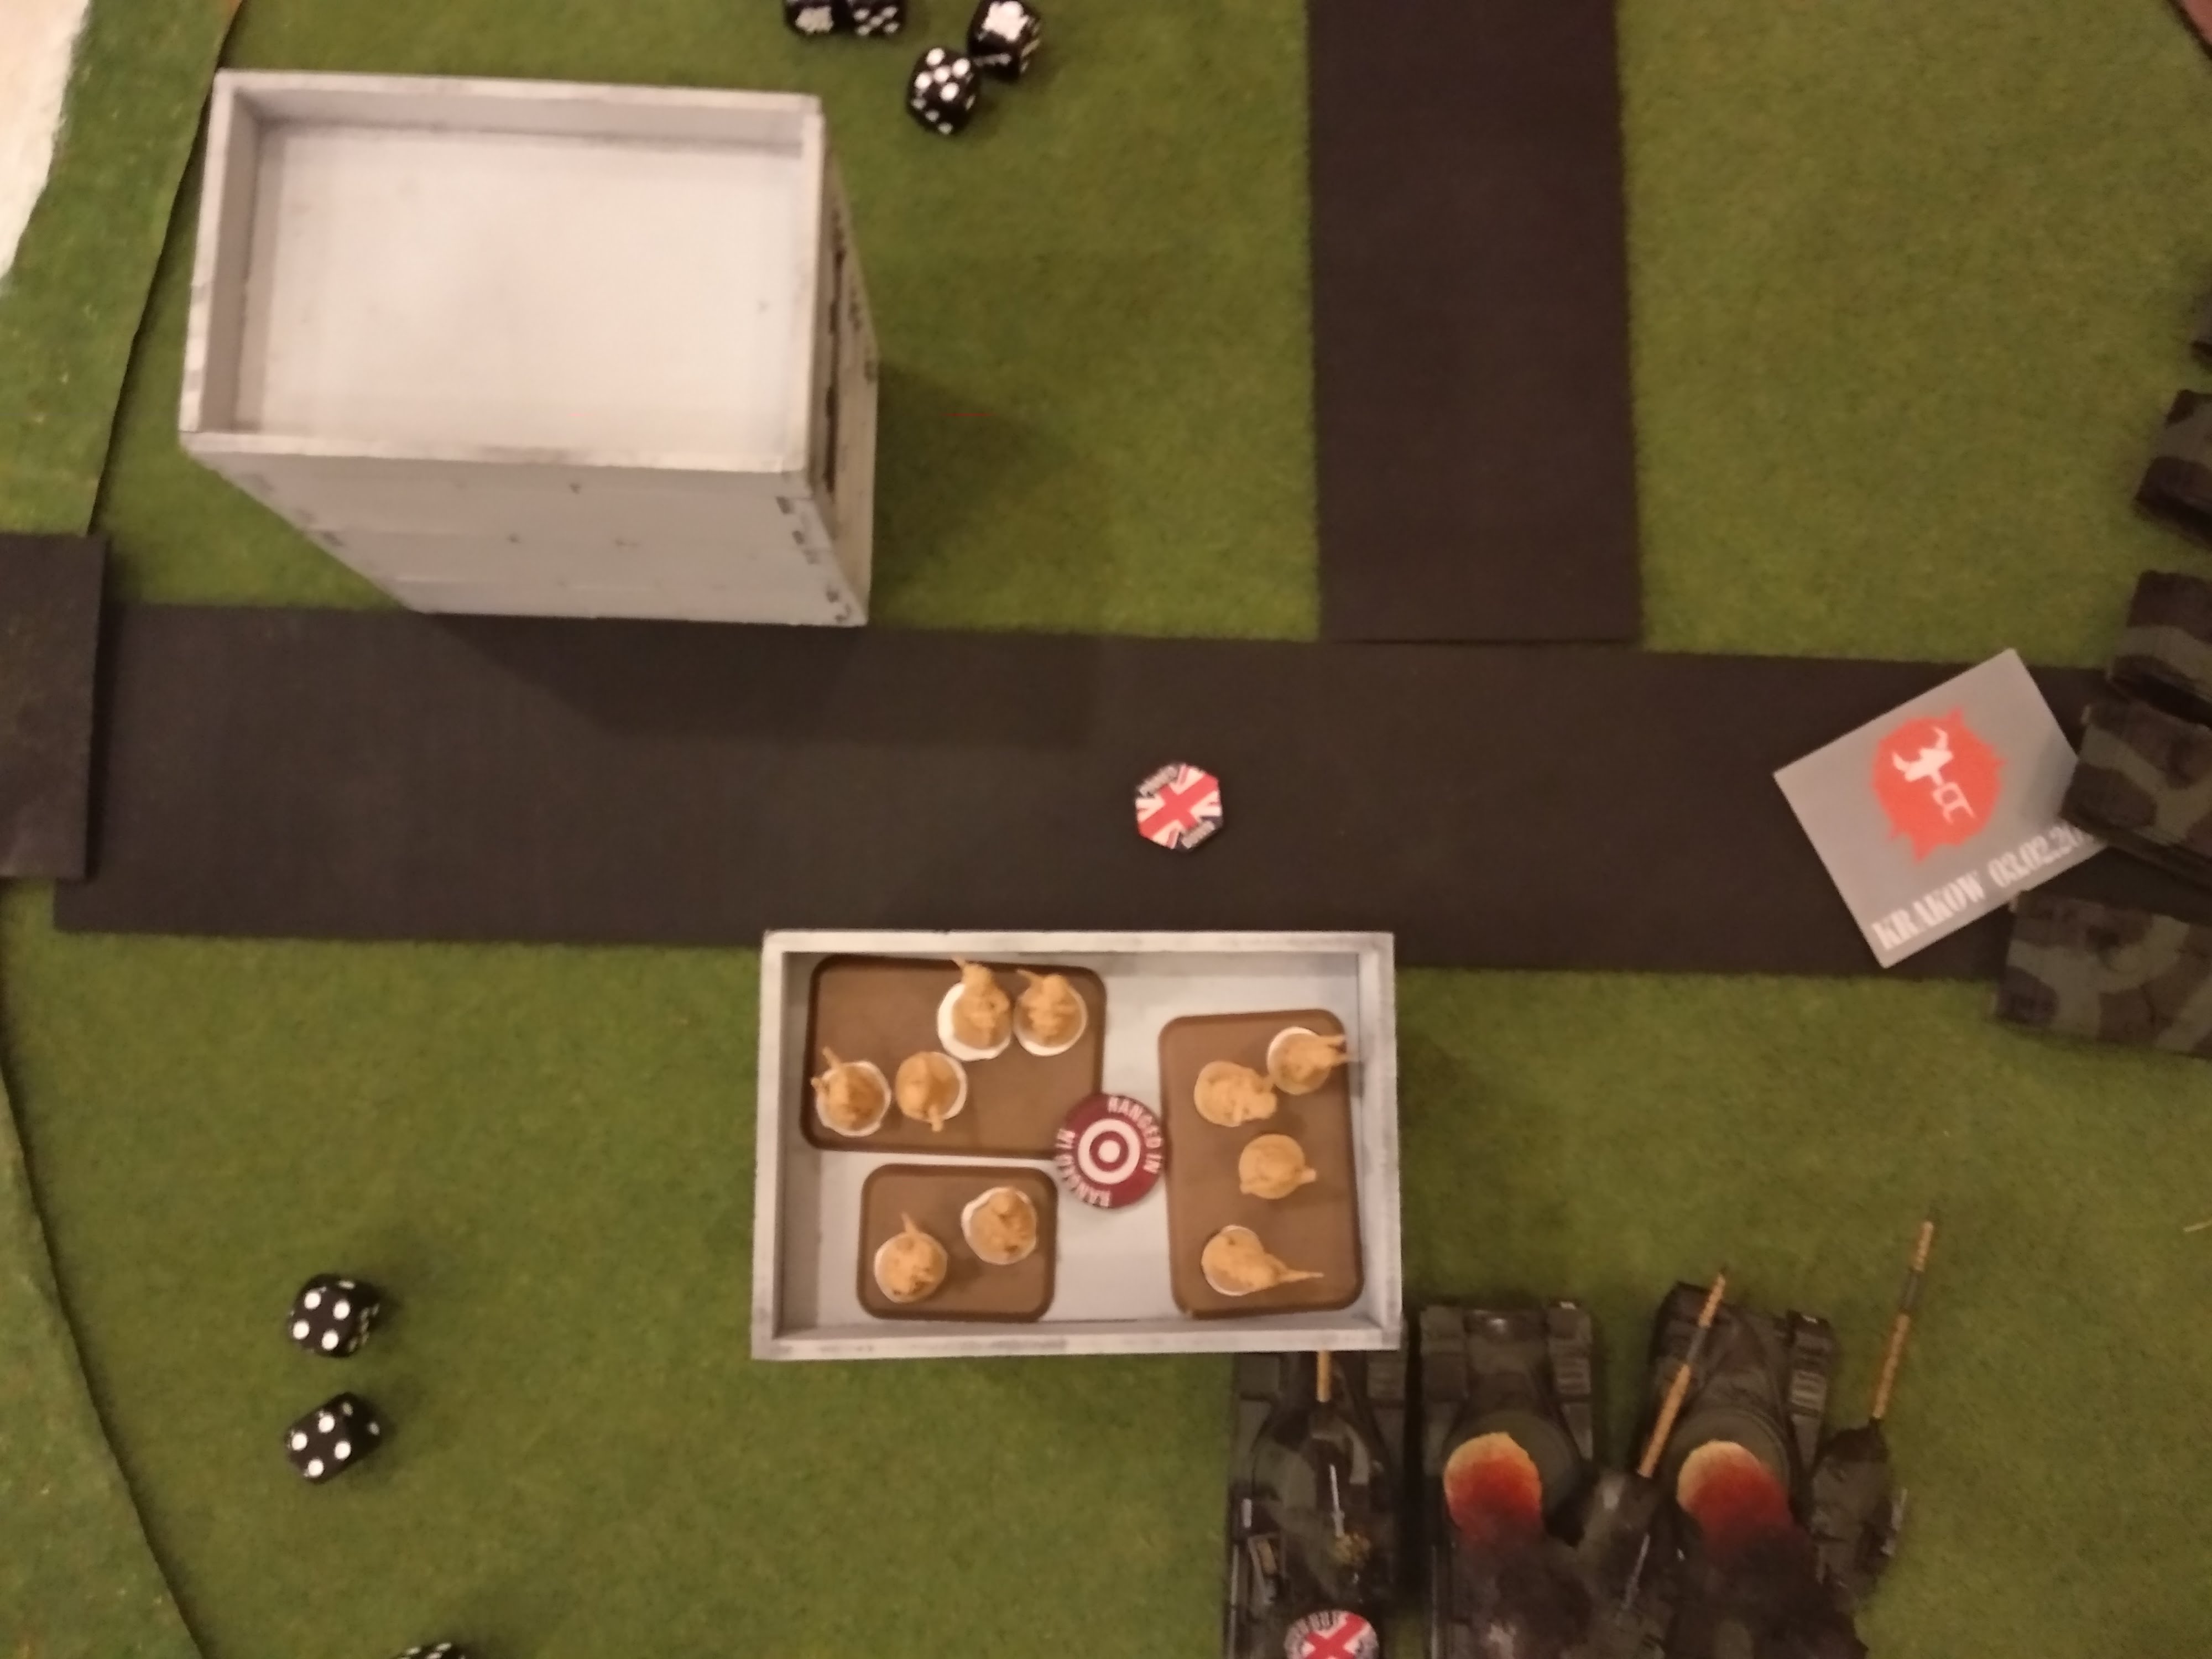
Me being NATO I had choice of table edge, so I naturally chose the one with the cluster of apartments beside the road. I placed my 2 objectives next to the road and behind a crop field. Julek placed his 4'' away from the buildings on the road intersection and 4'' away from the crop field (though my above illustration doesn't reflect the latter so well). This would prevent me from directly contesting these objectives by simply deploying on top of them.
I knew that I would have it tough so I wasn't even thinking about how to possibly snatch his objectives from him, I would be defending and digging in!
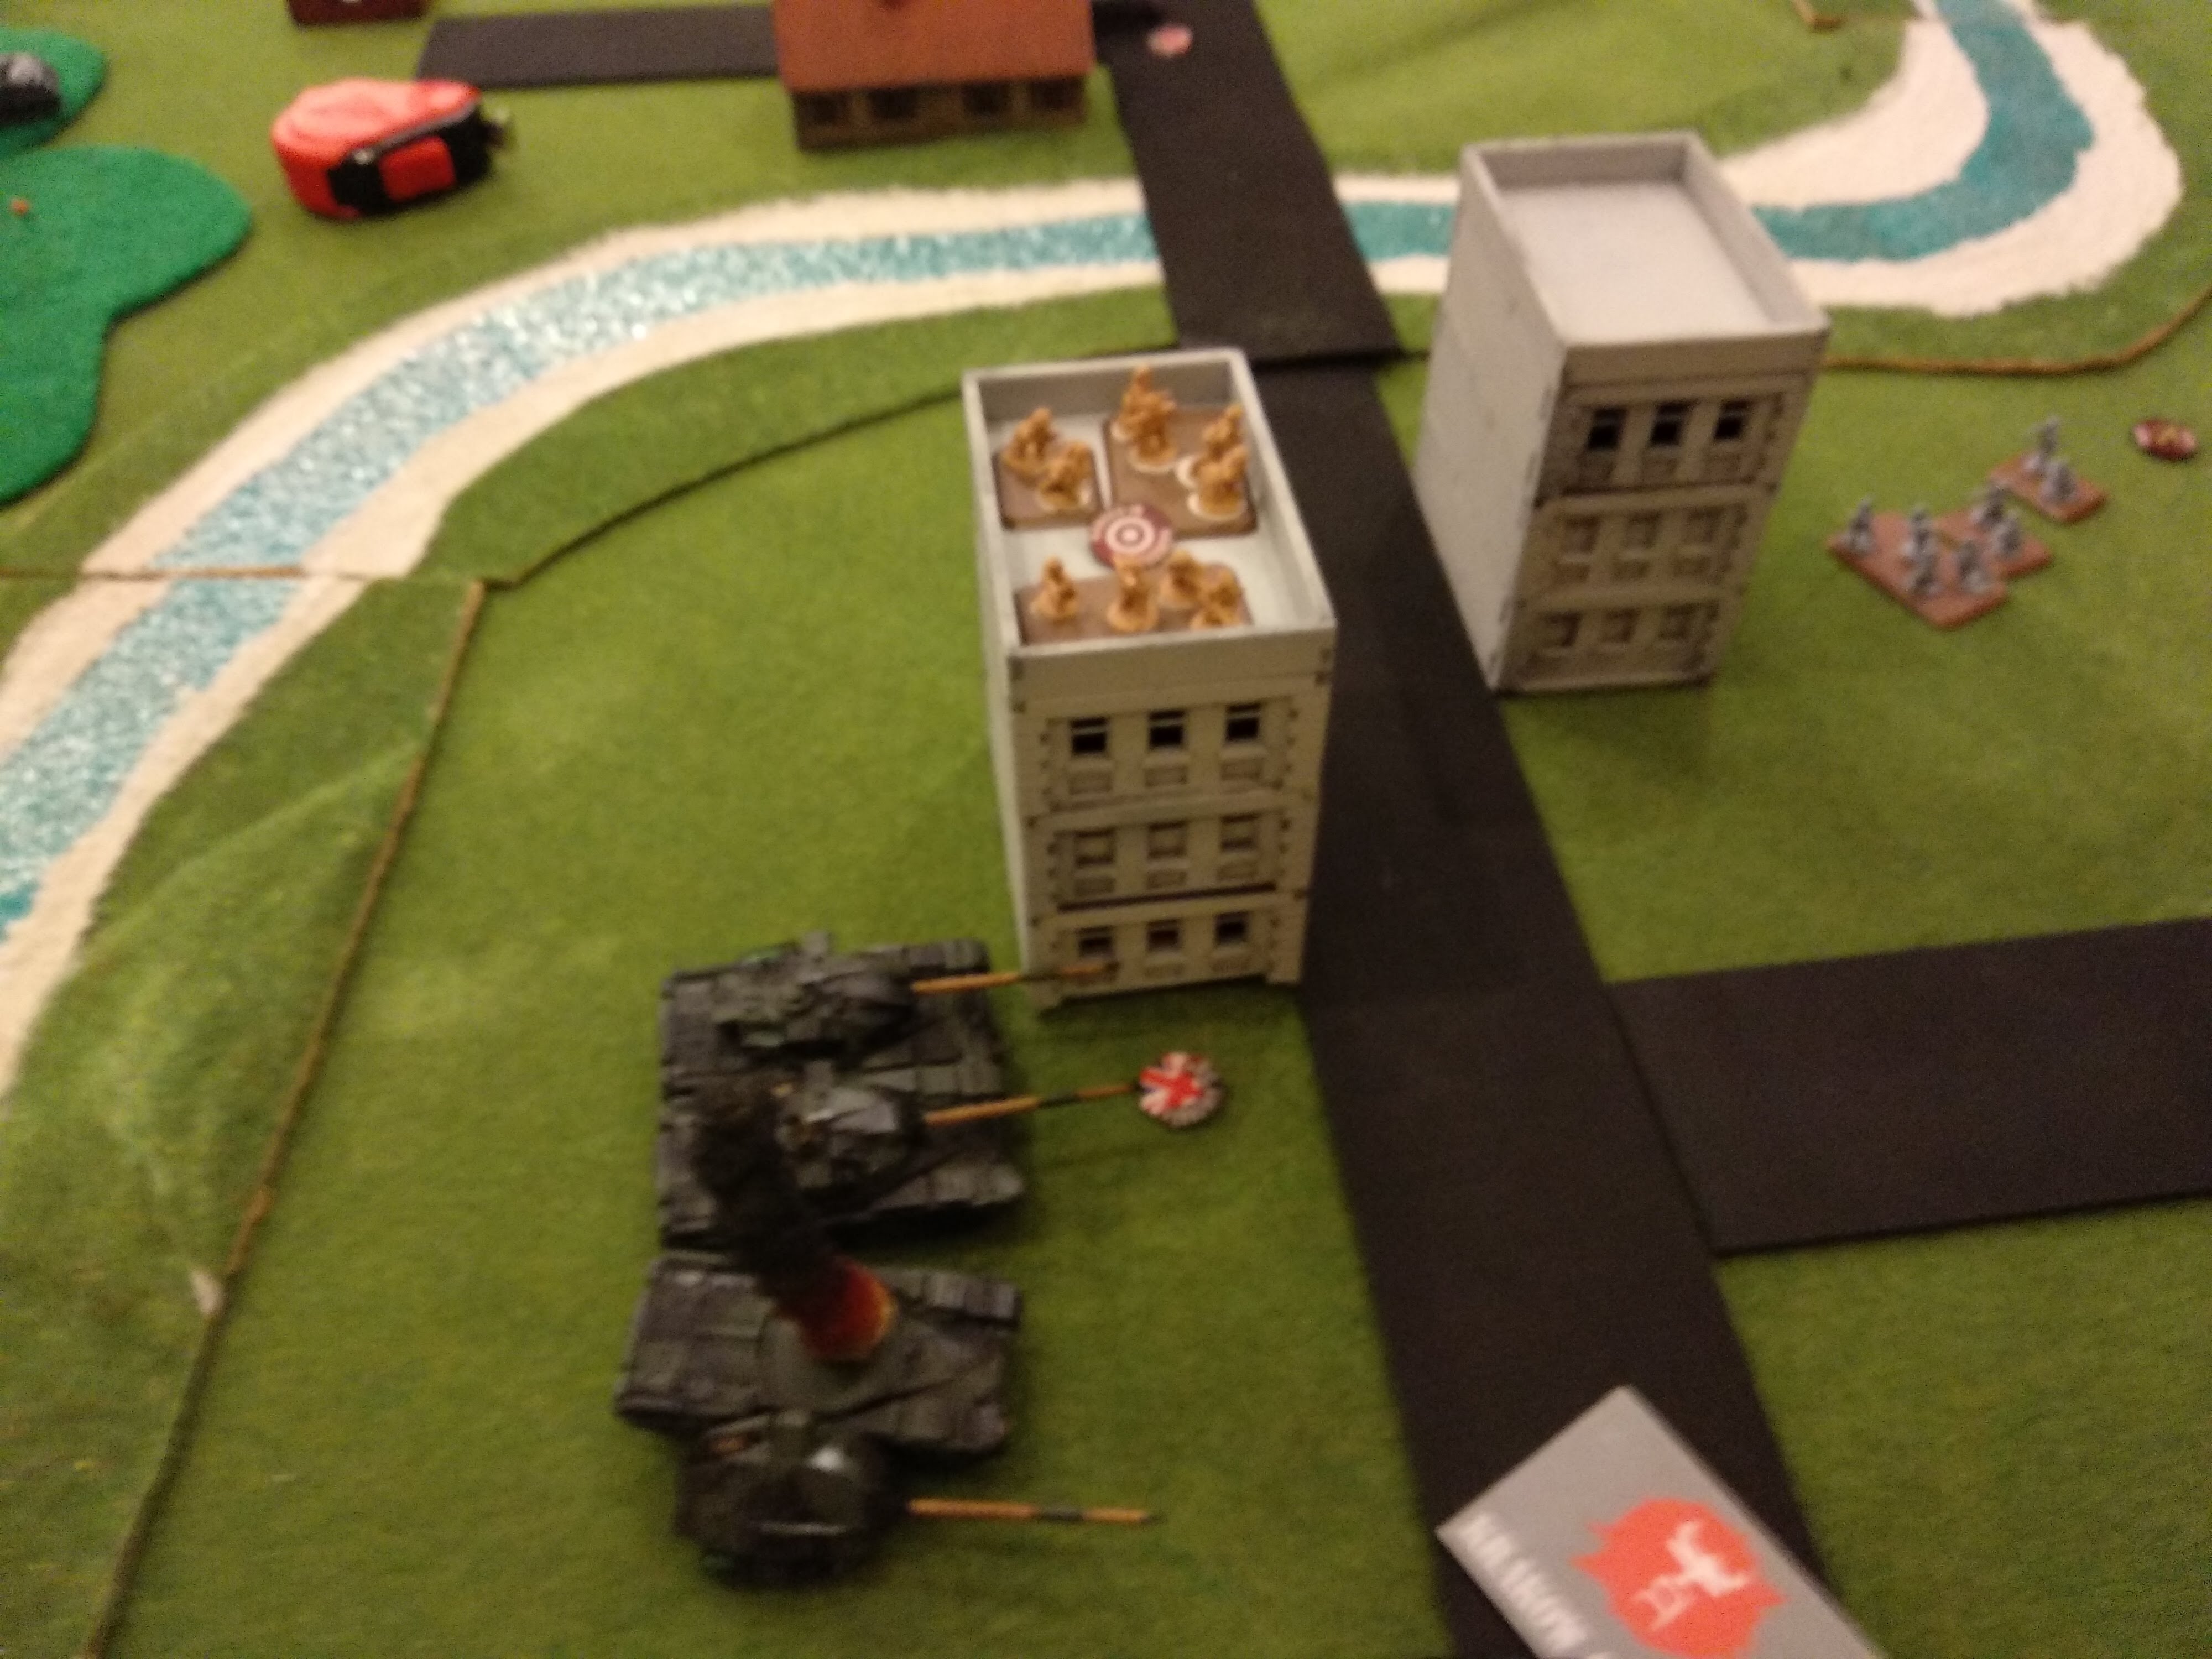
This mission is not that harsh on the NATO player despite deep delayed scattered reserves, as you get 2 ambushes, and I used those gleefully! I held my core, 3 tank troop of chieftains in reserve along with the larger mech. platoon. I had placed a ranged in marker near the railway between the 2 hills in the event of him putting his infantry there (much to my opponents surprise). And placed my small mech. platoon in the apartment building next to the objective, not contesting, but threatening it. My transports placed on the opposite side of the river in the wood, hiding from the enemy.
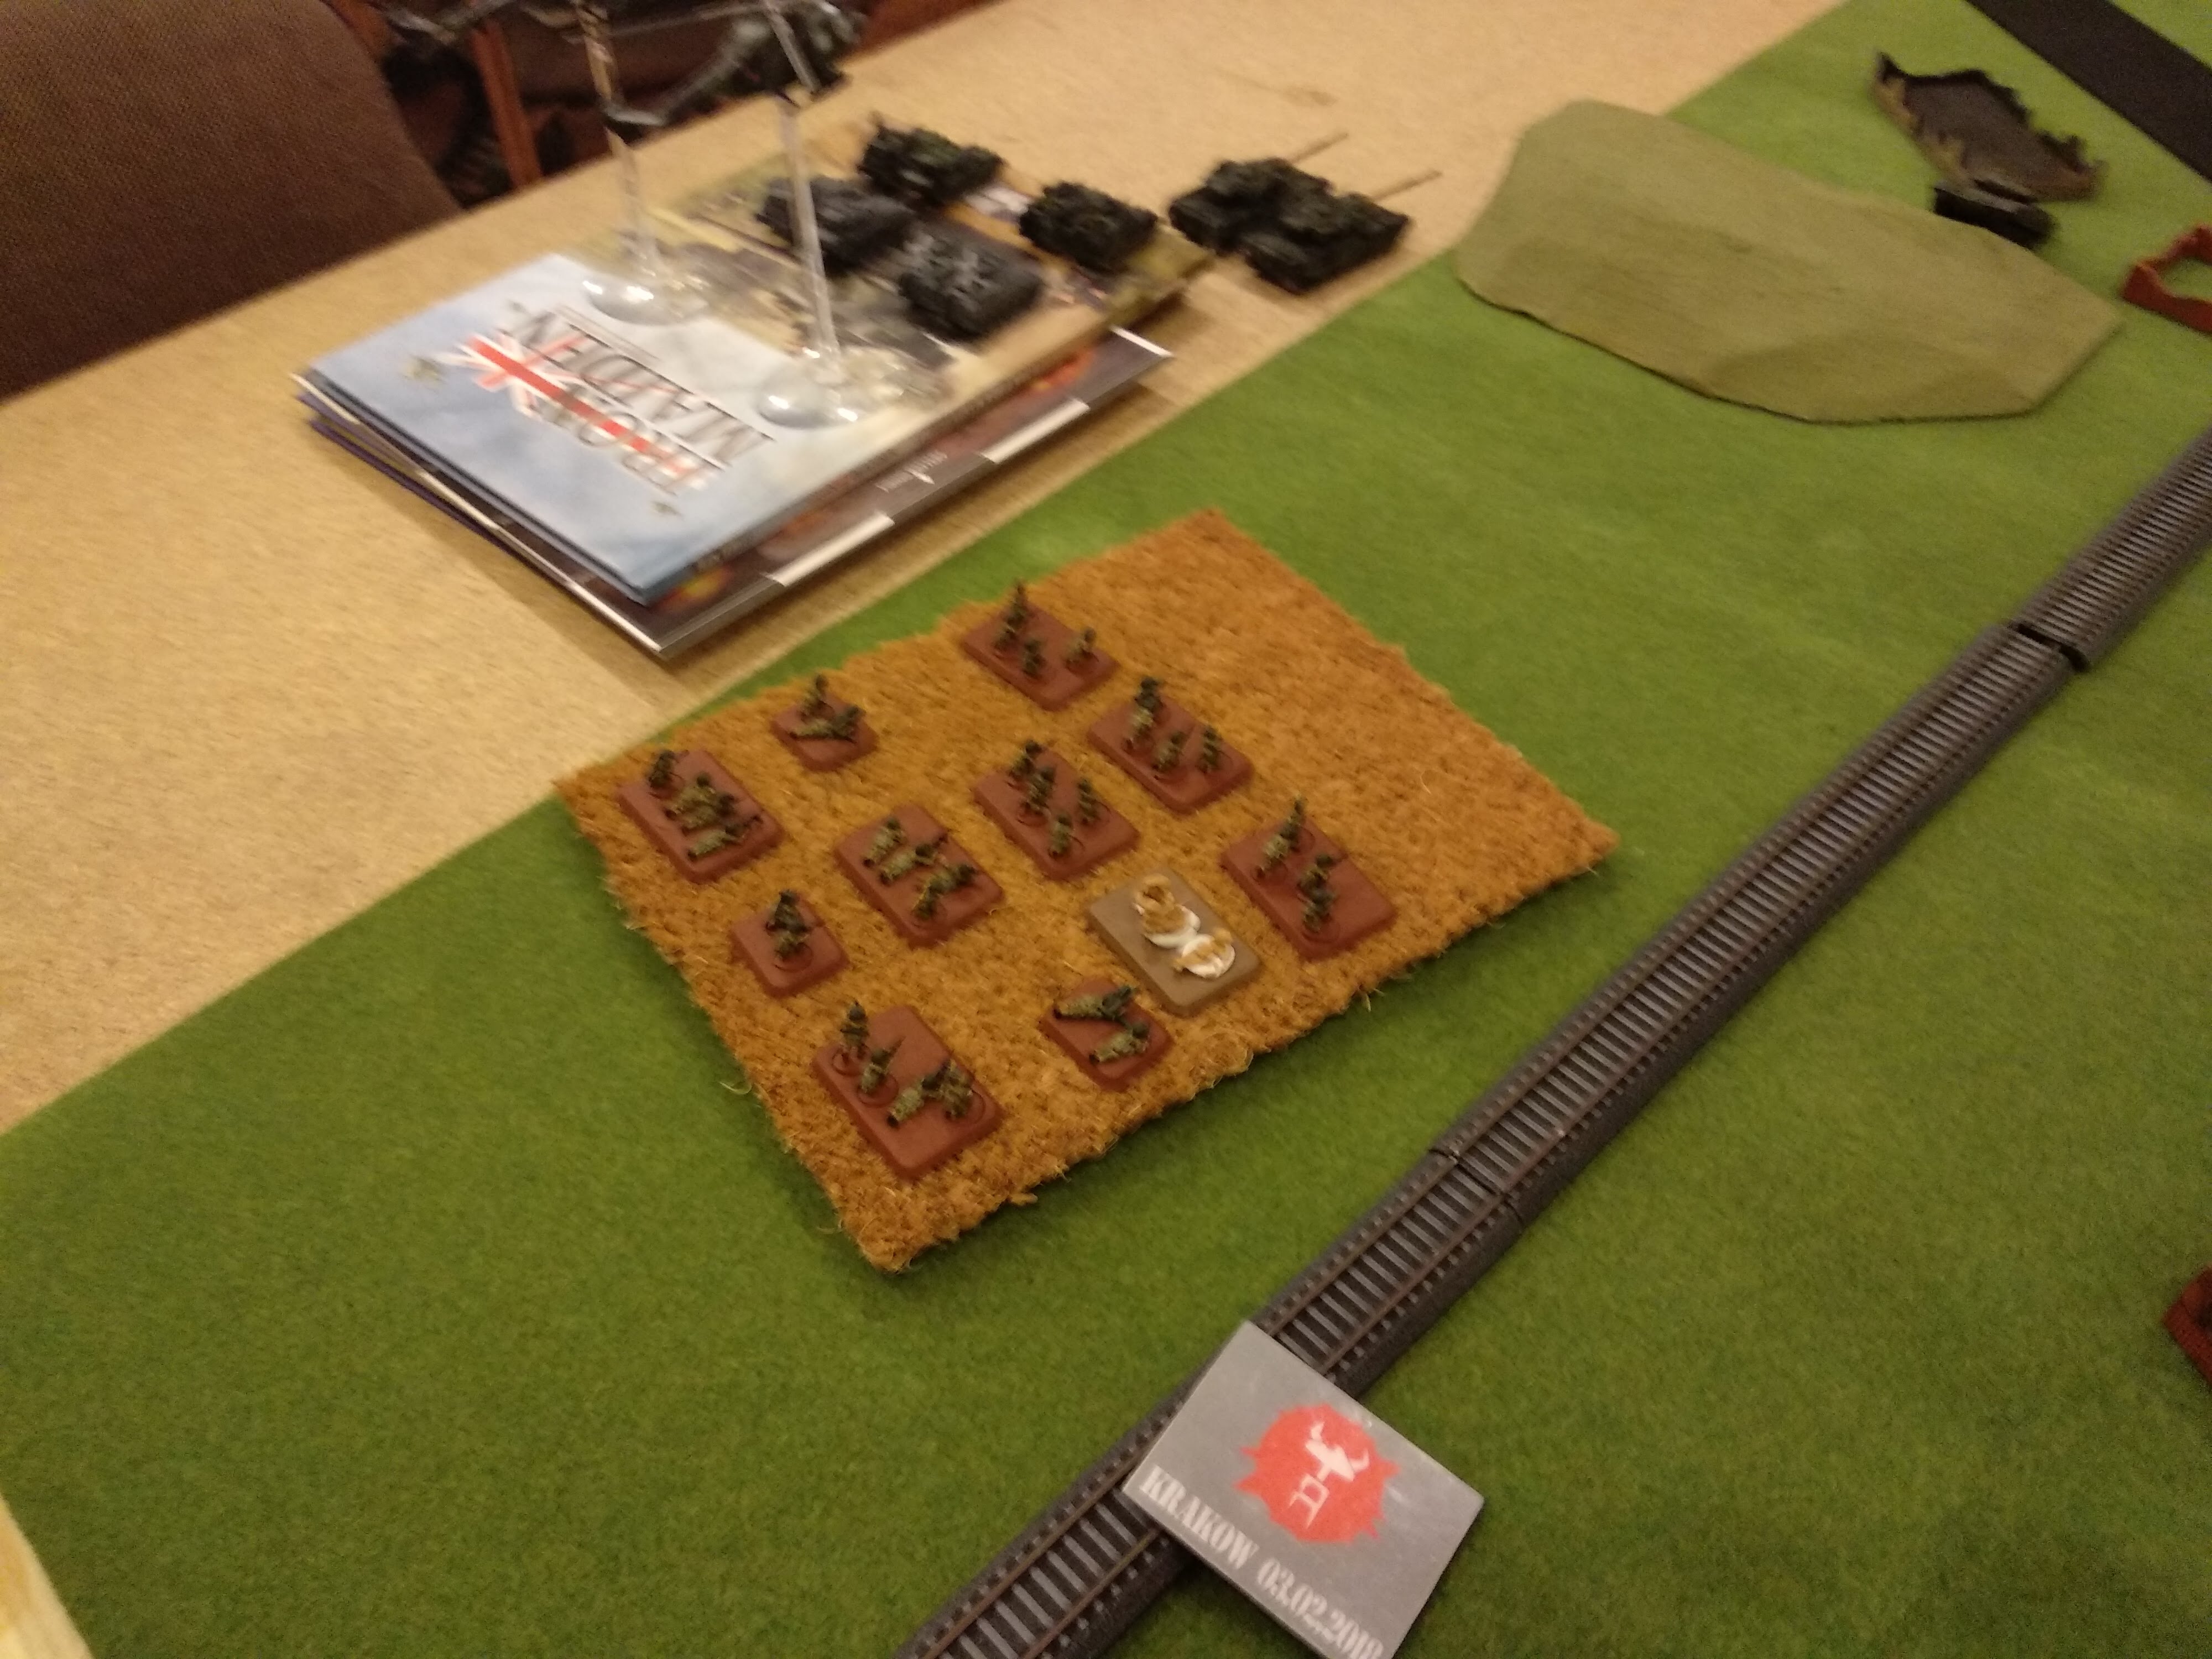
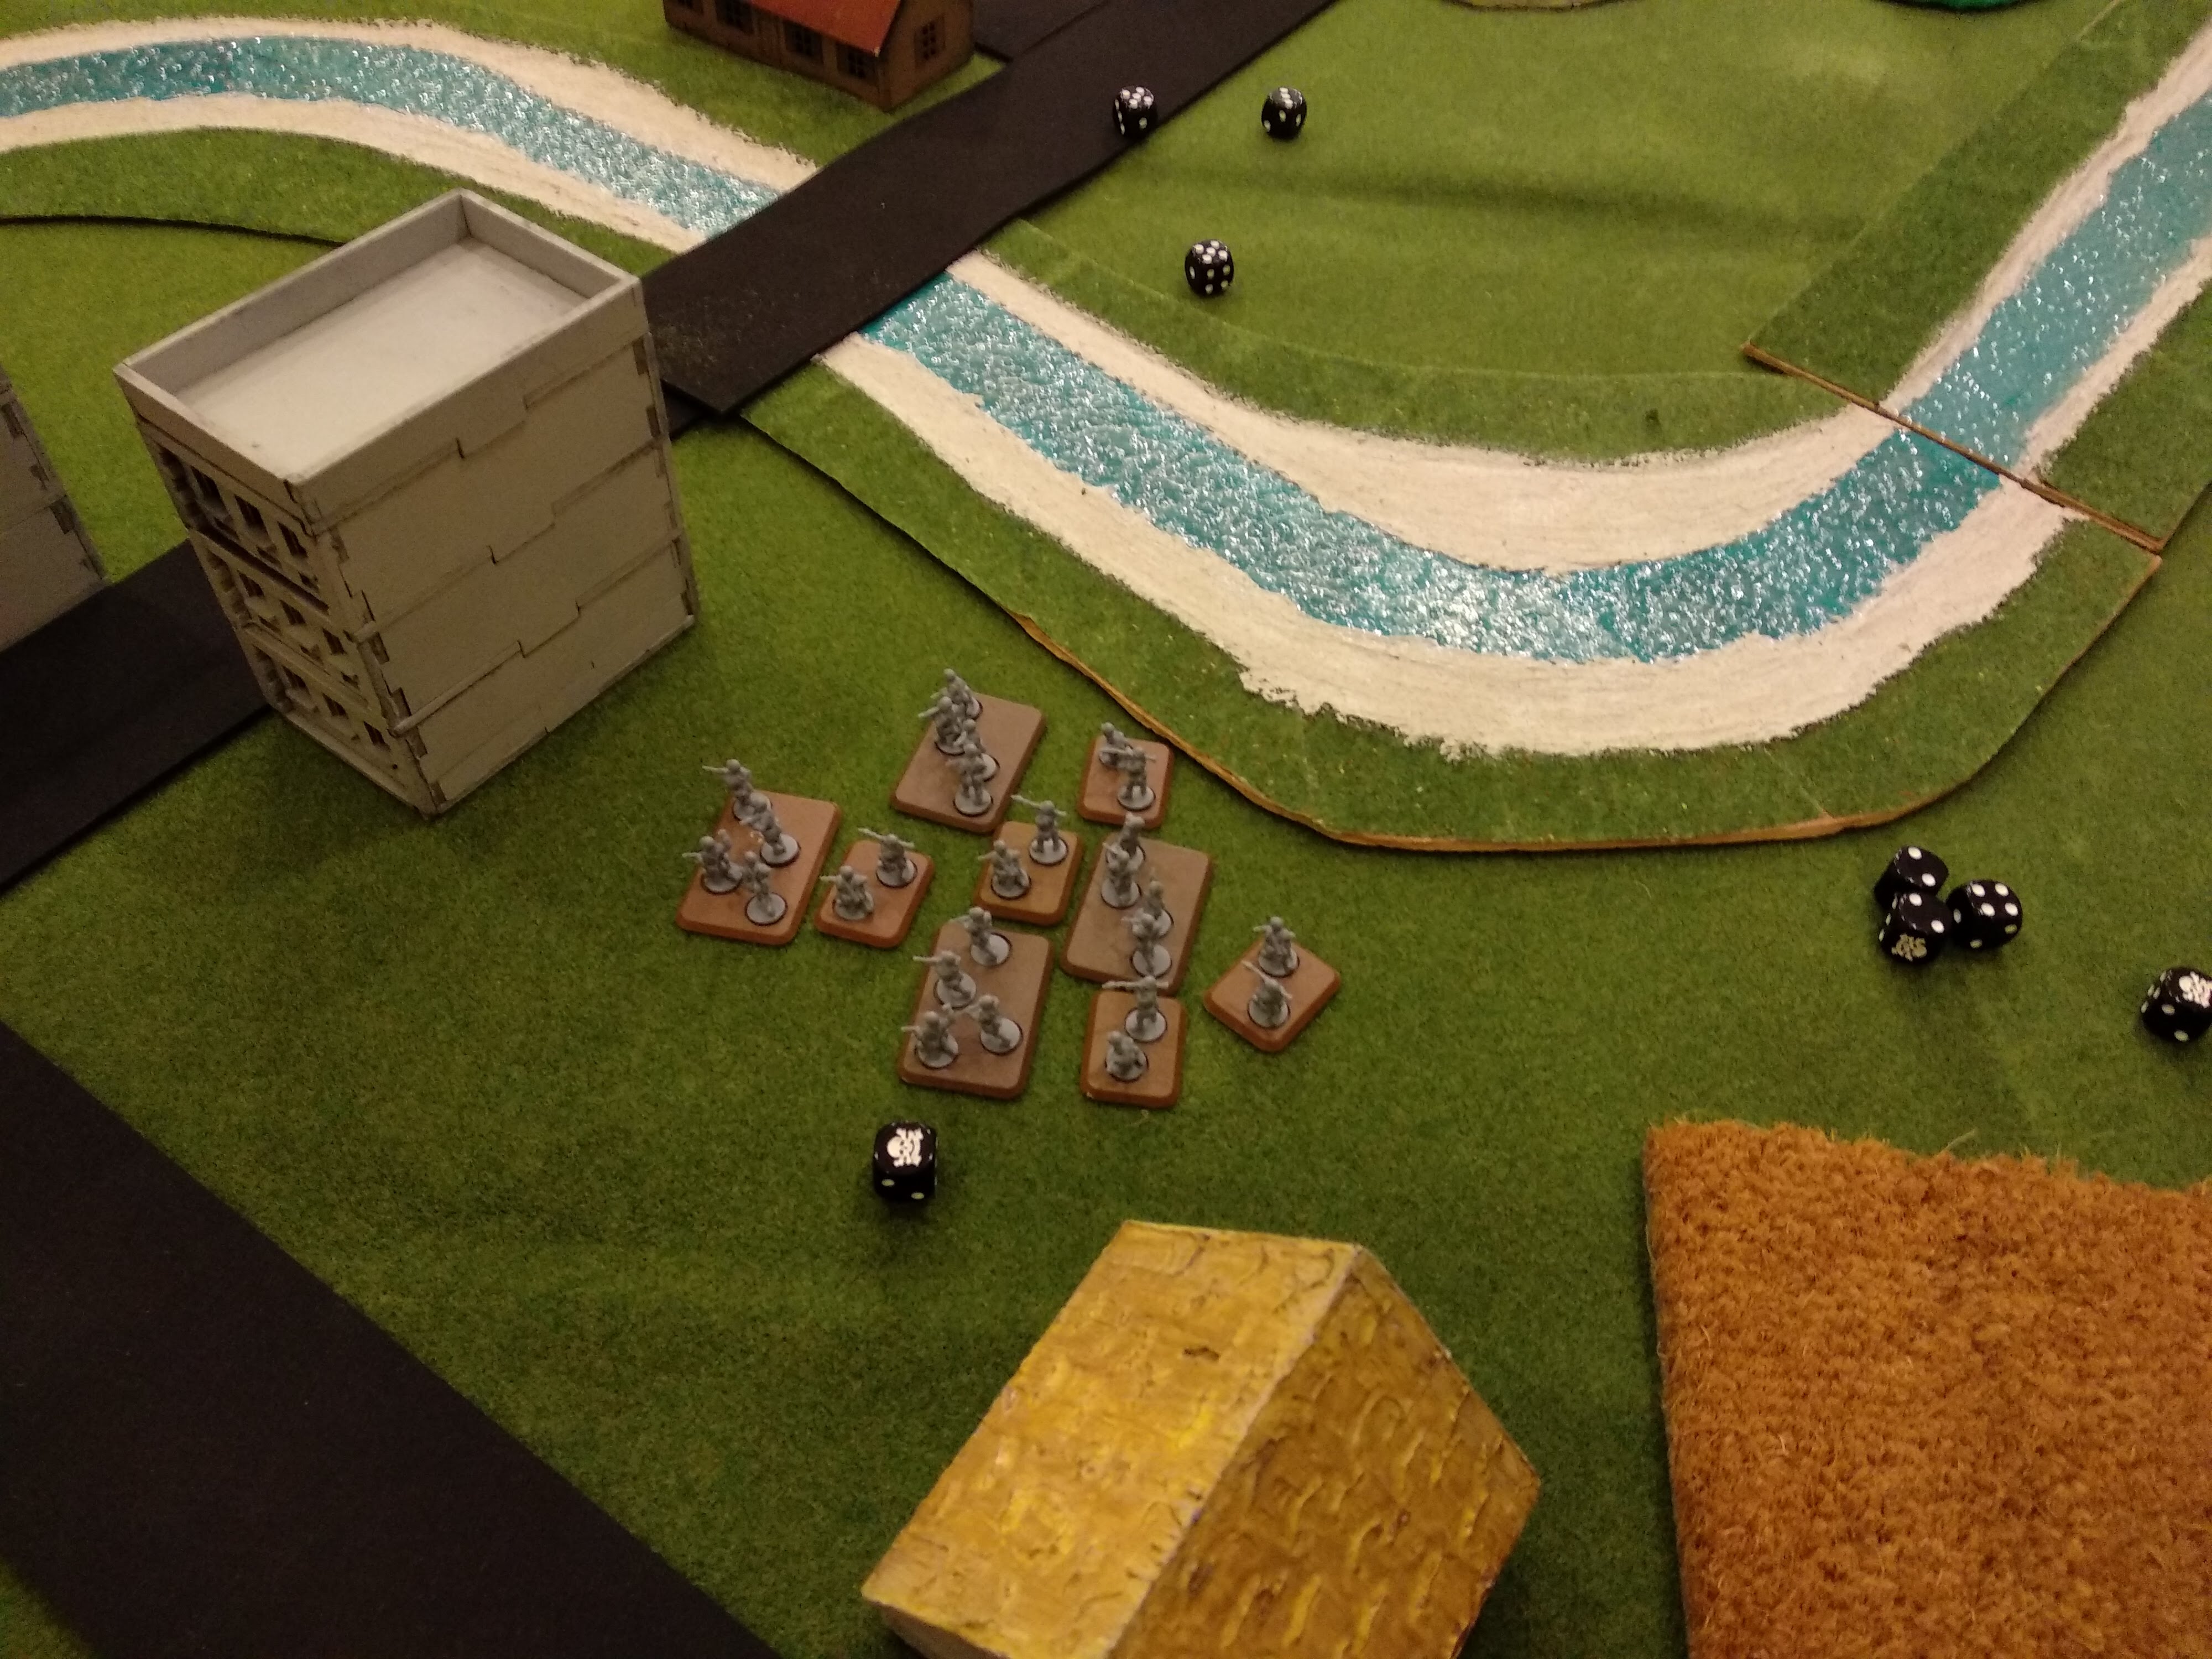
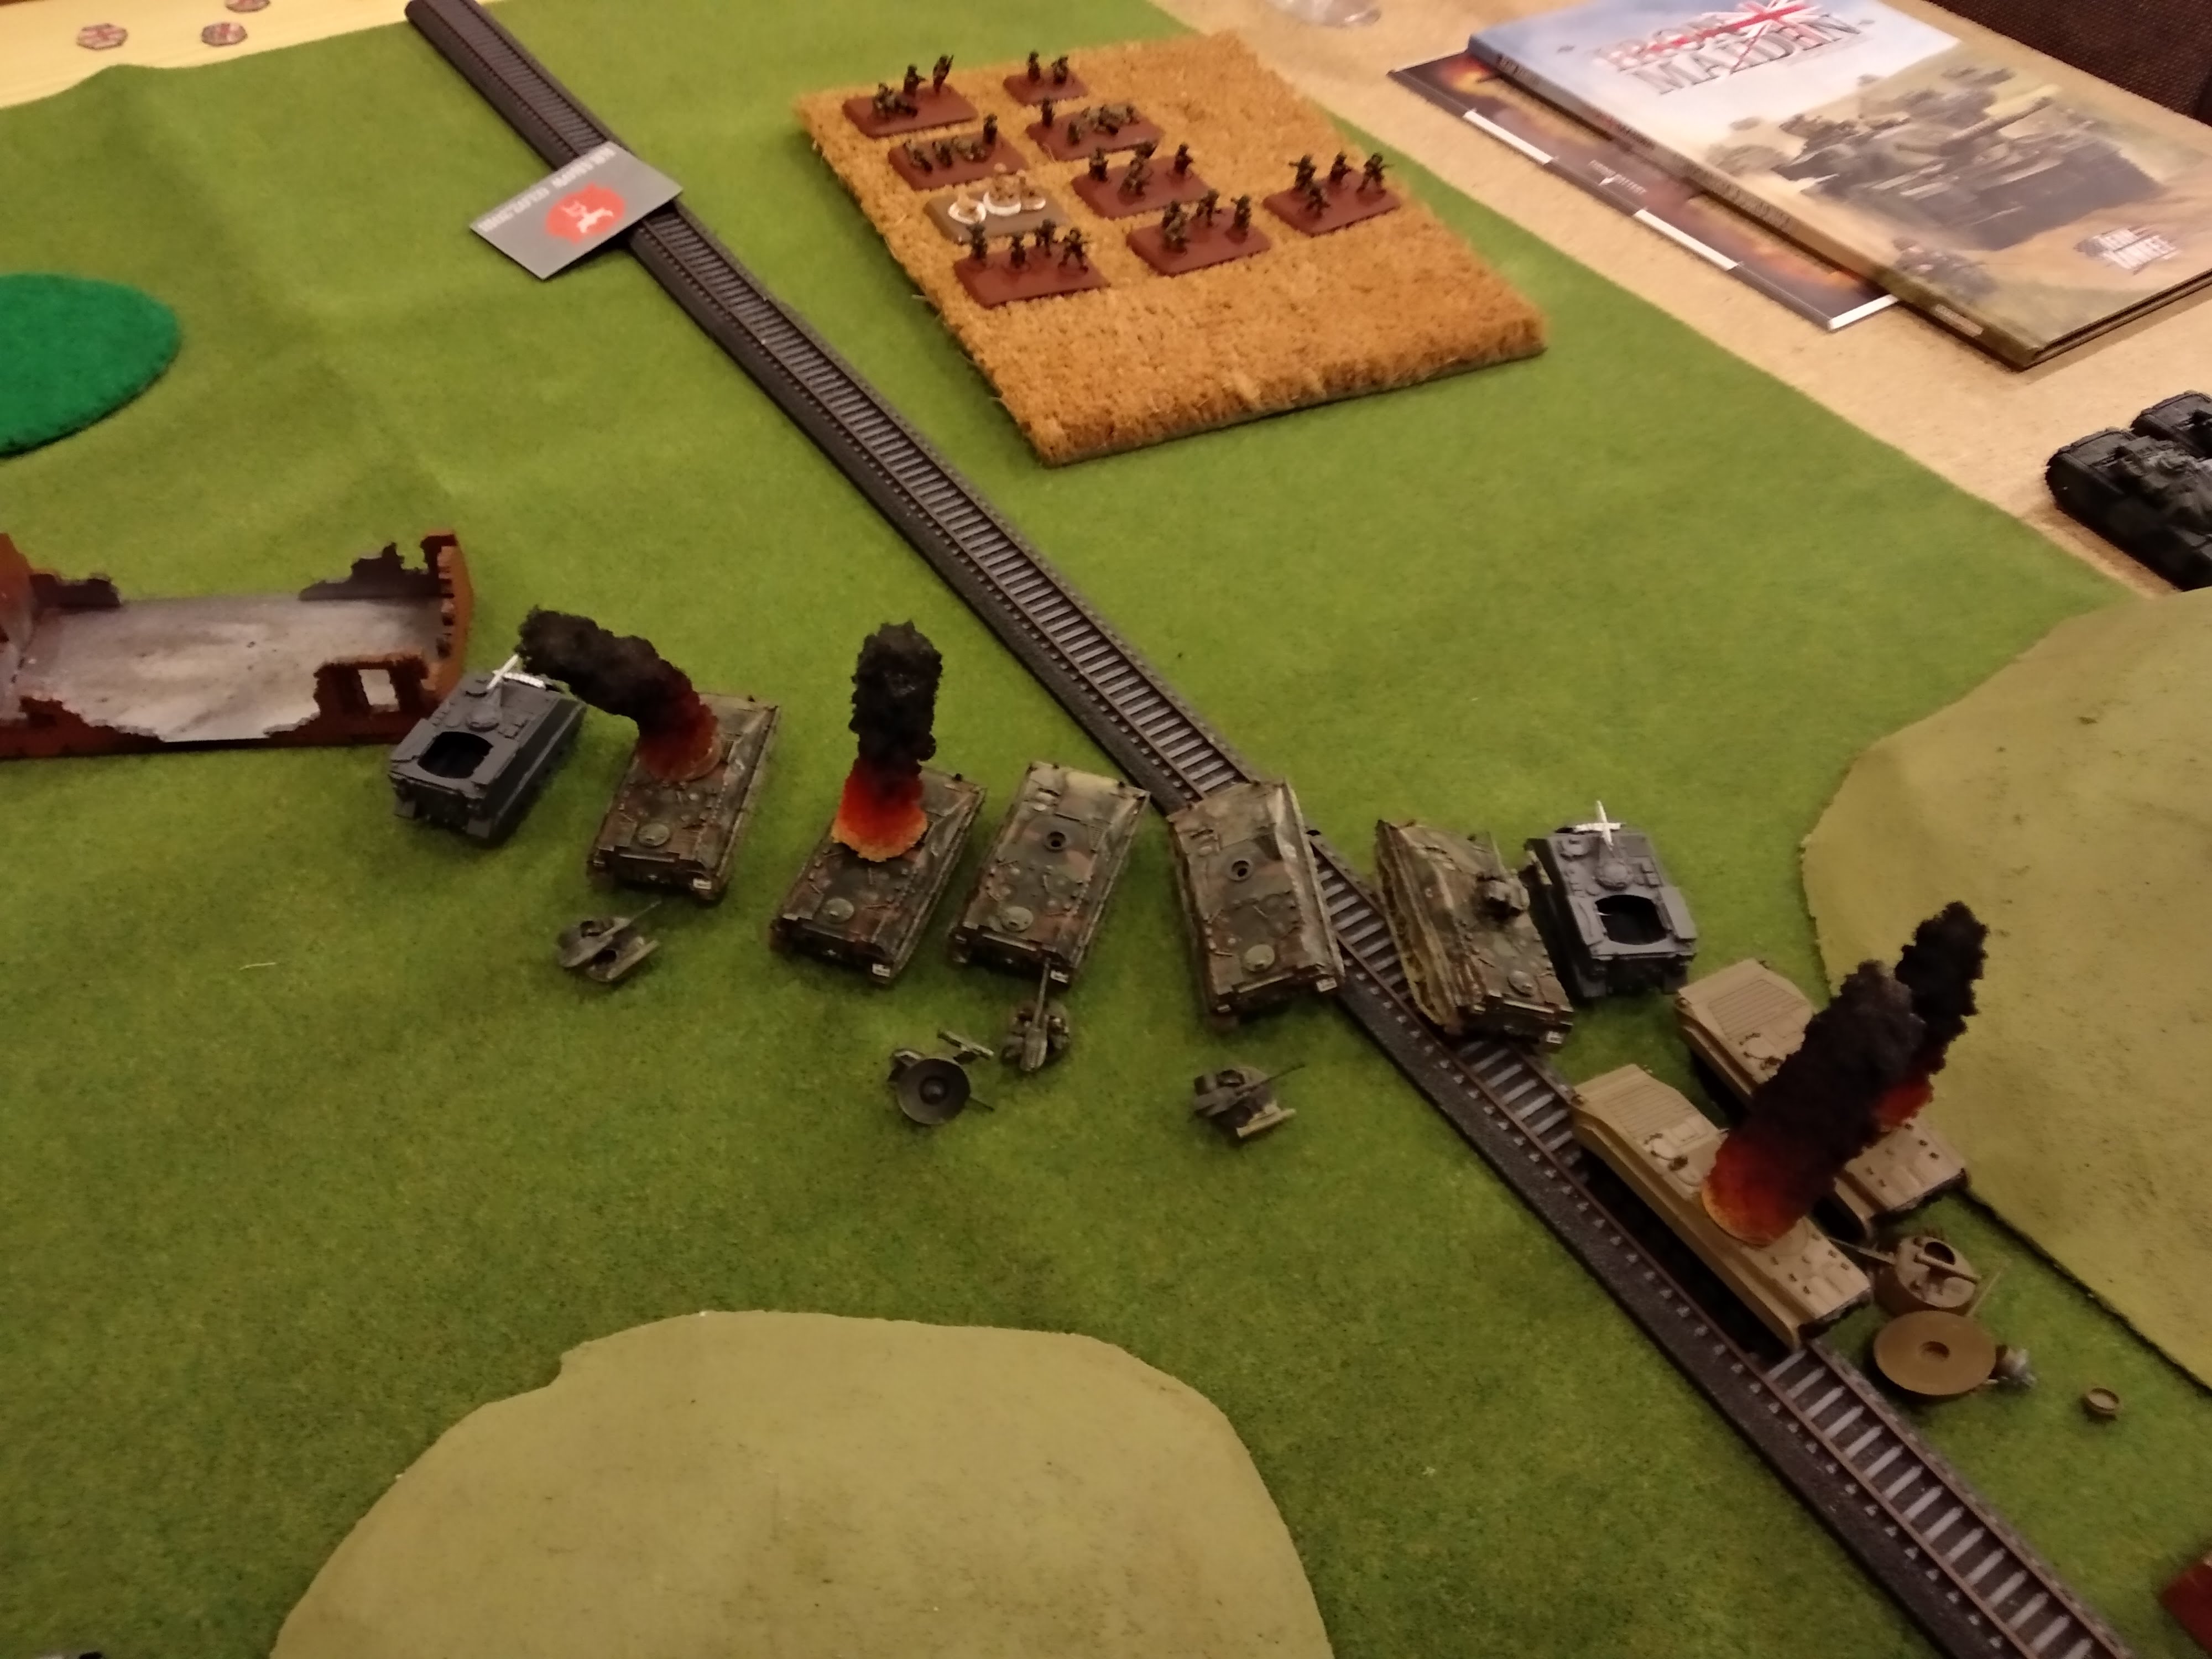
Julek placed his gopher SAM platoon dead centre at the back providing overwatch to the entire table, his tank platoon equipped with ATGMs were placed 2'' into the wood facing my infantry in the apartment building, supported by his motor rifle company concealed in the crop field. Their transports were placed on the opposite side of the map with the support of the battalion commander mostly hidden from view (I guess it's not that easy to hide 9 BMPs).
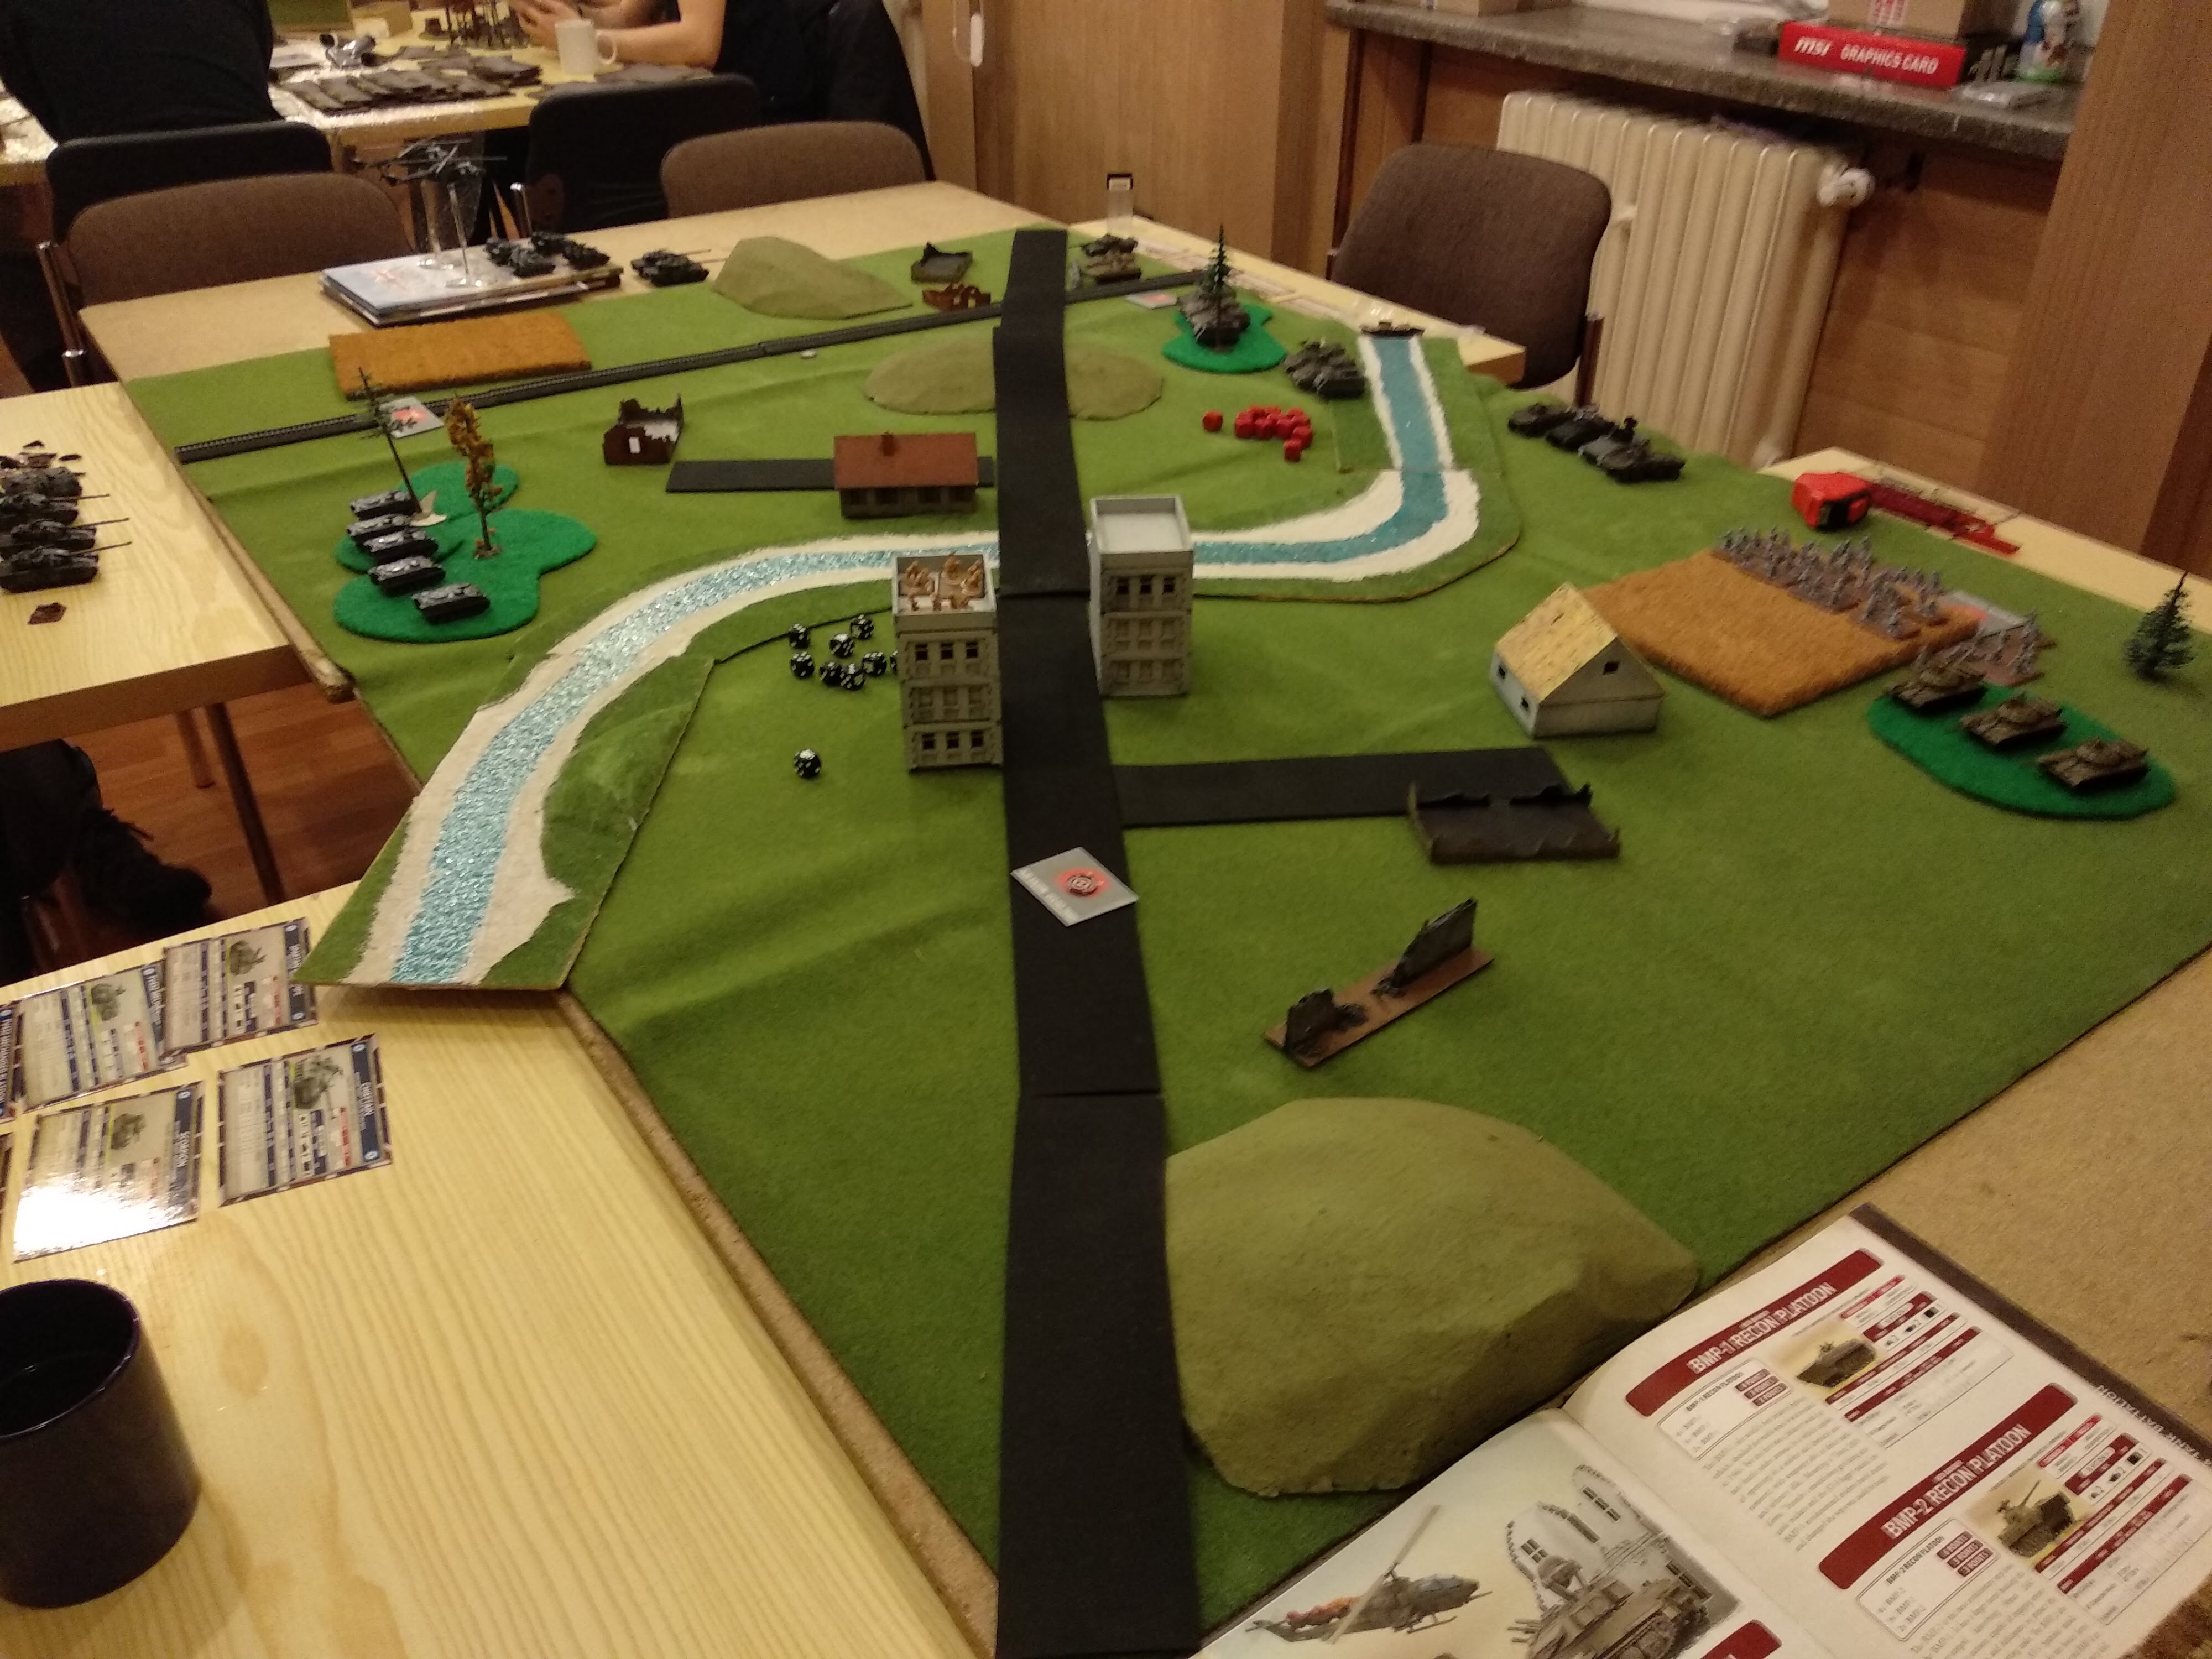
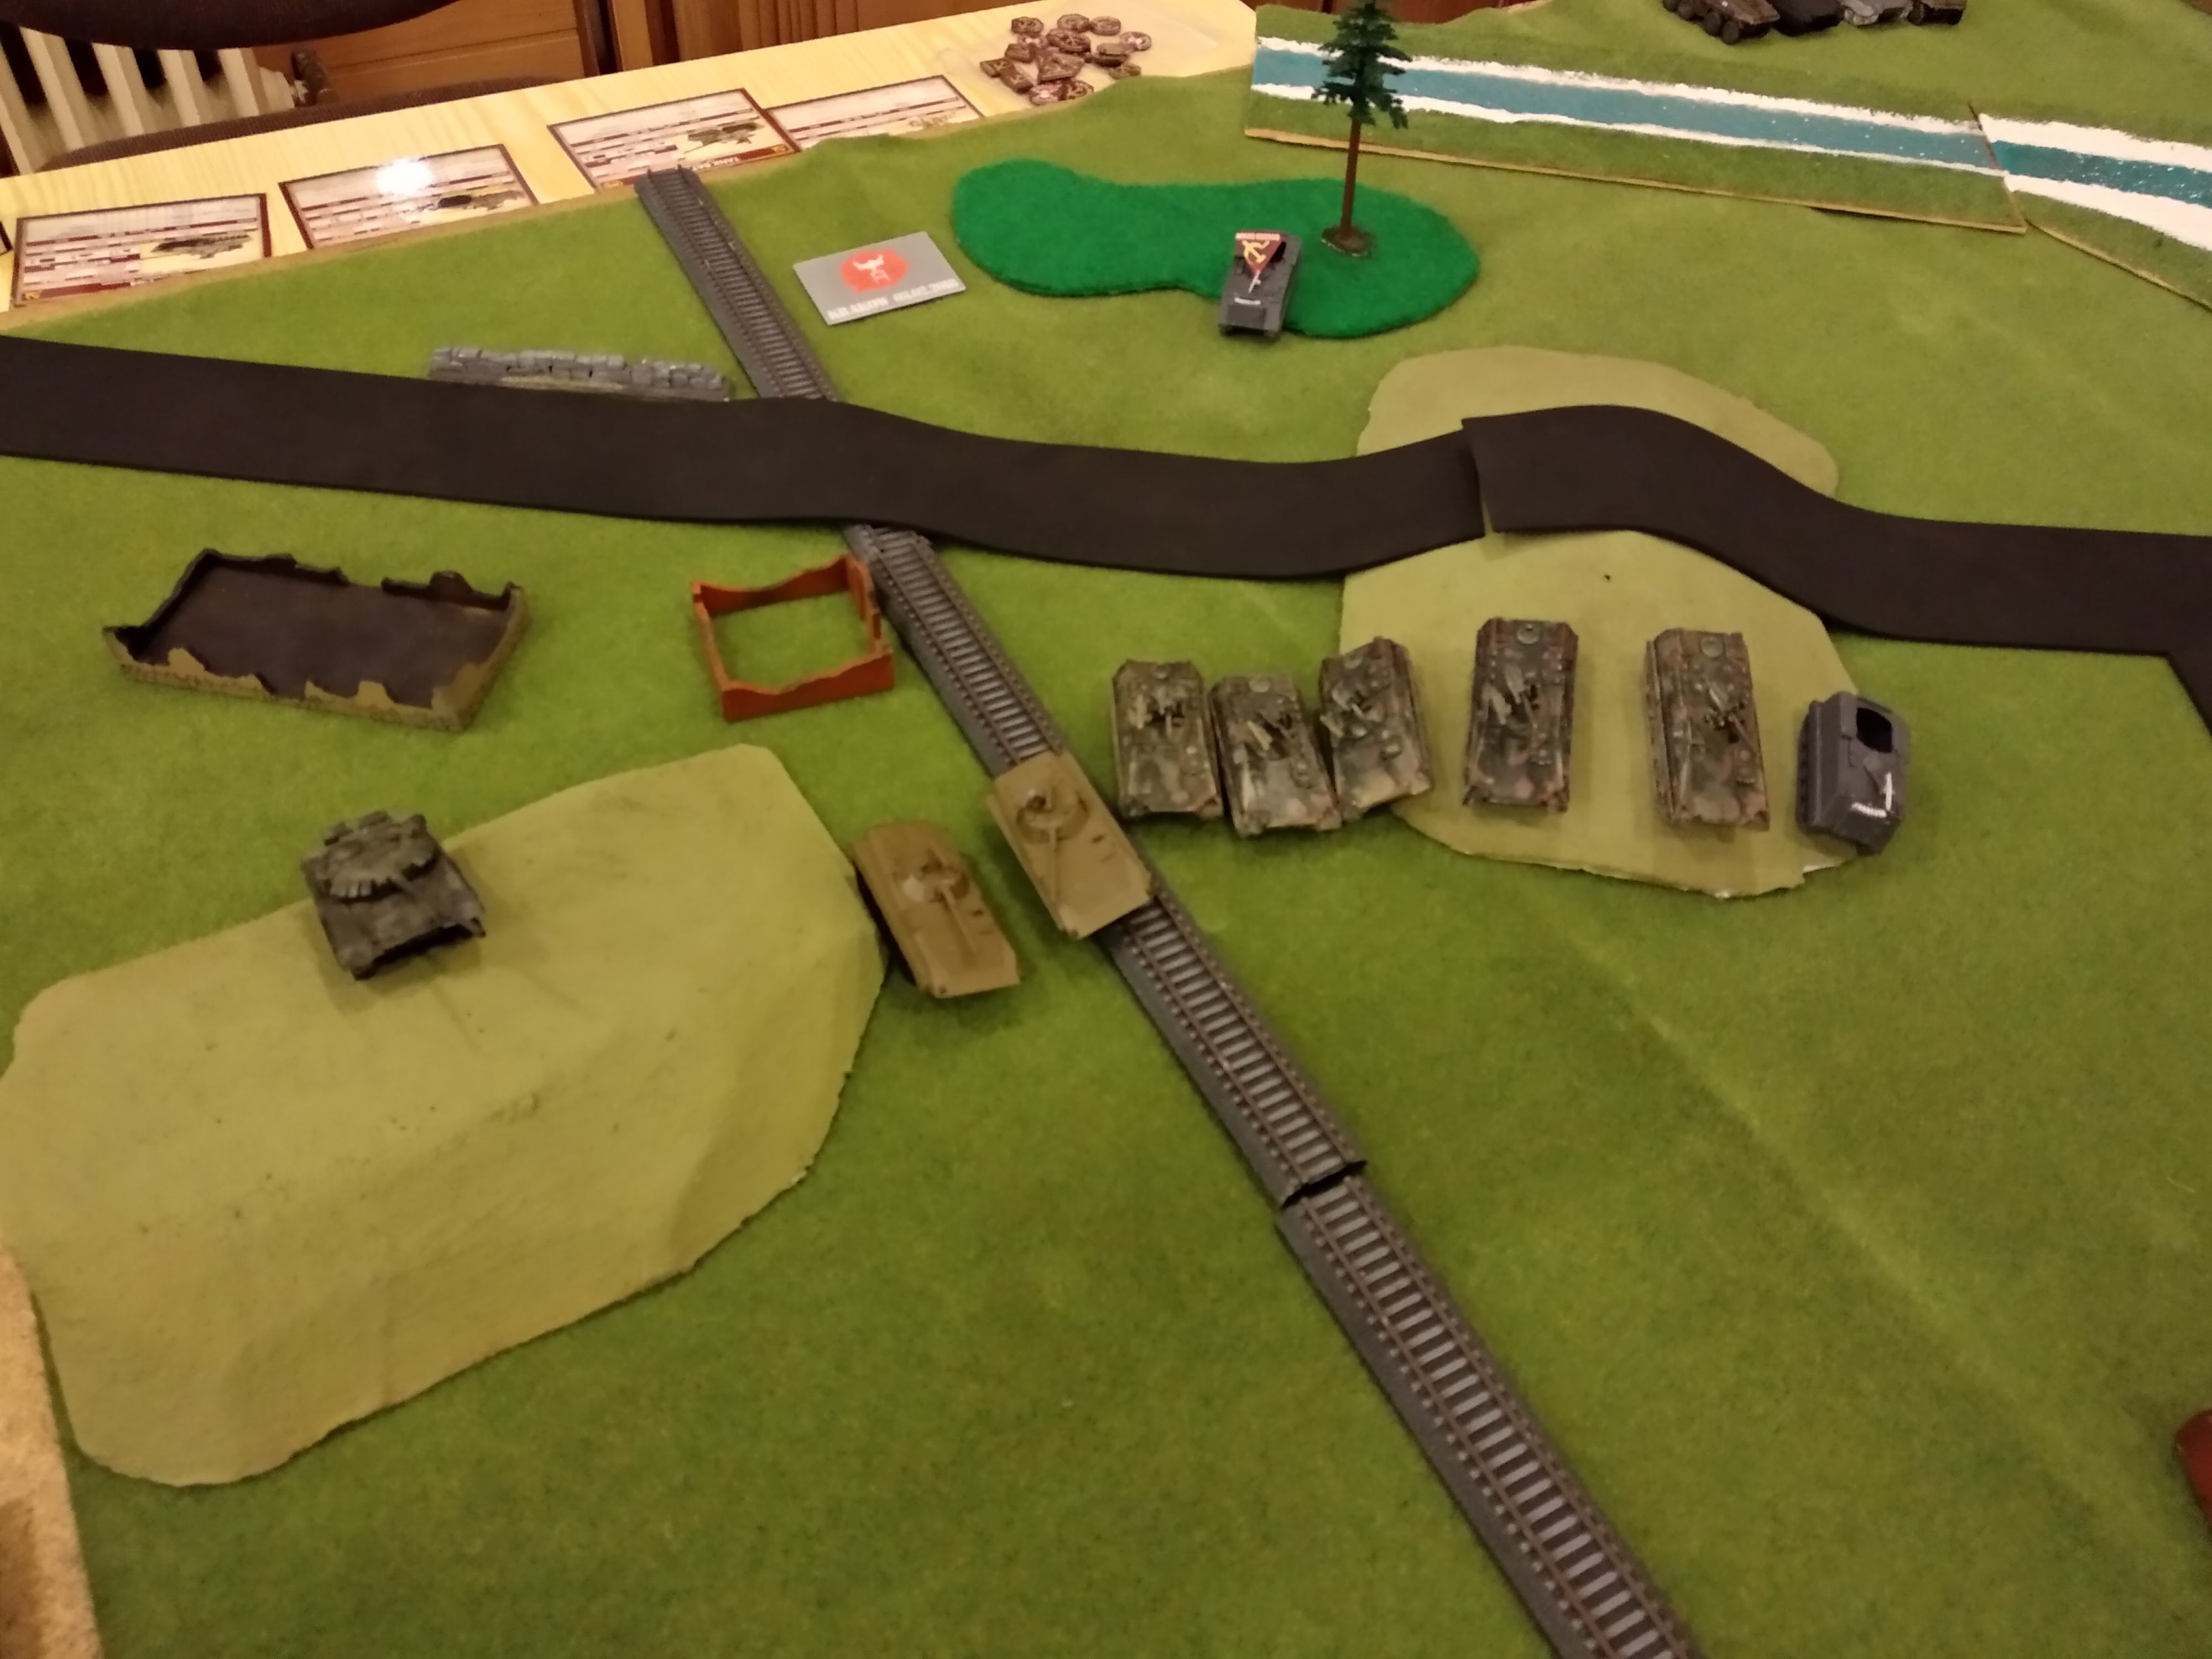
WARPAC kick of the festivities, firstly rolling for immediate reserves, then re-rolling (strong driving force) and thank fully failing to call anything in. Then they manoeuvre their forces slightly, possibly apprehensive to see if I show my hand or not. Julek repositions his BMPs and attempts move move the T-64s out of the forest, but all 3 bog down. He fires on the infantry in the apartment block with his tanks, but hit's nothing.

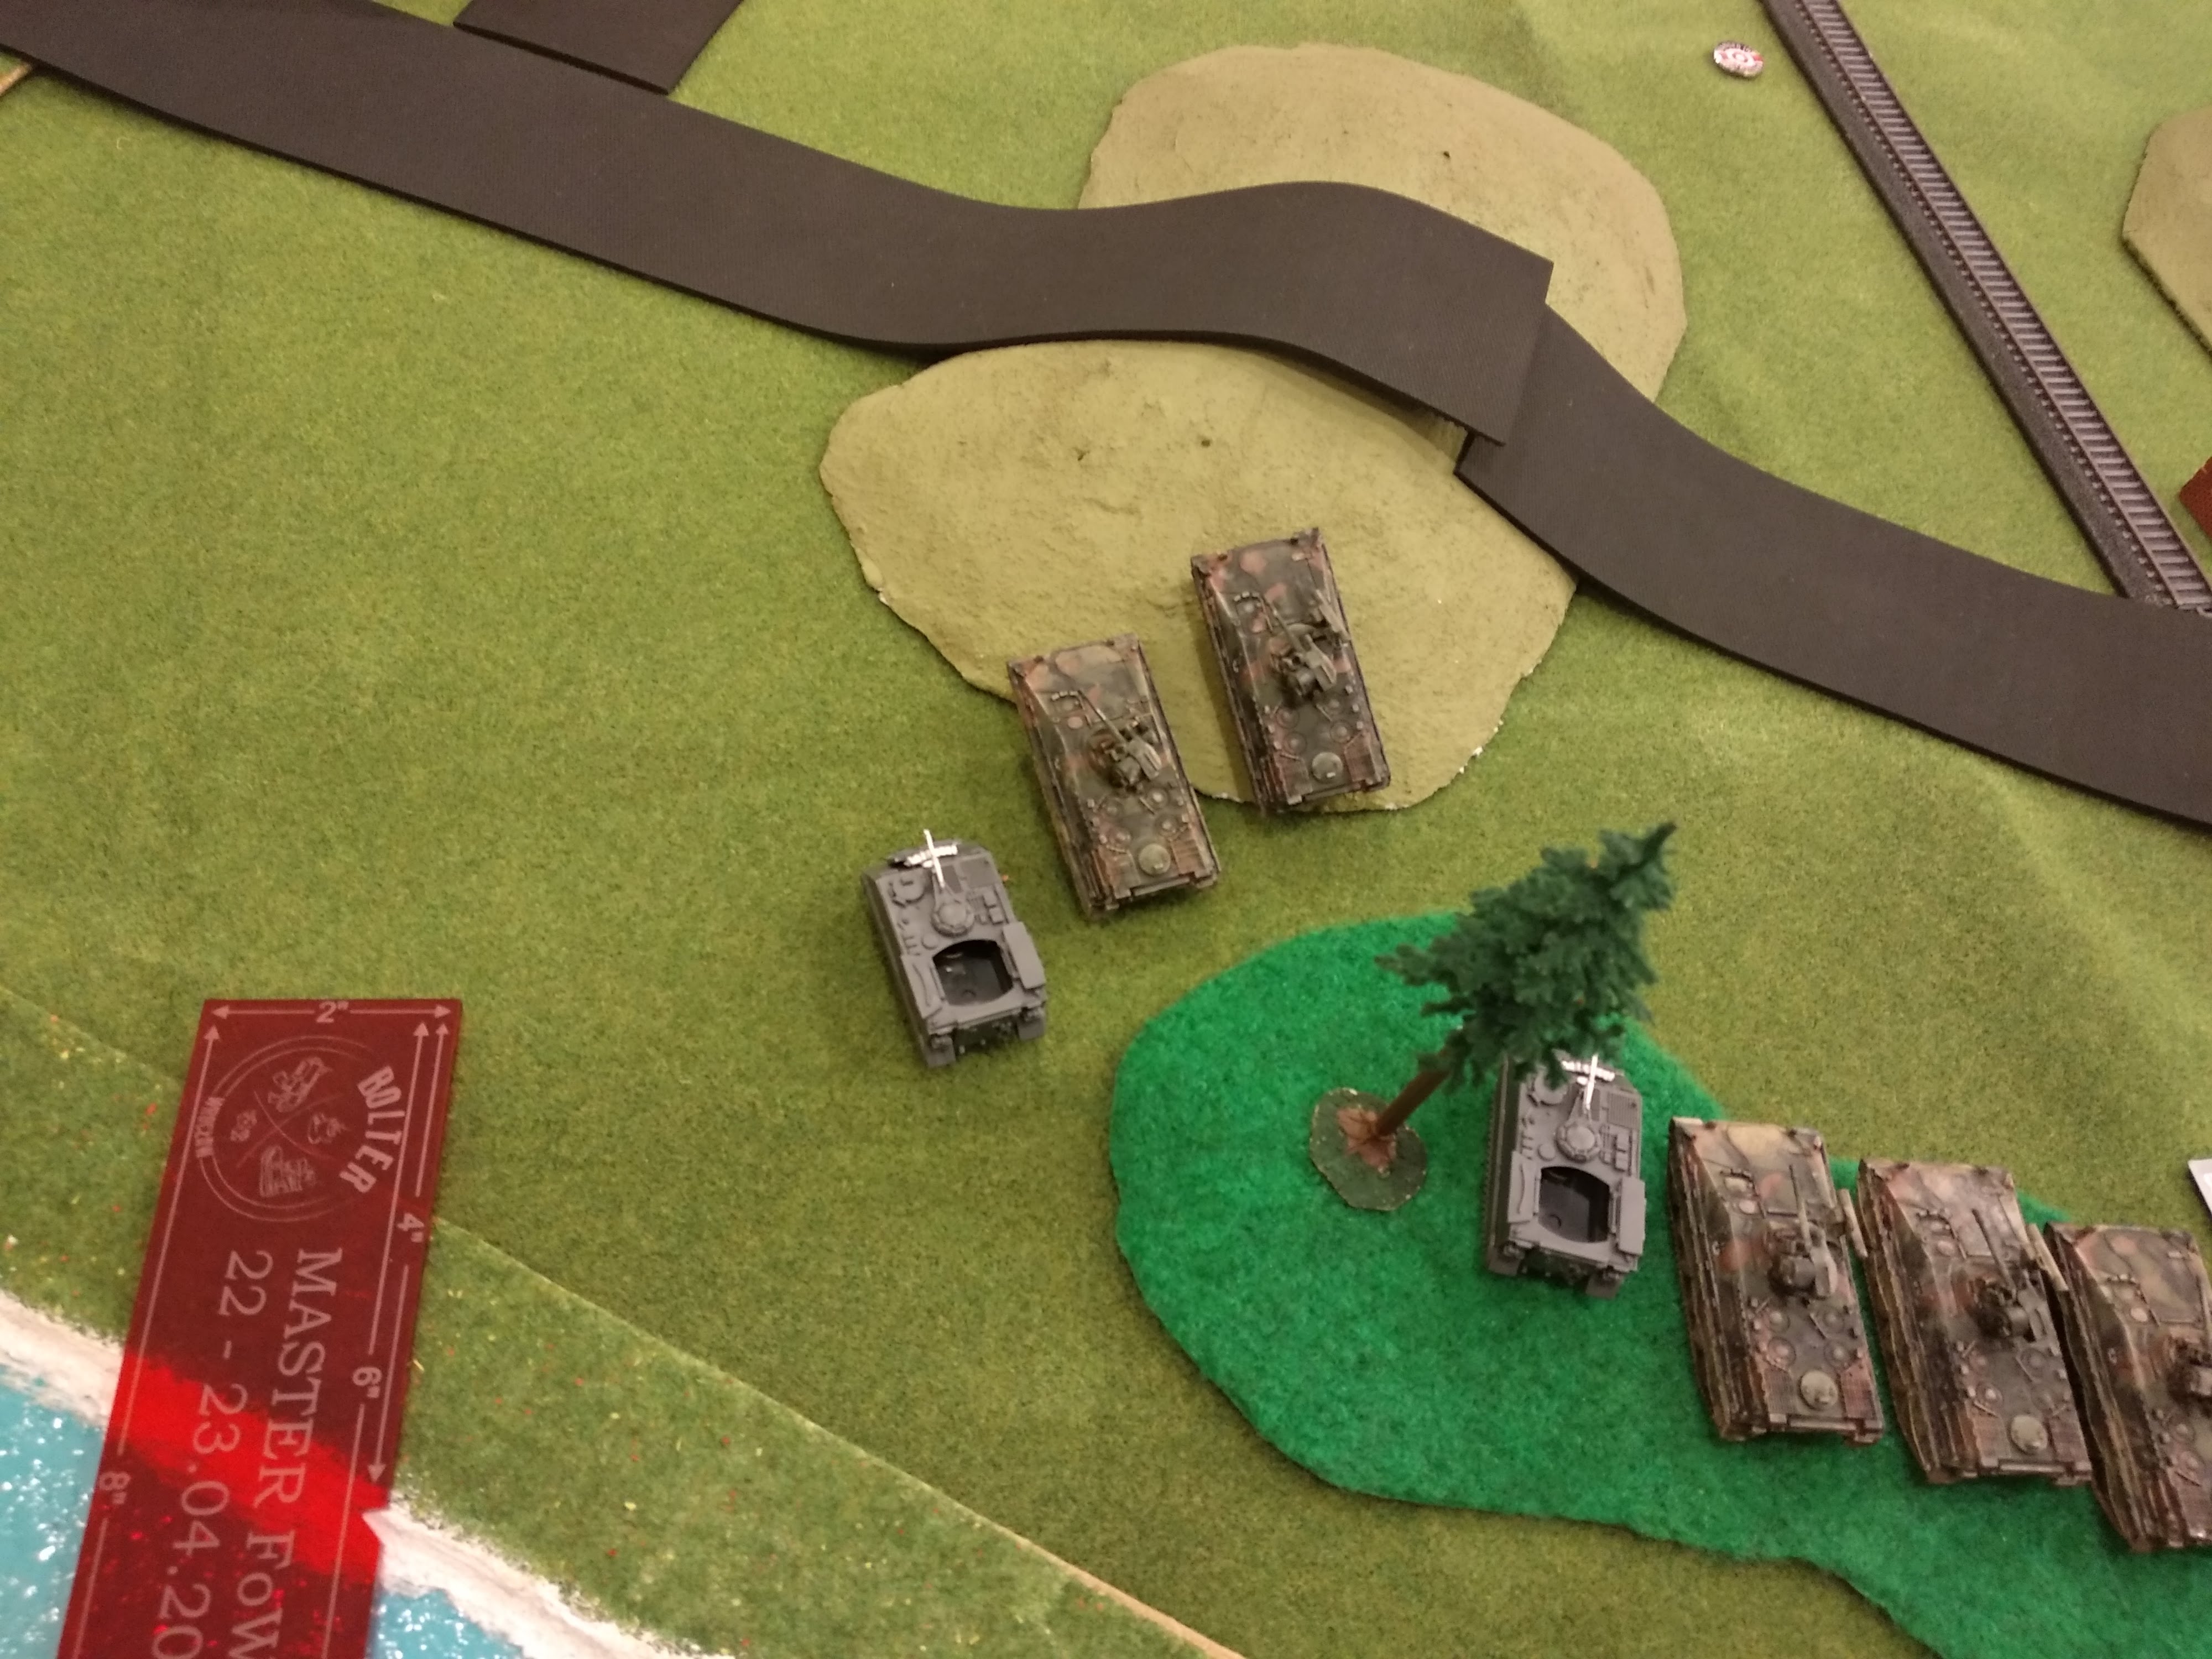

I revealed my ambushes, why wait?? The large mech. platoon was placed in the crop field next to the objective, their transports, in the opposite corner. The chieftains were then placed next to the infantry in the apartment block. The milans in the crop field fired at the BMPs but missed, and the milans and chieftains fire at the T-64s on the edge of the wood killing 2. They subsequently passed their morale check, boooo! I then used my commander observe the fall of shot for the SFMG just in front of the infantry in the crop field, not killing anyone but pinning the unit.


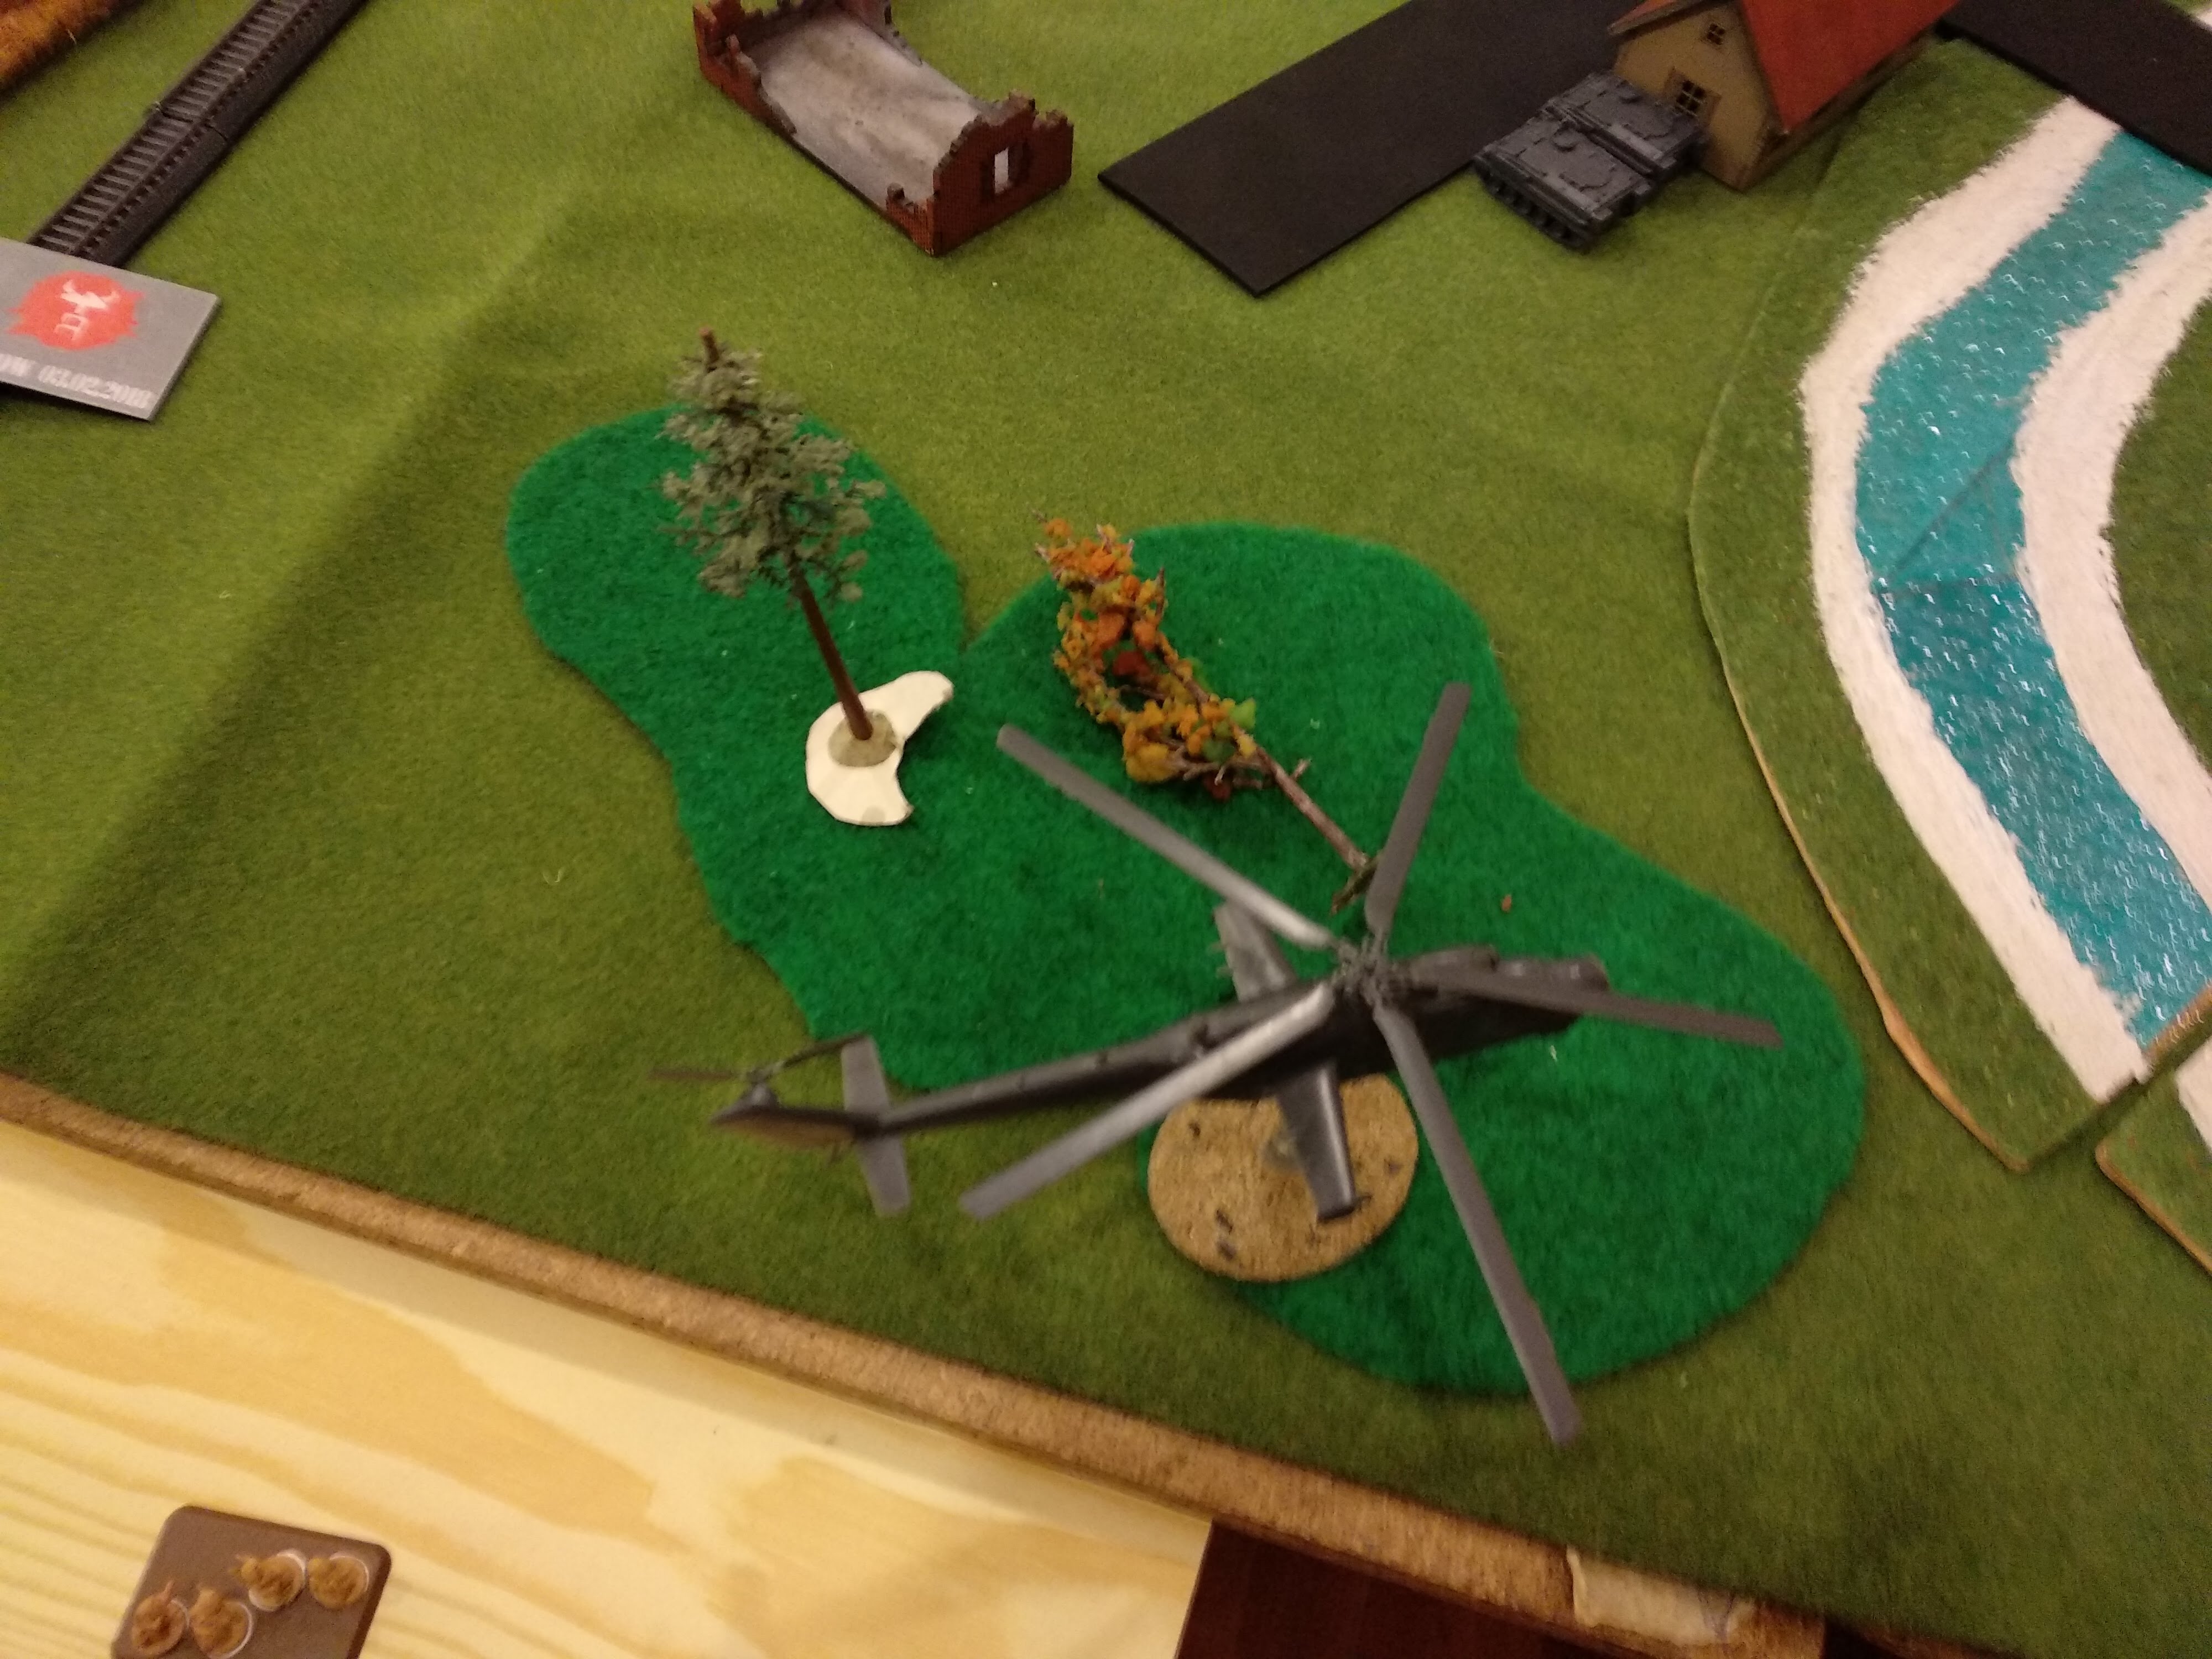
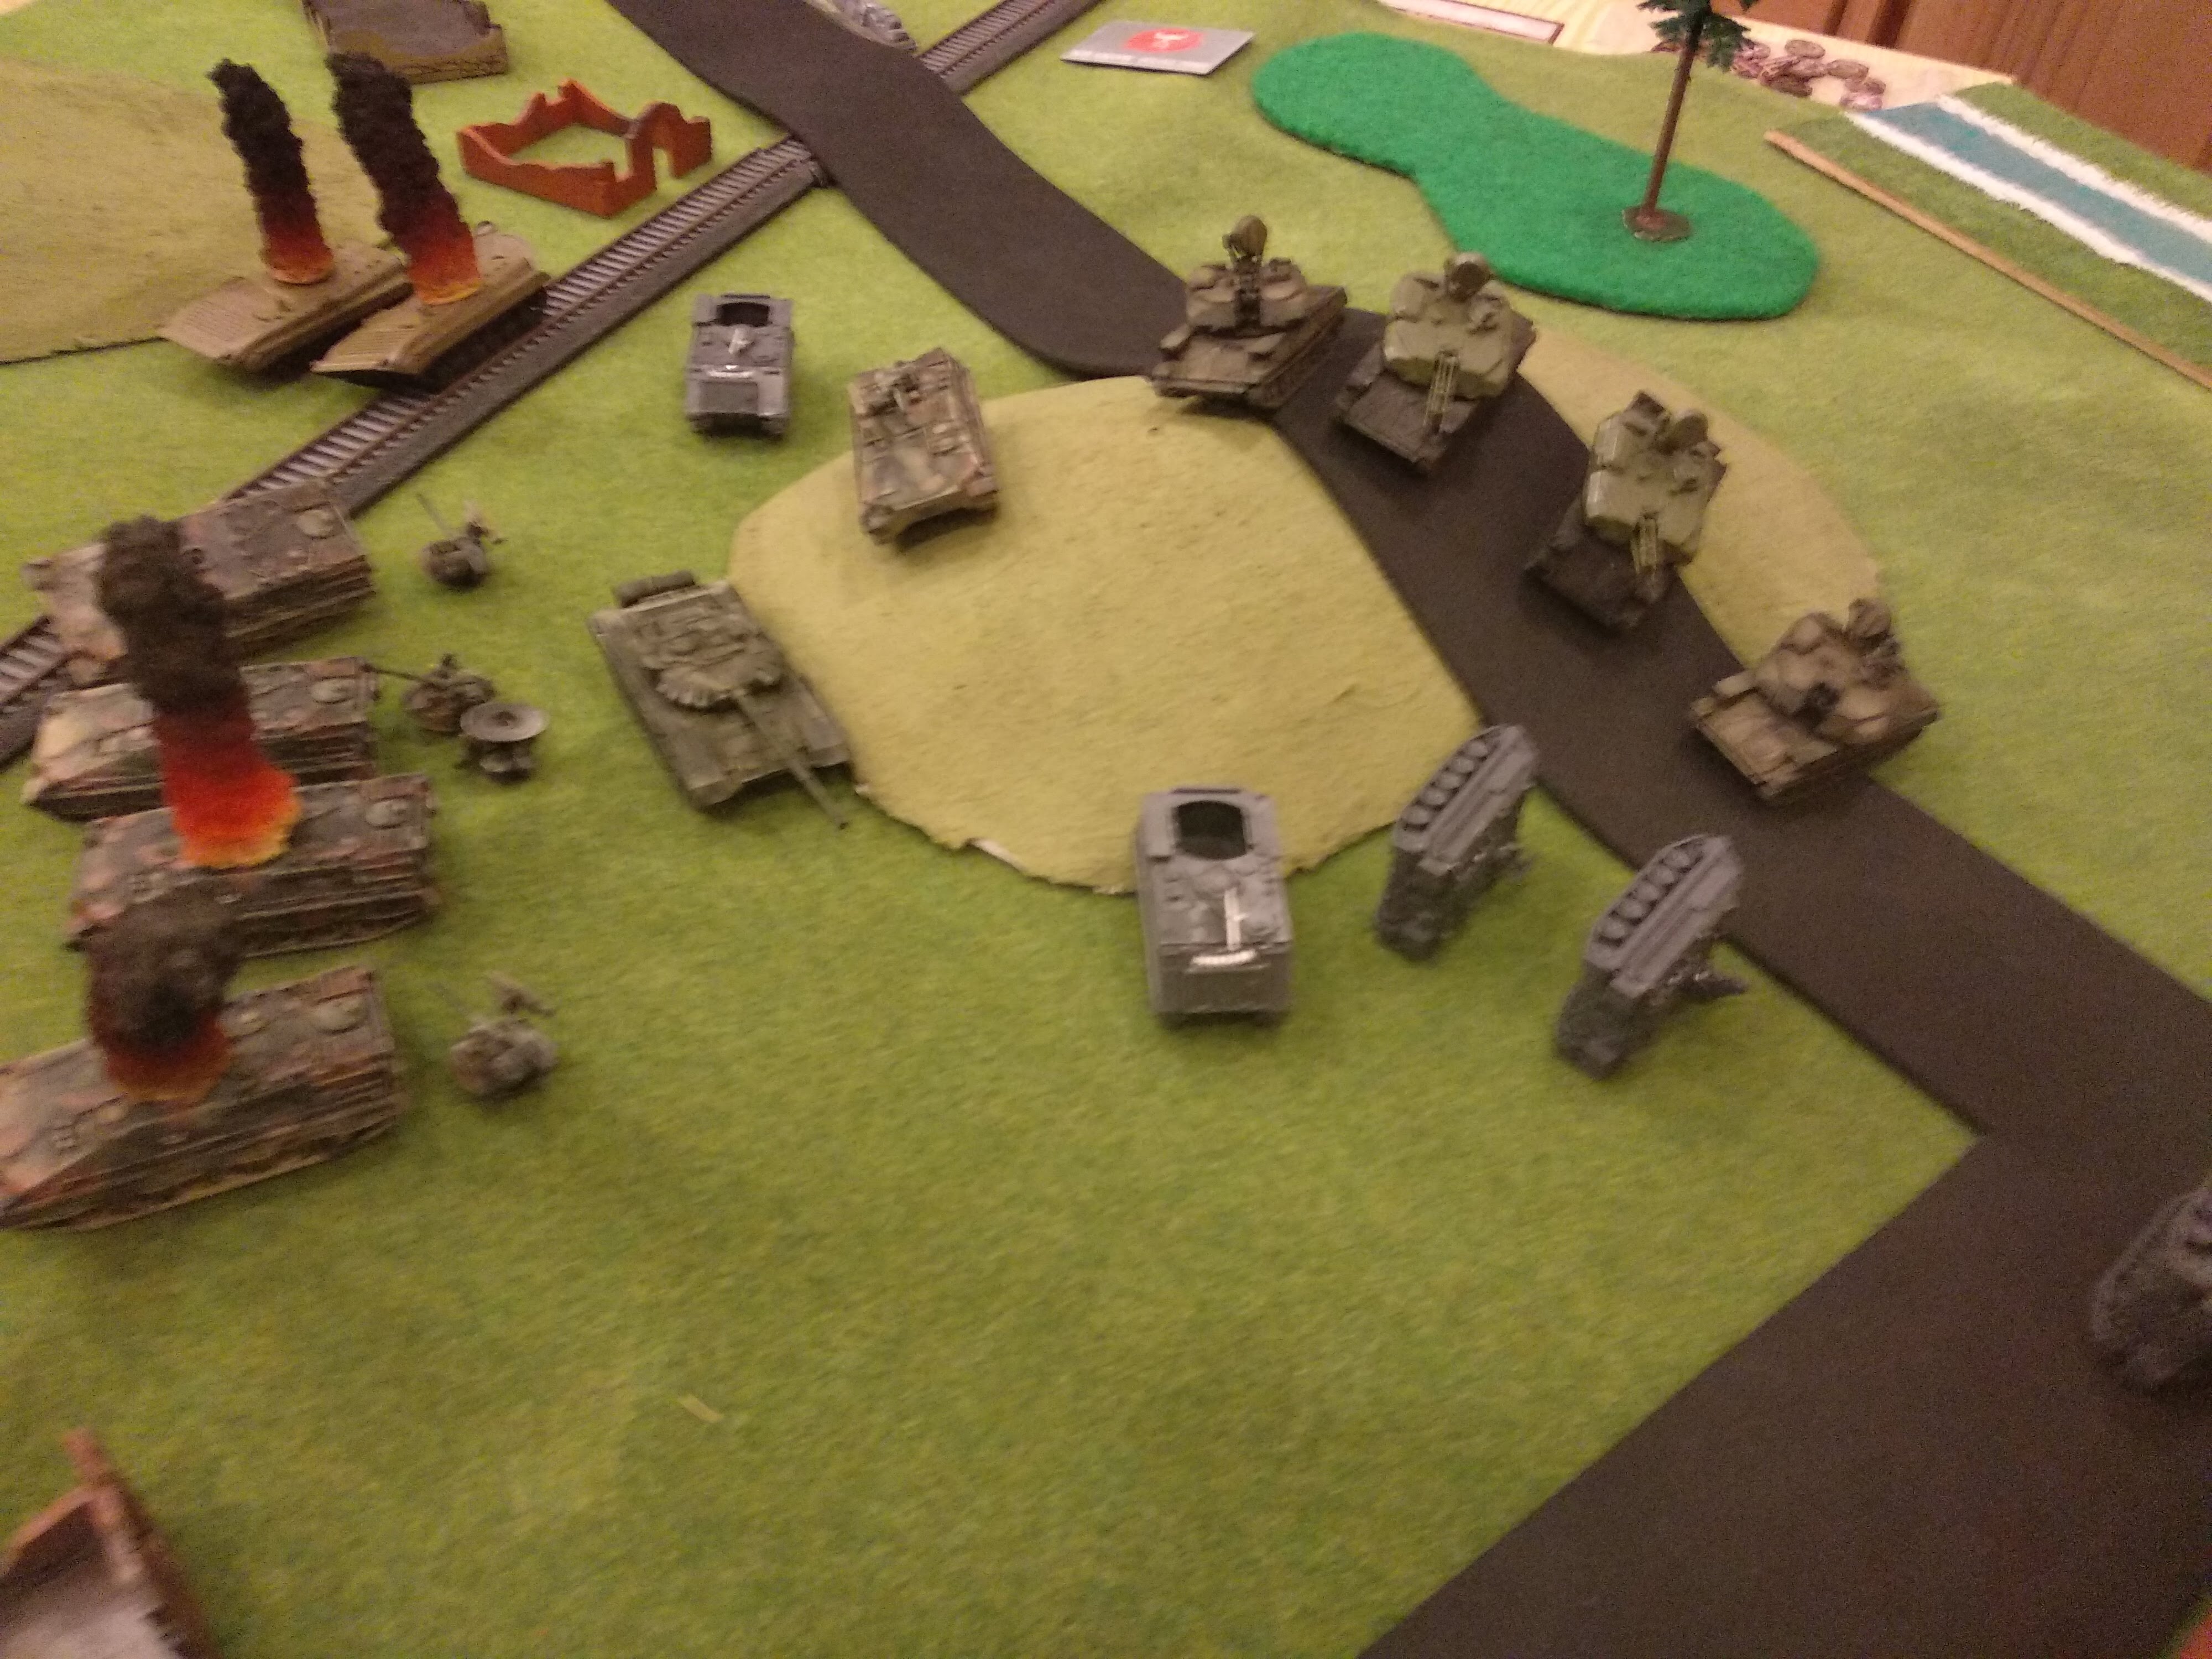
Rolling for reserves, then re-rolling a failure, Julek receives his first new unit, a pair of Mi-24 Hind assault gunships. And I guess, mistakenly places them above my FV432s, but with a side shot on my chieftains. Oh dear... I knew this was coming all the same and decided I would try and weather the storm rather than put my blowpipes on the table first. So the first thing he did was unpin his infantry then split them so that half held the objective and the other advanced with the team lead. Thus negating the ranged in marker I had "cleverly" positioned to pin his infantry the second time without having to range in. He placed his commander on the back slope of the hill providing him with a hull down position, and moved most of his BMPs forward to attack my infantry. His goal was to at least pin my infantry to prevent the milans from firing. He didn't achieve to do so with his commander firing both machine guns and IIRC all of the BMPs. The T-64 took a swing and a miss on the chieftain. Though the Hind assault was more fruitful. Firstly, my AA fire. 8 AA GPMGs, 3 Carl Gustavs and an SFMG failed to do anything to the helicopters, despite getting 2 hits with the Charlie Gs. Flying tanks indeed! They fired upon the chieftains in the side, and thankfully only bailed one.

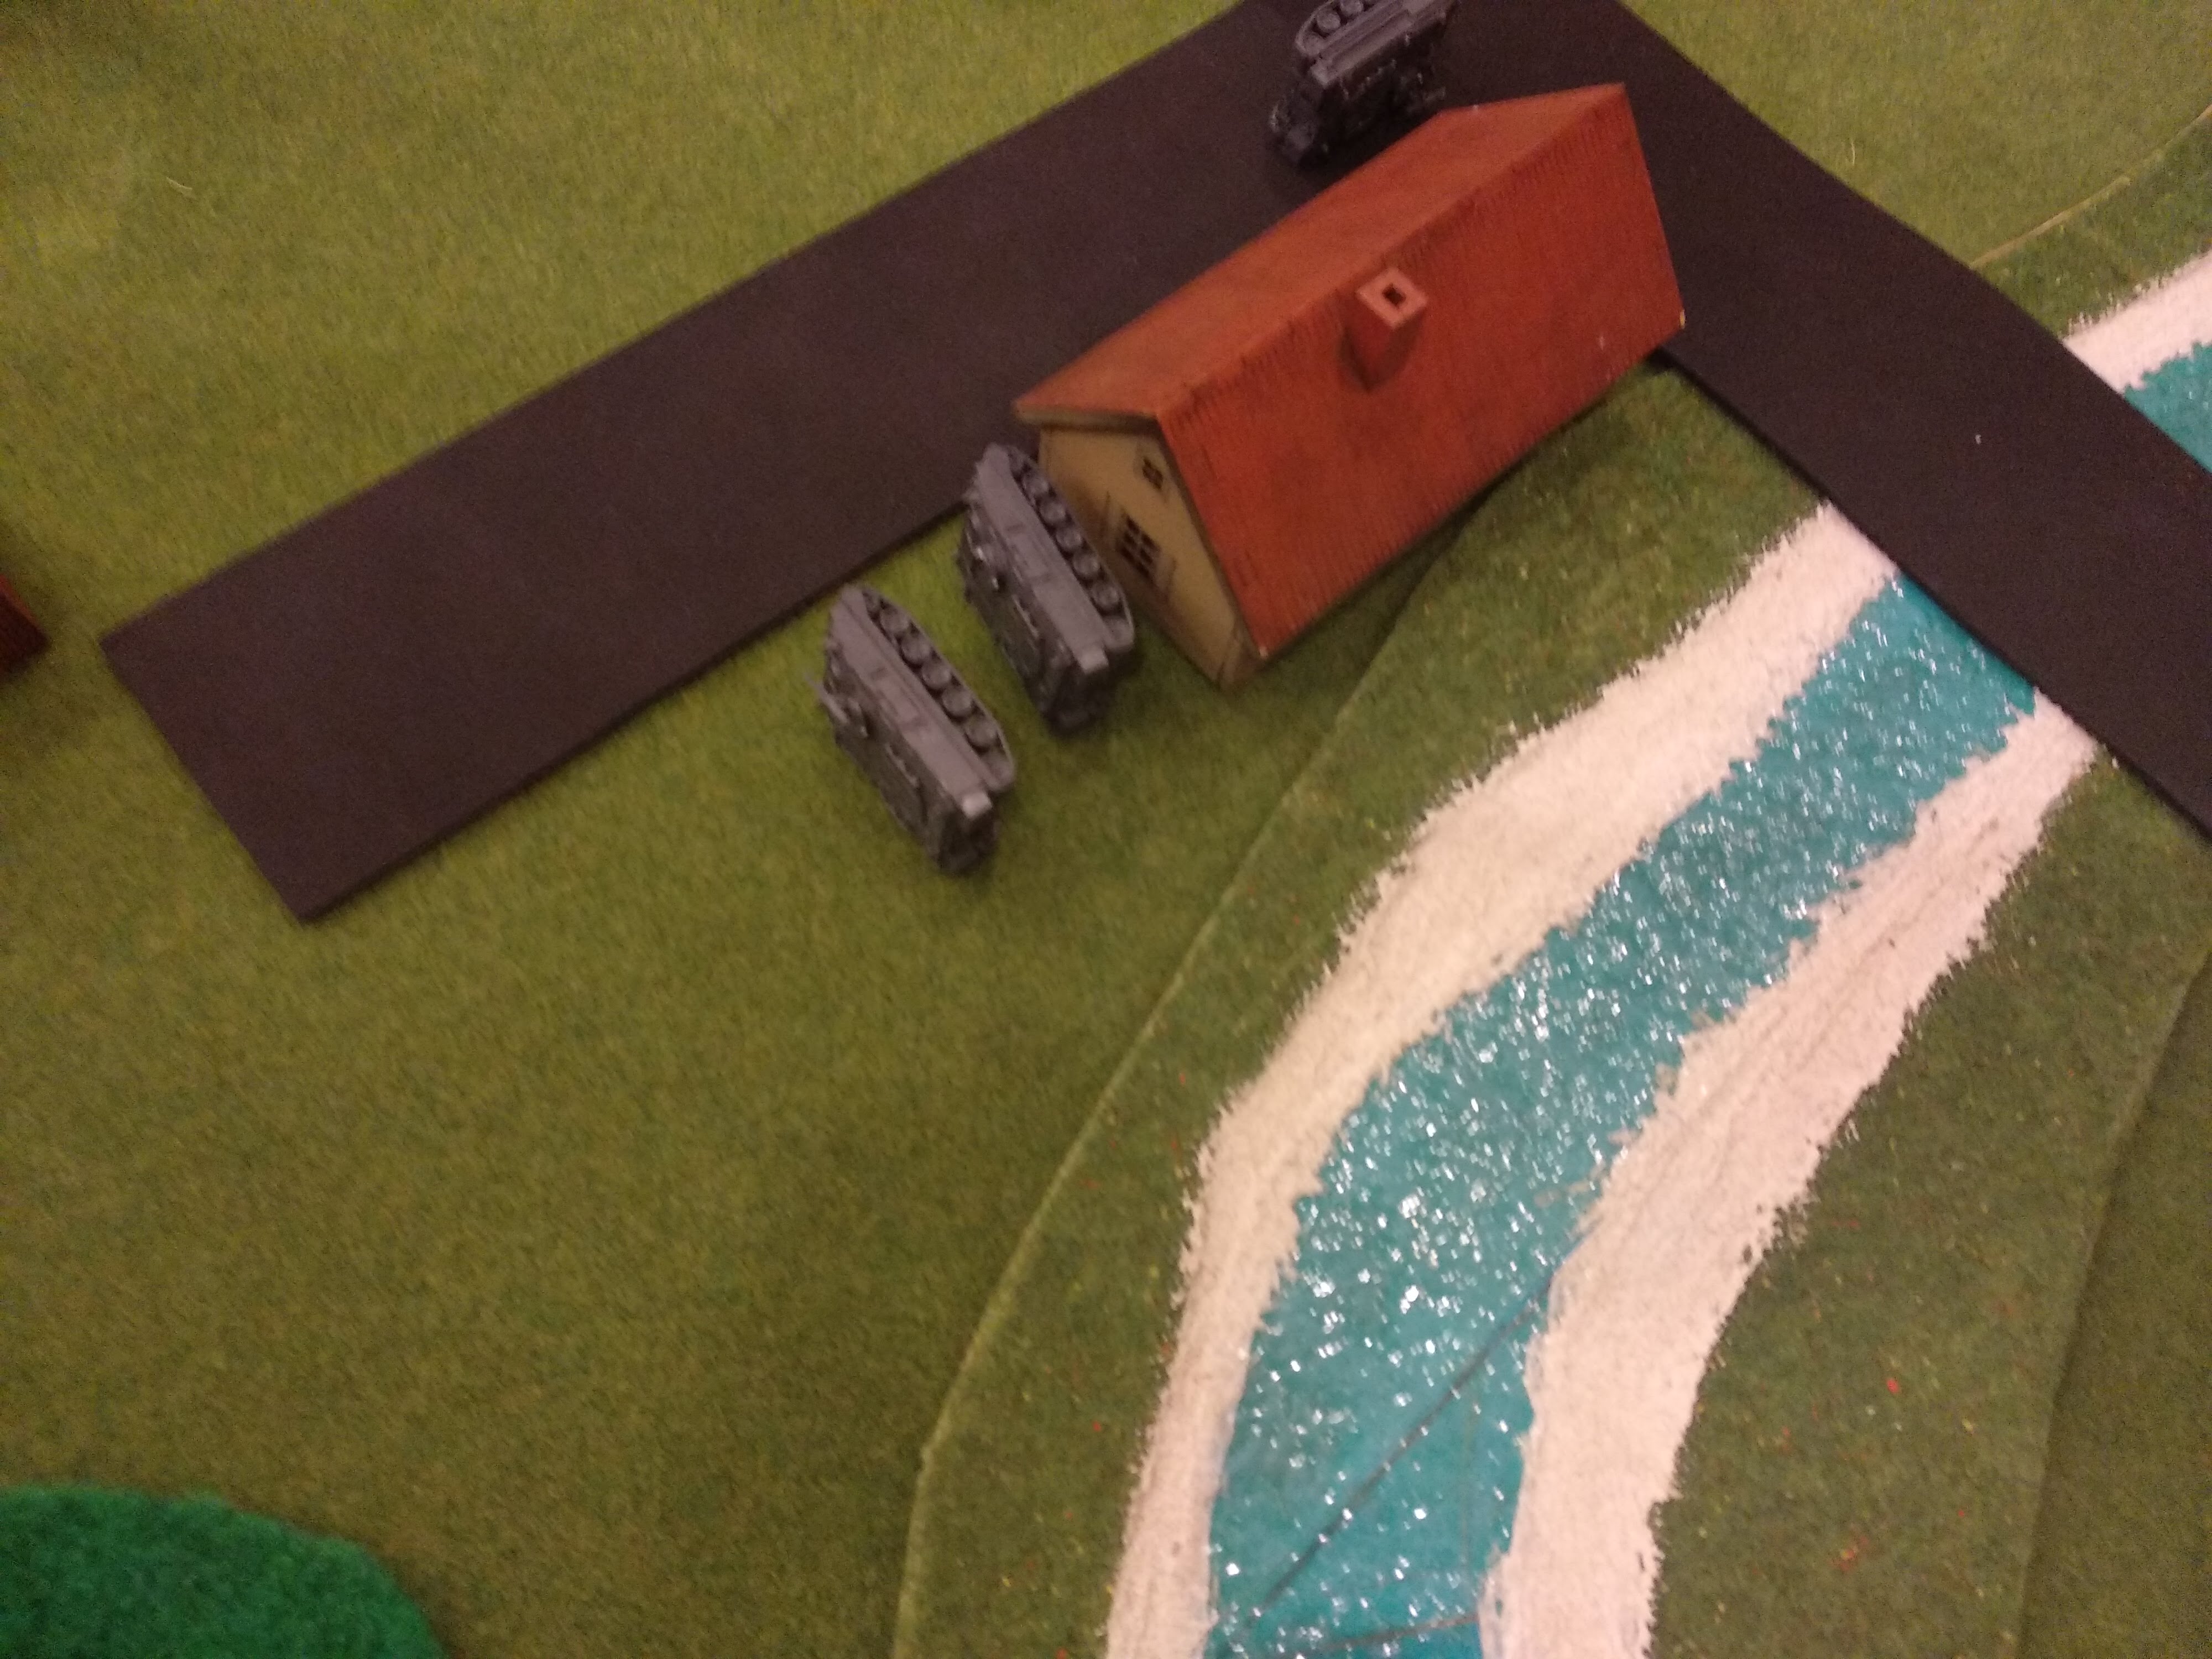
Luckily I manage to remount my bailed chieftain, and unpin the infantry in the crop field. I attempt to move my FV432s out of the wood, but half of them bog down, so I choose to leave the unit together. Everyone else remains stationary and continues to fire. The milans in the crop field, fire on the commander but miss, the Carl Custav teams in the same field fire at the transports and knock out 2 of them. The chieftains finish off the last T-64, then pucker up awaiting the onslaught of the hinds.

Turn 3 for WARPAC yields 2 more reserves, gvozdika artillery, and the second T-64 company without ATMGs. His tanks move up to fire at the chieftains, his infantry advance further up again and the BMPs close in. The BMPs and commander fire on the infantry in the crop field, failing to kill, but pinning them.
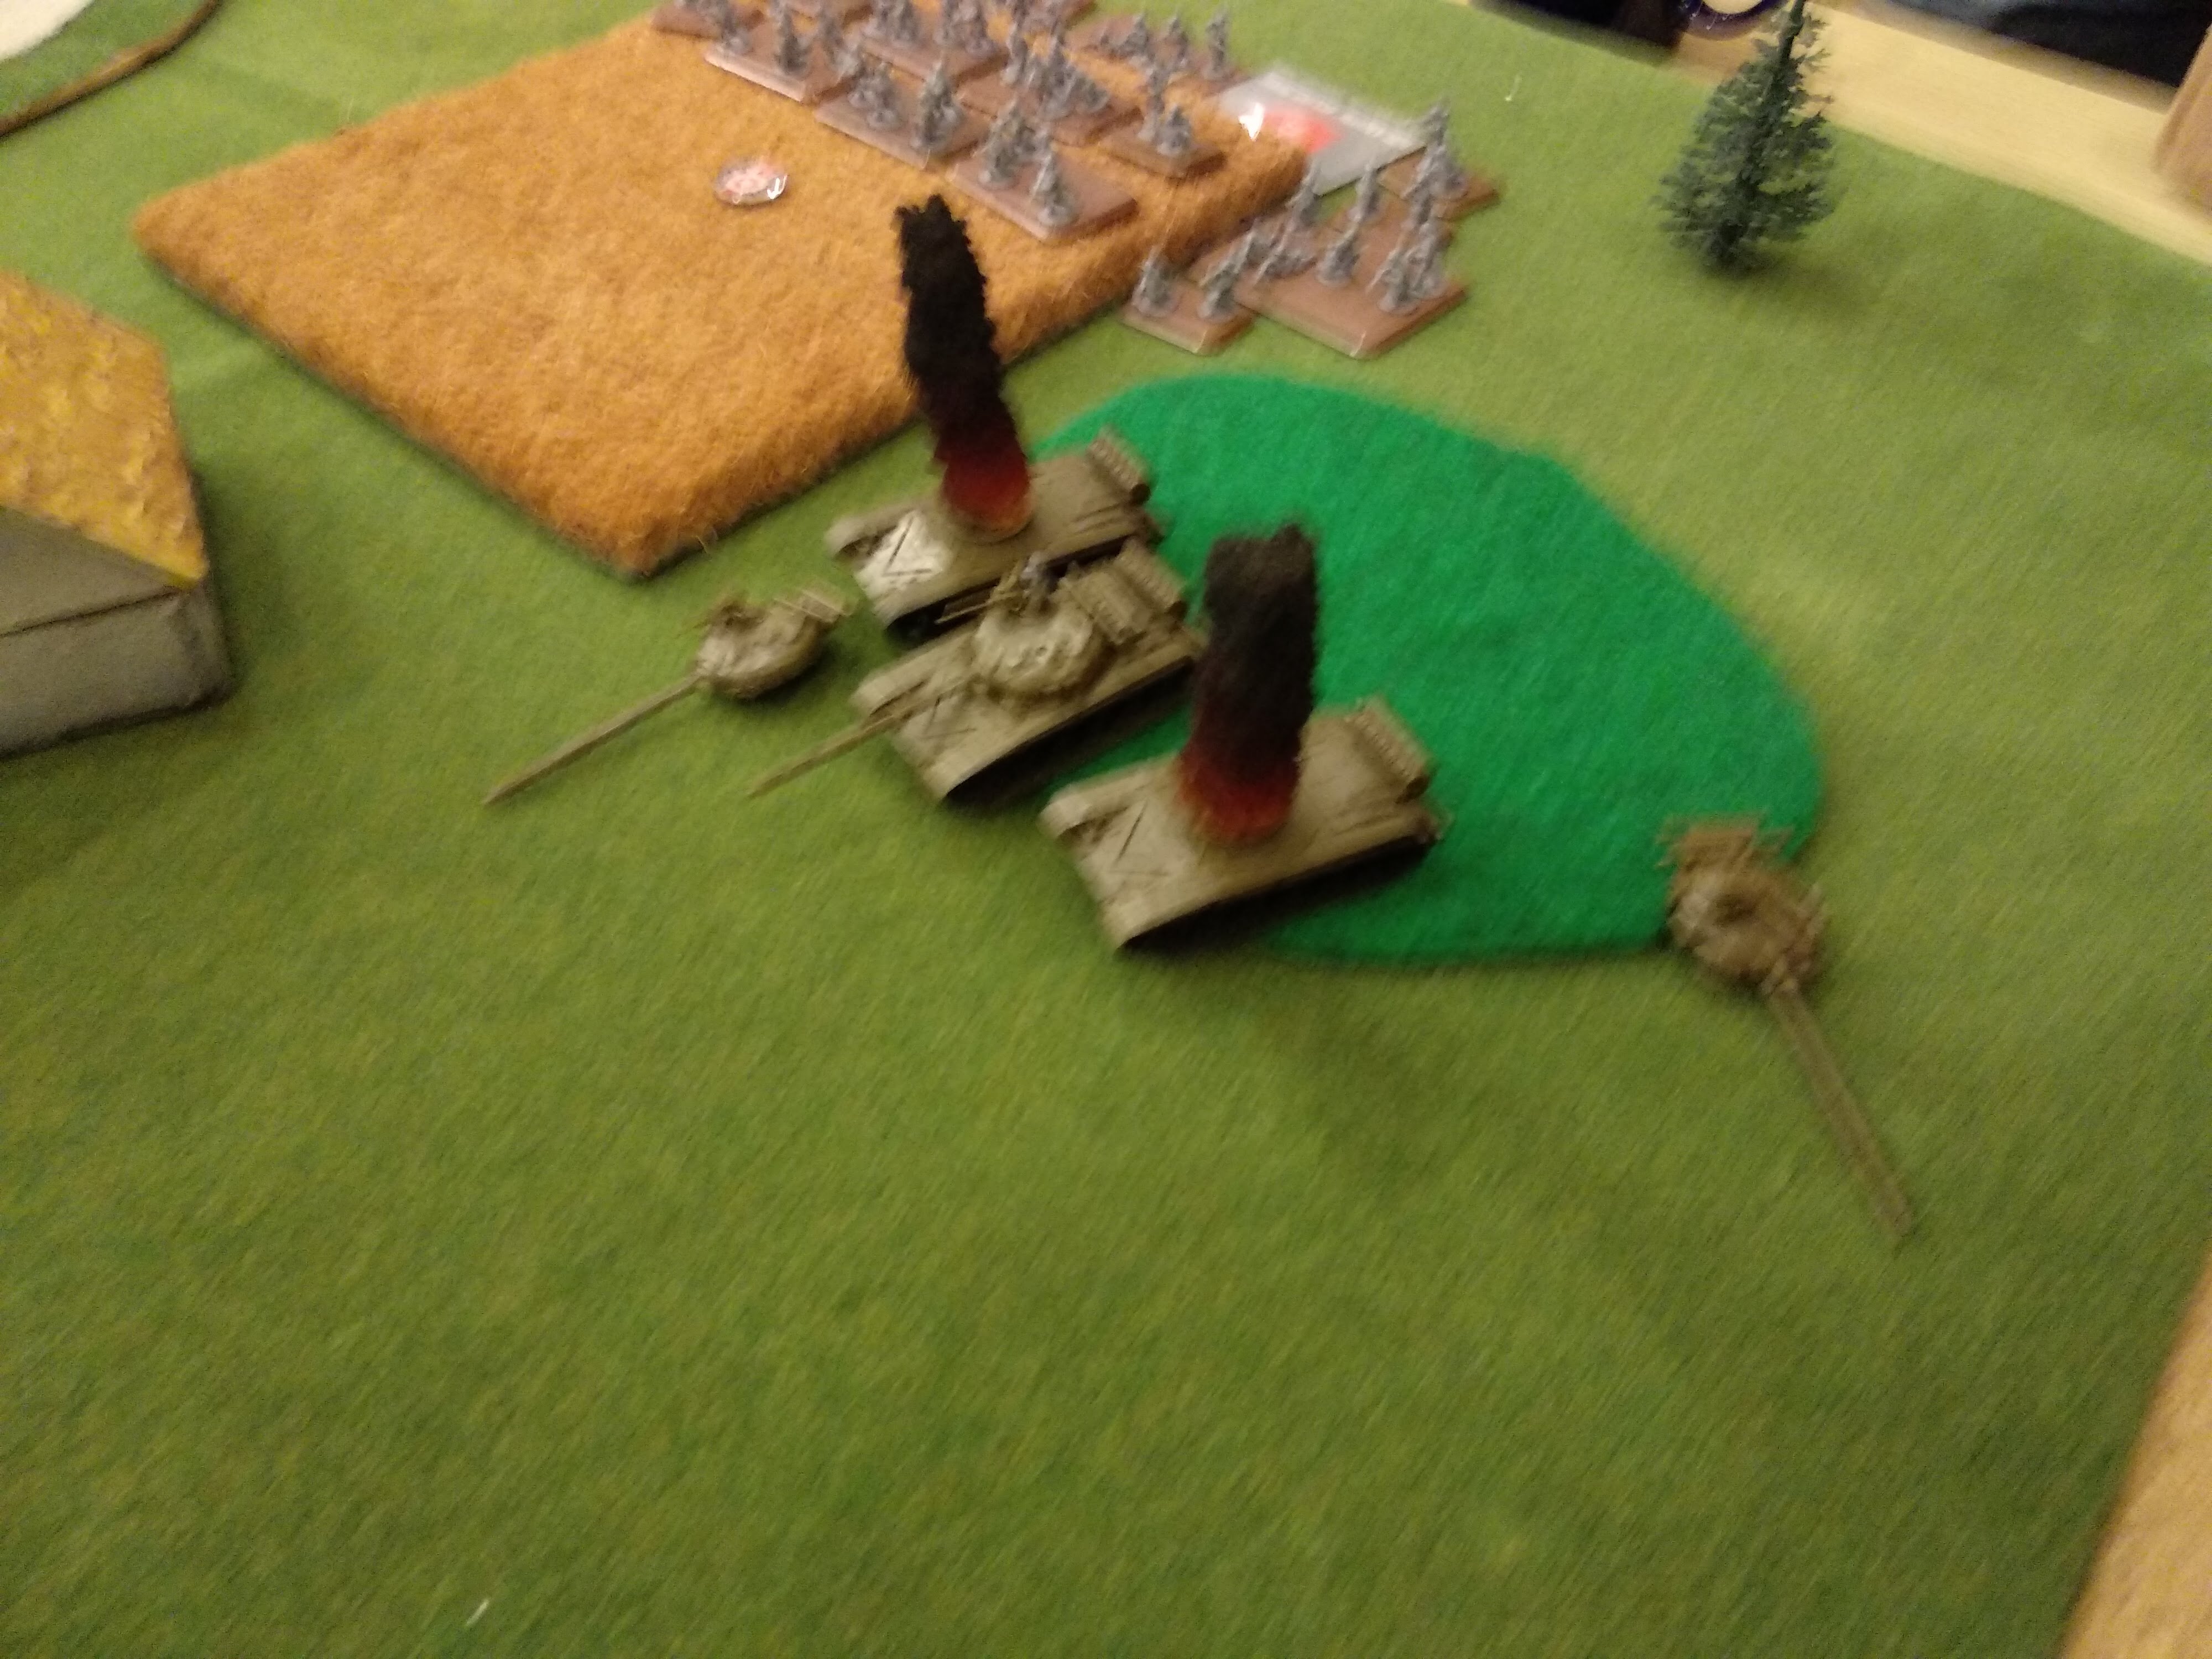
The T-64s fire on the Chieftains, killing one and the artillery fires at the apartment block, pinning the infantry inside. The Hinds circle around to the rear of the Chieftains, but stray into range of the bogged FV432s in the wood, combined AA mg fire from the transports, tanks and infantry bring down one the helos. The remaining Hind passes his morale however and fires on a tank, but rattled by the incoming fire (maybe) fails to score a hit.
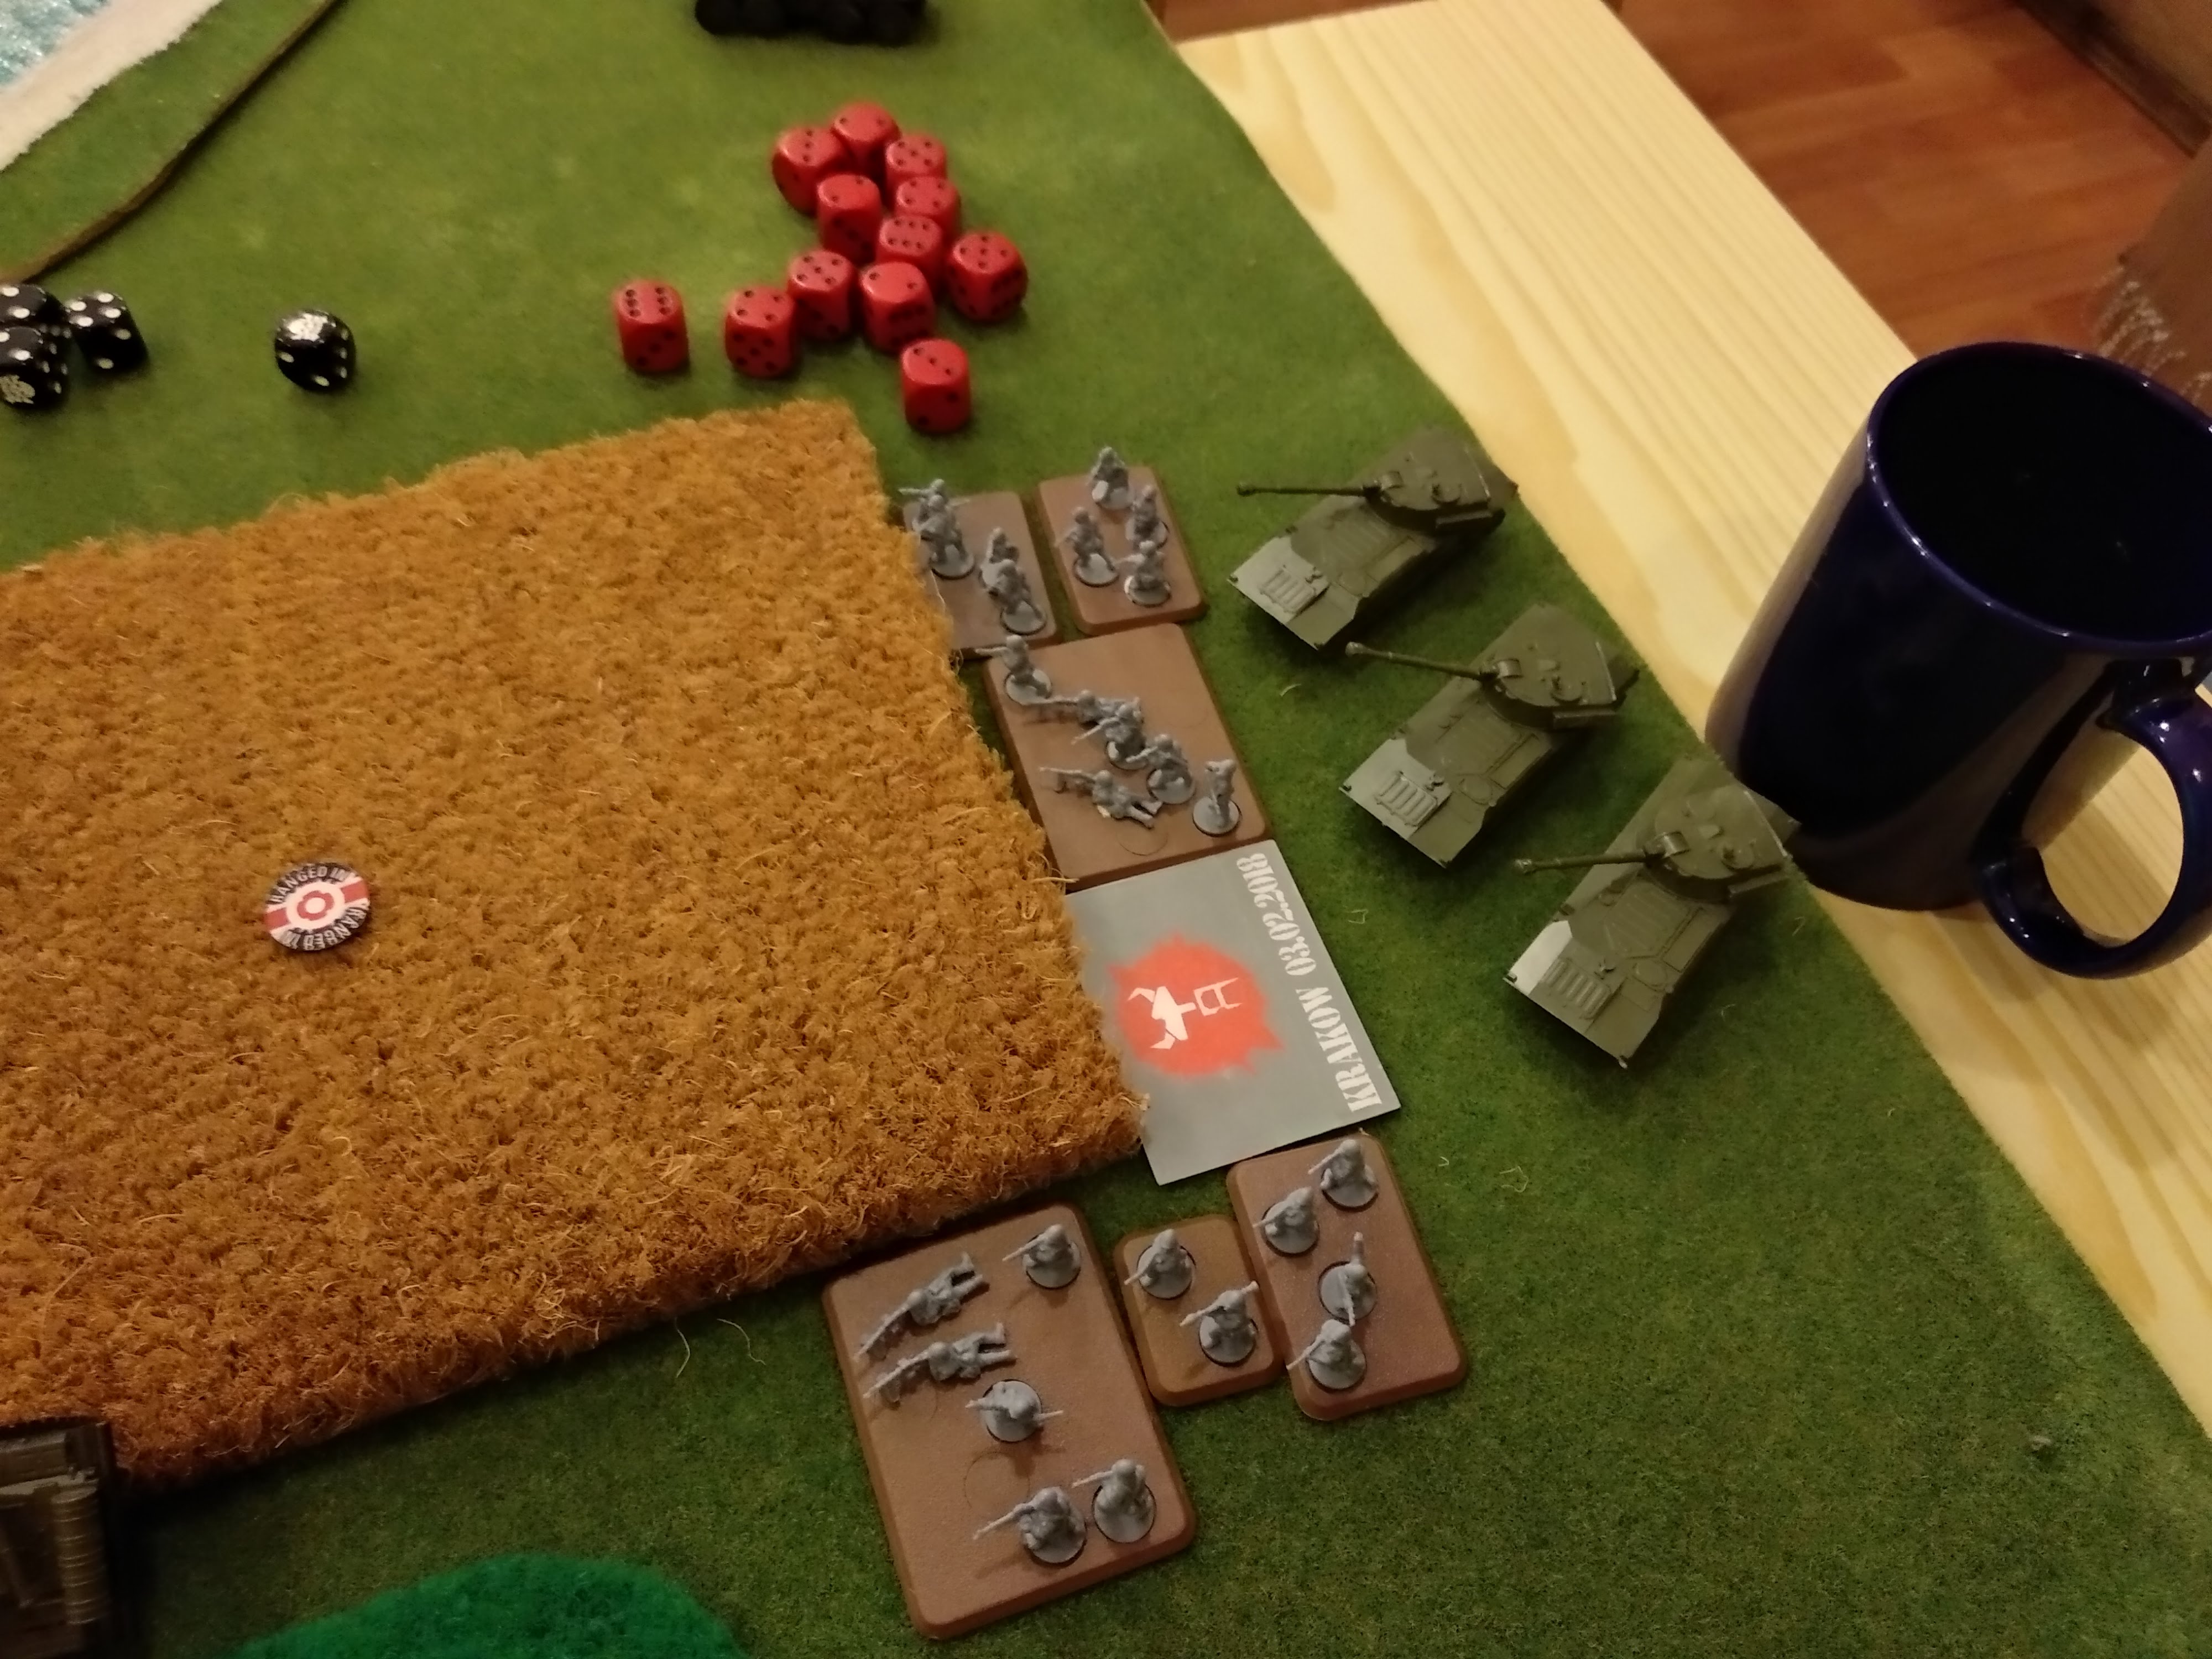

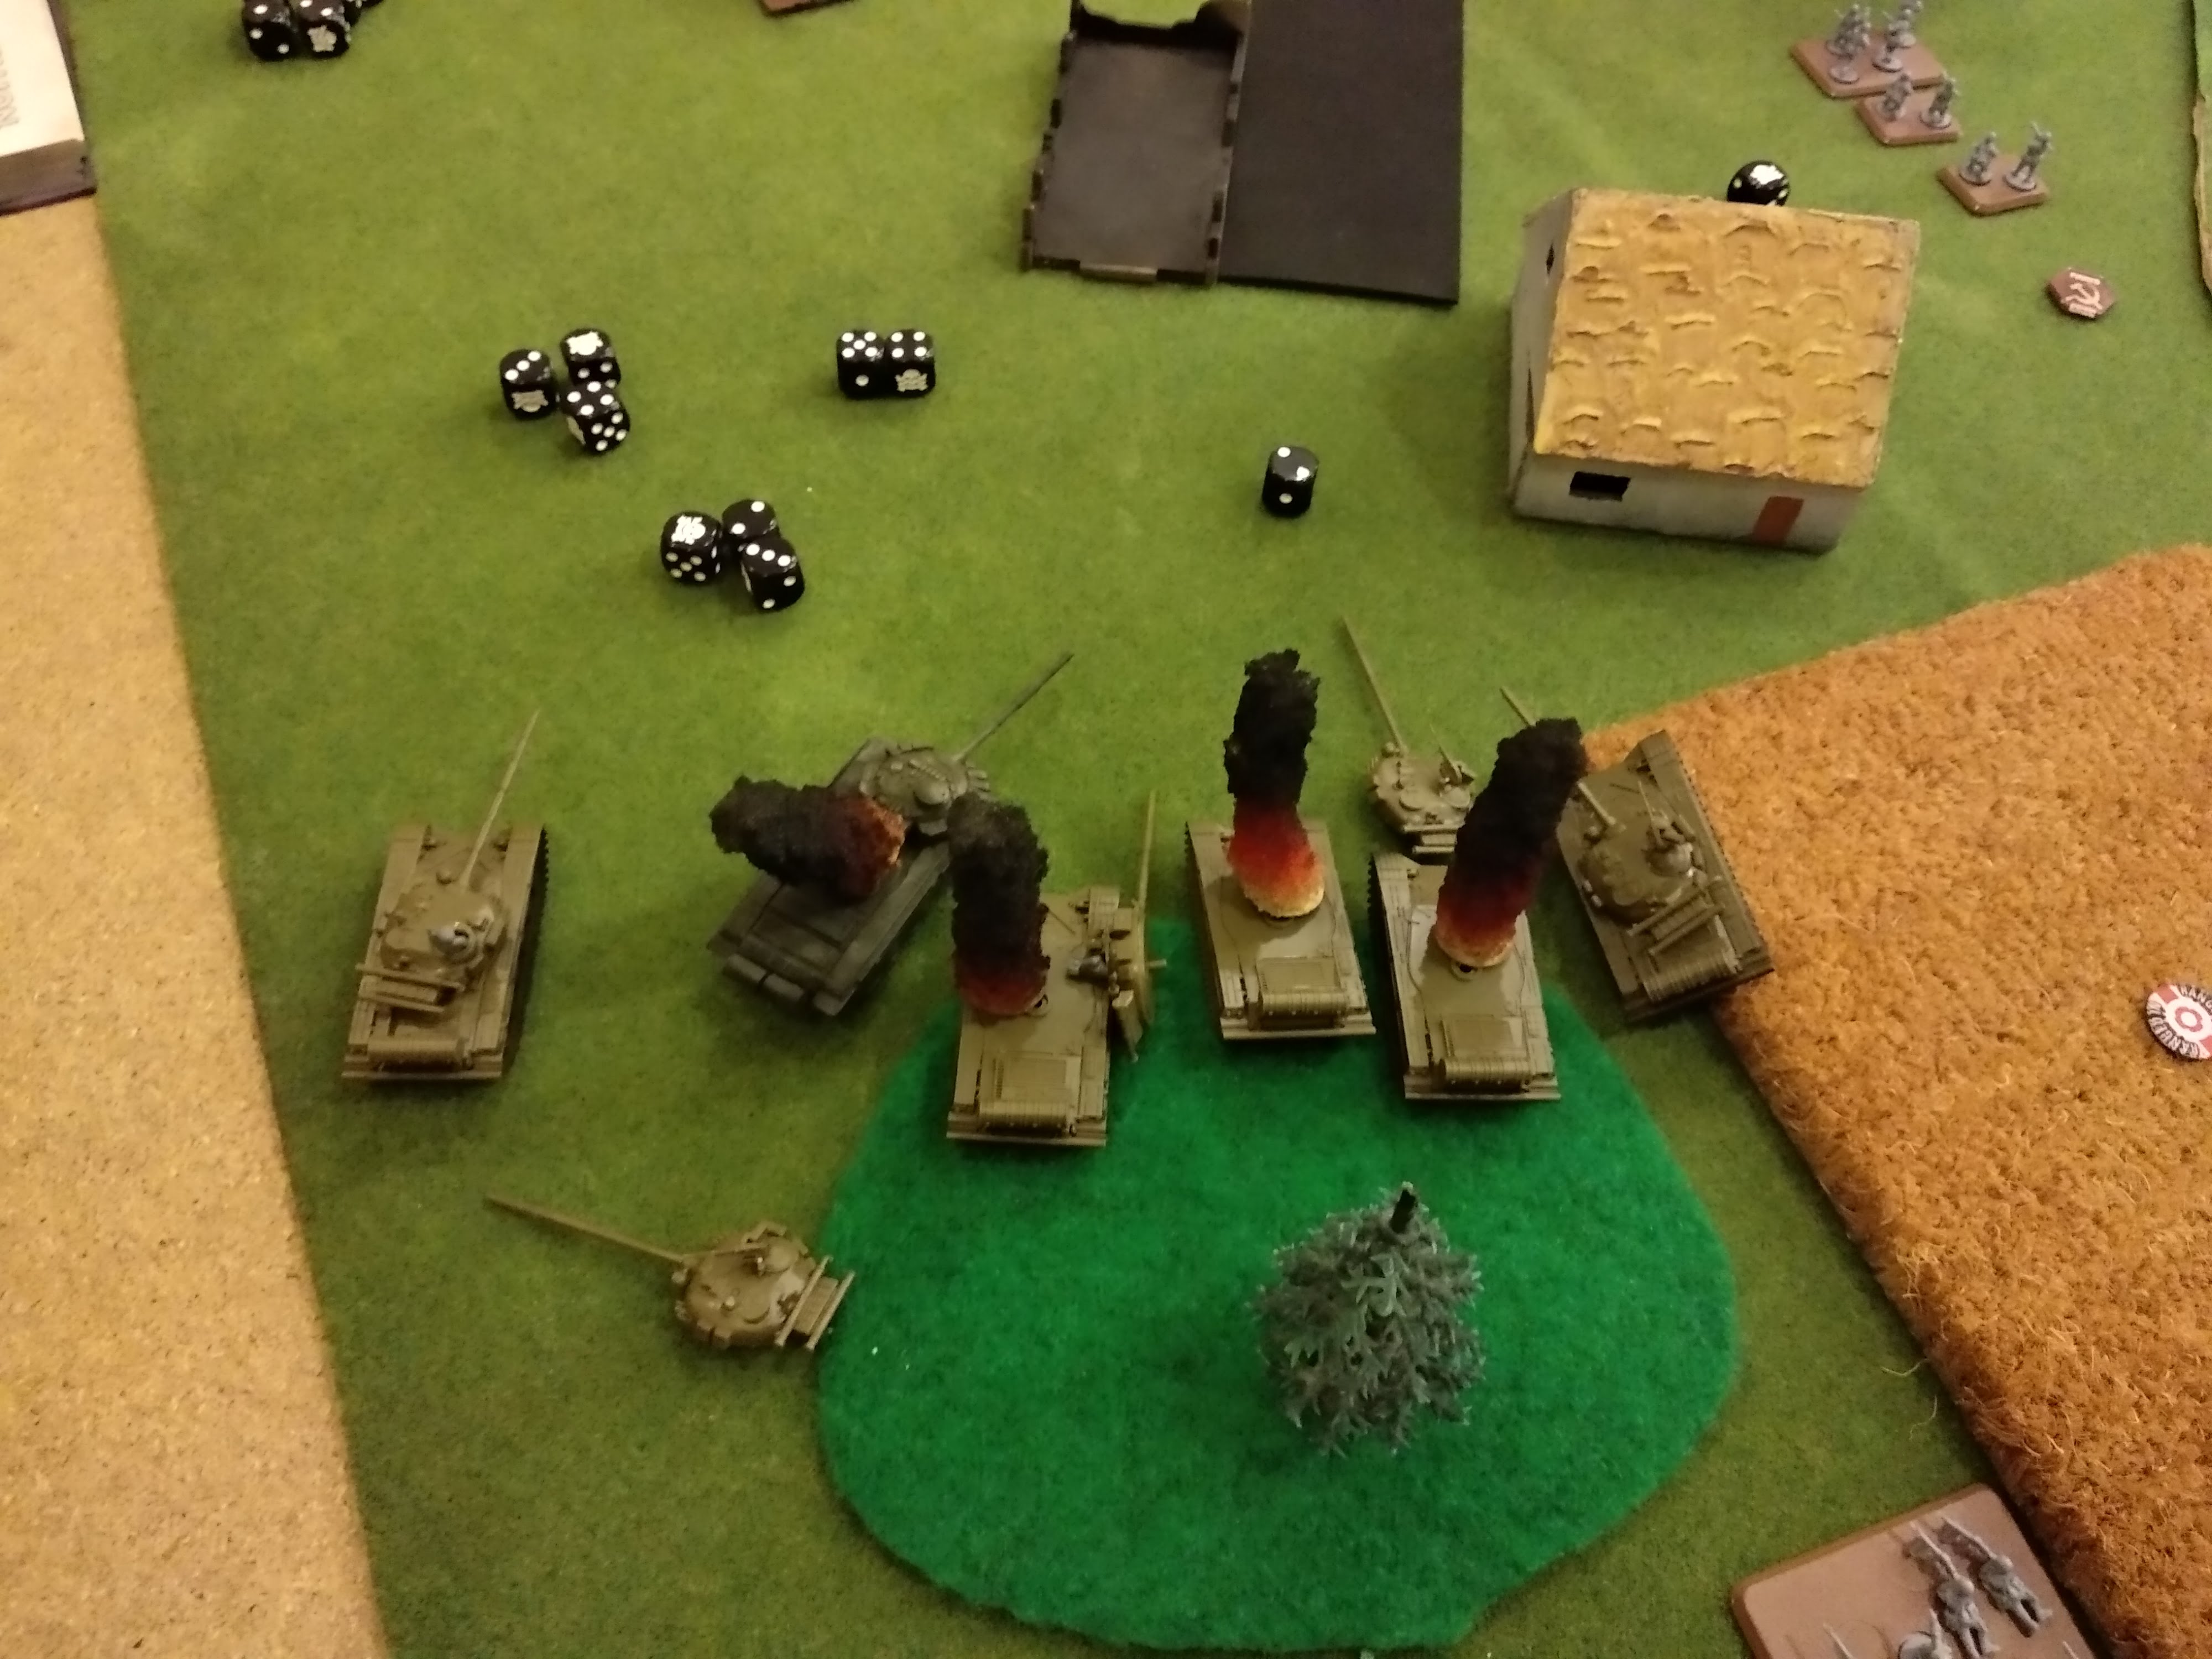
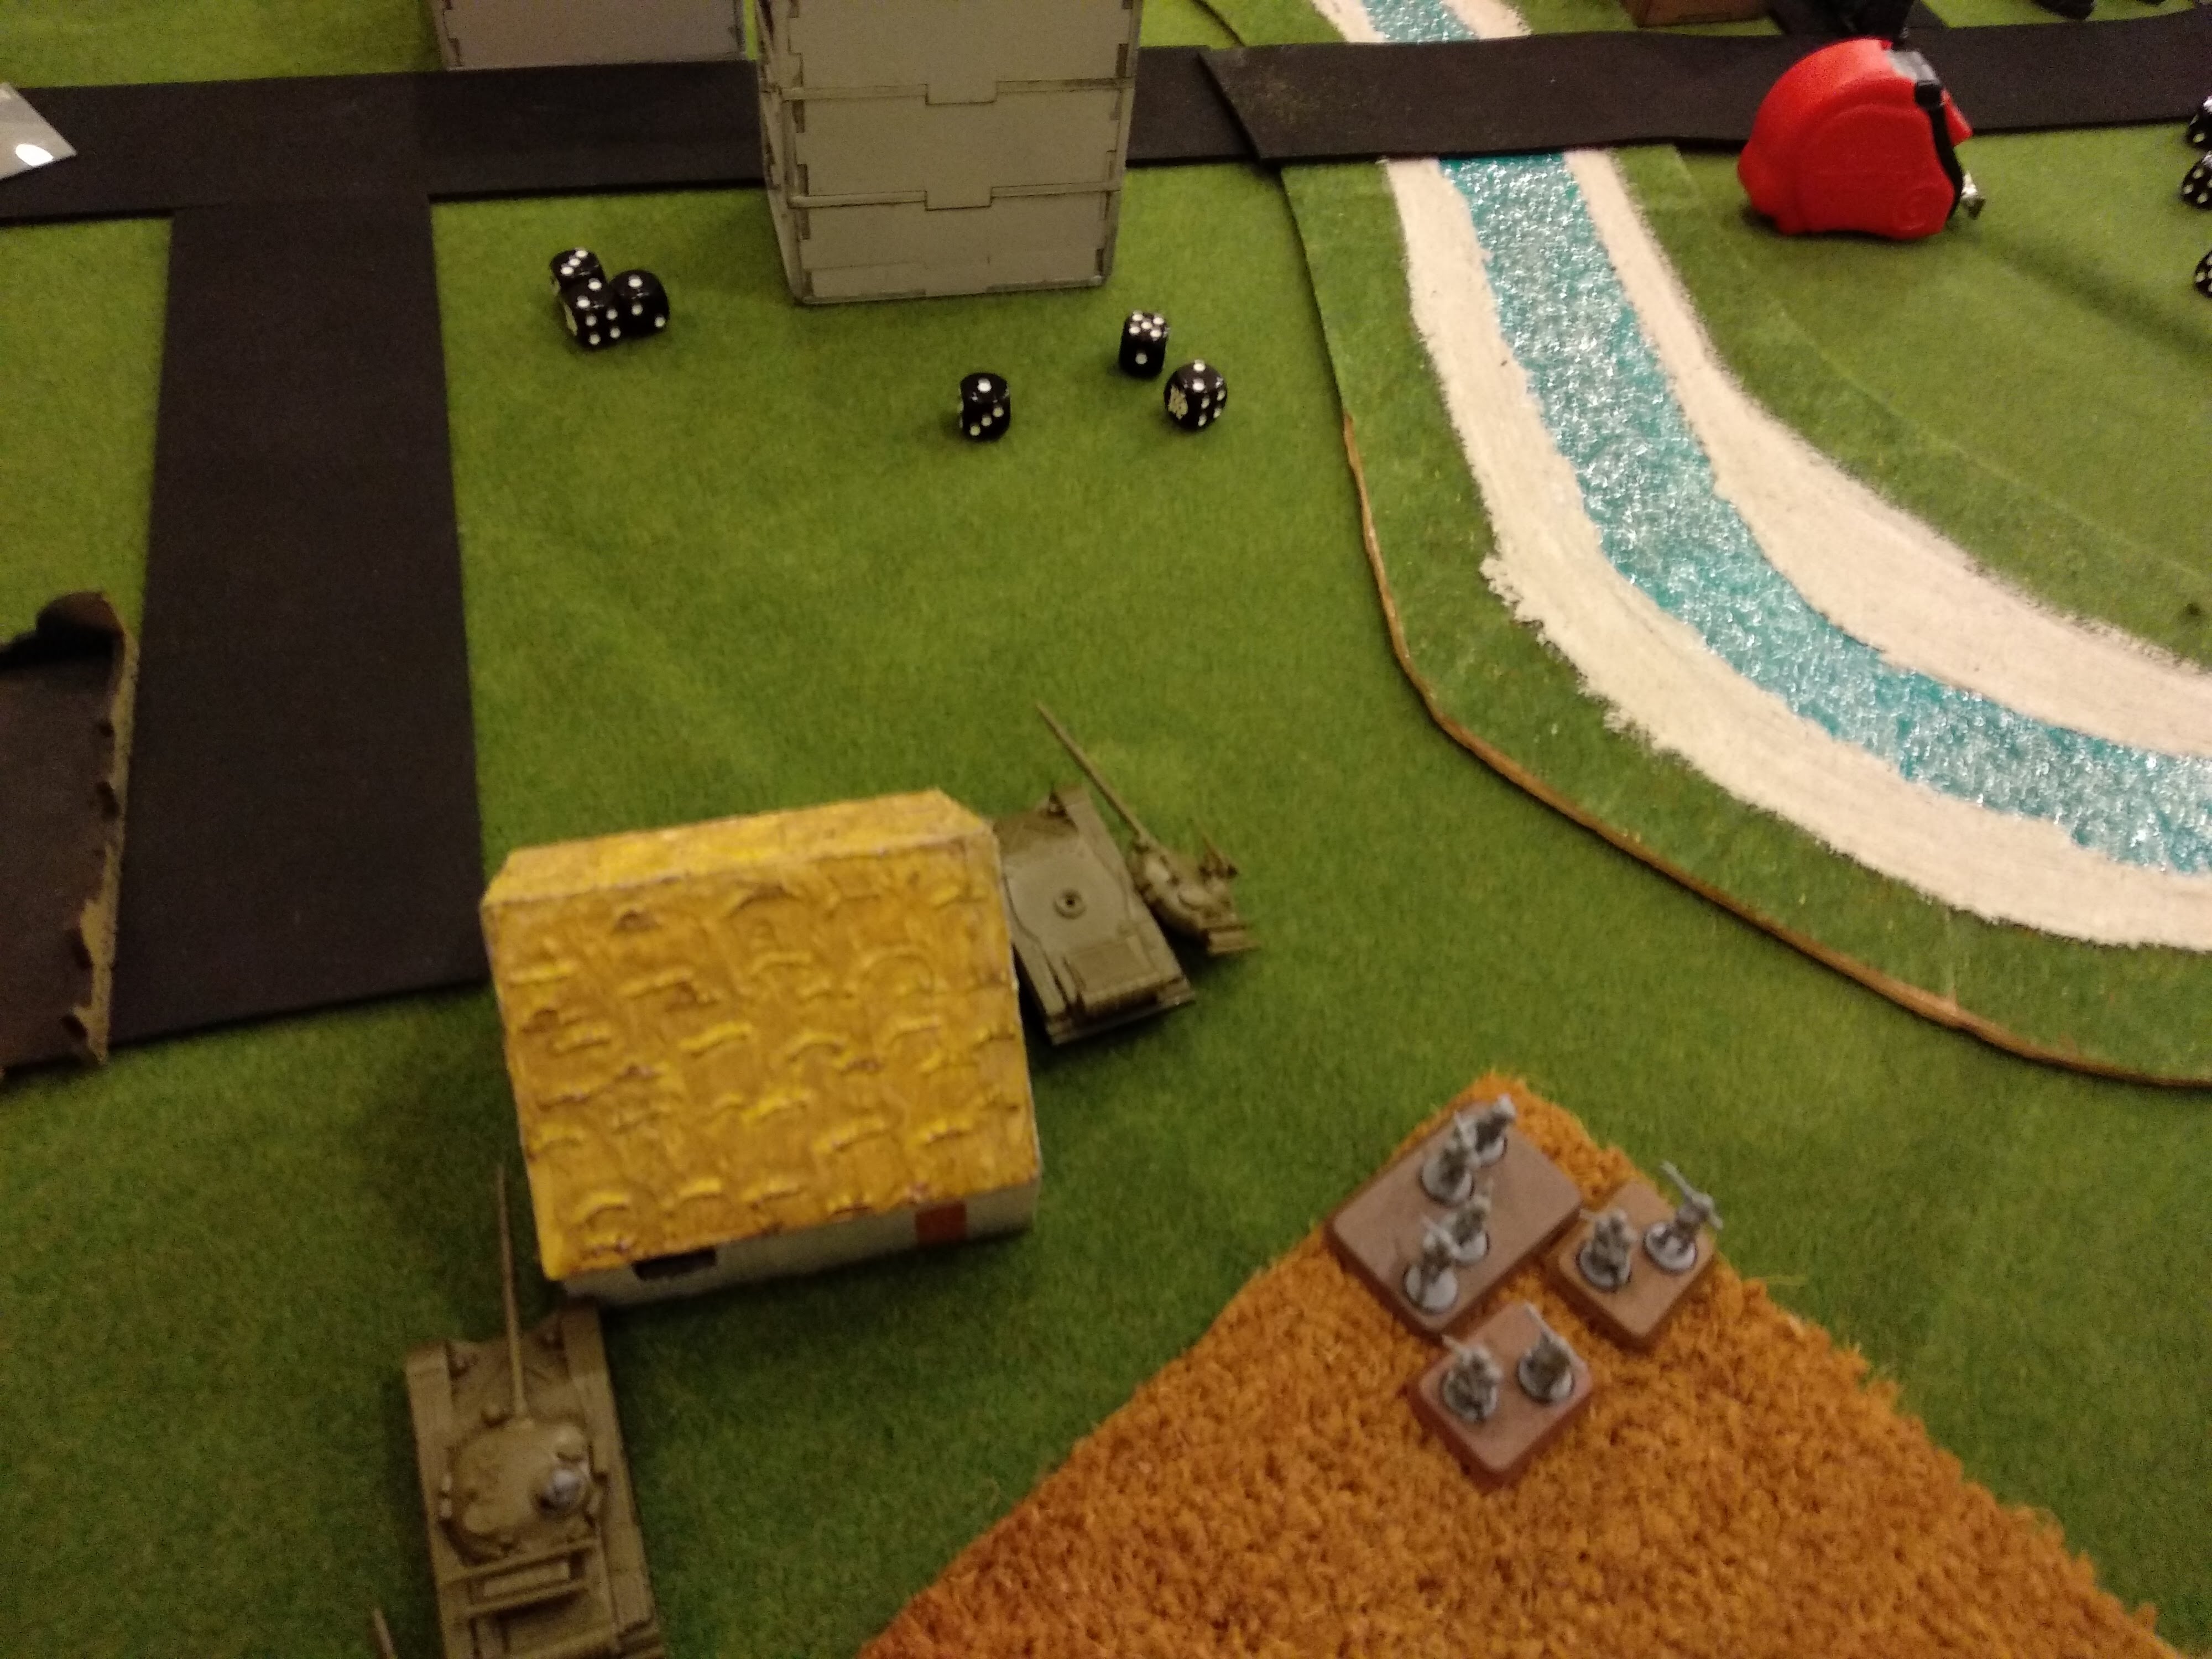
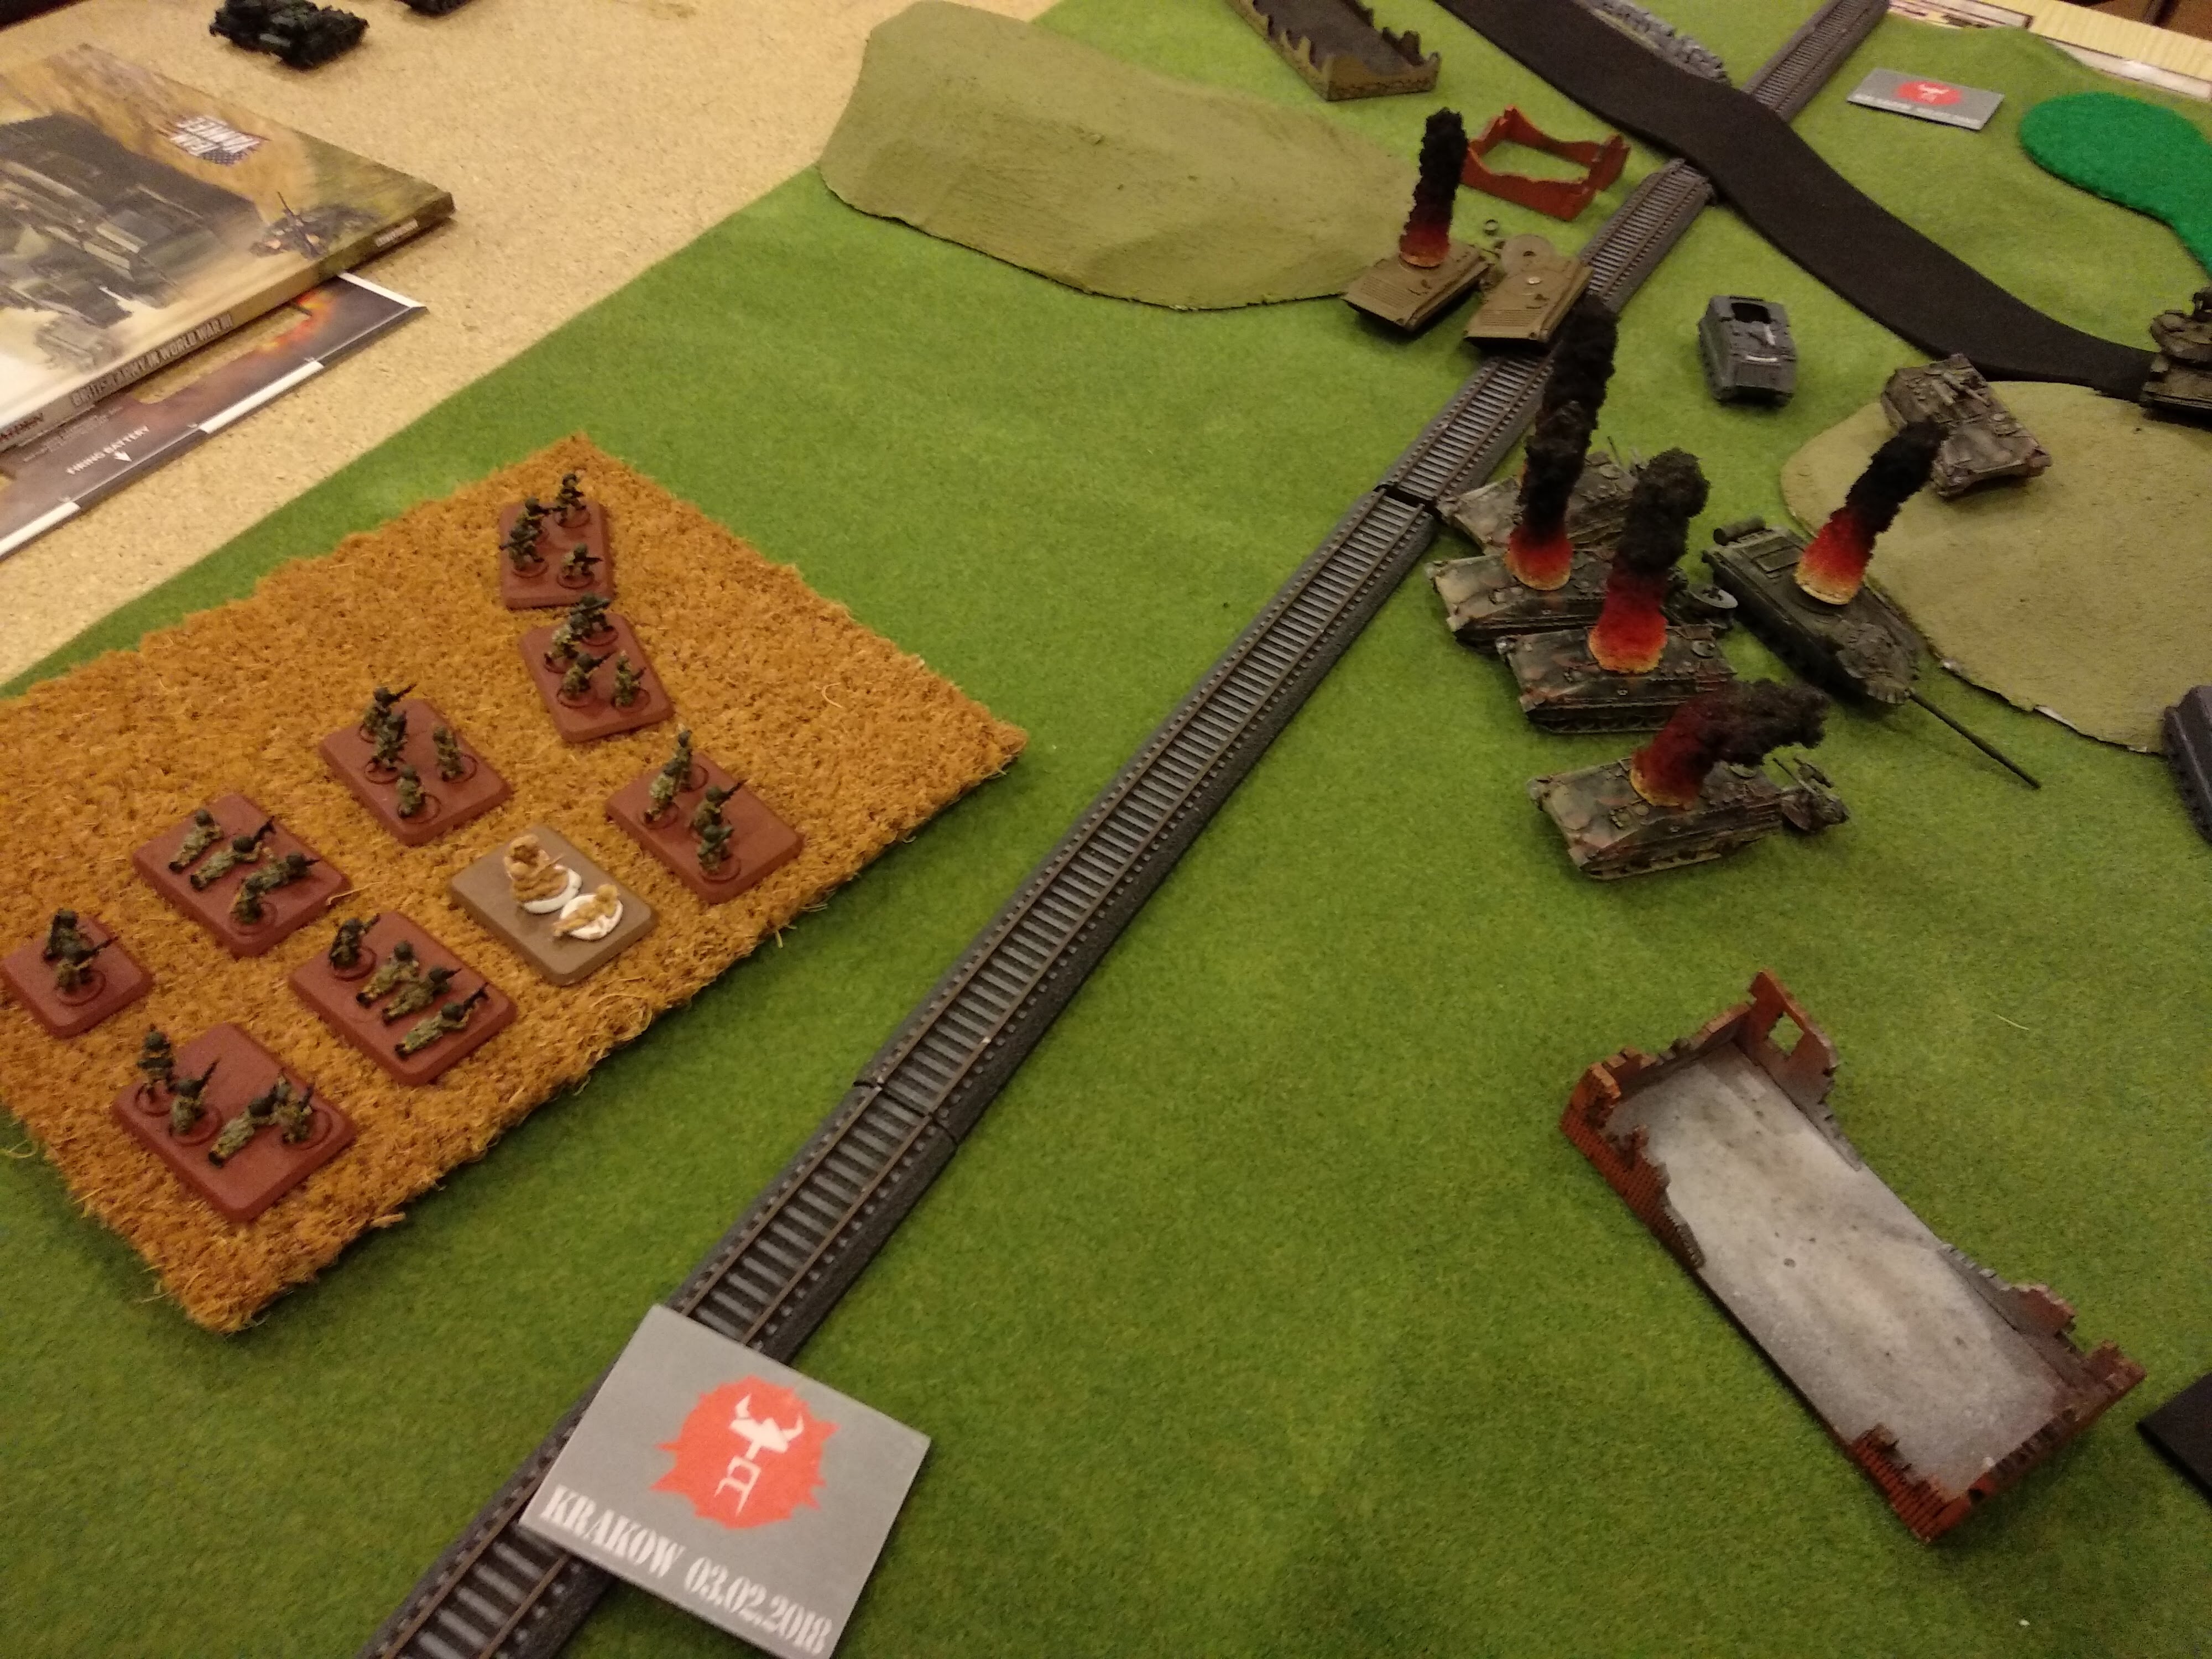
The infantry in the crop field fail to unpin this time meaning that they cannot fire their milans. They can still fire their Car Gustavs though and take out 2 more BMPs. I had moved the previously bogged down FV432s up to the intersection, and the other FV432s up into range of the Soviet infantry. The Chieftains and milan teams in the apartment building fired at the T-64s, killing the team leader (modelled by a T-80). I had cursed myself for not remembering to fire with the SFMG team and the commander with the other AA firing in the previous enemy turn, but it worked out well because they with the FV432 mounted GPMGs cut the advancing Soviet infantry to ribbons, leaving behind only 3 bases.

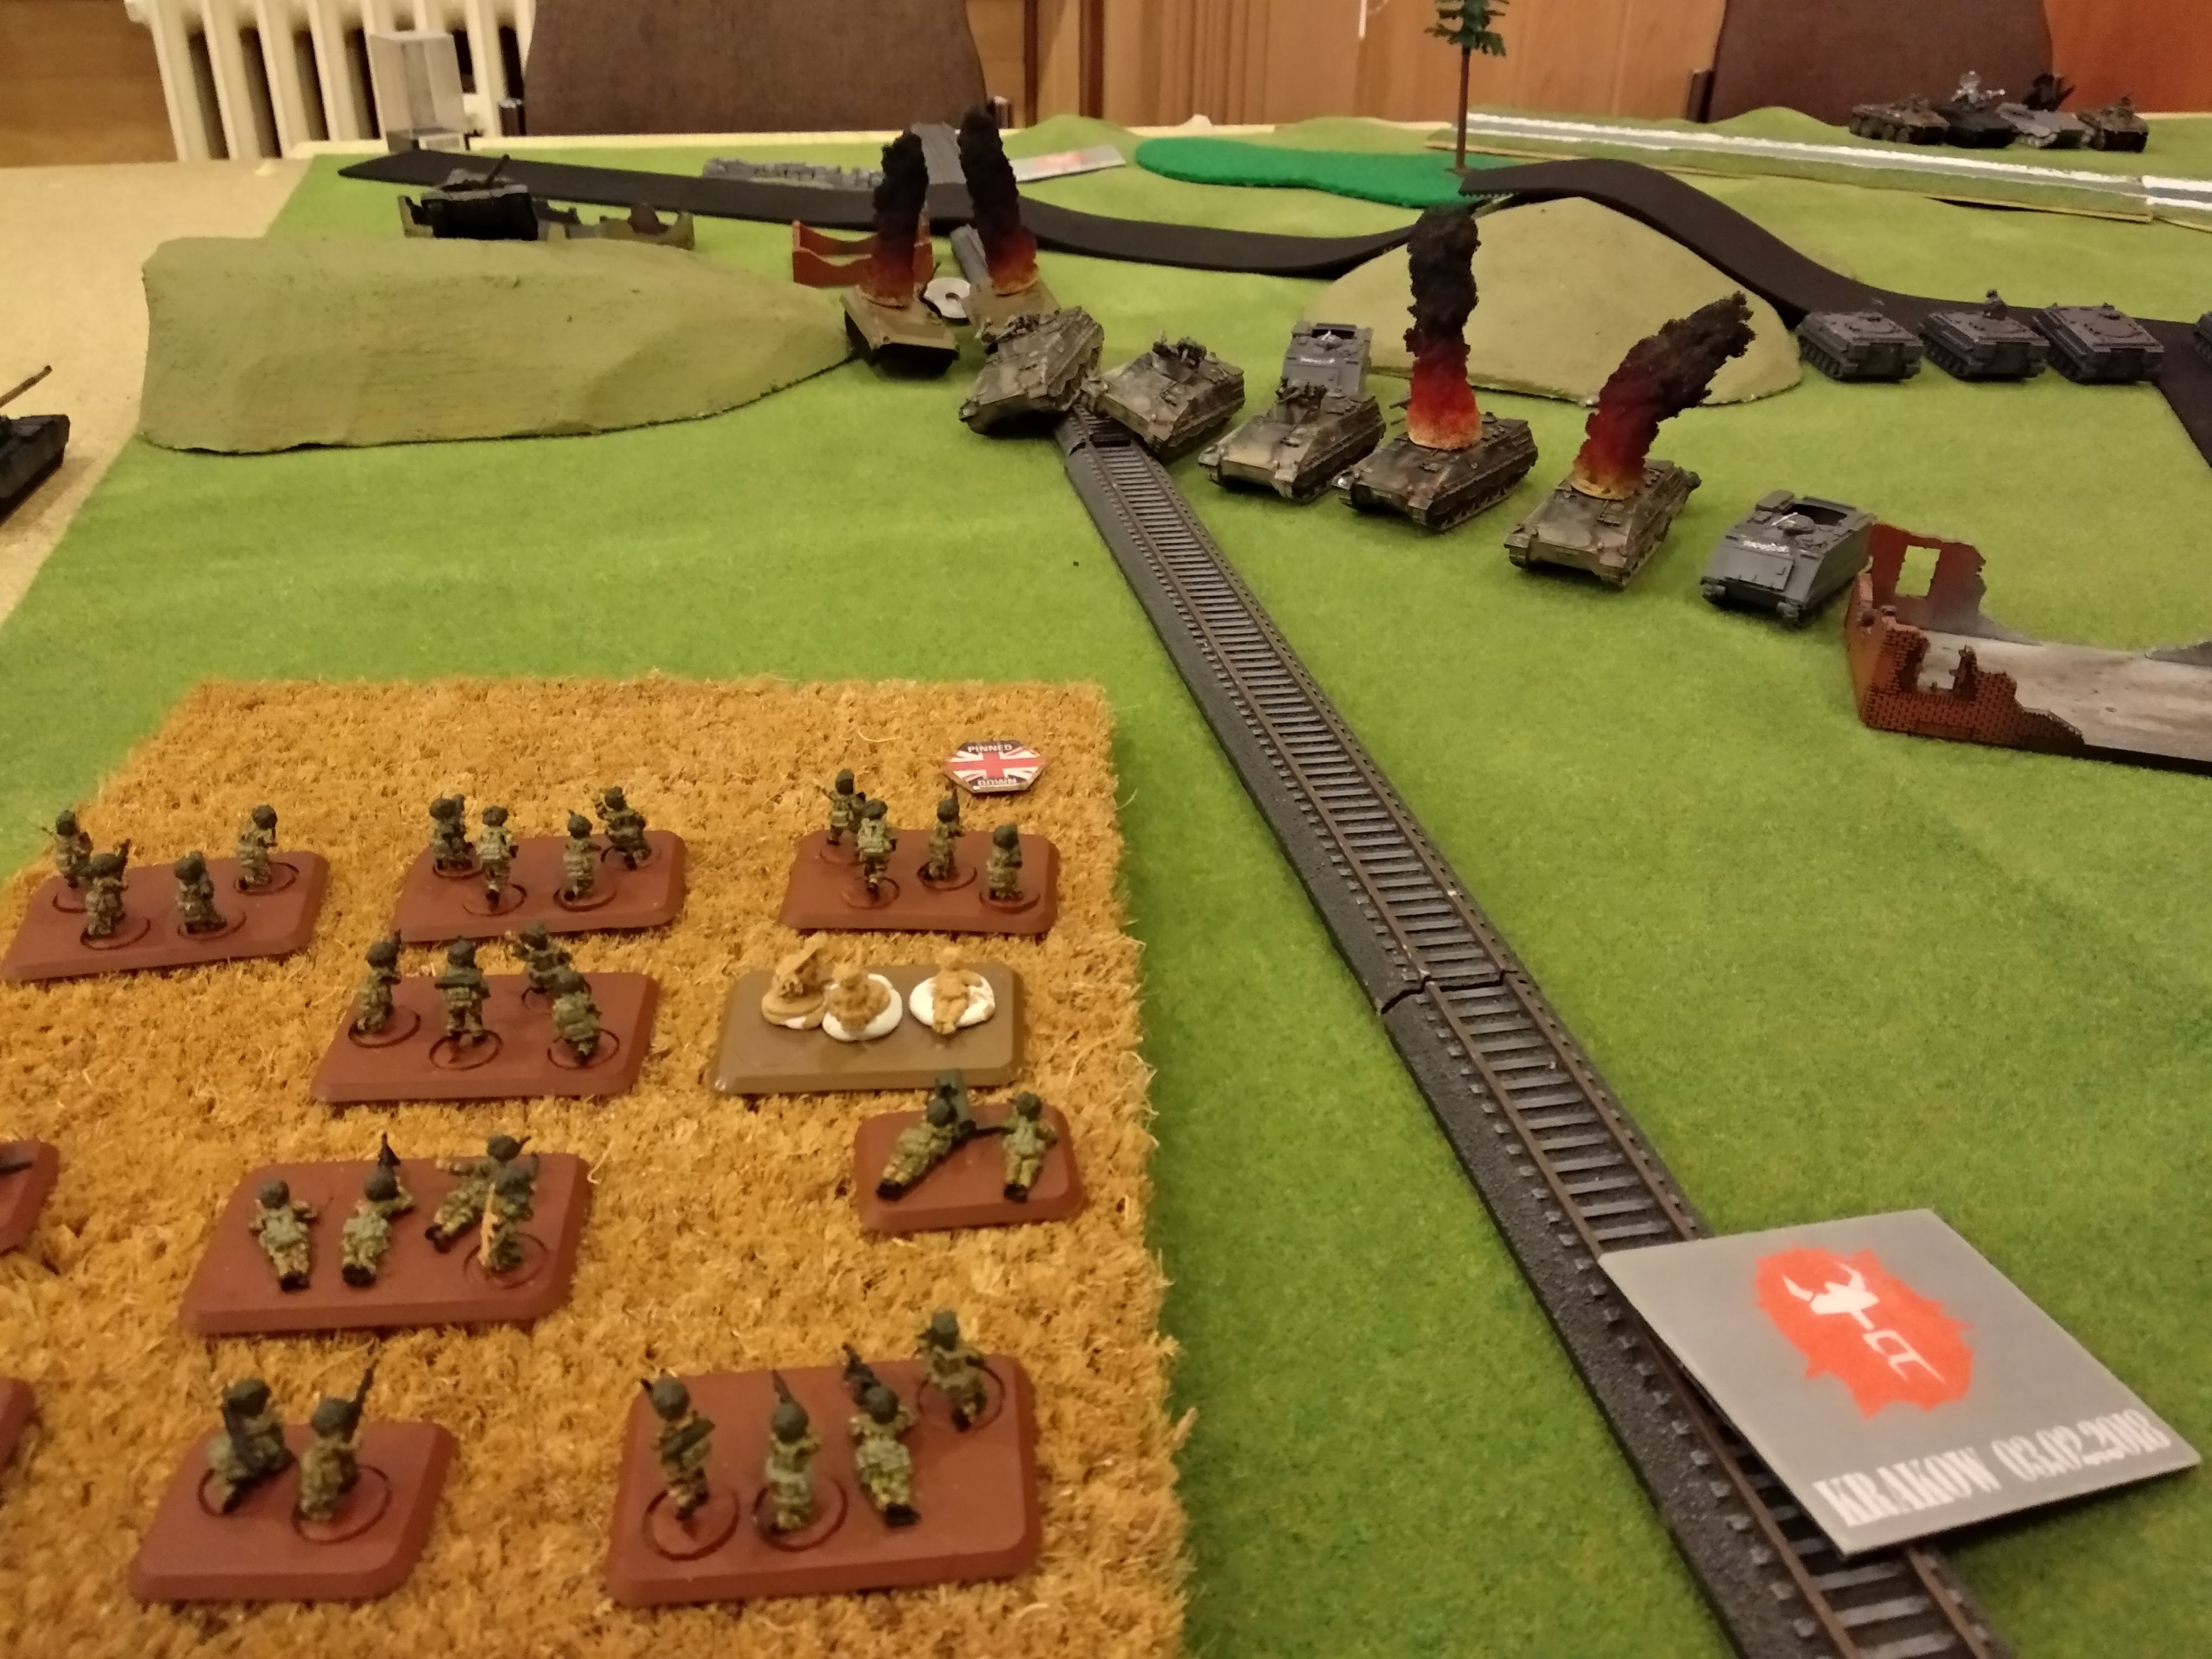
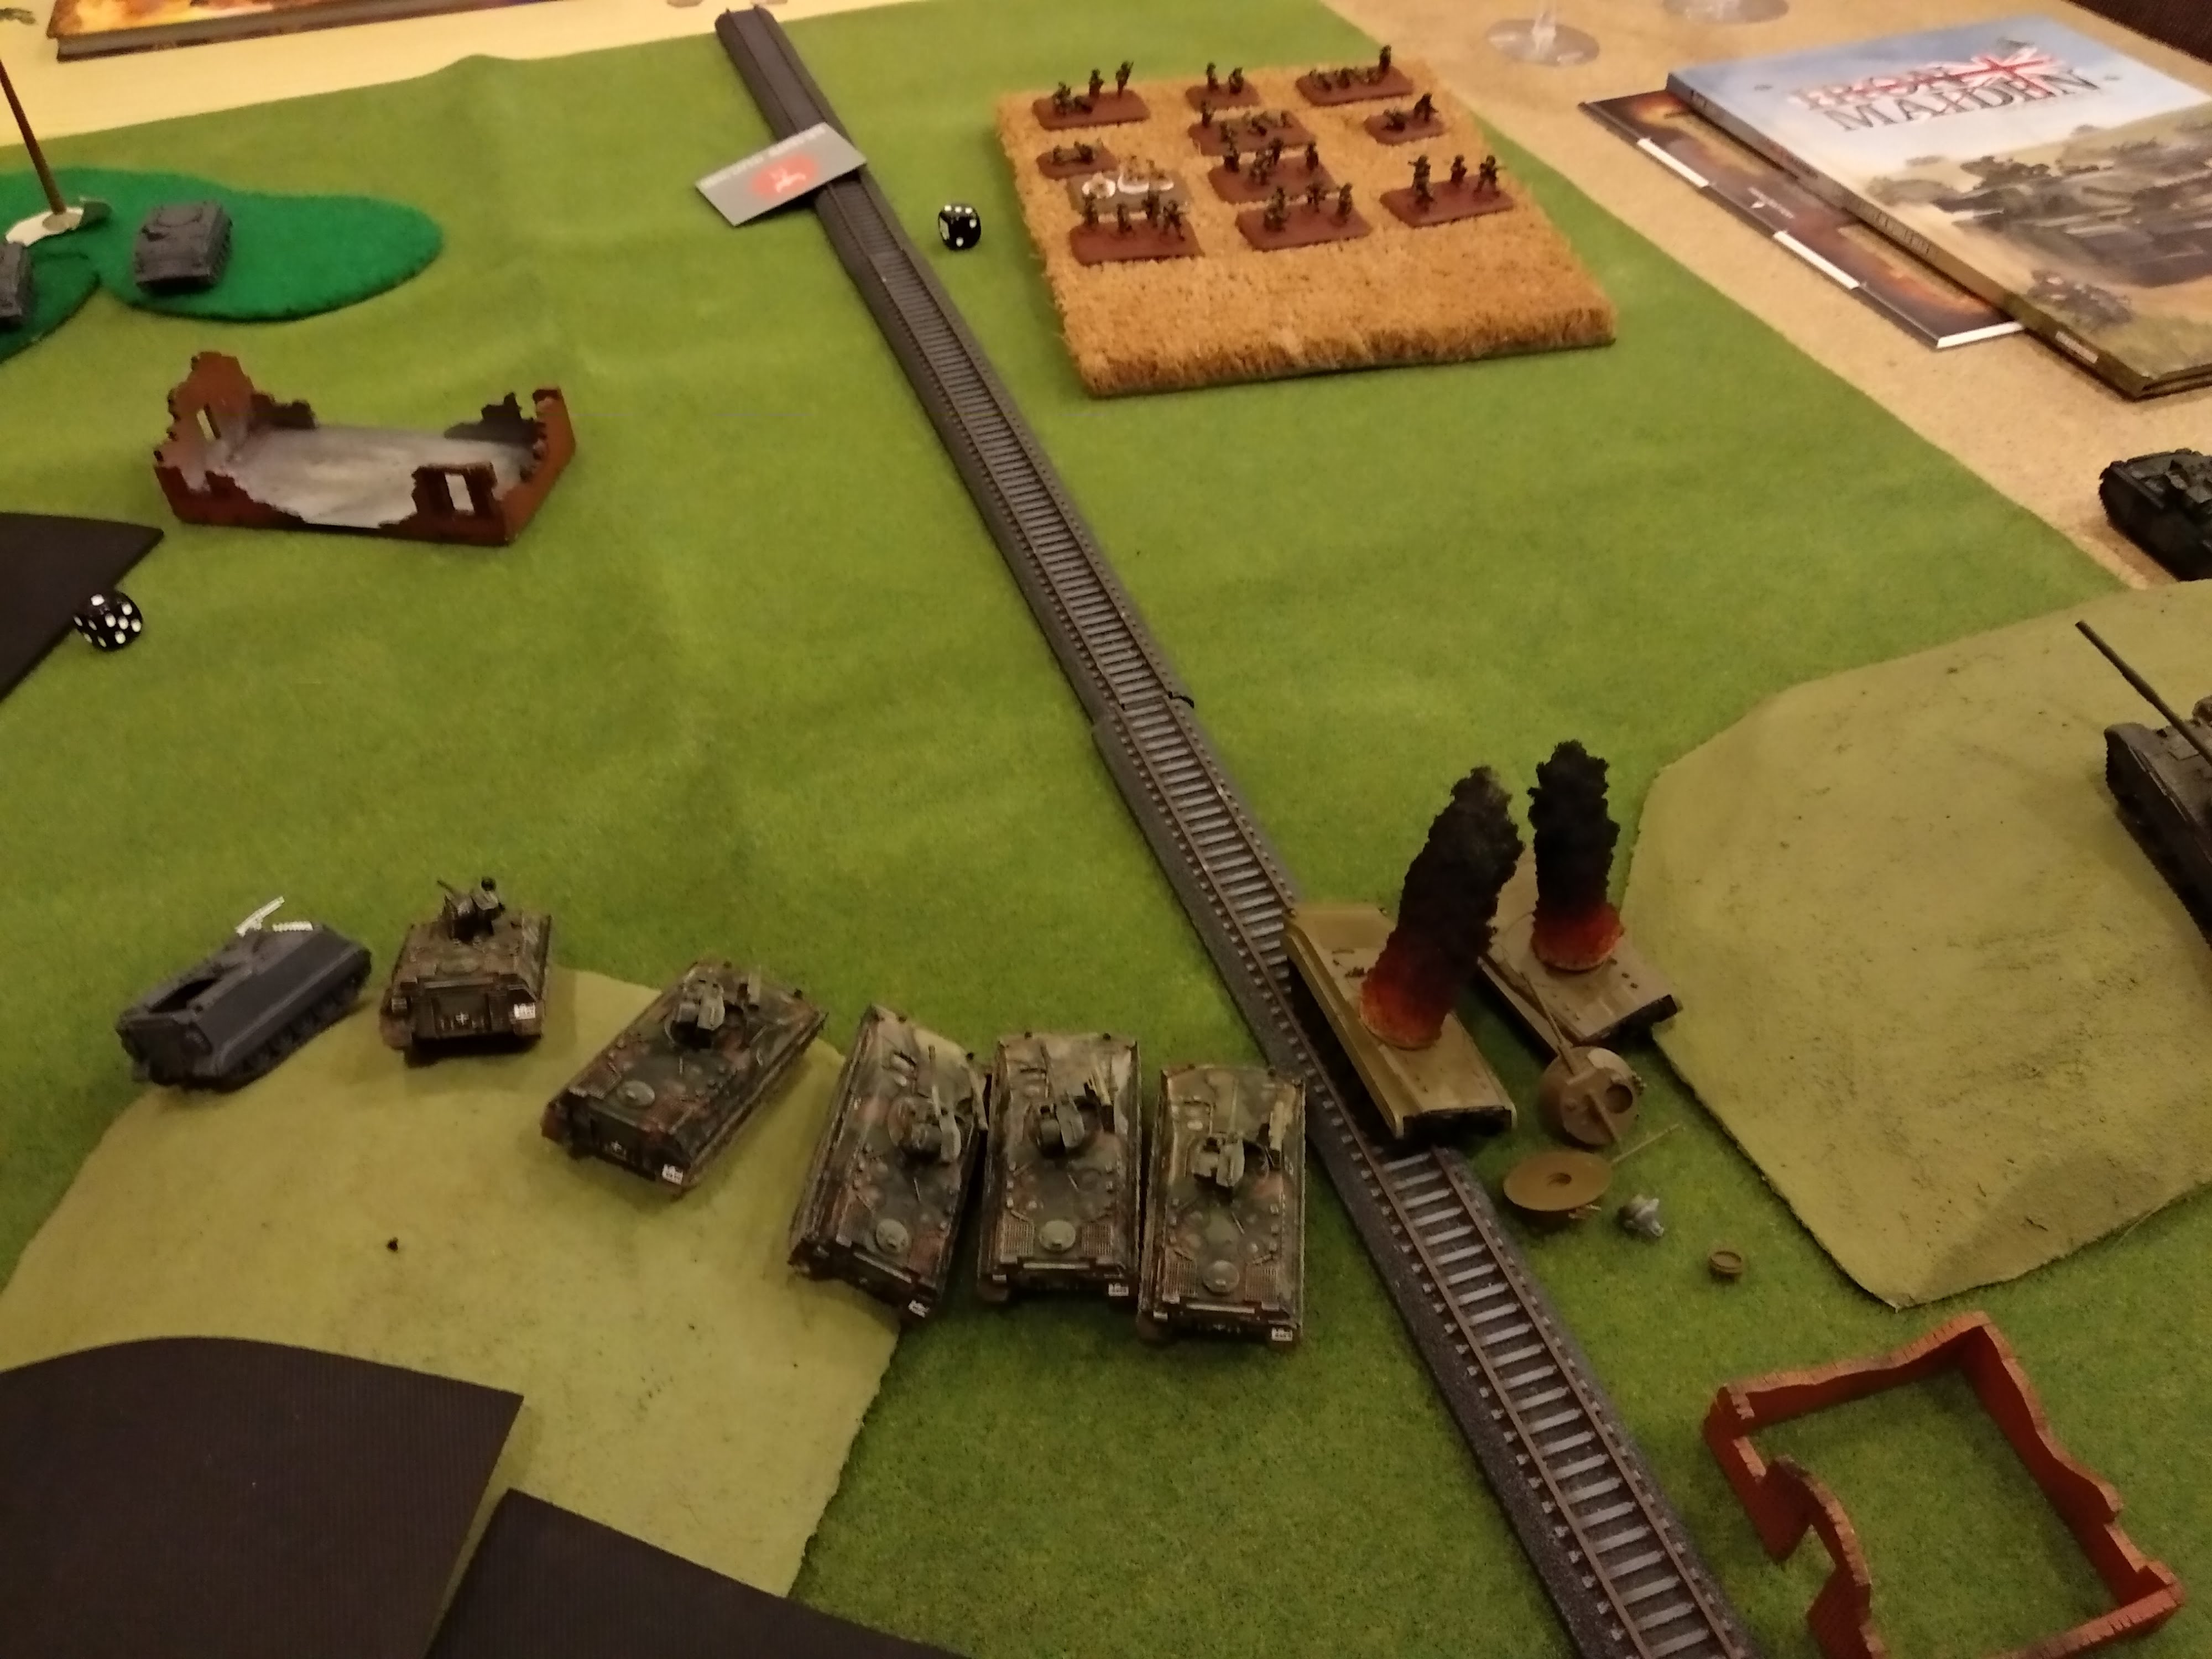
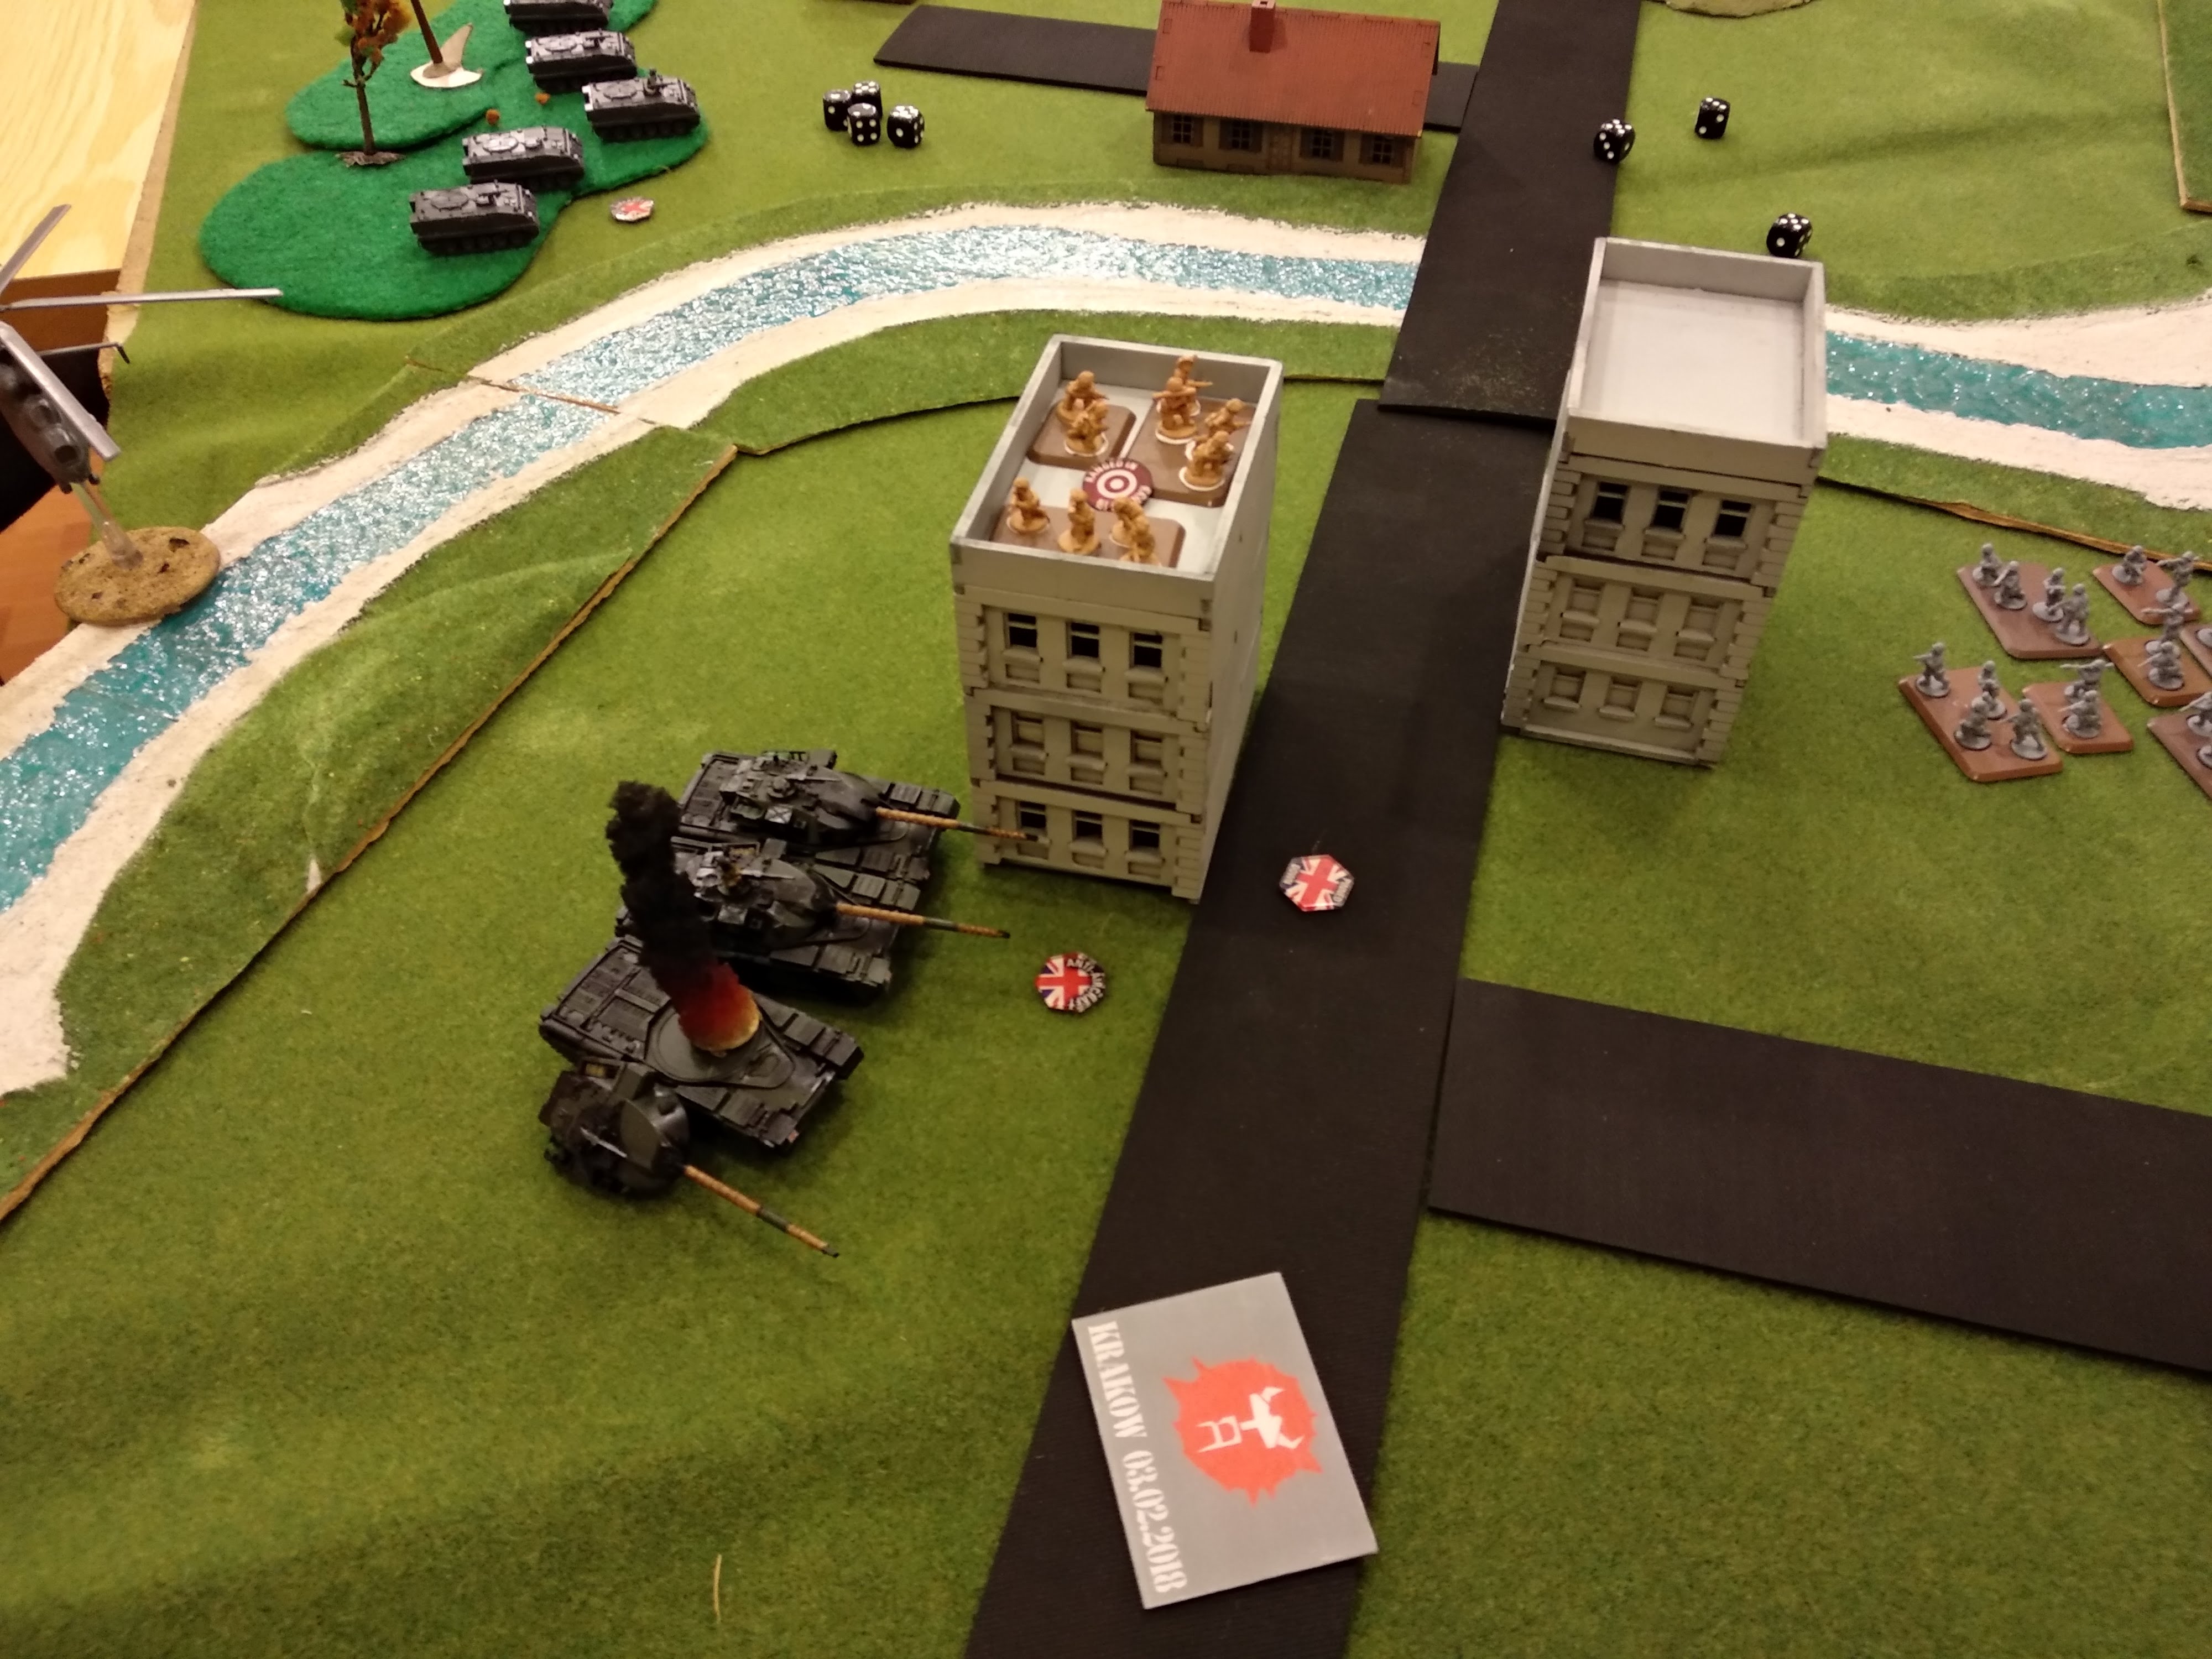
Julek rolled for reserves again and this time, got his final unit on the table, the Shilkas. He moved them up to engage the FV432s at the intersection. He also moved the T-64s, to get concealment behind a barn to engage the Chieftains from a safer position. He moved the hind out of range of all, AA fire I was able to bring to bear against it. And brought his infantry unit back toward relative safety.
Shooting this time was more effective, his BMPs and commander managed to kill 2 milan teams taking cover in the crop field. His artillery killed a GPMG team in the apartment. And his T-64s killed another Chieftain, he managed to pass his moral check though. And those Shilkas, ruined 3 out of the 4 FV432s facing them.


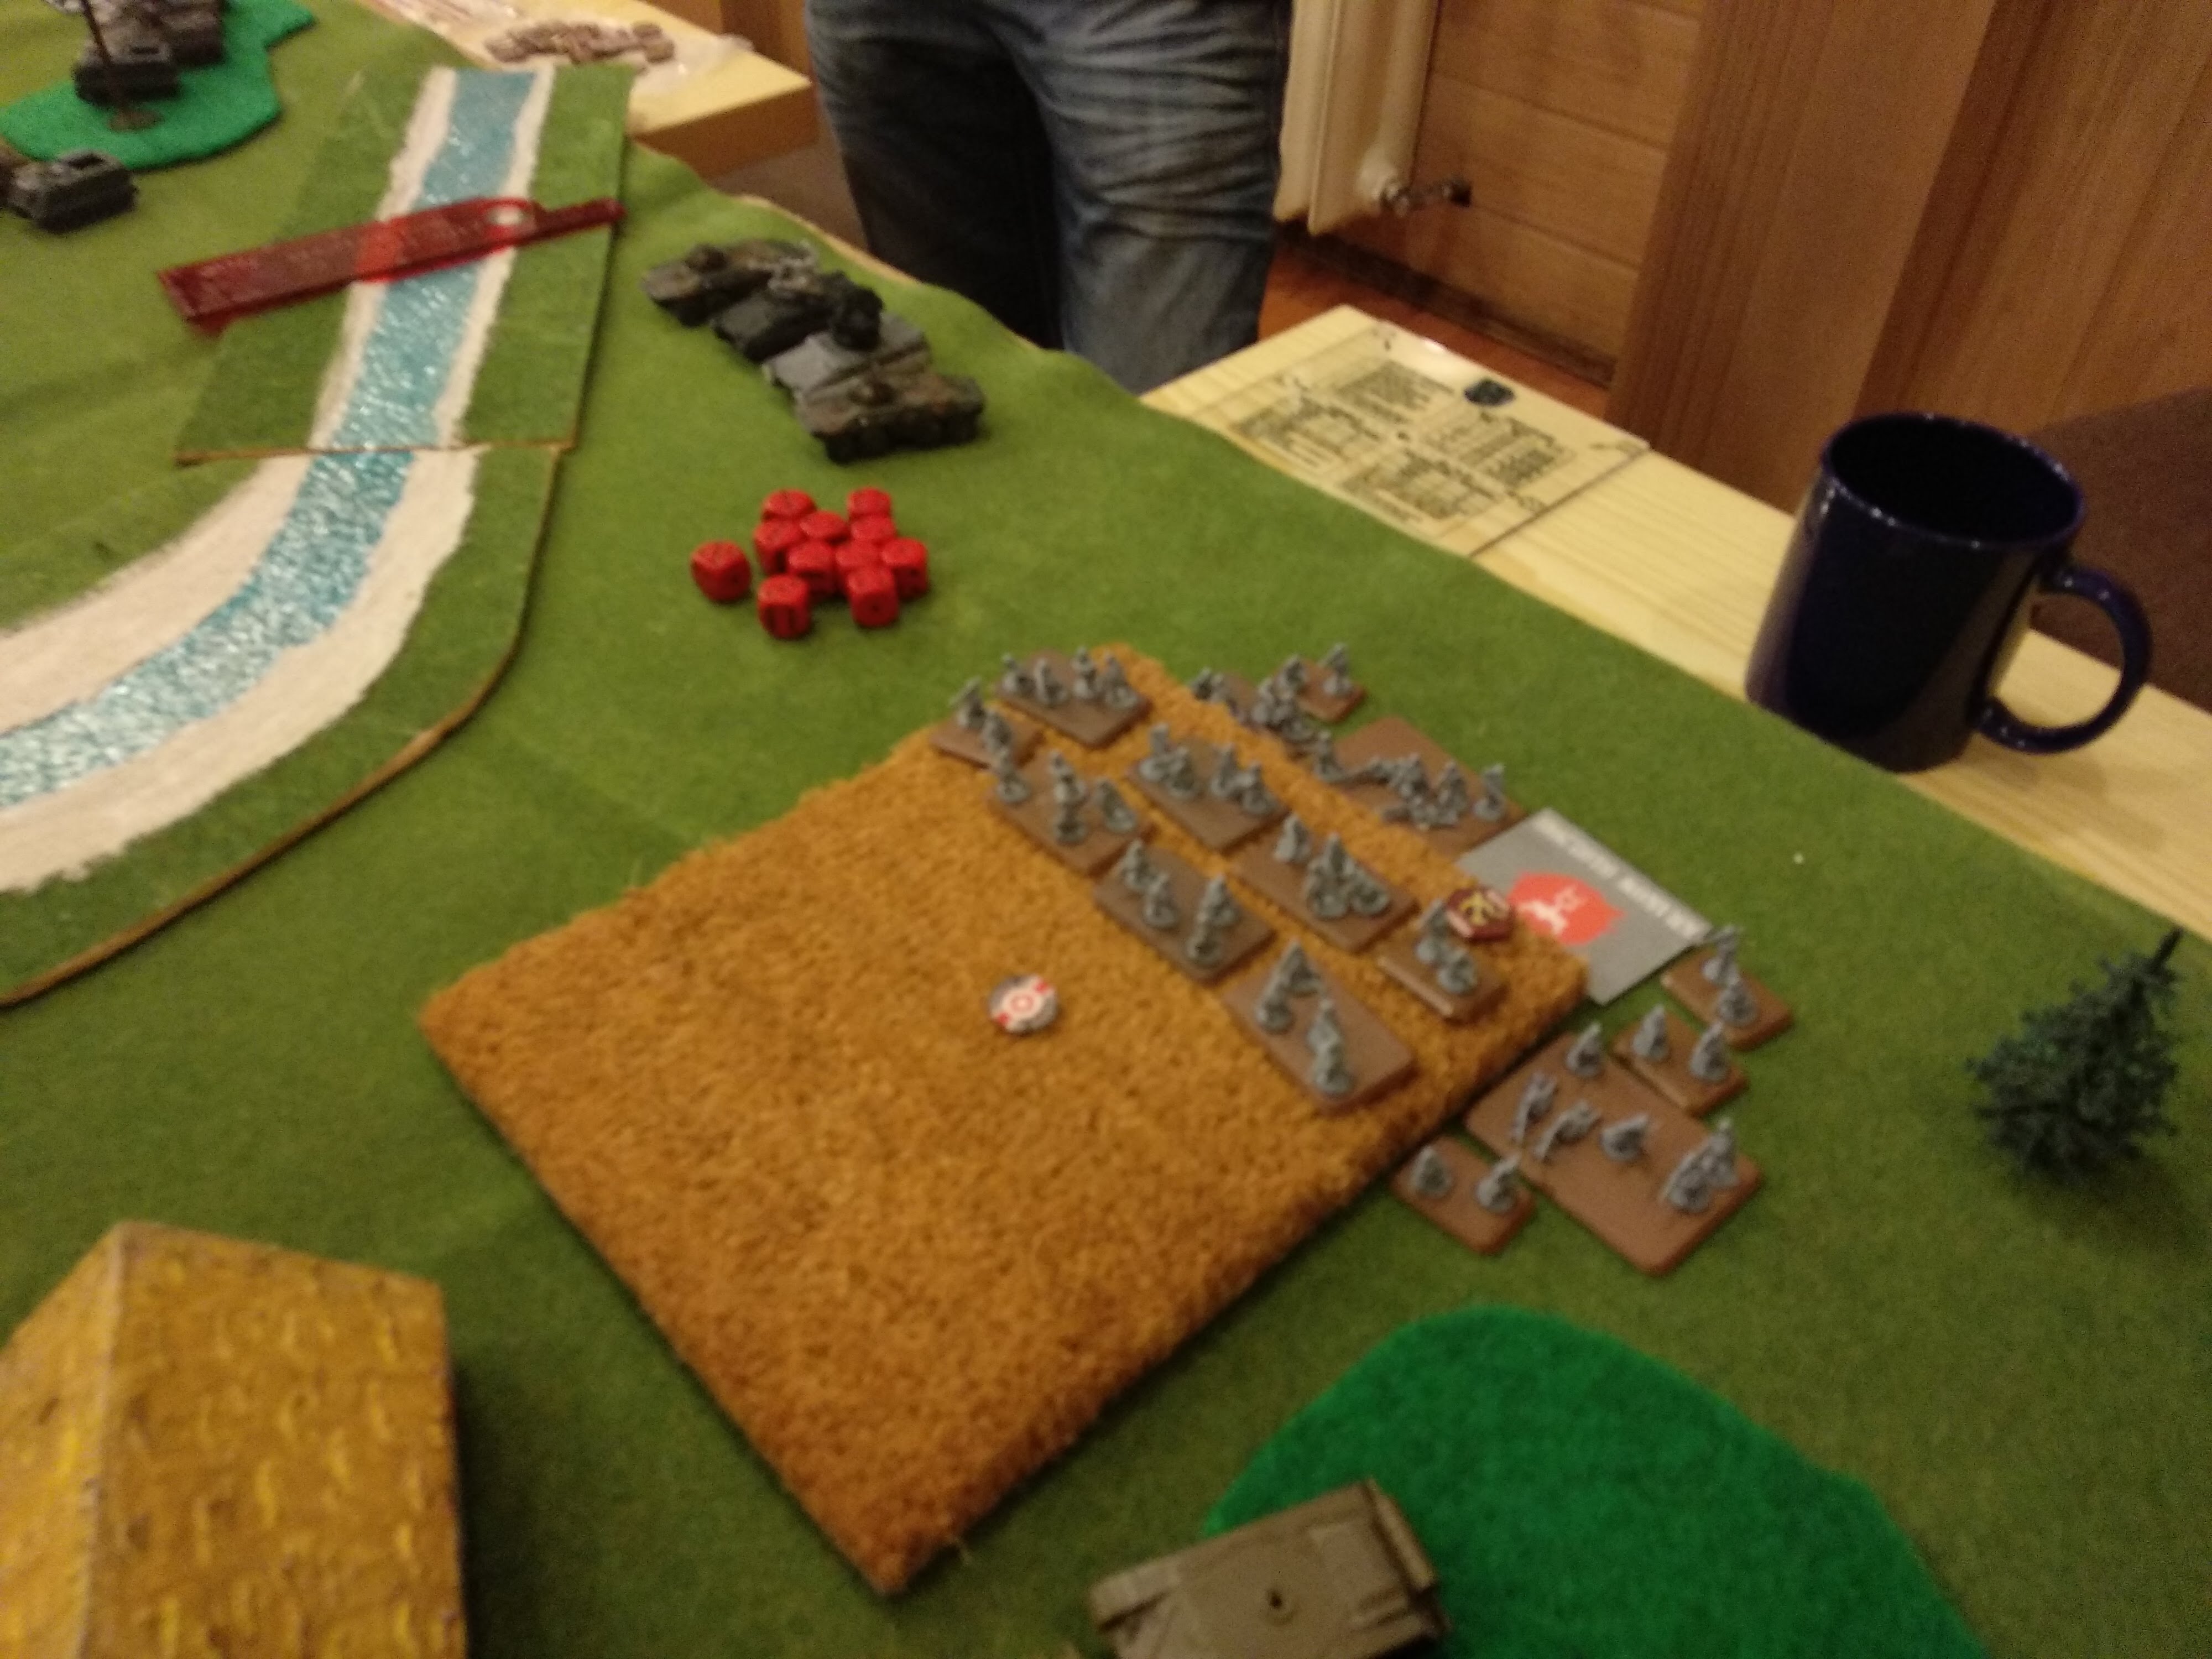
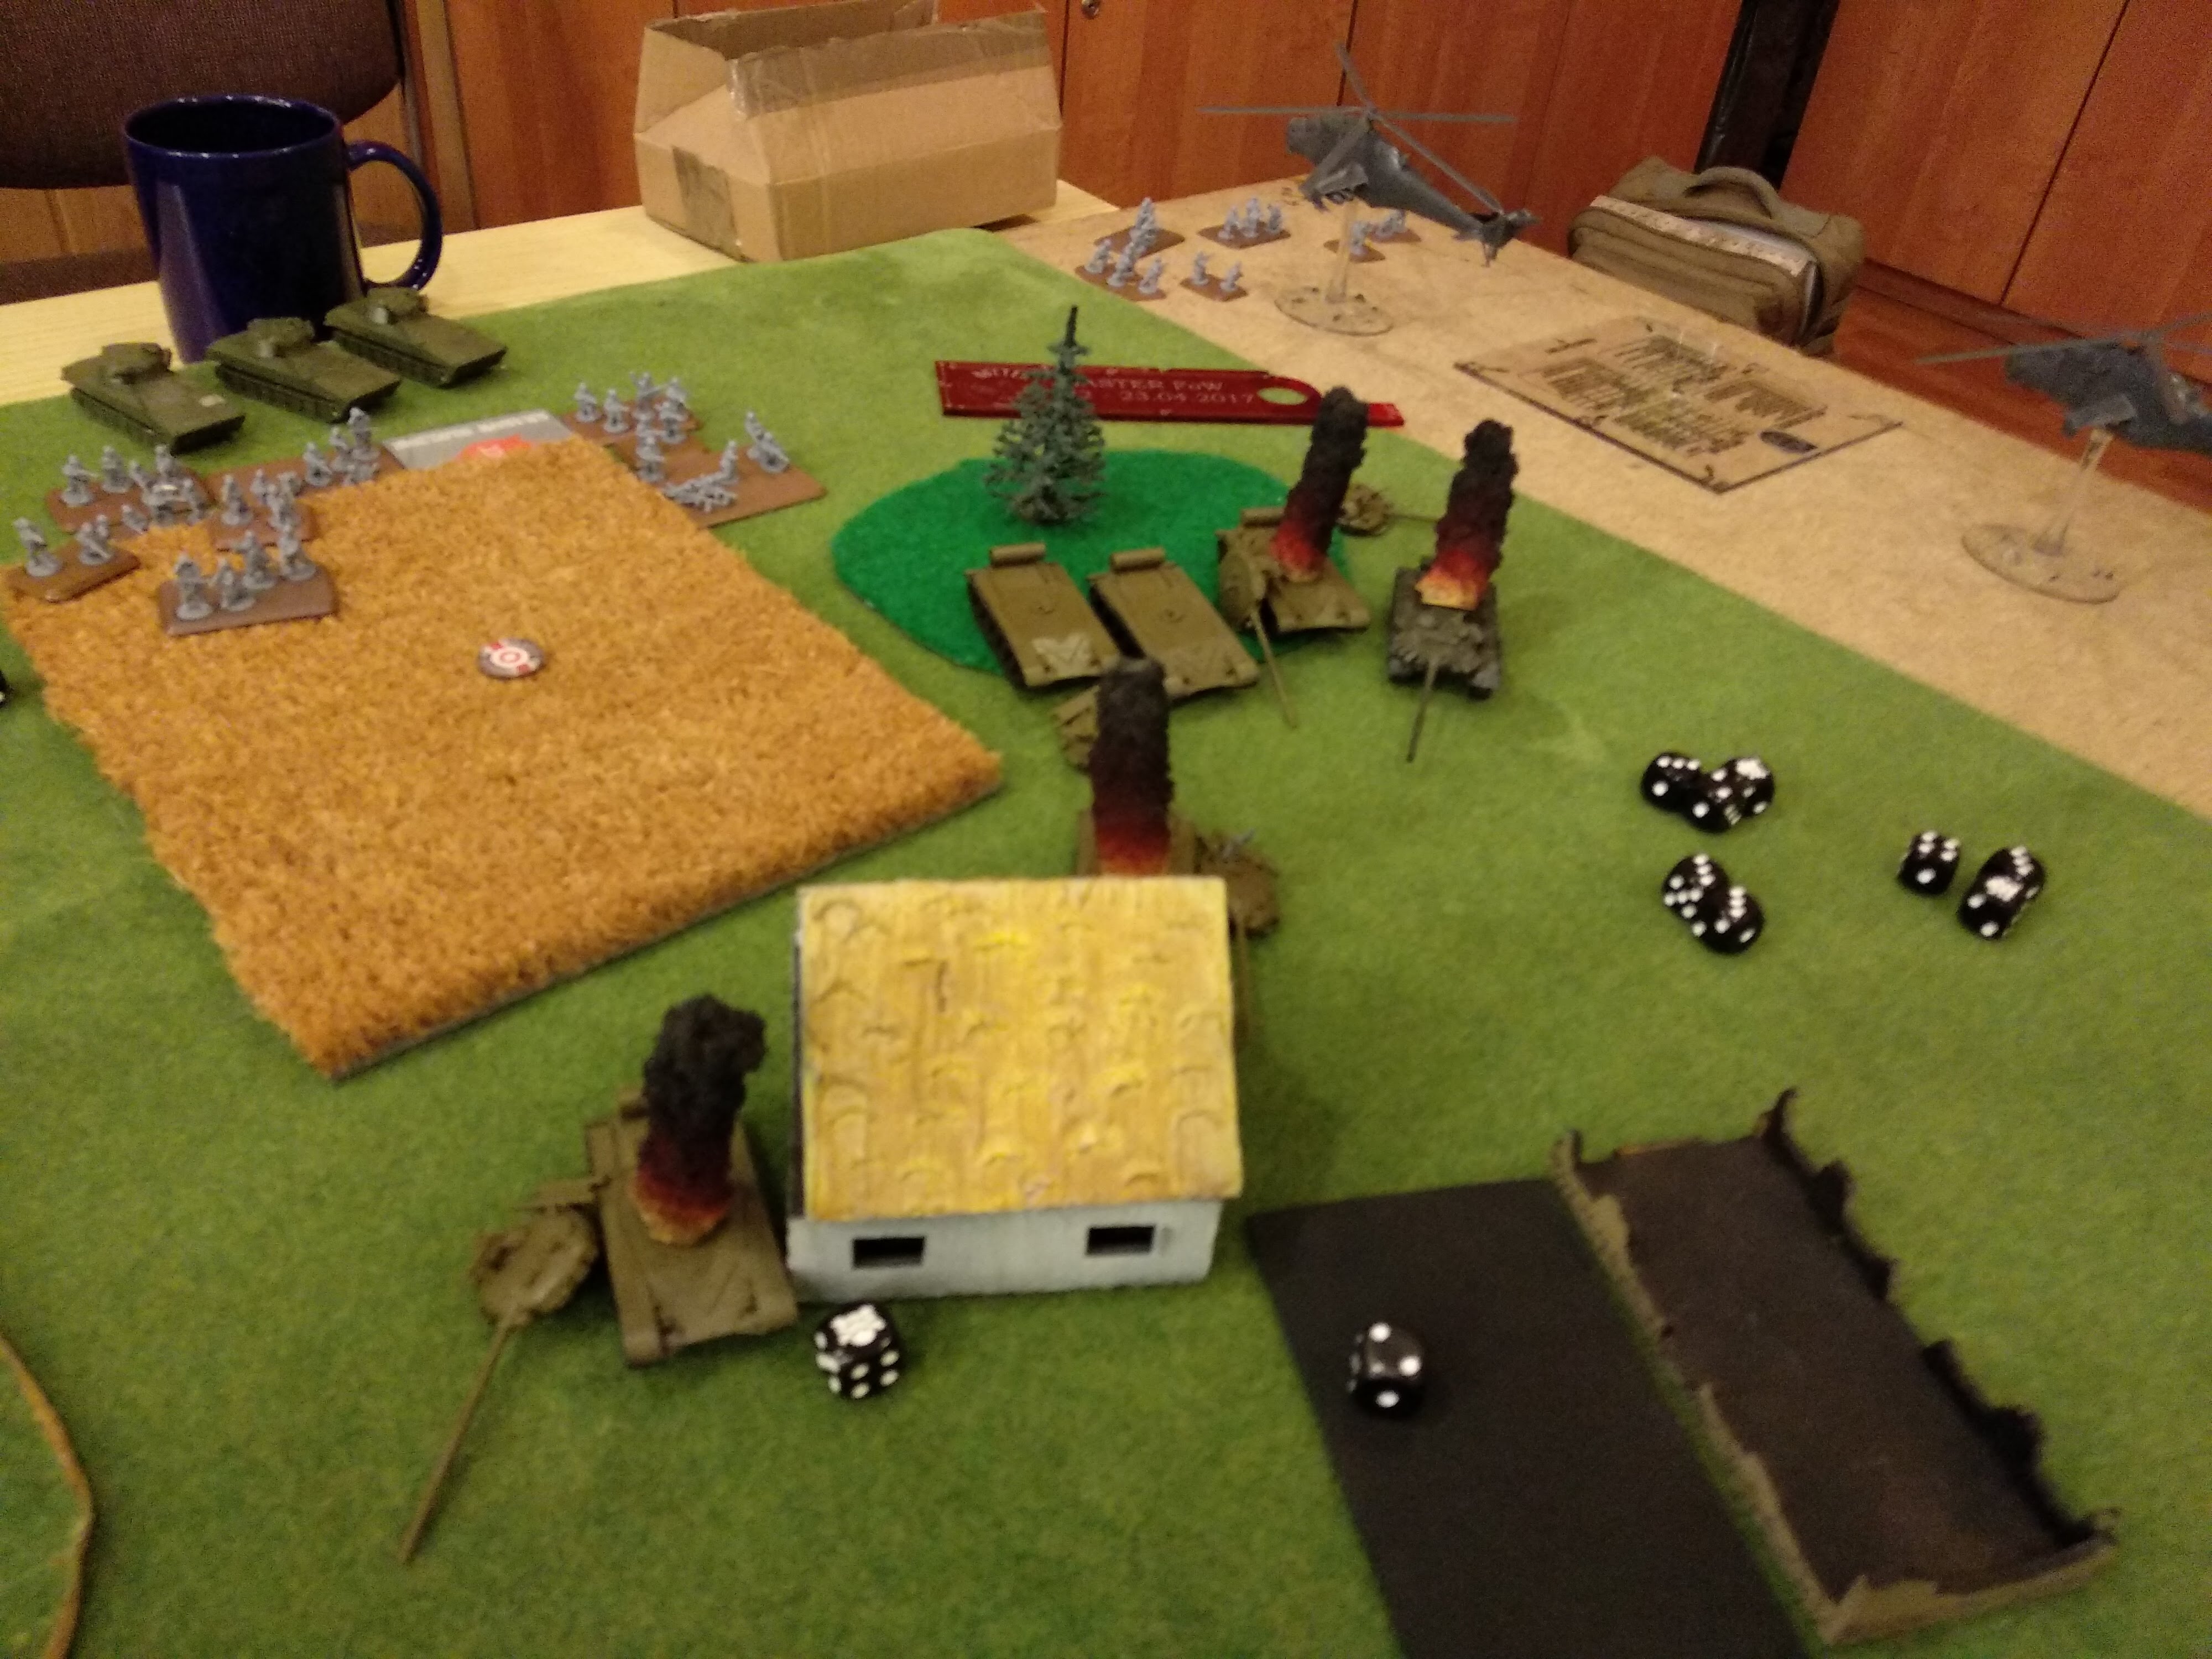
Deep, delayed, scattered, reserves. Nothing yet this turn, cool. However, my infantry in the apartment building unpin, and with combined fire from the Chieftain, knock out another T-64, forcing the morale check, which he passes. I had a bogged down FV432, and a remaining one from the group that was butchered in the previous phase, retreat back behind the farmhouse. The Carl Gustav teams manage to take out 2 more BMPs.
With no more reserves to bring on, things were starting to quiet down. Julek decided that trying to dig out the infantry in the crop field was futile, so he switched his attention to the Chieftain, at the apartment, his commander managing to get a side shot angle. However he only manage to bail the Chieftain, the Hind missed, and the artillery managed to bail again, but the crew of the Chieftain passed the second bail remount, leaving the tank in a bailed state at the end of his turn, the crew also passing their morale check. Hardly believable. The Shilkas on the other hand finished off the transports ineffectively hiding behind the farmhouse.
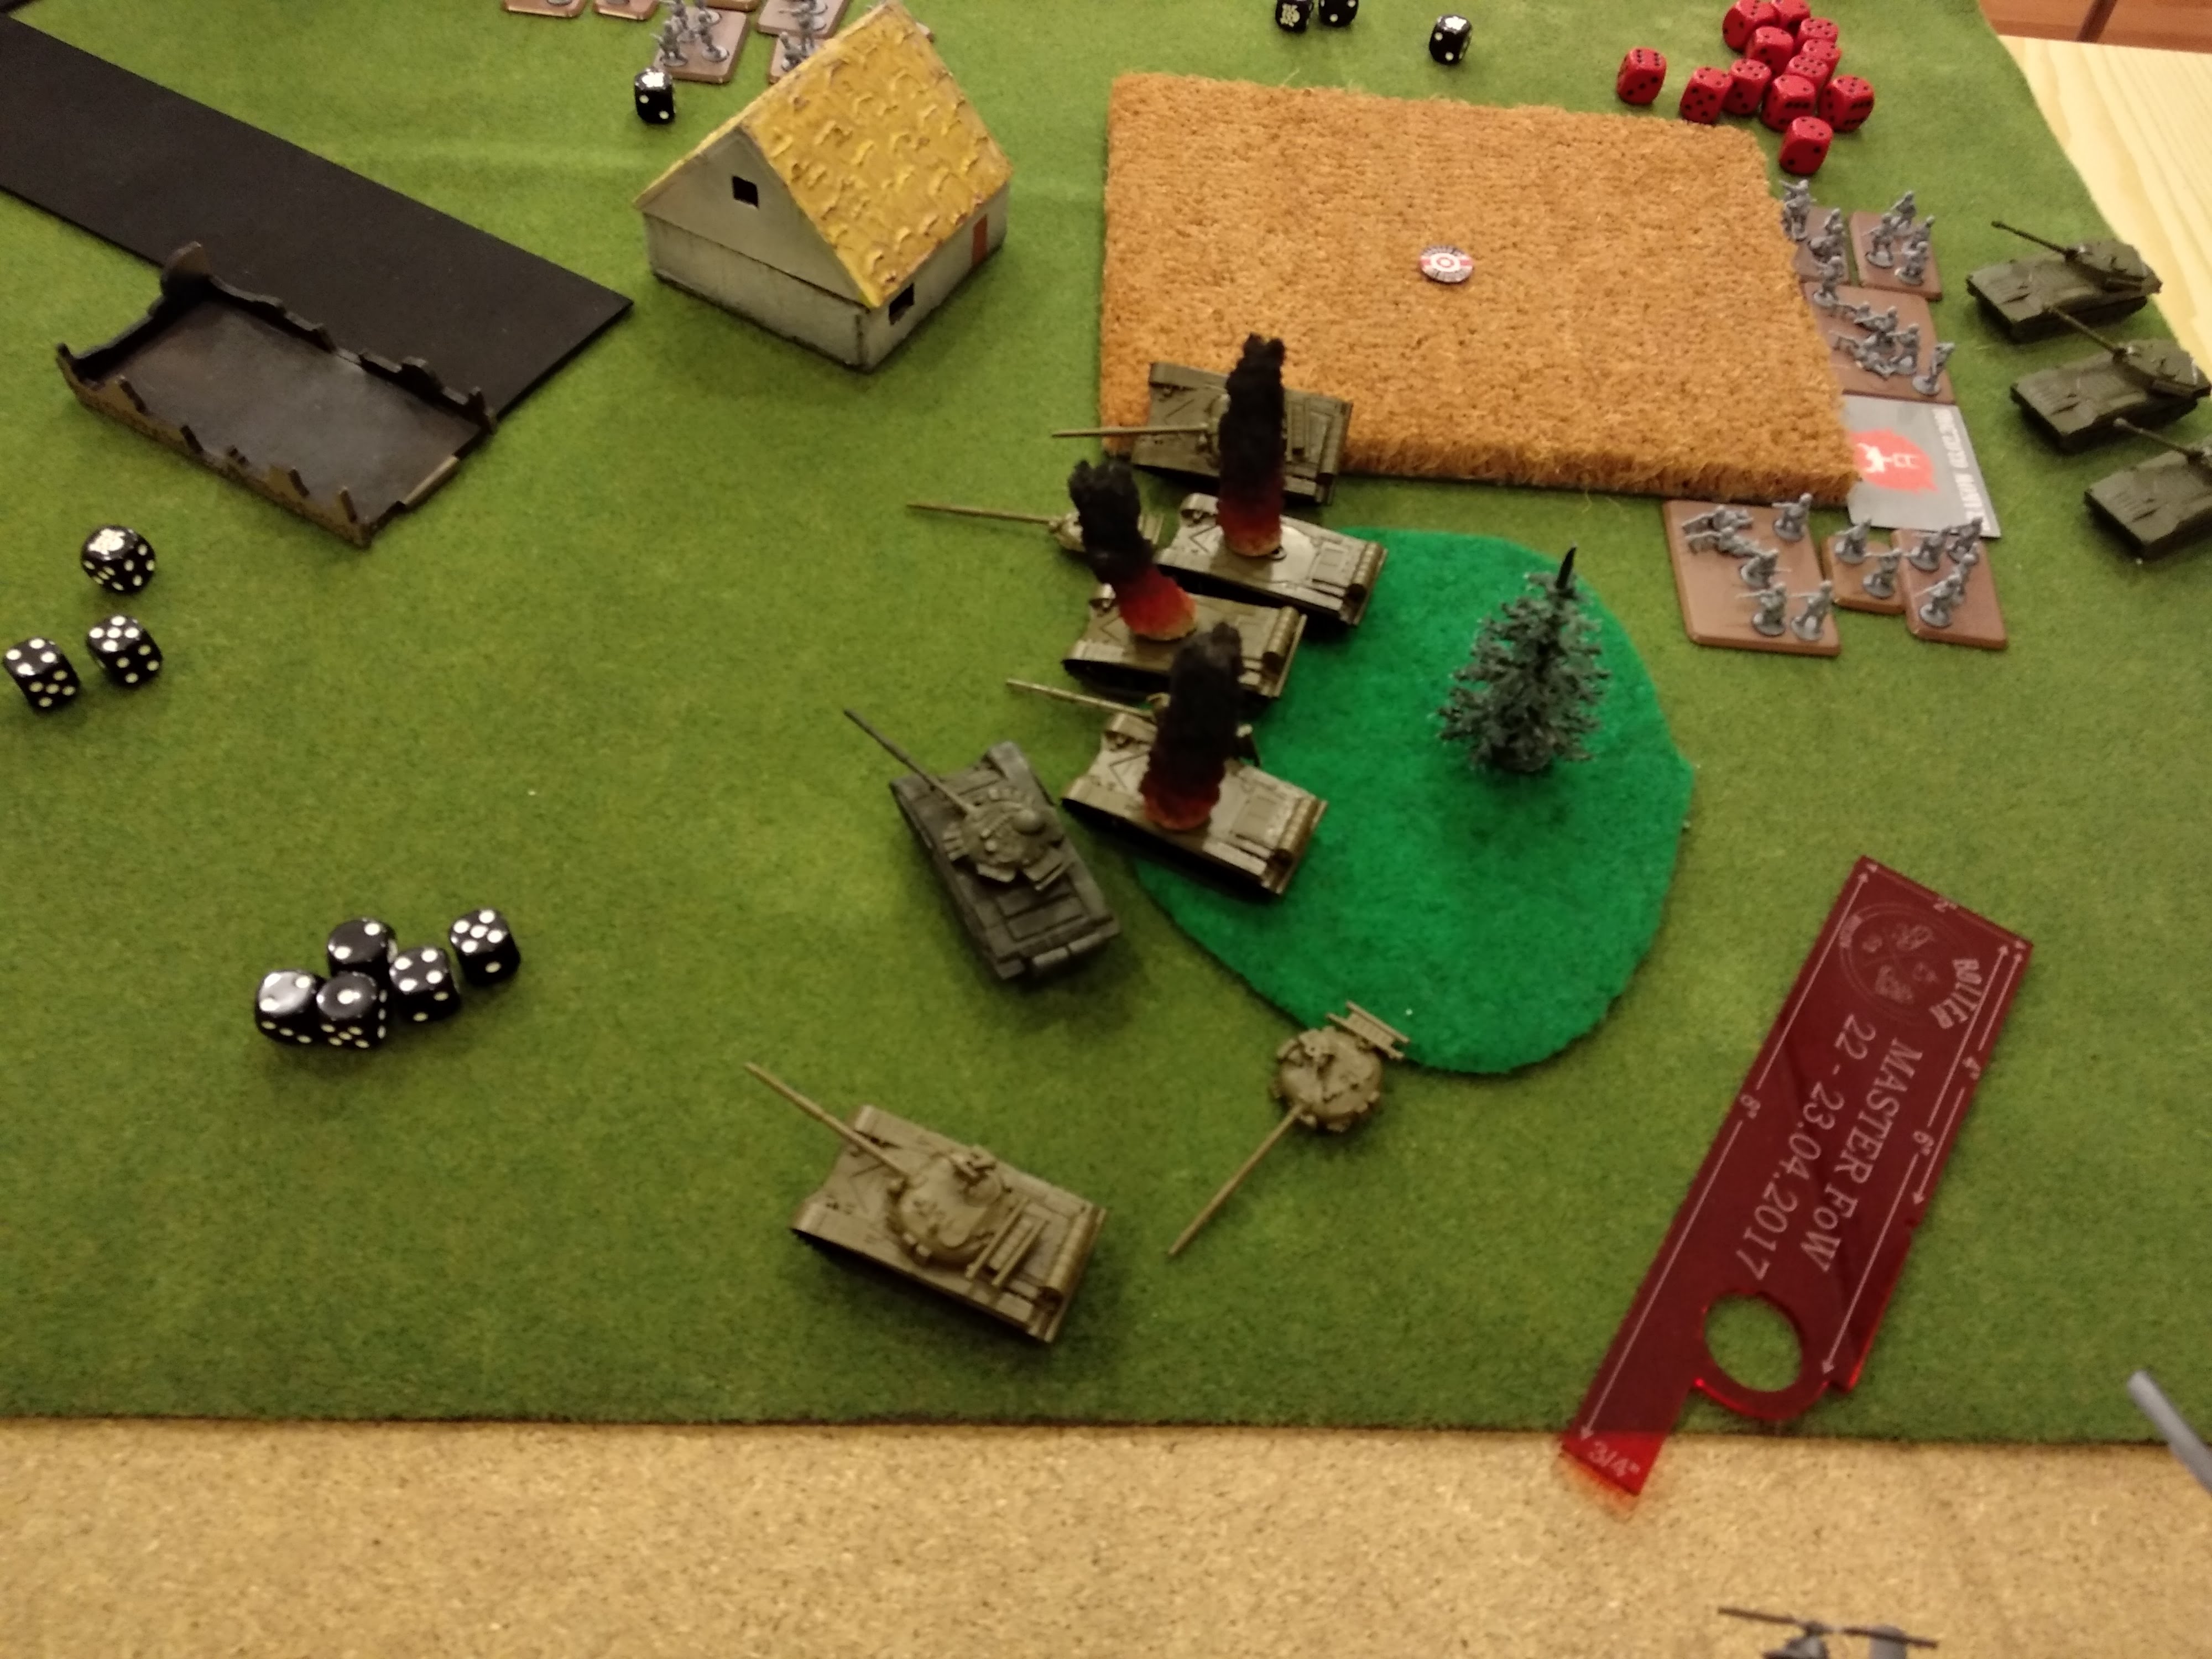
2 dice for reserves, 2 successes, nice! Blowpipes and Chieftains, they both scatter in to the middle, so I blitz my blowpipes onto the board (currently now an illegal move, 'twas fair game on Wednesday though!) and do the same with the Chieftains, I position them to get shots on the commander.
And start shooting, firstly, the Hind. So I have 8 shots with the Blowpipes, 7 hit, he saves 4 out of the 7, and I fail 2 firepower checks. Leaving one success. The Hind is dead. My newly arrived Chieftains fire at and miss the commander. The Carl Gustav teams do not however, and strike him in the side, the commander's tank erupting in flames. The other Chieftain then manages to finish off the last T-64.
Julek had to leave early unfortunately, so we called it a draw. However I manged to get the better end of that draw destroying the Hinds and both T-64 units yielding a score of 3 - 1 in my favour.
Though had we played it out til the end, I'm confident that I would have nabbed a total victory with Julek now unable to harm my Chieftains at range.

Nice battle report.
This is well summarised so I had an easy time following it, good stuff.
Excellent AAR, Terrain and Pictures, love the story
recommended
thx for an hard fought, battle
Good report
Another knock down drag out fight. Gotta love’em!
A hard fought draw, Hmm yeah T-64s are tough!! better luck next time
A valiant effort. Those T-64s can be a pain to try to get rid of, and their ability to take Songsters makes them more intimidating.
Well done and good report. Too bad it’s a draw but it is a win against RED!
A nice batrep.
Well played Hulkey. Didn’t like seeing so many T-64s afire. In my experience those tanks do a good job of shrugging off the hits.