Fought At Ruhr
2239 days 4 hours 26 minutes ago
First brush with the enemy
70 POINTSOff to the second round, against the East Germans with 15 T55s and assorted other vehicles. Both pick Manoeuvre and we end up playing Free for all.
My opponent was really itching to go second, but my inability to roll anything higher than a 2 surprised him and forced him to go first, which caused a series of problems. He had placed his figures in positions that had no lines of sight, couldn't bombard and call smoke, and couldn't request air support which was his key asset for MBT removal.
 Again, the essential tactical choice of "which side do you pick to deploy?" was settled by "I'll stay here because I don't want to move to the other side".
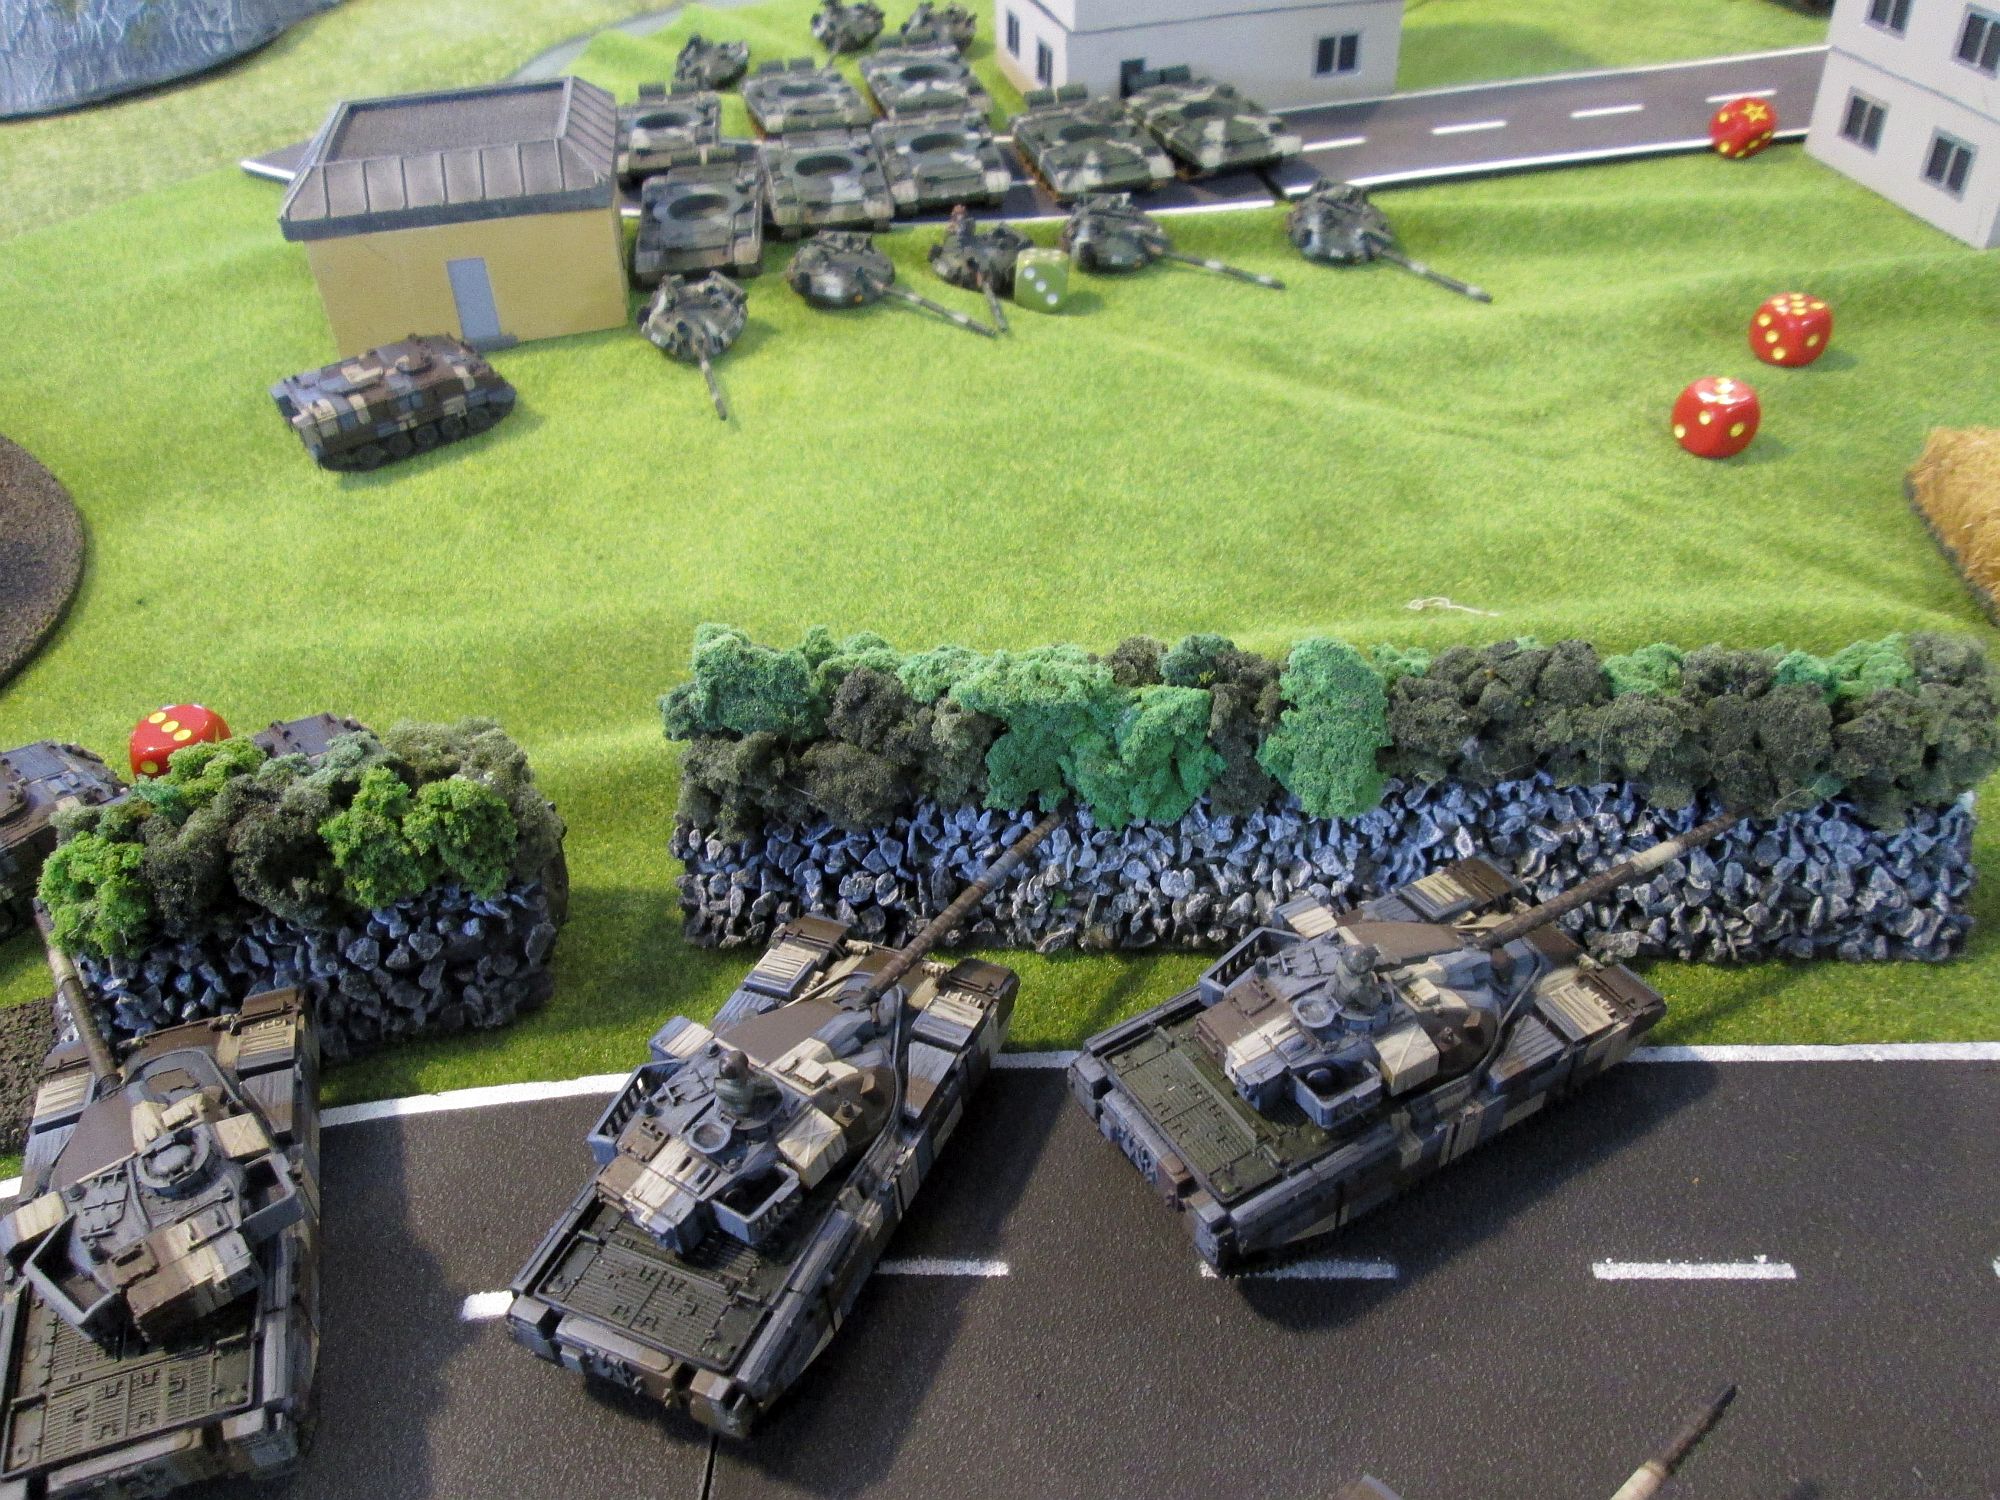
By contrast, my deployment was very aggressive, using the Scorpions to push to the right while the infantry in the centre occupied the derelict department store. Unfortunately, there wasn't a safe haven for my Rapiers to shoot missiles from - their small unit size, inherent weakness and importance to scare the enemy air put them in constant danger.
My tanks rumbled in positions that would let them fire at the Germans no matter what approach they'd take. I was surprised by my opponent's cautiousness with his infantry - I would have rushed them forward with the tanks to provide my meagre firebase with a "target rich environment".
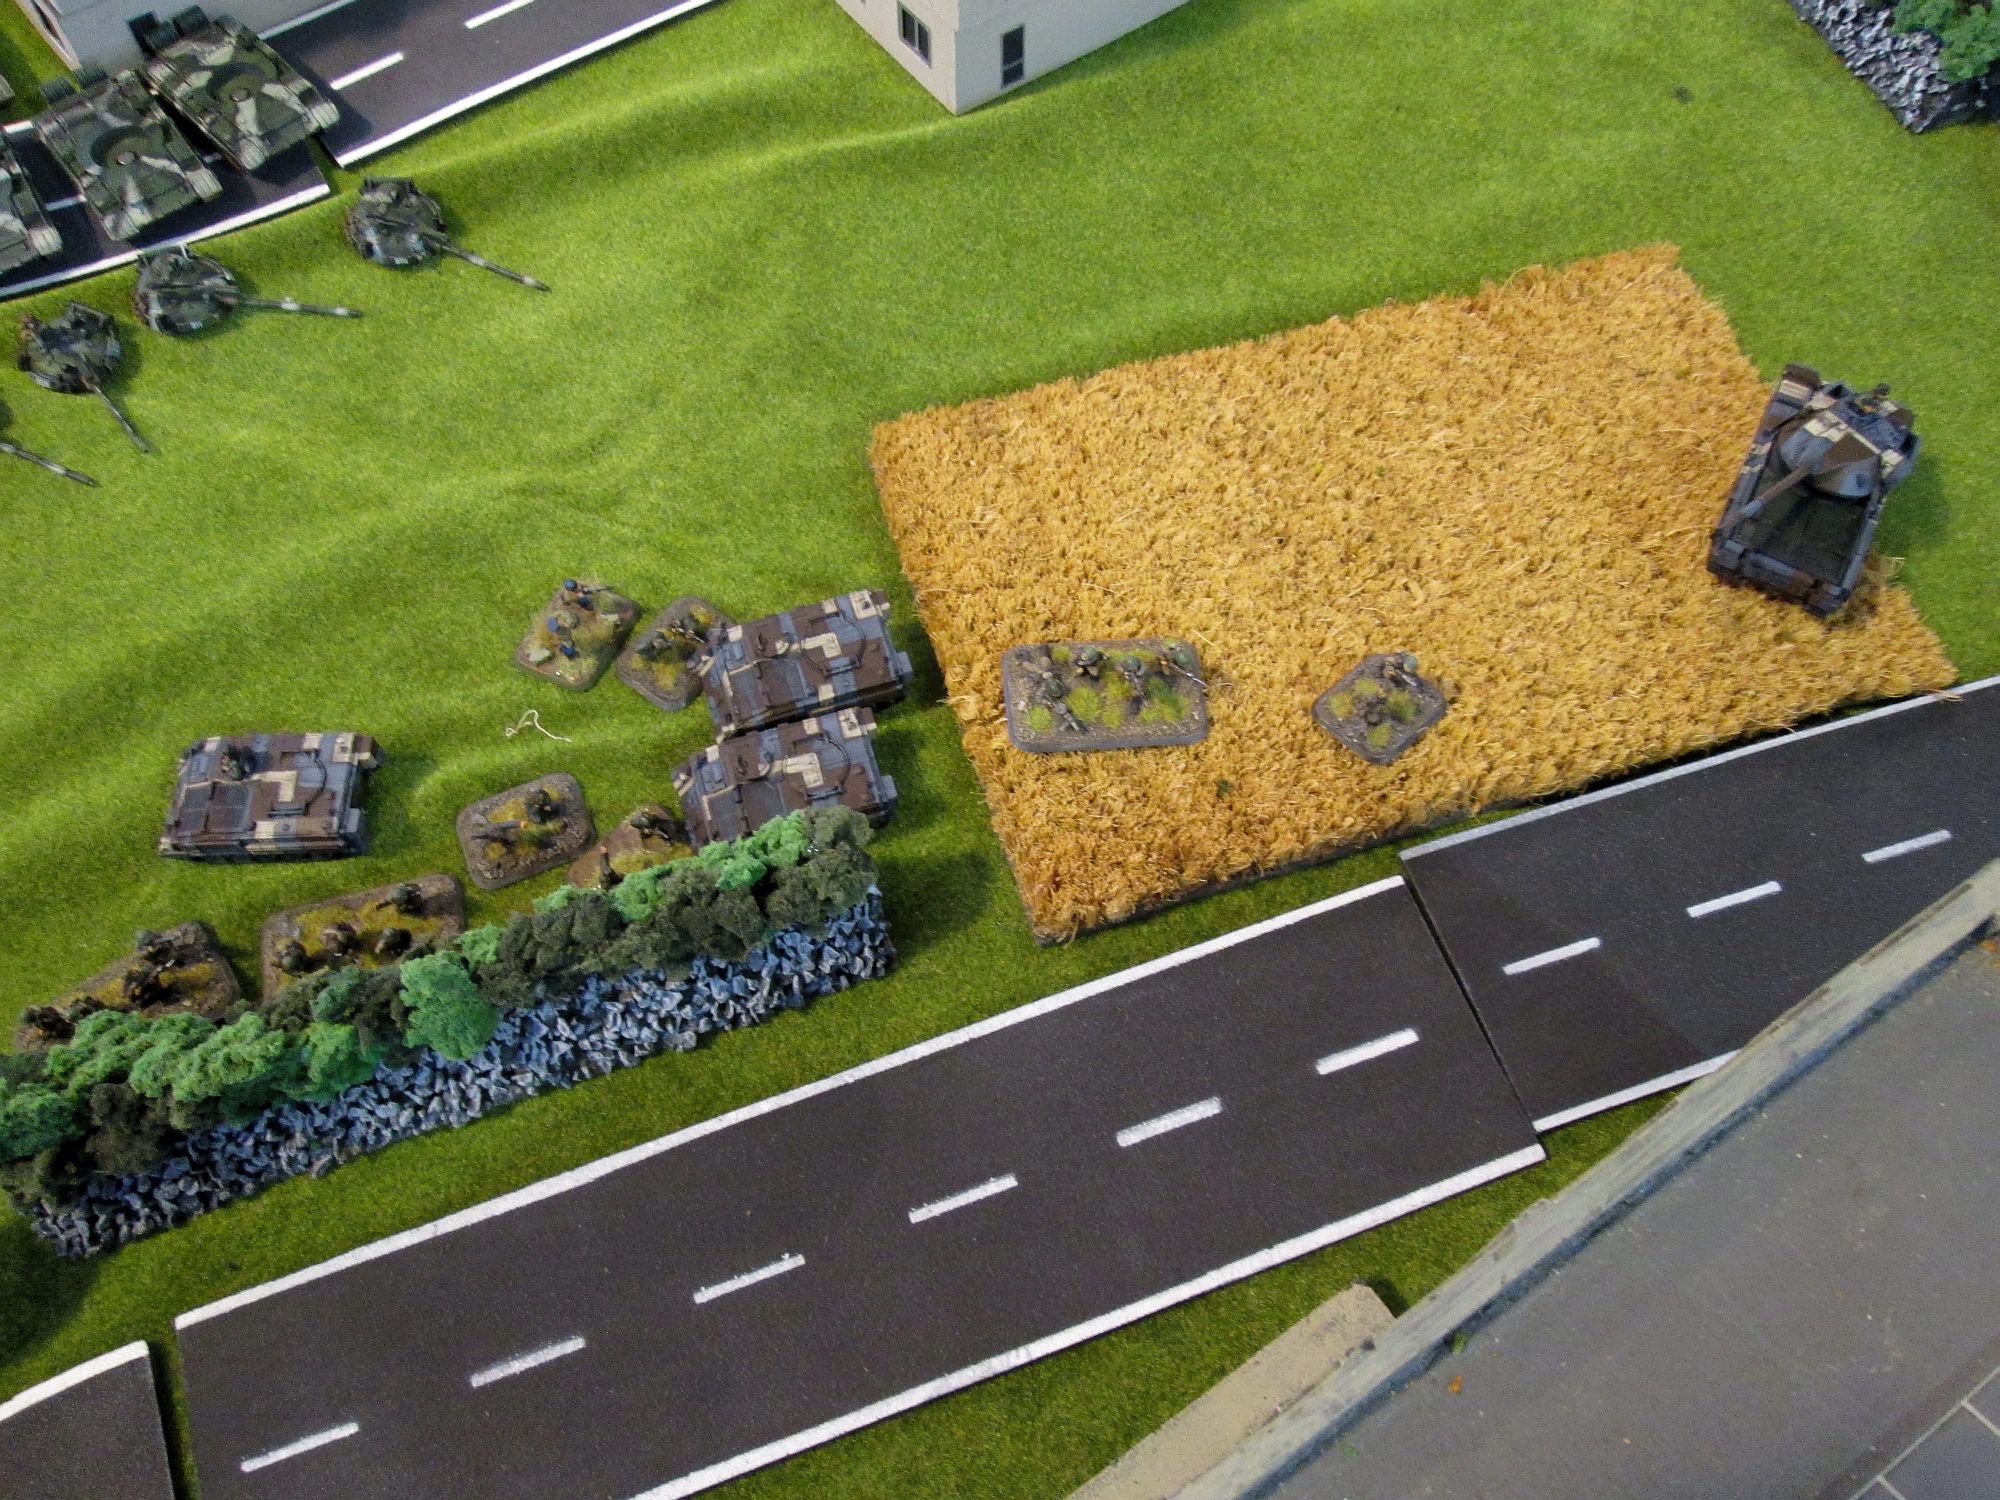
On the other side, my forces hugged the crop field. My opponent had no weapon that could move and fire effectively, so my plan consisted in doing exactly that - tempting him into moving and firing, watching him fail, and killing everything in return.

The East German plan relied heavily on the aircraft winning the game for them, but it was not to be - the fighters failed to turn up in 6 turns out of 8. Meanwhile I managed to fail some spectacular FP rolls on 2+ against the scout BMPs, which meant I would find myself surrounded on the right flank by Carnations, BMPs and Spandrels. But my plan came to fruition, all of my enemy's shots either missed or were bounced and in the end the only casualty was a hapless Scorpion, nuked by a BMP Grom rocket.
On the other side, the T55s advanced and scored an impossible long bomb shot at a Rapier, but the other one luckily passed the morale check. I definitely don't want to think of would have happened in V4...

My tanks and Scorpions proceeded to dismember the forces on the right side. Only one BMP remained after the crossfire.
On the other side, many T55s were destroyed. The following turn however things took a rather nasty turn because my opponents finally got air, I scored three hits with my only Rapier, he failed two saves and I failed both firepower checks! Two Chieftains were annihilated, but the last passed the morale check.
The next turns were spent destroying the BMPs which, despite being unable to threaten the Chieftains unless I rolled a 1 to save, were still making it impossible to capture the objective. Once they, and the Shilkas, were gone, my attempts to move on the objective were again frustrated by the planes that nailed the last Chieftain on that flank. Two aircraft were downed and they played no further part in the game, though.
In the centre, the infantry finally rushed forward to kill the FV432s and get another point. At that point the game was called for time, but in my turn I would have shot them all down with the remaining tanks, getting a win.
Battle Report Author
Army Lists Used In This Battle
Recommend Commander For Commendation
Share this battle with friends
HMS_BelfastWins

nice report
Nice looking table and models.
I find myself running out of time on games too, good game, good report.
lol. love the purple tanks
Well done Gentleman. Great paint job.
+++
Well Belfast, congratulations on the win,
and thank you for using filters and not paint purple tanks.
The game is afoot!
Crazy Ivan, I just applied a filter on the picture out of fun. You wouldn’t really expect someone to spend 3+ hours per vehicle to have purple tanks 😉 ?
Recce103C, I would have pushed everything at the Chieftains. 15 T55s and 15ish infantry stands against 5 tanks – sure something is going to die horribly, but the rest would have been in a good position to overrun them.
Just an outstanding job on those tanks. That had to take a lot of time and effort. Very well done.
beautiful tanks
Excellent AAR! Still loving those Berlin Brigade Chieftains, especially the new purple-shift ones, that troop must be led by Leftenent Powers.
Nice AAR HMS! excellent terrain and interesting color scheme those Brits 😉
could your opponent have succeeded?
An excellent report, Belfast. Good to have you on our team again.
I’m always envious of the amazing paint scheme on your troops.
Good work on the Berlin Bde paint scheme.
Nice!