Fought At Hanover
2234 days 5 hours 39 minutes ago
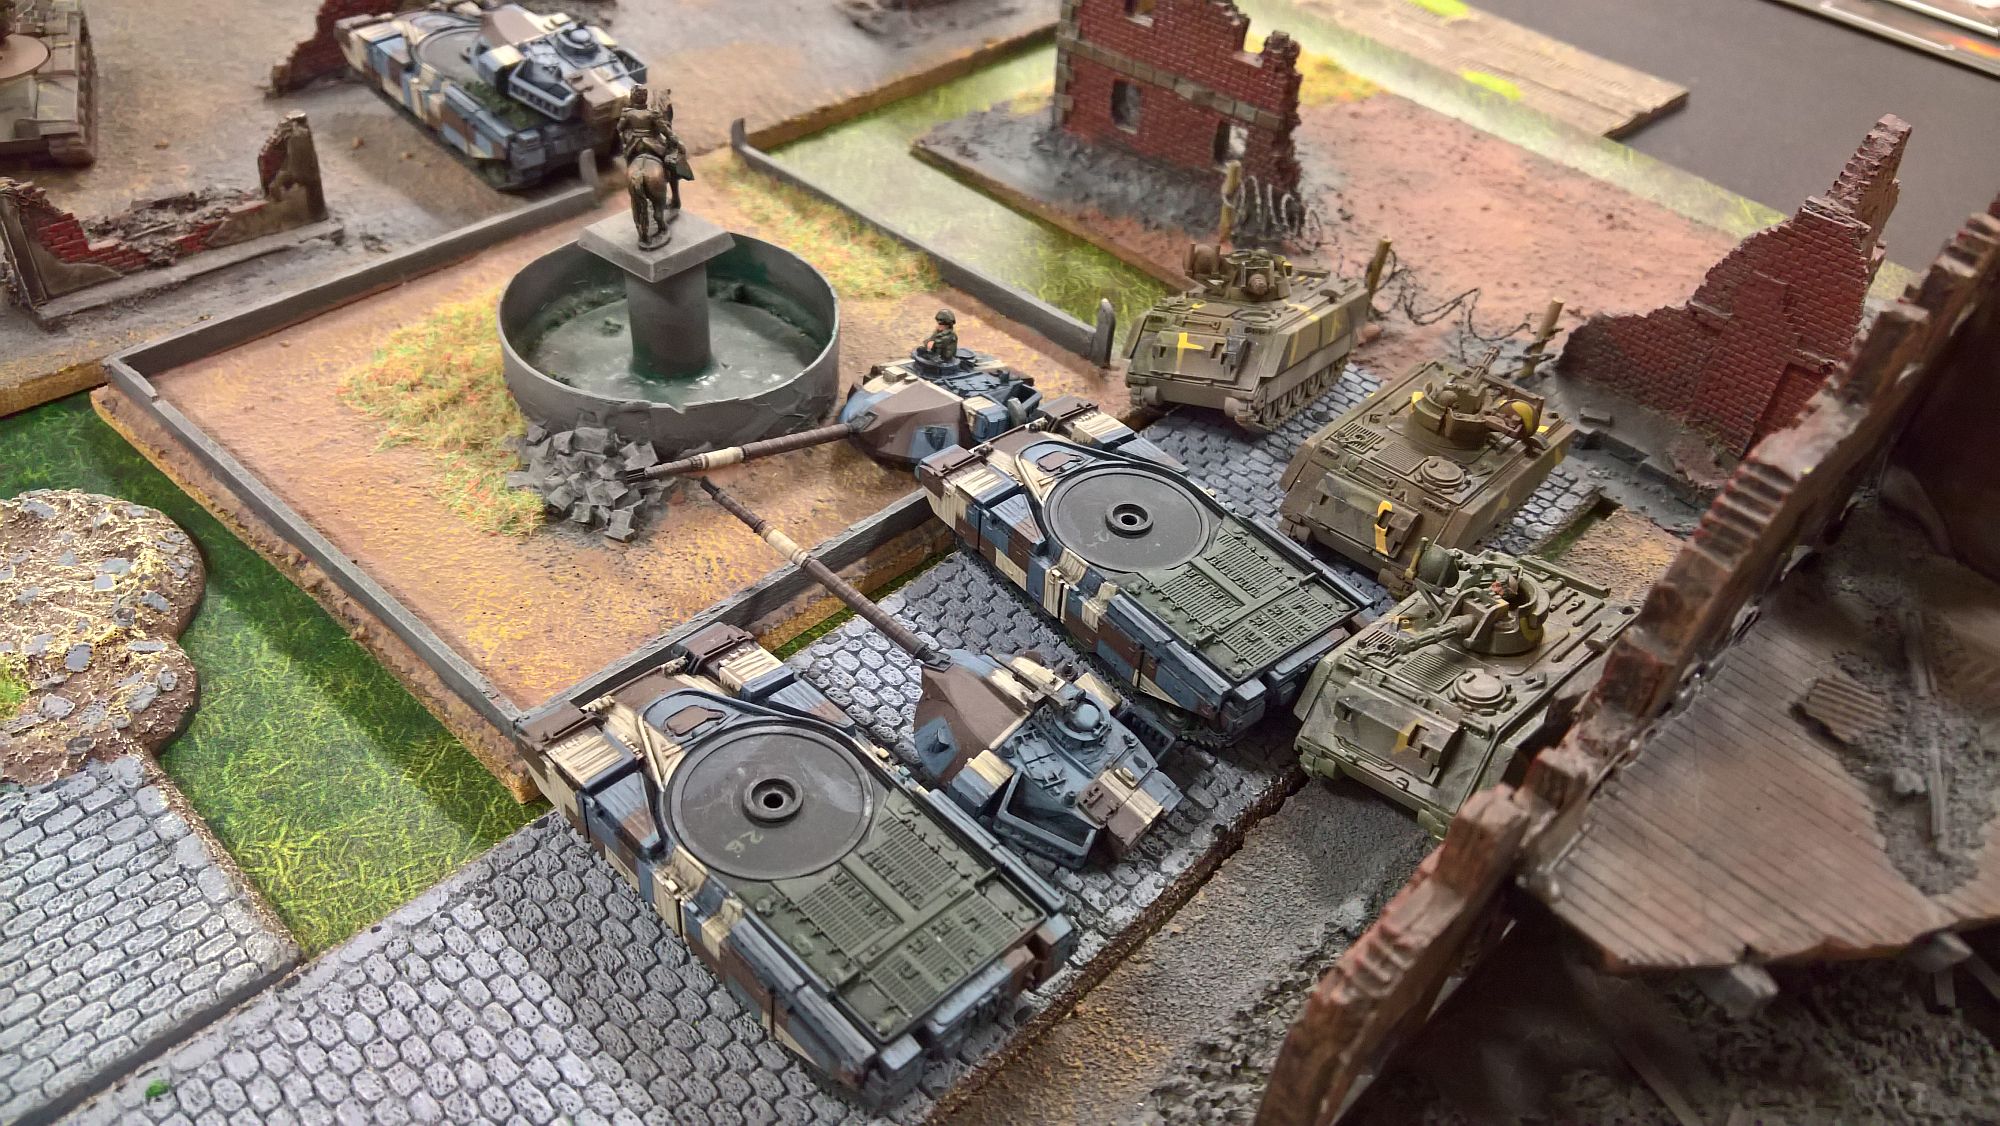
Across the ruins
80 POINTSI hadn't used my helicopter flight for a while, so I decided to come up with a slightly twisted list to include them. A friend of mine is collecting a new soviet army but the models were unpainted, so his US force stood in as a replacement. Next week we're going to have the new models to play with, hopefully!
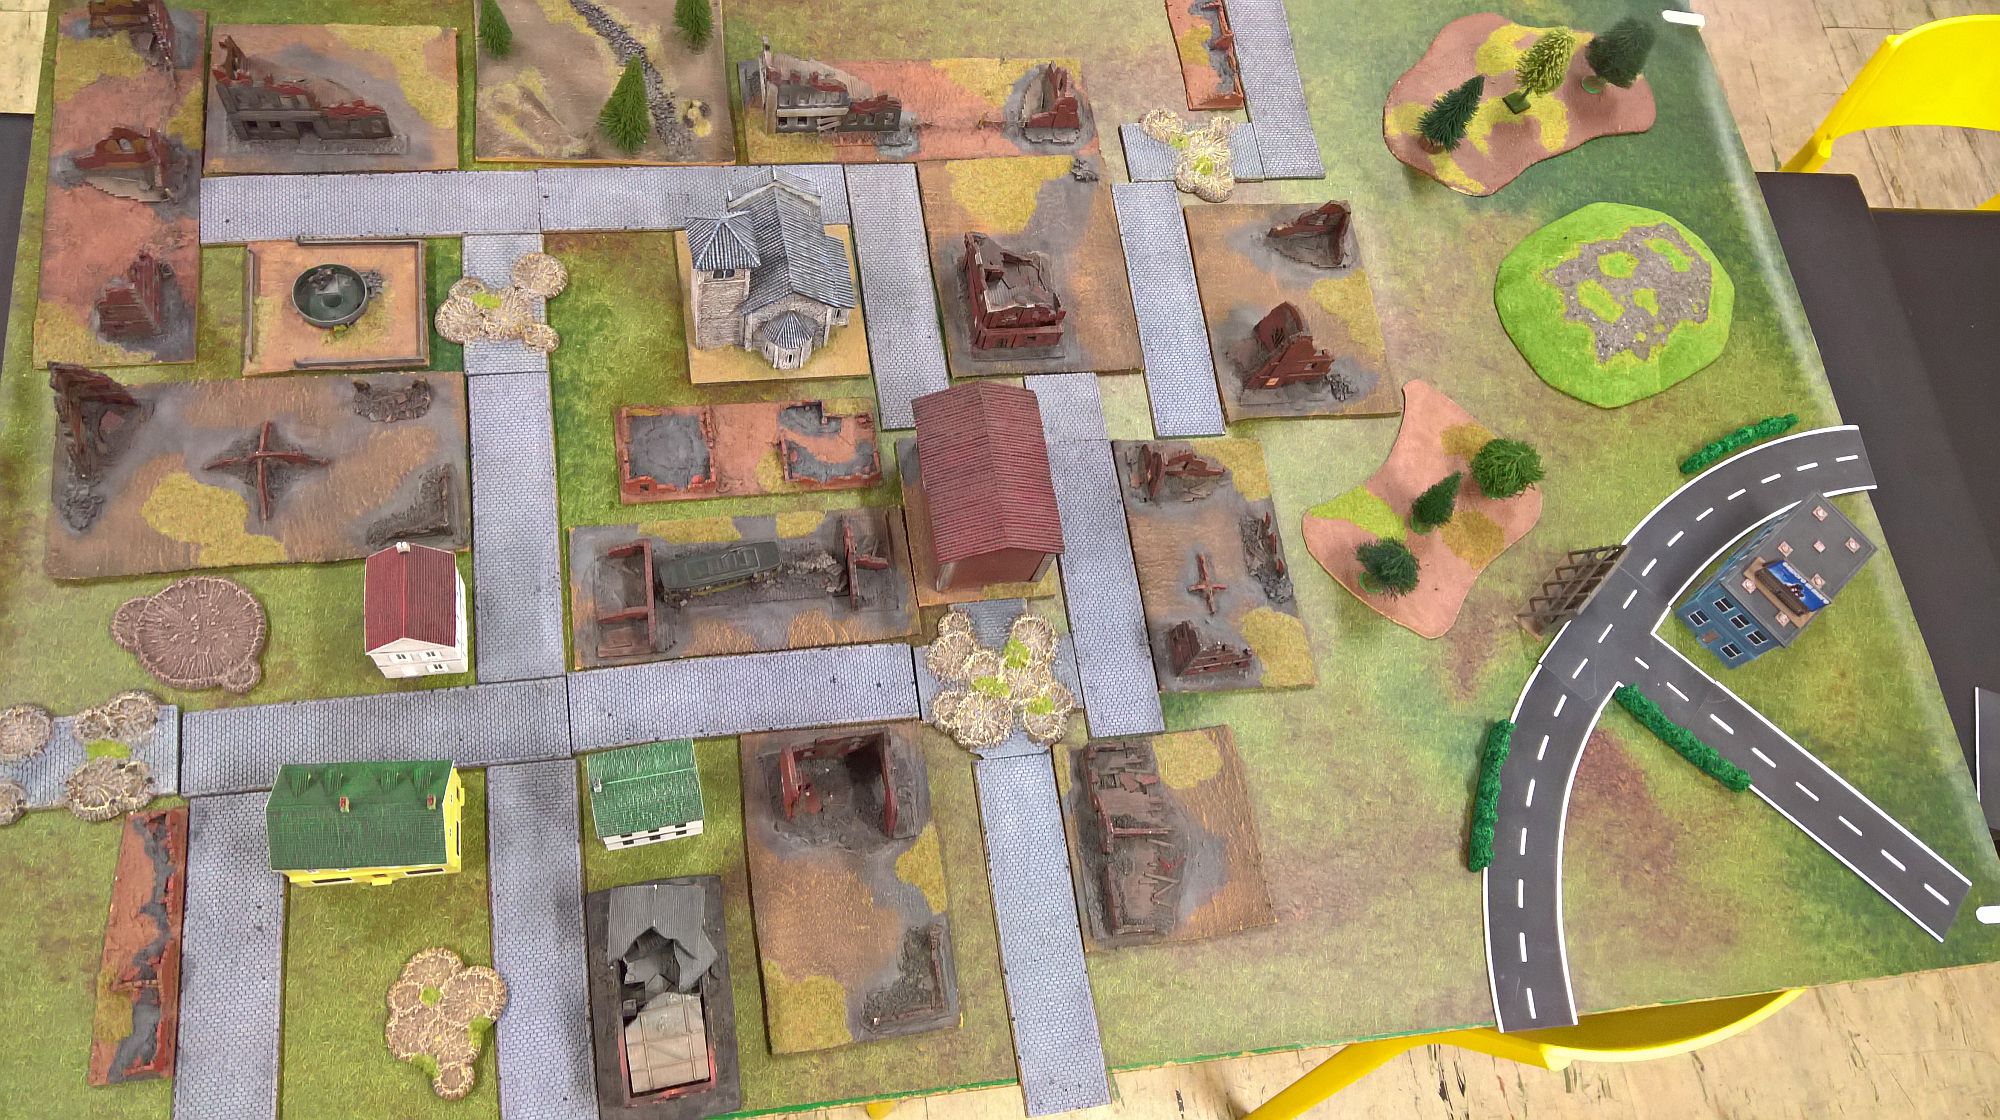
The town of Ahlten had suffered a tremendous preparatory bombardment so the urban area was a mass of ruins, with the right side of the table providing slightly more open areas.
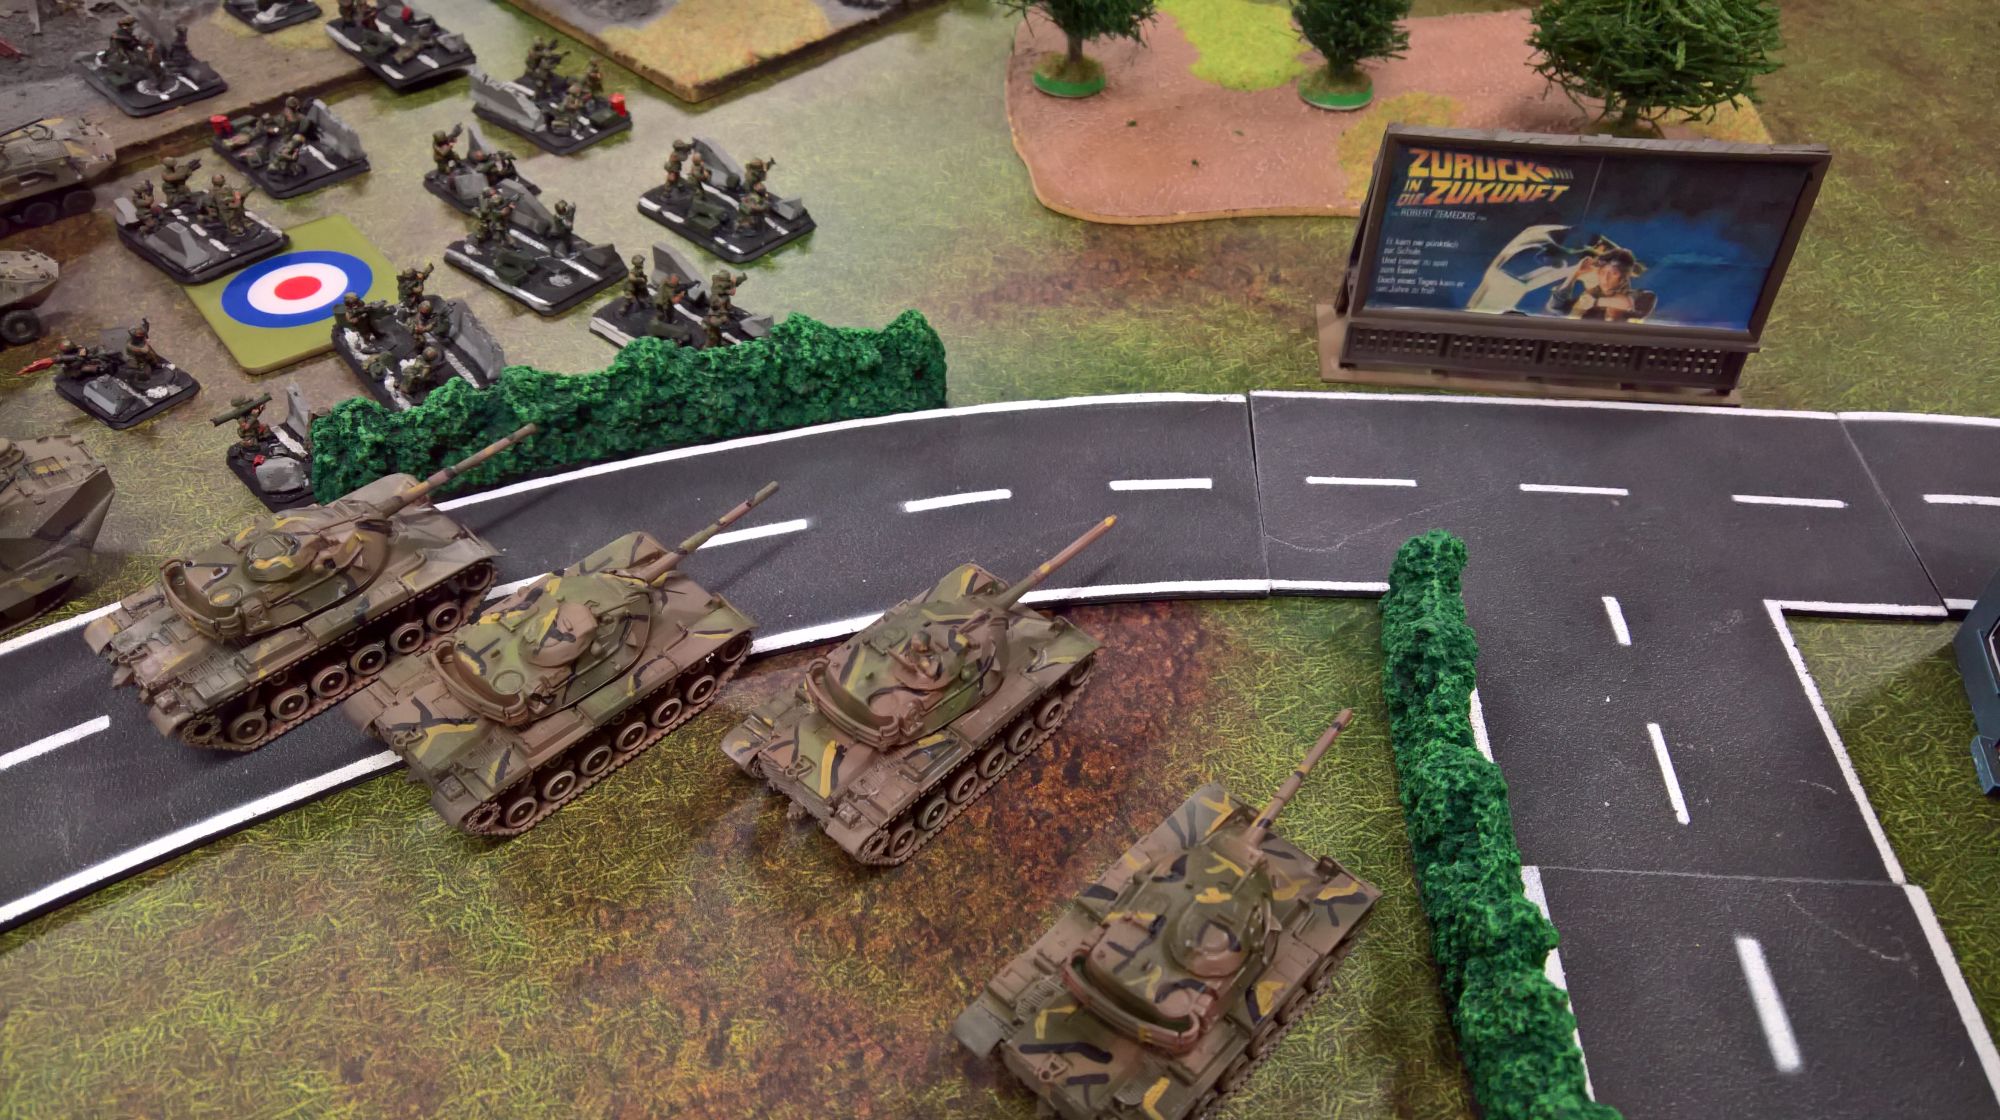
My opponent fielded both tank units in the centre from where he could engage my units on both sides of the church. I put my own infantry near the hill to face his RPG armed horde, the two tank platoons on the flanks and the HQ tanks in the centre. I got the first turn and moved veeeery slowly in better firing positions - I couldn't make the most of the helicopters until some of the enemy AA units were destroyed.

My opponent steered clear of the open ground areas and hugged cover to the point that he preferred denying his own lines of sight in order to have better coverage. His mass of infantry lurched forwards while the BTRs were left guarding the objectives. Everything else in his army was more effective at shooting tanks and the transports were simply in the way. By the time they were needed they were too far away anyway!
The result was that I was able to shoot only at those units that were put intentionally in the open, so that the next shooting phase could maximise hits. Callous as that was, I obliged him by blasting two Gophers and the four BMP1s.
In his following turn, the Soviet player took the opportunity to attack my tanks and he destroyed one and bailed another. The annoying git remained bailed for the next 4 turns!
His infantry advanced once more and occupied the wooded area to avoid the attention of the tin can patrol (FV432s). They didn't have the guts to advance in the massed MG fire of the infantry and transports until the numbers were suitably whittled down.
In my turn I blitzed the helicopters in and the fire accounted for two T64s. The other tanks on the left flank focused fire on the same unit but only destroyed one and bailed another, with the last one checking for morale and hanging on.
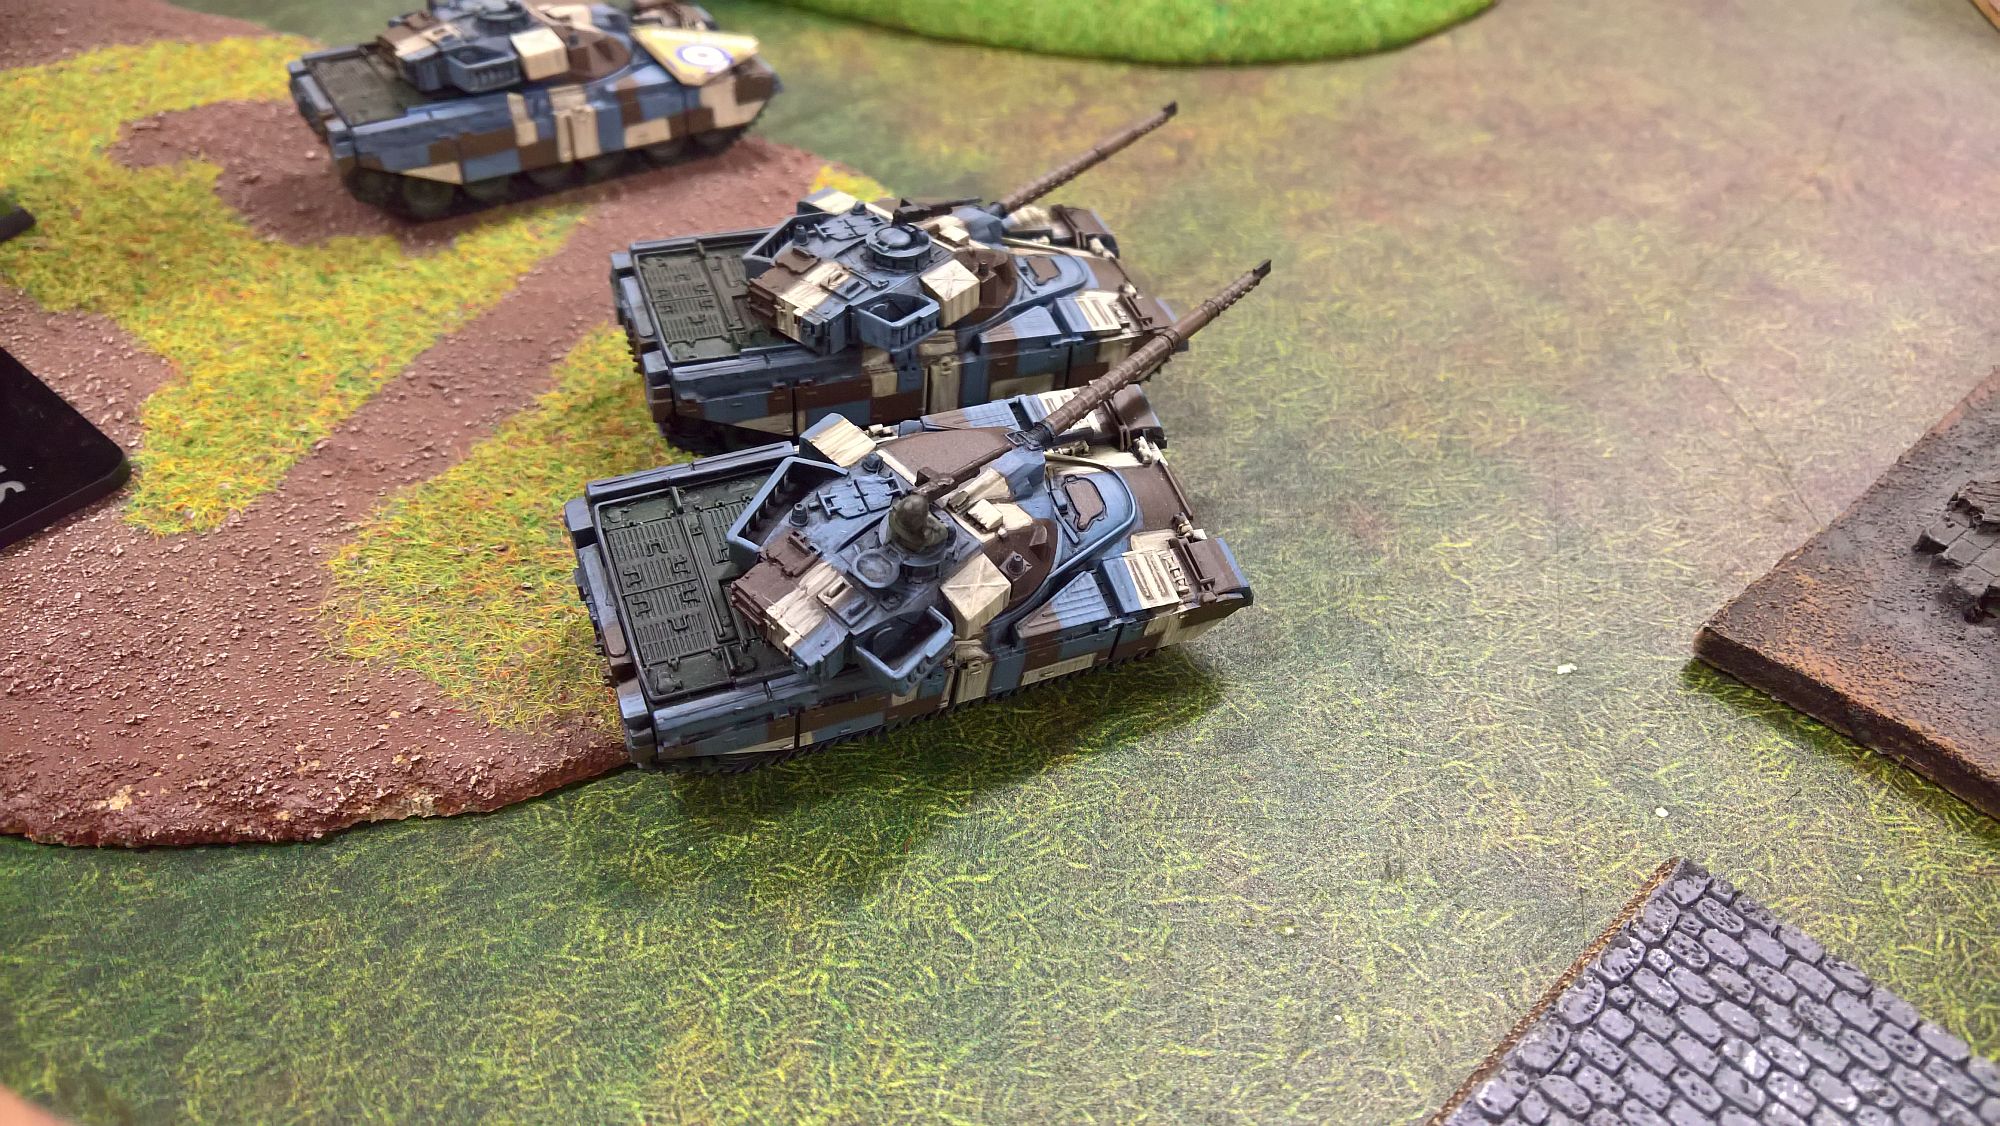
The enemy infantry advanced once more, but the only tank supporting them was bailed and so they'd have to wade through a mass of enemy MG fire if they wanted to assault my own infantry. On the other side the T64s showed their mettle by destroying two Chieftains, with the Spandrels bailing the third, which fled. This opened the road to my objective, but fortunately for me only the Shilkas were in the area and they needed to make at least one Dash move to reach it - if the Abbots let them anyway...
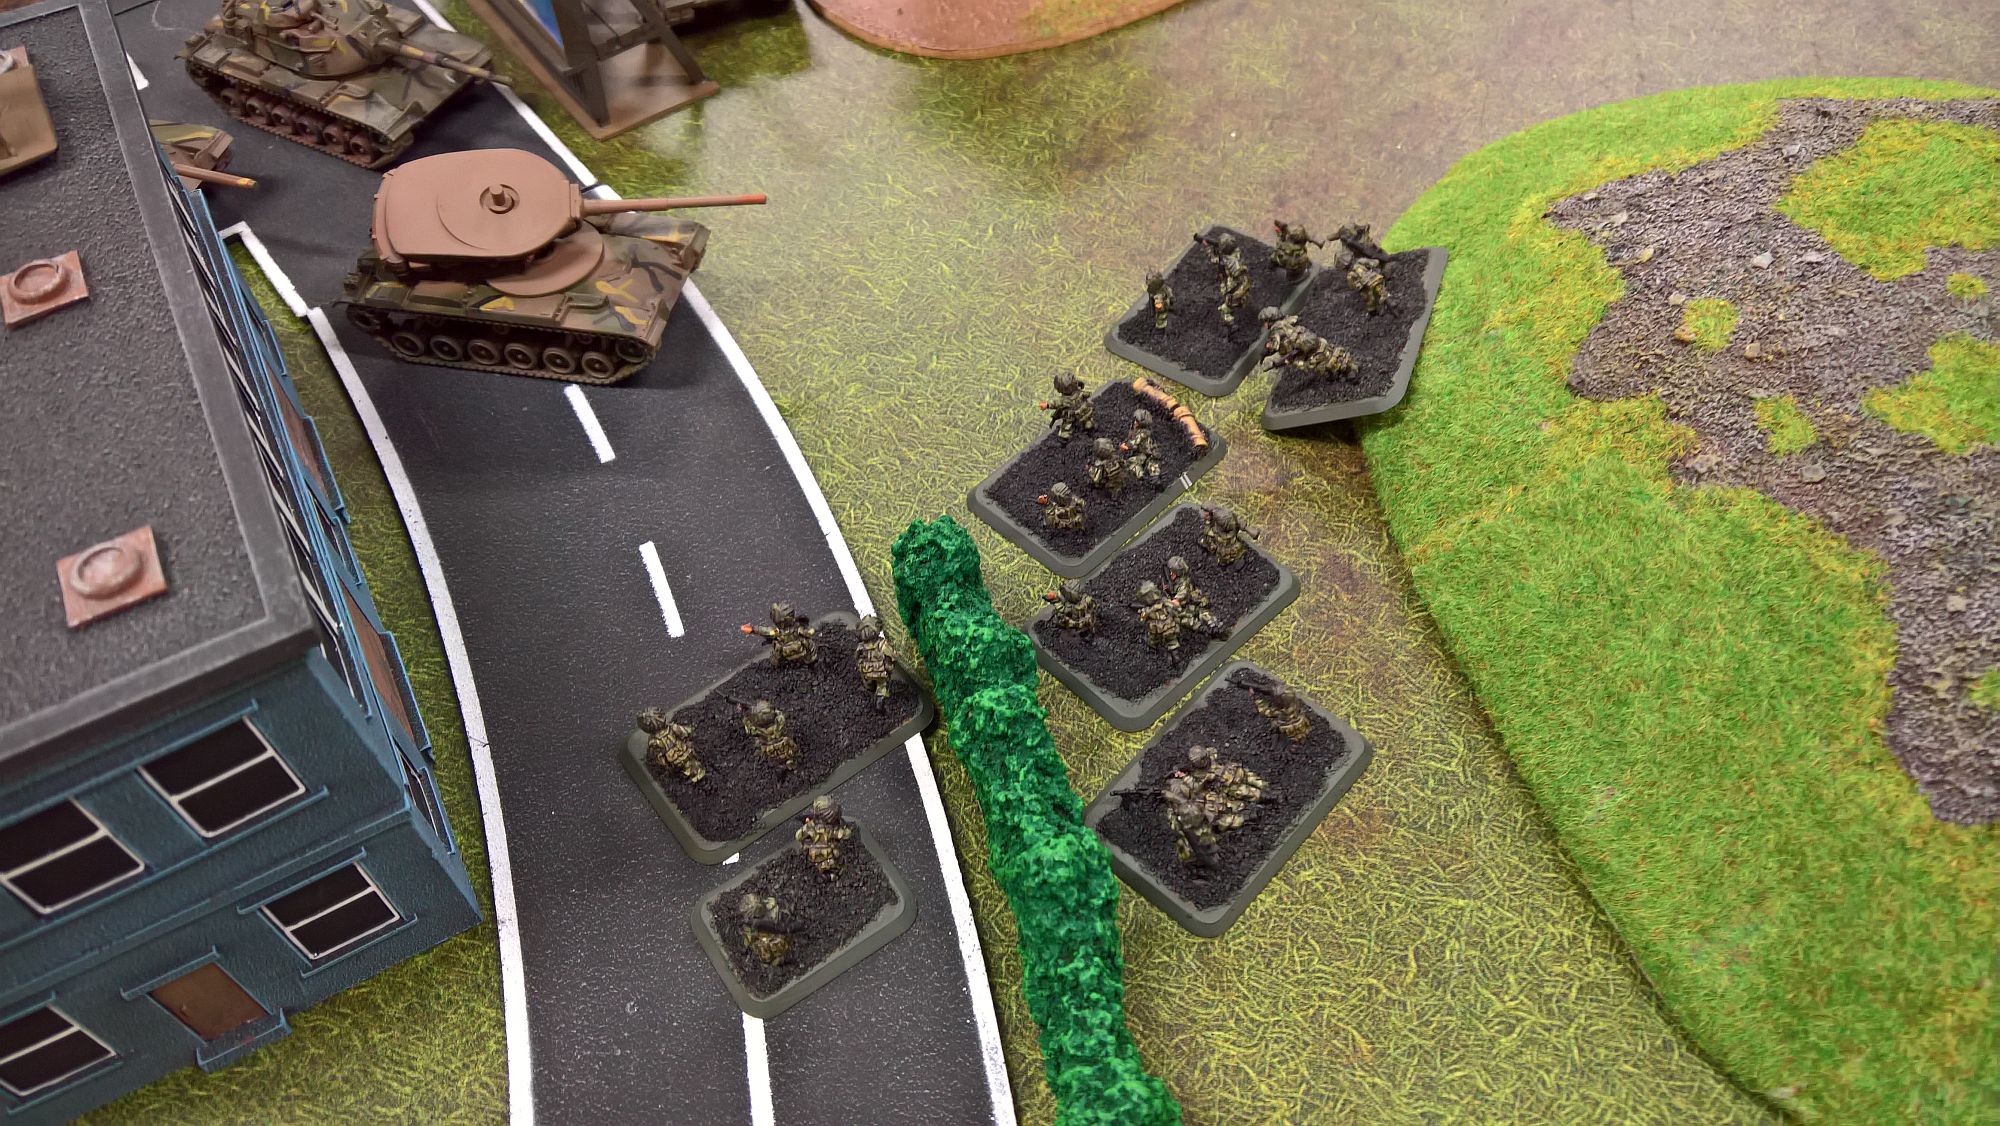
The assault attempt on my infantry was a disaster. While they had been pinned by AK fire, the riflemen suffered no casualties and pushed back the soviets, with a little help from the FVs.

I had to make the last shots really count to preserve the undefended opponent. The Abbots scored a kill on the Shilkas, but the Lynxes did most of the killing scoring a great 4 hits out of 4 missiles on the T6s, blowing 2 and bailing another 2. Another was destroyed by my HQ Chieftain while the surviving Chieftain platoon destroyed the last tank from the damaged platoon.
My infantry advanced, backed by the FVs, on the pinned motor rifles, survived the defensive fire and caused 4 kills in the ensuing assault. As the survivors that could engage my infantry were mostly RPG7s, my opponent wisely retreated to fight another day.
My opponent's force were dwindling fast after the last onslaught and to add insult to the injury, he failed to unpin the motor company. He moved the BTRs forward but only a few could shoot and bailed 2 FV432s. A Spandrel destroyed one of the Abbots as the last three Shilkas dashed for the objective.
However, they could not escape the unerring precision of my HQ Chieftain (with the 2iC finally recovering!) and the Lynx. I lost one to the surviving Gophers, but the rest wiped out the Shilkas.
In the next two turns, my infantry contented themselves with hemming the motor company in while the HQ walked on the objective while the helicopters accounted for the Spandrels. Victory at last!
Battle Report Author
Army Lists Used In This Battle
Recommend Commander For Commendation
Share this battle with friends
HMS_BelfastWins

Well done and really nicely painted models.
I love your Berlin Brigade, congrats on the win
Fantastic table and report! Congrats on the win with your Berliners!
Thanks Nabeshin. I’m trying slightly different forces to provide a bit of variety and also show some underused models in my collection!
I always like seeing your reports, good looking board and models actually gets me motivated. Good job, again.
A very nice report, interesting to see the helicopters in action, the terrain looks like a nightmare though (for anything except infantry).
Excellent report! Nice table
Table looks awesome & challenging
And I love your models and terrain board
+++
Nice write up, even for a capitalist.
Excellent report. Wonder where those pesky Russians got that US equipment. Good looking board and well-painted armies!
Great looking forces and table. Seemed like a fun game.
Great AAR HMS, as always suspense supported bij ohotos to the last lines
Great models and rhe terrain was a bit overdone
Nicely done. Pretty report as always
Outstanding AAR! A joy to read and view!
Those camo schemes are fantastic!!! Great fight. Awesome report.Thanks for posting it.
Perfect AAR Belfast. Very refreshing to see Brits victorious after my own shameful defeat yesterday to Red Alert. Joyful reading indeed.
Great job Belfast! Keep up the good BatReps as well.
An excellent report Belfast. Hold them here and they can’t get anywhere.