Fought At Ruhr
2224 days 20 hours 30 minutes ago
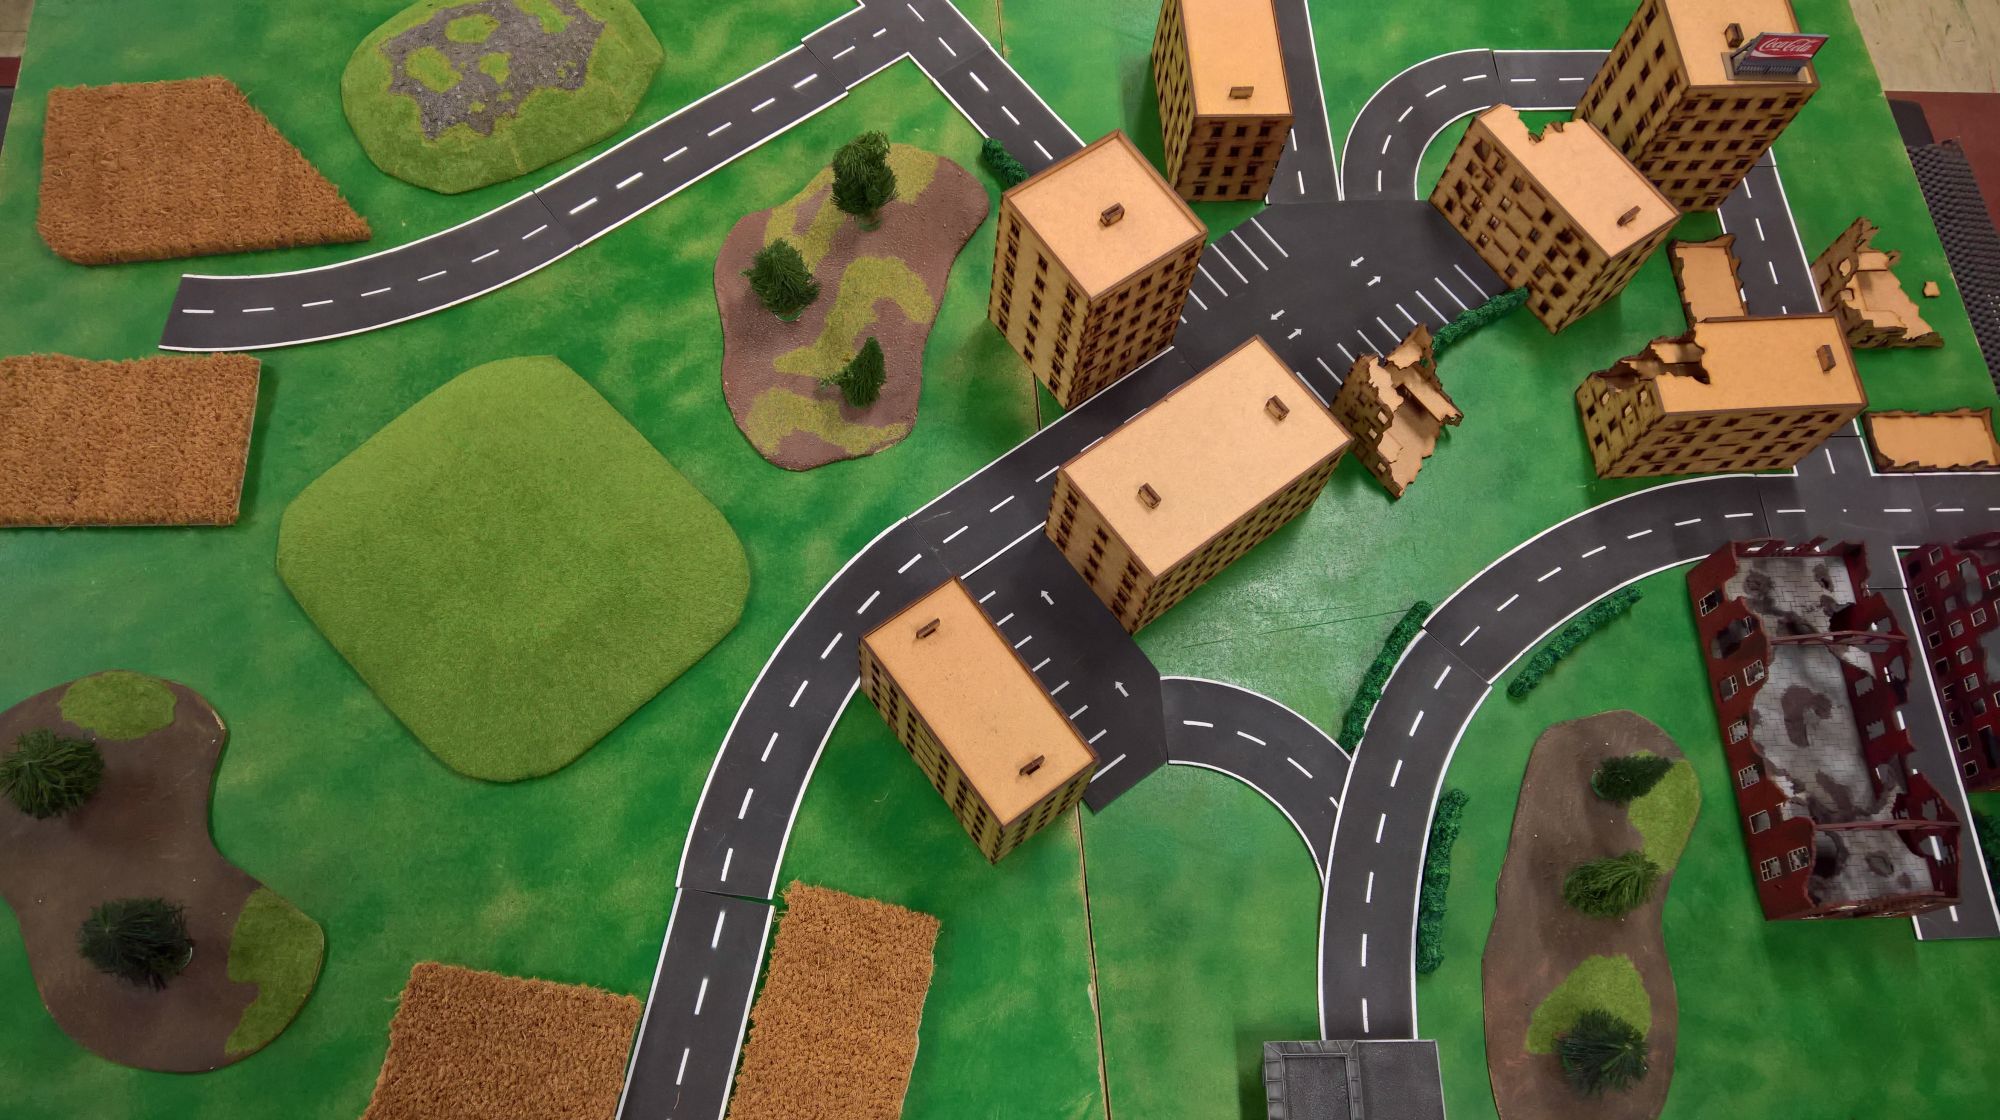
Into the City
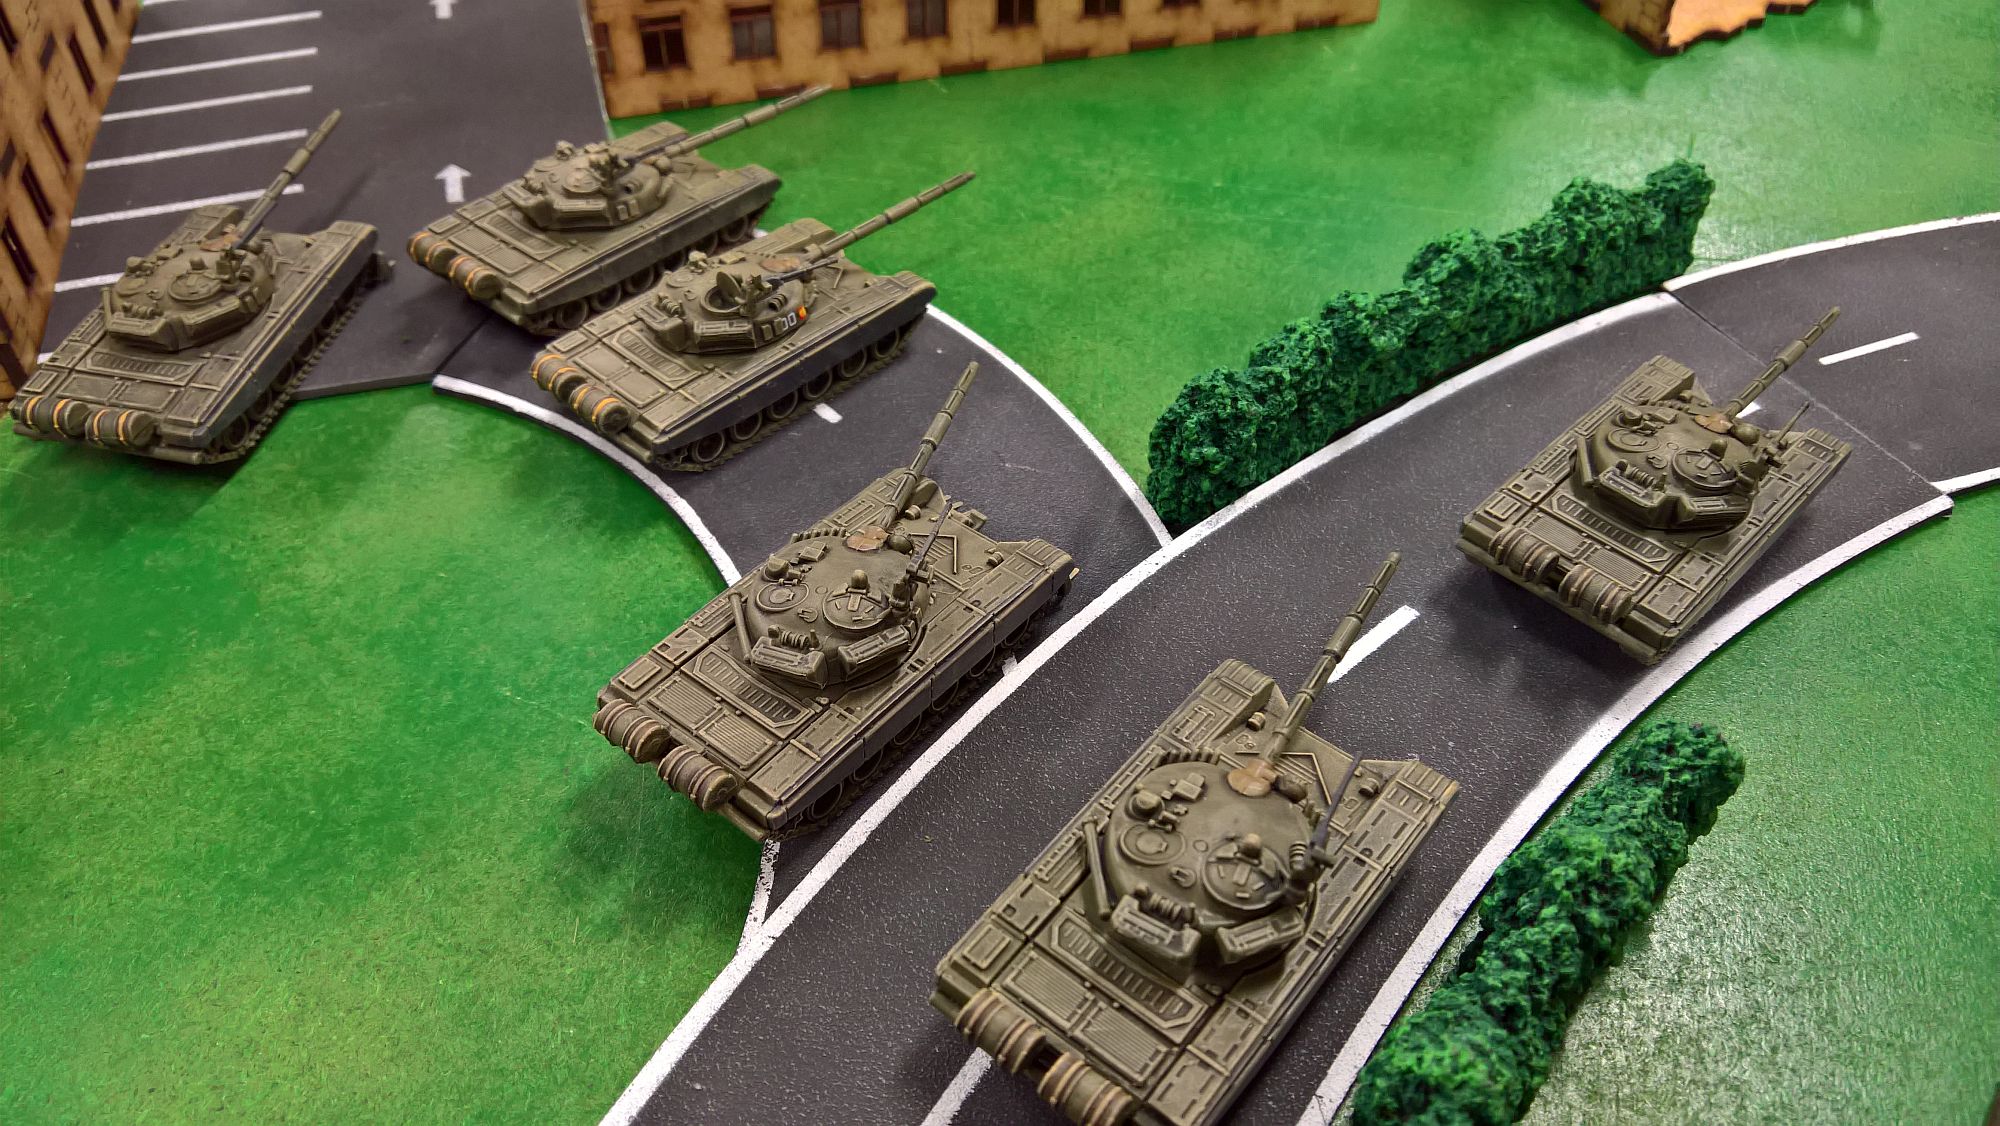
75 POINTSWe wanted to play with the new buildings we've got and although we didn't have the time to paint them, we felt they still looked good enough on the table.
I managed to attack against a T72 company. I am not a fan of the offensive capabilities of the Chieftain, but if I could avoid attracting too many missiles I would be in the clear.
We played Counterattack. In the first turn I sent the Chieftain platoon and HQ tanks towards the lightly defended line that screened the objective (my opponent only had 2 platoons from the start with the BMPs in ambush), while the second Chieftain platoon supported the mounted infantry on the other side of the table before reserves could flood the objective.
I placed a range-in marker on the infantry defending the DZ but otherwise caused no casualties.
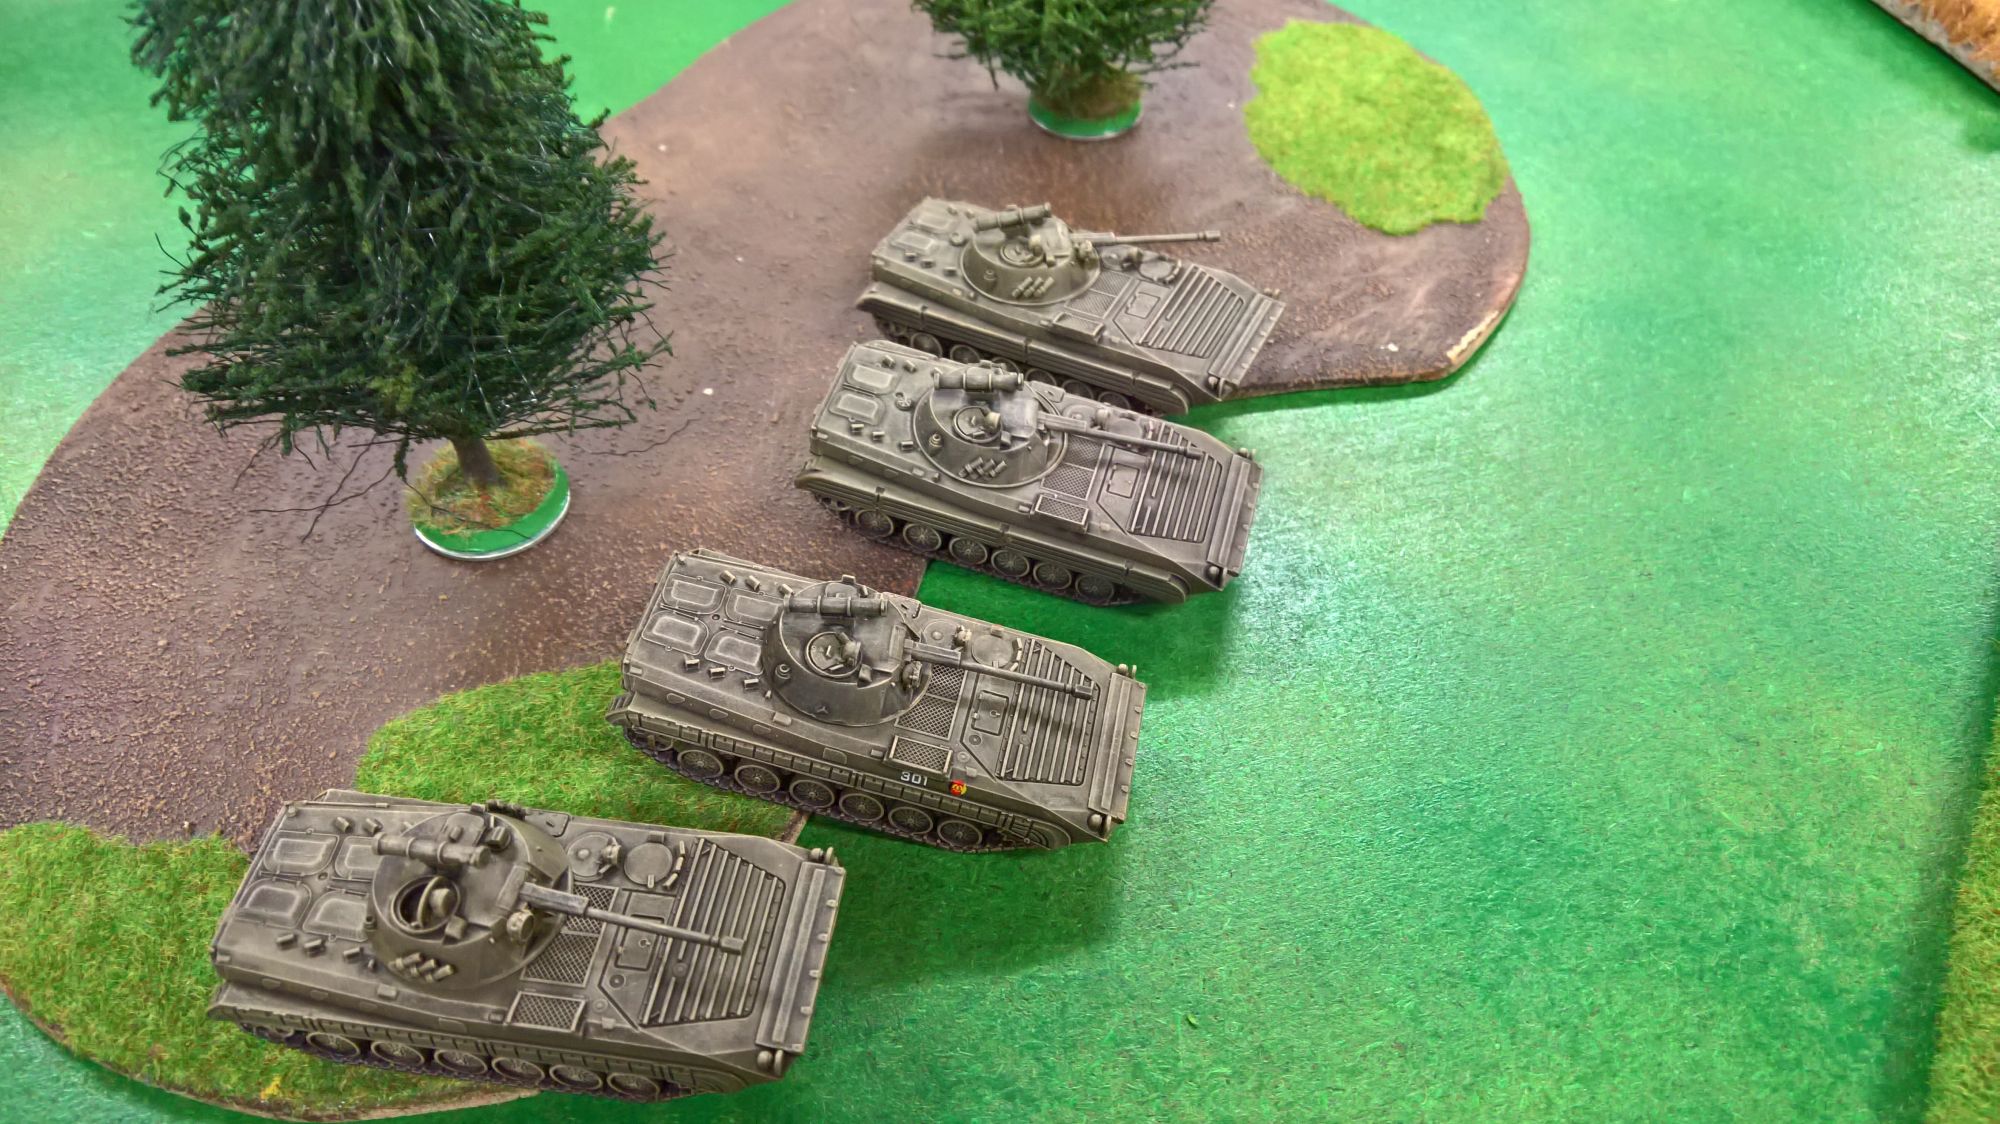
In the enemy turn he got his first reserve; not being able anymore to blitz on the table and not wanting to throw in the other T72 unit before I had overextended my force, he decided to put the recce BMPs on the table.
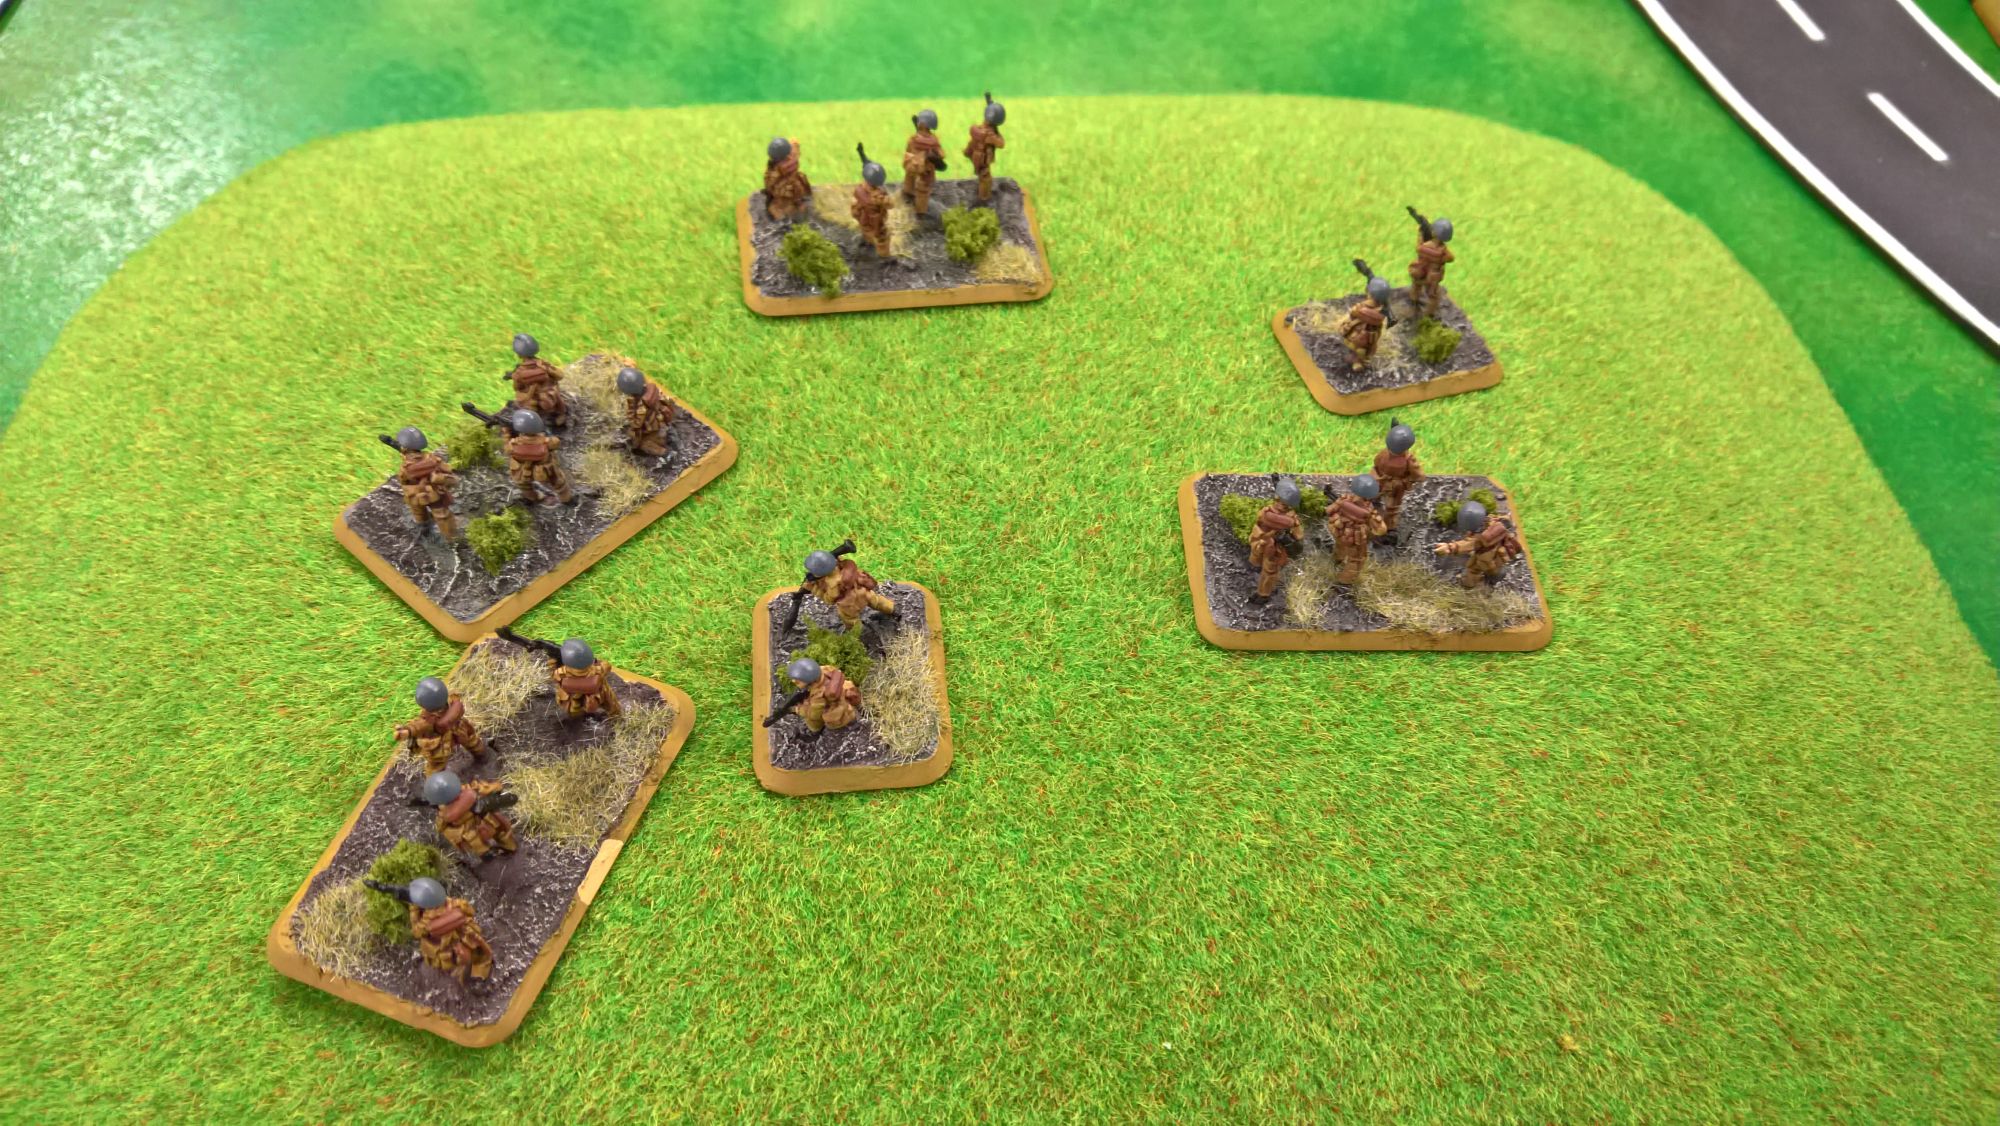
To put a speed bump between my advancing forces and the otherwise undefended objective, Stefano separated a group of infantrymen from the parent unit. Although not enough to scare them forever, as long as they were unpinned they would be able to keep the tanks away - Side armour 10 vs HEAT and RPG7s definitely don't mix!
In my turn the infantry dismounted from their vehicles and moved into the wood. My plan was to pin the enemy motor rifles and then beat the hell out of them in assault as the breakaway group lacked the HMGs to easily repel my infantry.

My tanks, unable to see the T72s and with the BMPs still in ambush, vented their rage against the motor rifles and caused two casualties. It was a very poor show from 5 tanks but I hoped to improve the tally when the Scorpions would join in.
On the other side, the Scimitars drove deep behind the BMPs to threaten them, renouncing to fire to retain their gone to ground status.
In their turn, the Soviets got no reserves and with my force carefully hidden, decided to hold the ambush for a little longer. The recon BMPs sent missiles at the Chieftains but only bailed one.
In my turn, the tanks massed against the infantry and, aided by the Scorpions and artillery, caused 3 more casualties on the infantry. They were dwindling but not fast enough and the BMPs were still a problem.
On the other side, the FVs shot some infantry but caused no damage; as they were pinned anyway I decided to settle the matter with a good old charge with the infantry. Hitting on 3+ made all the difference as the picket line was wiped out before they could counterattack. The infantry gained the hill, but found themselves in front of the BMPs.
 A drunken brawl sees the British forces more capable of handling booze than the Soviet. Must be the warm weather!
In the Soviet turn, a platoon of T72 entered the fray and the BMP ambush was revealed. Having gained a substantial strength in numbers, the Soviet commander exposed all his forces to mass an attack. The flankers destroyed a Chieftain, the BMPs destroyed another and the T72s killed my force commander. 2 Scorpions were also bailed by BMP fire, while the scout BMPs MGed the infantry scoring 2 kills. It was a good round of shooting but not a spectacular one; my force was still working and with the enemy in the open it was the time to make every shot count.
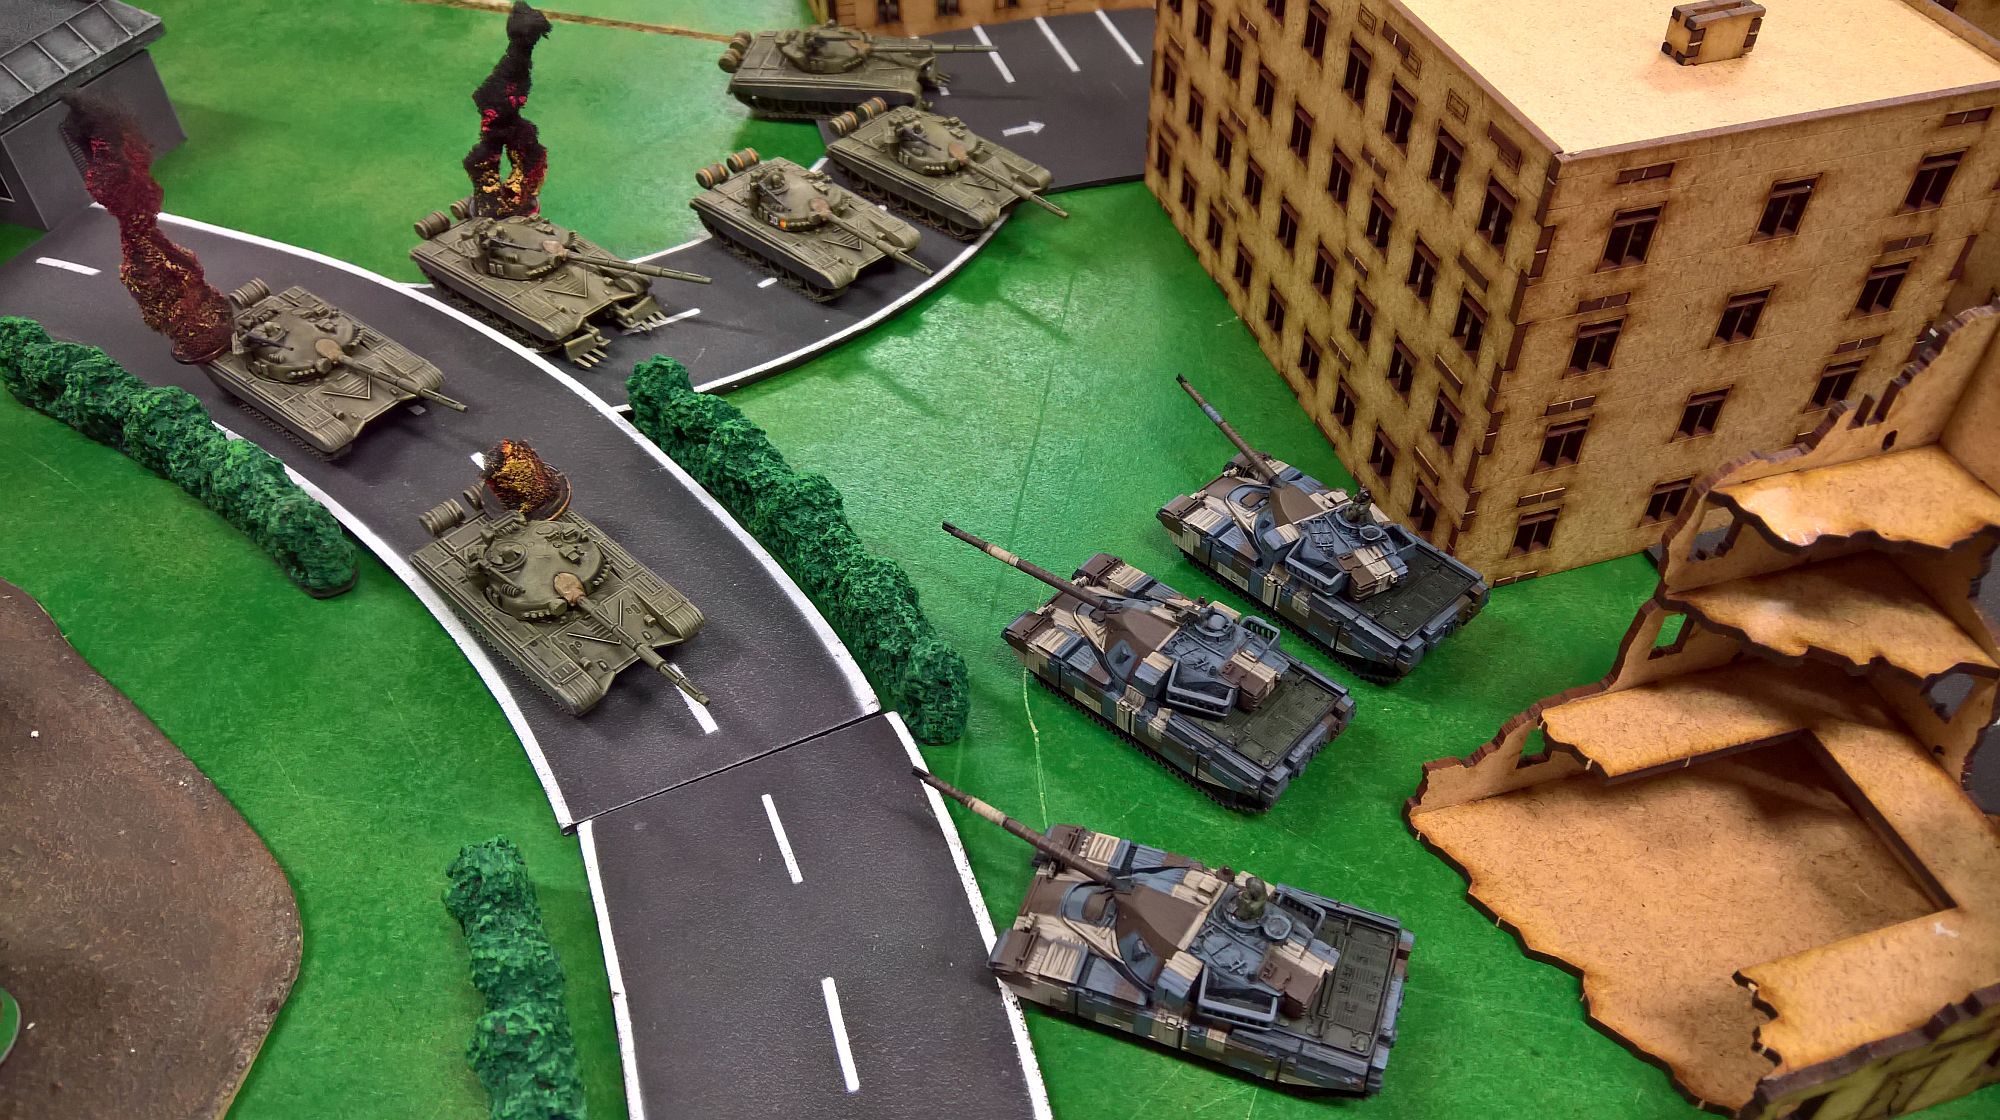

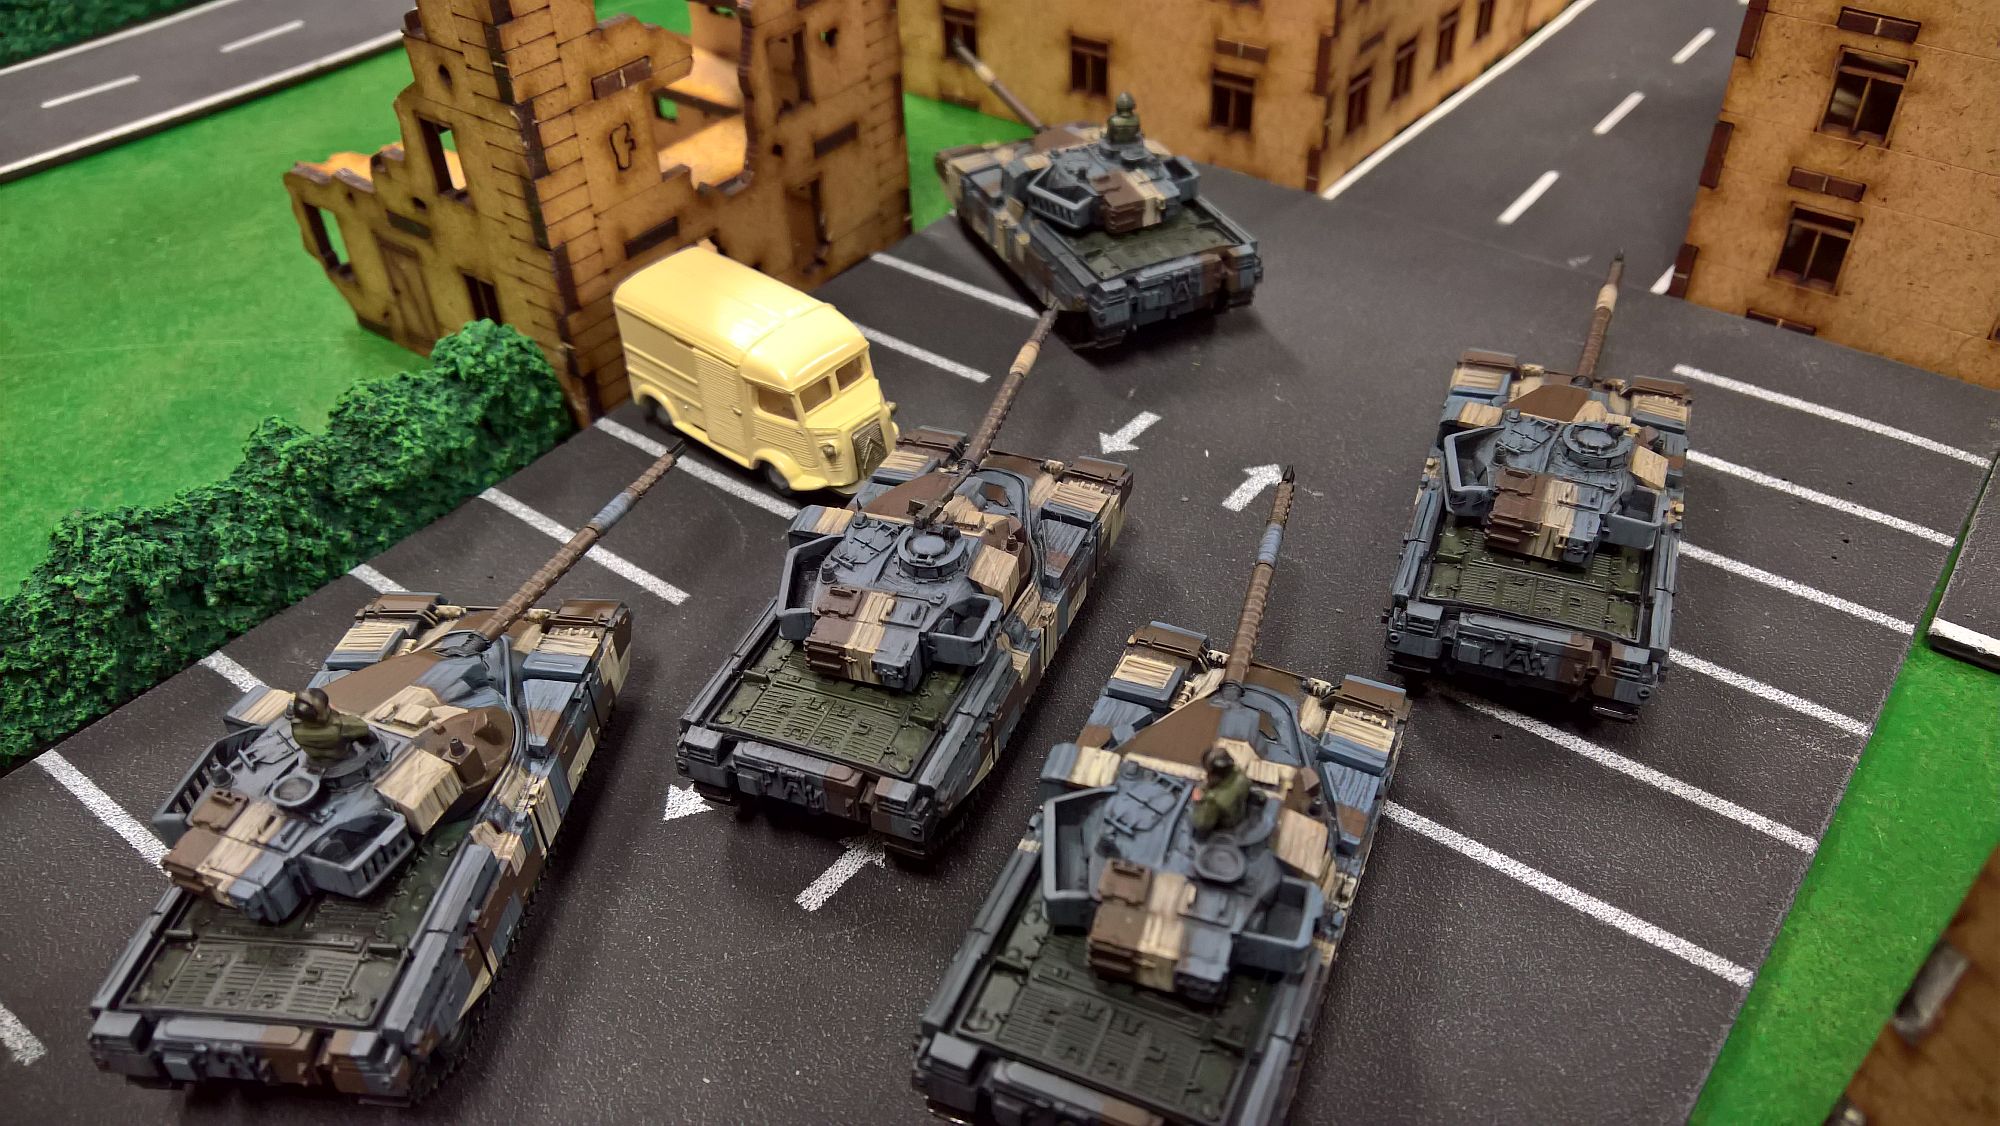
The action heated up in the centre of the table. The Scorpion recovered from the bails and demolished a few BMPs while the 2iC too control of the situation, blitzed and led the remaining Chieftains in a spectacular turkey shoot that blasted most of the tank company. The infantry bailed two T72s with their missiles before the Chieftain destroyed one more tank.
The Scimitars destroyed all the BMPs, leaving the objective in the empty quarter unprotected.
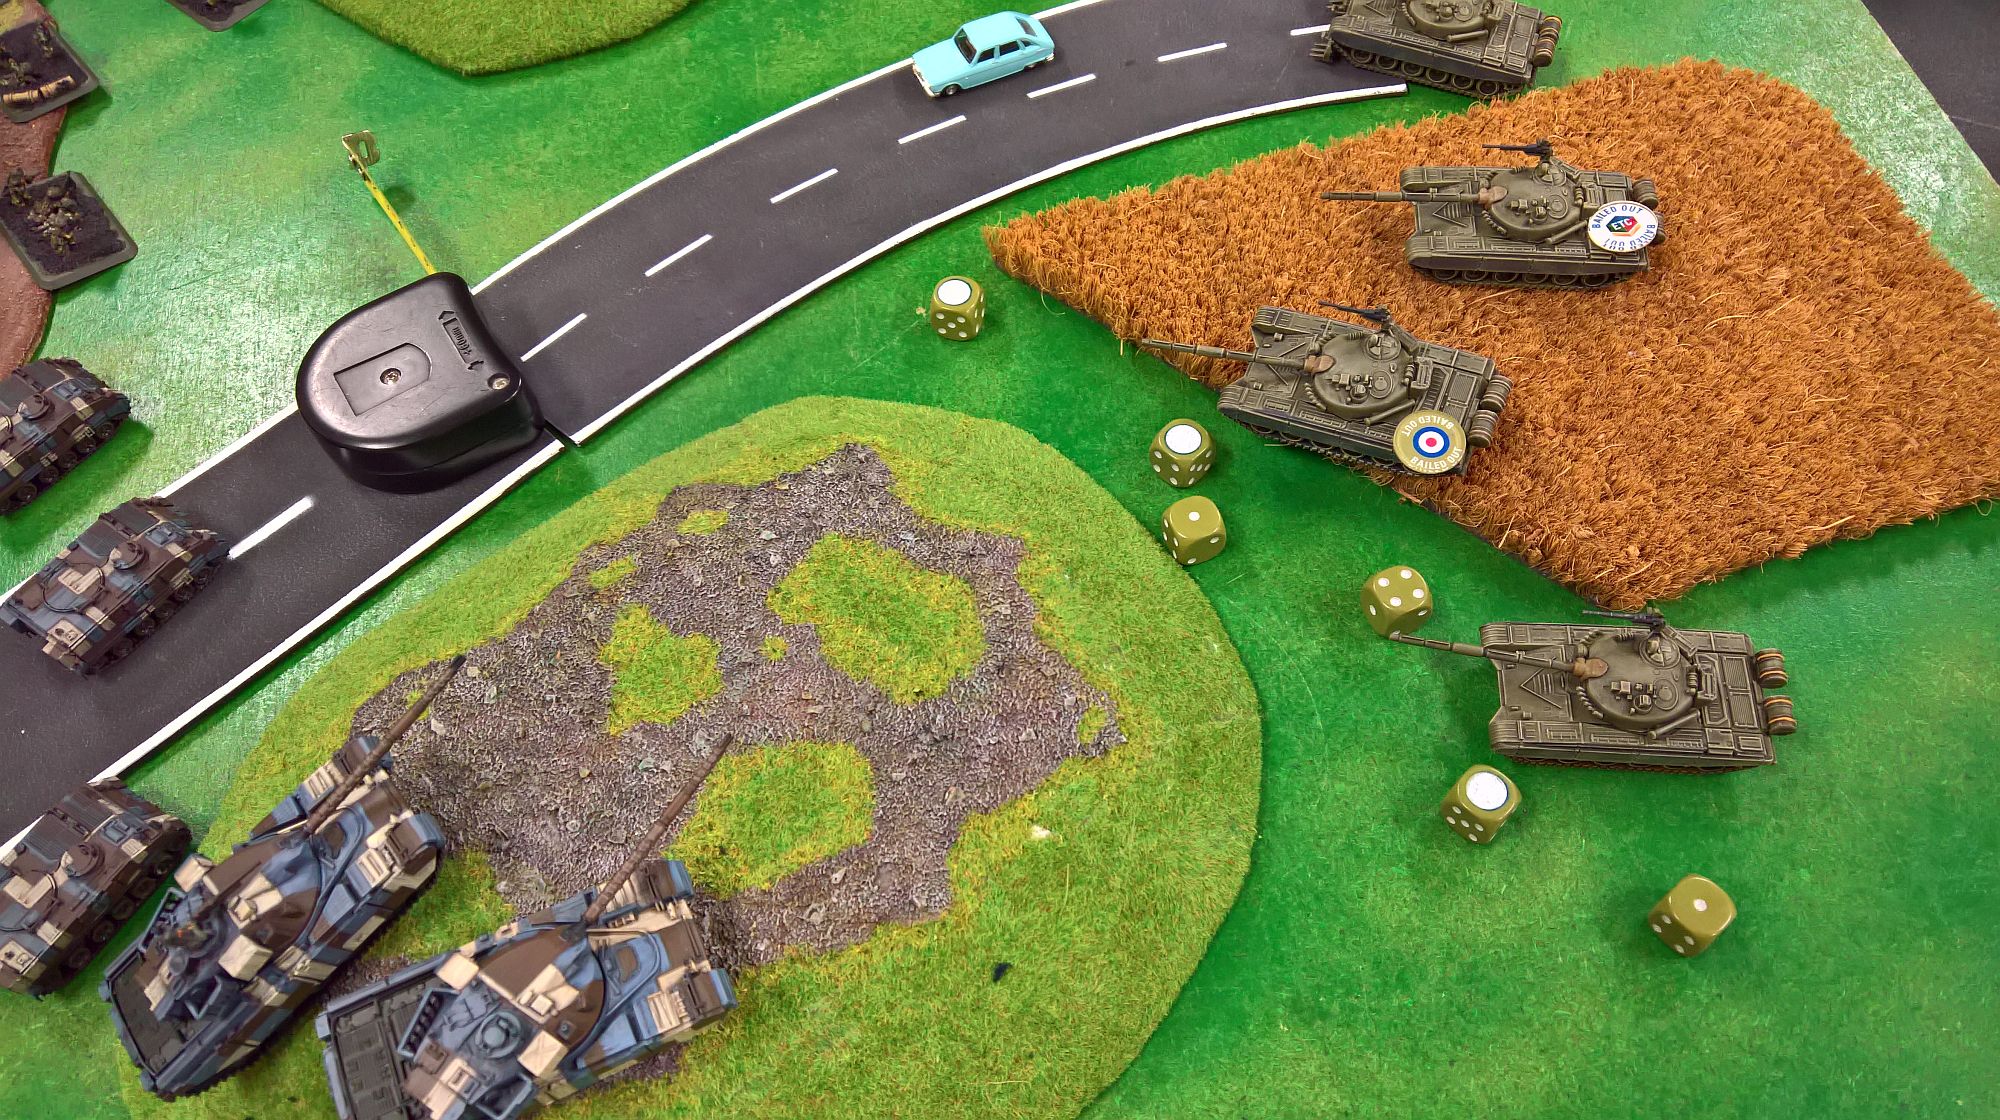
In the Soviet turn, the last T72 from the flanking force moved to defend the objective. The arrival of the Spandrels didn't help him one bit because they couldn't fire. The BMPs in the DZ fired at the Chieftains but this time they scored no casualties; one was bailed, but the platoon passed the morale check.
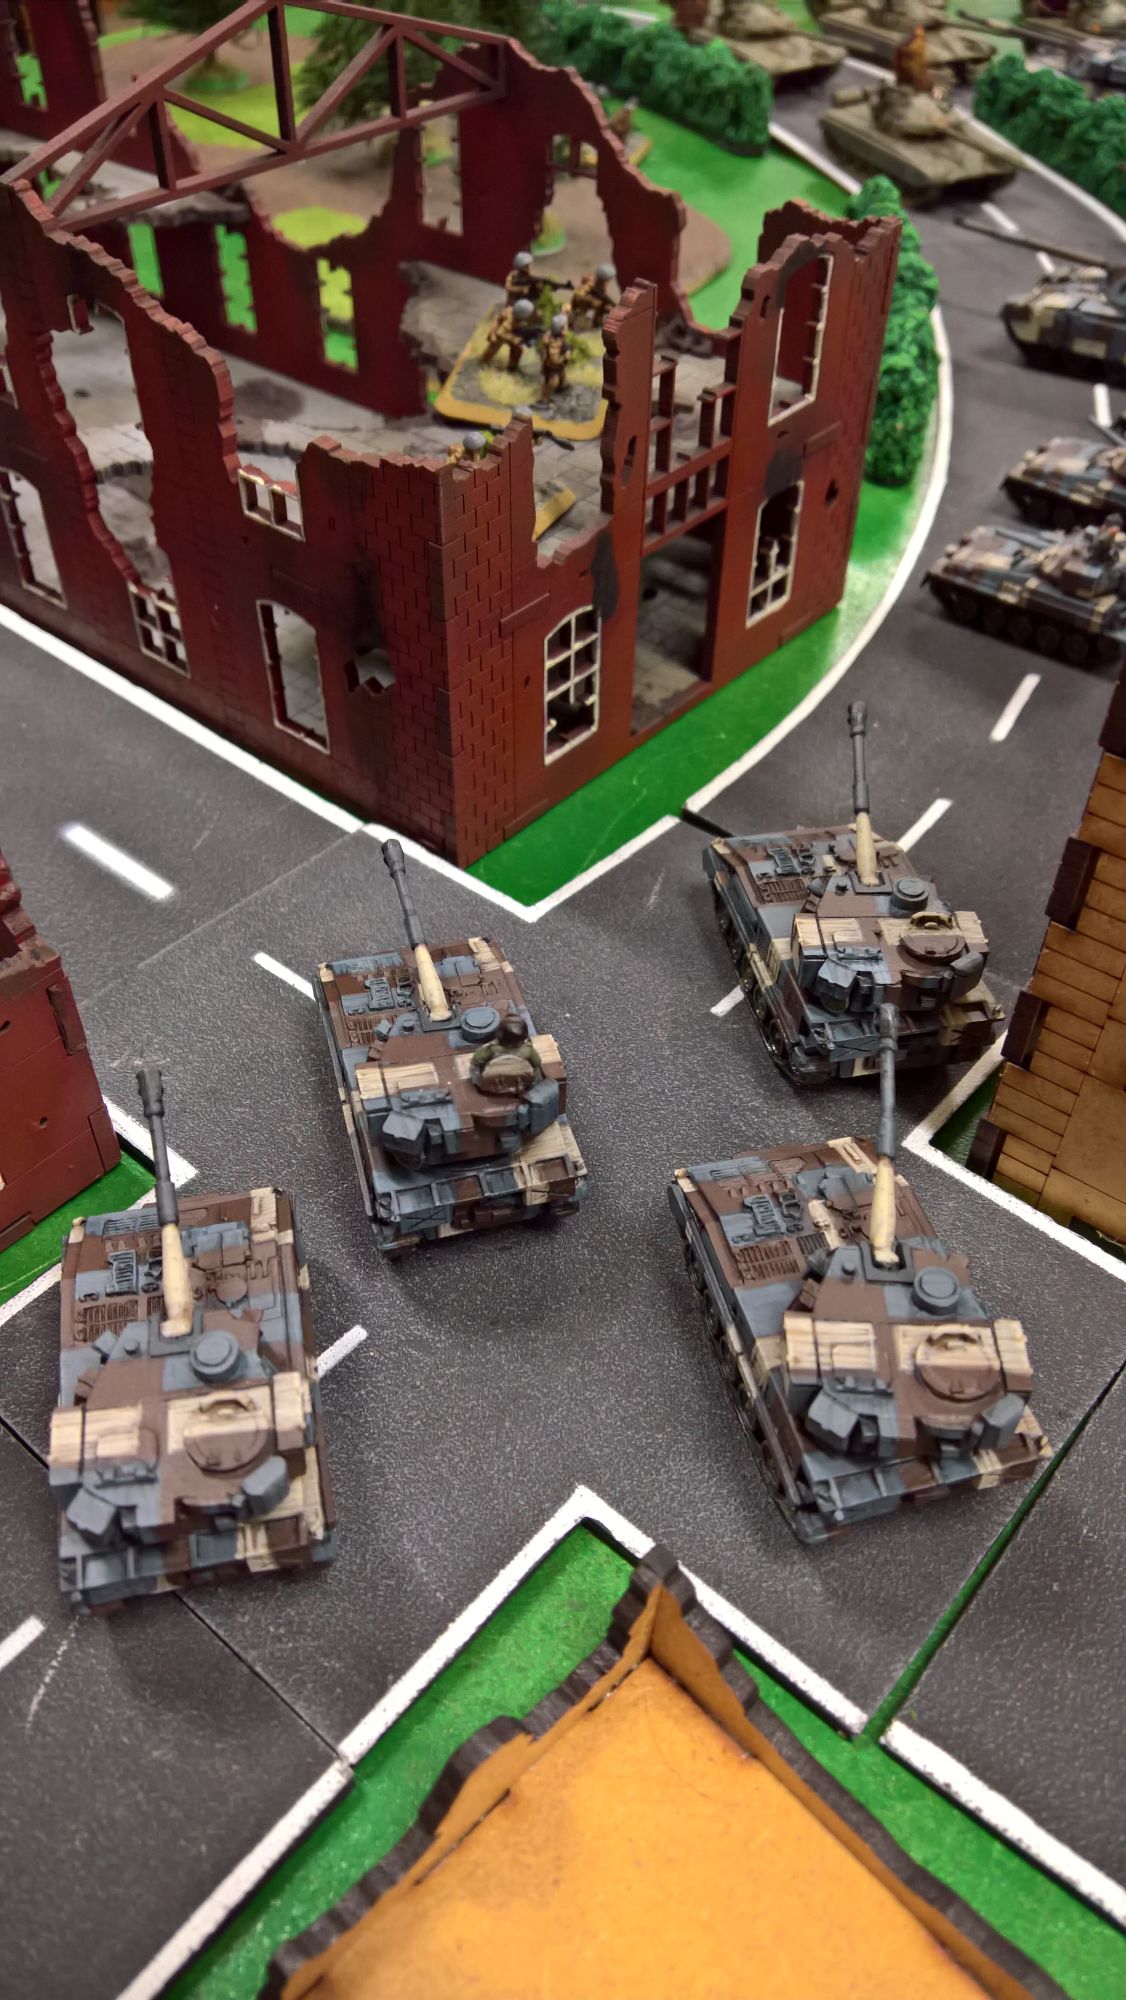
In my turn it was time to seal the game. My tanks proceeded to destroy the remaining armour in the city, while the infantry attacked the tank defending the objective in the other quarter and ended the turn defending the objective with no chance for the Soviet forces to contend it. The Abbots moved to fire at the rifles, bringing more Brutal shots. With no chance to mount a successful counerattack, in the last Soviet turn the remaining Spandrel missiles were used to kill my 2iC (darn!) and break the Scorpions, mitigating the weight of my victory. But it was still a victory!

Battle Report Author
Army Lists Used In This Battle
Recommend Commander For Commendation
Share this battle with friends
HMS_BelfastWins

I’m not sure I’ll be able to take part in the sealing of the Ruhr next week so make sure you finish what I’ve started 😀 !
lovely models, and well painted, nice win as well mate
Well done mate, show those Bolsheviks the meaning of Ruhrtribution
Great report, and that Berlin Brigade paint job is fantastic!
Your models always look amazing. Keep the wins rolling in, Belfast.
Don’t worry Stone, once we’re done with this Hannover thing I’ll go right back where I belong 😉 !
Excellent report. Easy to follow and looks great. Commended.
Nicely done
Great win. Good AAR as always. Get that Berlin brigade to Berlin brother!!!
Well fought comrade.
Great looking table and great win, Thanks for sharing your AAR with us.