Fought At Leipzig
2215 days 15 hours 1 minutes ago
Aus Ruinen
View Linked Report - CLICK HERE 50 POINTS
The overall situation had shifted. NATOs war machinery had slowly, but steadily taken up speed; reserves had been mobilized, reinforcements were being flown and shipped in, holding countless training exercises along the way, to quickly bring all of their forces back up to speed.
United States Marines had landed near Hamburg and ground their way through towards the stubborn British soldiers at Hannover, who either had refused to give up or simply not even realized how dire their situation had become. With new reinforcements and much needed supplies pouring in through the North Sea, NATO hat stabilized a foothold across the North German Plain and was now working towards renewing the attack on Berlin.
Despite beating the East Germans twice after their initial defeat near Hamburg, the Marines had not lost their respect for them. Being ever alert, aggressive and making the most of whatever gear and equipment their enemy possessed qualities they themselves were proud of.
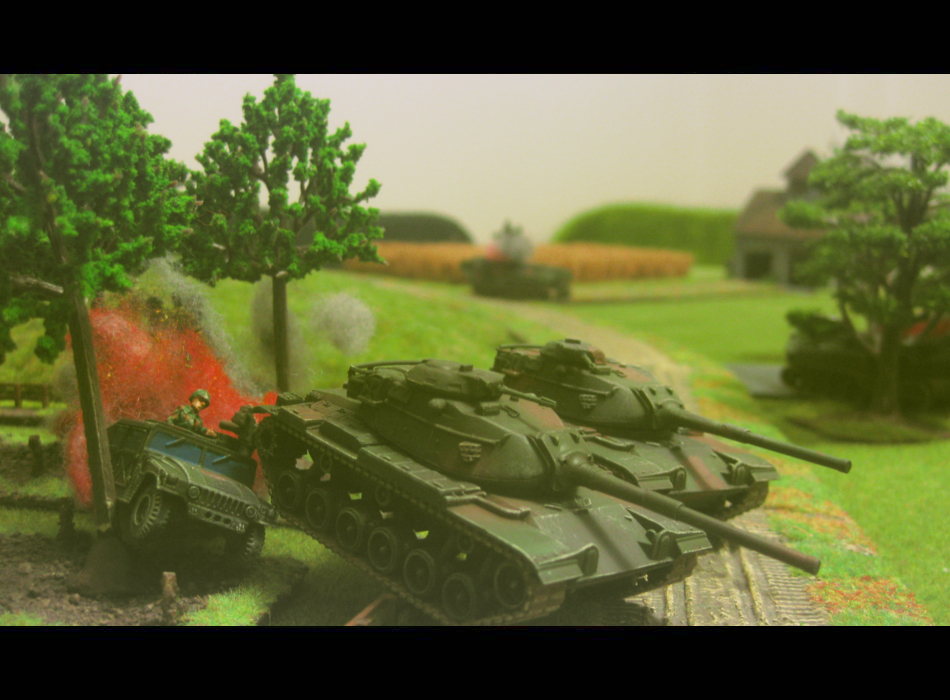
Speeding towards their buddies from the Army, the Marines were taking up defensive positions around the small town of Rachlitz, near Halle, after extensively shelling it, suspecting enemy presence. The enemy, however, was not yet around, allowing the infantry to dig in and the tankers to thoroughly camouflage their vehicles. Intelligence had not been exact on where the enemy thrust was to be expected and thus the available tanks and support weapons had to be divvied up to cover a number of possible approaches.
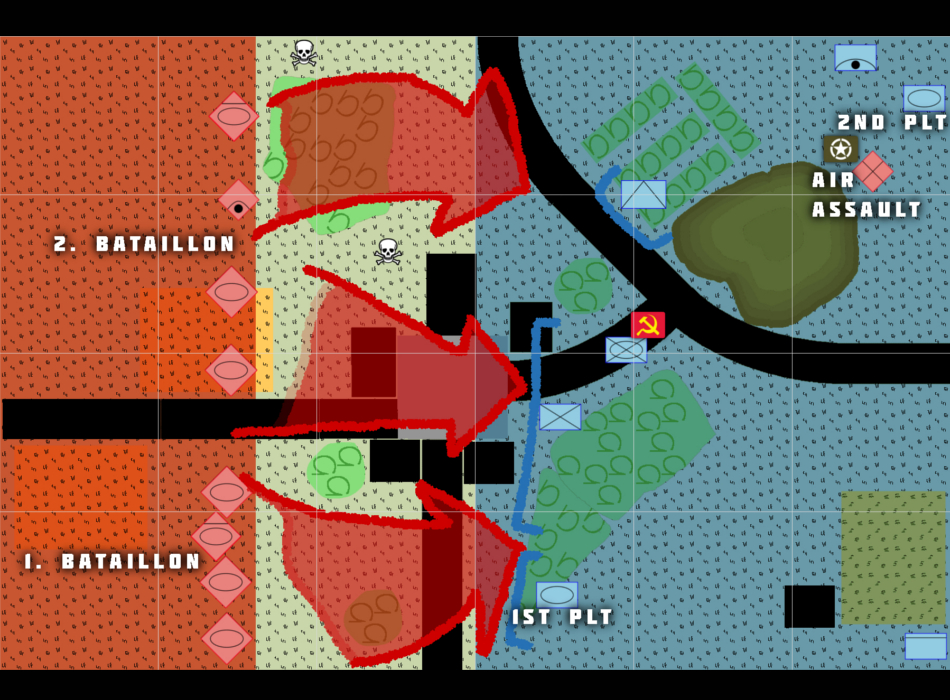 An attack by the book: massive pressure across the entire front against an outnumbered enemy with highly mobile forces ready to exploit any breakthrough.
First platoon, accompanied by an attached rifle platoon and an anti-tank section hled the town proper and the area immediately around it. Since they had destroyed the town already, there was no need for the Marines to protect the remaining buildings and they could use them as an elaborate trap and excellent blocking position.
The East Germans attacked with two tank battalions, greatly understrength, but enjoying AAA and air assault infantry support. The Luftsturmtruppen would play a vital role in the battle to come.
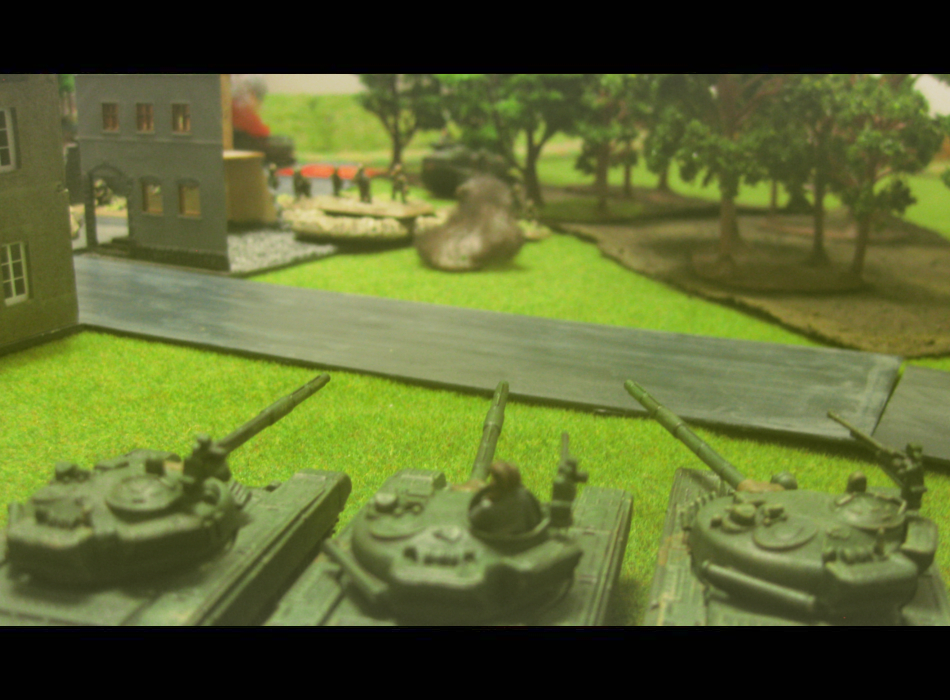
When the Marine positions were discovered, the tanks spread out into attack formation and began their charge.
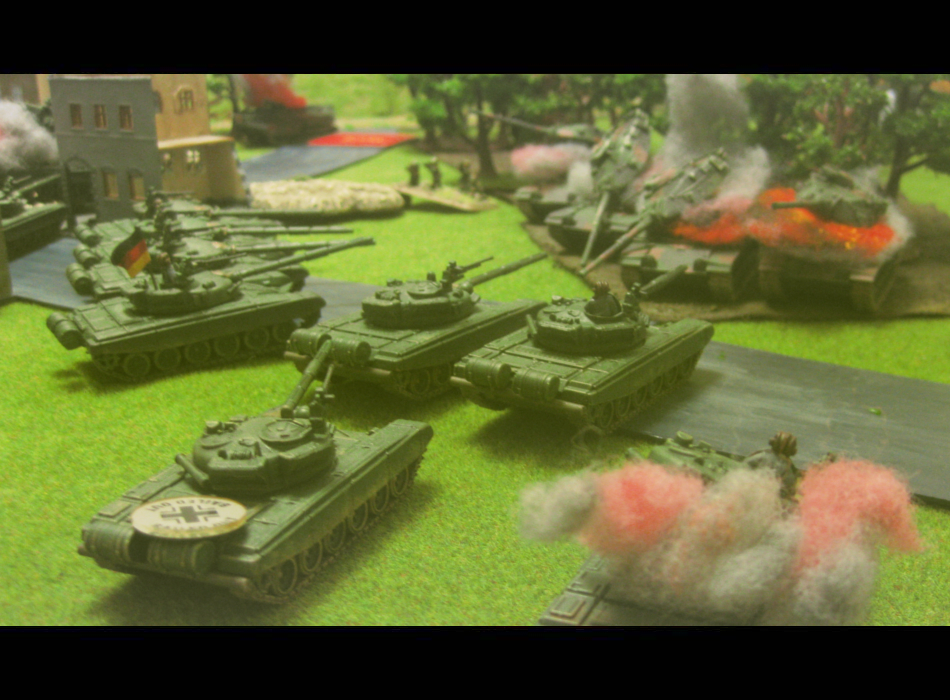
While advancing along the entire front, the main effort was the thrust against the town itself and the woods right next to it, immediately causing casualties among the defenders. Being Marines however, they shrugged off the loss of two AT-missile systems and an AAV and got ready for payback.
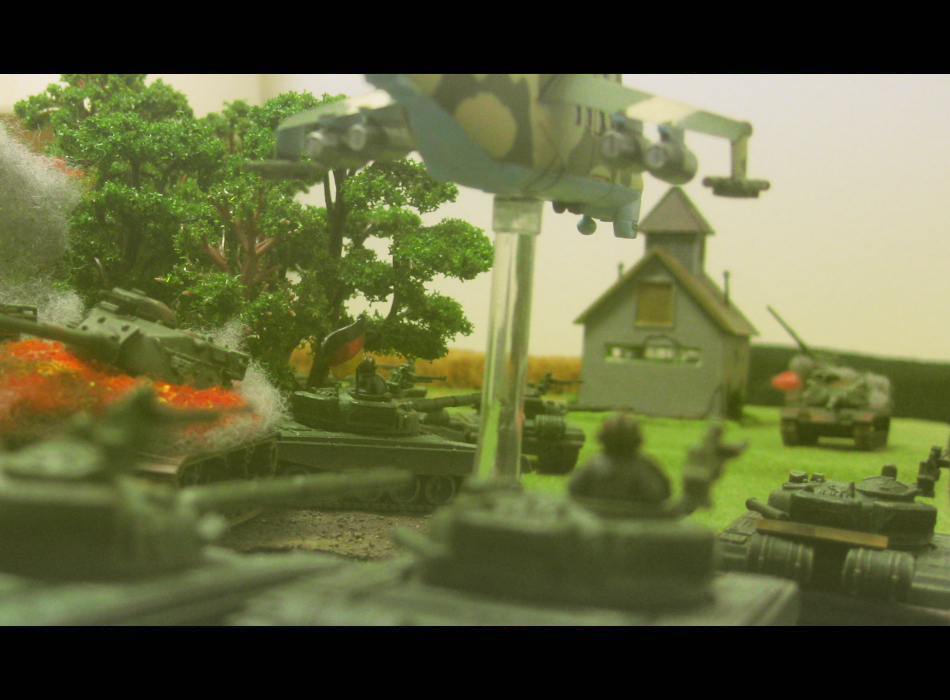
 As the main attack hit the front line, East German Fallschirmjäger air assaulted into the enemy rear area.
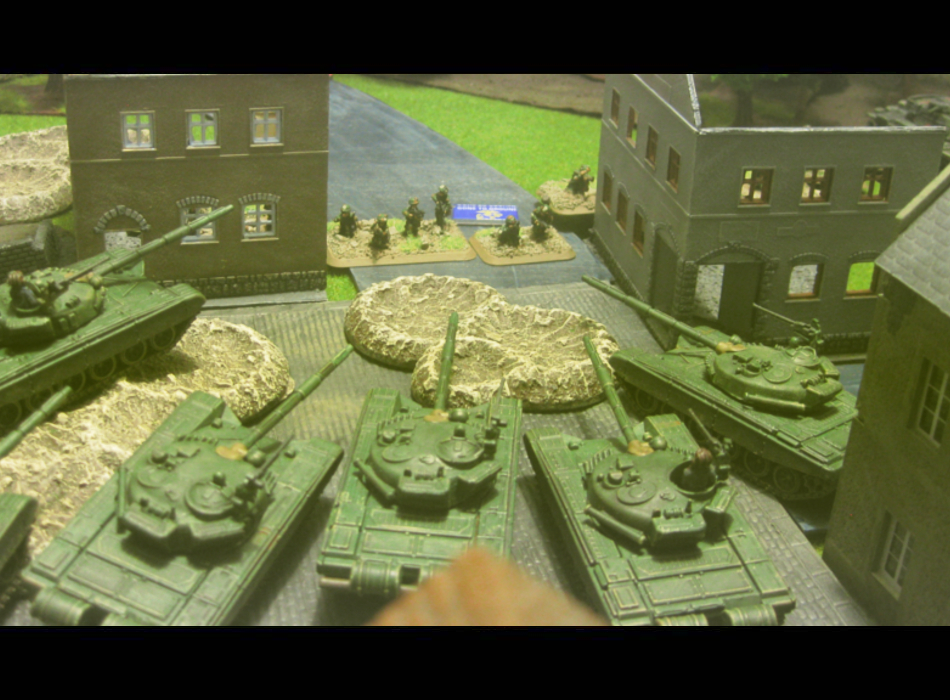 The proud, the few: Despite being heavily outnumbered and outgunned, the Marines held the town against the armored thrust.
As the German tanks had rumbled across the plains, firing at the infantry positions, 1st platoon had quietly counted and called in the enemy tanks and assigned targets among them. They managed to knock out a few, but it was not enough. Soon, the socialist armour had encircled and destroyed the M60s, their crews escaping on foot through the woods. Luckily for them, poor optics and more important targets kept the enemy from gunning them down.
After dropping off their infantry, the Mi-25s made an attack run on the first approaching relief coloumn of four M60A1s. The tanks had been redirected to secure the threatened objective and thus were kept out of the fight at the frontline for now. All Falangas went high though, leaving the tanks to grind up the small air assault party with their machine guns.
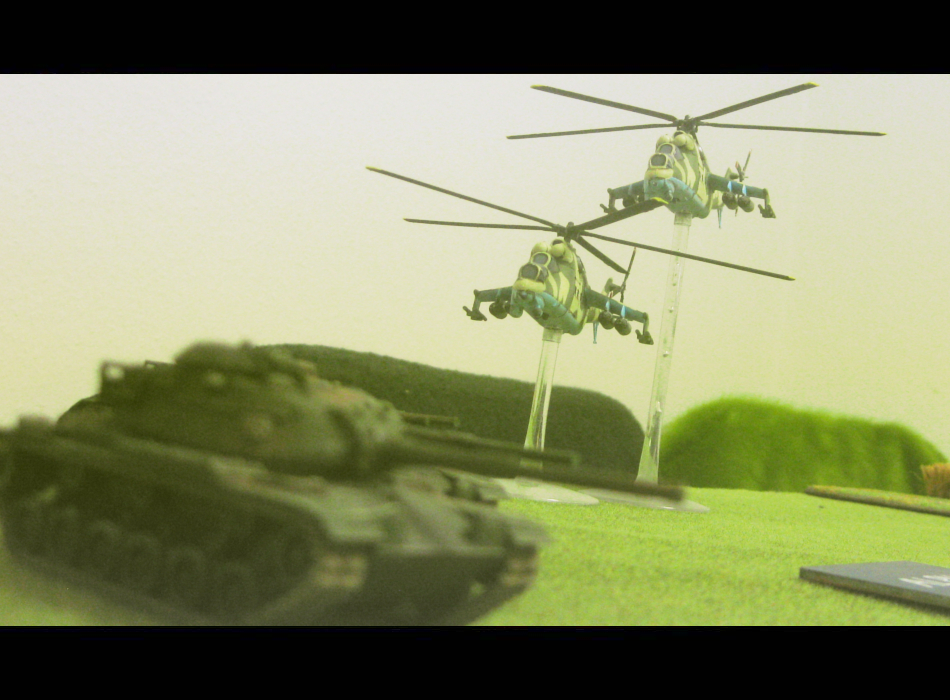
Shortly after this, more reserves started pouring in, punishing the Mi-25s for having stayed in the area for too long. The flight commander’s titanium armor around the cockpit held – the main engine though, was a different story and the Marines reminded them that tanks aren’t meant to fly.

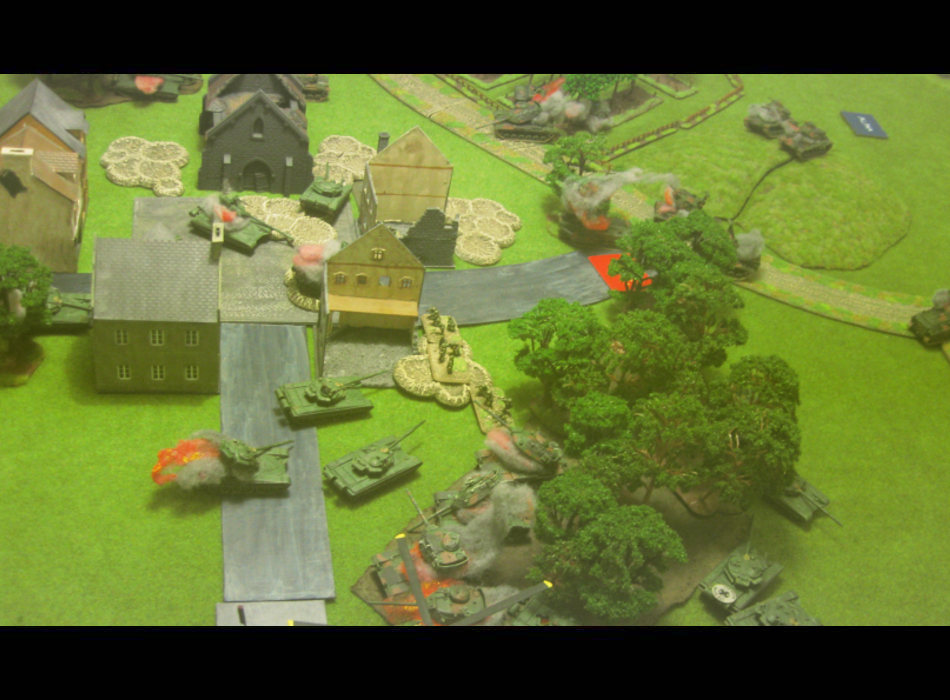
2nd platoon methodically advanced on the Marines’ right flank, compensating for the loss of the anti-tank section. So far, the infantry held the town center with comparatively light casualties, thwarting an assault the East German tankers foolishly attempted.
This kept the Marines busy, as half the tanks were diverted around the woods and into the flank and rear of their position, threatening the second objective: A crossroads on the far side of the town.
Despite the Marine Armor HQ joining the battle and trying to contain the envelopment, the T-72s managed to overwhelm the defenders, take out the M247s and capture the objective, with the Marine infantry platoon now being caught between lines of socialist armor.
Setup
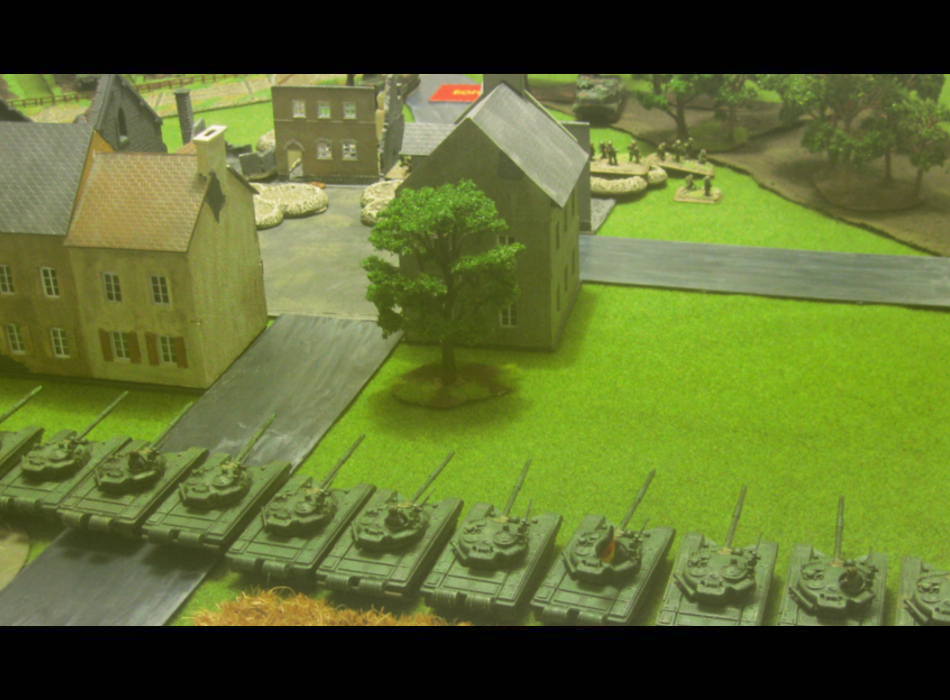
The terrain was different from last time, with most of the center of the table being cut up by tall terrain. There were still plenty of lines of fire, but you had to position your units a bit more careful. The town in the center of the table was not just great cover for the Marines, it was also cratered and caused many of my tanks to stay in place when I wanted them to move.
My opponent had to deploy first. While I didn’t know where he was going to place his ambush, I could make a pretty educated guess. For the main thrust I chose my right flank, with lots of open space to line up all my tanks. My left had been closed by minefields placed inbetween cross-check-demaning terrain. Nonetheless, I placed my 2nd HQ tank and the Shilkas over there to adavance through the woods and threaten the weaker flank. They would draw fire from the main effort and the Shilkas and T-72 could use their high ROF weapons to trouble the HMMVWs.
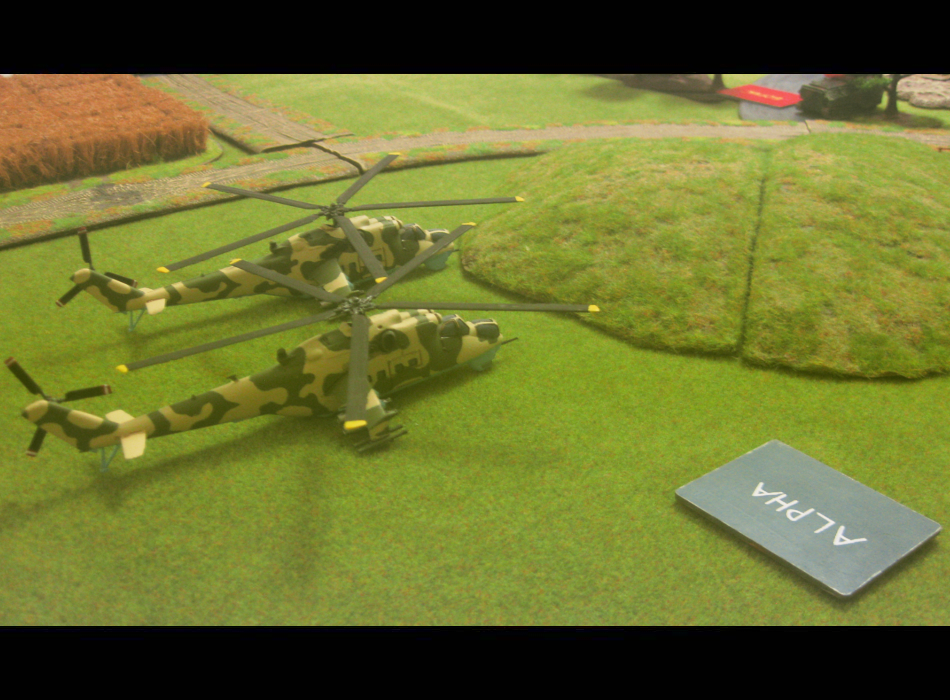
Air Assault
Then, there was the gamble: Landing infantry behind my opponents lines, but without any cover. My train of thought was this: He’ll only get reserves on a roll 5+. Even if he does, he is forced to react to my landing and can’t do what he intended to do with the reserves. I deemed it worth risking my air assets for this and it paid off. Oxford told me that he was completely surprised that I’d kept the infantry in the helicopters and risked them this way. MASKIROVKA!
The infantry ended up dead one turn after they’d been dropped off, but: this little one-point unit stalled the advance of 16 points worth of tanks and the helicopters had survived to get back into the air and still threaten units across the table. They had forced my opponent’s hand and that was worth more than actually doing any killing.
This allowed my units in the center and on my right flank to do as they please. To be fair: Oxford only achieved 4 hits with 8 dice on 3+ and I equaled one or two of those. The T-72s did not break and despite one or two being bailed out were numerous enough to keep a lot of pressure on the flank.
Things to learn
I didn’t maximize my shots by forming two lines and instead just advanced in one unbroken line. Looks silly, is not as effective, but well, there’s always one more thing. Speaking of mistakes made: I tried assault with T-72Ms. Yeah, I know. Now. That’s not gonna happen again.
While the center was only meant as a diversion to keep the pressure on my opponent, I think I still used too much of my force there. Had I been more courageous and adventurous I could have flanked around the right a bit earlier and with better cover by the woods. I didn’t want to gamble on the 3+ cross checks, though and at least this time, playing it slow worked out.
So there you have it: After losing horribly two times in a row I made adjustments and they actually had an effect.
Leaving out a few tanks to get in a small air landing infantry unit and two shilkas (unpainted as of yet, I’m sorry) along with the battle plan “attack” versus my opponent’s “defend” opened up quite a few options, despite very minor changes on the surface. I have to thank my opponent here as well, as he volunteered to run the same list as last time and not bringing his recently acquired four harriers. Tactical mistakes were still made and obviously dice were involved and both sides “enjoyed” their fair share of 1s when rolling for firepower and 6s for saves. Nonetheless, I’m happy to see that my choices had an effect and that there’s light at the end of the tunnel.
Dare I say it?
Oorrah.
Battle Report Author
Army Lists Used In This Battle
Recommend Commander For Commendation
Share this battle with friends
Harald KnauerWins

Nice win and good report.
Great report and awesome photo!
Interesting terrain. Liked the AAR.
nice AAR photo’s and schematics
as you said, interesting terrain
tough fight.
Mot.-Schützen are on order, along with BMPs, Gvozdikas and Shilkas. Had to work my finances first… 😉
Sehr gut gemacht, Genosse! Ich habe Sie zur Beförderung vorgeschlagen!
I would suggest to take an additional infantry formation next time. You get infantry with AA assets and the ability to screen your part of the table or protect your tanks and you get cheap BMP-1 that are ideal for dealing with light stuff like Sgt. Yorks, Hummvees or killing M60 from the side (or front from far away).
Thanks everyone! HMS_Belfast: Another two are on order, but did not arrive in time, so there will be two Shilkas per battalion eventually. 😀
Going out to war without at least 4 Shilkas should be considered high treason! They’re the best AA unit for Soviets. Our more experienced player takes two units for light vehicle harassment!
Nice report and congrats.
+++
Well done and a very good AAR (After Action Report)
You have earned yourself a 9/10 and commendation Knauer. A true socialist commander.
Congrats Comrade
Always an interesting read.
Nice report!
Congrats on your win!!