Fought At Hanover
2225 days 9 hours 43 minutes ago
Poor Intell
View Linked Report - CLICK HERE 80 POINTSThe last time I played Lord T was at Cancon (the Australia Day long weekend gaming convention in Canberra)
https://www.team-yankee.com/hobby.aspx?art_id=5963
Cancon was a 100pt competition and Lord T used a Soviet list bristling with BMP & infantry , but with no Air and very little in the way of Anti Aircraft firepower.
We agreed to play 80pts (same number of points as the upcoming Conquest Easter competition). Figuring that he would take a very similar list, I dropped the Warthogs and AA from my list to max out on M1IP – I had dreams of hunting packs of BMP!
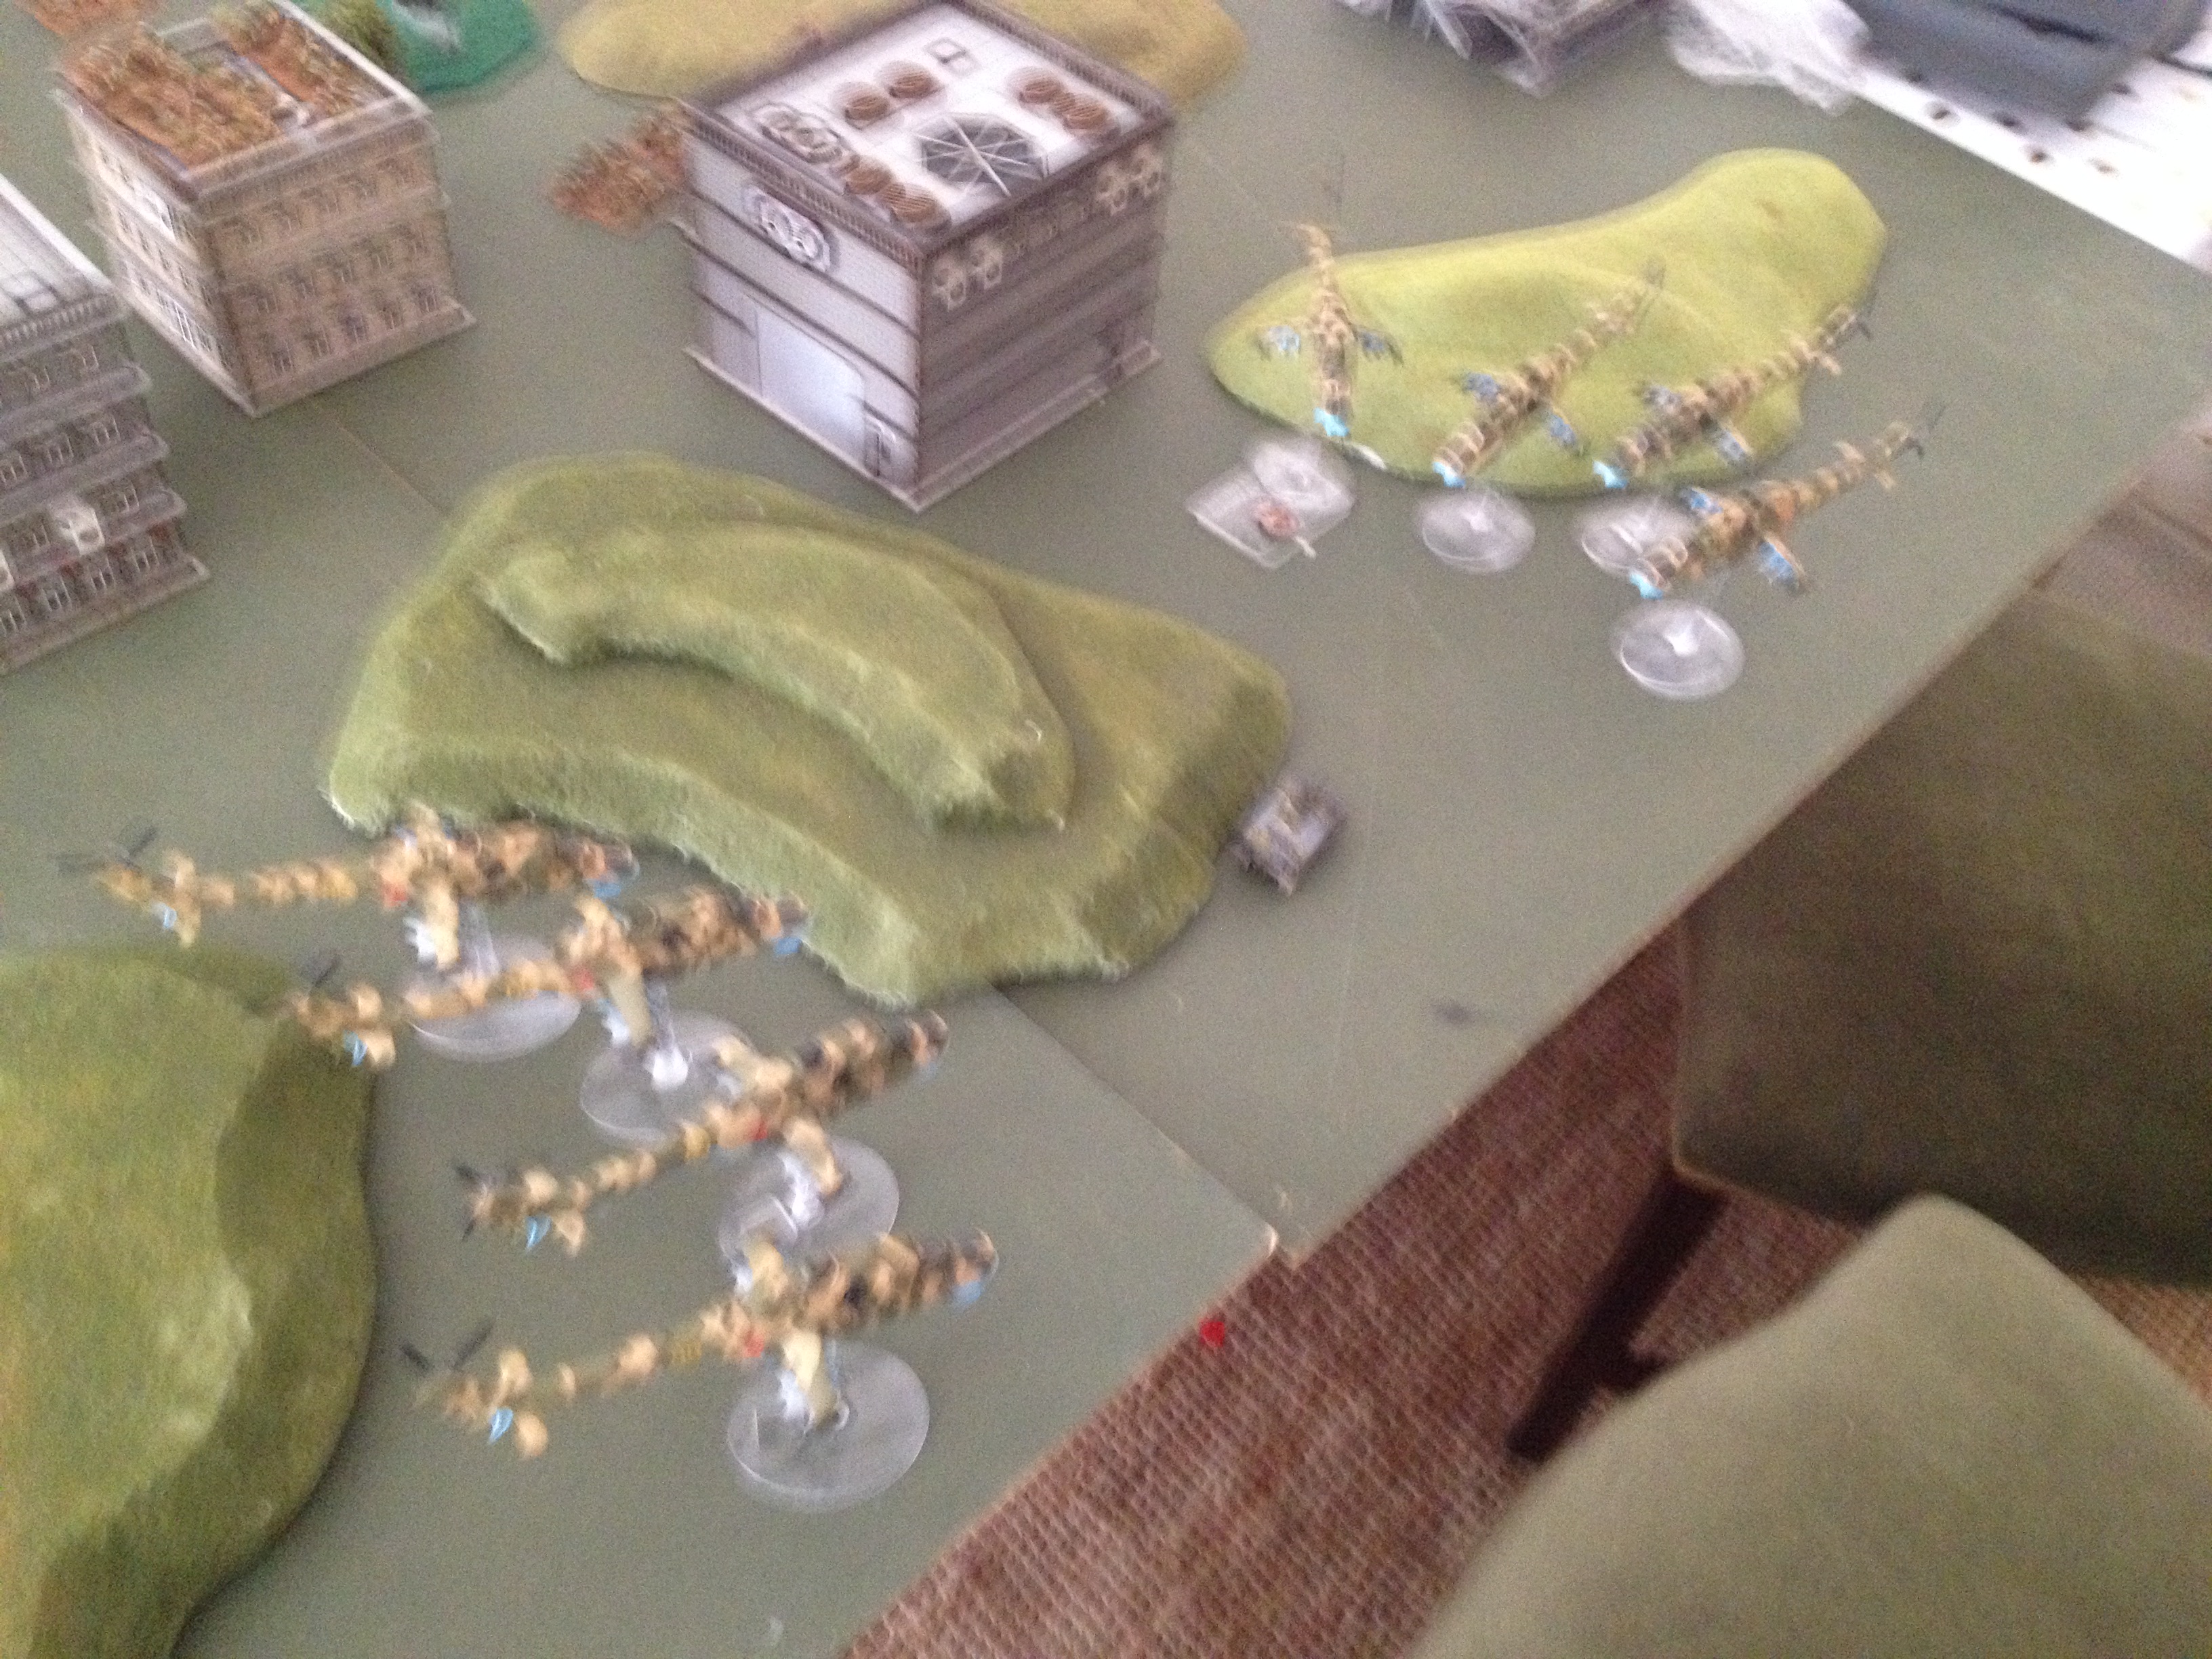
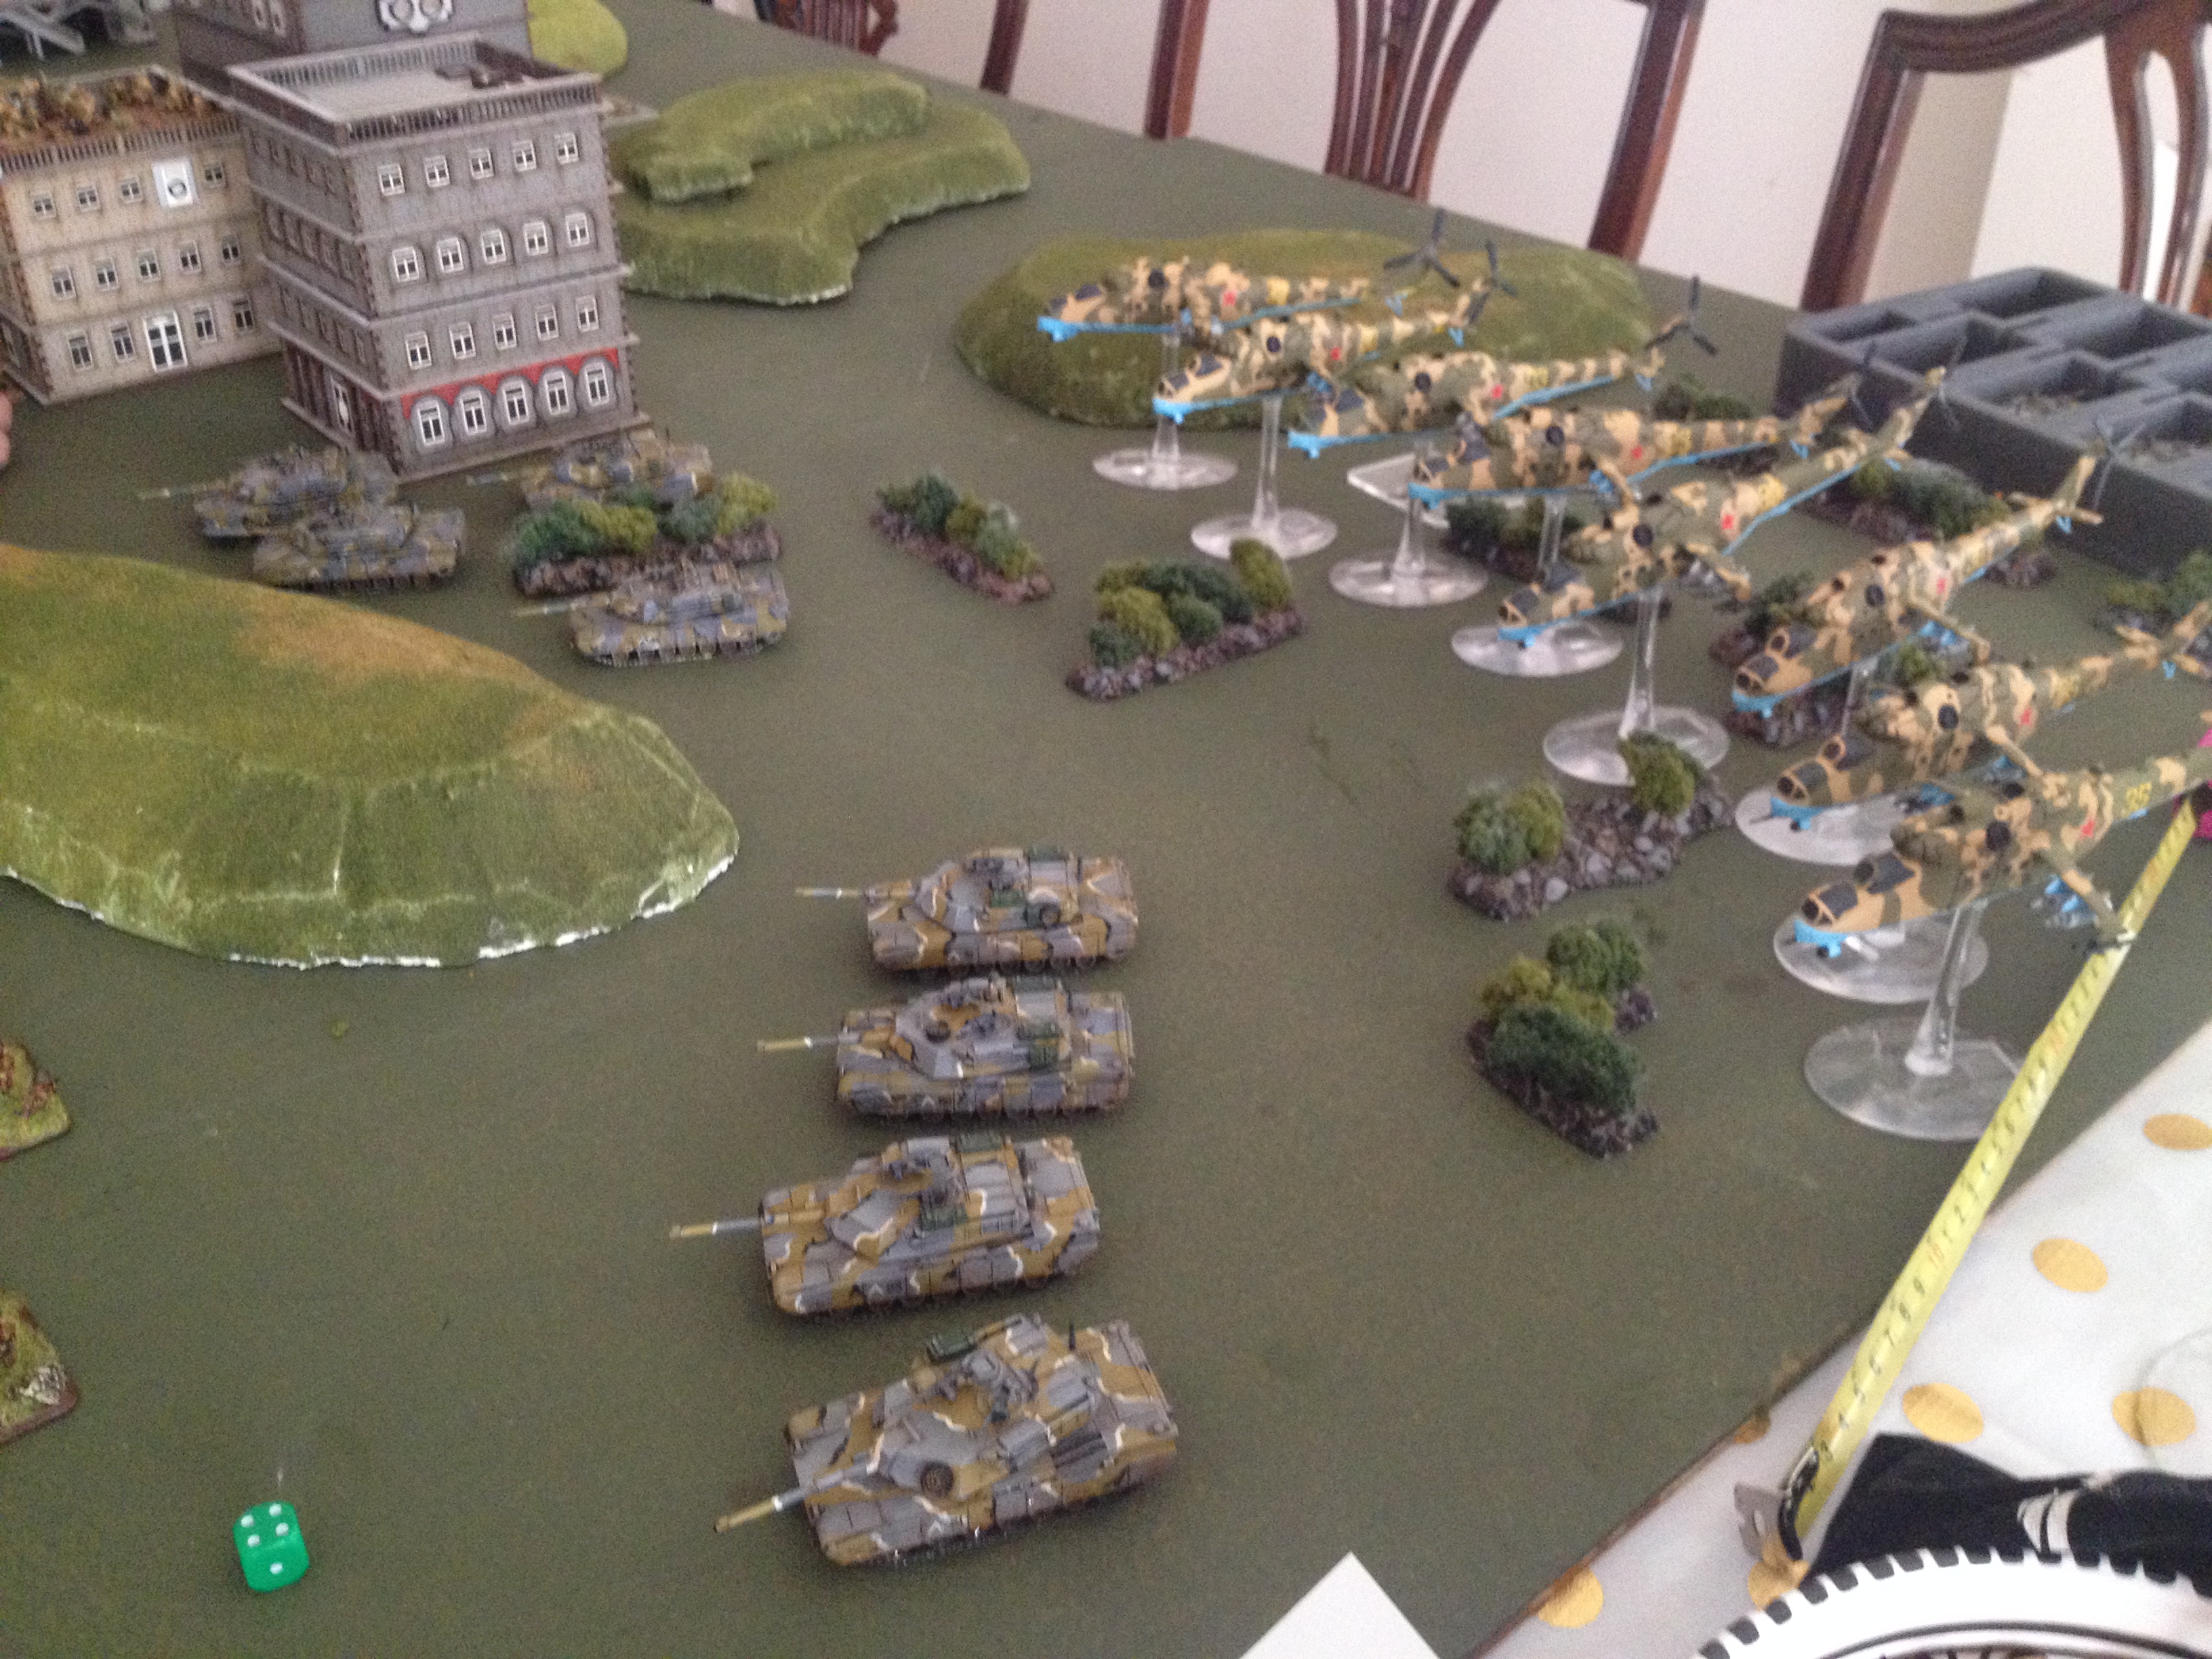
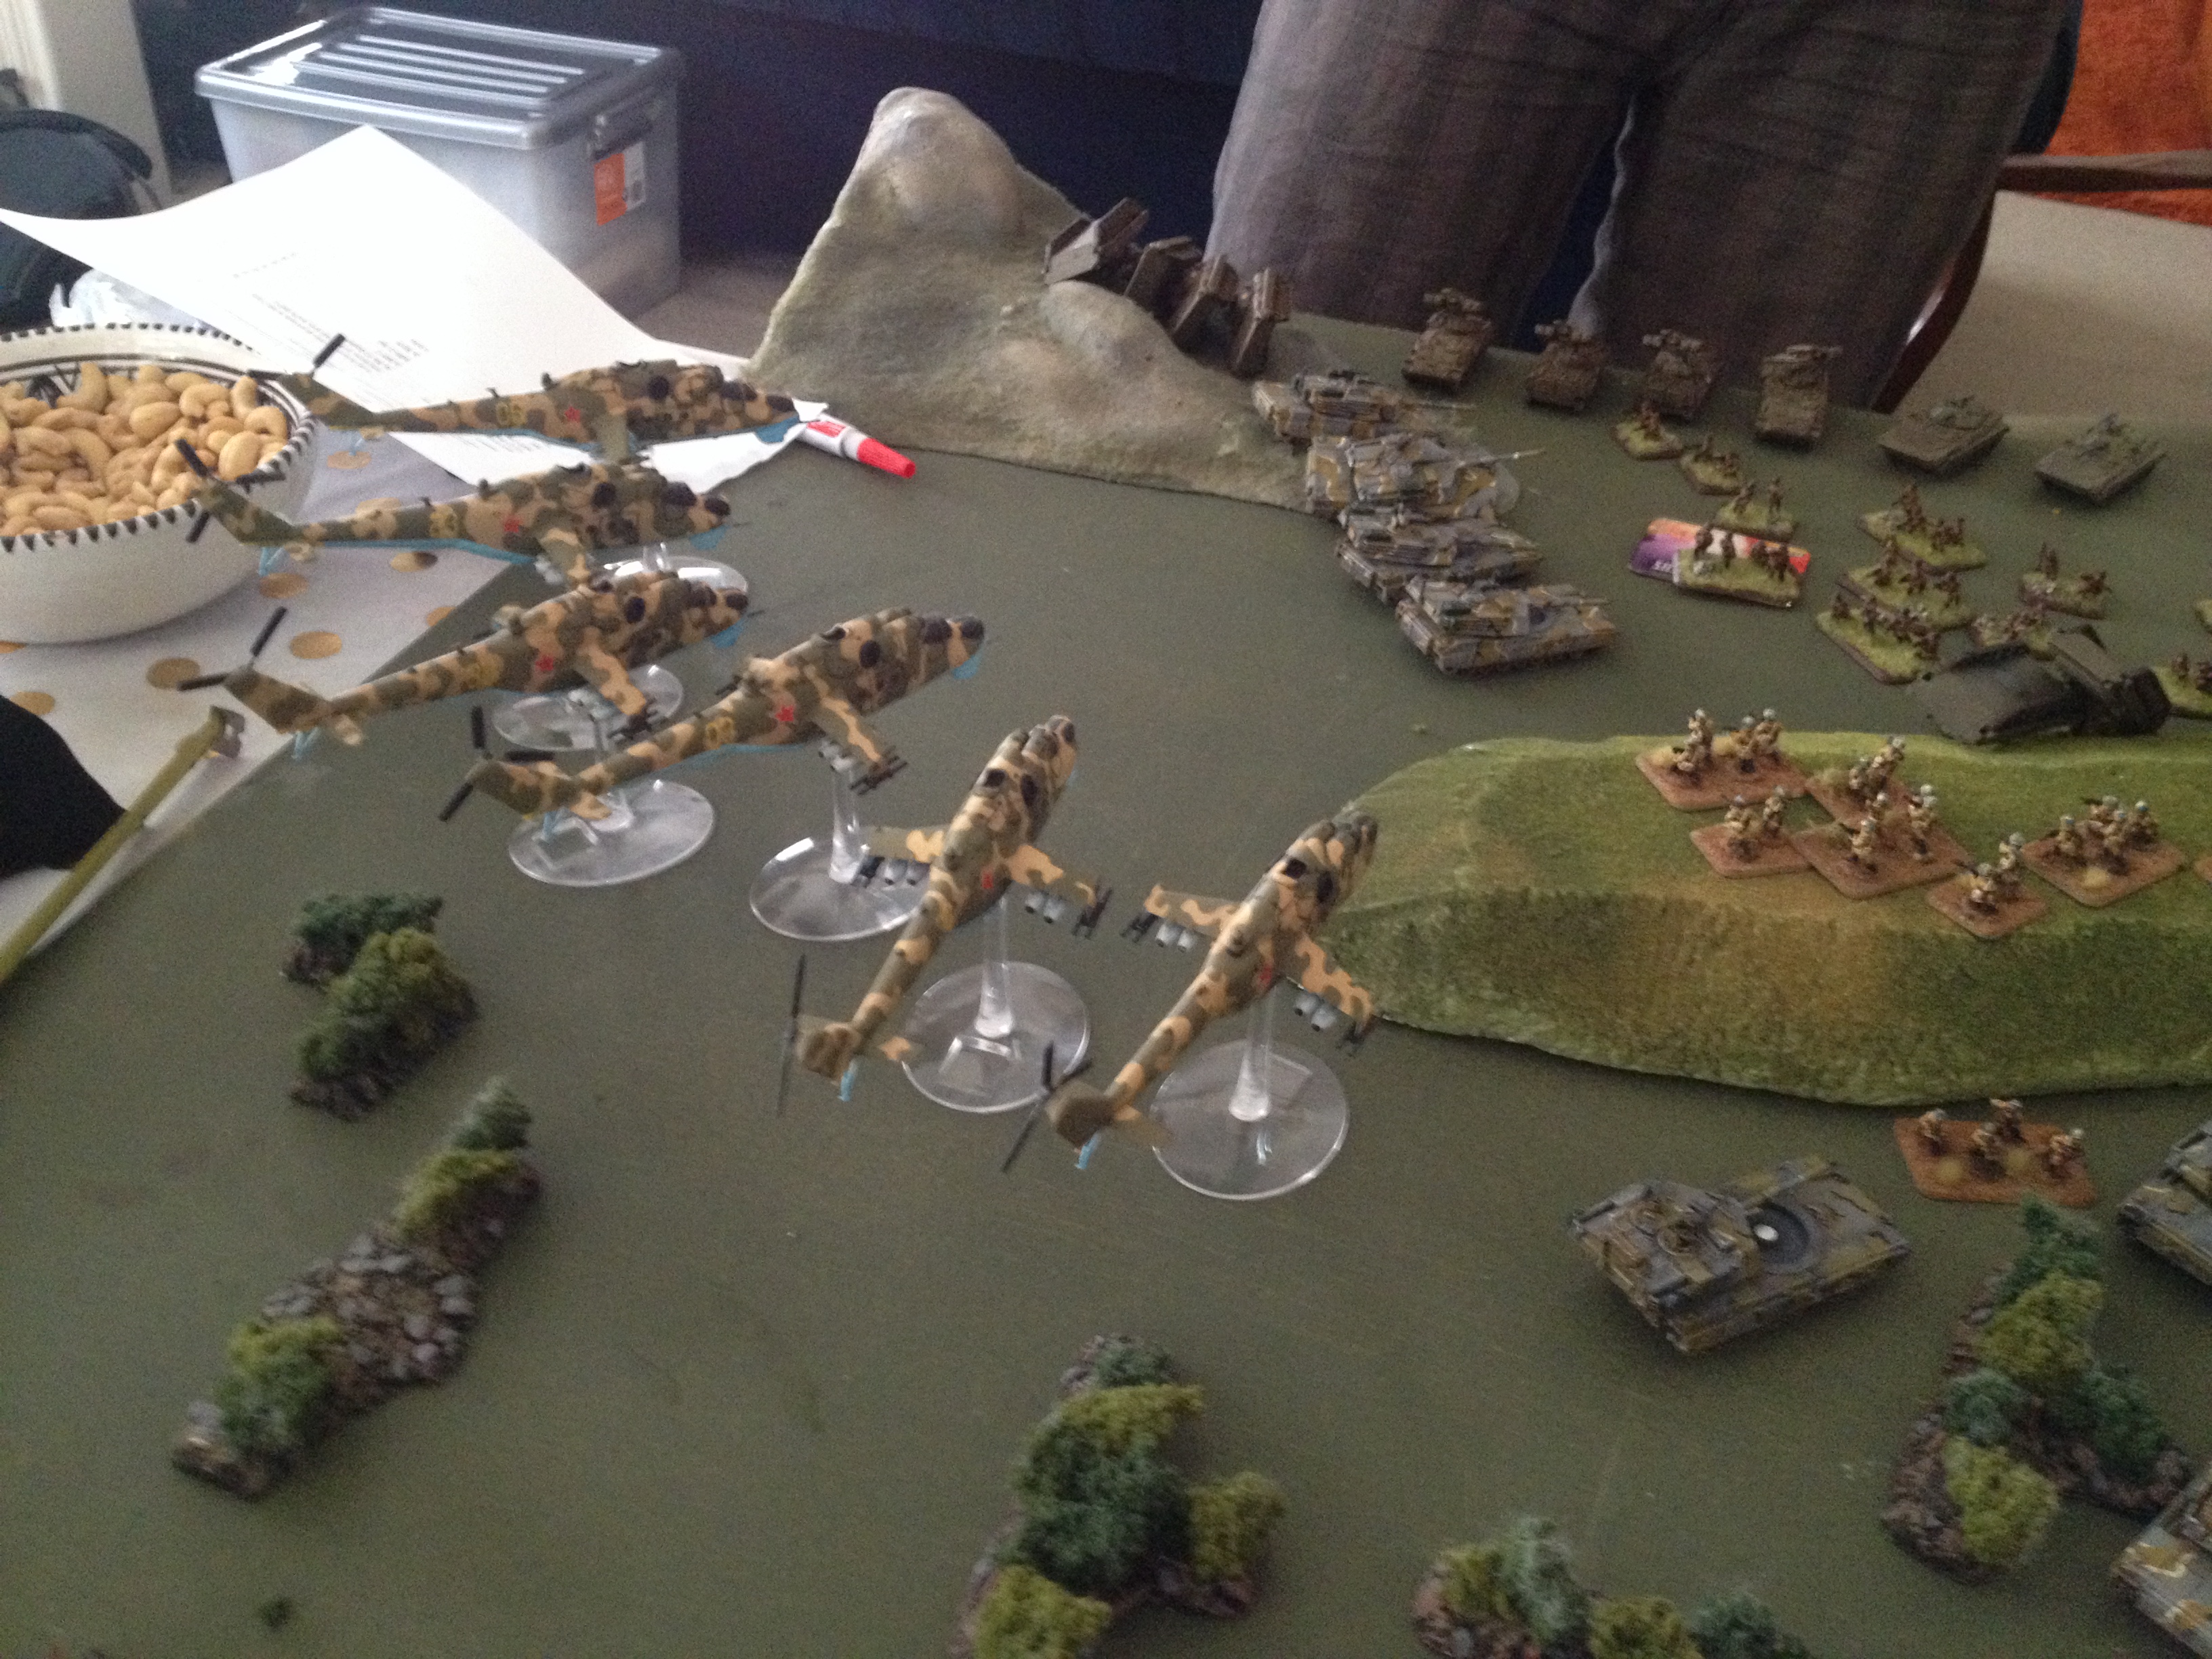
Boy was I wrong! What I got was the Afgantsy “HIND-SWARM-OF-DEATH”!!!!! (I blame my S3 Intelligence Officer for the poor intel…)
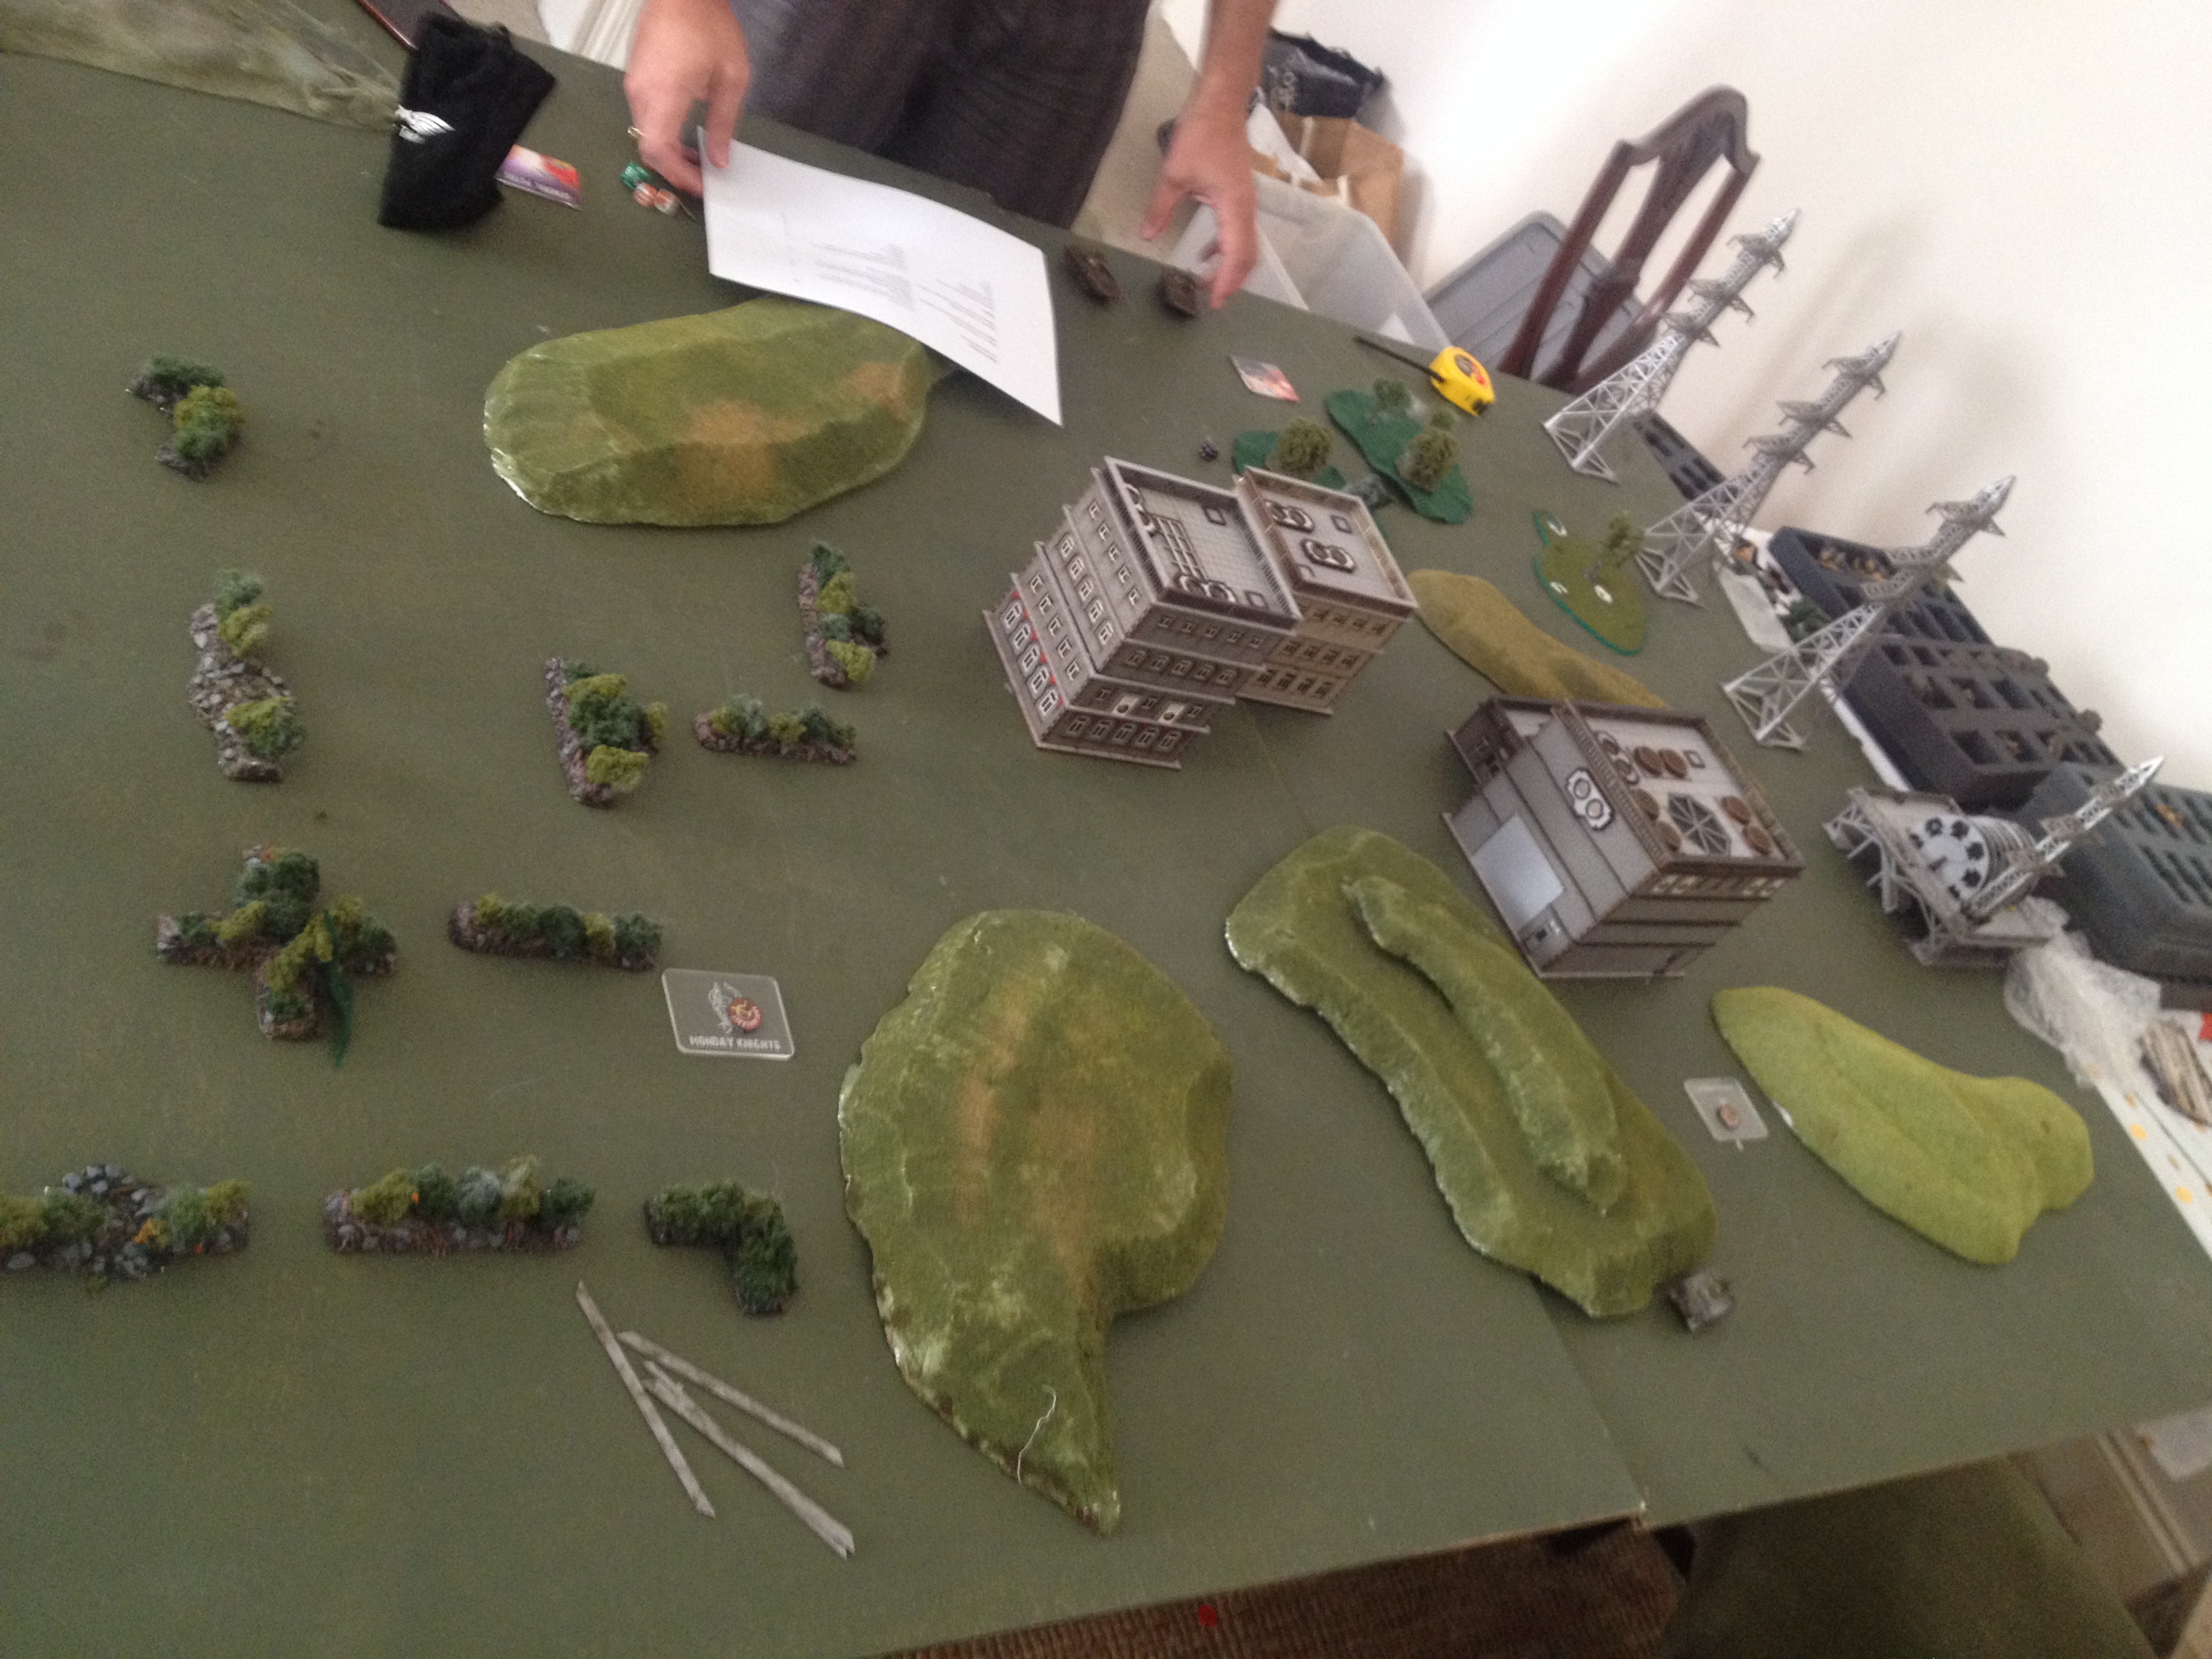
Sector was Hanover and the mission was Hanover Contact. I elected to keep my two M1IP platoons in ambush – both to protect them for as long as possible from the inevitable hail of AT6 missile fire expected from the hinds and so I could see Lord T’s deployment with the slim hope of choosing one of his objectives to push hard on “charge of the light brigade” style.
Unfortunately – this left my ACAV HQ M113 as the sole team I had deployed on the field (the scout platoons being held in reserve)
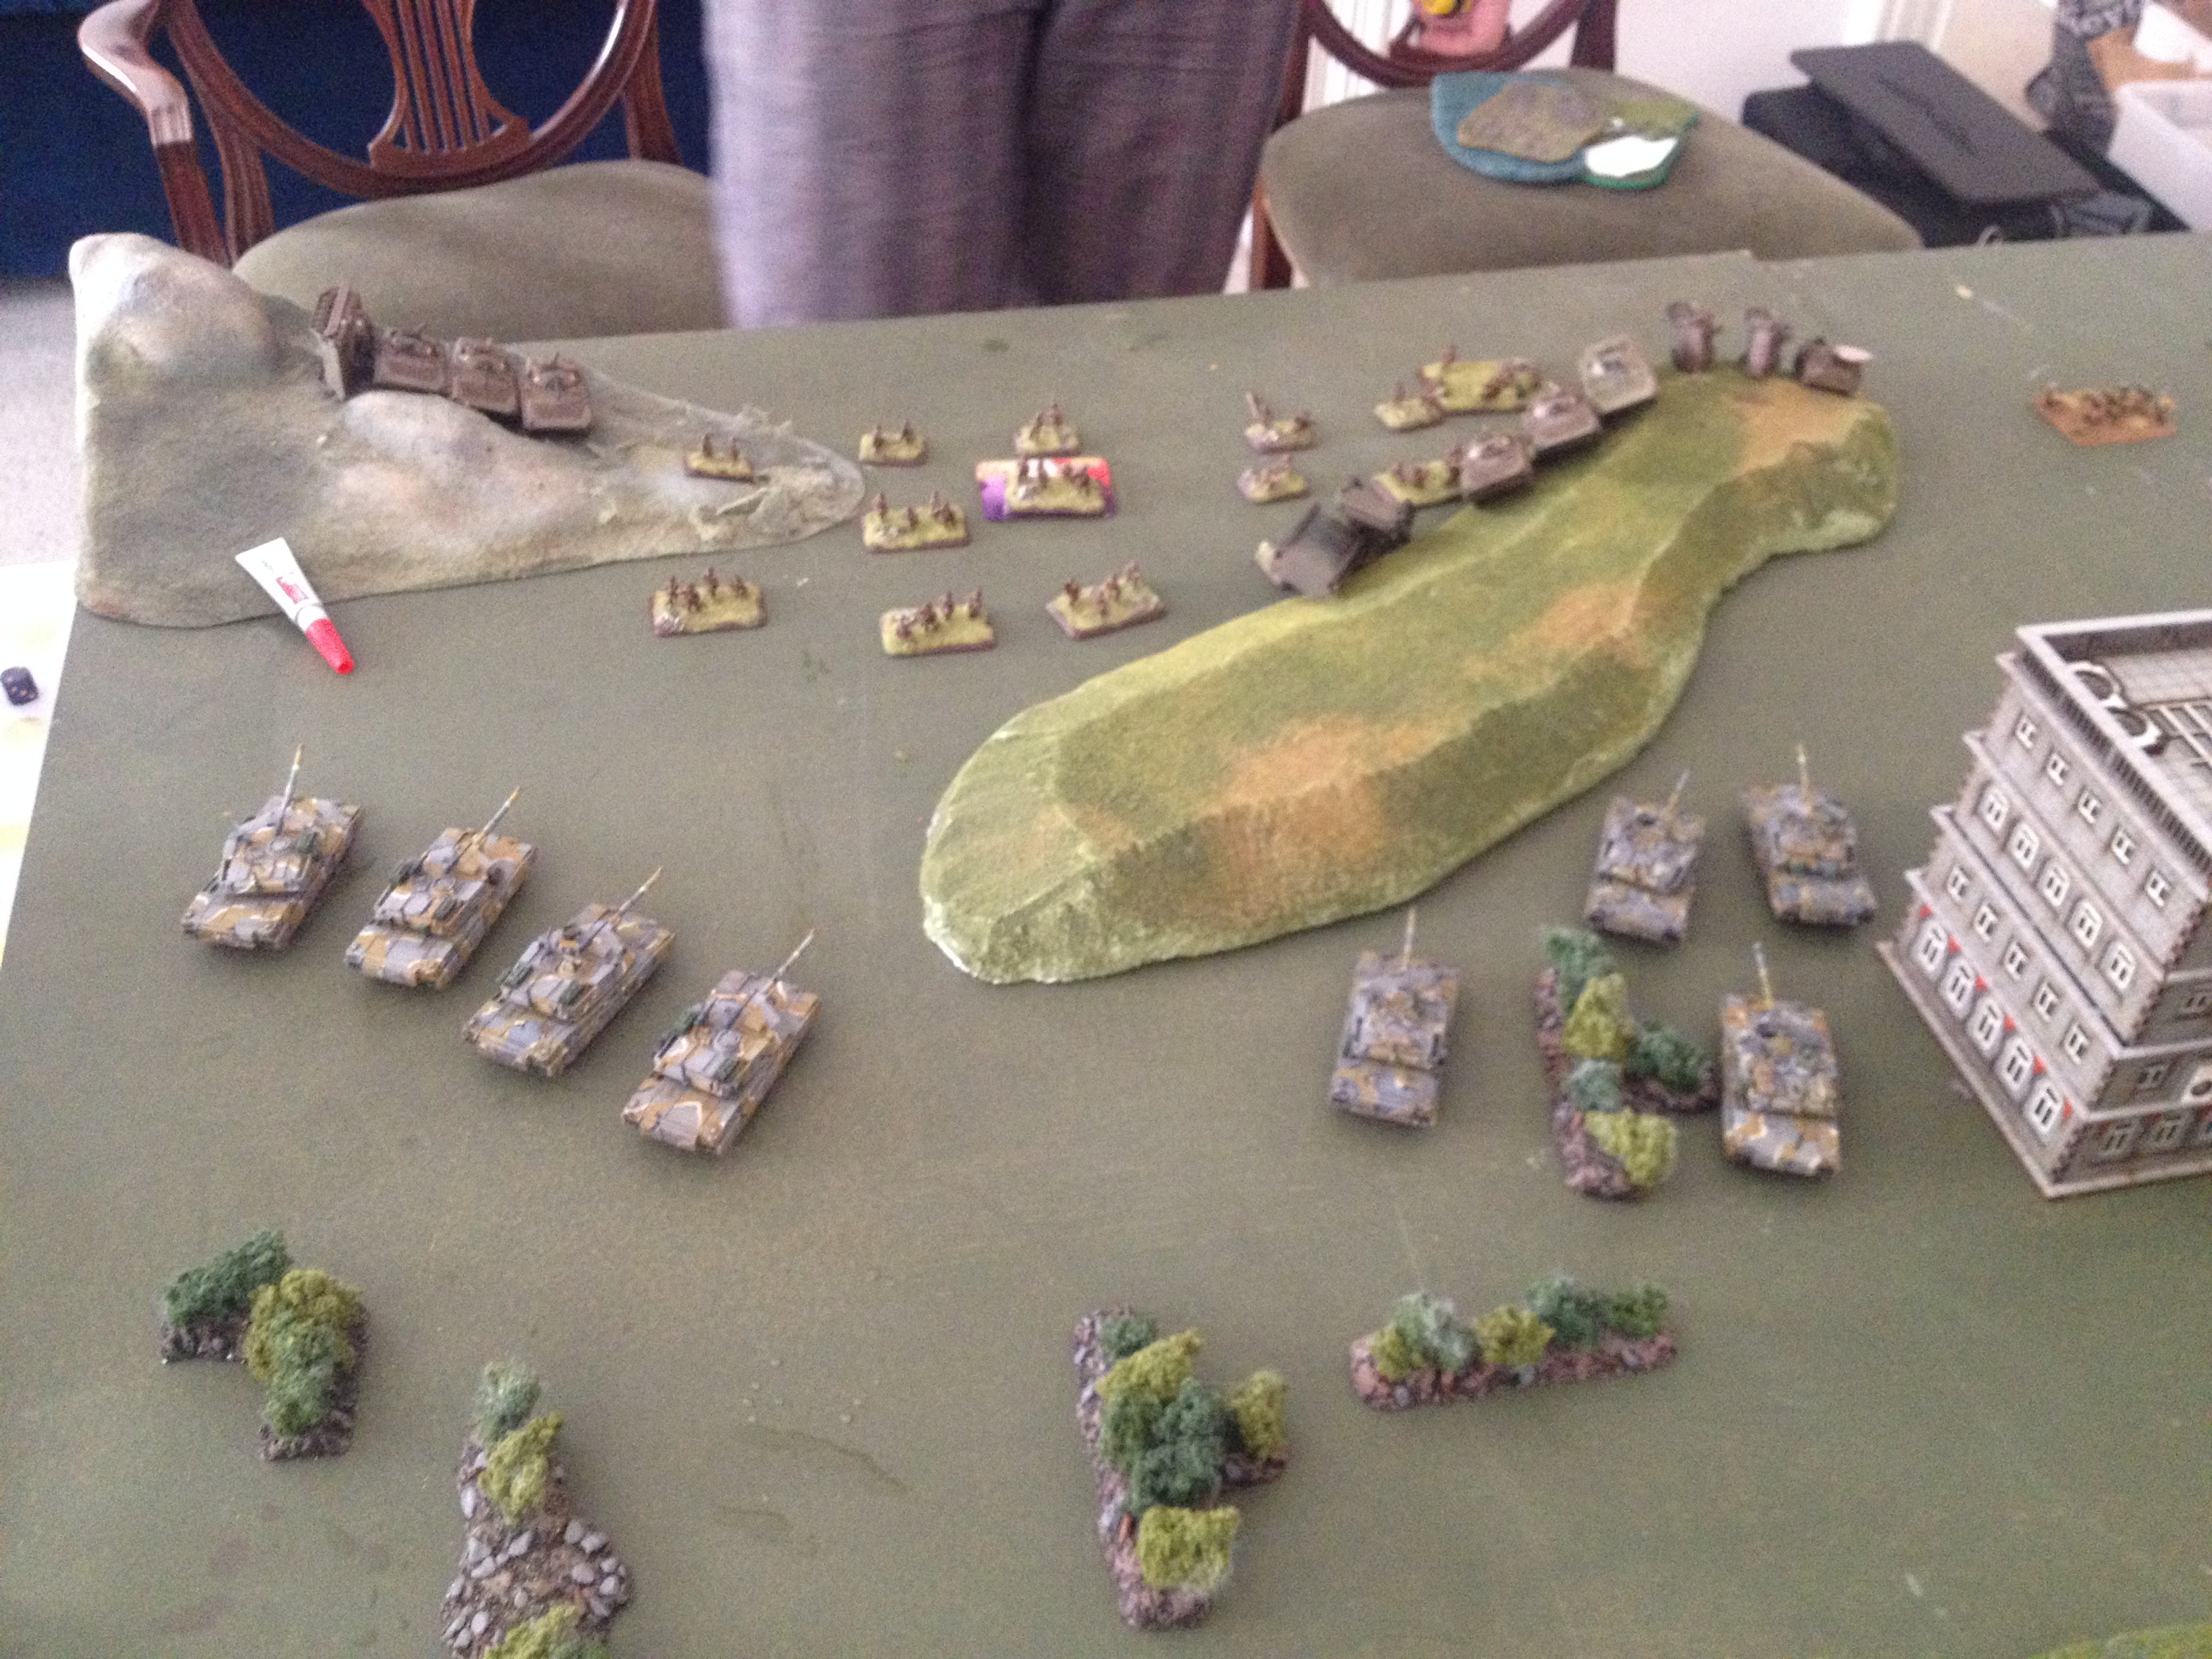
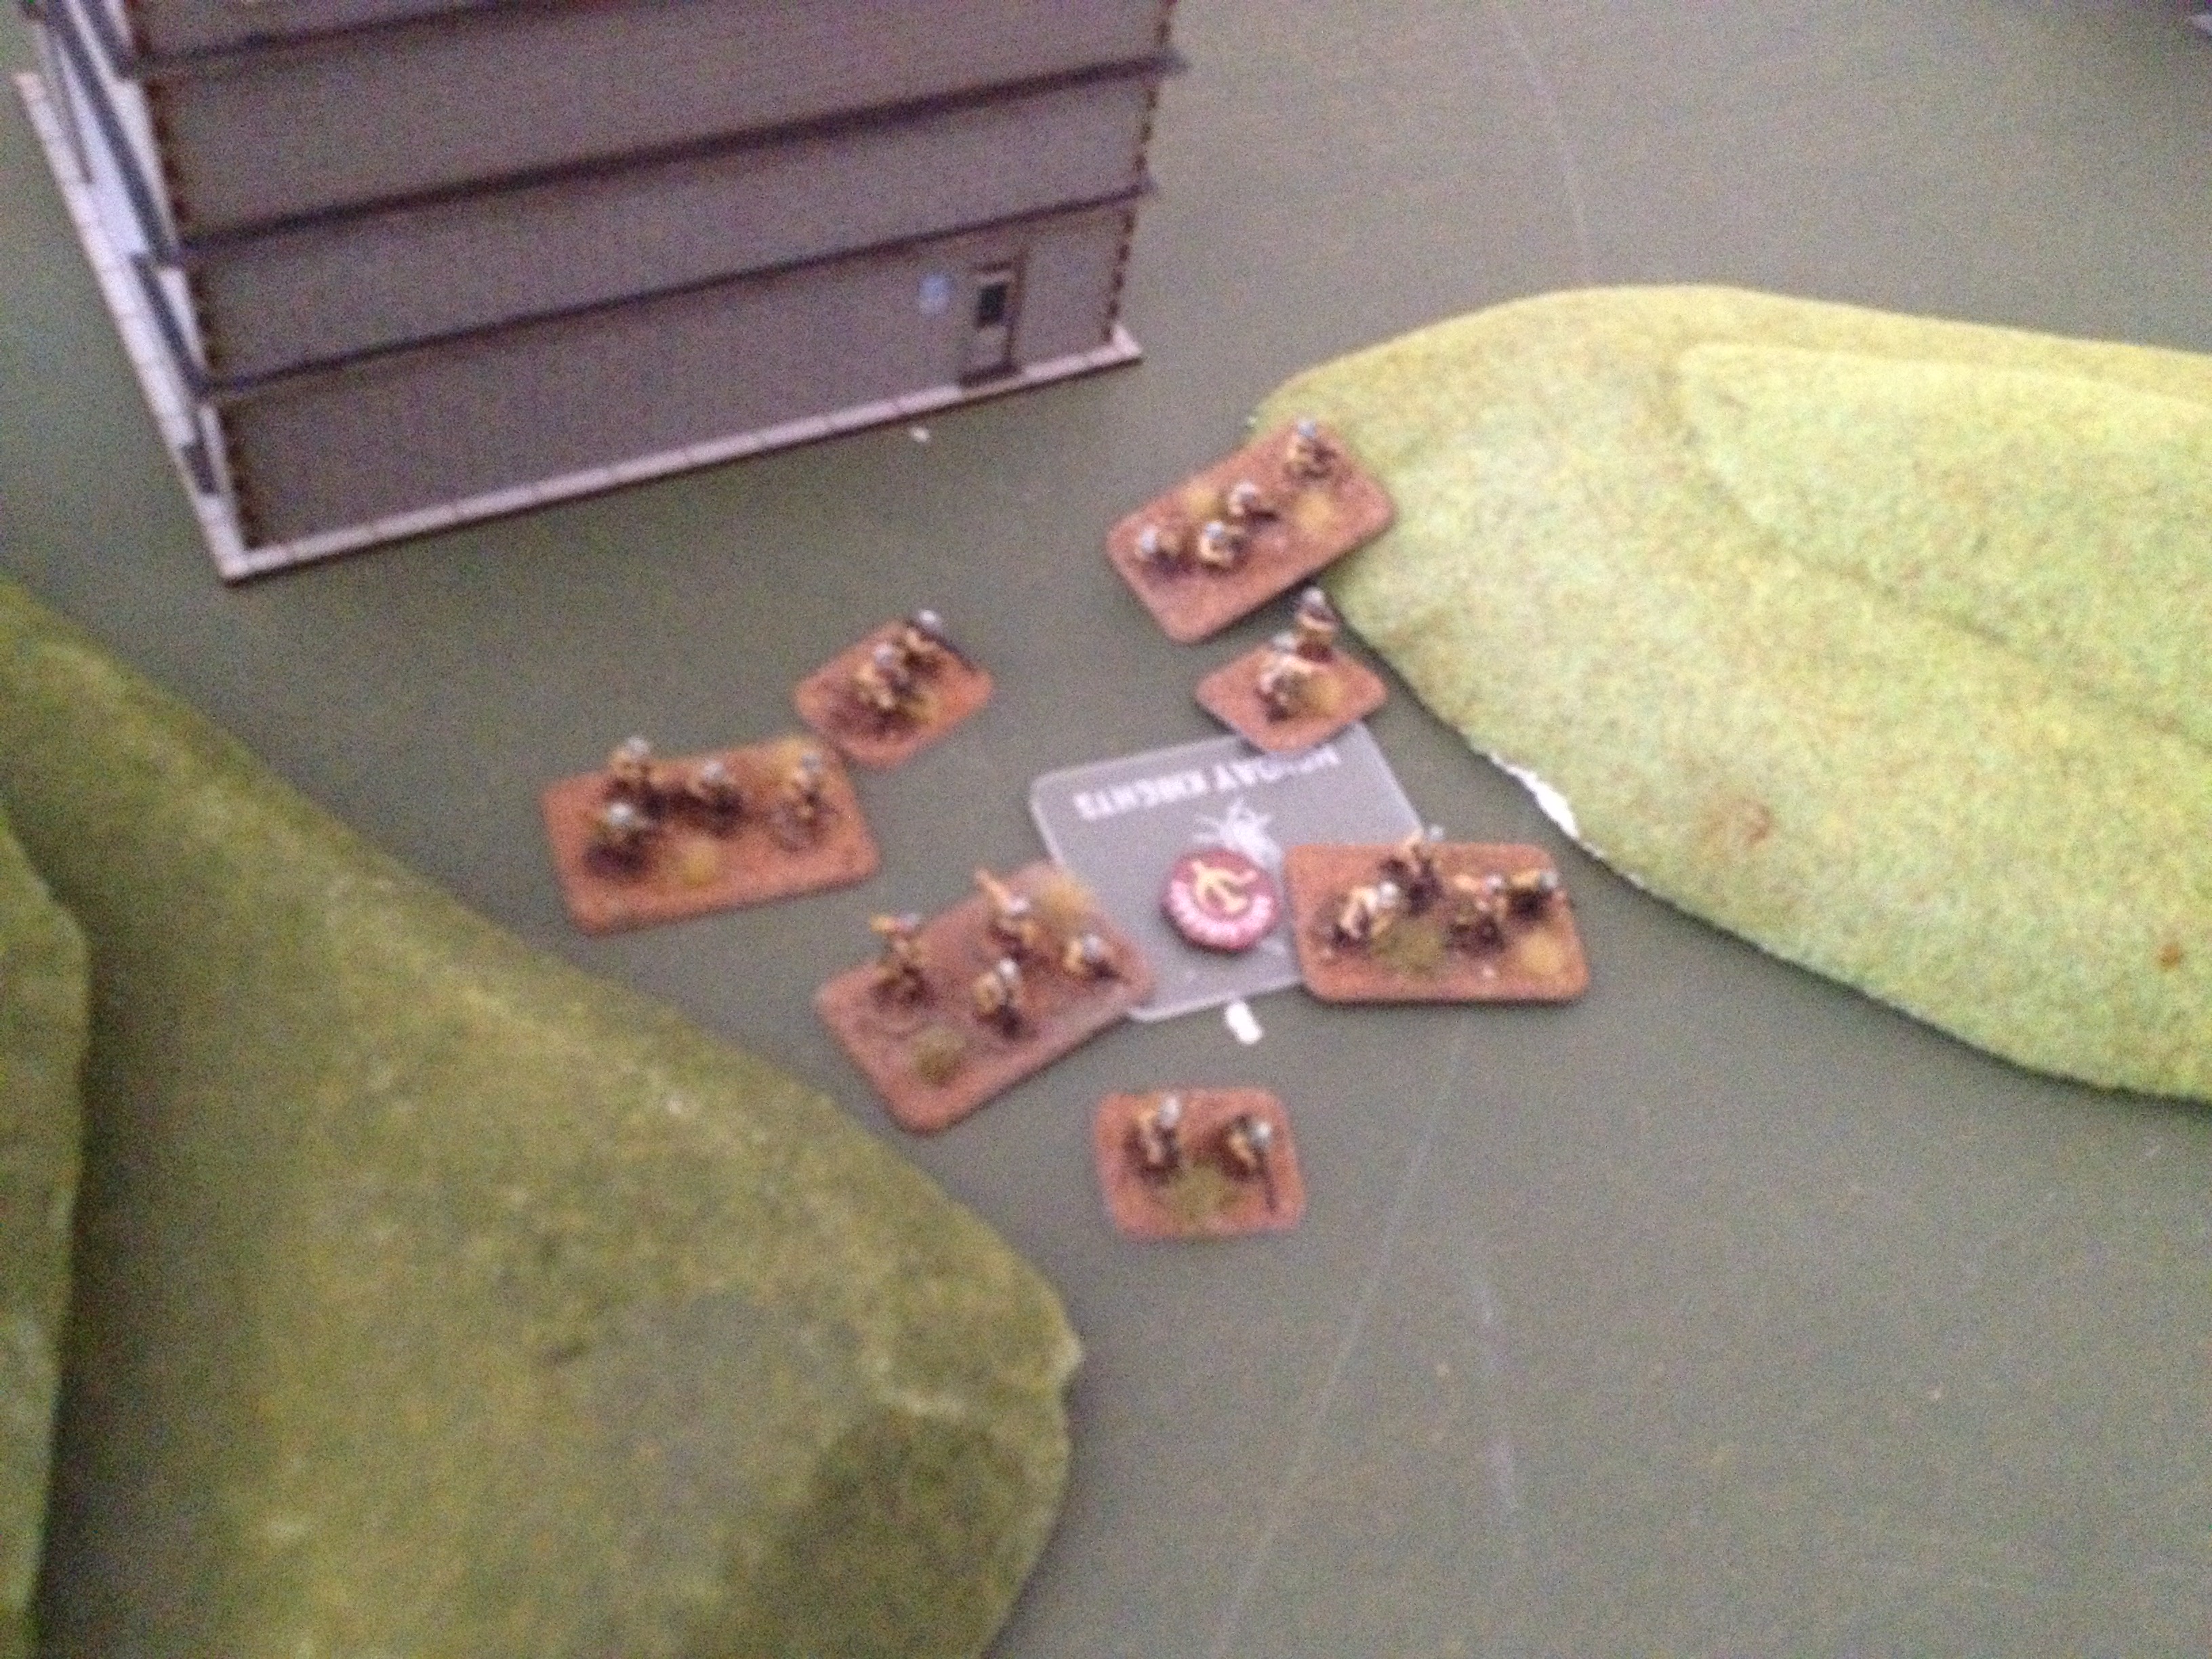
Lord T set up infantry platoons on both of his defensive objectives. A defensive line was created with the BMP along the crest of a hill covering both objectives.
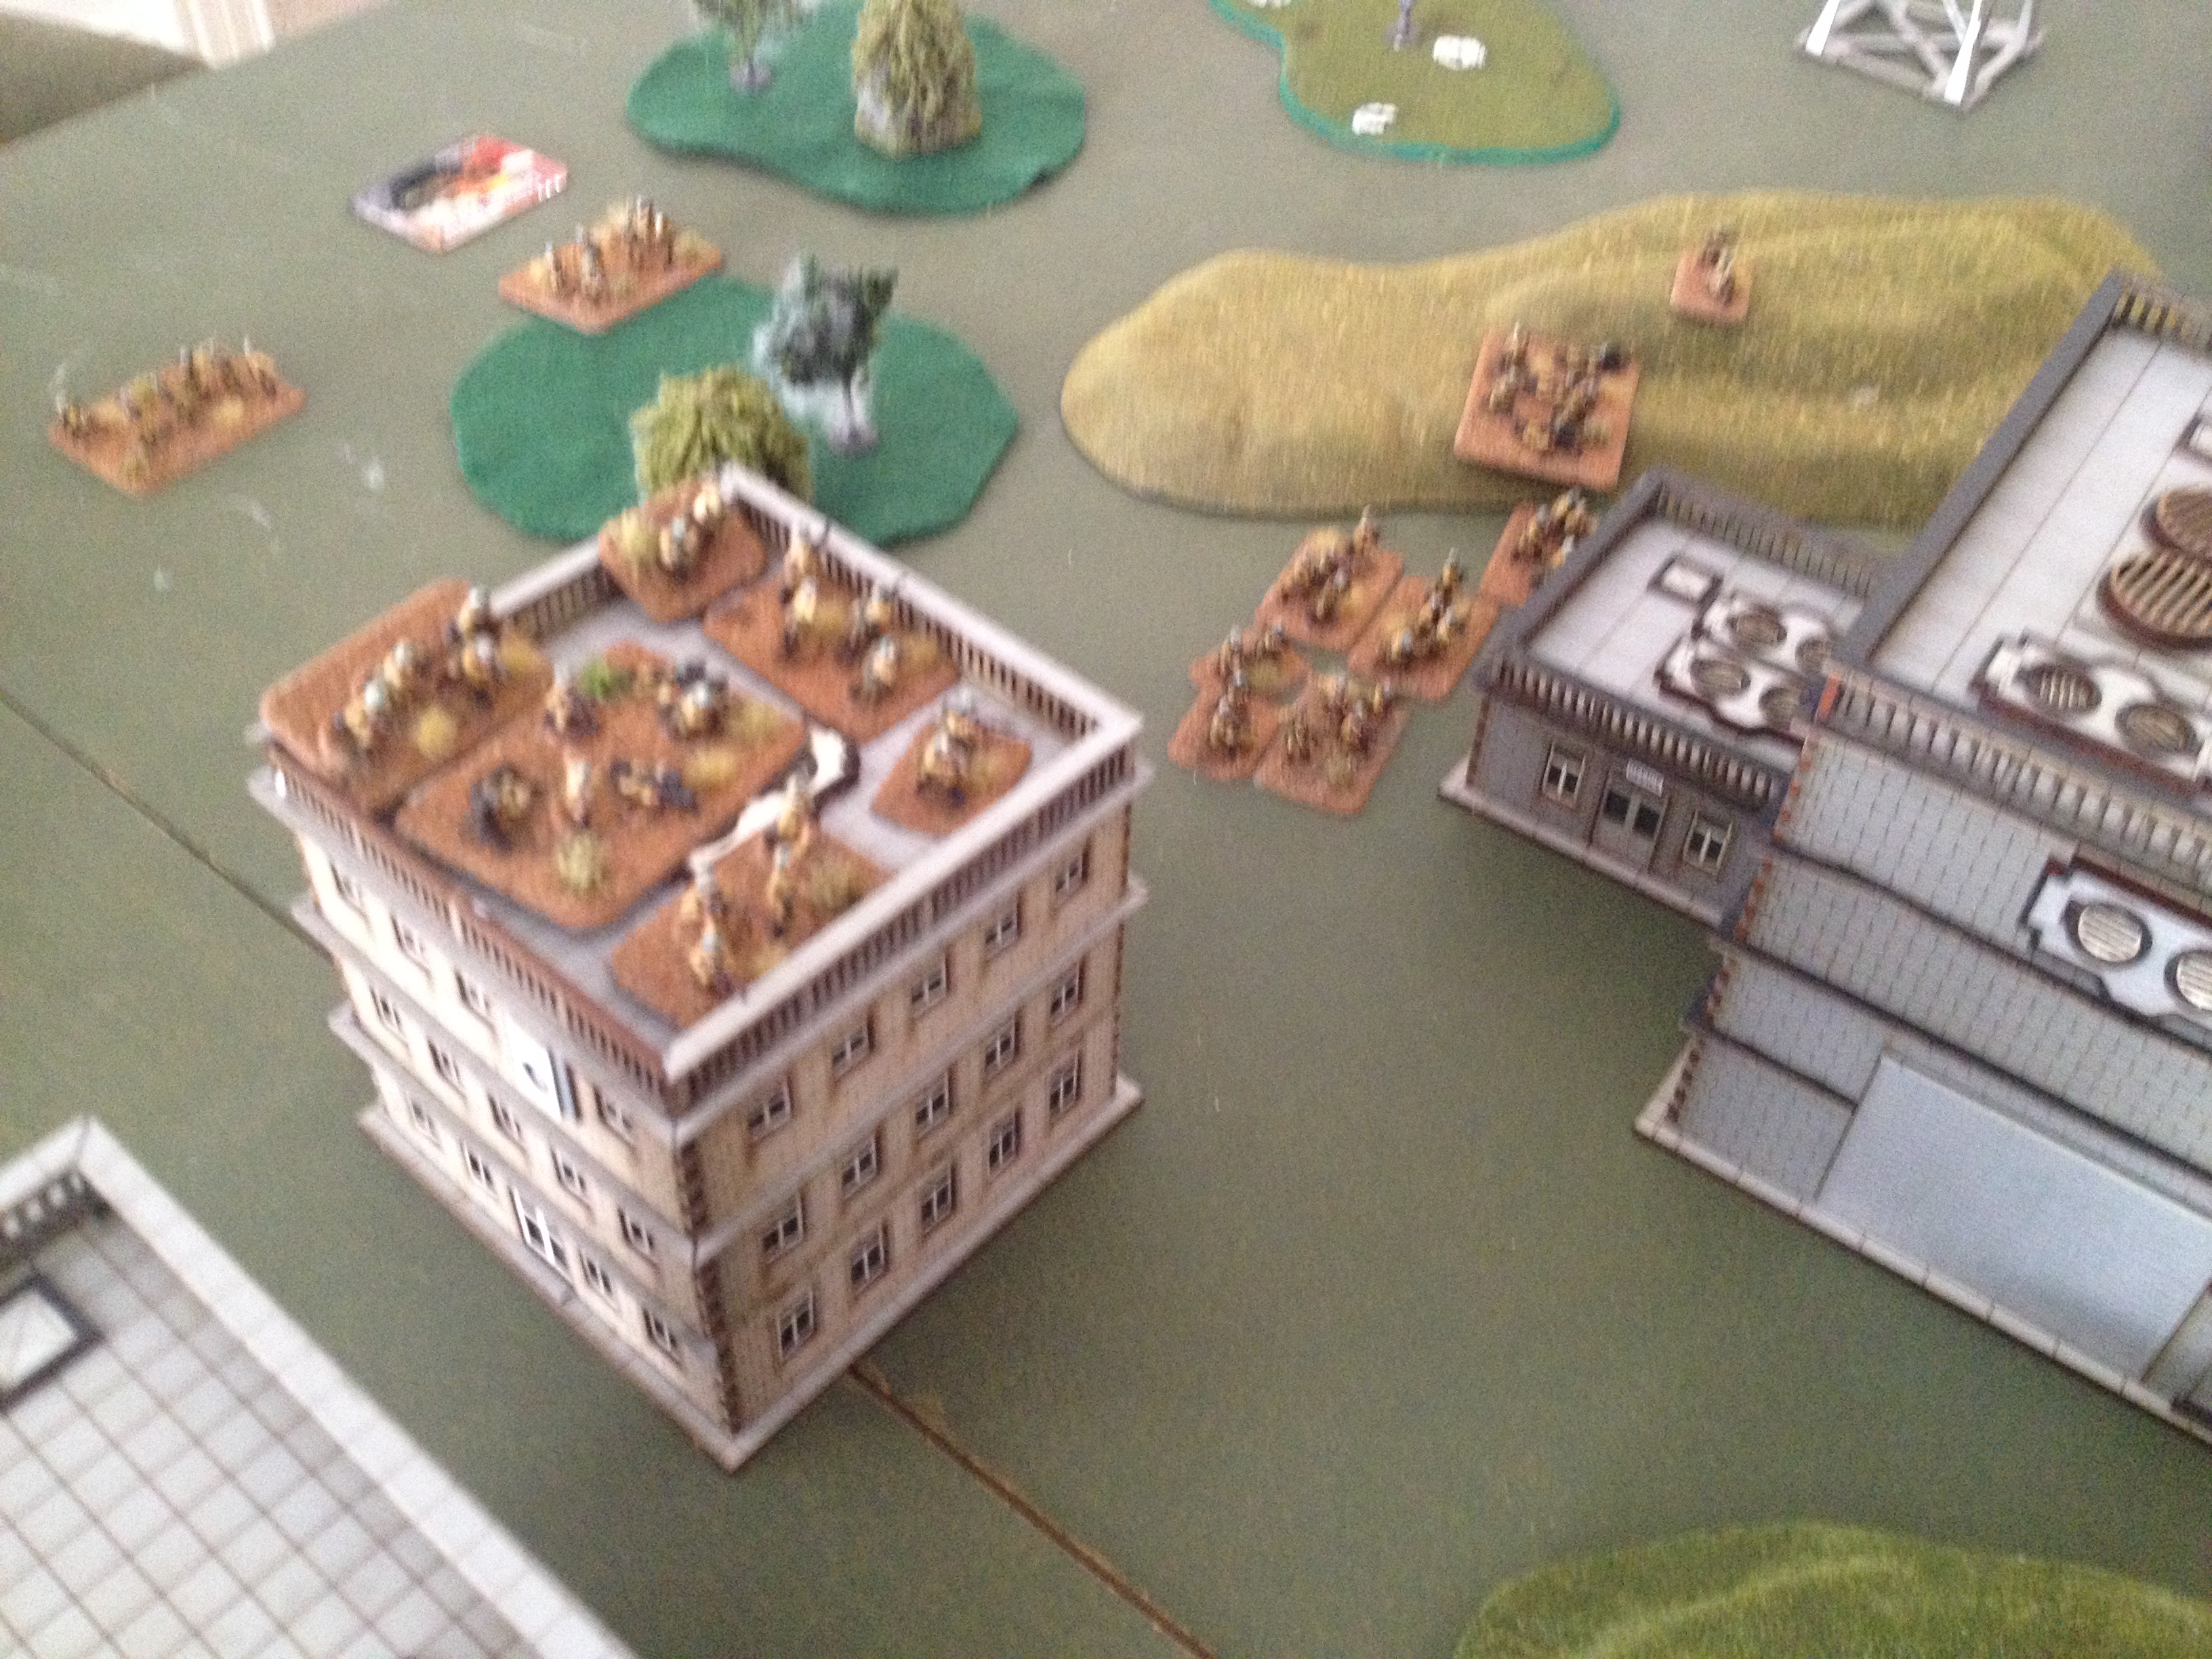
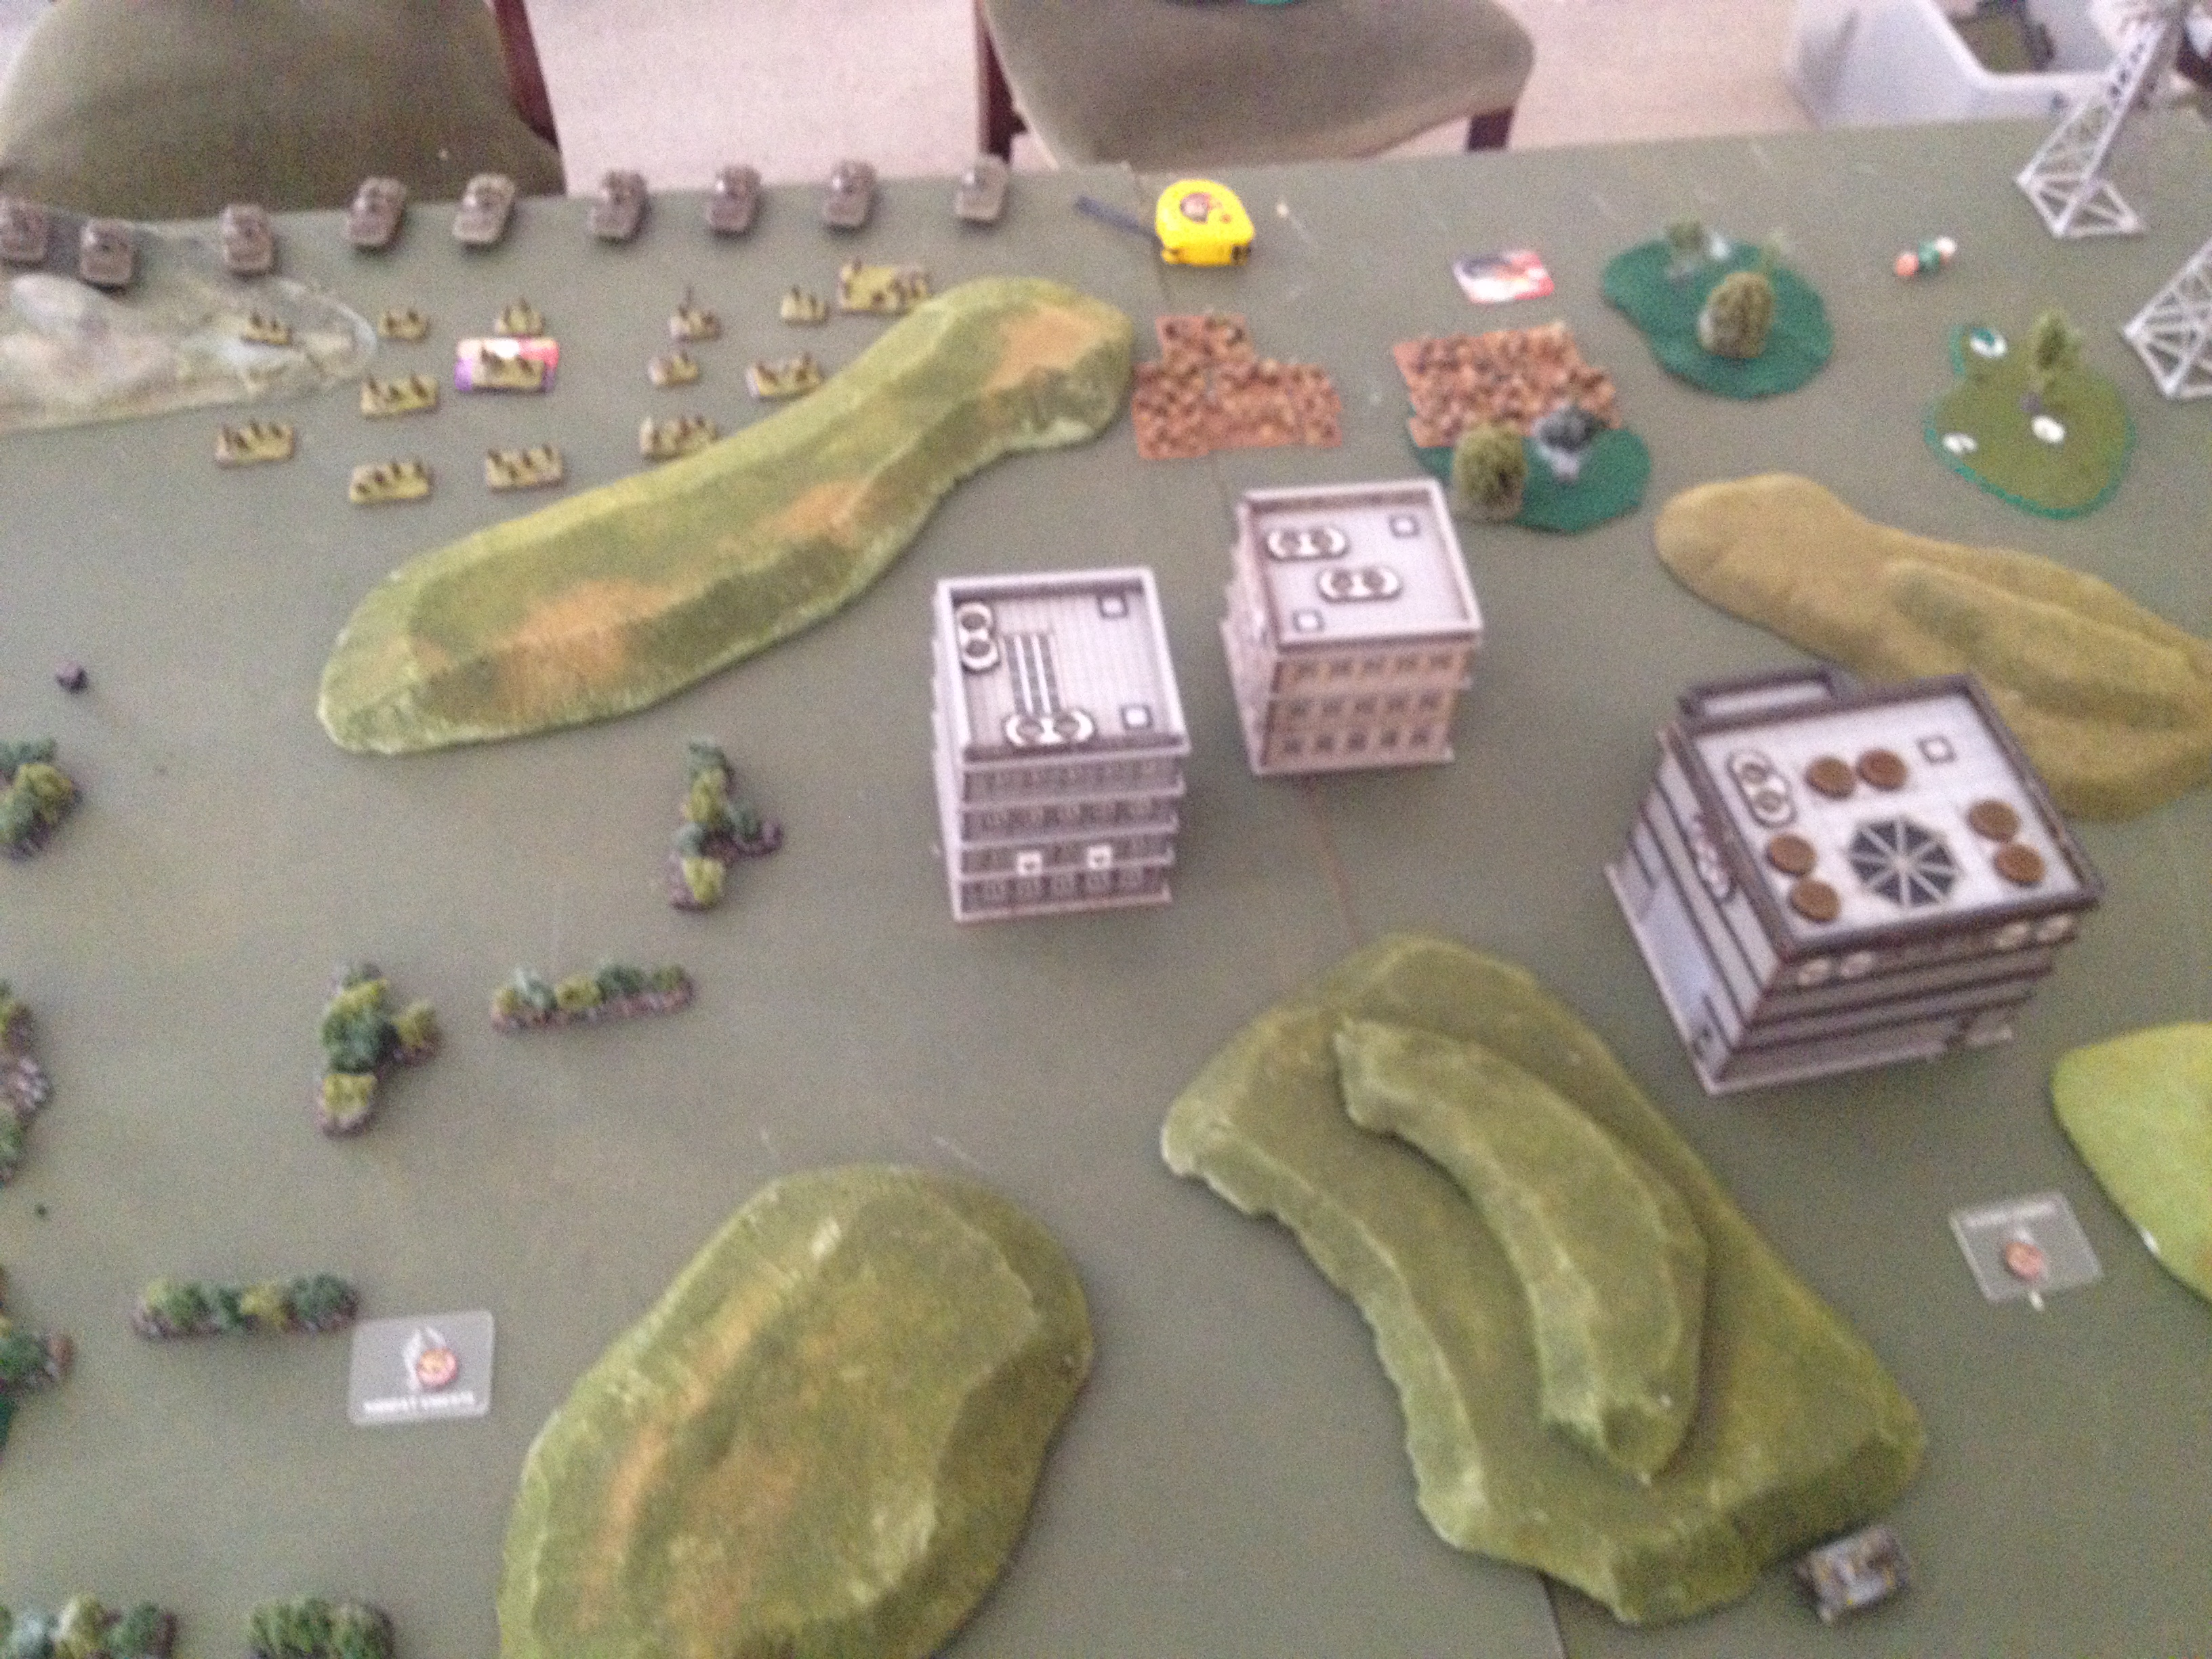
Soviets had the first turn, and it was a very quick turn. The hinds swooped in on my ACAV HQ M113 (with the expected result) and Soviet infantry took up positions in the buildings on approach to my defensive objectives.
Re-reading the mission after the game it was realised that the MUCH better option would have been to leave my HQ off table with the remainder of the ACAV scout platoons in reserve. (Ah - live & learn)
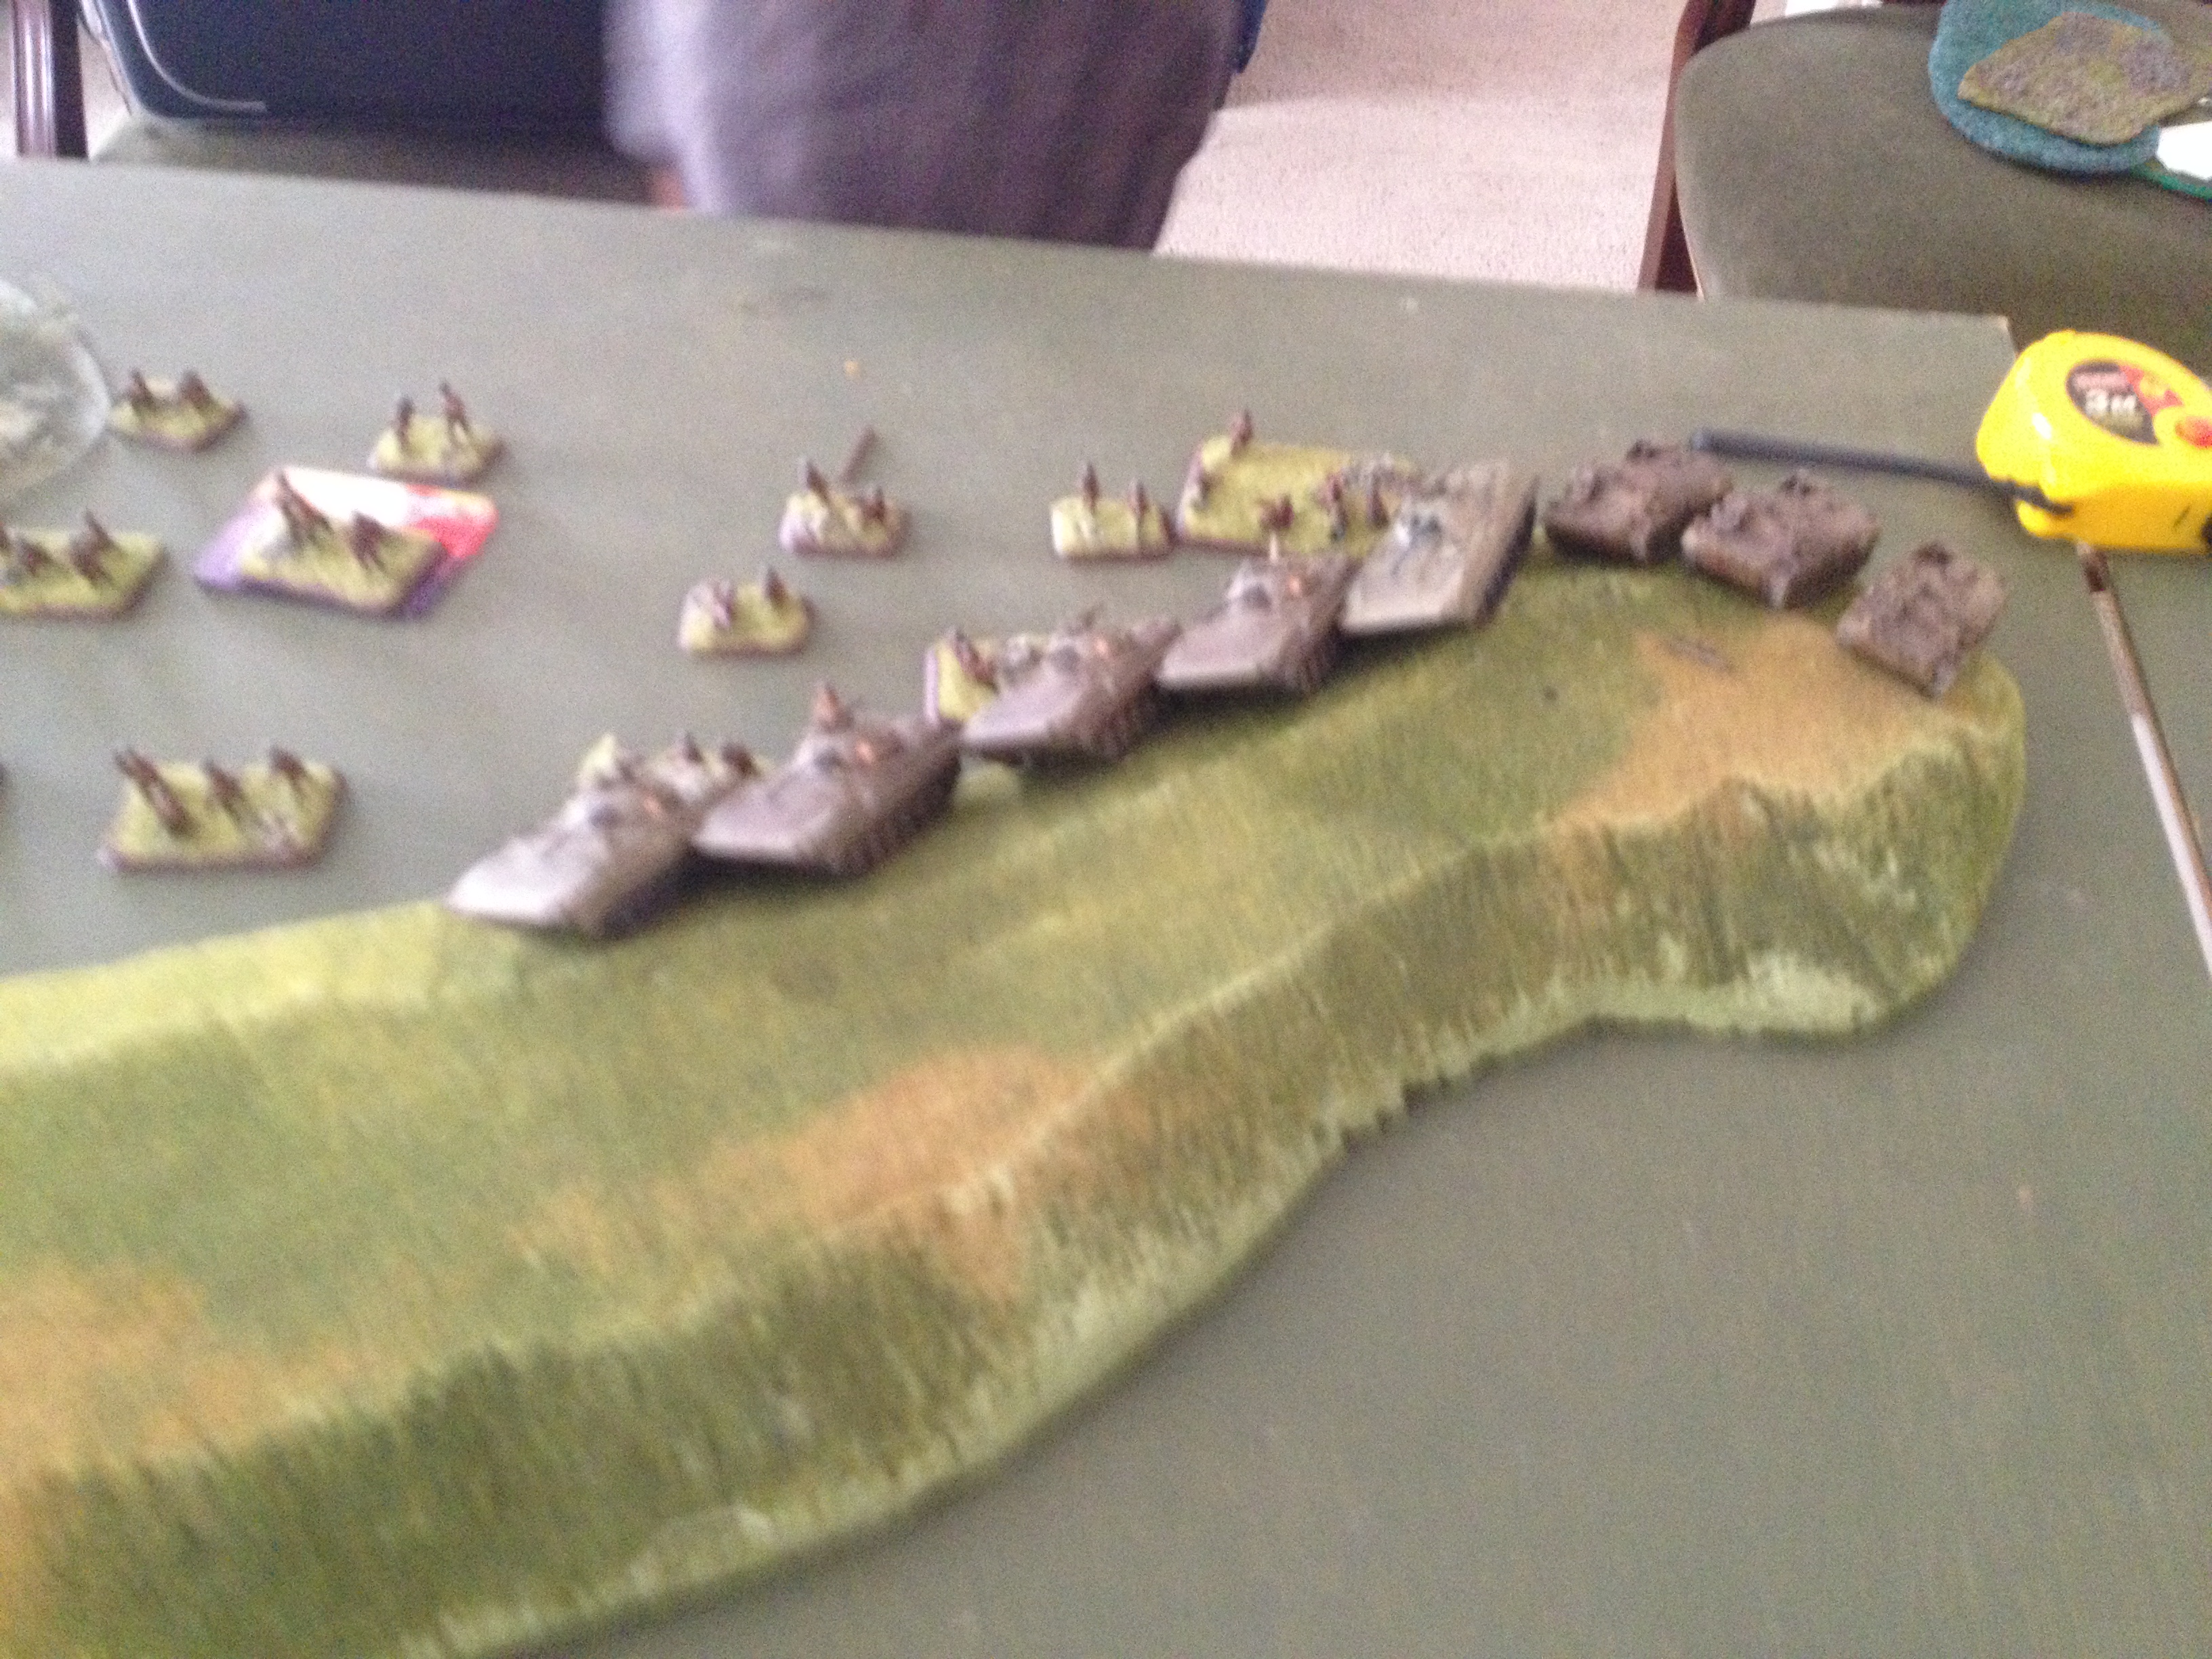
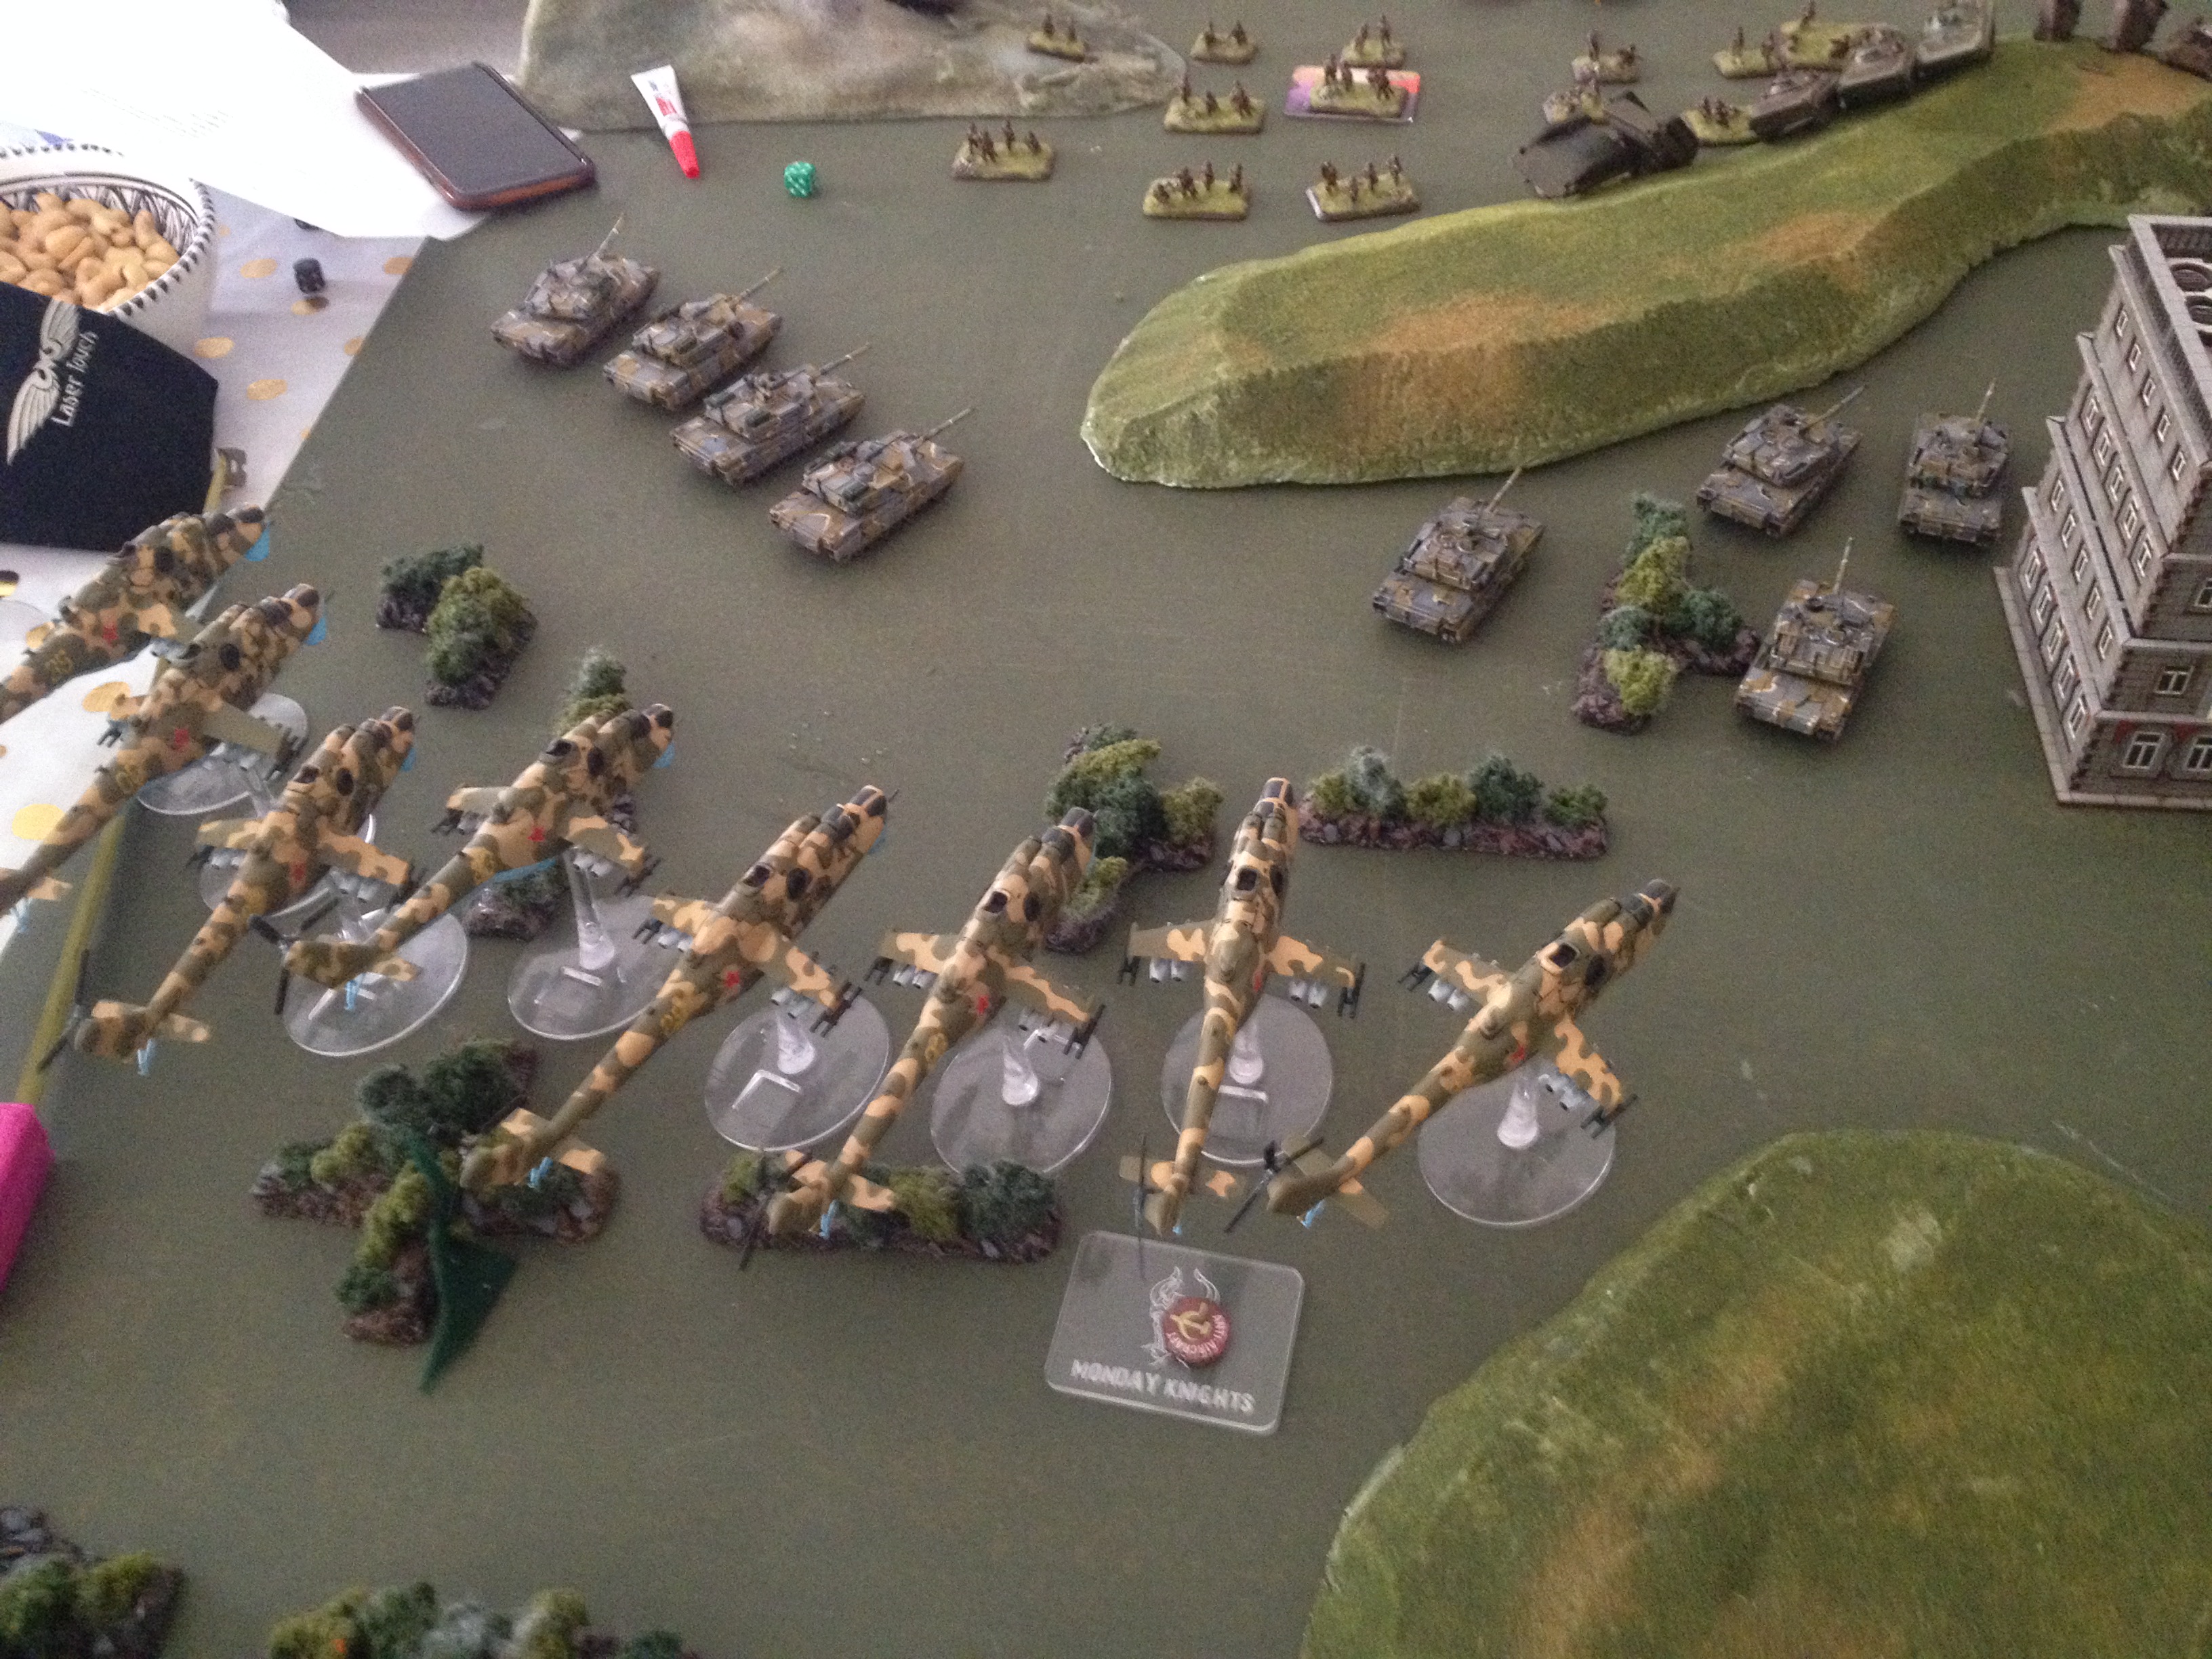
USA Turn 1 - time to reveal the ambushes! Both M1IP platoons set up opposite the line of BMP defending the dug in Motor Rifle Infantry defending the objective.
A blitz move by both platoons would put them inside the minimum range of the BMP missiles - but you guessed it - both platoons failed their blitz moves [INSERT VERY SAD FACE HERE]
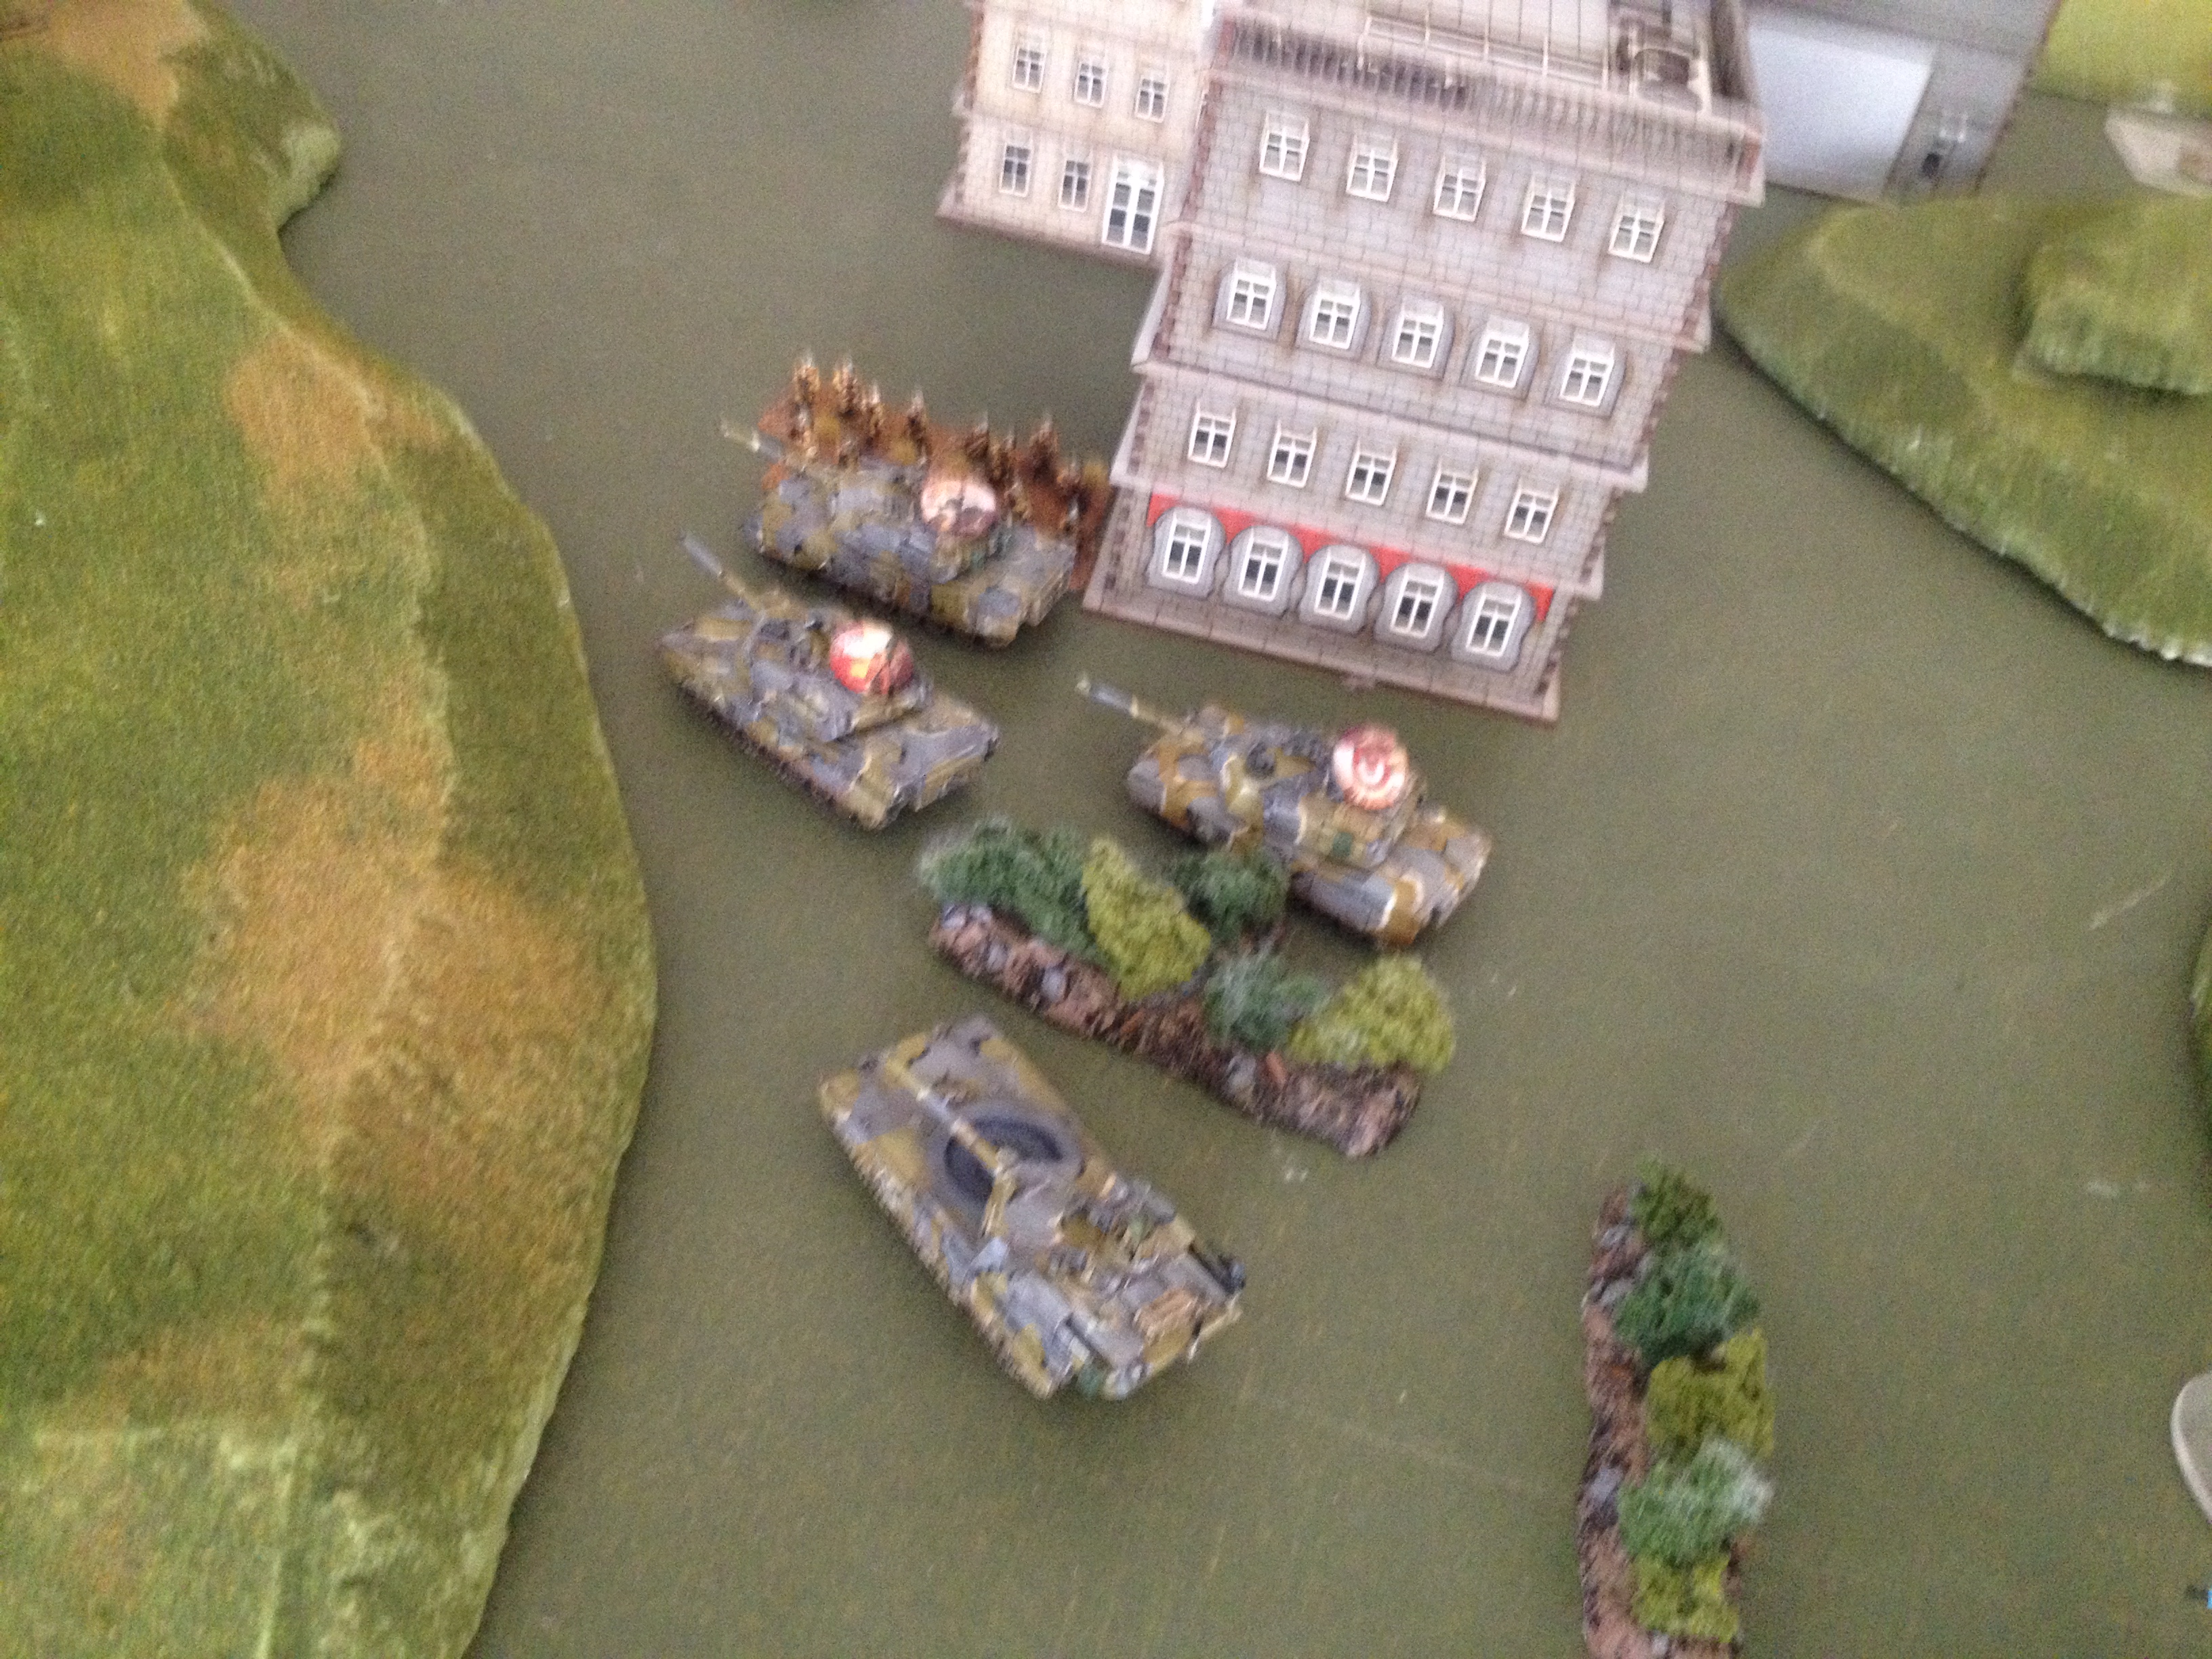
The Abrams rumbled forward and exacted a small amount of revenge on the Soviet Storm & BMP units leaving 5 BMP burning and a sole surviving Storm unit.
Soviet turn two - HERE COMES THE PAIN!
The Soviet Hinds mass behind the M1IP platoons which valiantly put up a screen of .50cal defensive fire. I am sure that the tankers were more surprised than the Hind Pilots when two of the Soviet gunships came crashing to the ground.
This small victory was short-lived and ultimately futile. Between the Storm & Hind fire one Abrams was a smoking wreck and the crews had bailed out of the remaining 3 tanks. The Soviet Afgantsy troops seized their opportunity and came charging out of the building to claim the three bailed out US tanks as war trophies.

Ok that turn hurt. I was left with only one platoon of M1IP left on the table and the Hinds were circling like vultures.
It was now or never - rumbling forward again, fire was concentrated on the BMP turning a number of tracks into burning wrecks, but not breaking the unit. The Tanks assaulted the dug in infantry, only causing a single casualty. The Soviets break off but continue to contest the objective.

Battle Report Author
Army Lists Used In This Battle
Recommend Commander For Commendation
Share this battle with friends
Lord TWins

Unlucky, the list was a bit of a mismatch I feel considering the US side had almost 0 AA. Those models look absolutely superb though!
The Hind rocket video was a nice touch.
Sorry – took a little longer than planned to do the write up.
more please
Lesson learned for sure. Better luck next time!
Nice pics, but need some description, but im sure you will get around to it soon. well done
Nice photos, no context.
echo NISBET, POTUS, nice photos butt I need some flesh on the bone for the AAR
Pictures are worth a thousand words… but words also help.
Nice photos!