Fought At Amsterdam
2208 days 8 hours 29 minutes ago
Red Light
75 POINTSMission: Encounter.
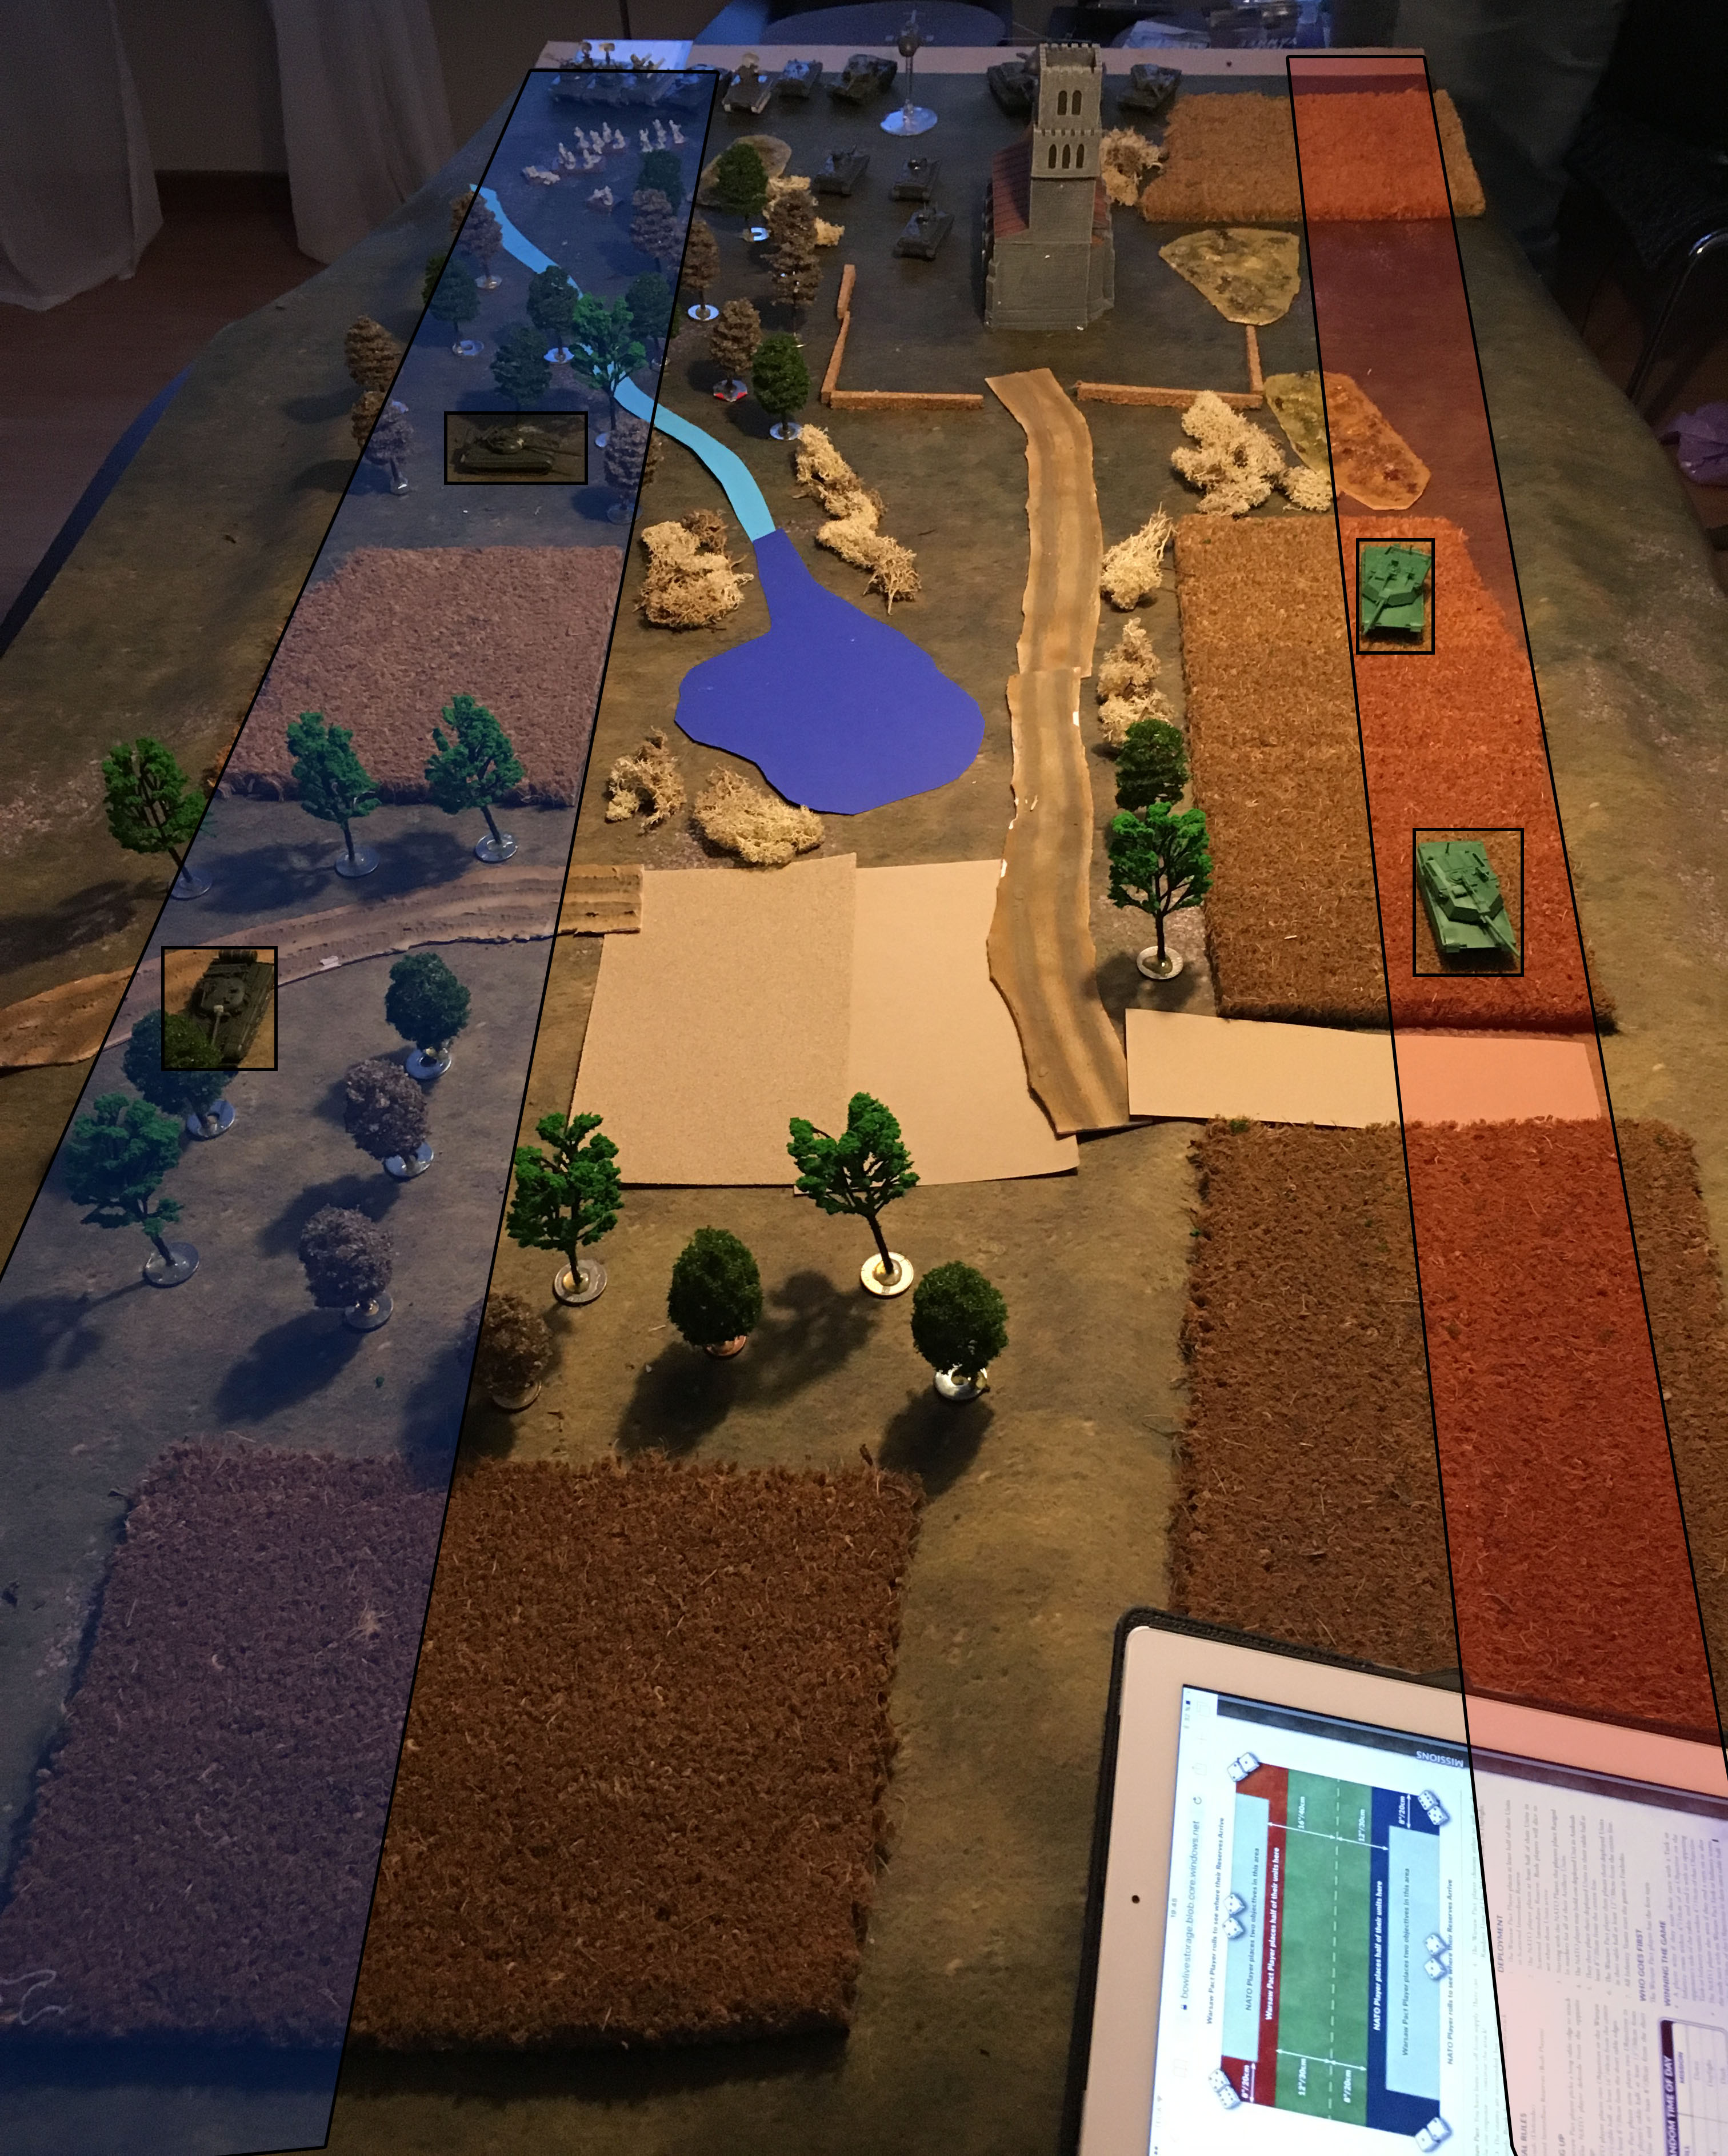
Area Of Operation: 180x86 cm.
Force size: 75p.
USSR T-72 batalion vs W German Leo 2 batalion.
Main force:
T-72 batalion HQ.
T-72 company (4 tanks)
T-72 company (4 tanks)
SA-13 platoon
BMP-2 motor rifle company (12 x BMP-2, 10 x Ak47, 9 x RPG, 2xPKM)
BMP-1 scout platoon (3 tanks)
Support element:
2S3 platoon (3 batterys)
BMP-1 OP
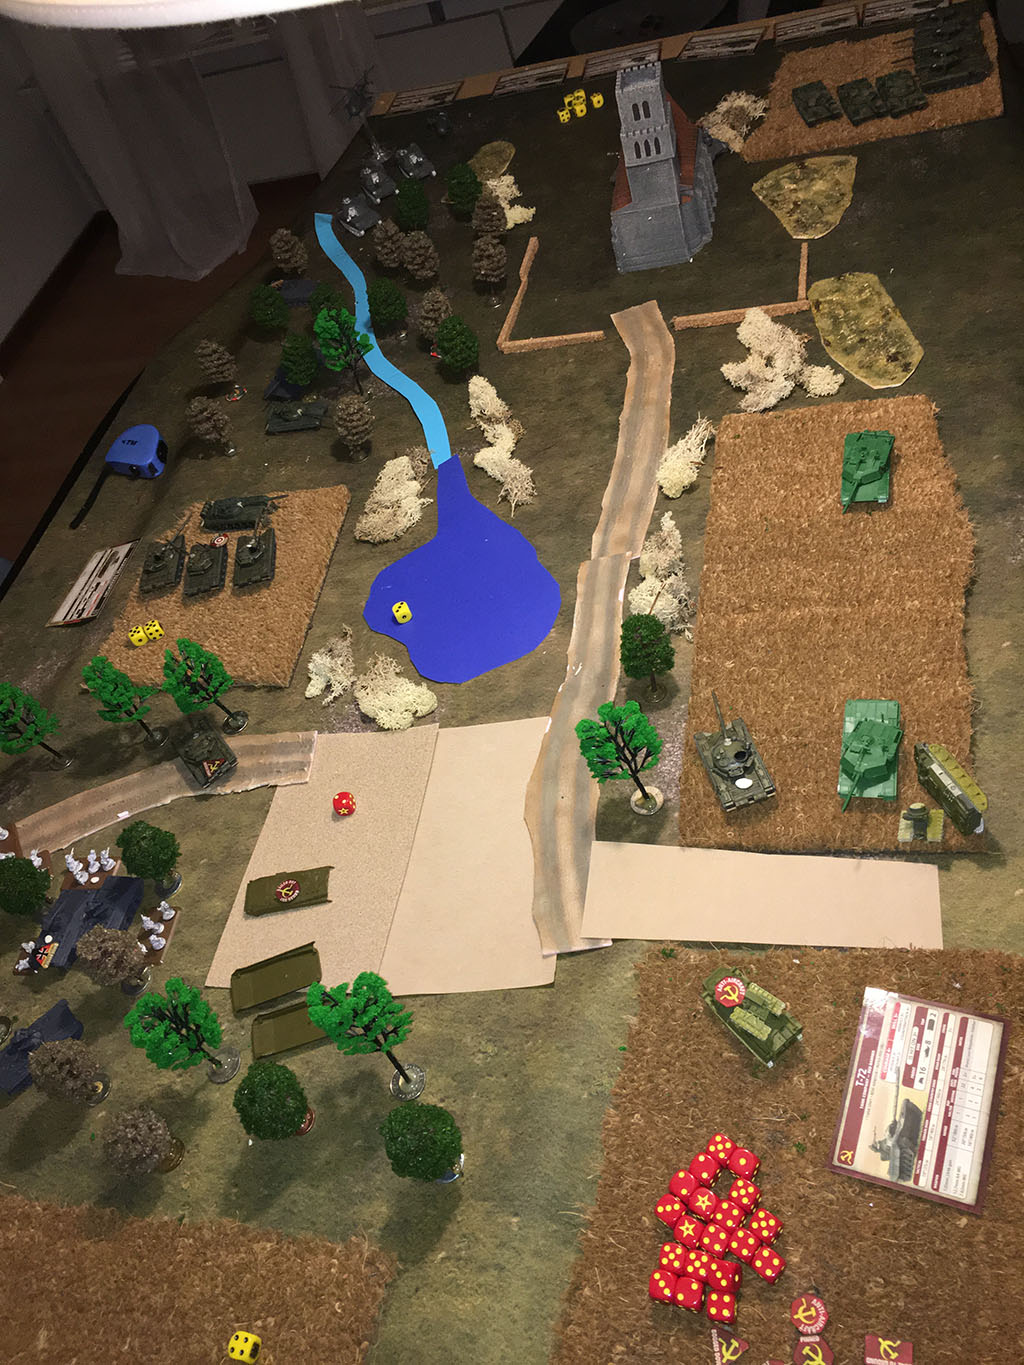
Mission stated that at least 50% of the forces are held in reserve. West Germans started with one Pz Grenadier company held in ambush, HQ, Gepards, artilley and choppers (loitering)
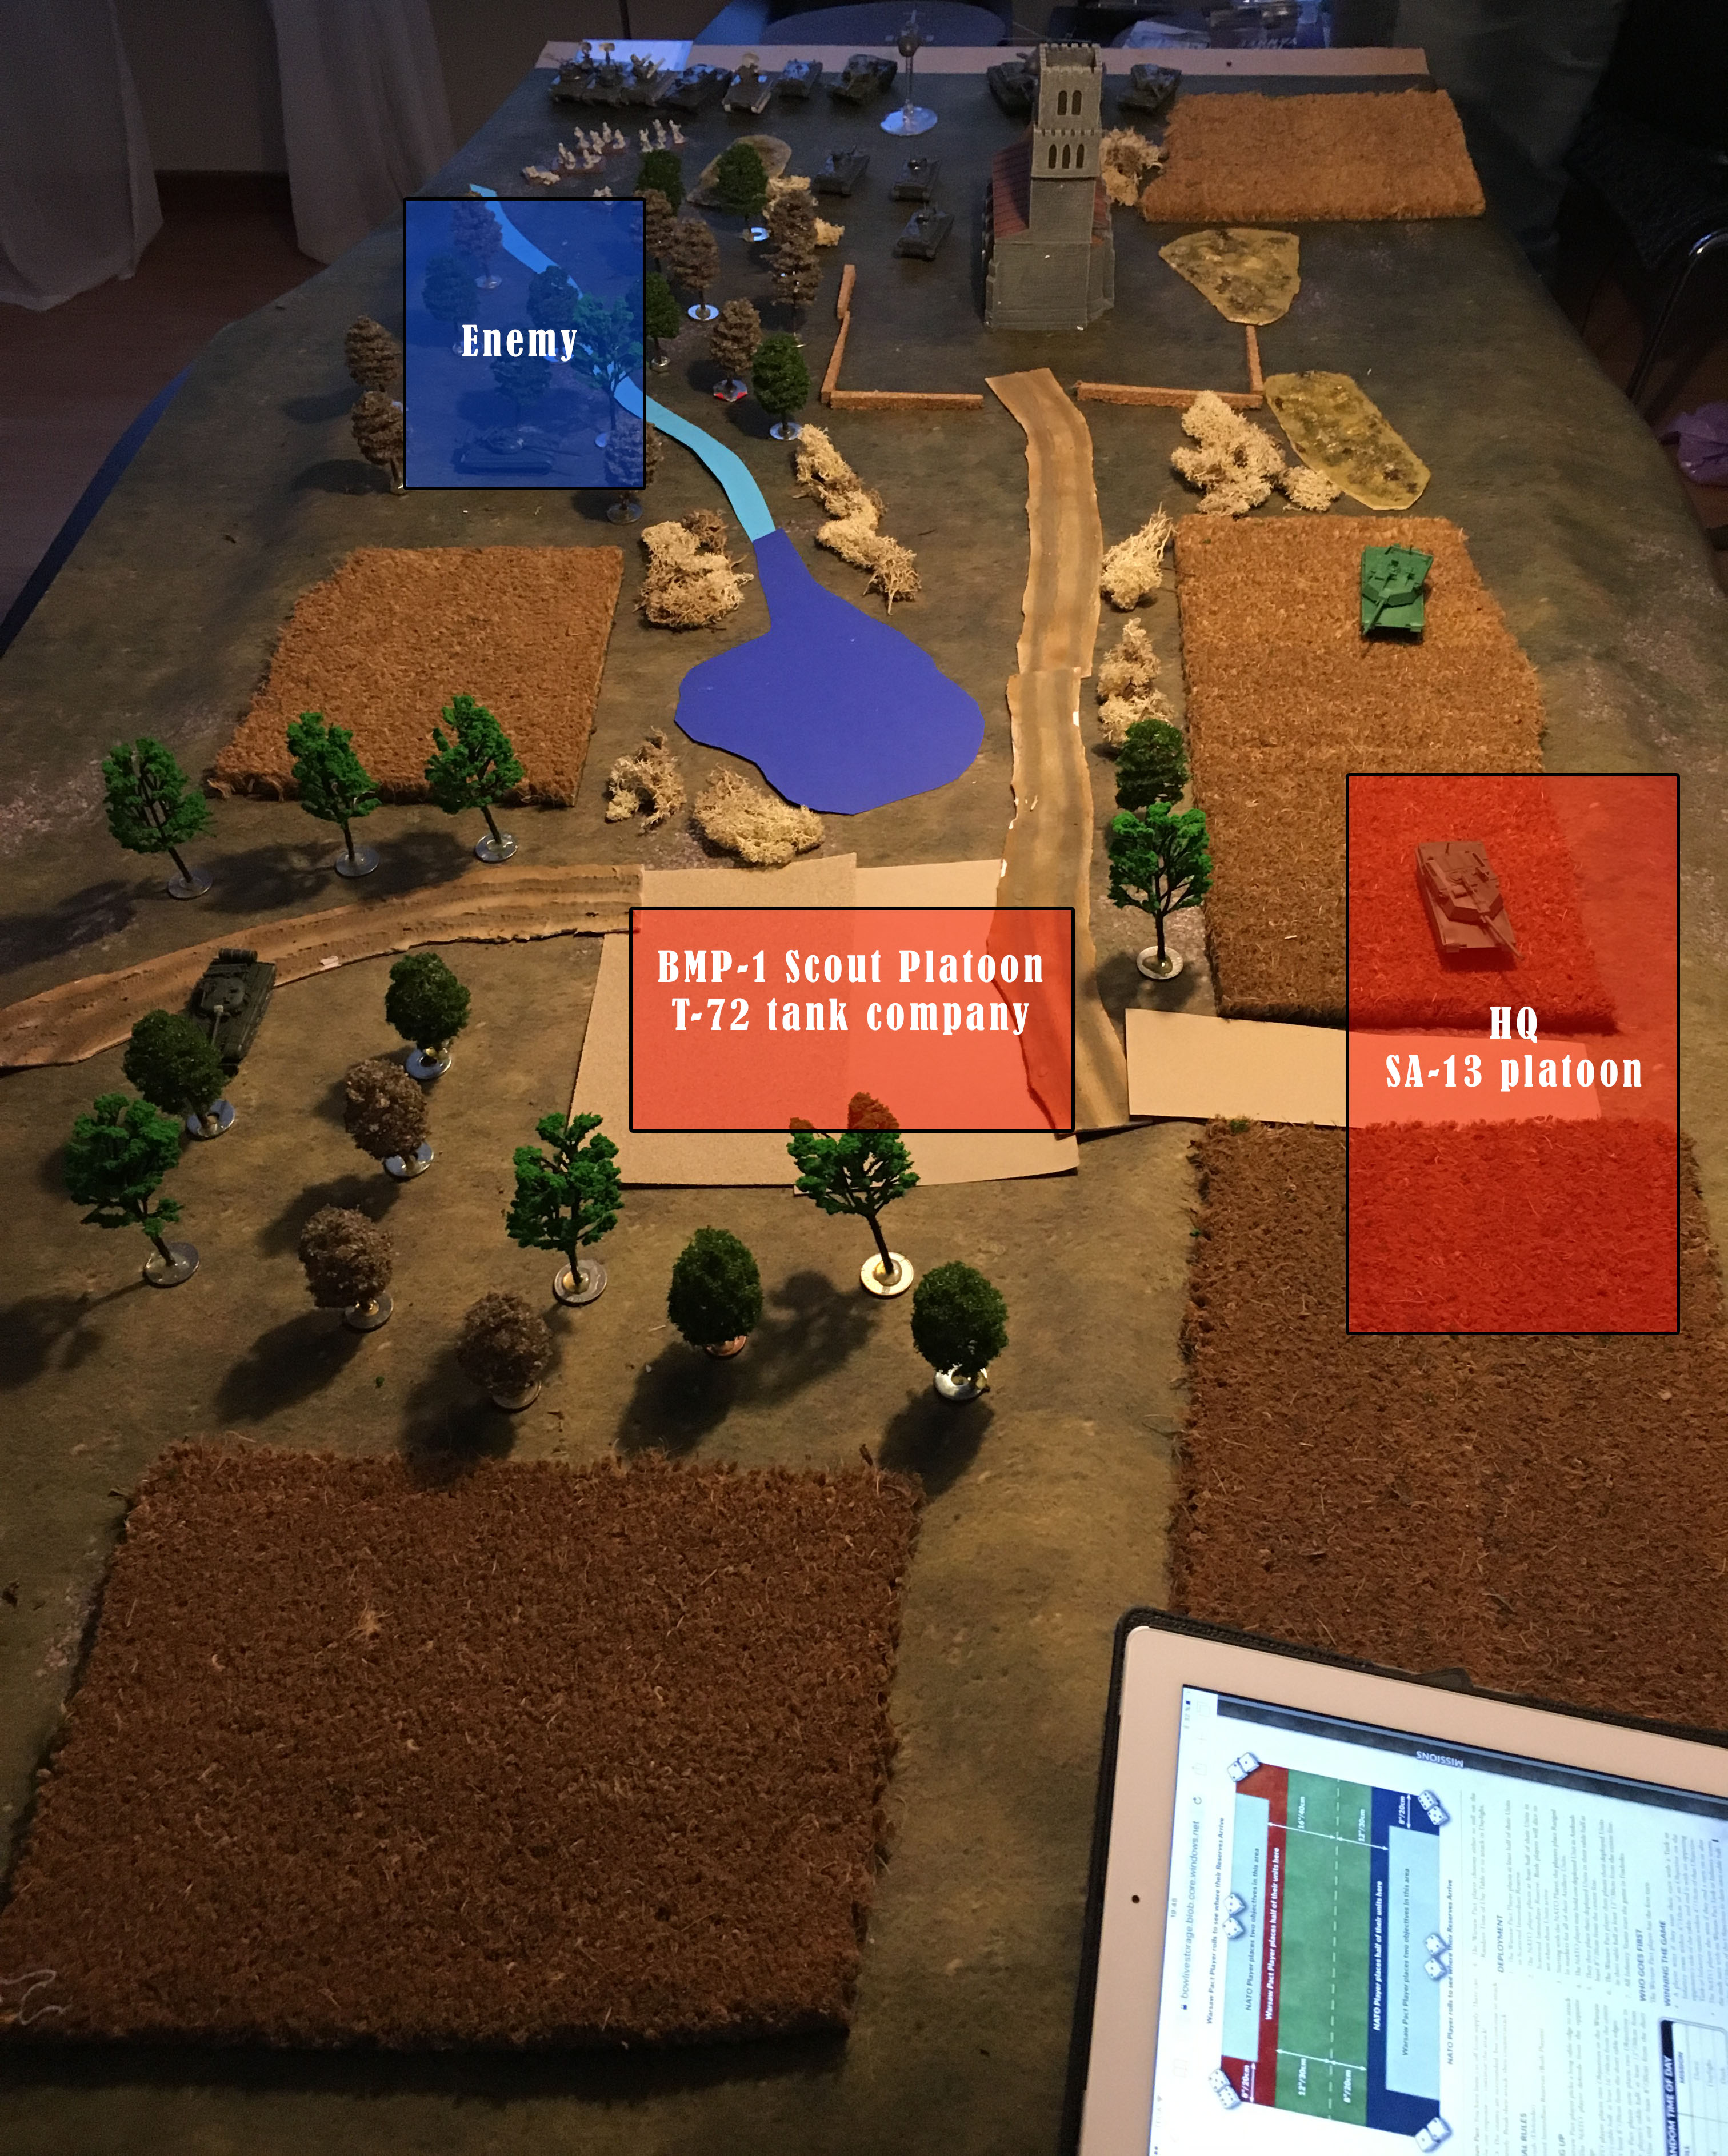
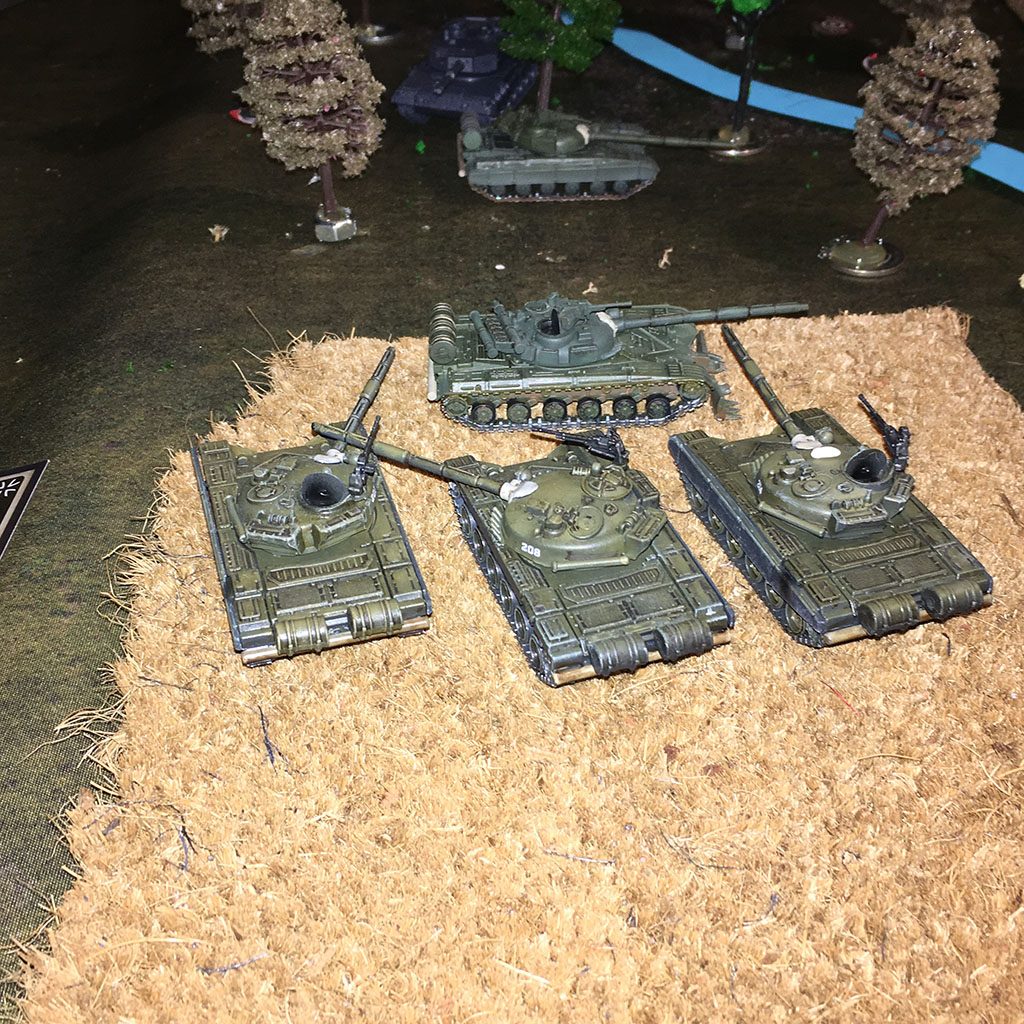
USSR deployed one T-72 company, AA, scouts and HQ. Holding the other T-72 company, the Motorrifles and artillery as reserves.
Scouts enabling the spearhead rule, enabled the tank company on a forward position in undefended terrain.
The spearheading T-72 company making advance along the road they started at heading for the unguarded mission objective. With only one larger force during the start, the tactic was a full on charge against the seamingly unguarded flank of the AOR. HQ and AA staying behind as a skeleton defence near the friendly objectives.
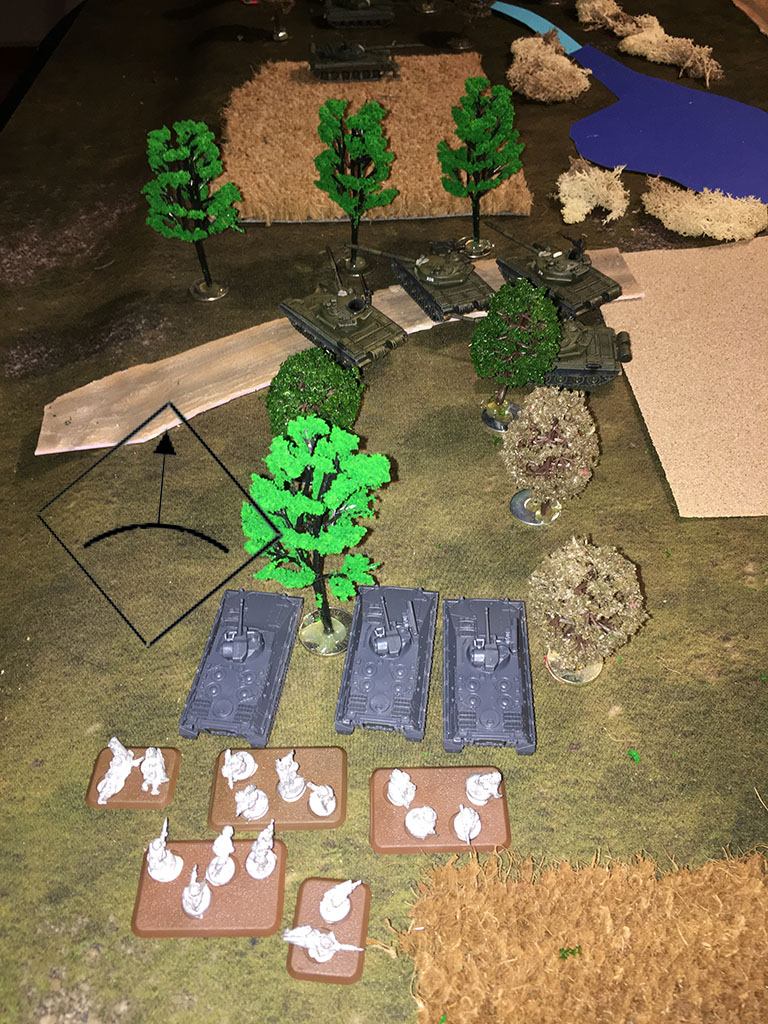
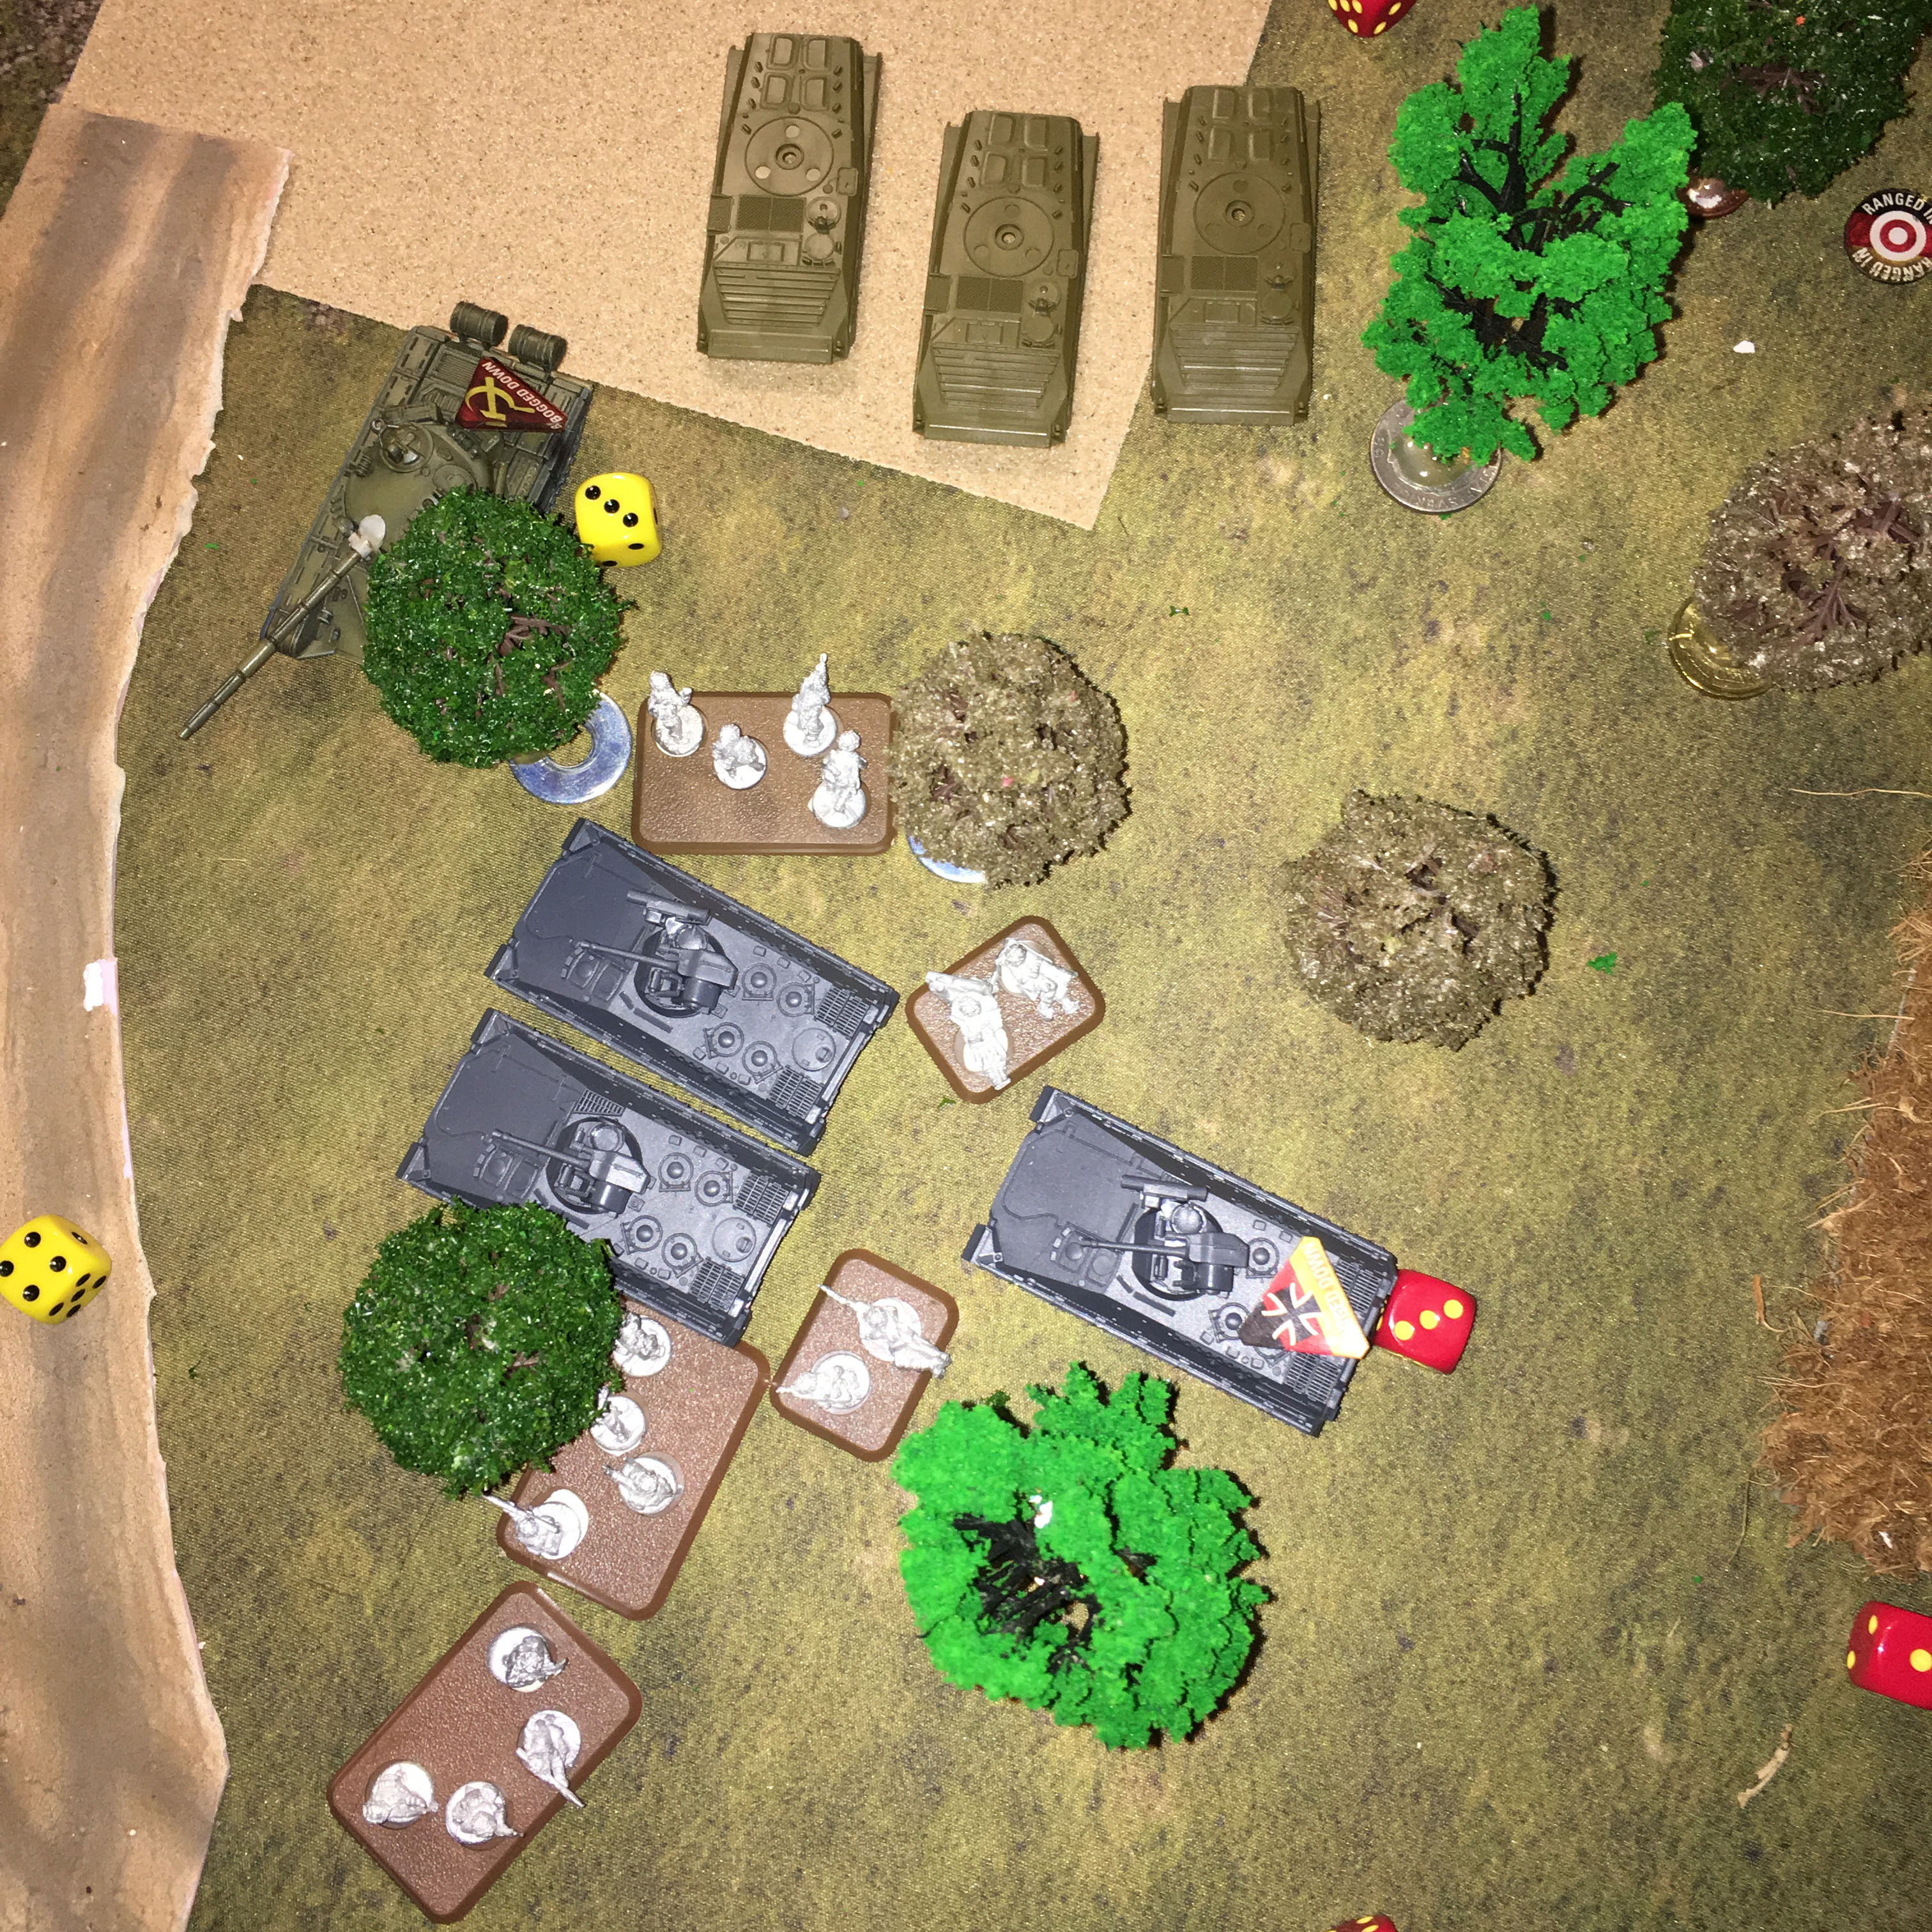
The West Germans hadn't forgot about the flank. They revealed a ambush along the road. Pz Grenadiers going for flanking shots on the T-72. With a bit of luck and help of BDD side armor, no german Panzerfausts manage to penetrate soviet steel.
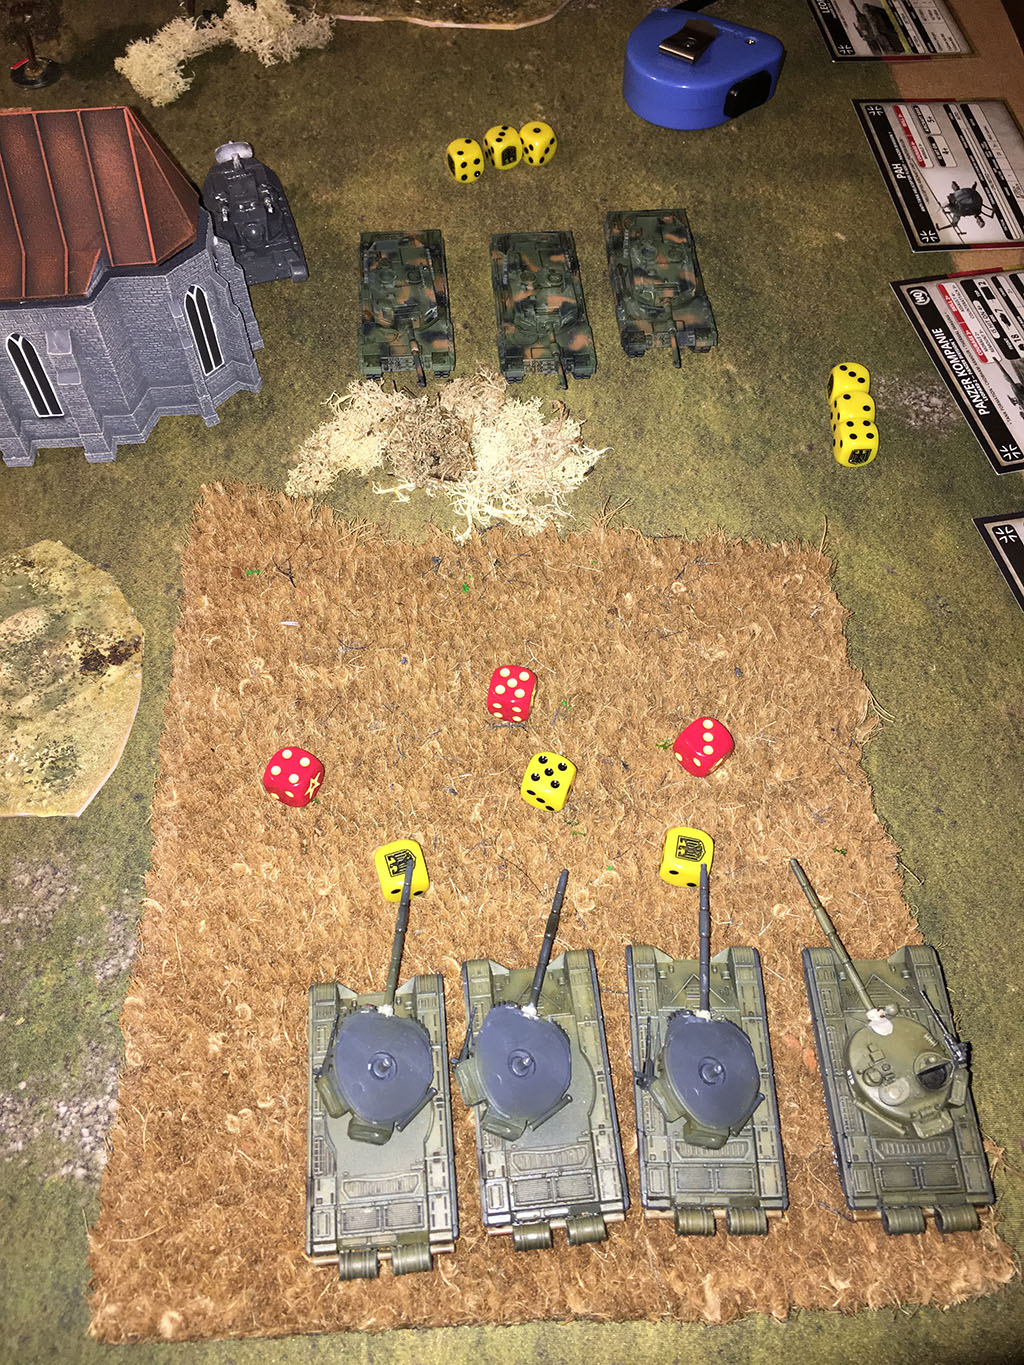
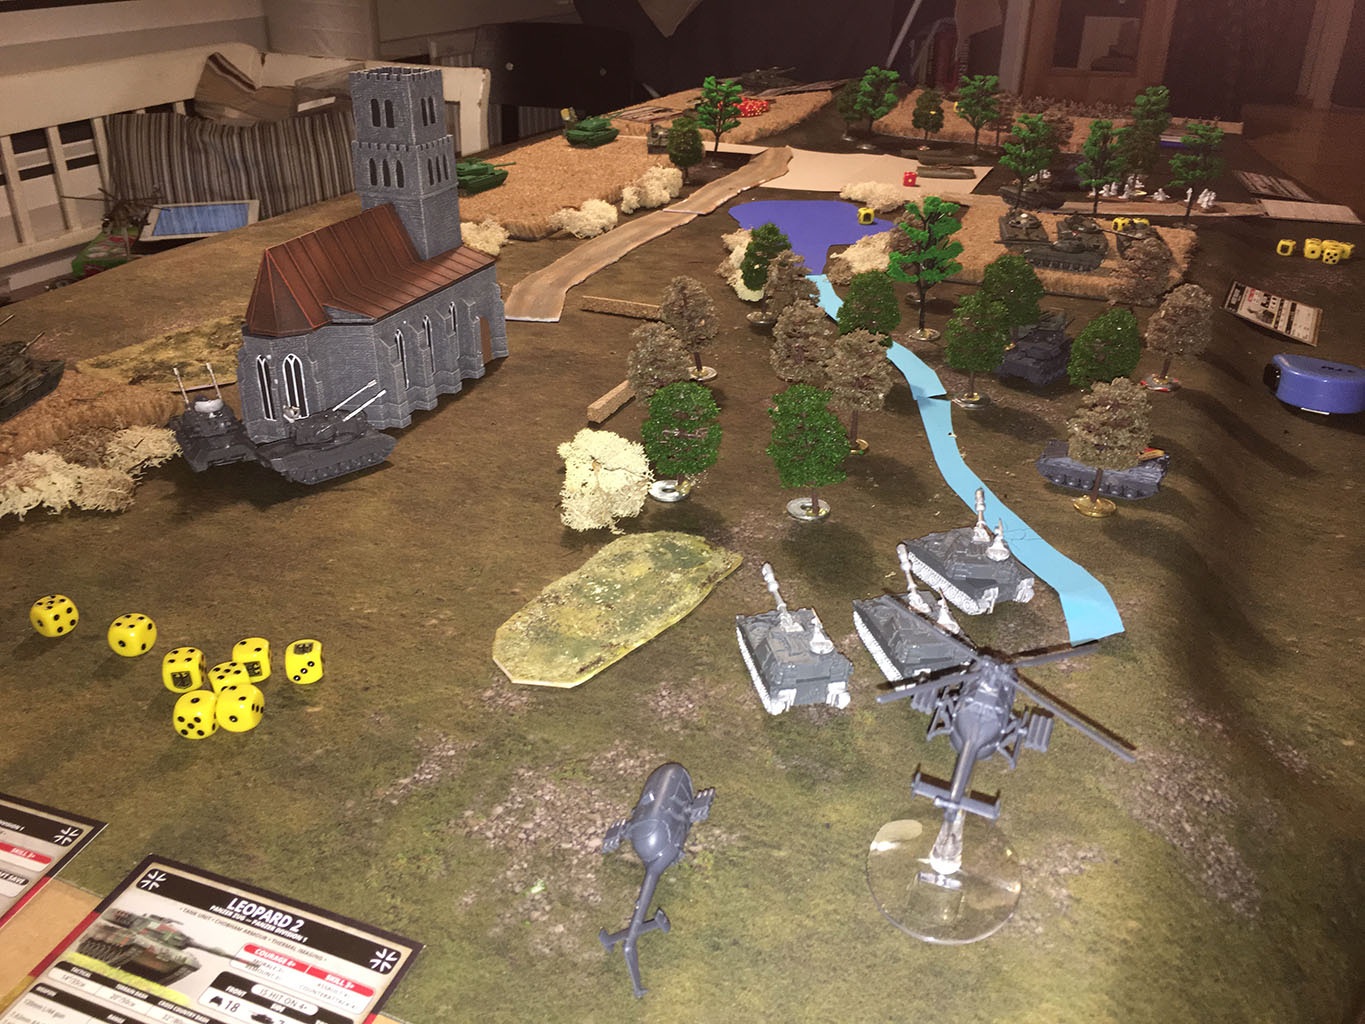
Reinforcements from both units arrives, and since both forces are scattered - both German and Soviet forces arrive in the northern corner of the AOR. One Leo2 company toe-to-toe with a T-72 company. Germans also taking their PAH-choppers into action above the Leos.
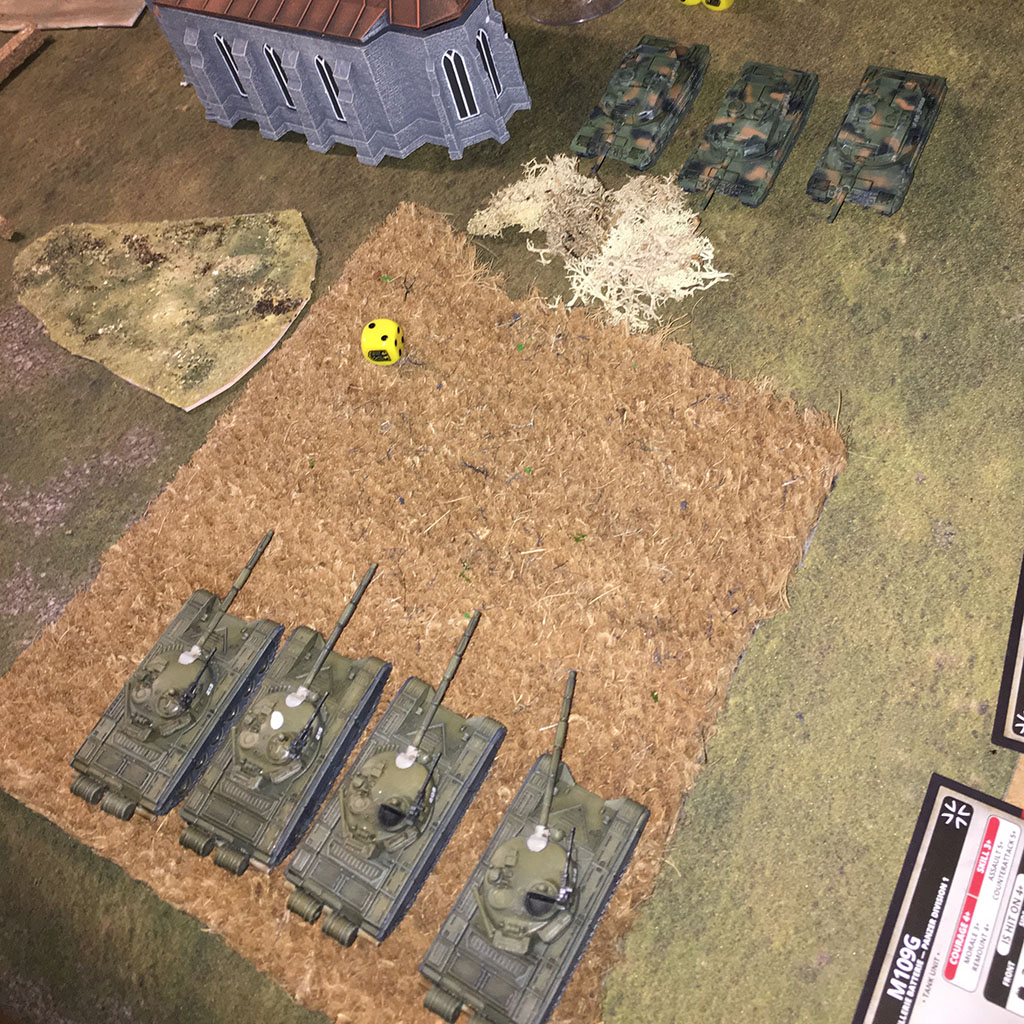
The germans having the initiativ head into combat range and let their 2 shot ROF rip into the T-72. Numbers aren't in favor for the Soviets and three out of four tanks turns into scrap.
The last brave T-72 then gets under fire from the two PAH-choppers which have taken positions in the northwestern corner of the AOR. Just a couple of inches out of range from the two SA-13 AA.
The newly arrived T-72 company have been totally annihilated just minutes fresh from reserves.
The first T-72 that just got ambushed from Pz Grenadiers have two choices. Either going into a frontal counterattack. The firepower the tanks could let loose against the infantry and transports would make the germans day turn into instant "Sauerkraut".
Having the commanders intent in mind to reach the objective the T-72 company instead makes the choise of heading north, crossing the small strip of forest on the other side of the road and heading for the nearest objective. Three out of four tanks manages to cross the small forest, but a lonely tank gets bogged.
The platoon of three BMP-1 scouts that are nearby the german ambush advances forward. From the road near the ambush the three BMP-1 lets loose their guns with suppressive fire. The germans hiding in the woods are in good cover so only one german fire team gets destroyed.
The tactical choise of not fighting the german ambush, but instead pushing forward against the objective have given the initative back to the Soviets. The germans are against the rope now and must act soon or lose.
German forces in the forest north of the objective have major trouble advancing through the forest and gets bogged. The German Leo 2 HQ manages to get into spotting distance for artillery.
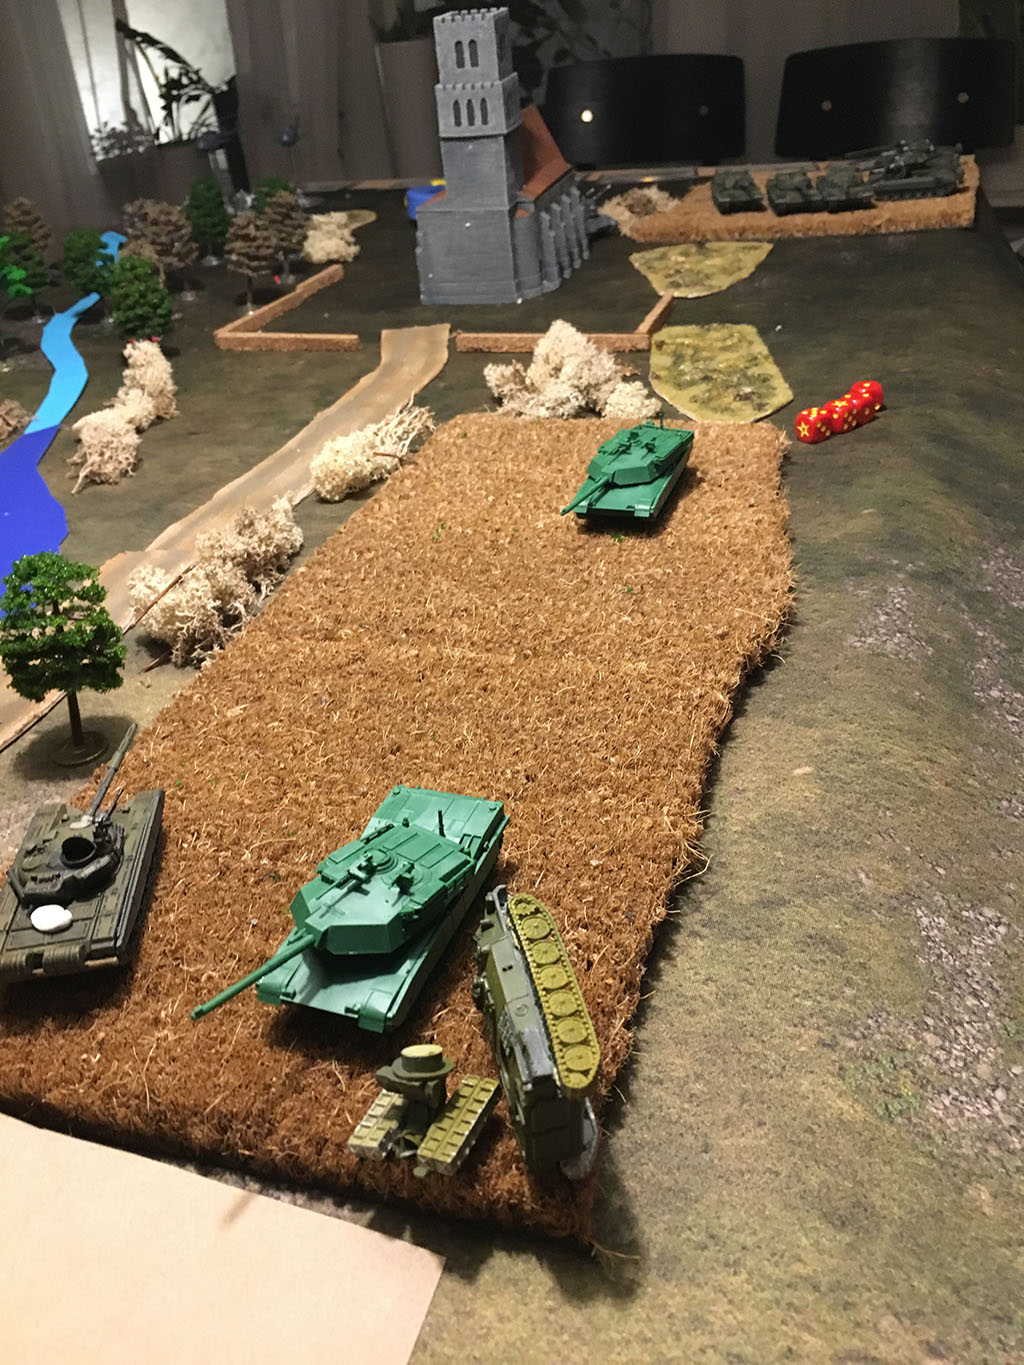
The previous Leo2 company that annihilated the Soviet reserves are making use of their previous momentum. They advance into flanking positions so they can engage Soviet HQ and AA as well as take terrain around their objectives. Leo2 are backed upp by Gepards taking cover around the curch.
Leo2 manages to kill one SA-13. That opens up for the two PAH, still in the north western corner to engage the remaining SA-13 and soviet HQ. The SA-13 using the AA-rule manages to kill one PAH-chopper, while the other PAH misses it's target.
The ambushing Pz Grenadiers engages the scout platoon leaving only one BMP-1 alive.
The German HQ tries it's last hope, dropping artillery on the three T-72 that are standing by their objective on the german side. The barrage only scratches some paint off the tanks, leaving them unhurt.
This game was played by two very novice players - both to Team Yankee as well as wargaming in general.
Taking into account what units to deploy at start and which will be places in reserve is a hard choice to make. During the three rounds the game took, we only managed to get reinforcements once. Not being able to choose where on the table to deploy reserves turned into catastrophic results this game.
The enemy will take advantage of the range of your AA. Place your AA so they can cover as much of your AOR as possible.
The decision to charge away from the ambush and instead head against the objective turned out very well. That put preassure on the opponent to react or lose.
Battle Report Author
Army Lists Used In This Battle
Recommend Commander For Commendation
Share this battle with friends
DarkwingWins

a good learning game, lessons learnt, thanks for playing
interesting and well presented AAR hard battle
Great report, I like the deployment zones depicted!
Nice report.
Congratulations on the victory comrade, good to see more new blood (like me) participating.
Good AAR. Keep them coming.
well played-congrats on the win. Fine report
+++
Good win
Glad to see that NATO artillery is effective as ours….
Good report. Tough fight
Congratulations on your victory comrade. Nice report. Thanks for posting.
Nice job! Playing with new players is great! But can be challenging for experienced players at time!
Glad your bringing more people to the hobbie
First time with Marder and inf. Realised my mistake after pulling the ambush with Marder and that they had hard time engaging the T-72 even in rear. Also a bit short in Leos so are going to buy Leo 1 for a second platoon so I get more flexibel when engaging diffrent objects/targets. But my Leo 2 platoon did well in destroying the soviet reinforcments in a single blast.
Ah, understandable. I hope you both enjoyed your first game, and keep playing. You’ll learn much by also getting out and playing others, if you can.
Nisbet: As you can see in “Lessons learned”, both me and my opponent are new to TY. This is our fourth game played and we bring new units to the table every game. I will provide the feedback about ambushing with Leos to Kreig.
Your opponent ambushed with a Marder platoon instead of the Leos? Why? What was the reasoning?
A good report, if a little short.