Fought At Leipzig
2218 days 2 hours 26 minutes ago
Harsh Lessons at Leipzig
View Linked Report - CLICK HERE 80 POINTSWith half of my force available, I set up two Mech platoons, and the formation commander, well forward in an effort to hold back the tide of Soviet infantry and IFVs. Just behind them I put one group of supporting M113s and 2 HMMWVs with Stingers in a small forest, 4 VADS behind that forest and the other group of supporting M113s a little further behind. My IPM1s were in ambush.
My opponent then proceeded to lump down an enormous amount of Soviet infantry towards the front middle of his deployment zone, with a stack of BMPs on his right. 4 ZSUs were positioned behind a hill in the centre and the remaining AA and artillery occupied the back of his deployment zone. My opponent kept 2 Hind platoons off table for now.
My opponent kicked off the turn by moving his BMPs forward to take stabilised shots at one of my exposed VADs, which subsequently went up in flames. All of his infantry, accompanied by the ZSUs surged forward and poured fire into the closest M113s and infantry. Fortunately I only lost one infantry team and both platoons were pinned. Two M113s were bailed but all three then failed morale.
I responded by deploying my ambushing tanks 16" away from the BMPs and driving them as close as possible to get inside their missile range. My VADs and rear M113s also moved forward. My VADs were able to bail out all 3 of the Soviet Storms which subsequently failed morale, while my tanks destroyed 4 BMPs and my infantry and M113s took out 4 infantry teams.
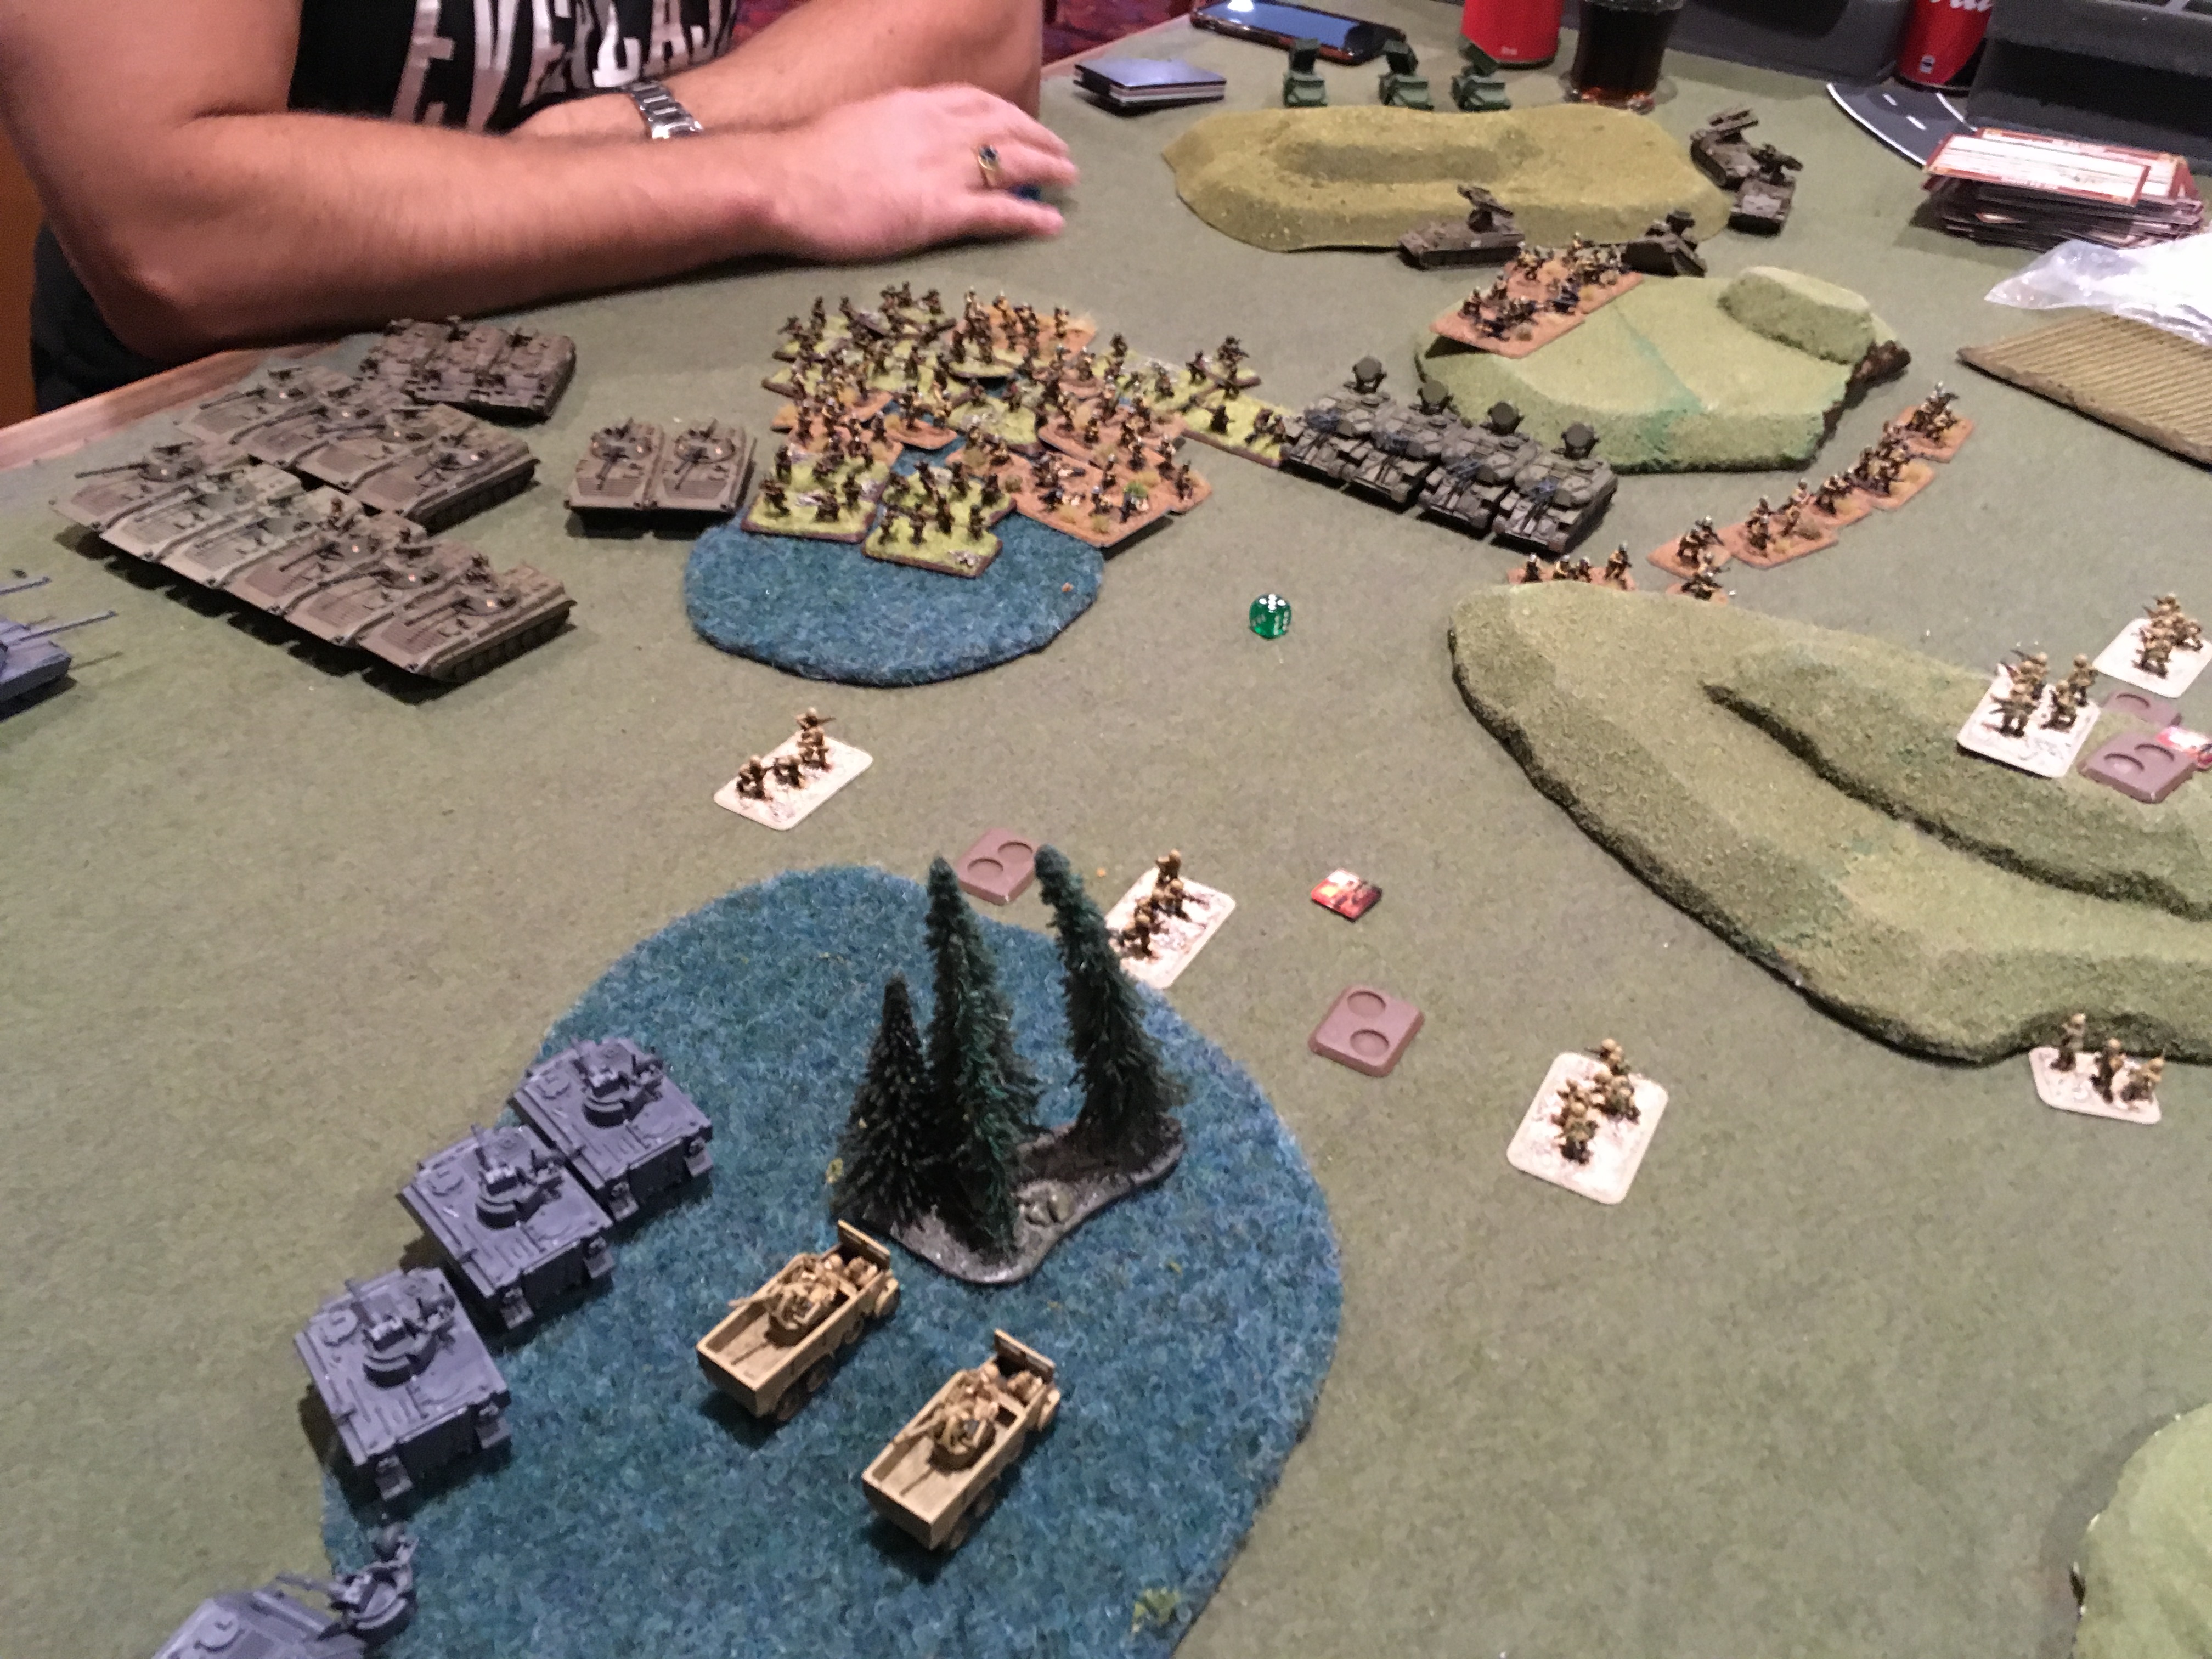 Two Stinger armed HMMWV, looking remarkably like Italian WW2 AA trucks, hold their position in a wood while the three remaining VADs move forward to stem the Soviet tide.
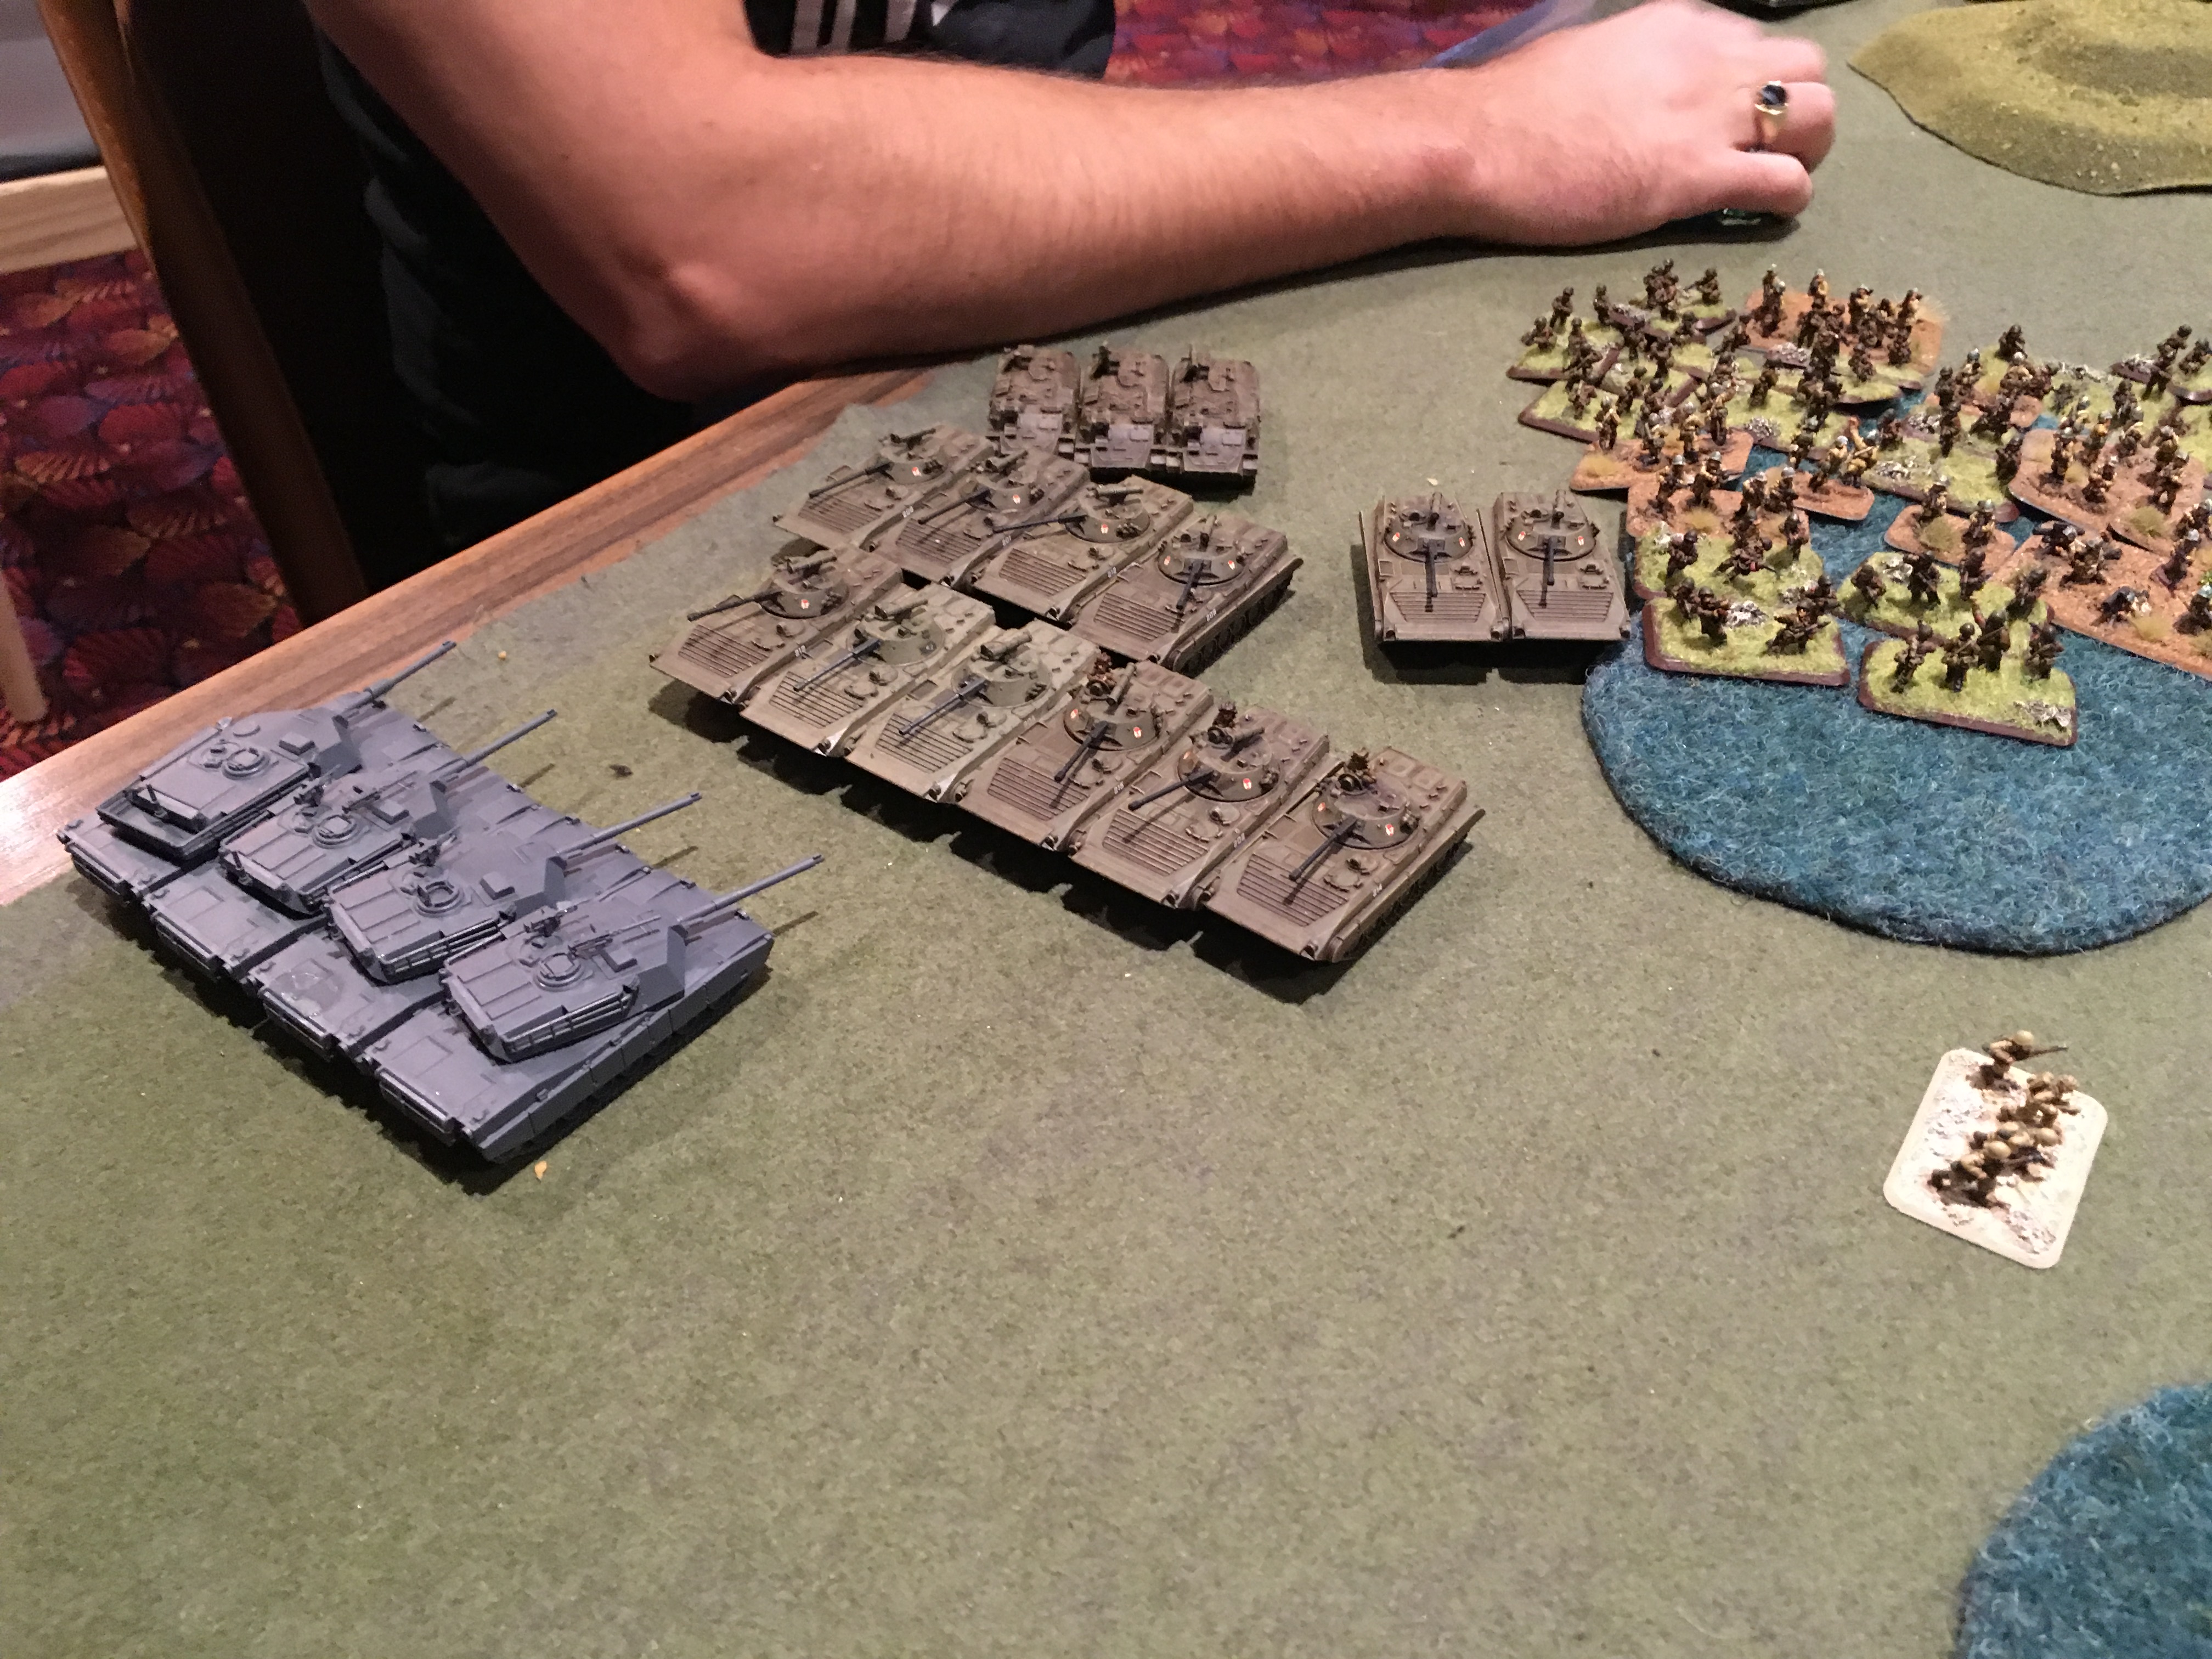 A platoon of IPM1 Abrams tanks are rushed straight from the factory without a paint job to ambush the Soviet BMPs.
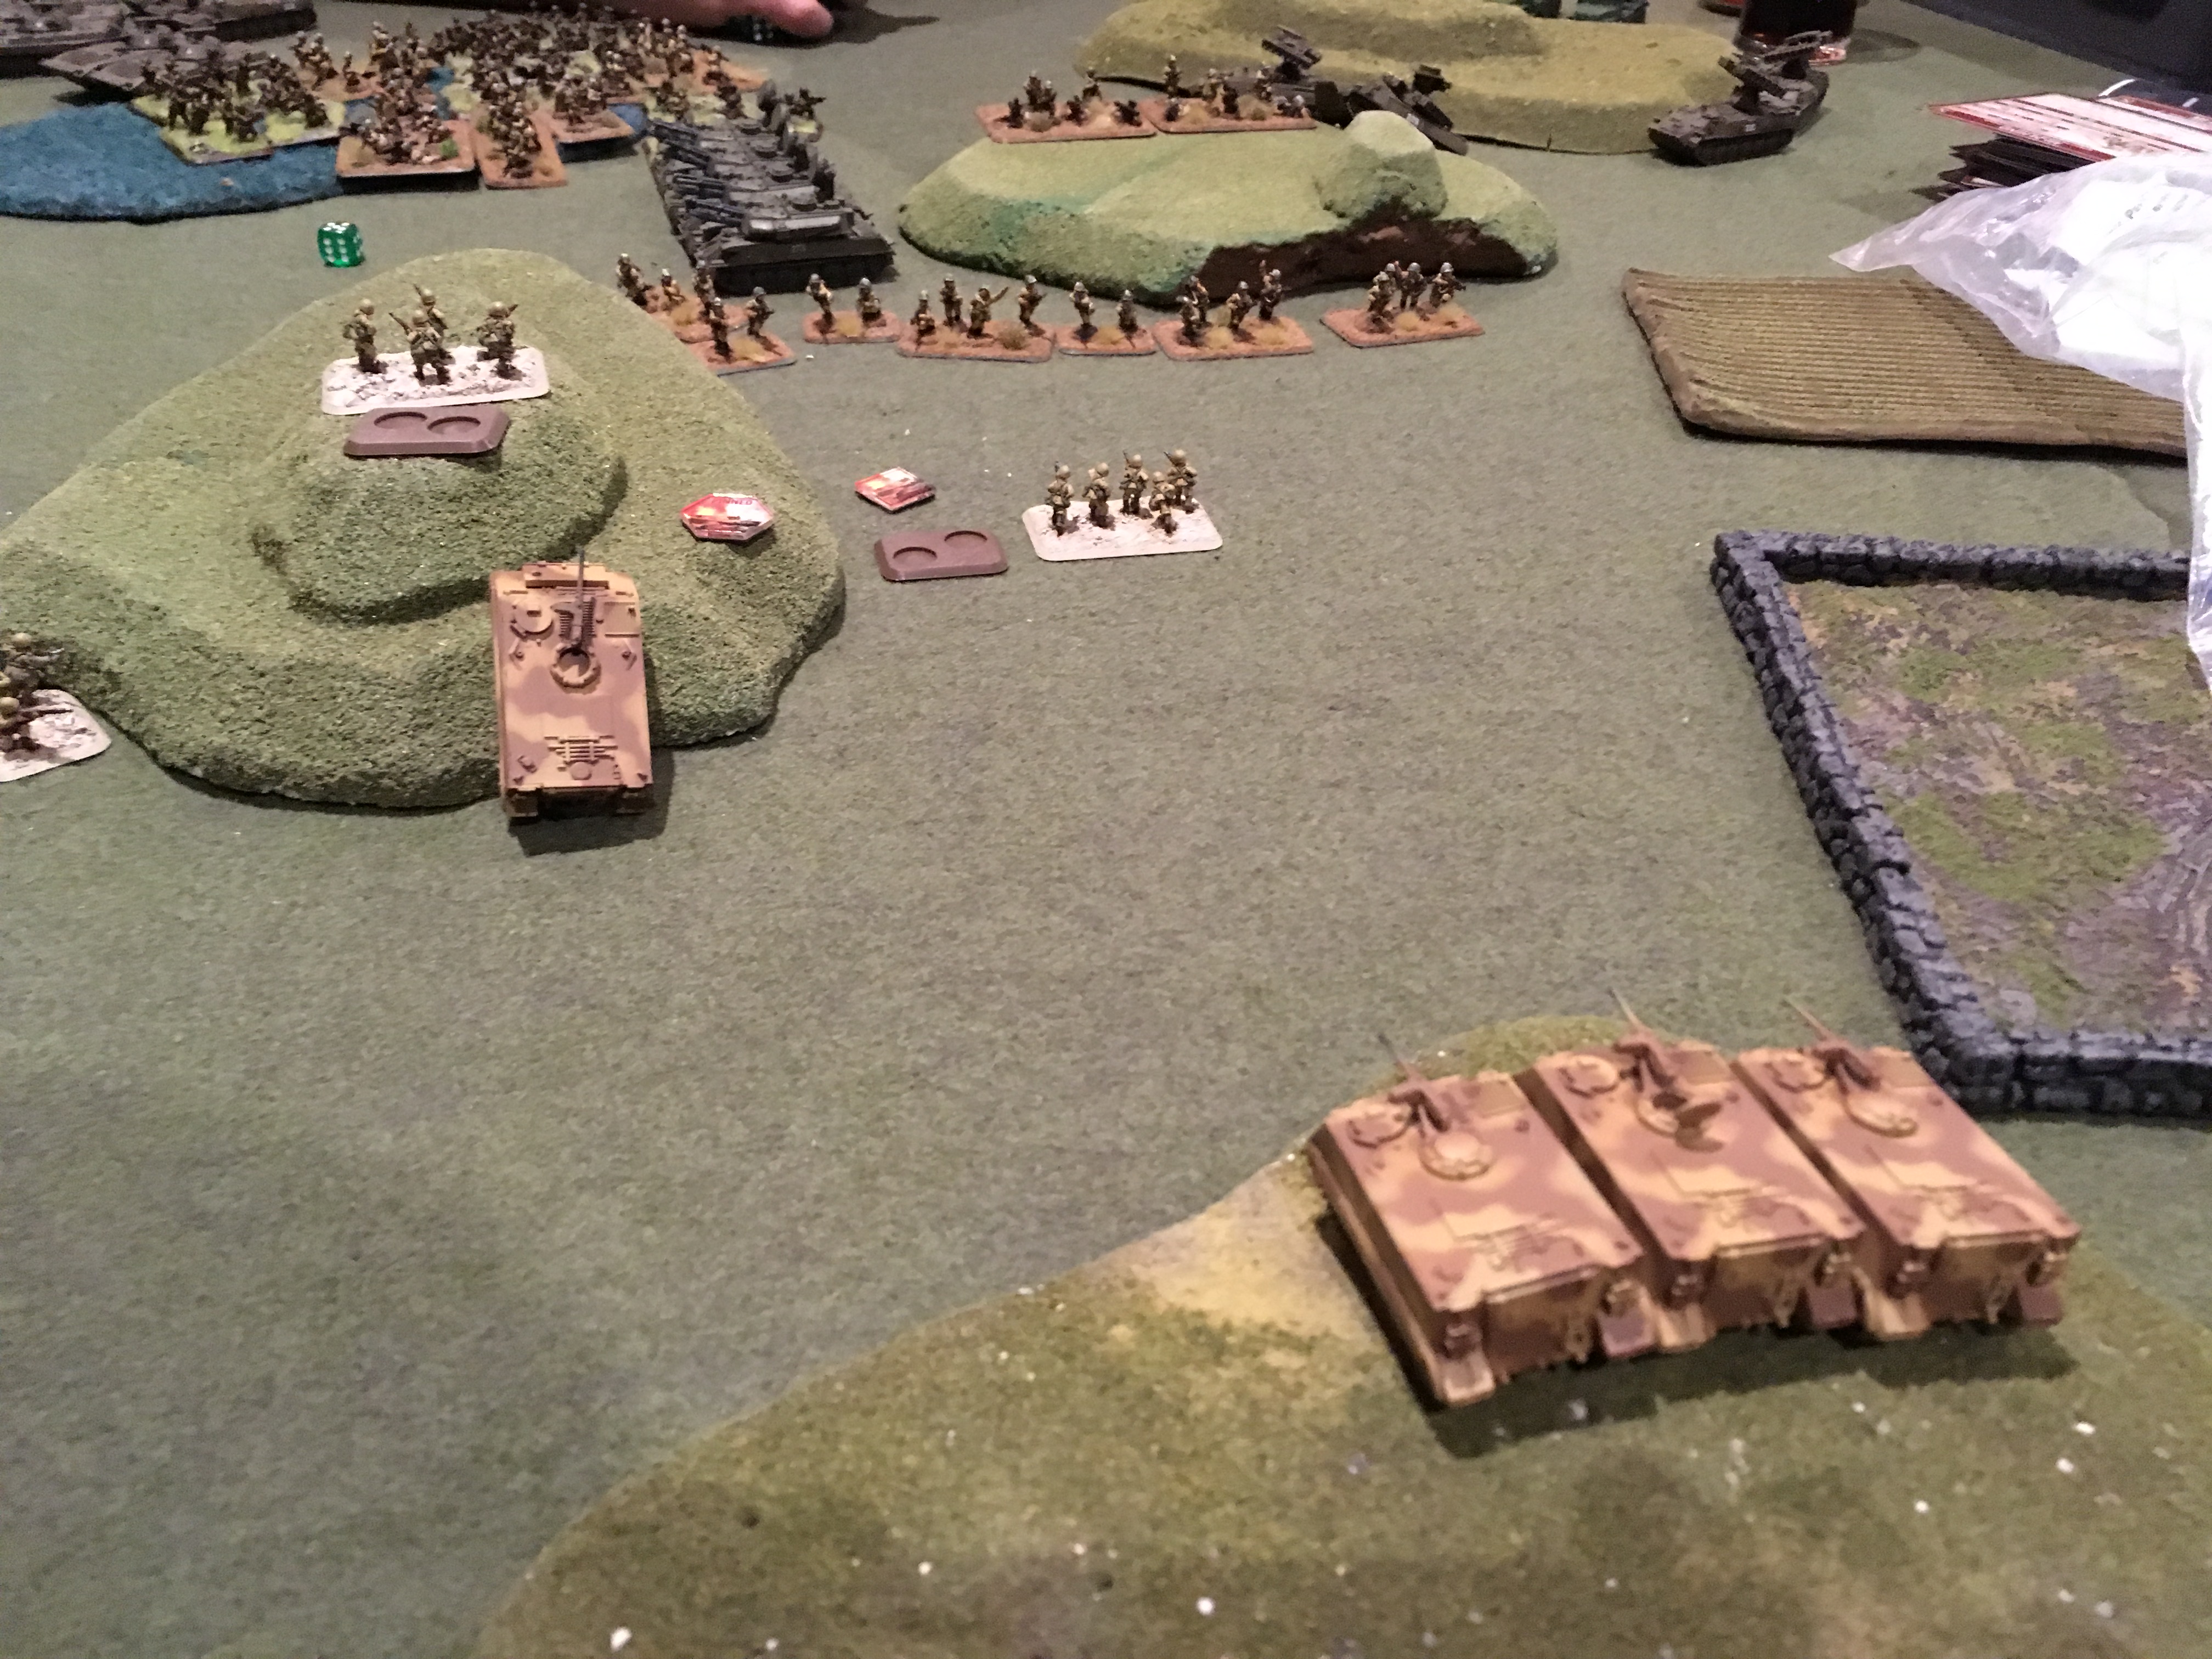
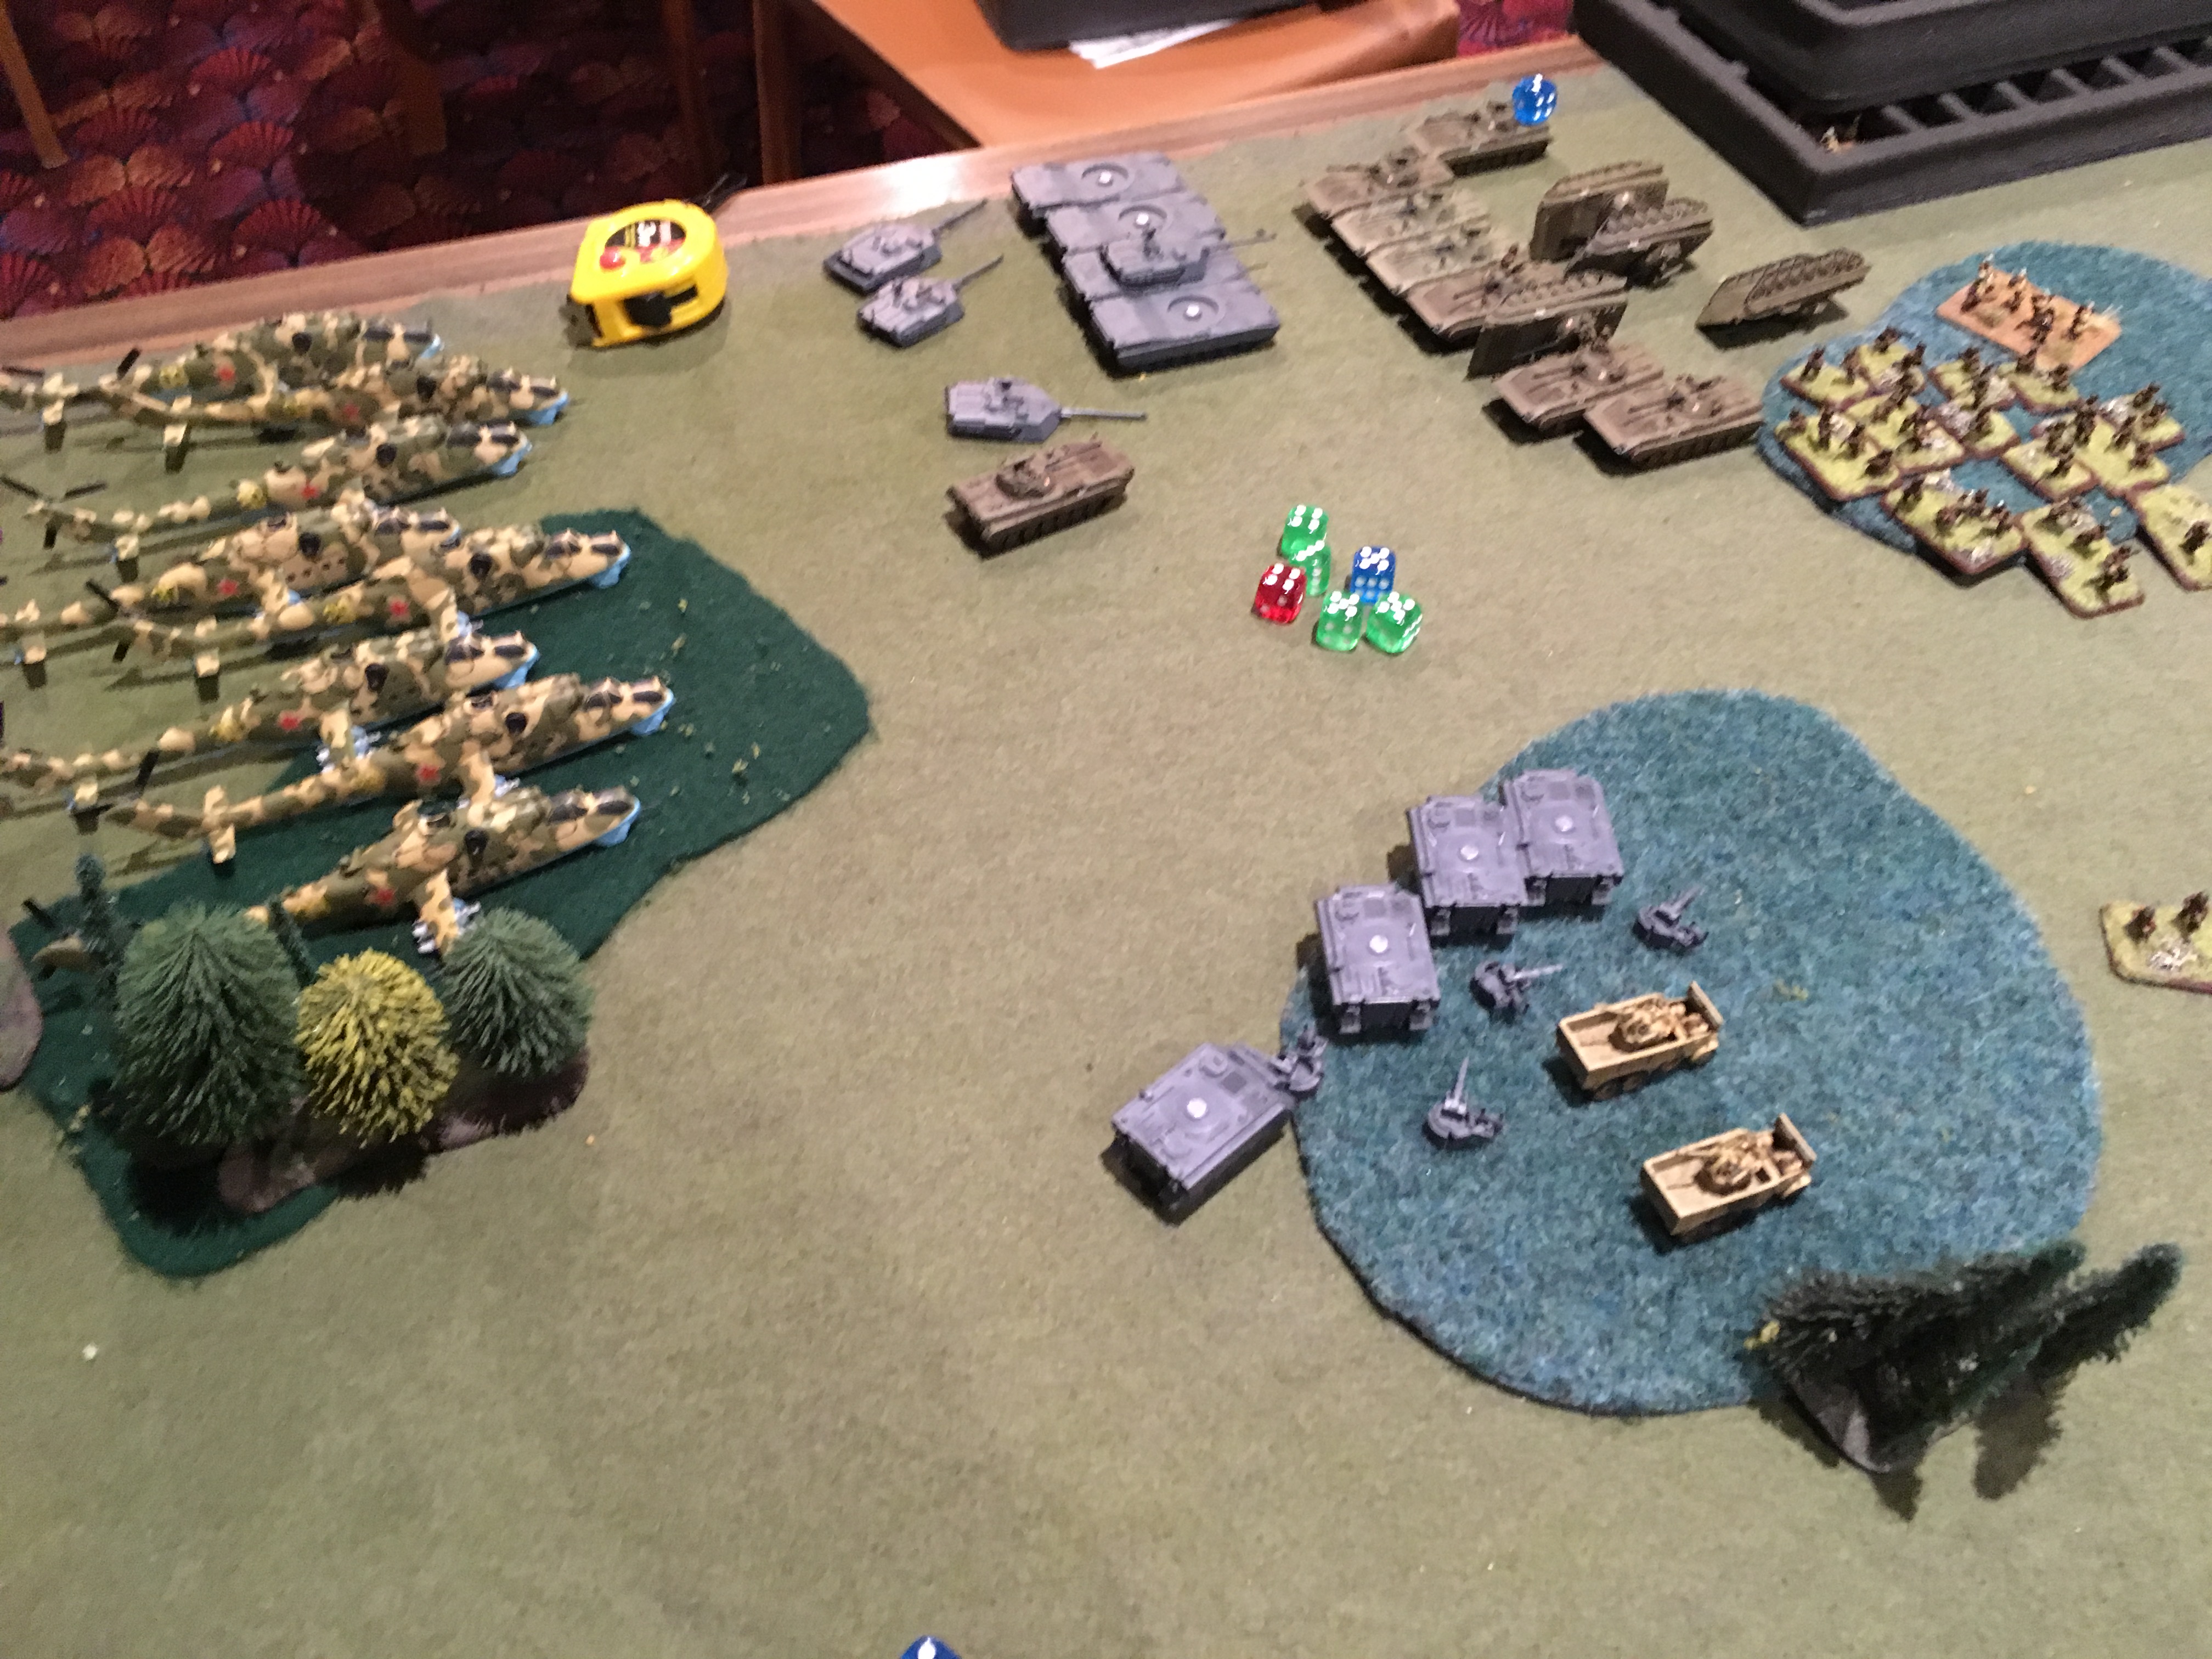
Now that the VADs were visible, albeit in cover, my opponent decided it was time to bring in 2 Hind groups. His BMPs held their position and poured fire into the VADs, destroying every one of them. The Hinds then shrugged off some superficial Stinger and .50 cal fire and proceeded to destroy 3 IPM1s. Strangely, the IPM1 commander decided to stick around. Meanwhile, the Soviet infantry surged forward in preparation to assault my infantry lines. My right platoon was whittled down to just one team by enemy fire and failed motivation. The left platoon was reduced to two teams, but were then killed in the followup assault.
At the start of my second turn I had 1 IPM1, 2 HMMWV with Stingers, and my formation commanders. Unfortunately, I succeeded my formation motivation checks and continued on. Also, my reserves dice came up and I had to opportunity to deploy something. At this point of the game, it was a matter of finding the softest platoon to kill to try to get another victory point, and at least a small piece of dignity.
So my lone IPM1 charged through the line of BMPs and my Cobras came in from reserve and took a position behind a hill overlooking the Soviet Gopher AA vehicles. The IPM1 missed with both shots, and three of the Cobras were shot down by ZSU, Gopher, and infantry AA fire. The remaining Cobra scored one hit against the Gophers with its minigun. It was at this point that I decided to concede.
 Without a camouflage scheme, the IPM1s are easy targets for the Hinds. Likewise, the grey hulled VADs aren't so well hidden in the woods so the BMPs make short work of them.
 Frustrated by not having a camo paint job, the IPM1 commander takes his anger out on a Gopher platoon but misses due to the diffuse light reflecting from the grey gun barrel. Meanwhile the Mech commander contemplates defecting to the Italian army.
It was been a while since I last played Team Yankee and that was an embarrassing way to get back into the game. But even though I made plenty of mistakes, which my opponent made excellent use of, I learned (or remembered?) a lot.
Looking back at my force composition I realised that I had 11 platoons. Although not a critical problem, if I had've dropped one of the ITV sections, I could've used those points to beef up a mech platoon and make all of my tanks IPM1s. And then I still would've had 5 platoons on the table to begin with.
Deploying my infantry so far forward was a crucial mistake. Considering how outnumbered I was, I should have deployed as far back as possible to draw out the game longer and allow the rest of my force to arrive.
Another critical error was exposing my VADs. As tempting as it was to throw a handful of dice at the Storms, I should've held the VADs back for their primary purpose: shoot down Hinds. Considering their position, the IPM1s were invulnerable to the BMPs so there was no need to rush the VADs in to help.
So now I have to pick myself up and think about force composition and tactics for future games.
Battle Report Author
Army Lists Used In This Battle
Recommend Commander For Commendation
Share this battle with friends
Lord TWins

Nicely done, both of you
Nice!
Well done on the win. Who knew that a good paint job cold make all the difference in a battle?
Good AAR. I really liked the lessons learned. Reminded me of things to do and not do.
Good report !
Good report as well as lessons learnt.
Painted miniatures save lives!
well done on your first AAR-commendation headed your way-well done
Nice one – makes for a good ARR read. btw – like the colors on the M113
No love for the Hinds! Great AAR. 😀
Avanti! 🙂
Good Lessons Learned…. Welcome to the Campaign and your First AAR. Well Done.