Fought At Amsterdam
2236 days 15 hours 12 minutes ago
Ura! Ura! Ura!
View Linked Report - CLICK HERE 75 POINTSFull AAR that interleaves text, pictures and video can be found here : http://www.mantorvilleexpress.com/gaming/2018/03/05/team-yankee-aar-firestorm-stripes-battle-1-amsterdam/
Being placed in command of a Russian BMP Motor Rifle Battalion and support forces I prepared for the task ahead. In my force I had a Small BMP1 Company, a medium BMP2 company, T64s, Storms, BRDMs, Hinds, and Gophers.
With the mission set at Dawn as well as giving the Brits 3 minefields, I considered how I would approach the attack.
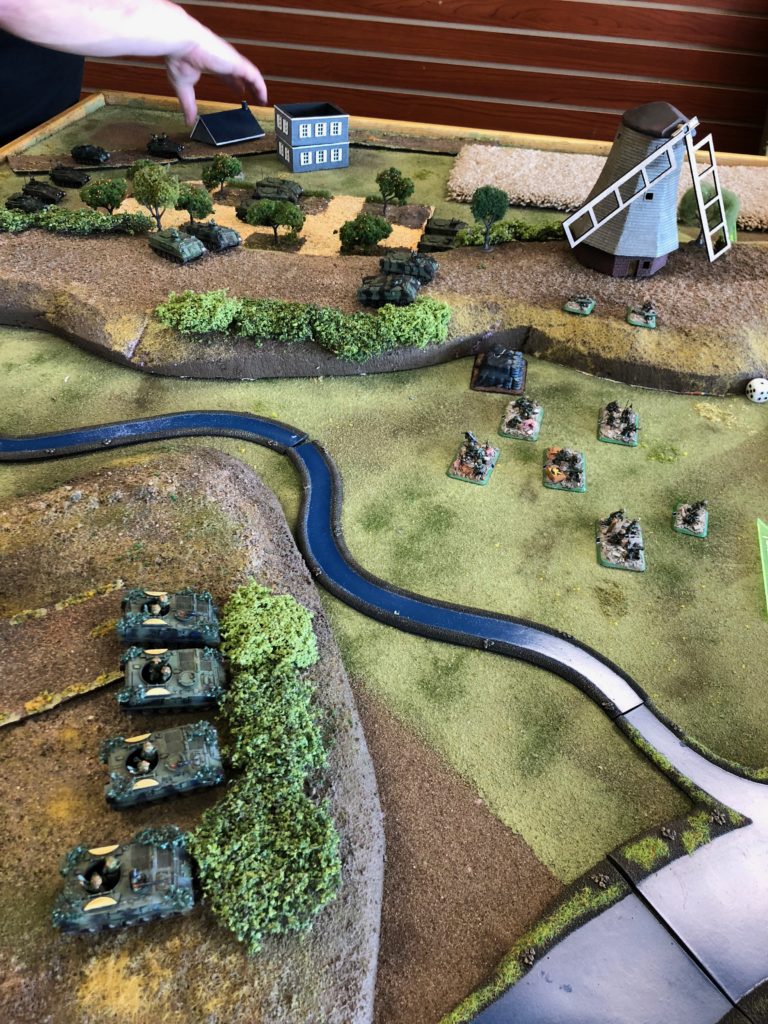
See recon photo #1 and #2.
Without mine clearing equipment where ever those would be put I would avoid, yet with the water on table, and my ability to cross water I wasn’t too worried.
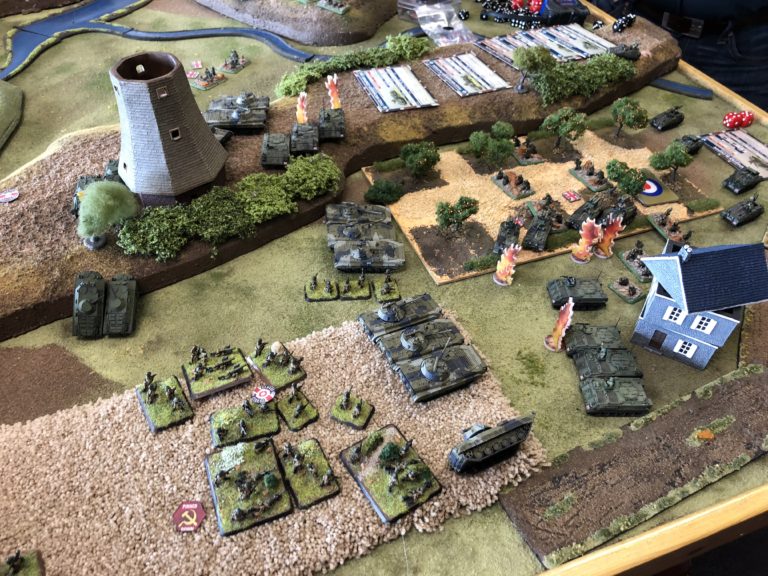
Initial recon photo from the night before. Infantry in the field next to a strategic area that command indicated was important. See recon photo #3.
Additional Recon photo indicates that enemy troops in the field are currently distracted and may be easily surprised. Attack should be at once under cover of darkness. See recon photo #4
Another recon photo with second critical objective located next to blue building. Comment notes that the primary force in the area appears to be infantry. A crushing swift victory should be possible. See recon photo #5.
Film crews were able to capture the action as heros of the state were pushing bravely ahead. This is no episode of Spokoinoi nochi, malyshi! (Film of the battle in the form a time lapse is available on YouTube (below) or on blog link at the top of this report)
A BMP1 company deploys left and the BMP-2 company deploys right in an effort to catch the sleeping lazy British off guard. T-64 tanks deploy on the heights on the far left flank awaiting the flashes of British fire. Our Songster missiles will blast them out of their holes allowing for the main push to either hook around or push for the far objective.
Reinforcements flow like water, early on BRDMs, Gophers, Storms, and Hinds take their positions before the sun comes up. BRDMs move in to support the strong attack by the BMP-2s.
The Hinds under cover of darkness decimate a motor platoon poised to be critical artillery fire for the weak British forces. Sadly they give their lives when British AA forces spot and with great luck bring them down.
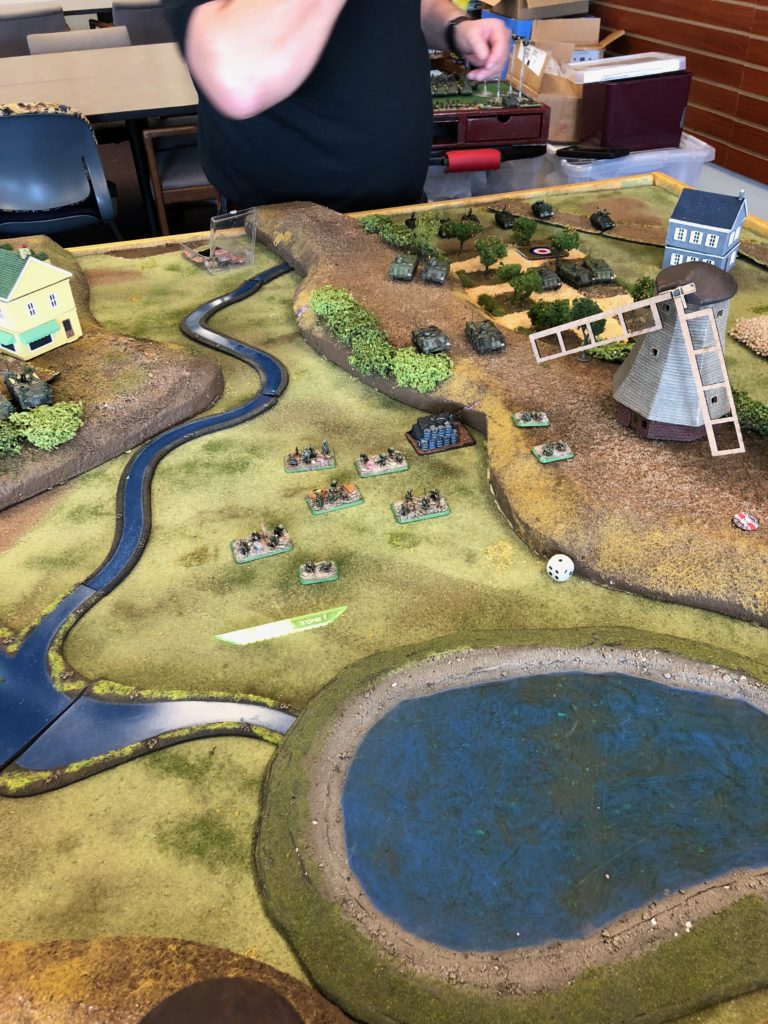
The assault on the right flank fades as the first rays of sun appear. The BMP-2s are first able to take out two platoons of enemy 432s. Hitting them hard and causing the survivors to run in fear. A detachment of BMP2s in a last desperate attempt to take the objective before critical time runs out make a dash up to the central ridge and assault. Supported by the T64s and BMP1s, surely the British will be pinned down by superior fire. It is not to be. See recon photo #6.
I am to report that a 2-1 result was obtained. Another action in this area would surely be a smashing victory. A loss of the Hind company is regretful yet the losses of the 2 FV432 platoons will make their retreating infantry all the more slow.


nice video! i like it!
The link isn’t working for me, unfortunately, but a nice report regardless!
Nice AAR. Great theatre terrain. Interesting narrative vs. Your opponents’
Love the timelapse!
Battle on Comrade, smash them next time!
+++
Urrah comrade, now is not the time to delay, push on and win.
Nice report see link for recommendation
Cheers
Storm caller
Beautiful table! Nice report.
Fantastic looking Dutch table.
That terrain kicks butt. Nicely done
Great report.
A hard fought draw from both sides. A good showing, Captain Badger, return to the Briefing Room for debrief.
very nice
Nice looking table – looks like much fun was had by all!