Fought At Hof Corridor
2244 days 19 hours 34 minutes ago
Contact at the Hof Corridor
100 POINTS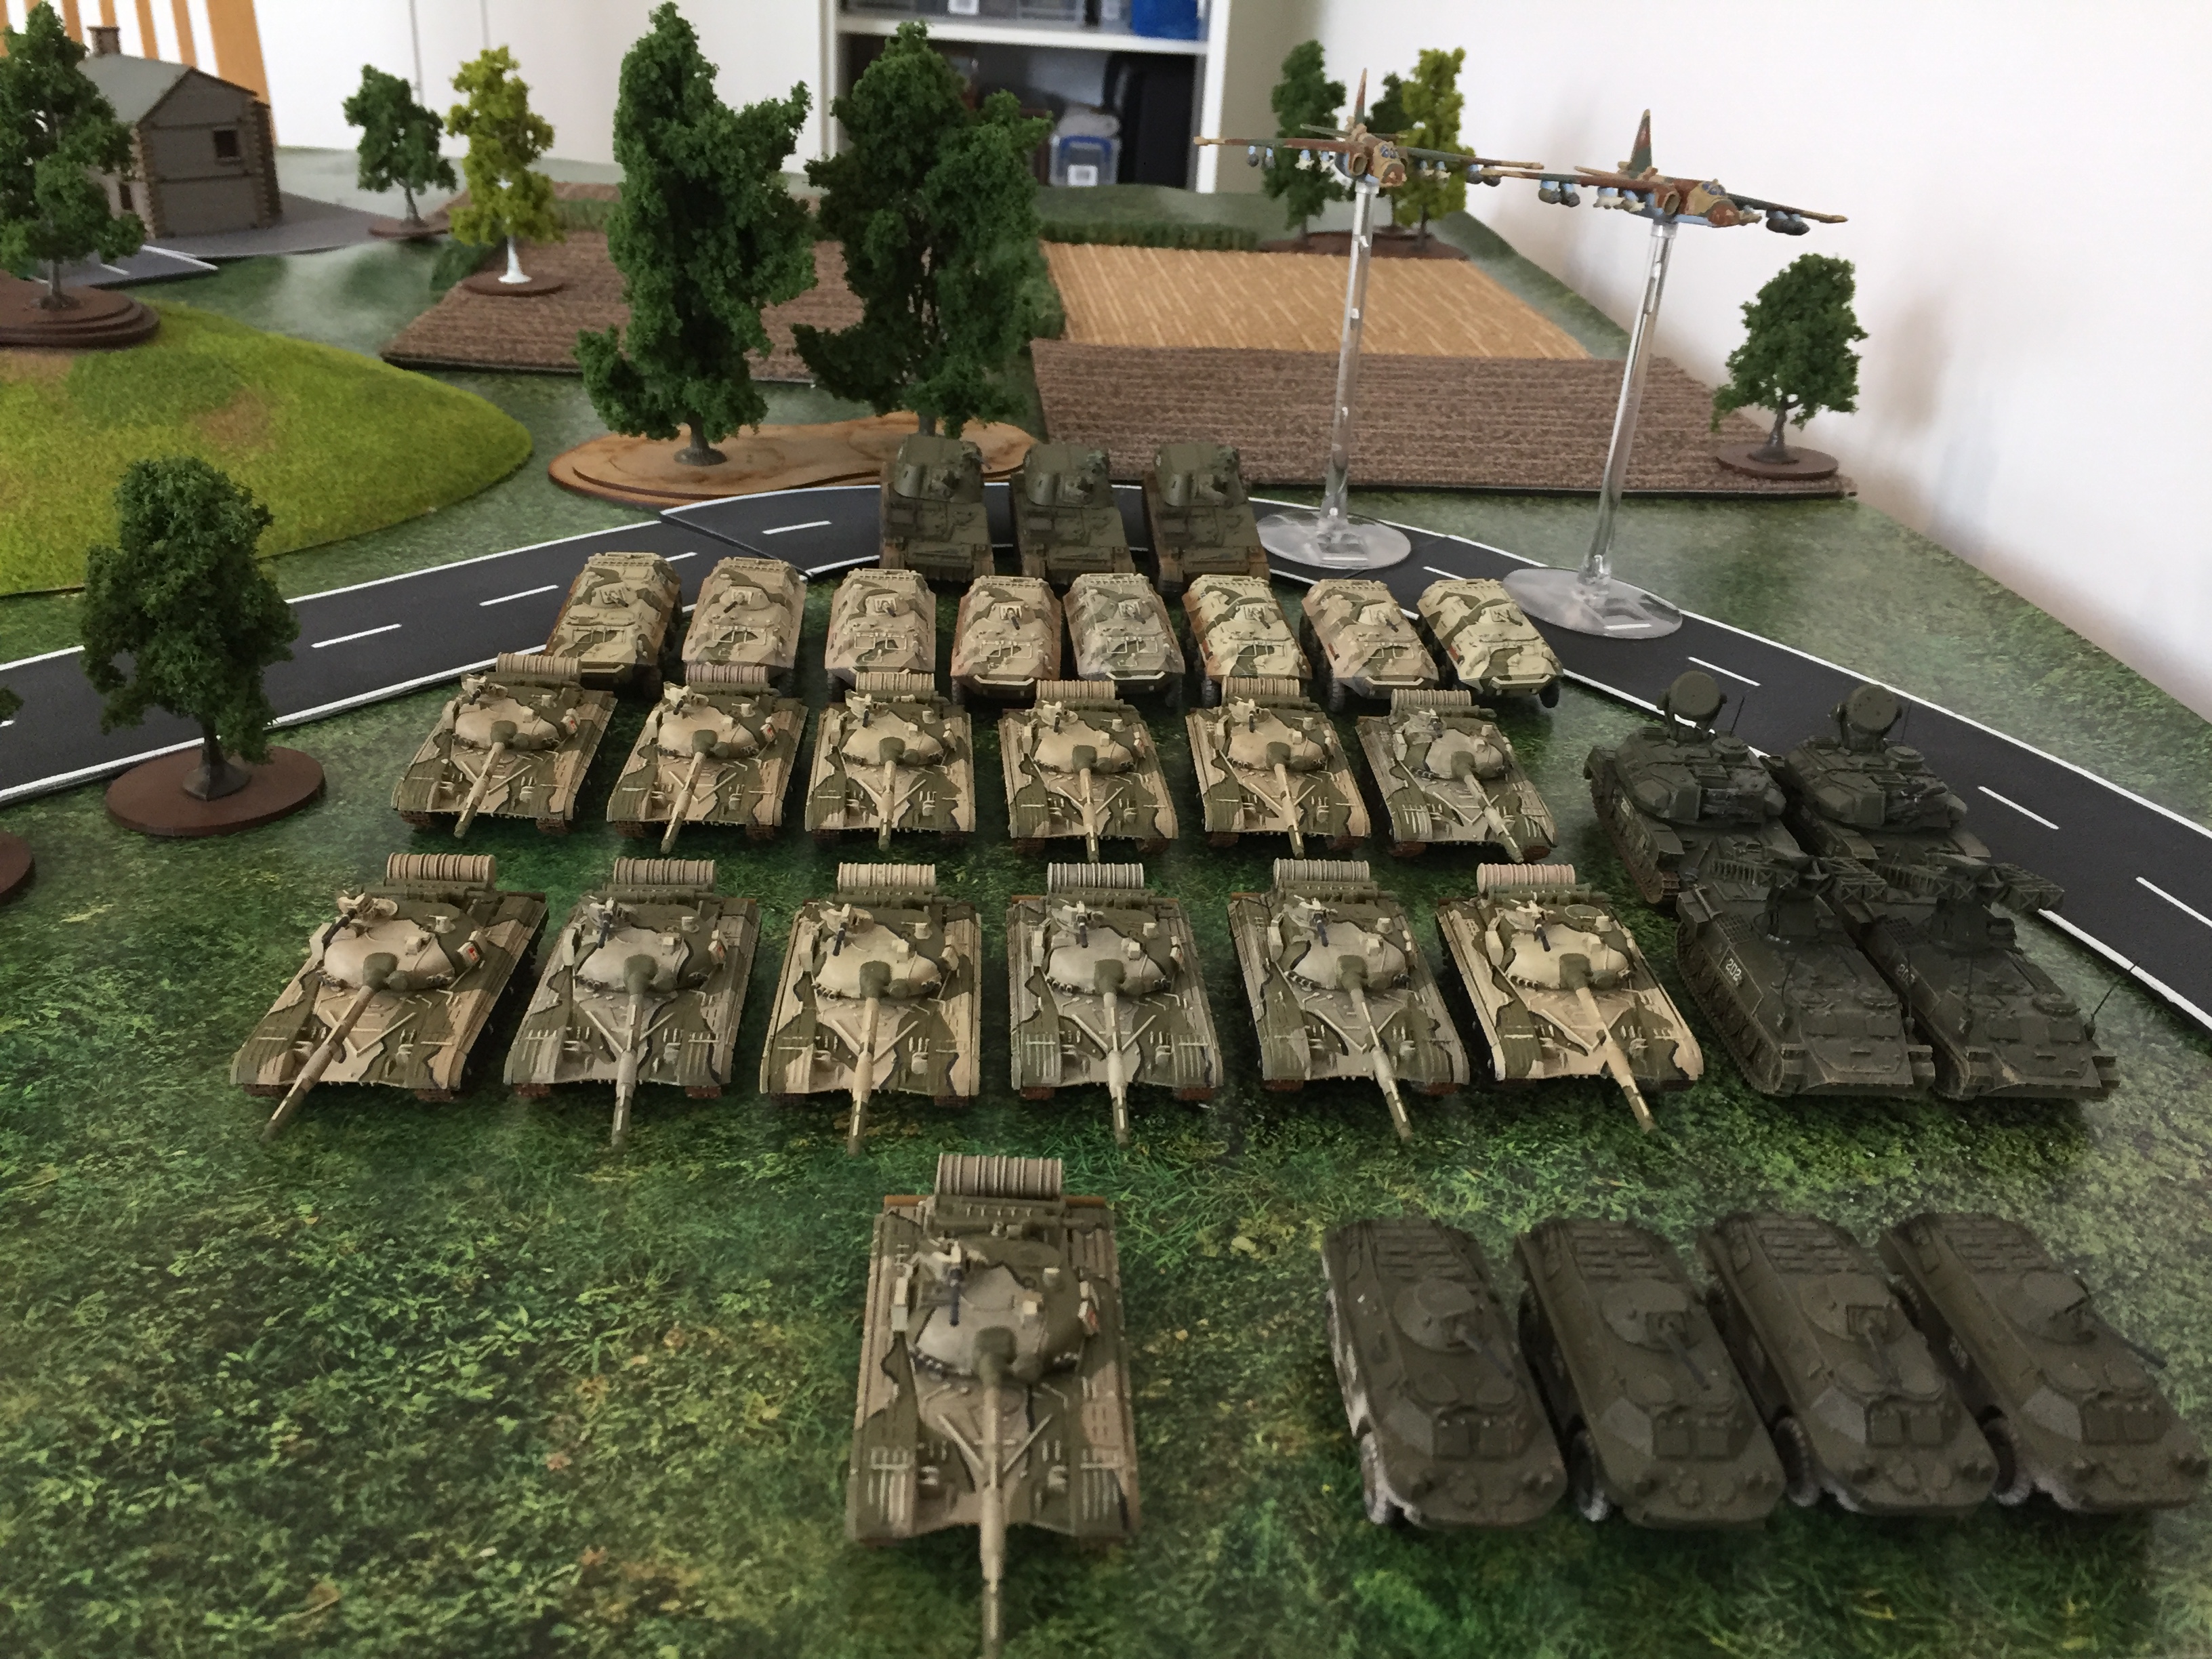
Turn 1
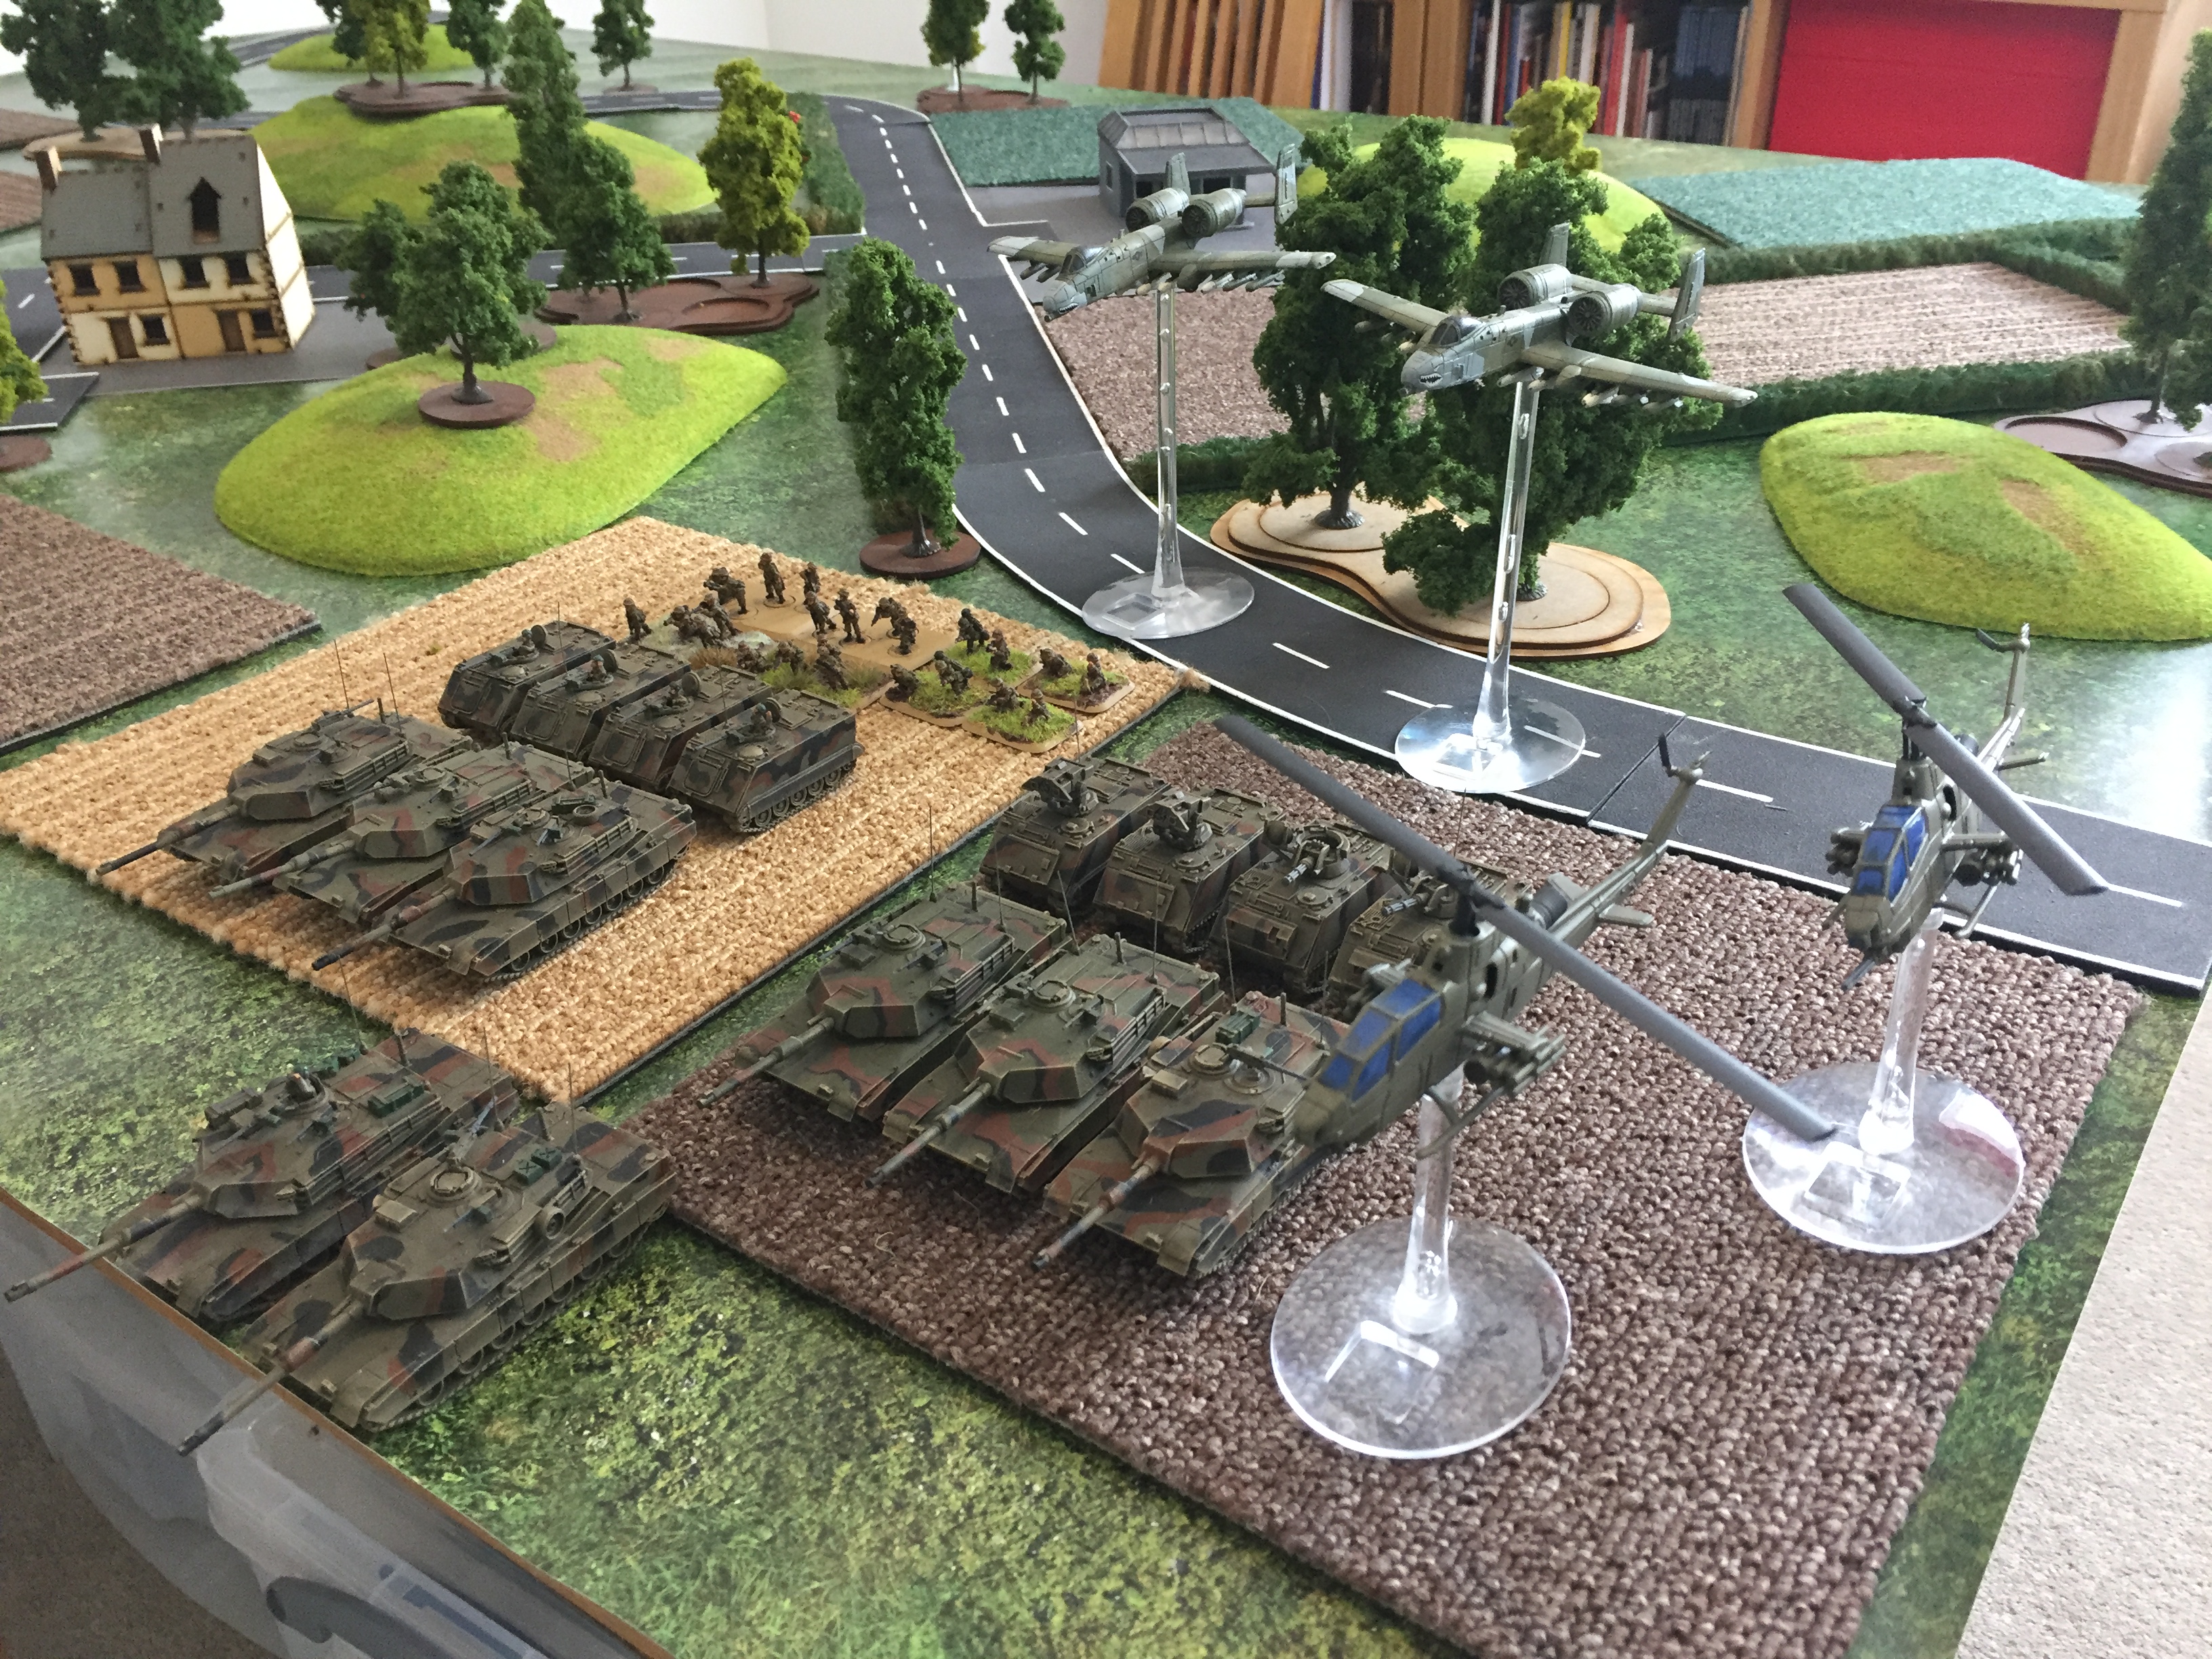
NATO
The US forces remain stationary in their deployment locations, taking advantage of the dark.
SOVIET
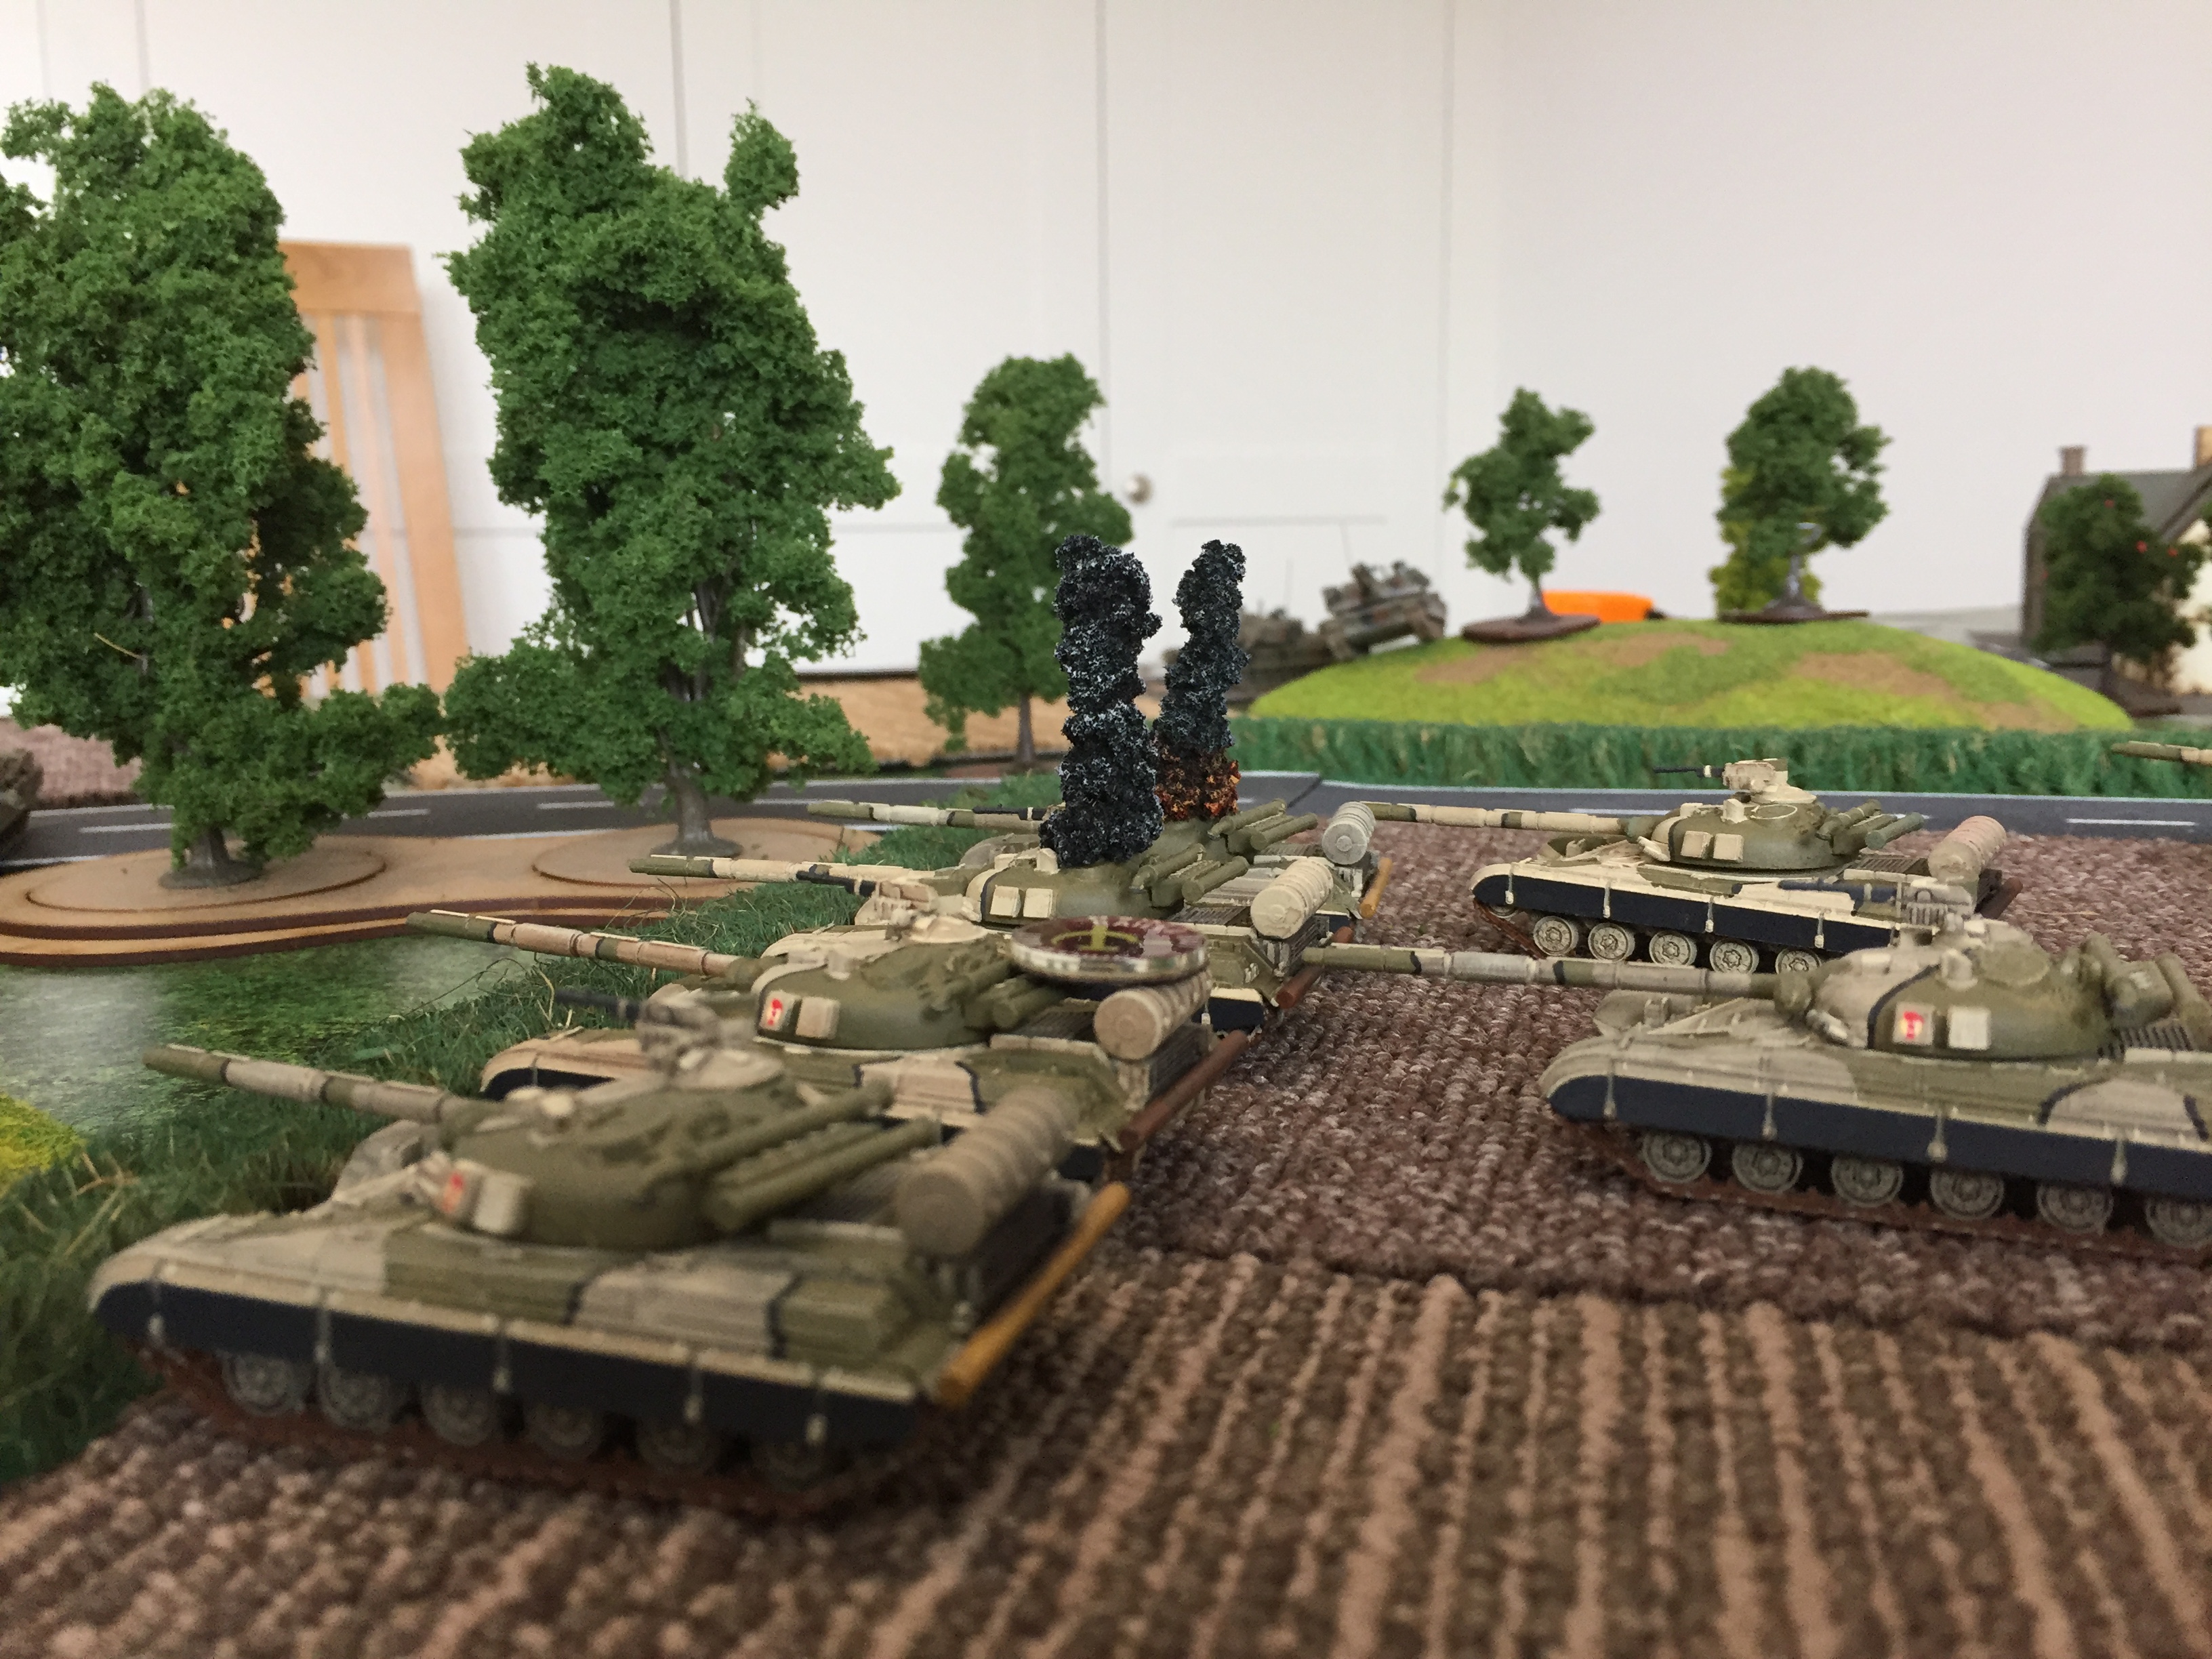
The BRDM recce section moves forward and secures the crossroads, moving cautiously. On the right flank the BTR Motor Rifle Coy moves forward with the ZSU-23-4 is support. Both T-64 Coys make a tactical move forward, gunners scanning their arcs of fire through the night vision equipment.

Turn 2
NATO
The US Mech Inf platoon can hear the engines of the approaching BTR vehicles but can’t make them out clearly enough through their night vision equipment. On the US right flank the 1st M1IP platoon moves forward into its Battle Position to engage the T-64s advancing over the open ground. A poor roll on the night table leaves the M1’s blind. The US Team CO and 2IC move forward onto the ridge and can clearly see the T-64s in their sights. The M1s open fire, landing 2 hits but only bail 1 T-64 whilst the second shot bounces.
Both the 1st M1IP Plt and the HQ section pass their Shoot and Scoot rolls and pull back into cover.
SOVIET
The BRDM recce section pushes up the main road and moves into the village. On the Soviet right flank the Infantry debus into the cold air of the dawn and move up into extended line. Both T-64 Coys move tactically forward. The 1st Coy, on the Soviet left flank, move to a position where they can engage the US tanks but with nothing more than indistinct blobs in their sights no fire orders are given.
Turn 3
NATO
A roll of 5 brings the daylight to the battlefield but only a 4 means that no US reserves are committed this turn. Both the 1st Platoon and the HQ section move forward to a BP to engage the Soviet tanks, now fully visible in the morning light. On the US left flank the M113s move up to engage the Soviet infantry in the open fields to their front. Fire from the .50’s kills one Soviet rifle team. On the US right flank the M1IP gunners must be feeling nervous as the 1st Platoon can only bounce 1 shot and bail a T-64. The US HQ section fares better with flank shots, killing two T-64s. The US tank commanders quickly order their drivers to reverse back into cover.
SOVIET
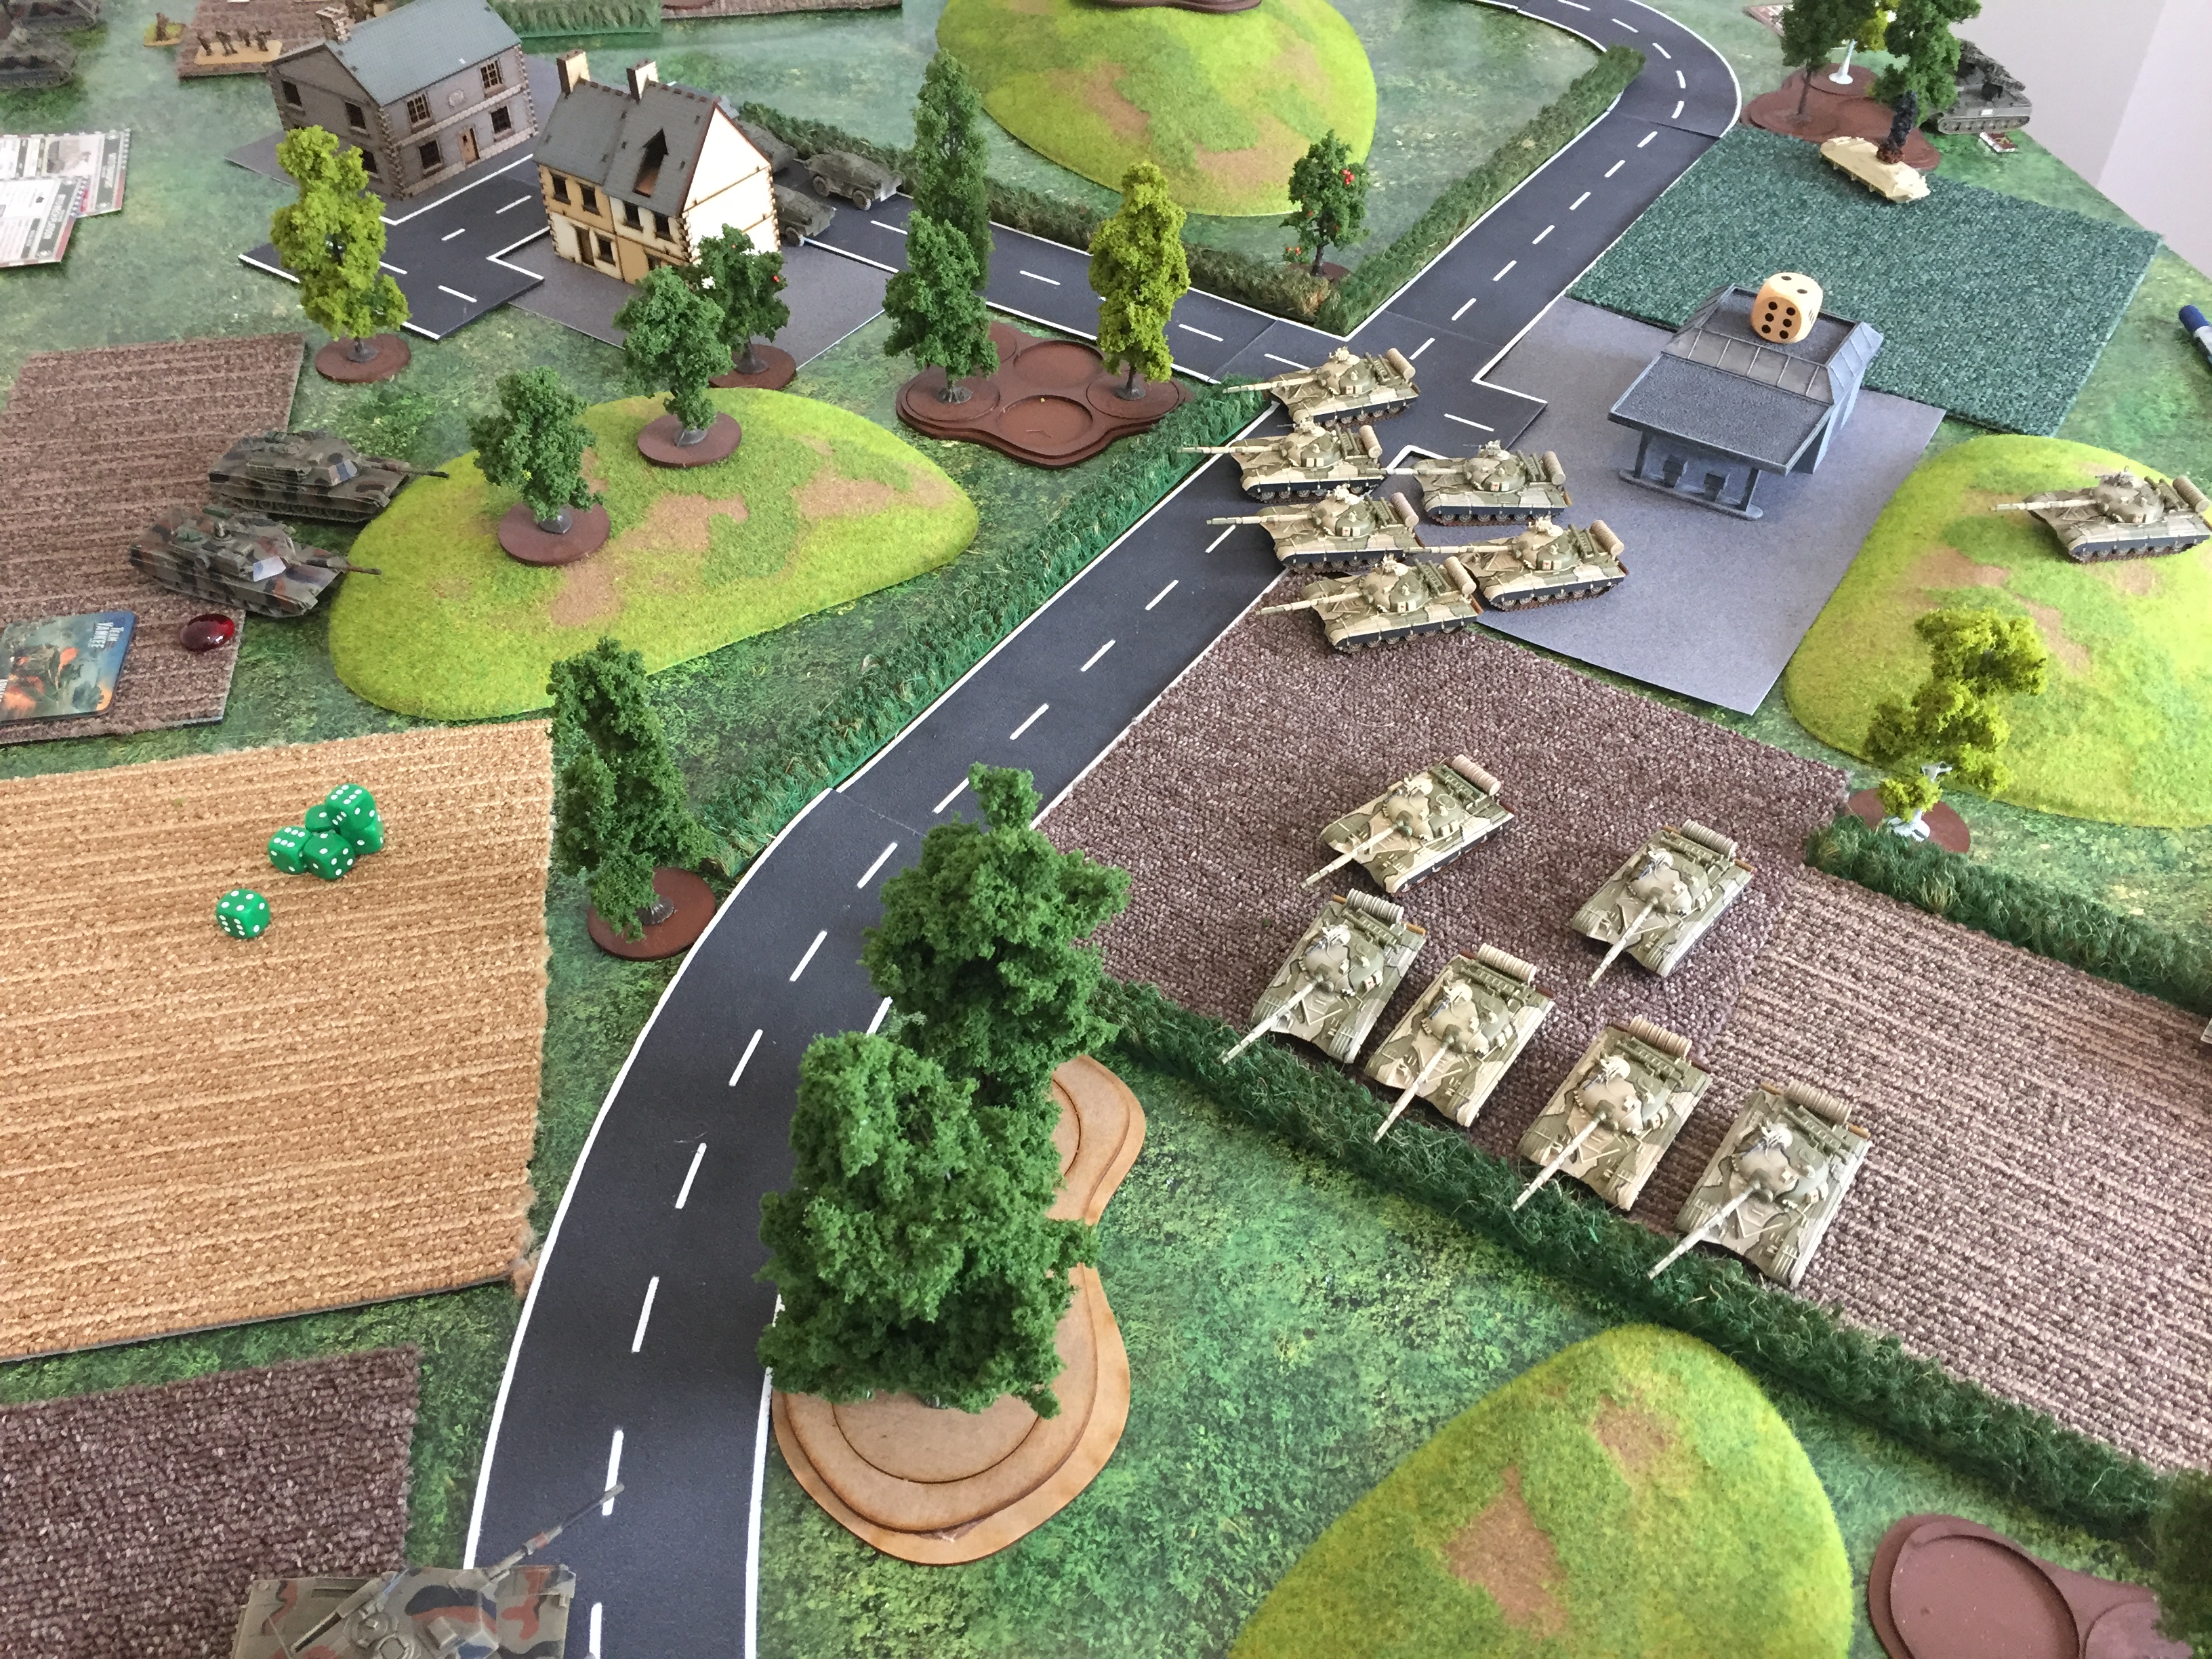
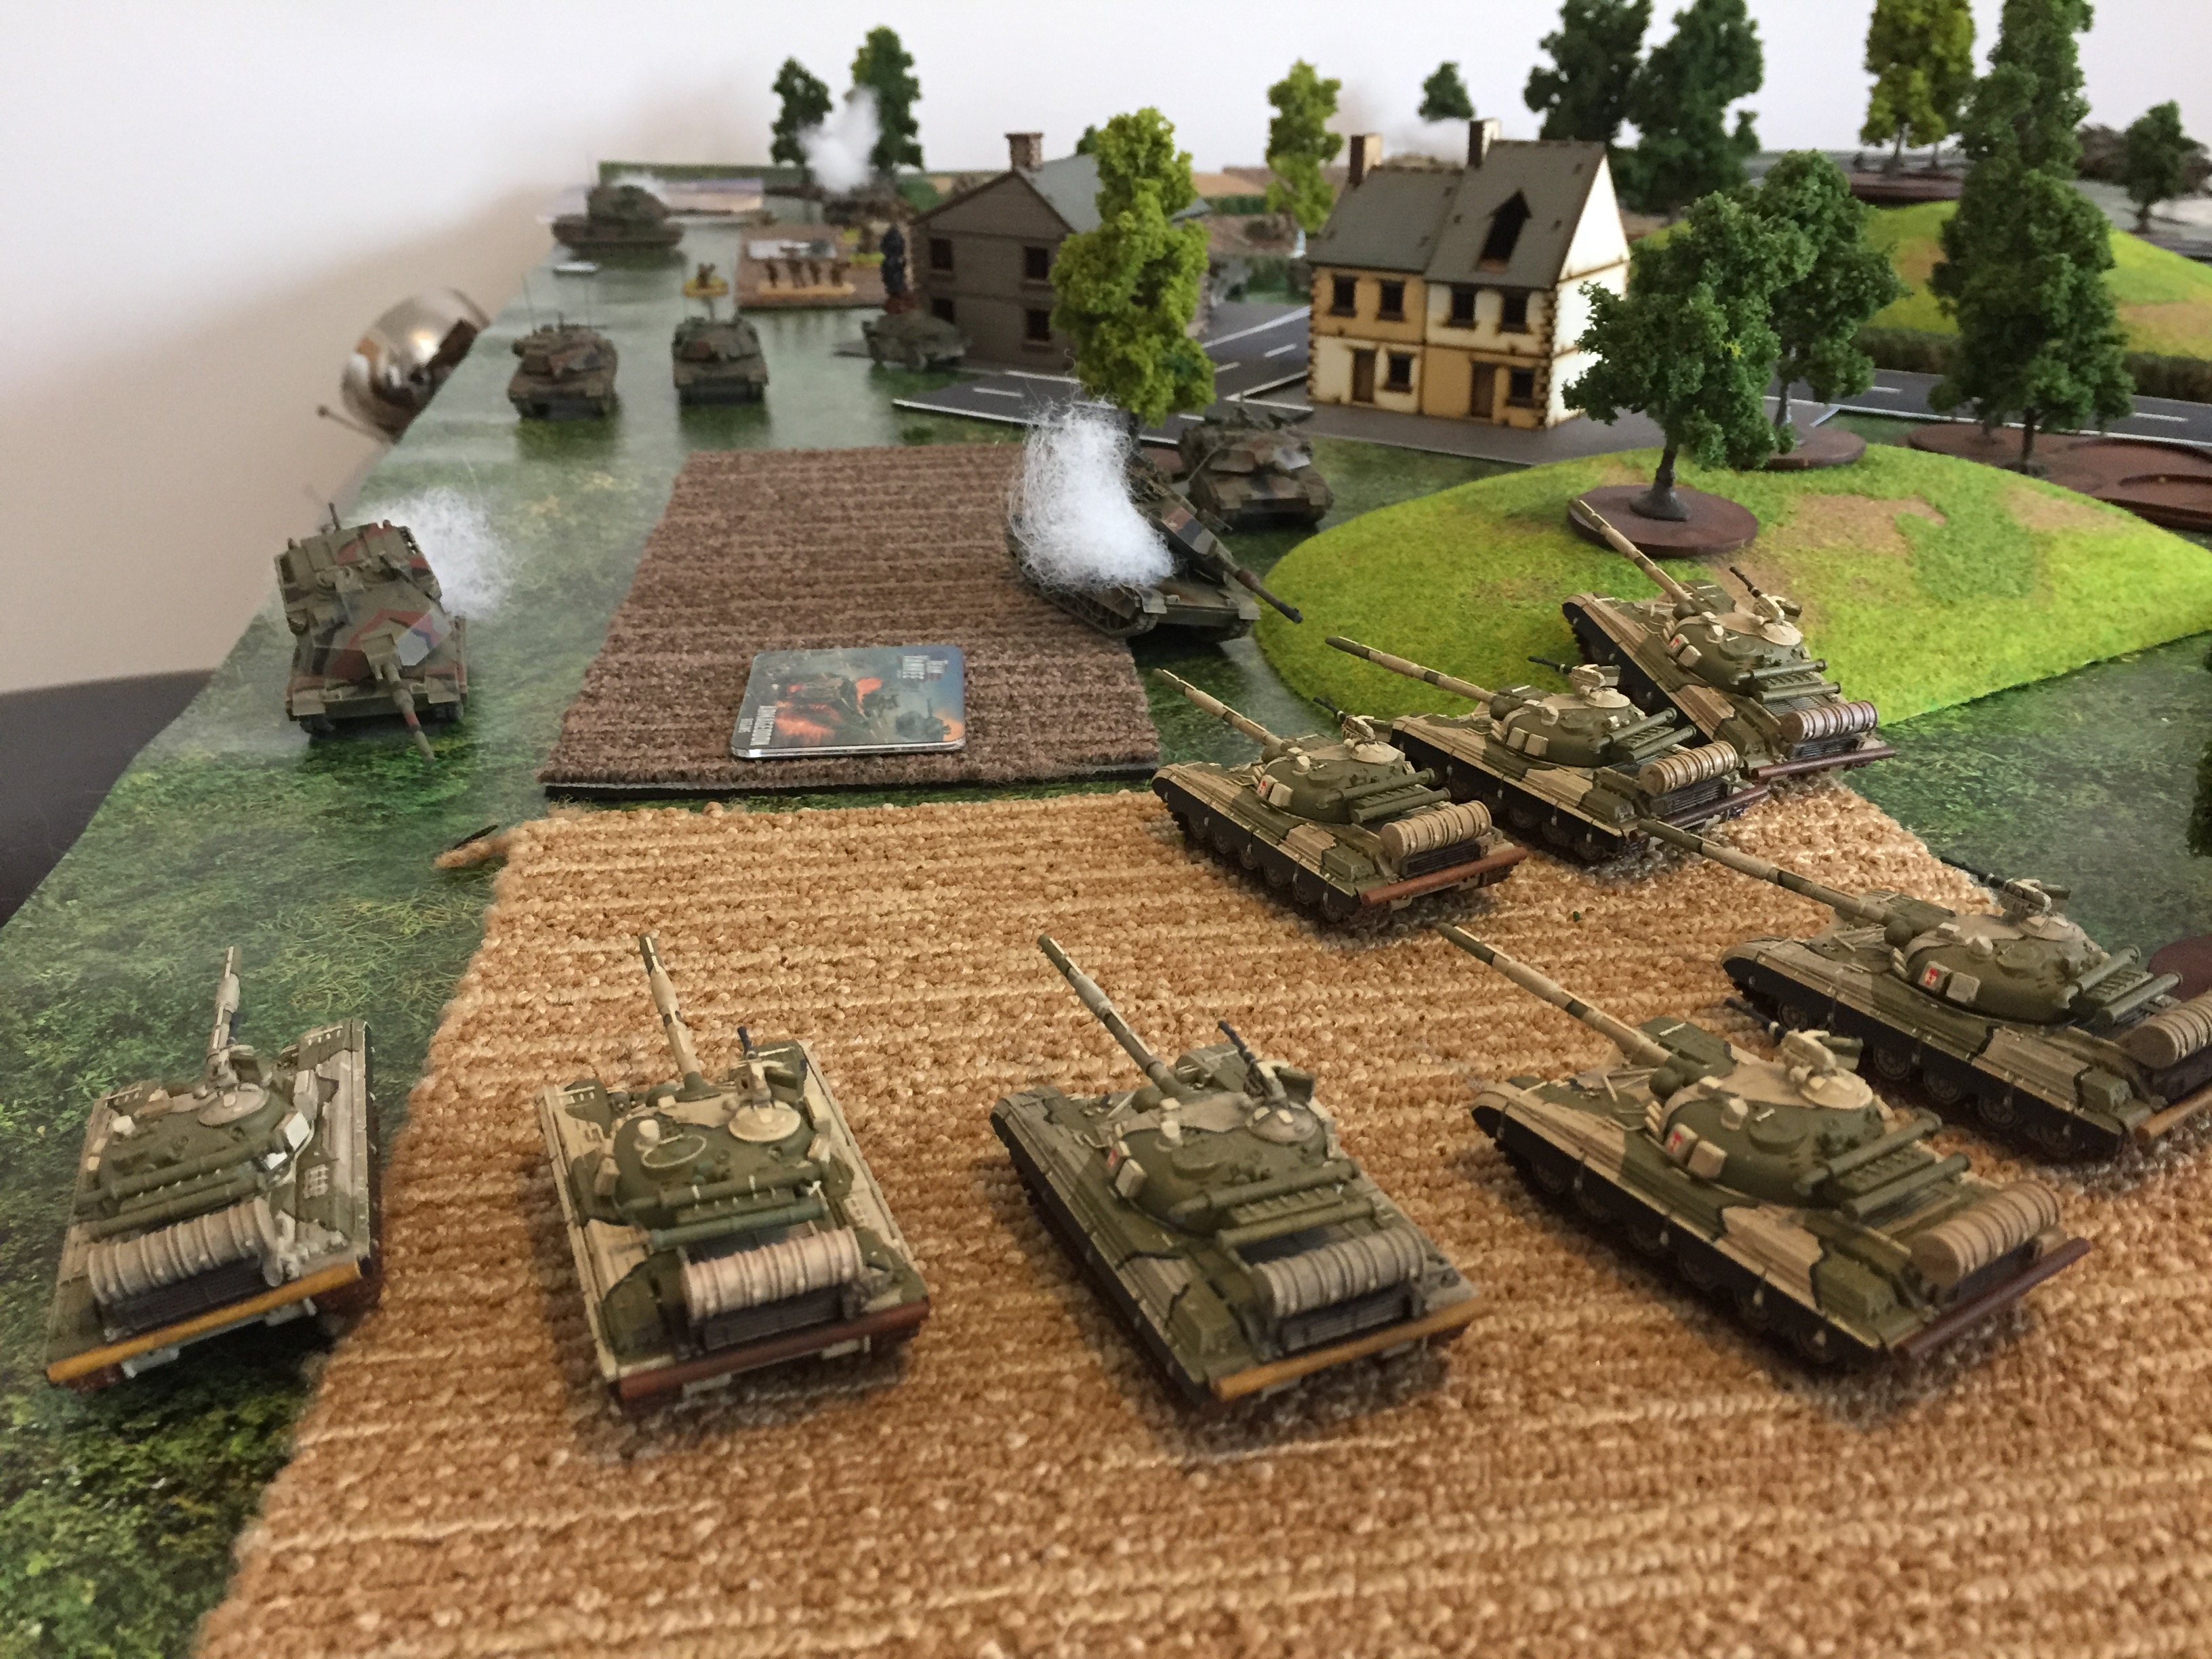
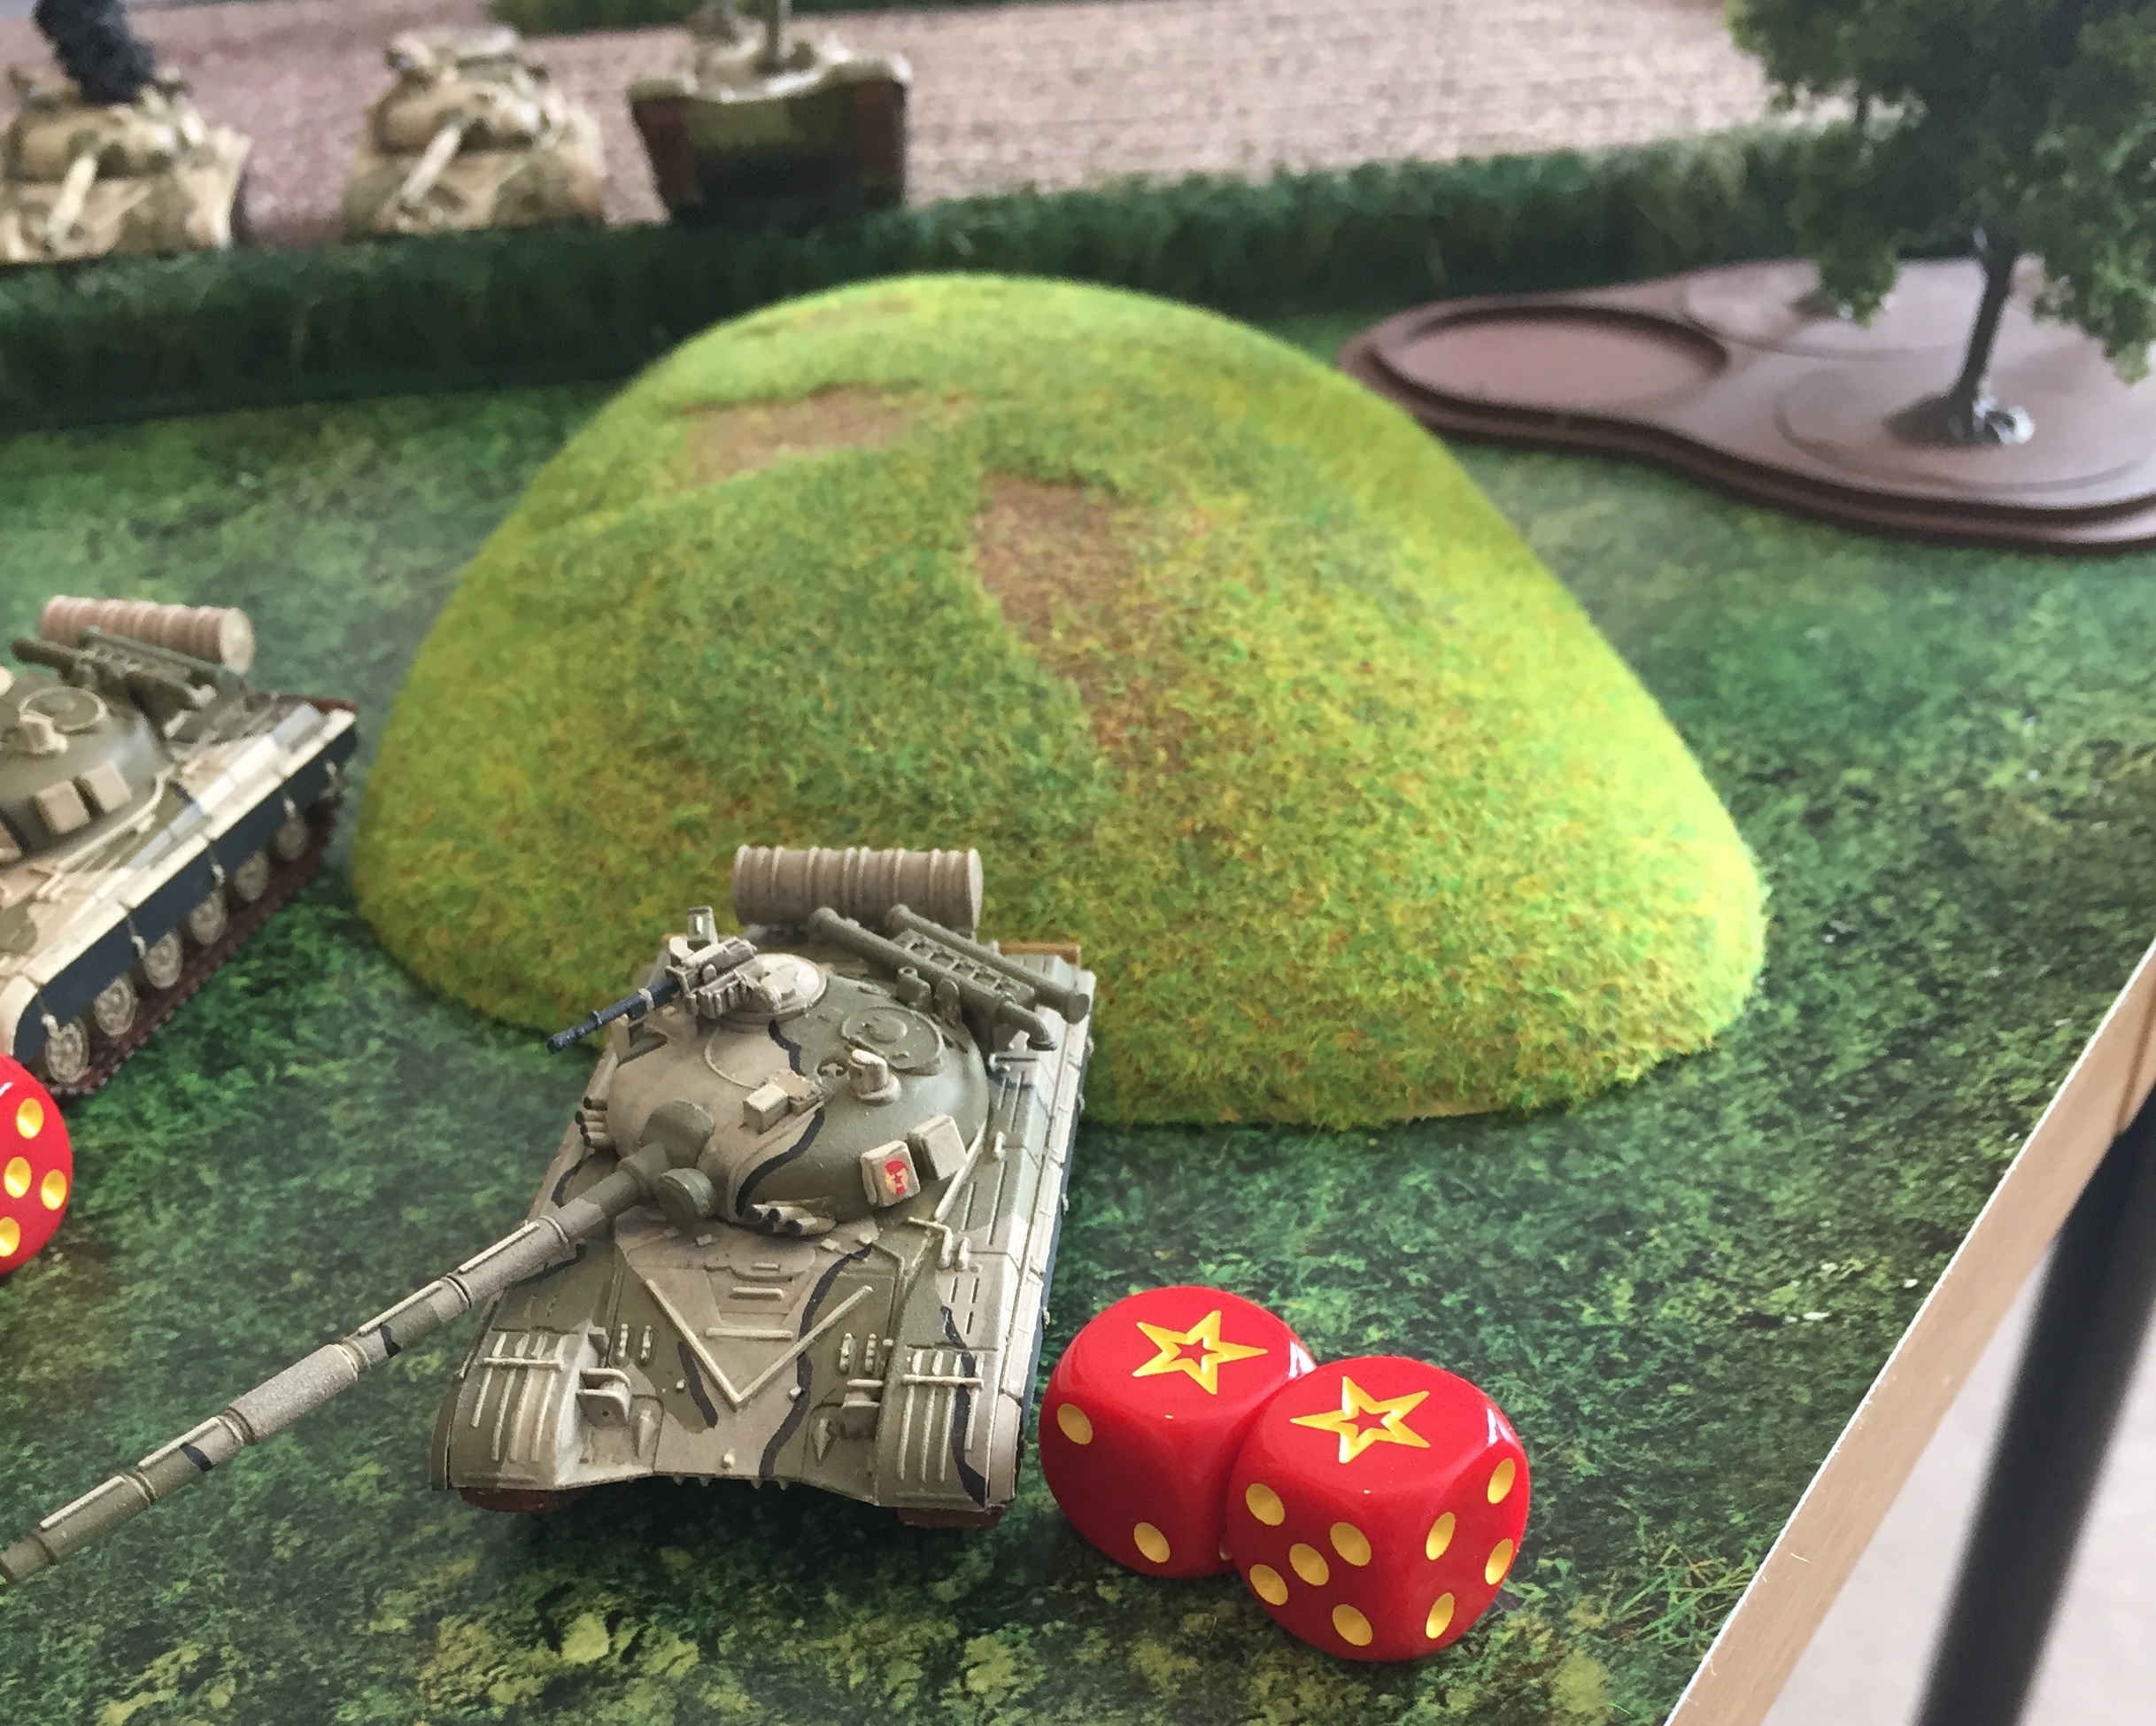
The bailed out T-64 fails to remount and a poor roll means no Soviet fast air will arrive this turn. The infantry continue to press across the open ground towards the dug in US infantry. The BRDMs move through the village to provide supporting fire to the Soviet infantry. However, the US infantry remain safe from the 14.5mm fire in their fire trenches. On the Soviet left flank the 1st T-64 Coy pushes forward to chase down the US tanks but loses a tank as it bogs down crossing an obstacle. 1st Coy engages the US tanks but both shots bounce. The 2nd Coy moves to support 1st Coy and manages to kill an M1IP with a flank shot.
Turn 4
NATO
The 2nd M1IP platoon arrives from reserves and takes up positions to support the Mech Inf platoon. The 1st platoon pulls back to gain cover from the flanking T-64 Company but still has line of sight to the T-64 Coy to their front. The HQ section re-occupy the ridgeline BP to engage the T-64s again. 1st Platoon engage but, again, bounce their shots while the HQ section achieve a kill on a T-64. The US tanks are not causing enough attrition quick enough on the Soviet force. The M113s engage the Soviet infantry, killing a rifle team and an RPG team. The Mech Infantry kill two BRDMS with LAW and the 2nd M1 Platoon quickly dispatch 4 BTRs
SOVIET
Frontal Aviation finally decide to arrive with 2 Su-25’s. The Su-25s launch a missile strike on the 2nd US platoon, killing a single M1IP. On the Soviet left flank the 1st Coy has broken through the US line and the 2nd Coy moves to a position to exploit the gap. The BTRs pull back into cover to escape the fire from the M1IP’s supporting the US infantry. The Soviet infantry move up into positions ready to assault the dug in US infantry. The T-64s of 1st Coy engage the two remaining M1IPs of 1st Platoon but both shots bounce, even at close range. However, a T-64 from 2nd Coy manages to kill one of the US tanks. The remaining M1IP passes the morale check and stays on the field. Under pressure from the Battalion commander to secure the objective the Soviet infantry launch an assault. Unsurprisingly they are beaten back and pinned down by withering US defensive fire from the Mech Inf Platoon, 2 remaining M113s and 3 M1IPs. The Soviet infantry take terrible losses.
Turn 5
NATO
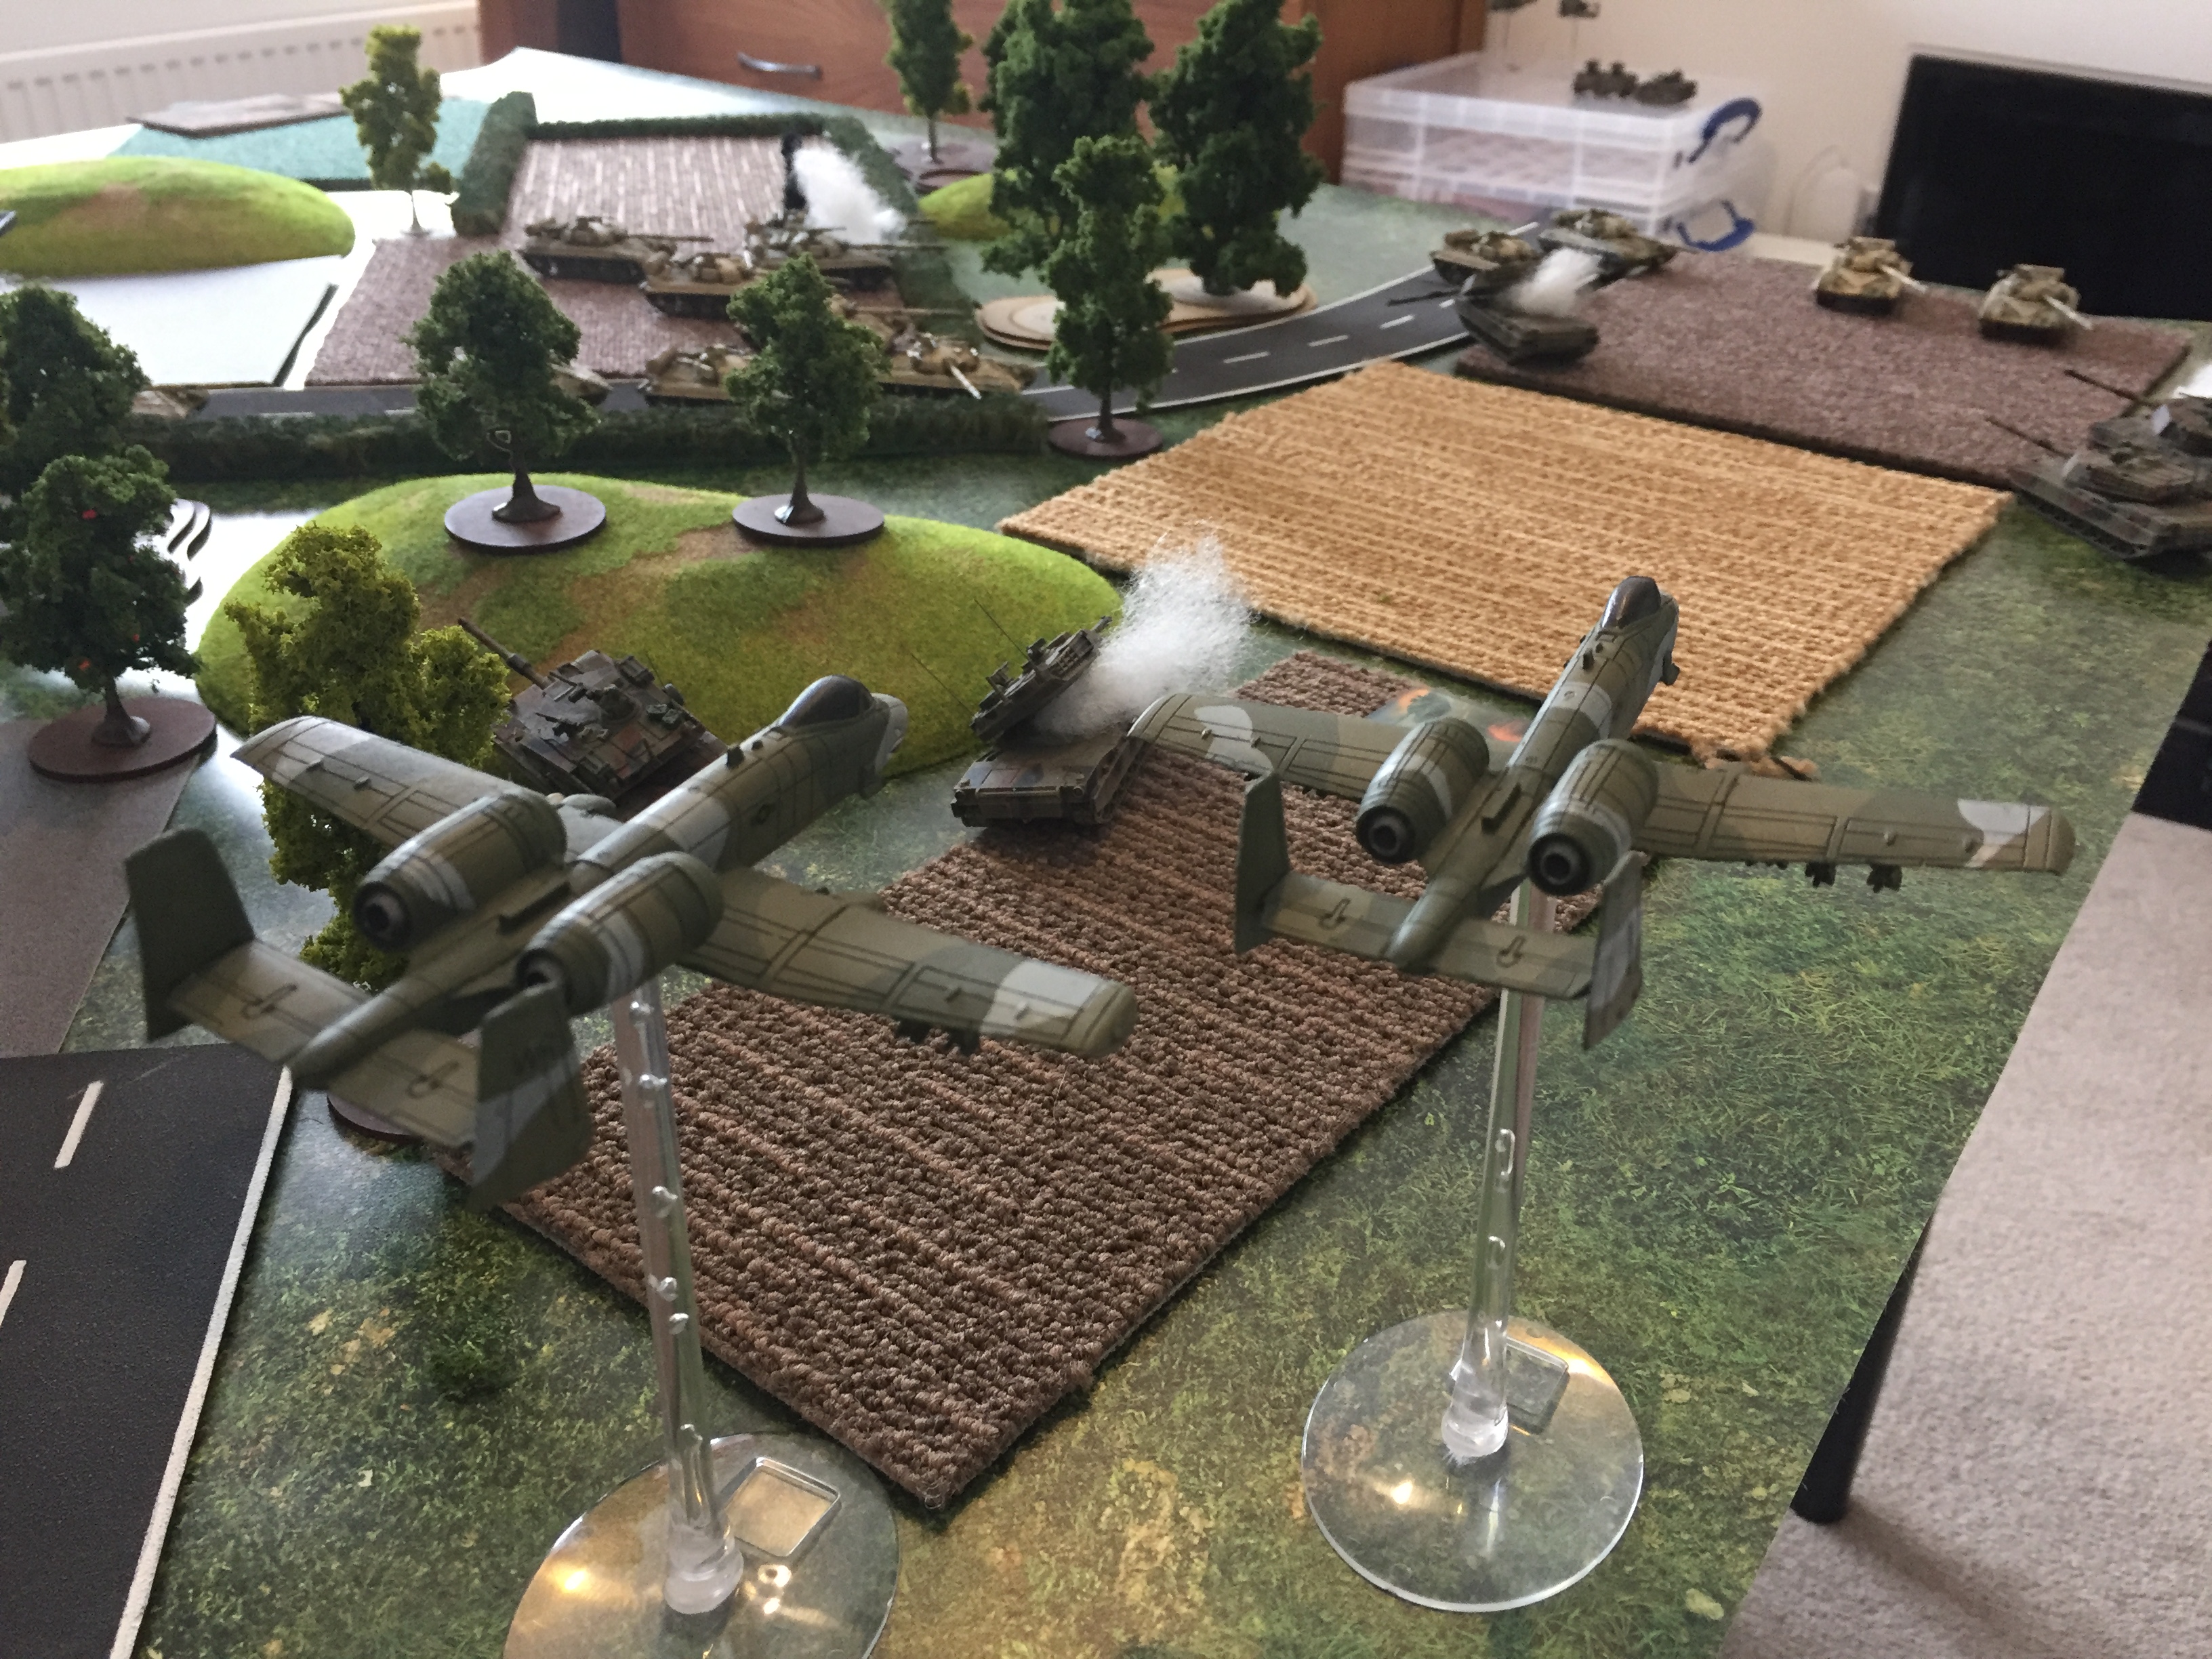
The US commander gets their reserve roll and a flight of 2 A-10s arrive and roll in for an attack on the lead T-64 Coy. The price for their unsuccessful attack is to have the Flight Lead swatted from the sky by a pair pf SA-13, the A-10 wingman bugs out. The 2nd M1IP platoon now quickly relocates to support the depleted 1st Platoon and the HQ section who are under pressure from the surviving T-64s. Despite scoring 4 hits only one T-64 is destroyed. The US commander now senses that the 2nd M1IP platoon would have been of more use engaging the Soviet tanks rather than supporting the infantry platoon.
Battle Report Author
Recommend Commander For Commendation
Share this battle with friends
Ben_CWins

Great table
Great report!
Very nice report, and some goood looking tanks! (on both sides)
Very nice report, good turn summary and those models are damn nice to look at. Commendations for you!
very nicely painted! congrats
You did it Ben, because your models were better painted! Nice terrain BTW 🙂
Really great terrain and excellent models.
Good AAR and supportive pictures
Well done reporting! Love the tabletop…new way of green!LoL
Great report
Well done.
Nice looking forces and a good battle report.
Great report! keep up the good work
I like the paint jobs – they’re very effective and hep the models blend into the terrain.
Fantastic looking pics and good AAR. I just love the sight of Hogs coming in shooting.
Nice looking report. Like the level of detail! Like your T-64s as well!
Well done Comrade! A great AAR and a great victory for the cause.