Fought At Ruhr
2226 days 7 hours 58 minutes ago
Bridgehead at Emmerich
100 POINTSForward Detachment, 3rd Polish Motorized Division “Pomorska”
3rd Polish Motorized Rifle Division had been moved west from occupation duty in Denmark to strengthen 1st Polish Army, which was being used to widen the shoulders of a breakthrough achieved yesterday by the 1st Motorized Rifle Division and the 8th East German Division.
The Army commander had decided to commit the 3rd from his 2nd Echelon forces to sweep the east bank of the Ijssel River, seeking an opportunity to find other crossings. The 8th Motorized following behind the 1st Motorized was already being delayed by NATO airstrikes and resupply columns necessary to support the 1st and the Soviet tank brigade that was on the other side already.
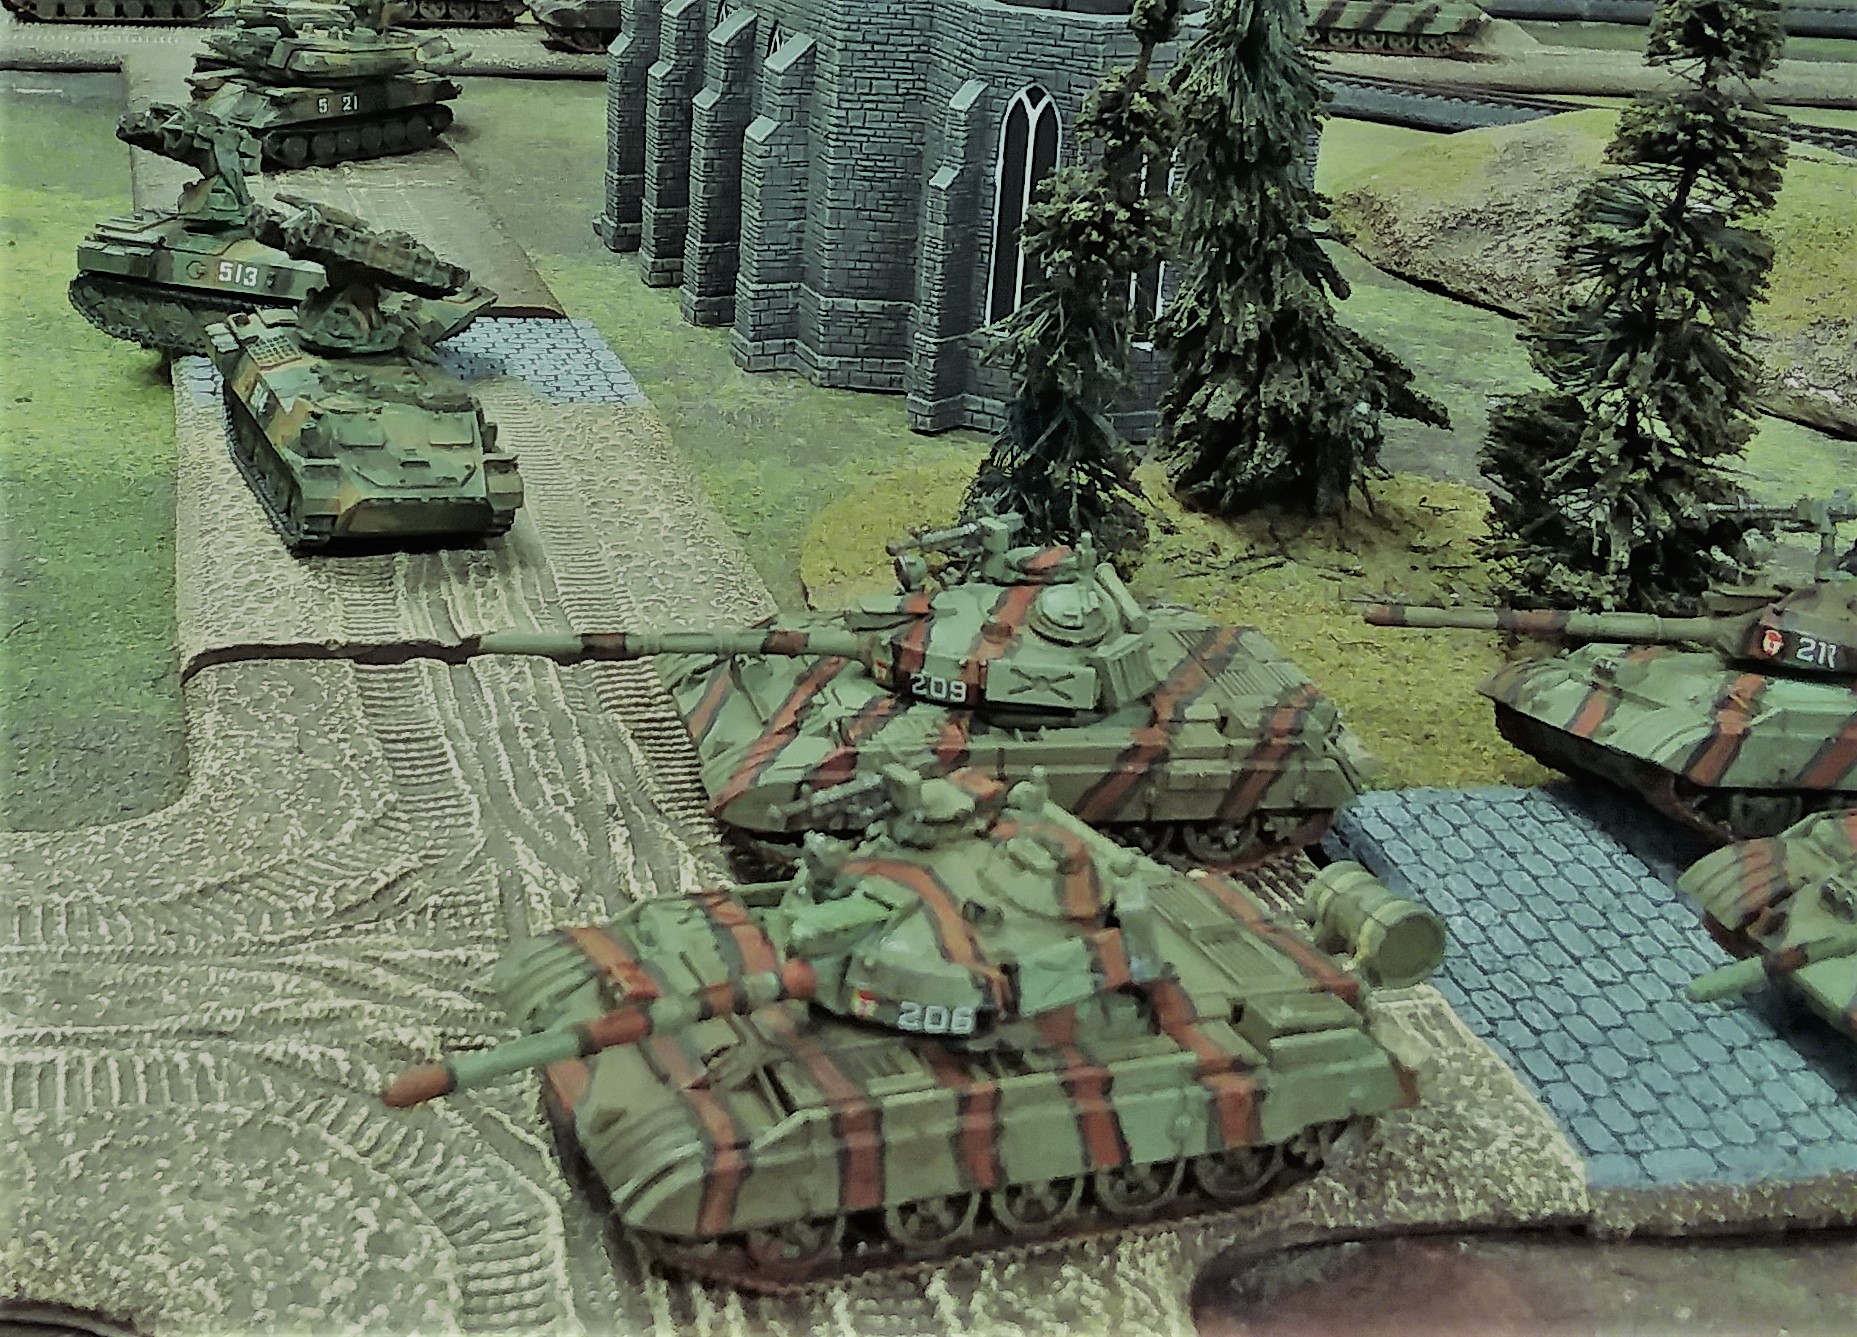
Pudpulkownik Yakub Niktnie led the Forward Detachment of the 3rd,which he privately thought of as Niktnie’s Uhlanski. The tip of the spear. His own command was the 3th Reconnaissance Battalion, and was augmented by tanks from the 5th Tank Regiment as well as some from the second echelon 45th Motor Rifle Regiment, as well as BMP-1s. His force had been augmented by a company of BMP-2s from the 5th Polish Tank Division.
Meanwhile Kamphgruppe Huber was moving to protect the vital bridge at Emmerich from PACT capture. NORTHAG had directed the bridge be kept open to facilitate troop movements to Nijmegen, where a sudden renewal of enemy activity seemed to presage an attempt to split NORTHAG completely in half
The fighting took place west of Emmerich on the north bank of the Rhine. The scenario was bridgehead. SW had to leave all but one air/tank unit off the board, and chose the Leopard II unit as an ambush, and also placed the LARS plus observer, the two Marder Platoons, the Jaguar Is.
I used spearhead to flank his position. SW had failed to build any spearhead units to oppose it and the results were devastating.
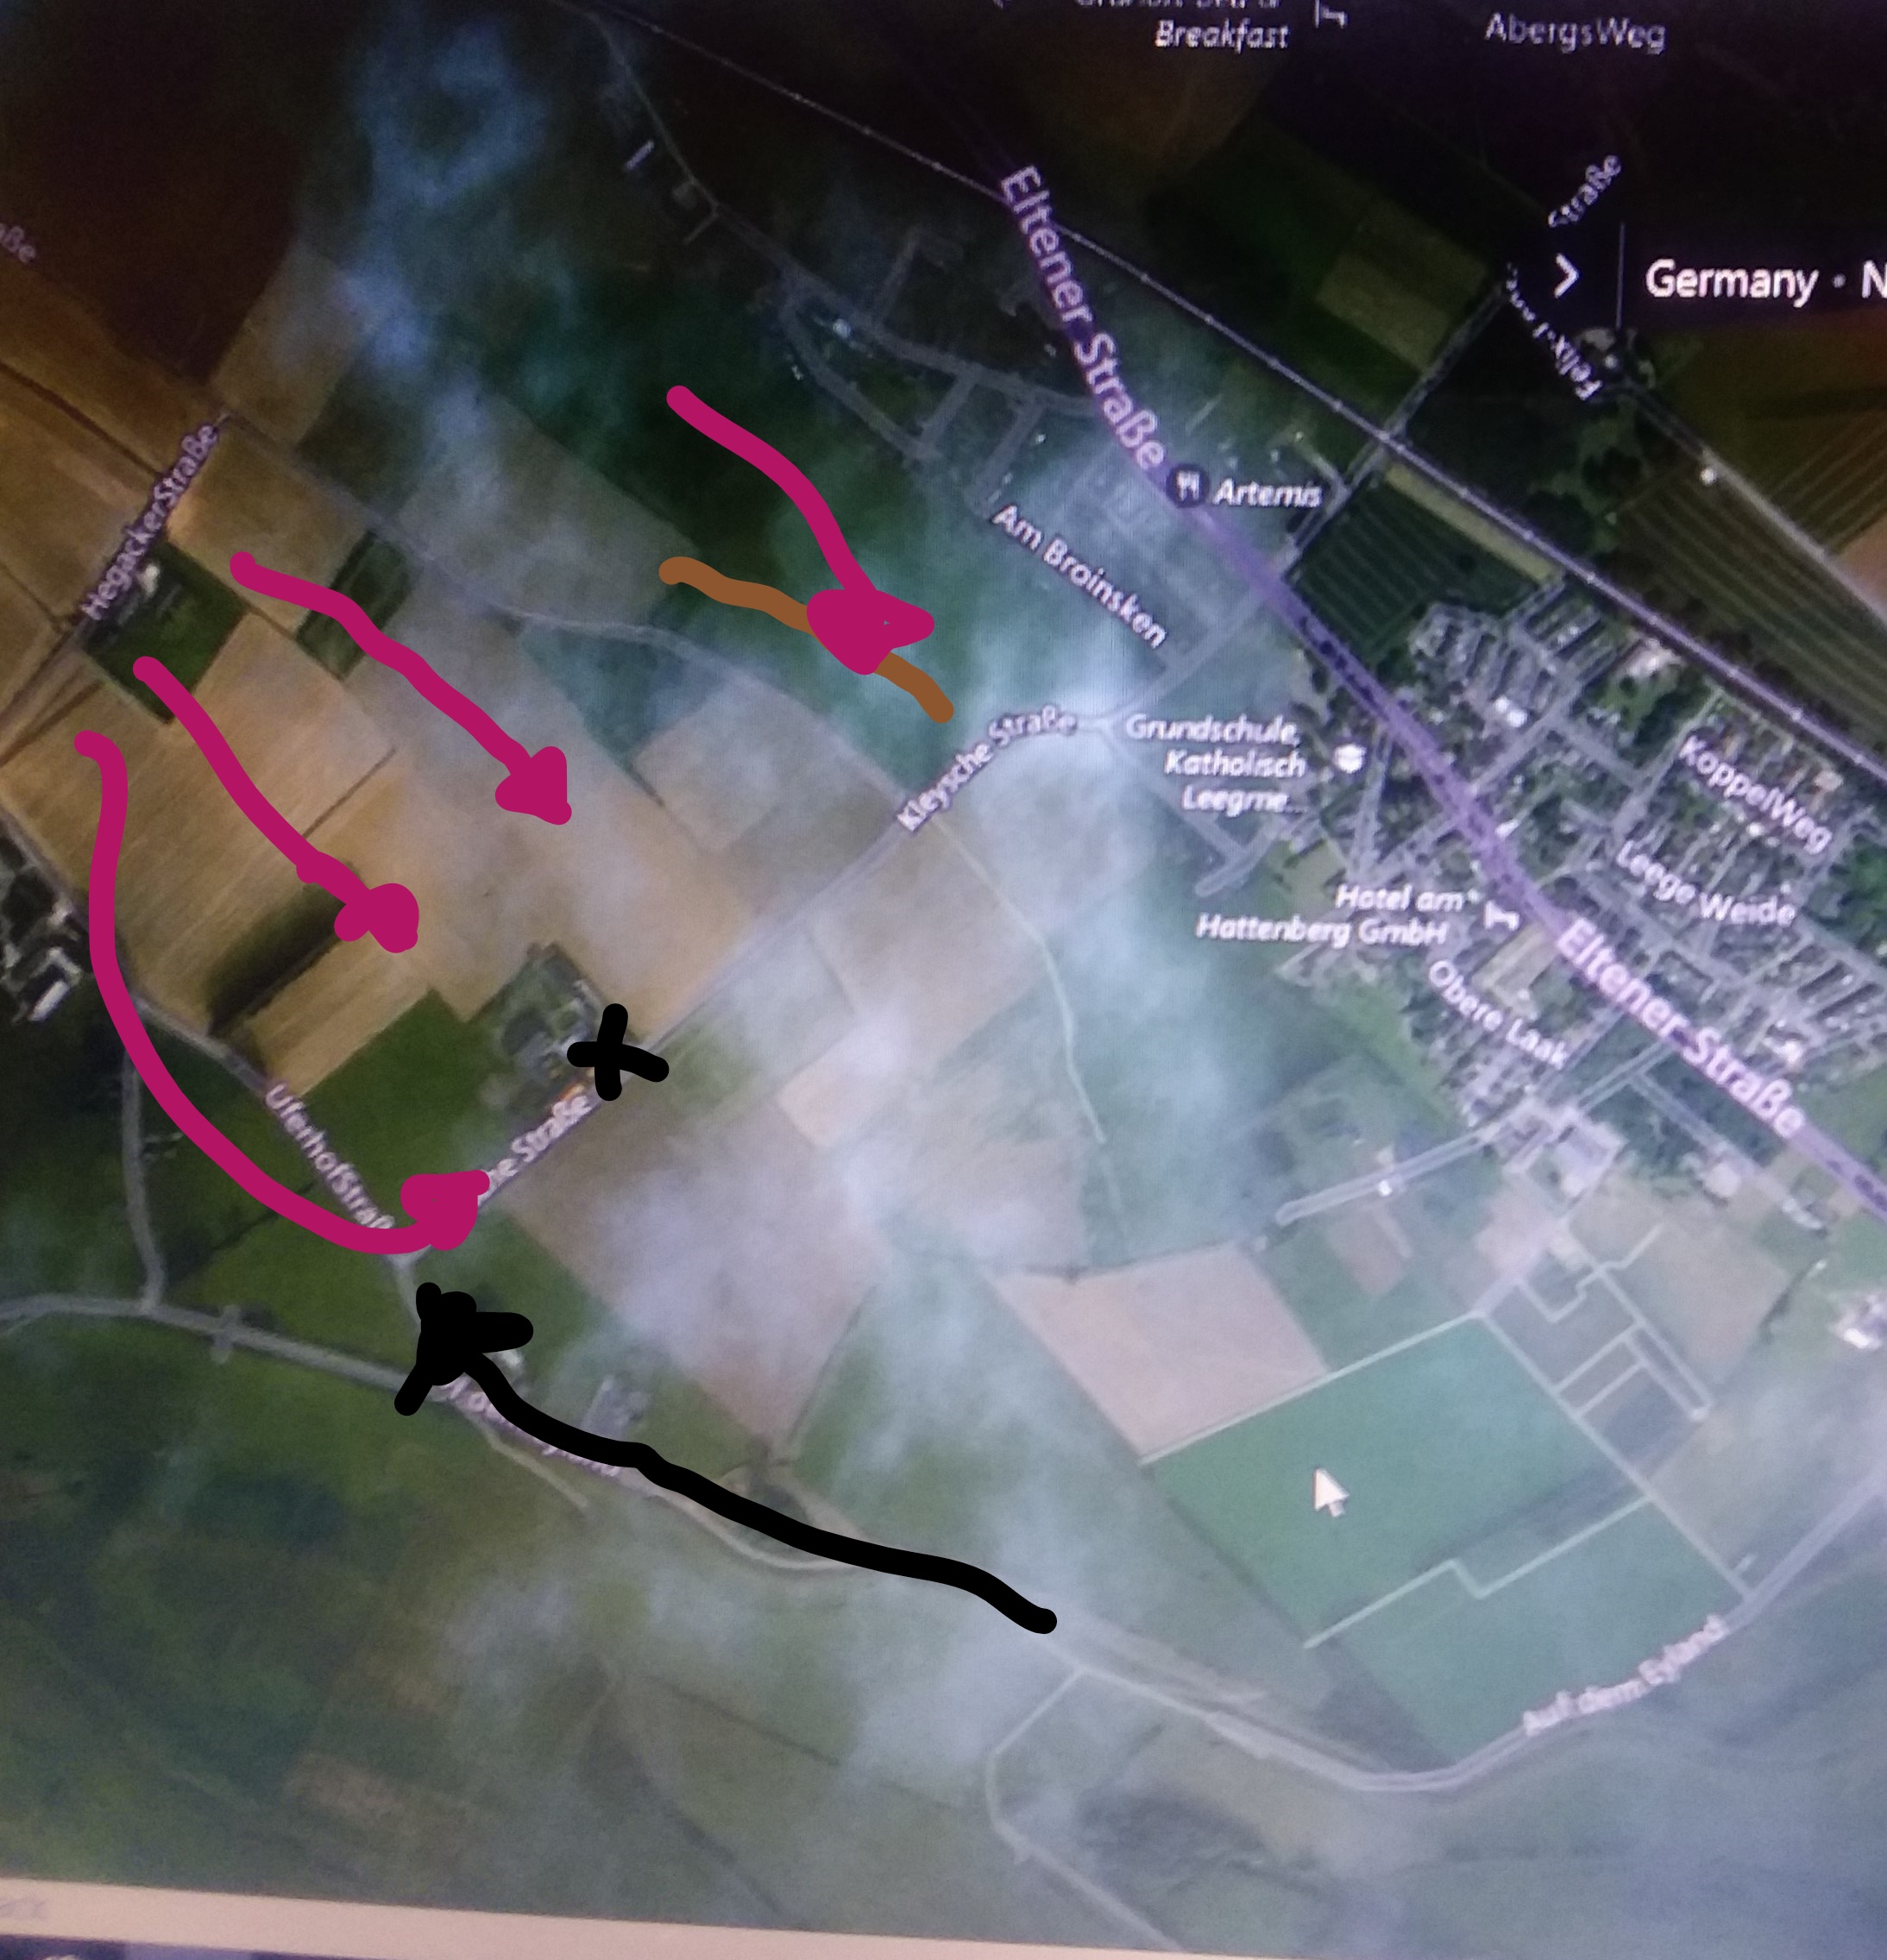
I freely admit this is crudely done but it gets the point across. Emmerich is off the lower right corner. I was attacking SW from the northwest and he would reinforce on the left once. The higher ground on the north would figure mightily in what happened. You'll see the hill covered with my tanks.
SW set up behind a screen of trees with open spots covered by mines. There was a large field in the middle of his position. One infantry platoon covered the northern flank, and the other covered the southern flank. The Jaguars and Marders were spread out away from the objectives I place to avoid getting hit by preranged in fire. The LARS were behind a hill in center court.
I spearheaded on both flanks and set up tanks as far forward as possible. His line of sight from one corner precluded a full spearhead from my first unit but the 8" bubble allowed the BRDMs to leapfrog off the BMPs and so I pushed BRDMS, infantry, BMPs into the southwest corner while keeping T55s and T72s on high ground there to shoot at the vehicles parked in low terrain. I duplicated this deployment to the north, while my center consisted of Spandrels, BMP-2s artillery and 7 T72s plus my other infantry company. The Hinds loitered, the infantry attachment deployed with my No.2 company in the southwest.
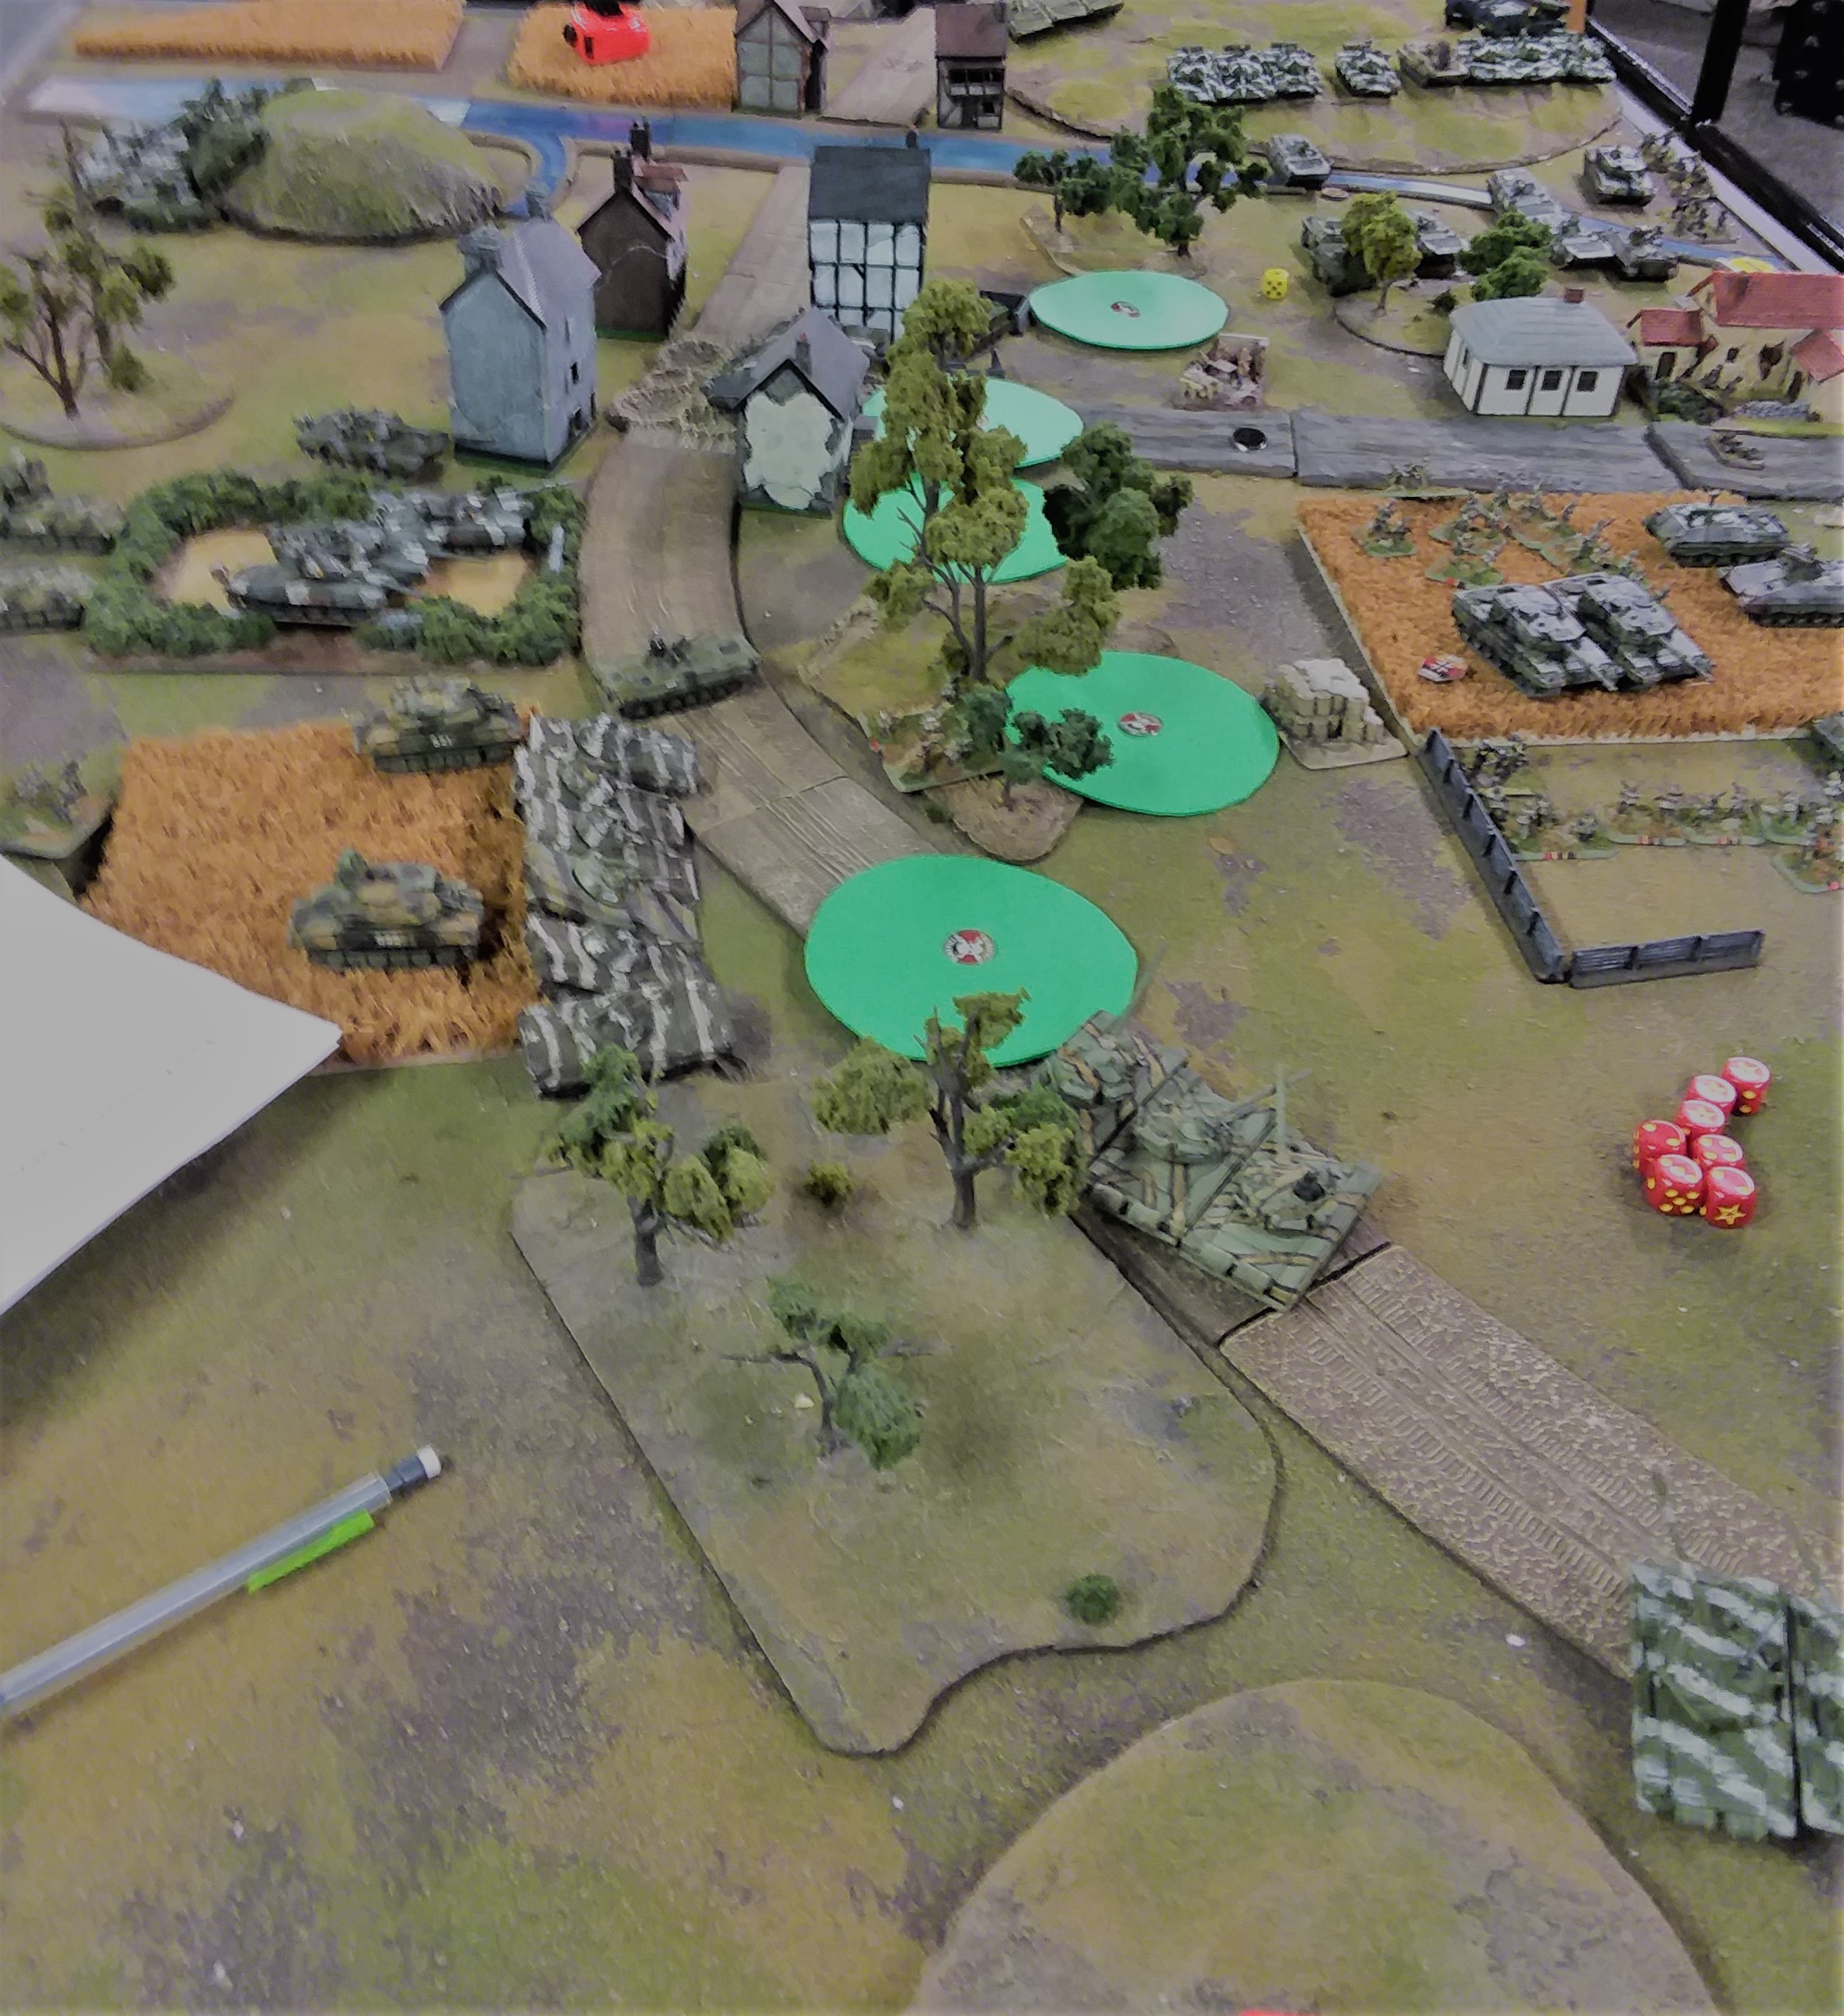
Unfortunately I didn't take a starting position picture; was too wrapped up in setting up. But this view lets you look along what was SW's position. What you are seeing is Turn 2, PACT
Turn 1
I immediately put on the pressure, attacking from the southwest with Infantry Company No.2 and the Airlanding detachment. The Leo IIs weren't up so I kept the Hinds in loiter to avoid having them shot when he brought his Gepards on early. I also raided his rear area with the BRDMs, shooting up the LARS, bagging one. With no tanks out, the Marders and Jaguars were fair game and I even got close enough with the airlanders to kill one and bail another, which the airlanders promptly killed. Backed up by massed MGs. the No.2 company AGL-17, I pinned the 2nd Zug and assaulted them, too. Cannon fire missed the third Jaguar and wrecked only one Marder. Meanwhile My northern flank executed an infantry team and a Marder and probably destroyed every window in the suburb.
My infantry company managed to close on his 2nd PG Zug, and killed two stands. SW had no choice but to counterattack and killed one of mine, but because the BC was in the middle, my guys refused to come back and retired. His 'bubble' forced the Air landers back into the woods where they started, and this was fortunate.
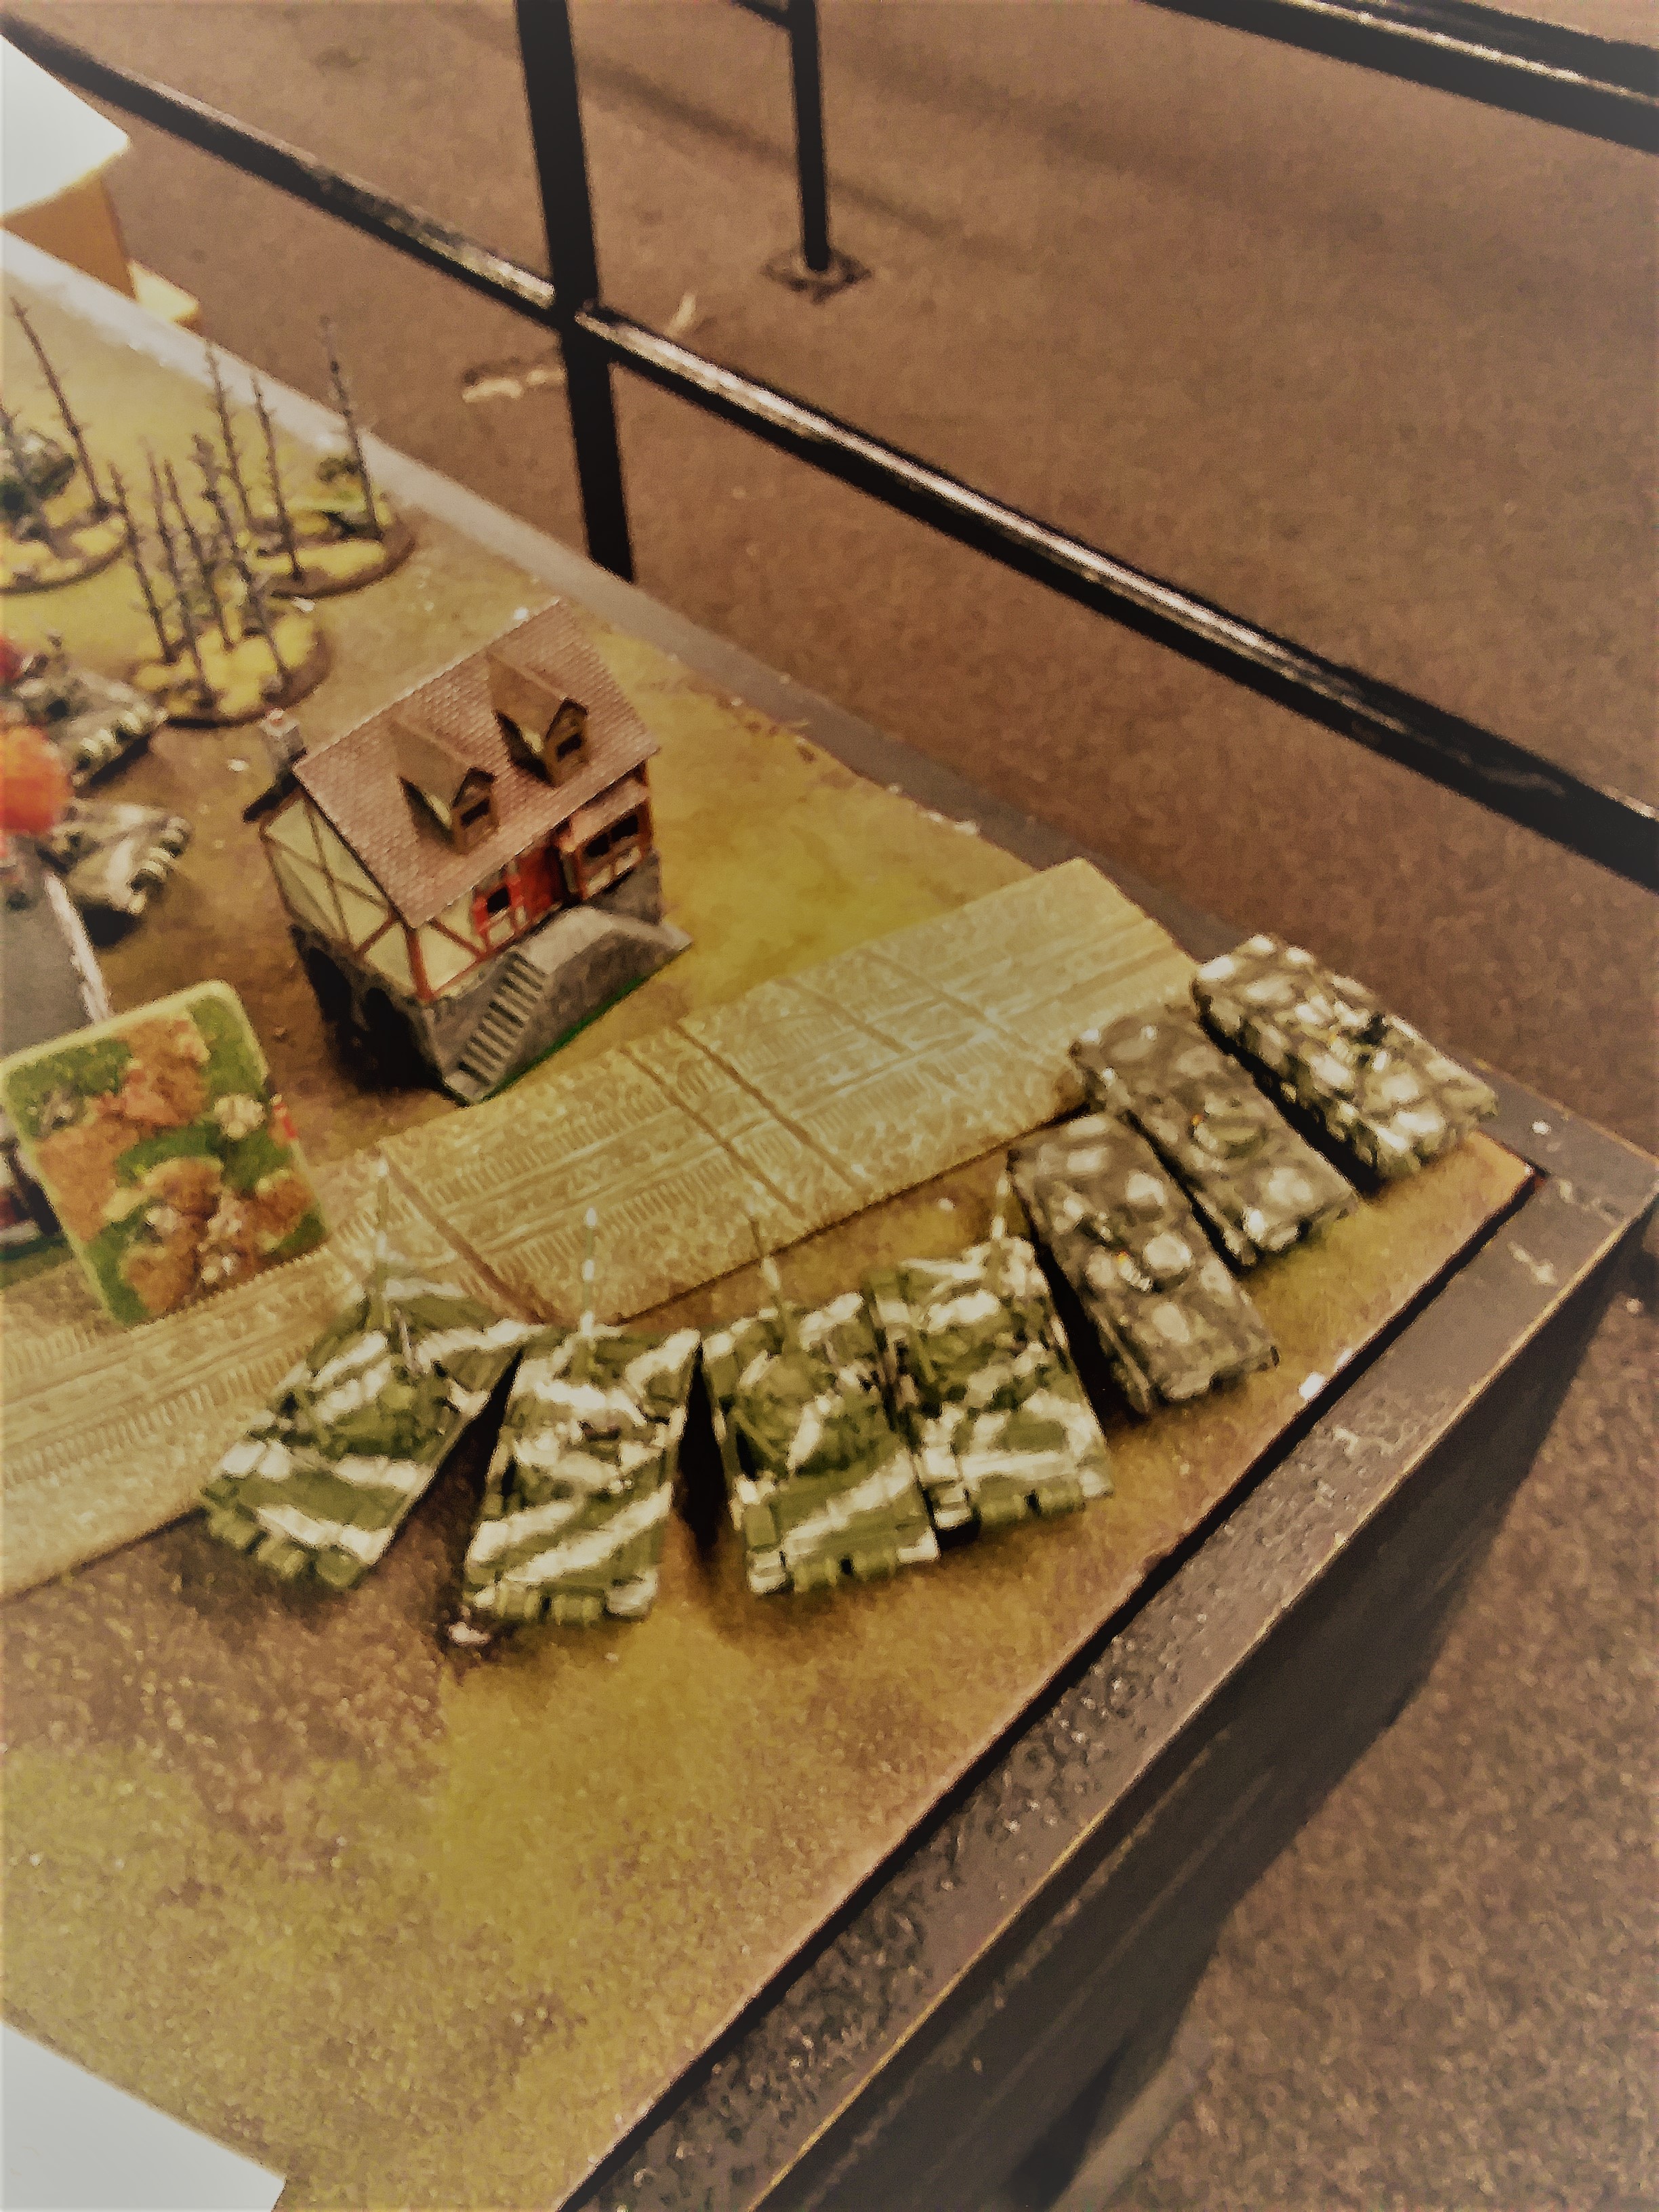
SW got his reserves and picked Gepard and ended up with them in the southern corner. He freely admitted that at this point he saw no hope, and was going for points. He concentrated a great deal of fire including one of his Leopards executing the T72 company, successfully destroying all the vehicles. But this was the extent of his success. He ambushed me with the Leo IIs and one contributed to the T72 massacre, and the second contributed to knocking out one threatening T72M in my center while the other fired ineffectively at my T72s that you see in the near foreground. His LARS executed a preplanned minefield mission, filling in gaps in his minefields which might have been inconvenient had the game continued longer.
Turn 2
My No.1company was able to get into assault distance by filtering a gap in the minefields. SW had remained pinned thanks to the first turn's festivities. My BMP-1s pressed the attack from the north, closing in on his 2 surviving Marders there. Many dice were rolled, and another Marder died.
Meanwhile there were two main events. My Hinds put in their appearance, and joined in shooting at the three Leopards from all directions. The Hinds were out of range from both Leo IIs and Gepards, and only endured fire from three Marders 1 at short range and two at long range. All missed. The T55s on the high ground to his rear accounted for one dead, and the T72Ms to his front (foreground of first picture) accounted for another on a failed armor save. The Hinds and a T72 platoon on low ground behind him did for the last one.
The Gepards got whittled from all directions. The 3 stands of infantry in the woods hit two and bailed them. The T55s and the BMPs each hit one, the BMPs getting a bail and the T55 flaming one.
Then the assault phase finished the game. The bailed Gepards all died to the infantry assault. My No.2 company killed two more stands in 2nd Zug, which failed to counterattack. Its stand recoiled away, and my No.1 company attacked the remaining stand and the dug-in company commander near the objective. The stand died and SW declined to lose the battle by losing his company commander. But the death of the last stand of 2nd Zug eliminated its supporting Marder, so SW had no reinforcements (the only on-table unit of the Leo I company was Gepards and dead) and my infantry consolidation had put the objective solidly behind my lines, and only his commander's ride could have contested the other objective. SW resigned
The two surviving BRDMs managed three hits on 3 LARS and Bill didn't manage a save.
SW's main problem is one I try to steer the NATO players away from. You should not choose DEFEND as a battle plan. 2/3 of the time an attacking PACT player will force you into deep reserves, and typically have plenty of infantry to deal with inconveniences like mines.
Aftermath
The rapid advance of Niktnie's Uhlanski destroyed the rest of Kamphgruppe Huber on the road, and they quickly pushed over the Emmerich bridge, opening the way for 5th Polish Tank Division to become 1st Polish Army's OMG
Battle Report Author
Army Lists Used In This Battle
Recommend Commander For Commendation
Share this battle with friends
bayankhanWins

Commended
Nice report Nice to the Poles make an appearance
I USED TO DO BATTLEFIELD TOURS THERE 😉
Now we invite the Poles for chai
well presented AAR quick succes
B,
Nice report, glad to see you where final able to push lead vs paper!
Solid 8 with commendation
Next time you need to play for the NATO second Division team “France”, you’ll be right at home after playing these guys.
Love see the Polish throw in. Good report. Thanks for posting and congrats on the win.
Well done! Another great game and AAR!
Great win. Great report. Congrats my friend.
Spearhead vs no spearhead with nearly ideal terrain had a lot to do with this. I should have put the No.1 company in the southern flank and charged north – then his counterattack would have been countered by a third unit using the surviving Jaguar as a target, and possibly wiped out with no place to go. Unfortunately the structure of his list left him without spearhead capability making the game a geometry exercise.
No. SW plays at our store, and it was late when I posted this…
I think you got your opponents confused. You sometimes call them BH in your report. It’s he not your usual opponent?
+++
Good to see some Soviet Commanders are still in good form and to see our Polish echelons arriving to the front.
Winnig a 100 point battle in 2 turns is very impressive.
Dziękuję