Fought At Ruhr
2200 days 17 hours 31 minutes ago
2nd Alme
90 POINTS8th Division counterattack at Alme repulsed by 4th Motorisierte

Alme sector. After the late afternoon attack by 5th Guards Tank Brigade, the 8th Division tried to outflank their position to the southeast, and ran into 24th Motorized Schutzen, 4th Motorisierte Division. Attack is coming from bottom slanting to northeast
Fitzi and I got one last game in. It was his turn to choose 'offensive' or 'defensive' in our store campaign. He picked 'offensive' chose ATTACK as his battle plan and I chose DEFEND
Fitzi was playing an armored cavalry troop and I was playing a motor rifle force, with 5 small infantry companies. Battleplans resulted in FIGHTING WITHDRAWL. Fitzi finally got his night mission against me, and was determined to make the most of it.
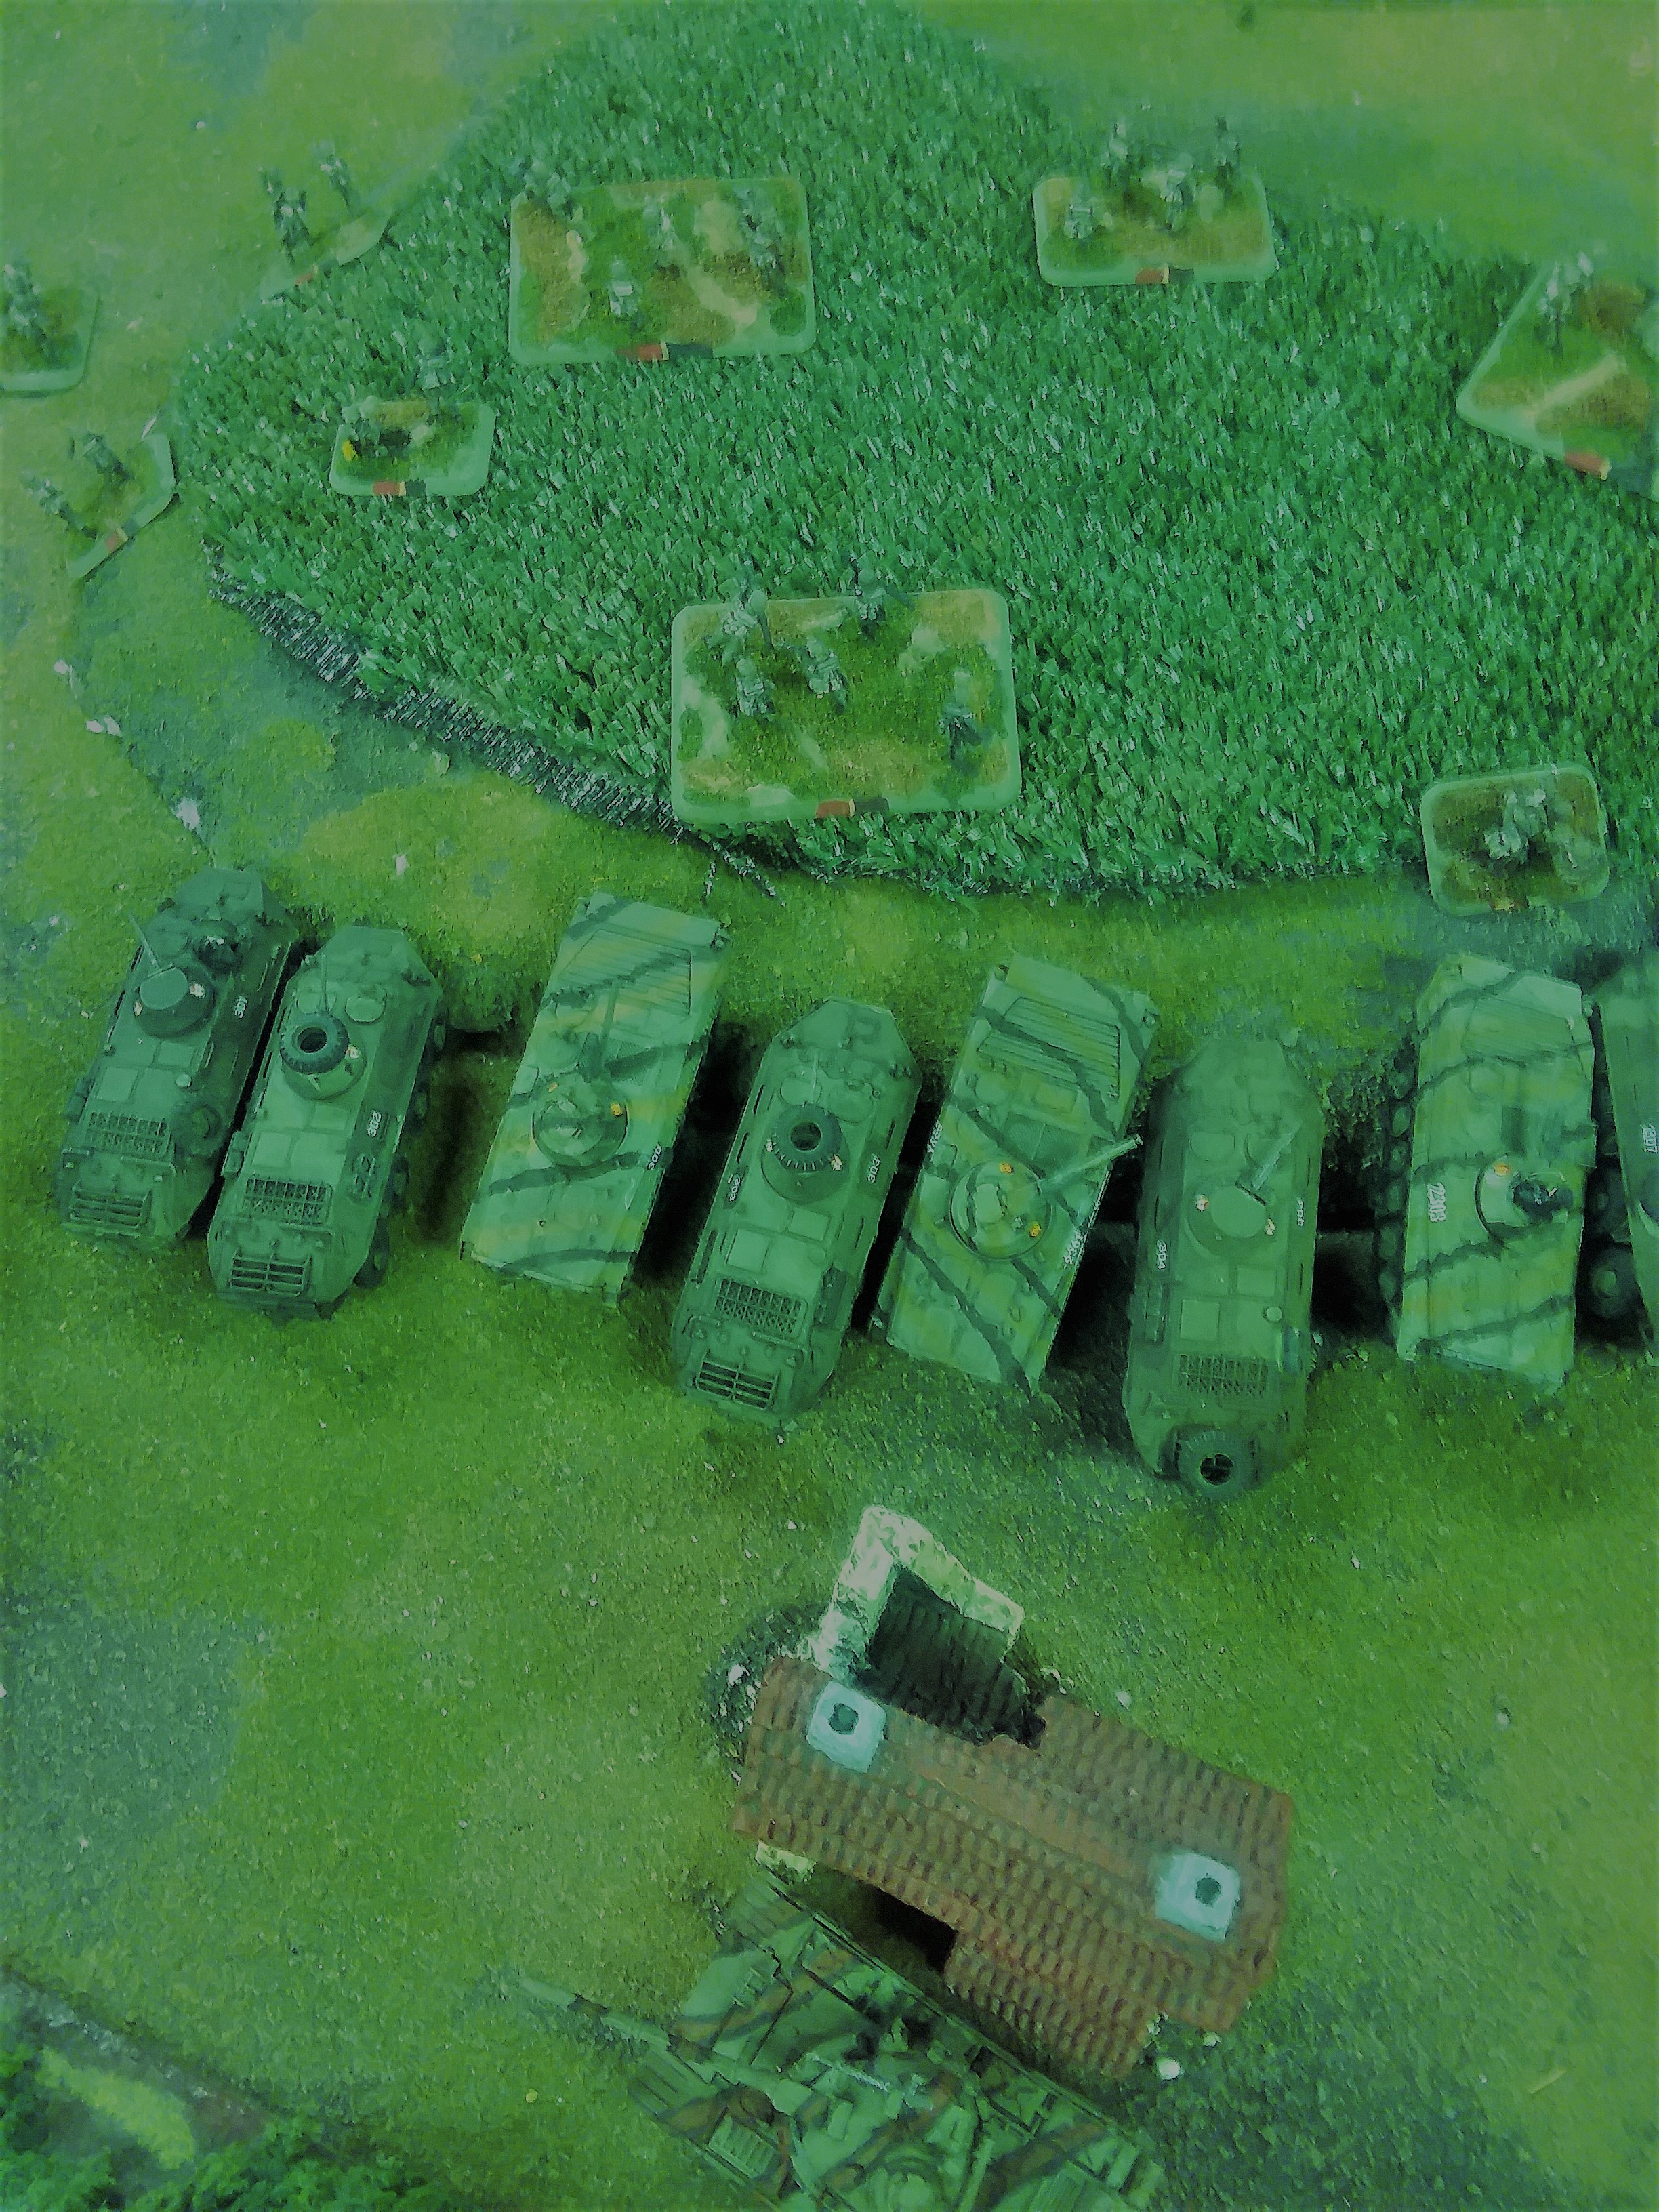 I set up 4 companies of infantry across the width of the table, placing minefields in the northwest sector. The BTR60 companies were in the left flank, with one of the BMP companies in the center and the mine-protected right flank held by the second BMP company. My BMP-2s were my ambush. A T72 unit rounded out my right flank and the T55s backed up my left flank. The arilanding company and my Spandrels were in the center. I've had a lot of success using BTRs to shred enemy infantry and light vehicles so they were placed in cover but where they could get out in front readily.
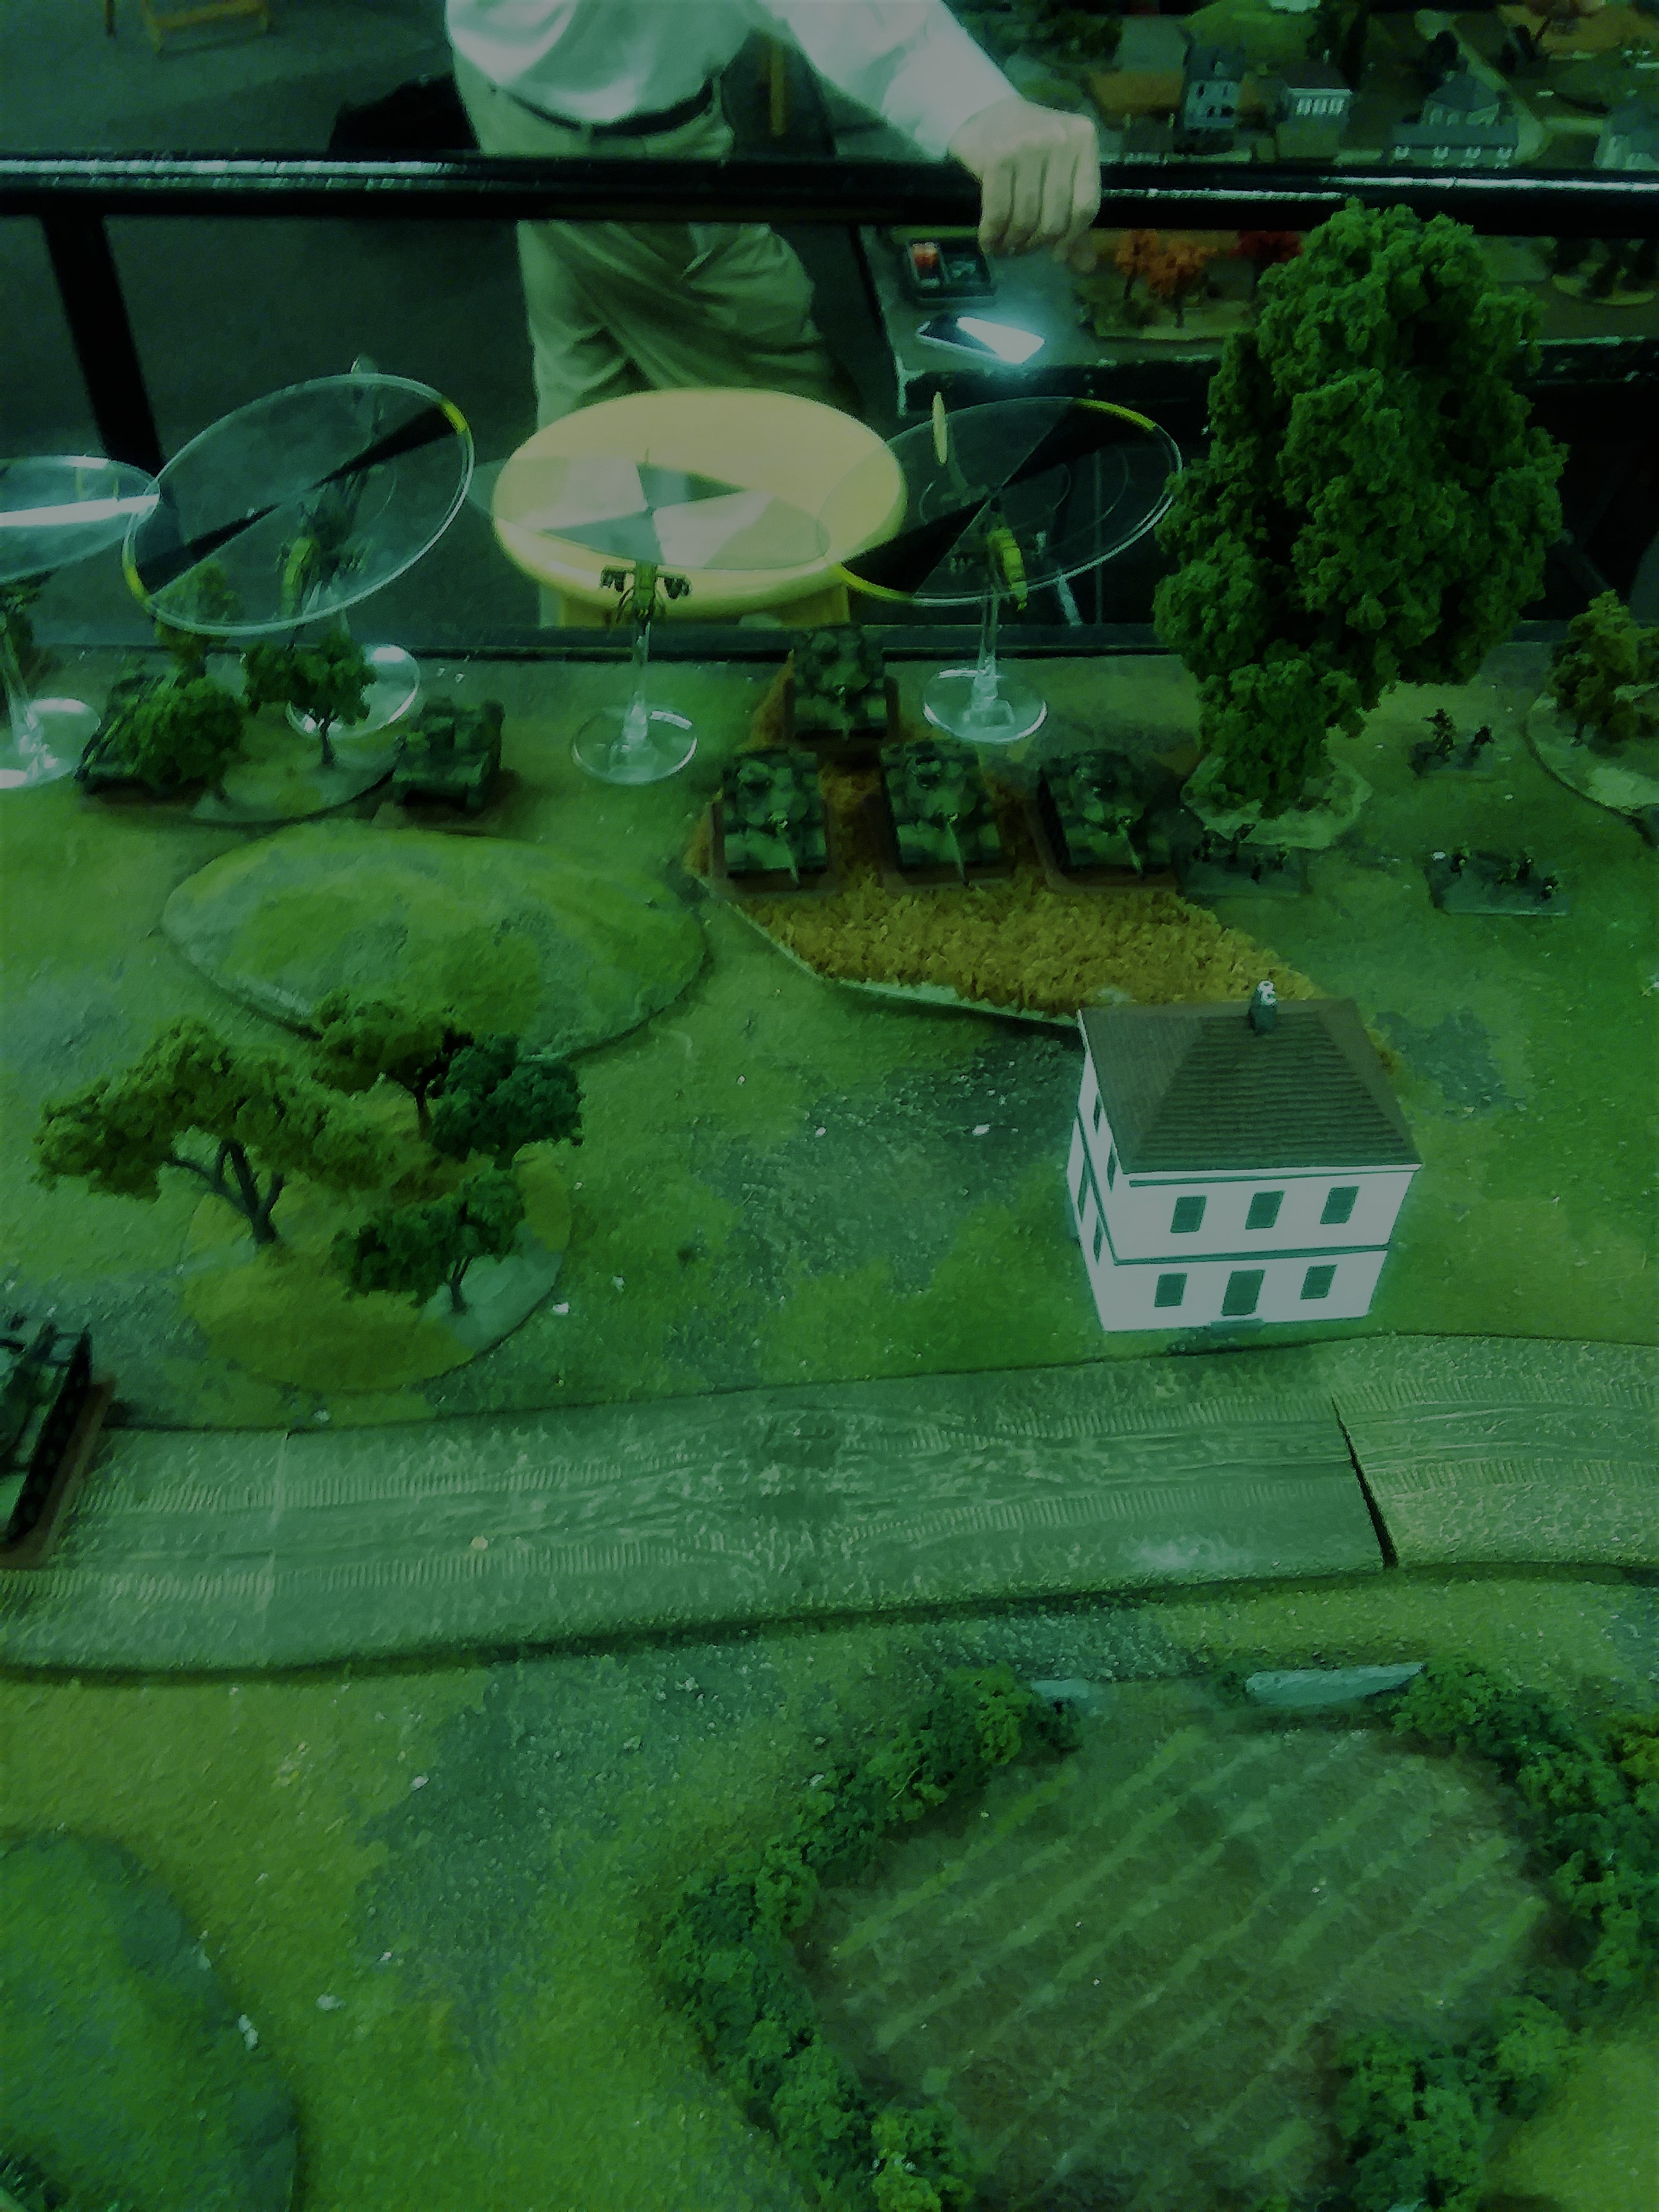 Fitzi setup his tanks on the southwest and center sectors, staying well clear of the outskirts of Alme and the mines. He covered that flank with two scout sections, and we wtached each other watch each other in this sector until the last turn. Fitzis southwest flank (which you'll see in the next picture) including 7 more M60s, the HQ, a scout section, the VADs, the artillery and the Cobras. The one week setup was putting the airmobile platoon in the center, as they couldn't cooperate with the tanks. Fitzi has had recent experiences being wirebrushed by AGL17s and in fairness, I think he was waiting to eliminate one or two from the equation with tank fire. The infantry is behind the left (northern) flank of the M60s in the picture
 No A10s, so Fitzi held the Cobras and then rolled forward and opened fire. This time he remembered the pain from the Spigot/SAGGER barrage so he carefully maneuvered close to my positions, staying just over 4 inches away from my front line. A hail of tank fire killed 2 rifle teams and an AGL team and pinned my left flank unit. His artillery observer couldn't see anything - too far back.
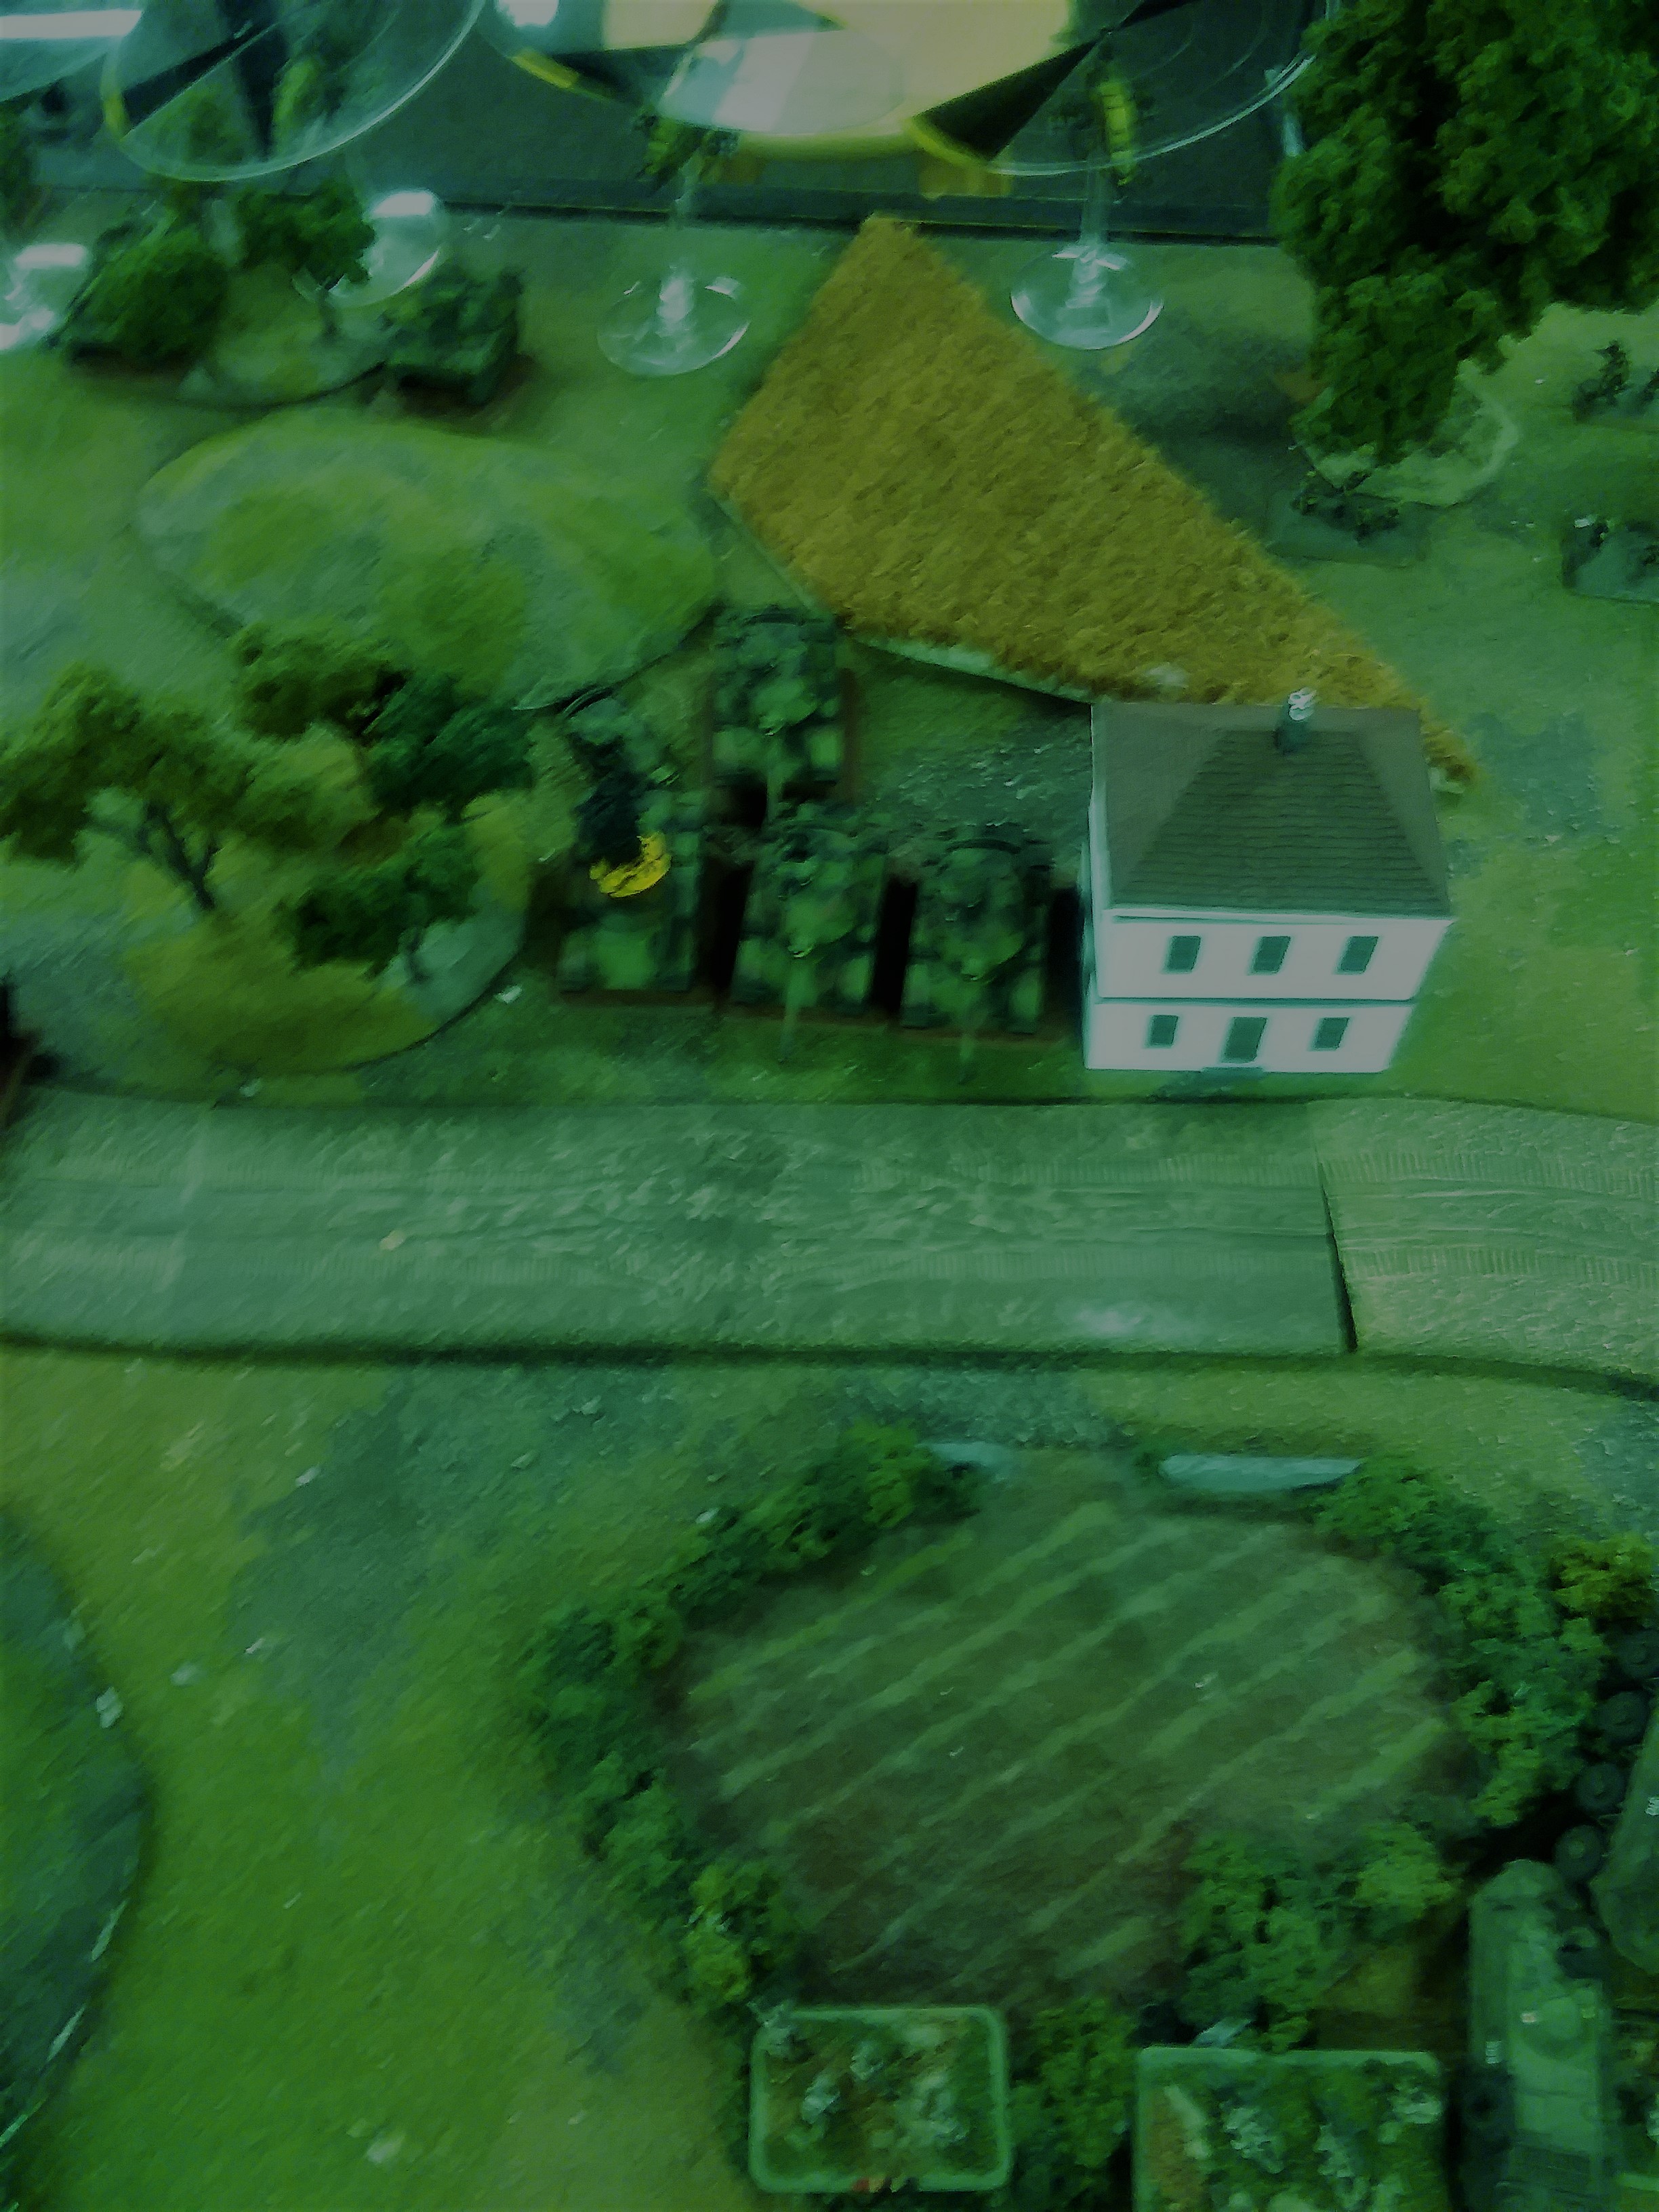 I advanced my BTR70s, filling in spaces with them, knowing full well they would be wrecked, but would potentially provide convenient cover for my infantry when I went tank hunting. With his tanks all lit up, I fired with three infantry Spigot teams. They tried to 'see' the VADs, but only managed to see the cavalry scouts and the company commander. I lit up the cavalry scouts, throwing 14 dice hitting 5's (gone to ground only applies to terrain, not night shooting penalties). Fitzi cooperated by rolling a 1 and a 2 among his 5 required saves, and the scouts left the building. Two generated one hit on the M60 depicted. The other, up on the ridge, managed to 'see' the VADs but didn't produce any 5's or 6's. The rest of my infantry stayed gone to ground. Nothing else moved.
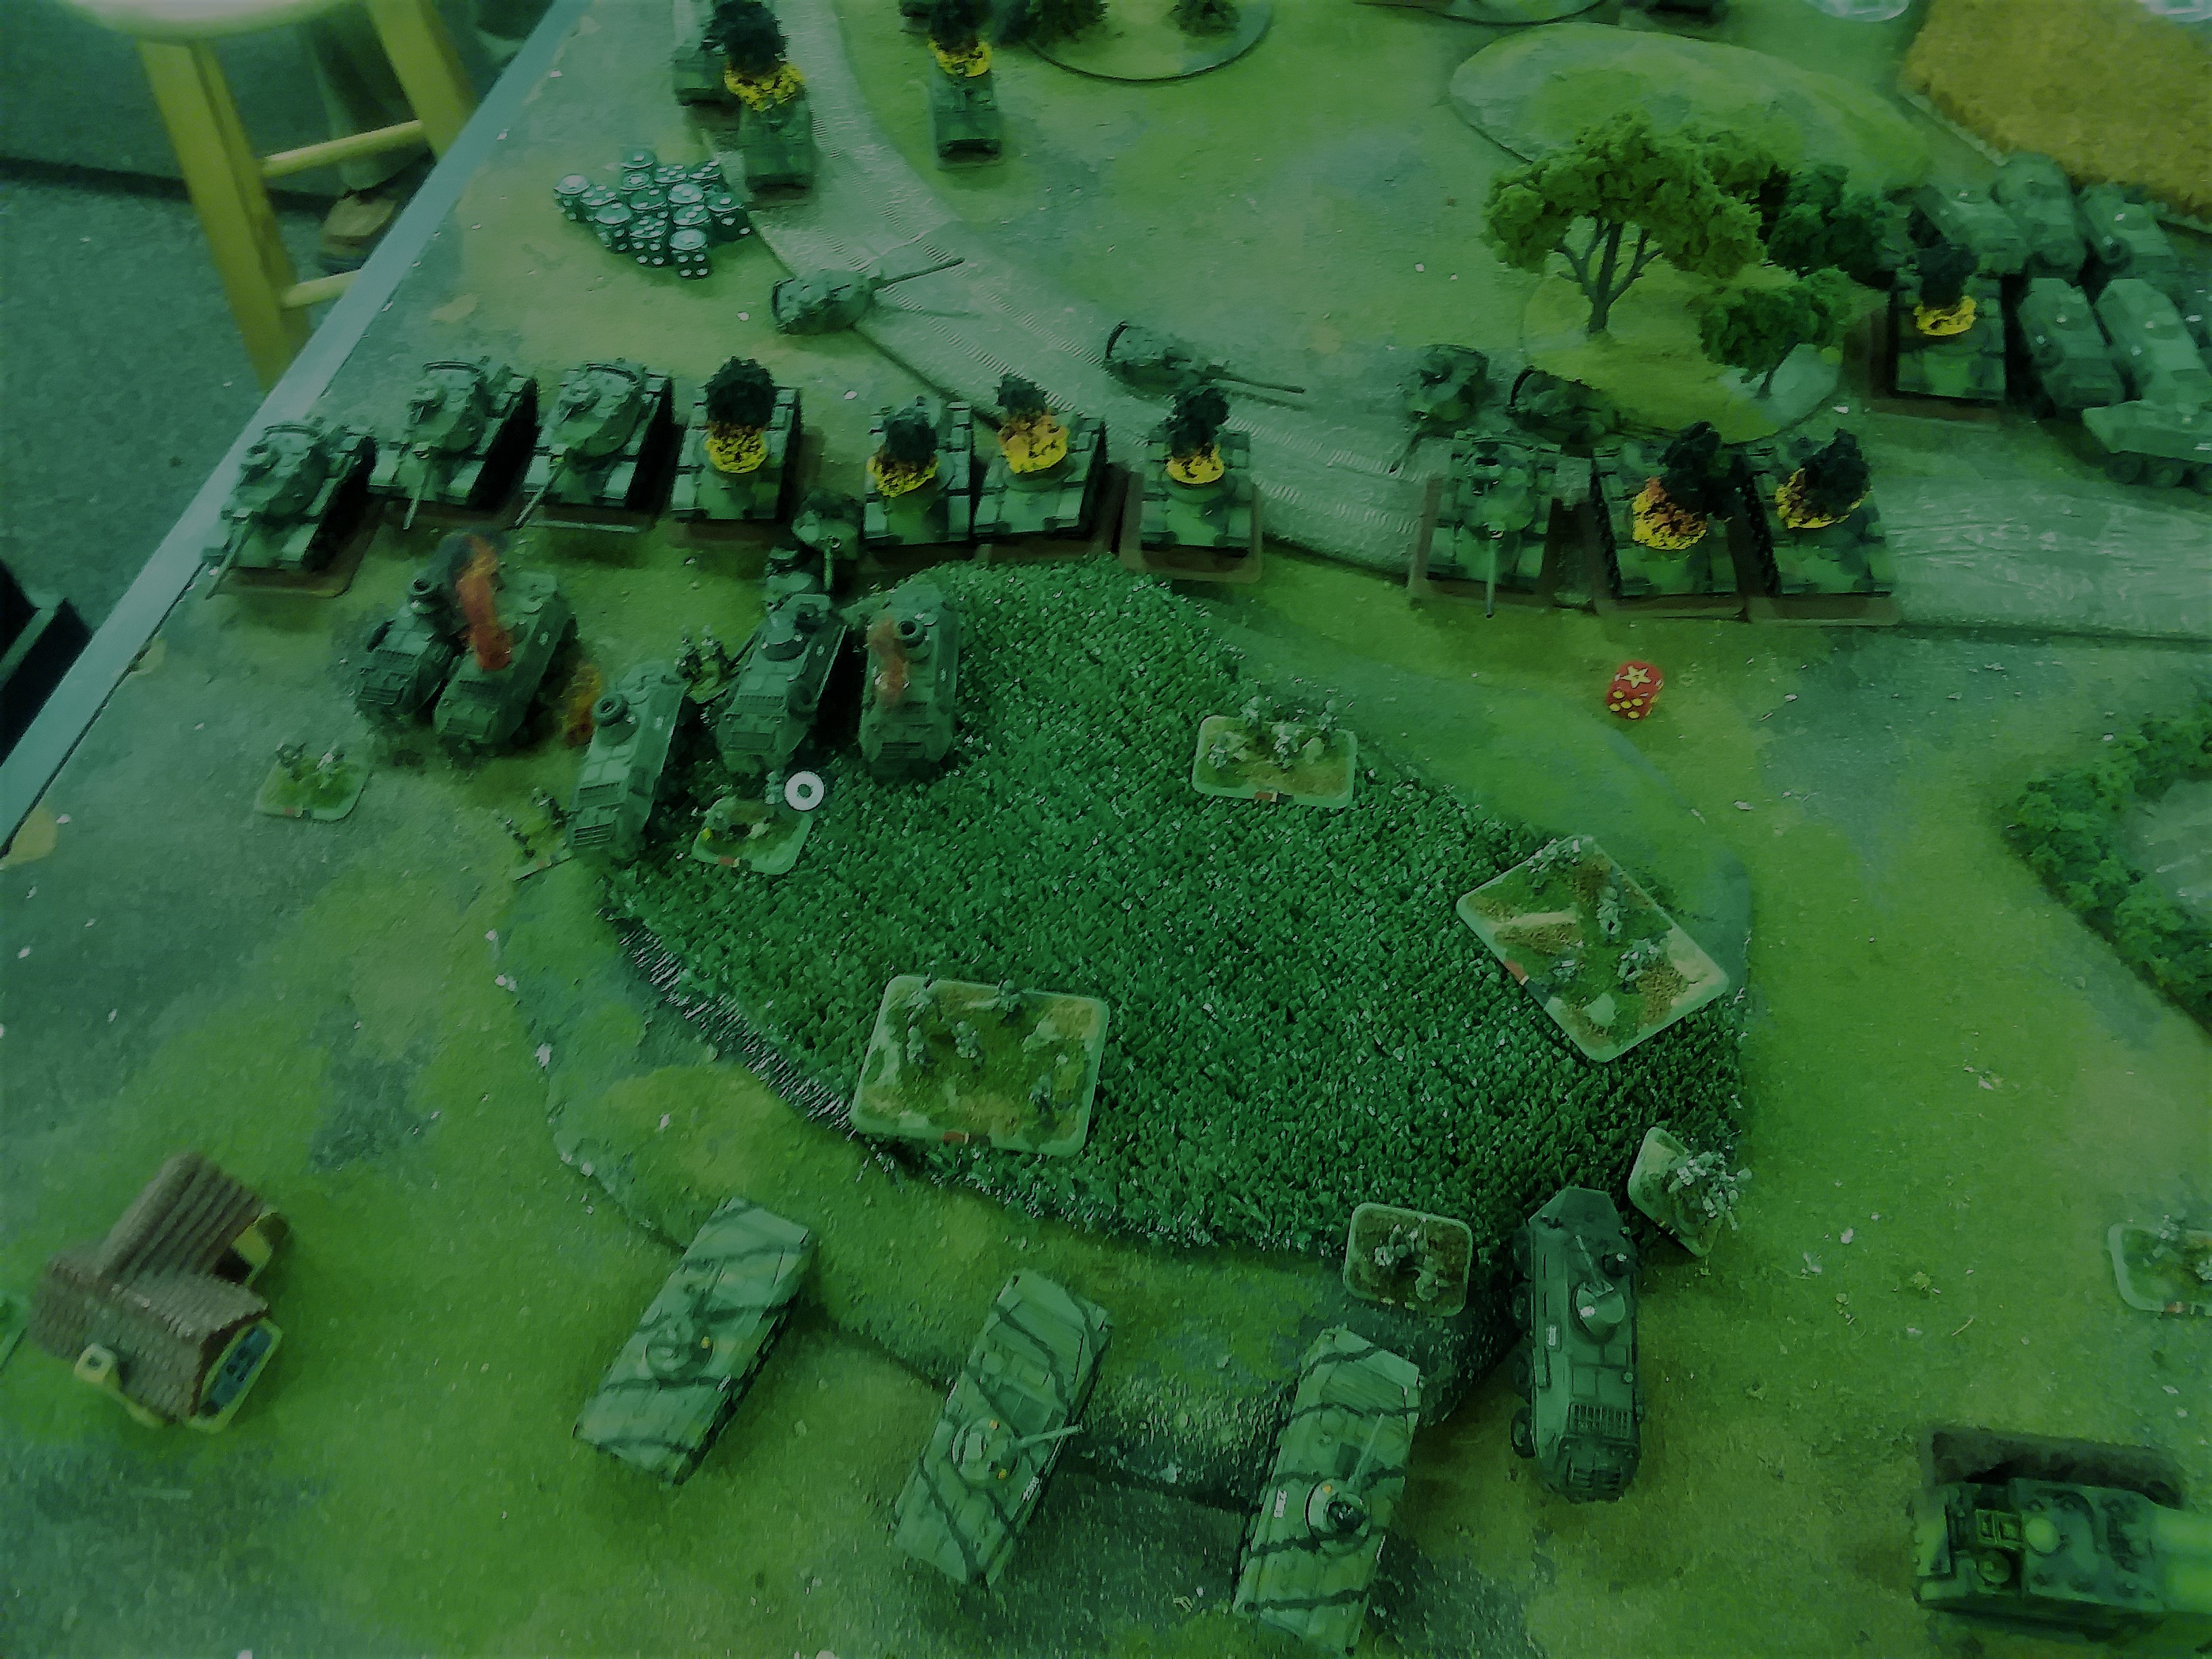 No A10s. Fitzi slid a little further forward, and repeated his first turn. his artillery was again useless, because while he could see teams on my hill, he could not place a template with enough clearance for danger close. He allocated a number of tanks to the BTR60s before they slipped through his lines and started killing his VADs and artillery. He managed to kill 4 of them and bail one. He killed another infantry stand but on my 2nd BTR platoon, and did not pin either units. He allocated the Cobras to shooting at by Spigot team and managed to miss two missiles after my Grails shot down two of them. In my turn I withdrew the survivors of the BTRs and dropped my BMP-2 ambush. The Spigots on the hill did not roll well enough to see the VADs, so they targeted the M60 platoon advancing in the center, and managed to get 2 hits, while another Spigot team from No.2 BTR company did for another. The BMP-2s lit up the middle of Fitzi's formation, assisted by one platoon of Spandrels. Meanwhile I had rushed No.2 company's BTRs forward with a 'follow me' to threaten Fitzi's artillery from a different direction. The SA9s and two remlin teams that couldn't see the Cobras before they fired now got to shoot and brought down the other two. The results of the shooting were impressive to say the least
 Fitzi knew he was in serious trouble as his offensive power was disappearing quickly. He shelled the BMP-2s while assaulting with the airmobile platoon against the BTRs. His tanks continued to work on my infantry but with only 6 shots coming because two bailed tanks refused remount, he managed only one kill, another AGL team. His assaulting infantry managed to bail three BTRs and then killed two more in an assault, driving them away, but not putting them on bad morale. The artillery pinned No.2 BTR company and bounced off the BMPs that it hit. One infantry stand died here.
My turn 3 was for the most part a repeat of turn 2. Two bailed tanks disappeared, and this time the Spigots on the hill managed to kill a VADs and its buddy turned tail and left the building. A long shot from a BMP-2 took out a tank in his far right (from his perspective) M60 unit, leaving him with a pair of tanks. My withdrawal unit was the second battered BTR60 unit. I tried to range in on the infantry platoon and failed.
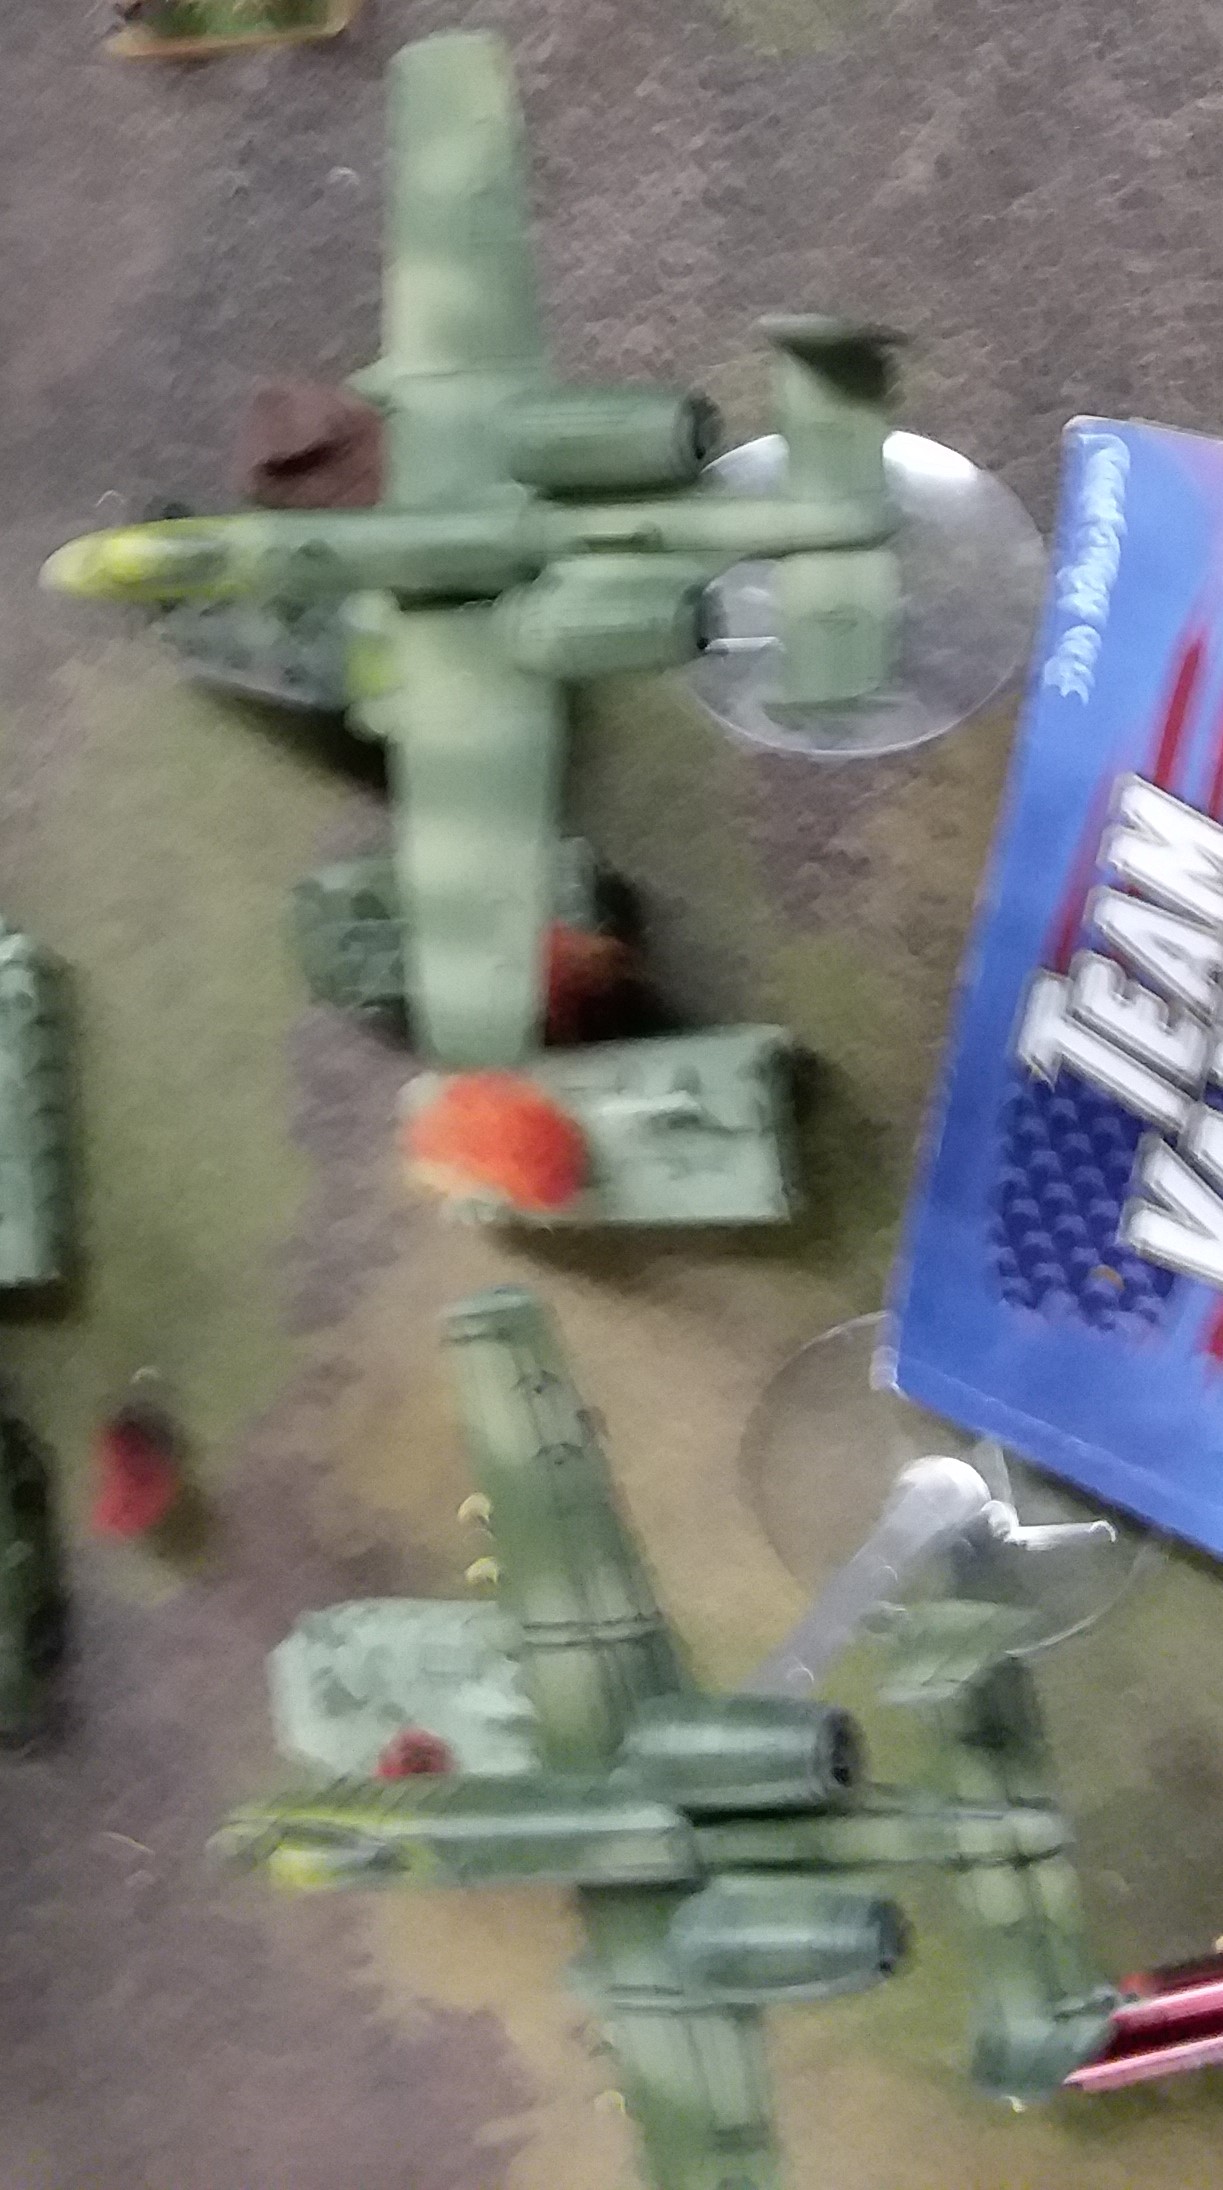 Night still reigned at the beginning of turn 4. Fitzi got his A10s, finally, and allocated them to killing my T55s, who had accomplished zip so far as the anticipated enemy breakthrough had not materialized. He supported them by dumping his artillery on my SA-9s, to no effect. What could have been a brilliant move for a point was nothing as Fitzi rolled a '2' for night vision, and killed only one T55. For my part, nobody saw the A10s, so he might as well not have bothered with the barrage. 4 shots against dug-in infantry who weren't shooting produced no kills. However, he did manage a kill with a Dragon and a LAW on BMP-2s.
 My Turn 4 consisted mostly of shooting at Fitzi's infantry platoon, and trying and failing to shoot at his artillery and command units. Artillery failed to range in on his artillery, but my Hinds, no longer affected by Hinds repellent, did manage to kill an M109. The key southeast flank remained stalemated.
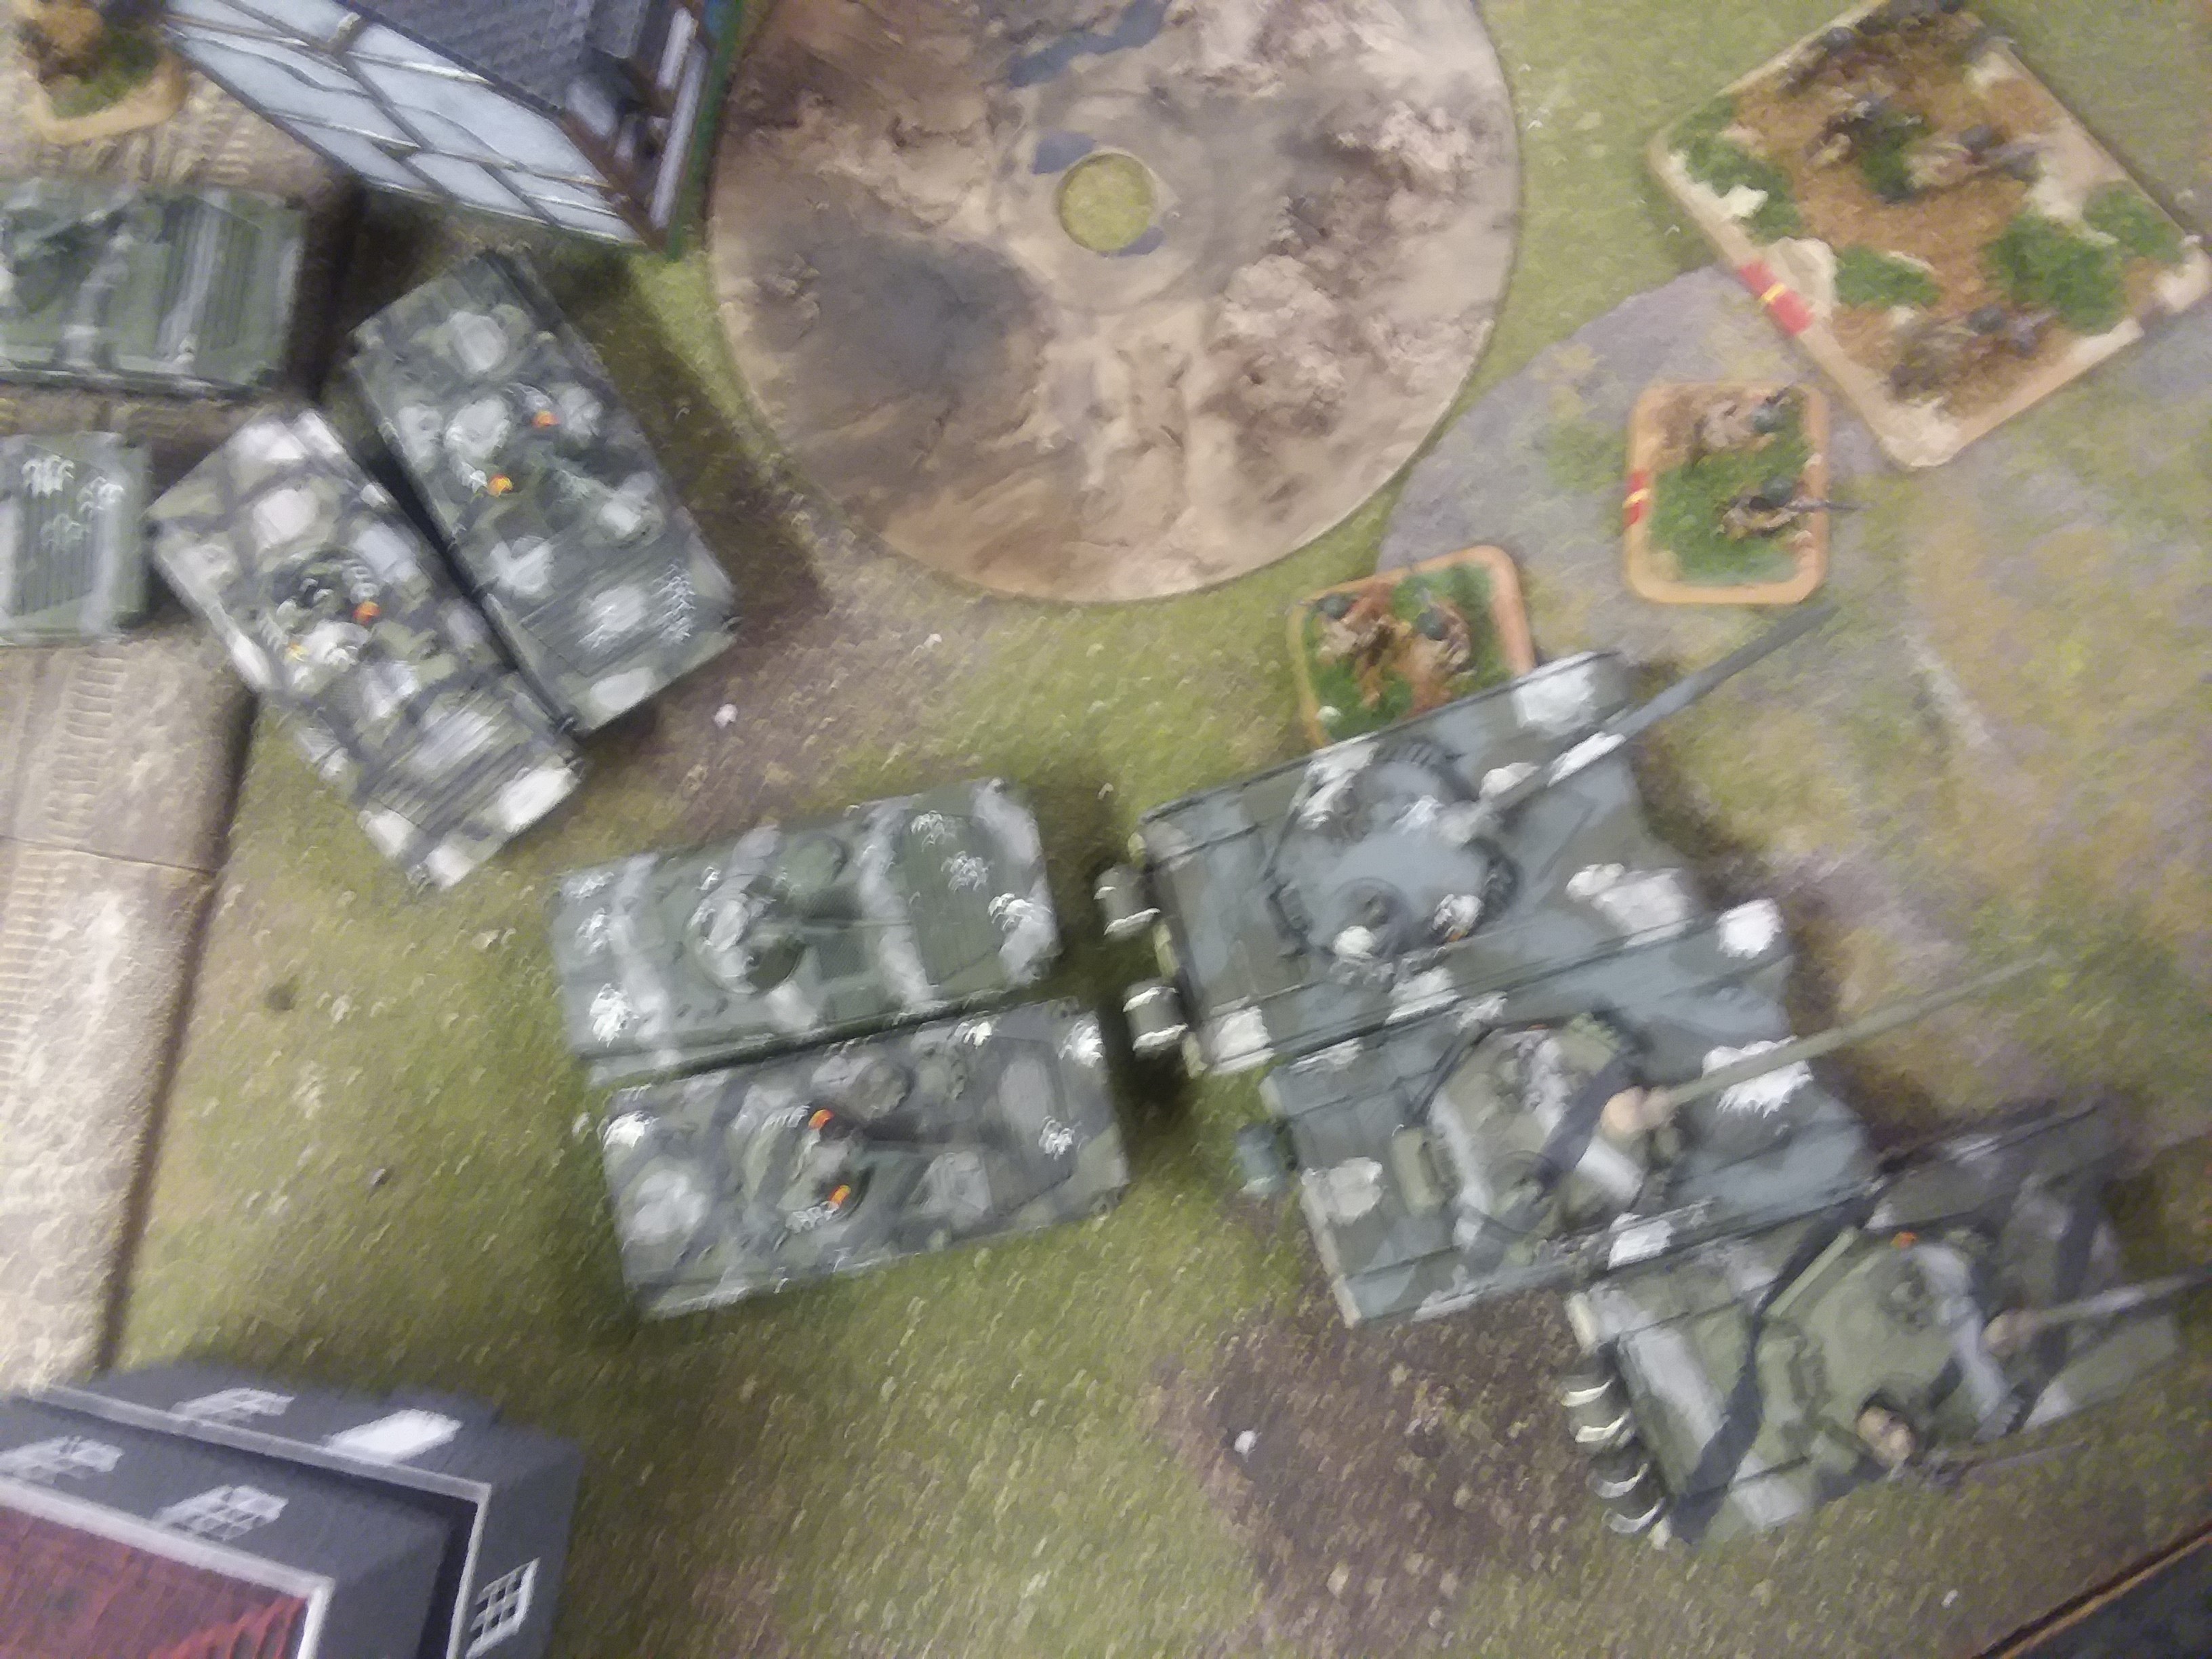 Dawn broke at the beginning of turn 5, and the A10s returned. Fitzi used his M60s to wreck my SA-9 unit, killing 3. I passed morale. Even with broad daylight, 4 Grails, 2 SA13, 2 ZSUs I did not get any hits on the A10s, who blew apart my ZSUs. But now that I had full daylight, it was my turn. I withdrew the SA-9s, conceding a point. On the southeast sector, my infantry teams moved out and attacked from behind a wrecked M60 into the flank of the two survivors. They managed to bail the closest and then assaulted him, avoiding defensive fire because he blocked the other tank. Then his survivor ran away, failing to counterattack and then faiiing morale. In the center, his hero airmobile platoon was targeted by everything that could shoot and whittled to two stands, and assaulted by the airlanding company', and wiped out. Further north, one of my BMP companies advanced out of its forward position and threw 7 dice at an M113 scout, killing it. The accompanying ITV failed morale and drove away. My T72s wrecked the ITV of another scout section, and its mate stayed for the moment.
Fitzi began his 6th turn by failing company morale - every unit was in bad spirits except the A10s.
Hot Wash. Fitzi lost the game on turn 1 when all his tanks were outside of assault distance. He had a magnificent turn shooting, and yet could not make an assault against pinned RPG teams at night. The smaller M60 unit should have executed 'Follow me' to get him to assault distance, leaving the other 8 tanks and maybe some M113 chin music to pin the unit. He never got 1st BTR Company pinned again, and thus did not breakthrough. Without the breakthrough, he had no chance of winning, as I had plenty of units to remove from the board. The A10s refusing to play was just icing on the cake.
Battle Report Author
Army Lists Used In This Battle
Recommend Commander For Commendation
Share this battle with friends
bayankhanWins

Congrats on your victory comrade. Well played. Great report as usual.
Nice win!! great report-really like the hit markers
interesting report lots of pictures