Fought At Berlin
2223 days 8 hours 15 minutes ago
Combat Near Dobien
90 POINTSGeneralmajor Jacob Nagten looked at the shoulder boards he was being handed like they were a vile reptile. Being recalled to HQ had left him with a lump in his stomach that nothing to do with riding in a helicopter doing its best imitation of a grasshopper. In a fraternal socialist army, the tall flowers are cut down. He fully expected this to be an formal hearing into his conduct in crossing the IGB to raid into West Germany. He had dislocated enemy supply lines, but not enough to prevent Leipzig from falling into enemy hands. Now the enemy was knocking on the Elbe line.
Nagten's summons to Neubrandenberg had been a puzzle. It was the nominal headquarters of 5th East German Army. The solution to the puzzle was simple. The commanding general of the 19th Motorisierte Division had been killed in a NATO airstrike. While riding in a civilian vehicle, with his mistress. The whole incident was being hushed up because the man's wife was the daughter of a high party official.
5th Armee was entering combat, and needed a new division commander. Or sacrificial lamb.
The 5th Armee Commander maintained his pose, and for one giddy moment Nagten considered declining the offer. Then he took the shoulder boards. "What are your orders, Herr General?"
The General quickly sketched his plan. Soviet forces from the Oder Valley were to fall on the eastern flank of the enemy penetration. The western punch was 5th Armee. But a fly in the ointment was NATO opening up a new Elbe crossing at Wittenberg. Nagten's mission, with the 19th, was to protect the Armee's flank. Attached to his command was the 6th Guards Motorized Rifle Brigade, with its T64s and BMP-2s. Same stuff, different day, thought Nagten.
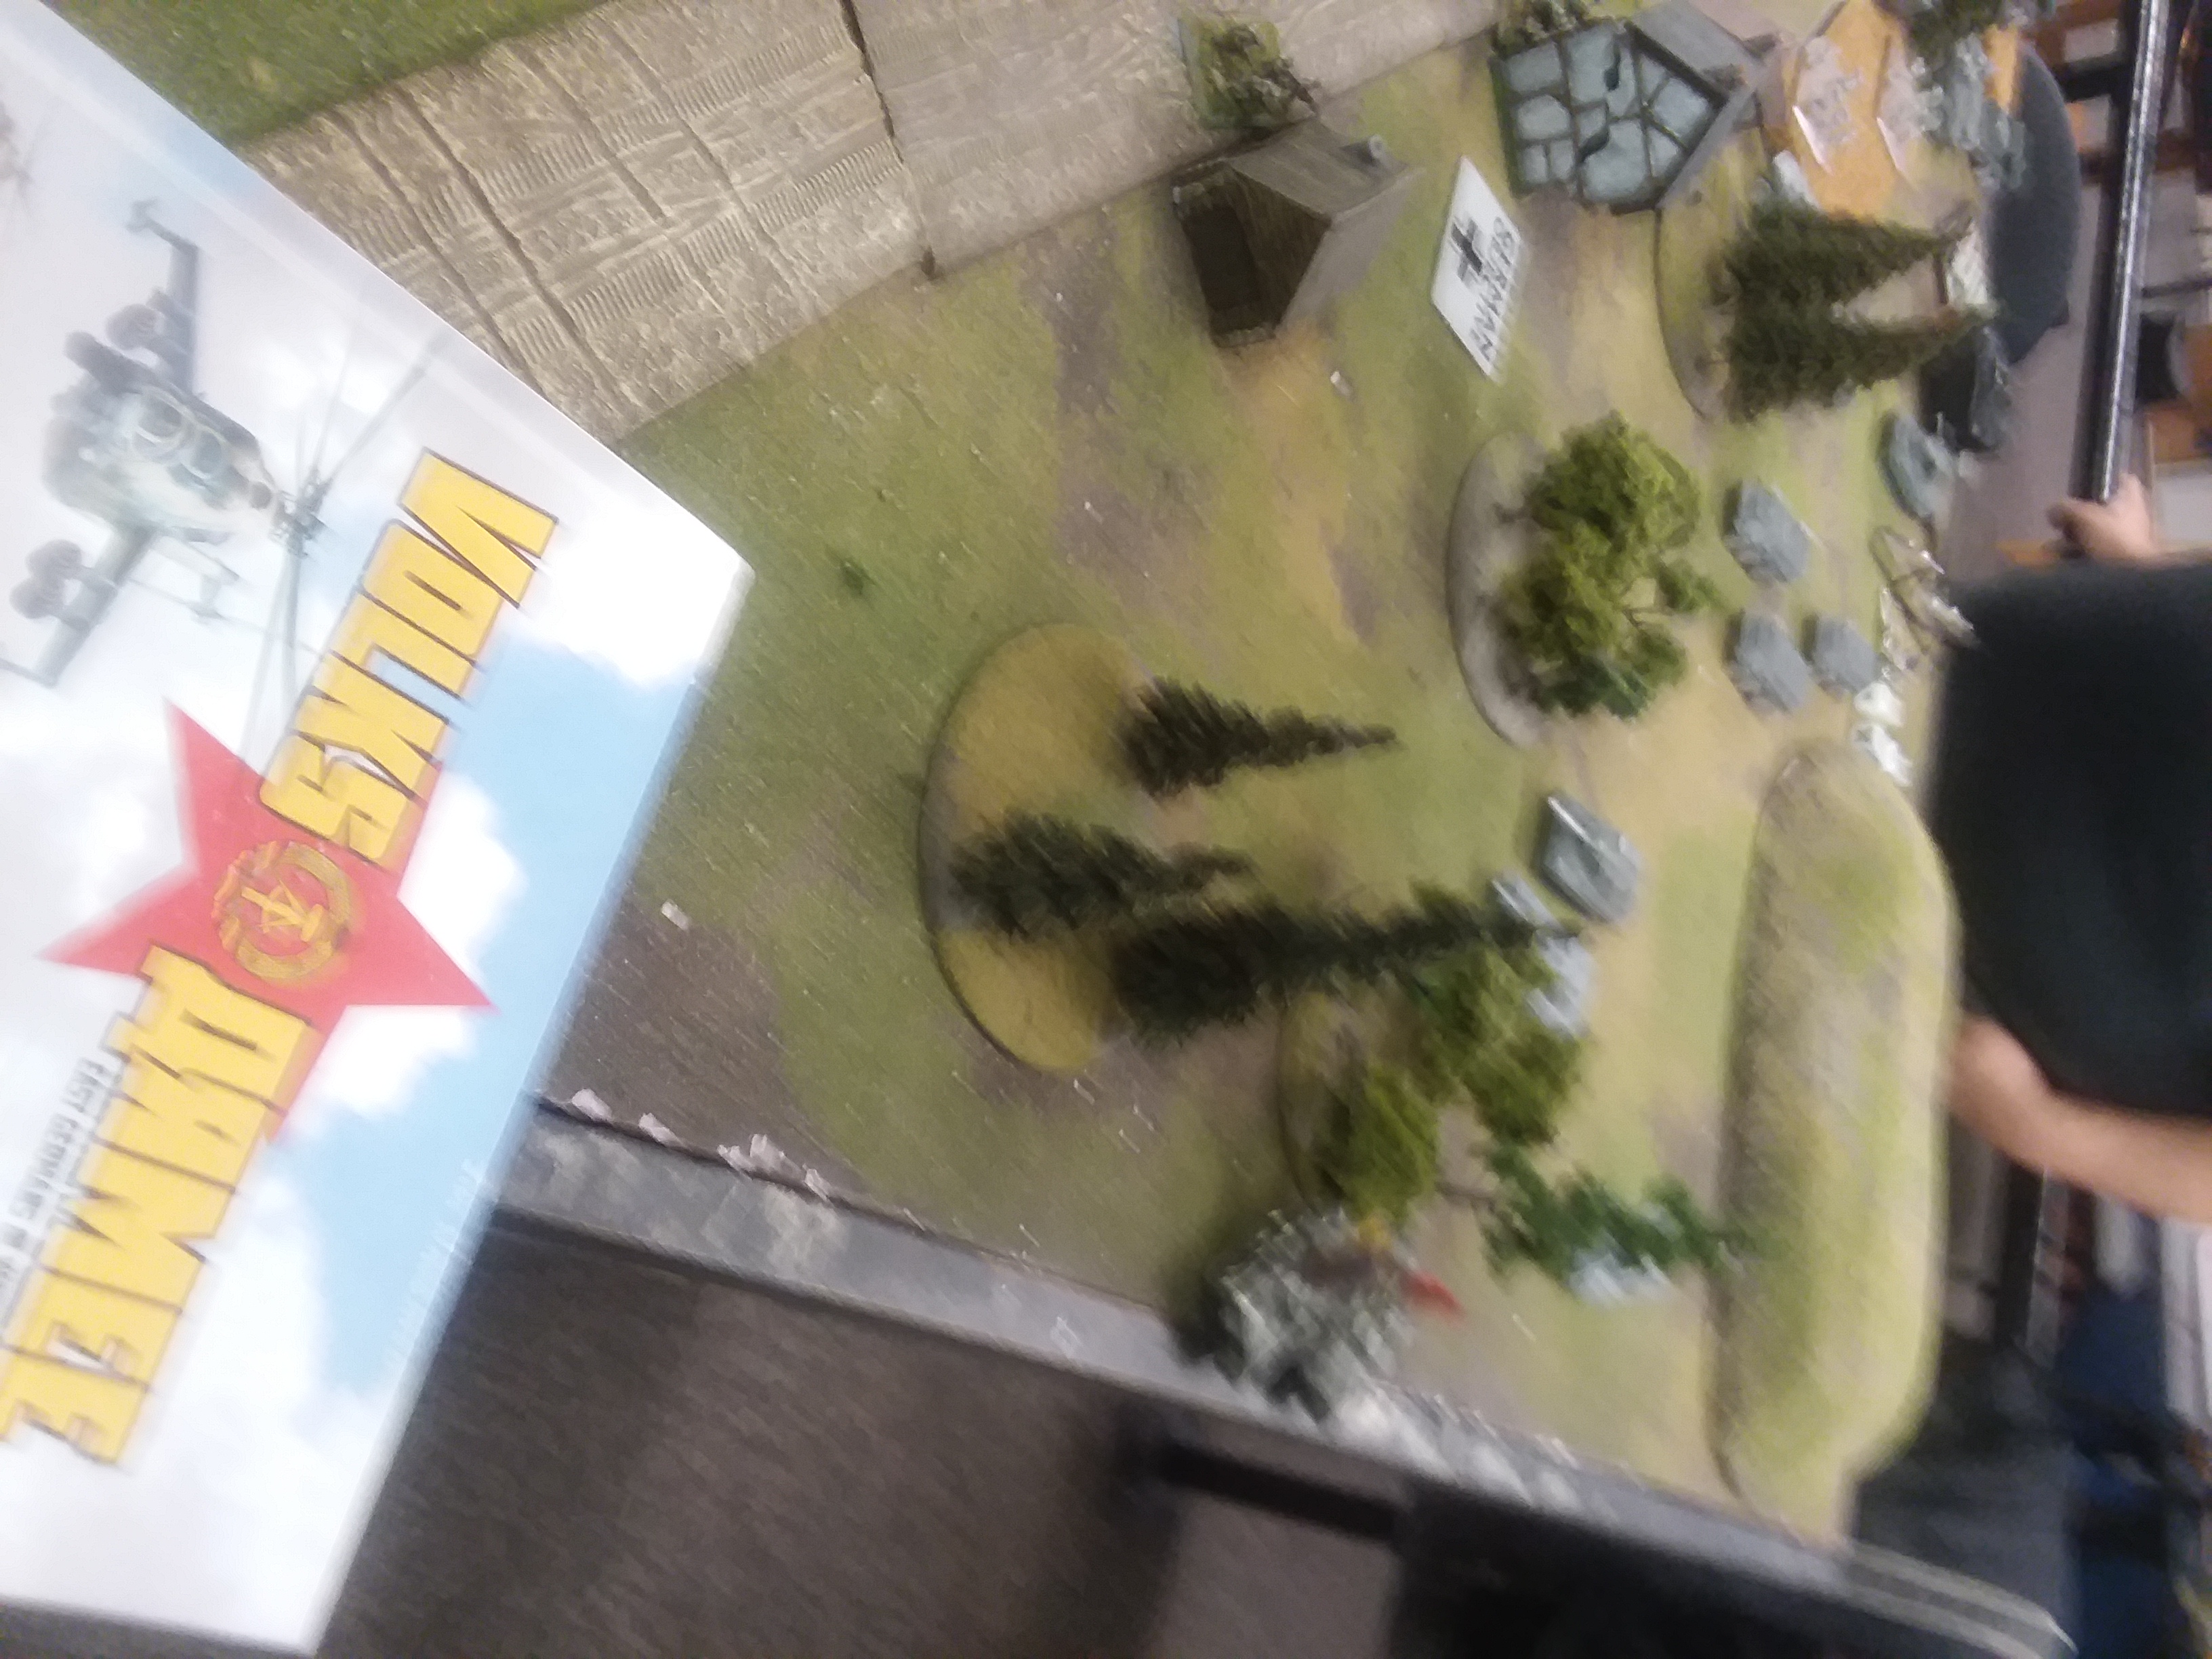
Dave brought his West Germans to our in-store campaign last week, using an Aufklarungs Company with all the toys except the Rolands - 7 Leo Is, 3 Leo IIs, 2 Fuchs platoons, 2 Gephard zugs of two vehicles each, each with a pair of Fliegerfausts, LARS battery and observer. His list had an apparent error - the Gepards can't be split up like that. No material difference to the game, as it turned out
My list is detailed in the list file. We played 93 points because that's what Dave brought with him. I picked a pure VA list, imagining my 'attached' 6th Guards was going to be delayed on the roads.
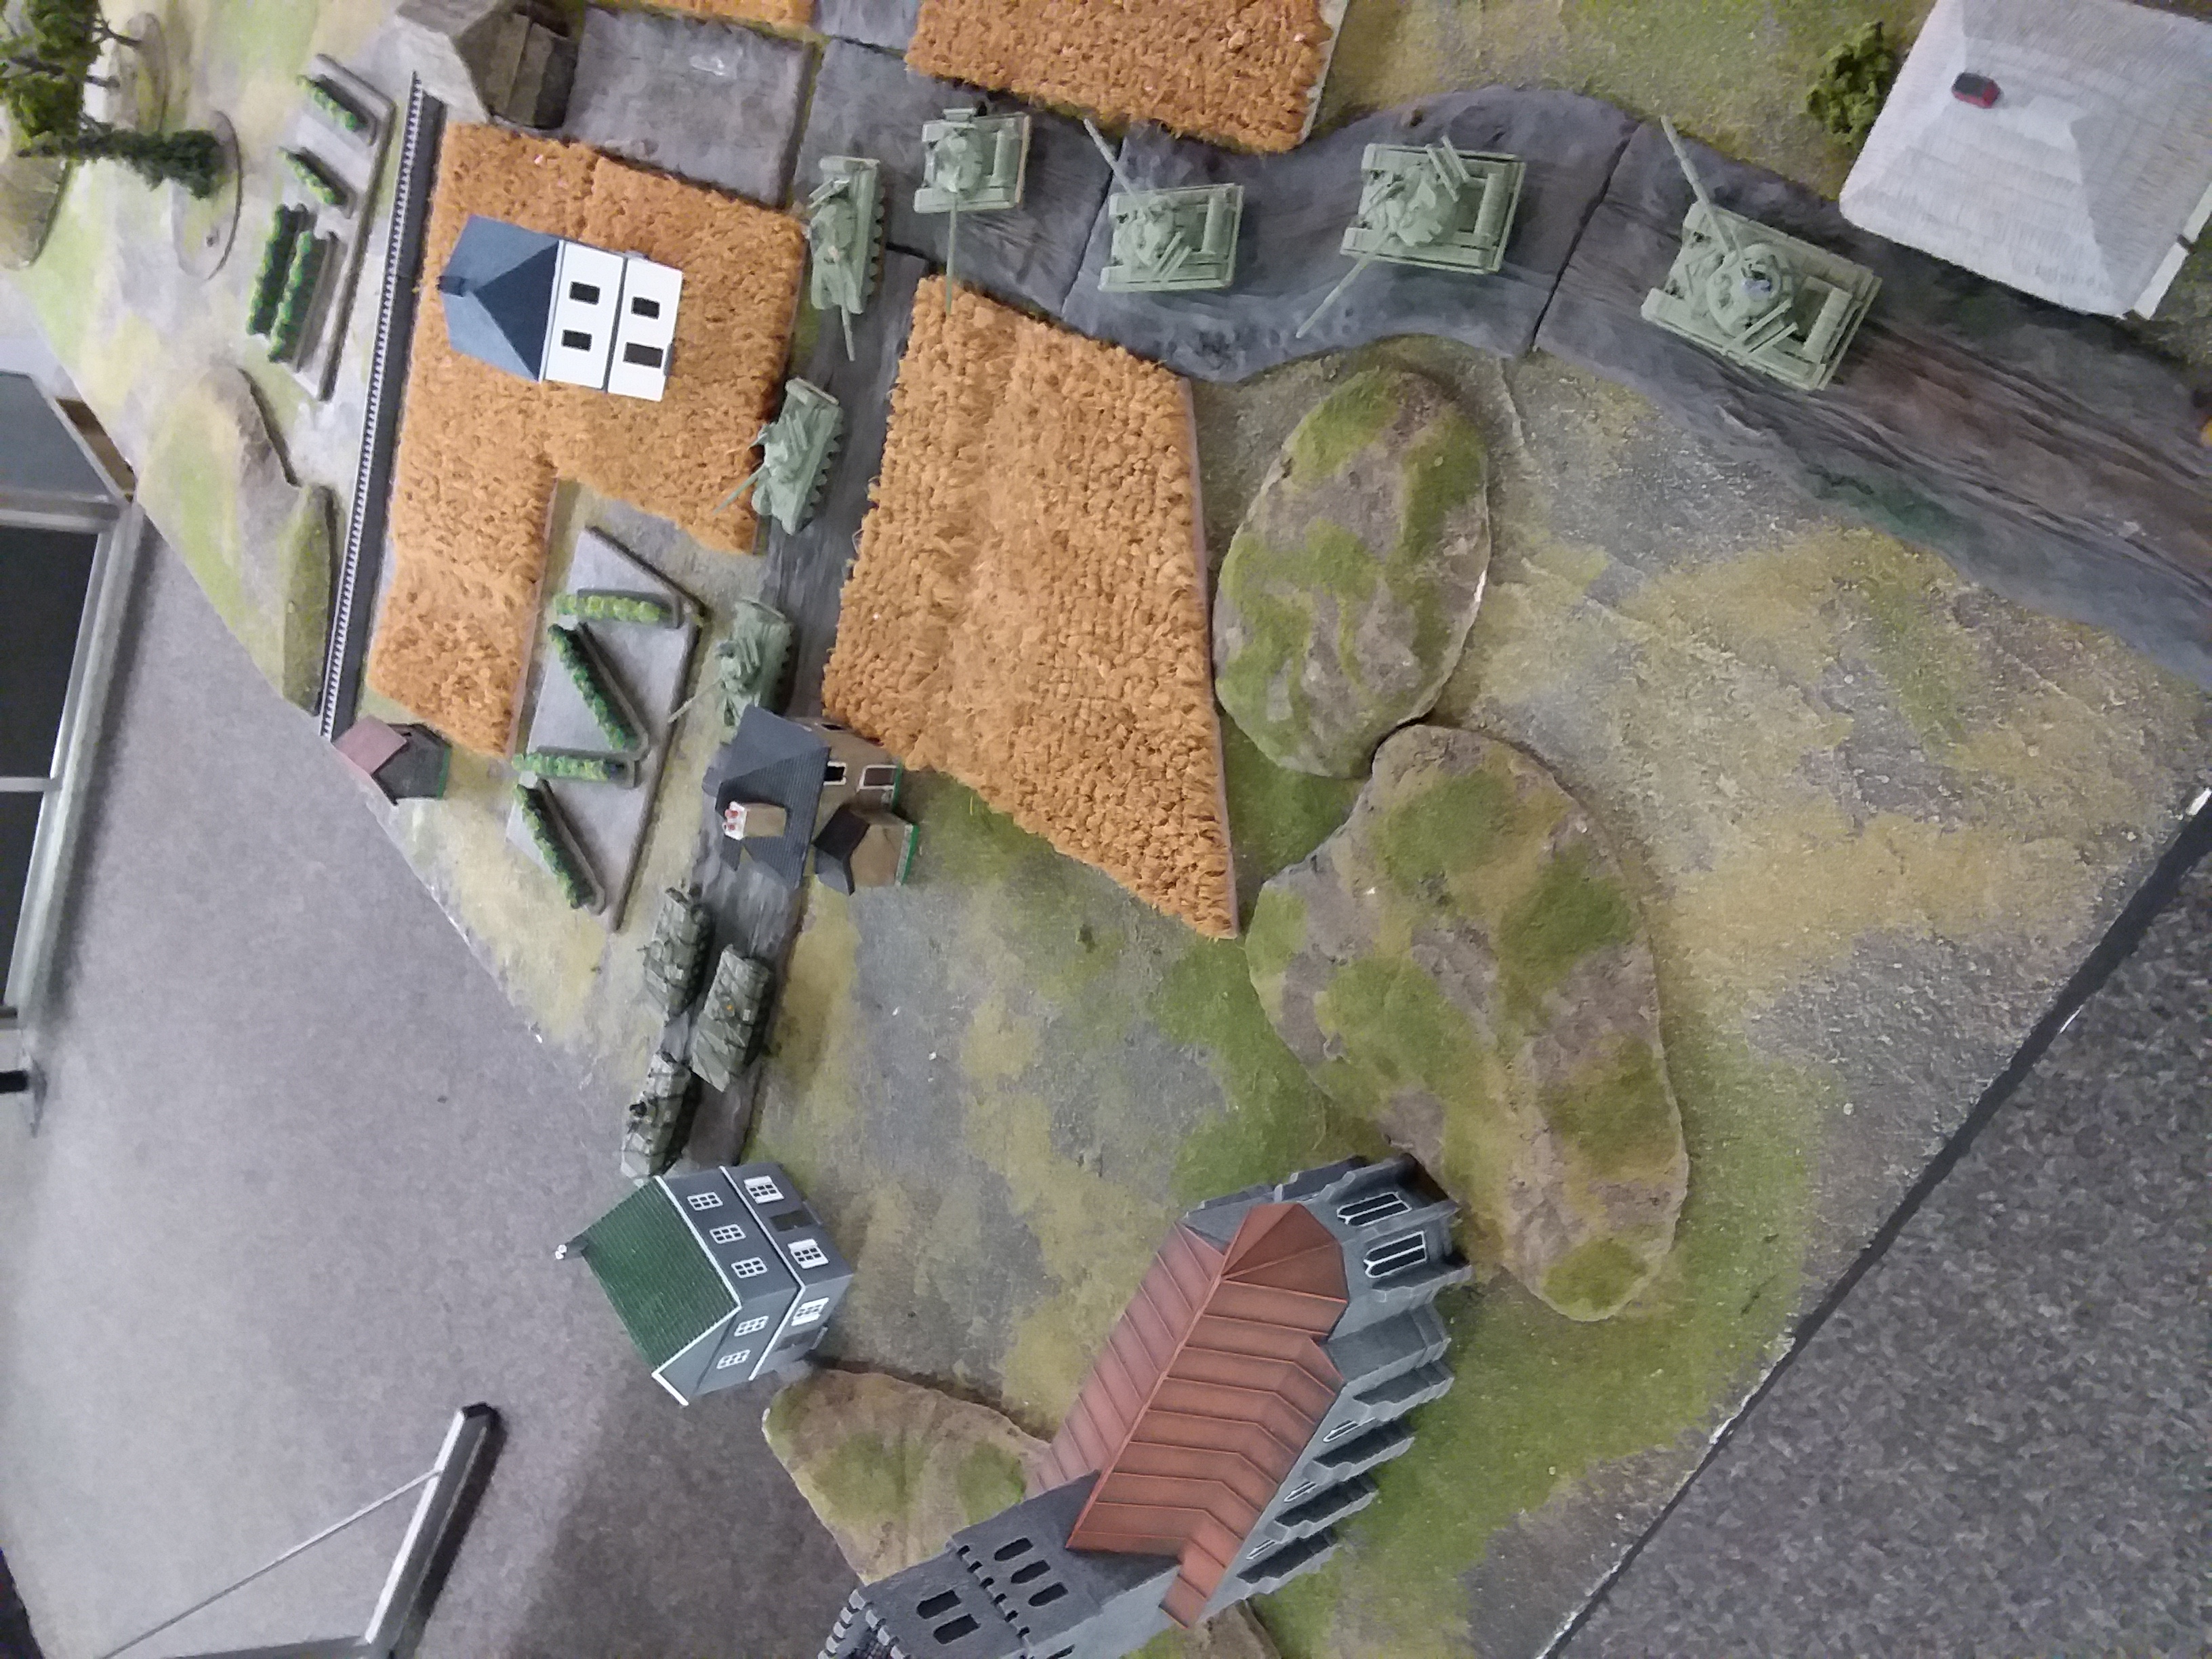
The scenario was Counterattack, thanks to Dave being new to the campaign, he got to choose between being in an offensive posture (ATTACK or MANEUVER Battleplans) or defensive posture (MANUEVER or DEFEND). He chose ATTACK and I chose MANEUVER. The town of Dobien was chosen as the sight of the battle, because the woods narrow the north south access there. A good blocking position with opportunities to counterattack a NATO spearhead and drive it back on the bridges near Wittenberg
I spaced out and didn't take many pictures, and none of setup. I placed 10 of 20 units on the table, including all of the BMP infantry battalion, but only two units, the BMPs and one T55 company, from 1st Panzer Battalion. Reserves included all the rest of 1st Panzers and the entirety of 2nd Panzers, and the support Spandrels and BRDMs. I spearheaded out in the neutral zone, and placed one rifle company as close to the attacker-placed objective as I could reach. The other company protected my objective. The BMP-2s were in ambush; T72s were at the positioned, along with one of the BMP recon units, SA-9s, artillery and ZSUs in cover around the spearhead.
Dave used his own spearhead to move out to my right (north), placing his forces more or less symmetrically. The northern wing was one zug each of Leopard I, Fuchs, Gepard, Fliegerfaust and two of Luch. His center consisted of Leo IIs, commander, Gepard, Fliegerfaust, and LARS. His right was Leopard I and the second Fuchs platoon. He kept his small infantry force mounted.
Turn 1 The highlight of Dave's first turn was his artillery bombardment. Dave moved his Leopards and Fuchs on the northern flank and conducted long range fire with his Leos, knocking out a ZSU whose partner passed morale. He did the same on his southern flank, and only got one Leo to shoot because of the dense terrain, and it missed. The Commander and Leo IIs fired at long, long range, and managed to bail a BMP-1. He hadn't measured when he set up and only 2 Leos were actually in range (long diagonal slot). But his LARs made up for it, dropping a barrage that bailed a T-72 and a SA-9 and killed the bailed BMP-1. He shifted his Leo IIs with shoot and scoot to bring them in closer. He also used shoot and scoot to hide his southern Leo Is from my BMP-1s and possibility of ambush. My bailed vehicles refused to remount (too far from the infantry battalion commander). No reinforcements. No only telling move was getting my northern infantry company into the trailing finger of Dobrien's buildings, surrounding Dave's objective with RPGs. 2 T72s shifted left to close the range. They initiated a gun duel they eventually lost. My Spandrel zug cleverly blitzed over the top of a hill and launched three missiles at a Gepard, hitting once for a disappointing bail. Dave would make his morale. My tank and other missile fire all missed.
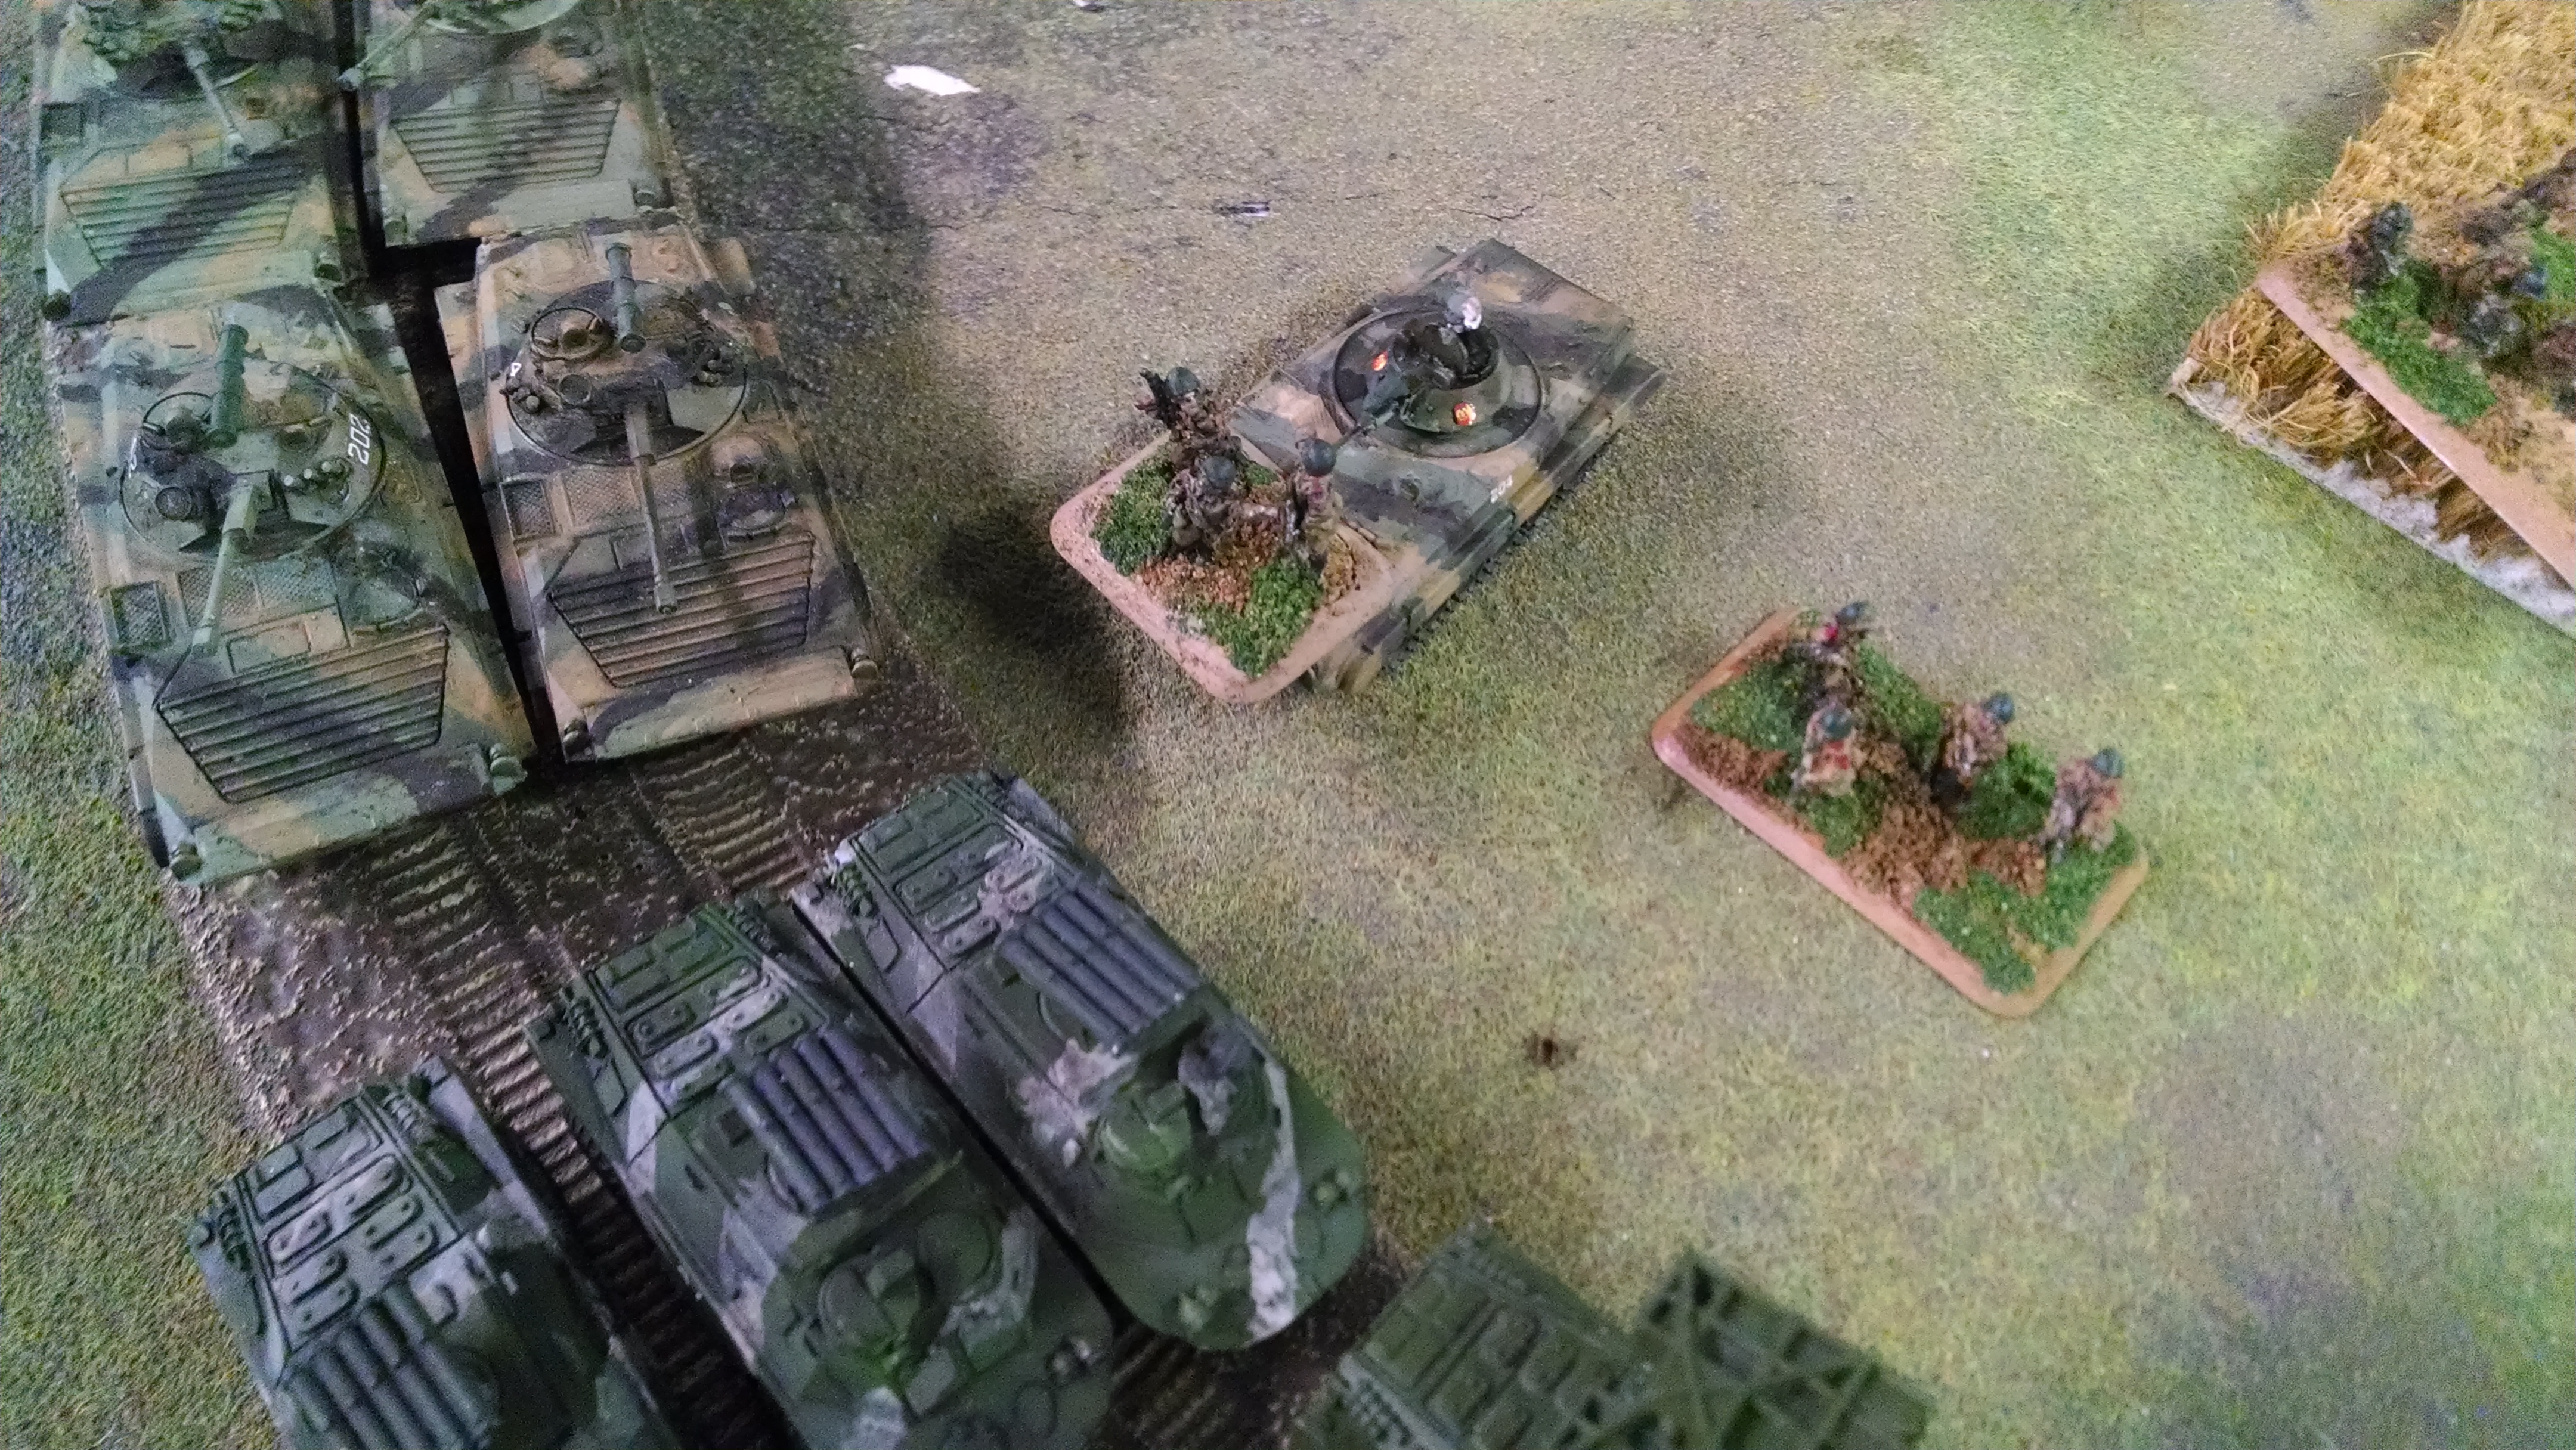
 BMP-2s put in appearance. This gives you an idea of the terrain that constrained Dave's movements in the south. Again, picture turned completely around. No answer yet from BOW
Turn 2 Dave continued to press the attack on my northern flank supporting it with long range fire from his Leo IIs and LARS. He picked off one of my 2S1s which would have a minor consequence later, and killed the BMP-1 platoon from 1st Panzer Battalion without it ever getting a shot. Missed the surviving BMP-1s from the Motorized schutzen battalion. Shifting the T72s put them out of sight from the Leo IIs, and so they demolished the only remaining BMP-1 they could reach, which passed morale. Dave shifted the target of his LARS and managed to rebail my T72 (passed morale), rebail the SA-9 (passed morale) and kill my observer BMP. He did not, however, renew his attempts to turn my southern flank, having suddenly awoken to the fact that the 4 T55s in the south east corner behind some trees were not just sitting there because they were my first reinforcements. Instead he attempted to drive the Fuchs through the tree line, and failed both cross checks.
In my turn 2 no reinforcements so I dropped the BMP2s from ambush, sensing that Dave was not going to push the Leo Is into the maze on the southern flank, from which the BMP2s could ambush at 4.1" and drive onto his flanks and gun him down. So the target became the Leo IIs. 6 Spandrels went down range causing two hits and precisely one penetration. Since some of the shots were 4+ and others 5+ not terribly below expectations. One Leo II burned. My T72s had range and position on the Leo I commander, but the bailed T72 remained bailed. 1 of 2 shots luckily hit his commander, and line of sight prevented him from flipping it onto either a nearby LARS or Leo II. Another tank burned. But his company commander had Gluck den Der Tueffel and jumped into the Leo I couldn't see. So much better for me, that. This forced him to check morale on the other Leo II which of course he passed. My two surviving BMP-1s on the northern sector continued to perform poorly, missing shots. But I managed to bushwhack a Luchs platoon creeping up on my infantry by hopping buildings with infantry teams, killing it and sending its buddy scampering back to the Elbe
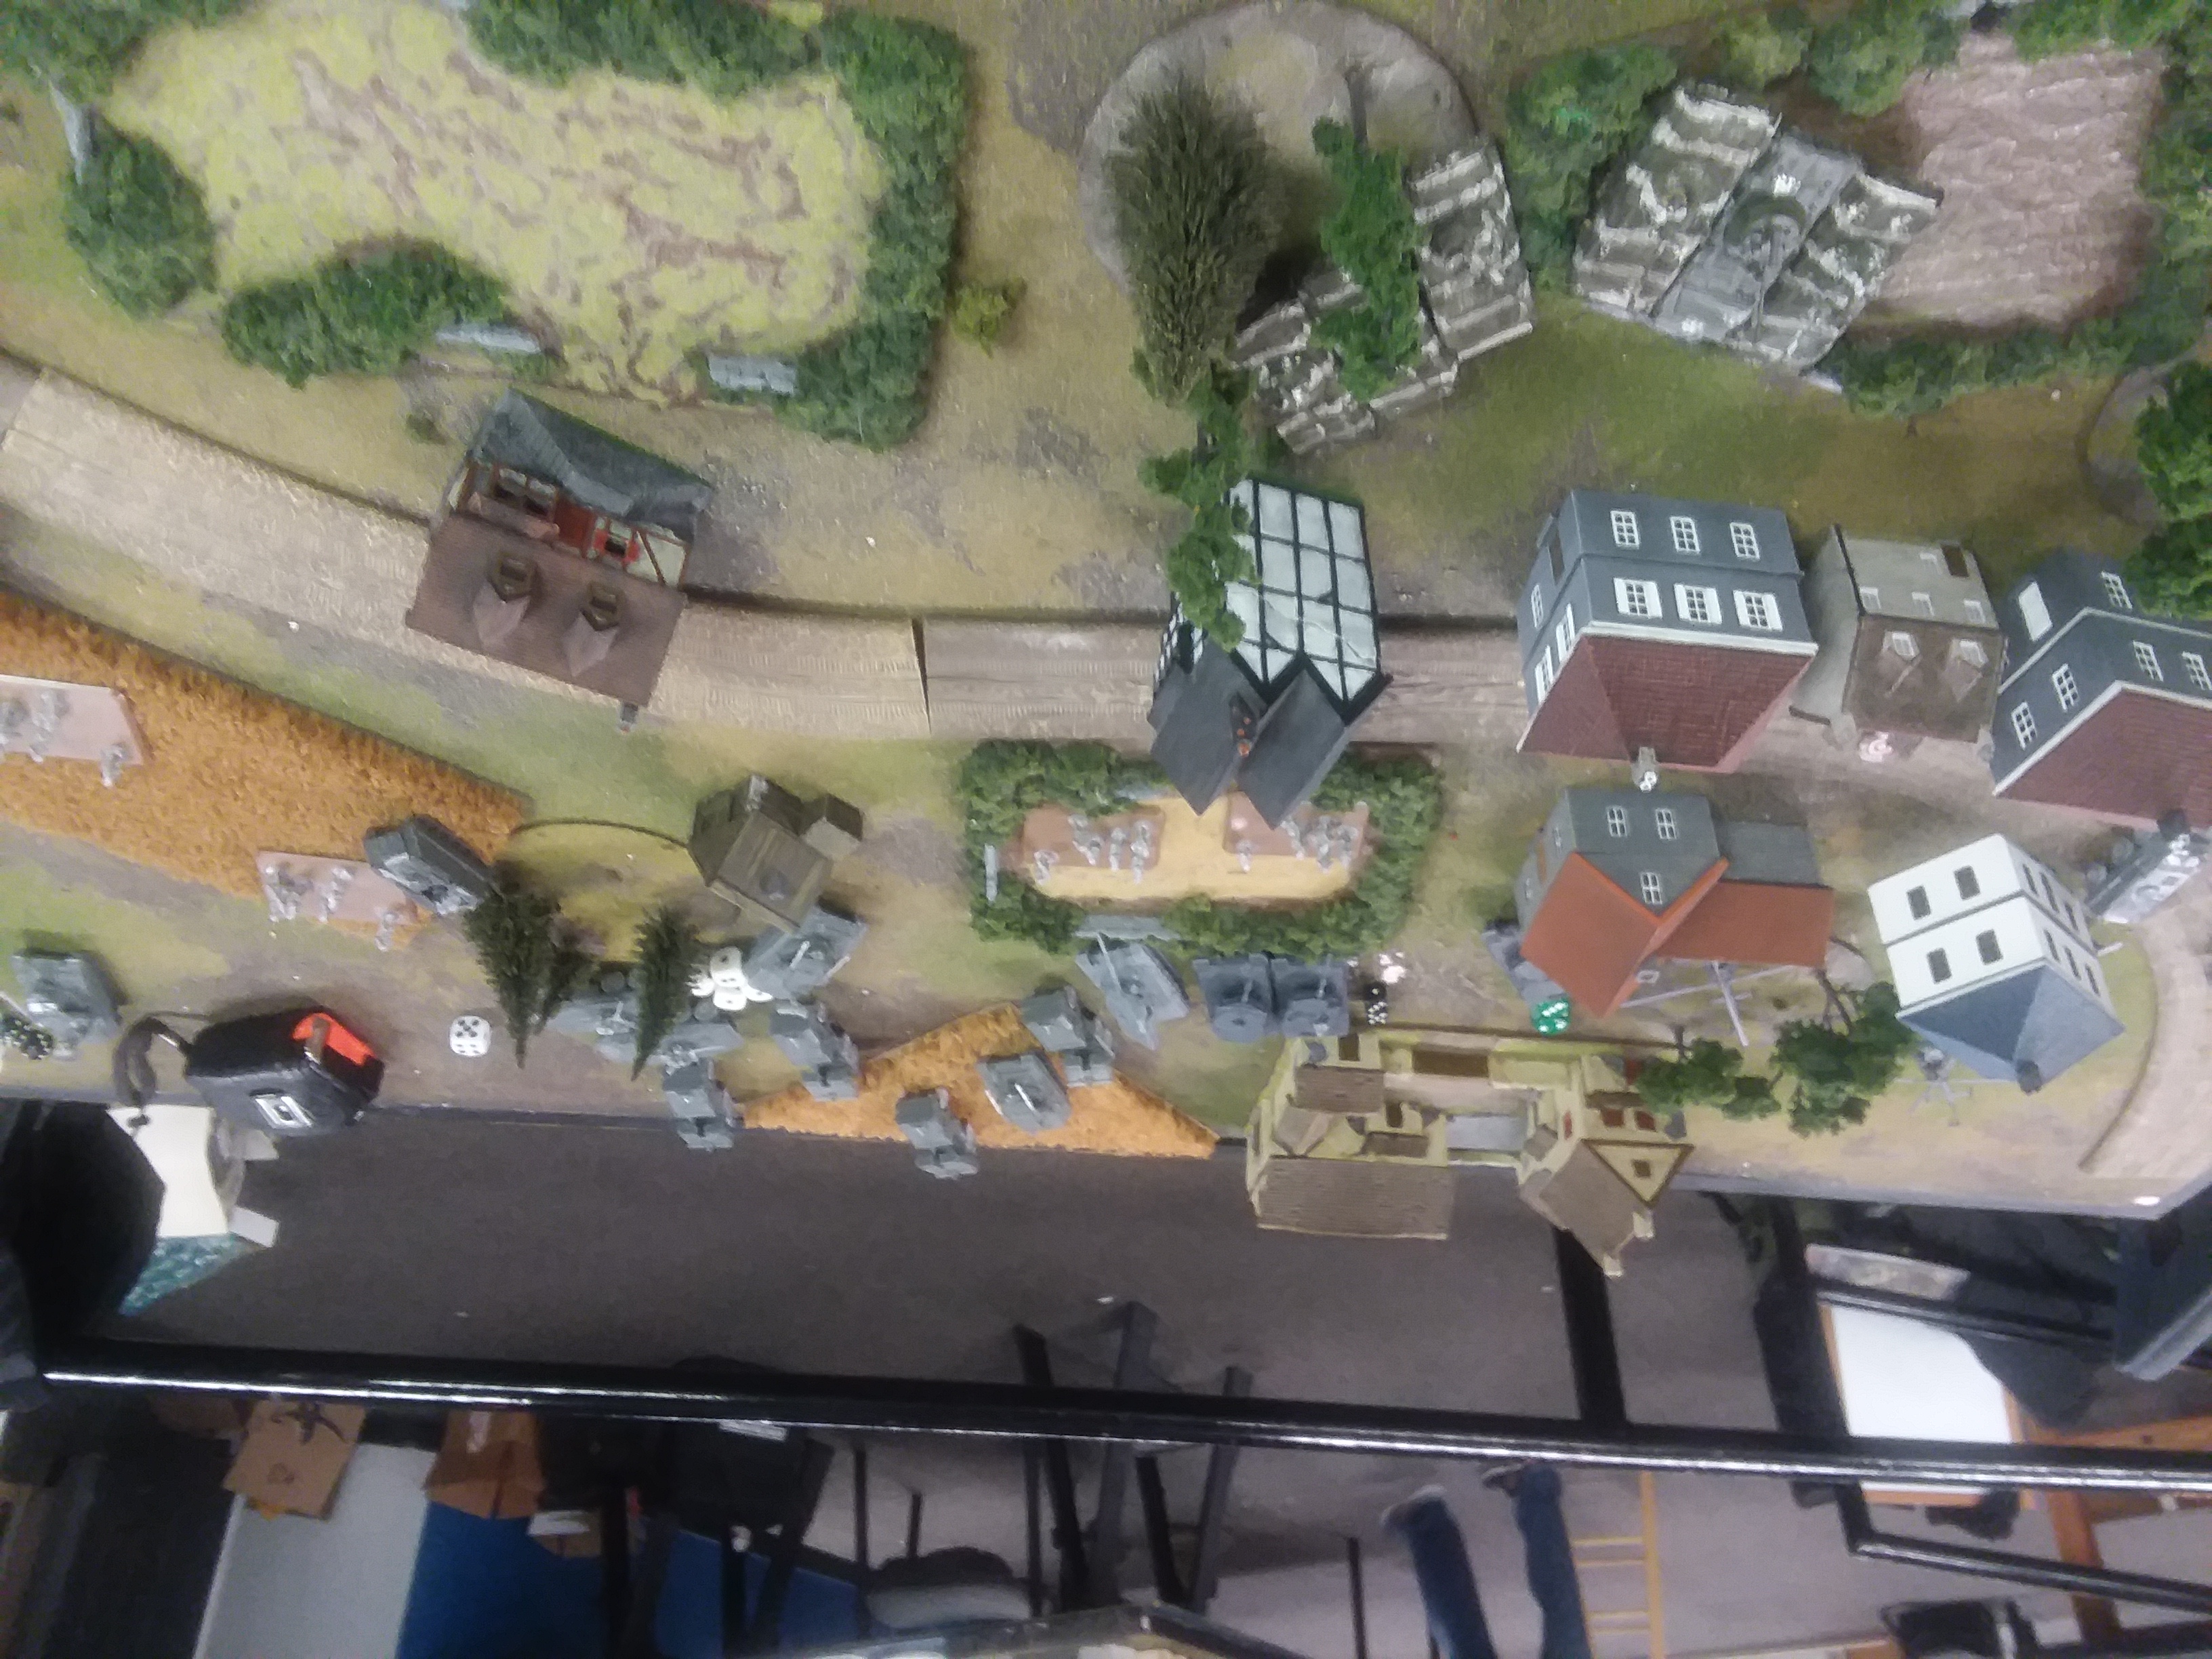
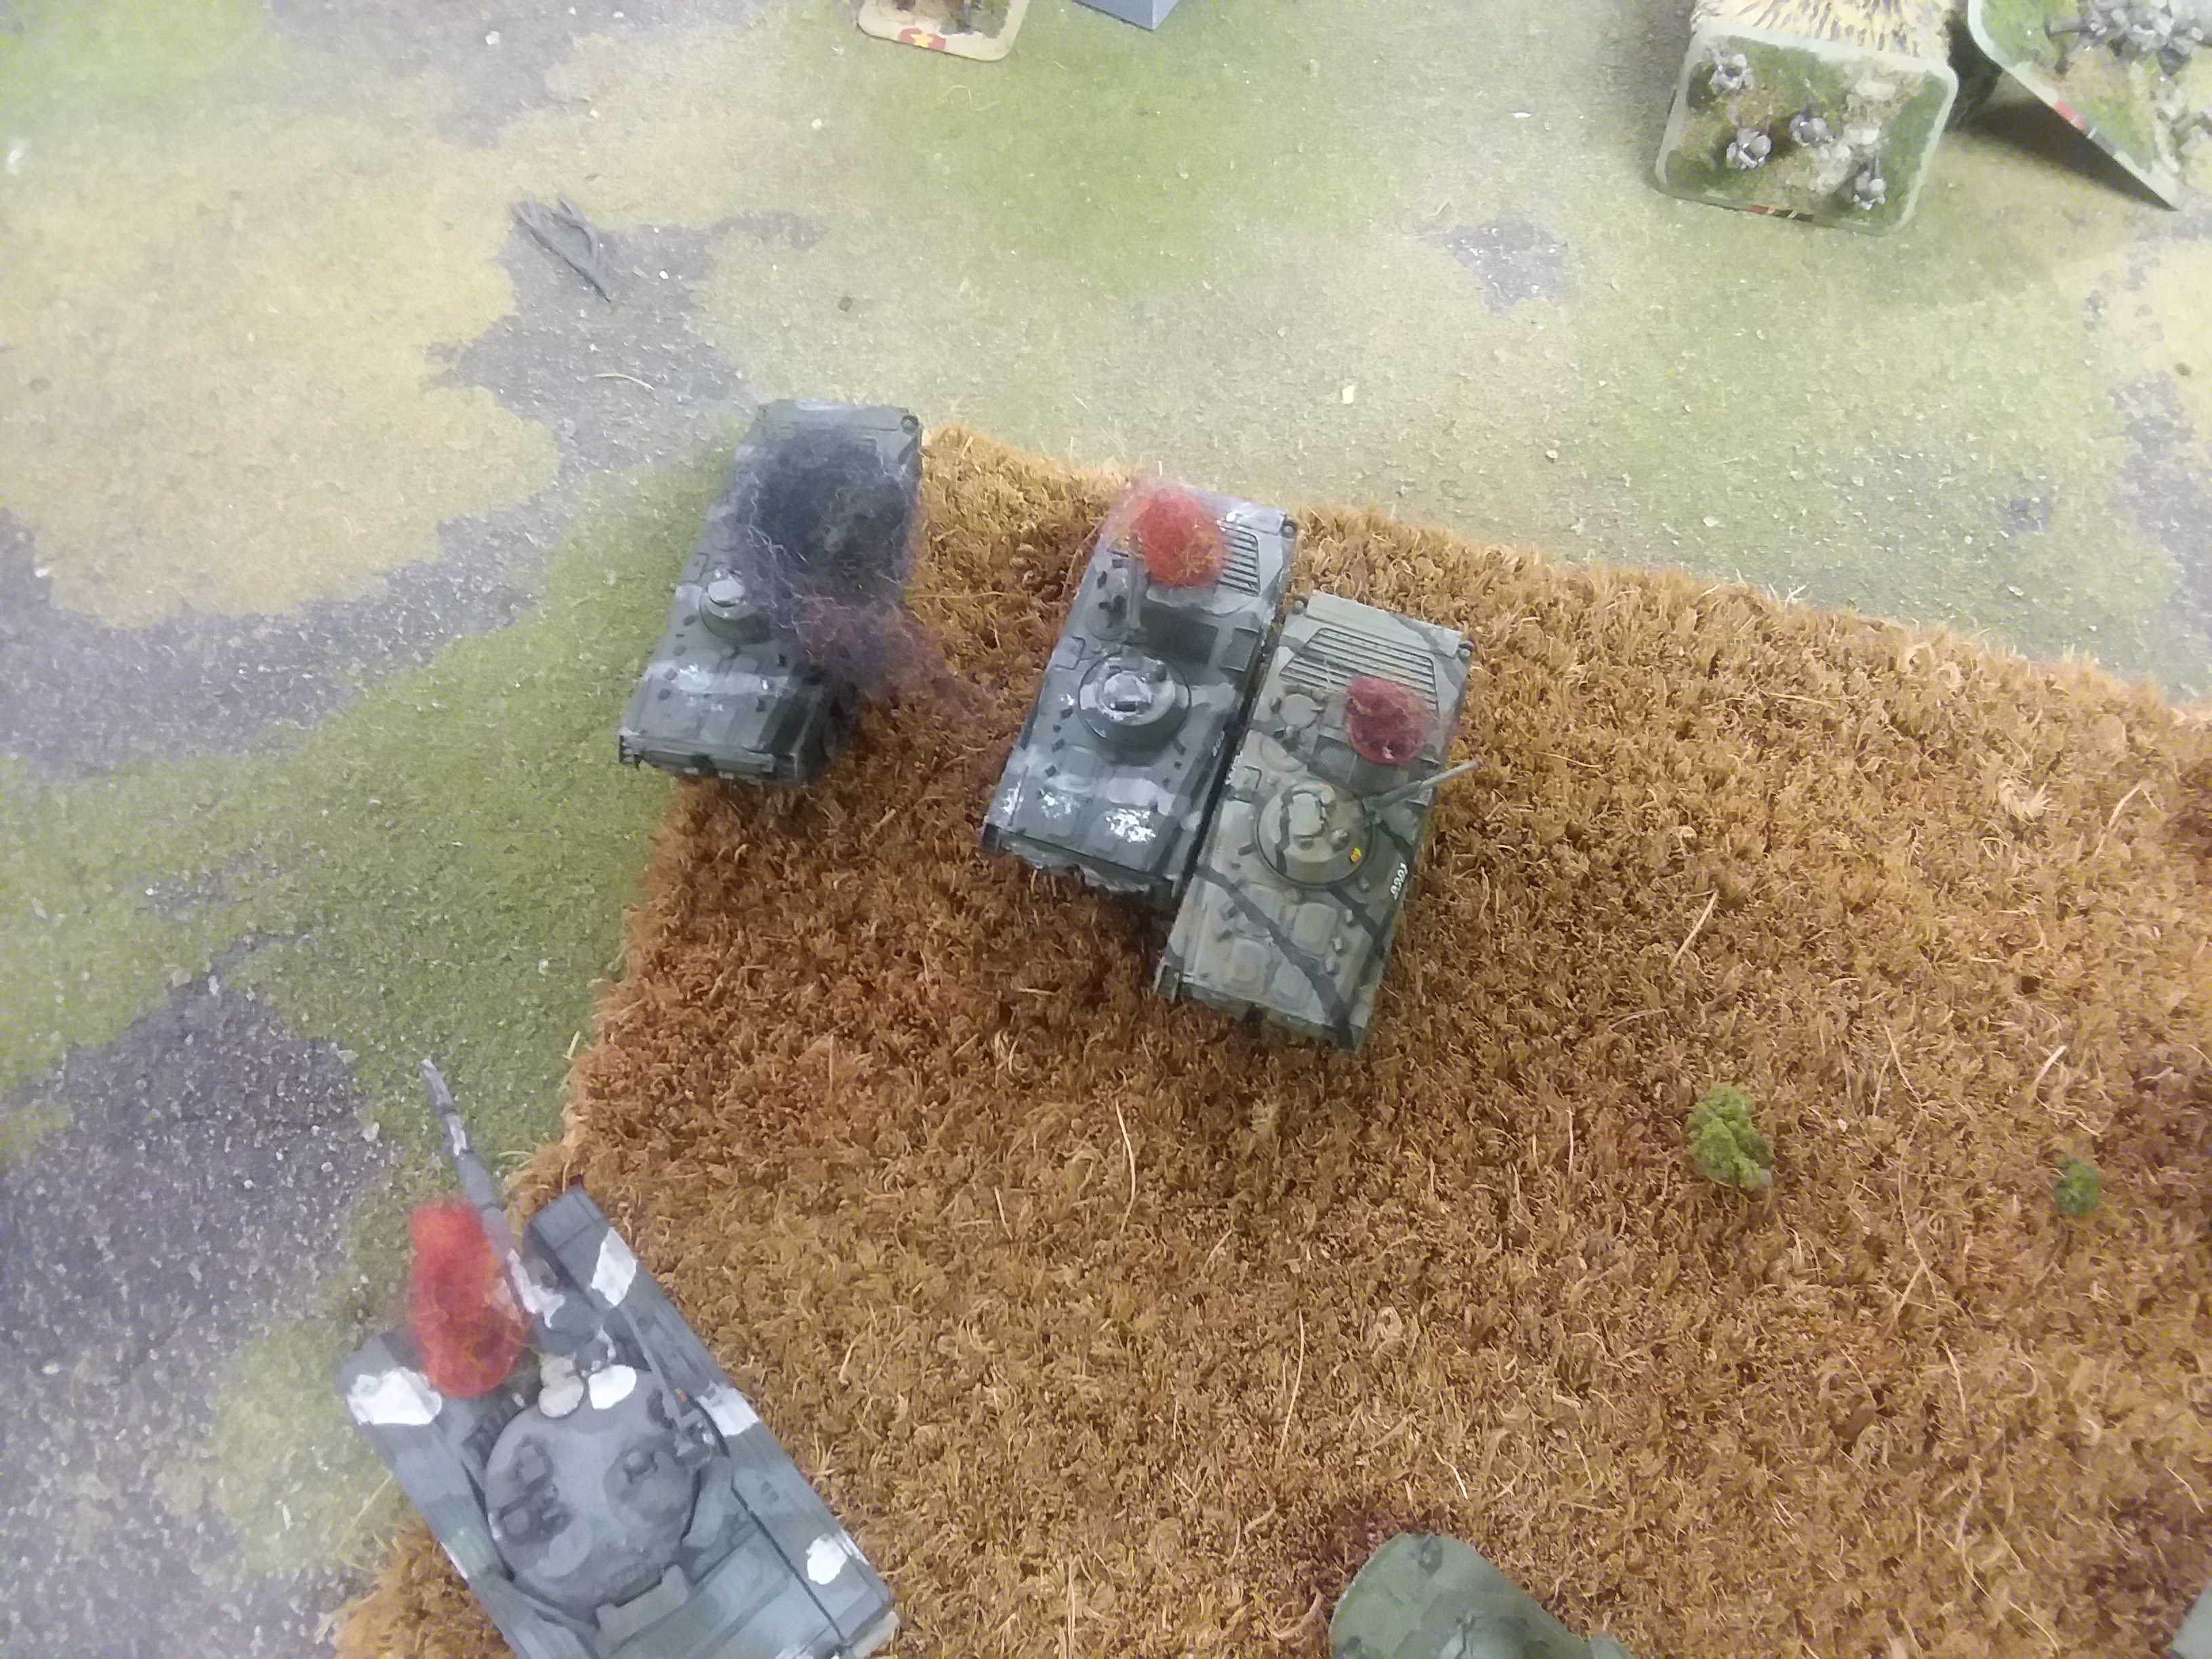
 Poor image of northern flank after Dave executed my 1st BN recon. Maybe the secret to keeping the image right side up is the book
Turn 3 - Dave's high water mark. Dave moved closer to the objective with his Leo Is on the northern flank, finishing off my ZSUs, killing an infantry stand, and moving up his Fuchs. He repositioned his Leo IIs, brought in his PAH and between Leo IIs and PAH killed four BMP-2s and bailed one. I managed to pass morale. Fortunately BMP-2s are cheap or I might have become depressed. Dave also finished off the other BMP recon zug in the north. On the southern flank he advanced the Leos, dismounted his infantry from the Fuchs and advanced through the woods to try and reduce the large BMP-1 unit hovering there, but managed only one PzF hit, bailing on vehicle.
Fortunately for me, Turn 3 saw two reinforcements. And I finally brought my Hinds in to deal with the PAH, thinking enough is enough. The lead T55 company from 2nd Panzers with the battalion commander entered the board and wrecked two of the northern flank Leos, but of course the survivor passed morale. The 2nd Panzers three T72s entered the board and wrecked the closest Gepards. The infantry company shot the Fliegerfaust Gruppe nearby and managed an incredible six hits, pinning them. But an assault failed. My Spandrels turned the other Gepard zug to flaming wreckage, redeeming themselves from earlier indifferent shooting. Unfortunately the artillery barrage was not effective. The Hinds stormed through the much weakened AA fire to nail both PAH helicopters. On the southern flank, my BMP-1 remounted but my BMP-2 did not. The 6 BMP-1s took up positions along the crest of a small hill and machinegunned the Fuchs platoon, with 18 dice managing 9 hits and 3 kills. The survivor managed to hang around keeping the transport in play.


Turn 4
Dave was now in serious trouble but he gamely tried to stay in the game. His northern Fuchs platoon went after my T72s and T55s while his surviving Leo kept shooting at my infantry, as did his Fuchs transport and the two remaining Luchs. He tried to drive his southern Fuchs around to the north to reinforce the weakening northern flank, and advanced the southern Leos far enough that one could shoot my BMP-1s for one dead one bailed. His Leo II eliminated one more BMP-2, the bailed one, but I managed to survive morale, and his Leo II commander shifted position, fatefully, and managed to kill my bailed T72. I then brought another T72 unit on table, and fired 6 T72s at his Leo IIs, and managed to kill both. The Hinds took out Dave's southern Leo I platoon, and the T55s from 2nd battalion took out the last northern Leo I. Game over, 4-3
Hot Wash
As I discussed with Dave, the main problem he had was violating Mr. Miyagi's advice about picking a side of the road. The terrain in the south was abysmal for recon. So he partially swung around to the north. But without the 3 Leo IIs or the southern Leo Is, the attack lacked punch, and my reinforcements crushed it. But Dave's improved since last campaign
Battle Report Author
Army Lists Used In This Battle
Recommend Commander For Commendation
Share this battle with friends
bayankhanWins

Familiar pictures and excellent AAR & story as usual Bayan Khan
onwards to victory Genosse
I won’t congratulate you on the win, but I will commend the AAR. Very nice.
nice job, another great win my friend,
did the website spin the photo’s 180?
Nisbet….err, not exactly all luck, ami. Been playing this game since the Iron Maiden roll out and FOW for four years before that. My TY record against the usual suspects is 9-1-2 in tournaments, and I’ve only lost two other TY one-off games, including one in the last Firestorm campaign. And on the losing side in one of our periodic team megabattles (300+ points). I consider most games teaching, and every one has a post mortem to show where the battle swung in my favor. Dave is improving; first couple games were 6-1 my way; then 5-2 now 4-3.
Still can’t get the photo to set correctly?
Get narrative!
Well done.
Well done, another victory for your glorious forces Comrade!
Congratulations on another win Bayankhan. Quite an unbeaten run of luck you’re on.
Good German list, but the Leo II can rarely survive Russian masses Congrats on the victory fellow “khan.
Kubikhan
Another great victory for the Khan. Congratulation comrade.