Fought At Amsterdam
2201 days 10 hours 16 minutes ago
Combat near Herpen
50 POINTSAnother e-battle, maps are the game. 5th Tank Brigade and 1st Poles encounter the Dutch

Confused fighting along Ruhr-Amsterdam border. Dutch troops in bright blue, Belgians in bright green with white, UK Commonwealth in tans, and olive with black ink is 3rd German Panzer 7th Panzer, and 11th Panzer Grenadier. Opposition includes elements of 2nd Guard Tank Army, 3rd Shock Army, and 1st Polish Army. Counters by GDW. When we last saw 5th Guards Brigade, it was working with 1st Polish Motorized fighting around Arnhem. Since that time 3rd Polish Motorized has cleared out regular NATO formations between the Rhine and the Maas, outflanking Nijmegen, allowing further progress south.
 Combat Near Herpen Pulkovnik Bayan Khan of the 5th Guards Independent Tank Brigade swallowed the warm beer with a mixture of pleasure and disgust. Beer had calories, and that was welcome, but following some of precepts of his ancestor’s faith made him feel unclean at the alcohol. The supply situation was temporarily good. The British had been using the area around Arnhem as a supply staging area and the early days of Seyber-Falcon had stampeded a mixture of Dutch civilians, British, Dutch and German troops, and refugees of various origin out of the area. Not without casualties, of course. Both sides. Despite the relative cornucopia in the Arnhem area, there had not been means to distribute it. The stampede had taken all the available vehicles and headed for Belgium, or perhaps France. Maybe Spain. Khan’s brigade with its gas-hog T64 tanks and the Polish regiment supporting him had been relegated to mere shopkeepers until the support echelon of 1st Polish Infantry took over the business, and their air defenses took over coverage. Meanwhile the other regiments of 1st Poles had taken over the mission, continuing to advance at a walking pace, supported by their towed artillery. The NATO defense wasn’t exactly crumbling, but it wasn’t strong, either. Dutch Territorial units, a handful of British paratroopers, some German burgers in uniform with Leopard I tanks and aging M48s could put up considerable resistance until the Polish BMPs swam a river or canal at numerous ferry crossings, outflanking them. Polish troops from the 3rd Motorized had forced a crossing over the Rhine in nearby Germany, linking up with Polish Air Assault troops, and together a force had outflanked the Maas and Wahl river lines by driving west out of Weeze. Unlike the western powers 40 years ago, there were many, many ways to cross the rivers – ferries, three or four times the number of bridges, and of course the PACT’s thoroughly modern bridging equipment not to mention helicopters. If not for the idiots having let the Tommies get loose back in Hamburg sector, they would be in Antwerp now. It was not the dash of the first war period, but it was still an advance, and thanks to his GRU advisor, Khan had a new mission. NATO was faced with the same problem as the PACT. The Dutch were absolutely against transshipping fuel and munitions in their ports because of periodic PACT airstrikes and the odd submarine launched cruise missile. Either of these could turn one into a giant bomb in a millisecond, preventing the Dutch from bringing ashore humanitarian supplies and food not to mention killing thousands. So munitions and fuel were being off-loaded in the French and Belgian channel ports, and moved by rail to support Dutch I Corps and the British 43rd Division. NATO had begun reestablishing a local supply area near the Berghem rail line, in the wooded hills above Herpen. GRU had detected it several days before, but wanted it ‘full’ in order that the Polish First Army might seize another cornucopia. GRU speculated that one of the Dutch Divisions, probably the 5th, would redeploy from I NE Corps reserve shortly, and expect to refuel from this dump before counterattacking to reestablish the Maas line, if not get all the way back to Arnhem. GRU estimated the dump at nearly 500,000 gallons, and munitions at something like 6,000 tons. Bayan’s job was to seize the dump, and give the 5th Dutch Division a warm ‘Welkomm thuis.’
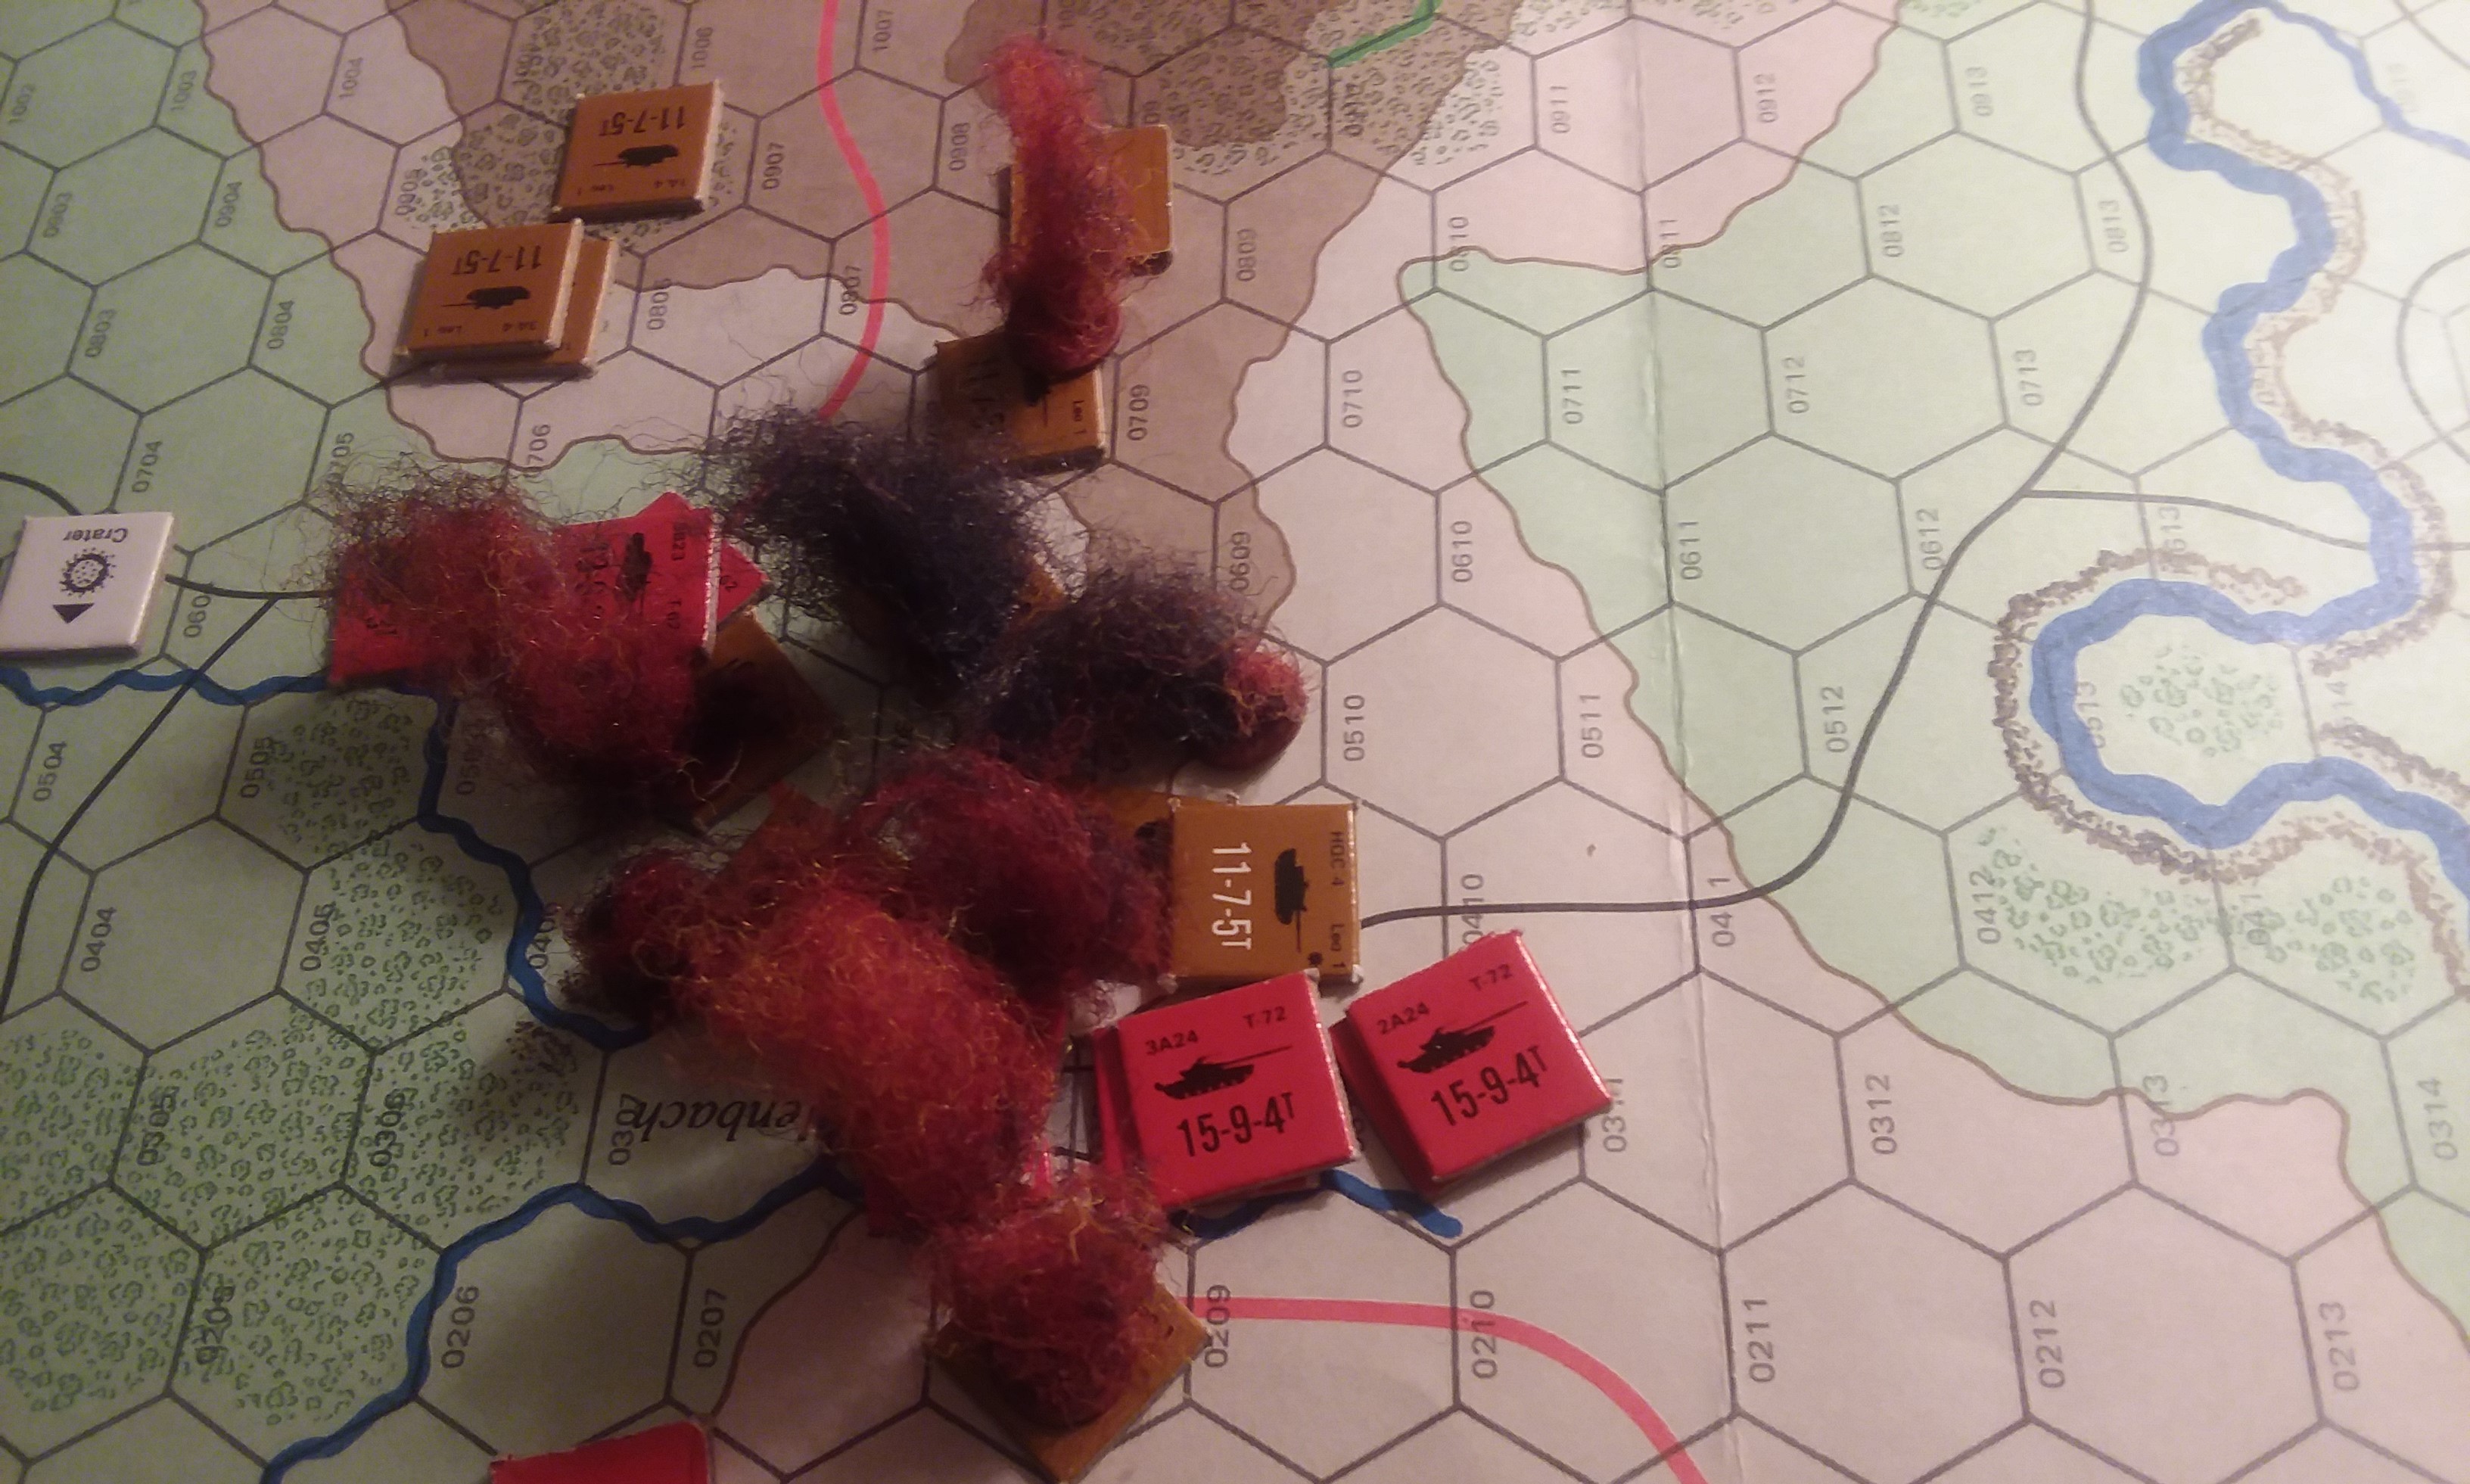
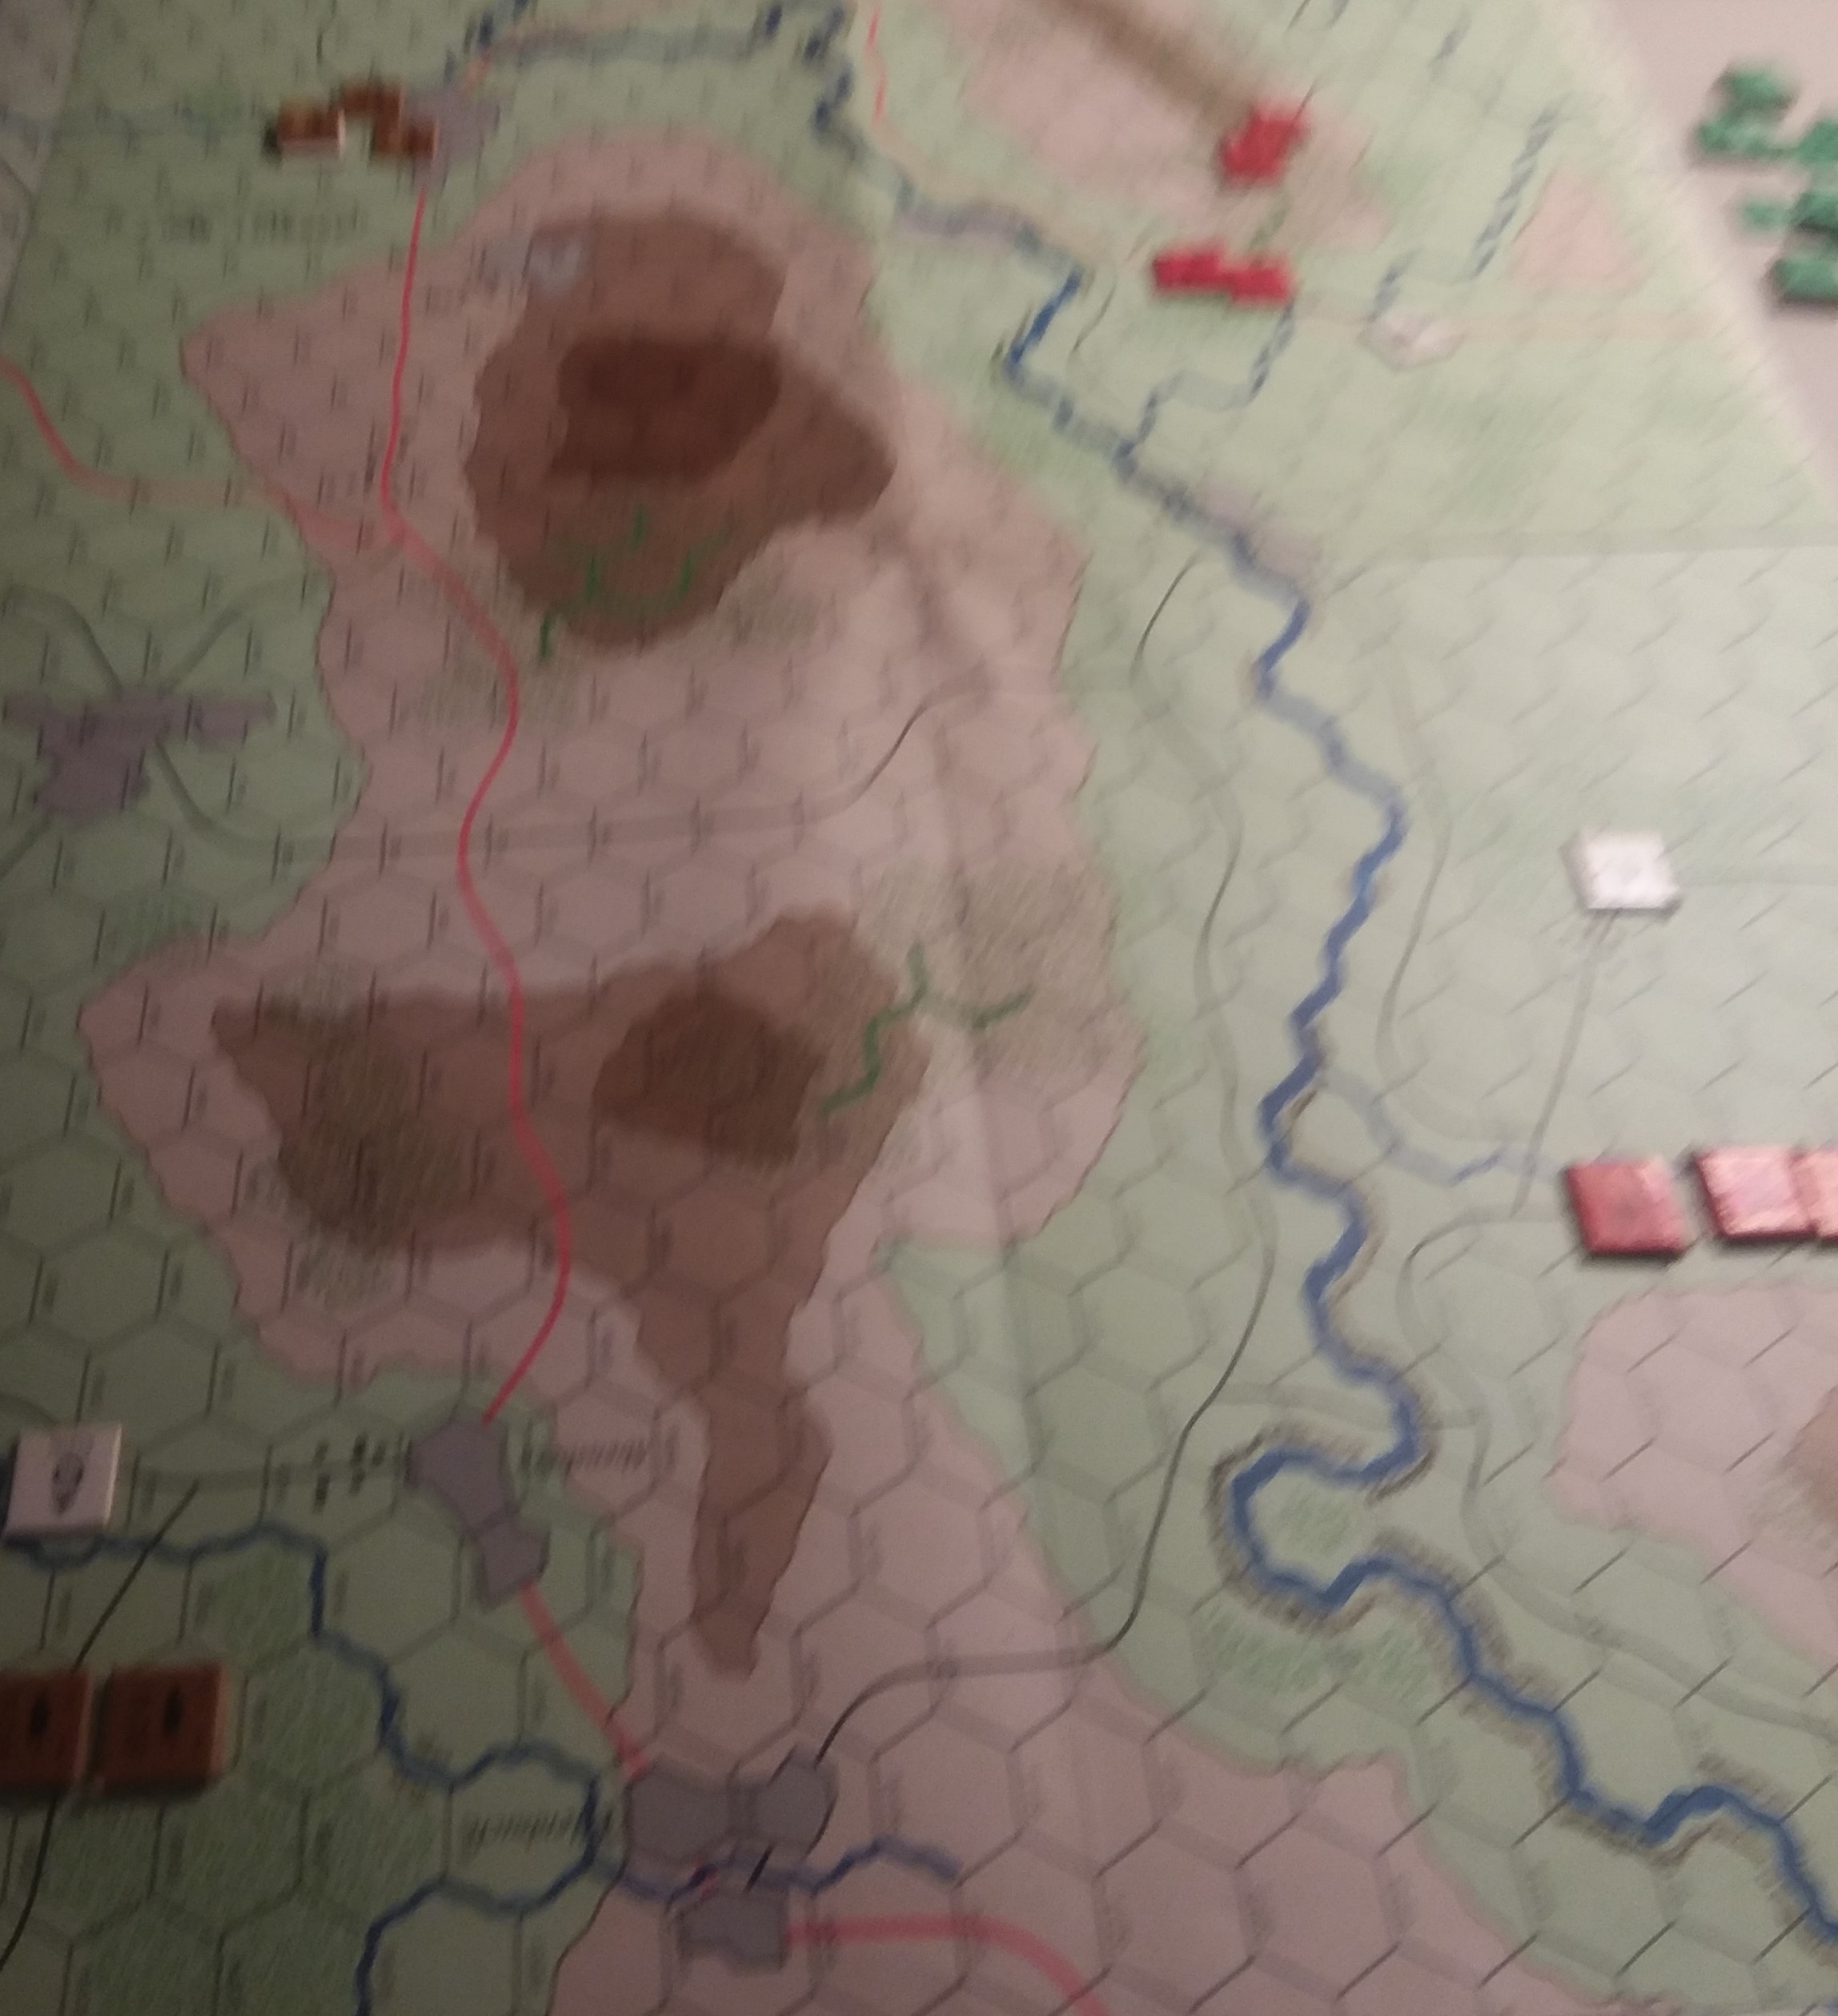 SETUP We picked Amsterdam Last Hurrah, and played a ‘classic’ tank battle, using the Dutch counters from Assault as, well, Dutch. We used the Dutch recon YPR-765 and guessed their points and performance, and probably got that wrong both ways; the Dutch had a 25mm tungsten teardrop penetrator that US Army bypassed in favor of the M791 and probably approached BMP-2 performance so we gave it a 9 and counted 4 of them as 6 points. The M791 would not appear until late ’87 IIRC due to problems with the fins coming off the penetrator. So BH had 54 points and I had 56. I surprised BH by not taking BMP-1 recon in favor of a T55s, but remember nothing annihilates like numbers. So his YPRs stayed in the background, unable to penetrate anything but my 6 T72Ms, whose delicate flanks I kept well out of reach. Once BH saw that I had few if any tanks that the YPRs could deal with he placed them in reserve, and chose his on-table force as the ‘battalion’ headquarters of two tanks, one company complete with 7 tanks, and the company CO of 2nd company with 3 tanks as ambush. My on-table units were both T64 ‘companies’, and a T72 and T55 company from 1st Battalion, representing Poles. Technically, the T55 units were the main PACT force.
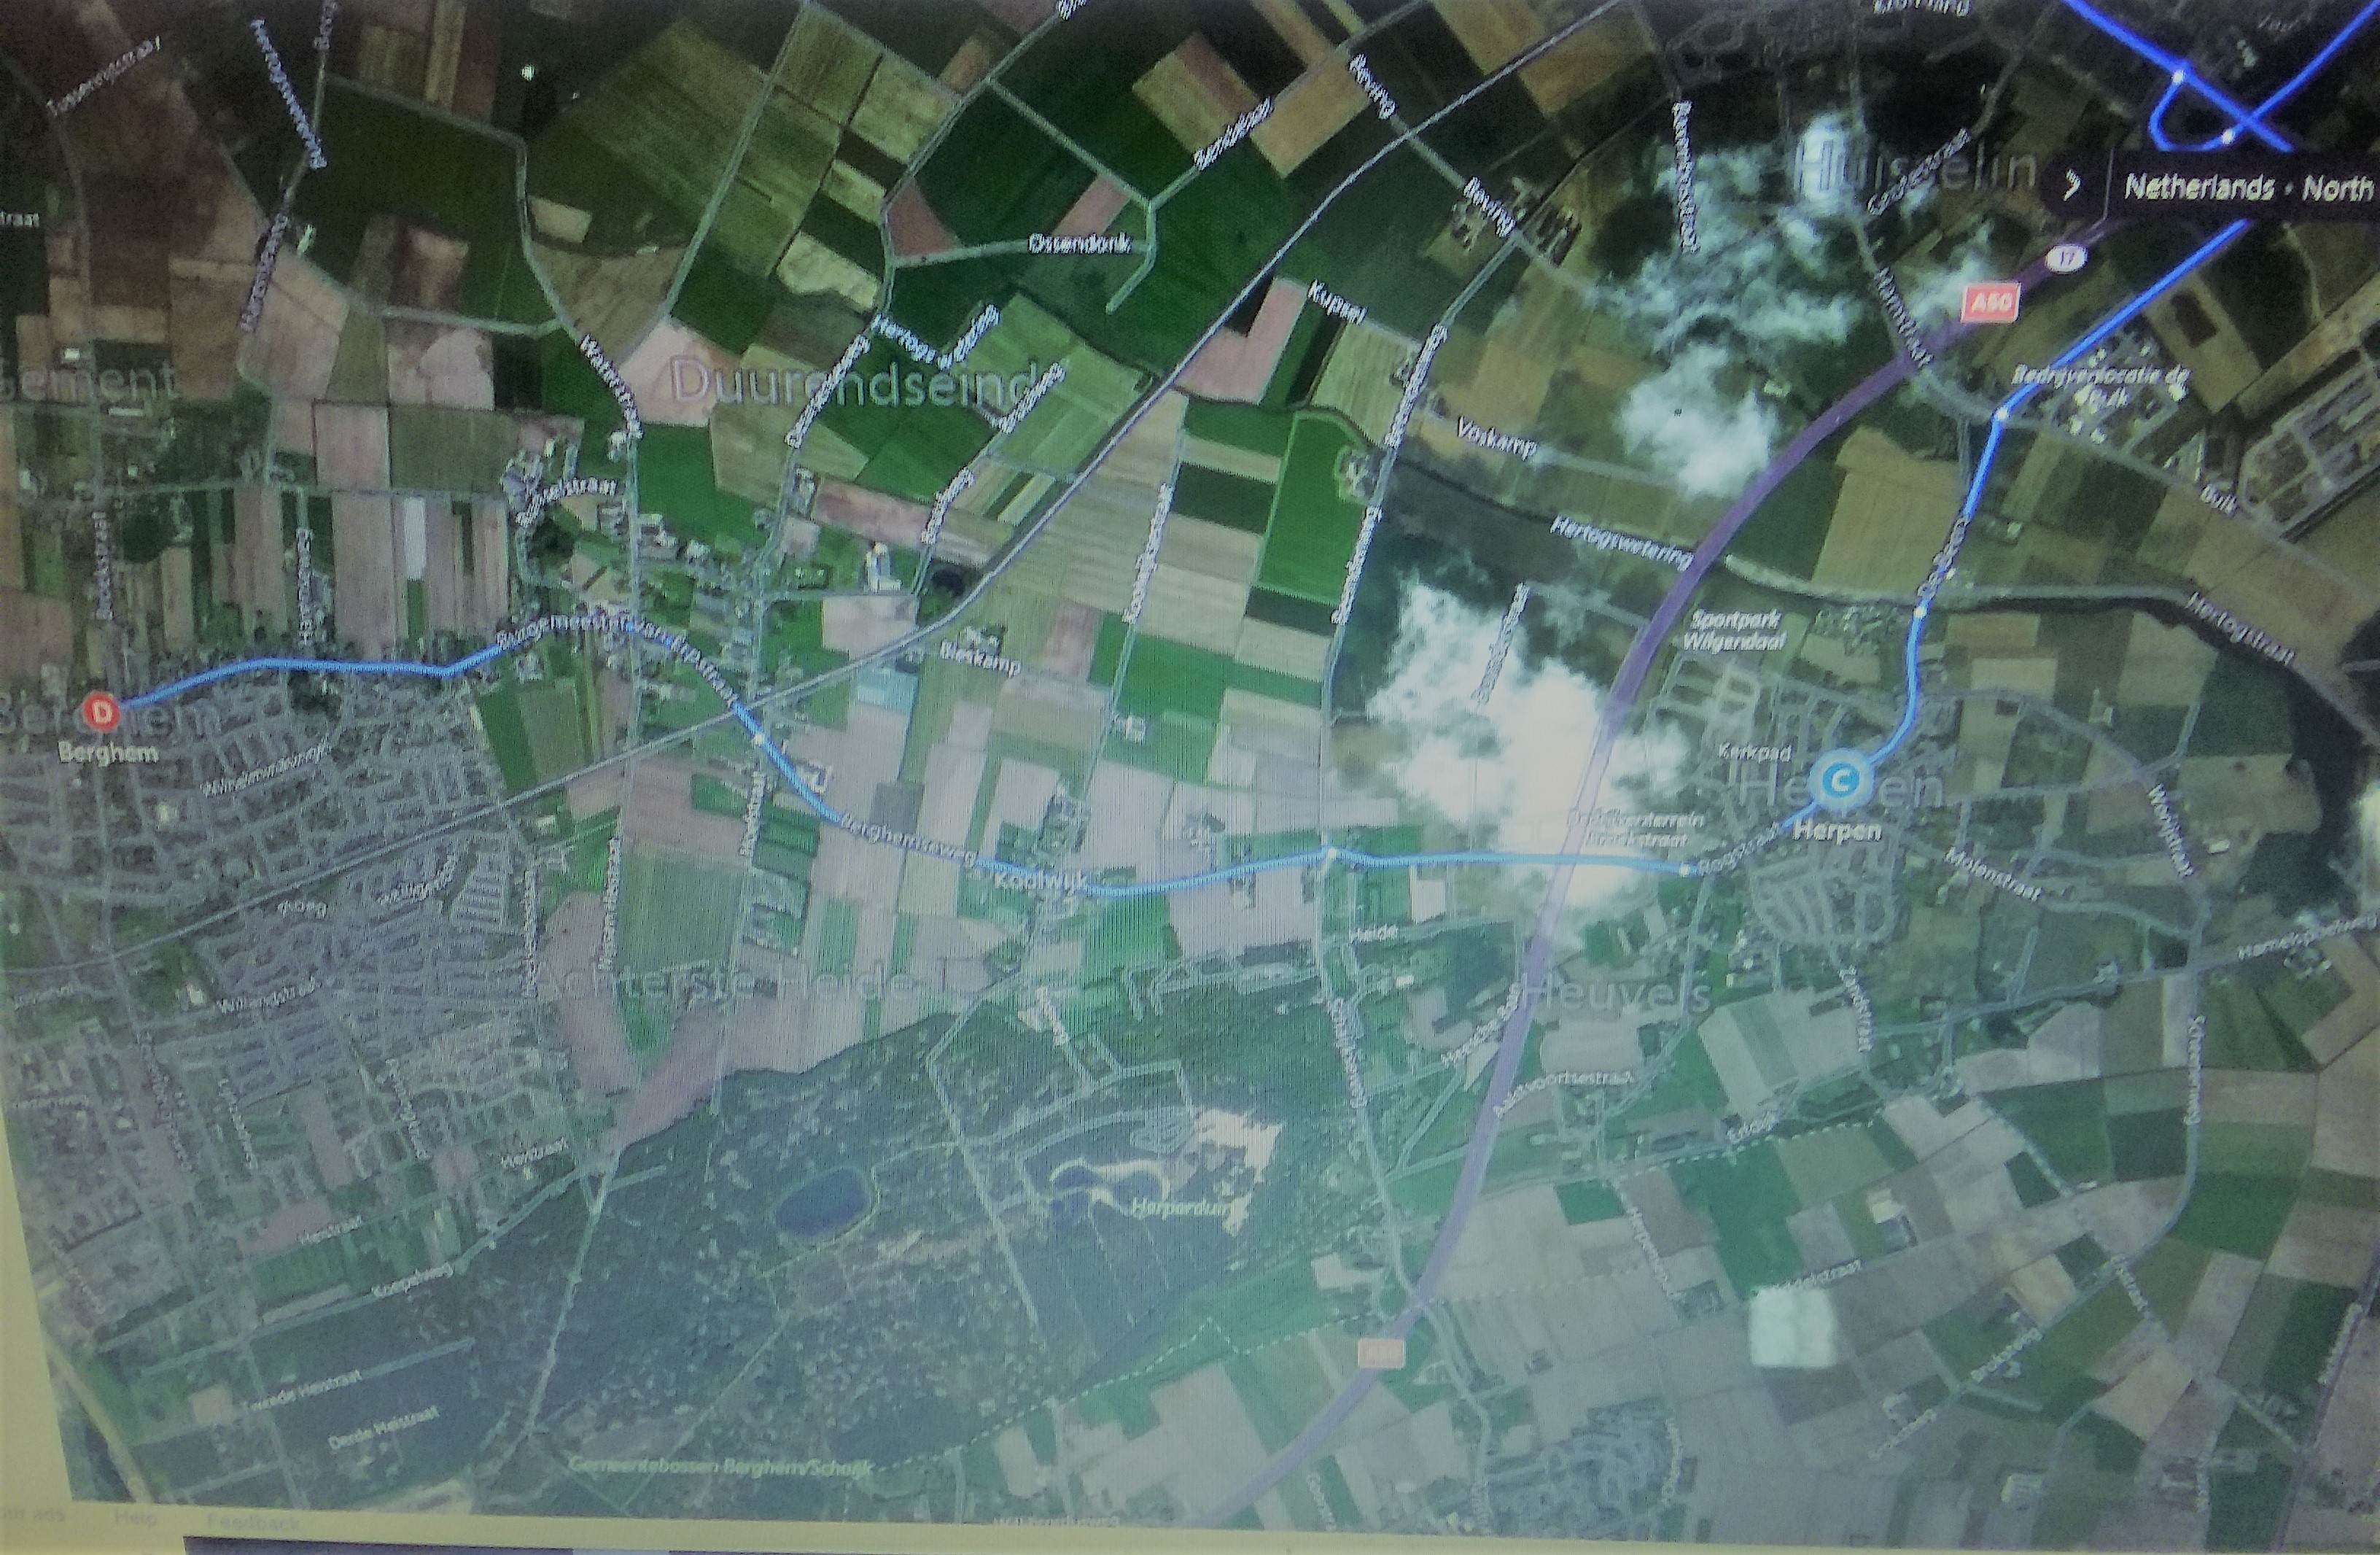 MAP Finding hills in this part of Holland is interesting, and most of the Assault game maps have hills. But there is some roughness south of the Maas, notably the Grosbek Heights a little east of here at Nijmegen. The lesser hill south of Berghem, and between Berghem and Herpen, is a continuation. Enough elevation to be attractive for a logistician looking both to hide his supplies and keep his stocks dry by providing drainage. The water on the Assault map is the Hertogswetering, or Duke’s Drainage Ditch, if my Dutch passes muster, and no, it isn’t really far enough from the high ground. Or perhaps, in TY sliding scale, it’s perfect.
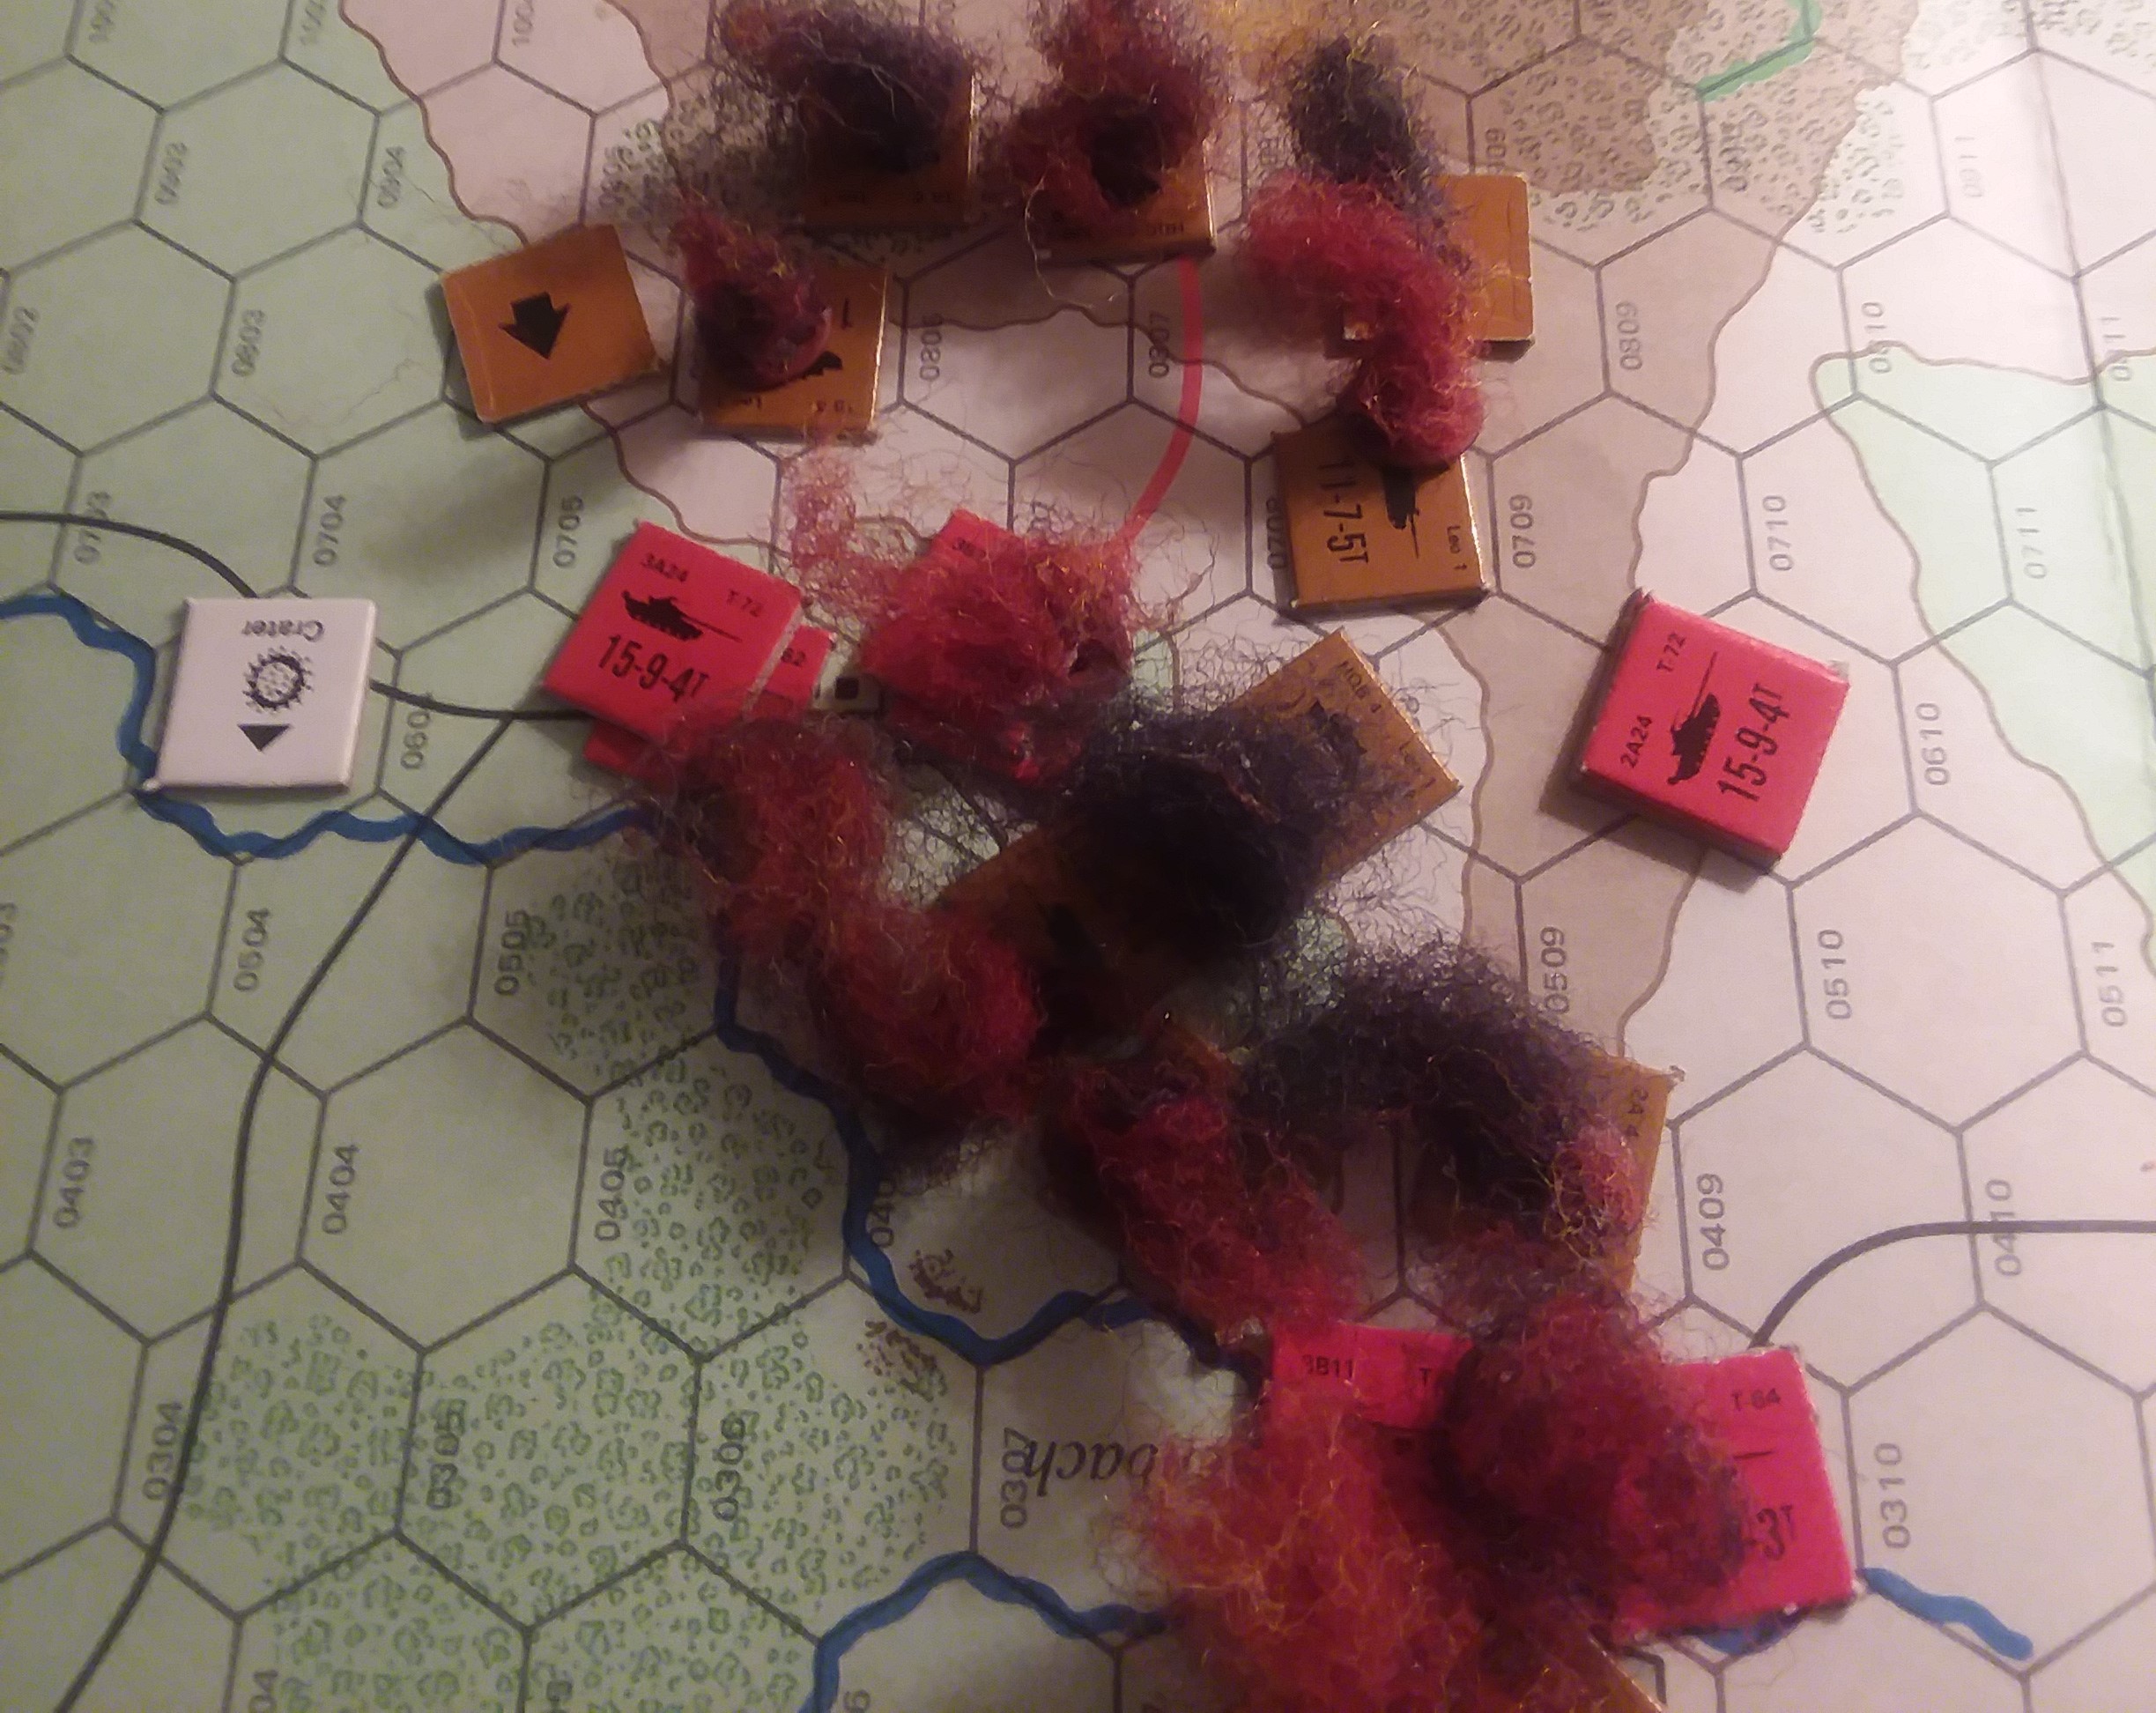
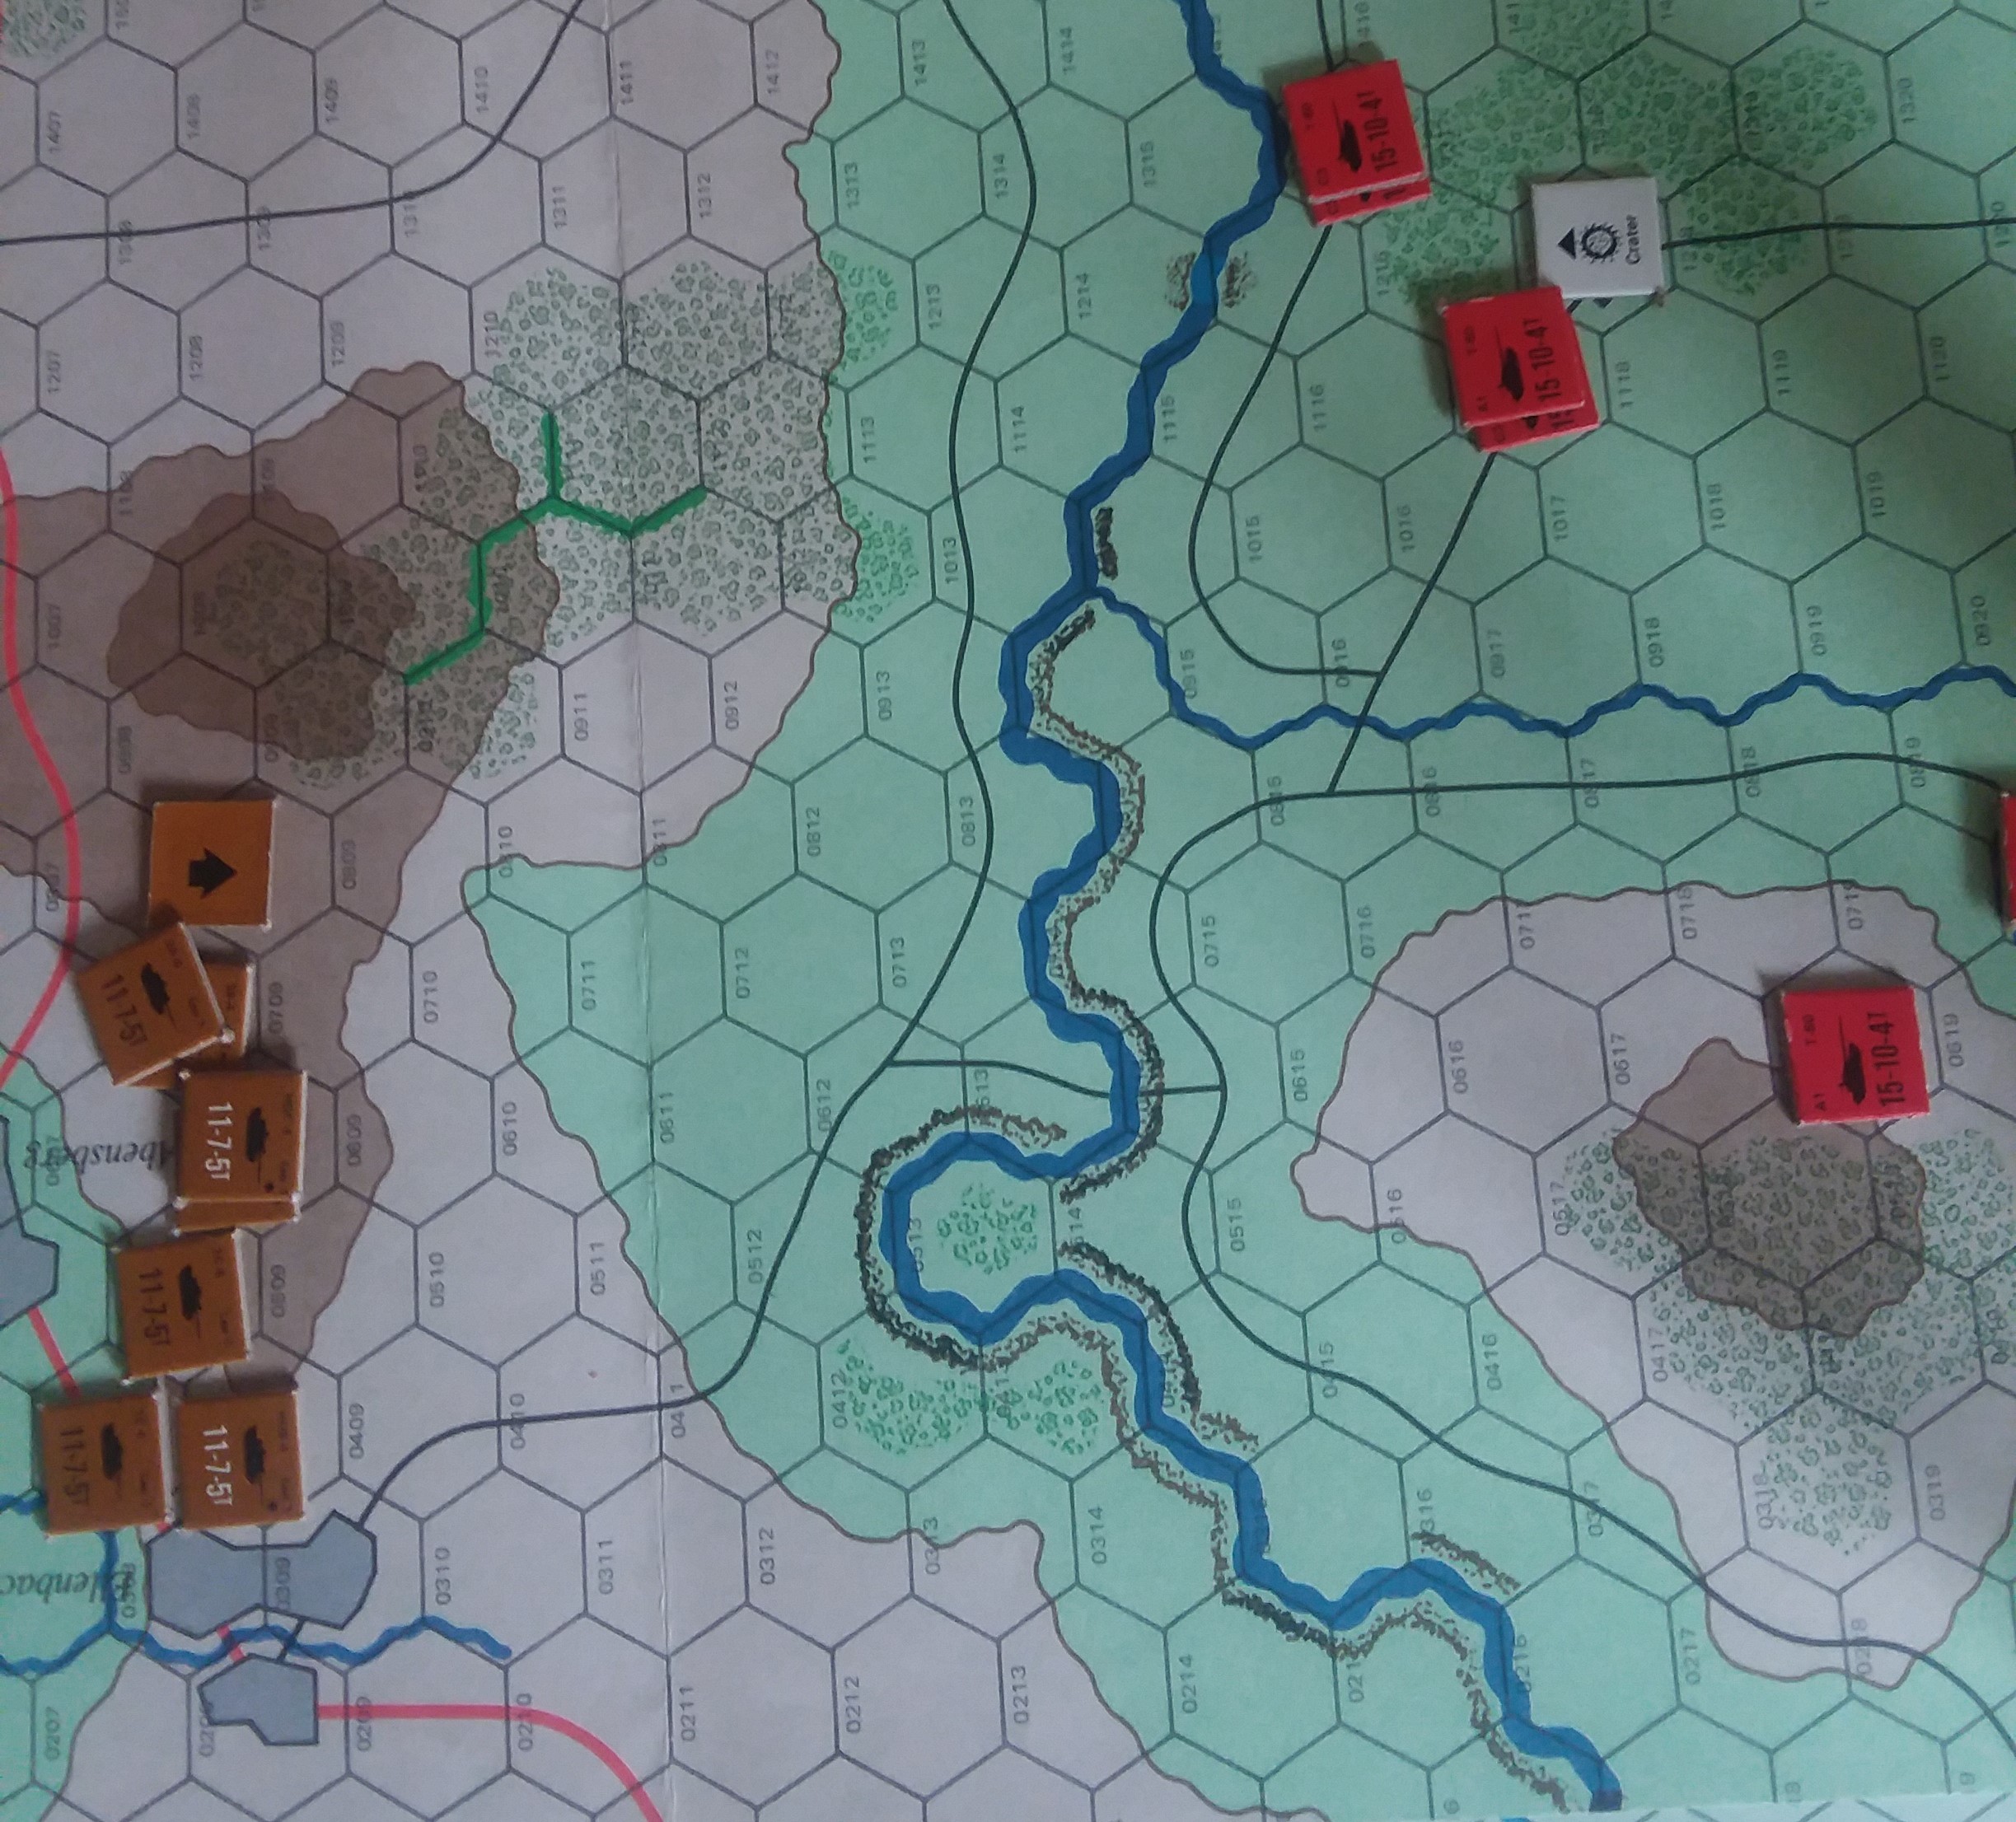 Turn 1 No reinforcements, so I sat still. BH found this incomprehensible, but I then, like the Bayan Khan of history, disclosed precisely what I was doing. His ambush was only a threat while my numbers were low, and I was content to wait on reinforcements. I had deliberately deployed with 2 T64s at the edge of short range from the crest of Herpen ridge, to tempt him. Told him that, too. So we could sit there and look at each other until all my toys were on the table, or he could make his move. The west end of the ridge was a Mexican standoff; I put my T55s and T72s in the woods on roads so they could maneuver forward without cross checks, but not be shot until his Leos were at point blank range. BH rose to the occasion and drove his eastern force forward, adding in the ambush, putting 7 Leopard Is in line, the 8th lagging a little. He lit up the T64 column, firing 8 shots from the ambush hitting 6 and 6 shots from the on-table unit using stabilizers, hitting 3. But, shot distribution pushed hits onto the tanks in the ‘company’ that were at long range, and so BH got 3 hits that actually could penetrate and 6 that could only bail. I managed to shake all but one hit for a bail. Nice to be on the other end of that exchange for a change. Turn 2 Naturally enough I got no reinforcements, again. But my bailed tank remounted. I quickly dispersed the T64s into wooded or village firing positions, changing the to-hit to 4+ and raising the range to long. 7 full bore 122mm shots hit the ridge. Literally. Only one duffed through to hit a tank. Scratched only,bail one Leo I. Gulag ammo parts, comrades.
 BH got his 4th Leo platoon, naturally. He elected to commit it to the eastern flank, and I concealed my relief behind an electronic mask. I’ve won more games because of scattered reserves putting enemy reinforcements during a key situation in a wrong position to be comfortable with relying on 7 tanks to face down 8 with twice the rate of fire and 50 percent more maneuverability. As it turned out, I would have won if he had sent it west, but neither of us could predict it. His bailed tank remained inert so merely 14 shots flew down range. He focused his fire on a single T64. Of course the hits spread, but the targeted T64 was hit 4 times and managed to throw 2 1’s, and then was ignorant enough to fail morale. One other T64 bailed in the same company, and that’s the point at which I could have lost the game. I couldn’t afford to lose two more T64s, so I used the BC for the morale test. Rolled a 3.
Turn 3
The bailed T64 remounted, one of the few benefits of playing Soviet tanks. I had to get reinforcements. It’s a rule. The ‘2’ meant my lone reinforcement came on the eastern corner. Gamble, or play it safe. I gambled. 11 Leopards meant too much to handle in a long range duel with him in cover, as I had just seen. 3 T55s adding to the gun count wouldn’t be decisive. 3 T55s using their 16” corner set on and 10 inches of movement to shoot the flank of his force behind the ridge and his newly arrived LeoIs was something. Effectively double the gun count, for their few seconds of survival. So my T64 barrage continued, and the Poles of 1st T55 battalion bravely charged the German tanks. The T64s managed a kill, and the T55s managed two kills. Go figure.
2 YPRs arrived and there were no T72s in reach so BH put them at center court in cover. BH still couldn’t get the broken Leo I back into business. I can imagine the TC shouting, “Negatieve golven, Nils, stop tie negatieve golven.” He applied the two surviving reinforcing tanks to the T55 unit by moving them into the village alongside me and continued with 6 shooting at T64s. Lightning didn’t strike twice this time, and he managed to bail my BC, but not the damaged tank unit’s vehicles. Two T55s died and one bounced a hit to survive, bailed, and then passed morale.
Turn 4
Having toyed with me, the Dis Iacta now returned their favor. Another single reinforcement, which I took as the 2nd T55 battalion commander and a T55 unit. Another die roll, ‘1’, and they moved into position to support their comrades, shooting one of the reinforcing tanks in the village. 4 dice at 6 sometimes hits, right? The T64s managed to underperform again, but at least the tank died this time.
On the far side, BH debated sending his ‘battalion HQ’ of two tanks to support the eastern flank, and decided against it. 7 PACT tanks against 3 Leo Is was not safe, I told him. Two more YPRs arrived from reserves. His force in the east was melting; the 2nd company had begun with 7 tanks, the reinforcing platoon had 2 dead and the ambush platoon had 1 dead one bailed, but both had passed their last morale checks. The original platoon had dropped one tank. So BH had five working tanks here. He allocated 4 shots to the fresh T55 unit, protected by the smoke of many wrecks, and fired 6 at the T64s. I shook off three hits from the T64s and bounced one off my T55’s front with a 6. Another T55 died, leaving the 2nd BC, 2 2nd BN tanks, and the survivor from the 1st BN.
Turn 5
Two reinforcements this time. The T72s of 2nd battalion ended up on the eastern flank while the remaining T55s of the 2nd battalion ended up on the west. I pushed the 1st BN BC and his T55s forward, dashed the western 2nd BN T55s to catch up, and adjusted the position of the 1st BN T72s to be able to act more aggressively, still keeping them out of sight.
The eastern T72s waded into the action, taking up position behind burning tanks, and added weight of fire to the duel. The T55s of 2nd BN coasted down the hill, occupying the farms behind BH’s lines, and incidentally contesting the objective. 9 122mm guns roared, and again underperformed, killing only one Leo I. The 4 T55s added nothing thanks to moving.
Fortunately for BH, his uncommitted scouts meant that he still didn’t have to take company morale checks. All the surviving tanks on the ridge stayed for the bitter end. Nils still couldn’t fix the fuel filter. BH could see the end coming and broke off the action. He fell back to the woods on the hill overlooking the objective but had to be prompted to position a tank in contesting position. I explained that while the Leo would not have cover from my tank contesting the objective, he would be firing first, and anything else would have to remain on the ridge shooting through numerous wrecks. In short, the contesting position would have cover, as much as if it was in the woods. The commander of No.1 company managed to bog trying to get into the woods. 6 105mm shots rang out, three hits, and a ‘1’ for the contesting T55 left it alive but bailed. Its buddy and the BC’s tank died, but the BC vaulted into the bailed tank. Point, BH.
On the western flank BH repositioned the Battalion command group, shifting into the woods. He could see 7 T55s popping over the crest and fully expected them to light up the BC in the open. Unfortunately the BC’s driver apparently was dozing, and bogged the tank in full open from all directions. When it rains, it pours. BH also moved the No.1 company scouts at dash to contest the eastern objective in his turn 6. He kept them in cover as they couldn’t quite reach contest position and wouldn’t count this coming turn anyway.
Turn 6
I had two T55s in firing position to see his contesting tank, and 3 T72s lined the crest in the east. The T64s cruised forward, with only one target, Nils and his broken Leo I. This time they didn’t miss. Nils and the rest of the bailed crew scattered into the woods.
The BC remounted his tank, never a given, and proceeded to kill the contesting Leo I. That was effectively game over. As all shots are preplanned, the other T55 fired at the Leo in the woods, and got a hit as well. I had allocated the T72s to the company commander stuck in the open, and he disappeared.
On the western flank, again, preplanned shots – the two T55 units had blitzed and reached firing positions, as had my T72s on the ridge, using stabilizers. The T72s targeted the command group and killed one bailed the other. The T55s had targeted the platoon in the village there, hitting twice on 6’s from seven shots. Two dead Leo Is.
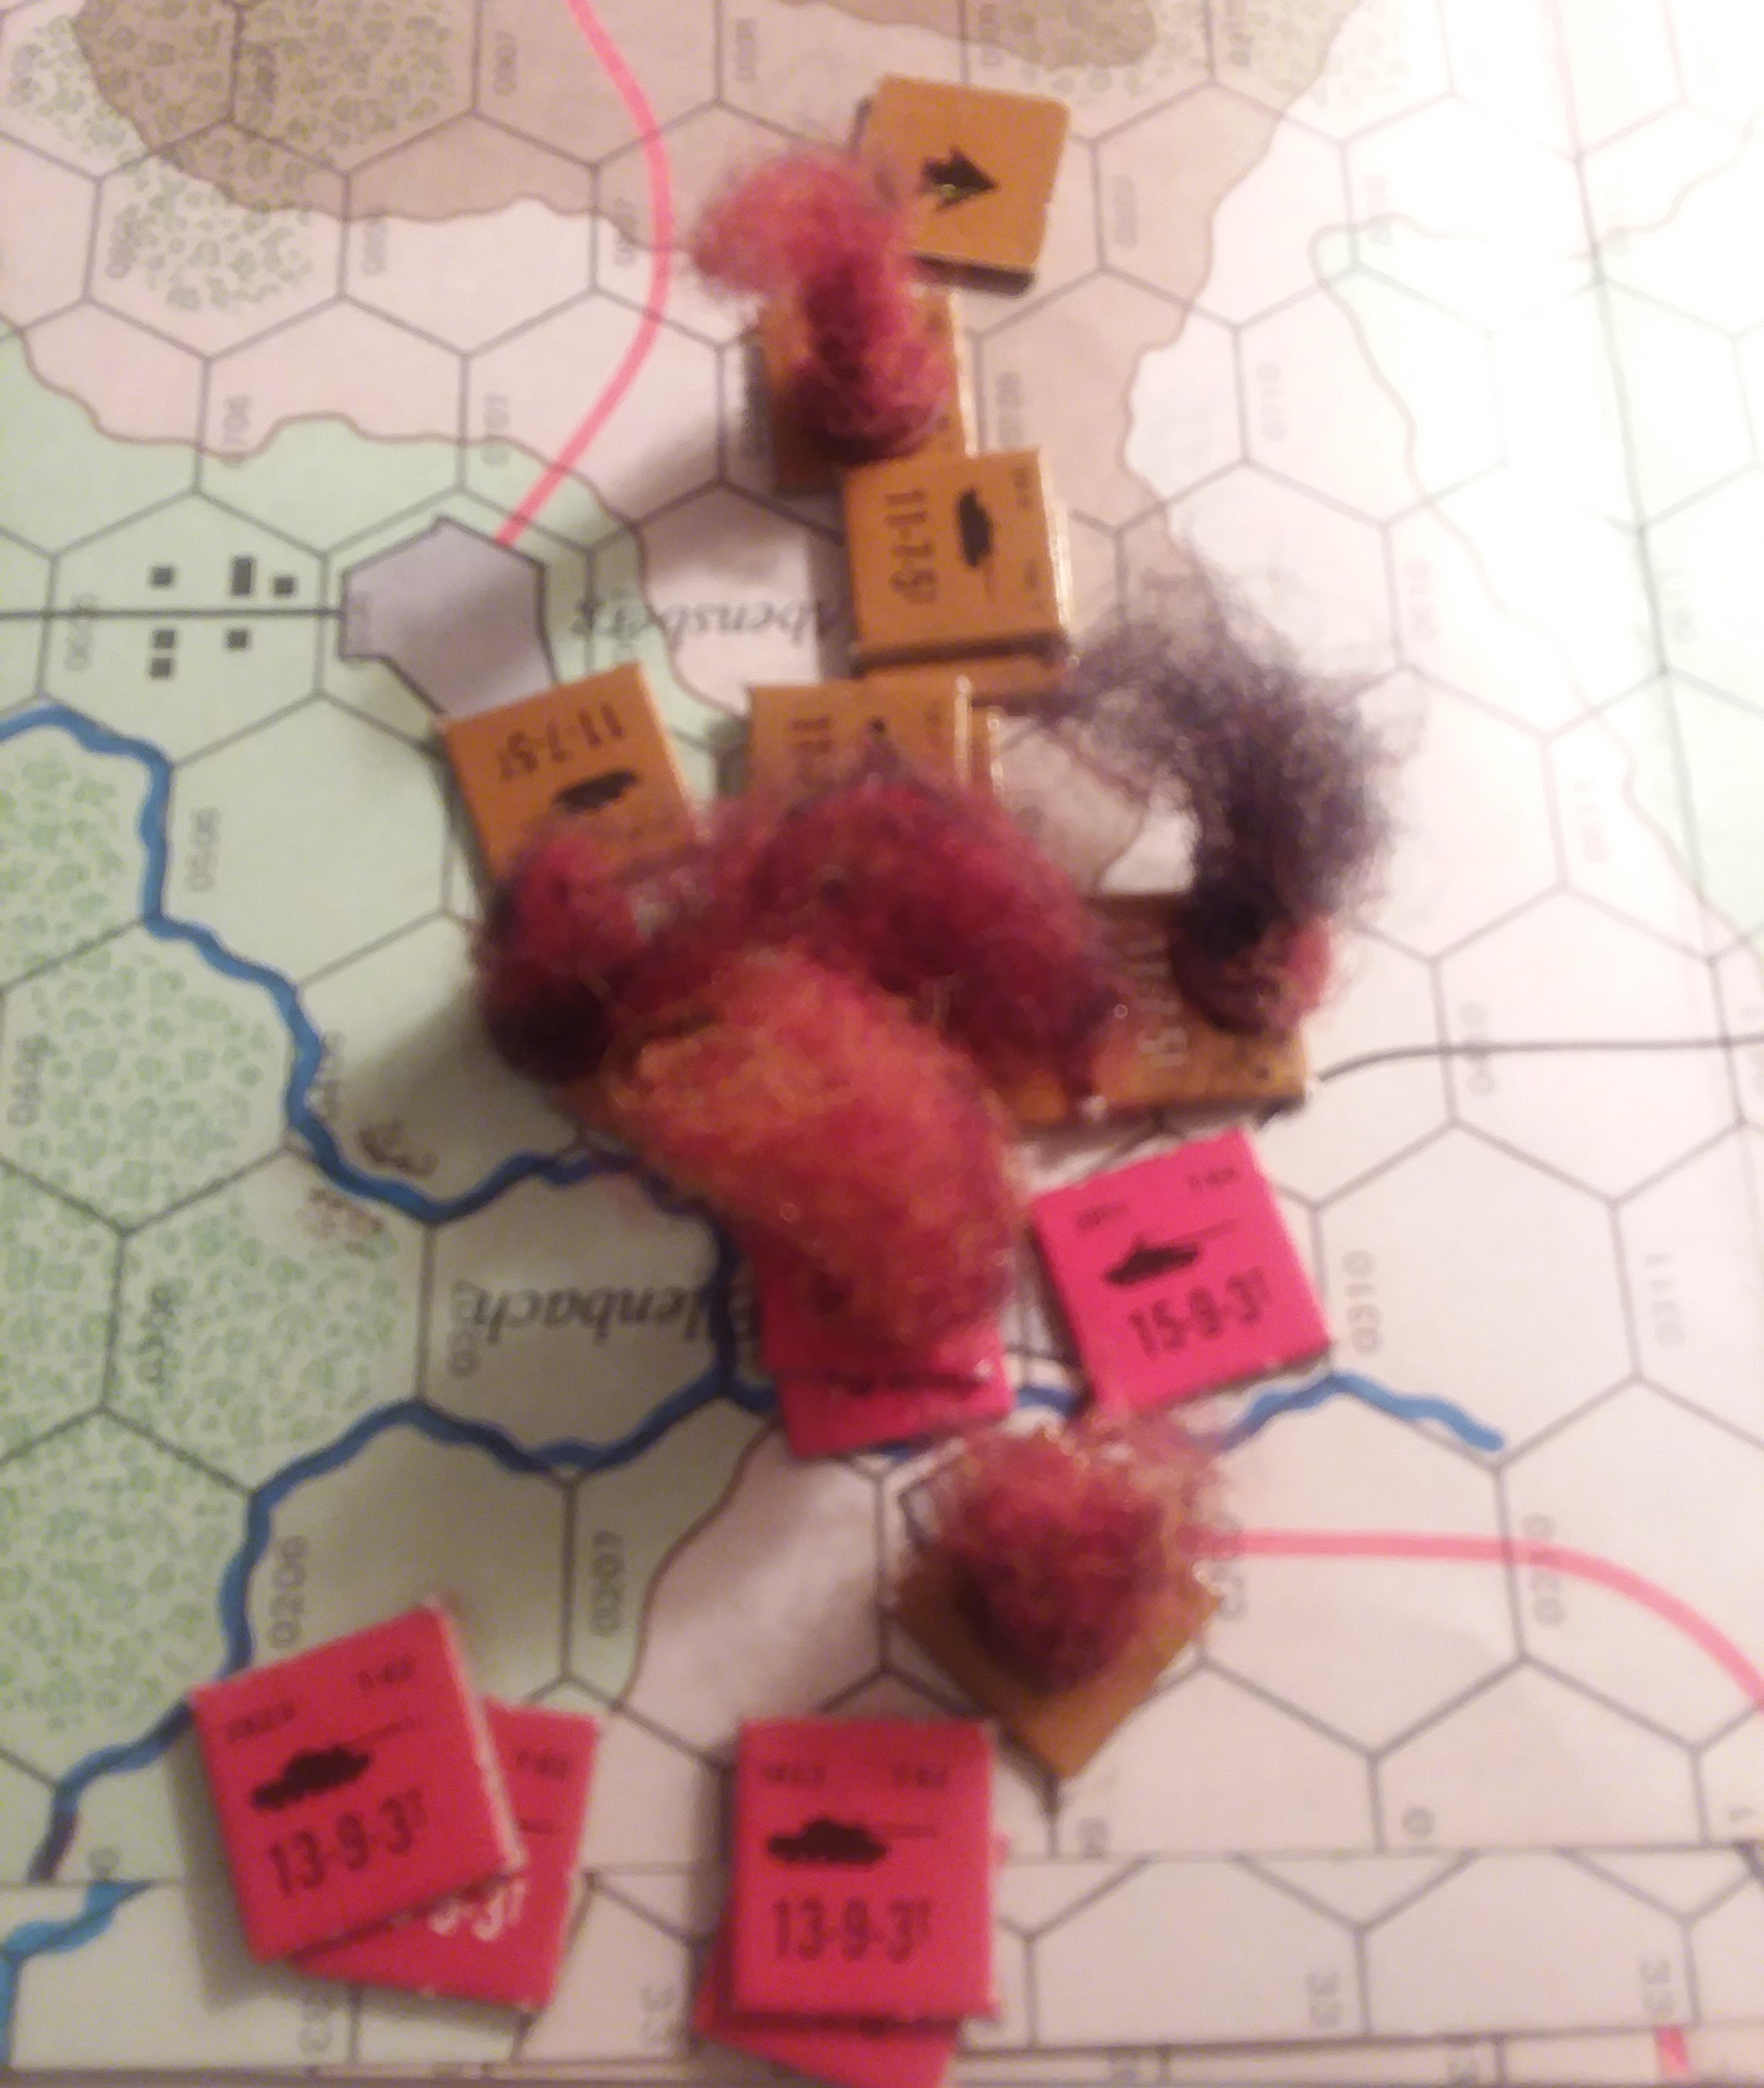
The scouts and two Leo Is put the hammer down and drove away to inform 5th Division to seek fuel elsewhere. 5-2 (but very nearly 4-3), PACT. 14 Leo Is destroyed vs 1 T64, 5 T55s.
HOT WASH
This battle pretty much came down to all my early reinforcements arriving on my western flank. And the timing. The T55s not only arrived but over-performed, getting 2 hits on 5+, compensating for my otherwise miserable shooting with the T64s. Had they not arrived, the Leo Is would have advanced into the woods lower down the ridge’s slope, dumped as many as 22 dice at close range, probably gaining 11 hits, certainly as many as 4 hits or bails, and subsequent morale checks. Logical outcome is he takes the objective, because the only way to avoid flank shots on T64s would be to retreat. Once he has flank shots, game over.
That turn, and Nils continued failure to remount, told the sad story of the game. BH didn’t allocate enough firepower to be sure of killing the initial T55 unit, so one survived, and then another unit arrived, piling on, and the 5 T55s together accounted for another kill. Then the T72s arrived, adding mobility to the equation, and suddenly BH’s force of 11 Leos was 4 functioning tanks.
BH could have changed things somewhat if he had taken the risk of ploughing ahead with his Leo force, sliding down the hill with the 7 tanks that survived my first shot undamaged, and terrain dashing the reinforcements behind them. The problem with that was the sudden arrival of a T72 company in the position where my T55s arrived could have placed them on the objective, leaving him with few options – moving on stabilizers to get perhaps 6 tanks to firing positions AFTER they survived two cross checks would have been nearly miraculous, and then, of course, they had to hit. And leaving 3 Leos to face off against my reinforcing tanks would have produced much the same outcome as we saw.
Dice. Can’t play wargames without them, and sometimes can’t play with them.
Aftermath
Irony. The fuel dump was an elaborate fake; the Dutch had been hiding it in the industrial buildings around the rail line in Berghem. Bayan’s recon unit had discovered it intact. Had it been up here where the Dutchmen made their stand, it would now be blazing merrily away. The Baraka was still with him. The hill side was dotted with ammunition. Bayan’s support echelon was collecting the small arms ammo, grenades and demolitions for future use – Bayan had taken the AKs away from the support troops and replaced them with captured NATO weapons last week to preserve his stocks of bullets for his infantry battalion, in preference for begging from the Poles. The large caliber ammo was being rigged for demolition. He couldn’t use it, and had to prevent his tank crews from trying to convert one of the NATO Leopards to PACT use. Someone named Nils was trying to convince them of the superiority of their tanks, it seemed. The KGB officer had been really annoyed when Bayan ordered Nils released to find his way back to his unit. His tale of woe would certainly undermine Dutch morale.
Battle Report Author
Army Lists Used In This Battle
Recommend Commander For Commendation
Share this battle with friends
bayankhanWins

hmm yes another victory,
Your victories are beyond easy counting. Well played again. Great report as usual.
Fine report – and a fine outcome!
Informative as always.
Great report. Nice win
Nice set up and analysis on YPR 25mm capabilities, although the M-113 C&V/25mm was interim replaced by the YPR-765 PRVERK from 1994 onward; in lieu of the delay of the introduction of the Fennek 4×4. 41 Tank Battalion was equippped with Leopard 2A4 from 1982 onward.
Great AAR though 🙂