Fought At Frankfurt
2203 days 20 hours 40 minutes ago
Combat at Kleinenberg
100 POINTSE-battle 4th Motorisierte breaks through Kassel sector
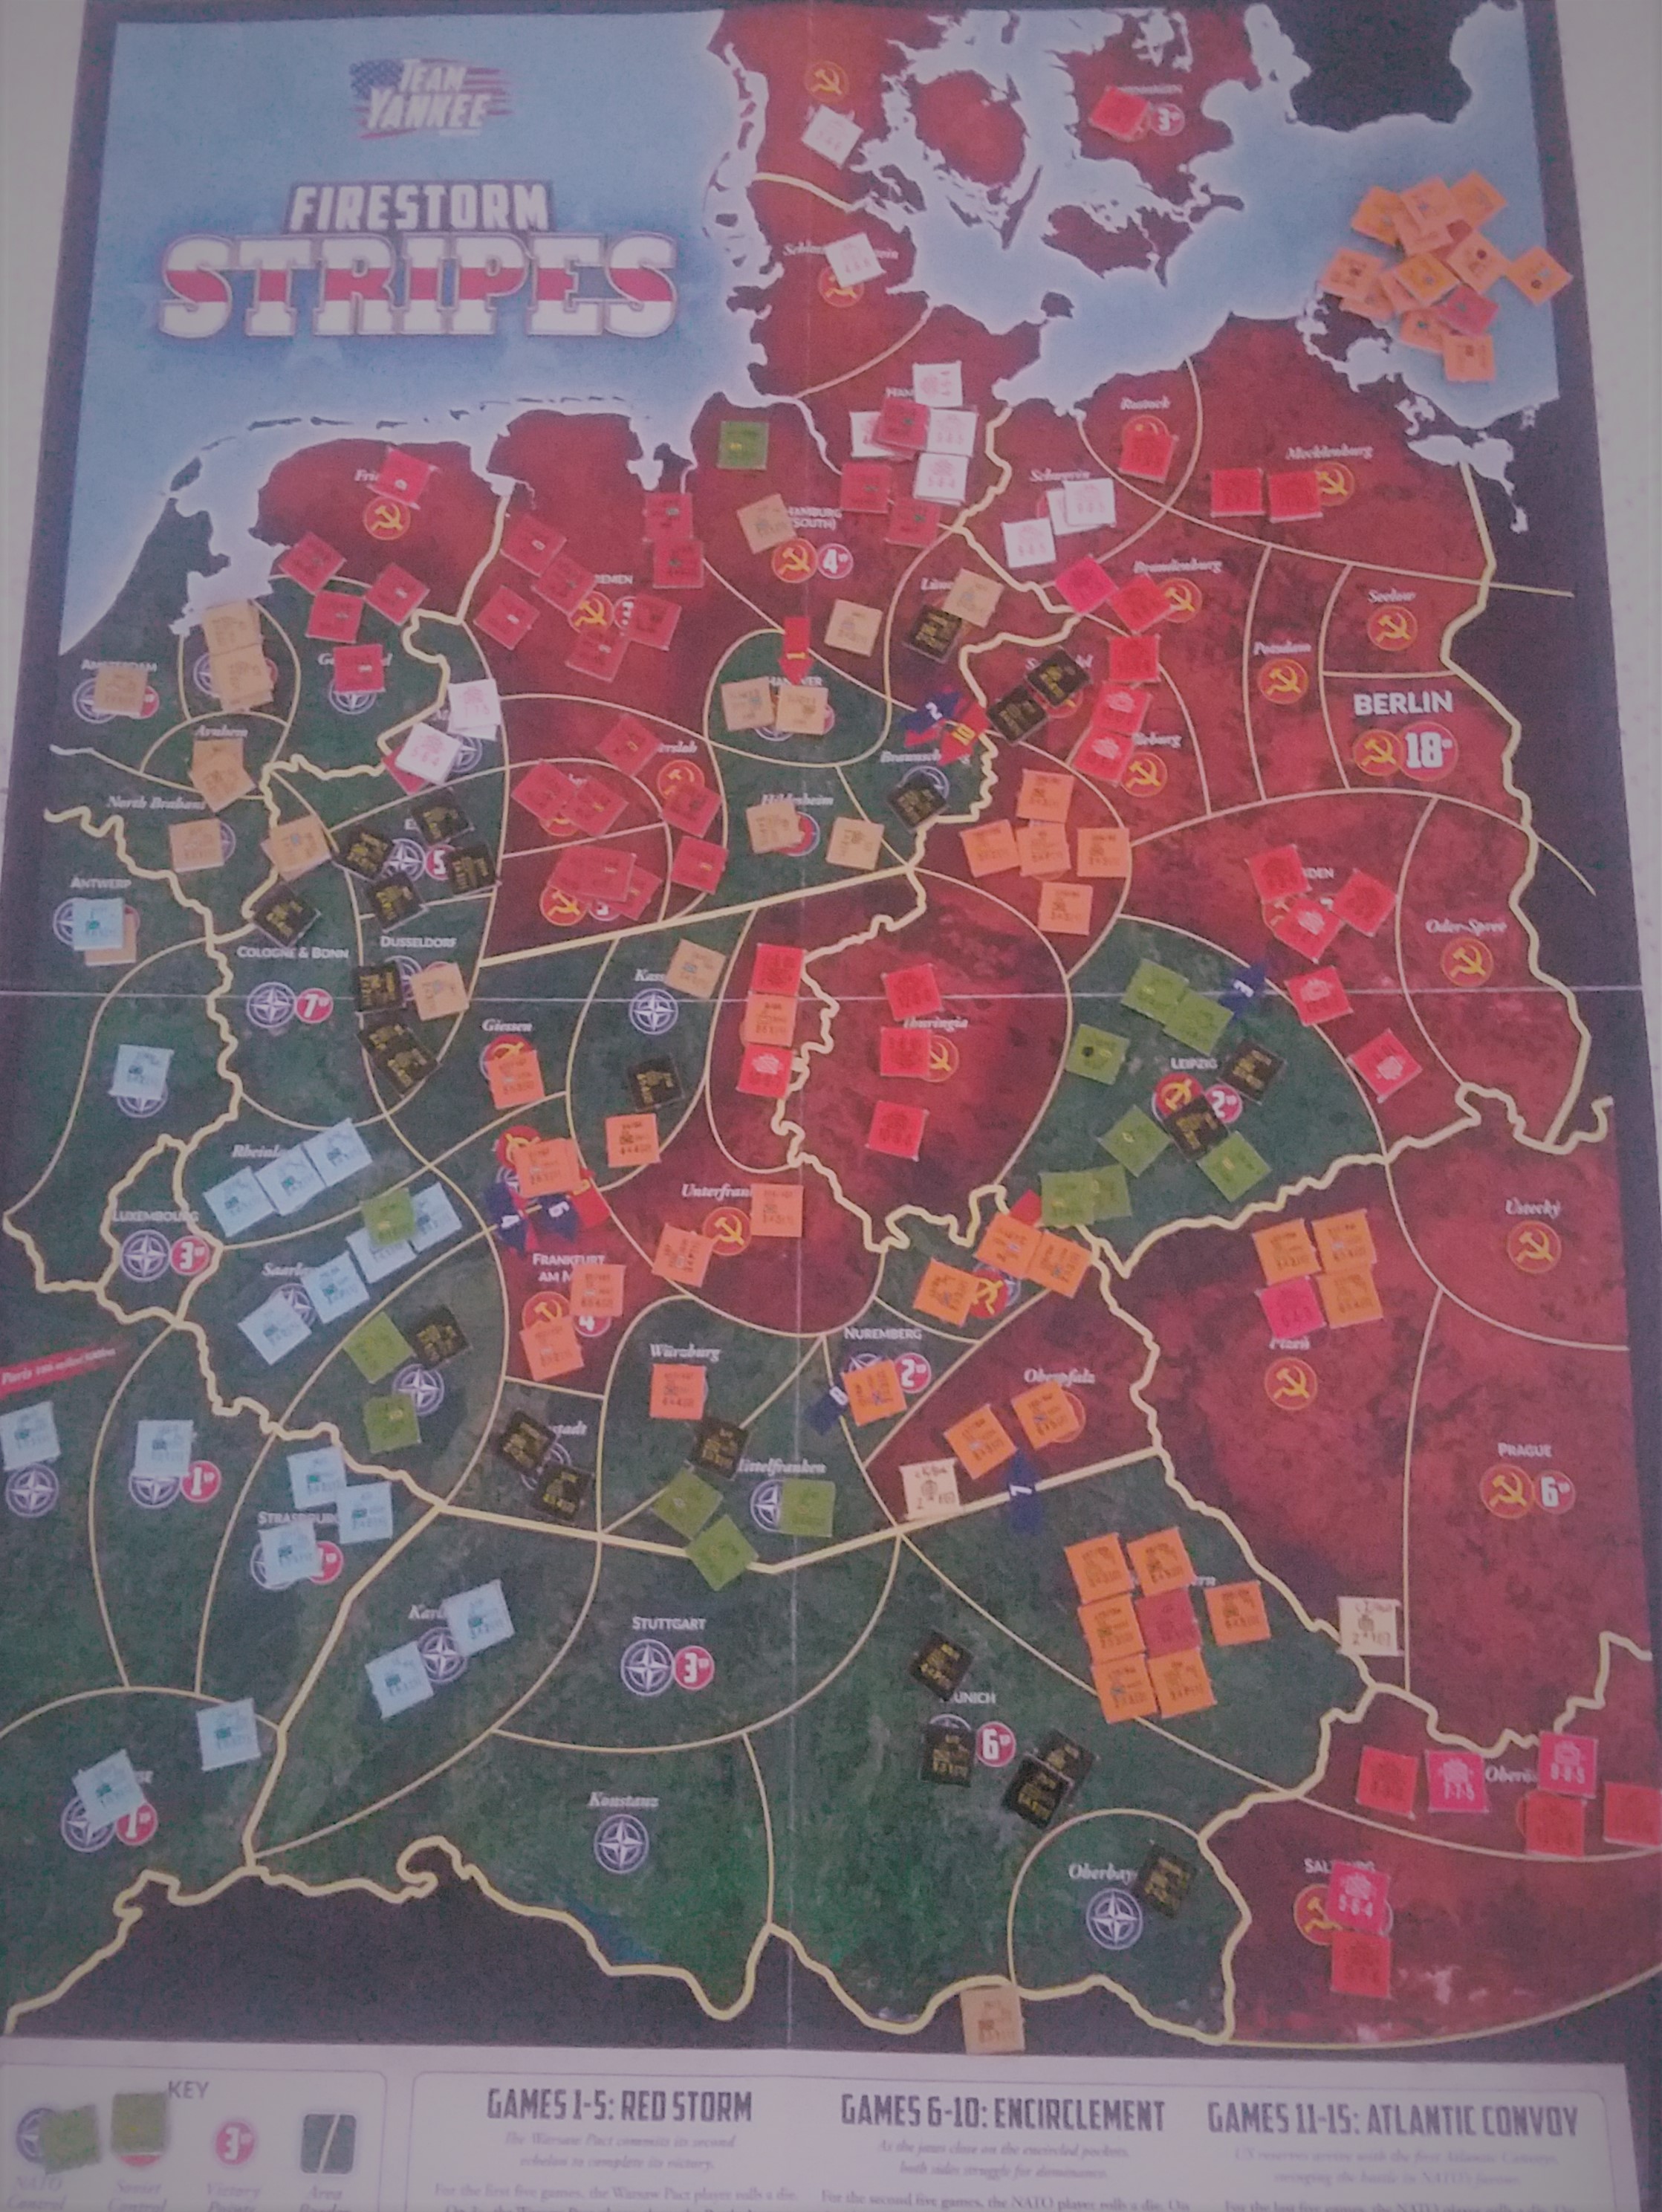
The theater as it exists. PACT forces continue to drive north out of Frankfurt to link up with the 3rd Shock Army near Paderborn
 The drive for Paderborn. Elements of 1st Guards Tank Army and 28th Army have corralled most of 2nd Panzergrenadier and associated Jagers in Kassel (A). 4th Motorisierte has bypassed light resistance at Warburg (B), continuing on to Kleinenberg (C). Elements of British 2nd Division continue to fight in Warburg (B), under attack by one regiment of the 4th.
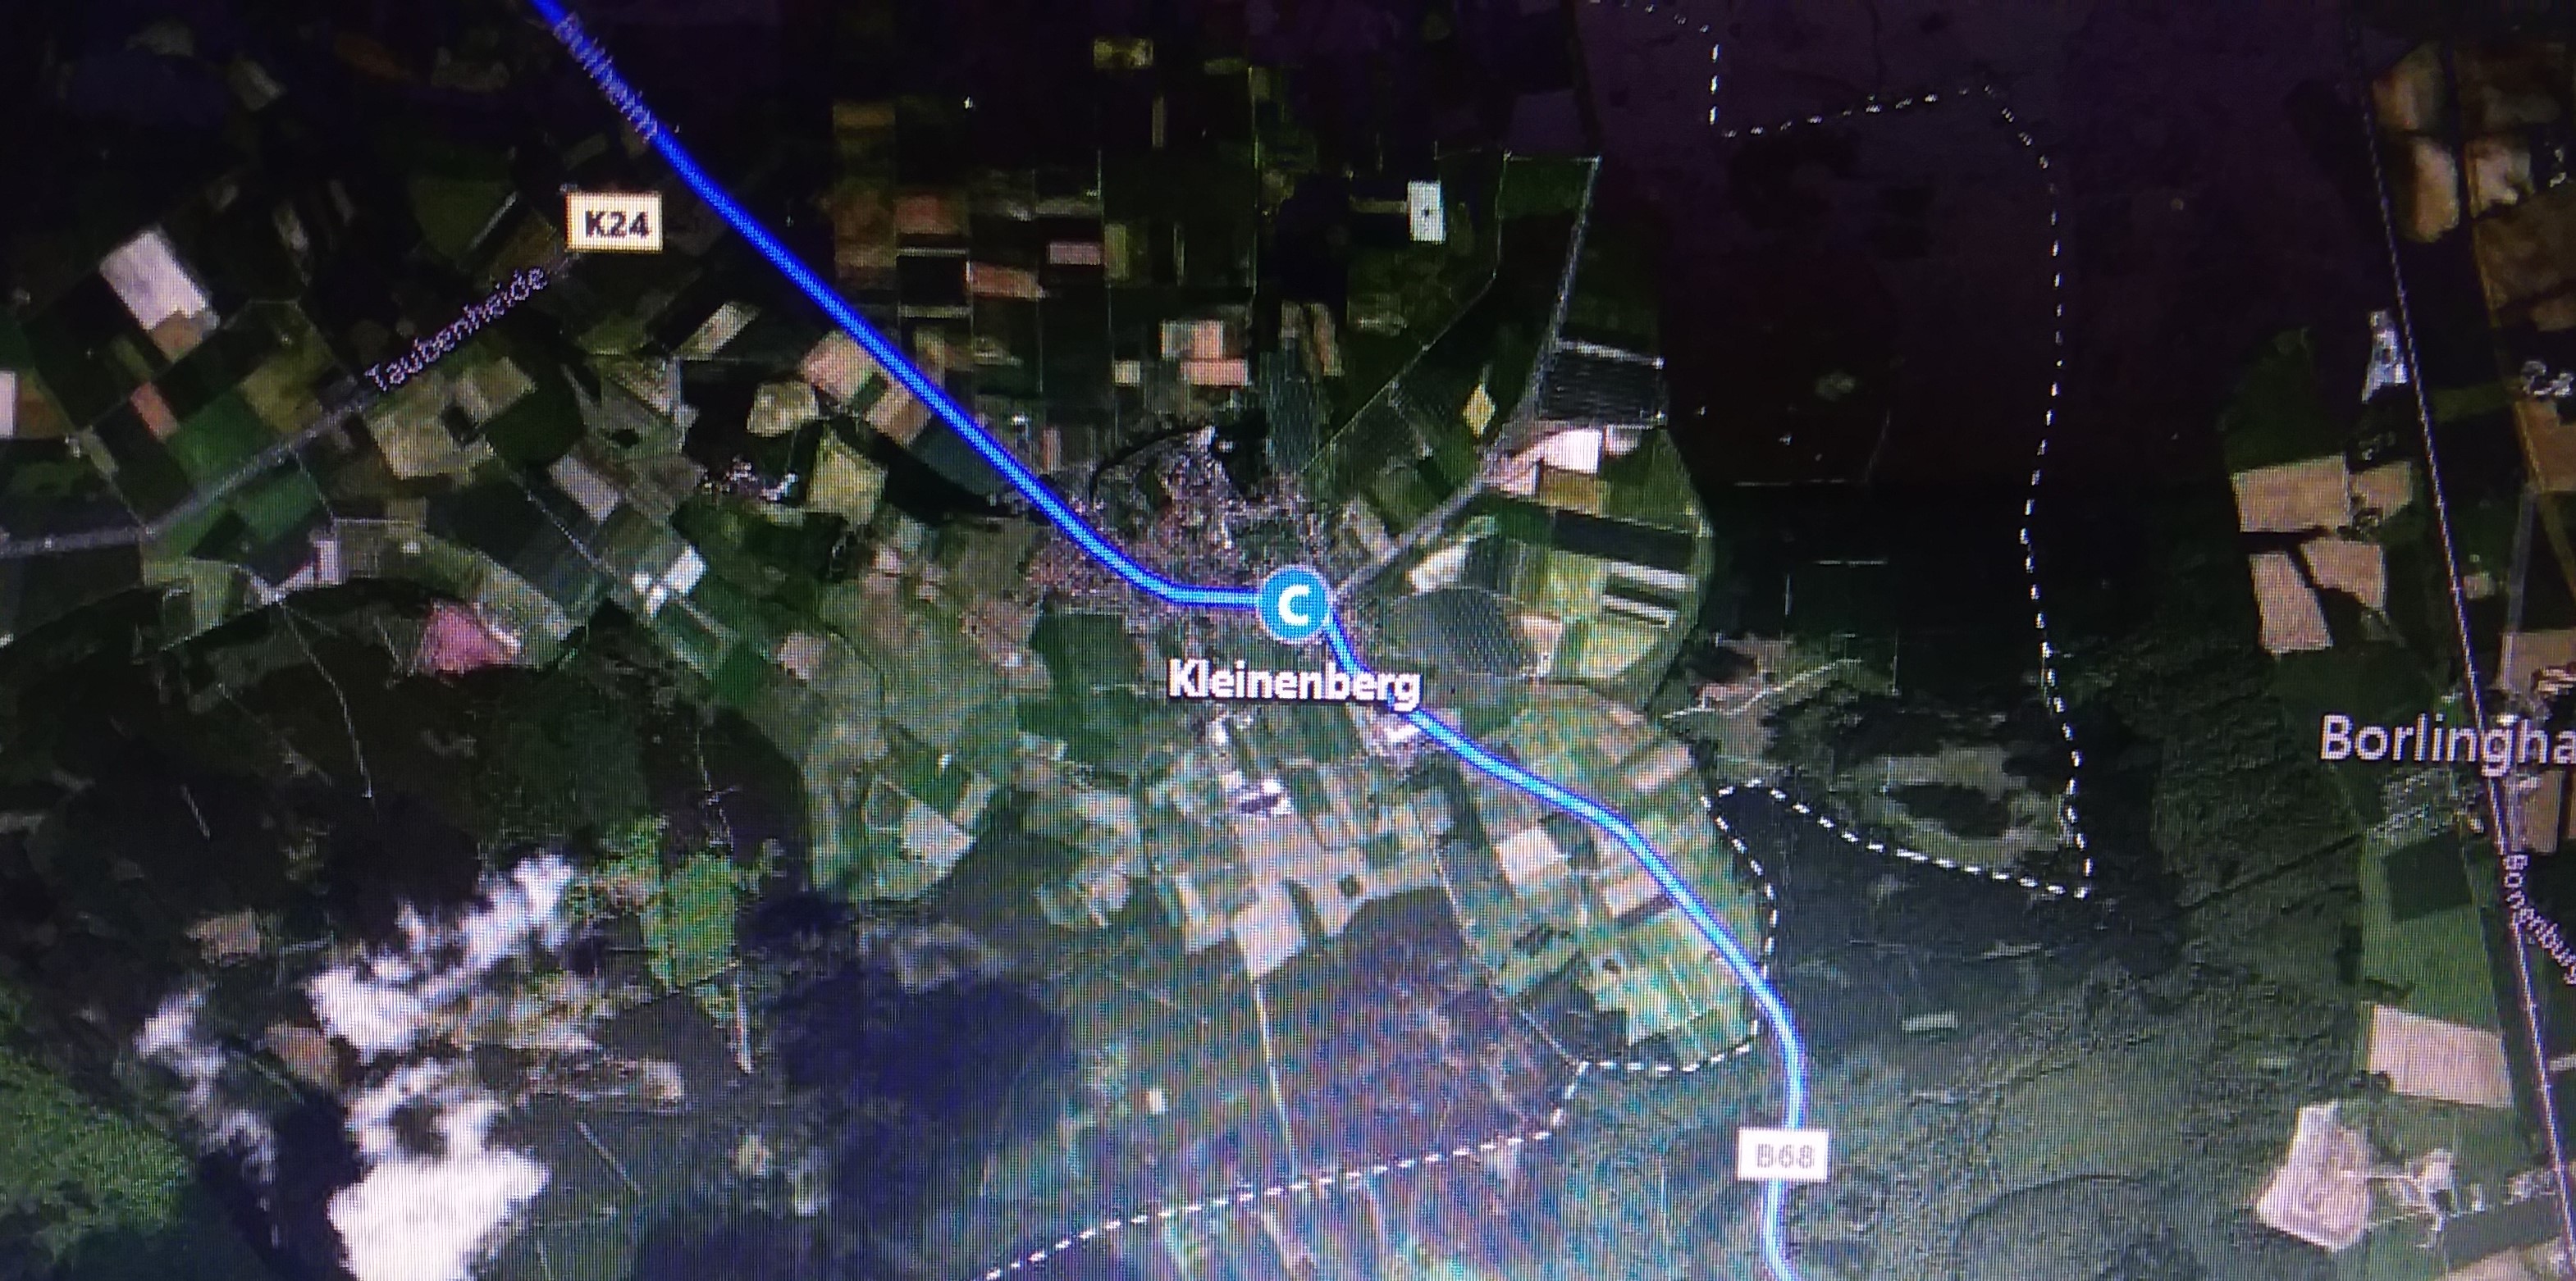
Oberst Jarvis Niemand's focus was accelerating the drive of 4th Motorisierte's leading elements to make the linkup with 3rd Shock Army. While the 24th Regiment was attacking Warburg and scattering its British defenders, Niemand's troops bypassed to the east, where their flank covered by leading elements of 28th Army's supporting attack led by 37th Guards Motor Rifles.
The confluence of British troops of 2nd UK Division from the east and the remaining mobiletruppen of 2nd Panzergrenadier from the west at Kleinenberg to dispute his advance was hardly a surprise. 2+2=4, nicht wahr? But Niemand had a surprise of his own, elements of the 2nd Battalion of the 119th Independent Tank Regiment with T64s and BMP2s.
We chose Frankfurt Counterattack for a taste of something different. BH chose West German and British allies to gain access to British infantry, while I used East Germans with Soviet allies. This time we paid attention to the consequences of allies from the start.
The results of setup are depicted below. BH chose to place the company commander, one rifle platoon and the Scimitars from the UK force on the table, as well as the German infantry and panzers and Jaguars. I chose my T64s and one company of T72s, all my infantry, and my BMP recon. My spearhead put the infantry within walking distance of the objective.
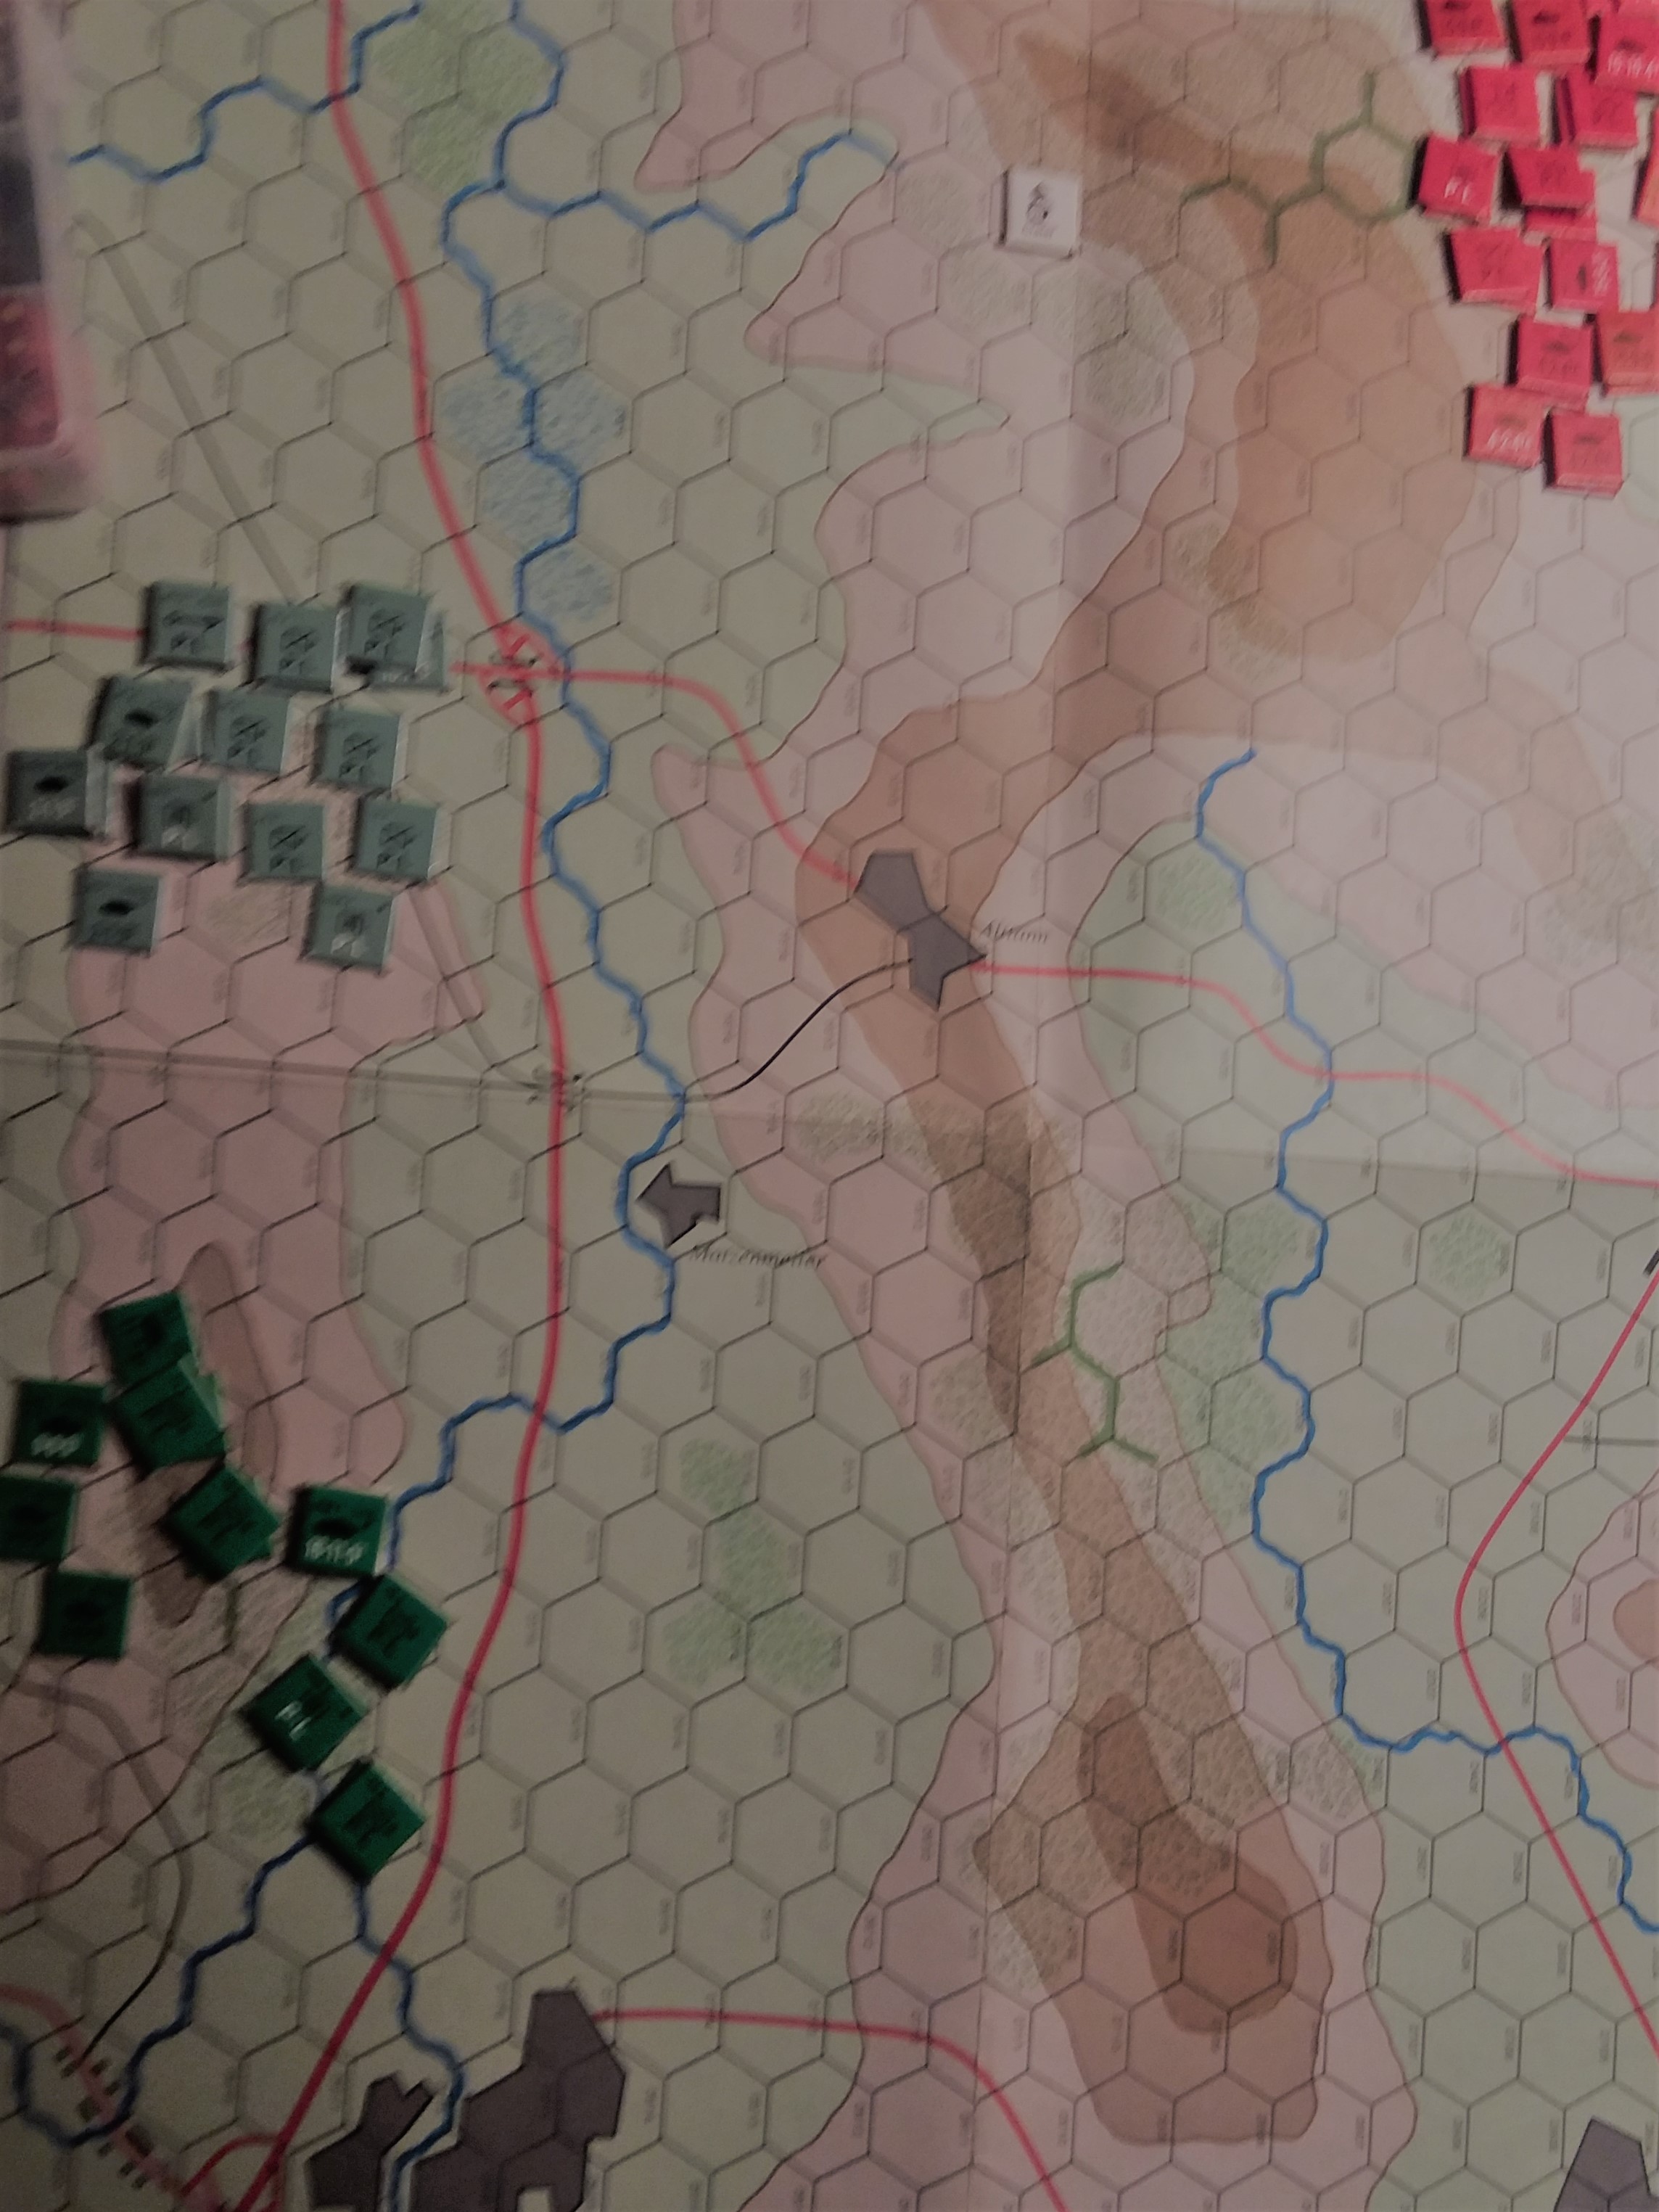
 Kleinenburg Turn 1 end. My infantry occupies the objective in the east; BH decides to drive to overwatching positions on my reinforcement zone to 'ambush' my rienforcements
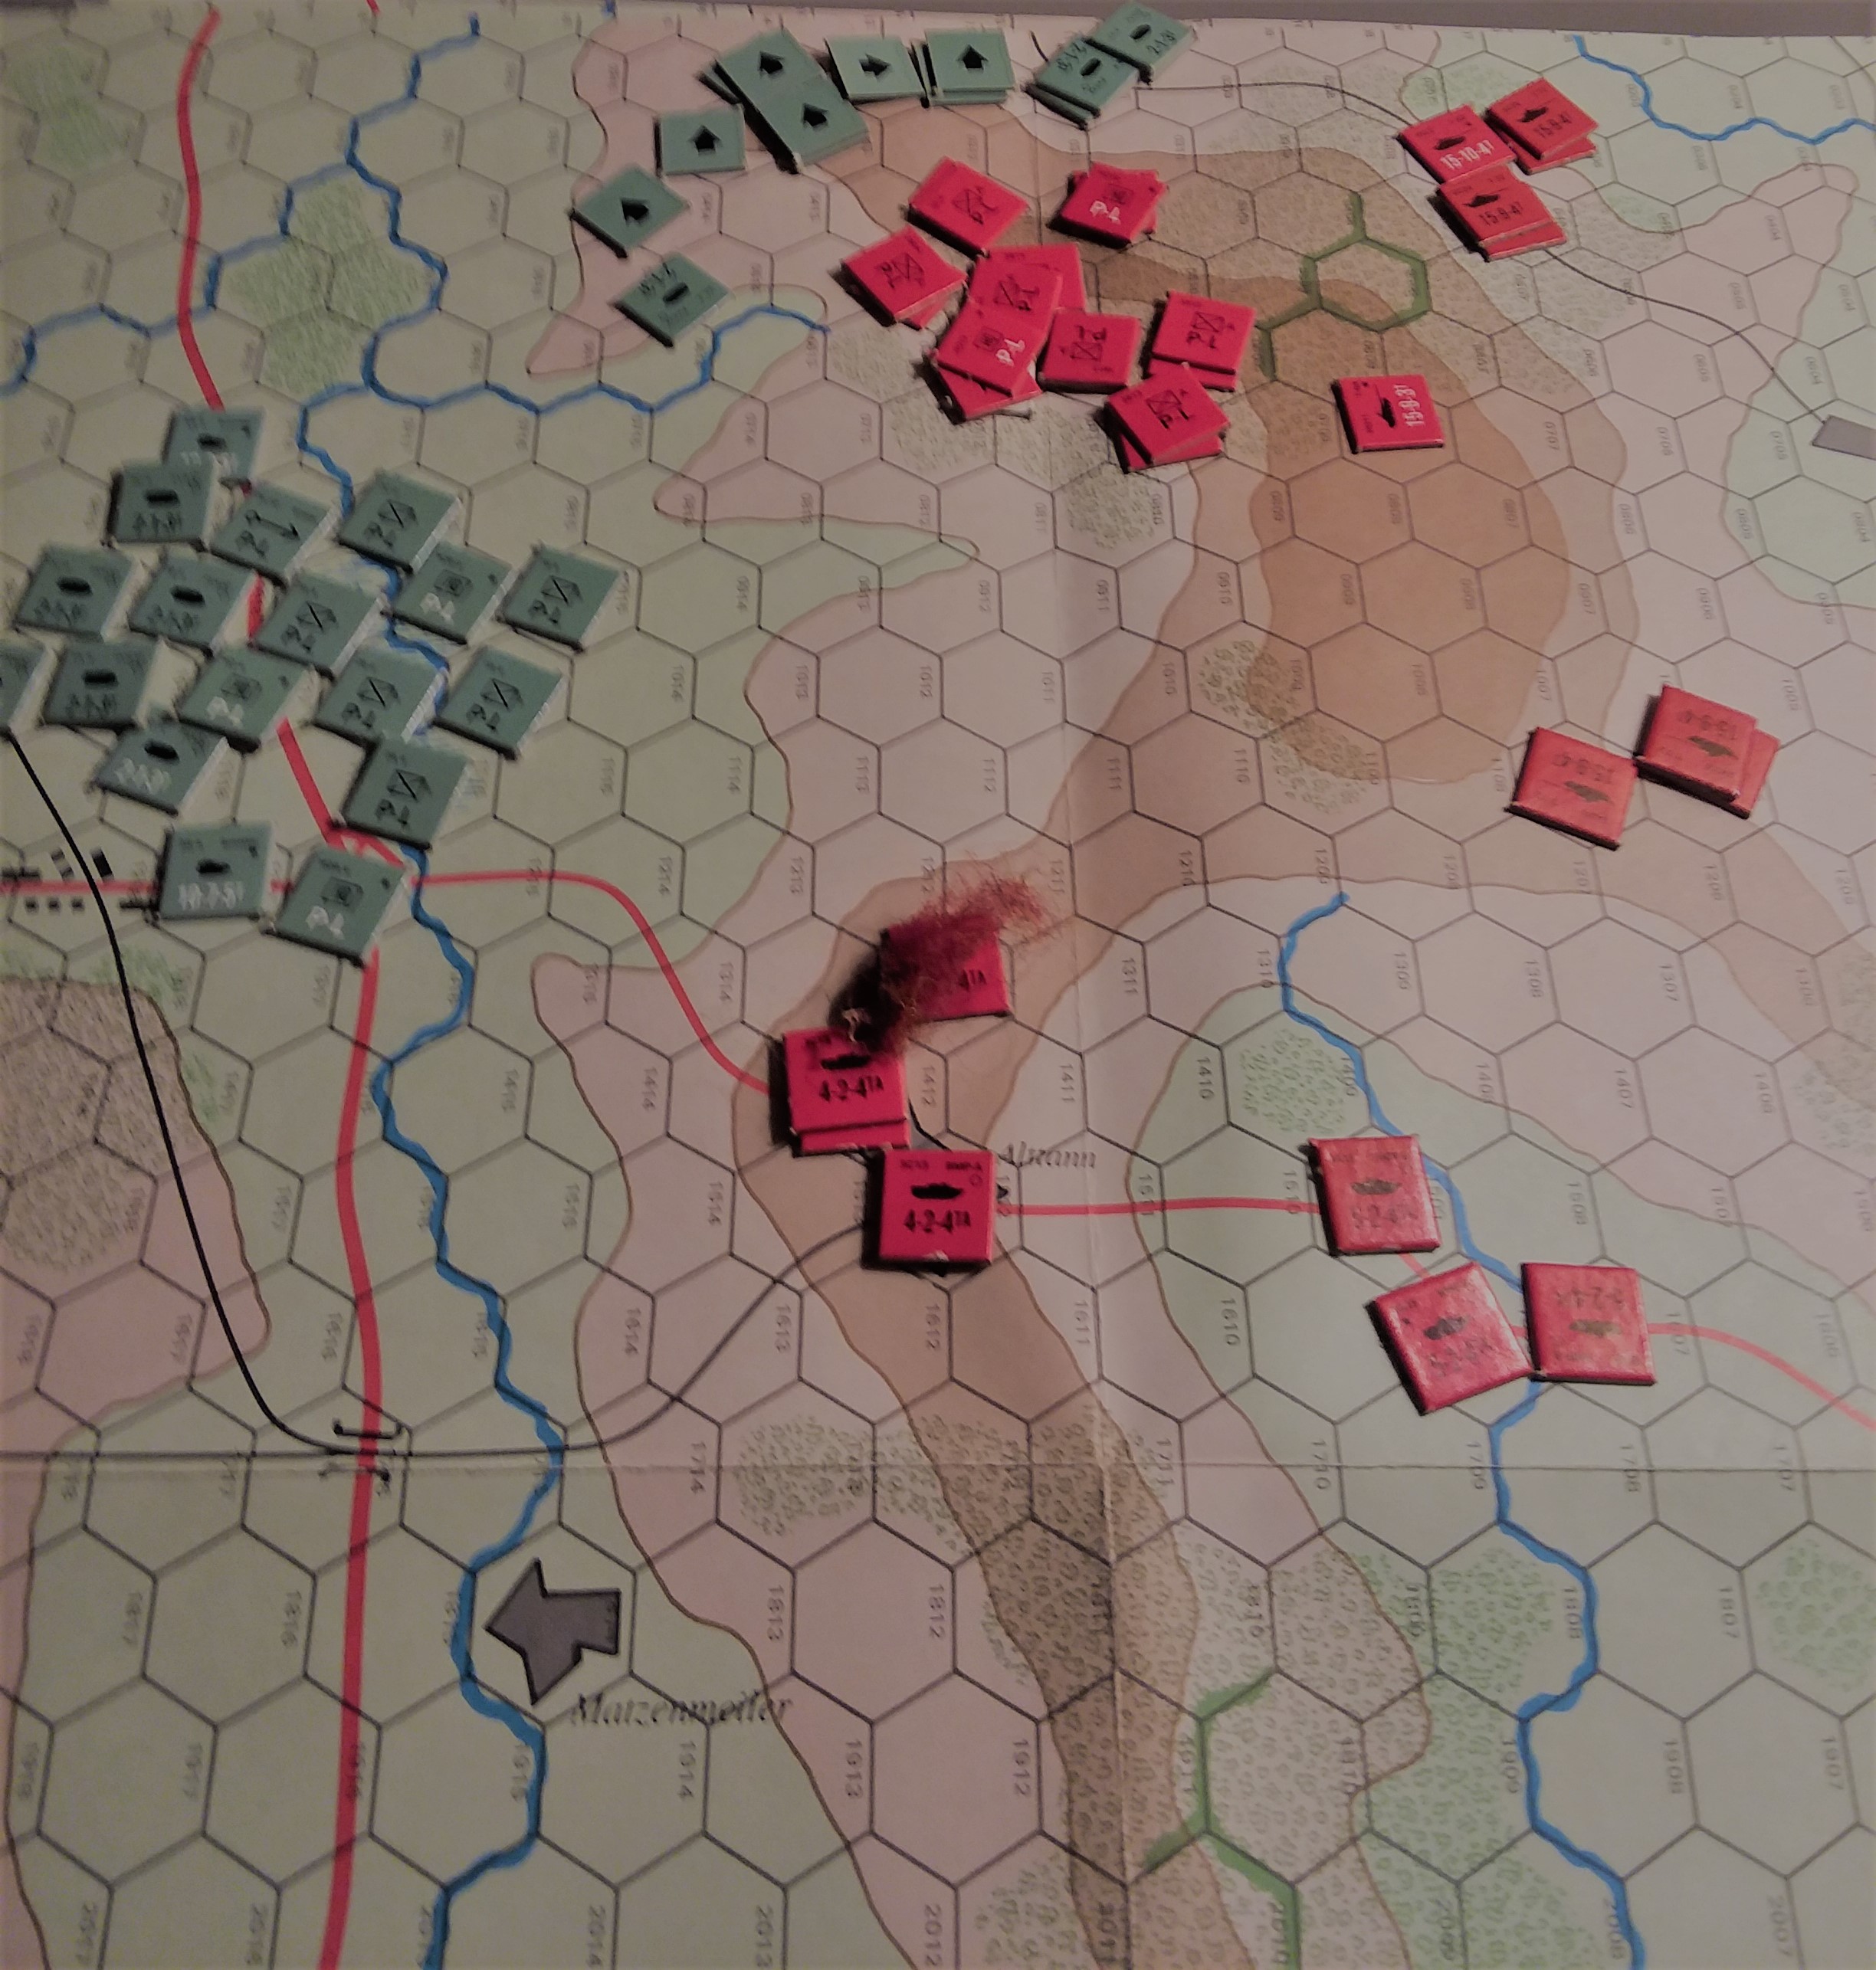 NATO Turn 2 - British reinforcements attack my infantry and are stopped cold; Jaguar ambush kills a BMP.
Things got a little more interesting in NATO Turn 2. I had sprayed the UK 1st Platoon with MG fire, and this provoked BH to drop the Jaguars now that the Leopards were off to the southwest. I had moved the T64s to center court where they could severely damage the Leo Is in a long range duel and BH reconsidered, halting their movement in cover. His reinforcements arrived and he immediately launched his grand attack on the ridge. The FMVs admirably supported the infantry charge but 7 dice from the now pinned Soviet infantry combined with 6 dice from the Germans rocked the charge back, pinning the platoon.
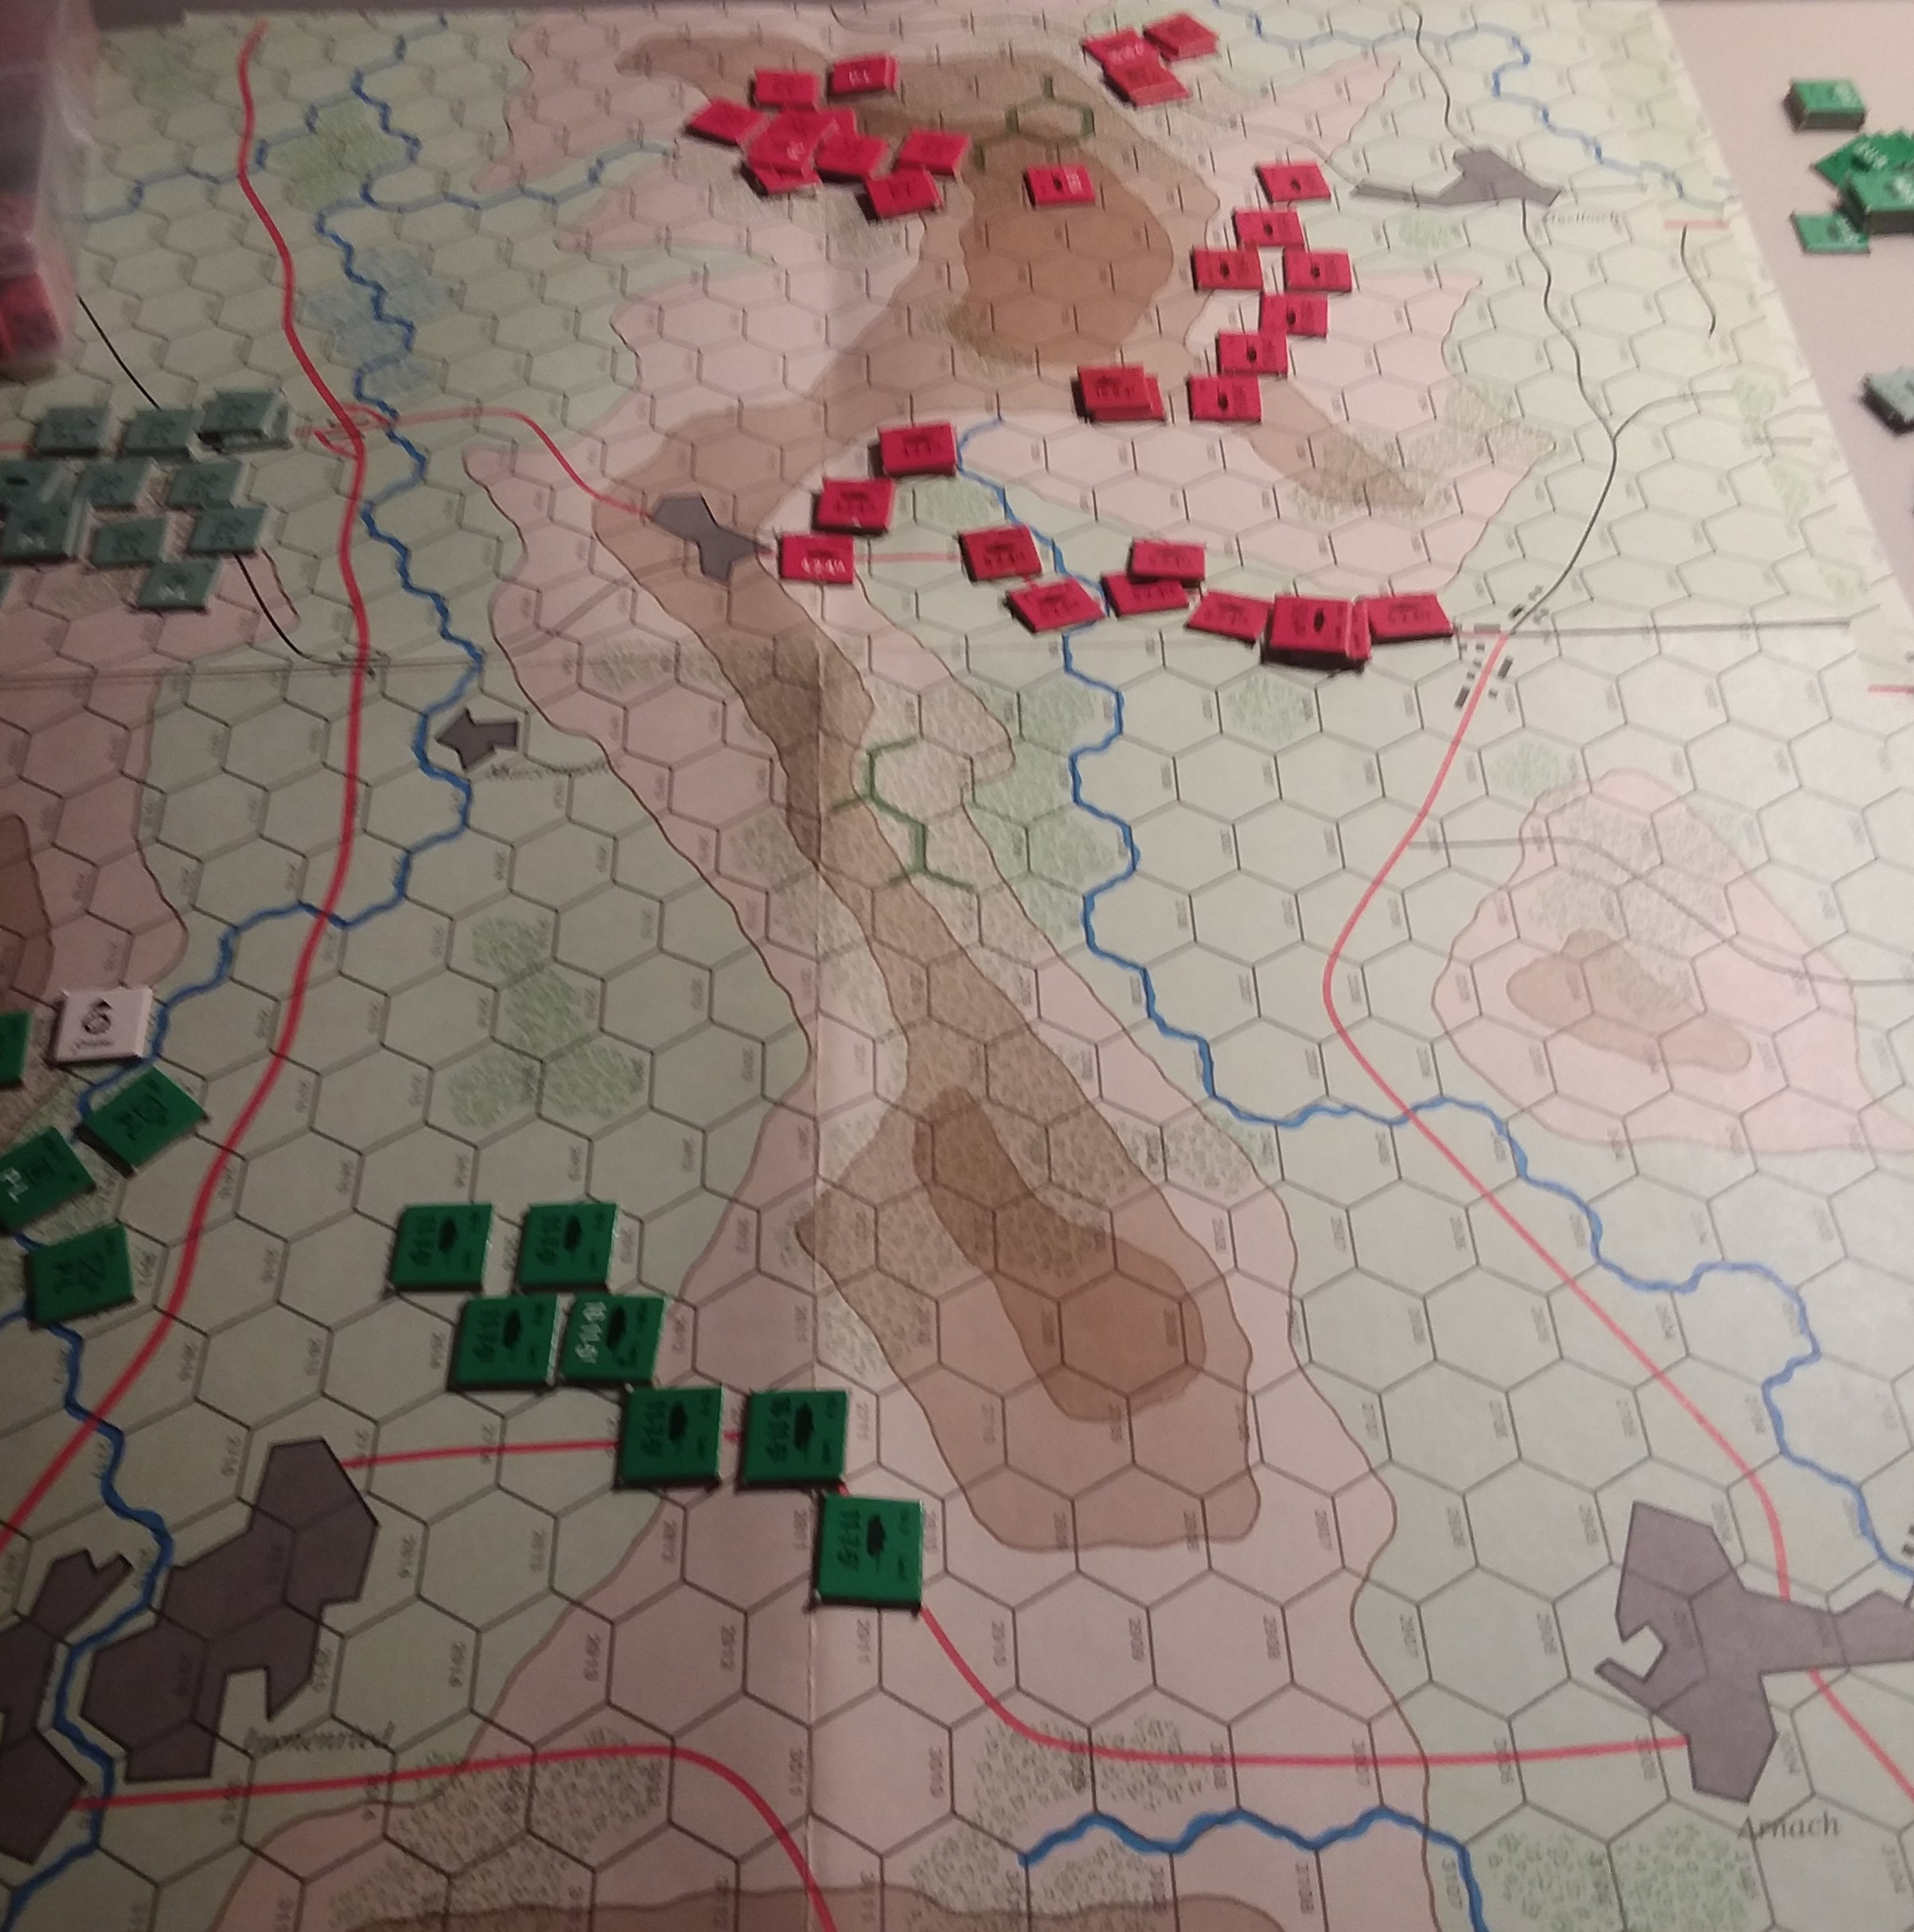
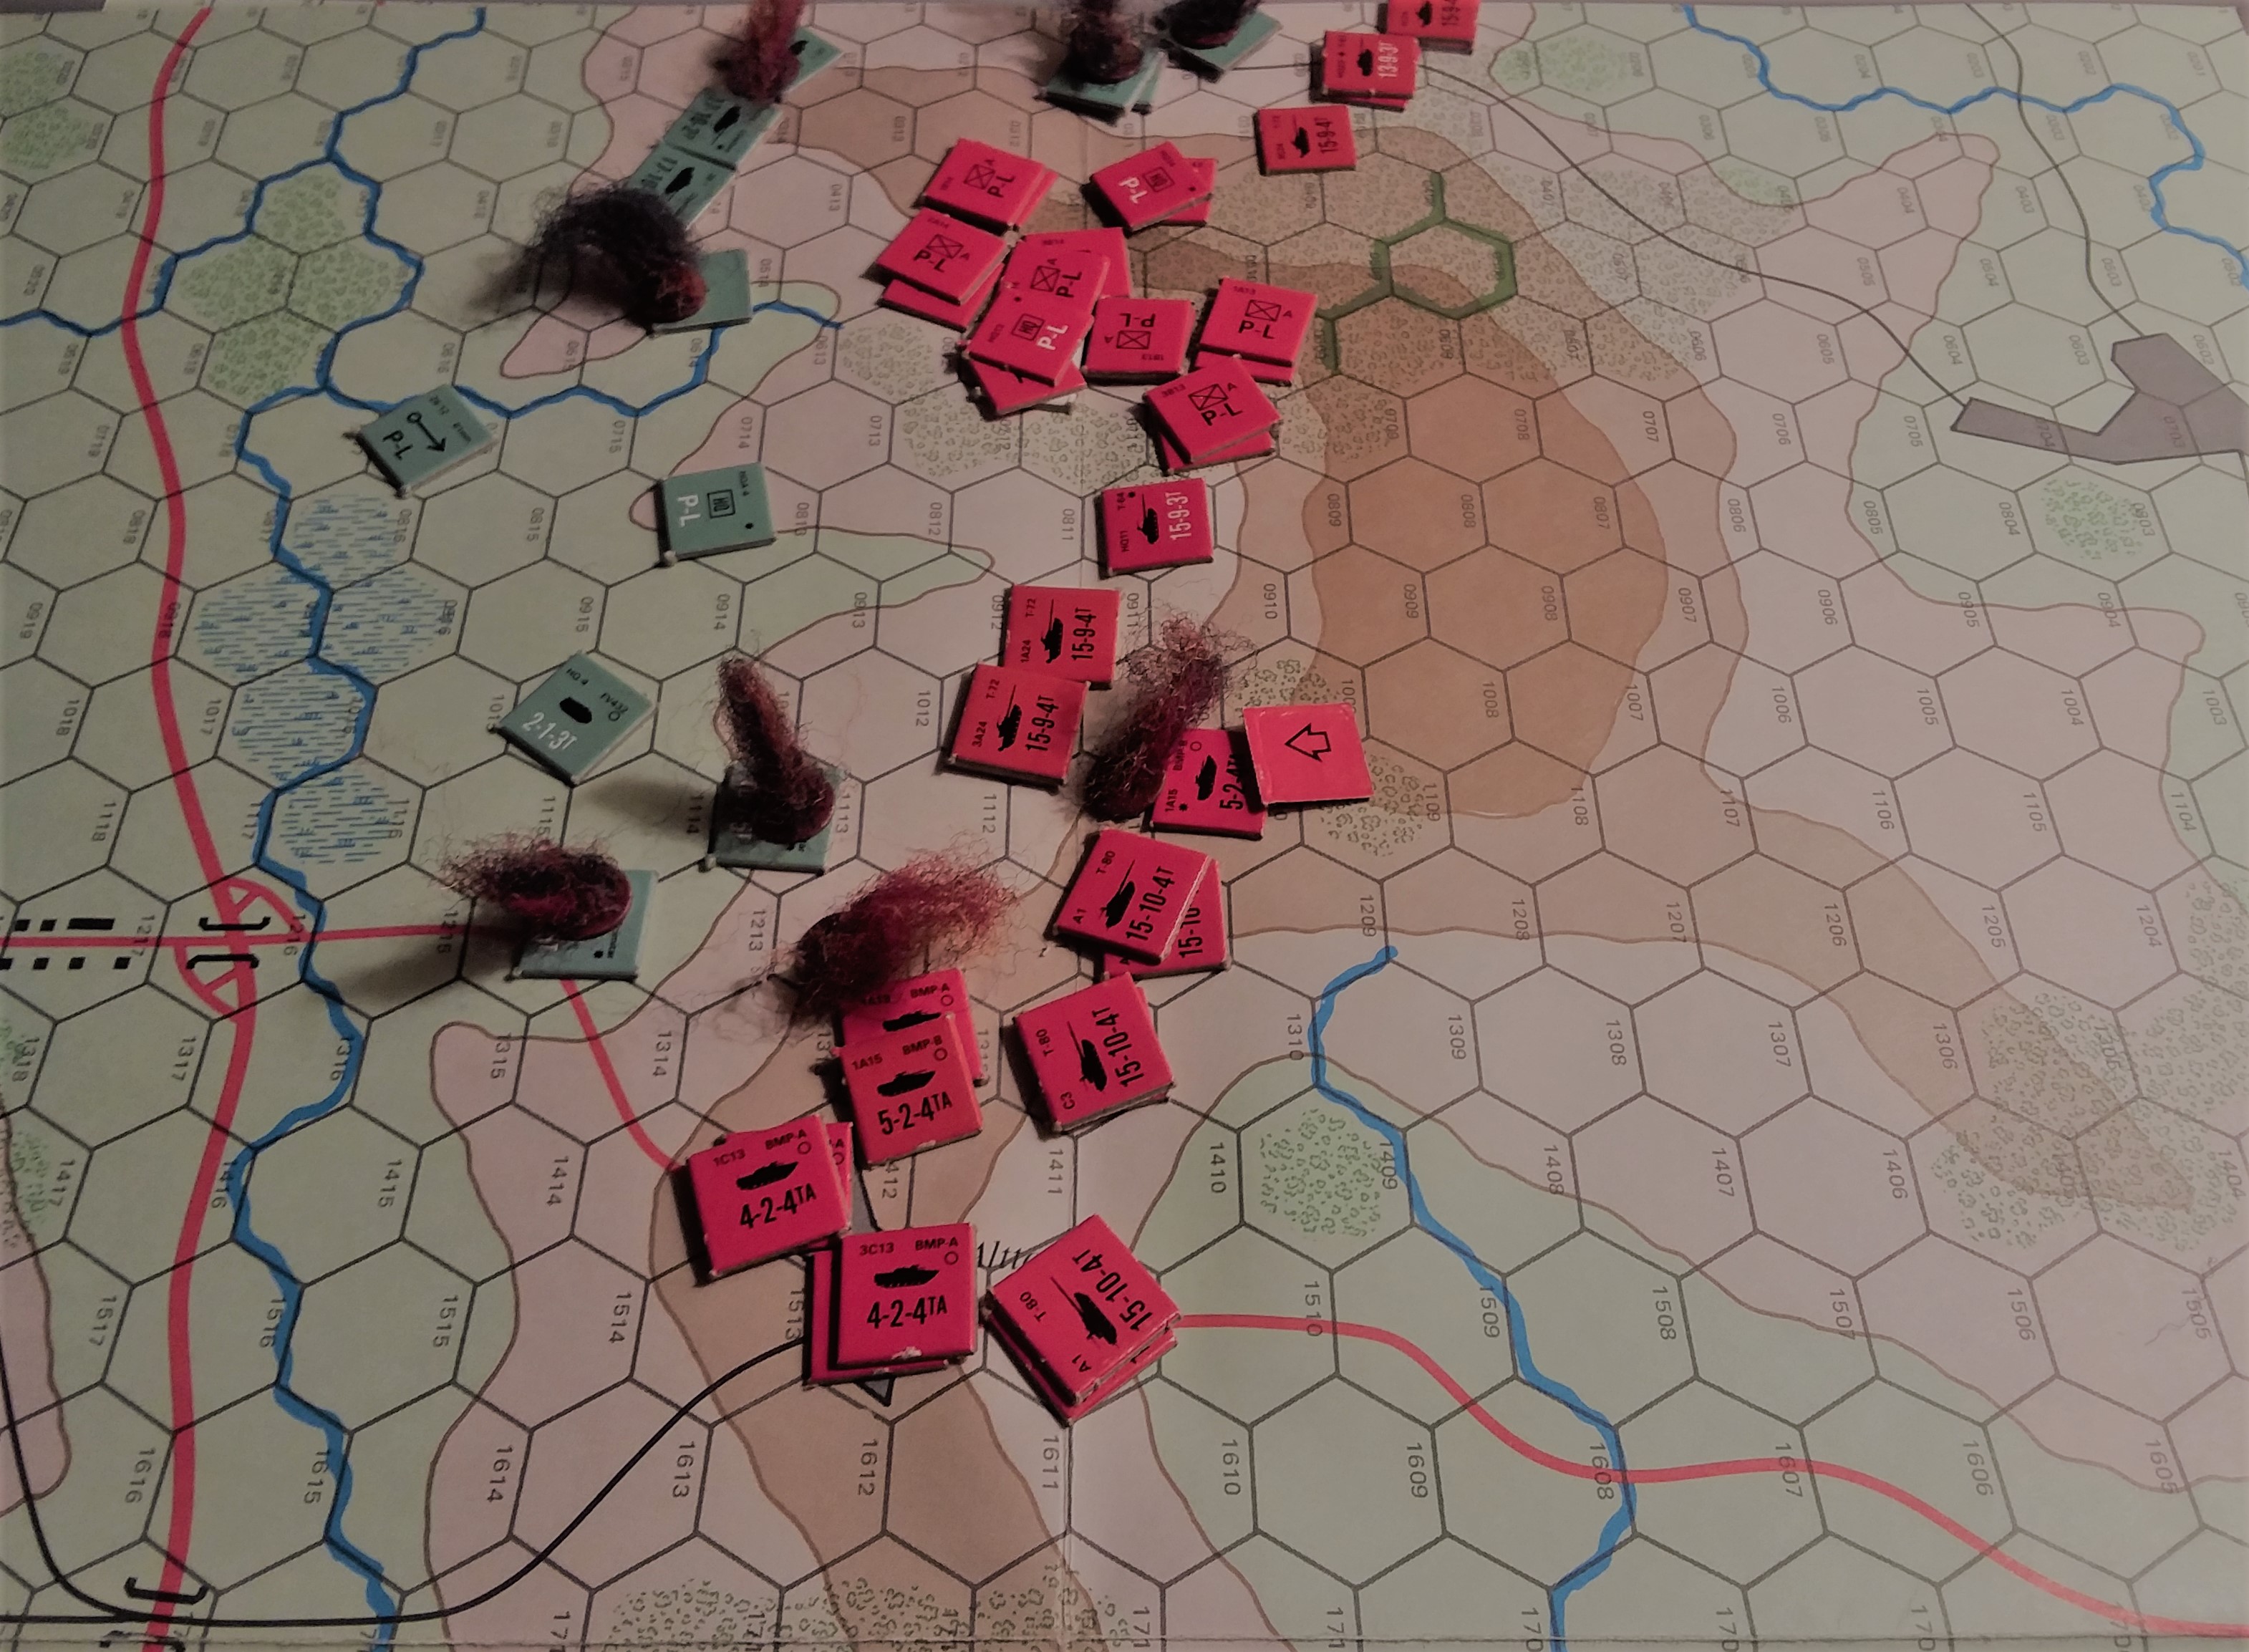 Kleinenberg PACT 3. I mopped up BH's assault and destroyed the Scimitars before they did much damage. The BMP-1 recon element killed two Jaguars and the third failed morale. BMP-2 recon moved to the ridge crest to machinegun 1st UK platoon. My first reinforcement, 3 T55s, arrived.
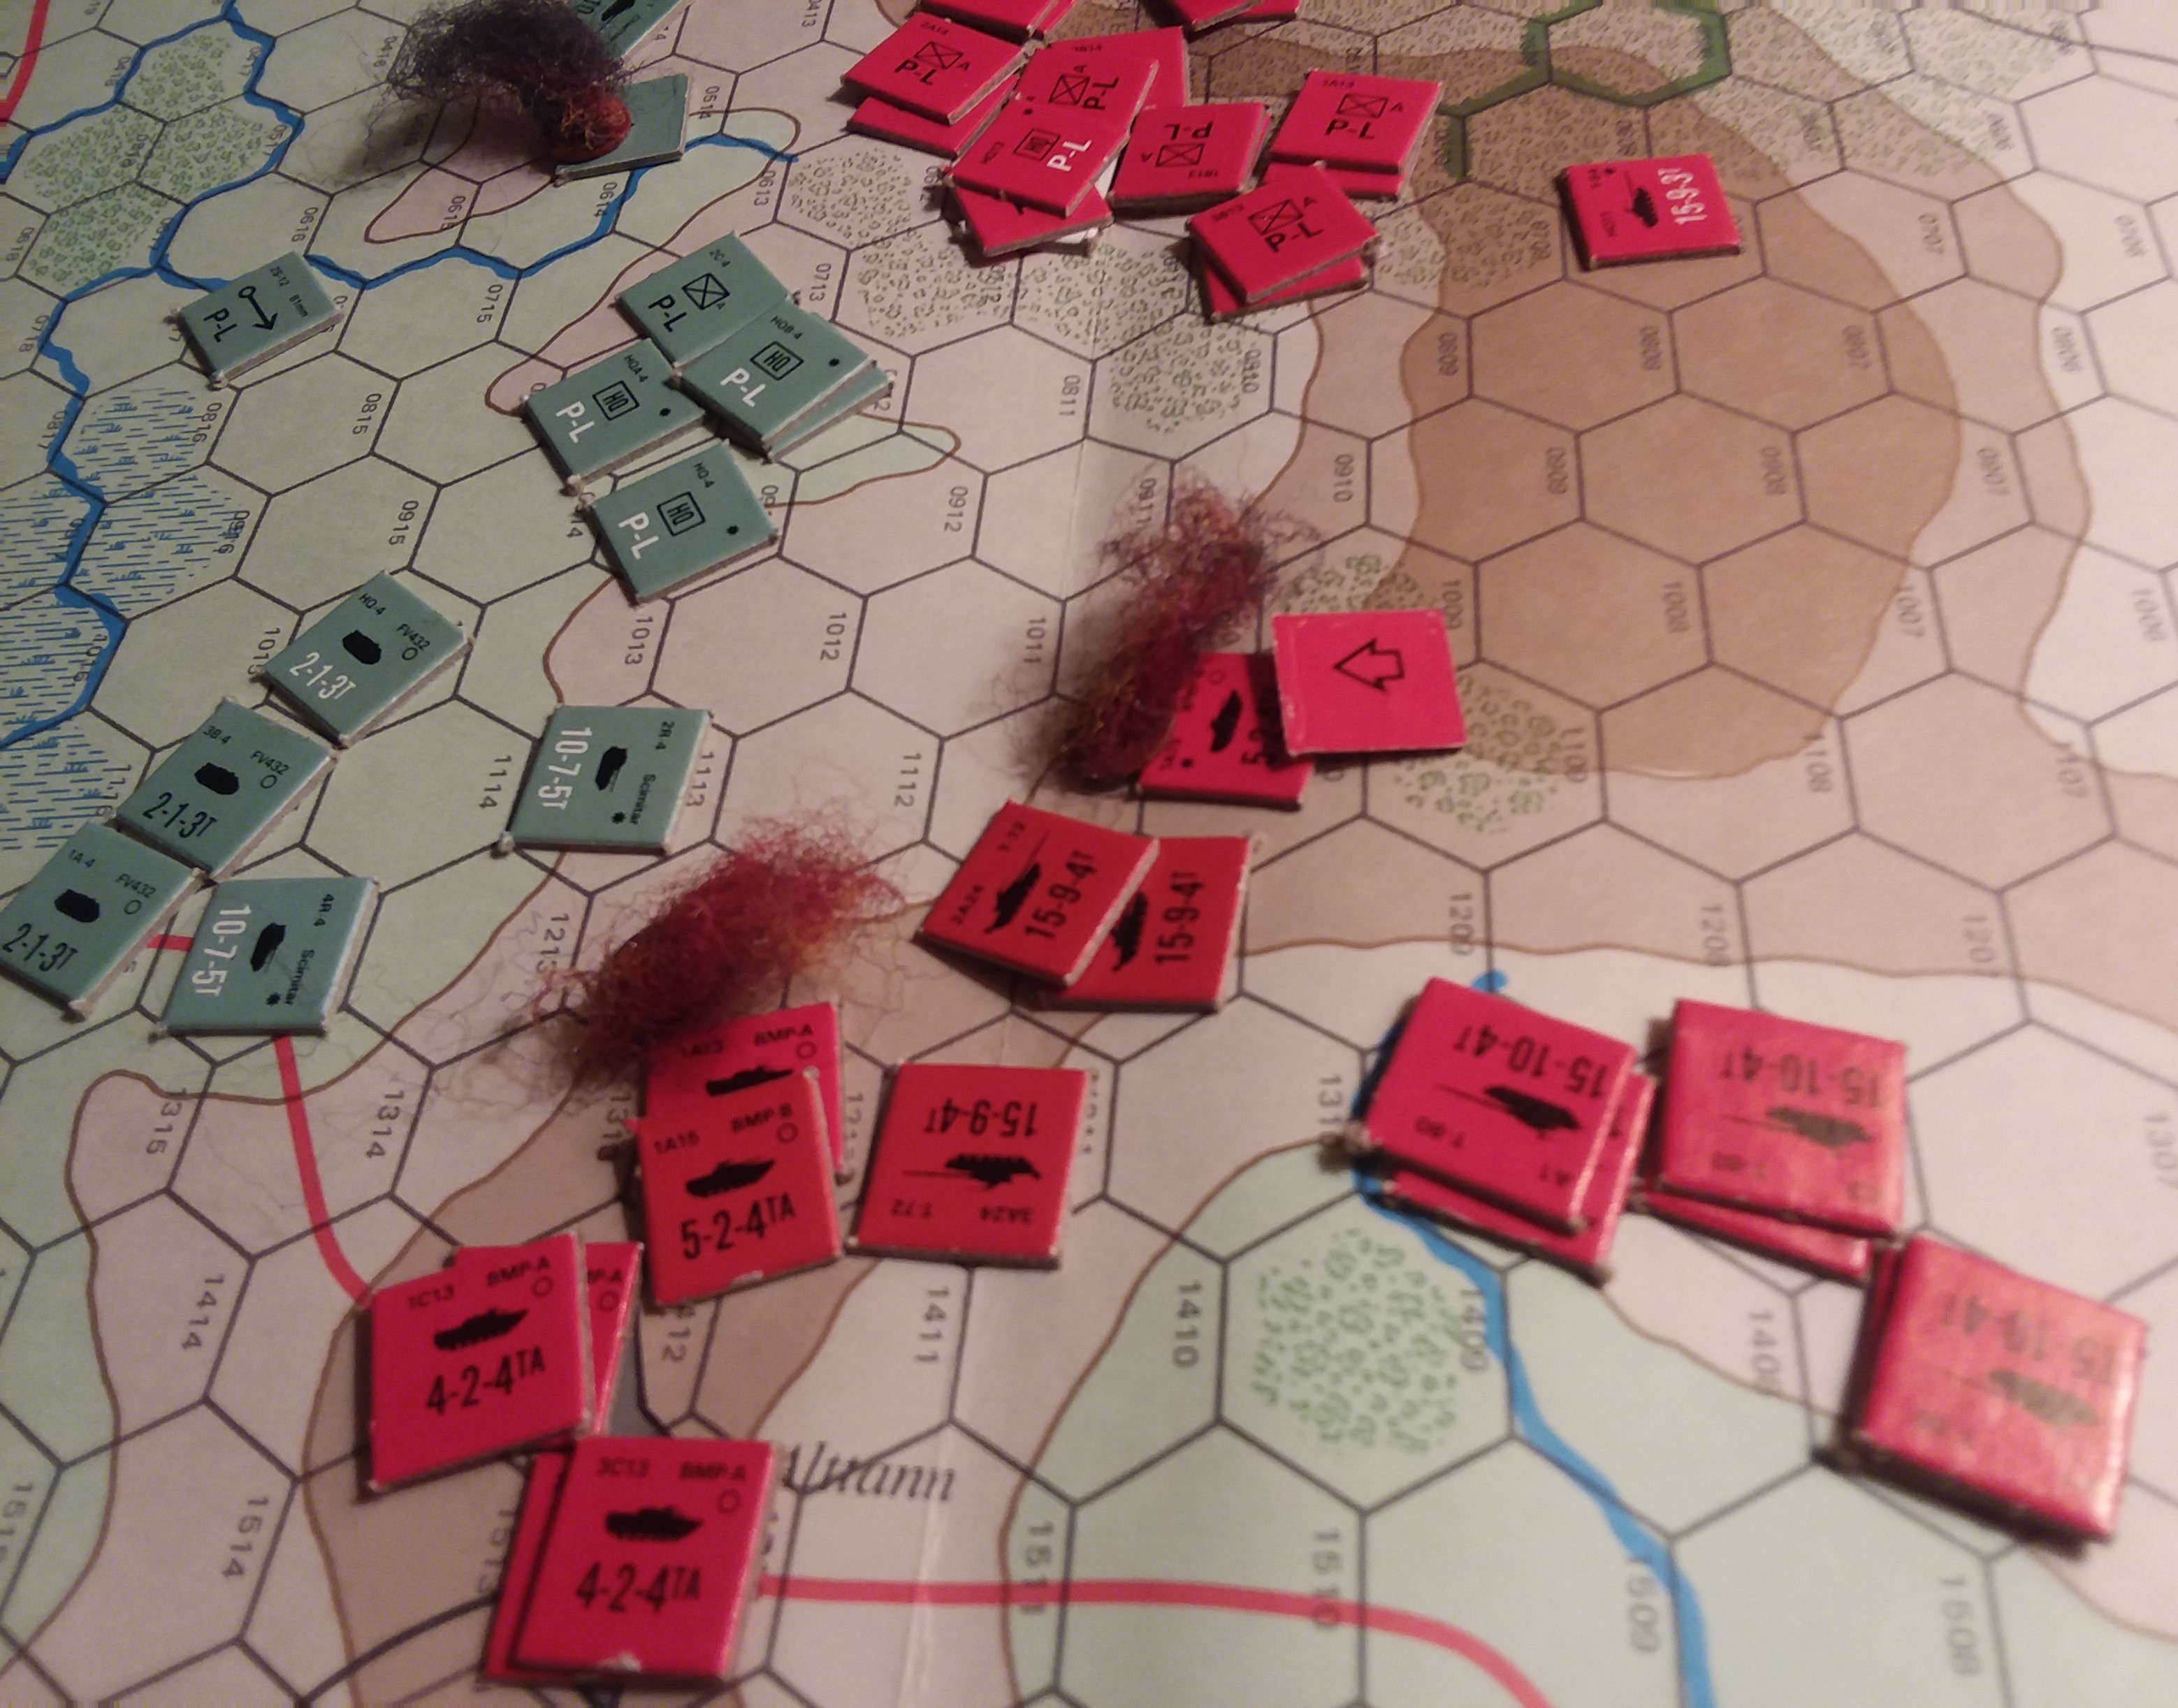 Kleinenberg NATO 3. BH moves the 1st UK platoon into the assault, but because the East German infantry is not in the treeline, is unable to pin them. His Chieftains arrive and try to support the assault after the 2nd Platoon and FMV432s exits the game on a sole survivor test. This assault fails as 19 dice from the East Germans prove adequate to stop the charge
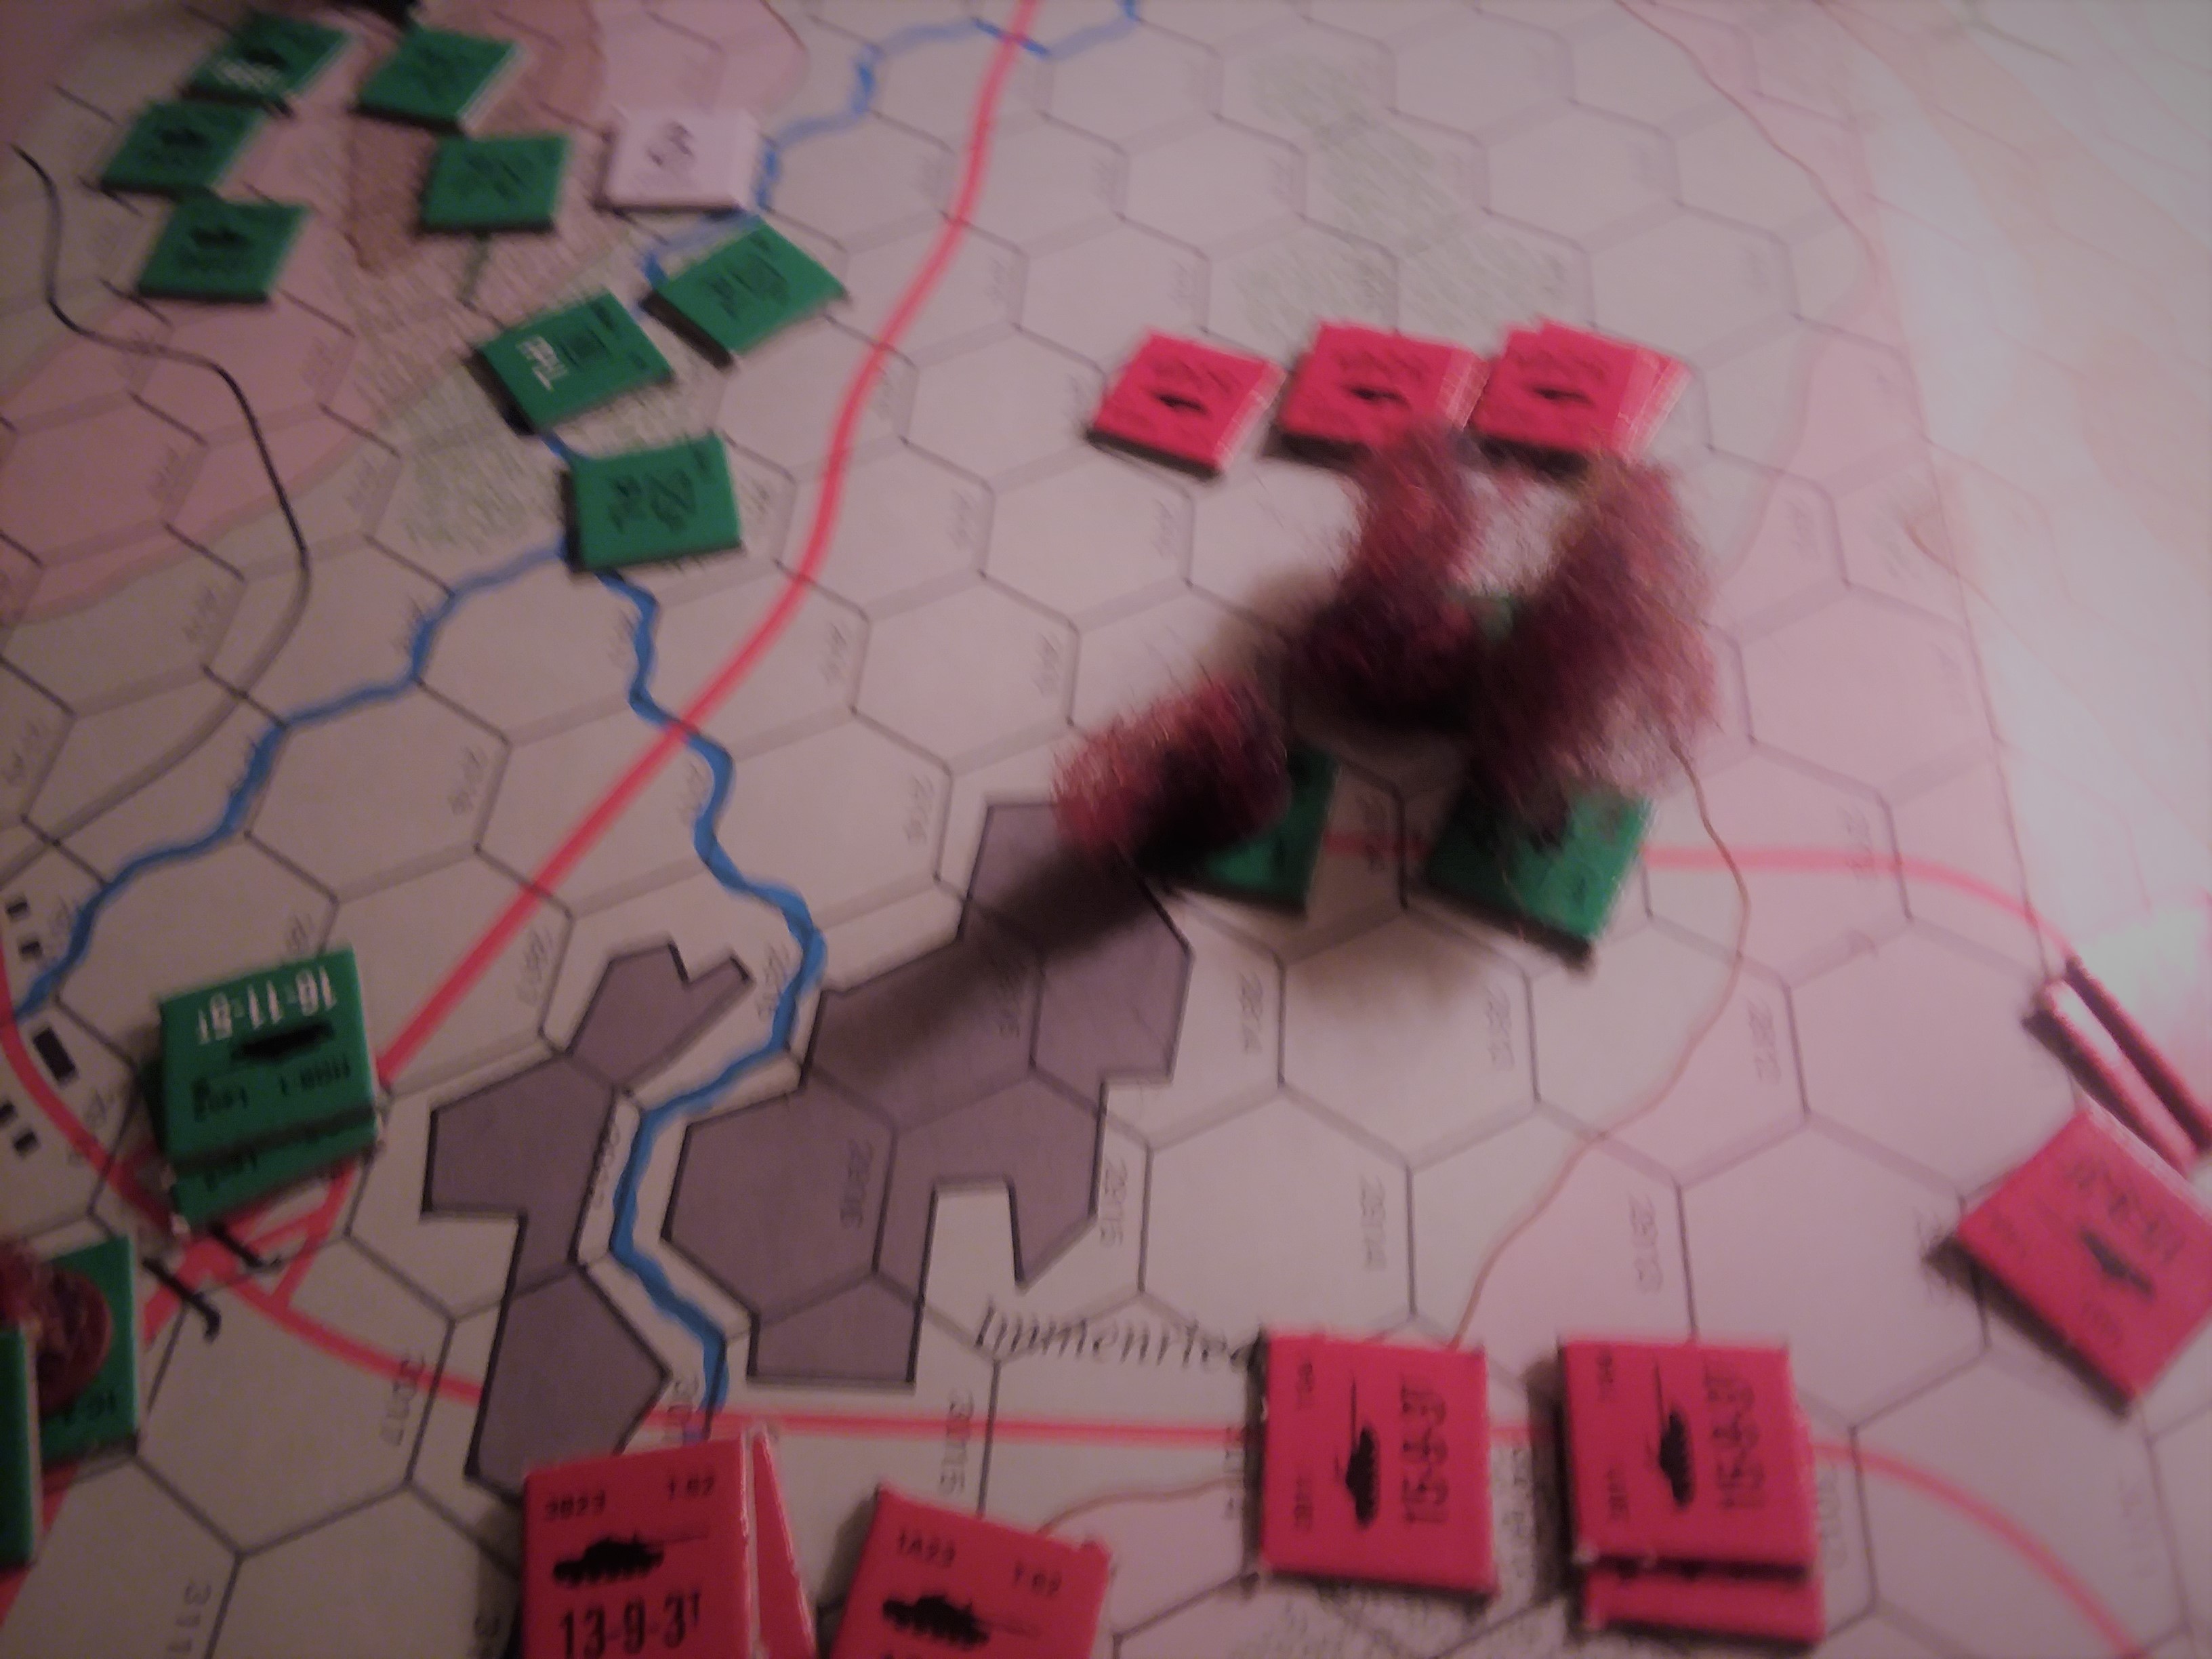 Kleinenberg PACT 4. Fighting opens in the south as BH goes for points. BH had briefly considered sending the Leo Is into the cauldron in the north, and realized that not only would they arrive too late to stop me, but also my T55s would begin to threaten the WG infantry defending the objective. My next reinforcements were 2 more T55 units and a battalion commander, and I promptly moved forward to pin the Leopards in the west. The BMP-2 were able to use their stabilizers to cruise to flanking positions on one of the Leo I platoons, and killed one bailed two while T55s on the ridge above finished them. A third T55 platoon managed one hit on the remaining group of T55s. In the east, my T64s, BMPs and infantry slaughtered the 1st UK platoon driving it back and one Chieftain died to tank fire after bouncing two T72 shots.
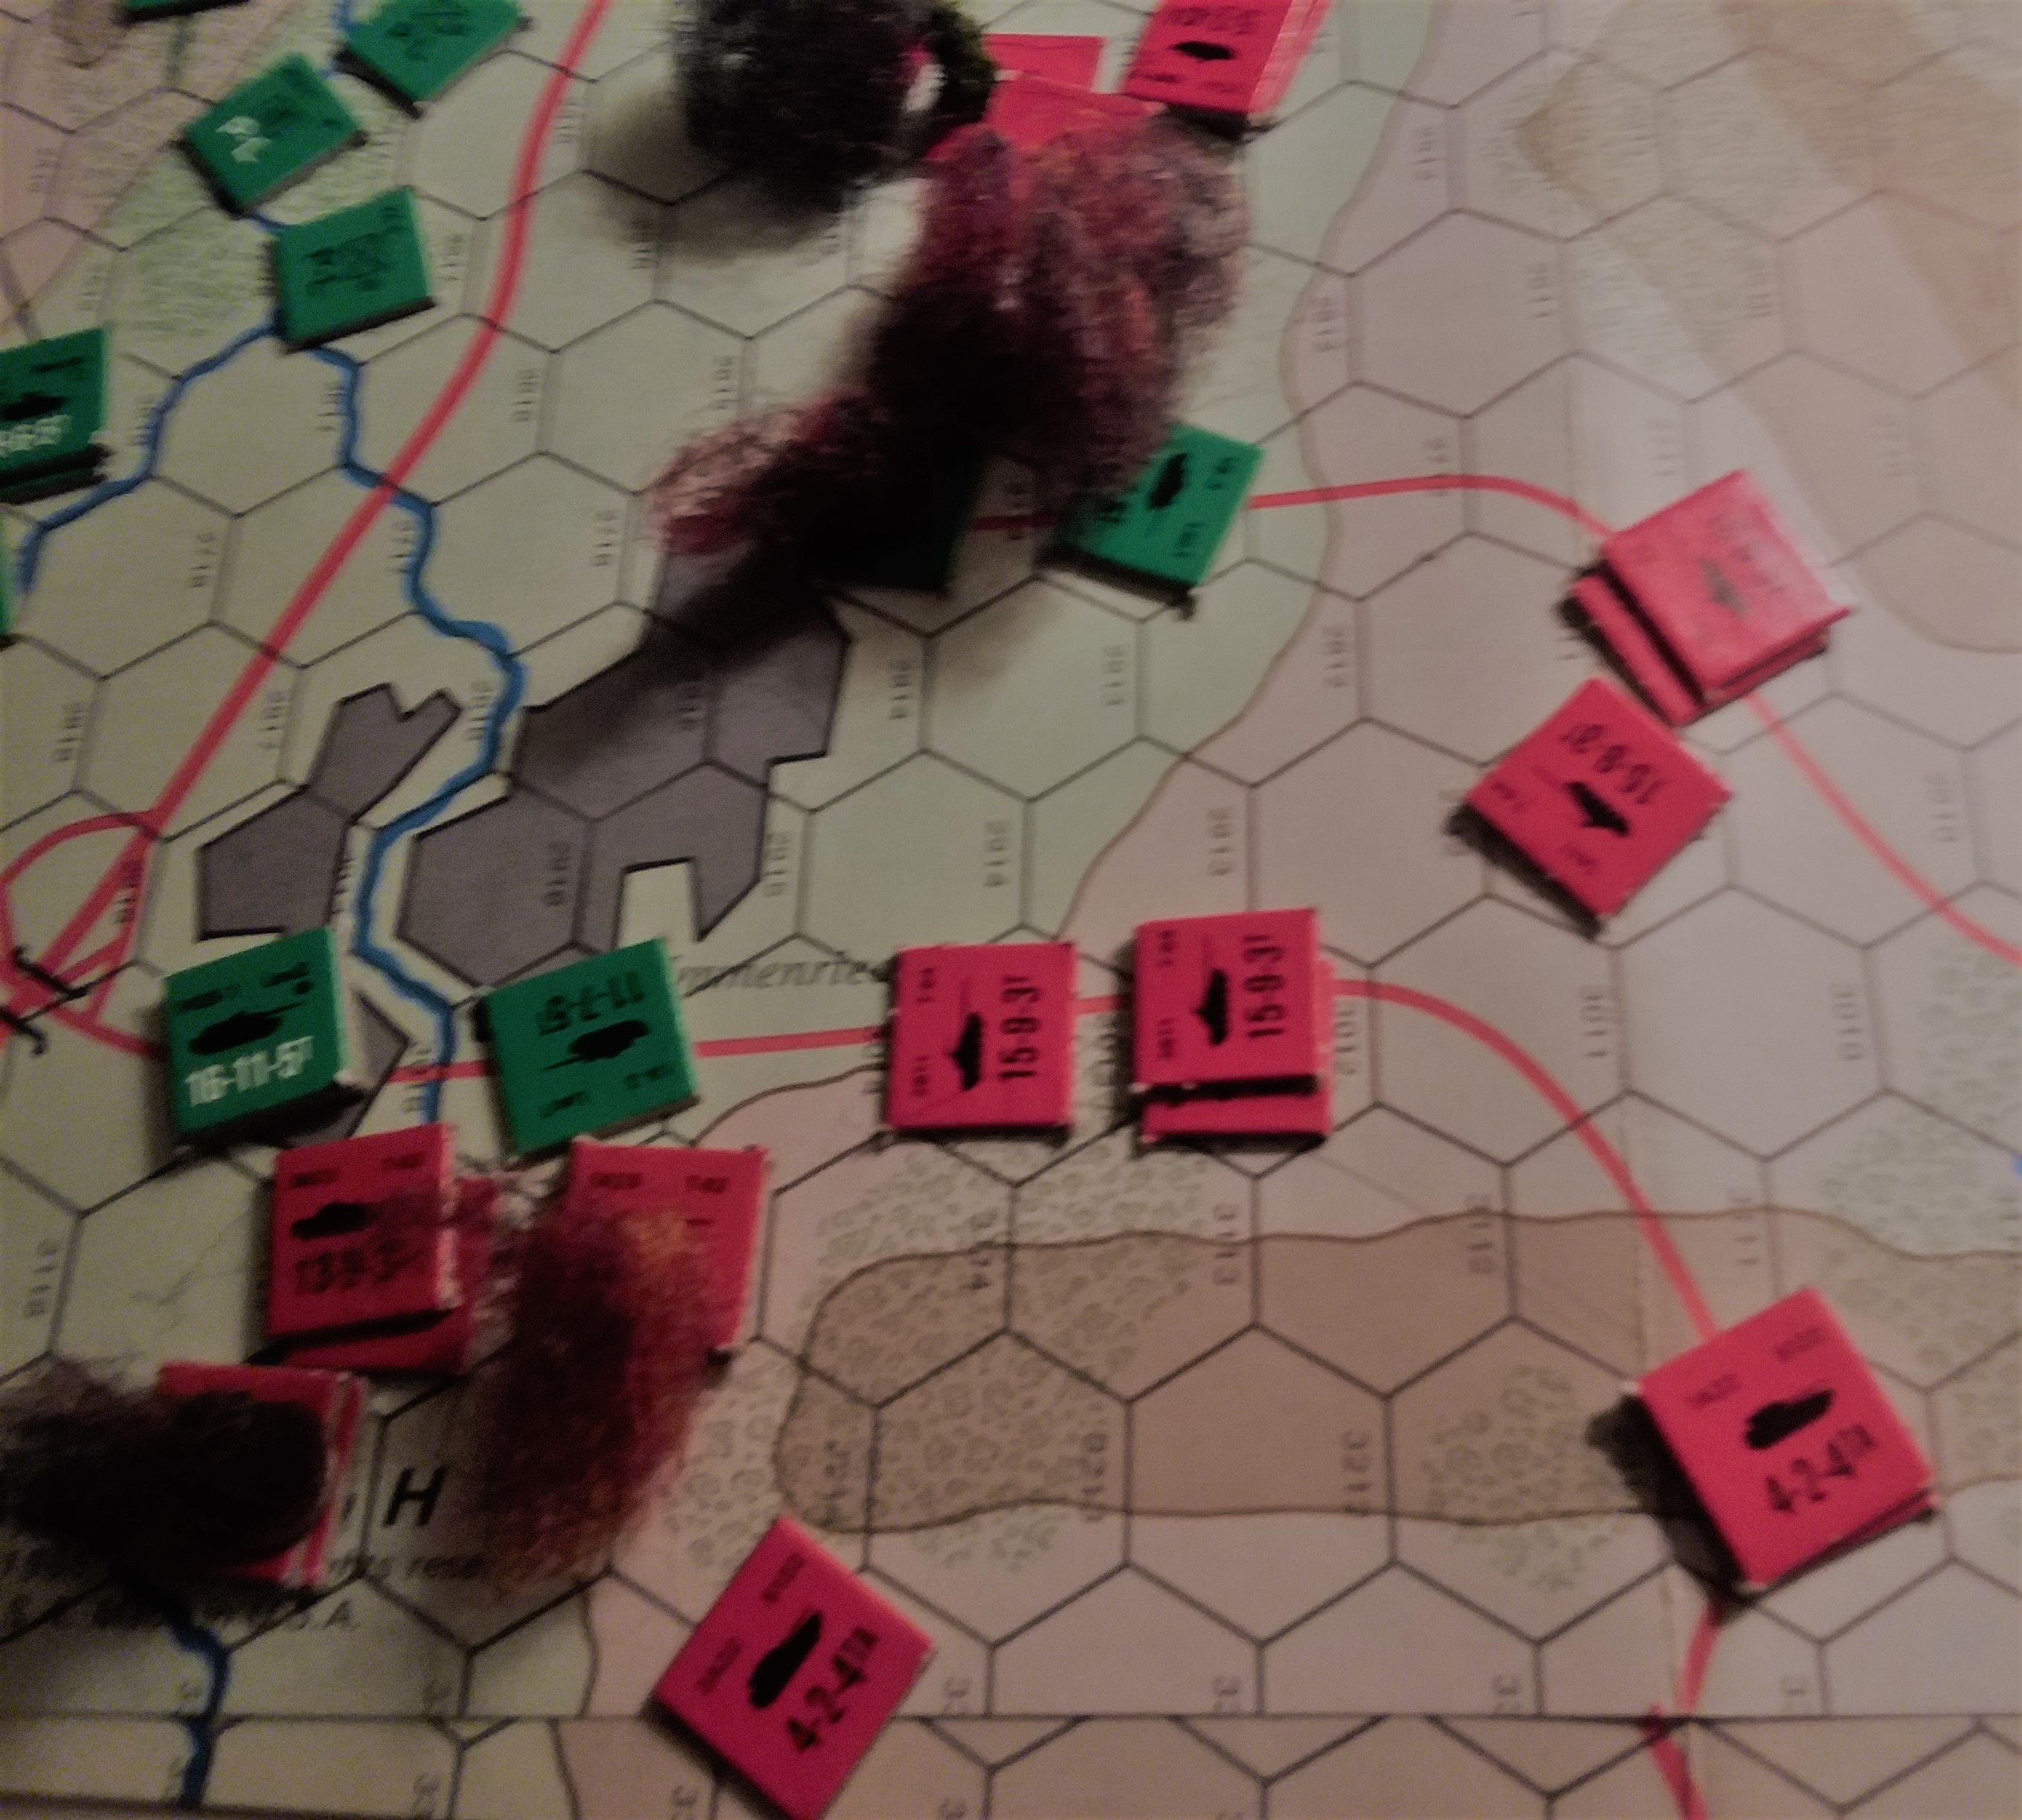 Klienenberg Turn 5 - west. 3 Leo Is and 2 Milans plus some Panzerfausts manage to kill a platoon of BMP-2s and 3 T55s in BHs turn 4. BH's Chieftain kills one T72 on the eastern flank. My return fire sweeps the Leo Is away, as well the surviving Chieftains (1 dead, one bailed, and the bailed one captured by my nearby infantry). Game over
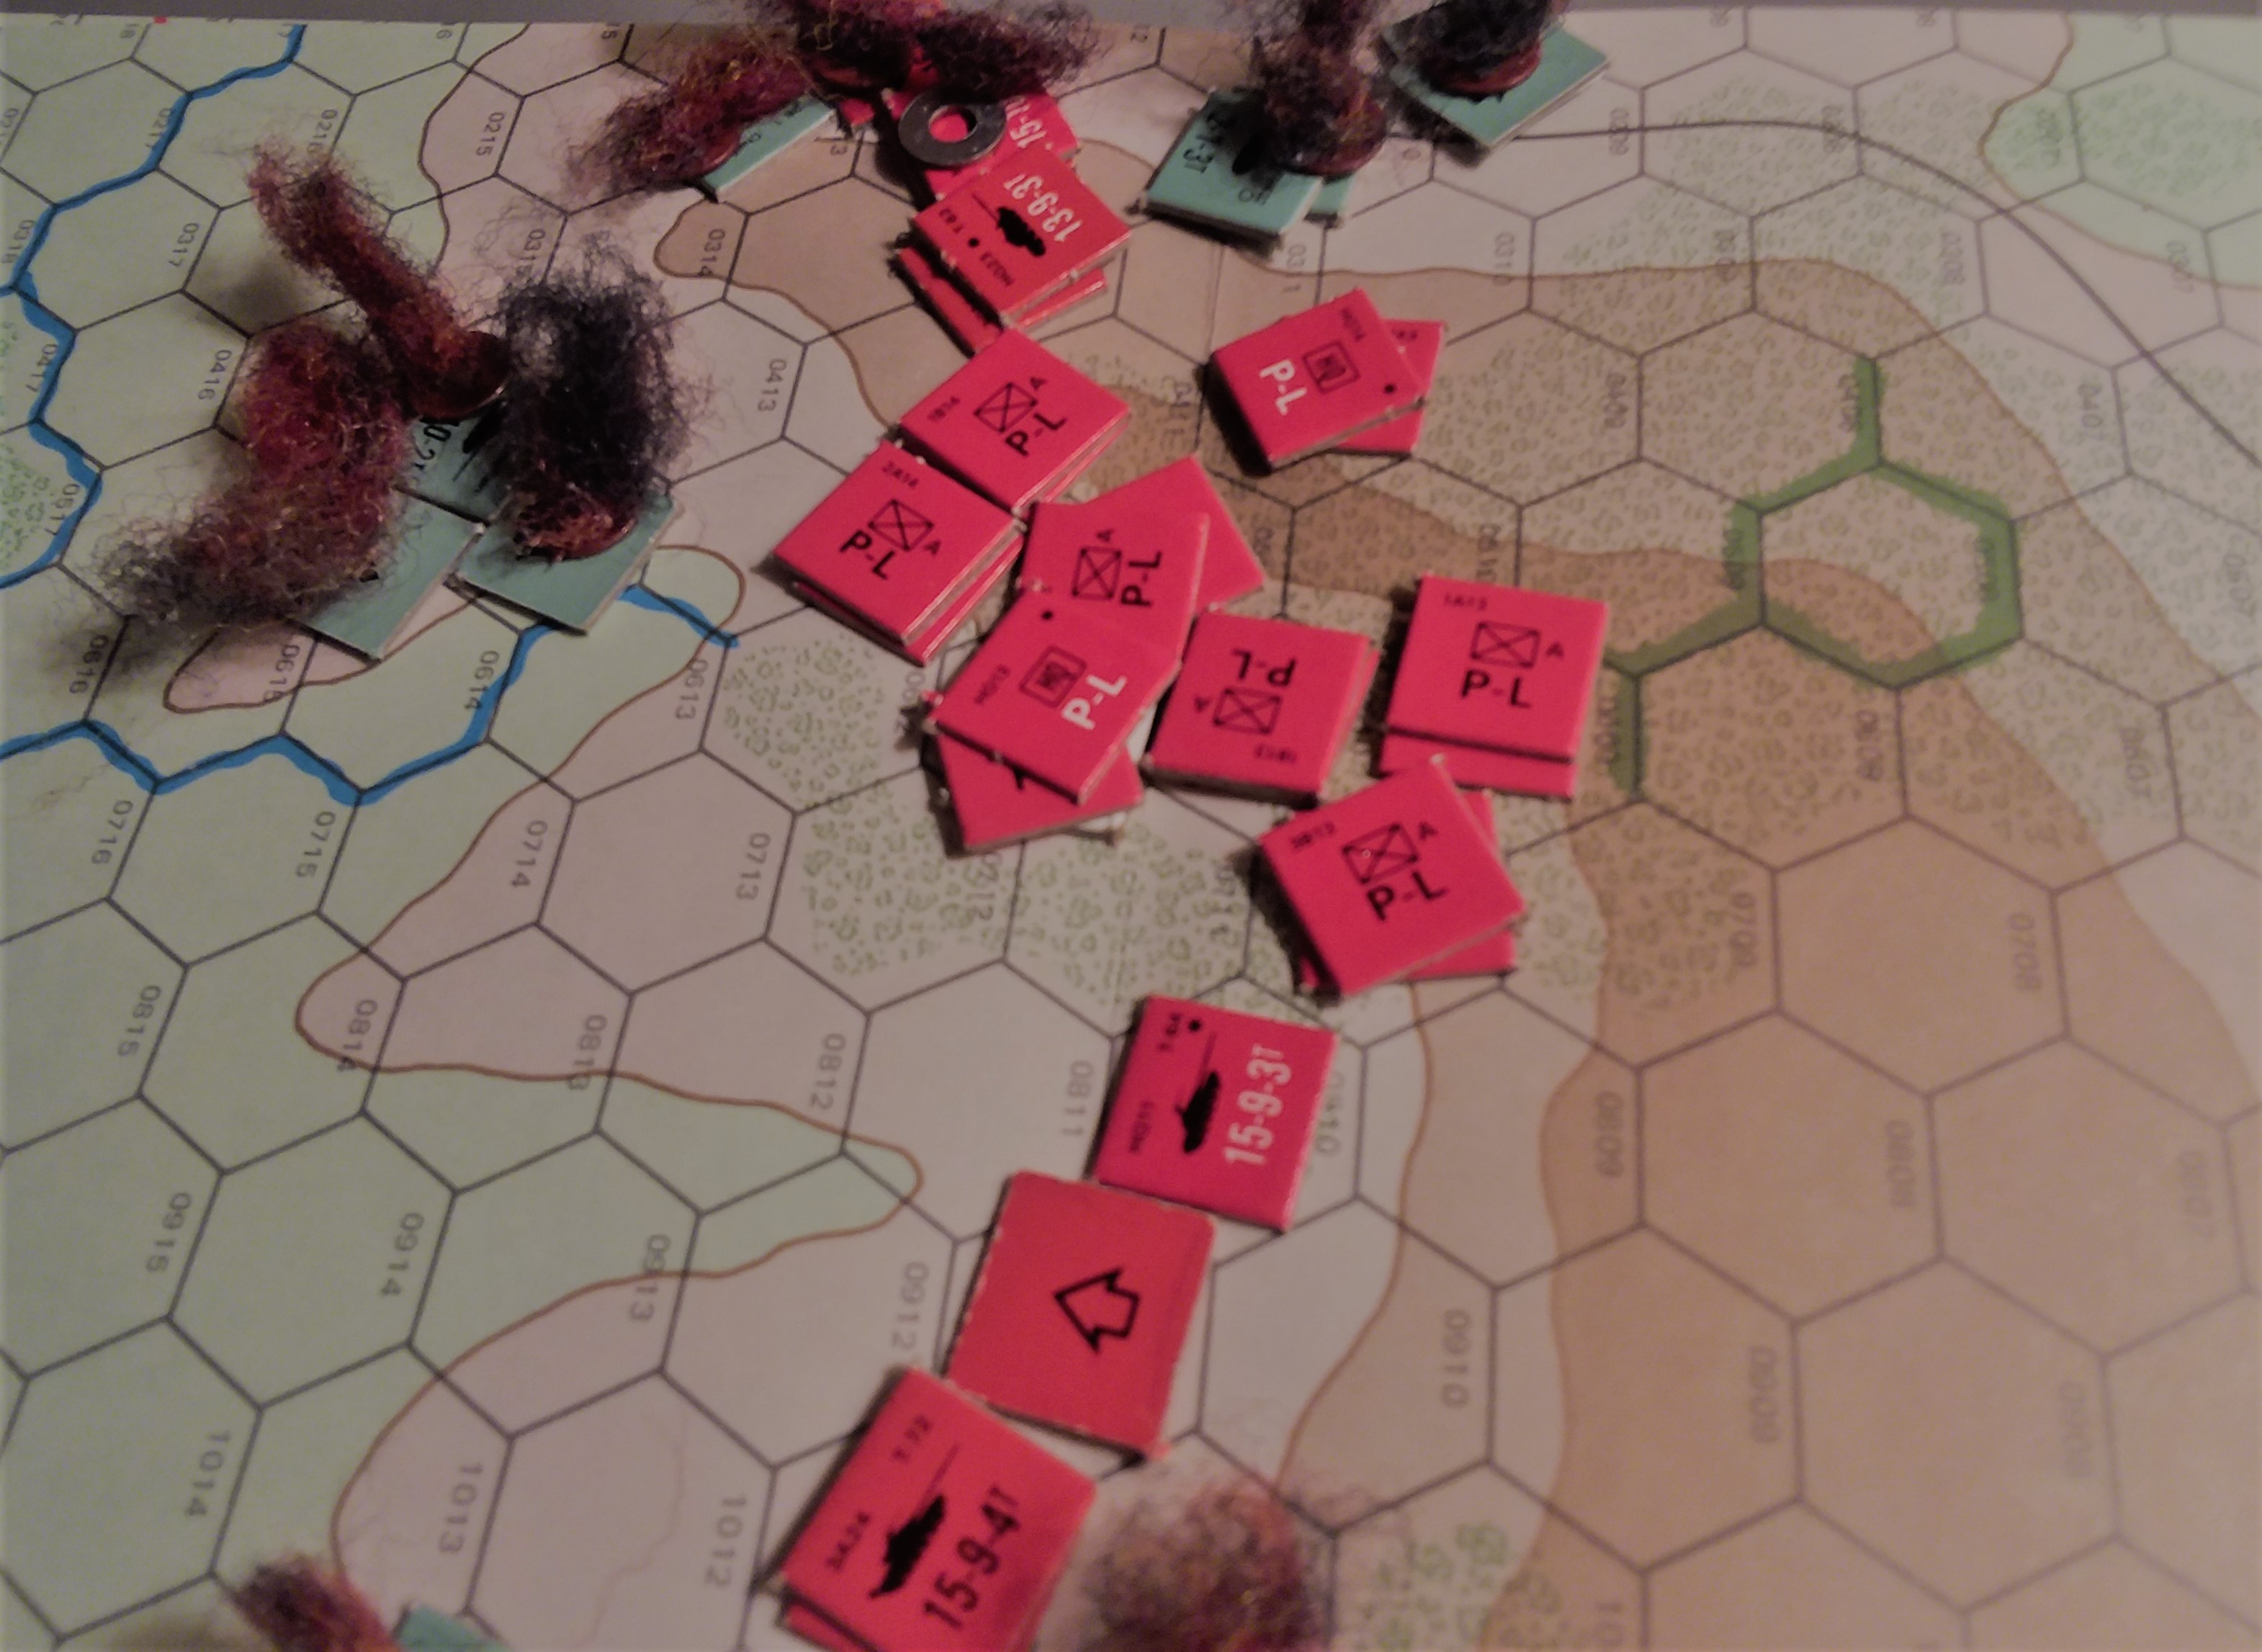
Hot wash
Two things stand out. The first was the timing failure on the eastern end of the assault. BH should have brought either the Chieftains or Milans on as fire support BEFORE sweeping in with 2nd UK platoon to attack. This would have allowed 1st UK platoon to attack at the same point. Whether this would have worked better is a mystery of the dice, but the Chieftains firing might have killed a couple stands and reduced my defensive fire.
The other thing was the indecision with Leo Is. His idea was correct but when my T64s threatened he backed off, forgetting that the T64s are actually more maneuverable than the Leo Is. Sometimes a fair plan is better than a perfect plan. And forcing the issue in the southwest would have kept the T64s out of the center, where their machineguns helped slaughter 1st UK, putting the game out of reach.
Battle Report Author
Army Lists Used In This Battle
Recommend Commander For Commendation
Share this battle with friends
bayankhanWins

another well presented AAR
Perhaps, remains to be seen what the new books offer. Meanwhile I have a few toys to add to my fully armed and functional PACT force. I keep hoping for Soviet T55s and T80s…
Come join the ranks of NATO and taste the fruit of freedom.
Congratulations on the victory comrade.
Congratulations on the victory comrade. Great report. Thanks for posting.
Nice win, great report and read. Well done Comrade General.