Fought At Ruhr
2207 days 11 hours 34 minutes ago
Combat at Menzelen
90 POINTS3rd Polish Motorized makes slow progress south along the west bank of the Rhine

3rd Polish is in the white stack on Munster and attacking toward Bonn, meeting some of the last Chieftains in captivity in this sector. Perhaps next we'll see Centurions (I know, next book). This is an E-battle, the maps are the battle
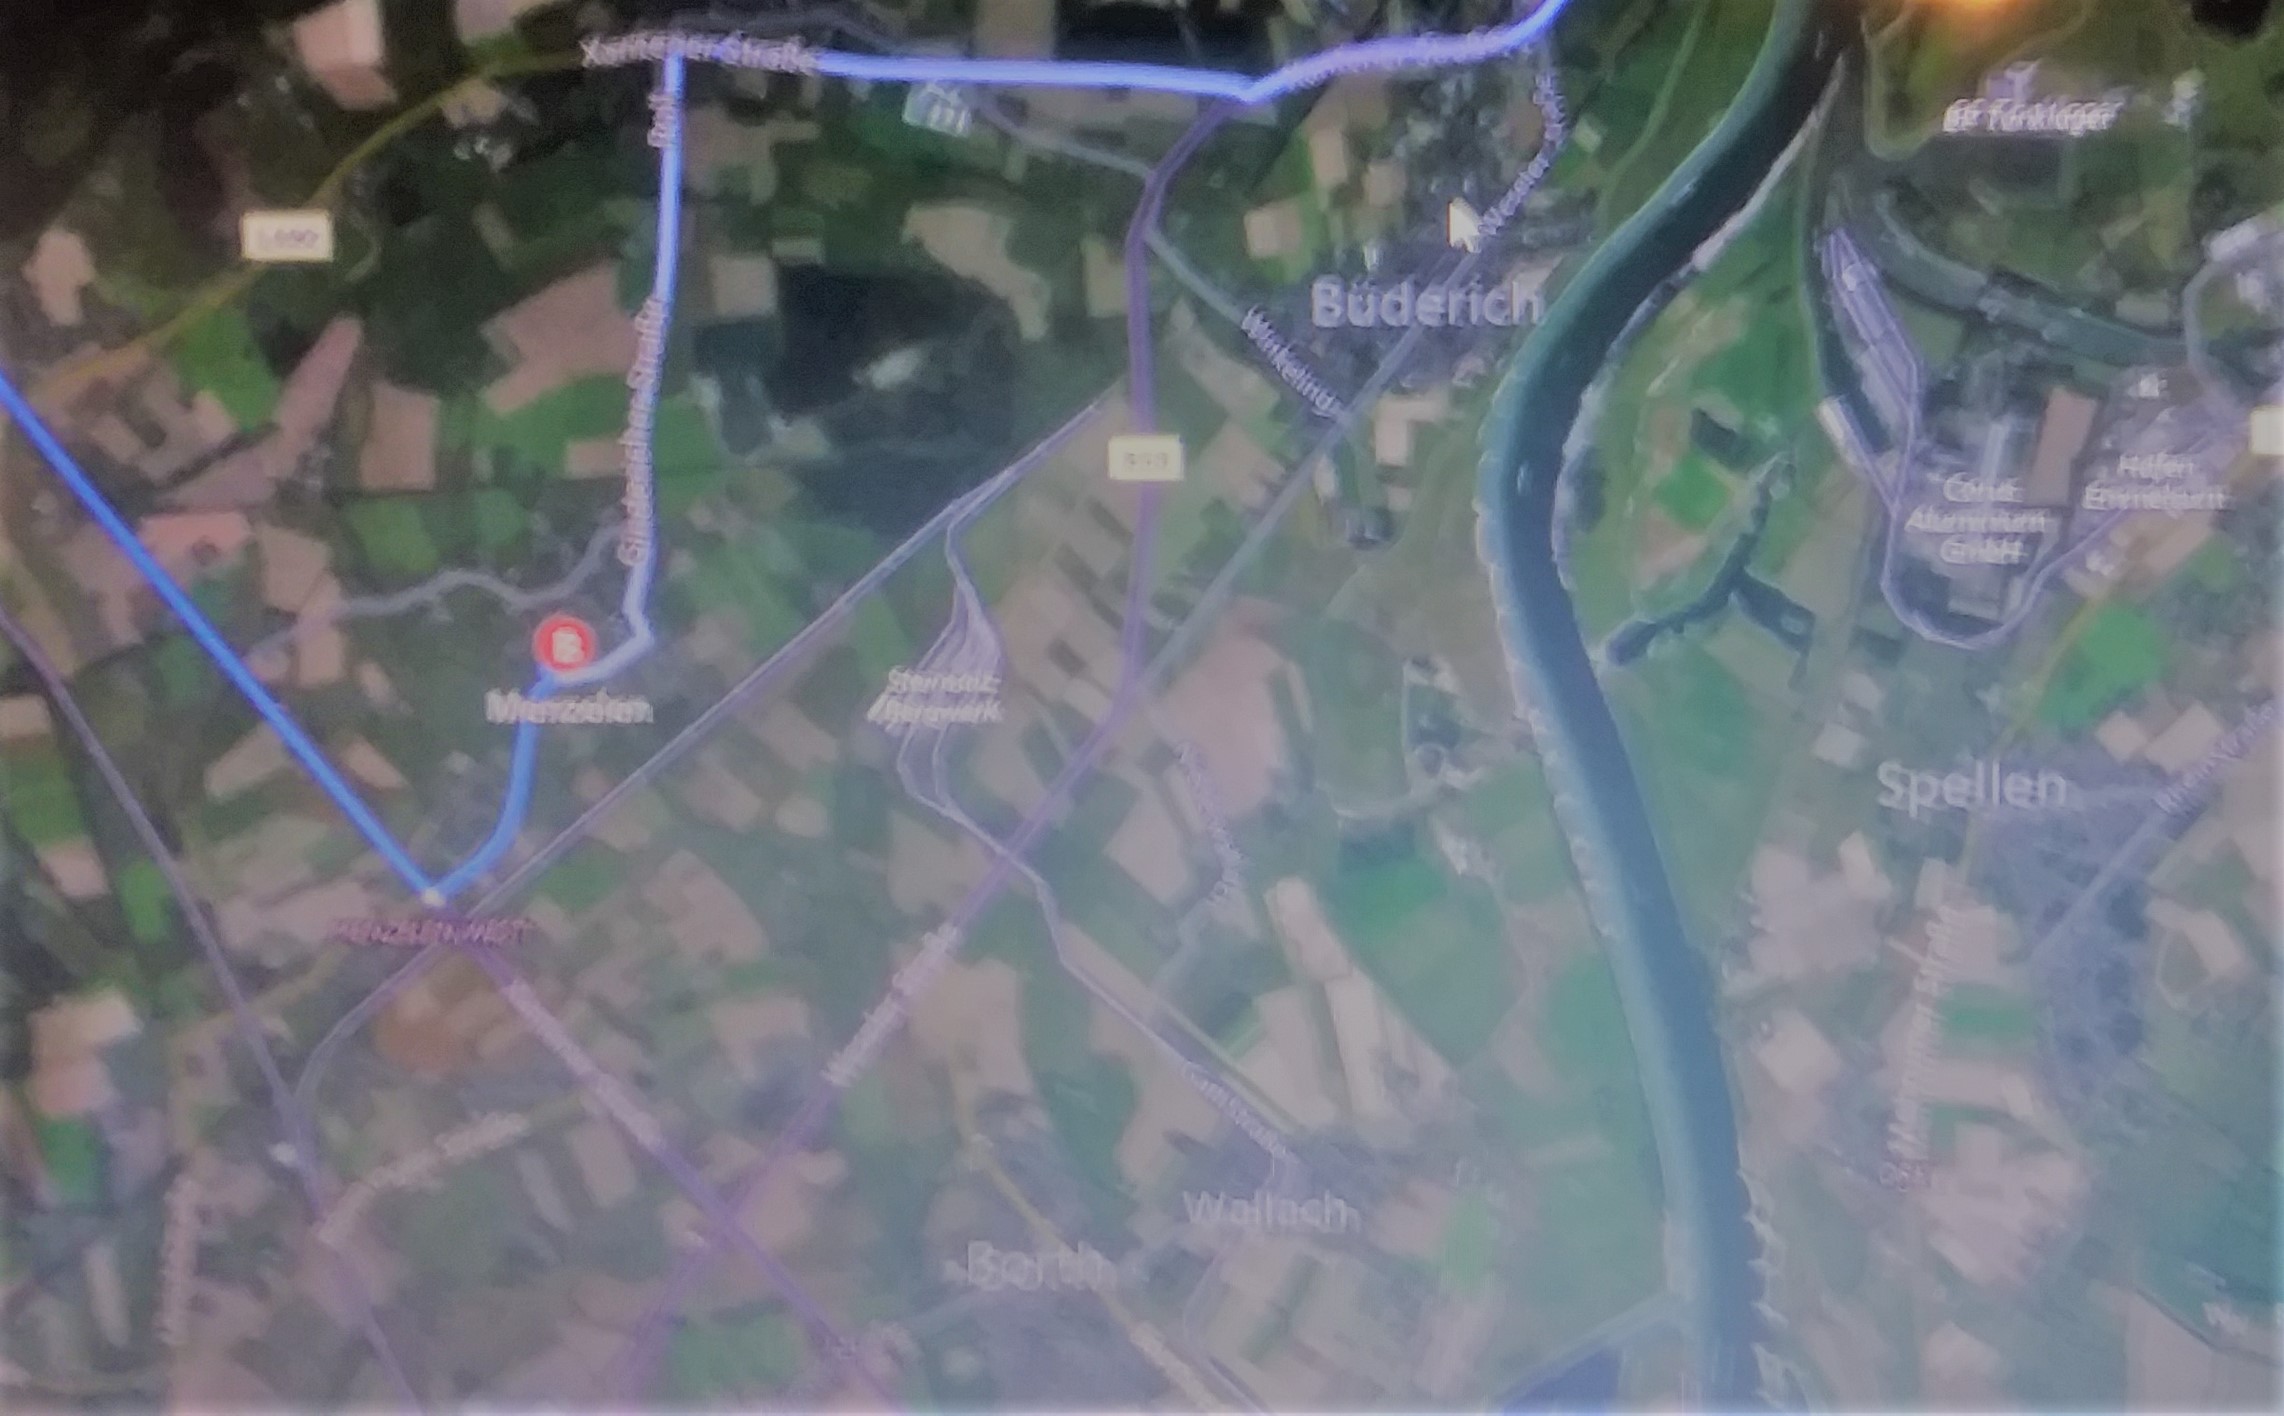
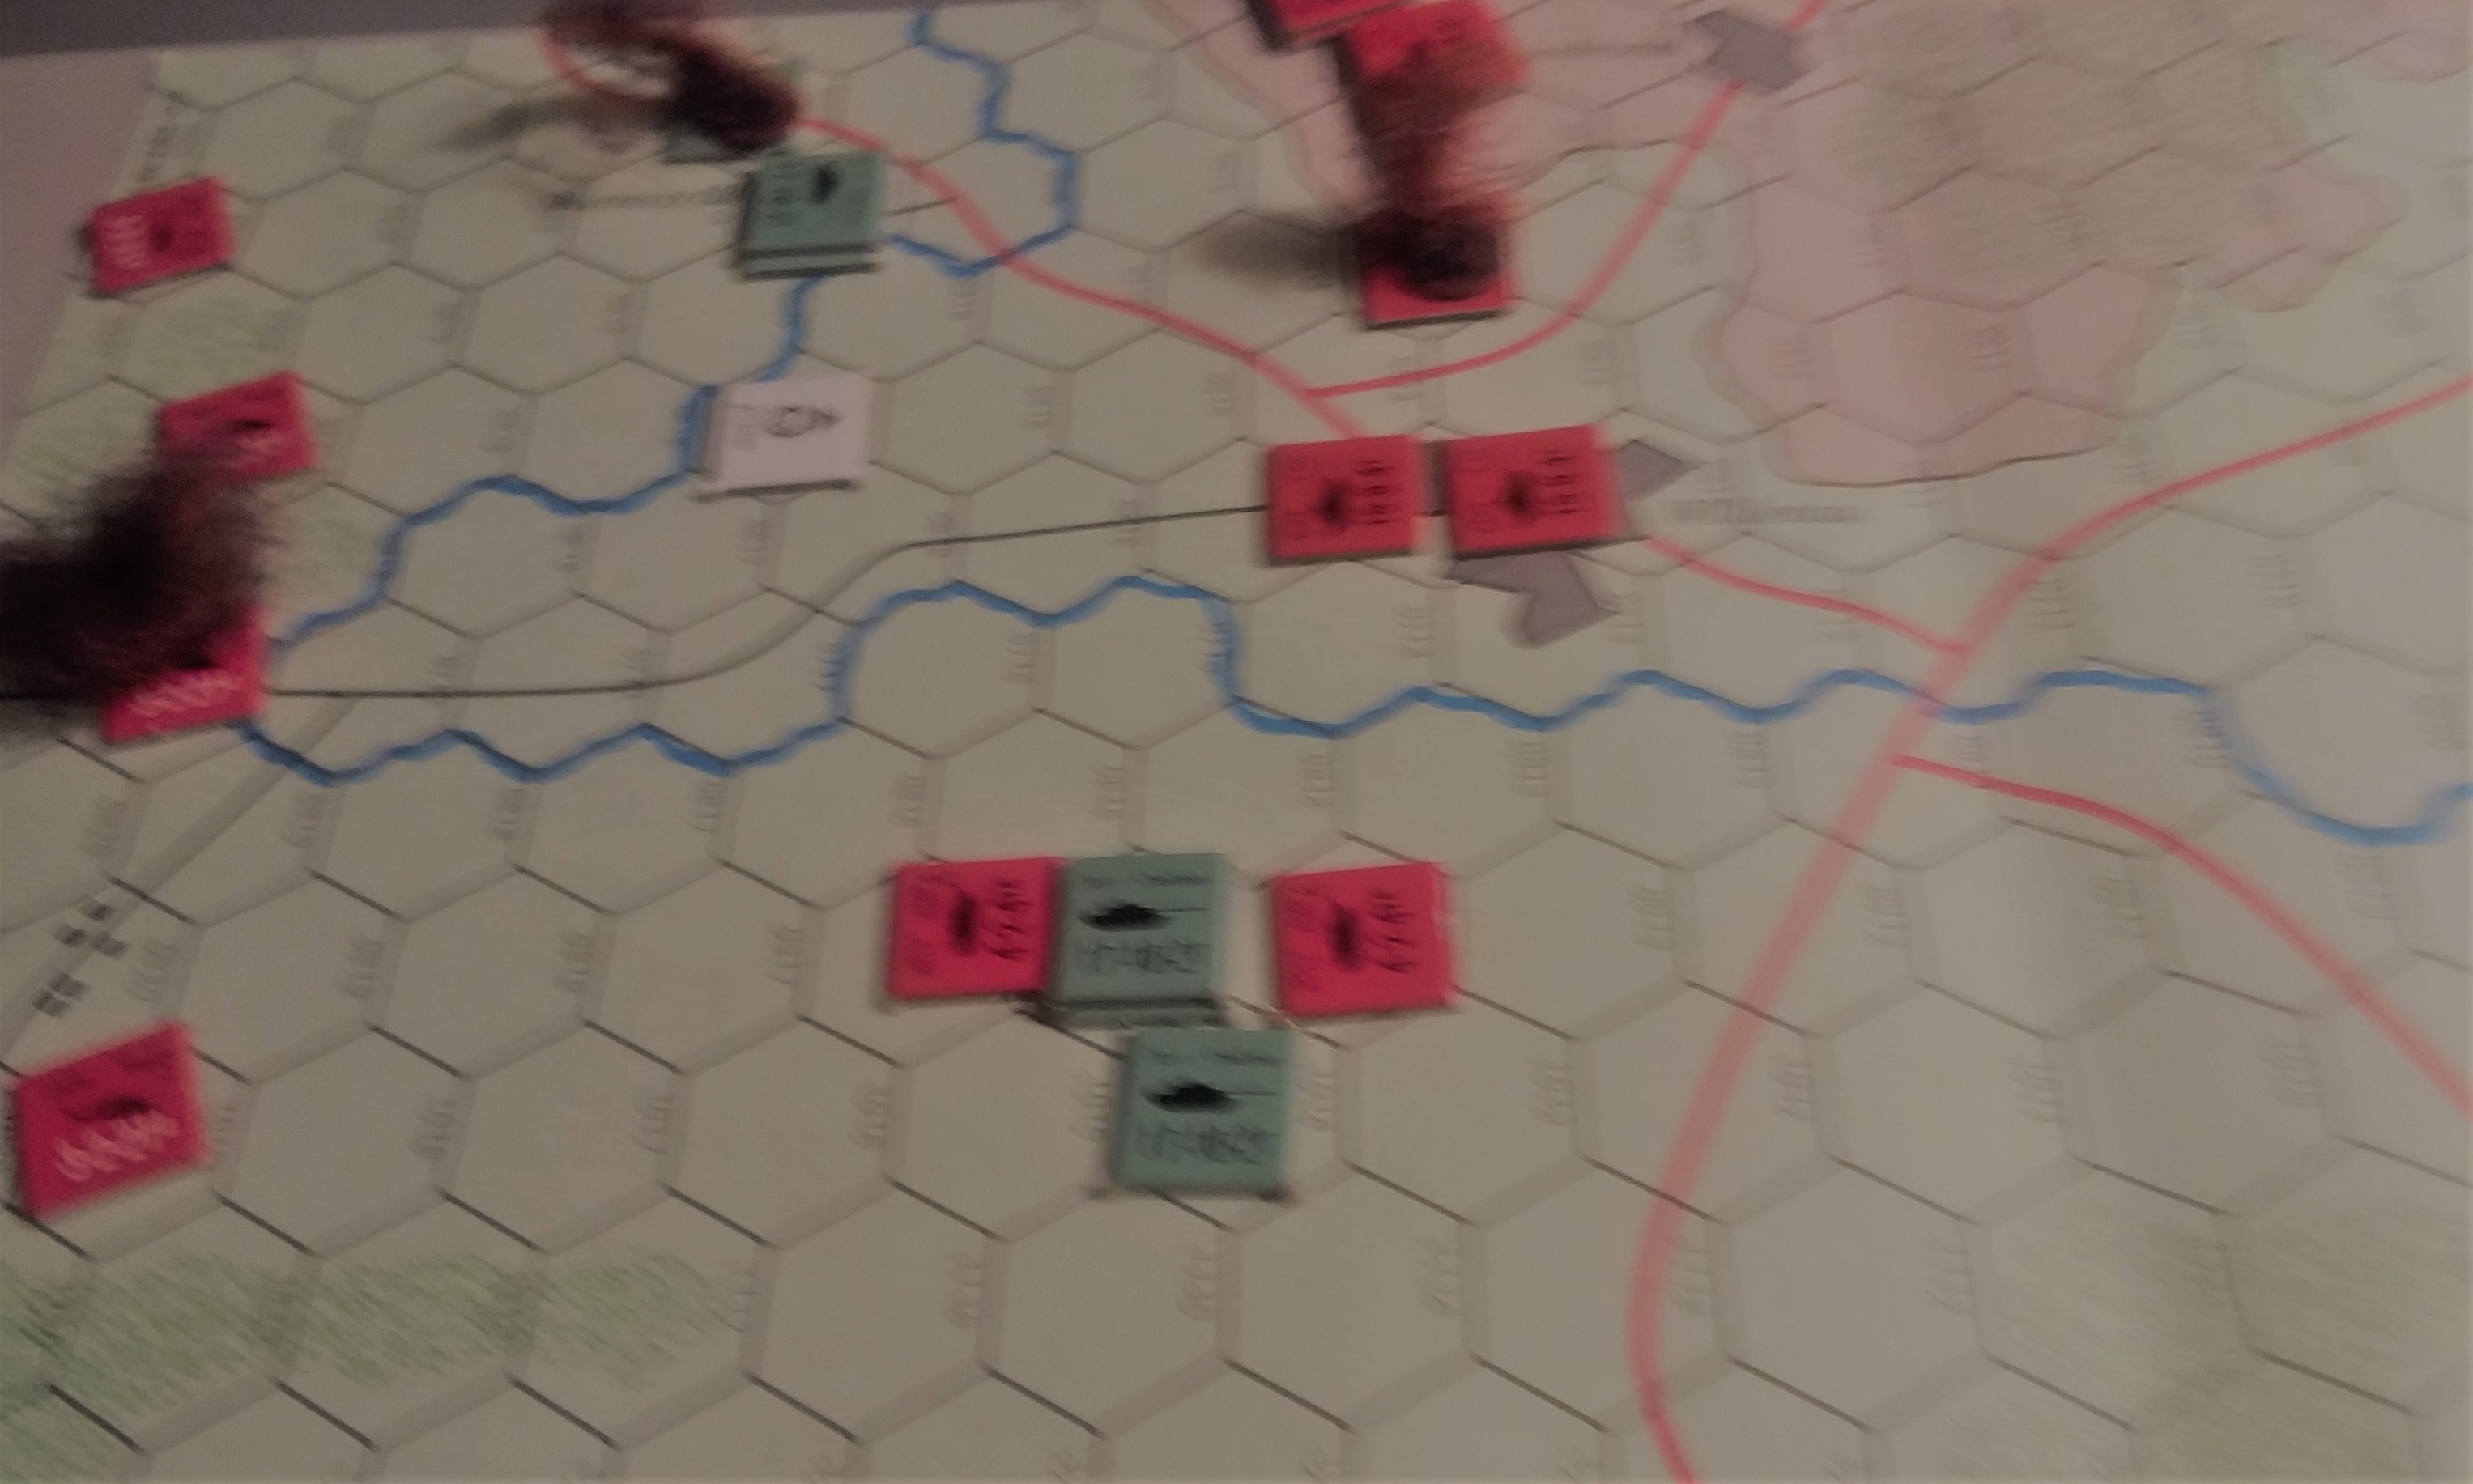
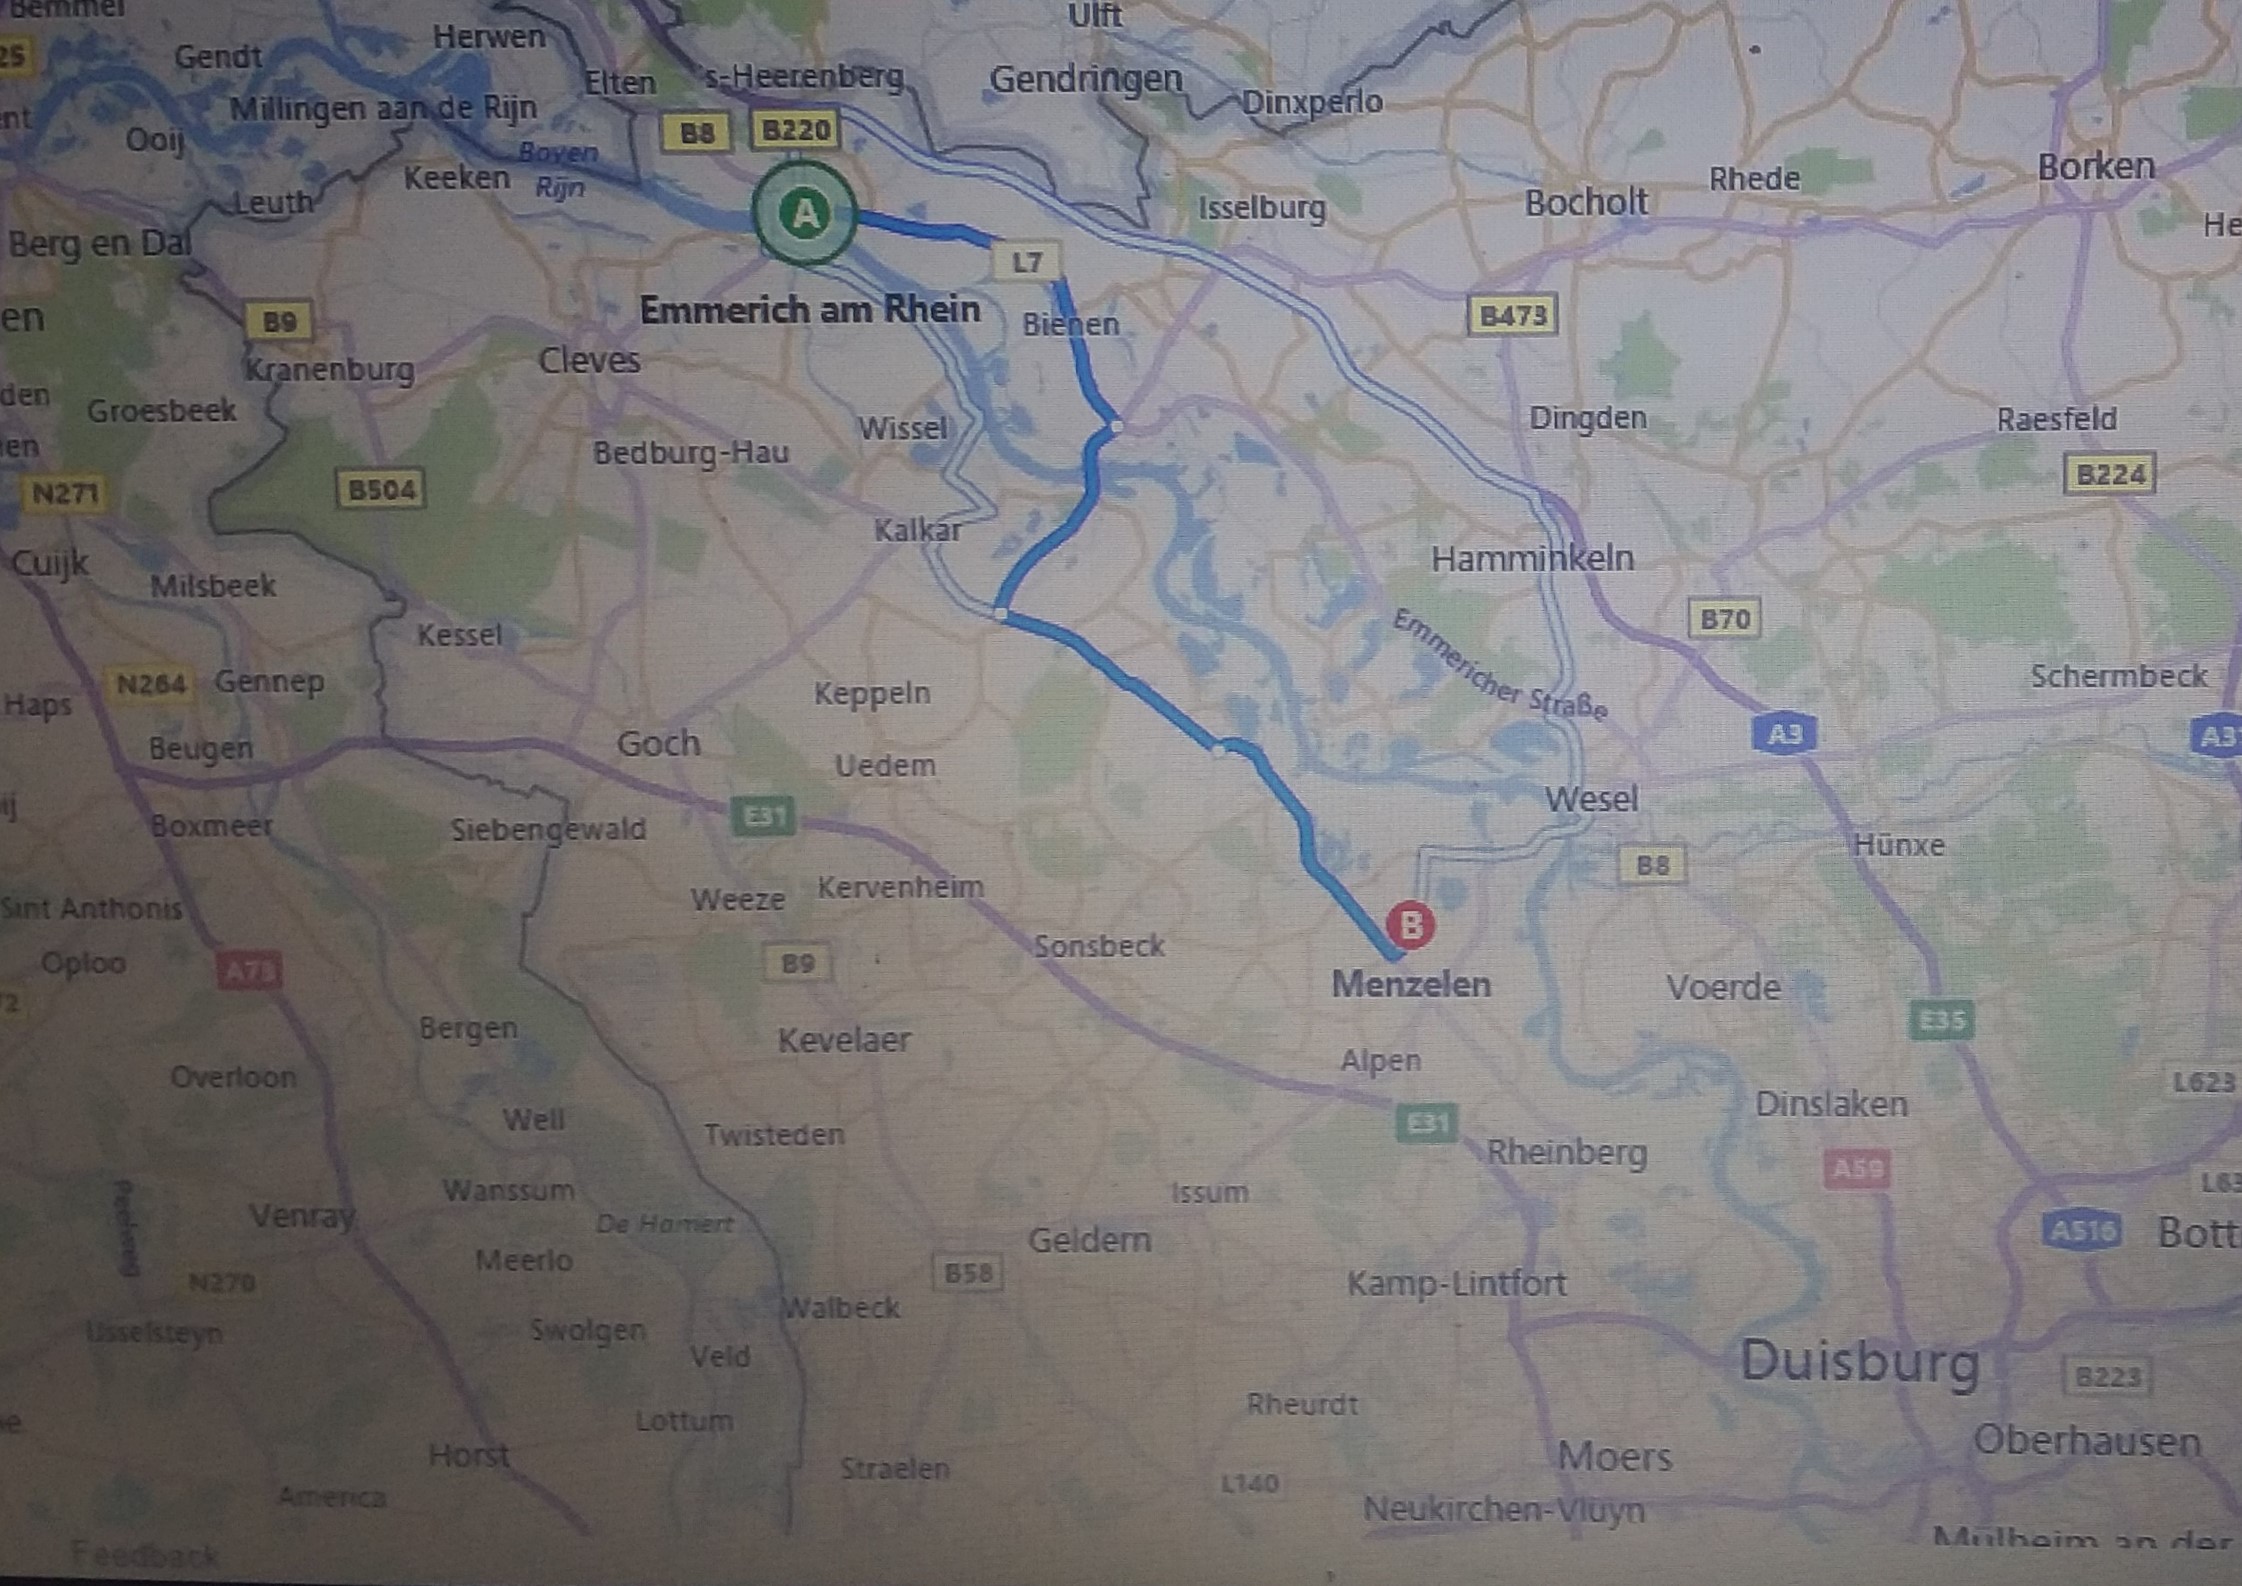 Menzelen Theater of Operations. The Poles have the Emmerich Bridge. The dark blue line is the Polish advance, the light blue the route of mixed NATO forces to parallel the Polish advance. 9th Polish Motorized is fighting on the east bank
We played the same lists, essentially, with BH deciding to try strike aircraft. Mine didn't show up again.
(color me unsurprised)
We also decided to give the Ruhr scenario a try. Annihilation was getting a little stale. Not the best choice, as it turned out.
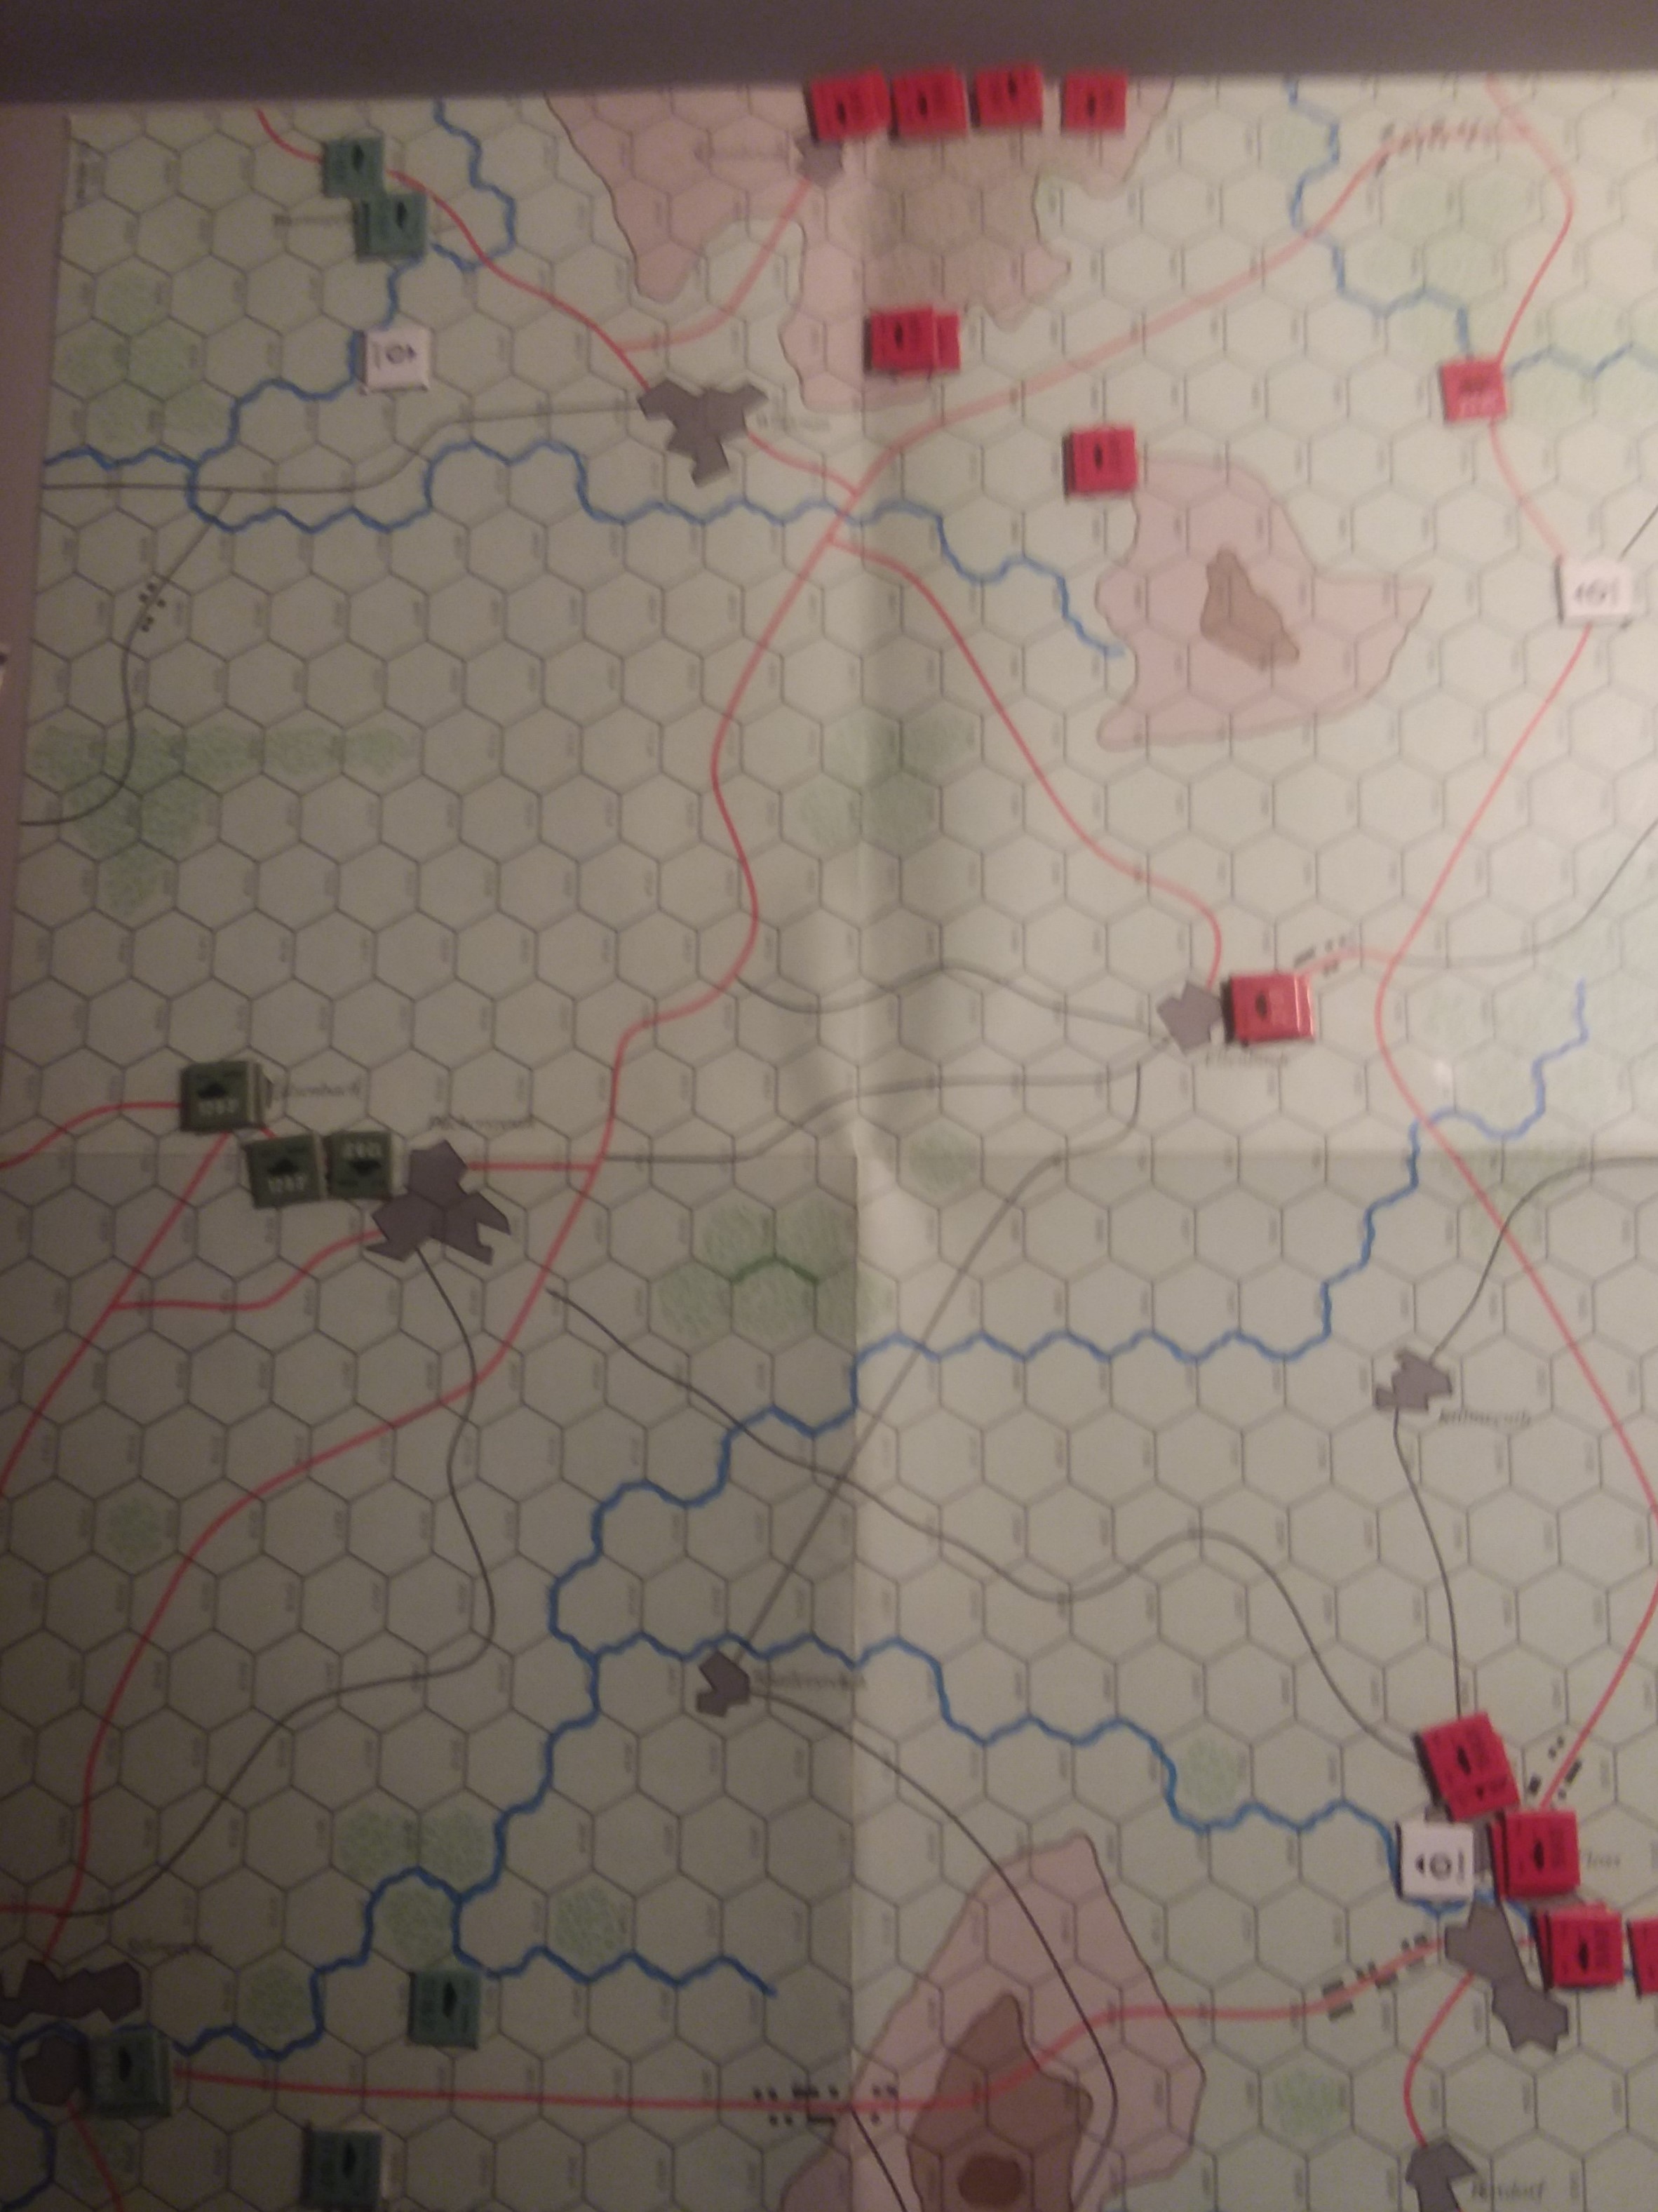
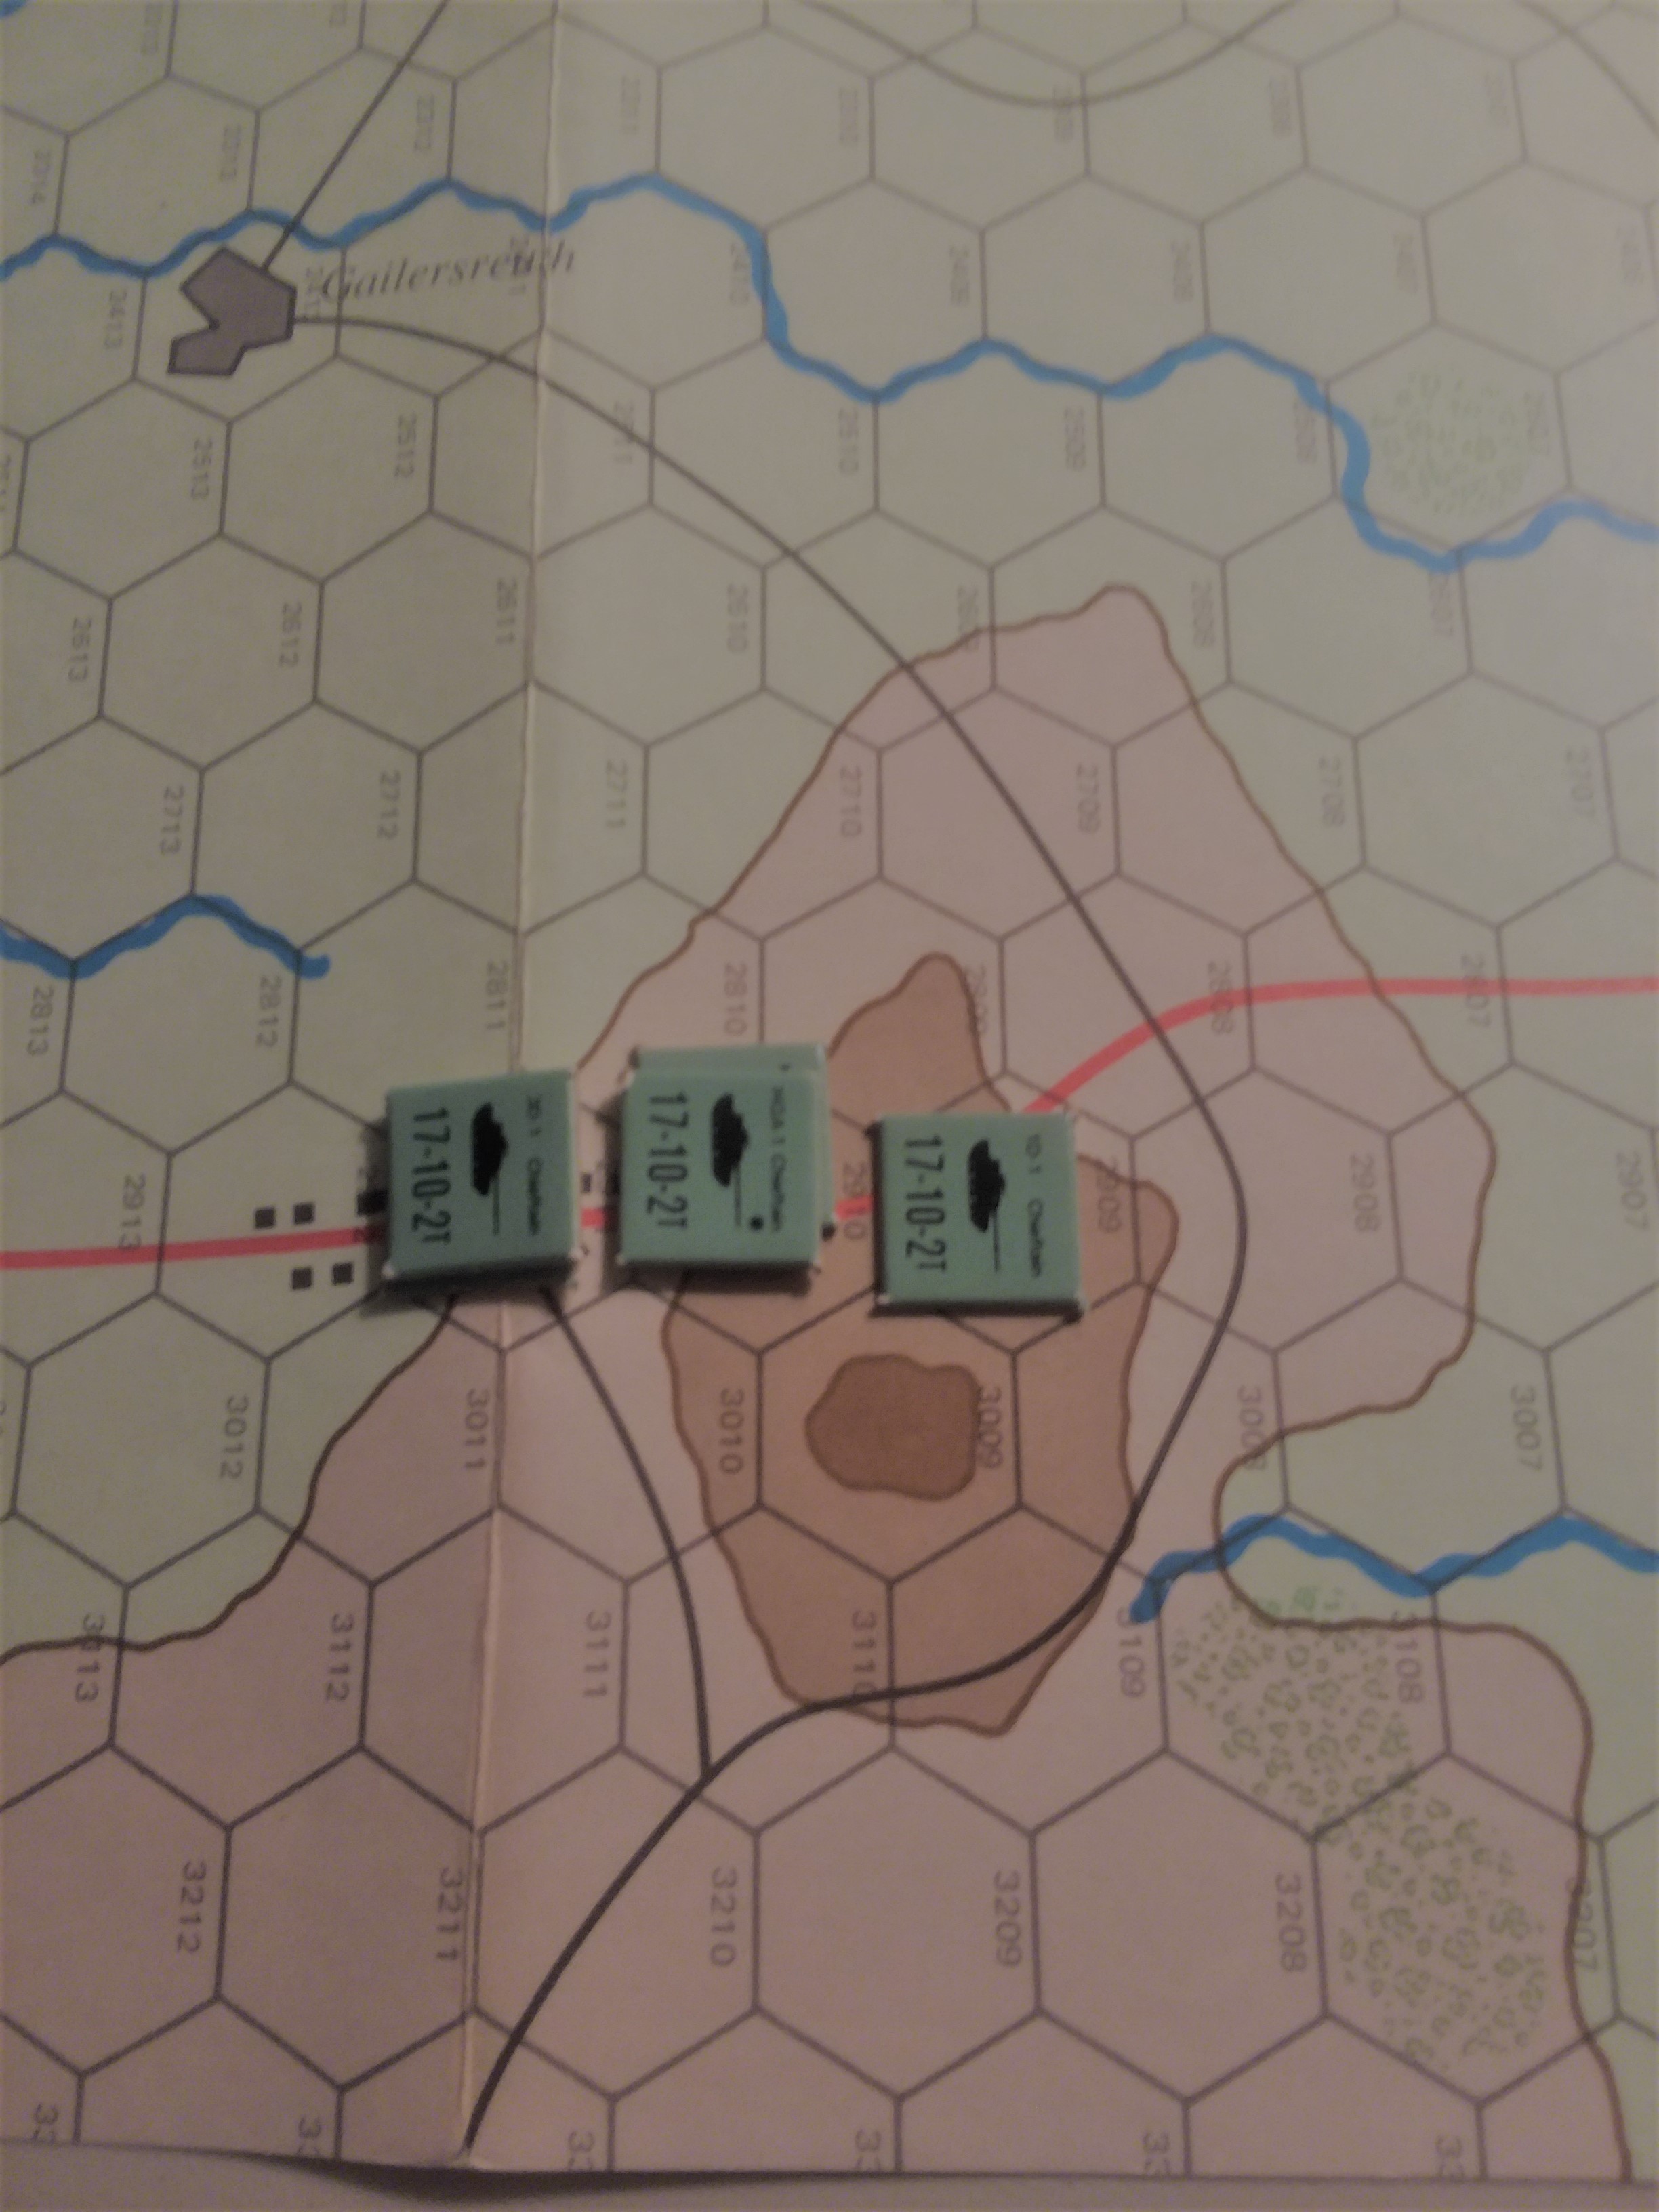
 Overhead of Battlefield. Poles will be moving from southwest to northeast; NATO advancing out of bridgehead at Wesel
Pulkownik Yakub Niktnie felt the weight of the new shoulder boards. The Pulkownik commanding 8th Motorized had made the further mistake of airing his grievance with Niktnie's high-handedness to the Division commander, which had given the Political Officer the excuse he needed to report the incident's more serious issue - the Pulkownik's hesitation in the complex situation.
Niktnie had gotten the man's command, and effectively commanded a motorized brigade as Niktnie's Uhlansky remained part of his force.
The rate of advance had, unfortunately, slowed, and that was allowing NATO to throw all types of mixed forces in their path. Niktnie was making steady progress - they had come nearly 50 kilometers from Emmerich. Between NATO counterattacks, air raids and intermittent fuel supplies, the early dash of the offensive was largely over. It was beginning to look like NATO was insistent on trading Bonn for Berlin, because the forces Niktnie had faced were a mixed bag of German reservists, German regulars, and British territorials. Today was something entirely different. British tankmen in Chieftains, hopping from cover to cover with some precision. "To sa bywalcy, przez Boga."
Major Richard Barton contemplated his little column sadly.
As one of the few Chieftain heavy armor units remaining in Britain at the call to arms, the Queen's Irish Hussars had been the logical choice to become the divisional tank battalion in the newly organized 5th Division, formed from the 2nd, 5th, and 143rd Brigades at the outbreak of war. After several days hard fighting in Holland, the 5th Division had been shifted to counterattack and block enemy penetrations deep into the Ruhr valley, and suffered from being forced into the counteroffensive role. The Regimental HQ had warned that the Chieftains they had were very likely the last they would see - the Support Services had exhausted the war reserve stock of Chieftain hulls, Challengers were coming off the line back in Blighty at the stunning rate of 2 a week, up from prewar 1, and so they would be seeing Centurions with L7 guns if they were lucky, and with 25 pounders if they were not, being brought out of 'for sale' lots back in England.
This counterattack was a cross between a reconnaissance in force and actual attack. The Spetz had discovered that a NATO drone was worth its weight in gold, and that if you got the launcher, you usually blew up a couple drones. "Non-airbreathing assets' were useful at the GHQ level but not especially helpful on the ground, maybe someday.
So Barton was taking his Troop B with 11 of the original 14 Chieftains, 4 Scorpions, 2 Swingfires, and 4 Rapiers as he crossed the Rhine for the fourth time, heading back west.
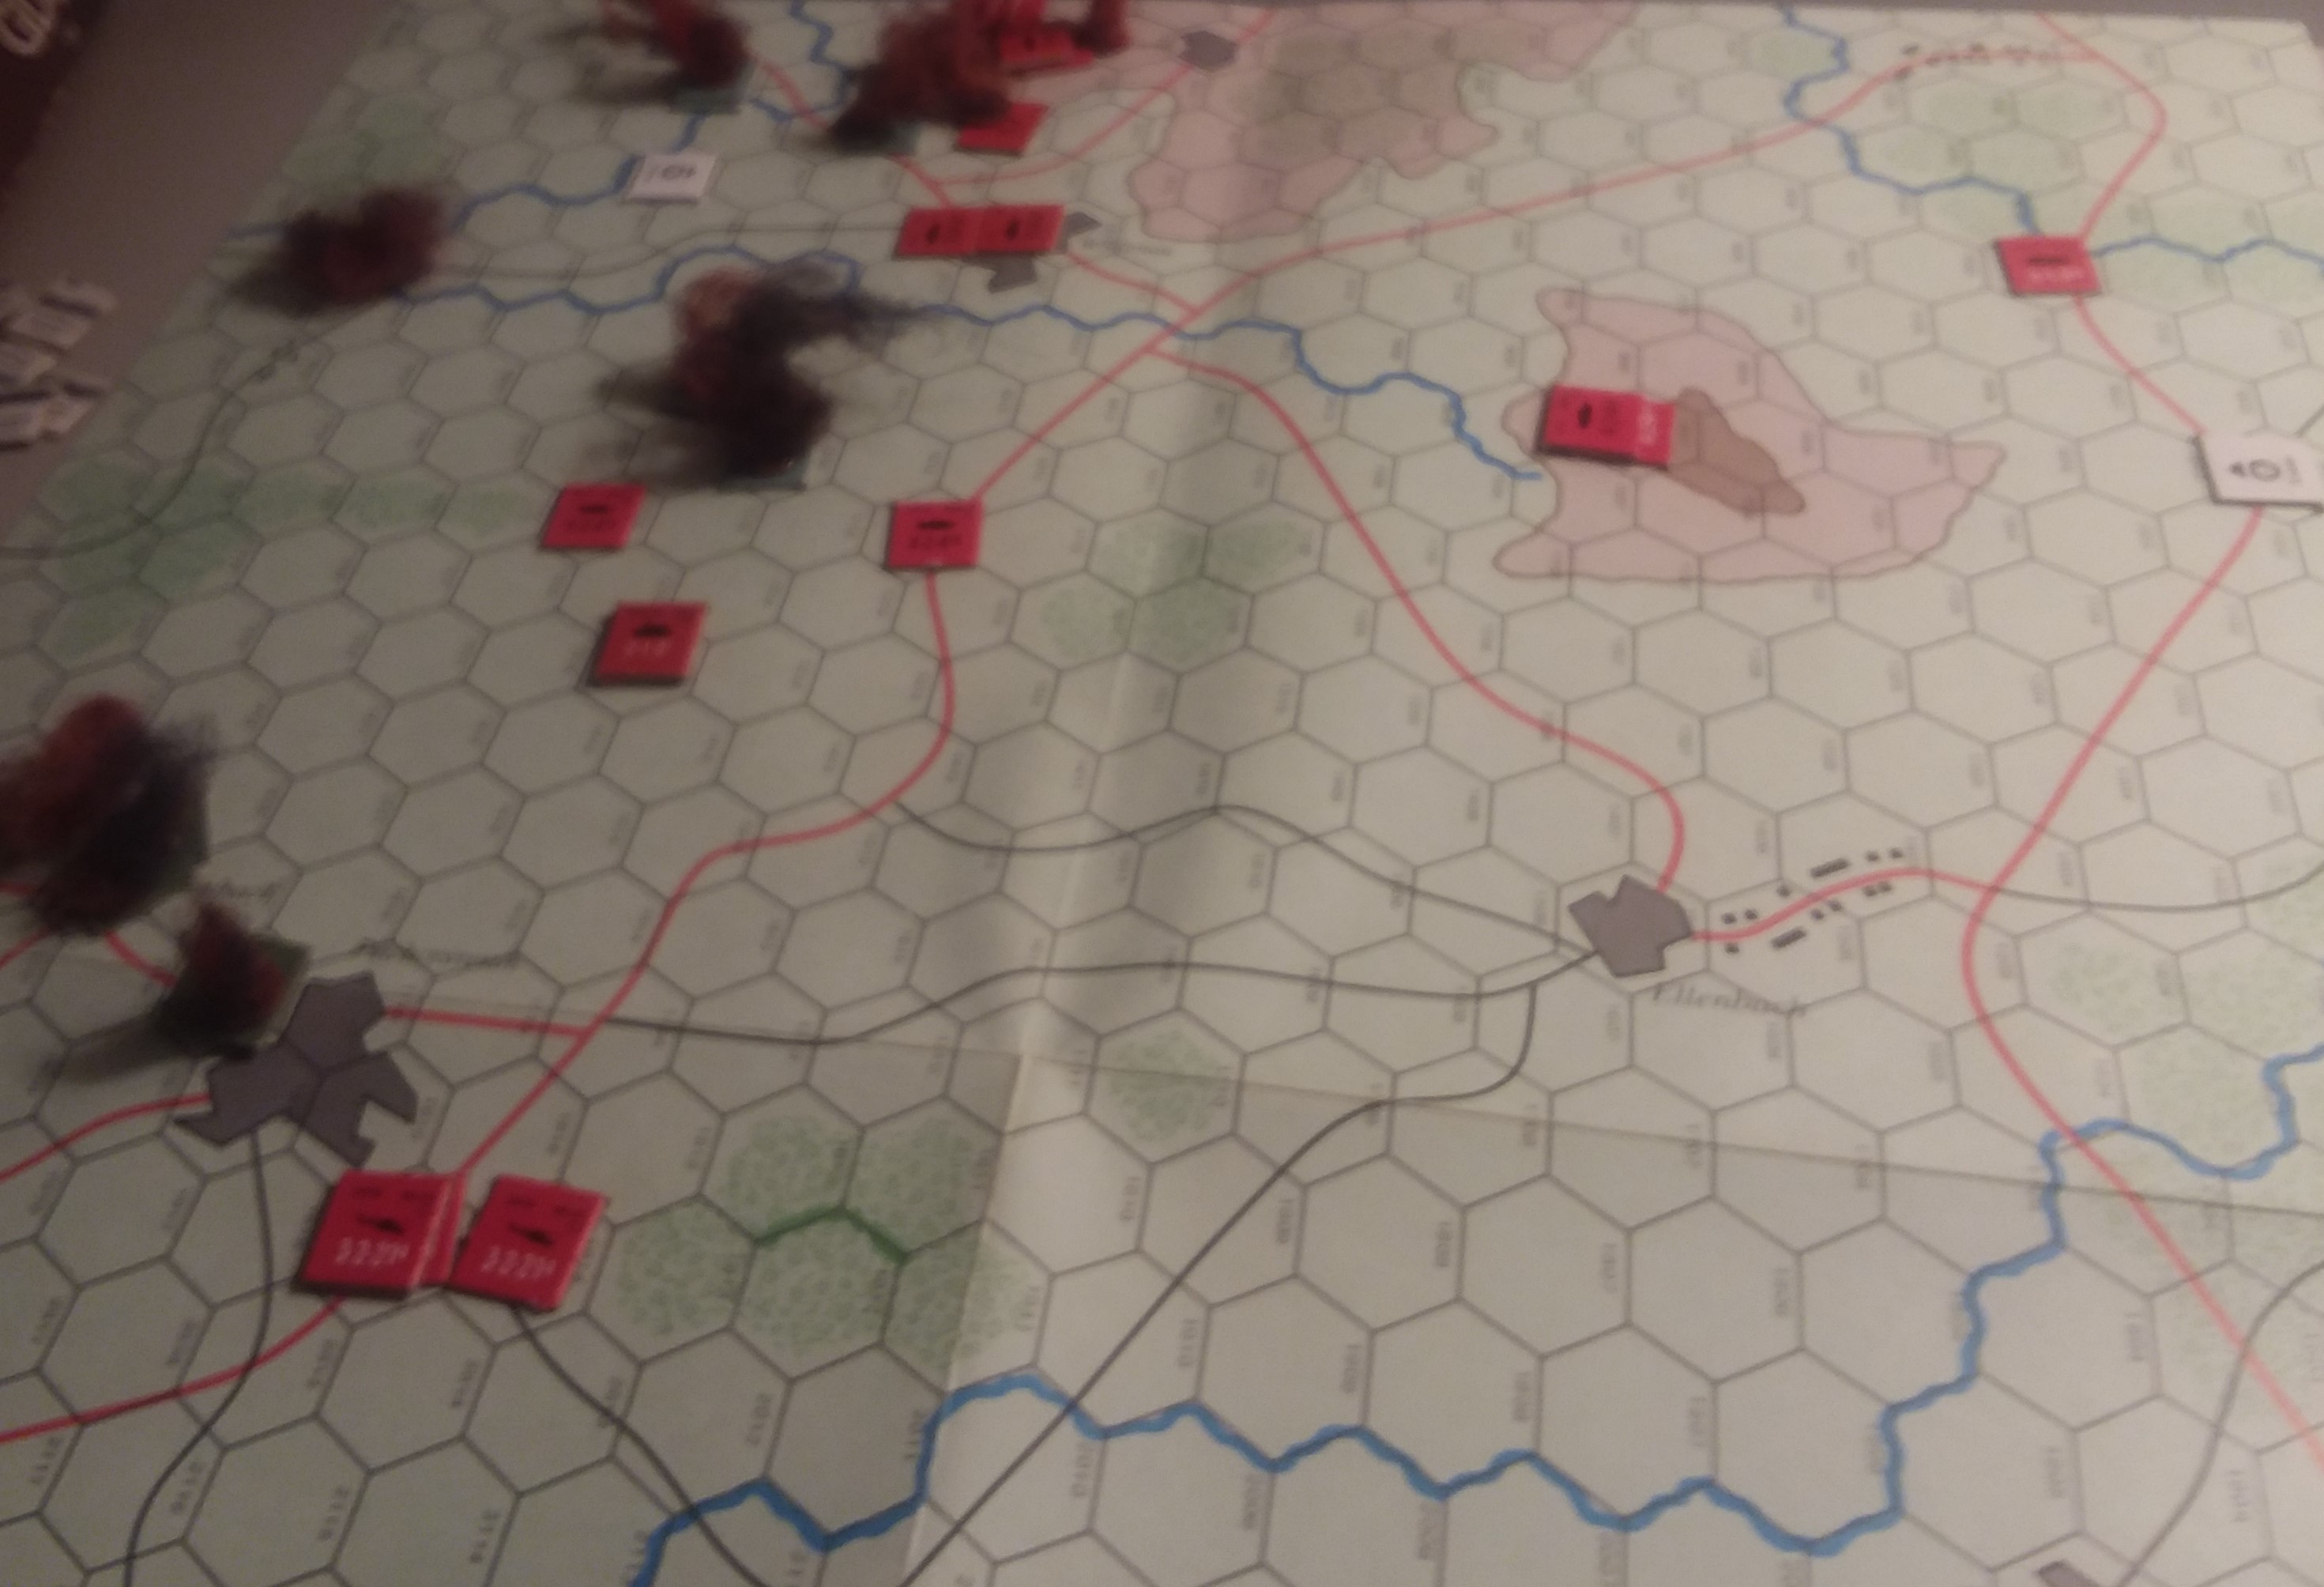
We played, as I said, the new Ruhr scenario. BH's revised OB gave him 8 units, and he could only deploy four, and one was an ambush. That led to a long discussion about set-up in these situations. BH finally decided to forego the opportunities created by spearhead. He took the Rapiers and three tank Troops after he saw me pick the Hinds, 2 tank companies, the ZSUs and SA-9s, the Spandrels, and a BMP unit. The above picture was taken after was taken after BH completed deployment and before I finished mine - the SA-9s were deployed in the central woods the Spandrels to protect them. The tank company in the south was my T72s.
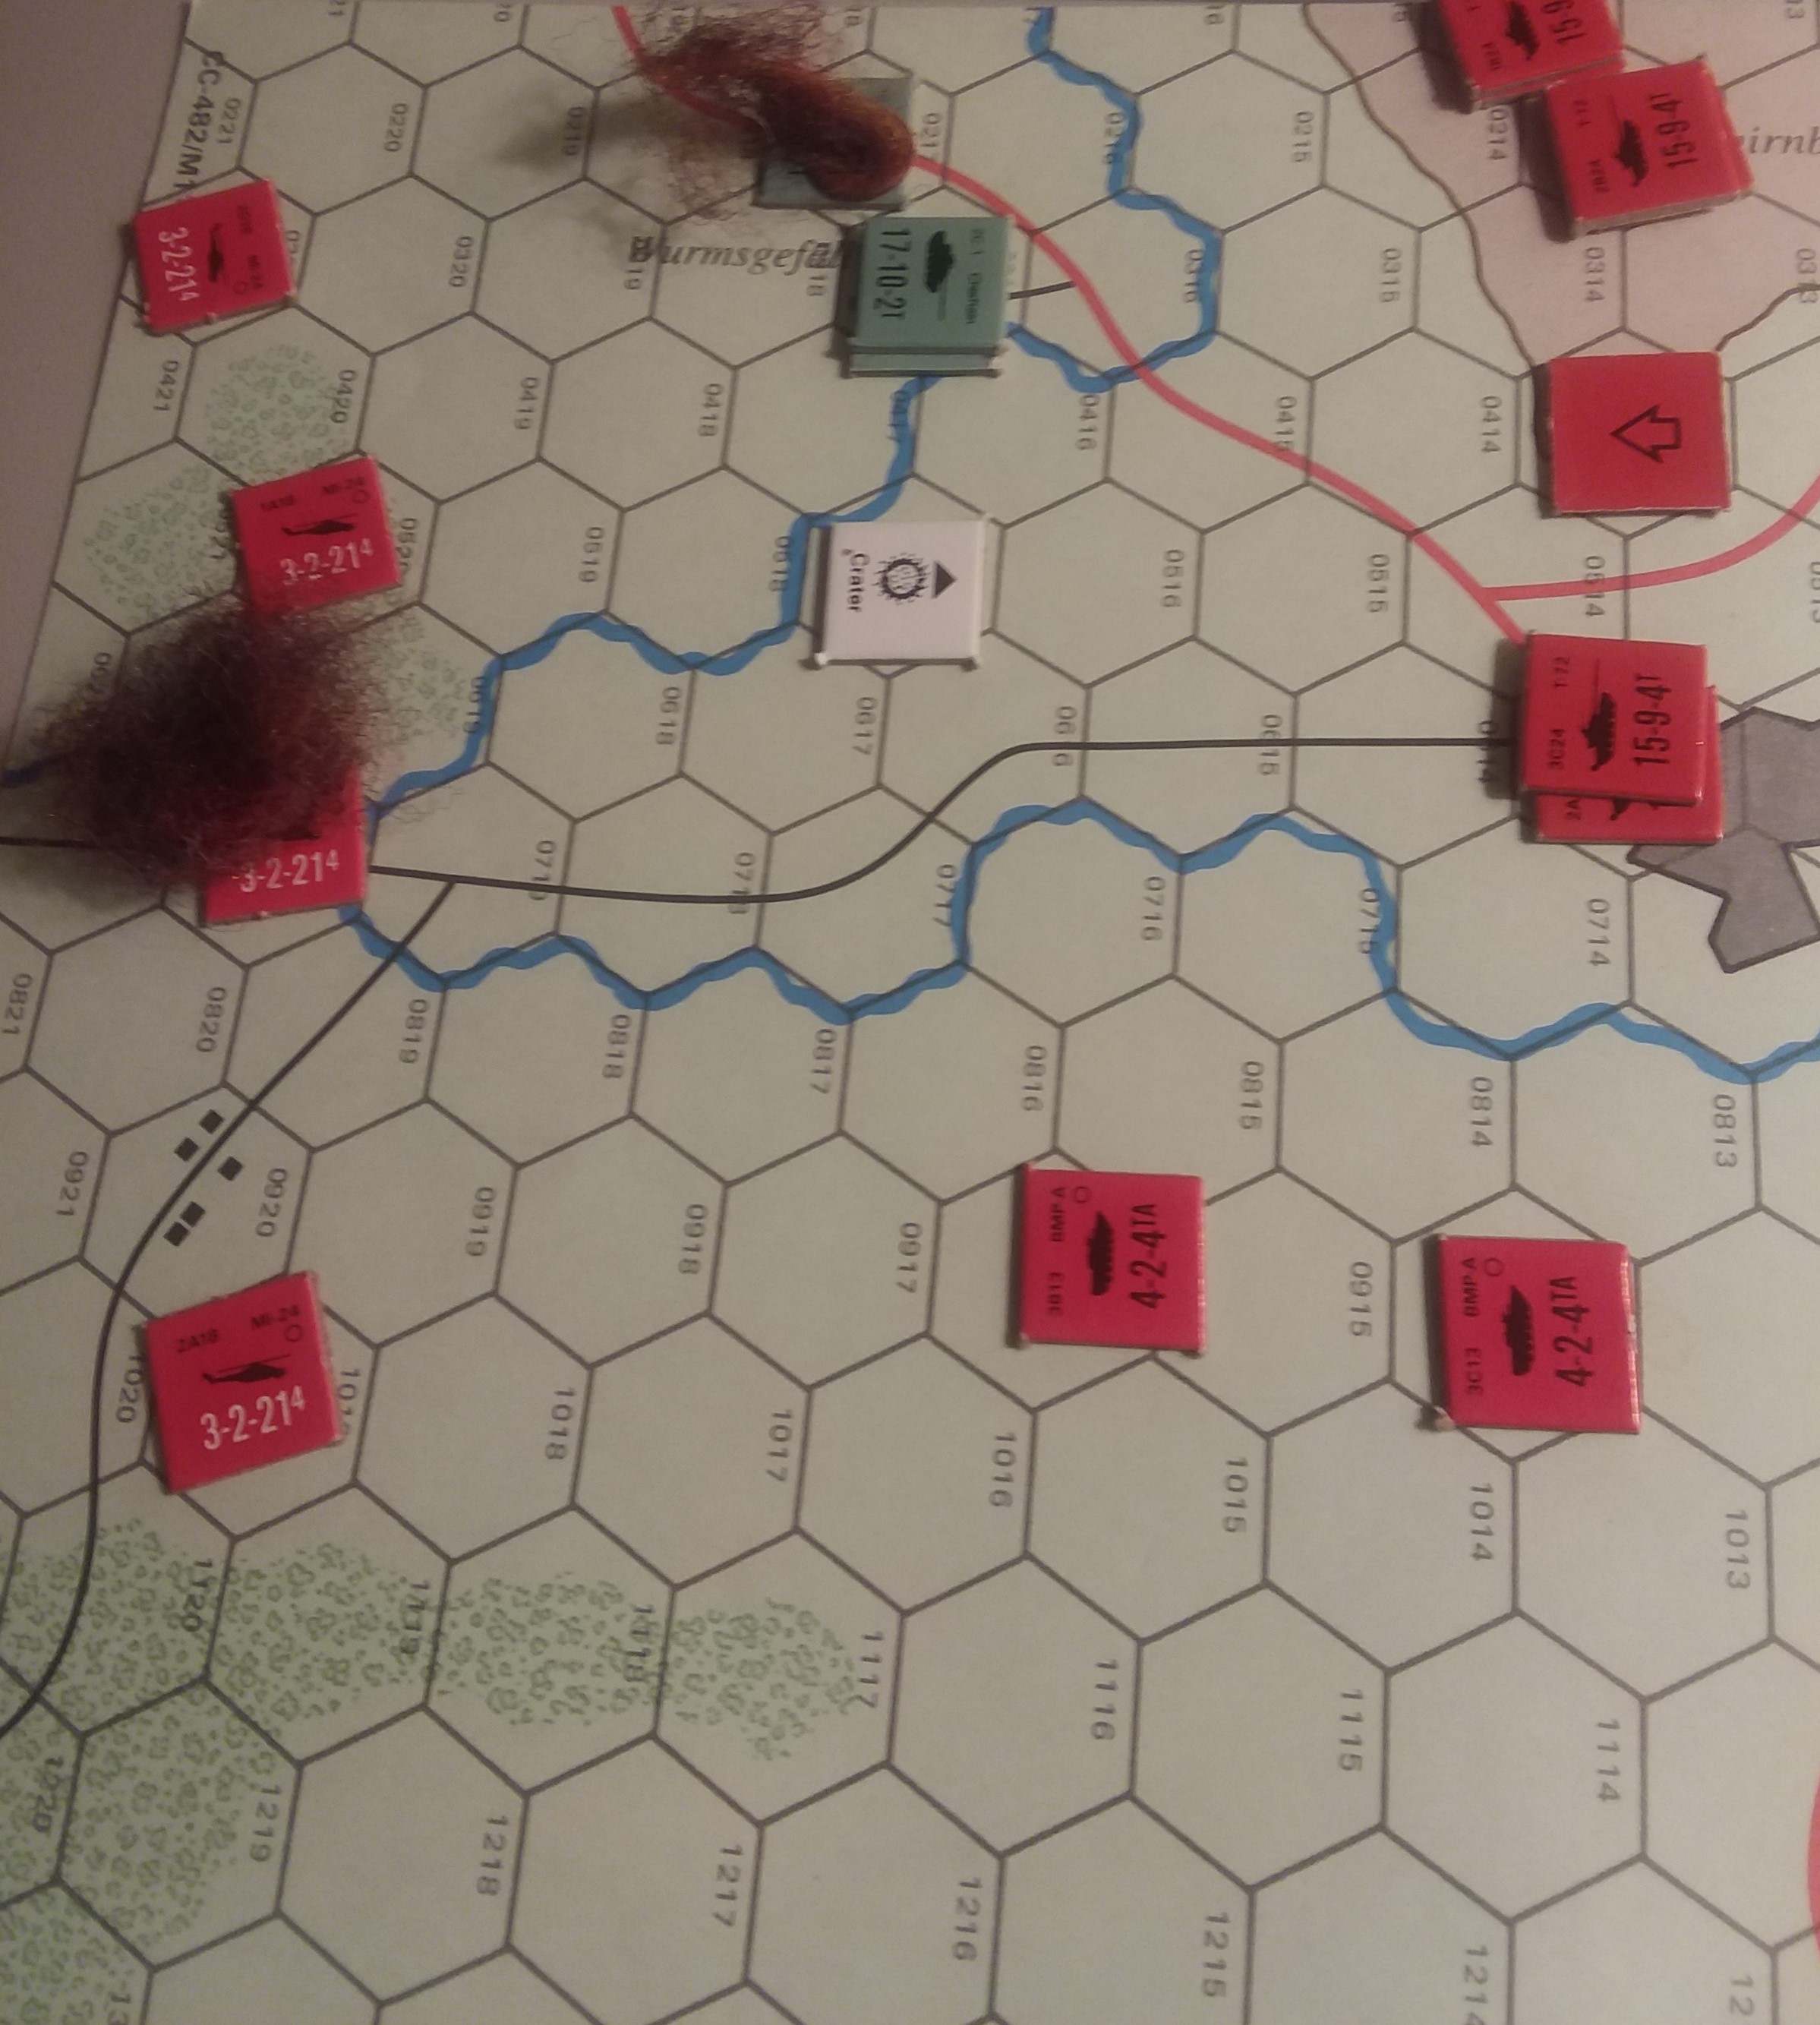
I moved first and went for a kill on the southern half of the board. The T72s advanced and took up hull down firing positions on the crest of the central hill there, and also flowed a couple units down the hill. Since I would be hitting '6's I had little hope of neutralizing the Chieftain troop there in one turn, so having enough tanks survive return fire was important. Cover therefore was essential.
Then I used a scurvy trick to force BH's ambush to be badly out of position. I spread my Hinds out behind 3rd Troop. Lastly, with successful blitz moves, the ZSUs came forward to engage the Rapiers and received long range support from my BMPs. The idea was to force the Rapiers to engage the Hinds and give up gone to ground, or skip shooting letting the Hinds have their way with the Chieftains.
BH rose to the challenge (or bait) and engaged the Hinds when the time came. I received 5 hits saving 3 and he failed 2 firepowers, dropping a Hind. The Chieftains lost one tank to T72s, and one bailed to a Hind, leaving 3rd Troop to check morale - success. The Rapiers got hammered, taking 4 hits from the ZSUs and 1 from the BMPs. Two disappeared in balls of flame and two were bailed, their crews abandoning an unequal proposition.
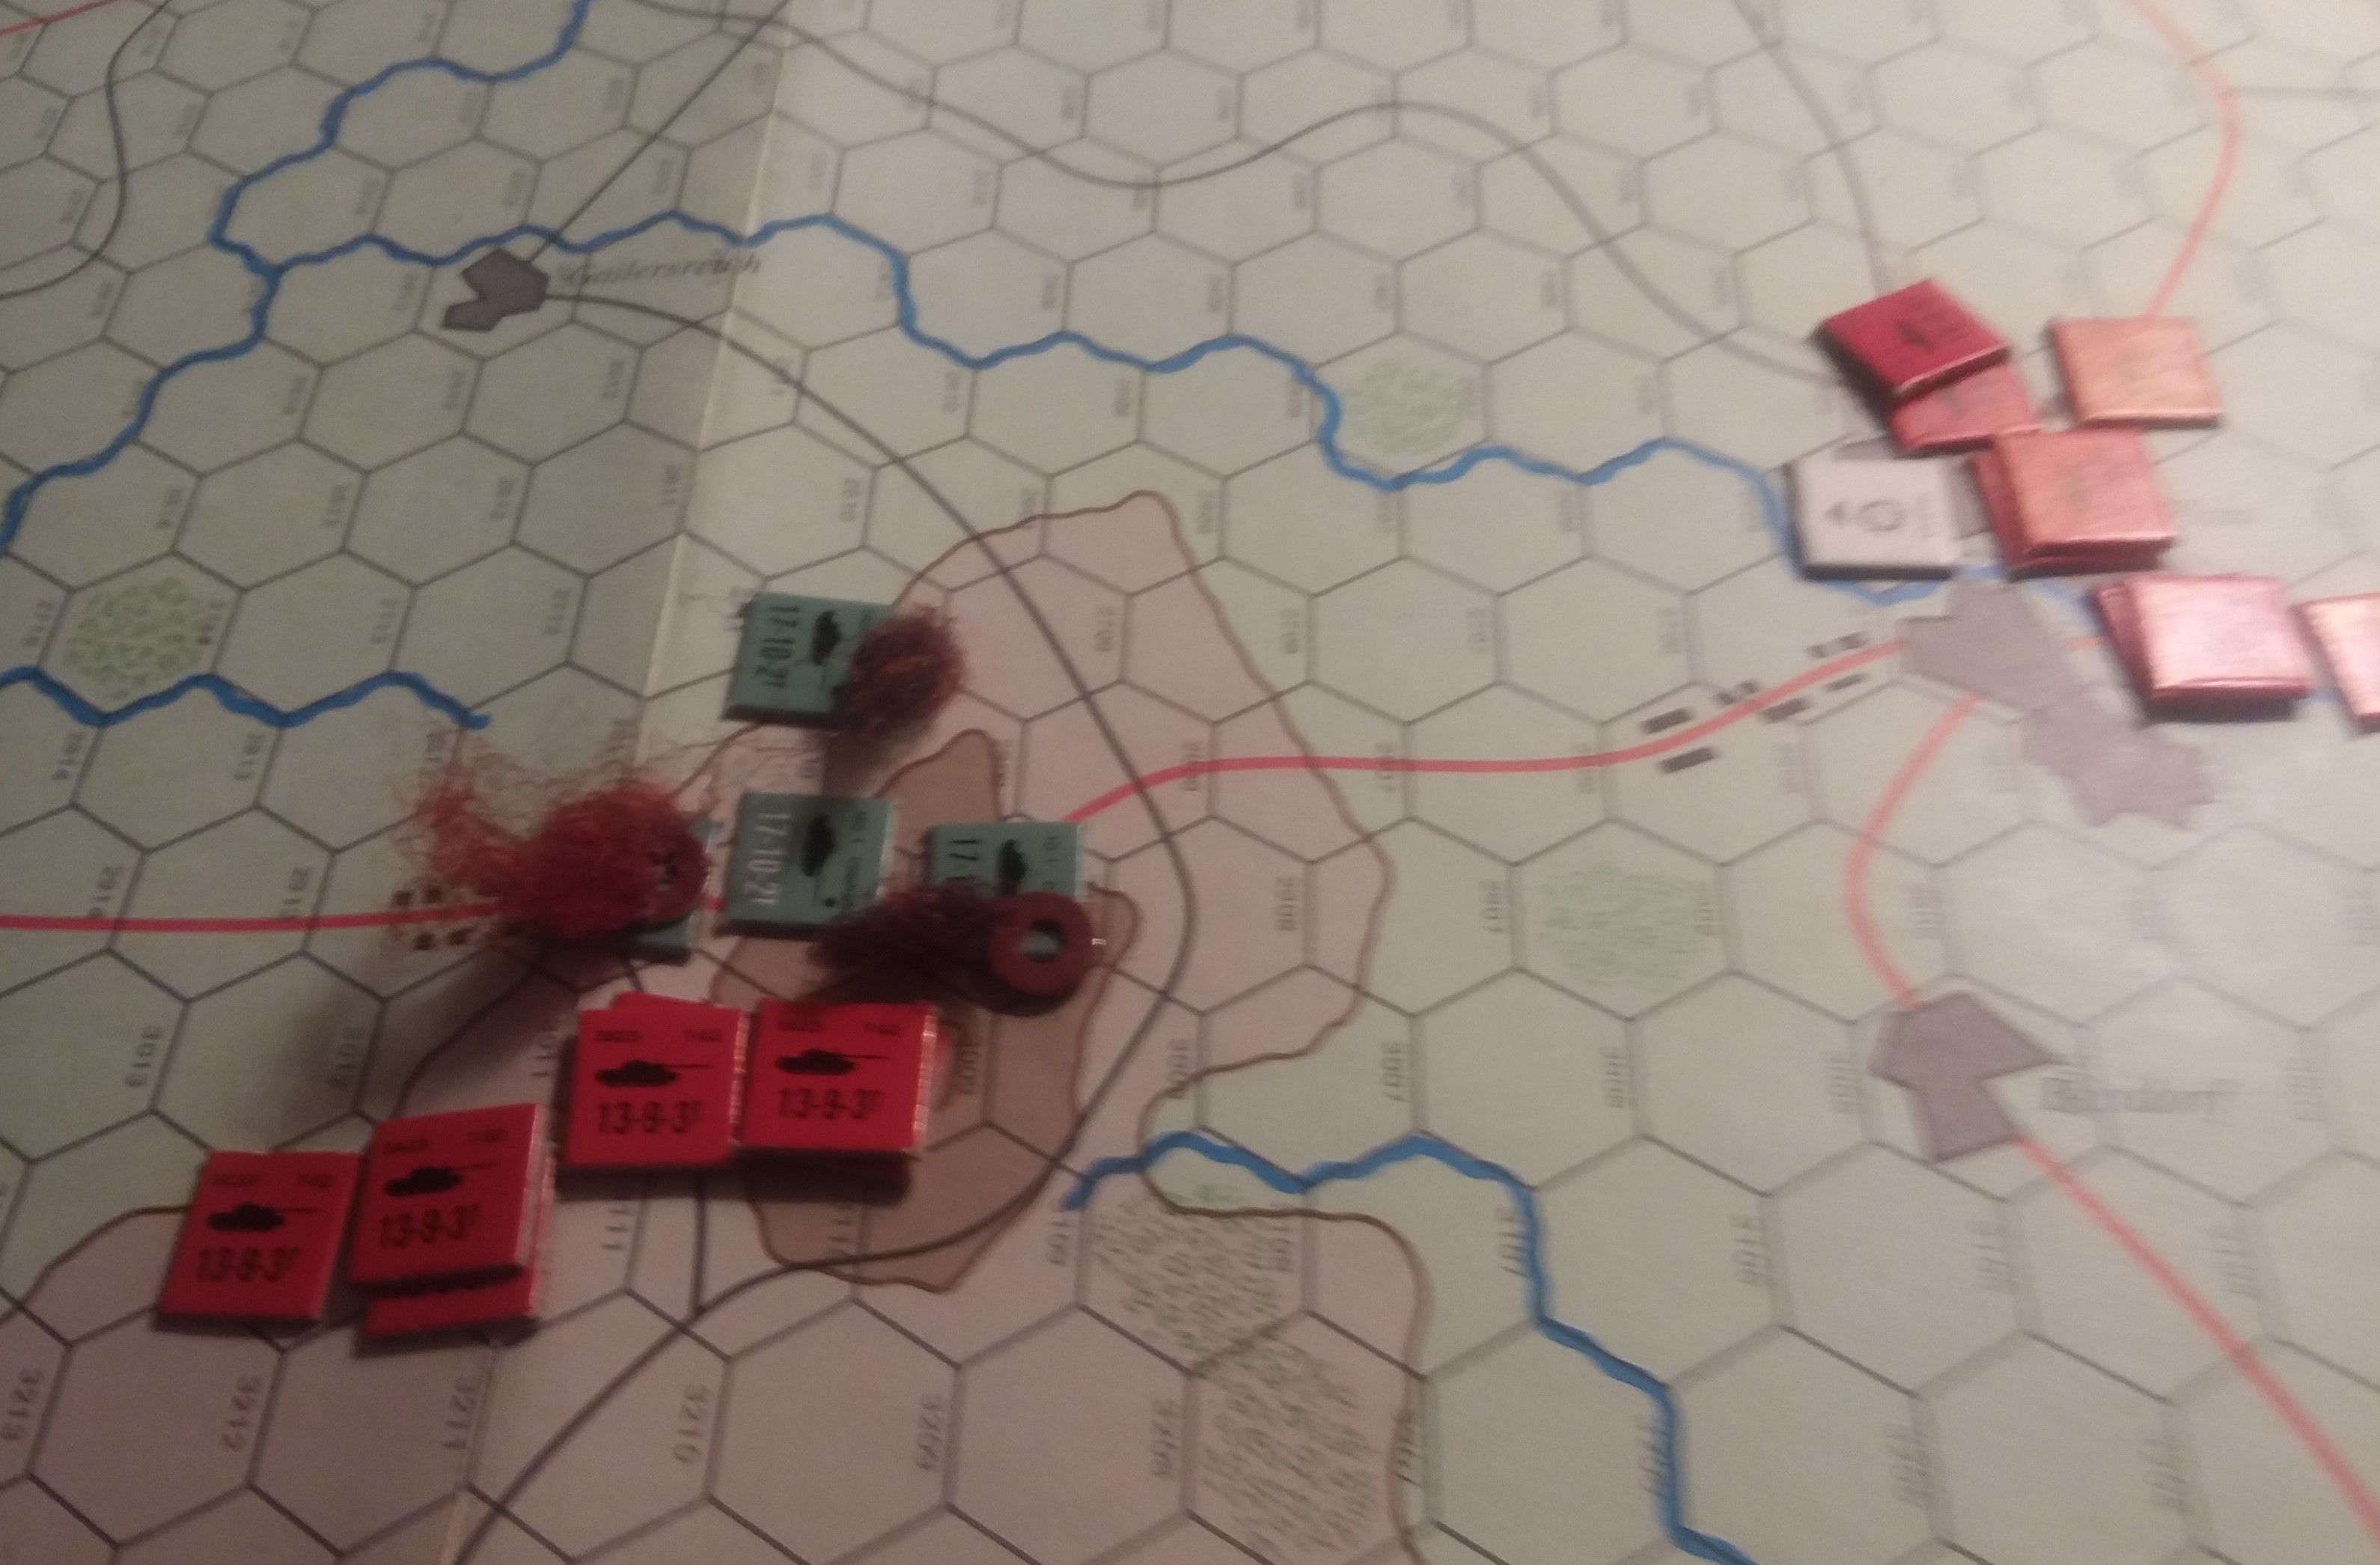
The two pictures above show BH's response. His northern group of five Chieftains was well separated from the others and had at least three turns of movement before it could intervene in the southern sector. He managed to get reserves on Turn 1 and decided to take the Harriers. His ambush was completely blocked from being placed in the south, so he had to take up positions behind the wrecked Rolands and blitz + use stabilizers to reach firing positions. The bailed Chieftain in 3rd Troop failed to remount.
Then he sent the 5 northern Chieftains after my T55 company defending my northern objective. They reached the top of the hill looking down on my defenses, but had no targets because I was hidden behind the first line of buildings.
Finally he brought in the Harriers. They had problems positioning because I purposefully had 'hugged' his defenses. But they managed to get 5 of seven under target. Unfortunately, they also were within range of ZSUs, 7 T72s, and the SA-9s. BH tried to whittle the T72s with cannon fire and scored a hit from 3rd Troop and a hit from 2nd Troop (firing on covered targets, with stabilizers, 5+). I flipped the hit from 3rd Troop onto a tank bailed by 2nd Troop, and also one under the template. Dead T72.
Then it was time for the Harriers. 26 AA dice hitting 4's mostly (2 tanks hitting fives). 7 hits. 3 saves. 2 dead Harriers. Then the survivors failed to range in on first attempt. 4 dice needing 5+ (off one for numbers and one for failed range in). 2 hits. One bailed, one dead.
This is the southern part of my turn 2. The most difficult part here was blitzing the BMPs away from the rampaging Chieftains of 2nd Troop so my Hinds had a shot. The Hinds positioned themselves to administer devastating shots to 2nd Troop, and killed two tanks. The 4 functional T72s (the bailed tank refused remount) fired into the functional tank of 3rd Troop, and watched as shot bounced off twice. Then the BMPs fired and amazingly BH produced a '1' for one more dead Chieftain. My Spandrels at center court pumped three AT21 missiles into the survivor of 2nd Troop for a kill.
With two dice I got reserves, and chose the T55 company. My reasoning was simple, the T55s could immediately join in festivities to the north 2/3 of the time. As it turned out, a '2' allowed them to enter the map and slide 10" (5 hexes) to the east, and engage 1st Troop and HQ from the flank.
2 BMPs from the southern sector were able to reach the other side of BH's column after their blitz.
Seven T55 shots hitting on 5+ destroyed two of 1st Troop's Chieftains. One of the BMP missiles destroyed the XO tank. 1st Troop failed morale and then BH's company broke at the beginning of his turn.
Hot Wash
I've made the mistake of not calculating on an unfortunate early reserve arrival. And sometimes I shrug off the risk and do it anyway. Because I mostly use MSU, I've seldom seen the impact of 7 tanks arriving on a flank behind the enemy, catching them in flagrant delicti as they advance in the opposite direction. It puts a minor "+" in the large units box.
Since we've been playing scenarios with little scope for ambush, BH was unaware of the implications of the Hinds and the comparatively open ground. A lesson for all, I'm sure. As was the actions vs consequences resulting from the Rapiers firing. It's more elegantly done with the Frogfoot in the air at the same time; then you really have to sweat the decision.
And finally, expensive (or even moderately expensive) tanks have trouble defending two objectives, widely spaced.
Battle Report Author
Army Lists Used In This Battle
Recommend Commander For Commendation
Share this battle with friends
bayankhanWins

Congratulations on your victory. Nice report. Thanks for posting.
Congrats on the victory.
I played squad leader (and still have it) but didn’t care for it. The mechanics were a little bit odd for small units, and my friends, having no stopping point, were soon fighting divisional battles with the extra counter sets they purchased. My favorites were Panzer Blitz/Panzer Leader, from which the Assault games grew.
Nicely done-congrats on the win. Squad leader was the game to play in the barracks in the mid 80s. I use to play it every chance I got.
Started my serious wargames with board games in the mid-60s. Was, for many years, an avid boardgamer, and in the ’80s was a freelance game reviewer for GRENADIER Magazine. And came to be their chief reviewer for Cold War Board games, popular in those days. Got the games for free in exchange for a 200 word snapshot and less frequently got paid as well for an in depth article. When first in the Army, played in the then Avalon Hill International Kriegspiel Society by mail. Happen to have a friend who lives a long ways off who (a) had the assault series games (b) had heard of TY and (c) had no outlet for his interest. E-mail and electronic move sheets make things sooo much faster (3-4 days instead of months). So I’ve been teaching him the game long distance.
And reporting same in the previous campaign and now this one.
Nice touch in using the Hex and counter maps to show the action. What made you think of this?