Fought At Frankfurt
2214 days 5 hours 59 minutes ago
Combat near Grebenstein
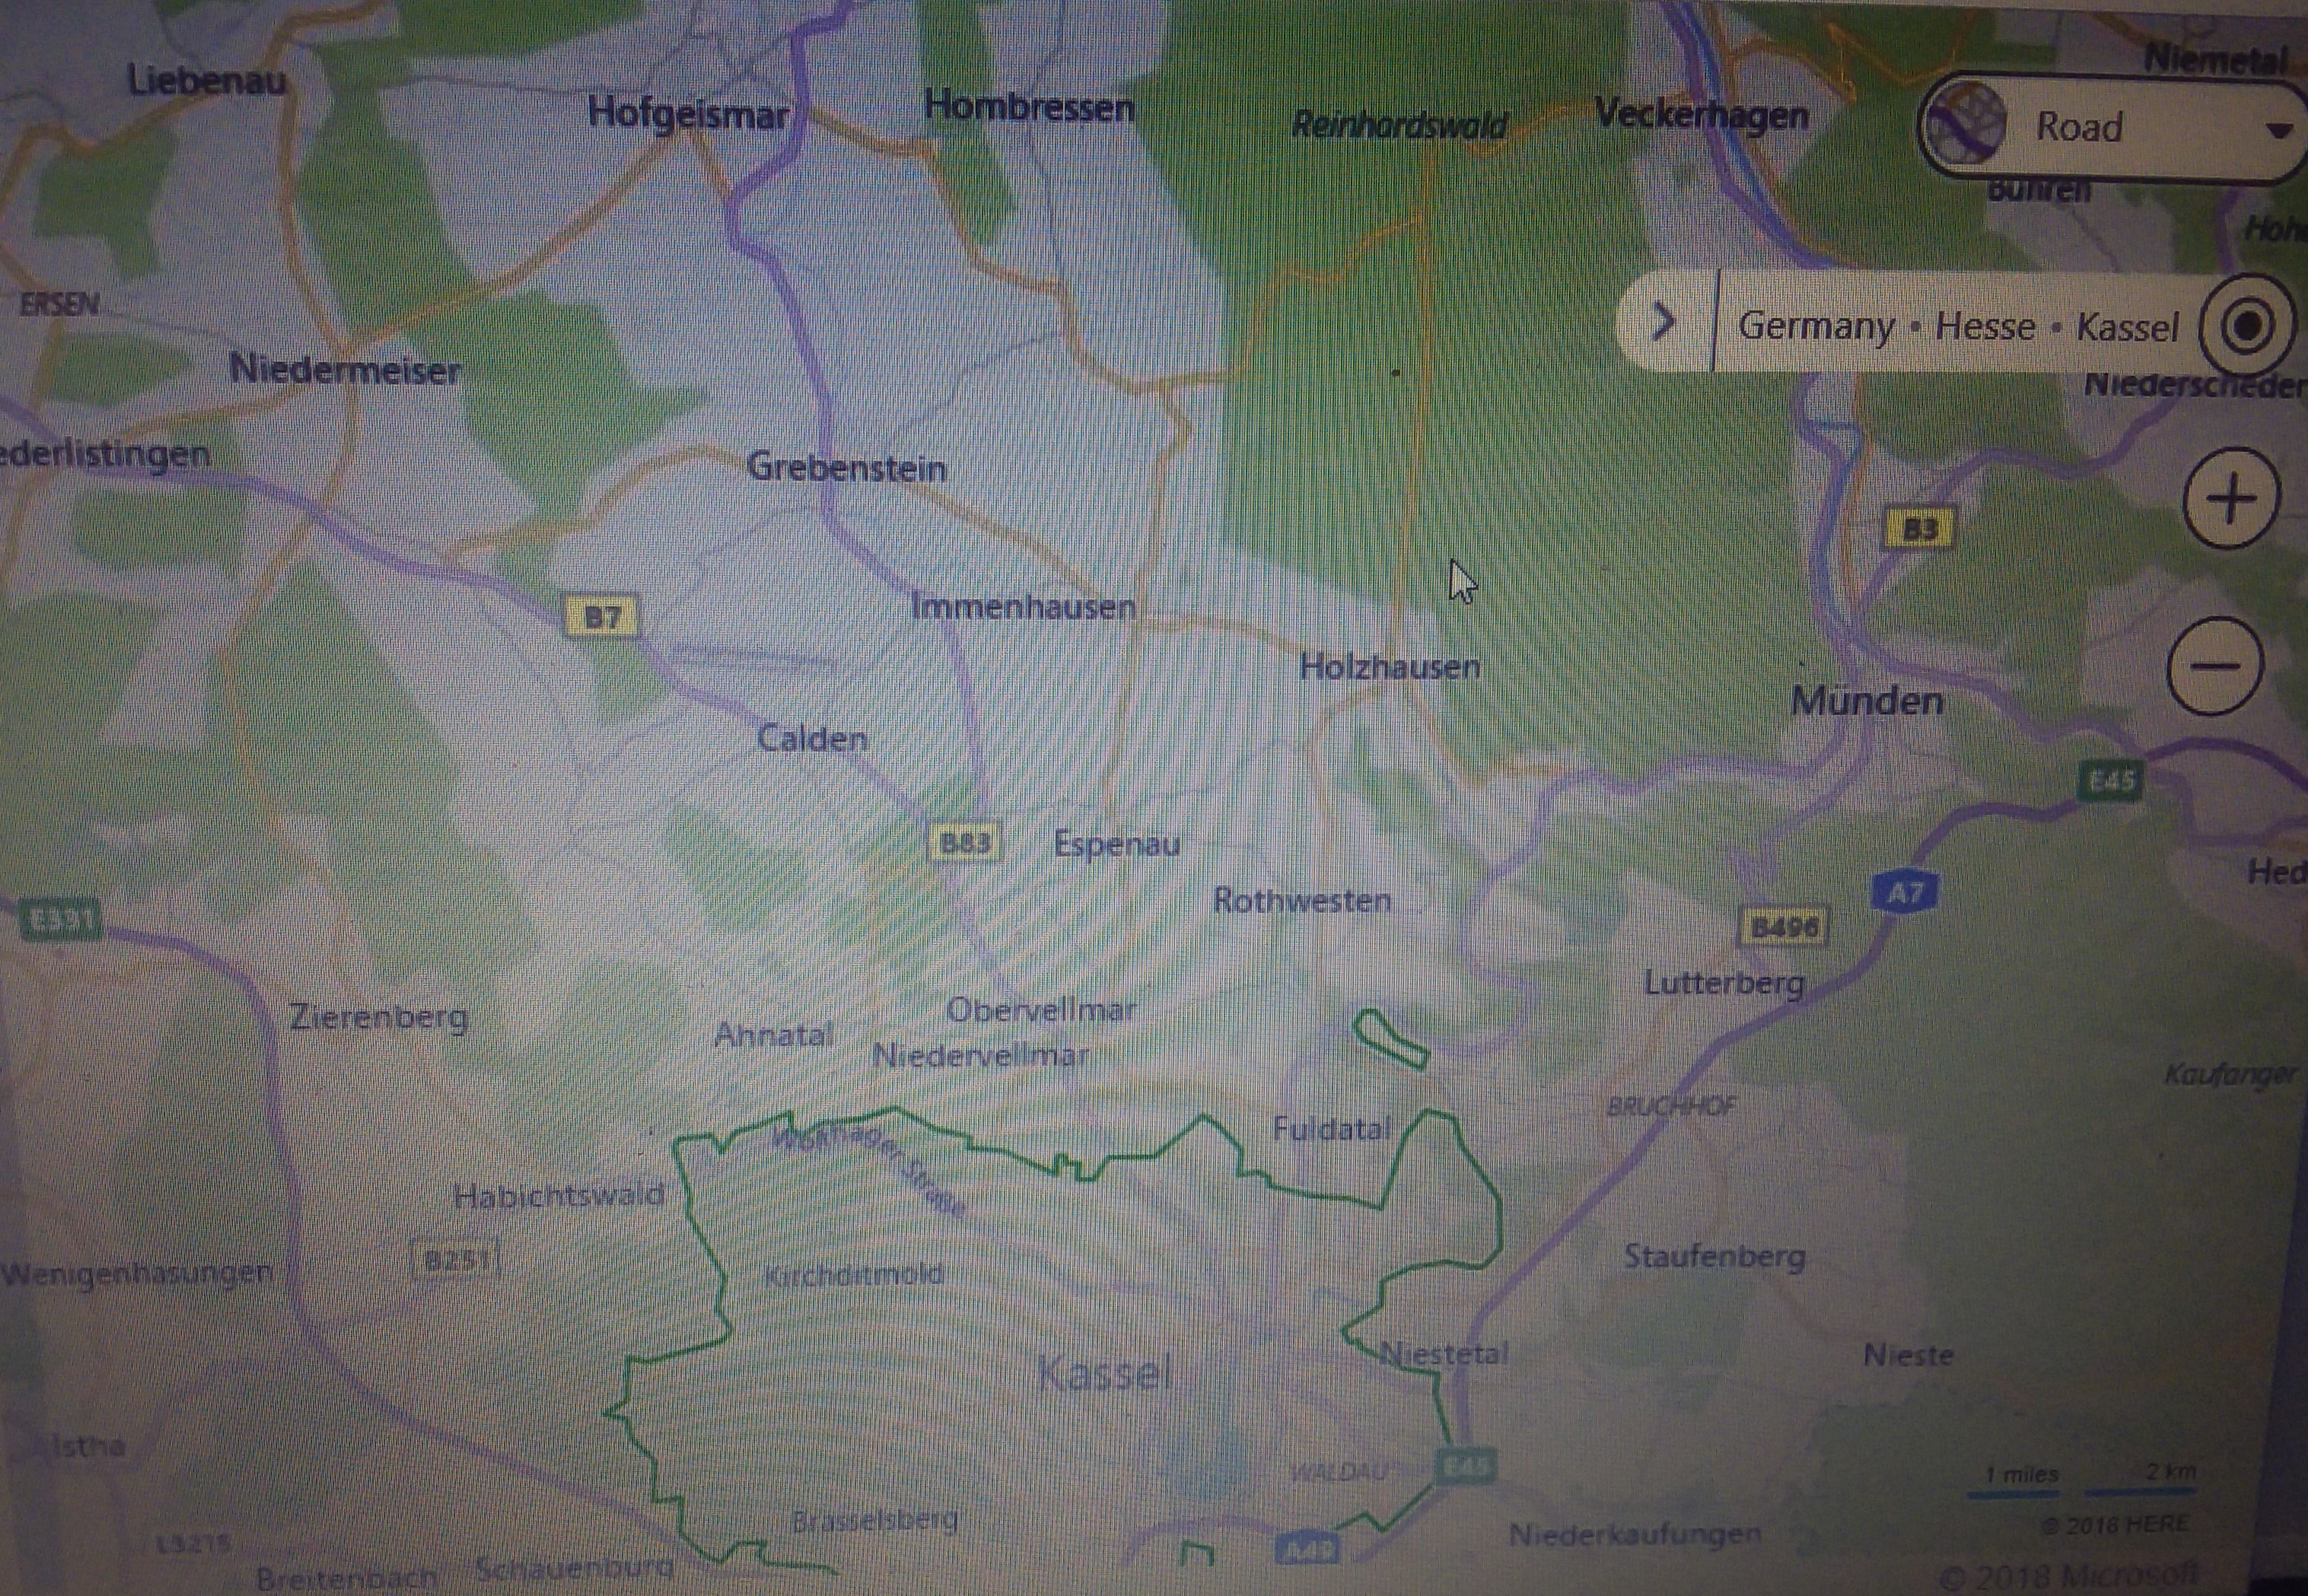
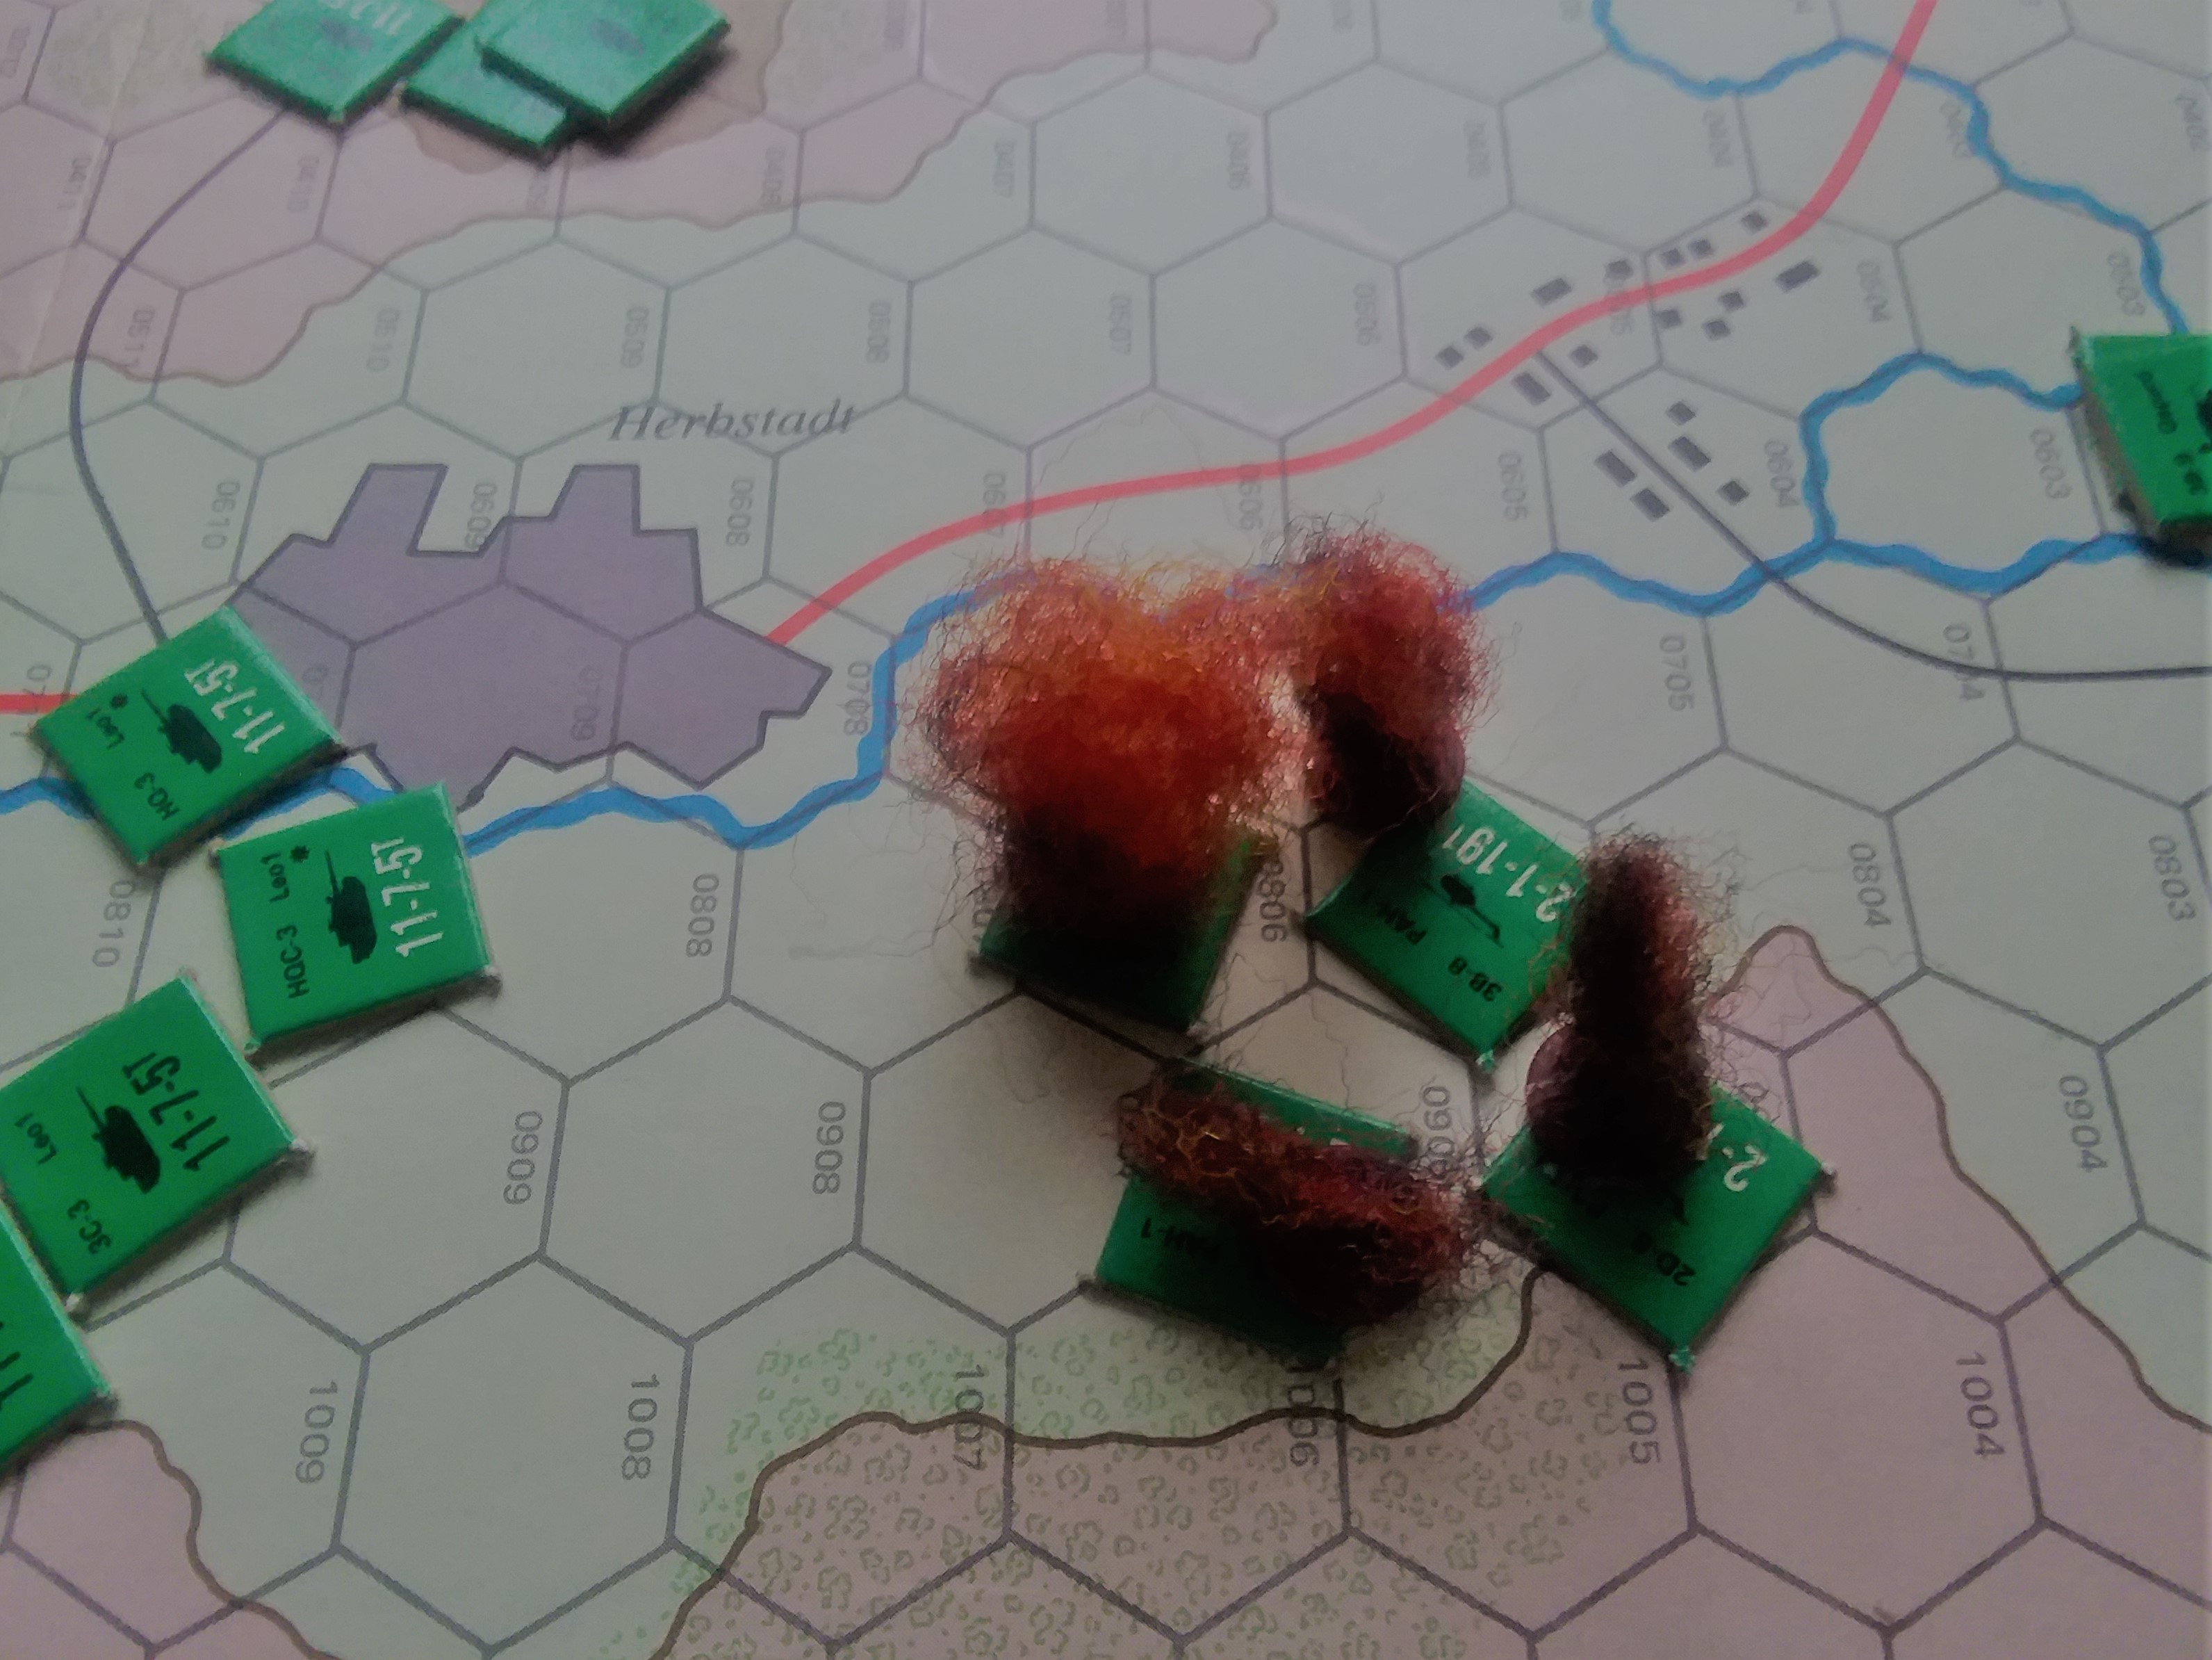
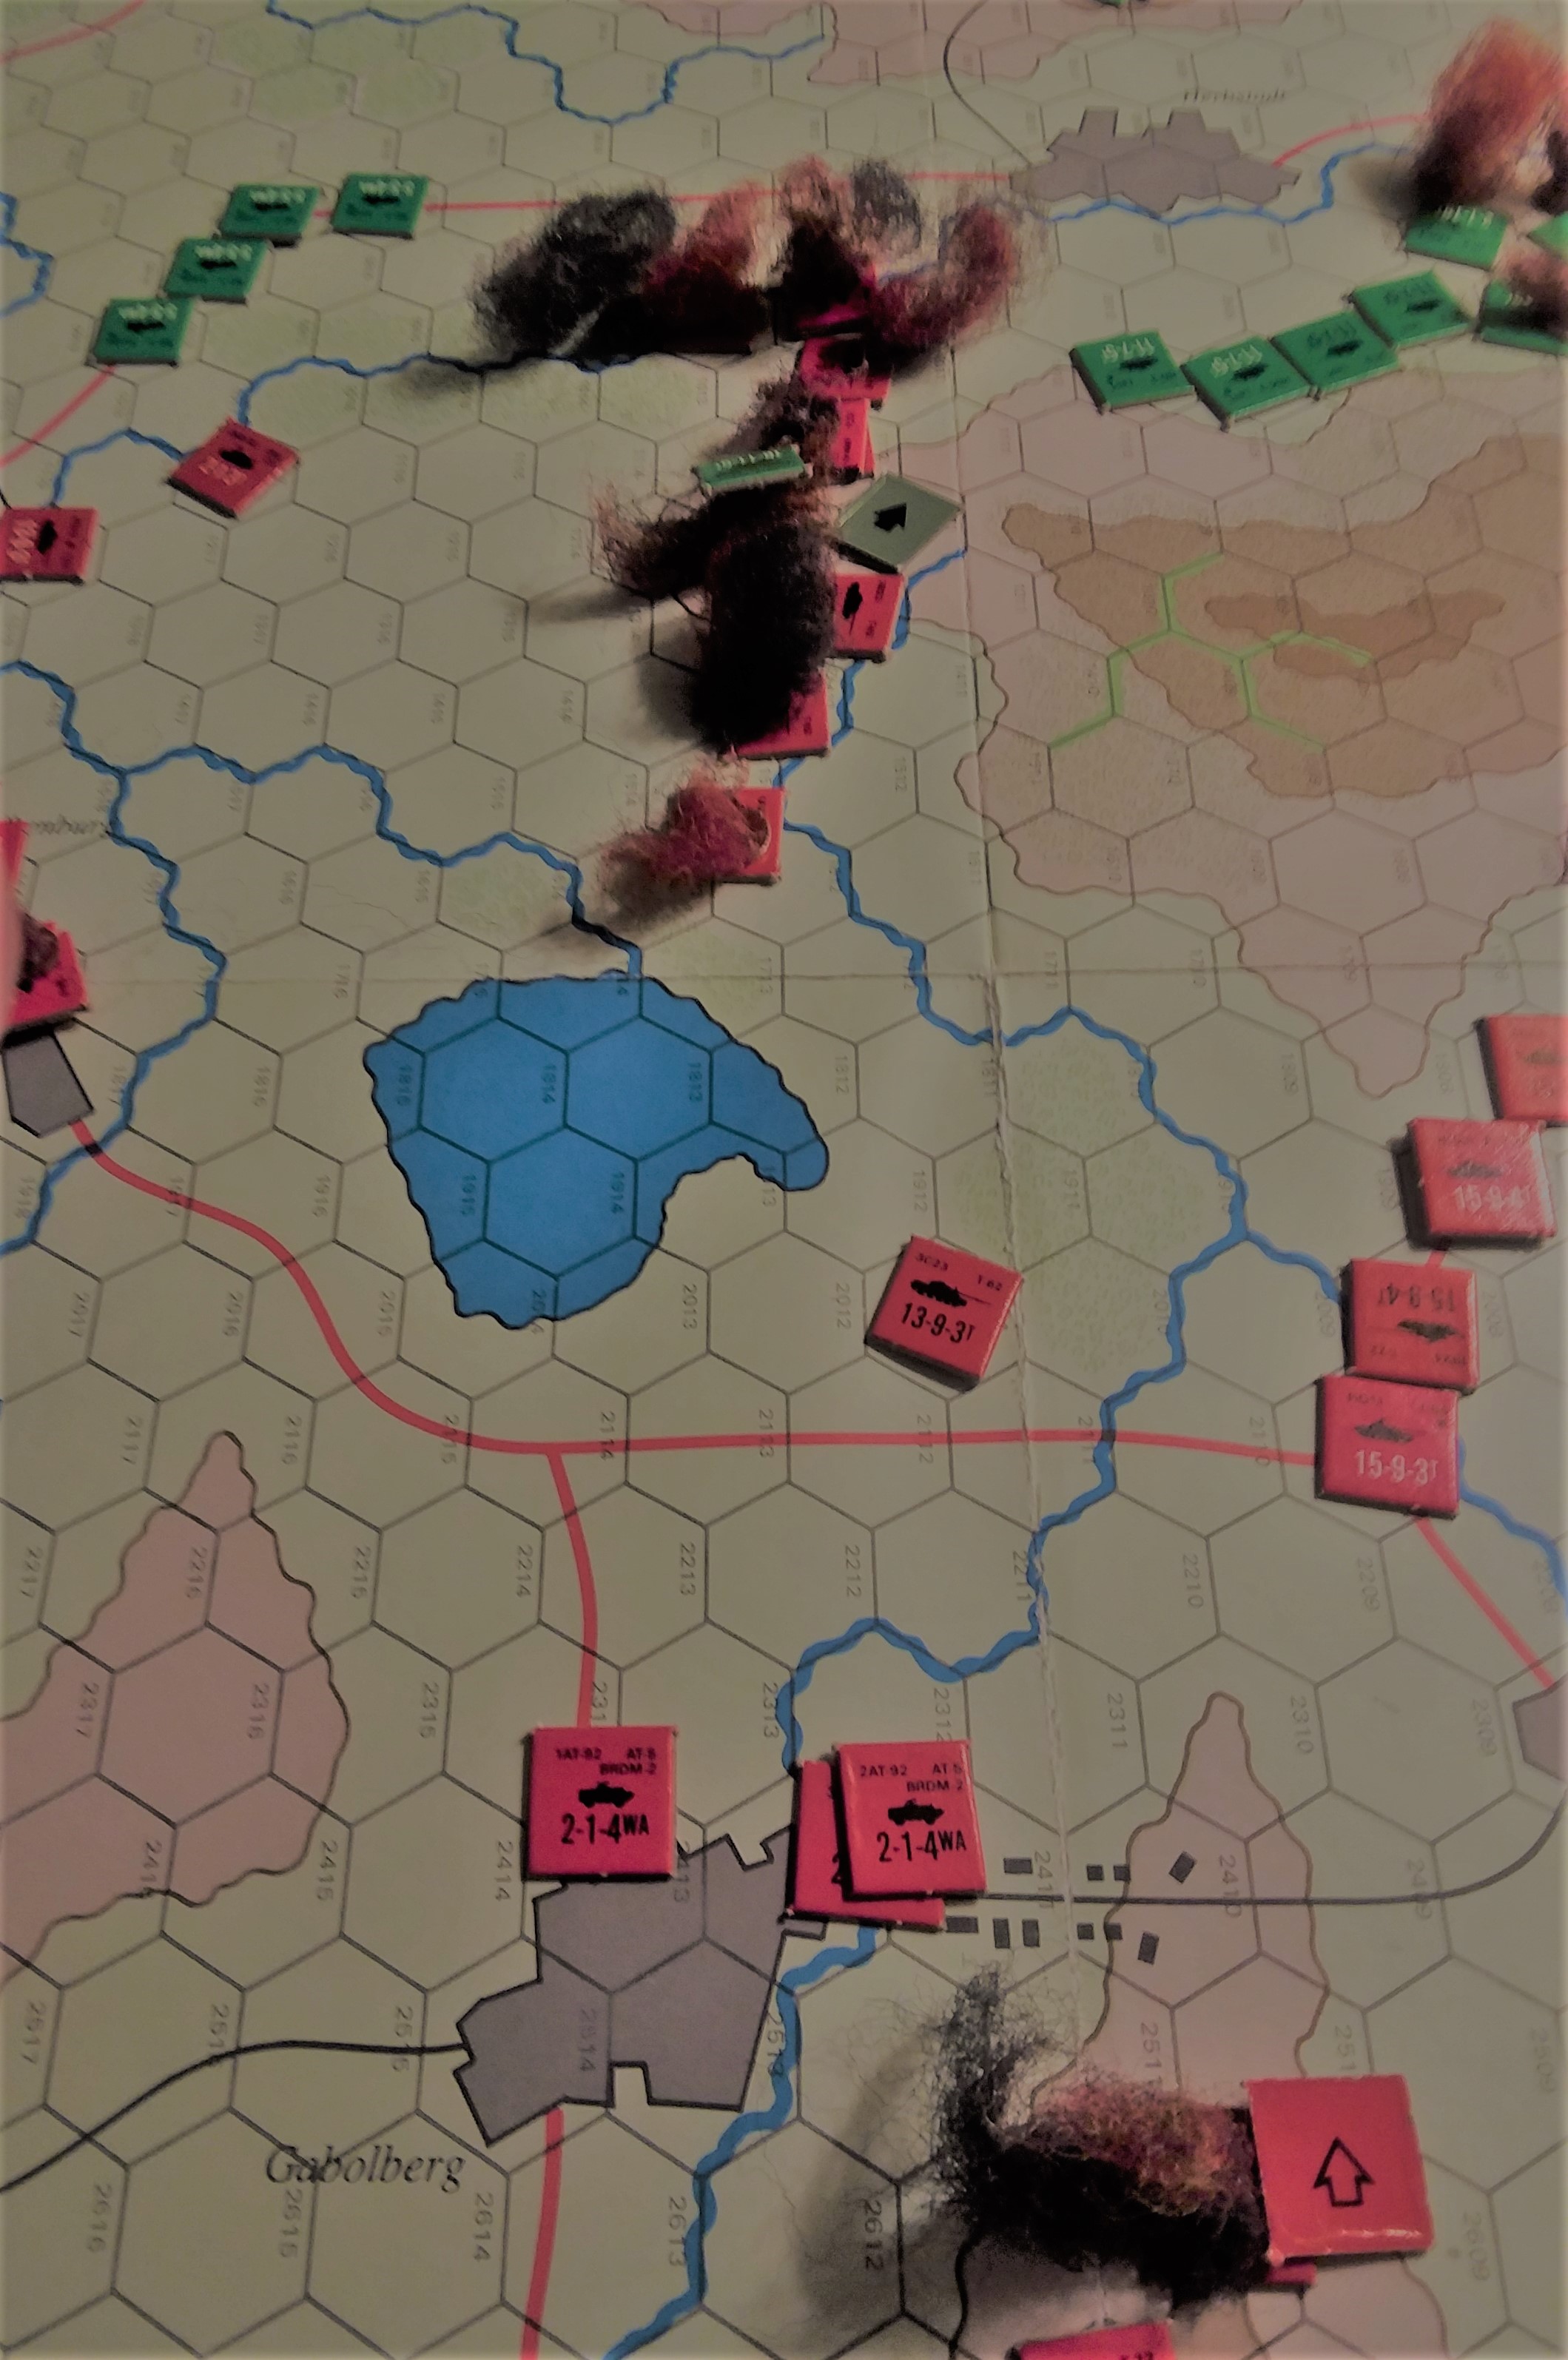
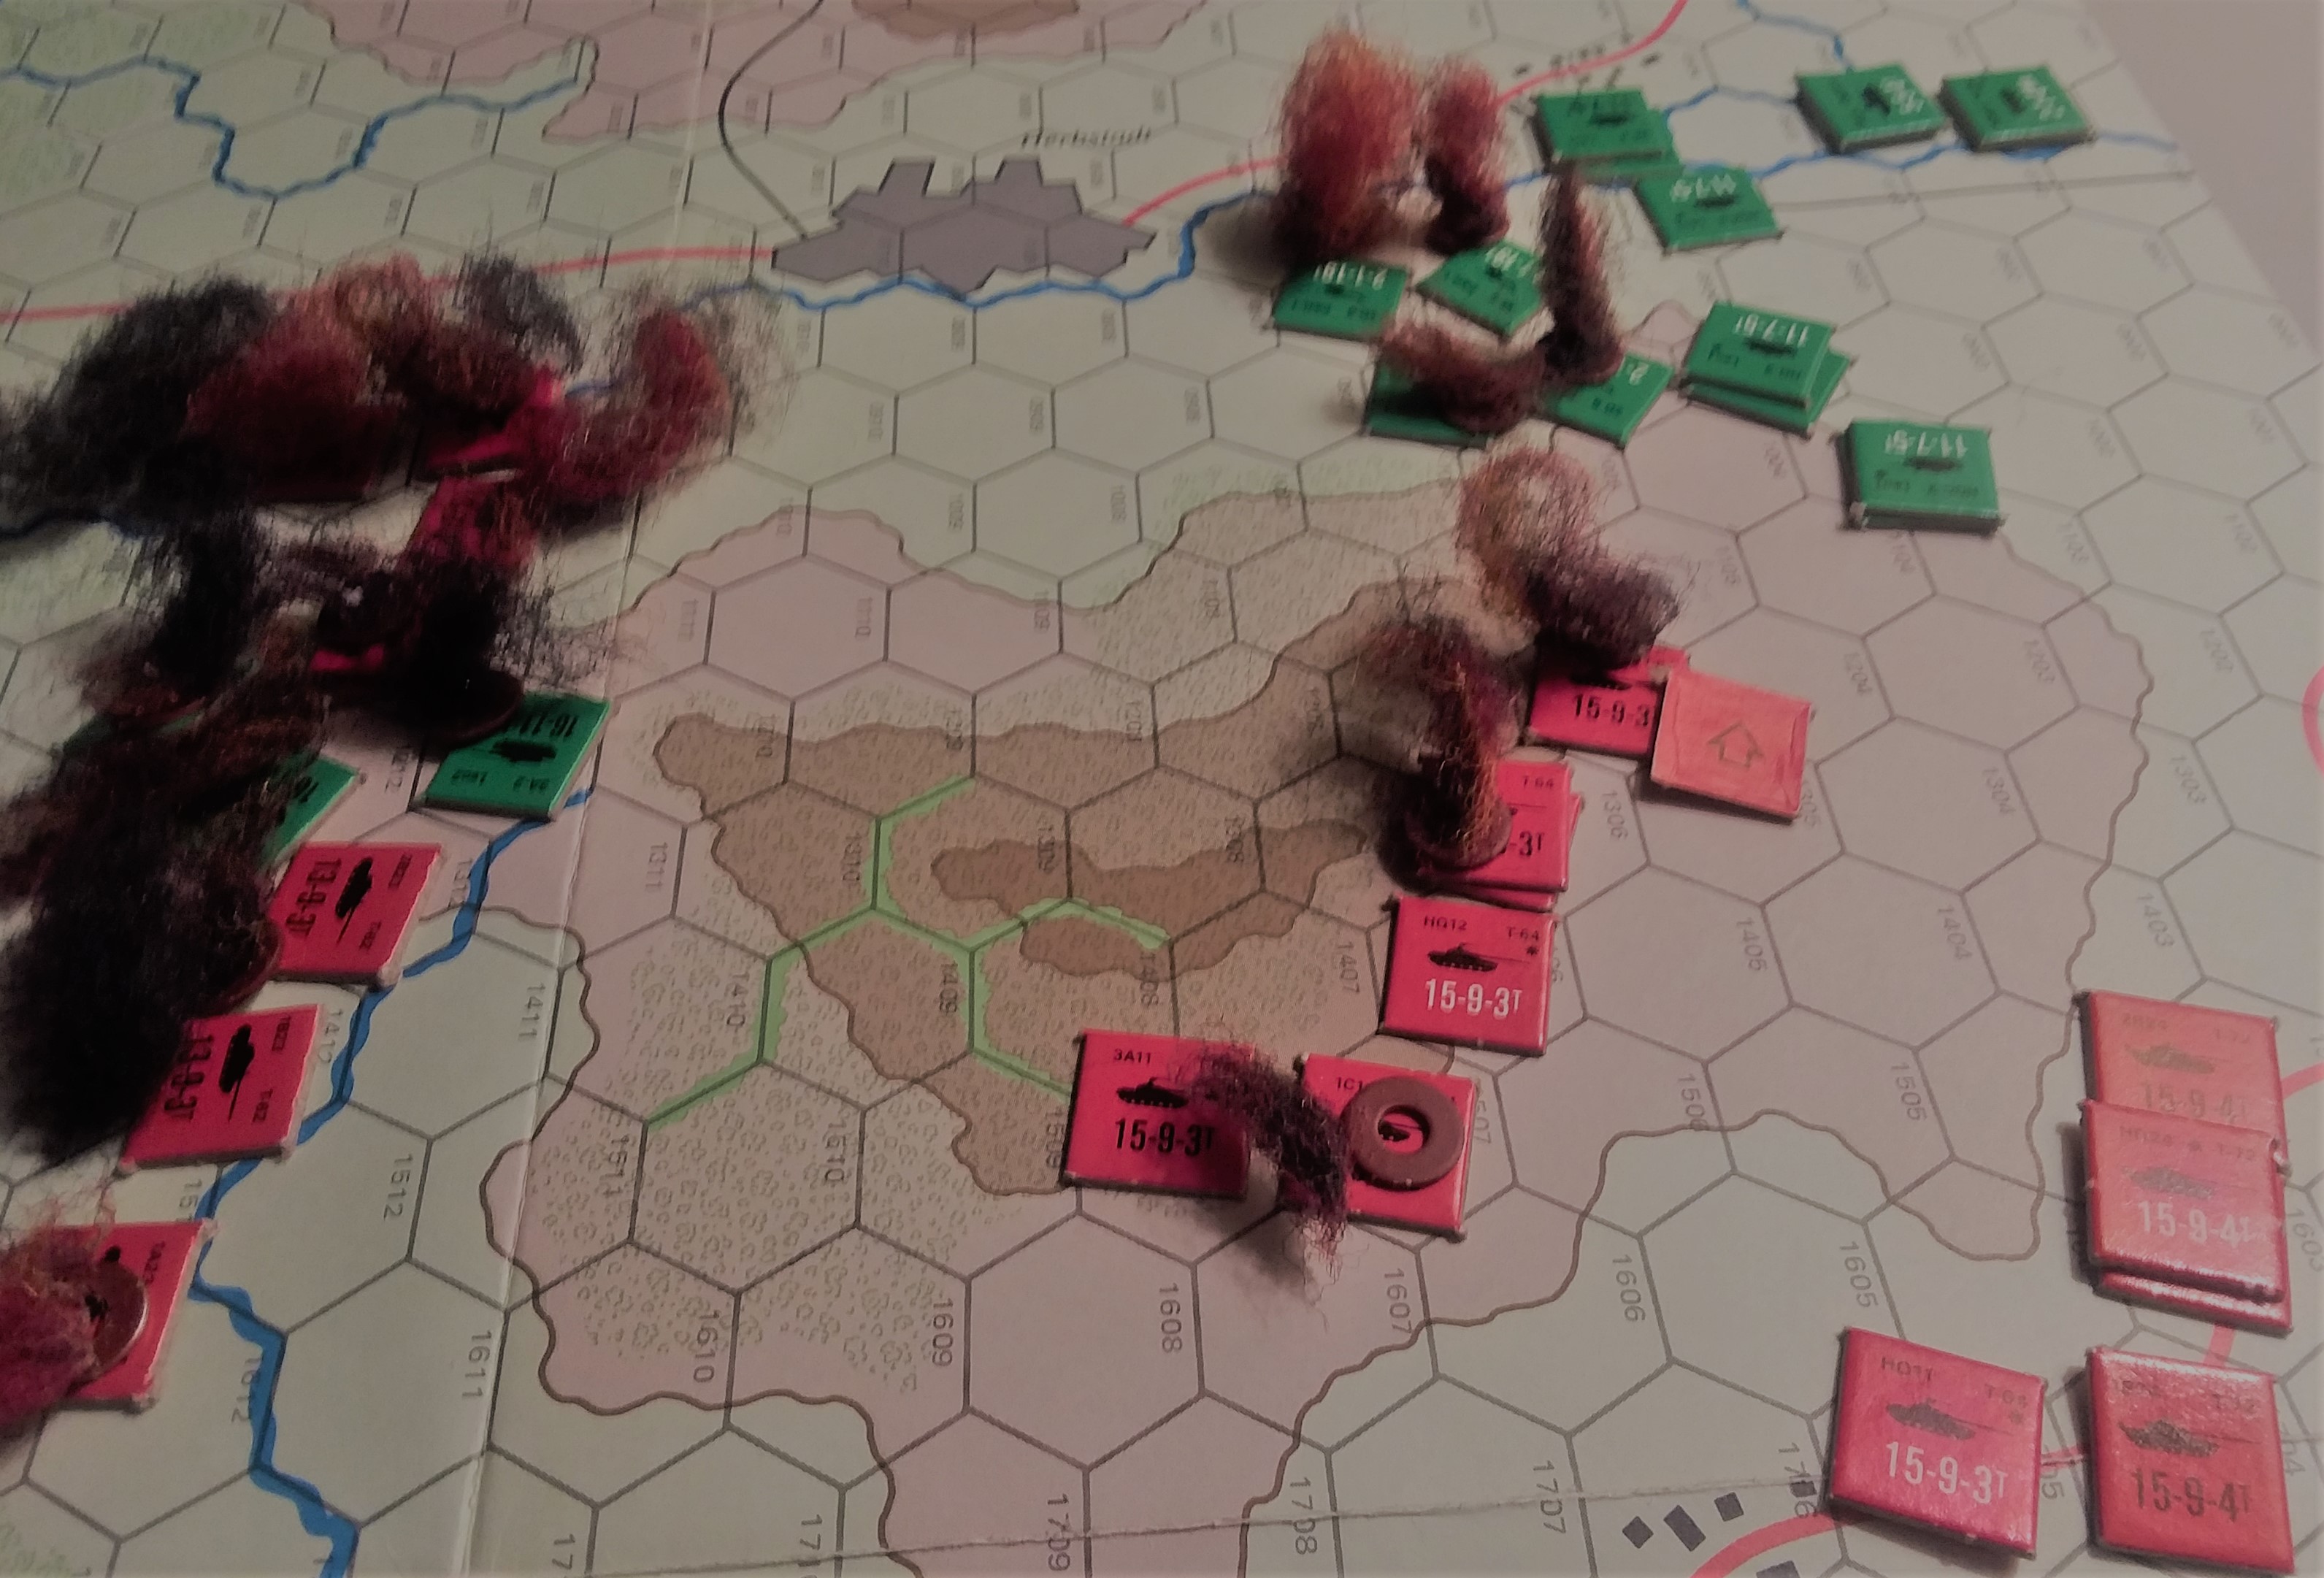
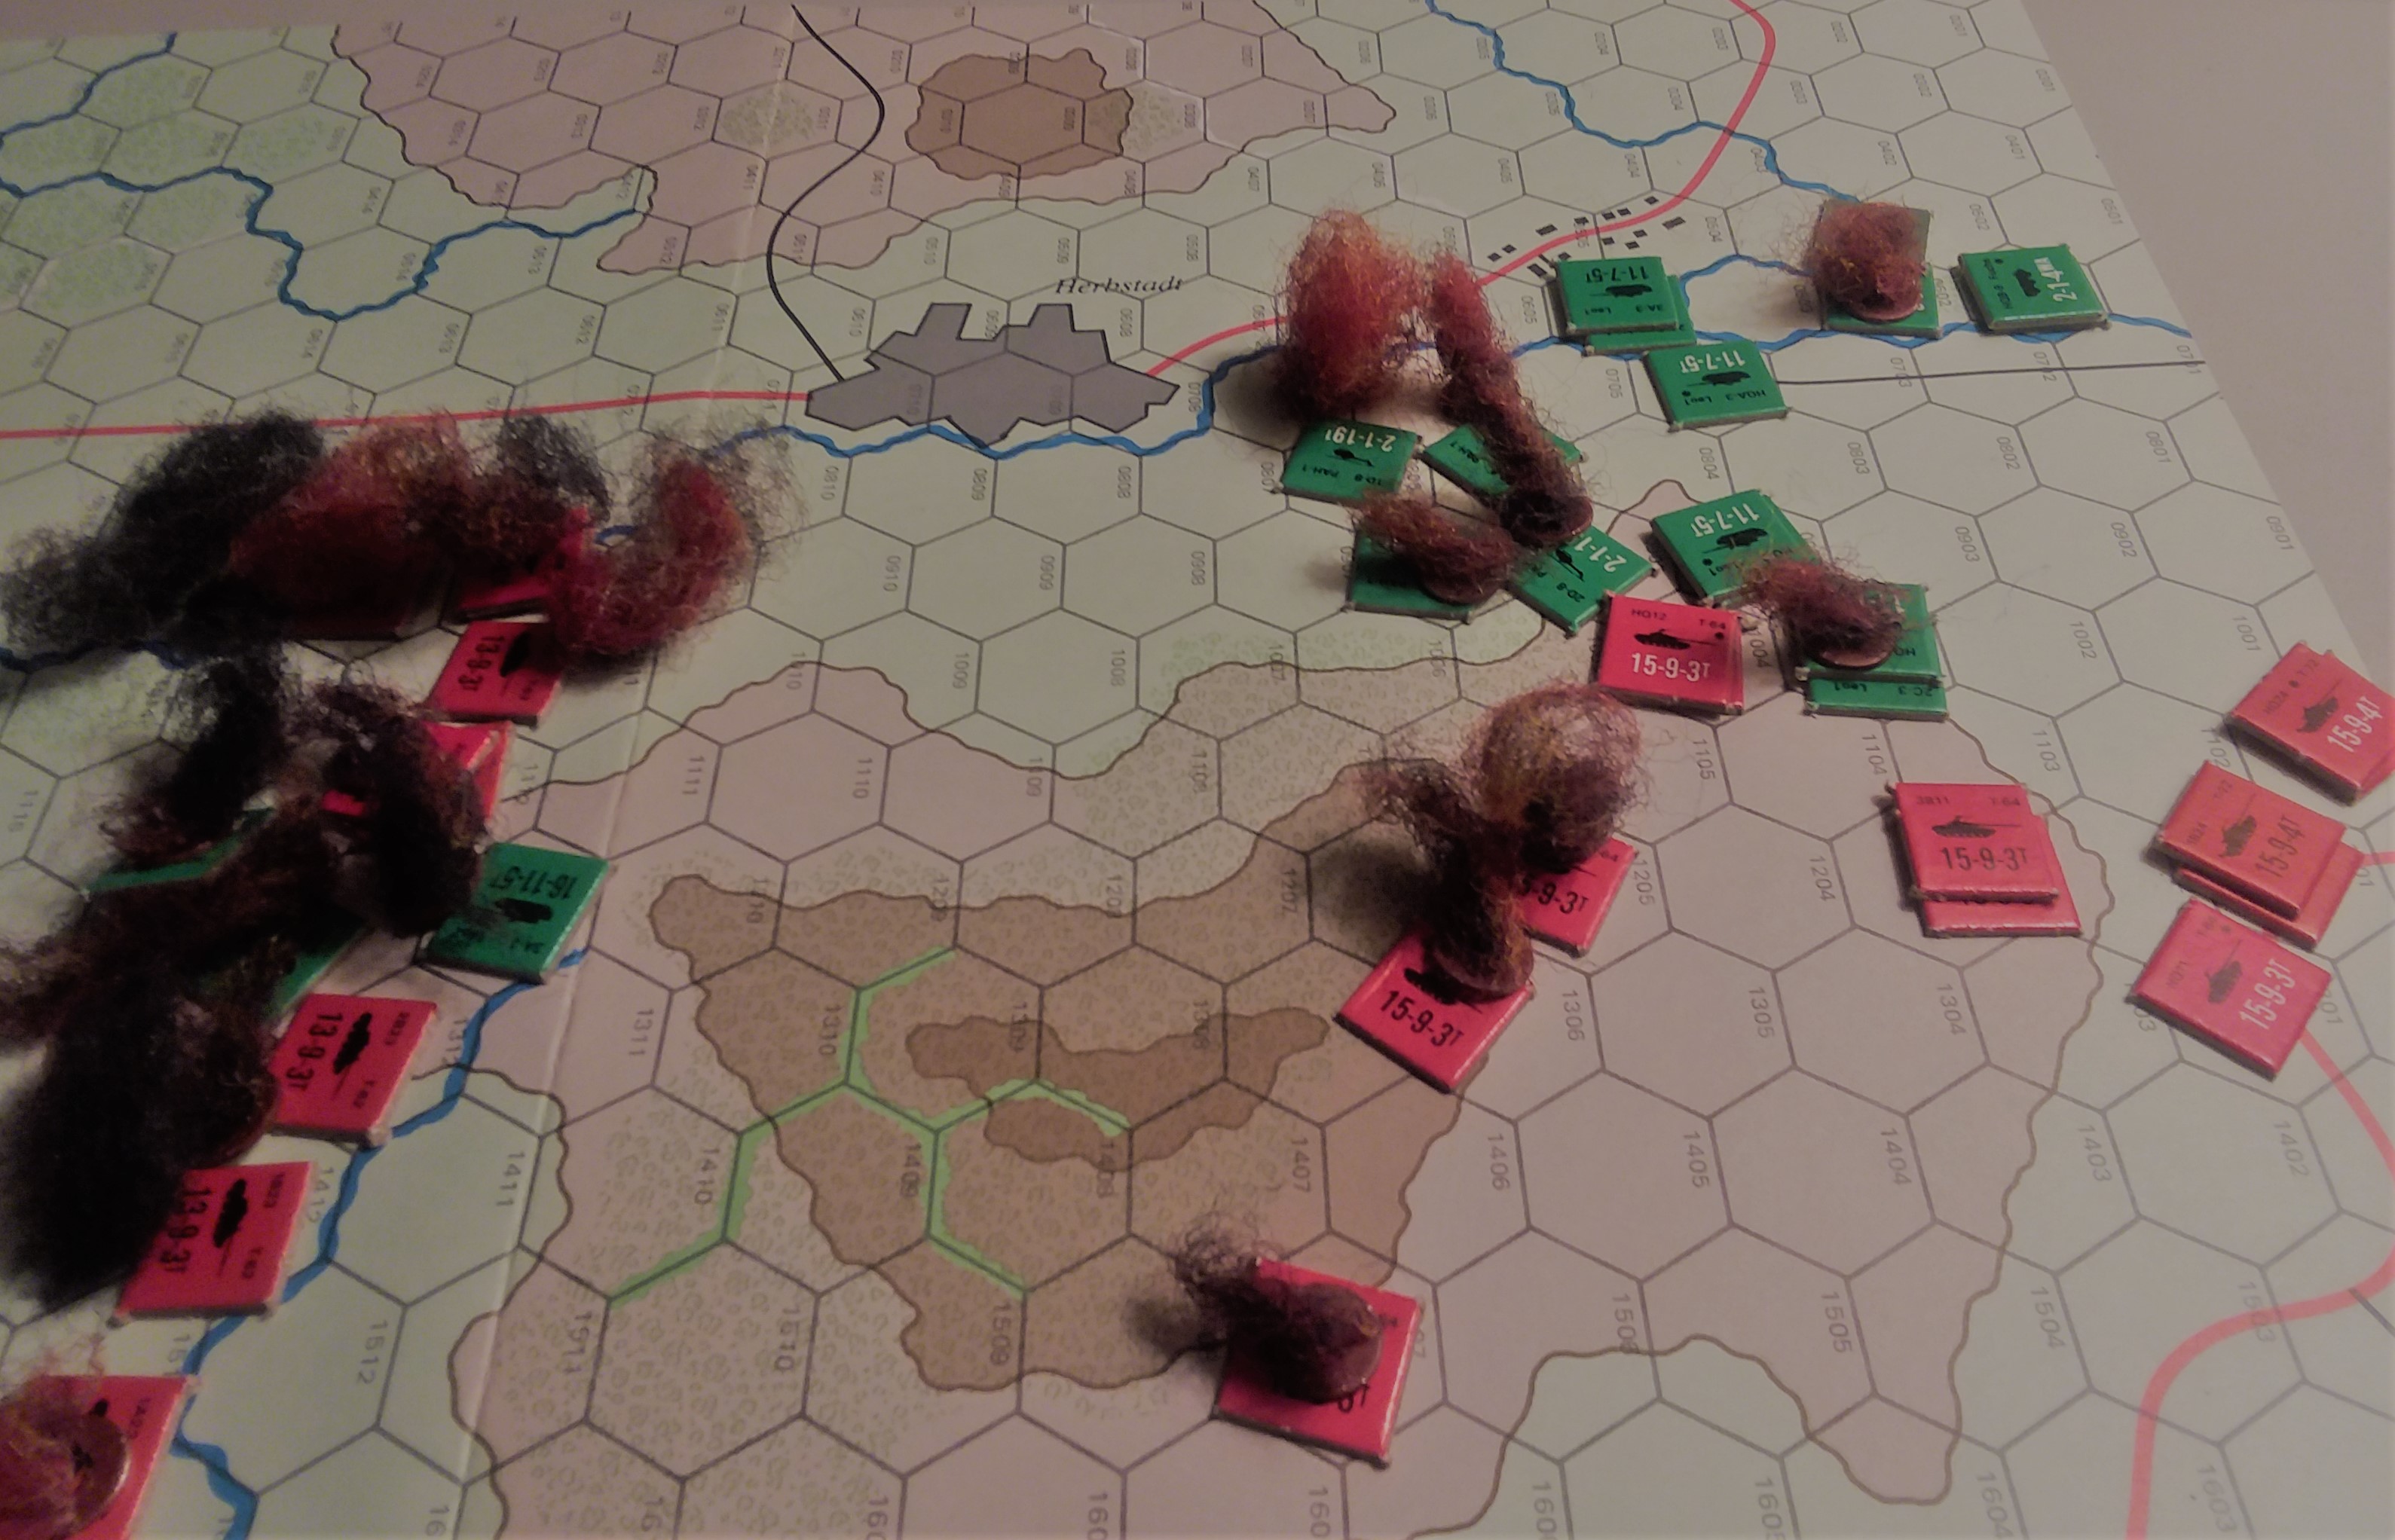
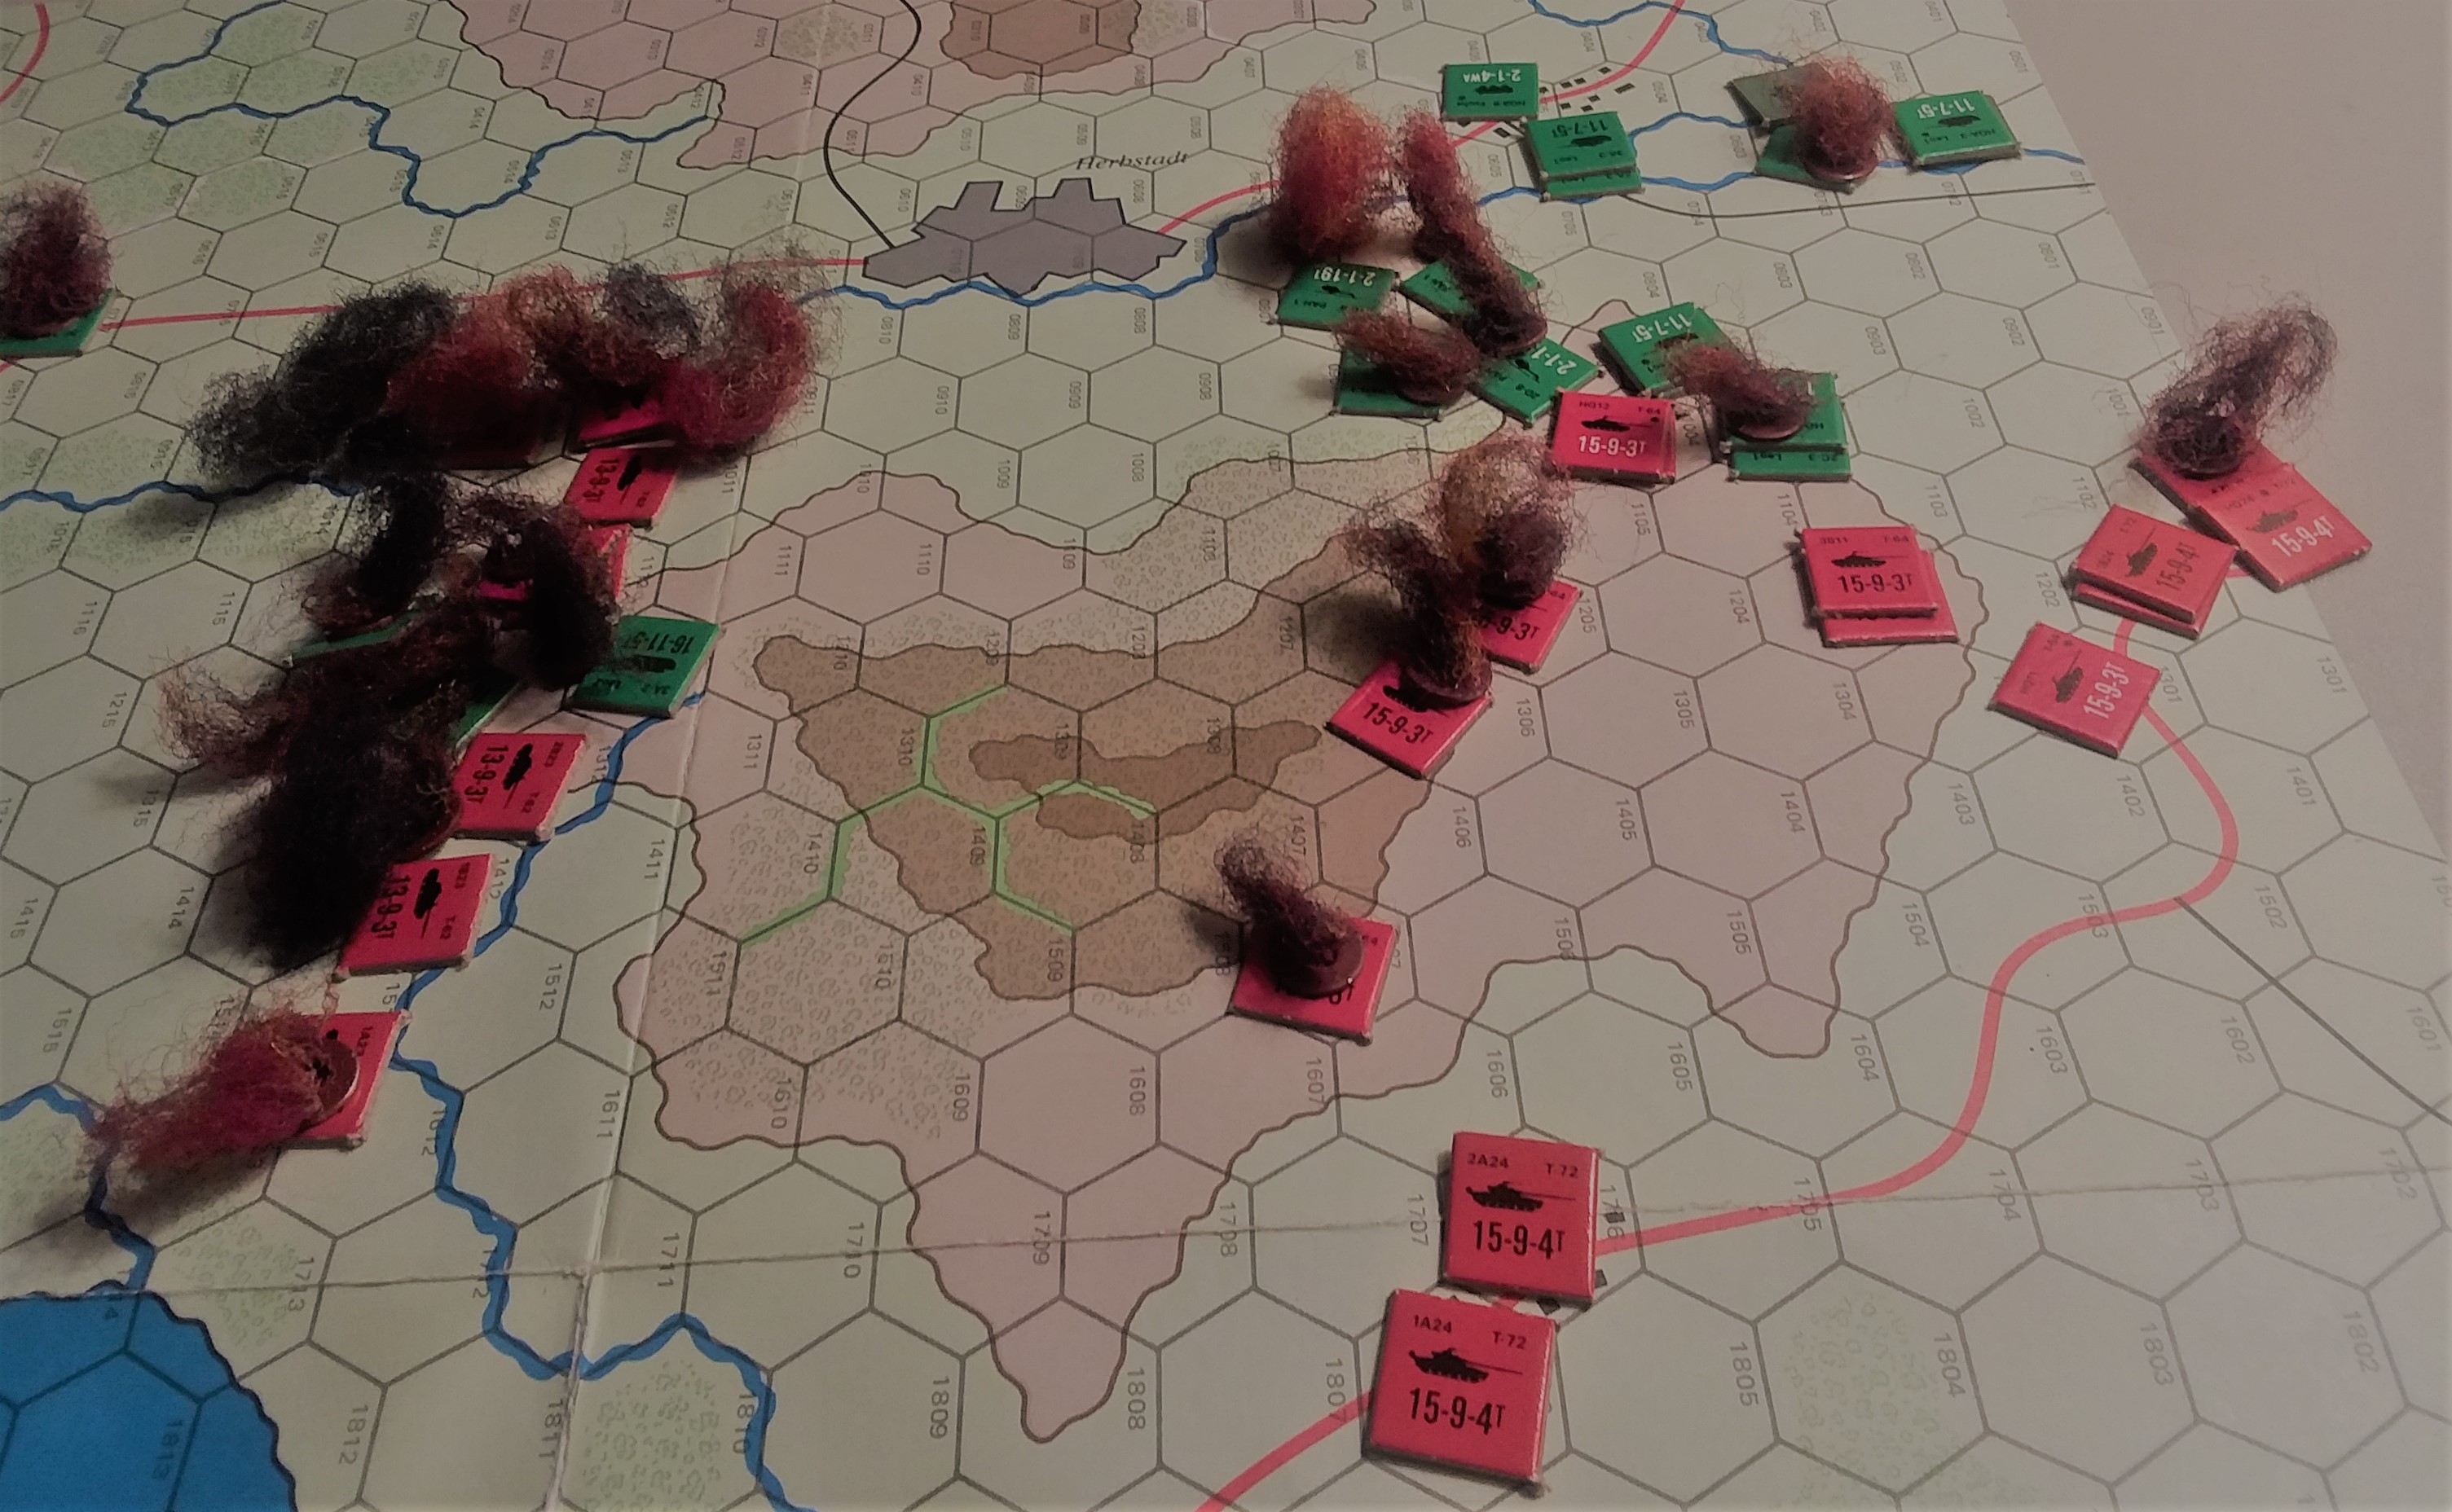
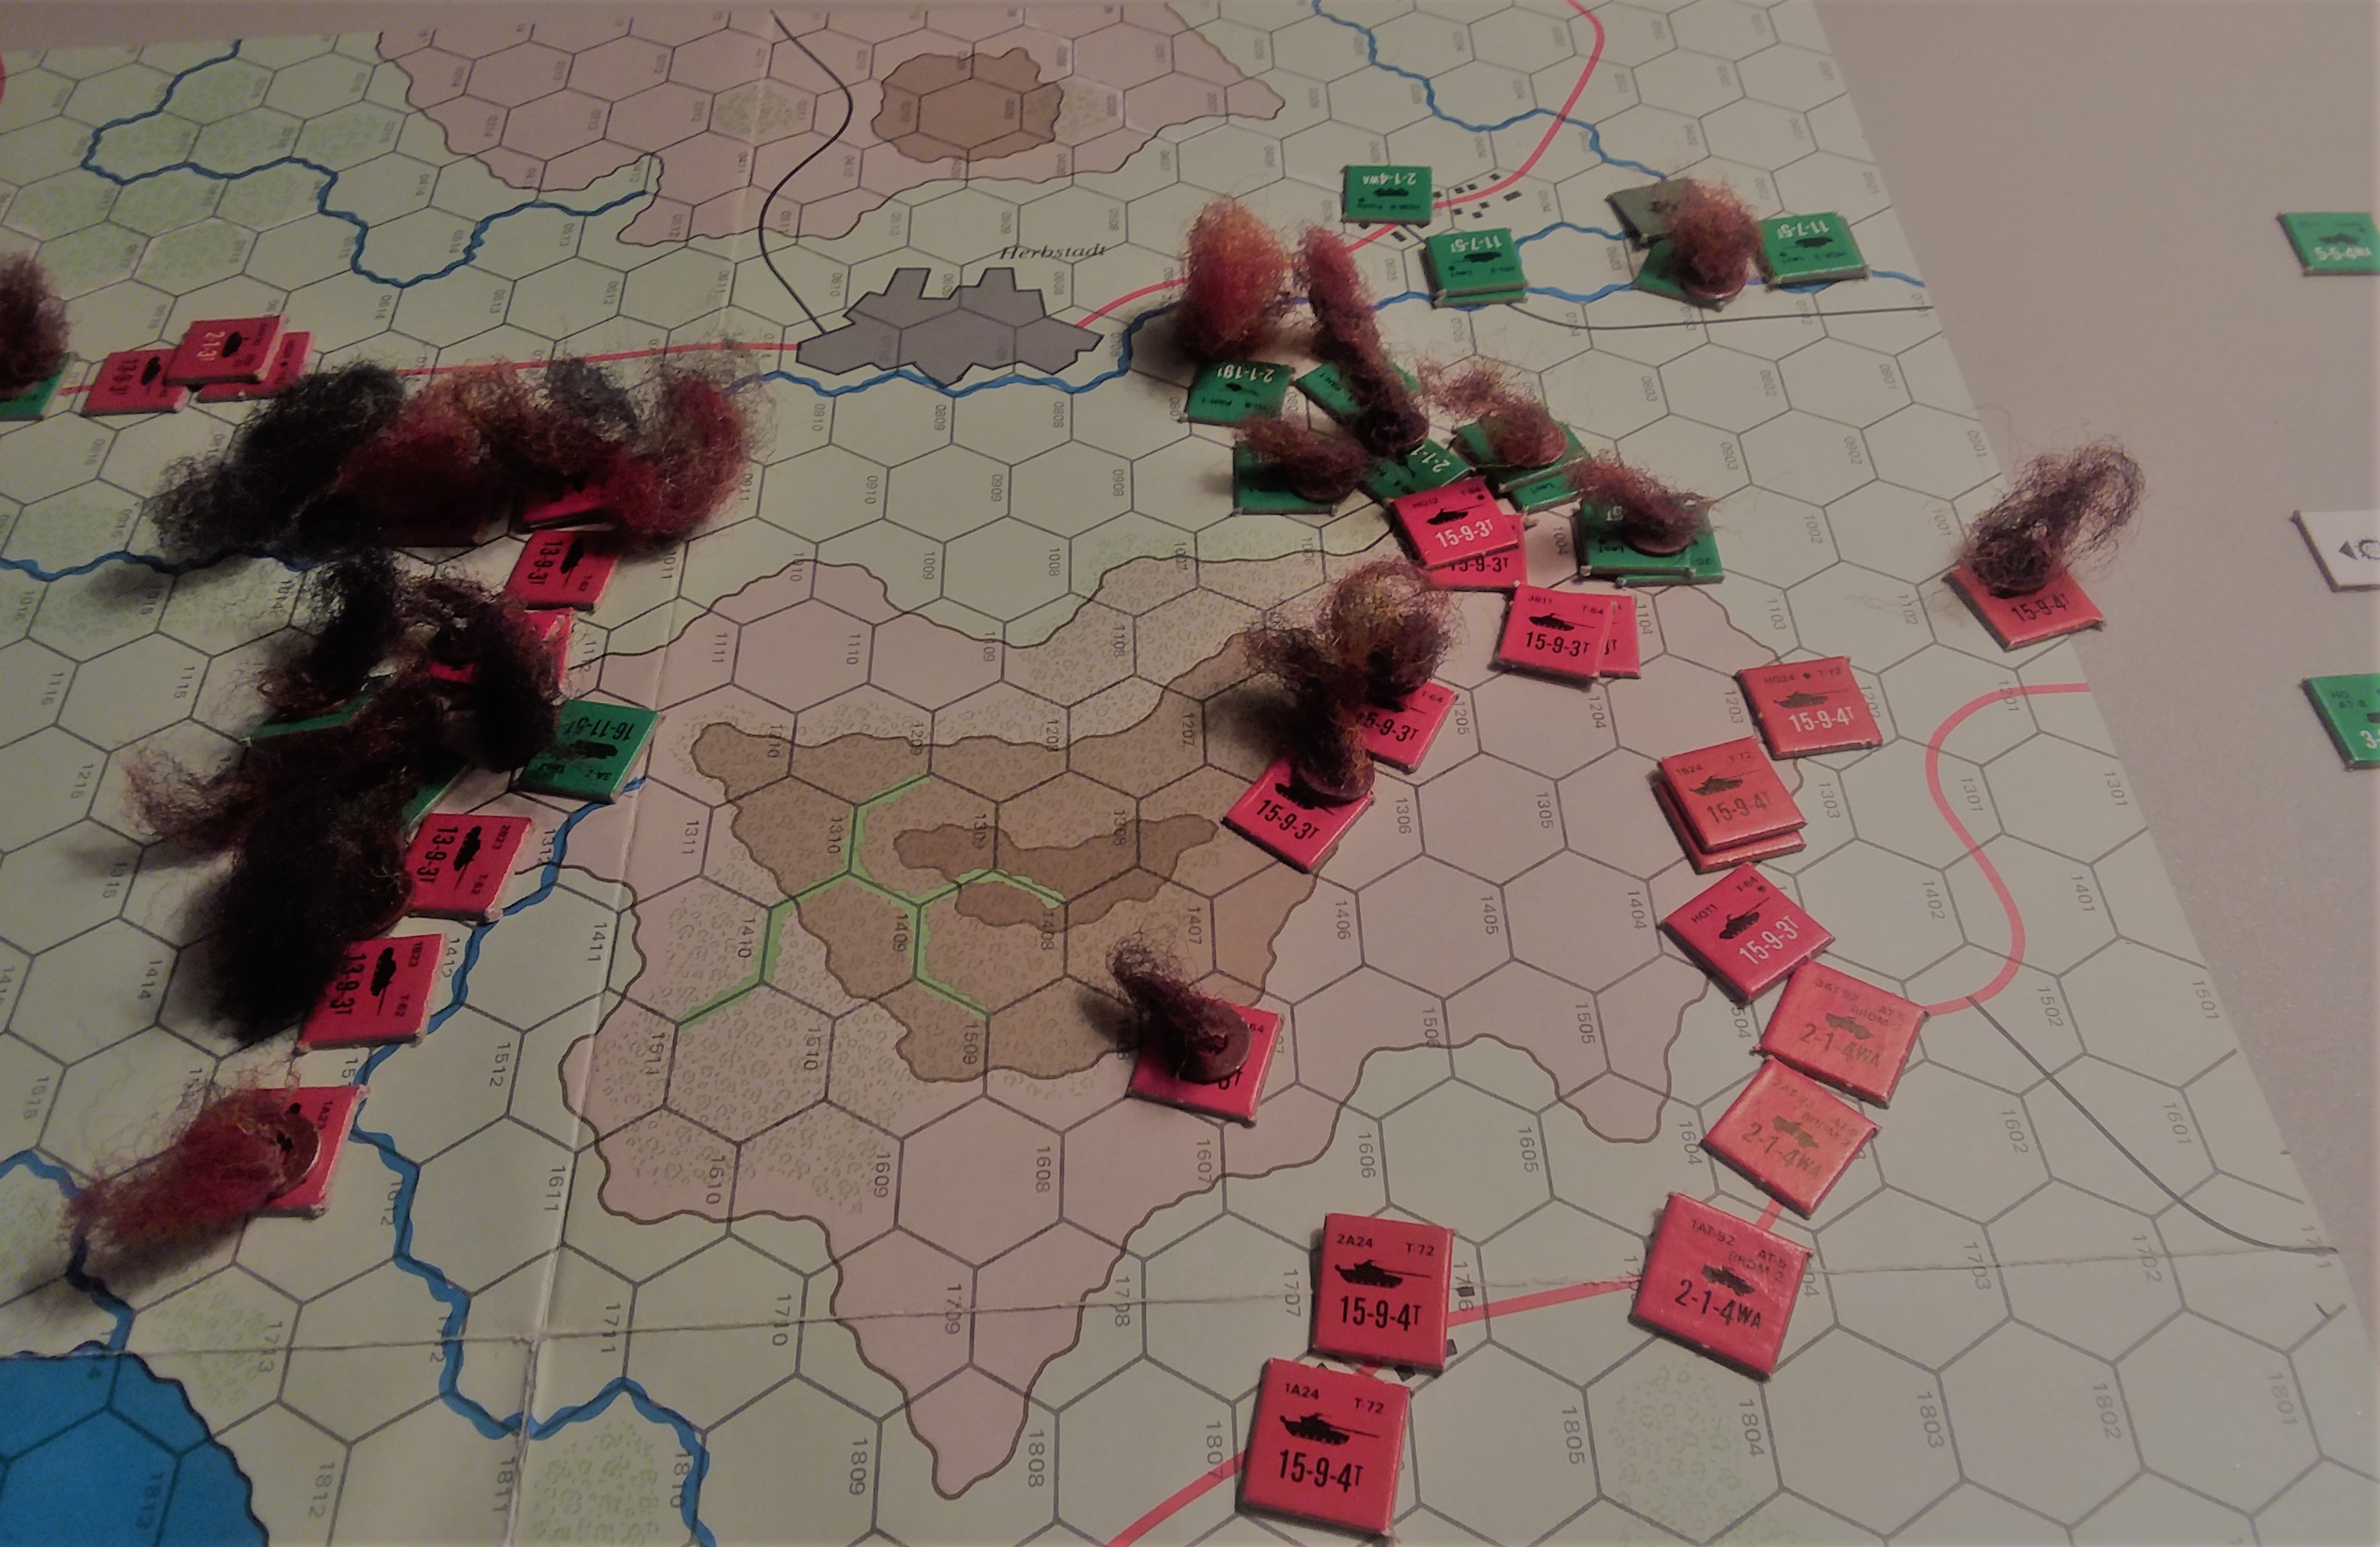
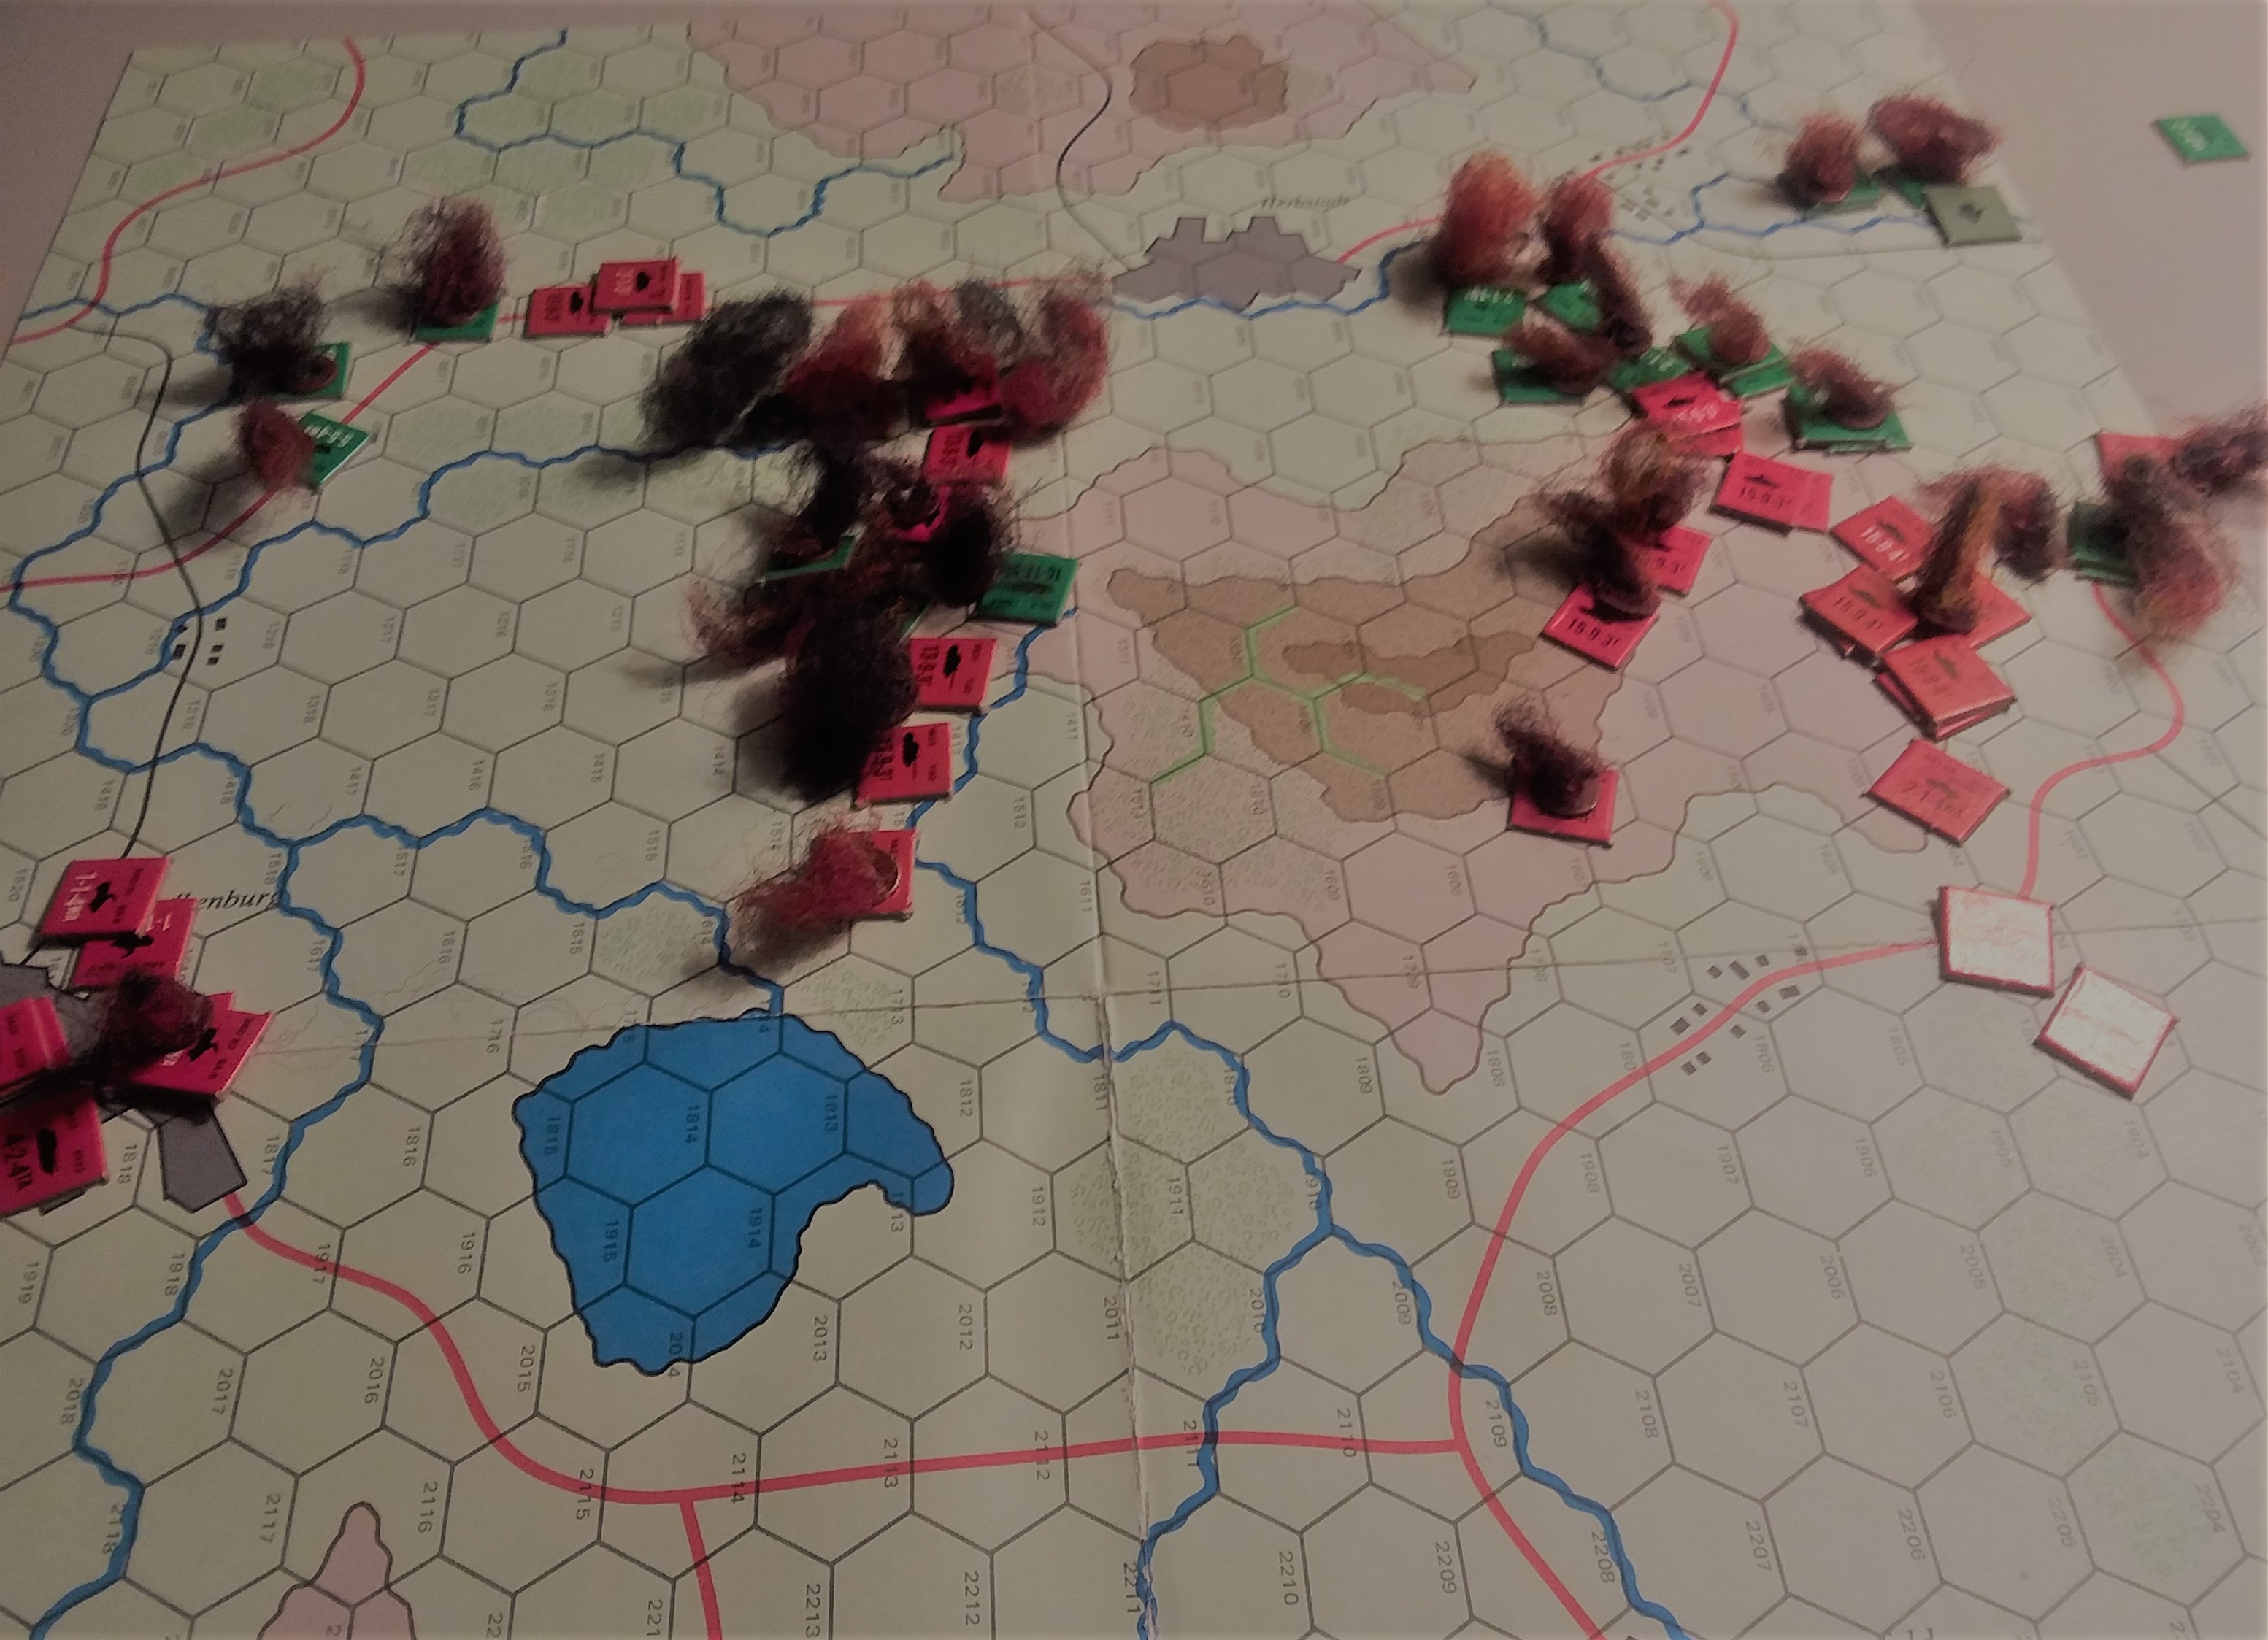
80 POINTSE-Battle. The maps are the game. The first shows the area north of Kassel where the last north rail line to Hannover can be attacked. Grebenstein and the Kassel Airport are center left. The East Germans are coming from the right (east) via Munden and Veckerhagen with a Tank Regiment in the north assisted by the Verloren Haufe and the south with the Assault (BMP) Rifle Regiments and a BTR Regiment. The Germans have a brigade of 2nd Panzer Grenadier in the area.
This might seem a deviation from my usual film clip of tanks shooting, but if you've seen the movie, you'll understand the relevance. And if not, I highly recommend it.

Some day I'll figure out how to adjust the shutter speed... You can just barely make out the name Grebenstein, partially obscured by the clouds. The airport is a little below and to the west (left) of it. The battle depicts a meeting engagement between an Aufklarung Kompanie of 2nd Aufklarung Battalion and the Tank Battalion of the 22nd Motorized Schutzen, on the flank of a general action between a fresh East German Division and a somewhat shop worn Panzergrenadier Brigade.
No.2 Kompanie, 2nd Aufklarung Squadron.
The crack of tank cannon and roar of artillery to the southeast had been growing louder. Hauptmann Friedrich was thankful that his unit had been detailed to cover the northern flank of 4th Pz Gren Brigade. The Brigade, like his unit, were equipped with Leopard Is, and in a head to head fight, swarms of T55s and T72Ms would likely come off winners. The 6th Panzer Brigade had the only Leopard IIs in the division, and one Kompanie had been attached to the Aufklarung battalion and split up between its three Kompanies. The 6th's Leo II inventory was down to 60 vehicles as a result of nearly 3 weeks of fighting. Nobody truly appreciated just how many vehicles you lost permanently to just maneuvering until you fought a war. Studying the Afrika Korps campaign had seemed surreal in its report of the strength dribbling away forever in each retreat. Now Friedrich understood.
The Stabtfeldwebel motioned to him. "Our Luchs patrols are falling back. Enemy tanks approaching out of the northeast, out of the Reinhardswald. Brigade says we have to delay them to protect the airfield."
Of course. Bricks out of straw and sand. "Mount the vehicles. Equipment check in five minutes. By the way, did Brigade have an estimate?"
"At least a battalion, perhaps more. Brigade says to bottle them up in the Reinhardswald."
And it had been such a beautiful day...
Oberst Jarvis Neimand was not pleased. Oberstleutenant Wilhelm Helder was a solid officer, perfect for the artillery, where his inclination to perfectionism was well employed. Somehow he had ended up in tanks. Helder was fussing over his vehicles, having lost three in action this morning, and having lost another six to mechanical problems. Neimand walked up on him. "A word, Helder."
They strolled off a little distance. Neimand wasted no time. "The enemy brigade the 40th Falschirmjagers reported are now decisively engaged with our regiment and 4th Panzer, Helder. My job is to turn their flank. Your job is to spearhead the attack."
"Herr Oberst, the situation is...confused."
"Perhaps. War is like that. Form your tanks into three columns, and drive for the airfield. I'll give you all the support I can muster. Once you overrun the airfield, swing back east and hit the capitalists in their rear. They'll fragment and dissolve. You have the opportunity to be the hero of this operation, or the goat. I'm sure you want to be the hero.
"Zum befell, Herr Oberst.

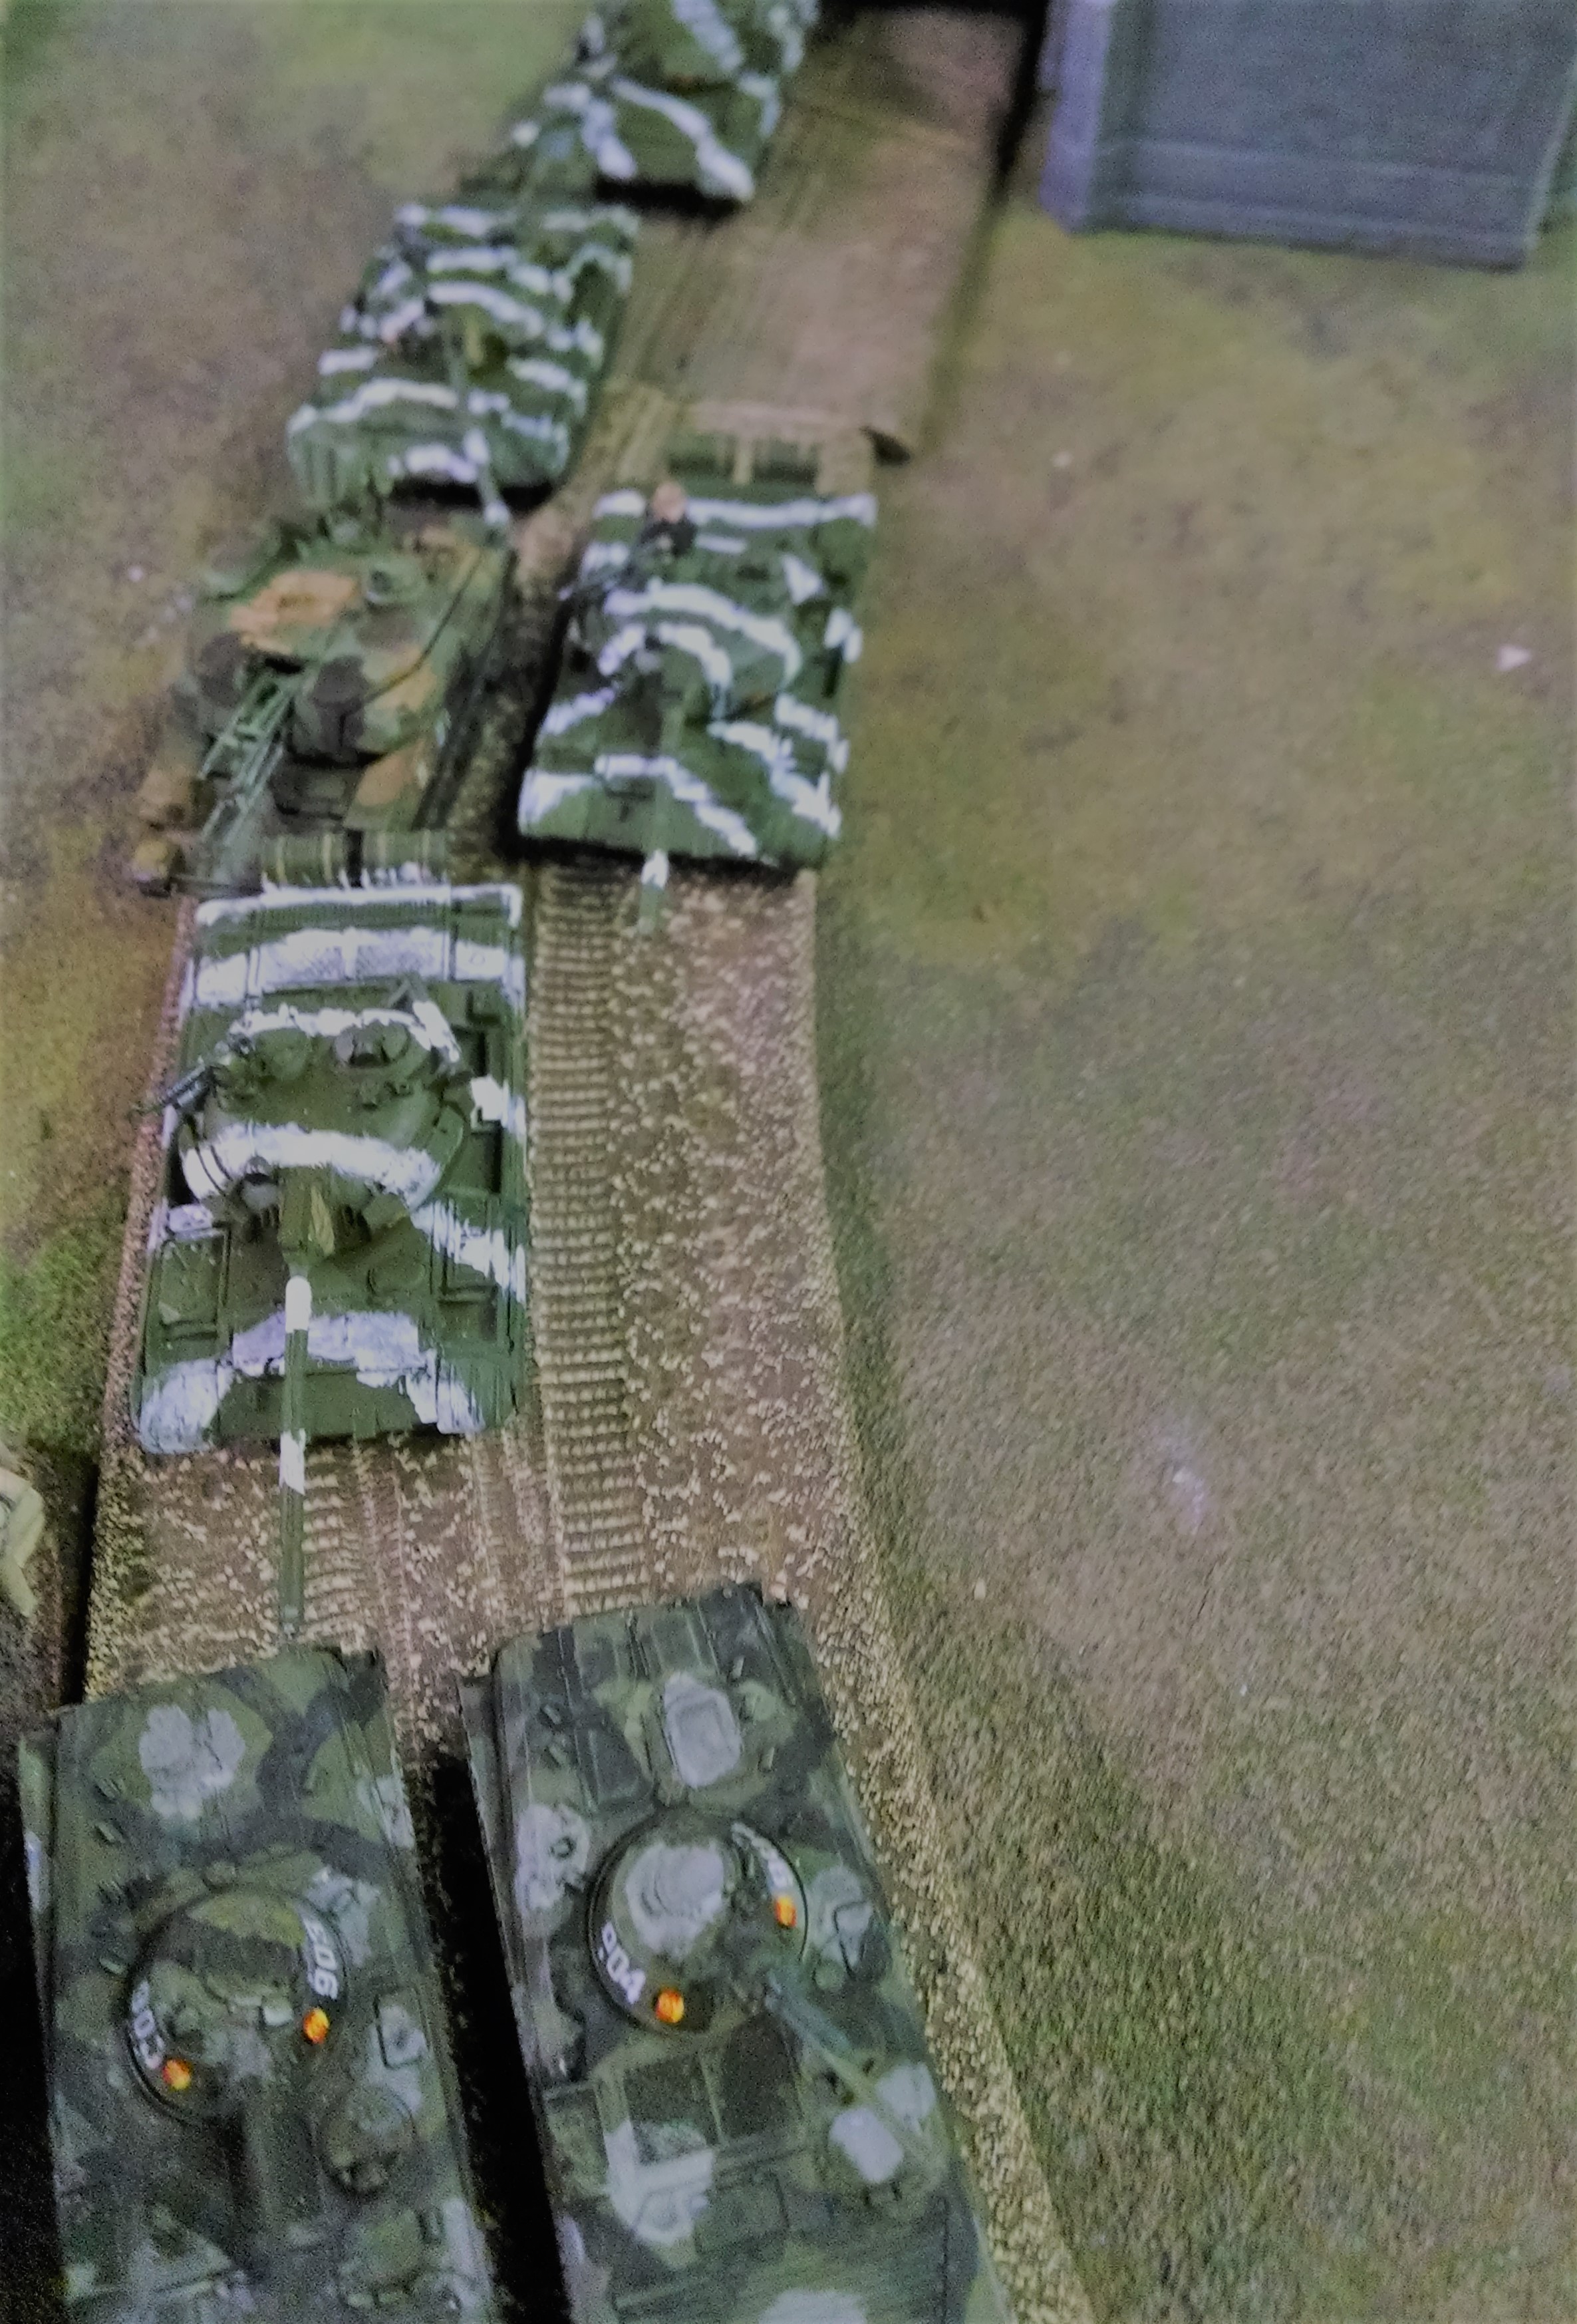
We played Annihilation, again, because having objectives is really hard on beginning players, and doubly so when only tanks are involved (well, and aircraft this time)
BH decided to use 2 Gepards and 2 Rolands and 4 PAH after a discussion about the pros and cons of aircraft and flak. I used 4 Hinds, 2 ZSU and 4 SA-9. And, of course, my 12.7mm MGs on 22 tanks are a factor, too.
We went through the usual counter-counter-counter setup. I set up first, which took darkness out of the equation, and he won the toss. He tempered his aggression by spearheading to covered positions that would be out of reach of my first move, and was rewarded for his caution by only being able to get 2 tanks to firing positions that mattered on turn 1. I had one T55 kompanie at center court, and the northern flank was the another T55 unit and the T72s. Classic setup for a revolving door battle
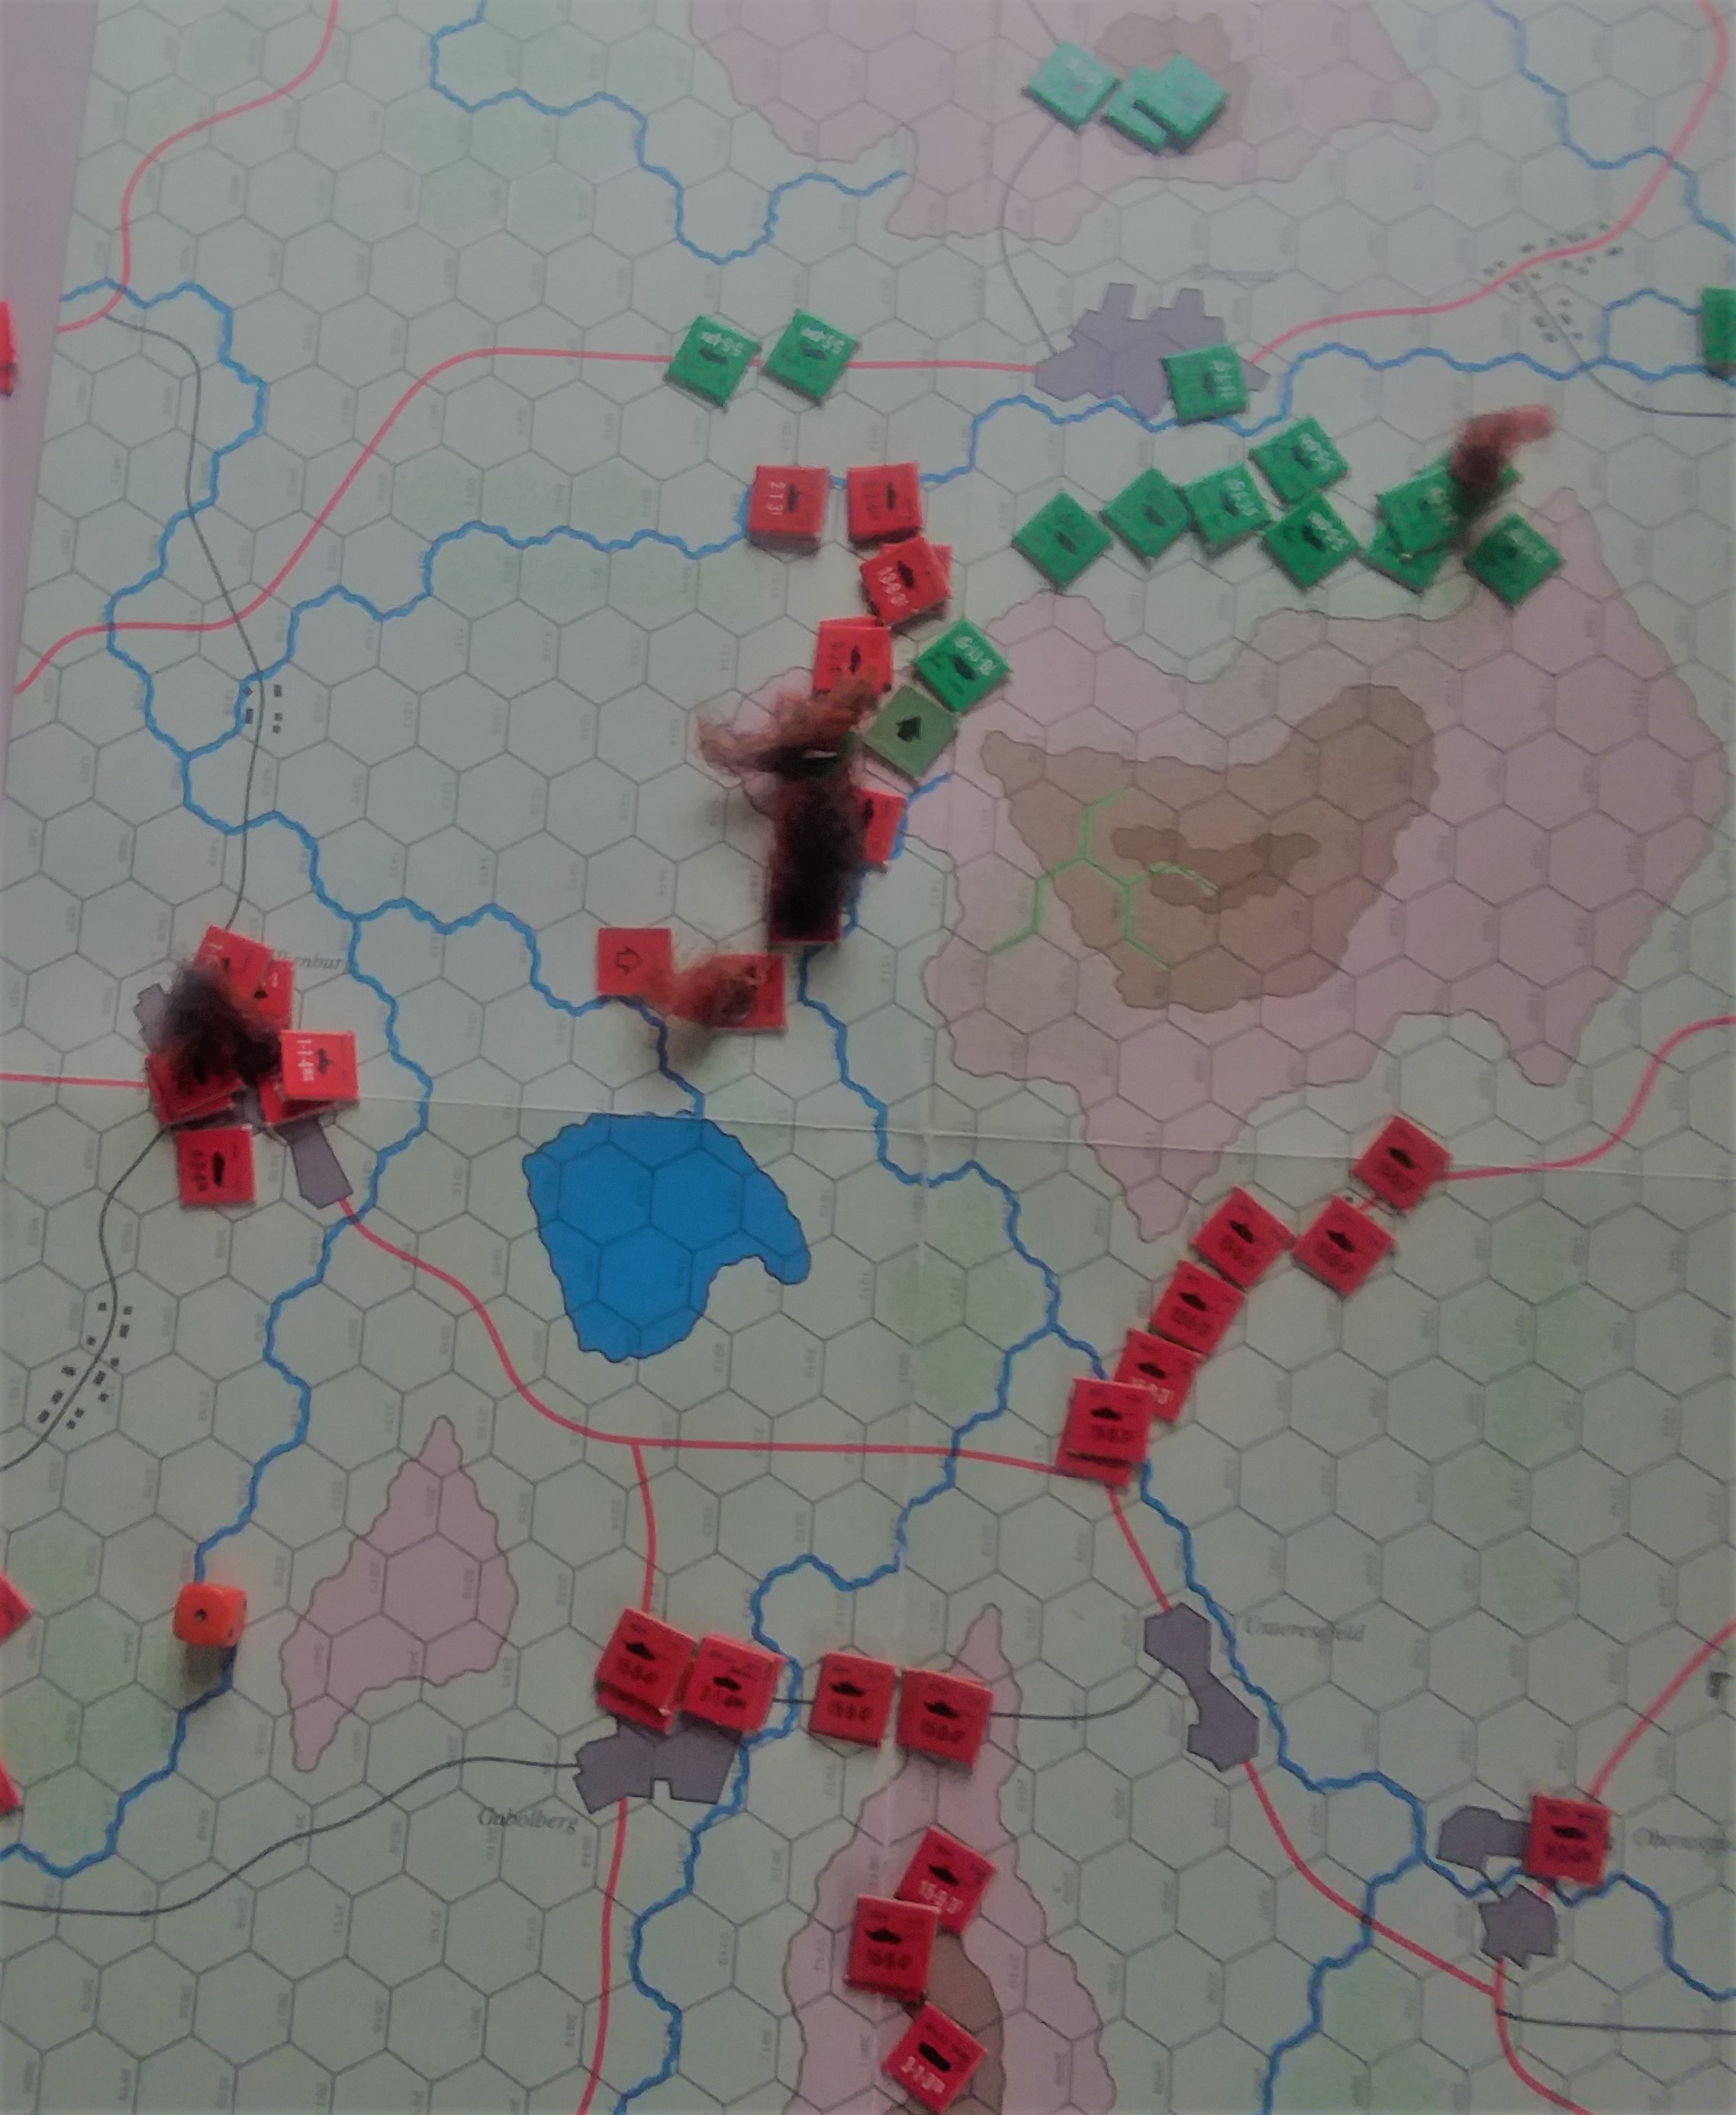
Empowered by getting the first turn, BH looked for an opportunity to shoot. He moved the Leo II platoon to center court, but even with a blitz and stabilizers only two tanks made firing positions, the third ending up on the wrong side of the slope. The Leo I platoon he spearheaded to the high ground on the south end of the map moved to a back up position, and two tanks had a long range shot at my SA-9s. He killed one SA-9 and the four shots from two Leo IIs gutted my No.1 battalion, killing 3 and bailing one. He also brought on the PAHs from loiter.
I moved my T72s to firing positions and blitzed the Spandrels to shooting positions while sending No.2 T55 company to the southwest. I took the three survivors of No.1 company that could actually get behind him to those flanking positions and actually hid the fourth tank in the wrecks. In my mind the Leos were dead meat; 3 shots from T72Ms hitting 4's, 4 T72s hitting 5's, 3 from Spandrel hitting 5's, three from T55s hitting 5's and flanks. A couple 1's or 2's and...gone, gone gone
Didn't turn out that way. I got a number of hits, and he rolled well enough to nurf most of them, save one Leo bailed and the other ate a flank shot and blew up. Morale check = passed
My 'really clever' move also failed. I shifted the ZSUs around the hill so they had clear line of sight to where he placed the PAHs and blazed away. Four hits, saved two! and only one firepower success. Also fired SA-9s and the 12.7s on my lead tanks to no effect.
The three BMPs fired to no effect on his Luchs. A pathetic shooting turn, but at least one Leo died.
BH decided to focus on the No.1 company and its BMPs. A word about procedure - because we try to keep cross mailings down, we both are picking our shots for all units and writing them down, unlike FTF where you can shoot a unit, and then fire another unit if you didn't get the results you wanted.
BH allocated one Leo I on the high hill to my surviving SA-9, no longer gone to ground. Kill. He allocated the Luchs to the ZSUs. Both bailed; one died to a double bail. He fired 2 other Leos on the hill at my BMP-2's - three kills. The LeoIs on ground level fired at my two exposed T55s; kills but the excess shots could not hit the other. Finally, amid all this carnage, he fired and missed my T55 leader. The other tank was within 6" so no morale and the surviving ZSU passed morale.
He popped up to fire with the PAHs and was greeted by 4 SA-9s and 4 MGs. 2 hits one saved and I managed a '5' so another PAH bit the dust. Two missiles streaked out, one hit on a T72; firepower = 2; bailed tank.
That was a painful turn.
I couldn't get anywhere good so I contented myself with tucking the No.2 company on the reverse slope of the central hill, and moving 4 T72s plus the BC fast behind them after a successful blitz. The other three T72s took position on the northern ridge, putting the crest and curves between them and the Leos on the other ridges. I dashed the surviving T55s of No.1 Kompanie away from the action, hoping to survive the to block a Luchs raid on my rear. Three BMP-1 missiles streaked into the AA park, missing. As it turned, out that was a mistake as I could have shelled the place.
I fired up the bailed Leo II on the ridge and watched it bounce shot after shot. My only consolation was when BH's turn came it failed remount again. Meanwhile my Hinds stayed hidden - his flak had to be neutralized before they could be used safely. As BH found out.
The ZSU backed up to stay in AA Radar range and lit up the PAHs, bringing one down. My tanks threw 6 dice at 5+ and 3 at 6s for two hits and he missed both saves, and my firepower produced a 5. Exit PAH; a couple probably limping back to Kassel Flugelhaven.
Luck took a turn now. The first indicator had been the demise of the PAHs. Now BH attempted a blitz with his No.1 Leo I platoon and incredibly, failed it. The +1 for the failed blitz and the cover that would result in a normal move, or making a move on basic stabilizers, would reduce his fire to a single tank at 5,6 hits with at best two kills, resulting in 5 T55s shooting down at his Leo Is . He elected to tuck his No.1 platoon in against the hill and bring no.2 zug down. The broken Leo II remained broken so he pushed the functional one up the hill to thin the herd, so to speak, taking a long range shot at three T72s way across the valley. I bounced one shot for a bail by producing a '5' and the other tank died.
His Luchs chased the ZSU, but only one got a clean shot and it rolled 2 hits which I bounced. 2 shots with cover missed.
I fired everything that could see his LeoIIs at them again, and again declined to bring the Hinds in on a suicide run. I used the ZSU on the Luchs, rolling 4 misses. Then I used my observer and the SA-9 unit commander to rain artillery on them - twice. That got their attention, killing one in No2 platoon and bailing one in No.1 platoon, which scattered them. No.1 platoon sailed off into the sunset.
My two tank companies making the sweep closed up, effectively eliminating the opportunity to shoot one up without retaliation.
The fire on the LeoIIs was finally effective. The company commander of No.1 T55 kompanie administered the coup de grace after BH false targeted a missile onto the bailed tank and threw a 1 for his armor save. His turret position to fire on the T72s gave me a flank and I lucked out rolling ;high' for the turret.
BH got his blitz this time and slid the No.1 Zug and his commander to shooting positions, but No.2 zug was in no position to join the festivities. 8 shots hit 5 times and I bounced one with a six and turned one to a bail with a five. His Luchs tried to bag the ZSU for a point, and failed. Three more T55s bite the dust
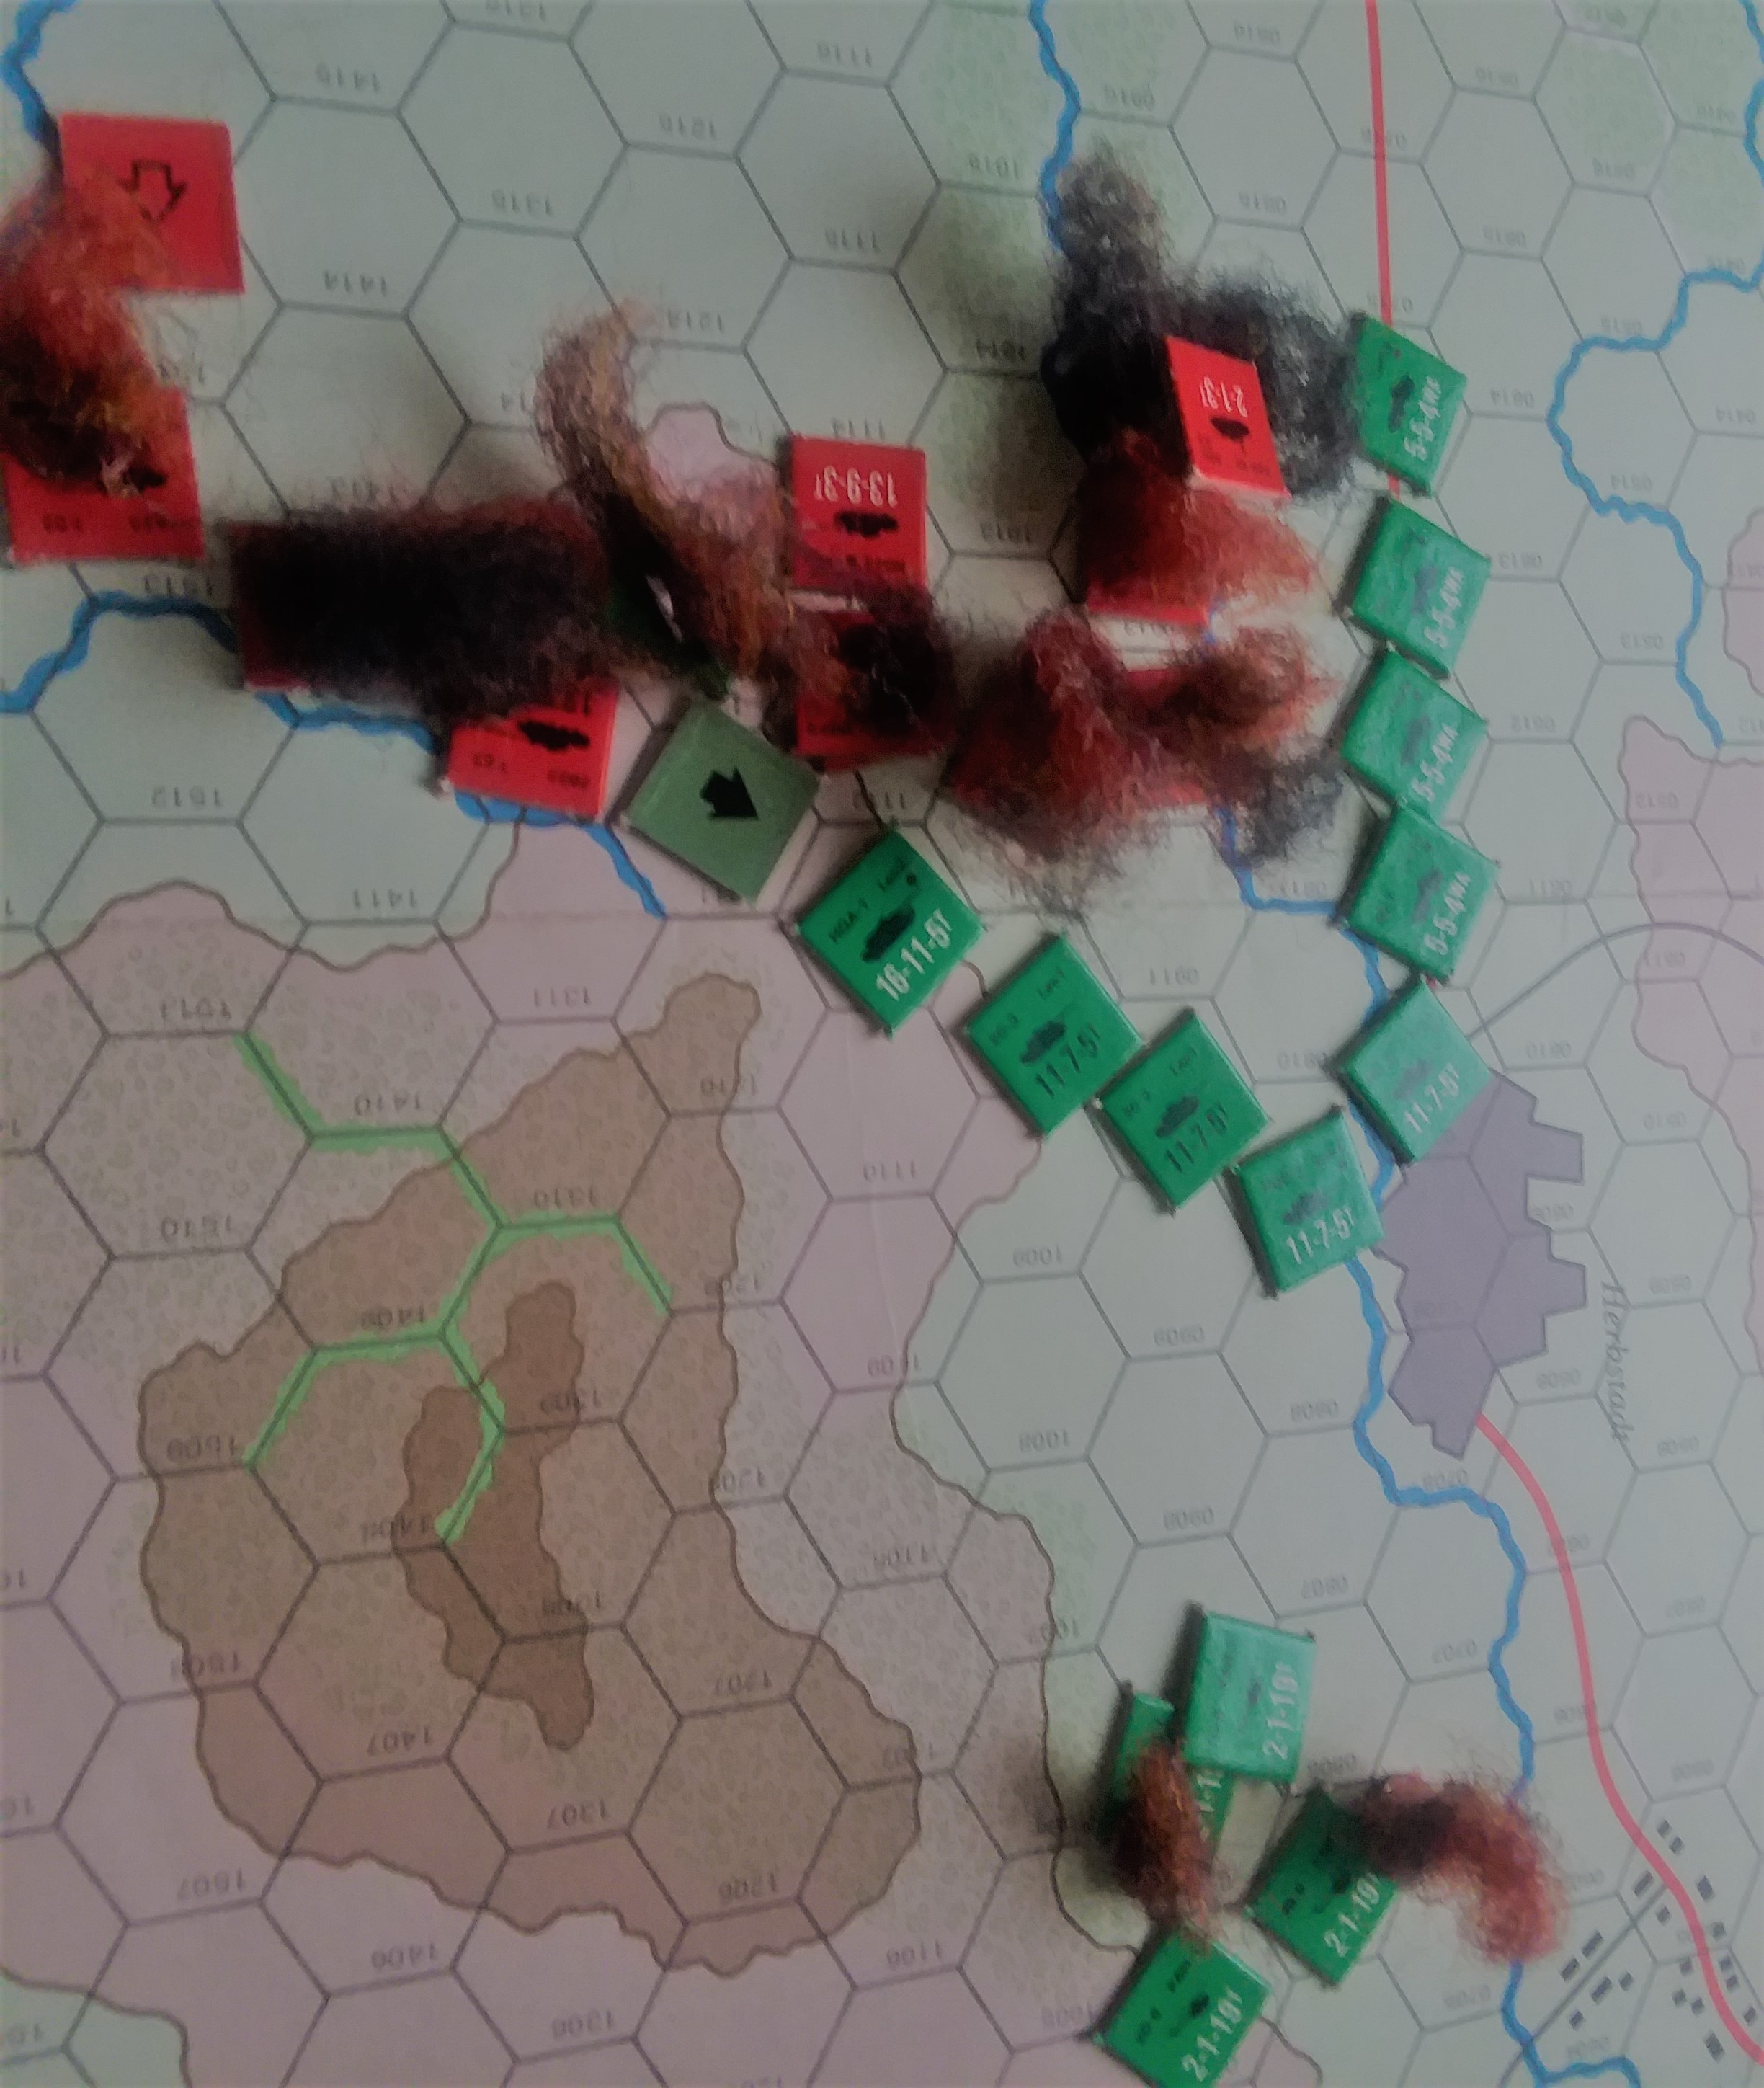
I had 6 T72s and 5 T55s that either were in firing positions or could get to one. Two T72's fired at long range for the north ridge, 4 others moved forward to fire along the slope, and the T55s blitzed along with the BC some of them reaching 4+ shooting positions others just 5+. Meanwhile I executed the remaining Luchs. Just for good measure, I used the BMP and my observer to drop artillery behind the fight, using the buildings as ranging points for the Grails and the woods were spotted by the BMPs whose shots were blocked by tanks.
The artillery killed a Gepard and bailed the other. Morale passed. The mass of tank fire killed two LeoIs from No.1 platoon. But the loss of the Gepard served notice that the Hinds might soon make an appearance
BH now tried to concentrate all his fire on my exposed T72s. They had the better armor but were easier, for the most part, to hit. So he moved his No.2 Zug and turned 6 shots hitting 3+ and 4 shots hitting 4+ against them. He totaled five hits; one T72 died; another bailed on a penetration, and 3 shots were bounced by 5's and 6's/ He tried to move the two Rolands away from the artillery and one bogged and the Gepard remained bailed. He replaced a one with Leo I and moved the other two to firing positions under templates, trusting to top armor =2
I wasn't certain how the turn would go so I brought the ZSU and No.1 company's survivors up the road to threaten from a new direction. I also dashed my lagging T72s so they could affect morale of the vanguard. Finally I shot the 4 T55s into the Company Commander and his No.1 platoon survivor, killing them both, and watched in annoyance as the CO bolted to another tank 6 inches away. But that reduced No.2 zug to two tanks. Artillery repeated their bombardments, wrecking the second Gepard, bailing one Leo I and the unbogged Roland. The Hinds fired four missiles ineffectually, and the T72s missed every shot at No.2 zug. Then I scooted them behind the hill, so that the Leos would have to come out to play if they wanted to shoot. Likewise 2 of the T55s. The Rolands remounted and having not fired last turn treated me to missiles and killed one Hind. BH went for points, trying to break the T72 company, but the Leo in the woods failed his cross check. Two Leo Is skated around the hill, firing 4 dice hitting 3s and missing twice, killing one T72. No morale check.
Although it may seem odd, I spent turn 6 in fear of not breaking his company, because my dice were abysmal. 4 T72s hitting 4's, 4 T55s hitting 5's, 3 Spandrel missiles hitting 4's; 2 BMPs hitting 4's (the other spotted another artillery barrage and between that and the 2S1s I managed to kill another Roland). I only hit the 2 tanks 4 times with all that steel and tungsten in the air, and two firepower rolls were 'bail'. Fortunately two weren't. Game over, 5-2
Hot Wash
BH is clearly getting better; he lost 6 Leo Is and 3 Leo IIs to 3 T72s, and 9 T55s. The PAHs underperformed in part because he failed to kill both ZSUs. That can be blamed on the targeting system; when the Fuchs failed to kill both, FTF play would have allowed him to shoot part of the Leo Is at the surviving ZSU instead of relying on it not to remount.
I don't think BH could have won after the LEO IIs disappeared because I had Spandrels and BMPs that could kill the Leo Is. But forcing a morale check on the T72s would certainly have changed thinks, forcing me to think of a draw or risk the Hinds.
Battle Report Author
Army Lists Used In This Battle
Recommend Commander For Commendation
Share this battle with friends
bayankhanWins

Very detailed, interesting, good and enjoyable report, thank you.
Good narrative. Thanks for posting.
Great news on another victory comrade. Nice AAR, and dialog. Well done.
Congrats my friend. Tough fight. Good win
KHAAAAAAAAAAAN!
Nice win once again
he would have been much better off bringing 6 Gepards and some Rolands, Gepards shred BMPS and everything that is not a MBT
PAH are a total waste of points, they underperform as they are just not very good for 4 points, he would have been better off using Tornados, maybe if he joins the WH command we could give him some pointers