Fought At Hamburg
2220 days 1 hours 48 minutes ago
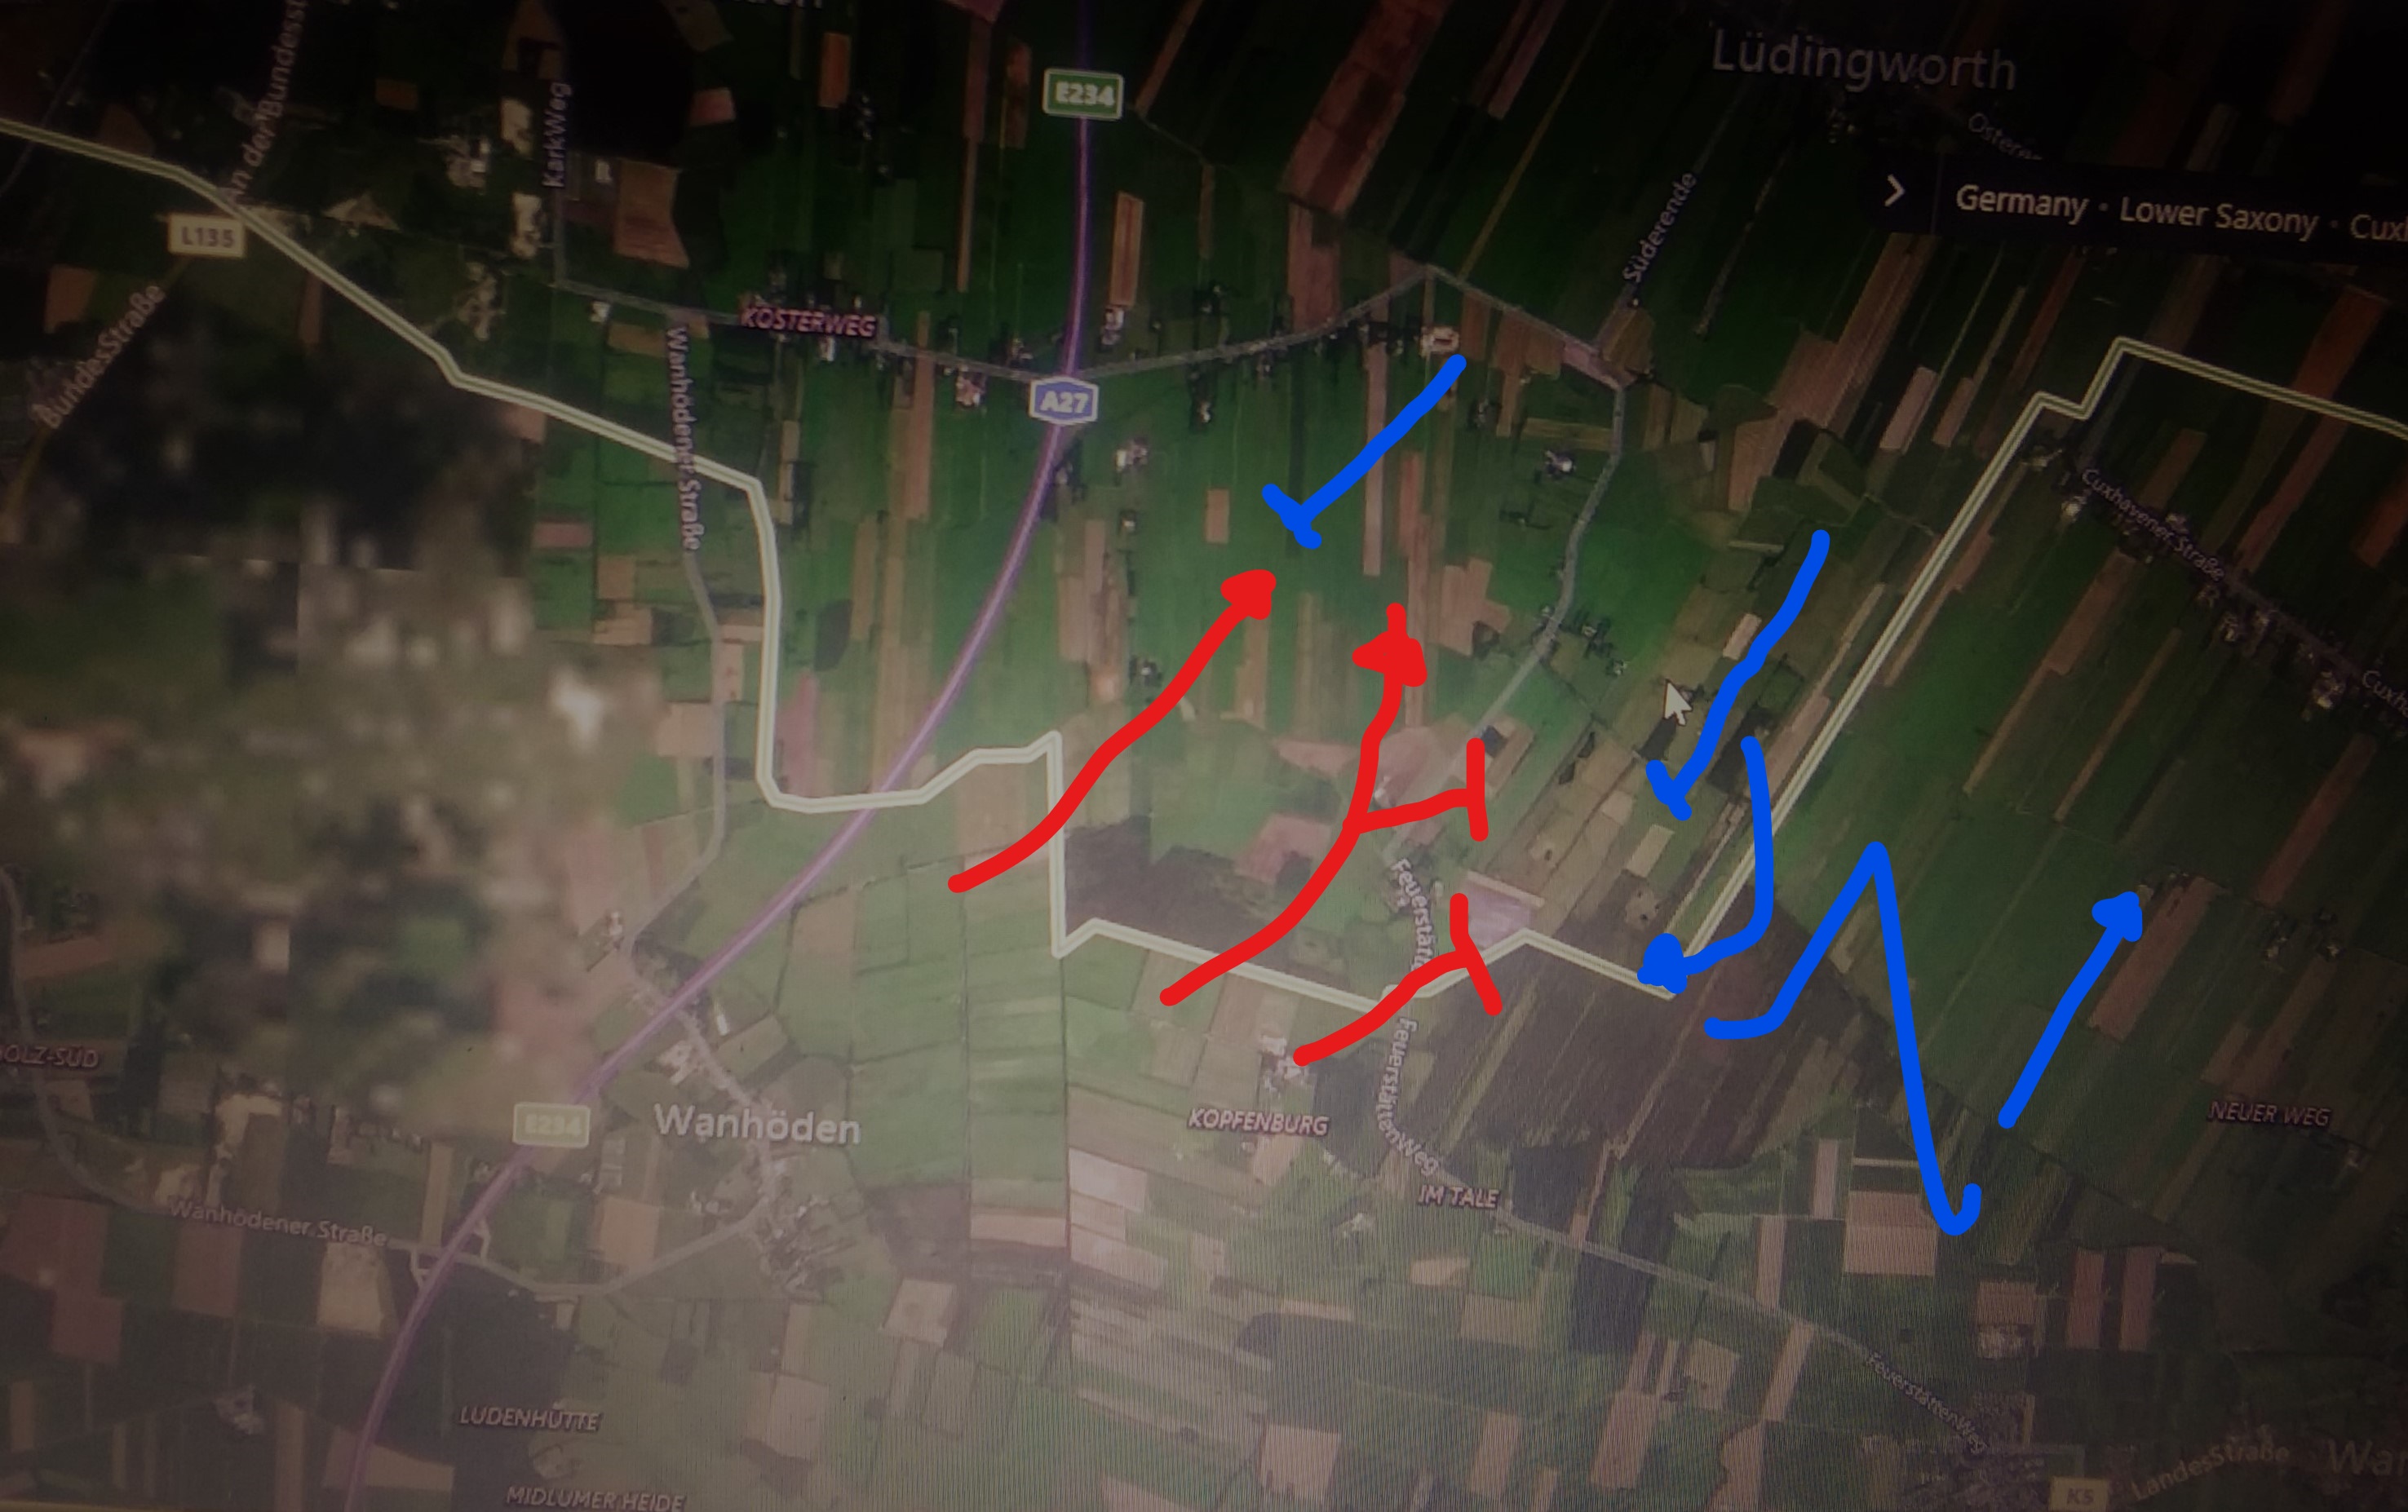
East of Cuxhaven
60 POINTSAnother E-game
Verloren Haufe (Forward Detachment) 1st Motorisierte.
Oberst Tomas Nadea sipped the warm mud that passed for coffee and wished that PACT rations extended to something less nauseating. Maybe the NATO prisoners had something...
The urgent look on his Operations Officer's face told him the story. The other wing of the American Marines had realized they needed to take pressure off the western beachhead, and were advancing urgently. Tanks leading. More business for the Verloren Haufe.
BH wanted a rematch with the M60s. I used the same force but added my 3 missing points. He stuck with the USMC force. Hence, Hamburg (there are no Marines in Berlin, NATO propaganda). The results were quite different.
This time we went through the full Battleplans ritual, and ended up in Encounter. Having to wait three turns for reinforcements forced BH to leave his scouts off the board. I also had to leave most of the scouts off the board. So our engagement started with 3 BMPs and 14 PACT tanks, all the good ones, against 10 M60s. BH put his command group on the right (western) flank. He, unfortunately had 3 deployment units to my five so even deploying 2nd didn't help. My main reserve was the T55 battalion.
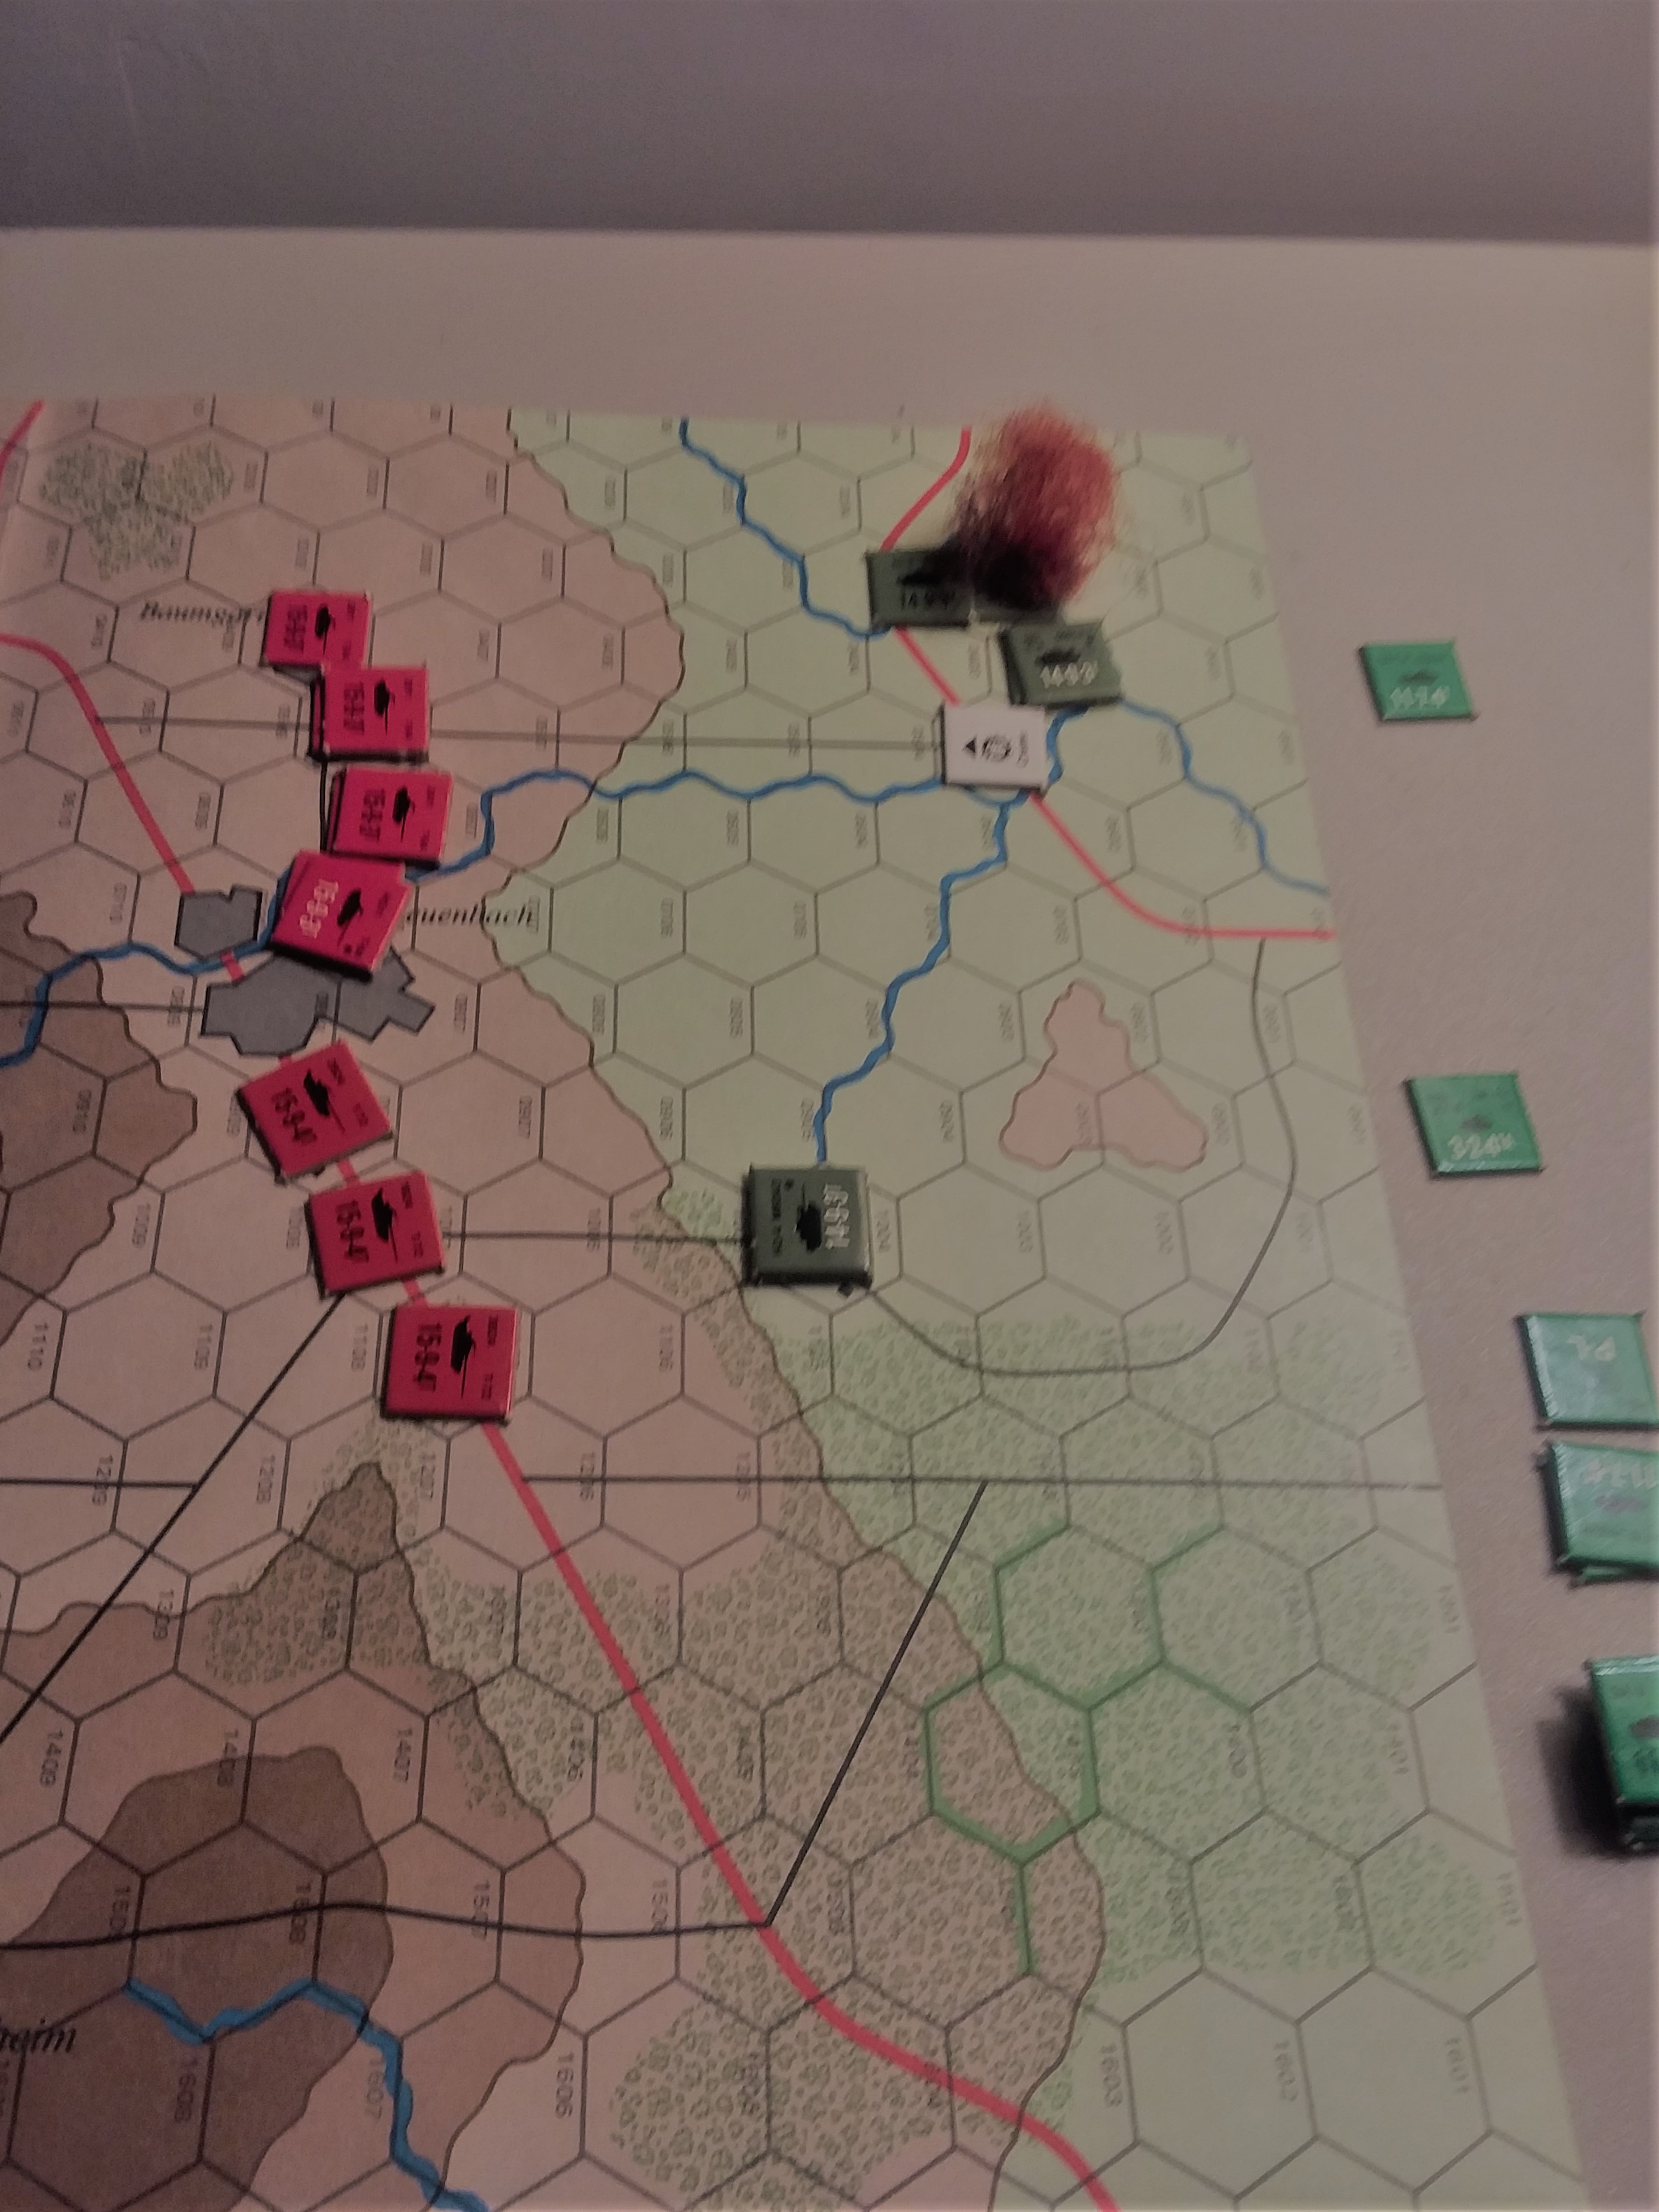
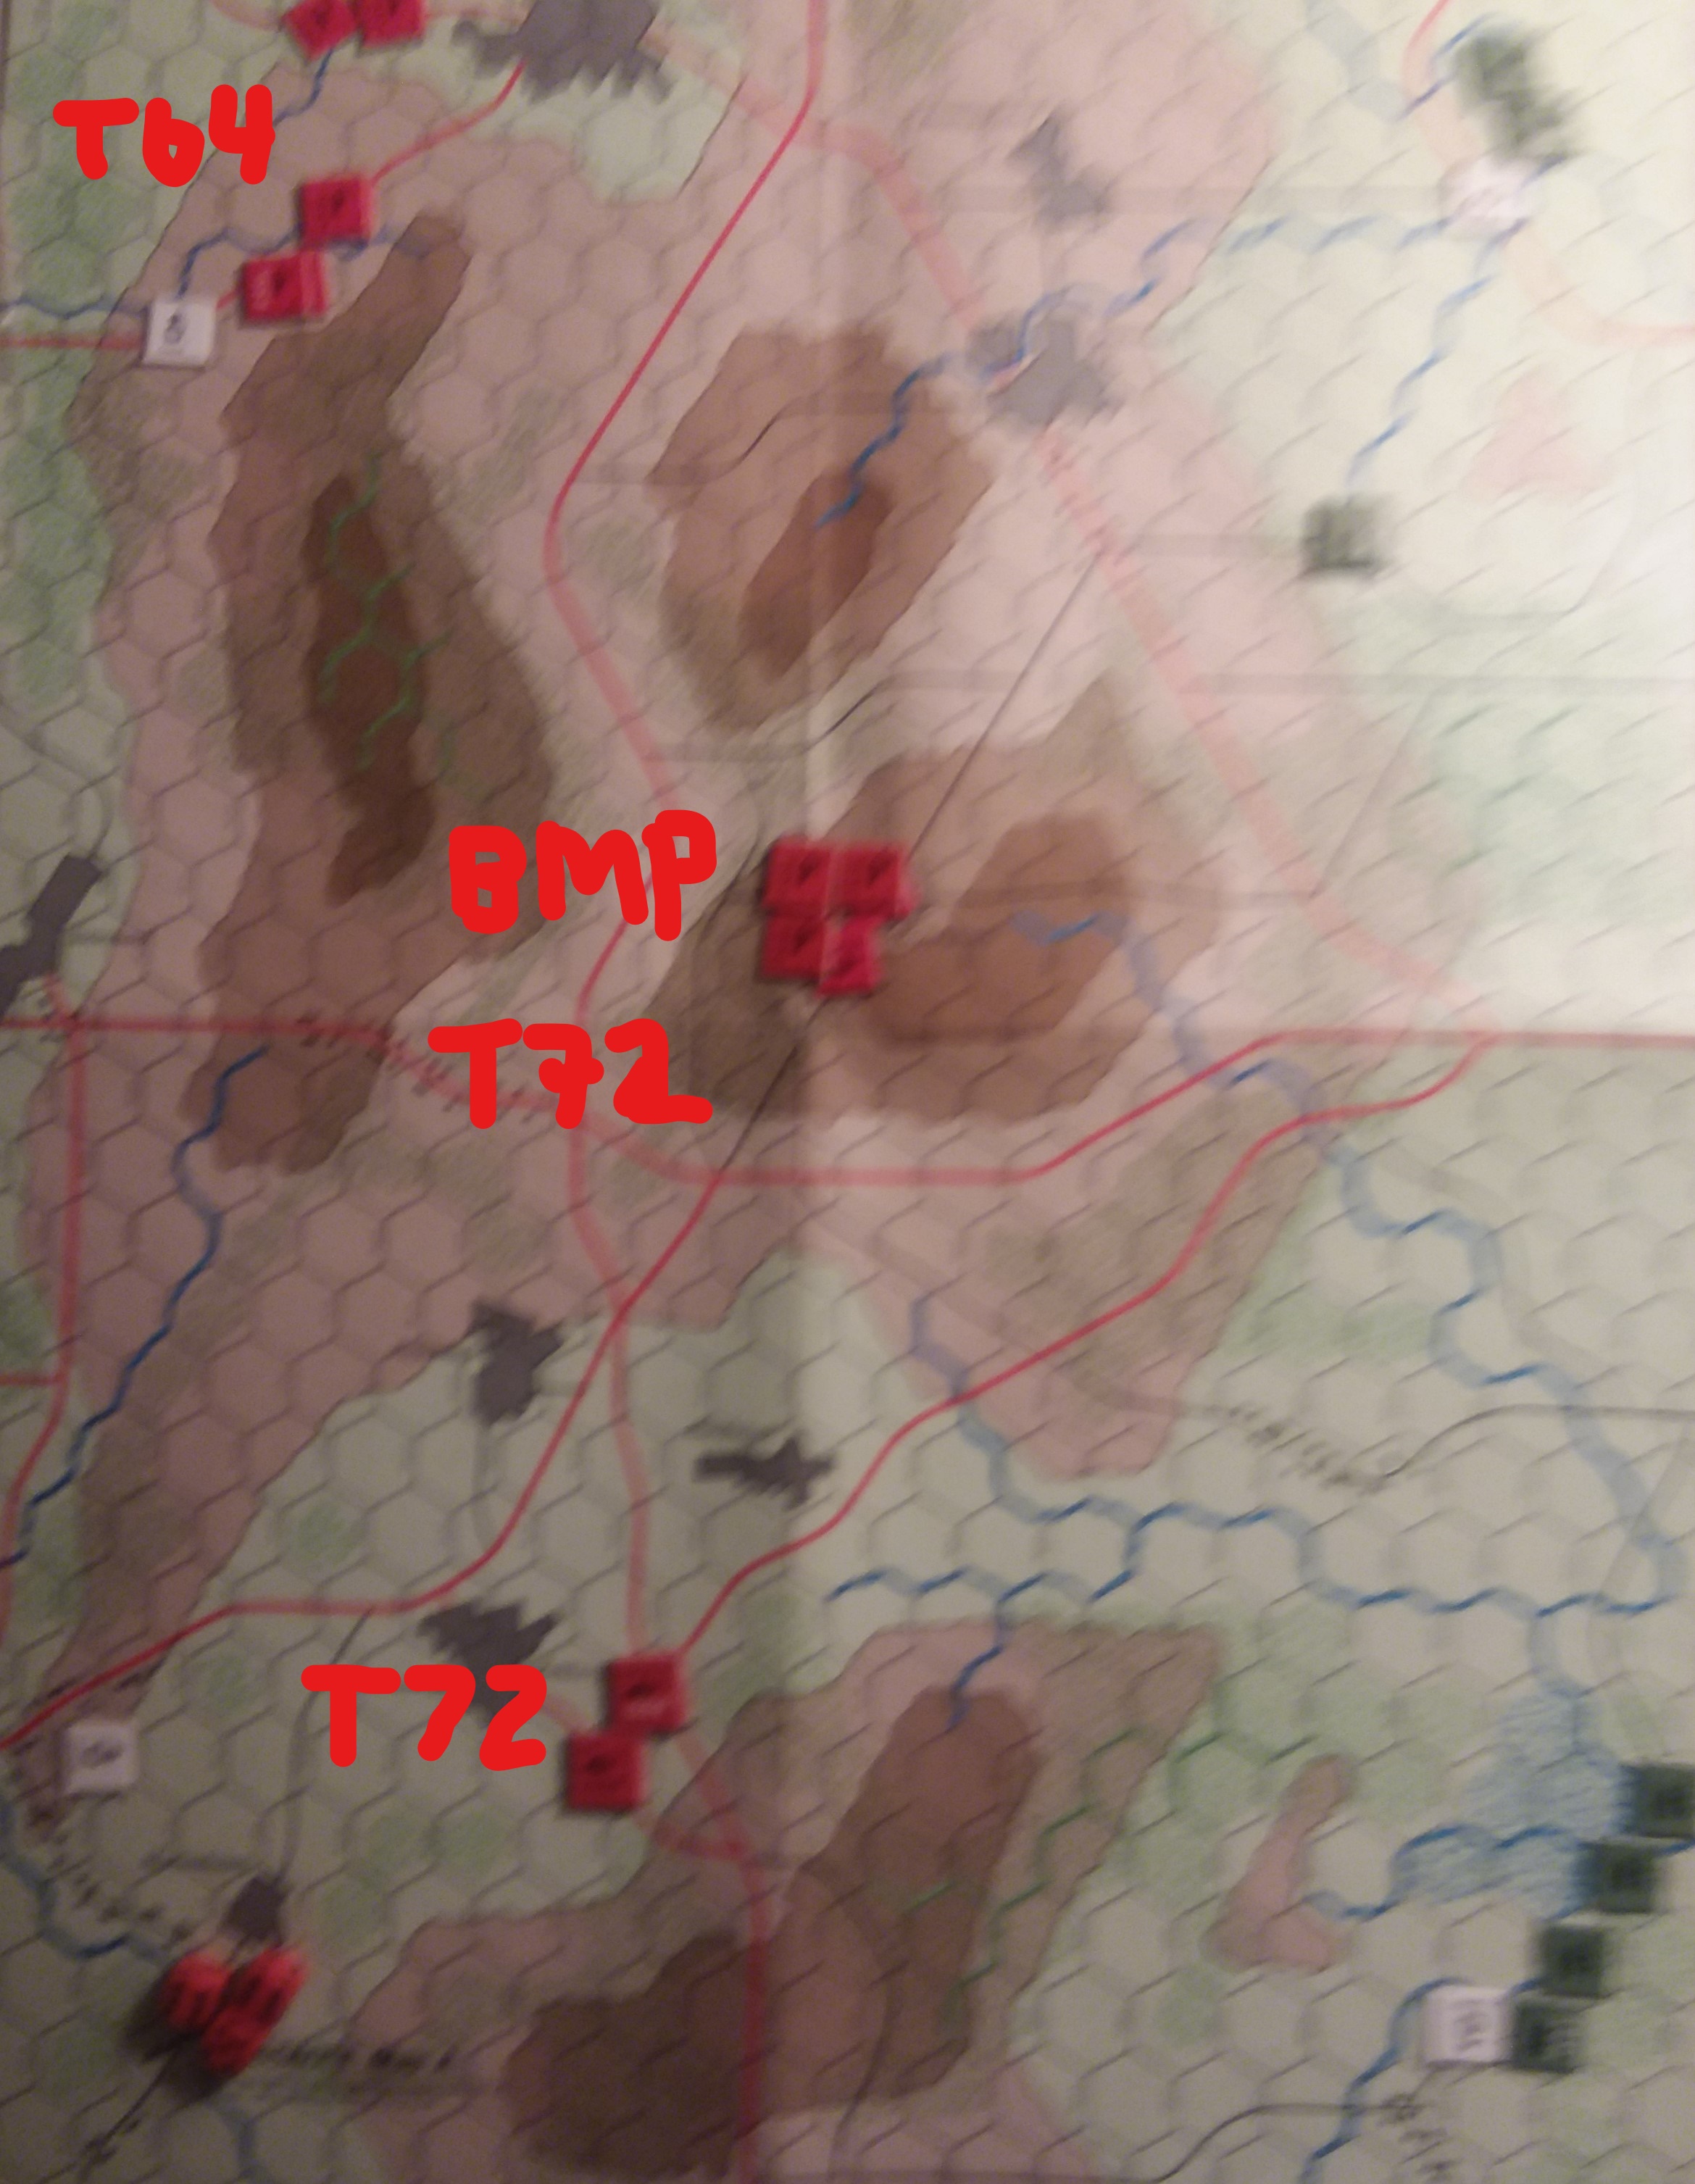 Combat at Ludwigsworth Start. I've already started moving the southern T72s. Note BMP/T72 Spearhead in center
I won the toss, and moved my T64s forward in the northwest and shifted the T72s forward in the south, leaving the spearhead in place, waiting to see if BH countered or held positions. BH could easily swing the game by popping 4 M60s on either side, and I was accordingly cautious. Kept the rolling ground between me and him, forcing him to give up gone-to-ground and possibly use either stabilizers or shoot at long range. The Spearhead was bait, hoping to draw his command group prematurely into the fight.
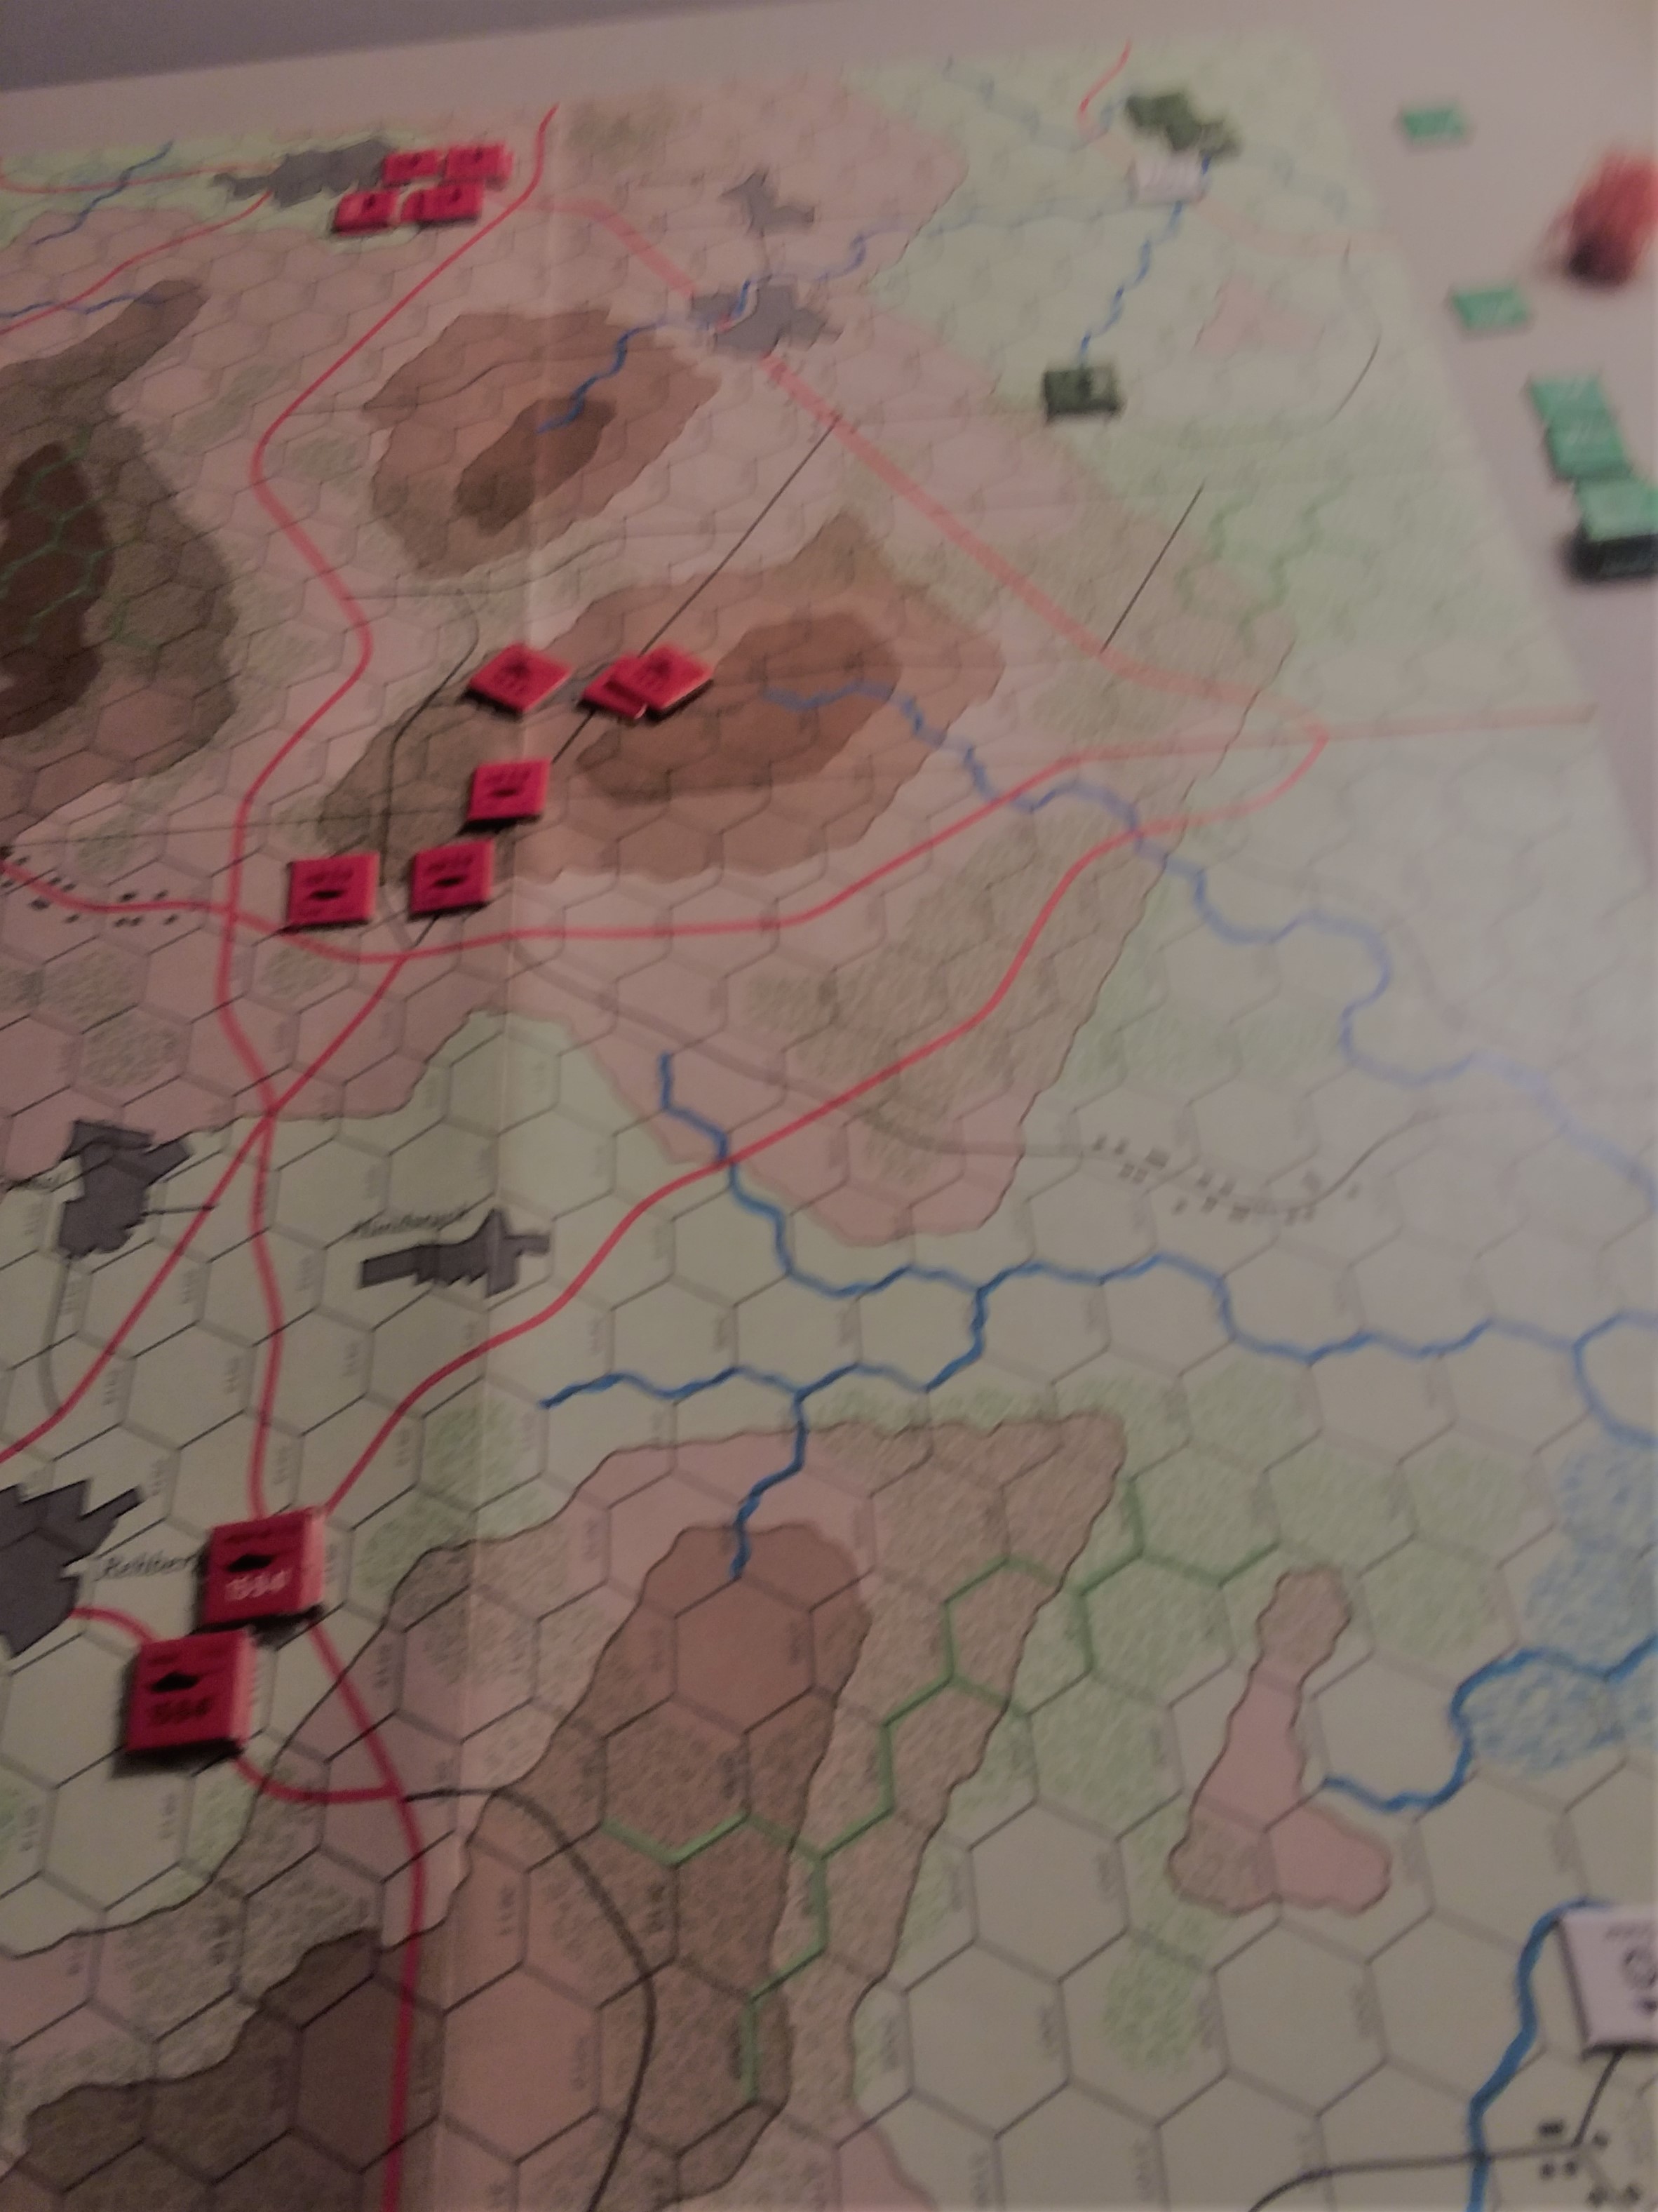
BH elected to stand pat, hoping for early reinforcements, rather than gambling on low odds. I moved forward again, taking up hull down positions along the hill top with my T64s and T72s, and opened fire.
BH elected to remain in cover, but shoot. He rolled 10 dice and got 4 hits. I bounced 3 cleanly, rolling 4,4,6 and my one 3 saw him produce a 1 for firepower.
After pathetic return fire, I rolled for reinforcements, and got T55s. They replaced the T72 platoon on my right and dashed to center court, ready to counter any reinforcements. I fired again, and this time my 10 shots garnered me 3 hits, and BH's 2nd Platoon disappeared in columns of fire. BH countered this by rolling for no reinforcements, and shooting again at my T64s on the skyline, hitting twice for one bail.
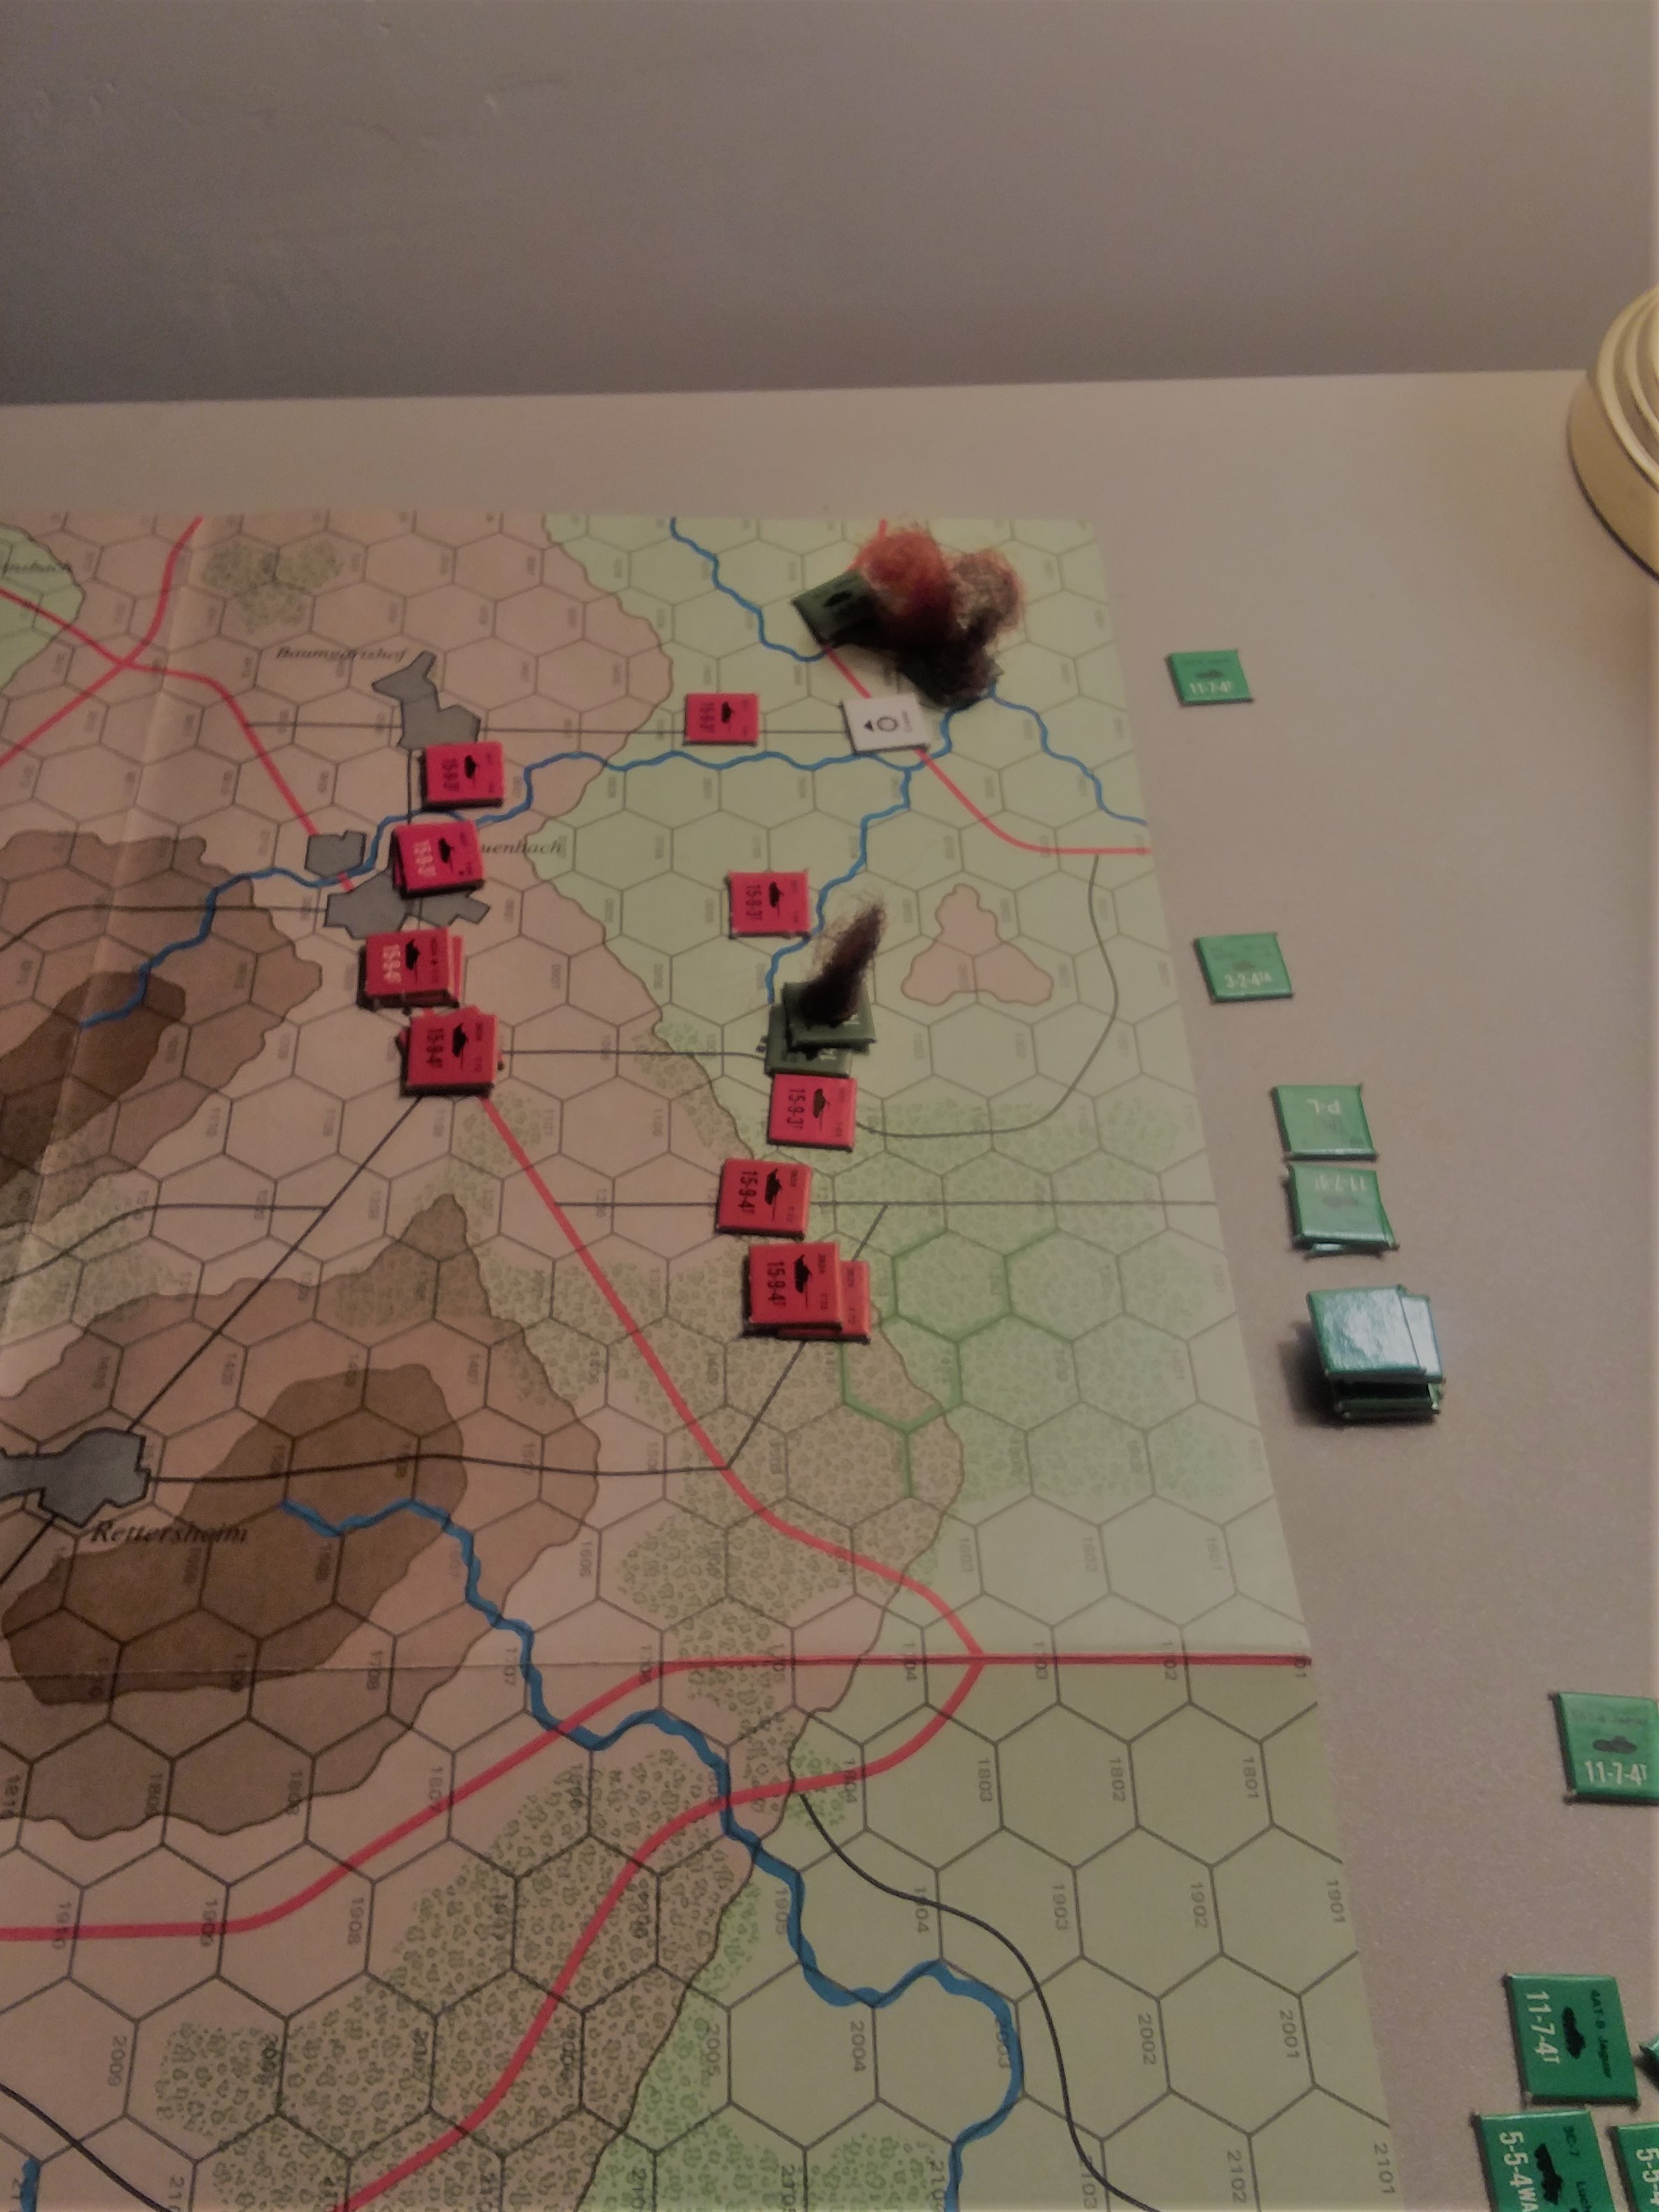
BH reacted to this double disaster by pushing his First Platoon forward (off the picture, below) to try and keep me from massing against the northern objective by throwing in another T72 unit.
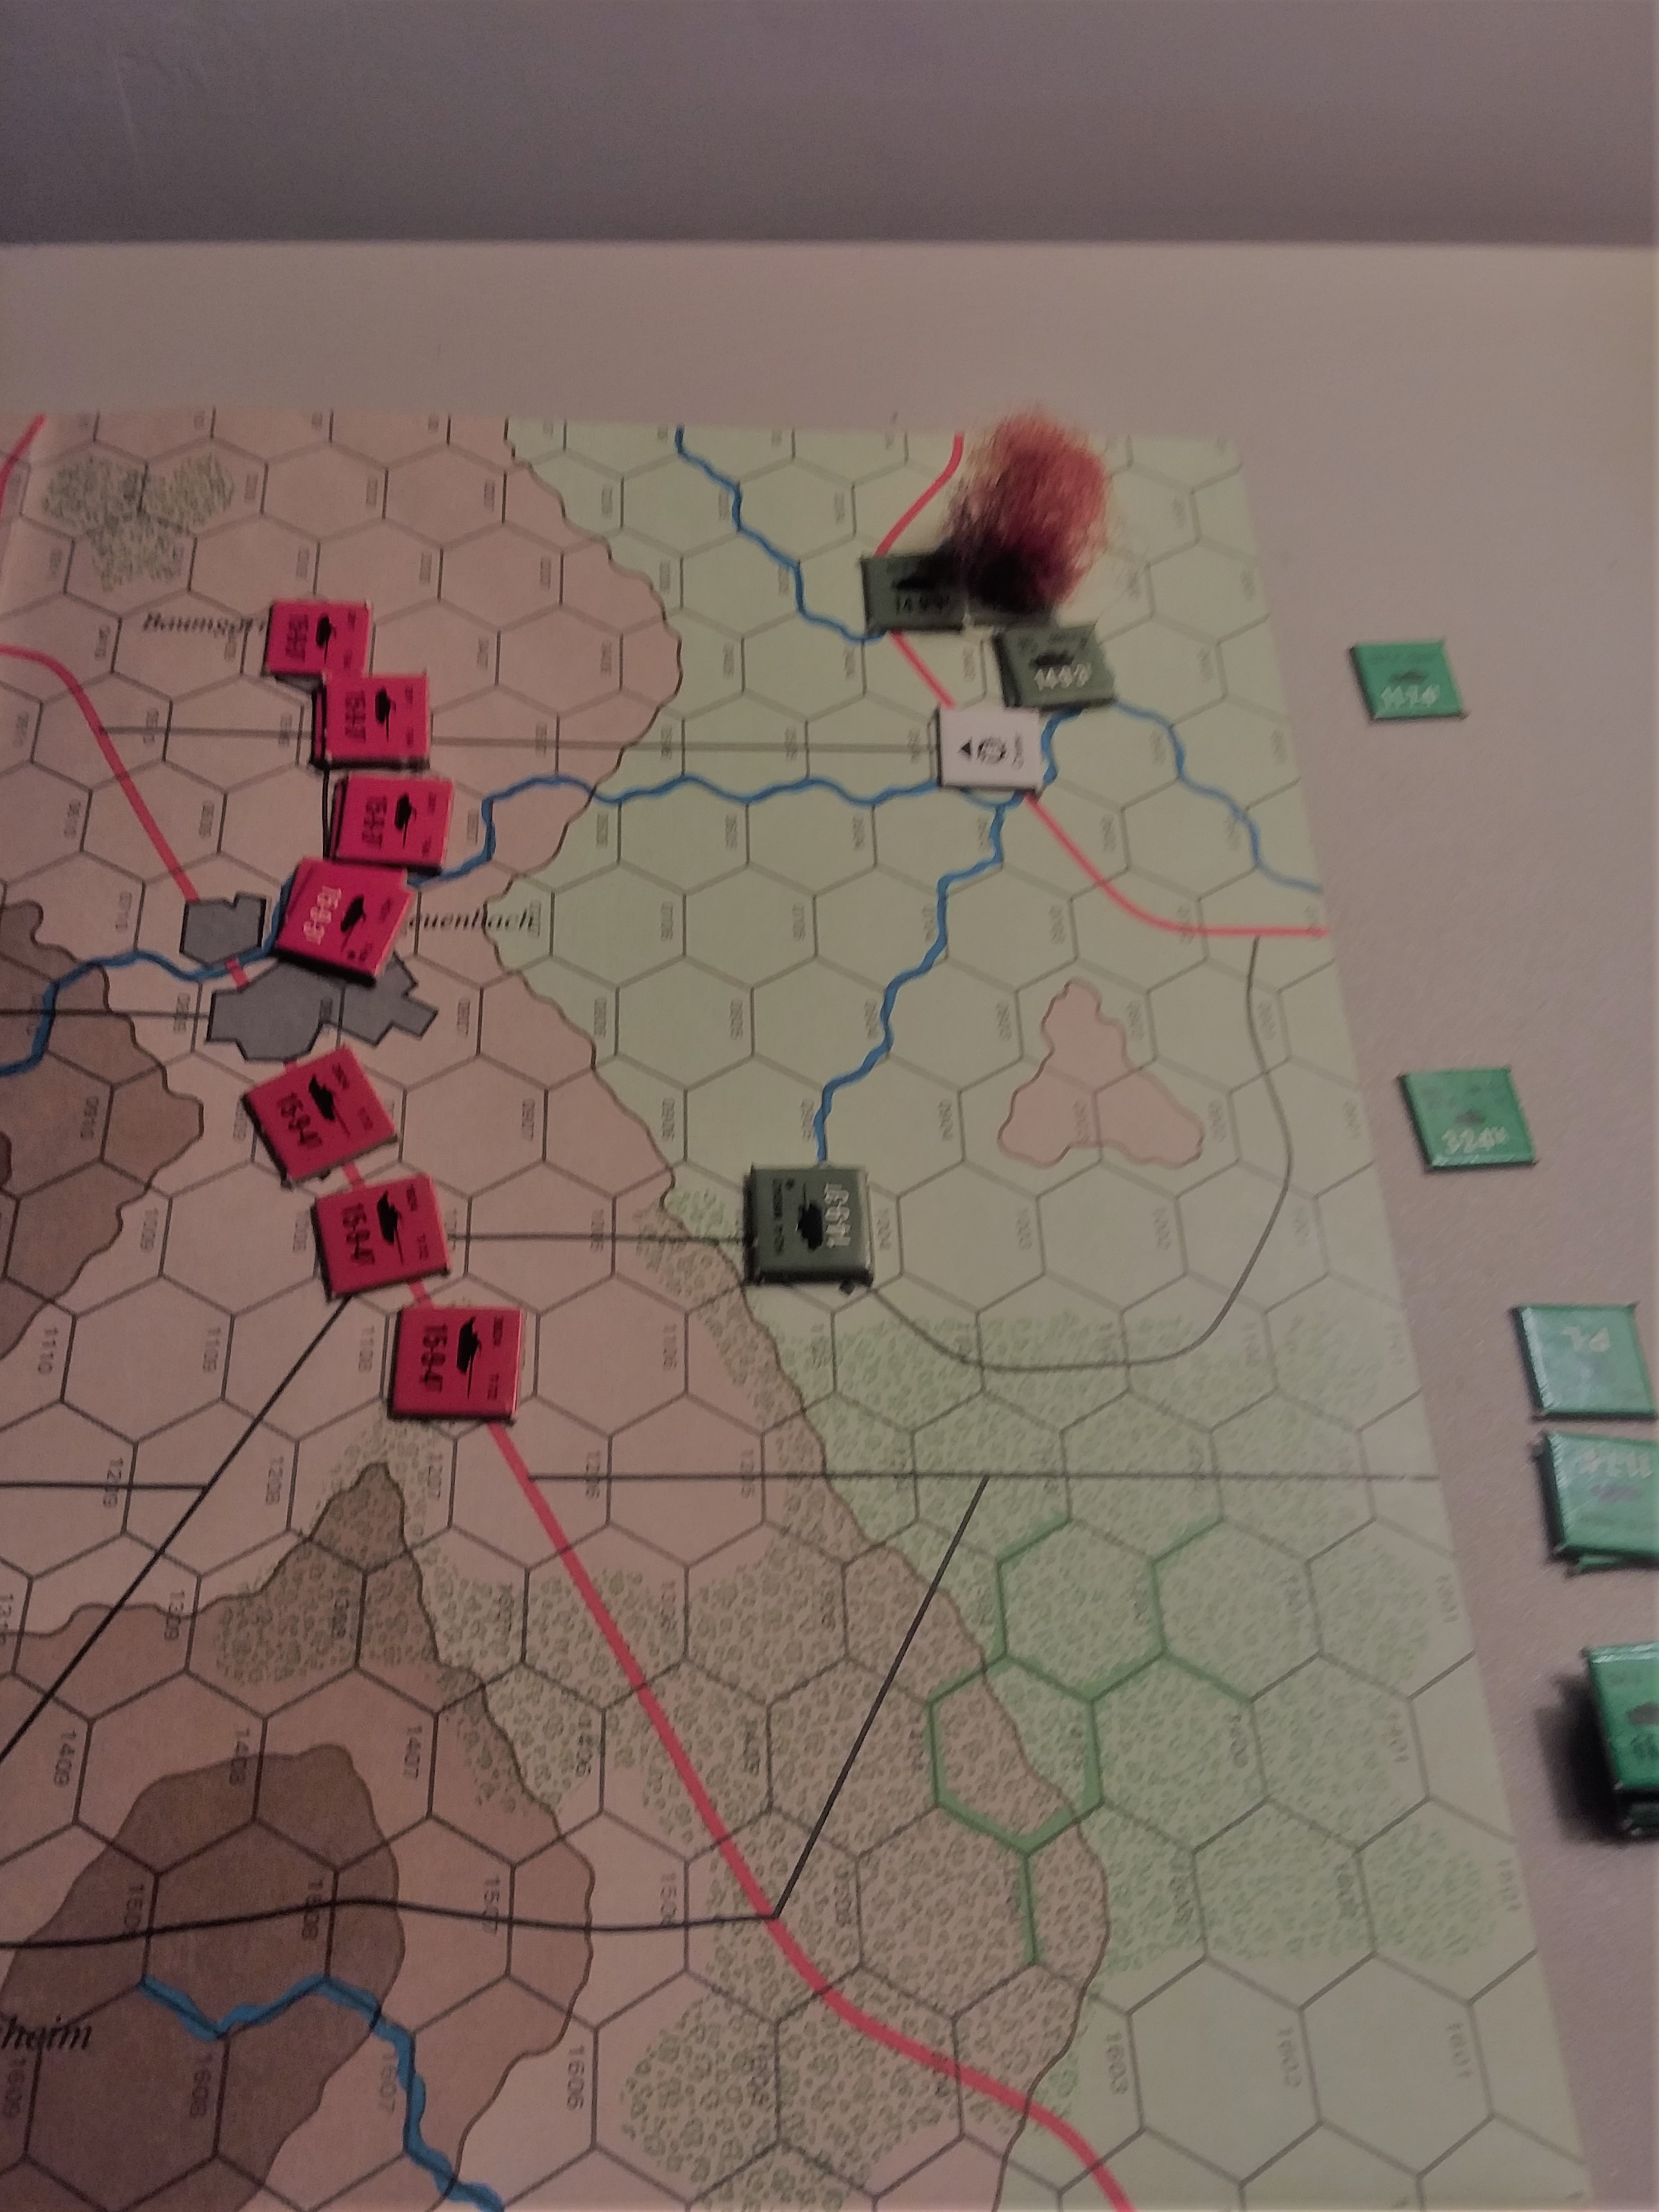
Turn 4 saw me get another T55 platoon, This allowed me to bring my T72s into the woods nearby his two command tanks and shift my T64s to mass fire. 10 shots at 5+ produced the necessary two hits. Both tanks exploded. Just to put icing on the cake, I used a shoot+scoot to slide my closest tank off the rise in ground to contest the objective. This would force him to bring his reserves on into a shooting gallery instead of playing hide and seek in the woods.
All that thinking became moot when he didn't get reserves. Game over.
This was mostly about luck, and the differences between day fighting and night fighting. BH could have been more aggressive, trying to get the first shot, but that would have required setting up in the open which would have had dire consequences when my spearhead flanked him (remember the BMPs have AT=12 Heat rounds and 16" (8 hex) range on the move...6 shots from BMPs and T72s plus several more from my T64s would probably have wiped him out before he got any shots if I moved first, and if he moved first and attacked the T64s he would have been long range + stabilizers+cover. So it was damned do-damned don't.
NATO large units + small points + reserve = tough game, right from the start
Battle Report Author
Army Lists Used In This Battle
Recommend Commander For Commendation
Share this battle with friends
bayankhanWins

Looks like BH loses all the games.
still like the concept Comrade Bayankhna – great AAR
Well your opponent seems to play very passive, and just sits there, does not move, does not flank, I think you need to suggest to him to be a bit more aggressive. Is he in the US forum? Can he contact us there, it would be great to give him some tips. Also needs to bring more infantry
Yep, this opponent has the worst luck every…… he should not go outside
so is he actually rolling? or doing that excel spread sheet again?
Let me deconflict this. The hills are layer cakes. You can, by admittedly arbitrary decision, only see into the valley from the first hex fully colored brown. The partial brown are slopes; units on slopes are targetable from anywhere on the ‘plateau’ but hull down unless you are next to them or firing across a ‘curved’ in the slope. None of my tanks were on partial slopes so his 2nd Platoon was TOO FAR to reach the hex with just stabilizers. He could have committed the command group by itself without the blitz. They could reach the next level up, and from one of the hexes of medium brown, fired down into the valley below rolling 4 dice vs concealed, stabilizers at 5,6 hitting (on average) once and getting a penetration 1/3 of the time, and certainly dying to the retribution (two of my T72s could have gotten into position behind him without either blitz or stabilizers and the third could use stabilizers. He chose not to risk his company commander, XO for a marginal chance at a T64.
Thanks to my poor picture taking skills, the glare is probably keeping you from seeing 3 woods hexes complicating his advance forward and the ‘hofs’ that I was occupying.
You also may not notice, because his 2nd Platoon never left them, that they were in cover (more woods). Not set up in the open like lambs to the slaughter.
Would it have been better to send his command group on a Hail Mary to kill my center T72s? Possibly. But remember 3 BMPs would undoubtedly survive, and there was no guarantee of success against the T72s with 4 dice hitting 5,6 (1.33 hits, killing 1 tank leaving 2 plus 3 BMPs to get even). Could he have taken a risk and put 2nd Platoon in the open? Sure, and in this battle 3 T72s would have shot him, and 3 BMPs would have engaged his command tanks from the flank at point blank range unless they ran out into the open too. Were there other options? YAHOO. Certainly you could have played it better. I’m not sure I could
@bayankhan, by your own rules, each hex is 2″? So, the M-60s with their 10″ move would have been able to move up to the hill, sit hull-down and still fire off two shots each? That’s the way the game works, right? Why would that move have left him exposed, or how could he not have made it to that position? Unless the map isn’t showing the terrain as it should?
Nisbet – His tanks were all in cover. If he had advanced to the middle of the hills, which are flat, he would have been unable to shoot. If he stretched his tactical move with stabilizers, he would have been able to shoot at PACT tanks in cover (shoulder of hill in between two opponents, we call that hull down to simplify line of sight rulings) and GTG, +3 to hit = 6. He needed, because he set up in the woods, cross check + blitz + tactical move + stabilizers to reach firing positions from where he set up. If he had set up further forward, I could have put an entire battalion in the center and using advanced stabilizers, taken him in the flank with 7 T64s. Remember, I placed three things and he was all down…and then I placed the T64 BN. It wasn’t so much that he didn’t agree with you, it was being outnumbered and having to leave his scouts in reserve. He places a spearhead, and he can do what you suggest, but then he’s still out in the open if I get the first turn.
Frankly, since I started playing East Germans (and now East Germans with Soviet allied T64s) its pretty grim for my opponents if they choose tank lists. They have the best chance facing pure T64s and even that has not proved great. As soon as you factor in infantry it’s like Double Jeopardy where the scores can really change, but I get infantry, too, and so the rock blocks scissors cuts paper. Add objectives, and season well with reserves. Only British players give me consistent difficulties, so far. And then only with infantry/cavalry lists, and usually producing draws. Occasionally PACT/PACT sees me defeated.
Still red’s fire brigade a! Still nice report
BH is not having the best of luck, vital reinforcements just not arriving. Thank you for an interesting report Comrade.
So, the defending US had no cover while the entire middle of the map was defensible hills? A little lop sided… No?
Good battle. Thanks for the report.
Congrats Comrade general. Well done sir.
Reserve battles are always a little tough, but this one looked rougher than average. Another well done AAR Comrade!