Fought At Ruhr
2234 days 14 hours 39 minutes ago
Assault Crossing at Hummelo
50 POINTS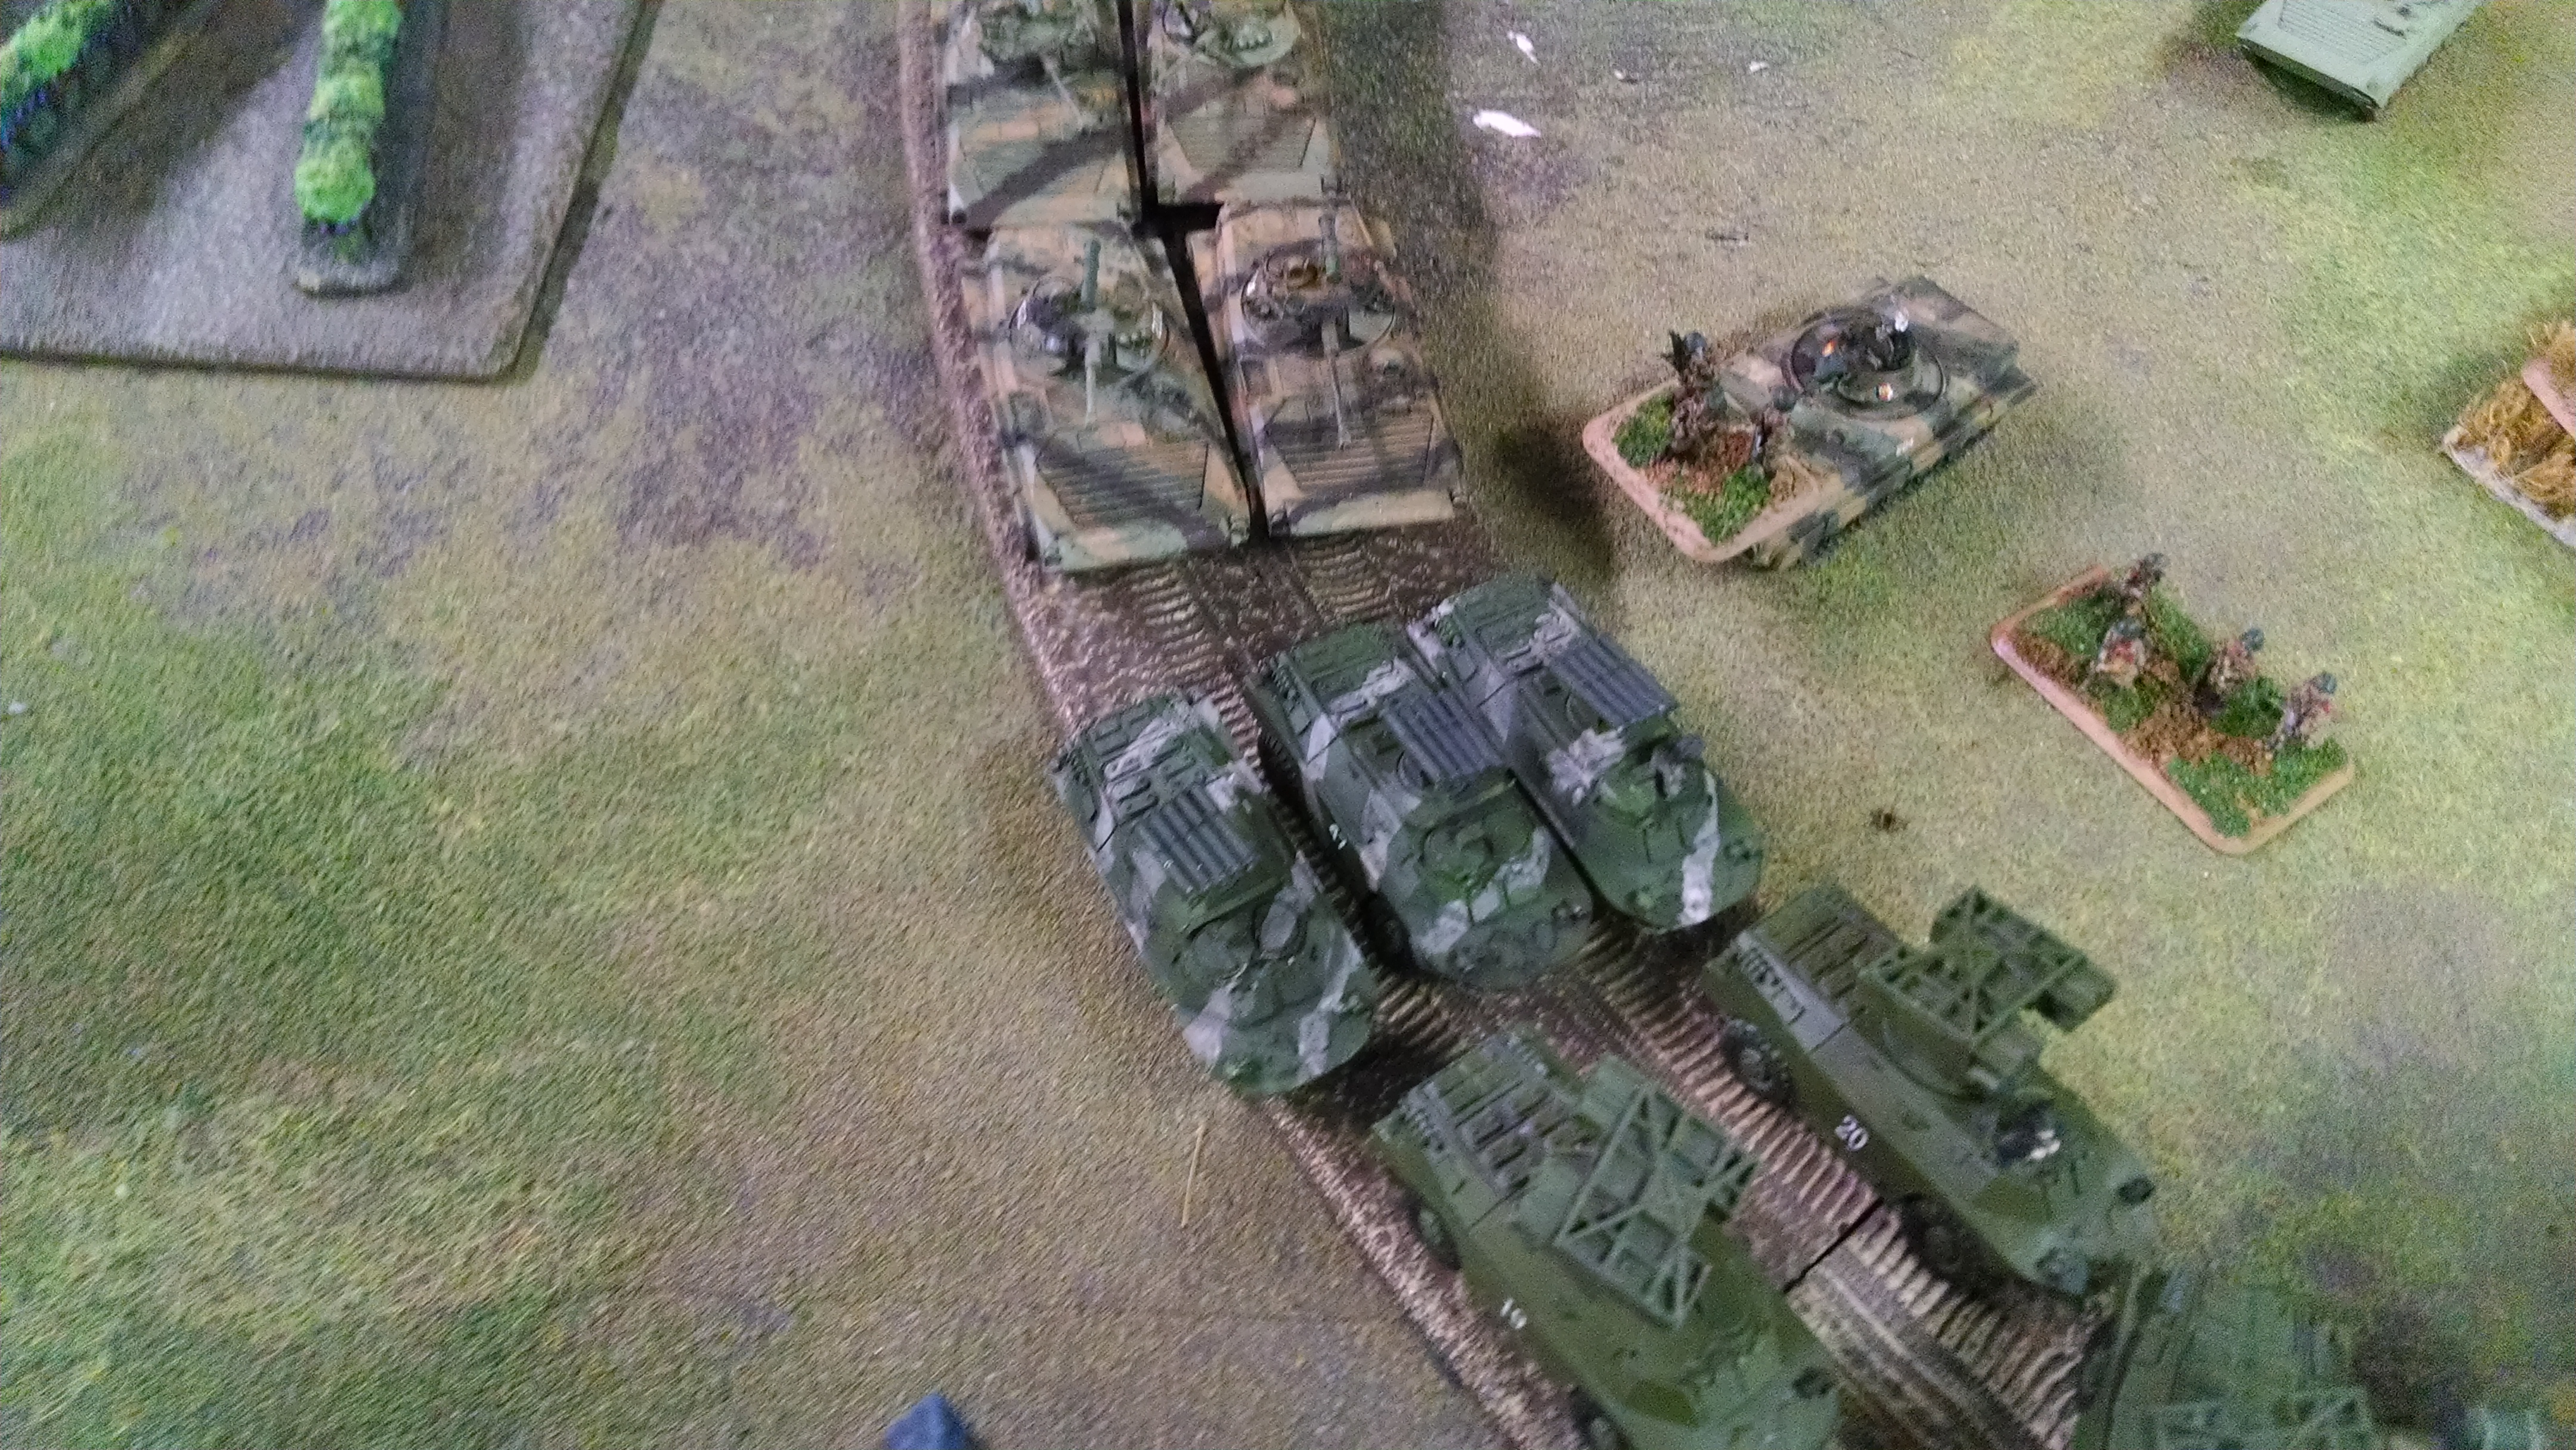
Combat at Hummelo
Forward Detachment, 3rd Polish Motorized Division “Pomorska”
3rd Polish Motorized Rifle Division had been moved west from occupation duty in Denmark to strengthen 1st Polish Army, which was being used to widen the shoulders of a breakthrough achieved yesterday by the 1st Motorized Rifle Division and the 8th East German Division.
The Army commander had decided to commit the 3rd from his 2nd Echelon forces to sweep the east bank of the Ijssel River, seeking an opportunity to find other crossings. The 8th Motorized following behind the 1st Motorized was already being delayed by NATO airstrikes and resupply columns necessary to support the 1st and the Soviet tank brigade that was on the other side already.
Pudpulkownik Yakub Niktnie led the Forward Detachment of the 3rd,which he privately thought of as Niktnie’s Uhlanski. The tip of the spear. His own command was the 3th Reconnaissance Battalion, and was augmented by tanks from the 5th Tank Regiment as well as some from the second echelon 45th Motor Rifle Regiment, as well as BMP-1s.
According to his maps, there was a convenient crossing of the Oude (Upper) Ijssel at Hummelo. It bypassed a crossing at Doetinchem to his east and was suitably near to a crossing of the main Ijjsel near Velp for his purposes. His mission was to bounce across the Oude Ijjsel and then swing west, covering the 3rd Division’s flank and incidentally, perhaps if he was lucky, seize the Velp crossing.
According to his scouts, and a helpful Russian spetznatz team disguised as gastarbieter from Turkey, he knew that all three bridges were still up. In case one was dropped, he had an assault bridging section with PMP bridges attached to his command.
Kamphgruppe Schlect, 32nd Panzergrenadier Brigade, 11th Panzer Grenadier Division
Maior Karl Schenck was a worried man. His Kamphgruppe was an image of the Bundeswehr as a whole. Except in Bavaria, where things had gone much as planned as the mountains, early mobilization of the 56th HSK Brigade, and Soviet distraction with their Austrian adventured all combined to slow Soviet progress, the war had gone about as badly as it could.
I Armeekorps was now divided into three parts. Four if you count the remnants of 6th Panzer Grenadier hanging on by its toenails to a corner of Danish soil, along with remnants of the Danish Jutland Division, a British ‘rescue’ brigade, and some Americans cut off when their joint training exercise was interrupted by a real war. CINC Baltic Approaches had been using destroyers making night runs to resupply these units, and the success, according to rumors, was about as good as the Tokyo Express on its bad nights fighting on someplace called Guadalcanal.
1st Panzer and what was now called 14th Grenadier Division, formed from the Second Territorial Command, were cut off, mostly, in Hannover, with the British I Corps. 3rd Panzer had never detached from I Dutch Armeekorps to become I German Armeekorps reserve. Thus when the Soviets had closed the jaws of their trap in the last days of the first campaign, 7th Panzer and 11th Panzer Grenadier had been brushed aside along with the main Korps HQ and logistics units.
And it was not like the 7th and 11th hadn’t put up a fight. Soviet T64 tanks were a nightmare for Leopard Is, recalling his military studies about the early model PzKw MKIII and the first-seen T34s in Opa’s time. The Leopard II was a comparatively new tank and Germany had been sharing production with the Dutch, so the 1100 produced so far had been dispersed over 14 divisions. Leo IIs outclassed the T64 but not by much, and the T64s outnumbered the Leo IIs and Abrams by 3:2.
Just to make things better, the Amis had pursued their own political agenda and diverted Third US Corps to CENTAG and launched an offensive into the GDR. Which had gotten bogged down, as any fool could predict – supplying an army by truck over hundreds of kilometers of roads only worked for the Amis in World War II when they had total air supremacy and the enormous mechanical clout of Detroit at their disposal. In an era when air parity was the norm, and helicopters could drop commando teams behind what were laughingly described as front lines, the problem was hopeless.
By this morning, the two Divisions had 86 Leopard IIs between them out of an original 160. Schenck had none. He did have two Leopard I companies, each down to 7 tanks, and a company attached from the 15th Grenadier Division, formerly III Territorial Command. The had 14, having not yet been exposed to combat. 8 Luchs, 3 Marders, and 25 M113s formed the rest of his force.
The sleek Marders that had been his pride and joy before the shooting started were largely gone from 32nd Panzergrenadiers. They had a cannon, and the Soviets therefore had to respect them. So they had become priority targets for the Soviet infantry carriers. The BMP-1s were the worst, as they had that nasty little 76mm gun. You might hesitate to waste missiles on Marders, but not 76mm cannon ammunition.
One consequence was that Kamphgruppe Schleck had few infantry veterans. You see, when you fight a mechanized battle, and your transports are blown to bits, you get left behind.
His infantry were largely men drawn from the Ersatz battalions of the Division and Brigade after the fighting settled down, with a scattering of VBK commandoes who had escaped from the Soviets. The Soviets had no patience with guerillas, and when they accepted the formal surrender of a town or village, they insisted the VBK be identified and disarmed. Then the VBK became POWs and were shipped off someplace. No German who had heard of the experiences of the POWs in Siberia willingly subjected himself to that, and most refused surrender. Only to discover that shooting at the Russians led to reprisals in the form of rounding up a couple hundred civilians and shipping them east. Once that happened, the hidden VBK either walked west or were subtly encouraged to leave.
Looking at the pitiful remains of what had once been a proud reinforced panzer grenadier battalion, Schenck could readily understand the grim humor behind his soldiers corrupting his name into Schlect.
This morning, things had become worse. Brigade told him that the quiescent front down the Ijssel towards Apeldoorn, had exploded overnight, and the bastards were over the lower Ijssel. Unclear what their intentions were, but the British liaison from 43rd Division had, in their mode of sardonic understatement, made clear that there was bad trouble. “Sorry, old boy, but we can’t guarantee the Ijssel crossing at Velp right now. Our priority is to contain the Soviet penetration toward Utrecht.
So Schenck had dispatched his meagre reserve to that area to support the attached HSK company.
His Hauptstabtfeldswebel approached. “Kruger’s scouts report enemy tanks approaching Hummelo,” he said.
Schenck took a final pull on the weak coffee. His left hand automatically checked for his pistol, a 9mmP38, a relic of the last big war. Opa’s gun, and his talisman. “To battle, then. Recall the reserves from Velp. It appears we will have problems here sooner.”
SCENARIO – Hasty Assault Crossing
This scenario is a variant of Hasty Attack. This is the ‘bounce’ crossing where a modest force tries to seize a bridge, or throw up an assault bridge, get over the river, and seize key terrain to provide a modest bridgehead to protect the crossing.
The template is the same as Hasty Attack, with a couple twists. A river should be in no-man’s land. Existing bridges on the river do not have to have exits into the defender’s set-up area.
Instead of a defender-placed objective, the defender places the truck representing the engineering section with the bridging materials. He can place it anywhere in the normal set up area for objectives but may NOT put it in terrain that would require a cross check to exit. In this way the defender can make the attacker drive the truck around the table to get to his preferred crossing site. The number of bridge sections in the truck unit is determined by throwing D6. There are always at least as many as required to bridge the depicted river. Keep rolling until that number is achieved.
The attacker places two objectives, as normal. Reserves and ambush, as normal for Hasty Attack.
Victory Conditions. The ATTACKER wins if he controls a BRIDGE (either one he built or one that was a terrain feature) and an Objective. The DEFENDER wins if he destroys or controls the ATTACKER-built bridge and all other bridges on the map.
Bridges can be destroyed by direct fire of brutal weapons, and by bombardments. Bridges that begin the game as terrain have a 3+ concrete bridge save. The attacker-placed bridge has 4+ bridge save. The truck itself has a 5+ truck save, and has as many lives as it holds bridge sections. It can be pinned.
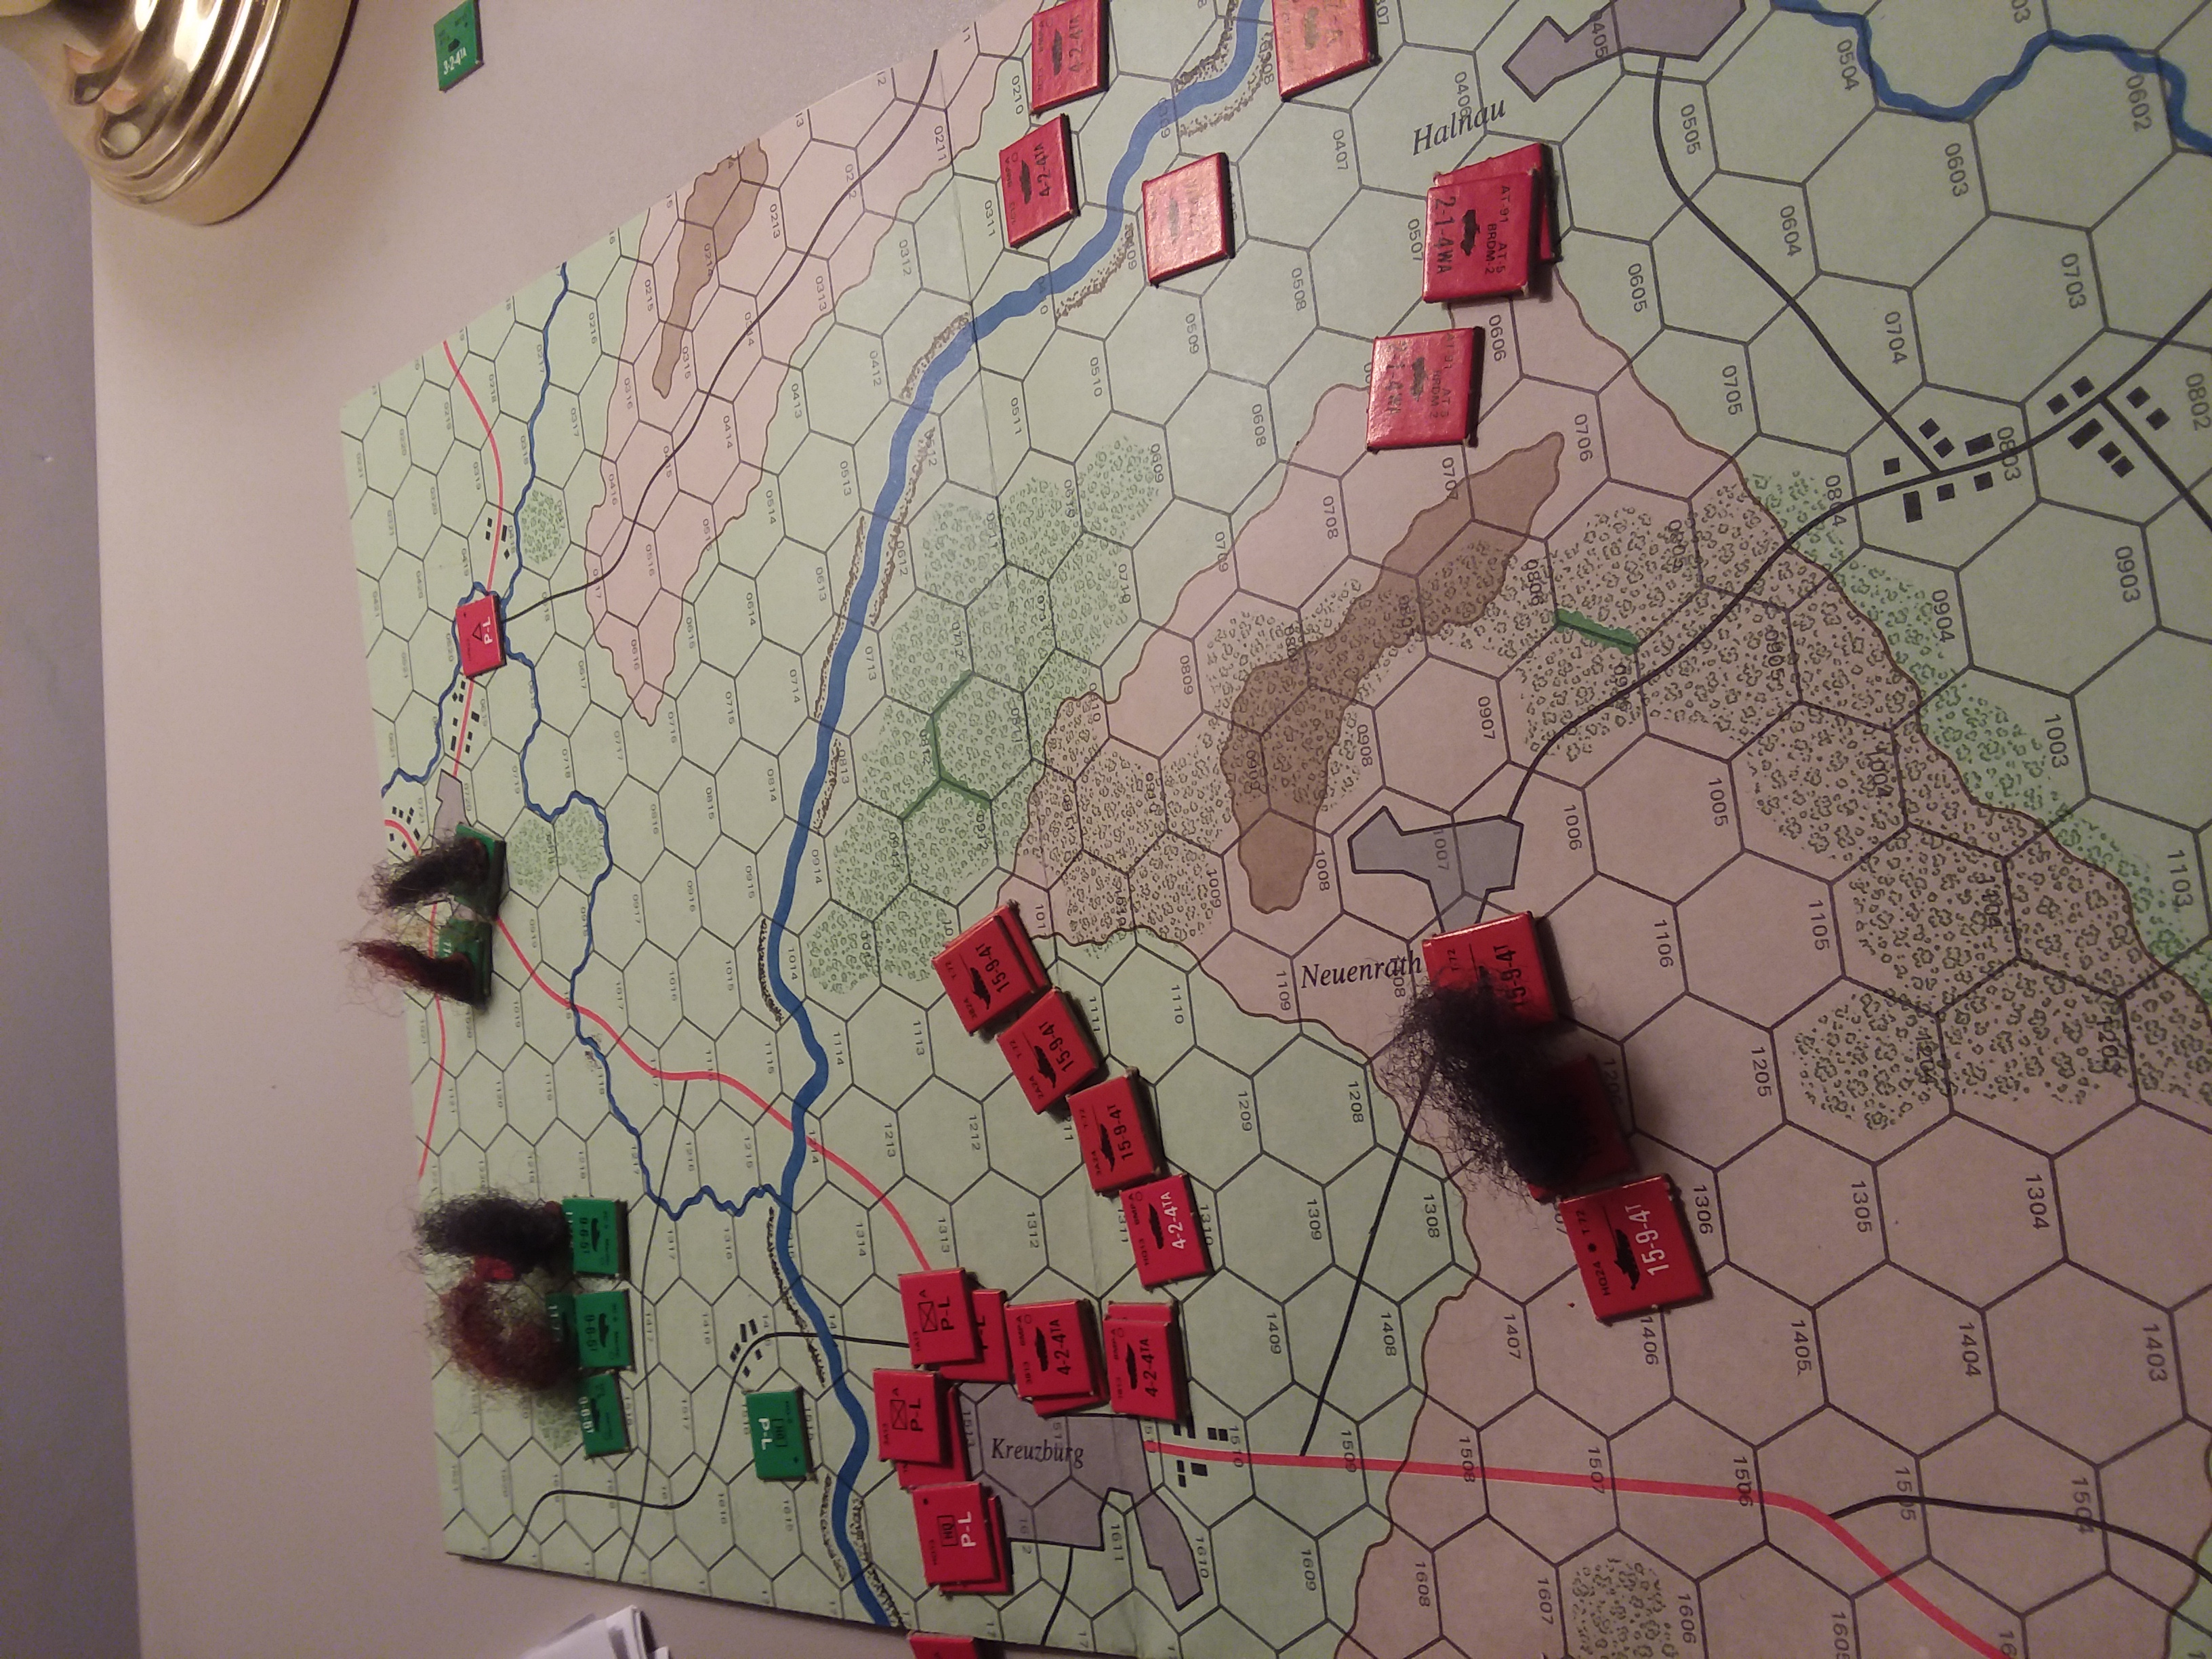
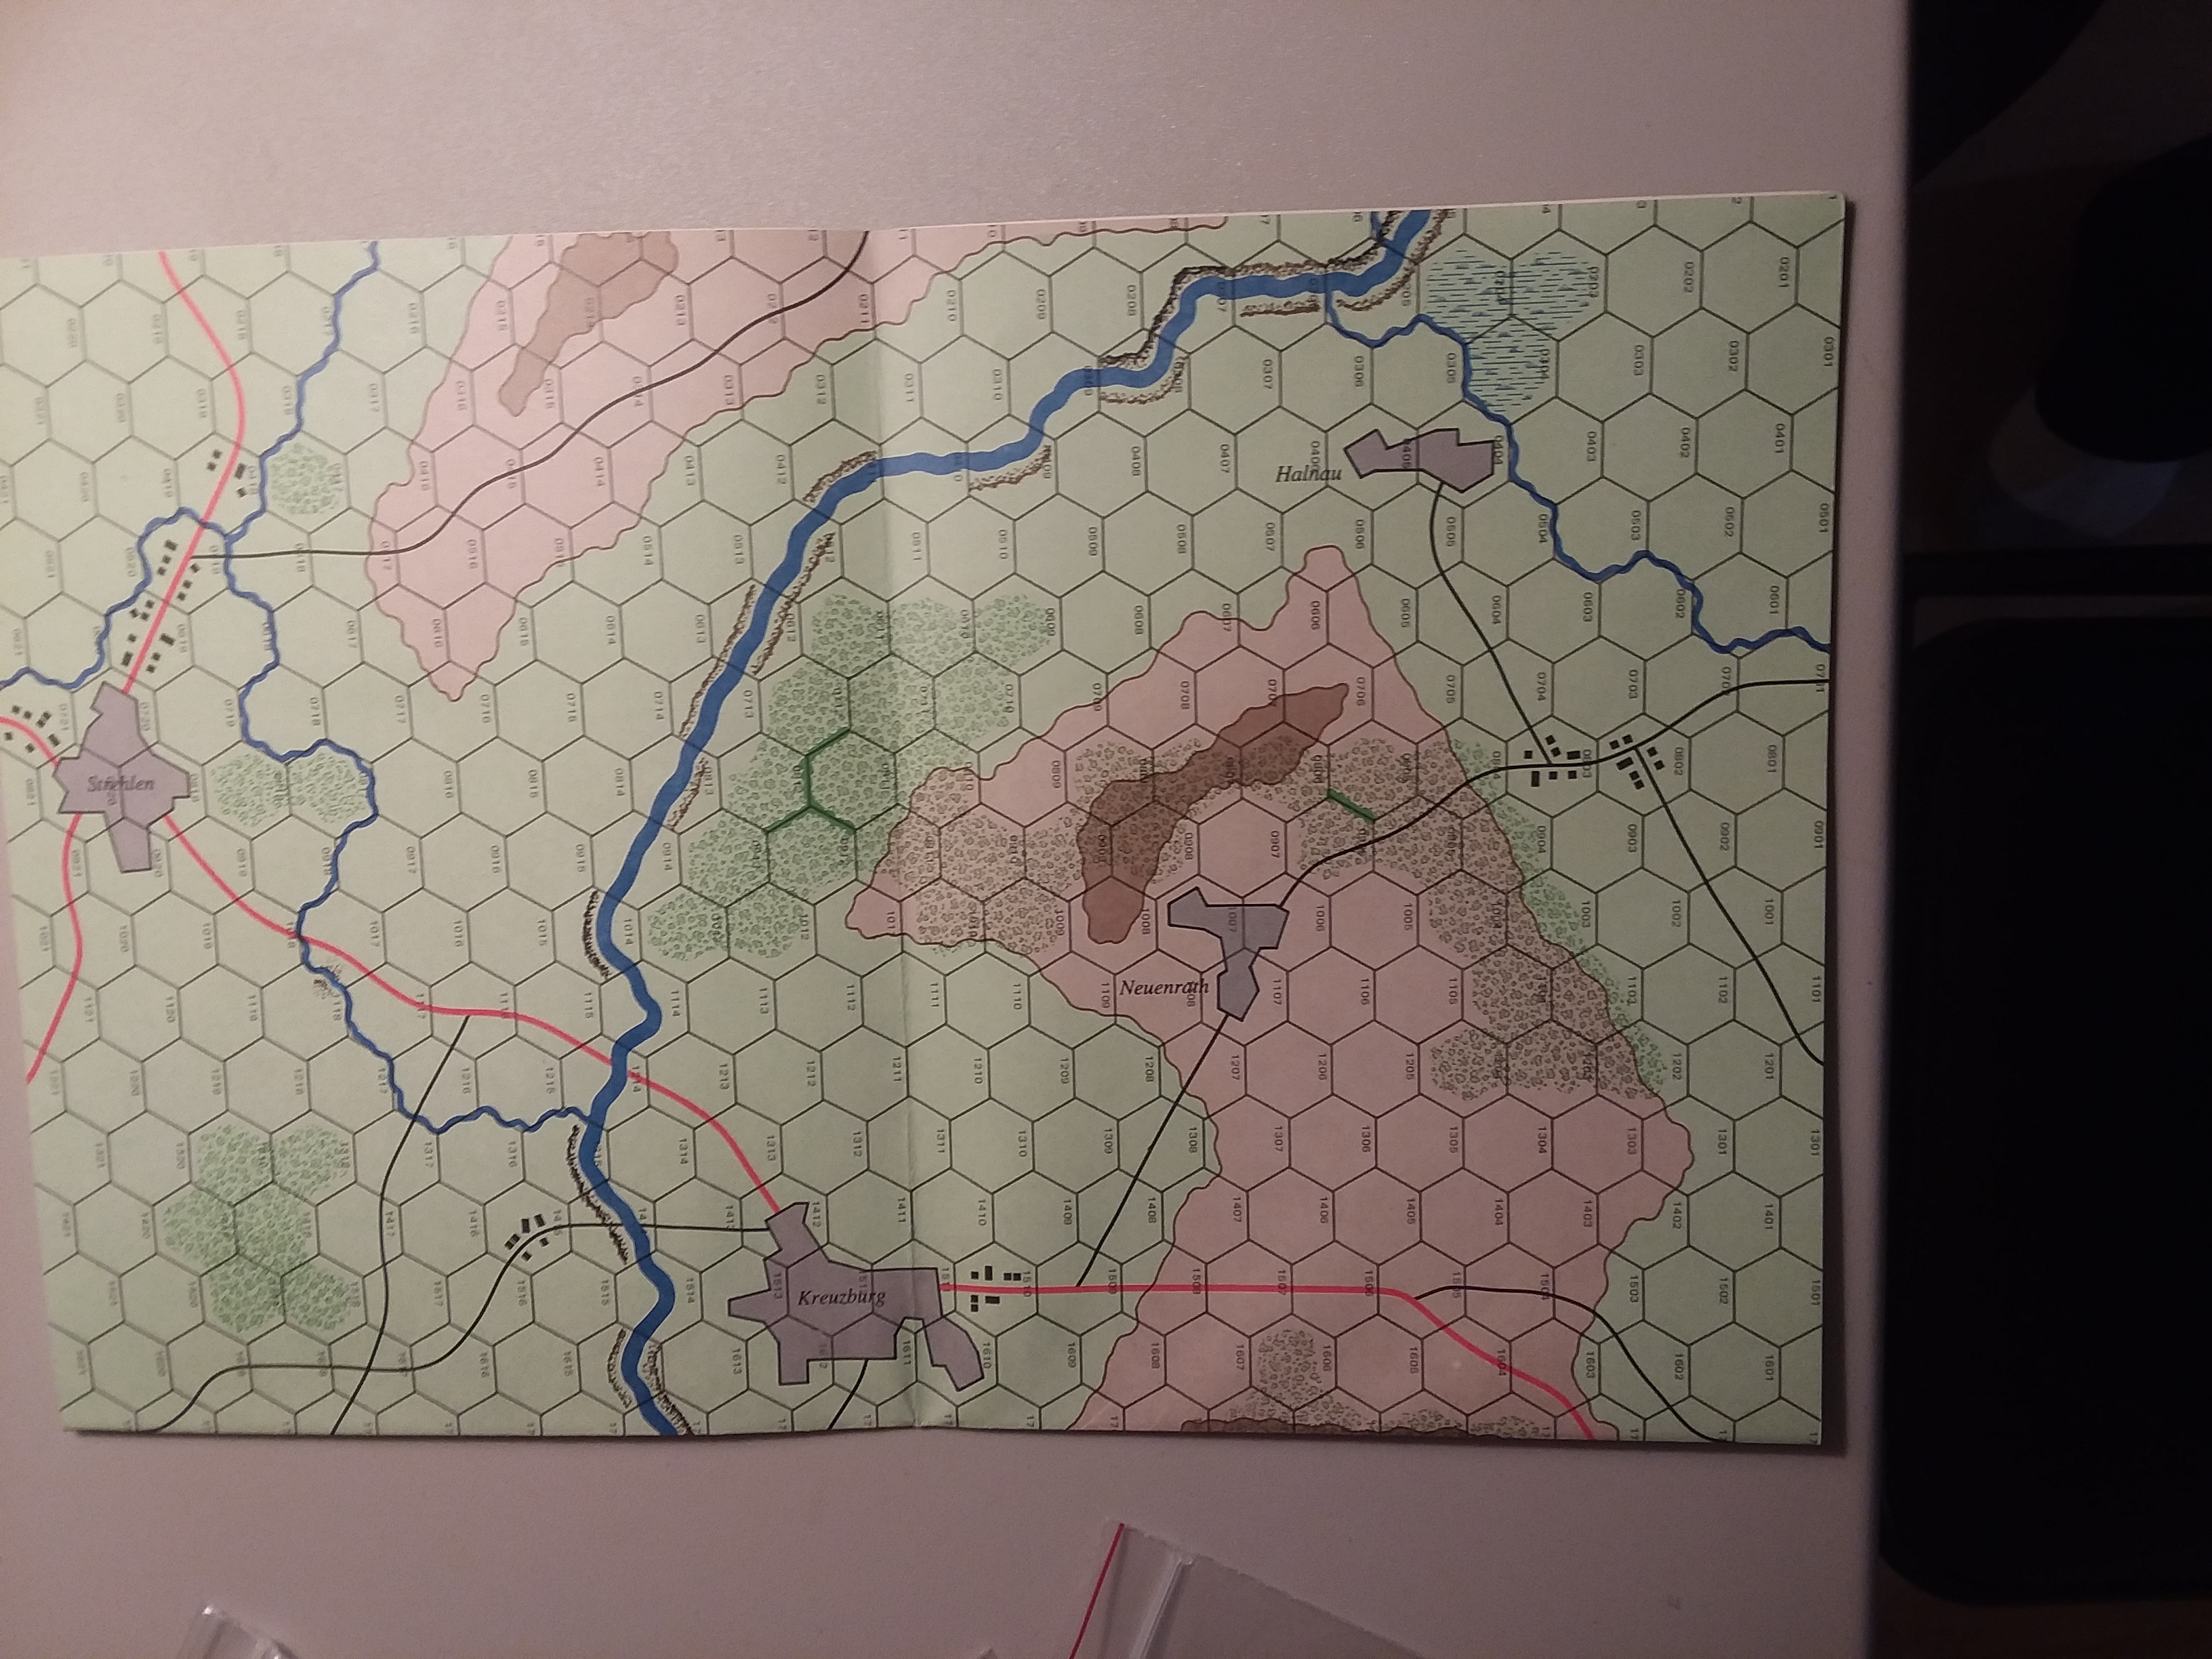 Battlefield at Hummelo. The gray area close to the river at bottom center is the named town. Note that this is a half size map, effectively 2x3
SETUP
We decided to go small. In retrospect, we perhaps went too small. 35 points. Assume that each of us had another 15 points off map; in my case that would be 5 more T72s, to make the 50 mentioned in the title (for some reason we can’t set the number lower than 50 points). The Polish force was a T72M formation, with 10 tanks, 7 BMPs, 7 infantry stands, and 3 Spandrels. 6 units. BH went with a Leopard I company, with 7 Leo Is, 3 Marders, 5 infantry stands, 4 Luchs, and 3 Jaguars. Essentially symmetric forces.
We used the other Assault game map with a river, which mirrored the terrain around Hummelo pretty well. After looking at how much space he could defend with just 3 platoons on the table, we agreed to fold the map.
BH had to set up 4 hexes (8 inches) off the centerline. He could have used a Luchs patrol to spearhead forward into Hummelo but instead elected to take his company commander and a Leopard platoon, the infantry platoon, and the Jaguars. He placed the Jaguars in ambush, dug the infantry in to protect the two bridges and hid the Leos behind a crest on his right flank.
I looked at ways to get forward using Spearhead and couldn’t find any. The large wooded area in the center was just too large, and getting into the water with BMPs would require two cross checks. So instead of using infantry I used the 10 T72s and put them on the road to Hummelo.
The weakness of small forces is they are BRITTLE. That’s a different way of saying that a lucky streak can end the game abruptly. As you will see.
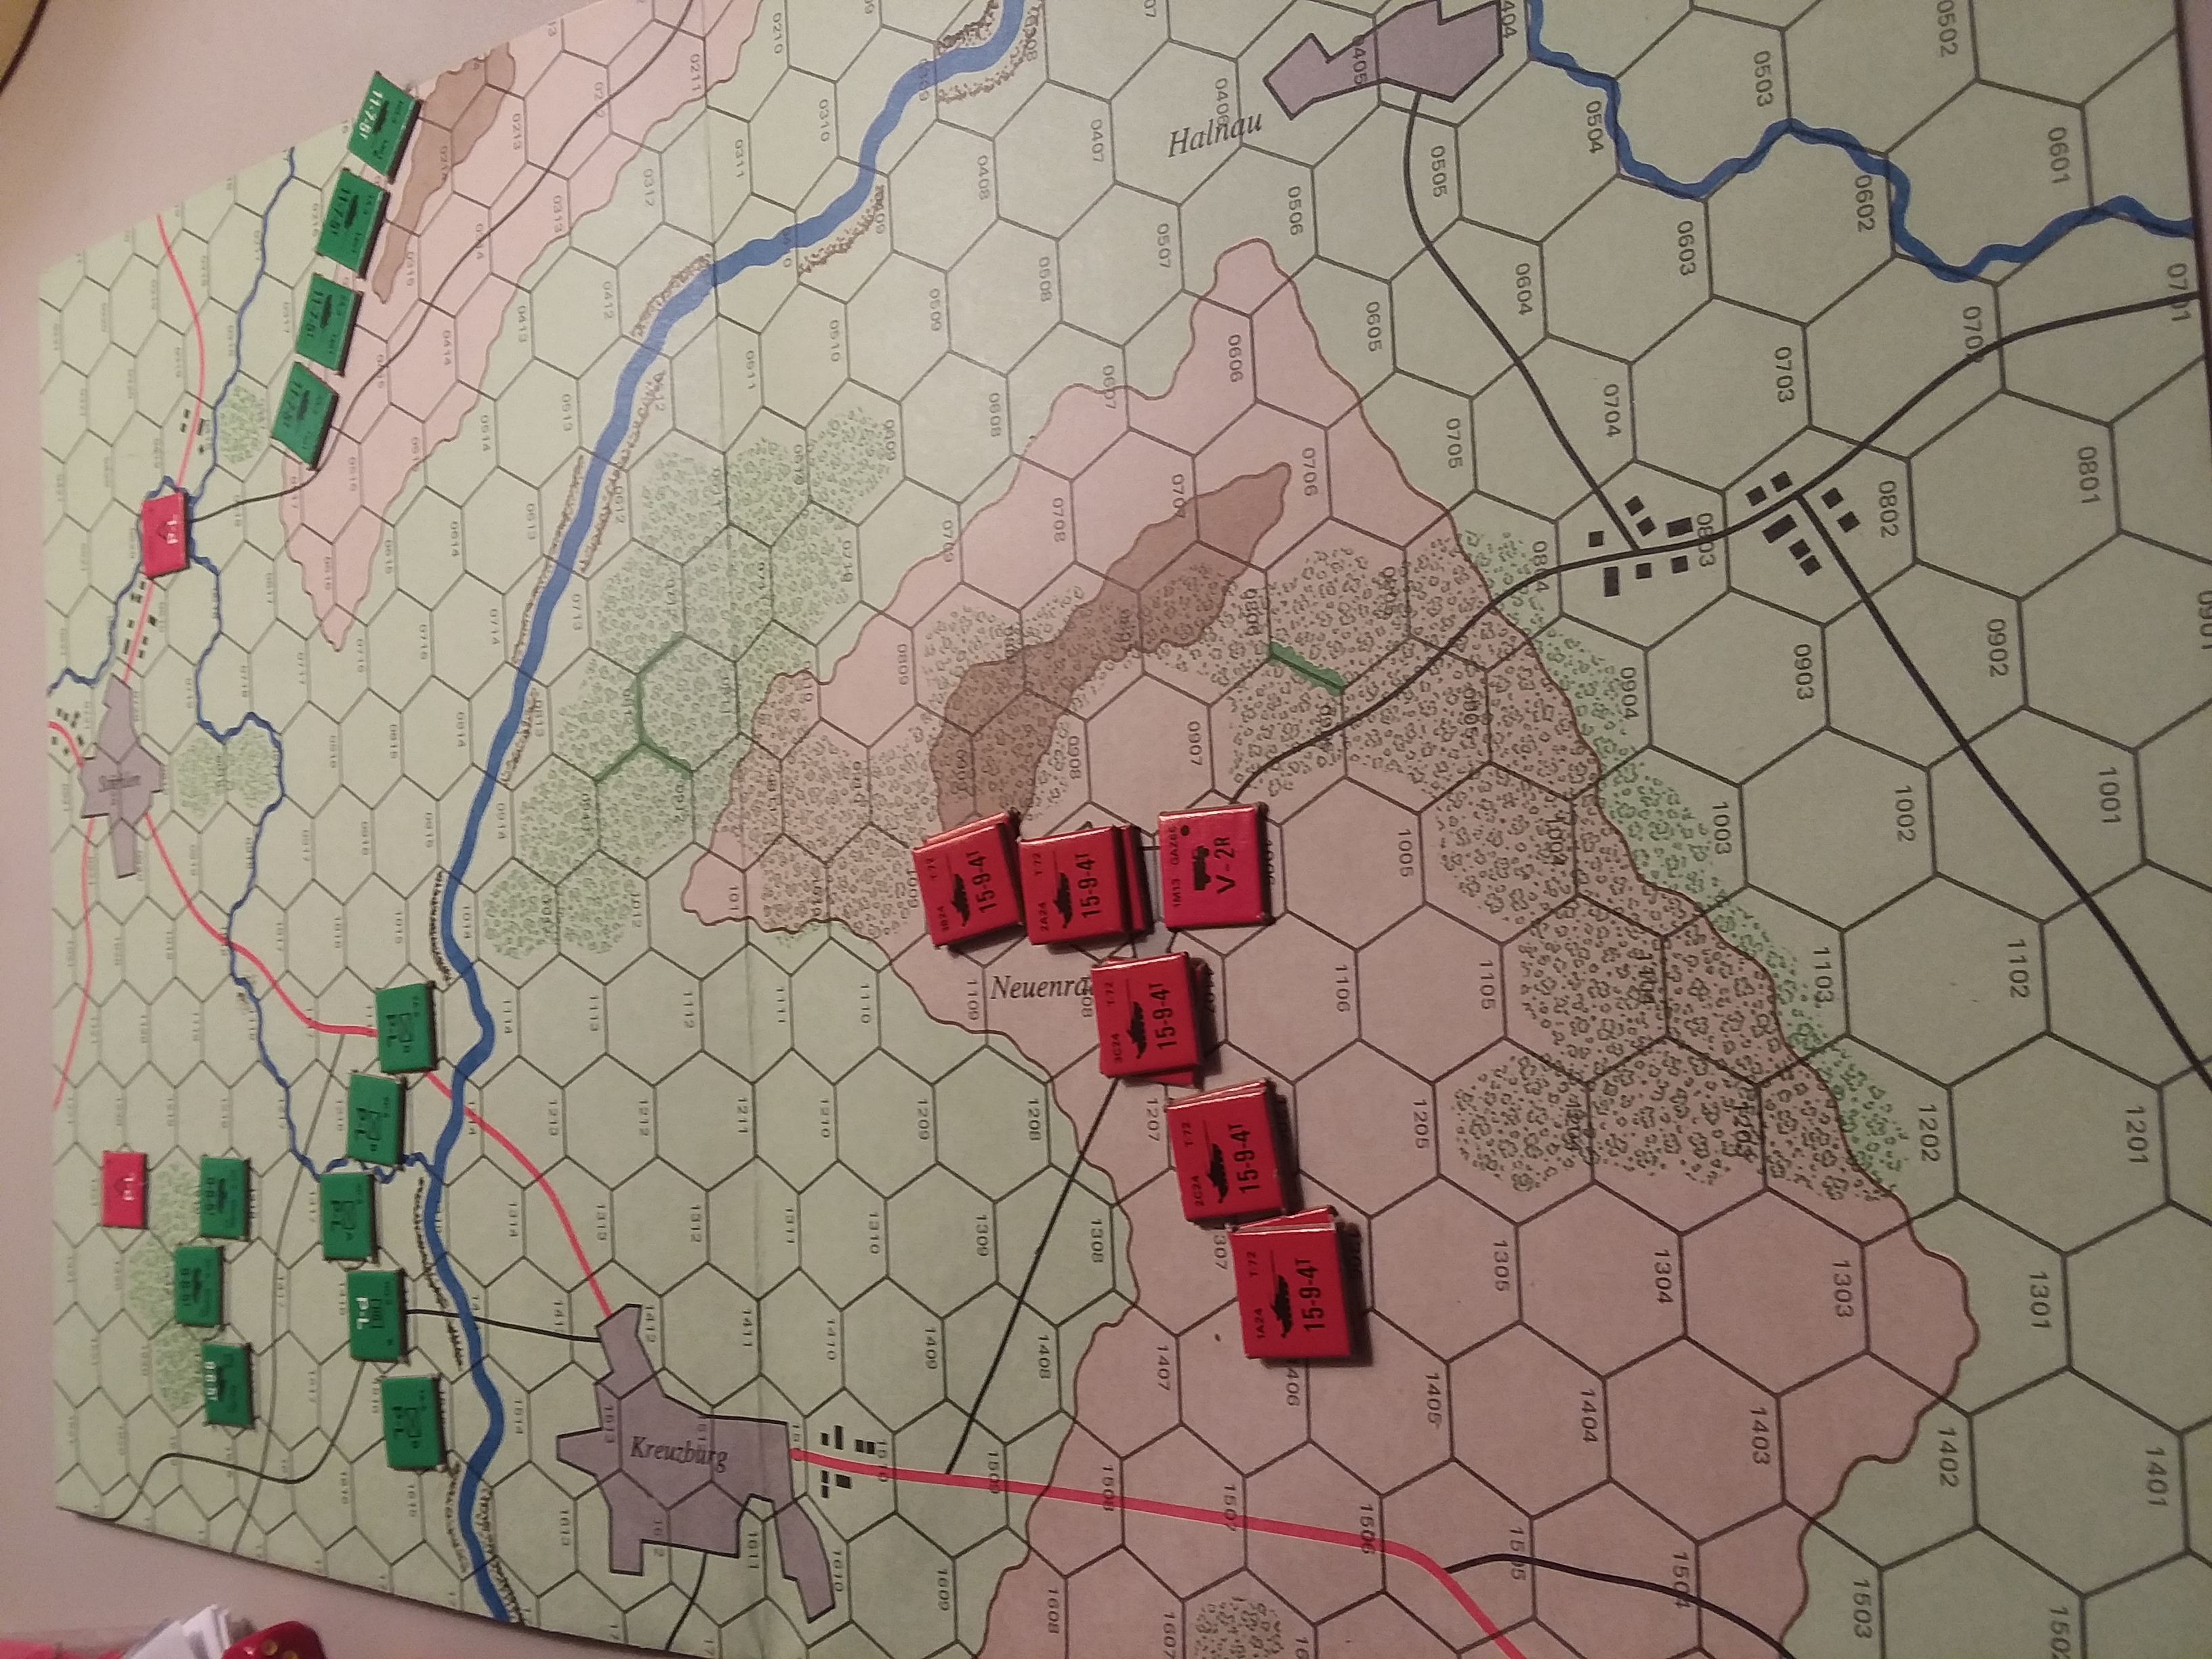 Soviet Opening move at Hummelo. By our terrain definition, hull down from the ground level. The Red Markers in the German rear are the objectives
Turn 1 – No Polish reinforcements. I moved may T72s up to the ‘hull down’ position on the ridge when looked at from low ground and blasted the only worthwhile target I could see. 10 dice, 3 6’s, two failed saves, one Milan and one G3 team gone.
BH replied by placing his ambush and moving his Leopards to center court. The terrain mandated he move back to be in cover, and so he needed stabilizers. The Jaguars fired three missiles hitting on 4+ and nailed two tanks but I threw a 6 for a save and he missed that firepower roll. The other T72 burned merrily. The Leopards could only get two tanks into firing position, throwing 4 dice 5+ and missing four times. The surviving Milan team fires and misses. Ouch. Luck, as I was saying.
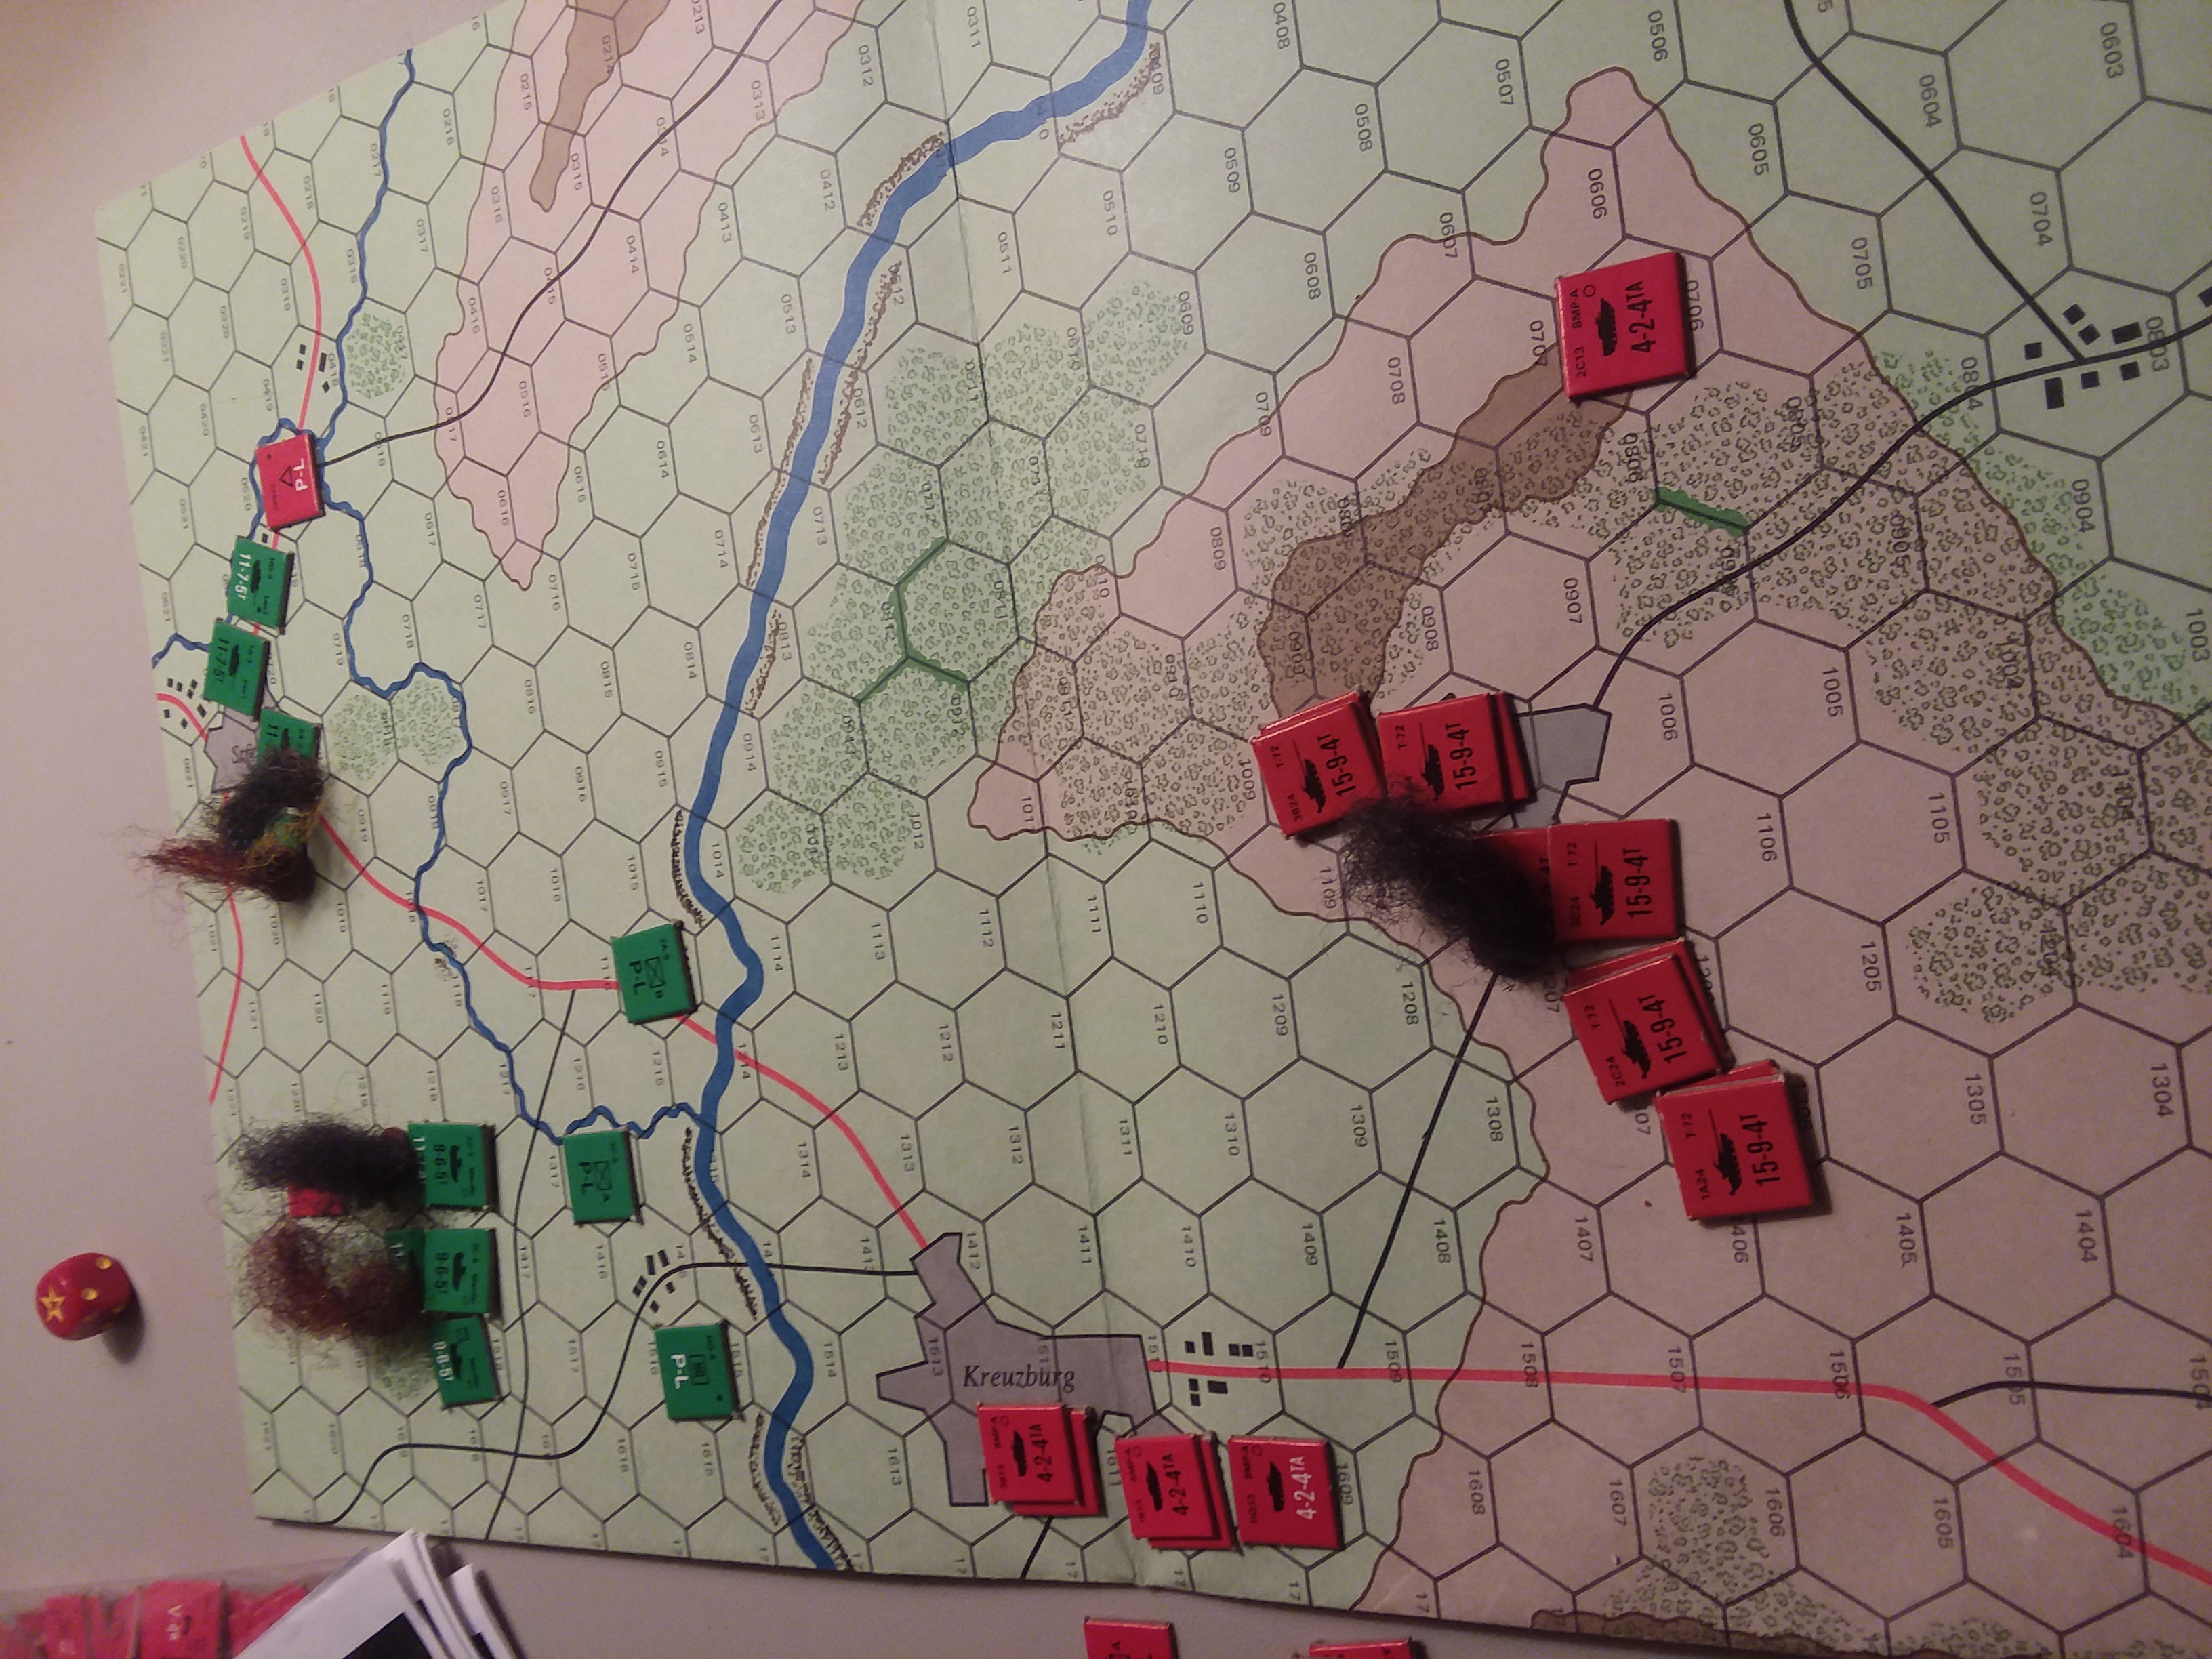
Turn 2 – Rolled two dice for reinforcements, and got a 5, 6. 2 Polish reinforcements. I took the BMP units leaving the Spandrels for later. BMP infantry moves into Hummelo at a dash, remaining out of sight. BMP Recon and Bridge team moves to northwest end of river, a diversion, really, and it proved unnecessary. T72s fire at Leo IIs and Jagdpanzers, needing 5’s. Put five dice into the Jaguars for two hits killing both vehicles. Four dice into the Leopards also 2 hits, and two dead Leo Is. The Jaguars failed morale and the surviving Leos passed.
BH now made a fatal mistake. With only two tanks left, he should have stood pat, or just exposed the surviving tank. Instead both surviving Leo Is move to edge of town, shoot, 3 hits, respectable performance. But all bounced due to long range (15 FA+1 =16; 19 AP. 3 to meet, 4 to beat; 4,4,5).
Turn 3
My final Polish reinforcement reinforcement was automatic. I sent the Spandrels to join the attack on the western side. BMP recon swims the river, one bogged. Truck moves to place bridge. 5 T72s advance to target the Marders. Infantry blitz out of BMPs and take up firing positions. Next BMPs blitz to firing positions (got to love higher skill units)
4 T72s still on hill engage Leo I survivors; kill 1. 4 BMP-1s engage Leo I survivor; kill company commander. Infantry firing 15 dice at 5,6 manages 3 hits, two failed saves, 2 kills (incredibly). Losses are remaining Milan and one other. Five T72s shoot Marders; no hits, but it turns out not to matter. German infantry unit is on bad morale. It must pass both an instant morale check and then sole survivor for BH to get to roll for reinforcements. The infantry fail sole survivor; the Marders exit the map and the company automatically fails morale next turn.
GAME OVER, 6-1
HOT WASH
Luck. Can’t play a wargame with it, can’t play without it. (It’s been tried, mostly fails.)
BH only made one mistake, really, and that was exposing the company commander on his second turn. But if I make the inverse die rolls (2,2,3) I lose two tanks, possibly 3 and it would have been a great move.
My opening move outperformed statistics – I picked up an extra hit and BH failed 2 of 3 saves and that cost him a Milan, cutting infantry missile dice in half. I happened to roll a 6 when his Jaguars potted two of my T72s and thus deprived him of a morale check opportunity and a dead tank.
I got all three reinforcements when on average, I should have gotten two by turn 3. This advanced my tempo to the point where his reinforcements probably couldn’t have stopped a river crossing even if he managed to contest the other bridge.
So at the end of the day, this battle was about luck .

AFTERMATH
The 3rd Motorized’s Forward Detachment poured over the bridges near Hummelo, and turned west to Velp. The main body bypassed the flank of the 11th Panzer Grenadier and charged toward Emmerich and its critical Rhein Bridge. Almost unnoticed in the chaos, the Mi-8 and Mi-24 helicopters carrying the airmobile battalions of the 35th Air Assault Brigade flew over the 3rd Division on their way to points across the Rhein. Operation Sokop was underway.
Battle Report Author
Army Lists Used In This Battle
Recommend Commander For Commendation
Share this battle with friends
bayankhanWins

This was a pleasant surprise, very nice report and enjoyable story to go with a hexmap game, bring some more of these.
Congratulations on the victory comrade, lucky commander.
And I’ll echo what bayankhan is saying about opponents. Everyone in my gaming group is new, using my stuff or newly purchased units for minis and not as invested in the the game as I am. I’ve asked them to register, but being instructors and officers eats a lot of time, and they all have families (I don’t), so while they enjoy the games we do get in and now full well I’m posting them to the campaign site, they’re not as gung ho for it.
Another great AAR Comrade! Well done on the win!
Jagdpanzer
It takes about a 4 hour time investment once the excel spreadsheet is set up with counter names and markers. For both parties. Good news is you spread that out over a couple days, posting when time is available. The attacking player is moving more of his units so that takes him longer. Each hex on the map has a grid coordinate so movement is simply 2-C-23 at 0412 moves to 3311 shoots Leo I 2805 range.
The trick is making it a SMALL battle so there aren’t too many moving parts. We got carried away with the first one; took over five days to complete.
On the other hand, it makes possible playing a game with someone 1500 miles away who has no outlet for wargaming locally. But it prompted BH to get his grandson Hammerfall for Christmas. All good
with regard to pictures, Recce, I guess I wasn’t clear. The MAPS are the battle. Each counter represents a tank or truck or infantry team, sometimes an objective, sometimes a bridge or minefield or other scenario artifice. Kind of like playing in 6mm as some did last campaign. The counters have actual unit ID on them, like 3/C/24 – 3rd tank, C Company, 24th Battalion which happens to be a T72 outfit with 10 counters.
So since there are no pictures of the actual battle per se, I use ‘stock’ photographs, kind of like you see in WWII newsreel coverage, where if you watch 6 different subjects the same four Marines storm across the beach at Guadalcanal because they didn’t have usable footage from Tarawa, or Iwo for the quick release desired for the newsreel.
I retain the ones that the software seems not to mangle. So yes you see recycled ones, because unmangled photos run about 15 percent.
I have two more or less complete PACT armies, each with its own characteristic camouflage, and shared support units are in Soviet green. Inventory currently includes 15 T64, 30 T55 (15 in Soviet camo and 15 in east german), 32 BMPs (split between Soviet and east German and 1 modified one as a spotter), 6 Spandrel (3 east german 3 support), 20 T72s (10 East German and 10 in an alternate Soviet pattern to prevent confusion with the Soviet T64s in the heat of battle), 6 2S1s (half German half Soviet) 4 SA-9, 2 SA-13 and 2 ZSU. Two rifle companies complete, working on third.
And none of it useful when playing BH by E-mail.
BH does not chose to register, recce103c. Like (so far) Fitzi, Al, Bill, Ben, Dave, Dronealan, Howard (aka Green Howard), Tim and others I’ve played against or alongside in this campaign at our store. Some because they had a bad experience last time, some because it takes time away from work, some because they are changing jobs and too busy. So far only one other person from our store has posted (soviet, Stefanovich) results (vs Al, Soviet victory). Another person (soviet, Brusilov) has registered but not yet posted (2 draws, both against Fitzi). We’ve had 7 games at our store so far, with me 3-0-0, Stefanovich 1-0-1, and Brusilov 0-0-2. Ideally you’ll see posts from Stefanovich and Brusilov’s ties over the next two days, but I am not drunk, and therefore under no impression I’m in charge. (paraphrase of the Pixies in WILLOW). Howard’s been traveling so his tie with Stefanovich isn’t posted, Fitzi has the flu (the illness onset doubtless contributed to the loss to me) and unless I miss my guess Al will never post.
BH’s situation is complicated because he routinely plays whatever army comes up in my campaign script. He has another one of the few complete sets of the Assault series games in captivity, and like me, hasn’t had much excuse to use them since he bought them. The counters are exceptional, but the game itself rather complicated (not being satisfied with tactical, GW chose to overlay operational on the system, and as I wrote when I reviewed it in Grenadier Magazine more than 30 years ago, the results weren’t gamer friendly). But combined with TY it’s perfect. So he can play authentic Dutch, West German, British, and American forces with different colored counters. So in theory he would have to register three times, not one, since there isn’t an overarching category ‘NATO’ like there is for PACT. Ain’t happening. I suppose I could register for him under three different screen names and then link battles, but what’s the point?
AFAIK there is no requirement that both parties to a game register for the game to be valid, just like there’s no requirement for both parties to post, or link.
Oh and btw, who is this mysterious German BH?
I can’t find him in our personnel roster??
Another win Bayan khan do I see recycling of pictures? Maps remain interesting start up for battle phase,
Hummelo, you pick your recreational Datcha facilities don’t you Comrade Sashlik & Banya.
fond of you tank camoe patterns
Hmm another win, well done. This tyoe of playing really seems to favor the soviets in this, case, how can the WG player flank? or maneuver? and yes as you said 35 points is very low. Can I ask how long it takes to play this way? Are you playing by yourself? or against another?
Another E=battle. The pictures of models are stock photos from my files; ones that usually stay oriented the way I took them. Today, the map pictures seemed to have stayed oriented the same way; go figure