Fought At Hamburg
2244 days 19 hours 8 minutes ago
Combat at Visselvode
90 POINTSOberst Tomas Nadea was not overly surprised when the orders to contain British forces moving north from Hannover were published by 20th Guards Army. He was only surprised by orders from Division to ruthlessly follow up any contact. The 1st Motorized Schutzen was going south!
Nadea’s Spanish surname came from a Revolutionary family who fled Spain after the collapse of Republican forces. It was said that Papa Iago had been part of the guard force that escorted the Spanish kingdom’s gold reserves to the Soviet Union, and no less than Beria himself had prevented Iago from suffering the fate of failed warriors in the socialist cause. But Beria’s sponsorship was not a comfortable situation, and when the opportunity presented itself, Iago sought duties in occupied Germany and eventually married into one of the surviving Communist families. Tomas’ vater and Tomas had found solid situations in the East German armed forces, and the war had catapulted Tomas to Oberst.

The campaign map shows a British presence in Hamburg, so we took that to mean both seaborne invaders, and a 'march to the sea' by the beleaguered I British Corps. So our first battle from the campaign was depicted as being at Visselvode, halfway between Hannover and Hamburg. The town had a rail line so you'll see some train tracks, although they only functioned as cover

We played Rearguard, which seemed stunningly appropriate even though the result was from battleplans. In our map campaign, in-store, we were allocating half attacks to NATO and half to PACT. This one was a PACT attack; limiting me to 'ATTACK' and 'MANUEVER' while AL had to choose between 'MANUEVER' and 'DEFEND'. I chose full ATTACK; AL chose defend
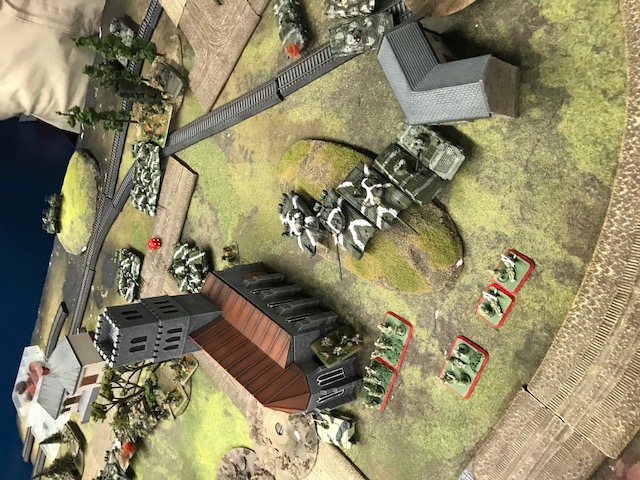
Looking north from AL's position, a large woods formed his left flank, which he posted with an infantry platoon, a mechanized Milan platoon, and a Recce platoon. These protected the objective I had tucked in on his western flank. His Abbots were tucked in the back on this flank, and the Rolands were behind the woods in the center. An infantry platoon occupied a modest hill between a church and some industrial buildings, flanked by mines, backed up by Scimitars. However, this left his right flank somewhat weak; he planned to hold the objective with a force of 5 Chieftains, 4 Swingfires, and 4 Spartan MCT. His infantry HQ was in a building to contest the eastern objective.
This battle really had three separate actions, and was short, so I'll cover the sectors one at a time. Keep in mind the game ended at the end of Turn 2.
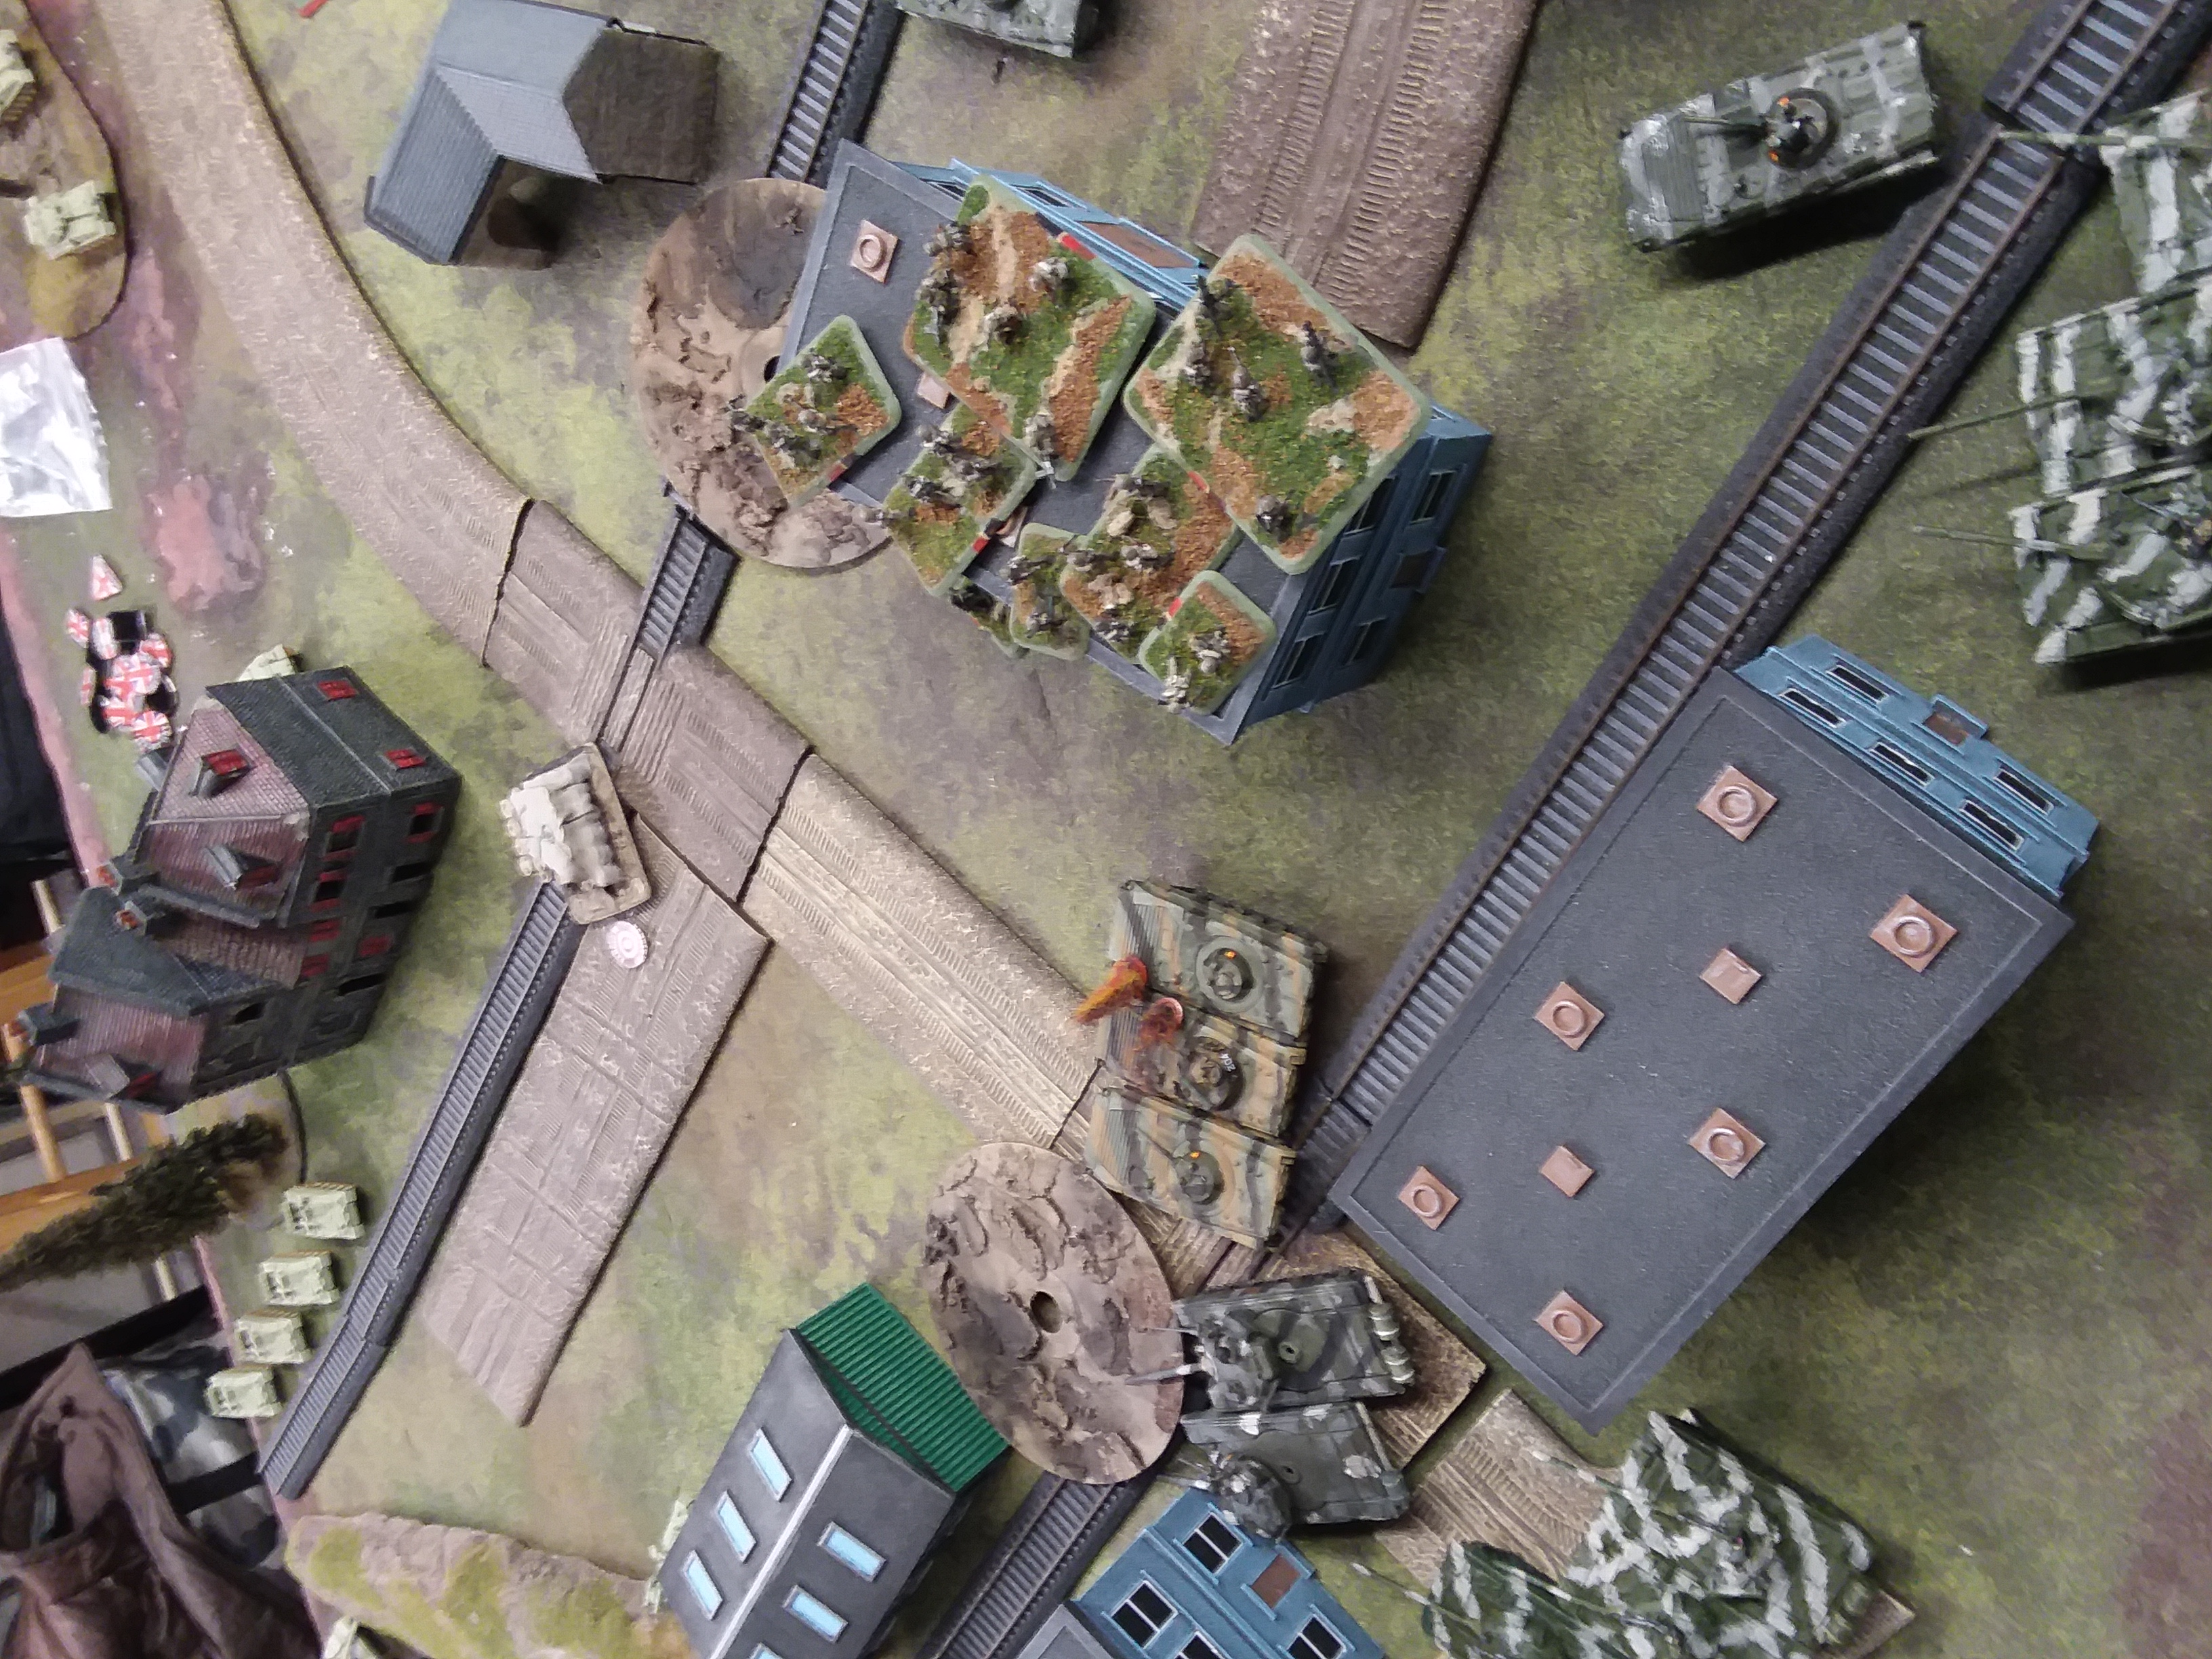
My eastern flank force consisted of a T55AM battalion, total of 7 T55, 3 T72M, 3 BMP-1 recon, and with a motorized schutzen small company moving on the interior flank. Spearhead didn't help much in this battle but I squeezed out a couple inches and then used Follow Me to move the Mot Schutzen BN commander and the 'company' forward to get within 6" of the objective. Not quite close enough to 'contest' on turn 1, but definitely in position to contest on turn 2. My initial fire was disappointing, bailing two of the Spartan MCTs. Al's return fire wasn't much better, knocking out a couple BMP-1s.
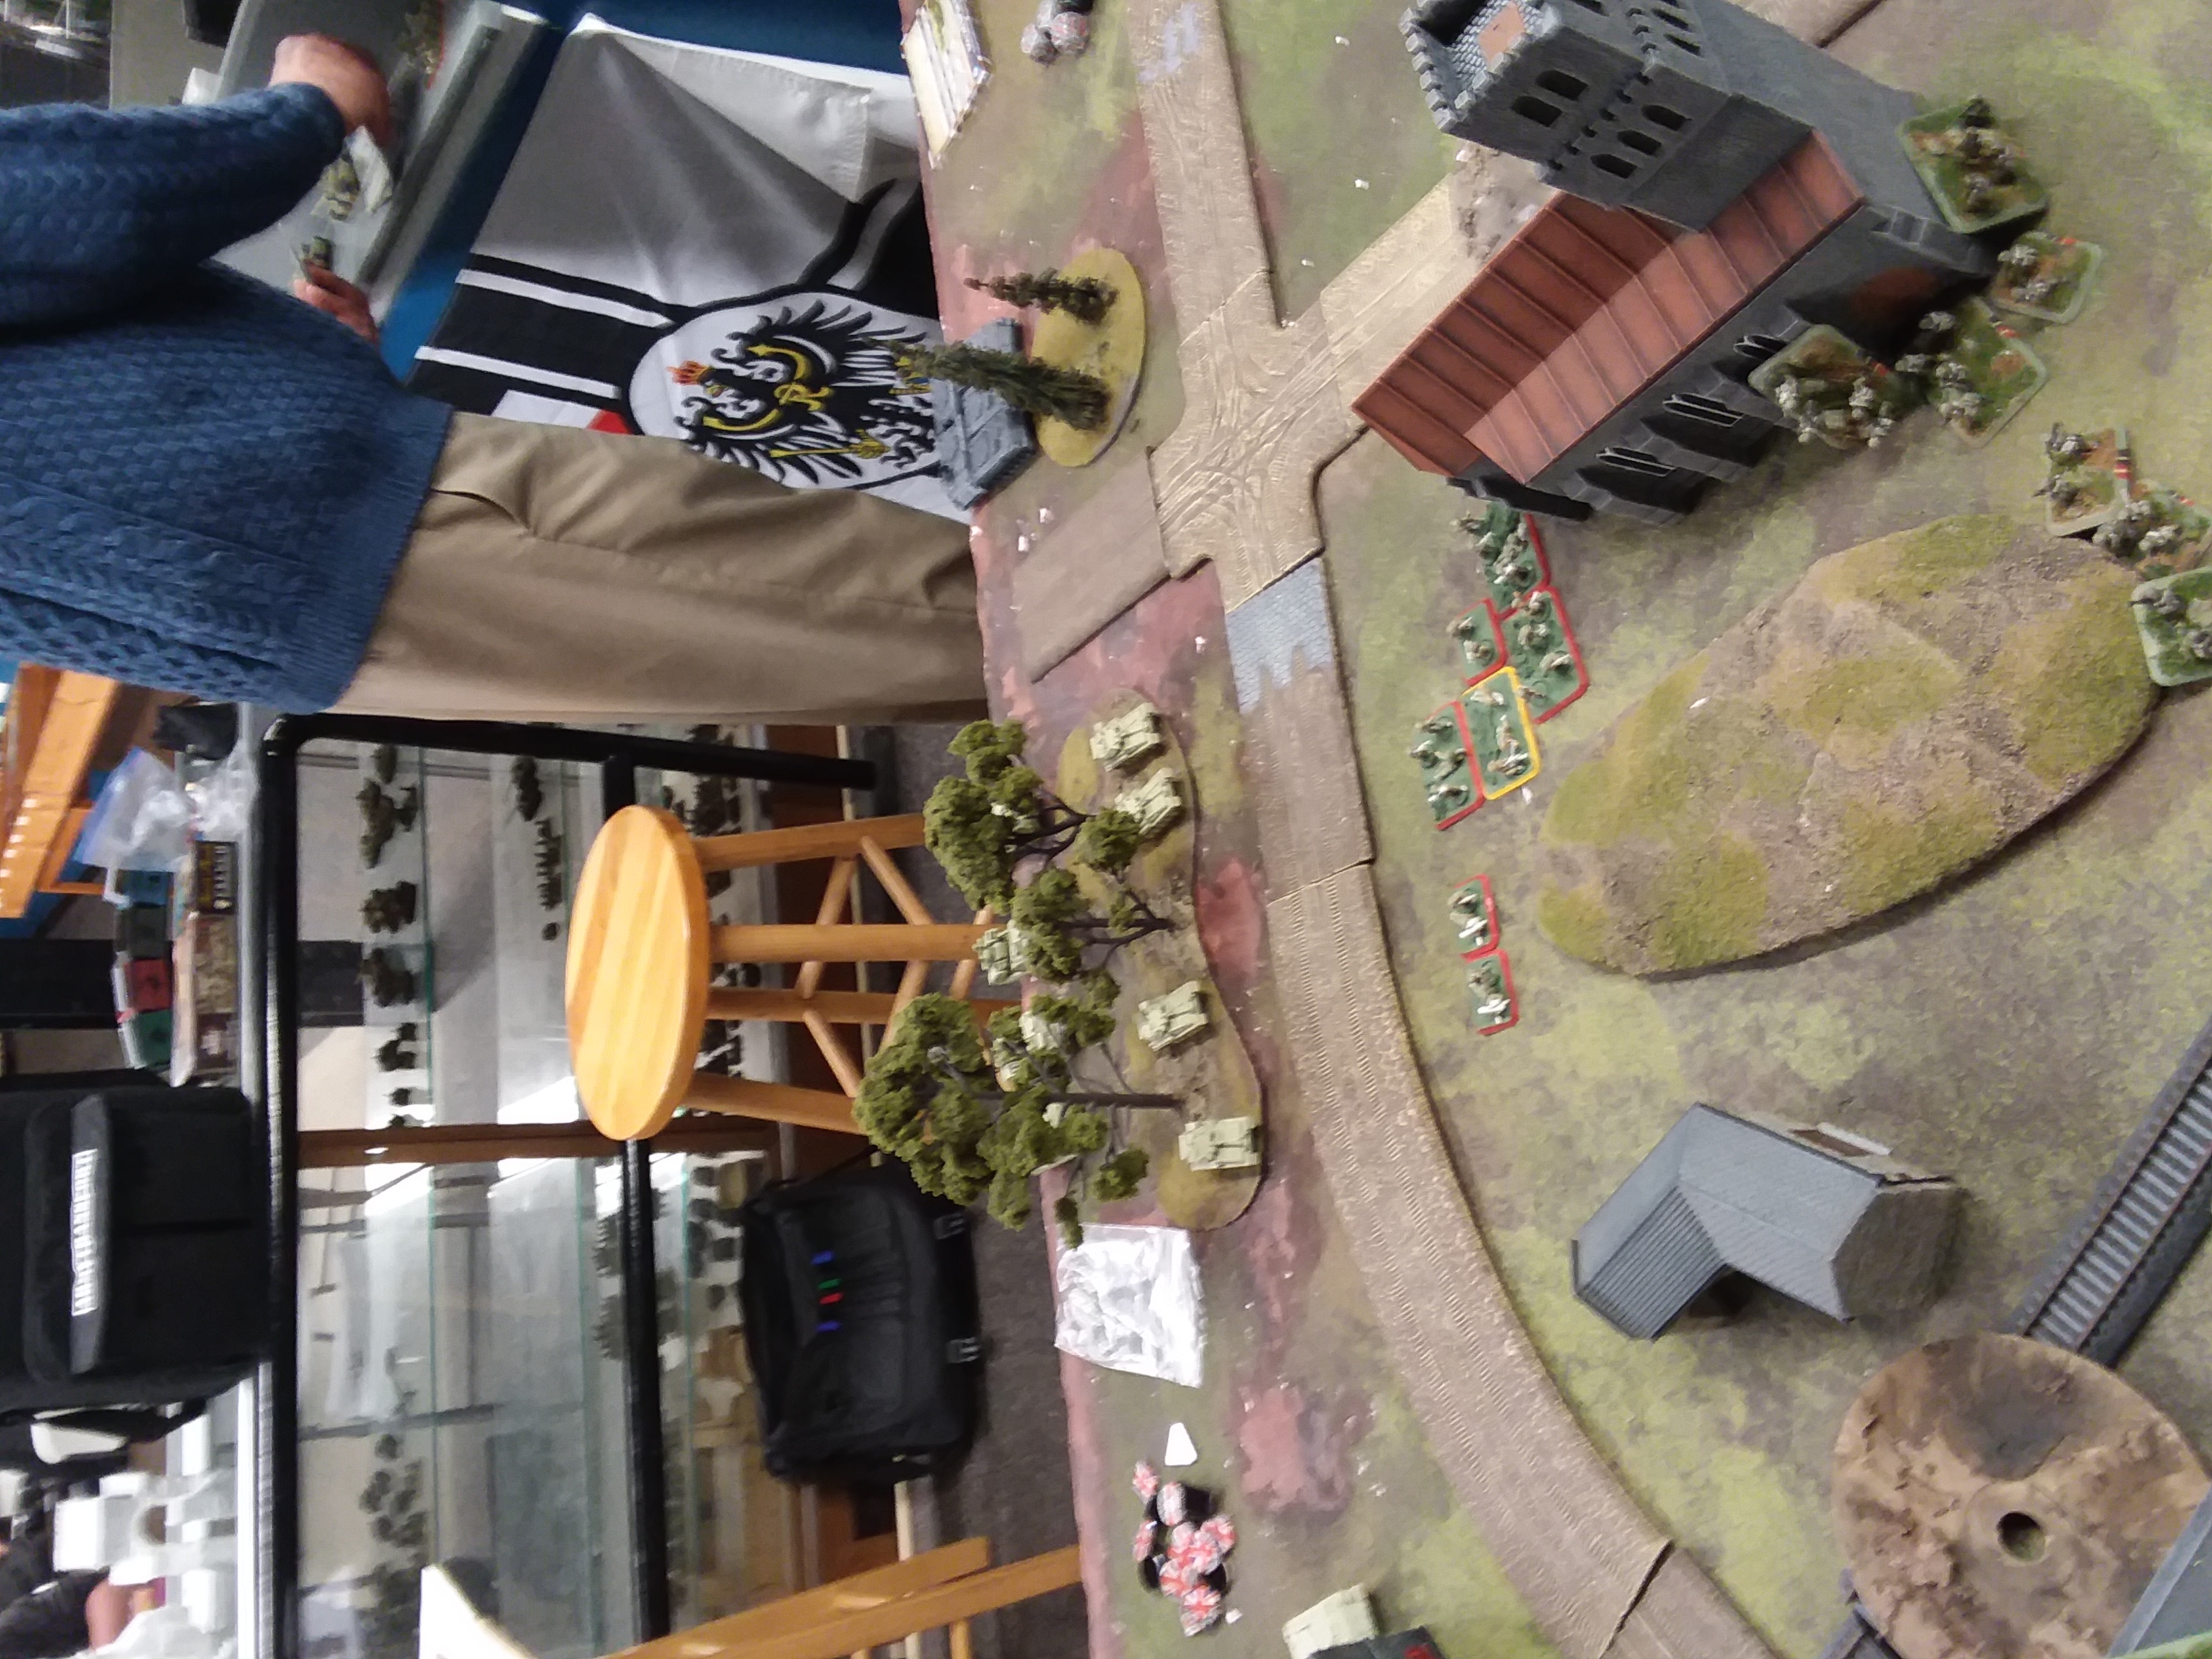
In the center, Al had occupied the hill in the above picture right up to the 24" mark, and a little spearhead had put my infantry in reach for an assault. The concentrated fire of 6 BMPs, an AGL-17, 3 T72Ms and 4 T55s pinned the platoon and killed two (critical) GPMG stands. I launched an assault and cleared the hill, and then No.2 company consolidated into the church. The picture shows the result of the assault...my stands clustered around the church are actually in it.
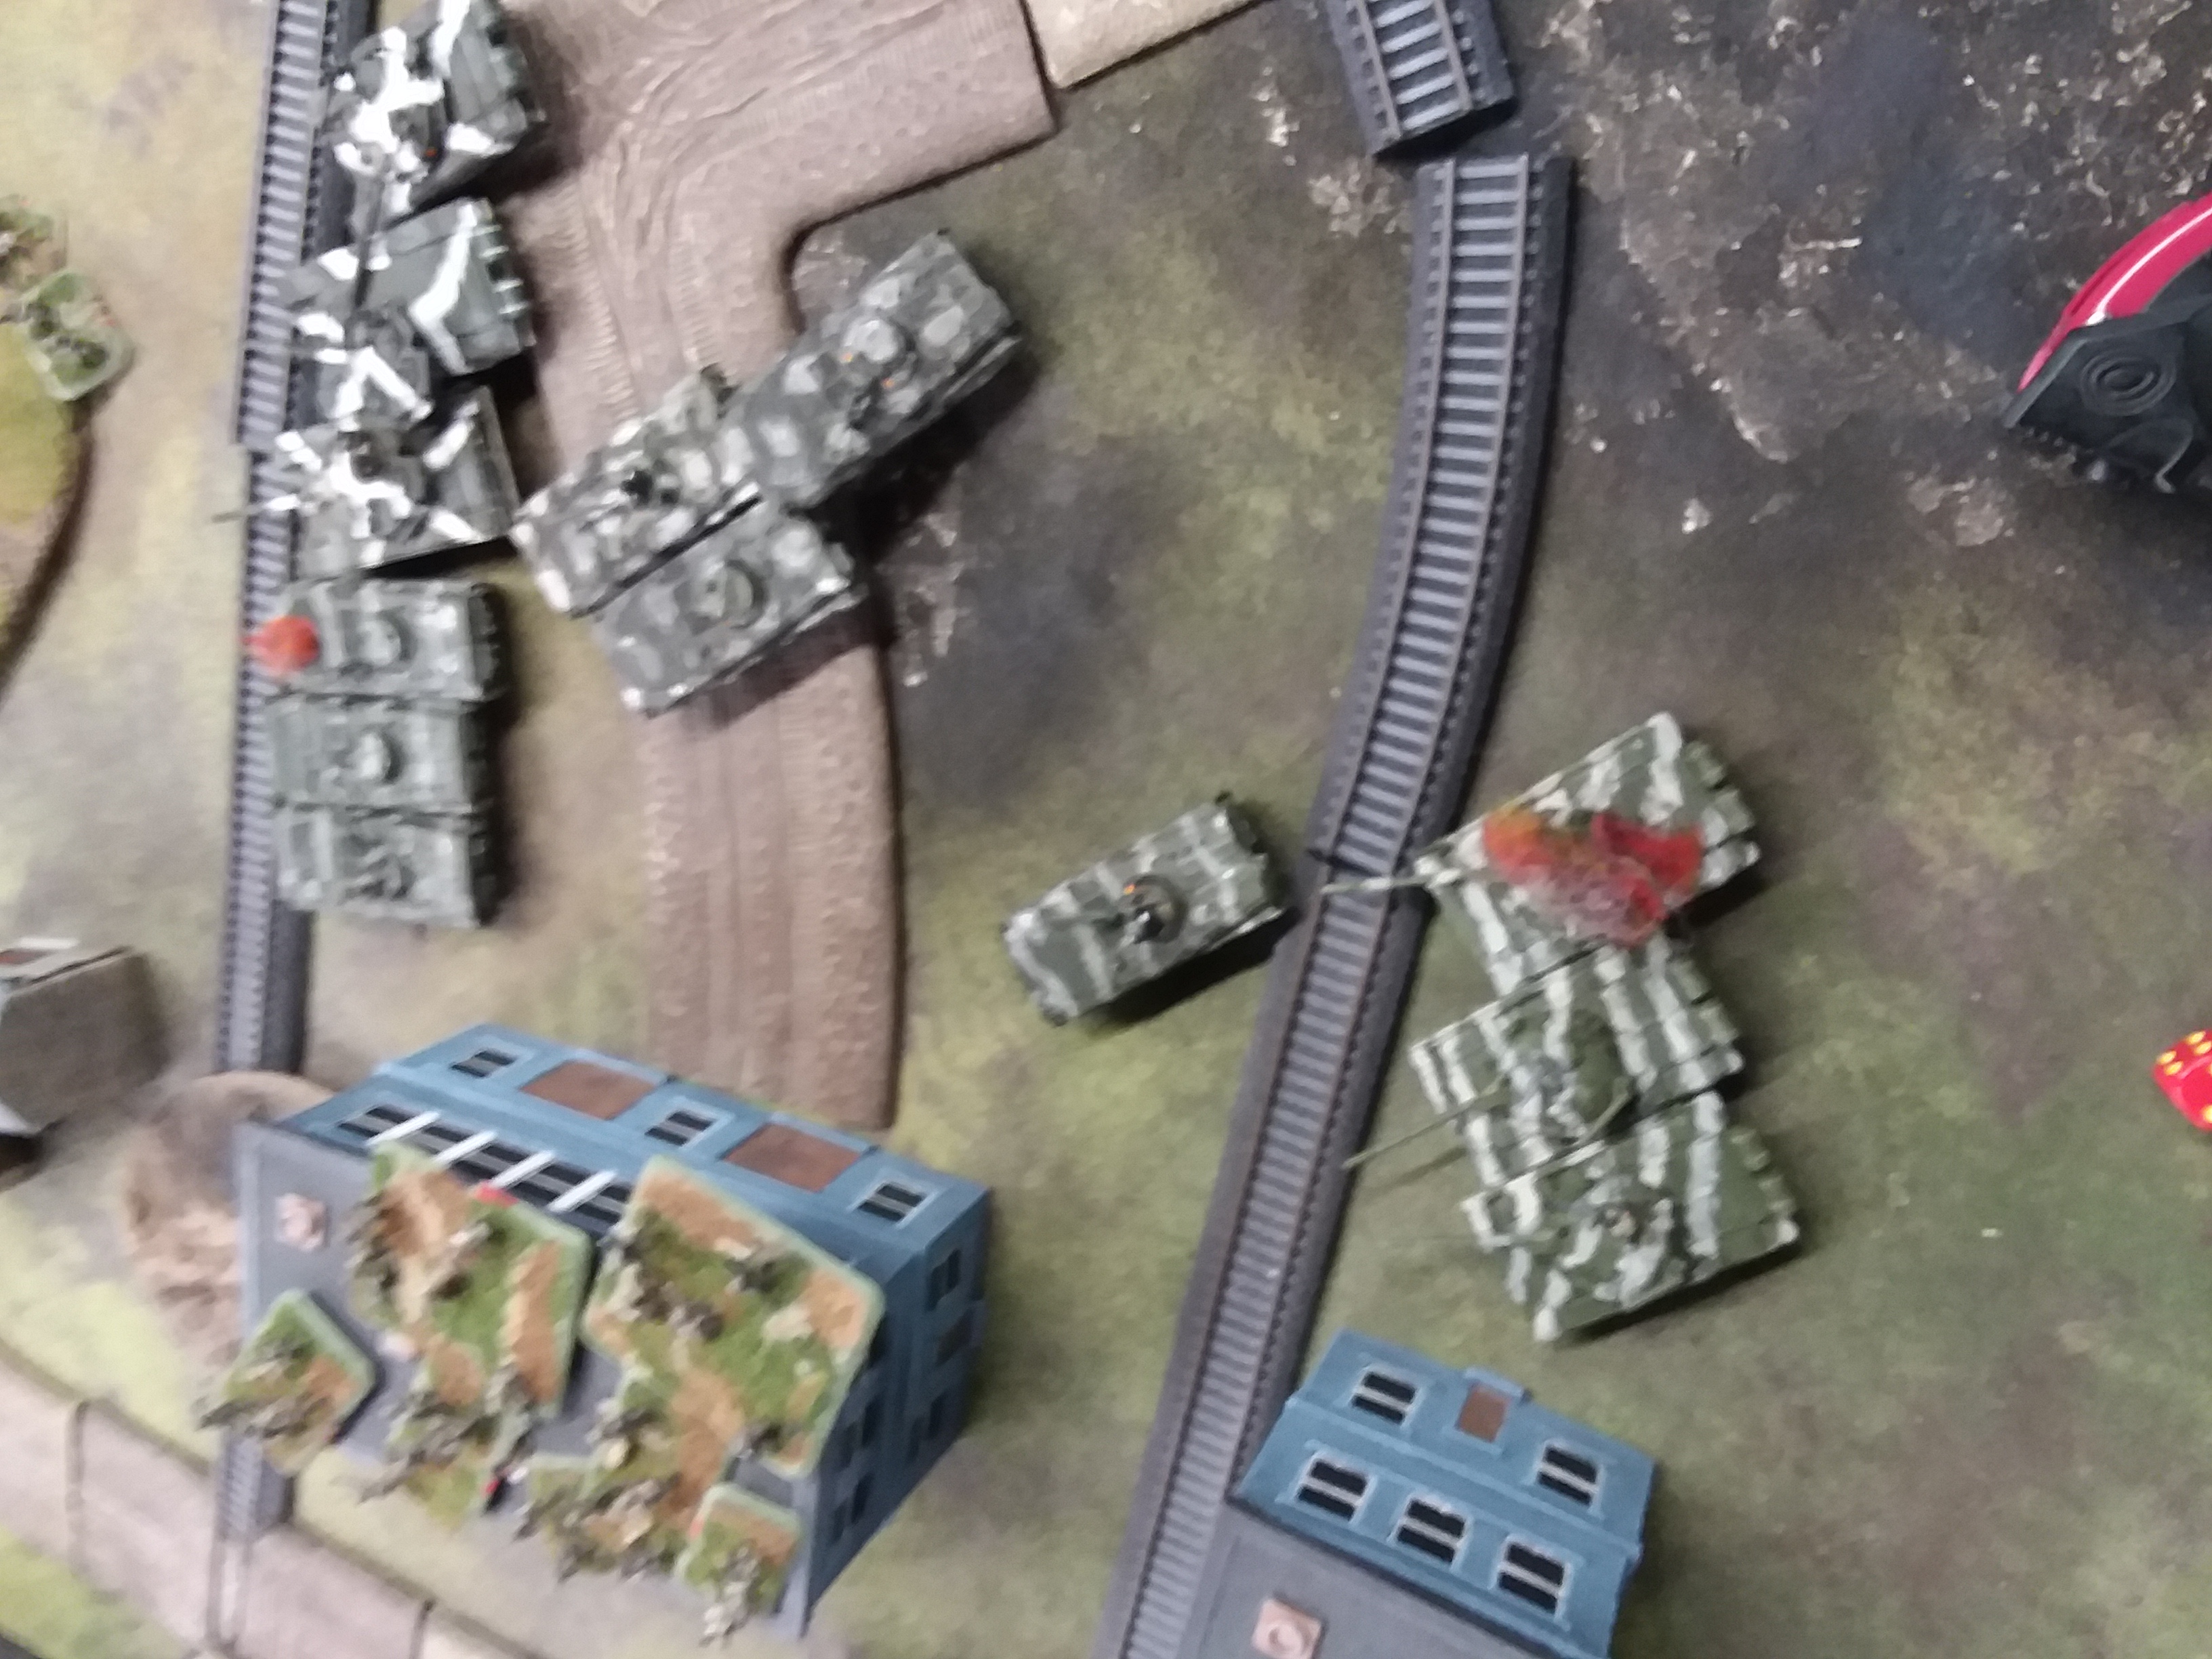
This shows the center position from a slightly different angle, after Al's return fire. The troops sitting on top of the warehouse are No.1 company and the Mot Schutzen commander, ready to jump off onto the objective. Al elected to keep fire lanes open and just shoot his infantry platoon to no real effect, which had unfortunate results, and also fired with the Scimitars at long range. Net, a couple BMPs
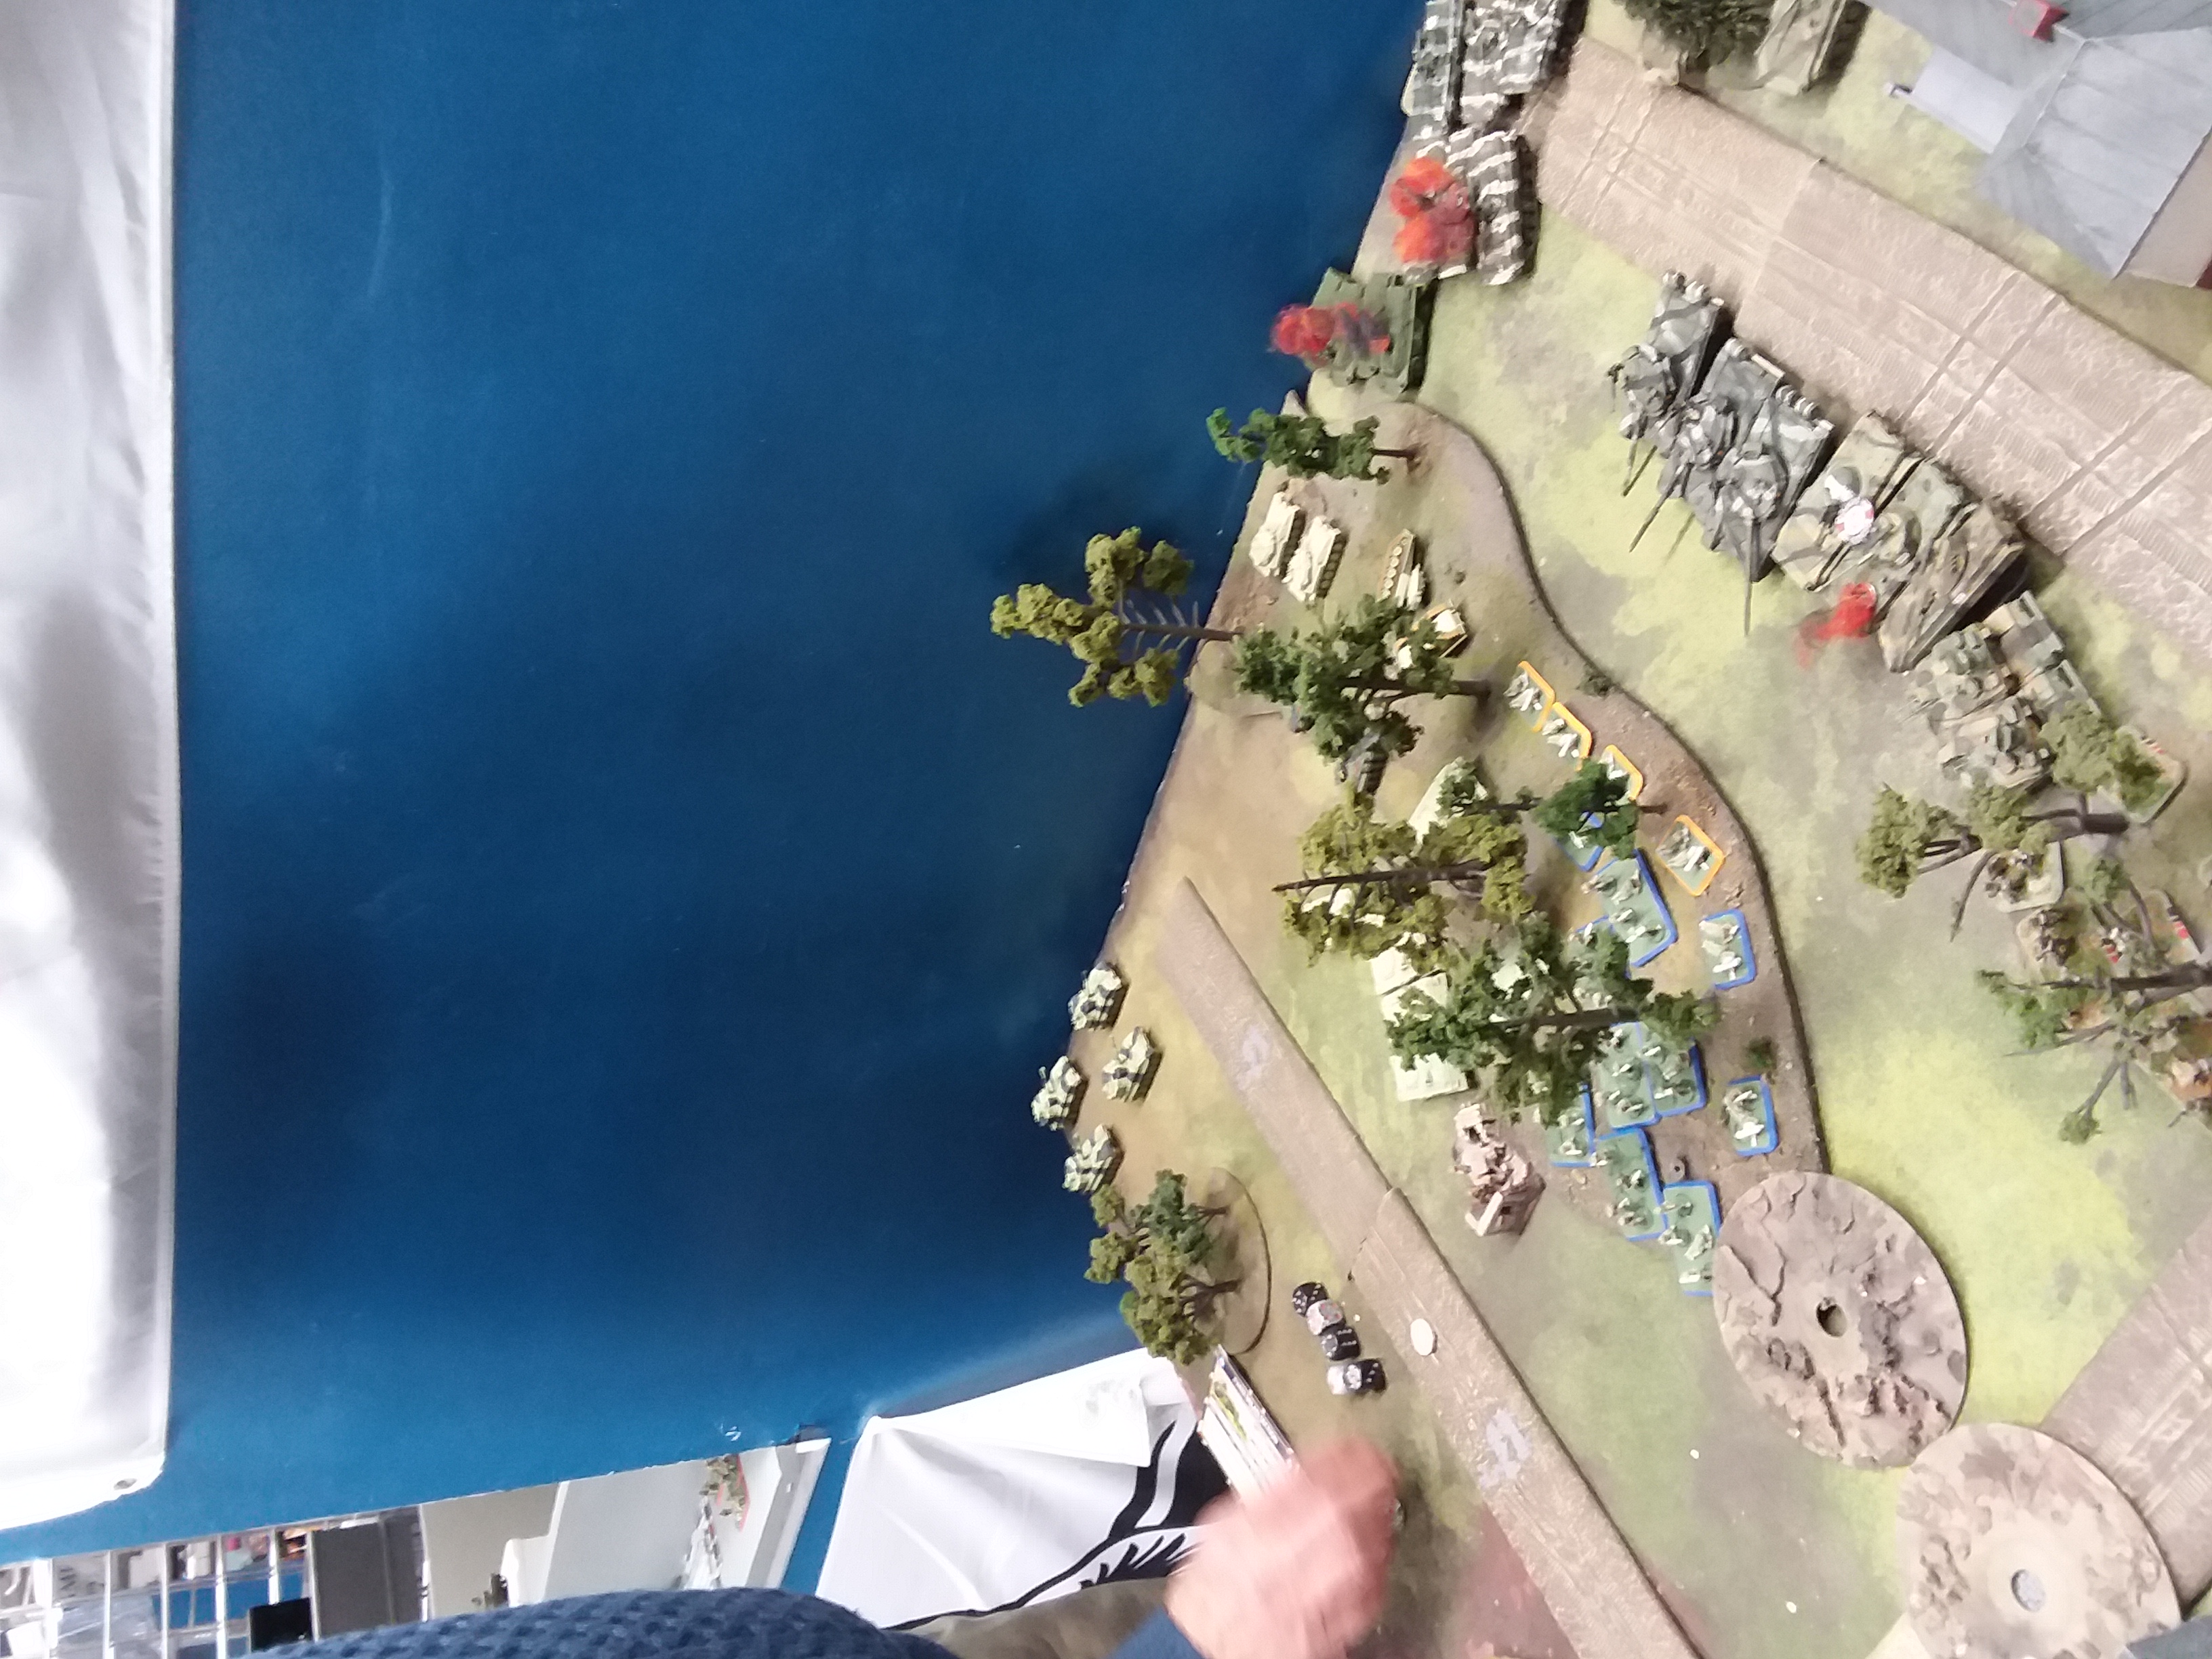
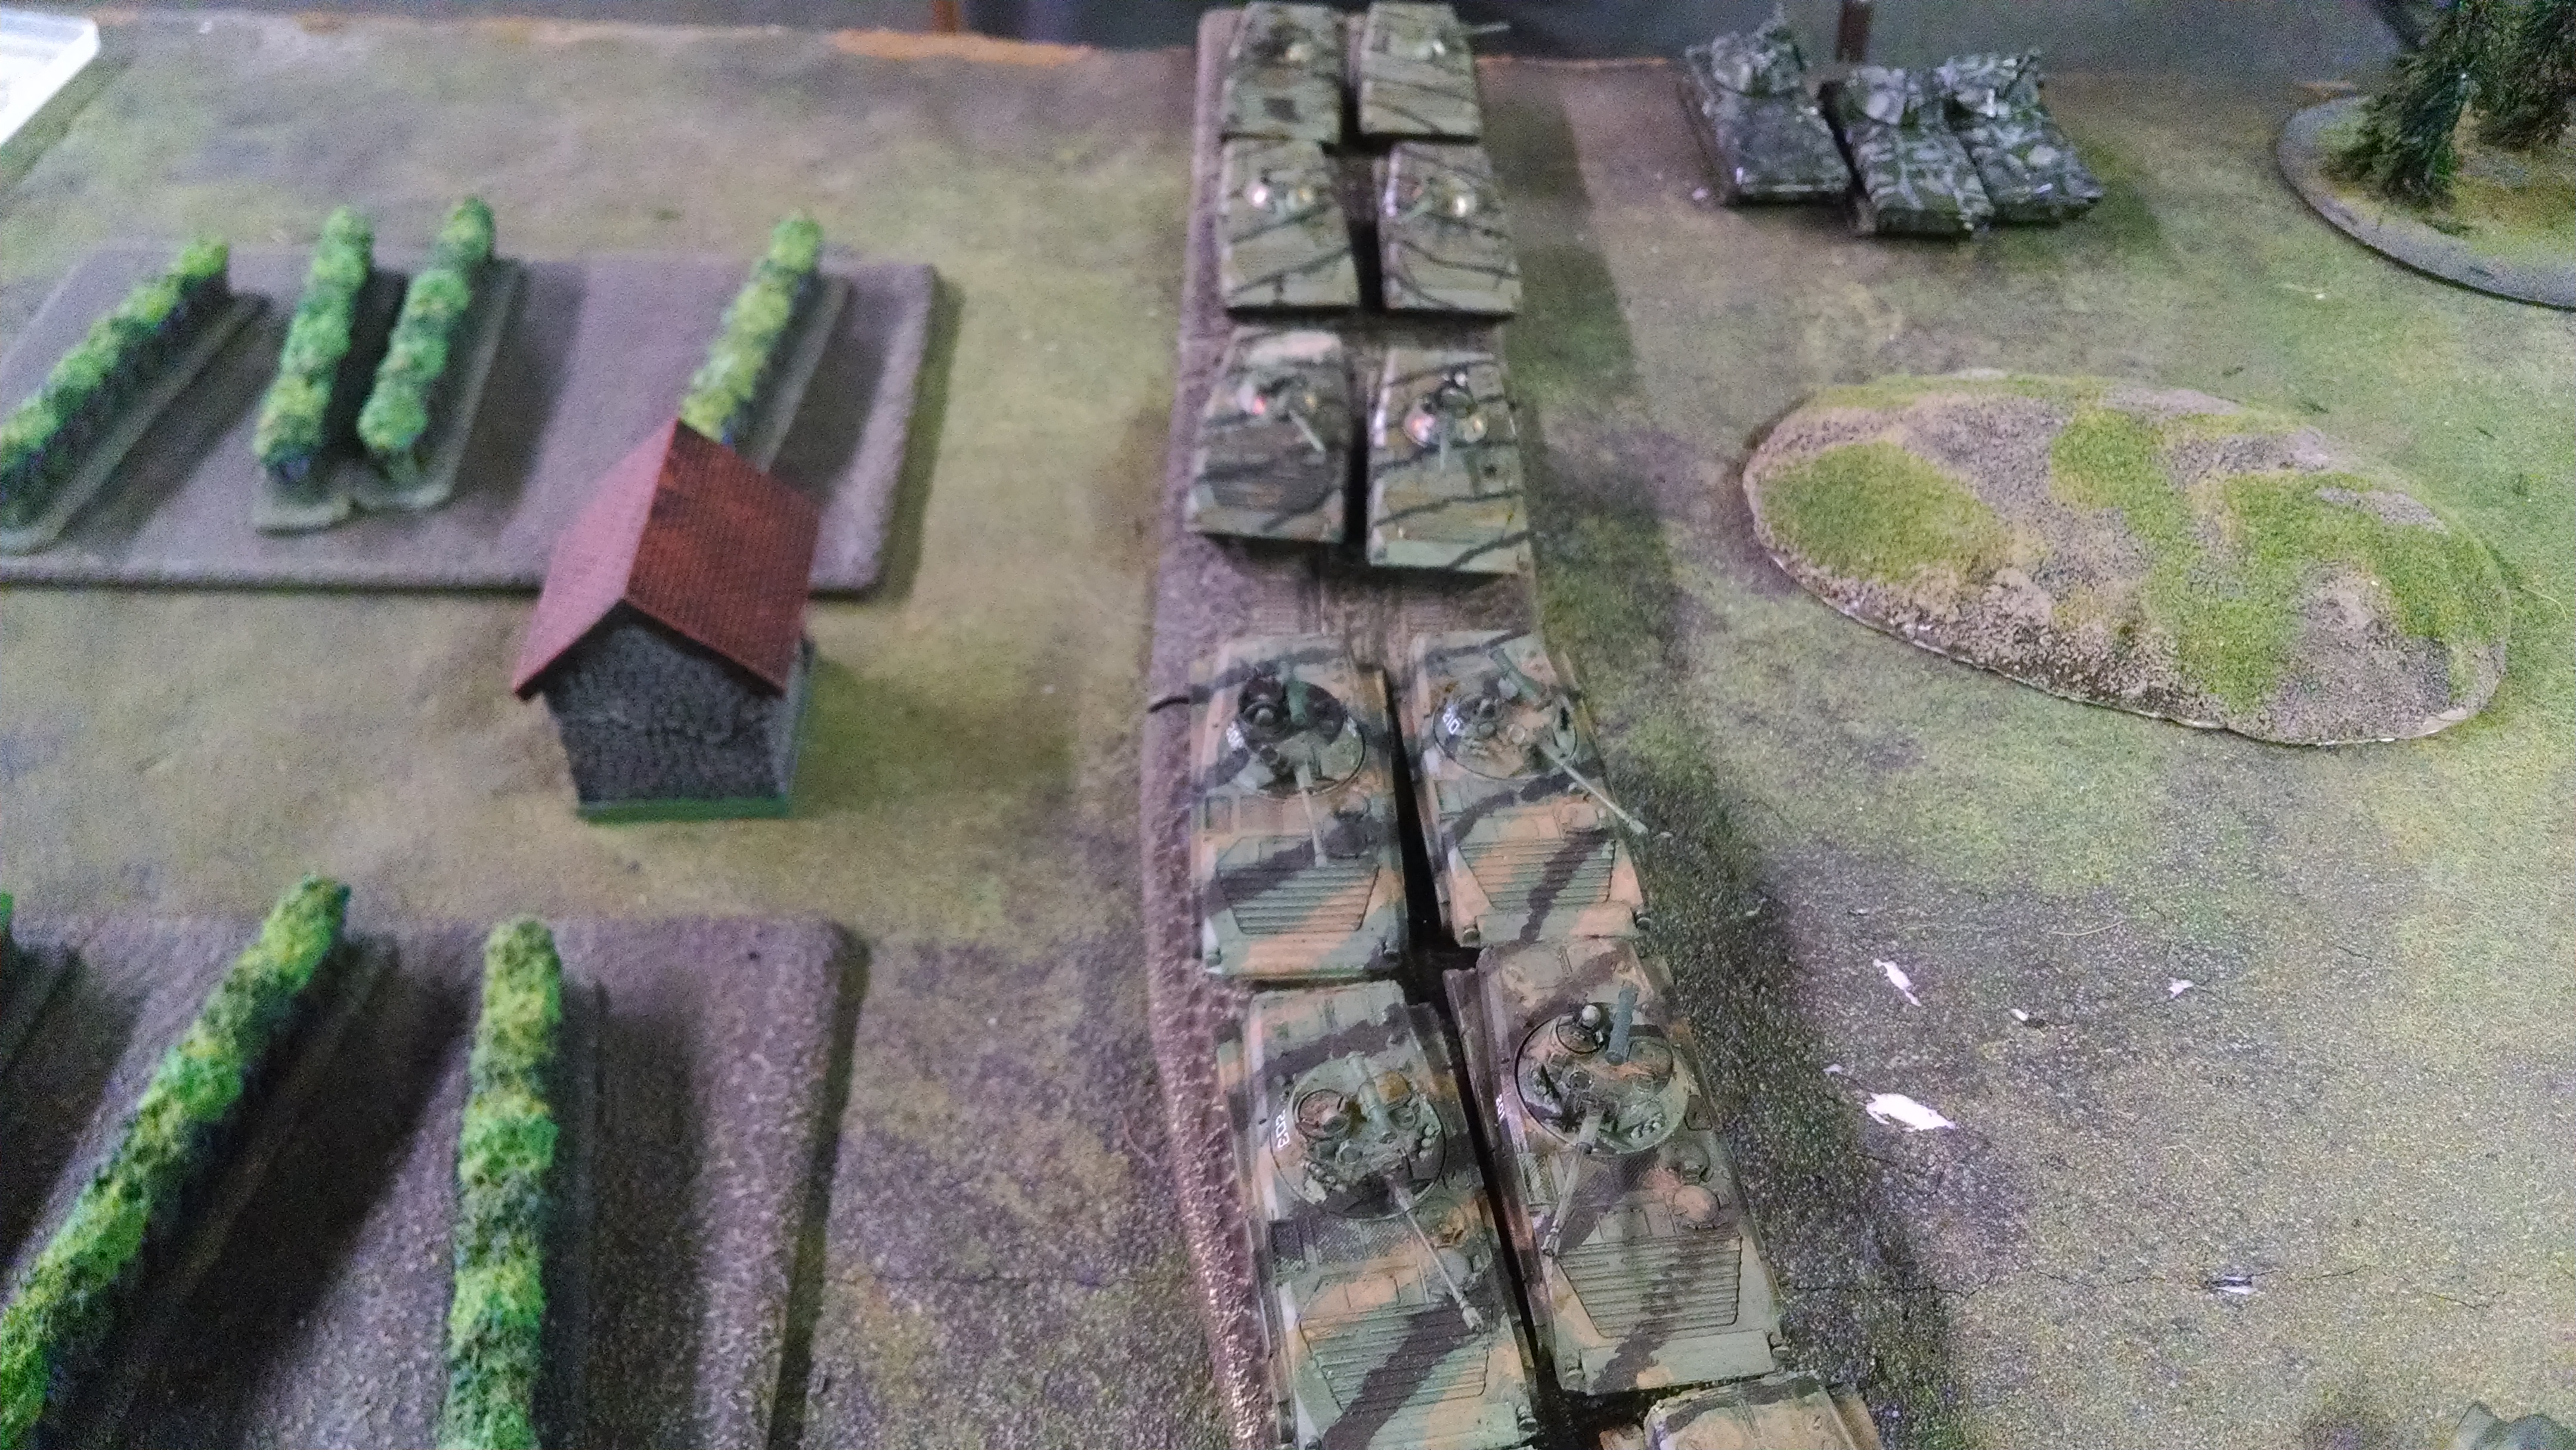
This was the best of several shots at Visselvode's western flank. Al has packed the woods with infantry, choosing to put Milans up front so they can shoot. I moved my tanks to within 4.1 inches, and this caused Al some issues...the Milan's had to shoot off to the side to beat the minimum range requirements, and the 2" of woods blocking LOS gave them very limited line of fire. However, between the Scorpions and slant shots on the Milans he caused considerable carnage. My early fire did knock out a couple Scorpions, though...advantage of throwing tons of dice.

This shows the final positions in this battle. My turn 2 saw the center infantry battalion push onto the eastern objective, assault his HQ section and wipe it out, allowing it consolidate into a 'bubble' around the objective. Two assaults on his center infantry platoon failed, costing me two infantry stands and a BMP. The advance of my infantry denied him a place to put his ambush on the eastern flank (not enough room for three tanks) so they popped 16.1 inches away from the church, and shot up my T55s west of the church, killing 2 that he could just barely reach. The other two Chieftains killed 2. He declined an infantry hail mary against the objective, which would have seen him take defensive fire from 3 T72s and 4 BMPs but also would have possibly broken the company, choosing to 'fire retire' and preserve his forces for another day. I lost a platoon of BRDMs and a platoon of BMP-1 recon, 2 T72s, 4 T55 and 2 infantry stands, plus 6 BMP-1s scattered over other units. A British cavalry unit would judge that a win, having lost 3 Scorpions, 1 Scimitar, 3 Spartan MCTs and 4 infantry stands, but the game swings on objectives. 5-2, PACT
Battle Report Author
Army Lists Used In This Battle
Recommend Commander For Commendation
Share this battle with friends
bayankhanWins

Great report
Welcome back, and a good report to start with too! Nice to see painted models, always, good job.
congrats on the win
That was quick! Nice read and a good win for the pact.
Just to be sure, the town being fought in is Visselhövede, just east of Bremen, right? (typo in the name?)
+++
Good to see you in good form comrade Bayankhan
We need generals that can win!
And such quality reports.
You set an example to us all!
Nice structured AAR; supportive pictures like your set up
Very Good Great Win
Well done my friend. Congrats on the win.
Congrats Comrade on your victory! Nice to have you back and a good AAR, even with the photo issues.
Yep. And it still seems completely random. I may have to break down and buy a camera instead of using the phone.
Nice report,
Still have problem with photos aliegnment? Just like in the last campaign. Our group is running a club came except we’re using Table of Organizations and Equipement for our Forces.
Nice to have you back
Cheers