Fought At Ruhr
2217 days 23 hours 9 minutes ago
Against the Green Howards
90 POINTSFierce fighting as 4th Motorisierte Verloren Haufe clashes with the famous Green Howards Green Howards
HQ, Verloren Haufe, 4th Motorisierte Division
Jarvis Niemand was disappointed. The 2nd Panzer Grenadier had been counterattacking the penetration from the south, opening up the opportunity for other elements of 1st Guards Tank Army, but distracting the 4th from its main purpose. This in turn had allowed the verdammt Tommies to throw another obstacle in his path. What amounted to a reduced battalion of Tommies was moving into Warburg, blocking his path. Bypass, full attack, or probe, then bypass? Das ist der Fragen.
Full attack. There were no tanks in evidence. The 2nd UK Division didn't have many in the first place. Maybe later. If Niemand could force through Warburg, a whole Tommy battalion might disappear. If the attack stalled, he could still bypass to the east, shielded by the rough ground.

The 'Big' Picture. Attacking north out of the 2nd West Front penetration to cut the NATO rail link to Hannover and clear the east bank of the Rhine.
4th Motorisierte is the counter in Kassel facing off against reduced strength 2nd PzGren and battered British 2nd Division, sadly including the Green Howards. Not depicted is the mystery source of American Light Recon, most likely the 1st Squadron 9th Cavalry (Buffalo Soldiers) from the 9th Motorized Division as the 82nd is busy elsewhere. 3rd Shock Army is in Paderborn, ready to launch its own limited offensive
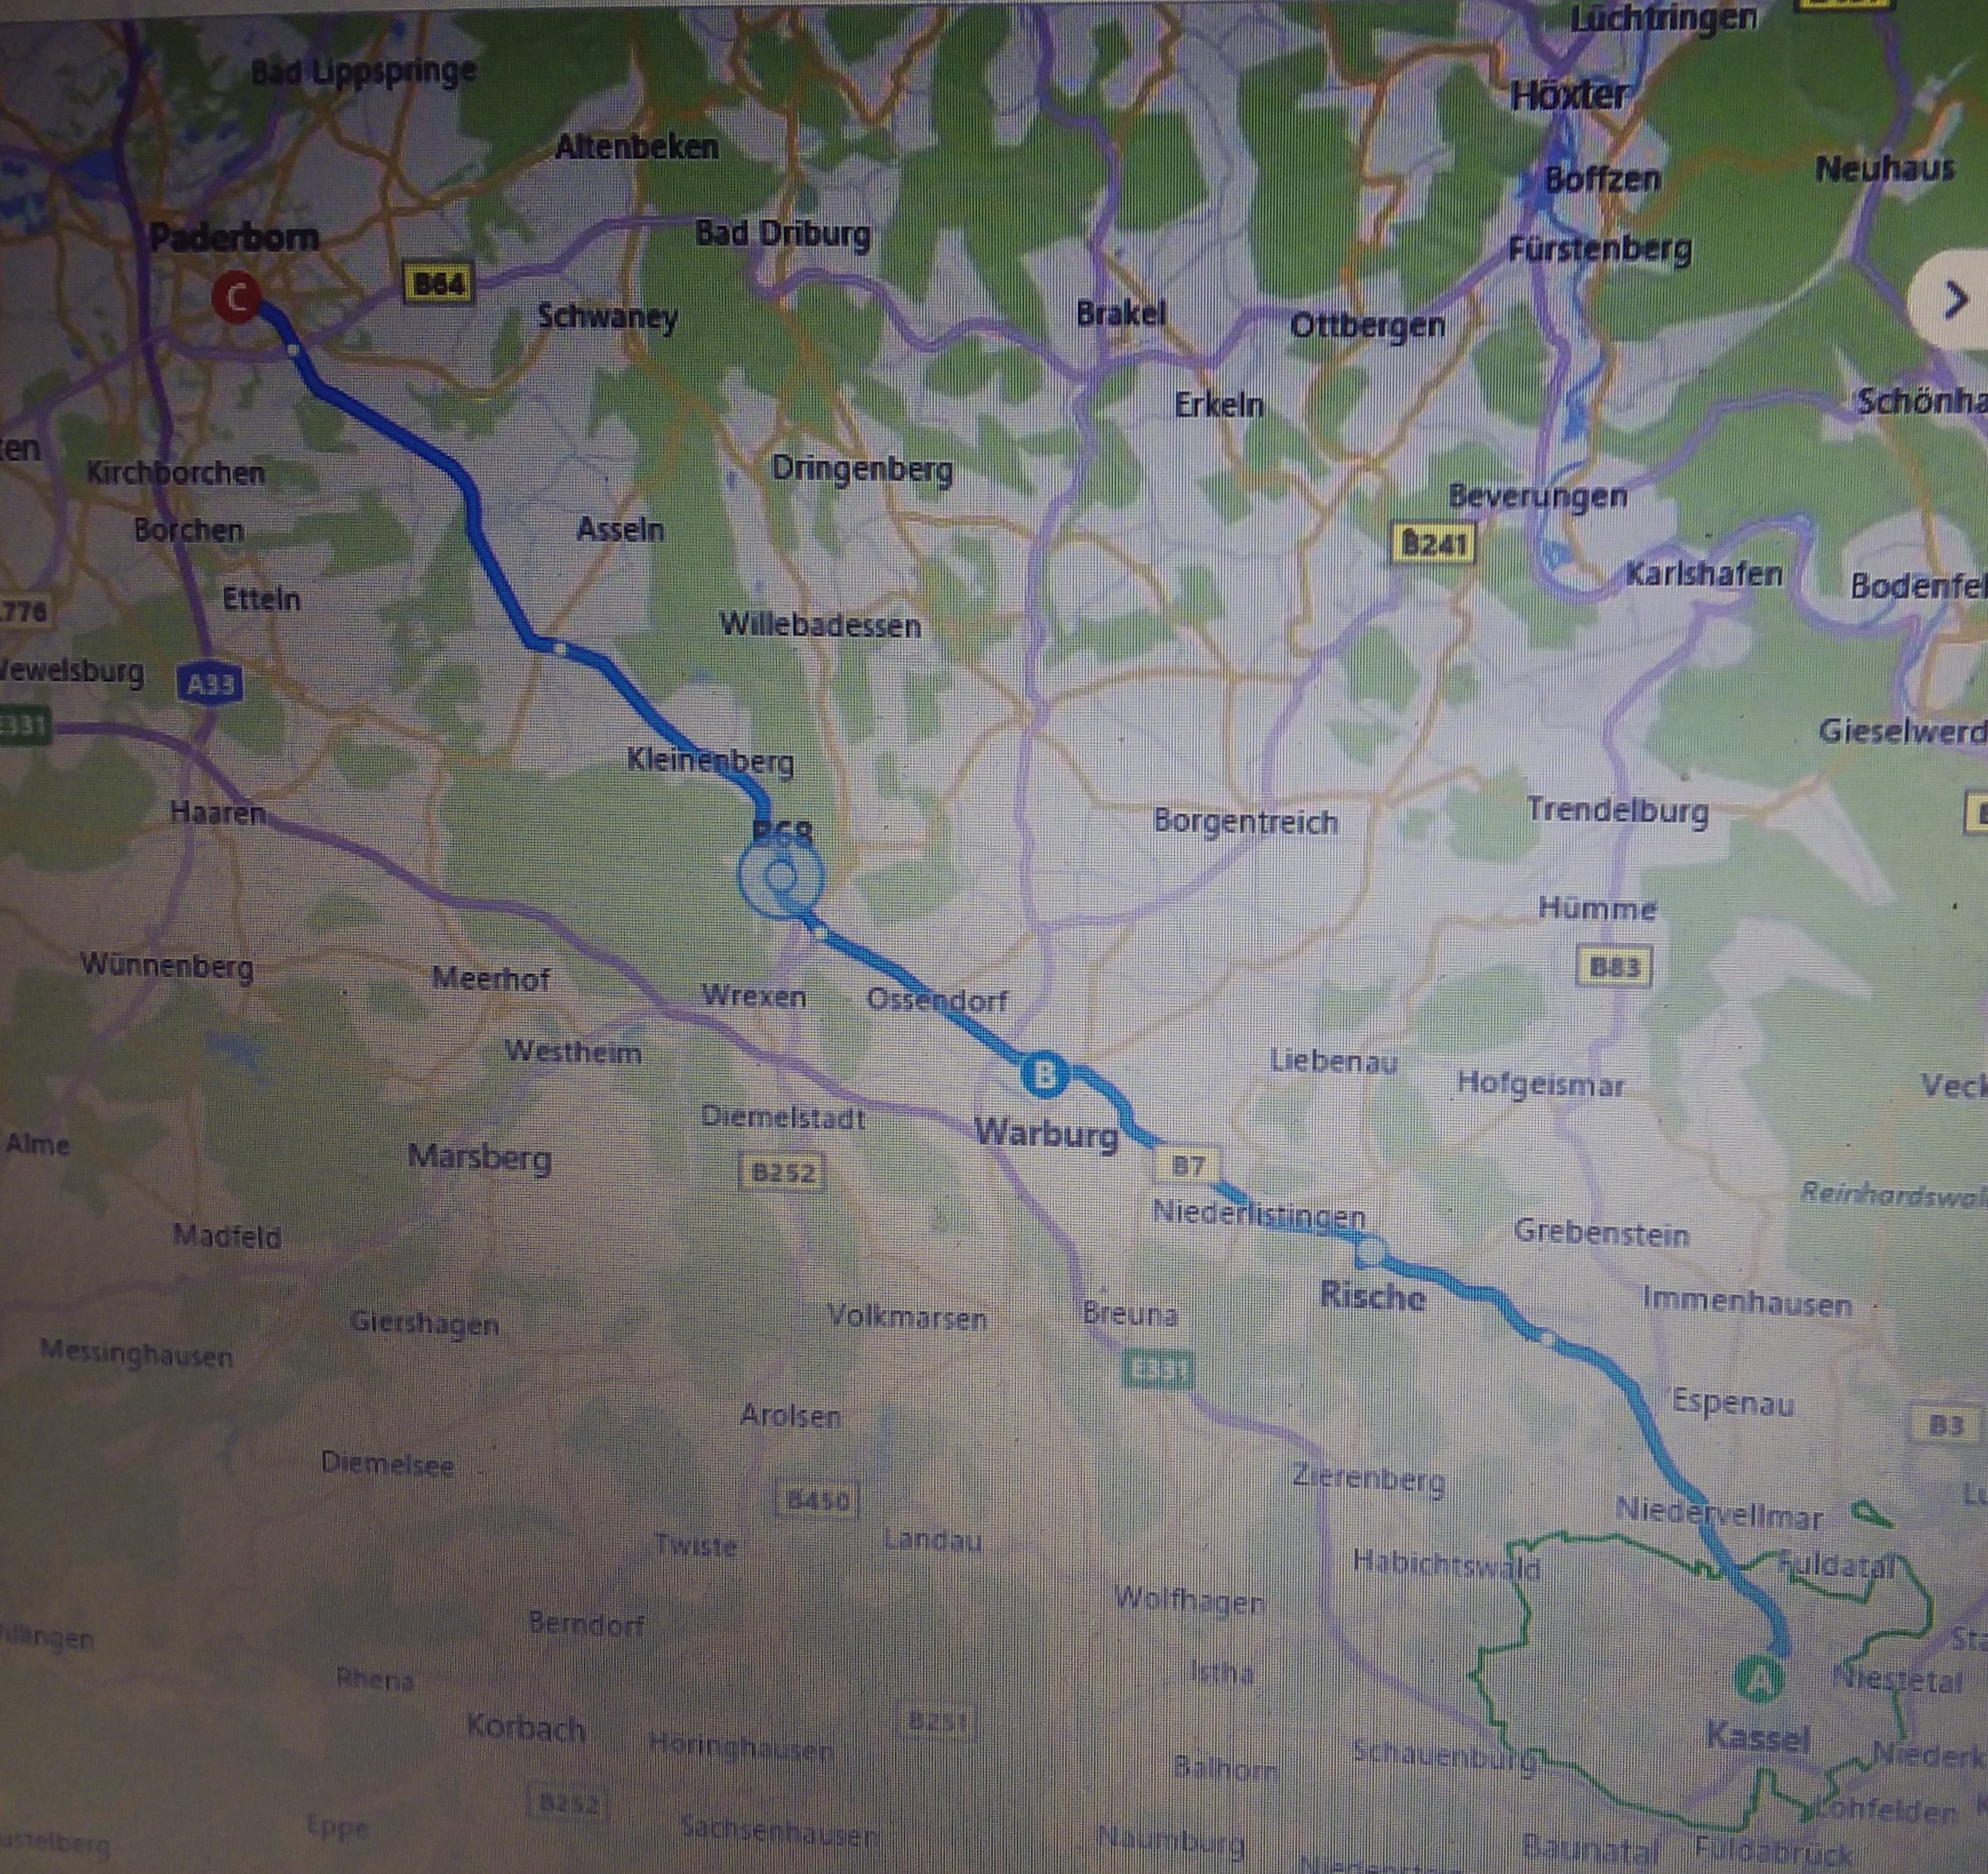 Warburg operational area. "B" is Warburg. Kassel, to the southeast, where battered 2nd PzGren is being put into a box, and Paderborn, to the northwest, where the 3rd Shock is waiting to enter the fray with its limited fuel resources. 2nd UK Division is reacting from the northeast
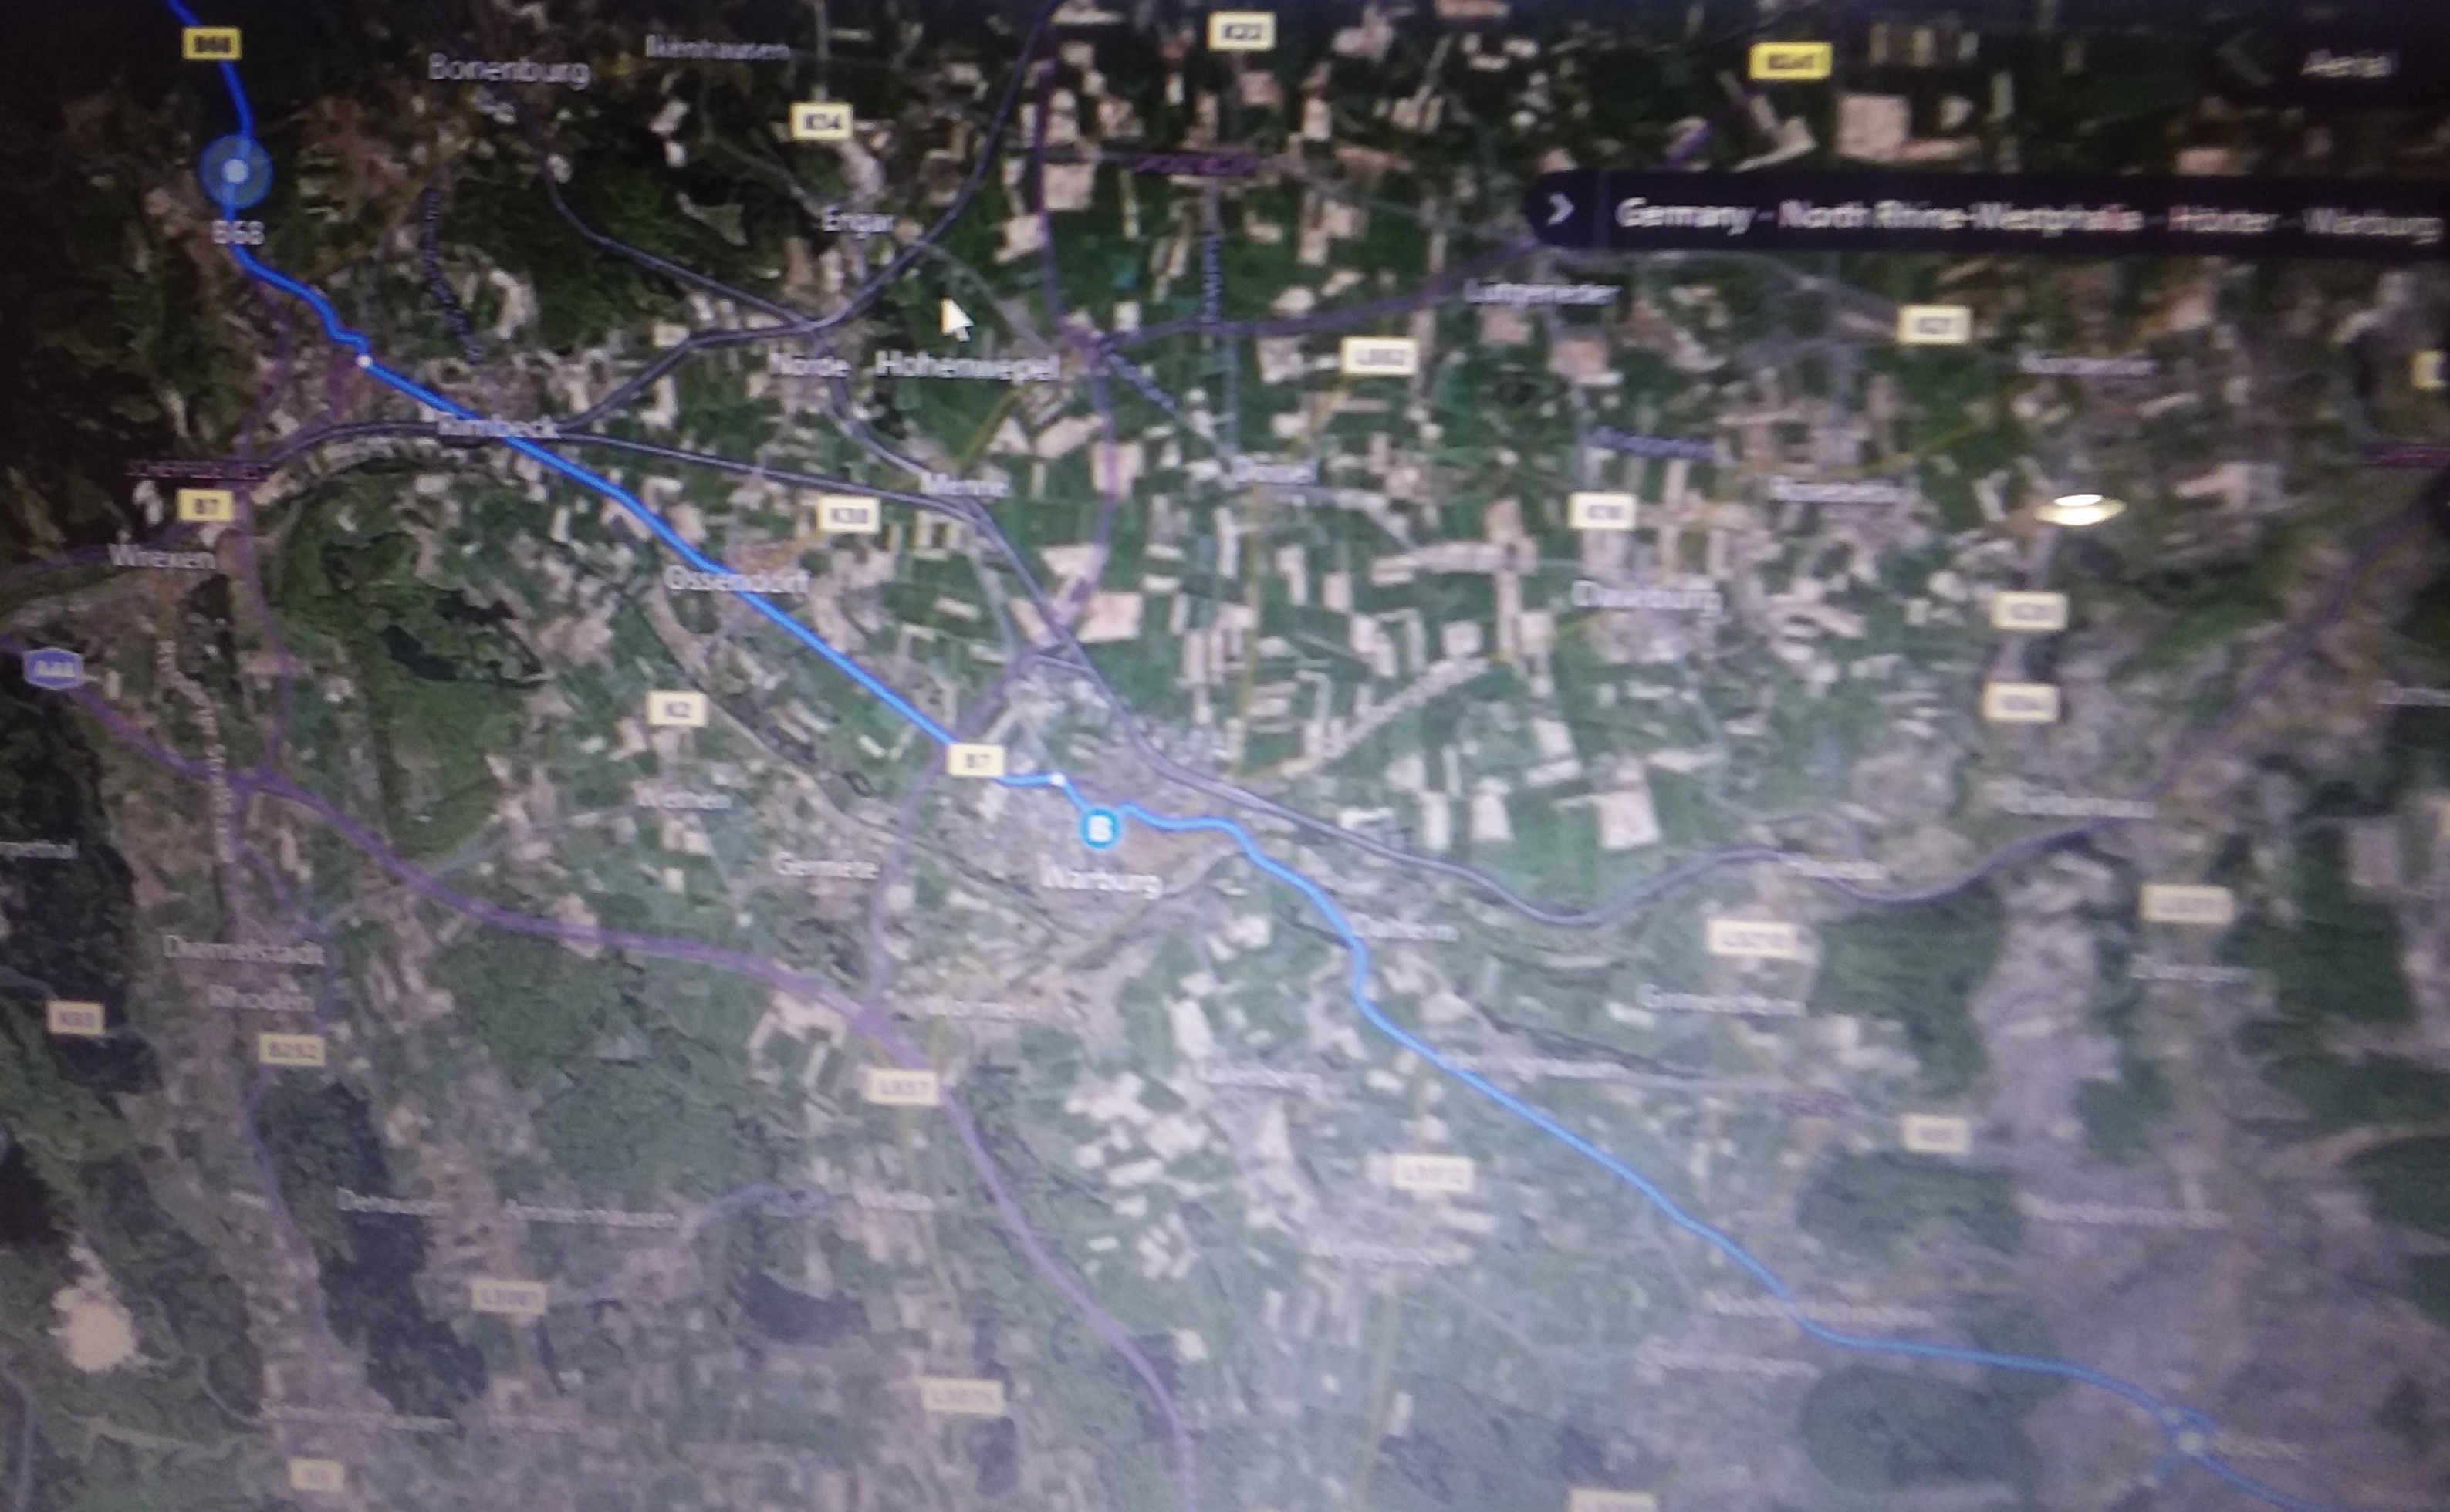
This was supposed to be an attack out of Ruhr into Essen in our campaign, and here is an example of how the divergence of campaigns makes life complicated. Still posted in Ruhr, but the Green Howards are in the eastern part of the Ruhr in the 'Big Picture' and thus the battle for the on-line campaign is here.
We used our campaign procedure; a die roll decided I was 'Attacker' in the campaign and I chose 'Attack' as my battle plan and Green Howards chose 'Defend.' Die roll produced 'Bridgehead.
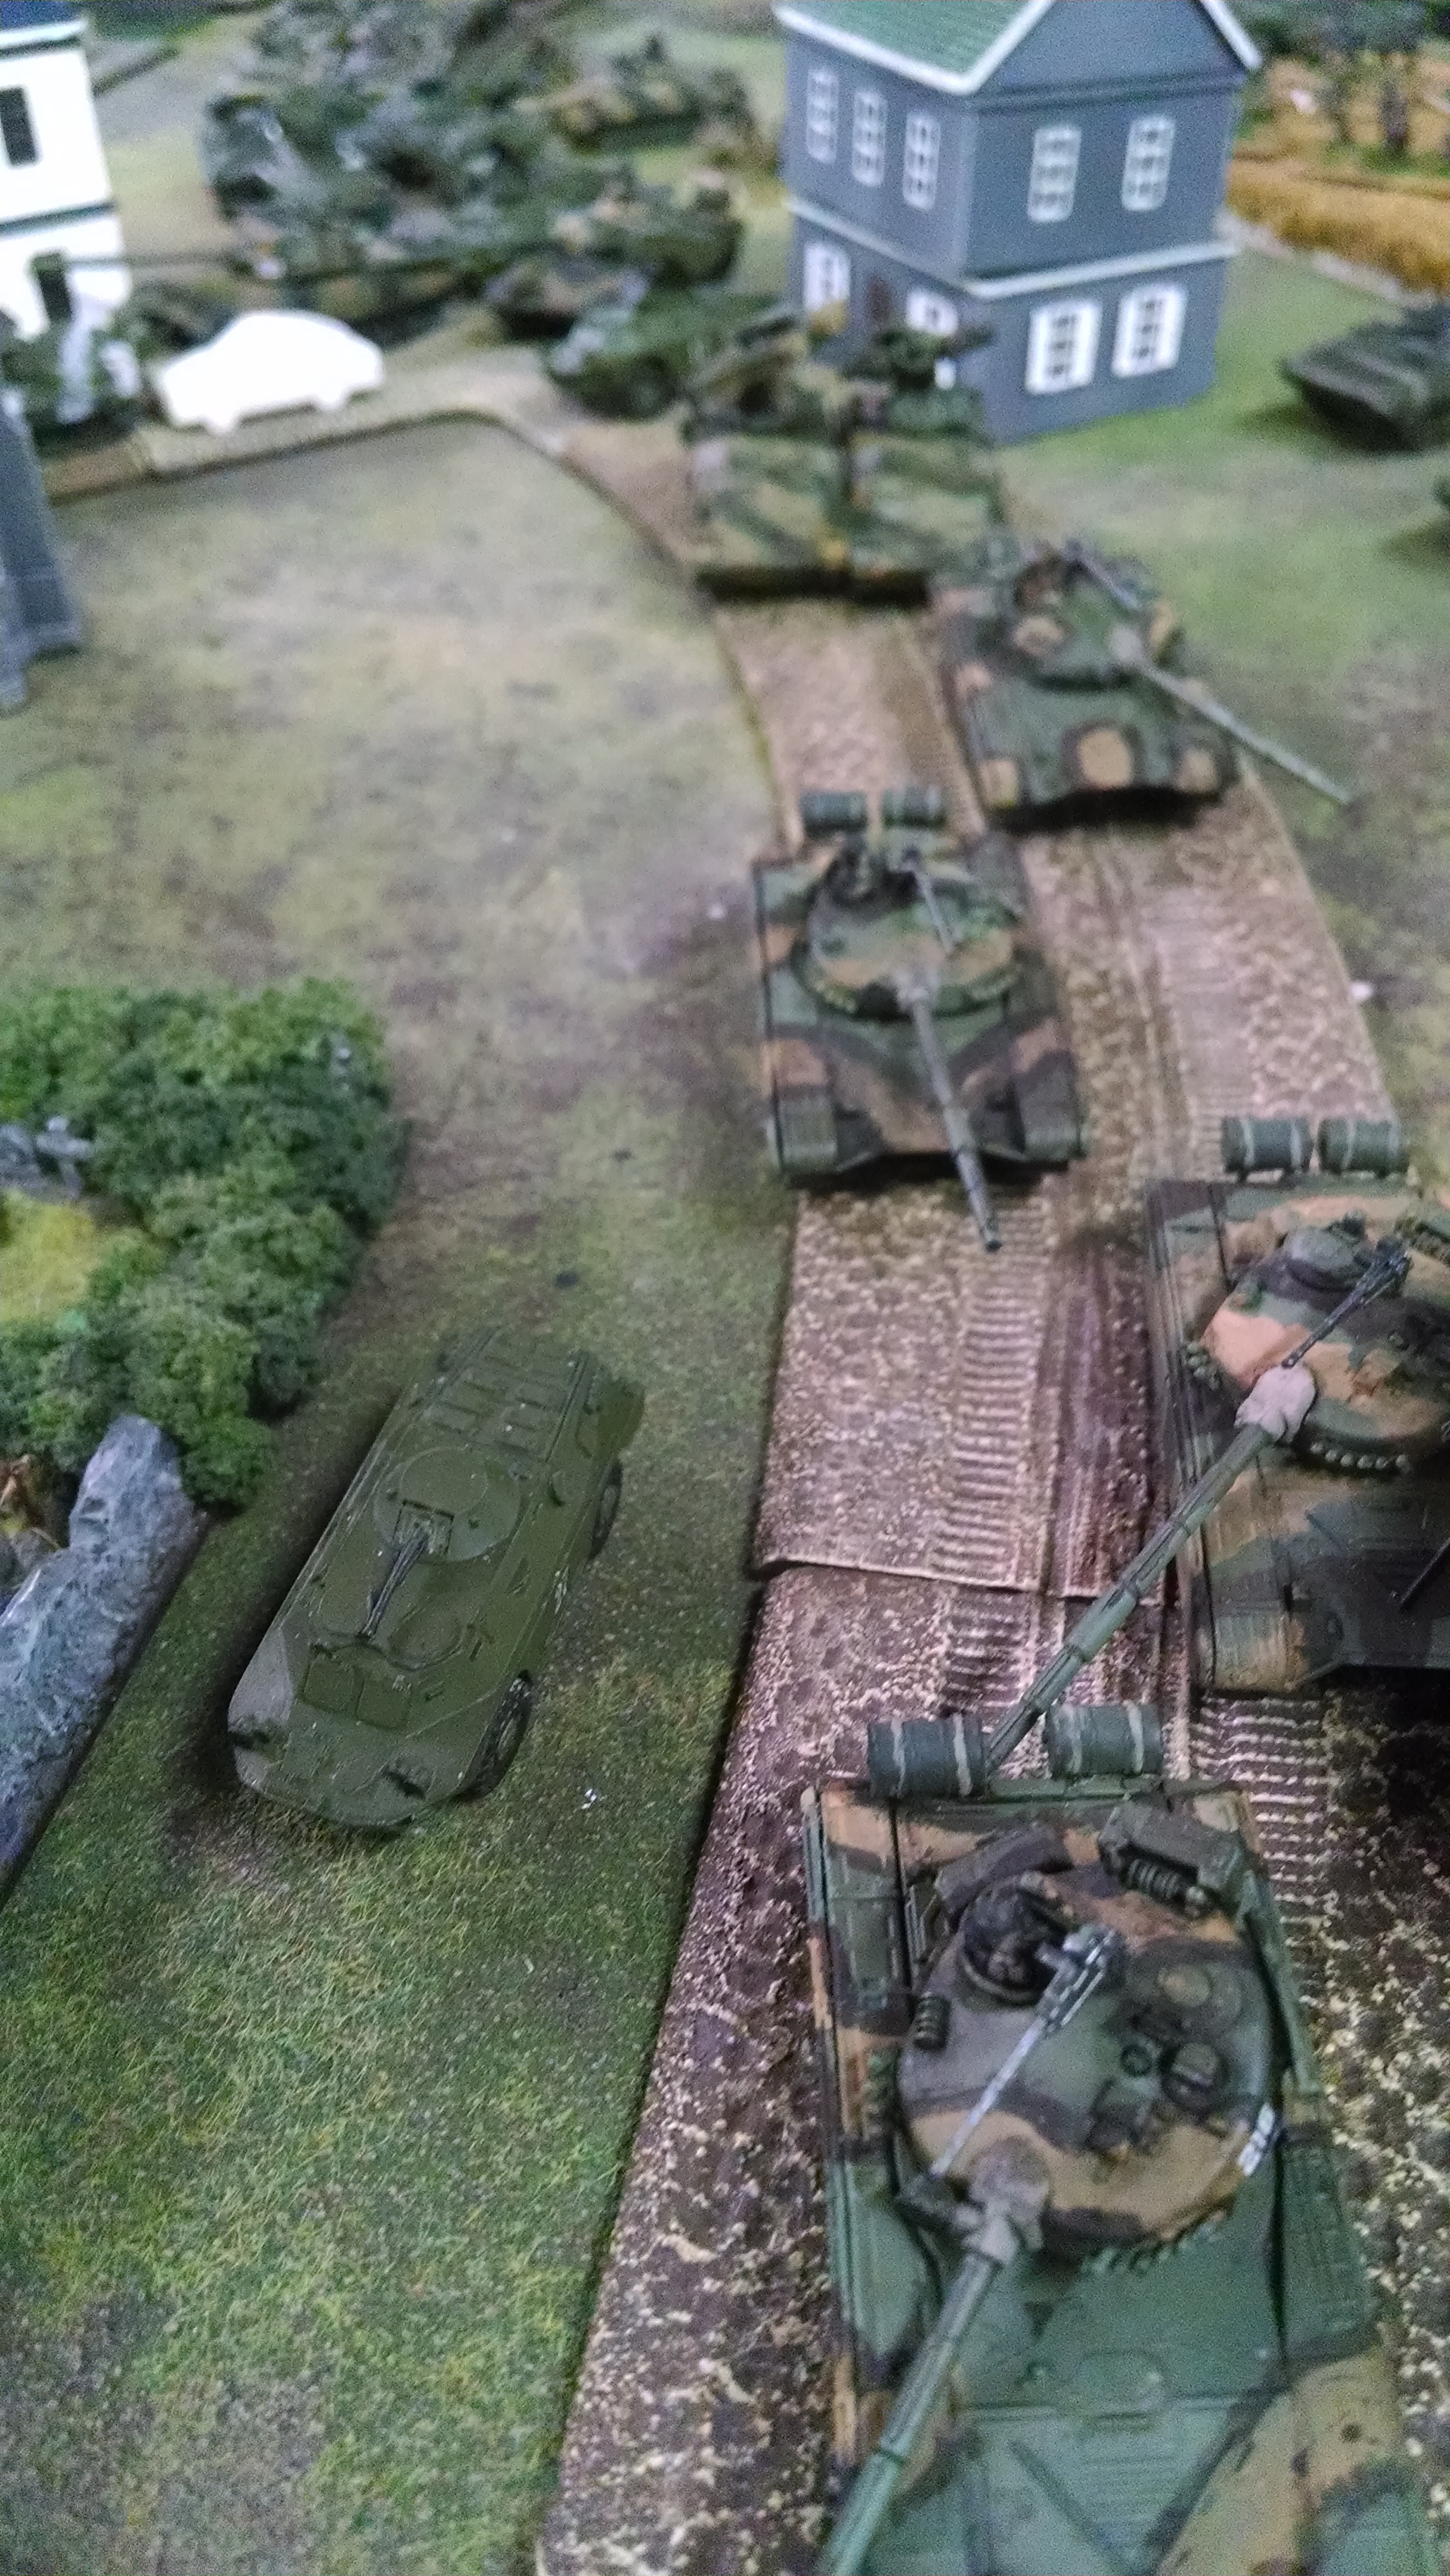
Howard deployed two rifle platoons, 4 American HMMV platoons, mortars, an FMV432 Milan platoon and two company HQs, plus, of course, 4 minefields. I deployed my whole force. Howard put his American recce out on the flanks to block my spearheads, which worked in the (comparatively) short battle we fought.
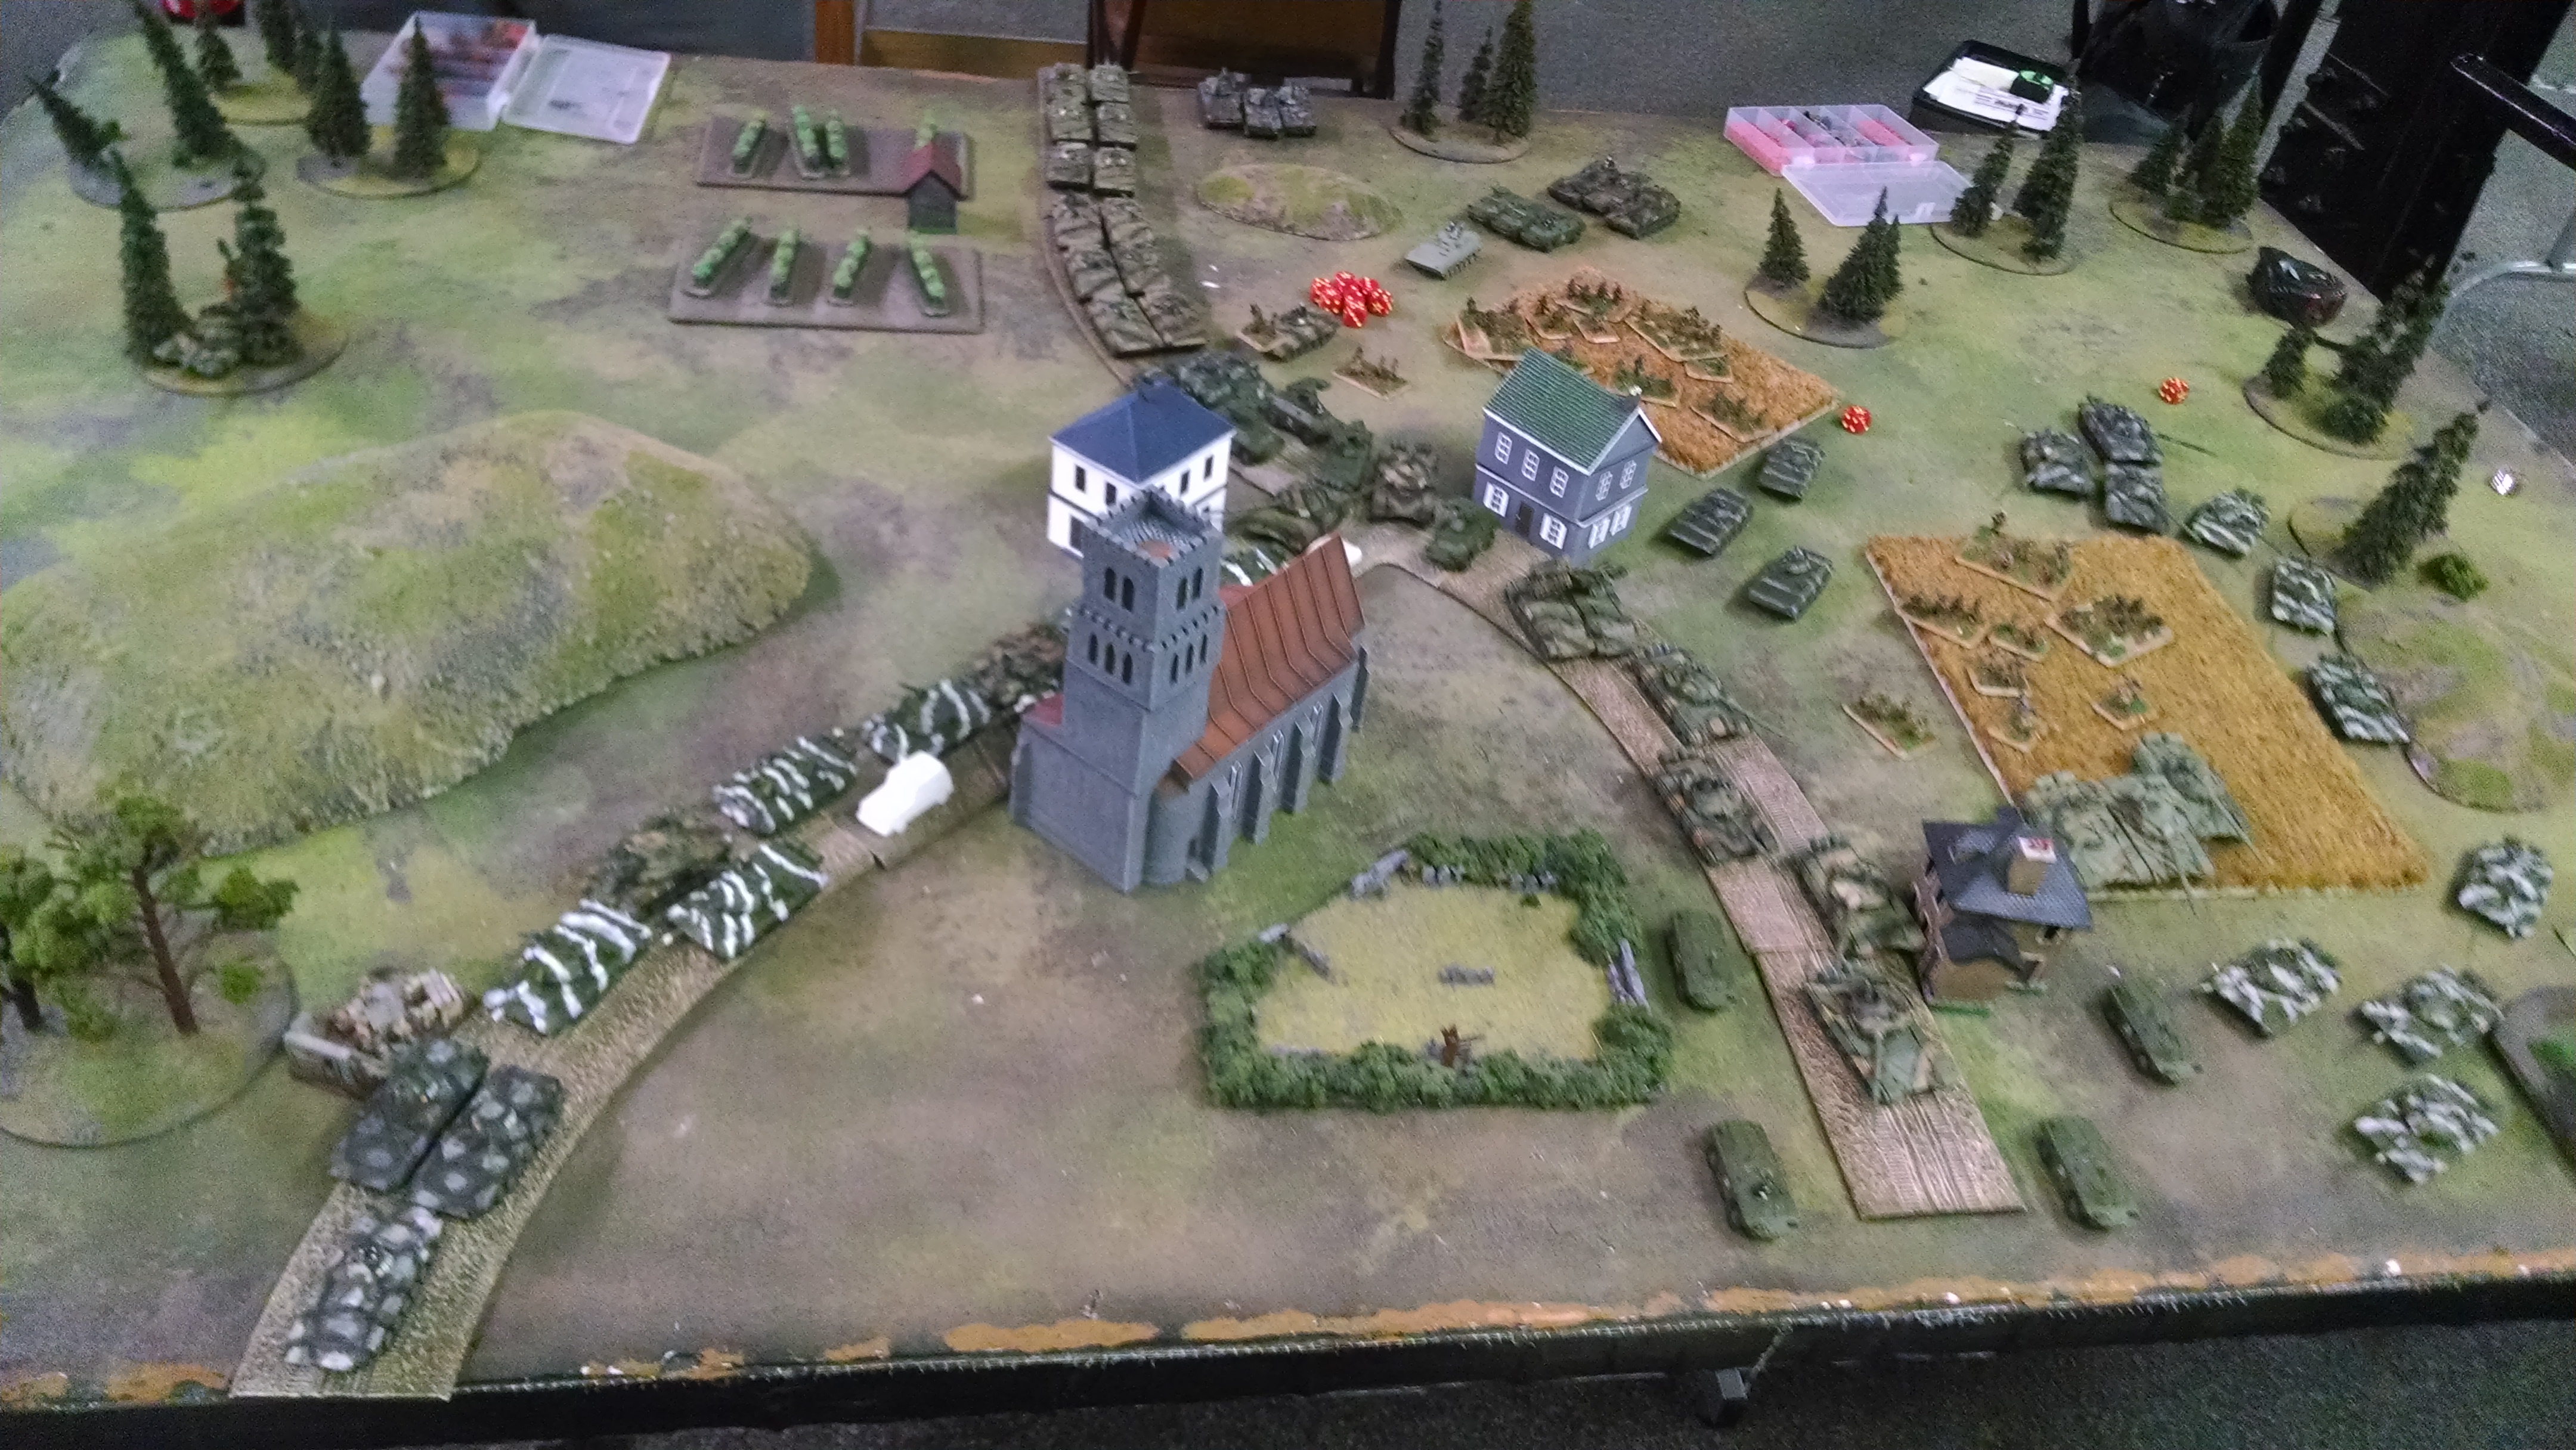
I deployed more or less symmetrically. The Hinds went to loiter, a T55 tank battalion went to each side of the battlefield, and a spearhead enabled them. I had a rifle 'company' in each wing, and one in the center. The Motor Rifle attachments and divisional support were also in the center. I weighted the left with transport BMP-2s and BMP-1s.
Turn 1 went much as I expected, less than I hoped, more than I feared.
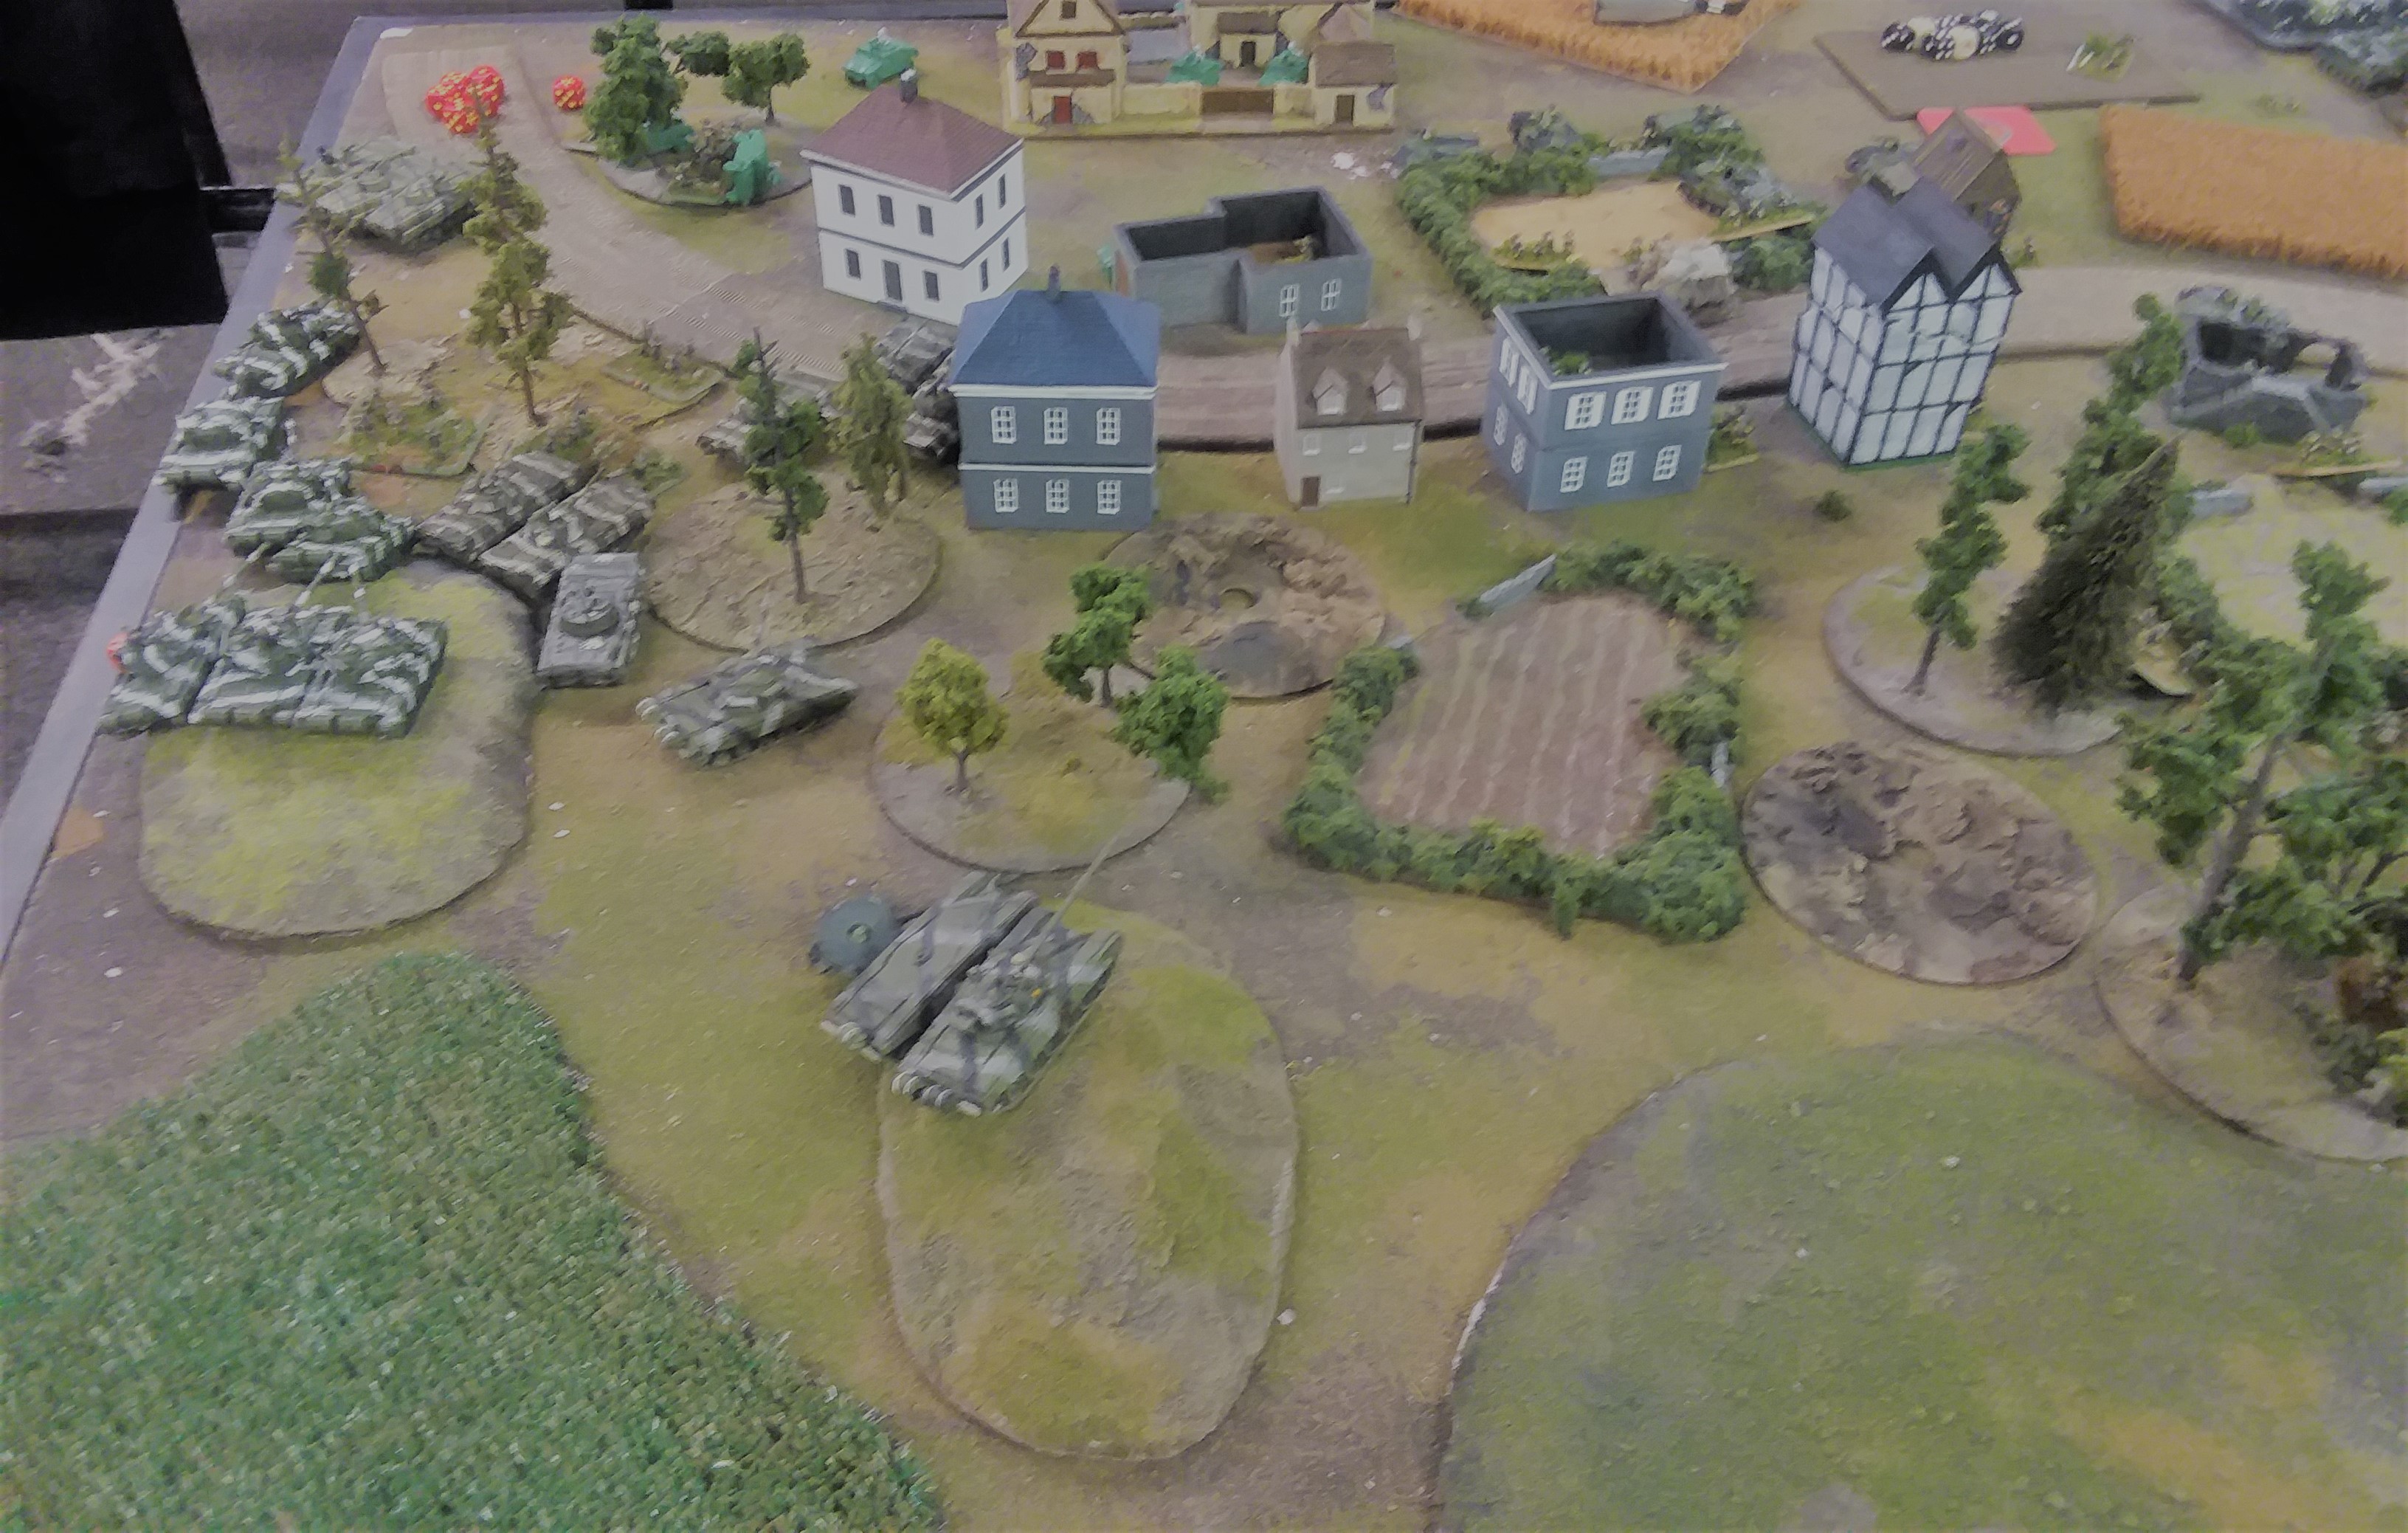
On the southern (eastern) flank, the BMPs scooted around the flanking Buffalo Soldiers vehicles. The T55s remained motionless to keep their '6' to hit. The T72s chugged up into better shooting positions. Fire...and 2 HMMVs bailed and one died. Unfortunately, the one that survived unhurt was the 40mm variant. Bayonet charge, hail of fire, failed 3 saves but still burned one HMMV. HMMV platoon exits stage right.
In center, my rifle unit slides to north to focus its attentions on "1st Platoon A Company" . More shooting, manage to kill a Milan team, and pin the 1st Platoon with artillery fire. Meanwhile a hail of missiles from BMP-1s and some T72 fire misses the 2nd Platoon.
In the north, my hail of fire is less effective, producing a mere two vehicles killed, in two different platoons, but I did kill a TOW HMMWV.
Green Howards came back with the usual barrage of Milans. I produced some fantastic saves (2 6's on a T72M to produce one bail and one nothing; a hail of .50 and 40mm against BMPs to little effect beyond two bailed vehicles. Only permanent loss with the BC on that flank who nimbly jumped to a T72M. Morale checks passed.
On the northern flank he killed one BMP-2 and bailed one; a long down the street Milan missed its opportunity to kill a vehicle. 3 Milans went after my motor rifle's T72Ms killing one.
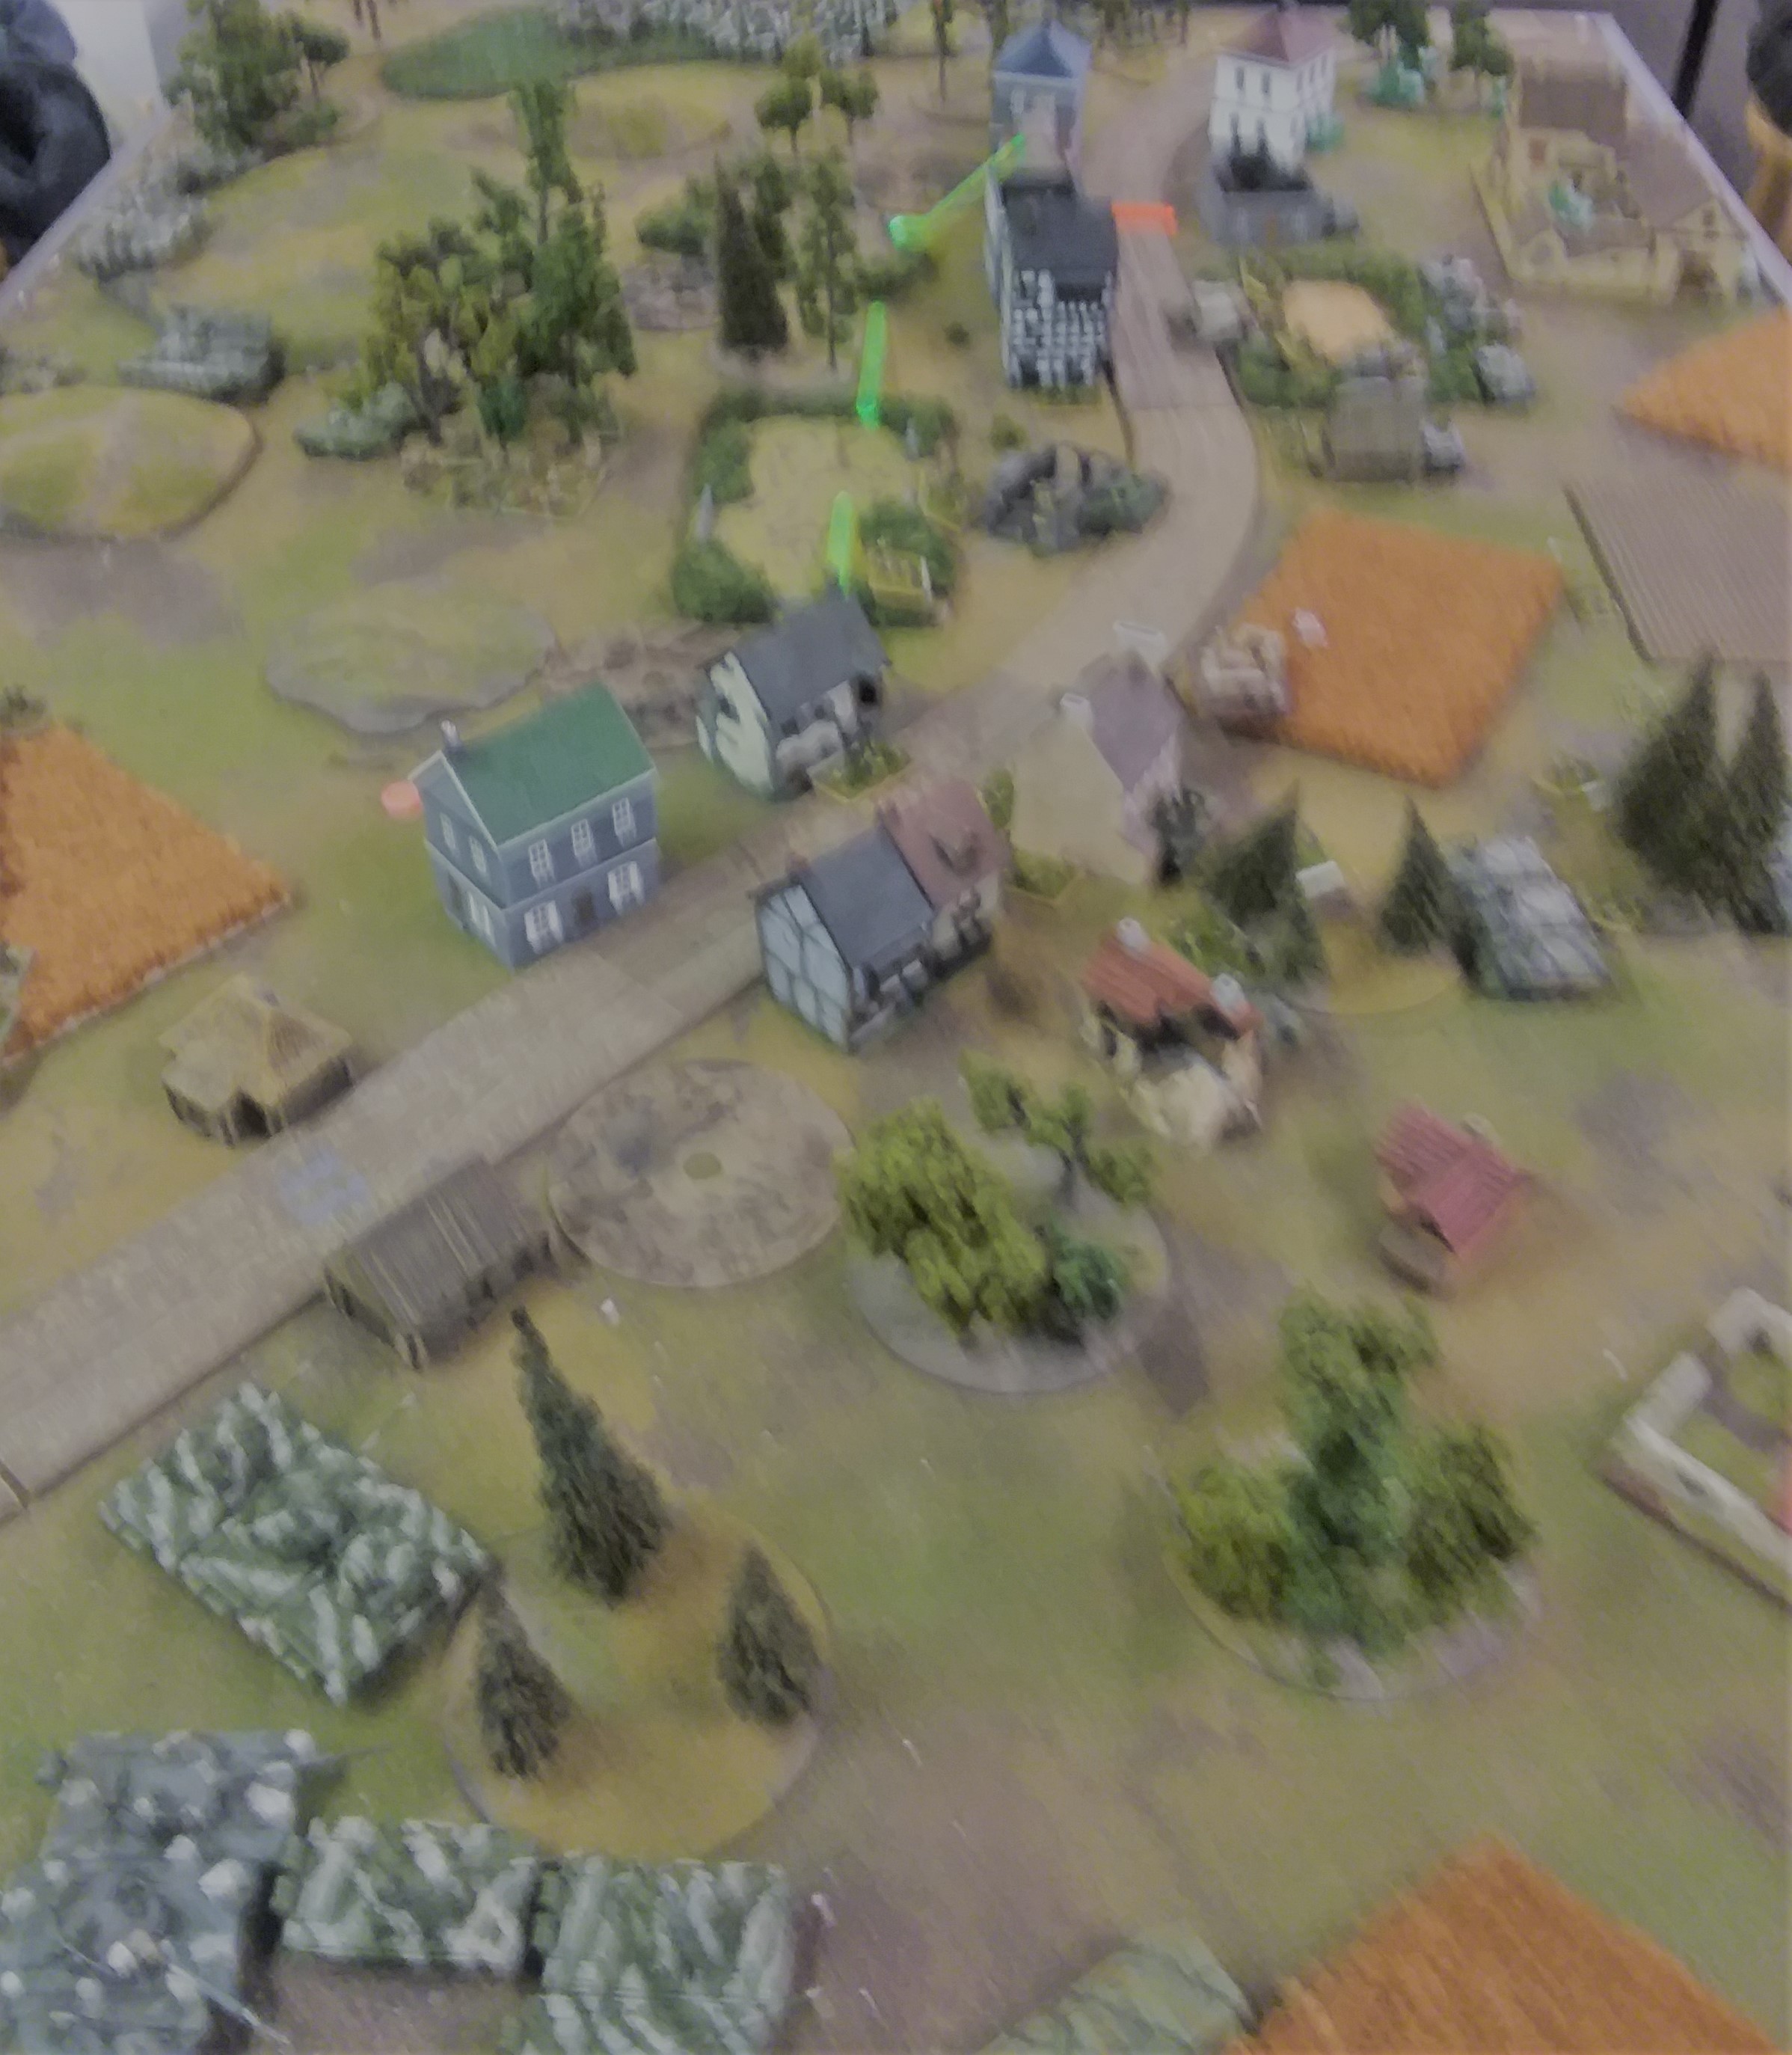
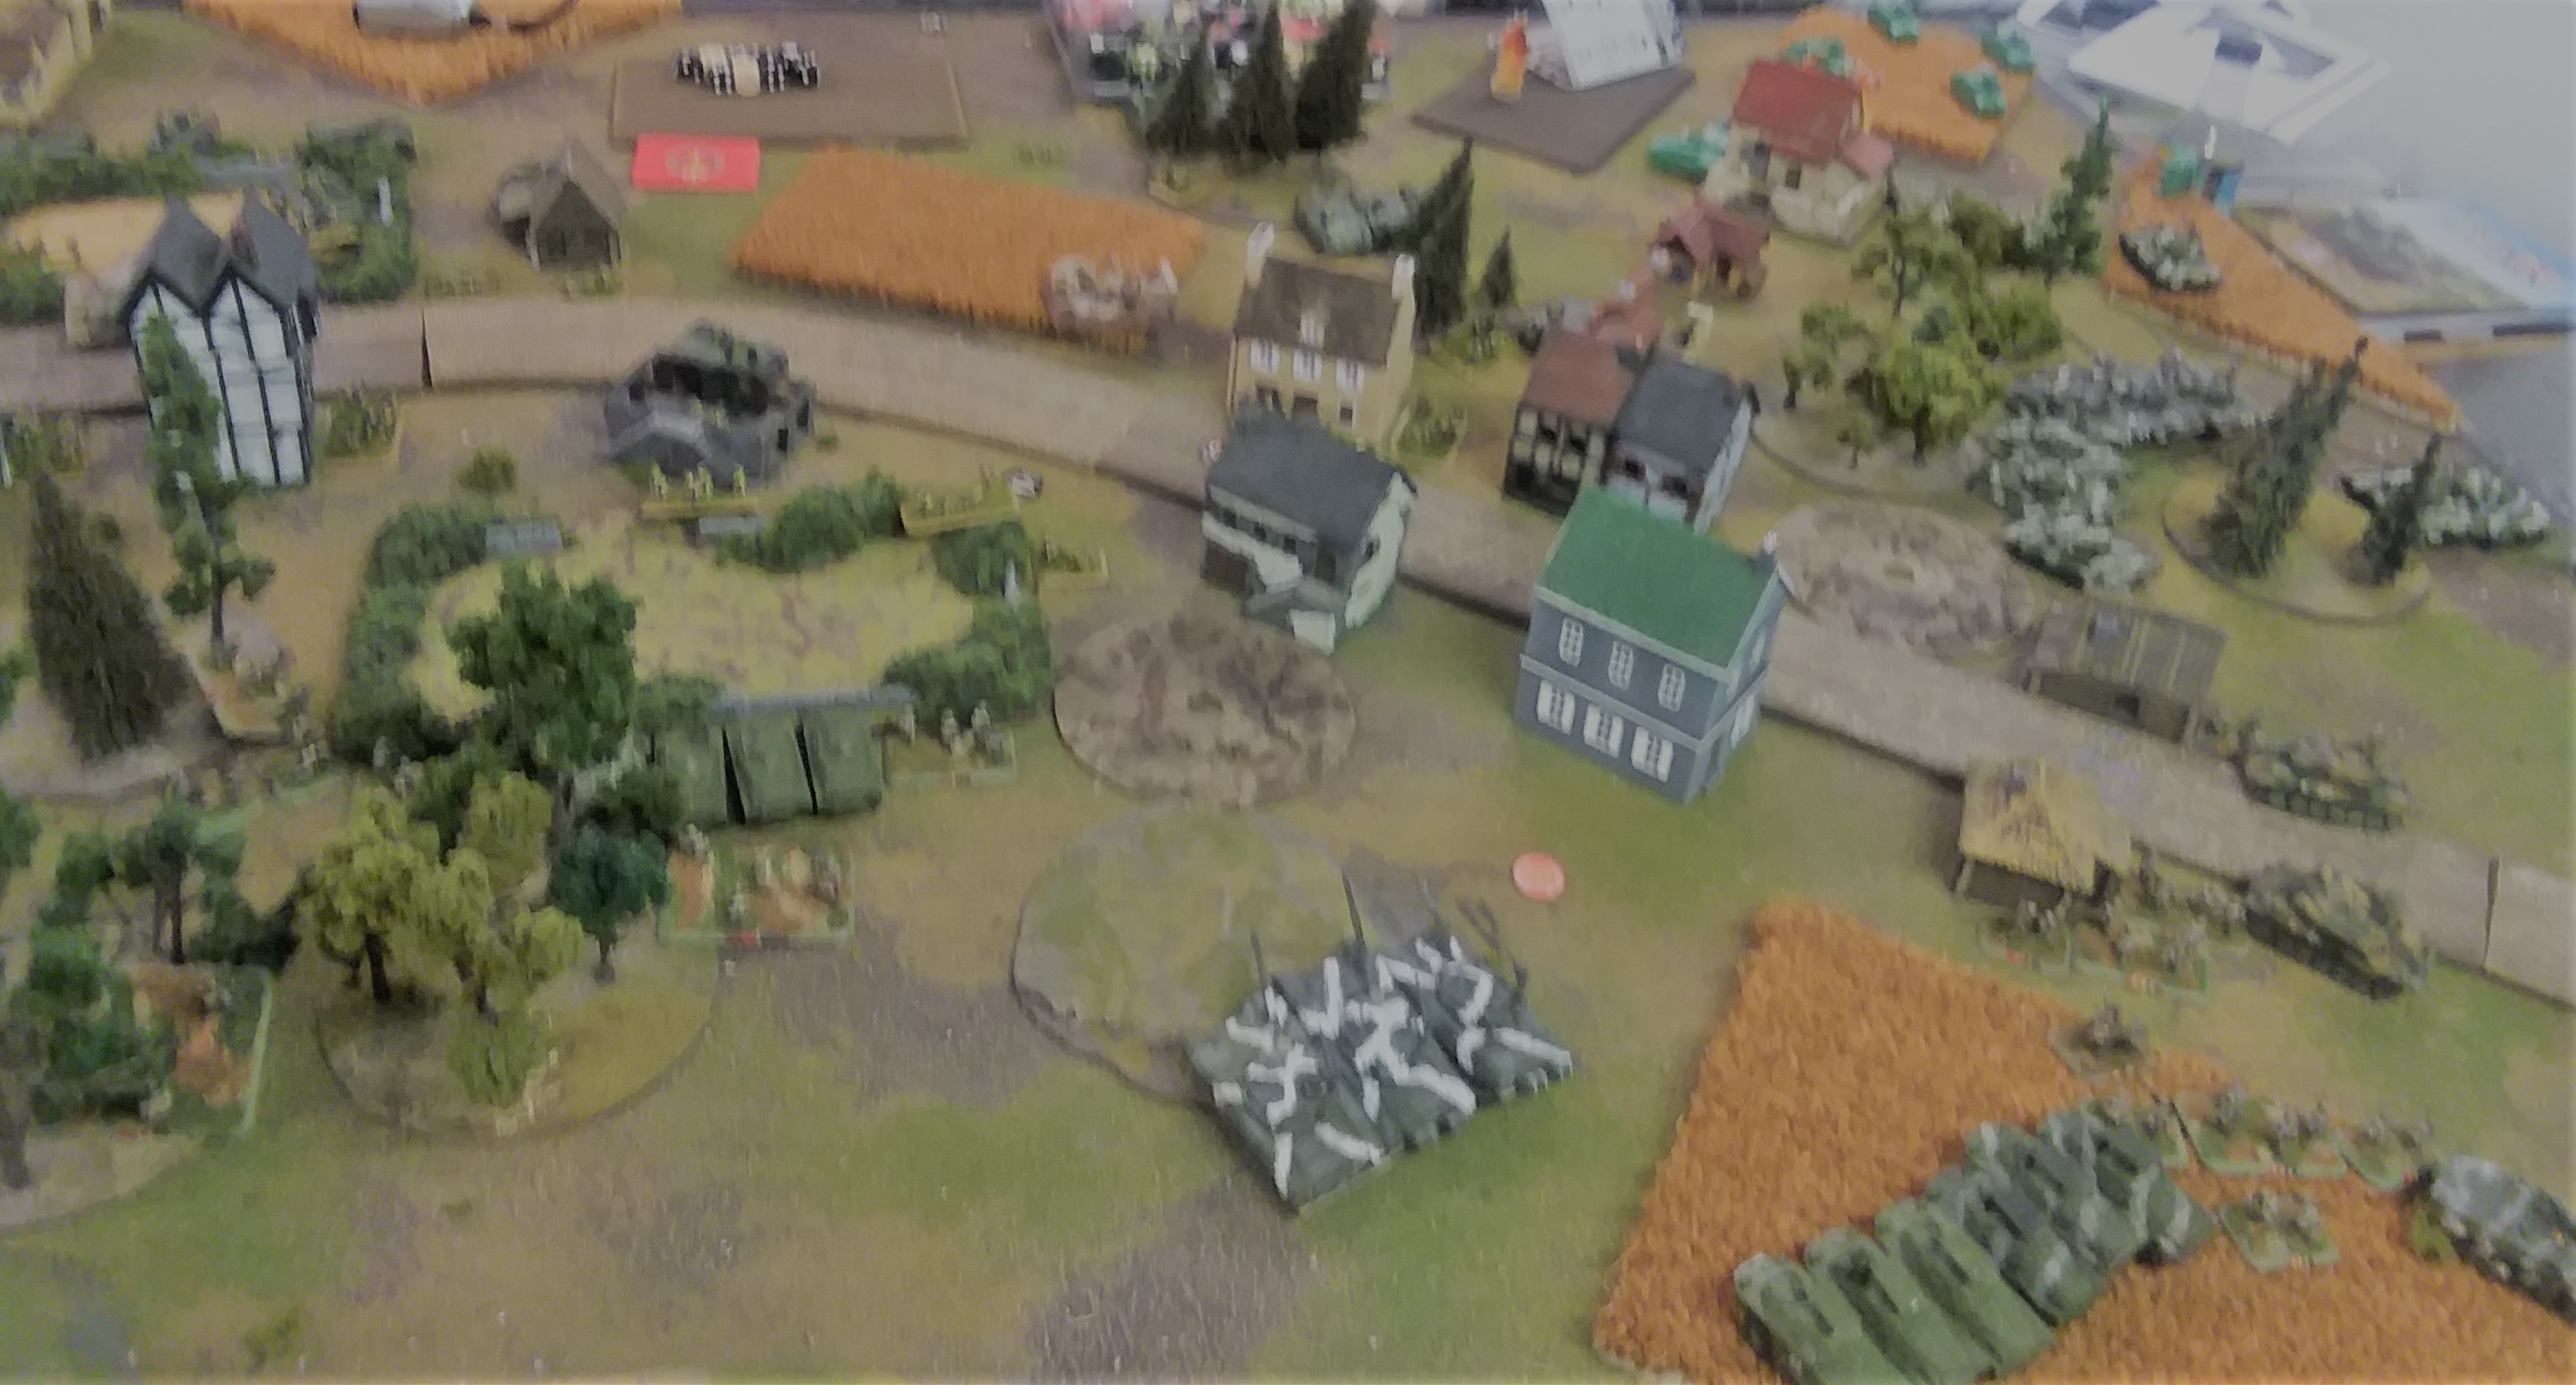
At the top of this screen is the 'Farmhouse' which figures prominently in the next two turns. Green Howards had two HMMVs with TOWs in the courtyard, and I fired at them with BMP-2s scoring two bails. Meanwhile my infantry on that flank, pinned by his fire, refused to rally. So I couldn't advance and position myself to take the farm. Note to self - next time use the air assault detachment, because the T55 battalion commander could have joined them to motivate the rally.
Even though I killed his company XO and one HMMWV from 2nd Platoon, he managed to make morale.
In the center I threaded the minefields and dropped artillery on 2nd Platoon A Company. My AGL17 used his Milan team as its target, as did a number of other people, and I pinned 1st Platoon with fire.
Then I assaulted the Company commander and the southern flank of 1st Platoon, carrying the position with two casualties. On the north, I fired up the now visible cavalry scouts and forced a morale check on one platoon, and bailed a TOW HMMWV with a T55. Go figure. I also committed the Hinds, annihilating his mortar platoon.
GH came back with more TOW missiles, 40mm, and a couple MILANS to kill a T55 and a BMP1. The infantry rallied, and tossed a couple MILANs at available targets, killing another BMP-2. The TOWs in the Farmhouse, reprieved by the failure of my infantry, killed another BMP-2, leaving 3.
While this was going on GH rolled for reserves, and got them in the southern corner. This led to several minutes of discussion of options, and GH decided to assault everything In that corner with 1st Platoon B Company. I thought the better move was into the Farmhouse.
Doubtless to the above music played on '80s boom boxes or equivalent, the 1/B boys stepped off. Their assaulting fire bailed two BMPs and killed a T55, but it was not enough to quench the defensive fire. A BMP-1, 2 BMP-2, three T55s, a pinned AGL, and a couple AKs stopped the unit cold
I went after 1/B with a vengeance, bringing everything I could to bear with machineguns. I move to assaulting distance with two T55 units (one, short a tank), and my infantry rallied. It was a turkey shoot, but unfortunately the casualties took away assault opportunities. When the tracers stopped flying, there was only 1 SLR team, a Milan team, and 1 rifle/LAW team left, and my two functional BMP-2s the only thing that could assault. My assault went in after he missed the 4+ LAW shot, and that should have run 1/B off. However, two assault dice produced no hits, he counterattacked, killed a BMP and my survivor refused to counterattack. My infantry contented itself with scooping up a HMMWV.
In the center the Hinds turned their attention to FMV432s, and this gave a reprieve to the beleaguered northern scouts. I should have fired on them, as they were neither concealed nor gone to ground from the air. Not that this would change the outcome. The Hinds only got two hits, and most importantly, missed a shot on a key FMV432. That in turn precluded an assault by my aerorifles - too many defensive fire dice. So passed my last chance to take an objective; the witching hour was nigh.
We normally play to a three hour standard unless a decision is in the offing. There wasn't. My calculation - two turns from an all-out assault on the northern objective. Equally clearly, GH couldn't win. So we played out GH's turn, which saw another platoon of B company arrive as reinforcements in the same crowded sector. GH went into the Farmhouse this time, but not without a certain reluctance about making another attack across open ground. More tanks, unpinned infantry convinced him this was not a good idea. He managed an assault out of the farmhouse to wreck a BMP and eliminate the BMP recon unit. That made 3 units destroyed, and gave him a 3-2 winning draw.
Hot Wash
This is the typical result when I attack Green Howards in a defensive posture. We time out. Not unusual in maneuver battles. We've been playing each other so long...approaching 45 years, off an on, in a variety of games.
Doesn't mean mistakes weren't made. I should have brought the Hinds on in the south on Turn 1. BH would have had to use his .50s as AA weapons (he can explain his thinking on not using his flak) and kept him from shooting up infantry and BMPs. As I mentioned, the airmobile infantry should have been attacking in the south, so that they could be influenced by the BC. My BMP-1 transport company should have been in the north as a follow-on force to charge in amongst the cavalry; or alternatively I should have targeted the cavalry in the northern fields to the north with the Hinds as they would have ignored the concealment.
The infantry charge was, in my opinion, not just a mistake but almost was disastrous. I could very easily (and should have) moved my infantry into an assault on the Farmhouse in my turn 3. That would have eliminated another cavalry troop and forced another mechanized platoon to deploy into the cauldron.
And finally, I should have used my infantry on the northern flank more aggressively, ripping up the FMV432s with RPGs. Then I could have assaulted, and just possibly carried the objective on turn 3.
Aftermath
Niemand's Verloren Haufe was already sliding north when the Division Artillery Groupment and Regimental Artillery Groupment of the 24th Motorized opened fire, blasting apart the enemy positions. Shortly two battalions of the 24th would attack, and doubtless the British would scoot out to the west before getting decisively engaged. He twisted a torn piece of cloth from an enemy uniform in his hands. Green Howards. I had hopped to avoid them.

Tough fight. Great report. Thanks for posting.
Great battle report. Looked like a hard fought battle.
Mostly, Comrades, I was slow. Another hour of play or a bit more focus and the northern objective falls. I got distracted by the ‘easy’ kills on the HMMWVs, to the exclusion of the mission. But next time…
As to the counter displays, they point up an error in the underlying ‘game’ that direction of attack is 360 degrees with equal effectiveness. Maybe next game.
Comrade, I had the same result against the brits as well. Great report
+++
Also the counters actually show how unlikely the current situation is. The British never had strong offensive powers in the game and the impact of the Marines was minimal.
+++
If I didn’t recognize the old NATO game counters on the map. I played that game to bits in 1985-1988 and the nostalgia brought me to Team Yankee.
A fine battle, the British are hard to push, they have a lot of staying power.