Fought At Hof Corridor
2232 days 17 hours 40 minutes ago
Keep the pressure on
View Linked Report - CLICK HERE 60 POINTSHaving broken through the screening elements of the US 2d ACR, the leading elements of the DDR 9th Panzer division were pushing hard to the south west. Soon they should be encountering the hasty defenses of the US 1st Armored Division deployed to guard the supply lines for their elements moving toward the heart of East Germany.
Recce units leading the Regiment have stumbled upon some American mech infantry units deployed defending the highway south of Hoff. Oberleutnant Gruber's unit was right on the heels of the lead elements. His battalion, and the battalion of Motor-schutzen were ordered to remove this barrier as quickly as they could.
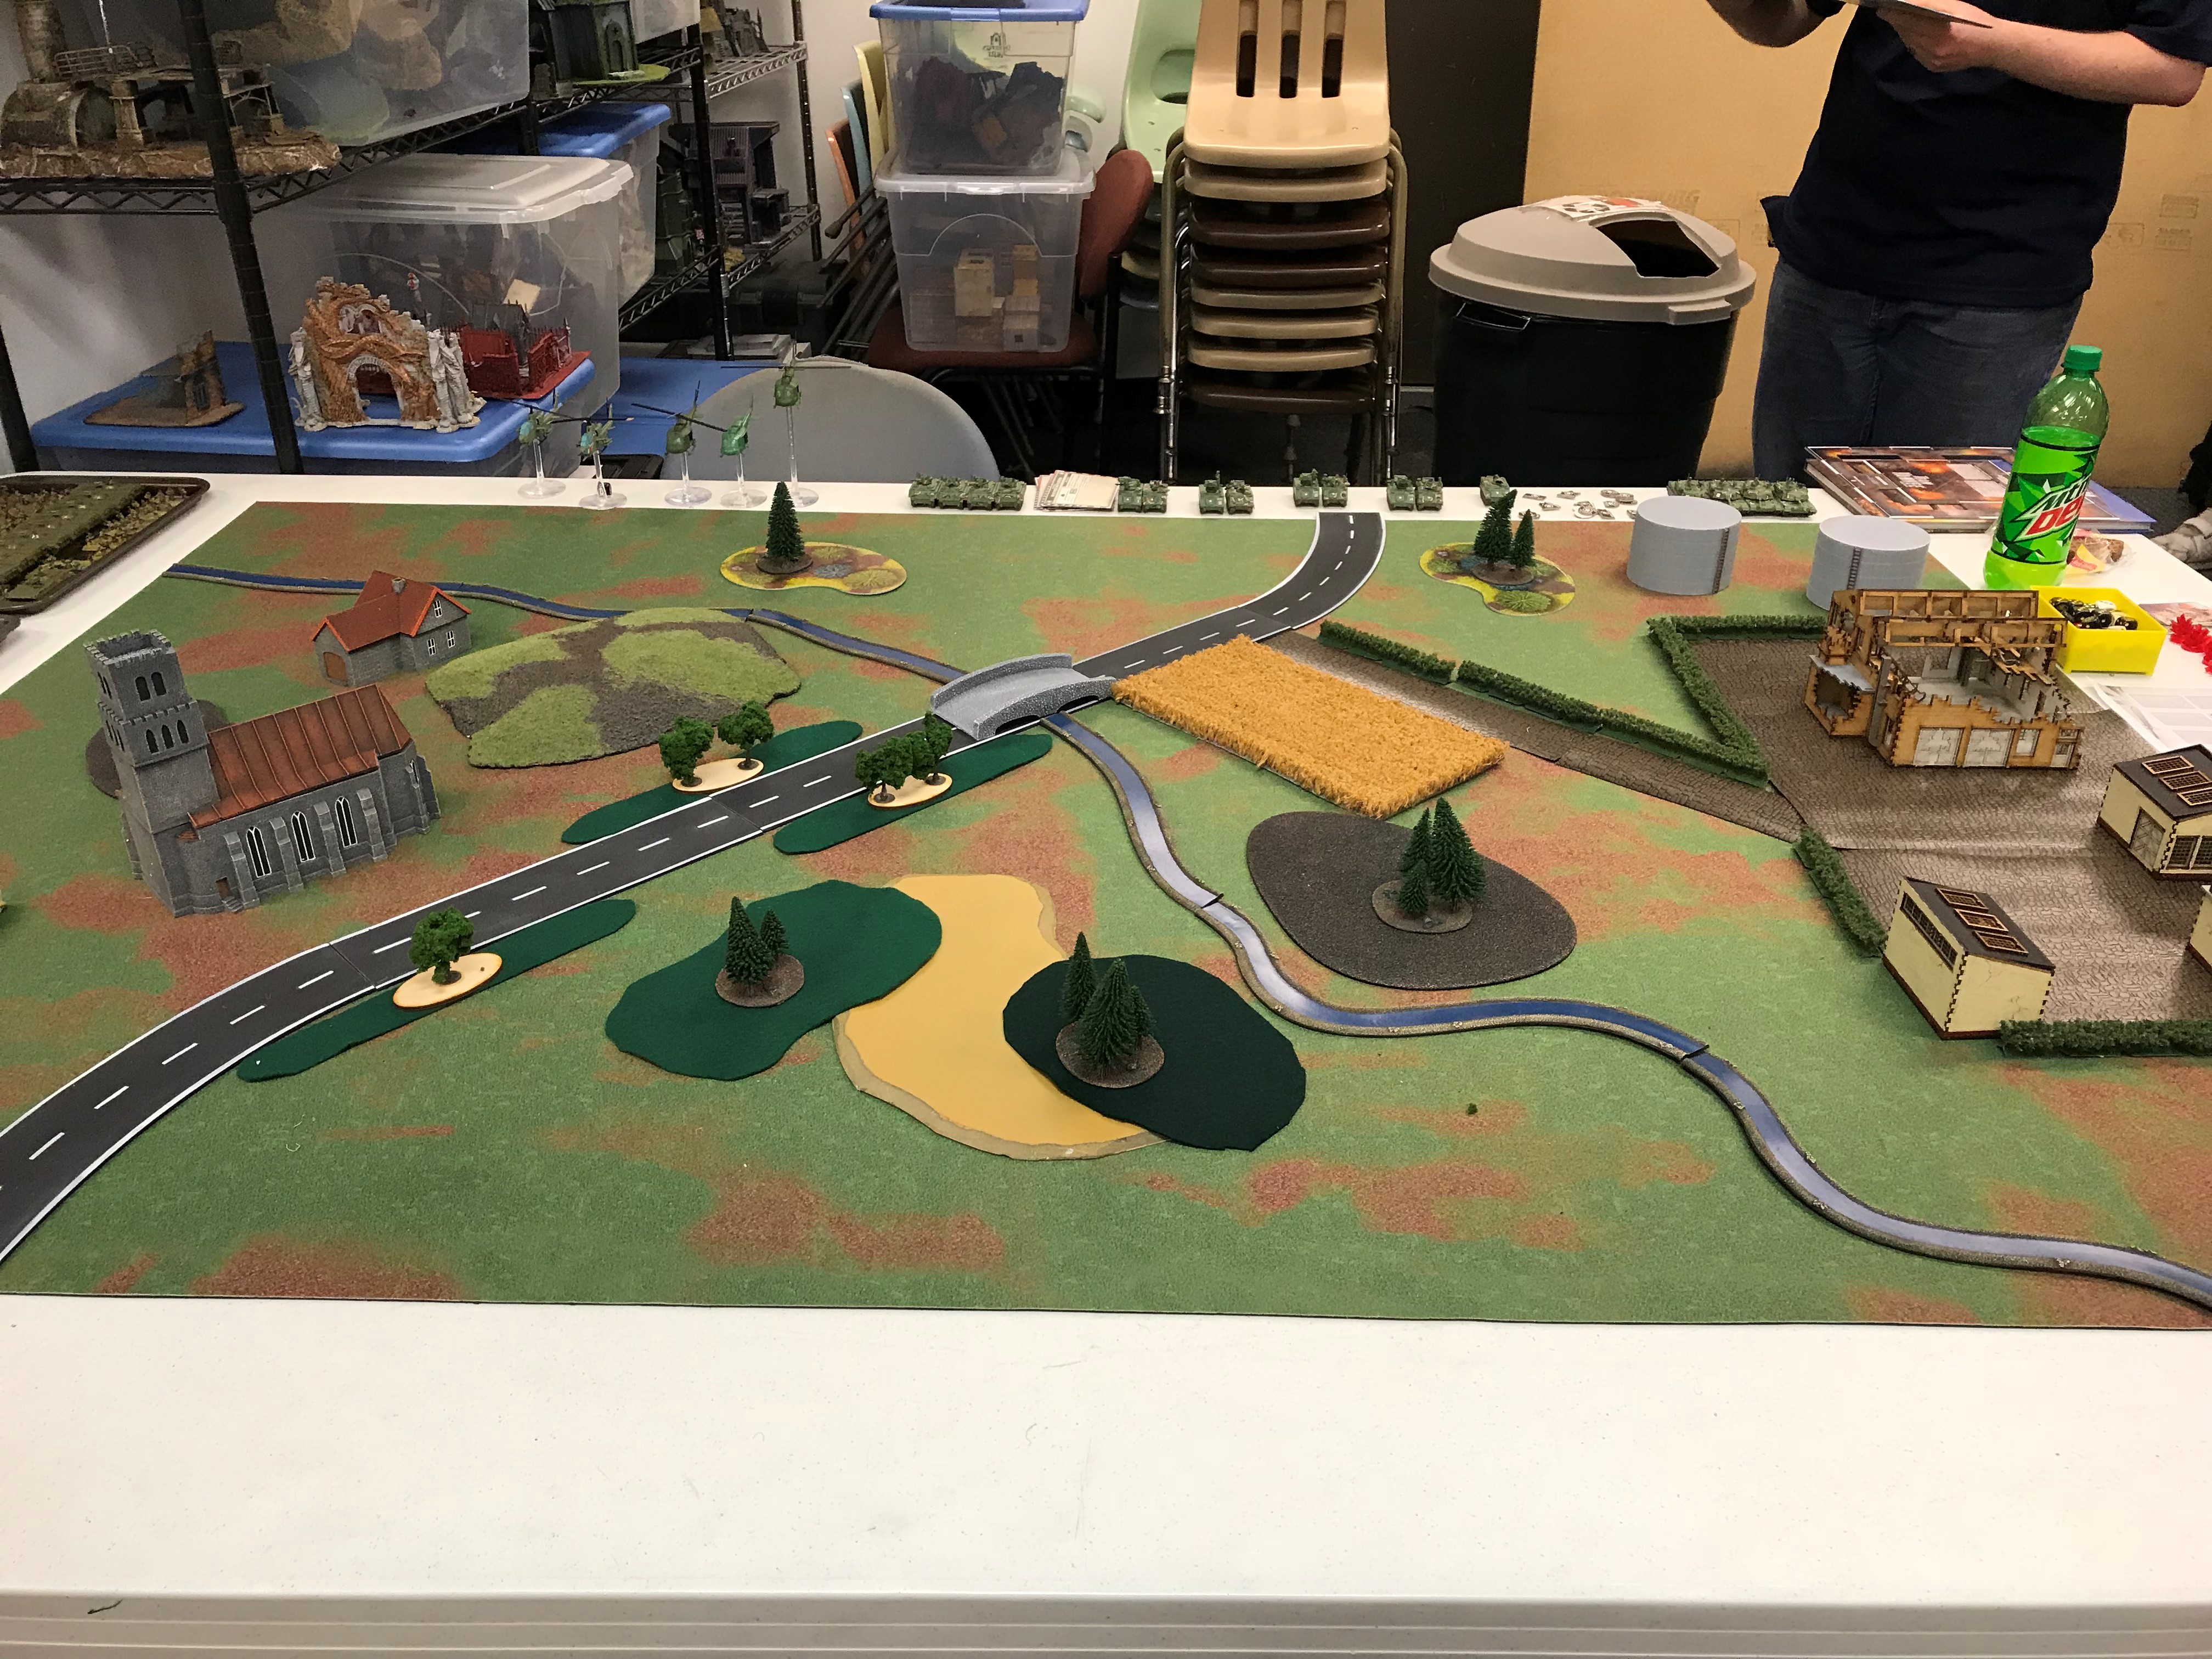
As the built-up terrain to the East of the highway offered far too much cover for enemy defenders, both battalions deployed on the highway to push to the west of the highway over and around a small ridge just south of a large church.
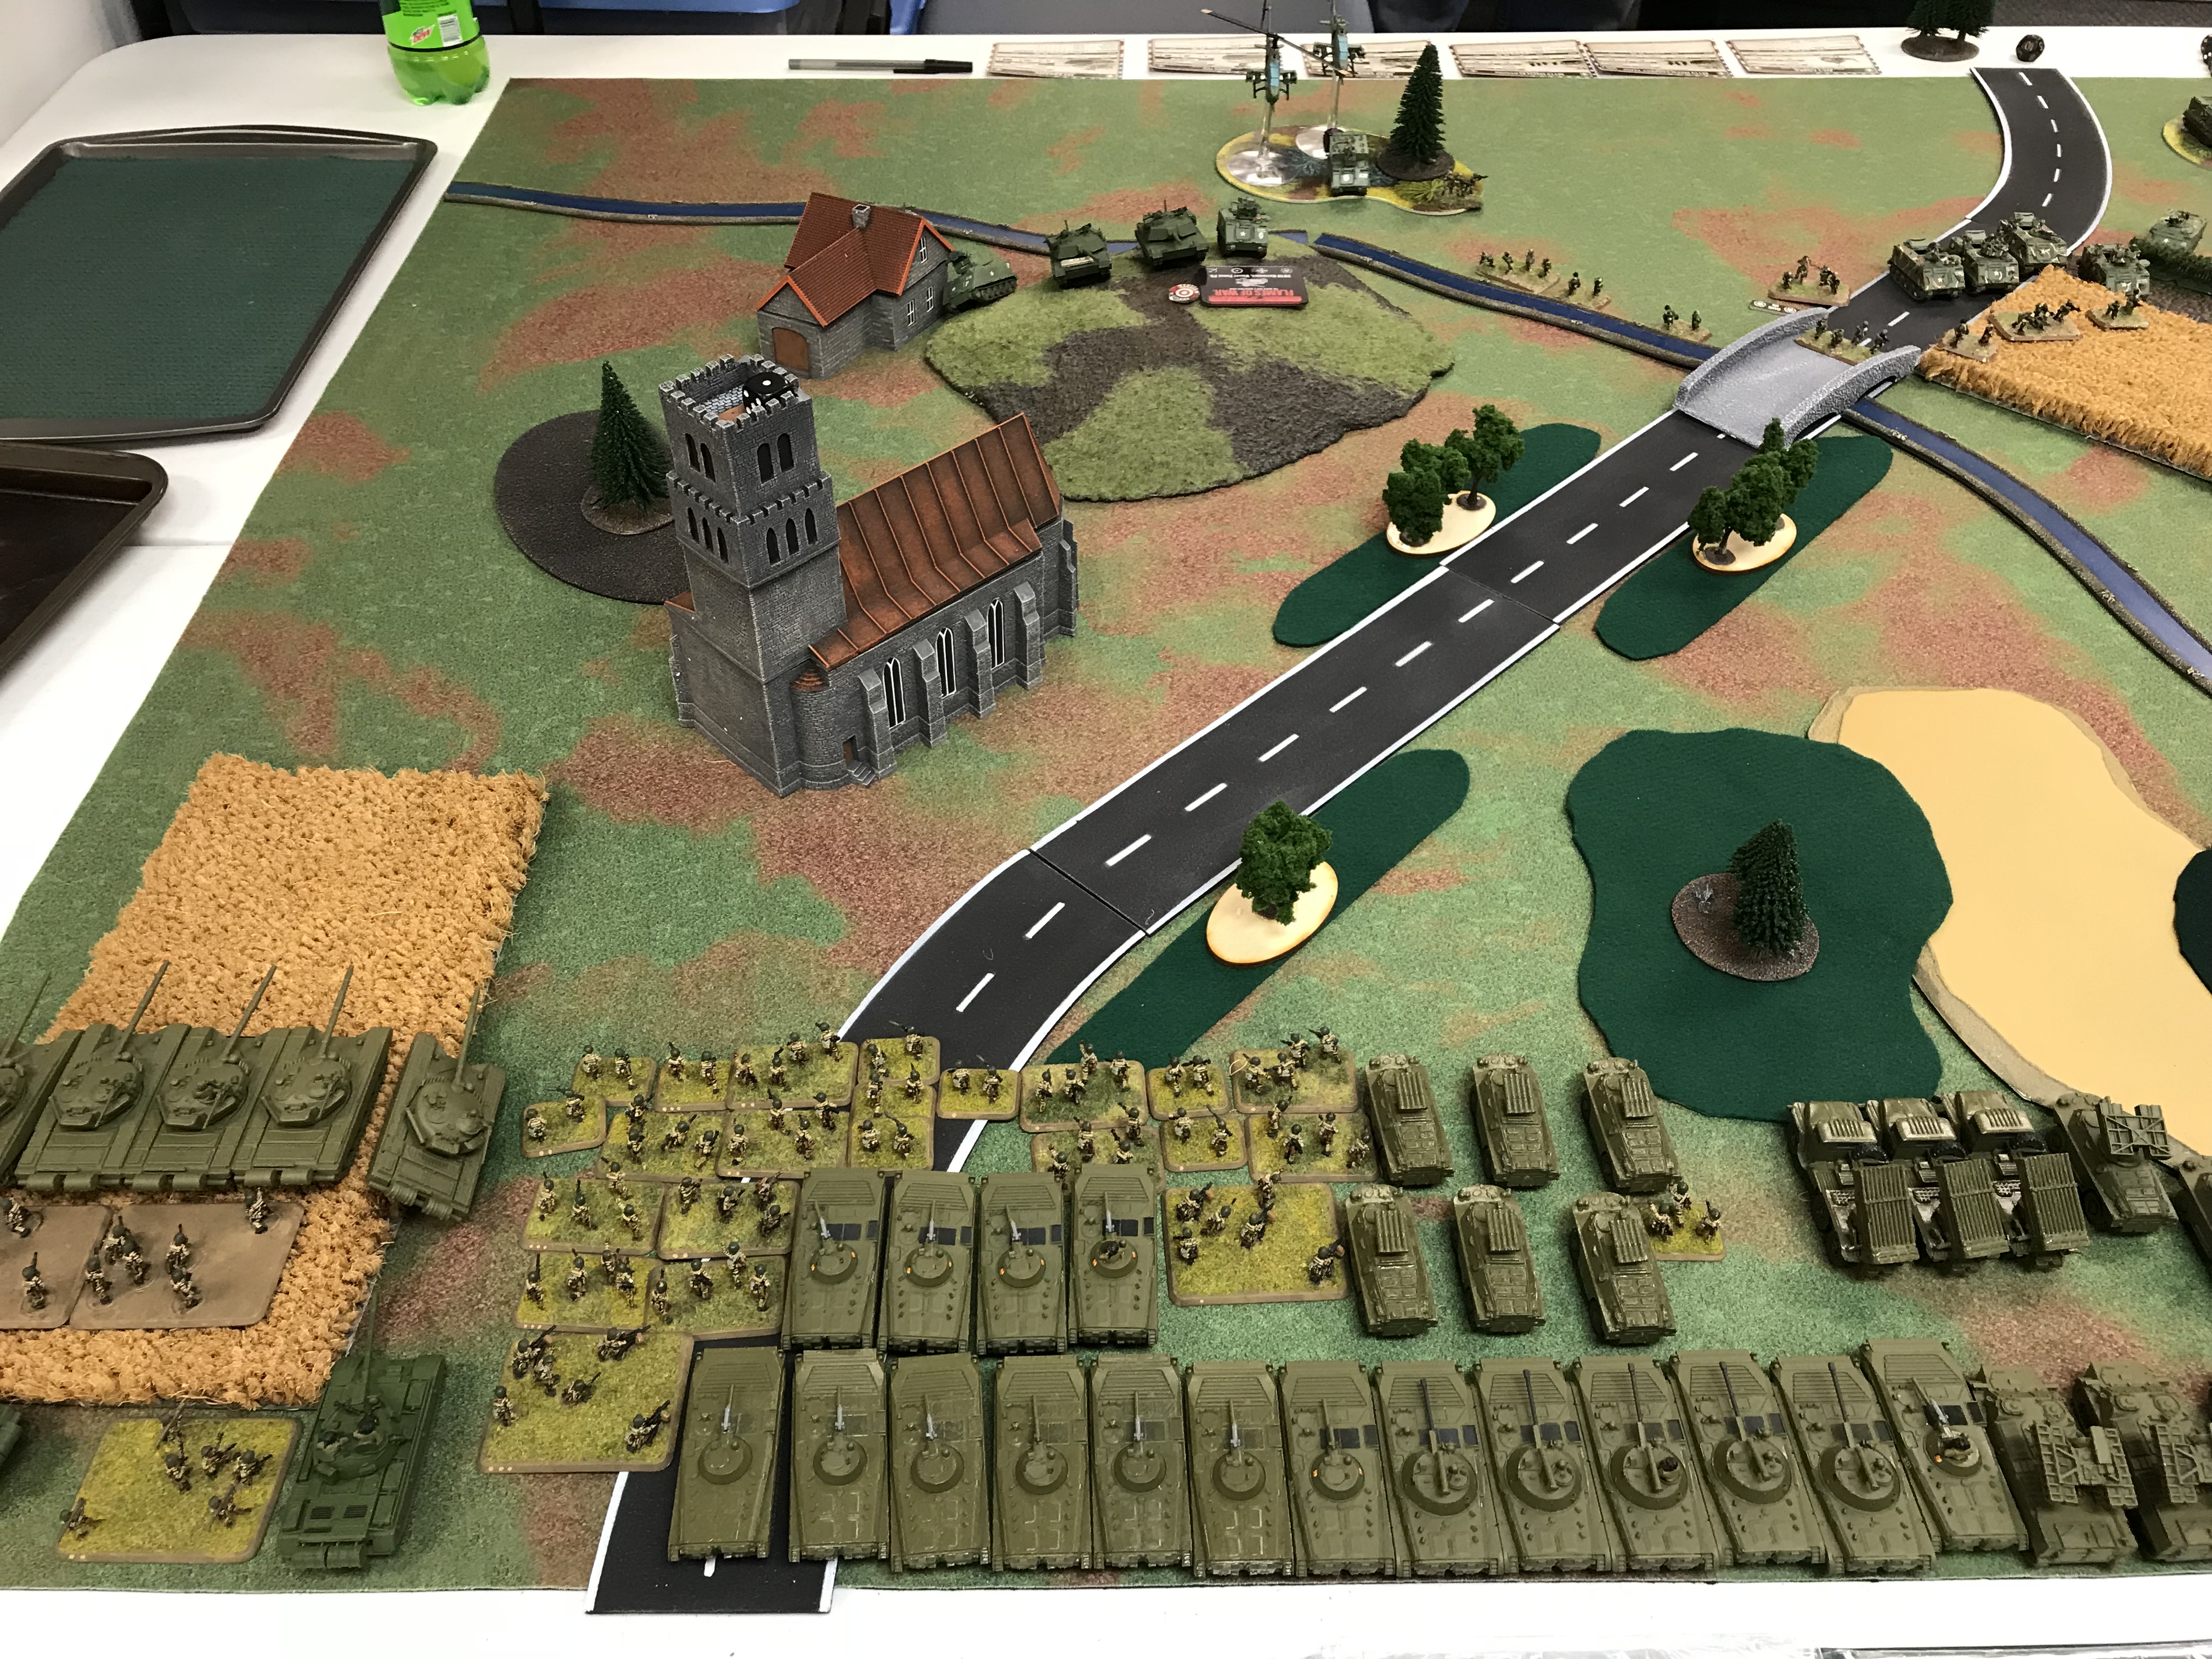
To the east both battalions recce units were deployed as a cover, and a company of T-55s over-watched their position.

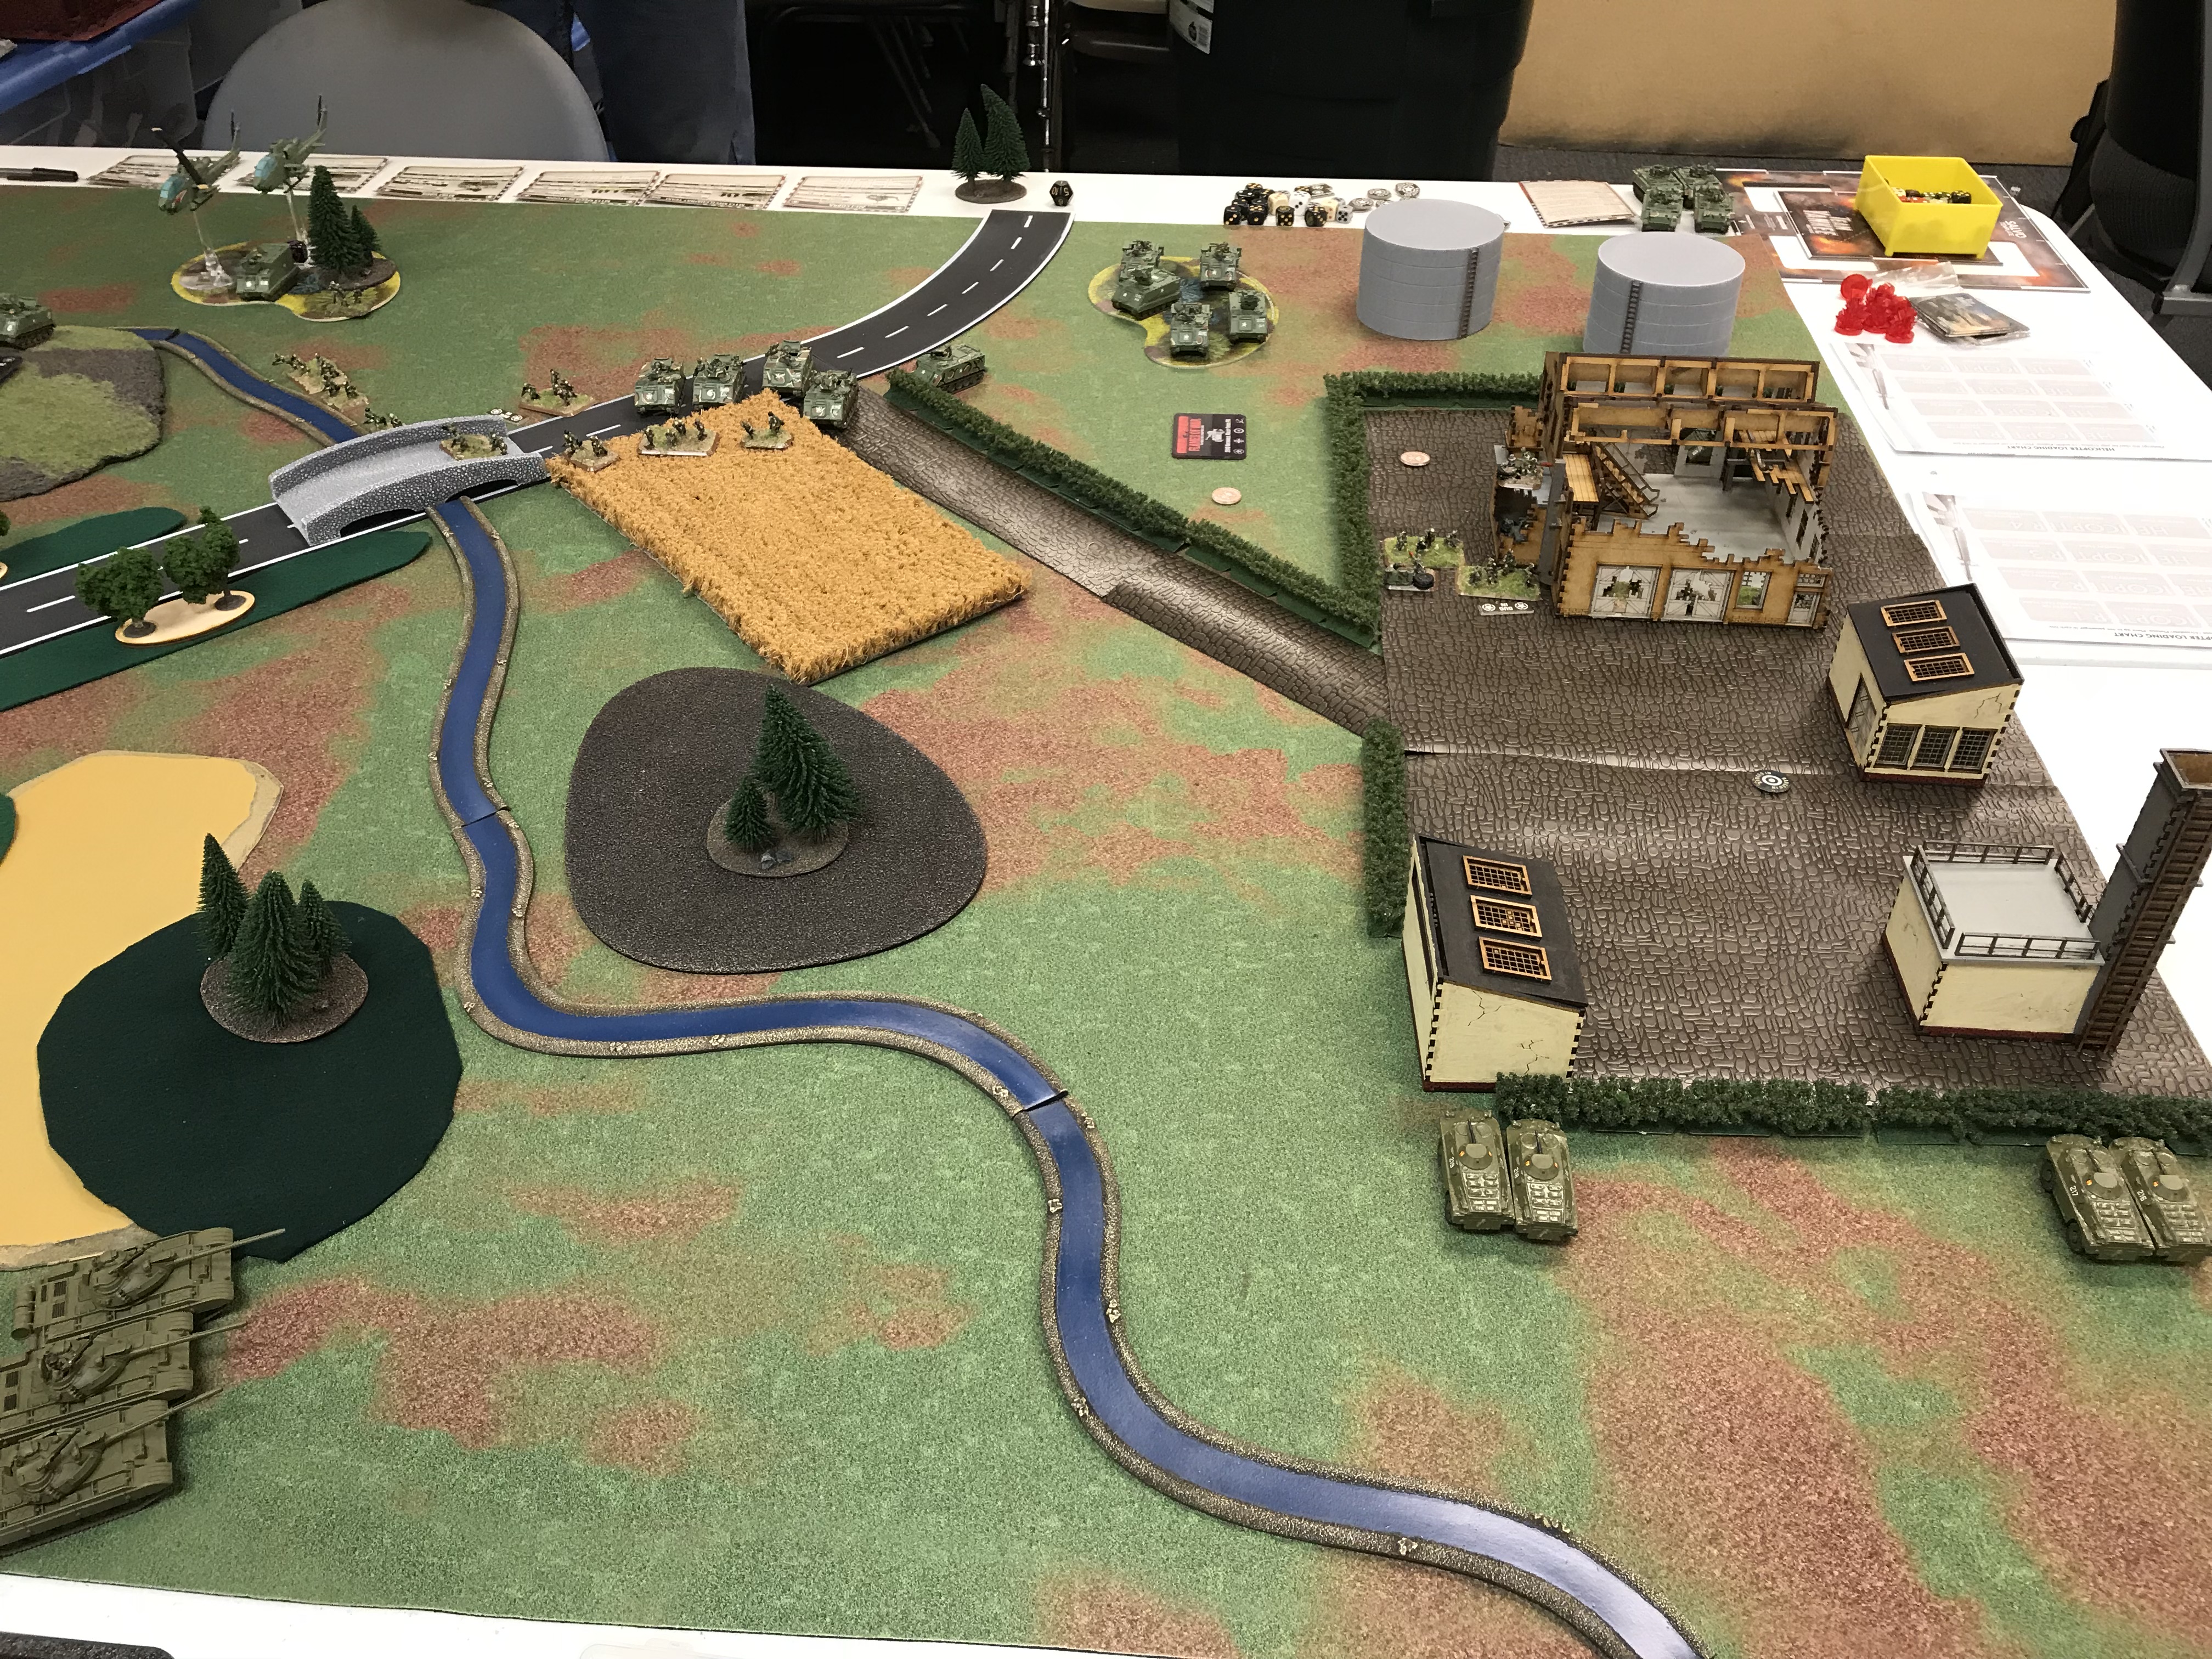
The supporting rocket battery, and the combined air defense assets deploy in the center behind a wooded ridge.

On the West side of the attack the recce elements observed, and directed rocket fire on some enemy infantry depending south of a bridge over the stream. The vigilant Air defense units spotted two low flying units on their radar, and destroyed them.
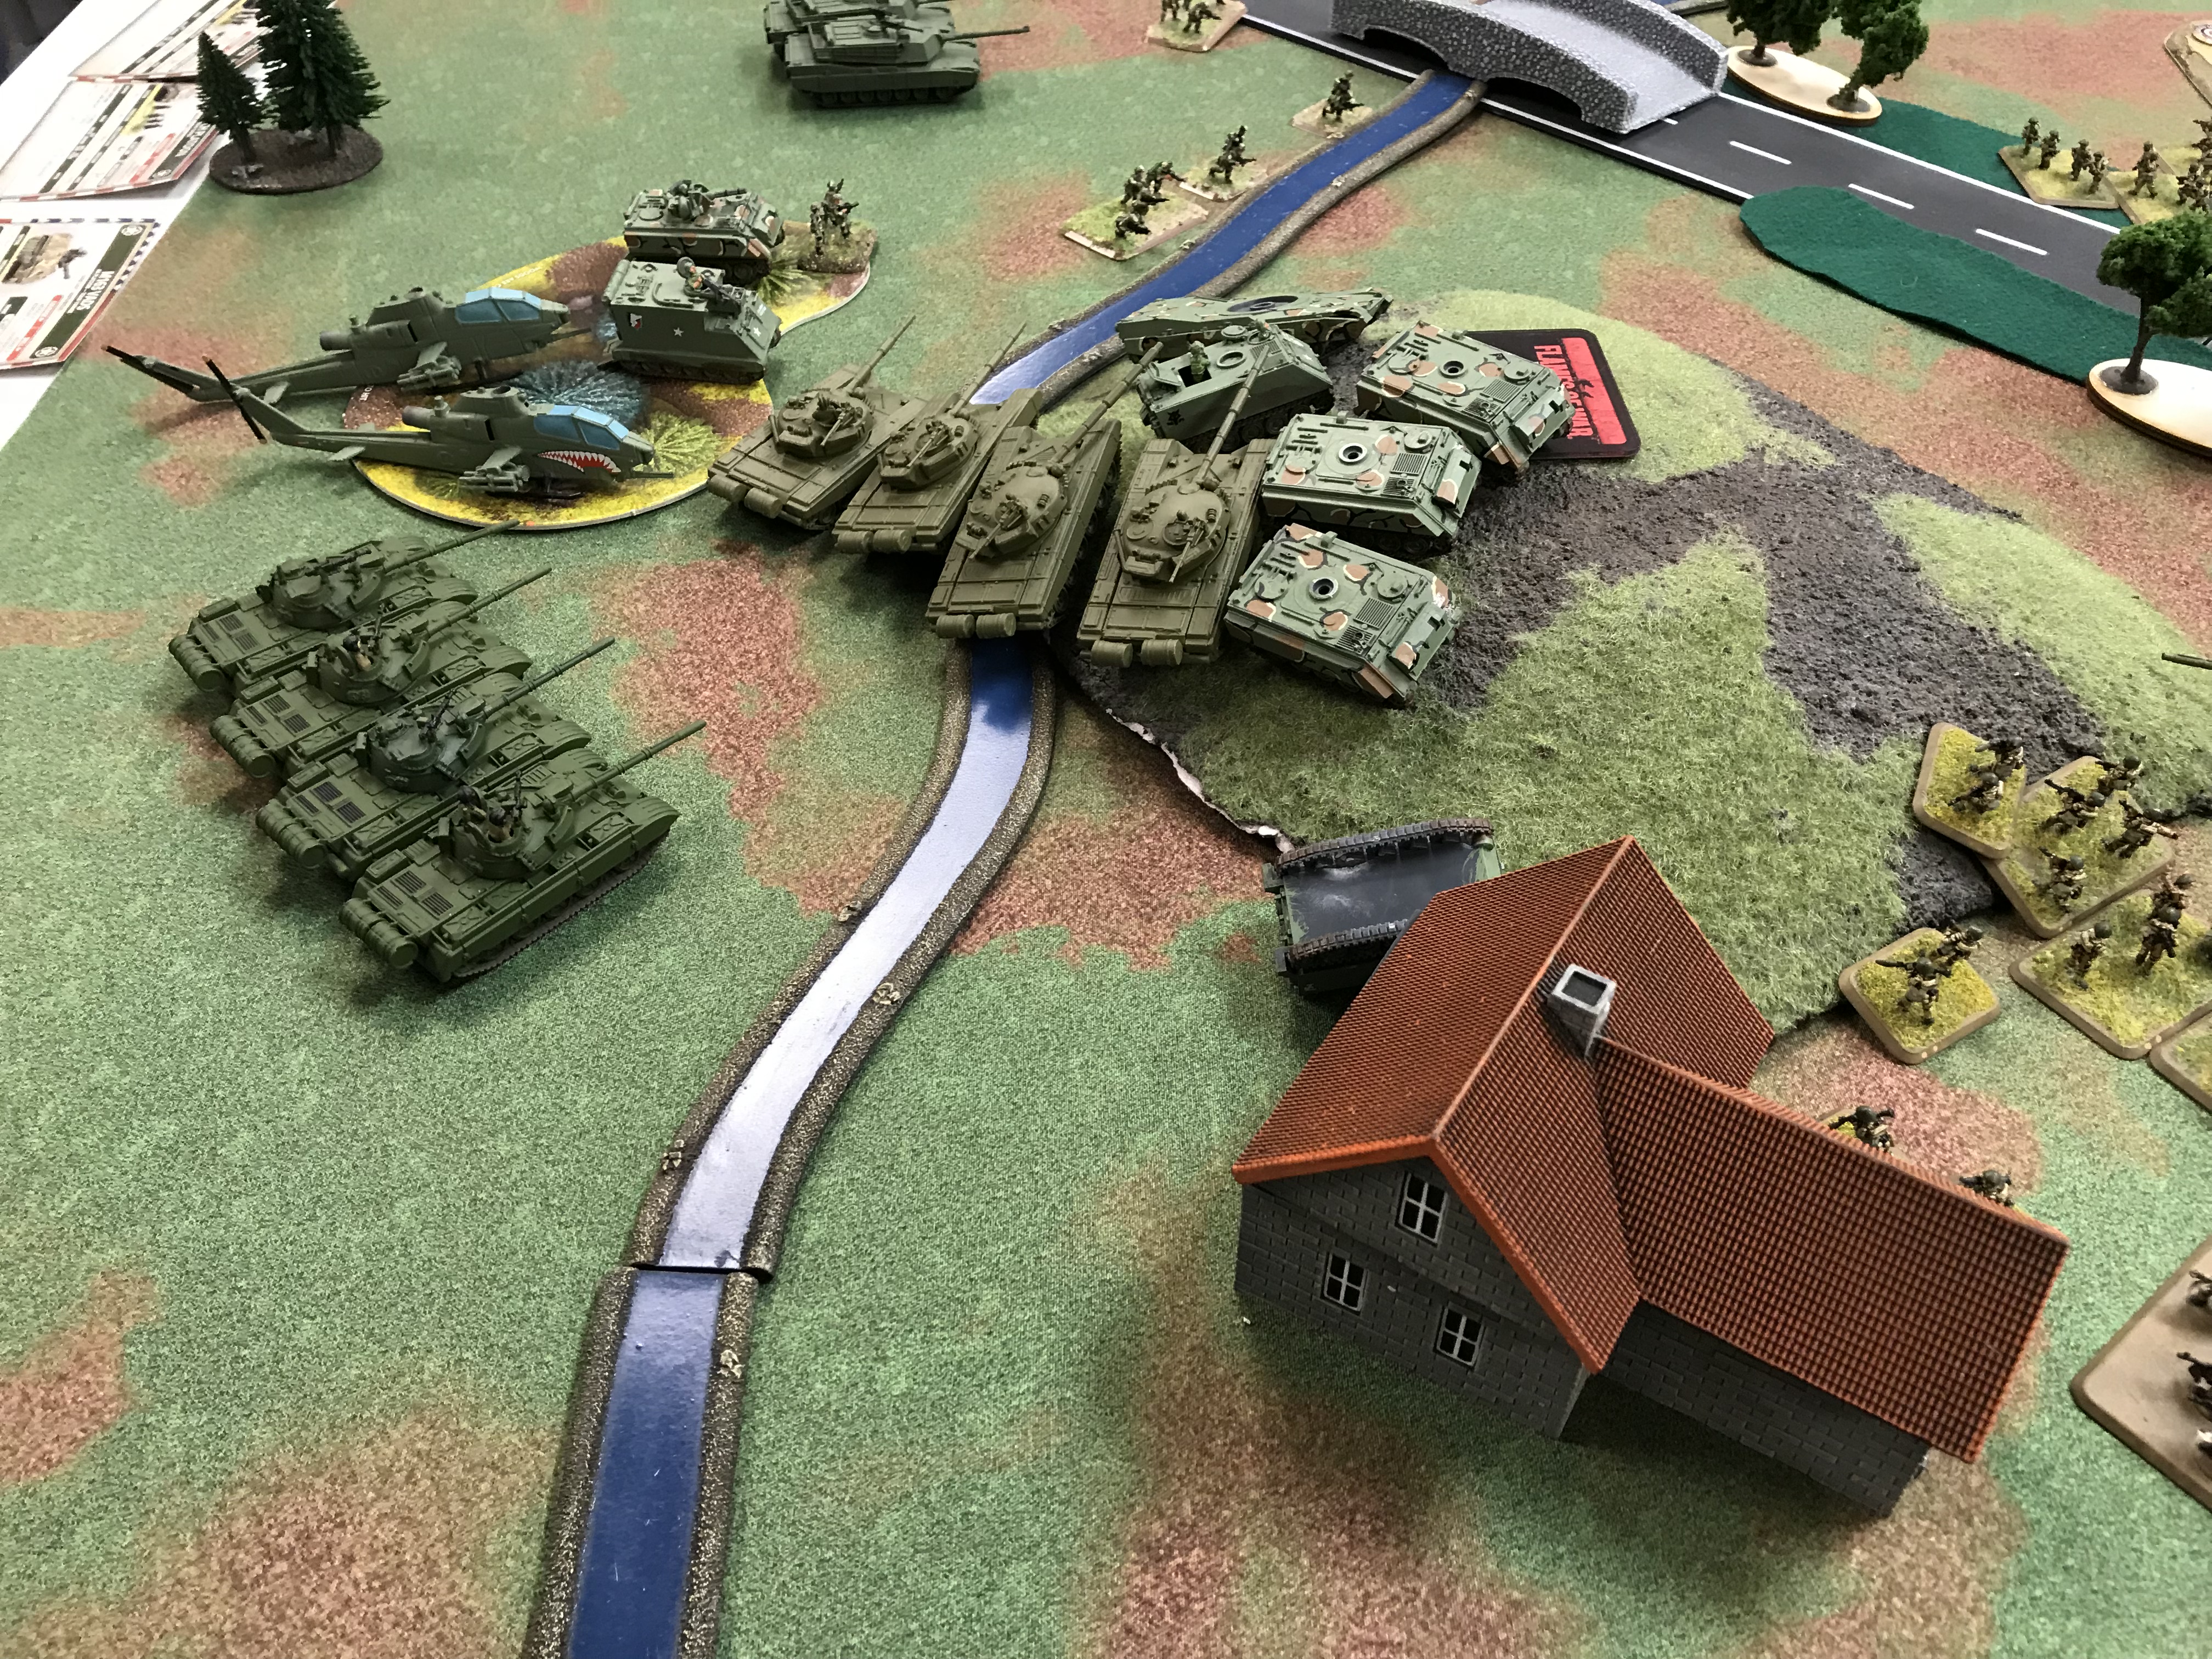
To the East the main attack opened with a massive ATGM launch at a trio of enemy tanks, and a pair of M113 AT vehicles that appeared on the ridge to their front. One tank was bailed out. Gruber's T-72s moved West of the church and engaged the defenders as well to no effect. An accompanying unit of T-55s moved quickly to the far West to find a position where they could flank the ridge line. Dismounted elements of both Mot-schutzen Kompanies began moving forward through the church, and a wood line.
The American response was swift. A group of M113s moved from behind a damaged factory and began to engage the recce elements. Bailing several of them out, but they held their position. Enemy mortar fire hit the infantry in the wood line scattering them, and forcing them to seek cover where they had started their attack. The AT AVFs fire missiles at the supporting BMP formation destroying a BMP-2, and a Spandrel. The M1s shifted their position on the ridge, and fired a volley which bailed out the replacement tank that Gruber had received earlier in the day. Gruber's tank itself received a direct hit on the turret, but the Czechs had built it well, and the deadly dart skipped off of the severely sloped surface.
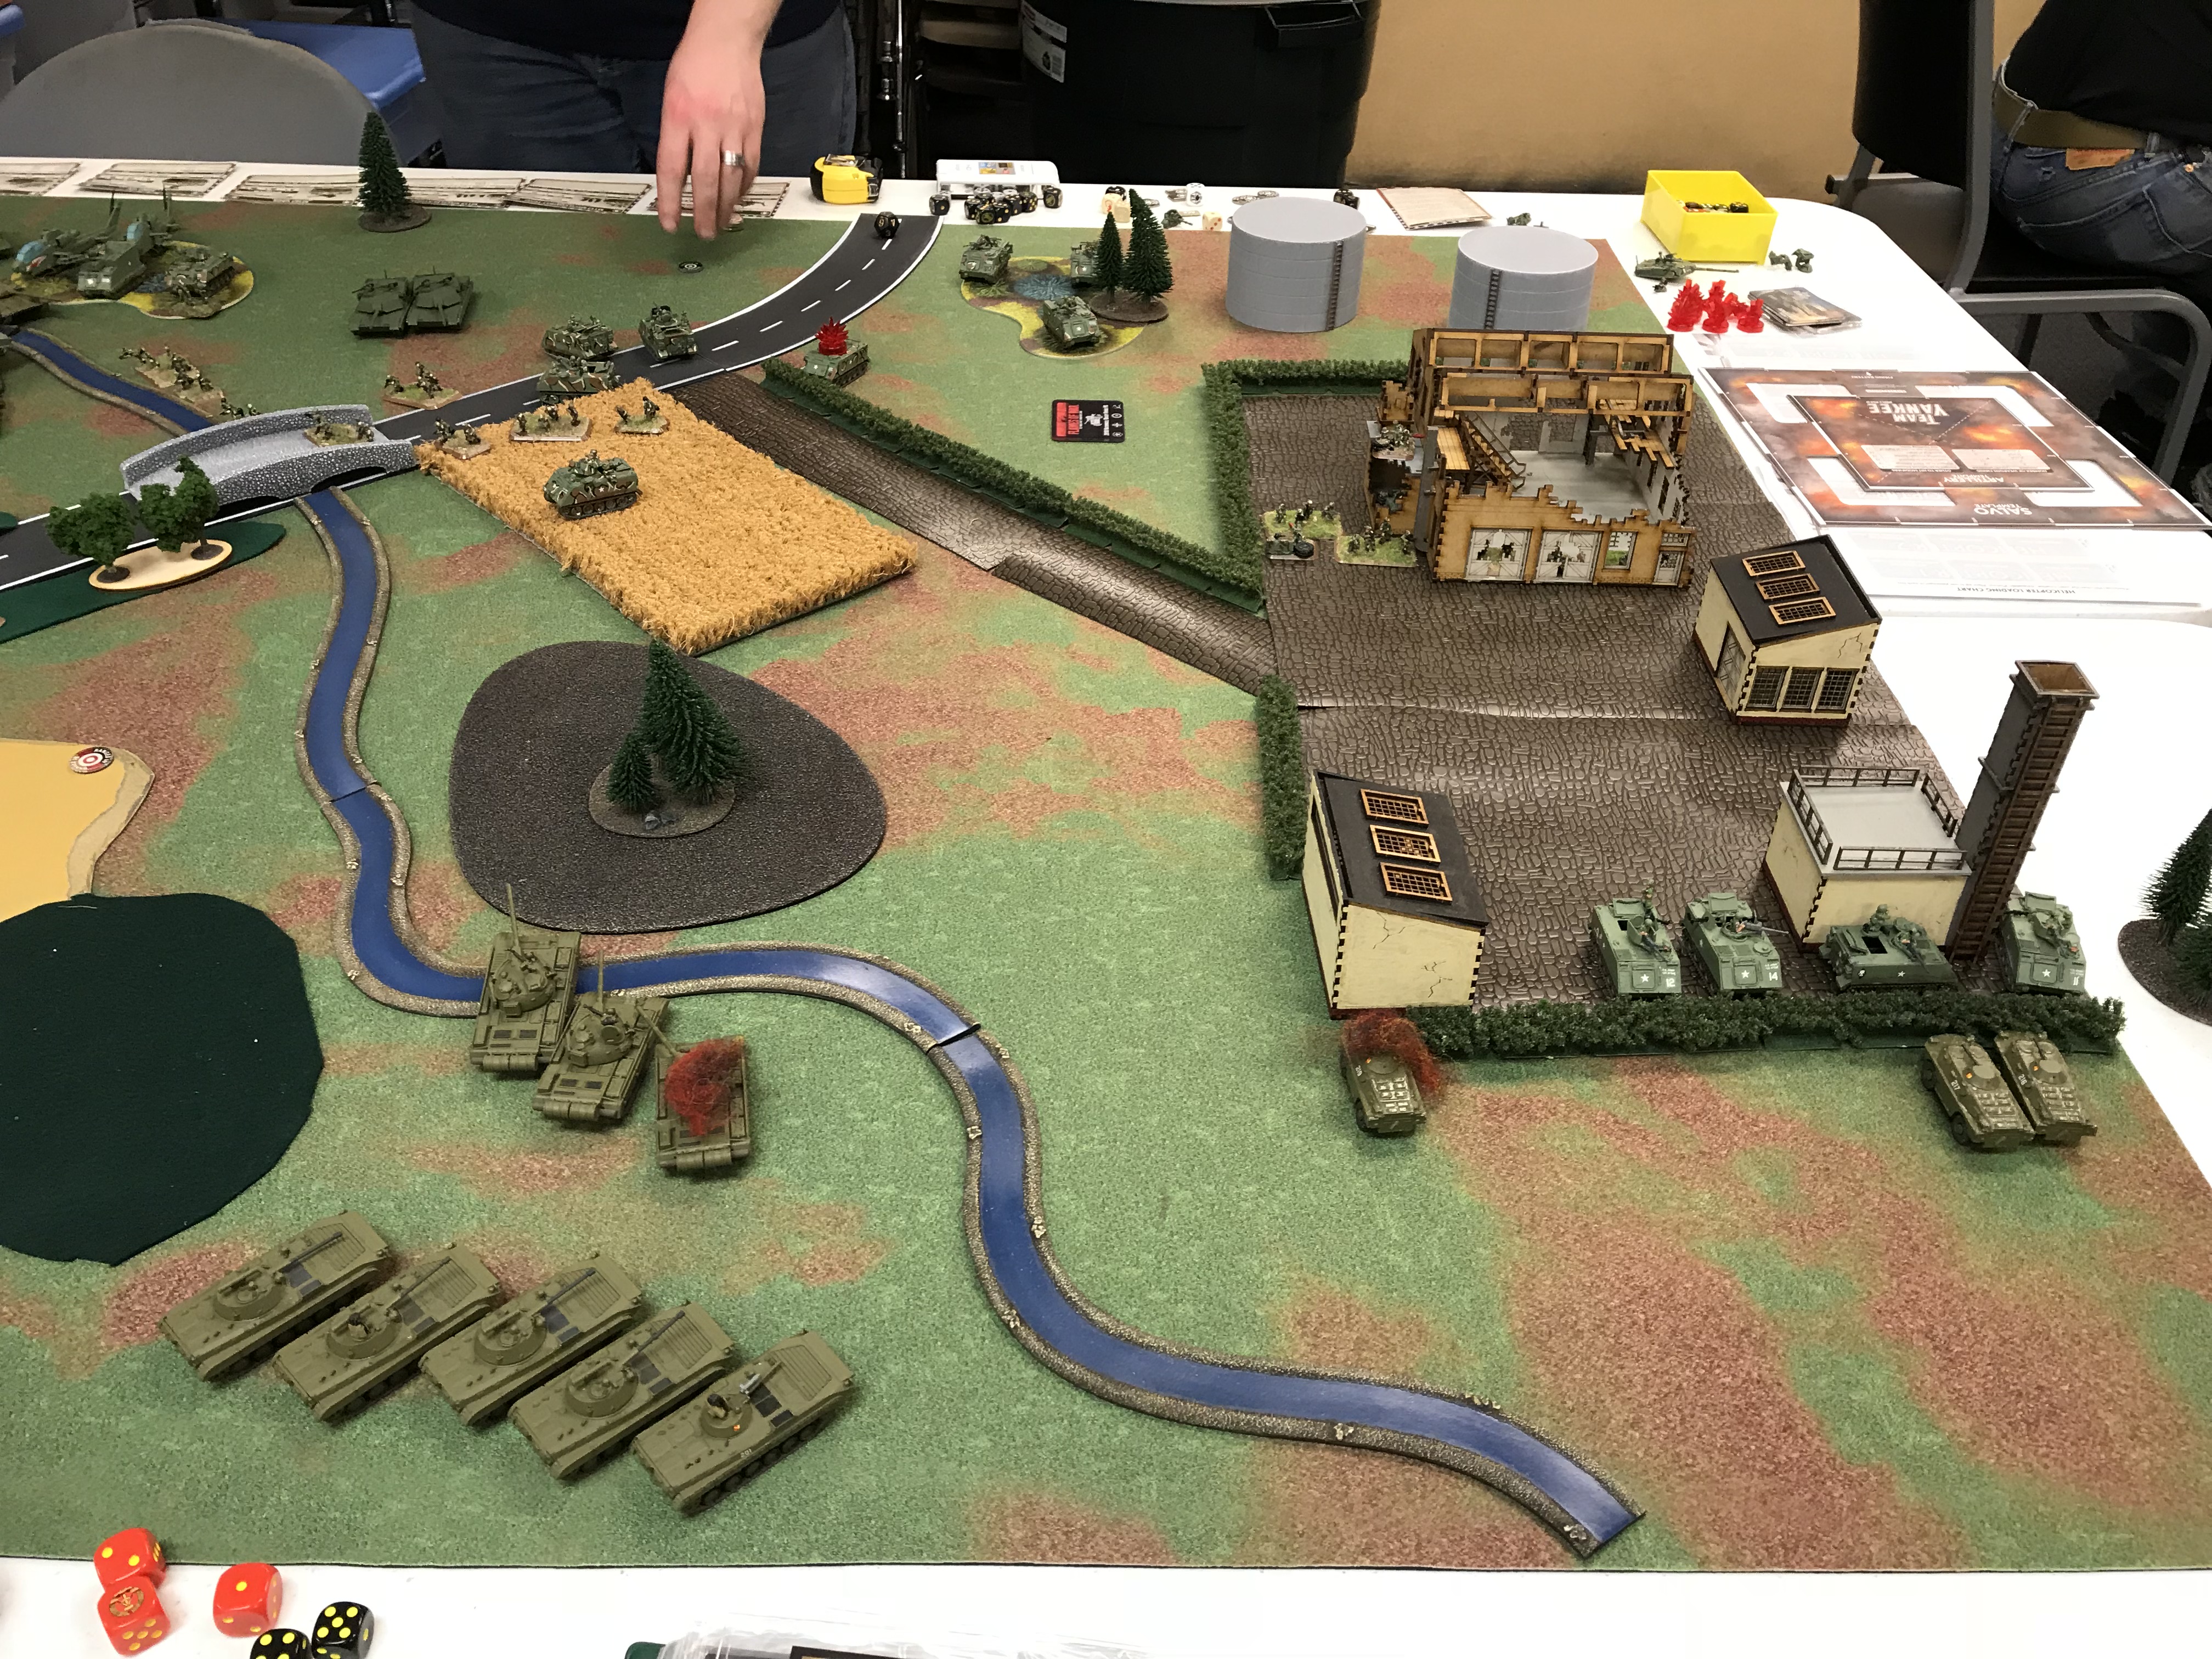
On turn two the fight continued on the right. The supporting kompanie of T-55s on the right moved forward to engage the left flank of the M1s on the hill, but they miss the target. The remaining BMP-2s and the commander's BMP-1 move to support these tanks, and the BRDM units. Gruber's KO minus the new crew that remained paralyzed with fear moved to flank the enemy M1s. One M1, and one ITV was bailed out. The infantry continue to flank to the left, as to the far T-55 KO.
A separate element of ITVs was seen to move off to the South perhaps due to other attacks from the East German division. Enemy return fire is not well aimed, and the two rounds that hit their targets once again were deflected by the superior Czech construction. On the far right a BRDM is destroyed, as well as a T-55 by a Dragon missile. The damaged recce unit fled. Enemy mortars fire a smoke bombardment to cover the west side of the defenders on the ridge. ATGMs fire from the unit guarding the bridge was ineffective.


Fighting on the left was furious, but little changed except the DDR forces were enveloping the ridge from three sides.
The enemies tank fire was again poorly directed. A platoon of the American VAD ADA units moved from cover south of the woods, drove to the contested crest of the ridge, and took the Mot-schutzen dismounts under fire. They expertly dove for cover, with very minor casualties.

On the final turn of the game infantry RPG fire, and supporting missile fire destroyed the ITVs, and VADs on the ridge. The M1 on the ridge nearest to the objective was bailed out. We stopped at this point as there would be no enemy units within 4" of the objective at the end of my turn. It was another miraculous victory for the People's army. Urahh!
It was a fun game. Jacob was a great opponent, but had some terrible dice rolling results when he needed them. The M1s not killing a tank was particularly galling for him, as was his platoon defending the bridges failure to un-pin after a rocket strike. Not defending the ridge with infantry was another opportunity that we discussed after the game as well. Several miraculous armor save rolls by my T-72s kept all but one of my units in the fight. With my twelve units, I was able to take a 6-1 victory in the rearguard fight.
Battle Report Author
Army Lists Used In This Battle
Recommend Commander For Commendation
Share this battle with friends
PanzerGrauWins

Recce,
The map was the same as we played two games on a Friday. We played two different scenarios, and my opponent chose the side to defend both times. He used a Cav list in the first game and a Mech list in the second. He posted his battle reports backwards which is why they don’t mirror each other although they are linked.
did you fight the same terrain and Battle??
nice AAR
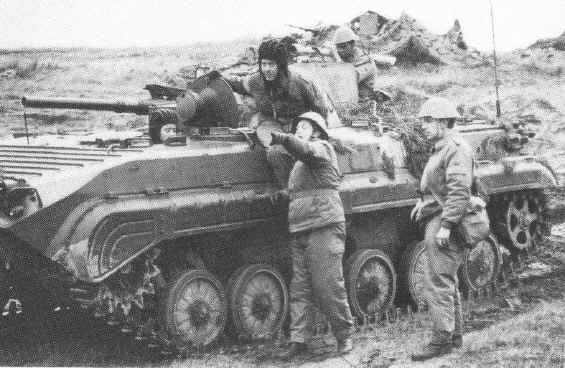
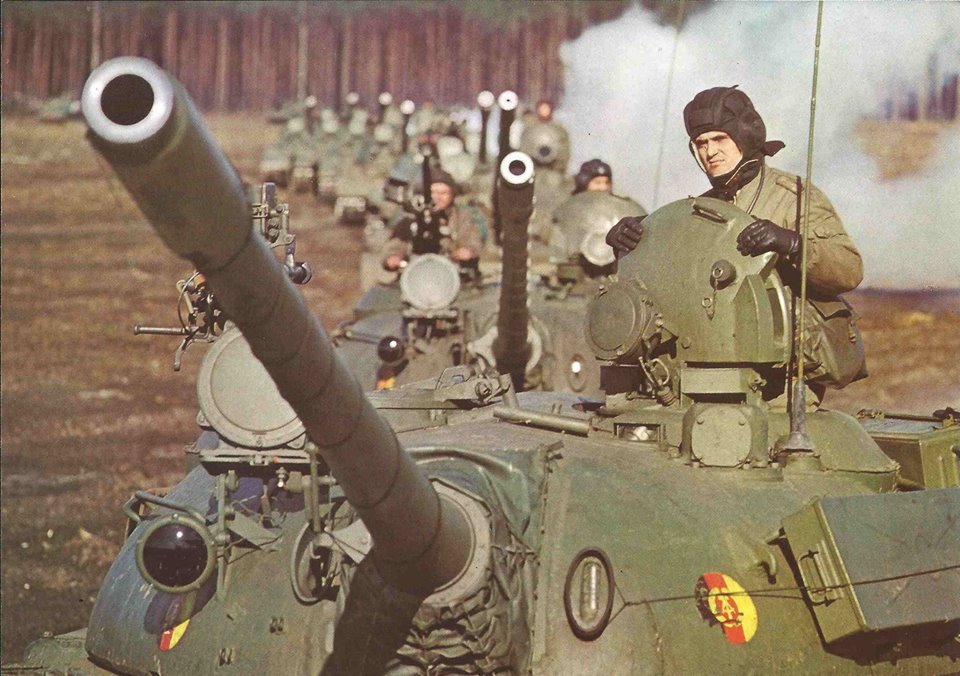
Good AAR. Congrats on the win. Nice insertion of historical photos.
Bloodbath! Kudos on a beautiful table and the win.
A very nice AAR! Well done Comrade!
congrats on the win! Next time Gadget, next time!
obviously soviet sabotaged dice!!!!
Nice use of extra pics – good read. (When M1 rock they rock – when they suck they suck. I feel the pain 🙂 )
Great Report and use of photos. Thanks for sharing. Well done.
Good report,
Nice use of photo
Solid seven and commendation in my rating system, I changed to eight for the photos
Cheers
Why? Surely your intelligence has made you aware of Central Front’s 14 divisions. Perhaps not.
I’m surprised there’s still Russians in Hof at this point. Good report though
very good report and win. Well done.
A fine report and a great victory!
Especially liked the interspersion of “real life” pics with battle pics. Much atmosphere added.
You may be sent off to our re-education facility, but as an instructor…